My 80% Scale Dollar Store, Lowes and Garage Pack Build-DONE!

So while researching and gathering stuff to make my big boy Proton Pack, I asked my oldest if he wanted to be a Ghostbuster for Halloween, which of course the answer to was- Yes!

So I decided to build for him, an 80% scale (almost but not quite accurate) pack using "Norm’s Plans, a little eyeballing of reference pics and good old fashioned on the fly engineering. Why 80%? Because the pie plate I found at the Dollar Store for the Cyclotron was 8 inches in diameter, or roughly 80% of the 10 inch dimensions of Norm’s…

So enough behind the scenes… here we go.

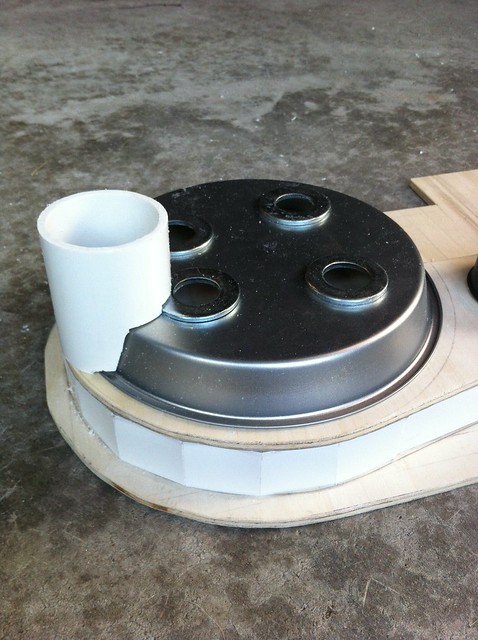
I already said the pie plate came from the Dollar Store. I took the plate into Lowe’s and found some washers that look liked they would make a good fit for the rings. I made the appropriate measurements and started the holes. This to me was going to be the most challenging part of the build since I was not sure how to drill such big holes out of metal. But it worked.
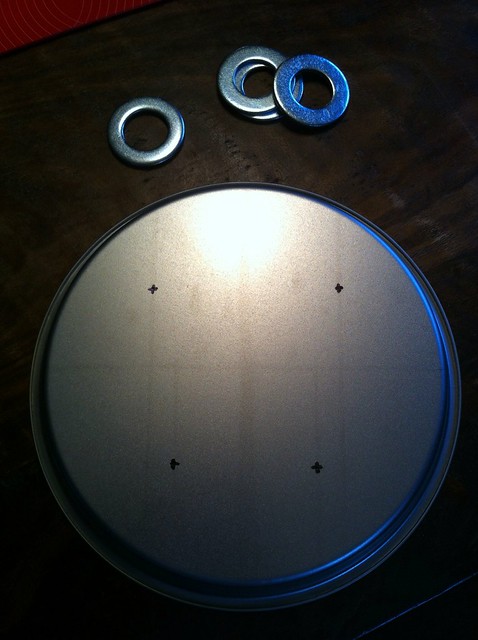
I then stuck the washers on using some E-6000 (shout out to all the TK’s reading this!).
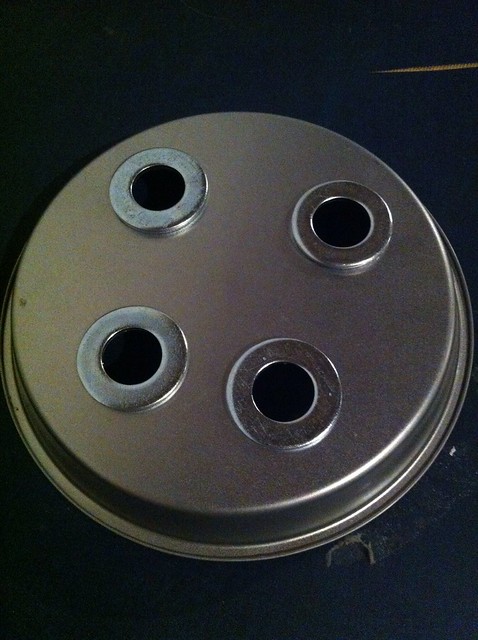
That was set aside to dry and that was the end of day one.

Day two I took the very thin poplar plywood I had also gotten at Lowes and started measurements for the Sync Gen and Motherboard. Again, using roughly 80% when I could. I had also bought a measuring cup set at the Dollar Store that I was going to use for the Vac Pump Base and Modular Valve Base.

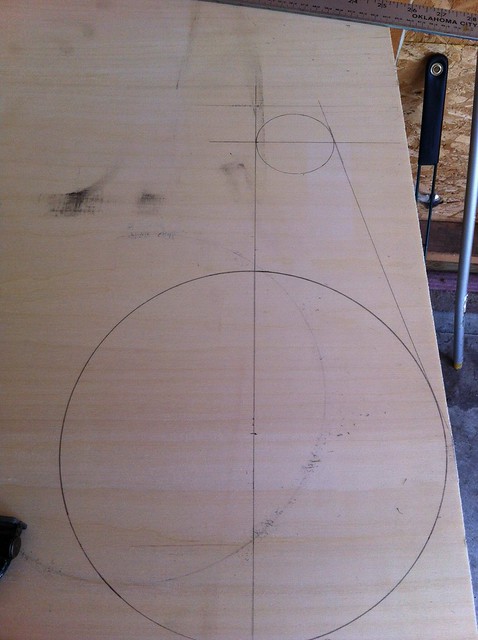
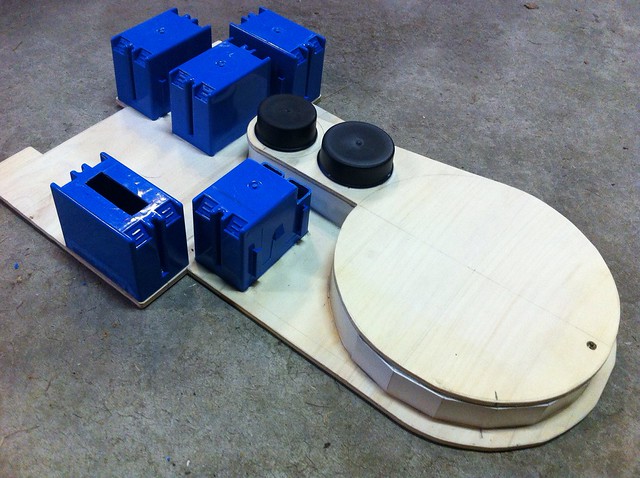
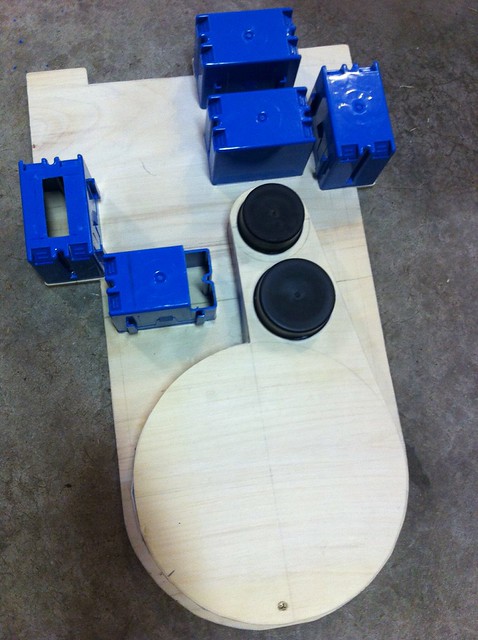
I then jigsawed the pattern and sanded. Next I set up the motherboard using electrical boxes from Lowe’s for the Power Cell, Crank Generator, Booster and Gun Mount Block.
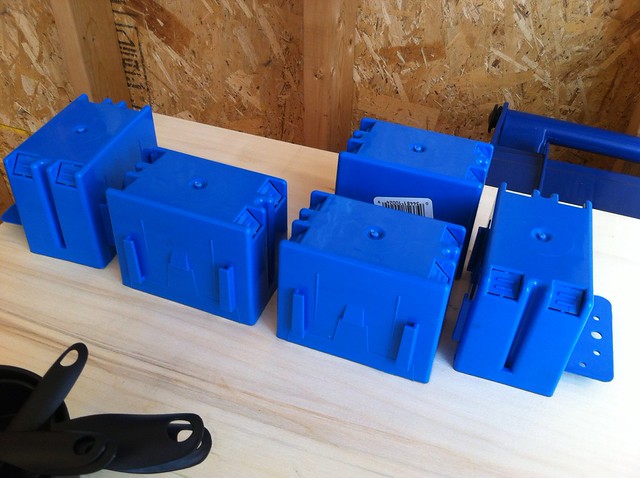
I laid it all out and matched Norm’s Plans the best I could, which were actually very close. The rest was the eyeballing and on the fly engineering I mentioned before.
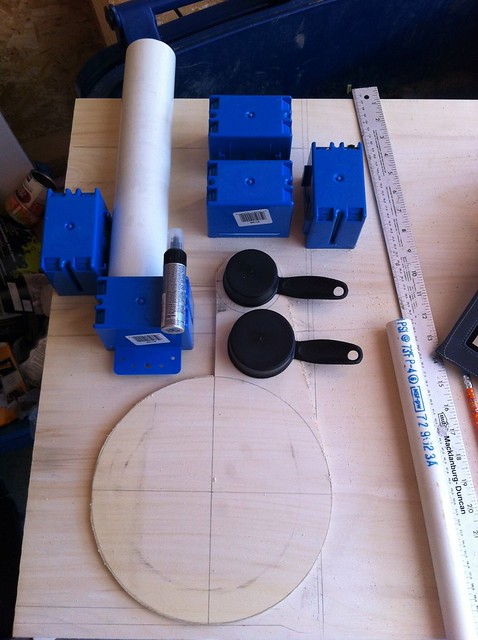
Then traced the outline, jigsawed and sanded.
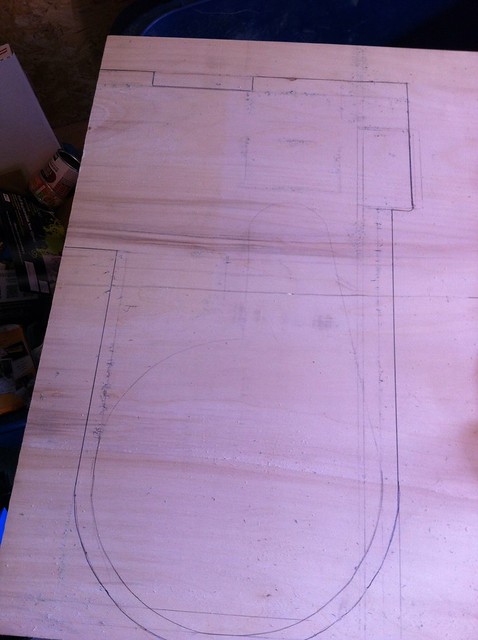
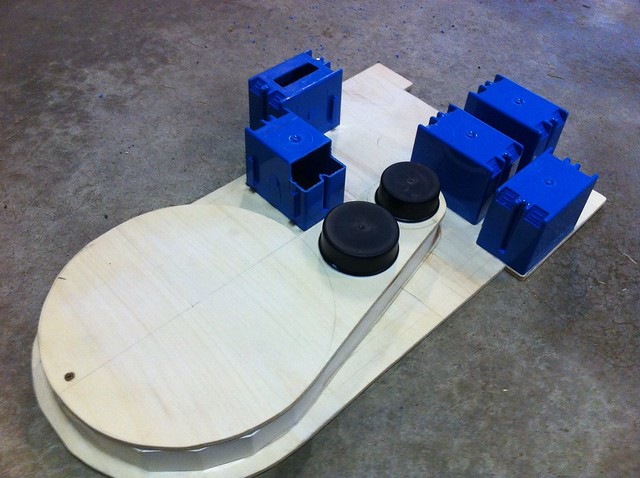
Then a quick layout of some components to see how it would look. Happy with it so far.
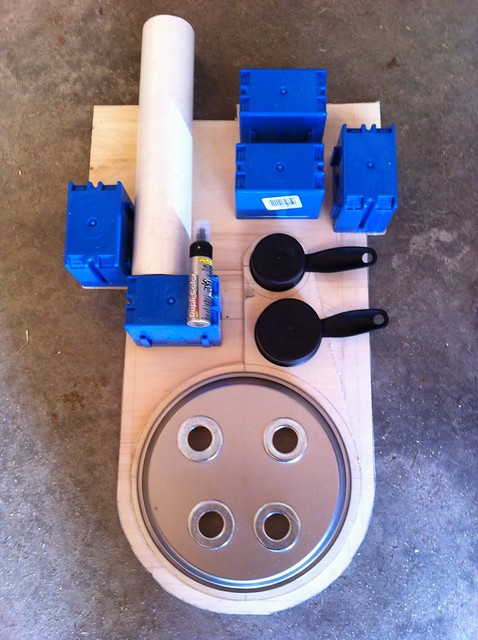
And that is the end of day two. Busy tomorrow so don’t know when day three will be. But I started early so there is a cool pack for him come Halloween time.
Looking good, I can’t wait to see it finished. Will you be adding lights?

For sure on the lights. No sound though, don’t want to go too crazy.

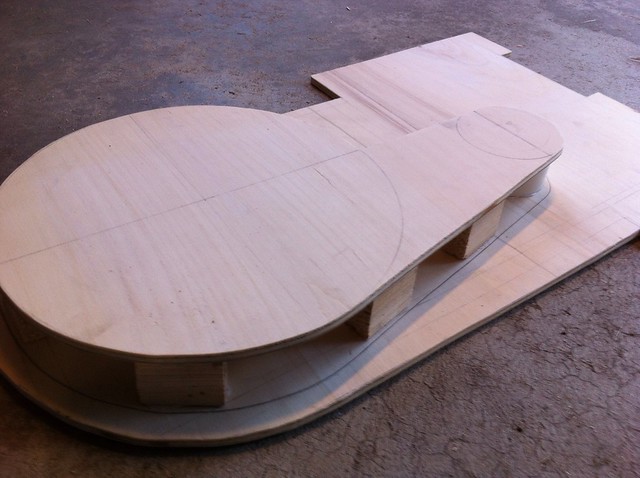
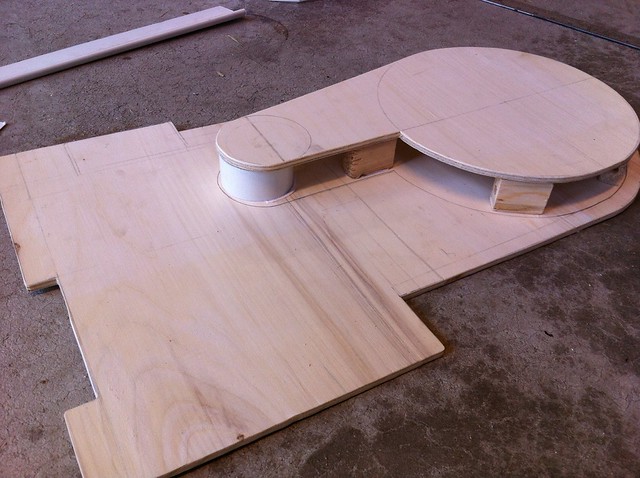
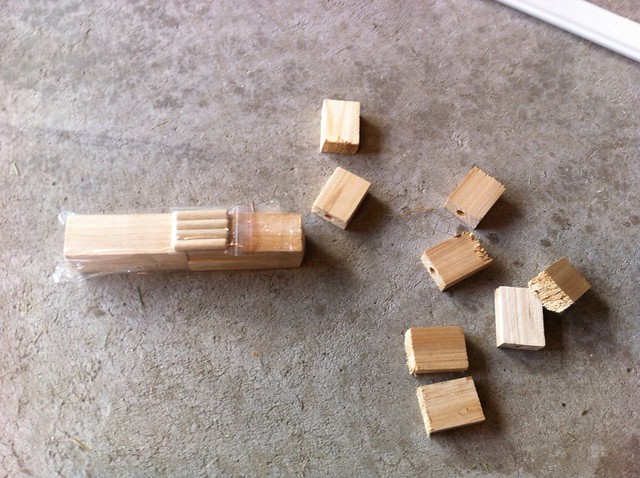
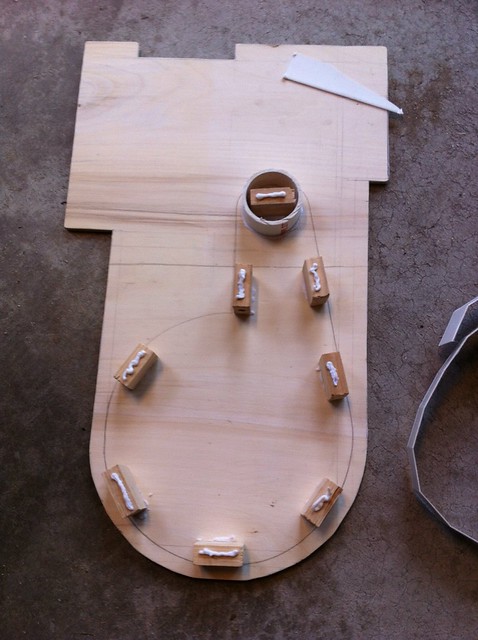
So for day three I just wanted to get a little work done in the Cyclotron/Synchronous Generator area. I had some small wooden blocks left over from some box furniture so I cut them in half and used construction adheisive to glue them around the outline I had previously laid out.

Then I placed the top portion over the blocks and set it aside to dry.

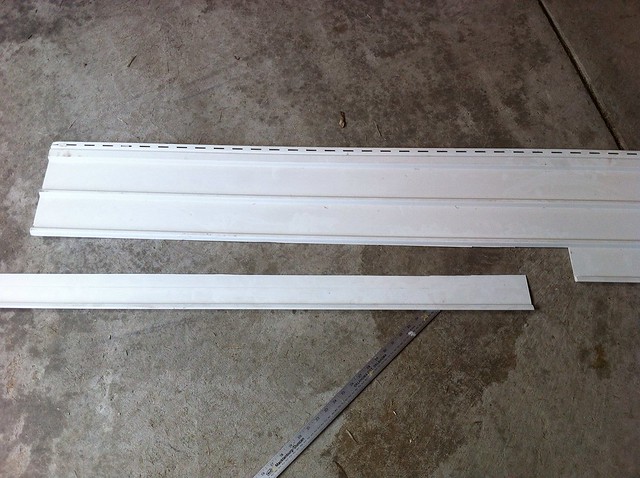
When I moved into my house, there was a large sheet of vinyl siding in the garage that I just never through out. This is what I am going to use for the band around the Sync Gen…

End of day three…

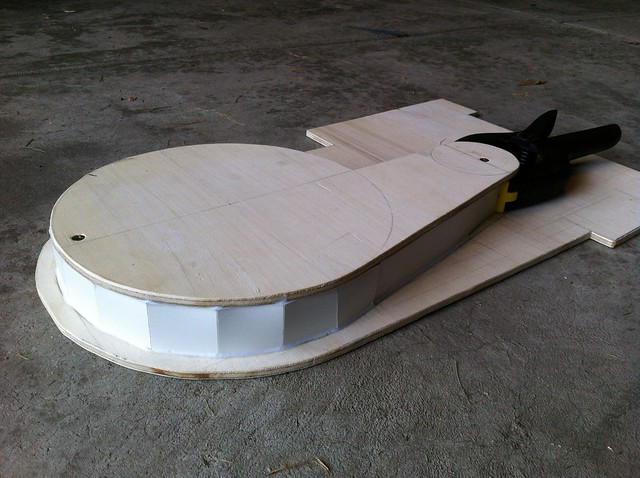
Day four. Put the band around the Sync Gen and set aside to dry. Not a very productive day.

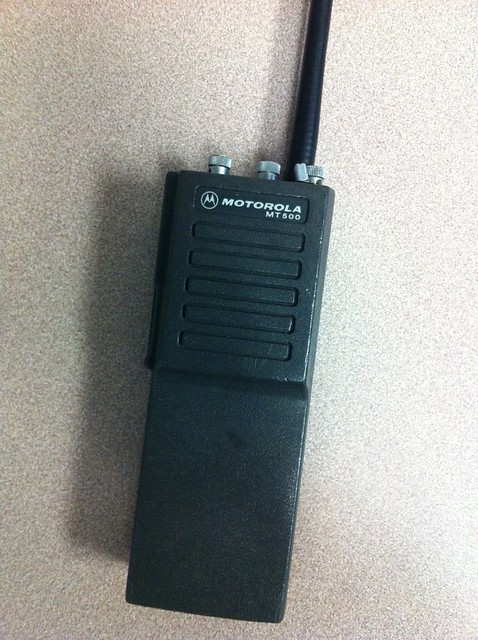
But on another note, I found this at work just laying around collecting dust. So I was able to get it for free! Score!

Love the way this is looking! I want to make one for my 6 yo for Halloween. If you can post some rough dimensions & measurements that would be great.

I would gladly post the measurements if I had kept track, which I didn’t unfortunately. I used “Norm’s Plans” which can be found here:

I just more or less did 80% of the required dimensions, rounding up or down when needed. The angles stayed the same.

Reminds me of my pack builds. I think I like the build process more than owning.

Wow, that’s cool.

I’ll be watching your build. I might have to make one for one my daughters.

N Filter taking shape. Pain in the butt. Dremmel a bit, measure. Repeat for an hour. Then sand clean.

I know the piece should not sit on the rings, but if I were to have made it smaller, it would have looked disproportioned.

Day six of construction I think?

Got the window for the power cell cut out. Starting working on the basic boxes. Screwed and glued where needed. The power cell is only screwed on so I can get inside if needed.

Also, I cut the handles off of my dollar store measuring cups and got those down as well.

Not sure if I am going to angle the area at the bottom of the booster tube or leave it flat. I am sure tomorrow morning I will have decided to angle it. Going to have to make some custom piece…

Up next, the trim pieces… priming… booster tube and ladder… Not necessarily in that order.

Screw or bolt down everything you can. The measuring cup screws can be hidden by the things you attach to them.

I originally glued a lot down, but after repairing several times used real fasteners every where I could.

BTW, you can toss a cheap Halloween string of color fading or flashy lights inside the electrical boxes for some interesting effects.. then just mount the battery boxes on the back of the motherboard.

make SURE you screw down the thrower handly mount, because that will break off quickly if just glued down. You can use the same flush mount picture holders as a cheap v hook substitute that works great.

Looks like you might need to add more space between the crank box and the lower box to accommodate the pvc pipe cut for the hose mount… might want to check the spacing on that. (I ended up using gorilla glue on that pvc pipe hose mount, because the torque rom the hose kept pulling hot glue away from the box.) Also, glue that pipe befor epainting, and sand the touch points with high grit to give that glue point something to grab onto.

Thanks for the insights. Now that you mention it I will screw the boxes down. A ten year old is bound to bump or pop one of those boxes off for sure, and I hadn’t thought about the stress of the thrower hanging off the side. The good thing about those boxes is they are very thick and rigid so they should hold up if mounted correctly.

I pre measured the distance between the two top boxes with the coupler I’m going to use so I am good there. I think the angle of the photo throws the proportions off.

And I like the holiday light idea. I was going to use an actual lighting kit but seems a bit overboard. I actually found a cool white LED, slow blinking strobe box for Halloween that should fit perfectly inside the power cell. And bonus, it has ghost sounds!

And I didn’t even realize it until I clicked on some of the links in your signature, but I got the electrical box idea from your build. It’s been slightly modified for the smaller size but thanks!

nice work so far. definately will keep an eye on this one.

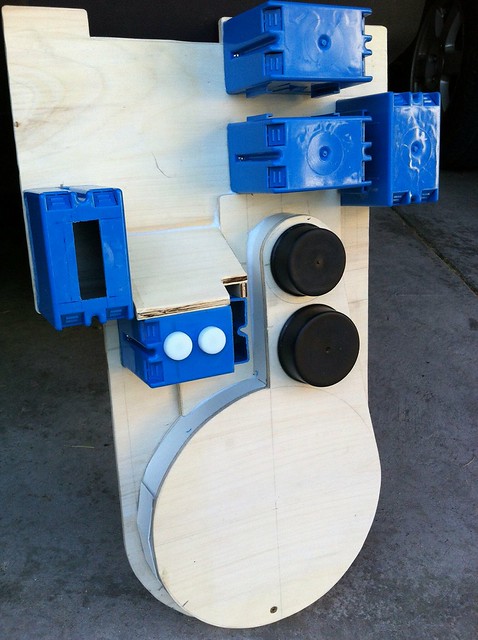
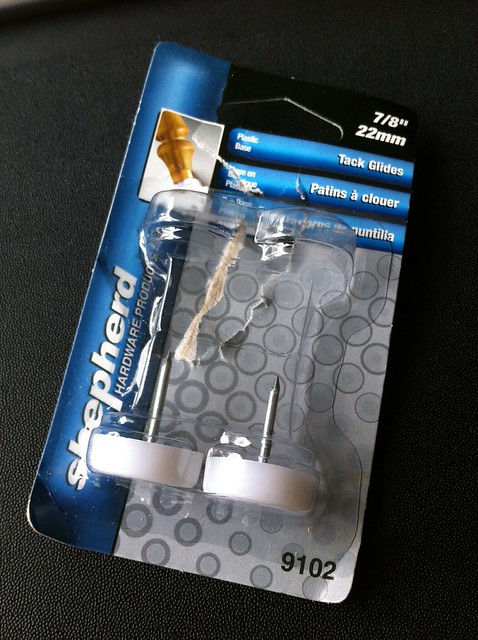
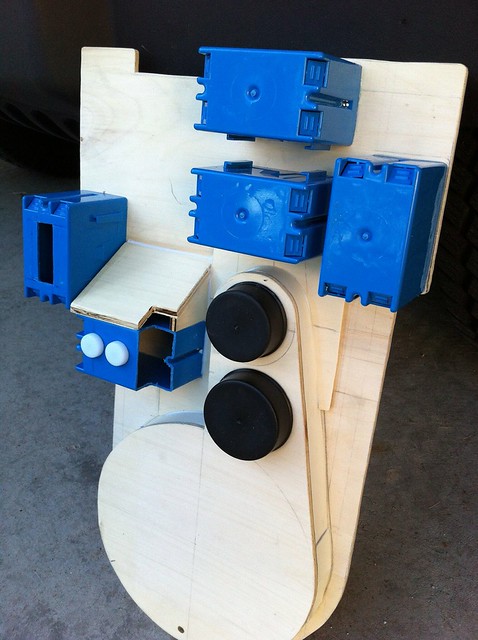
So I chipped away at the pack a bit more the other day. Worked on the sloped area below the booster tube and where the PPD goes. I used some of those little furniture feet gliders for the discs. Also added that slightly raised area through the center. Not sure on the name.

Not much else from this particular session. Getting that wood sanded to just the right angle so it was flush was time consuming…

Looking sharp!

(I’m totally stealing your idea of those blue electrical boxes for my pack)

So, what are you going to do with the little dimples in the center of the boxes? Just leave them?

Thanks!

I actually stole the electrical box idea from Gareee up higher in the post. I just modified the placement in order to scale it down.

I was thinking that I would caulk the very corners of the dimples where the punch out pieces do not meet up perfectly with the box itself, but leave the overall indentation. That way, when I prime and paint it will have the different ups and downs on the boxes…

I love these budget pack builds. I may eventually do one for my son. Great job!

I think this project is coming along great! It looks fantastic so far!! Definitely can’t wait till you get it finished!

James

Its great to see that years later, some people found value in my builds.

We never replaced our packs with more accurate ones either.. I upgraded them a few times, correction proportion issues, and improving upon trying to replicate the basic look, and by then they’d been battle tested and had earned a place in our hearts.

I might add accurate packs one of these days, but we’ll keep our original packs as a reminder of the build adventure.