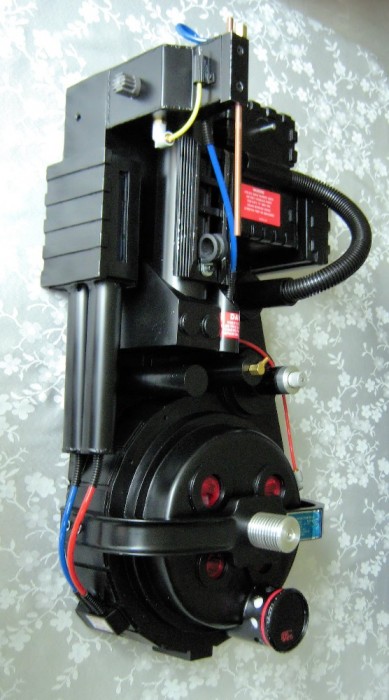
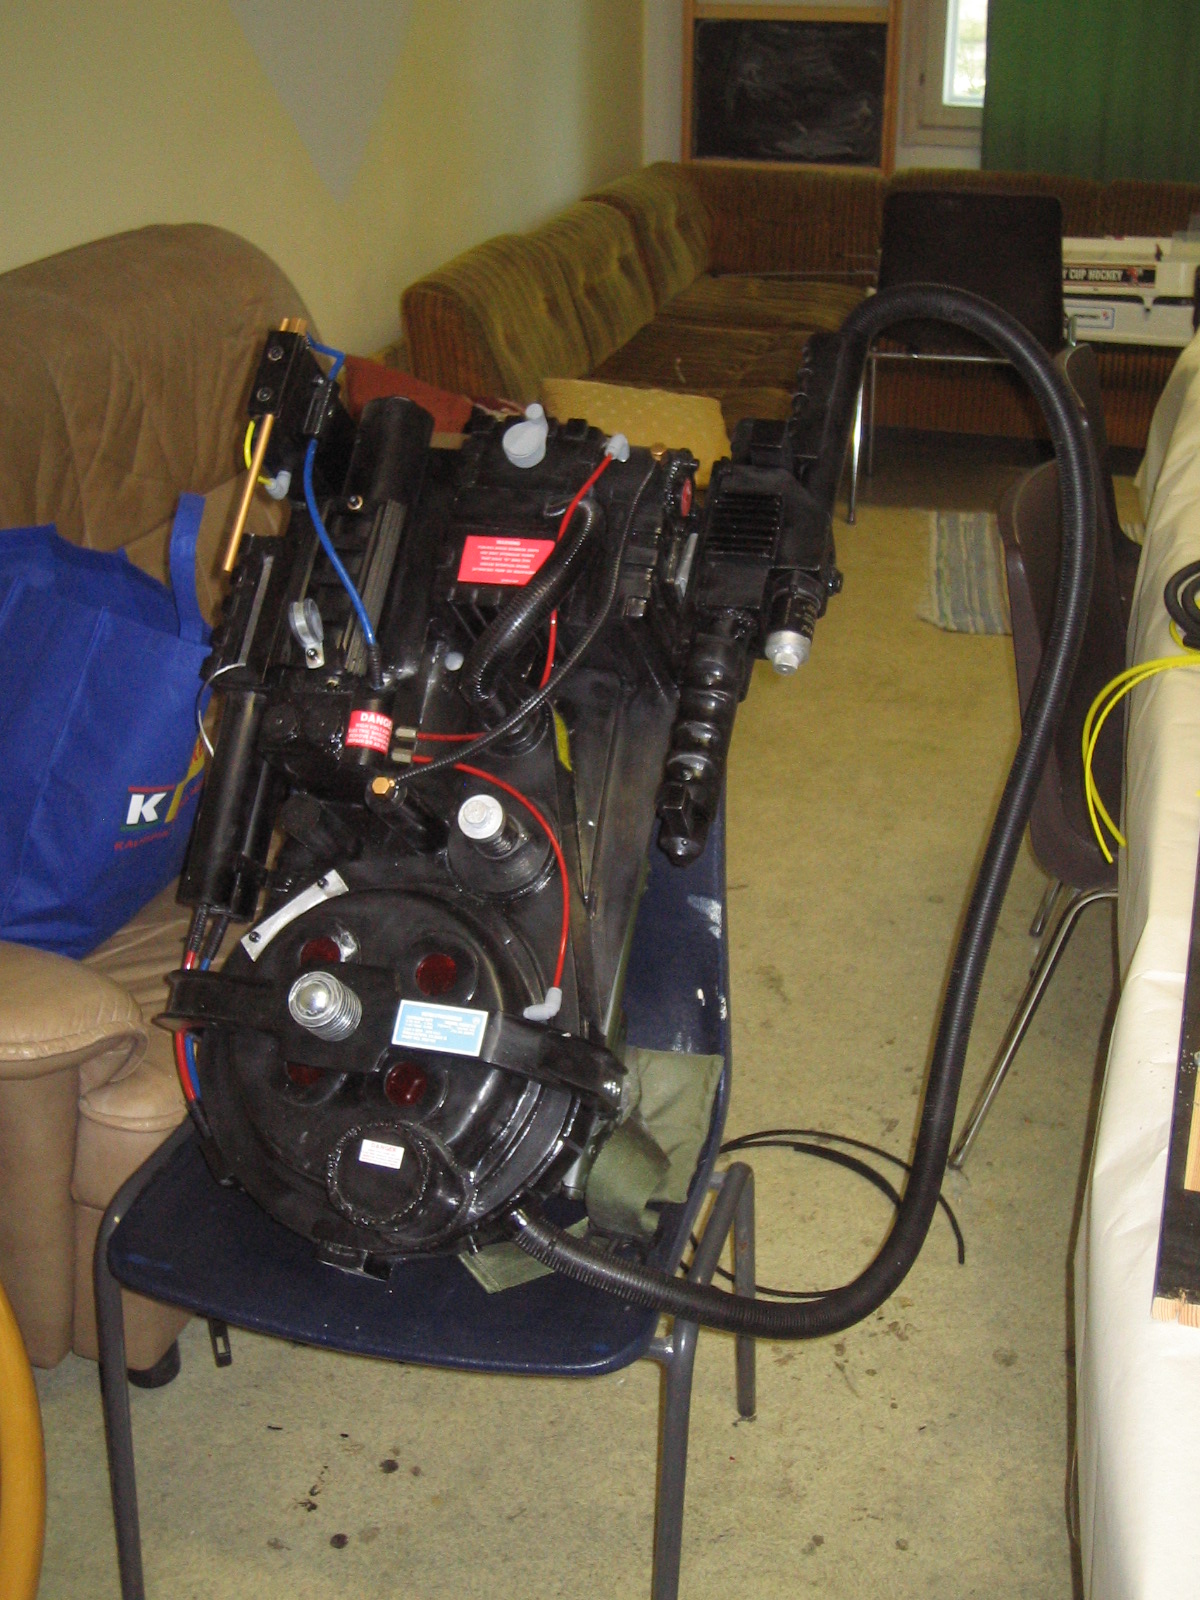
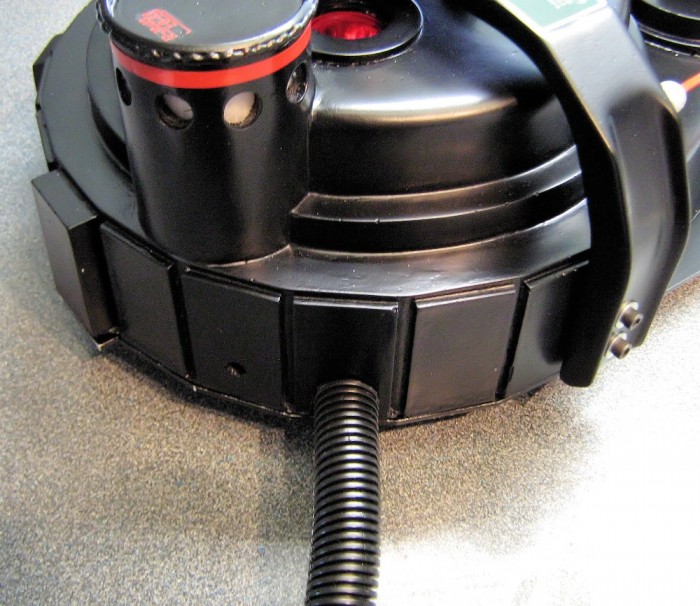
Hey guys! Well I’ve installed my split look on my pack yesterday, and I’d thought that I’d document my installation… Do a mini-tutorial of such. Let me know what you guys think! 
What you need for the installation:
5’ of 3/4" ID split loom
6’ of 3/4" OD clear pvc tubing
2 short screws + nuts + washers (1/2" in length max)
Power drill with 5/32" and 17/64" drill bits
Motherboard with mounting brackets attached
OK! Let’s do this, shall we? 
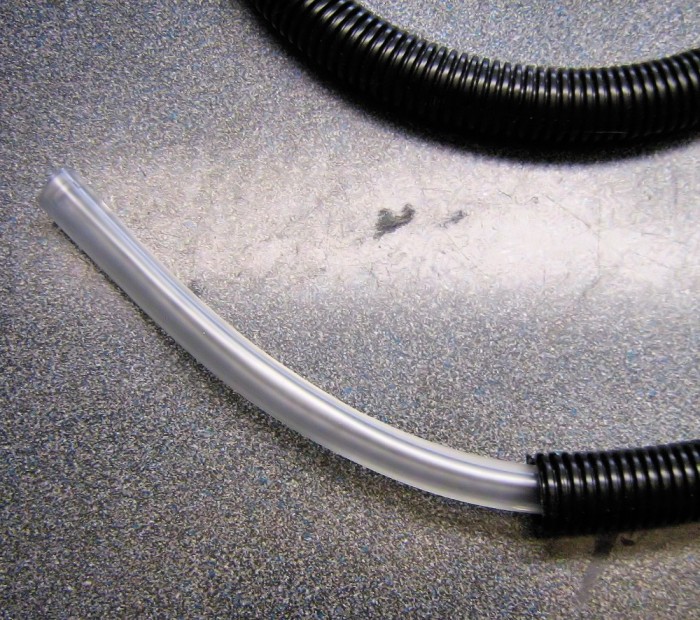
First step: insert the PVC clear tubing in the split loom. It only needs to be sticking out of the loom for a couple of inches, a little more than the width of your mounting bracket.
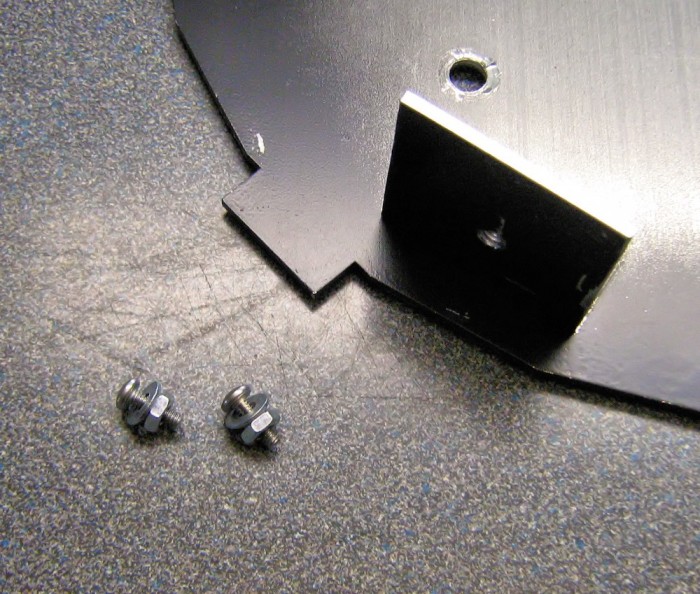
I used some Philips head 8-32 screws that I had around. There’s 2 of them, with nuts and washers.
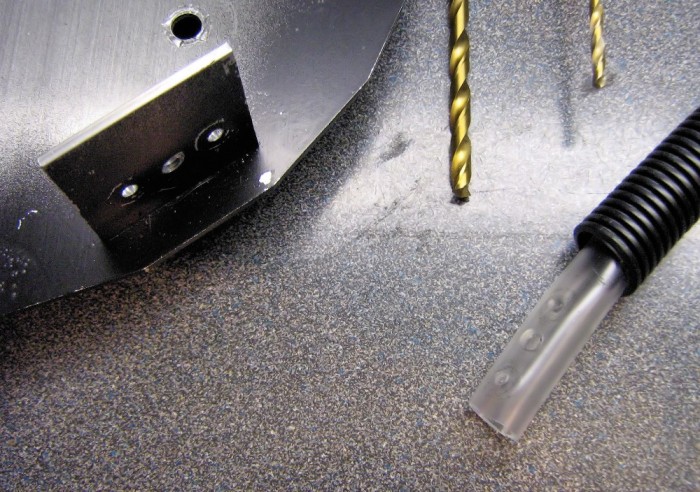
Then you drill two holes on each side of the tapped hole on the right bottom mounting bracket. I drilled some 5/32" clearance holes for my 8-32 screws. The hole should be in approximate alignment with the central hole.
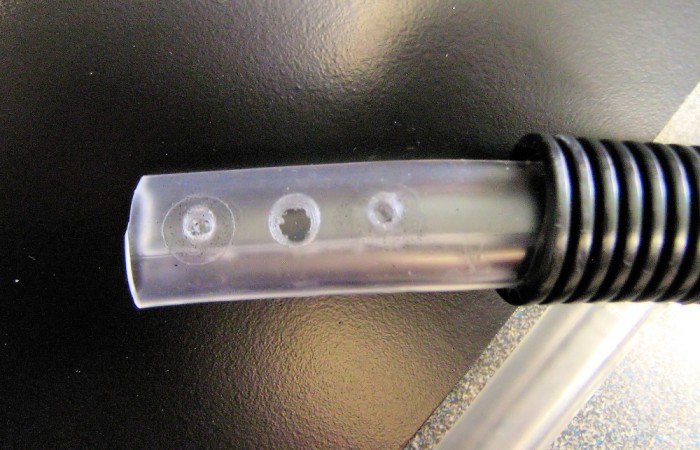
Then you drill the same holes in the short produting length of clear tubing. Don’t forget the central hole! I drilled a 17/64" clearance hole for my 1/4-20 socket cap screw.
The result, ready to be installed on the bracket.
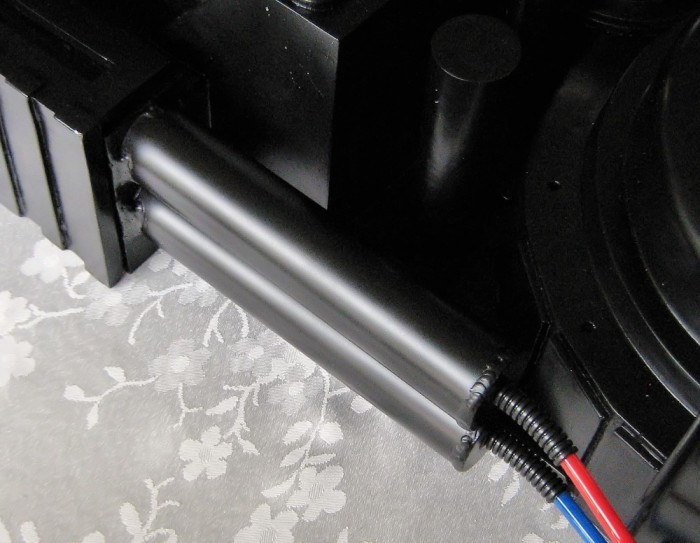
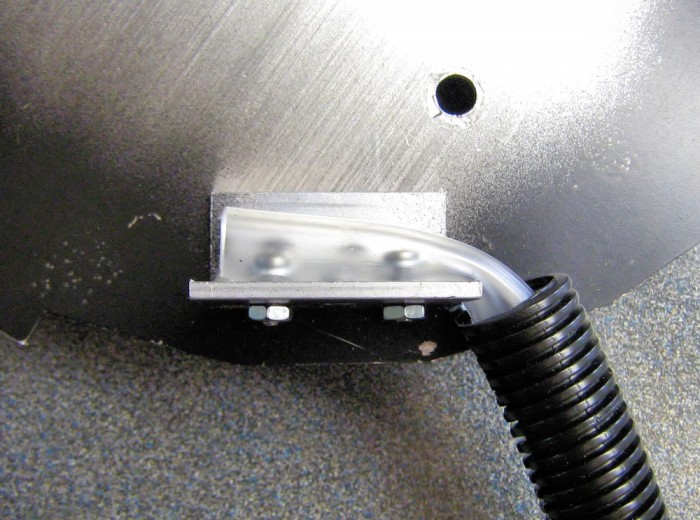
The modified PVC tubing, screwed on the bracket. As you can see the washers goes inside the tubing. That’s where you understand how longer screws wouldn’t work; you need to leave space for the shell!
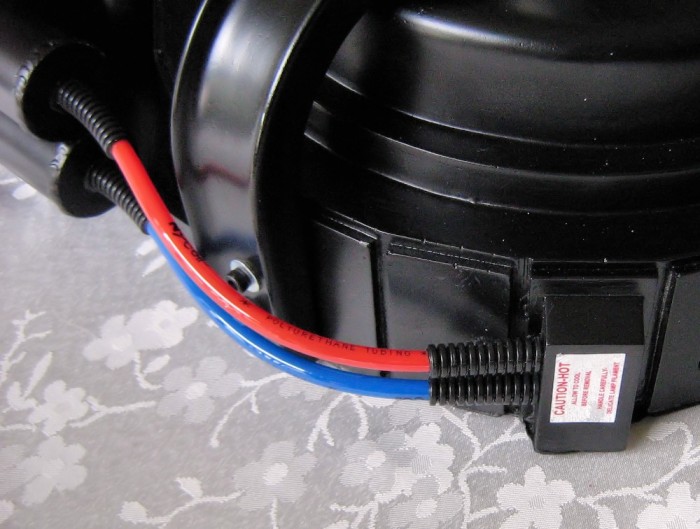
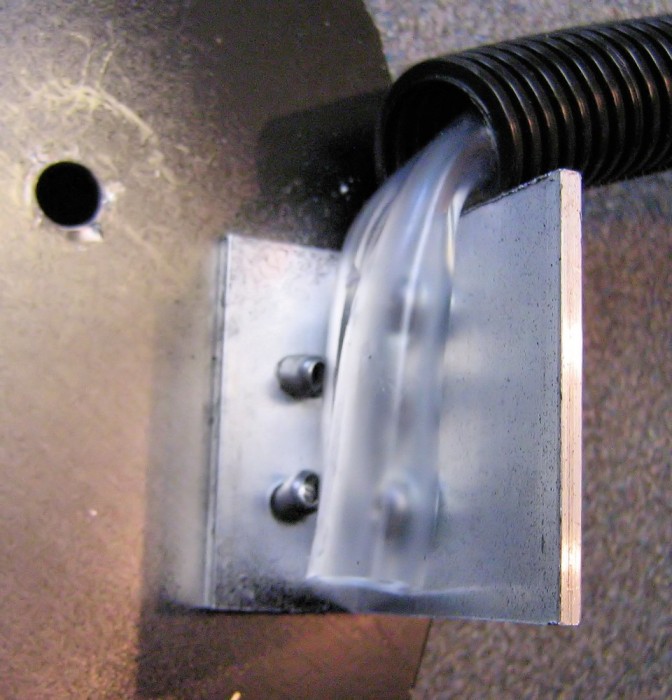
Another shot of the installed tubing… As you can see my tubing is slit down the side, it greatly eases the installation and allows for the electronics to be inserted later as well.
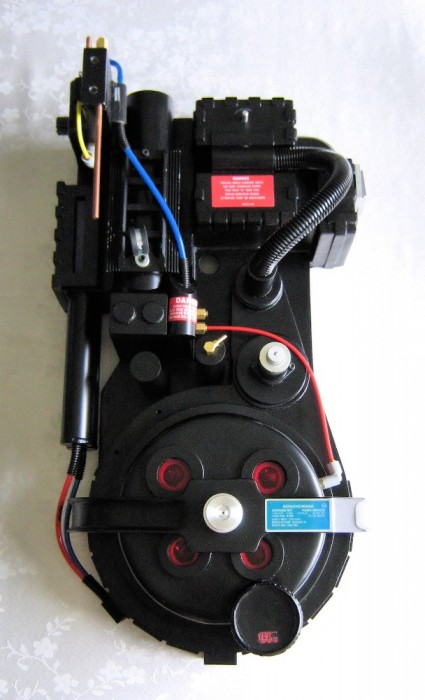
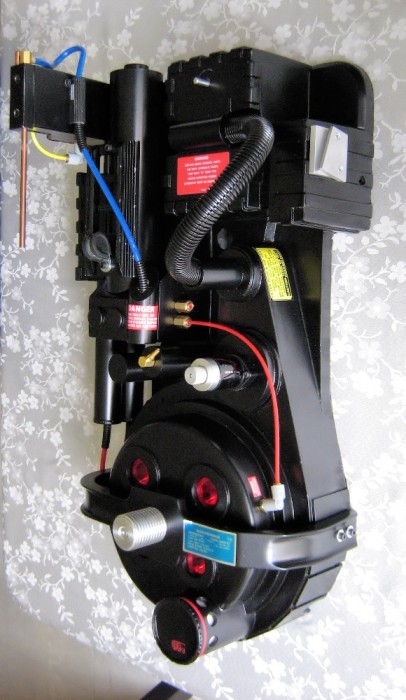
And the end result with the shell dry-fitted. It’s a clean setup, without any glue or anything. And it’s tough enough that I can drag my whole pack around by pulling the loom. Speaking of which, the loom itself isn’t attached to the PVC tubing, but I plan to put a couple of white zip ties on each end. That’ll be plenty, the loom doesn’t move around on the tubing.
That’s all! Your loom is attached to your pack!