My Alkaline shell/first Proton Pack! MAJOR UPDATE 04/14

While I’m waiting for the darn Krylon Fusion to dry thoroughly, I thought that I would take a few pictures of my fine Alkaline shell in its current state, and document my build a little. Here you see my shell, my completed motherboard/ALICE frame assembly, and my complete set of greeblies that are eagerly waiting for the final coat of black. Also, just for the fun of it, I took a few pictures of a few parts mocked up on the shell. While I was taking these pictures, it finally hit me: I have a Proton Pack! :wink:

image

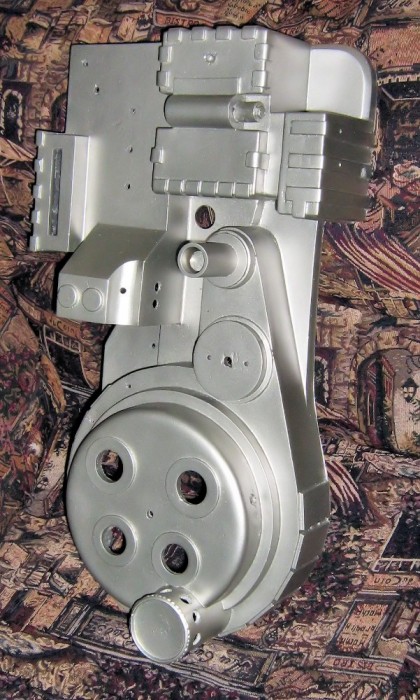
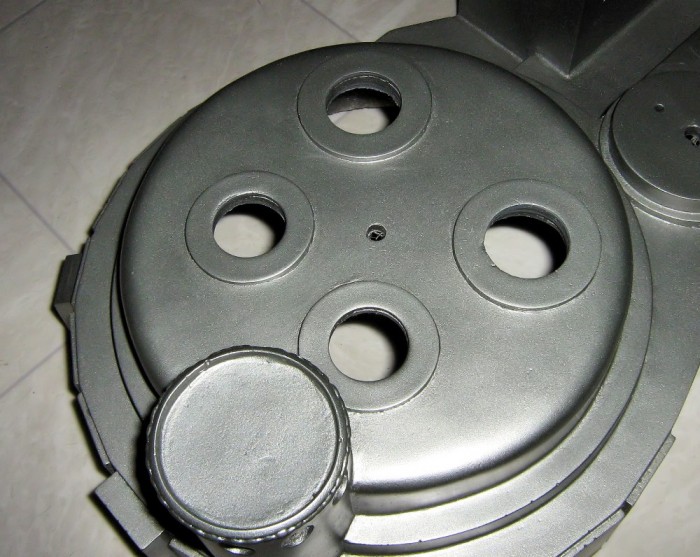
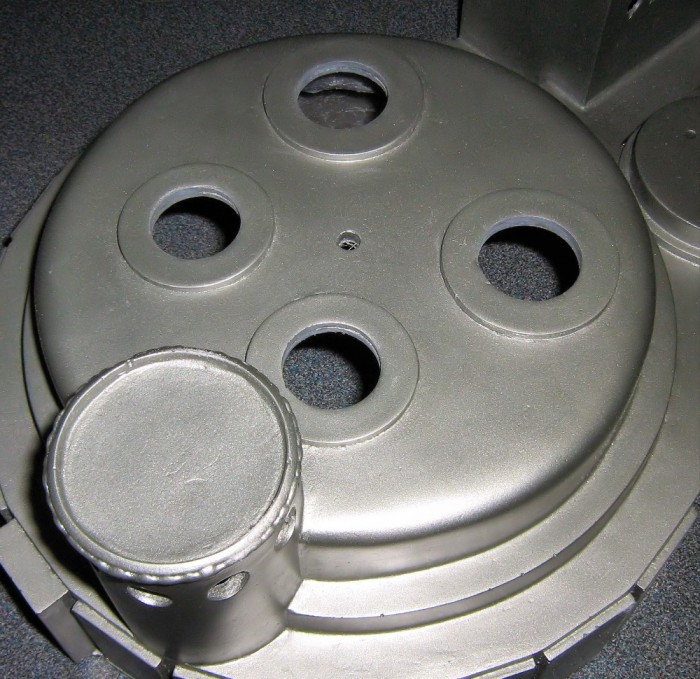
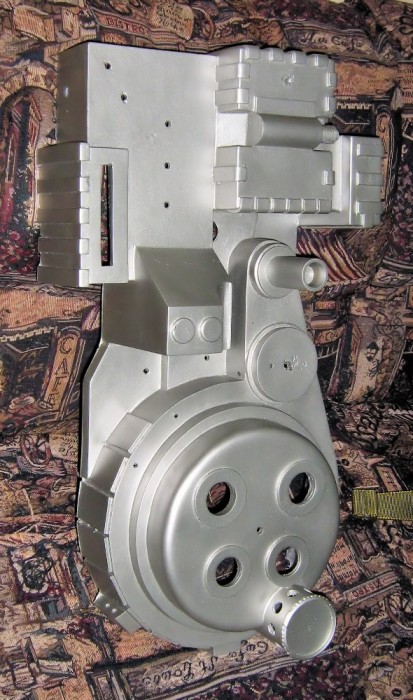
My Alkaline shell. Lovingly sanded an painted. I started with 100 grit until I figured out the fun of sanding fiberglass. Then I switched to wet sand. :stuck_out_tongue: I wet sanded it up to 400 grit, came out pretty well I think. I used filling putty in a few spots, and I filed a couple of blotches here and there. Nothing major. For painting I used Krylon Fusion Nickel Shimmer, straight on the fiberglass. Should make a nice tough coat for weathering (If I manage to weather it. I love the “brand new” look)
image

Another shot of my shell. I love that thing! :stuck_out_tongue:
image

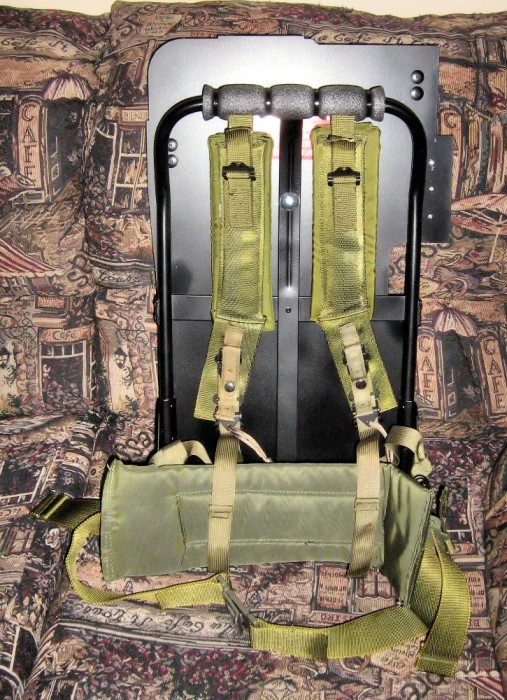
Completed motherboard/ALICE pack assembly. Genuine ALICE pack frame with LC2 straps, painted black (Krylon BBQ) The frame is mounted on the motherboard with 3 3/8" carriage bolts. It won’t go anywhere. :stuck_out_tongue:
image

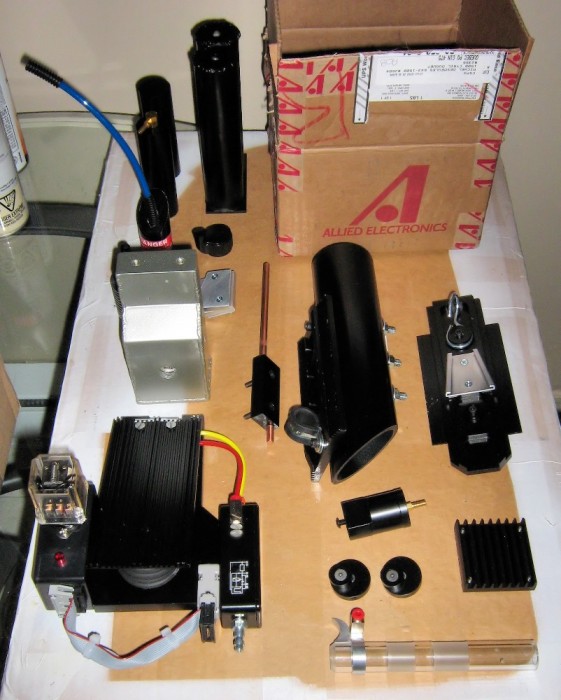
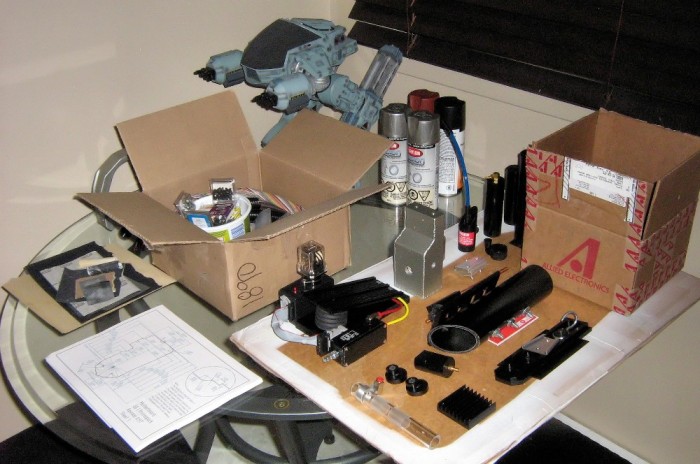
My work table. No I don’t actually work there. :stuck_out_tongue: Full set of greeblies for the pack and the thrower, safelly guarded by ED-209 who shoots any trespassers. And a printed set of Stefan’s plan for reference. Essential! :slight_smile:

image

Aluminum greeblies by jpa35, filler, booster and injector tubes by irricanian, PPD and crank knob by Nick-a-tron, and ion arm by Exoray. Nothing but the best by the best! :smiley:

image

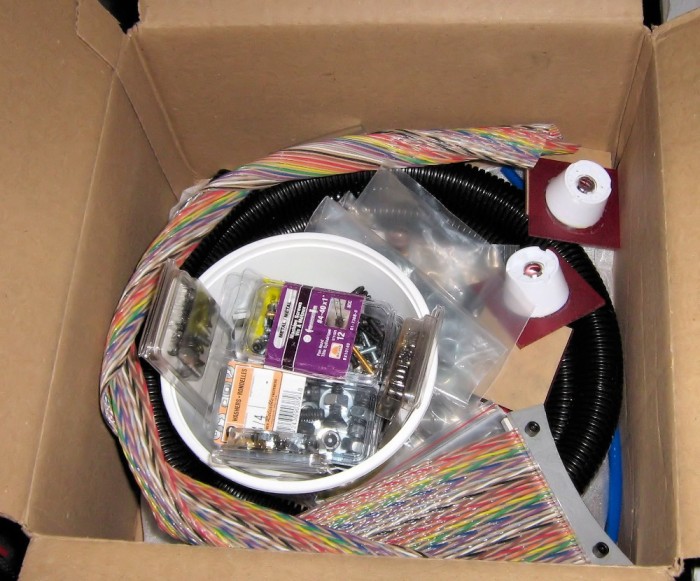
My box of surprises. There’s a whole lot of greeblies in there, plus every single bolt I’ll need to finish this thing. I like to keep thing nice and tidy. :slight_smile:
image

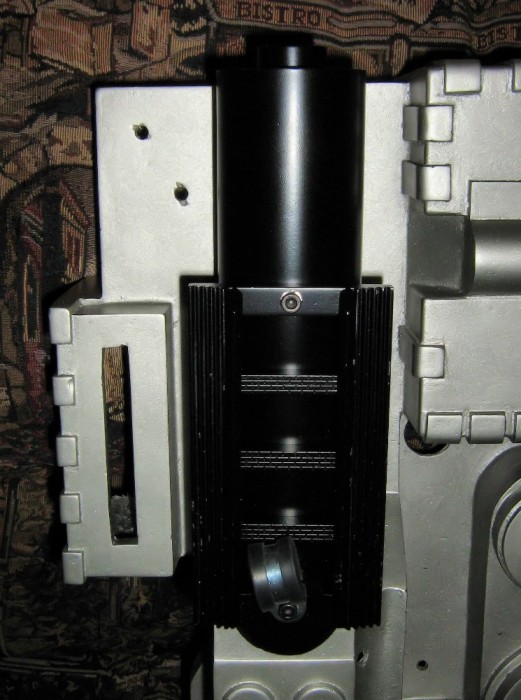
Completed booster tube assembly, ready to be bolted on. Tube by irricanian, tube plug by Exoray, and aluminum frame by jpa35. That thing is incredible!
image

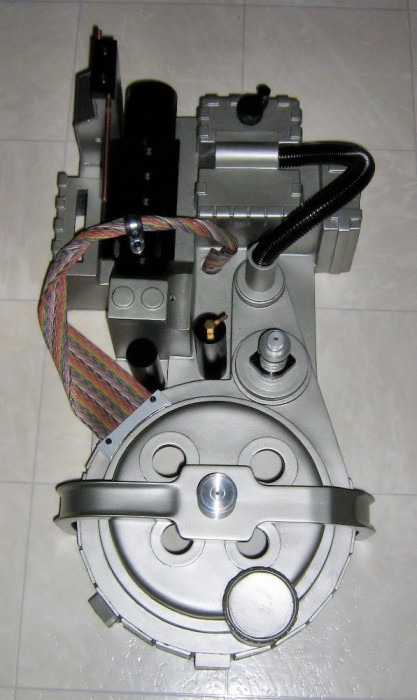
Full pack mockup. That’s when I finally understood that I had a Proton Pack. I was giggling when I took those pictures. :smiley:
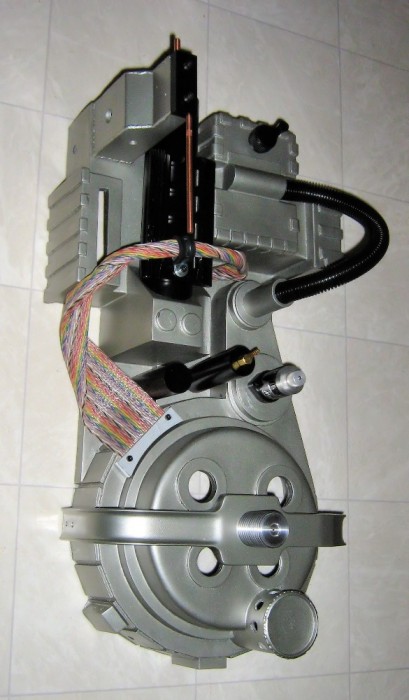
image

Another beauty shot. Can’t wait to finish that thing! The bumper is Exoray’s, by the way.
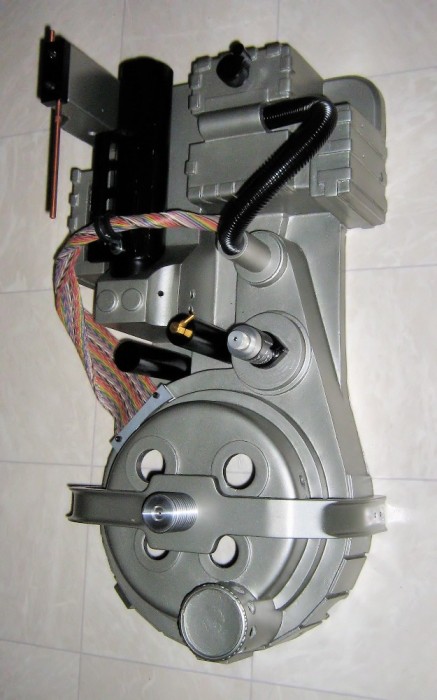
image

A final shot for the road. Thanks for watching! :smiley:

Wow bro, looking at ur pack makes me want to

have a silver pack with black accents. Looks awesome!

Cool man. The pack is looking good.

Nice work! Between you and quietontheset, the wait for my Alkaline shell is becoming unbearable! Did you prime your motherboard first, or did you just go right to the Krylon black?

Ha, the joy of waiting for an Alkaline shell. Enjoy it while it last, my friend. :stuck_out_tongue:

I used some primer for galvanized steel on my motherboard. But it’s the only aluminum part that I primed. The rest is straight Krylon BBQ Black.

Ha! John says that run five should be done and shipped by Saturday, so I have my fingers crossed! I have some vacation time coming up so I plan to pat around the house and work on my pack!

Everything looks awesome so far! Your very well organized.

I can’t wait to see this one!

Thanks for the kind words guys, that’s very appreciated. :slight_smile:

I’m now on a break of sort… Krylon Fusion takes 7 days to cure completely, and I don’t want to risk my final coat before then. Black paint (Krylon BBQ, like everything else) will go on next Monday. Meanwhile I finished some small details, like cutting the tubing, drilling the final holes, dry fitting everything, etc…

Some things I forgot to mention that could be useful: I used some 1/2" aluminum spacers between the motherboard and the ALICE frame. They’re 3/8" ID, and fits my carriage bolts perfectly. They’re very well done, I got them on eBay, they’re not that hard to find. I also bought some 1/4" spacers that I will use with the bumper, for example.

As for the greeblies, I try to drill and tap for absolutely everything, even in fiberglass and resin, except when I can put bolts on the inside. I also used some 10-32 brass inserts for a couple of things (like the ion arm cap) and I bought some spare Clippard barbs for the injector tubing. For the Clippard, instead of dremelling the tab on the bottom, I drilled a little notch on the shell so that it can’t fit any other way (hard to explain, it’s kinda visible on the pictures) For the crank knob I found some cheap potentiometers at my local electronic store… It fits perfectly, and my crank knob will be functional. Maybe I’ll wire it for volume when I get my sound kit. :stuck_out_tongue: Anyway, I’ll try to take some pictures as I assemble everything, if my camera doesn’t go out on me (I really need a new one ;))

I almost forgot: I’d like to thanks Libtechinit for his incredible build thread (which really belongs in the tutorial section :P) Maybe 90% of my build will be using techniques that I discovered right there (like lag bolts for the filler tubes and the ion arm, etc…) Thanks to him, my pack will be build like a tank, and a well-build tank at that. Thanks man! :slight_smile:

Minor update (and another delay for the final coat)

After finishing painting the shell, and thoroughly examining it for mistakes and/or omissions, I decided that it needed a little more work. So I got my sandpaper and putty and got back to work. I applied putty to a couple of spots and holes that I missed (I’m using Dupli-color spot putty, by the way; I had some left from repairing my car) and after a few hours sanded every spot on the shell that wasn’t as smooth as I liked (which is very smooth :P) The silver coat made some flaws very visible, which was useful in finding them to say the least.

Then I reapplied a couple of coats of paint on the shell using the last of my silver paint. The next day, still unsatisfied about the roughness of the finish (the metal speckles in the silver paint make some deposits which sometimes creates a rough surface, like sandpaper, ironically :P) I wet sanded the whole thing with 1000 grit (another leftover from my car repairs) At long last my shell is ready for the final coat, and smooth to my satisfaction. :slight_smile:

More to come! :slight_smile:

Looking forward to the photos!

looking VERY clean, great job!

I’m loving the organization, it’s so important with all those tiny, expensive parts.

Crix: you said it, bro. Don’t want to loose one of those. :stuck_out_tongue:

Nick: ask and you shall receive! :smiley:

image

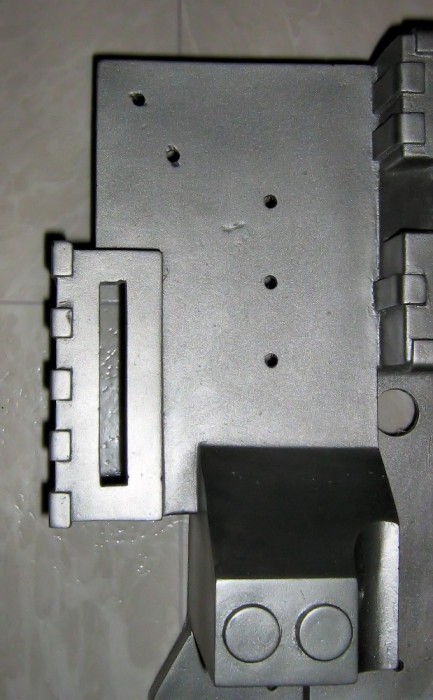
The “final” version of my shell. You can’t really tell from the picture, but it’s a lot cleaner and smoother. The remaining flaws will be covered up by parts and/or labels.

image

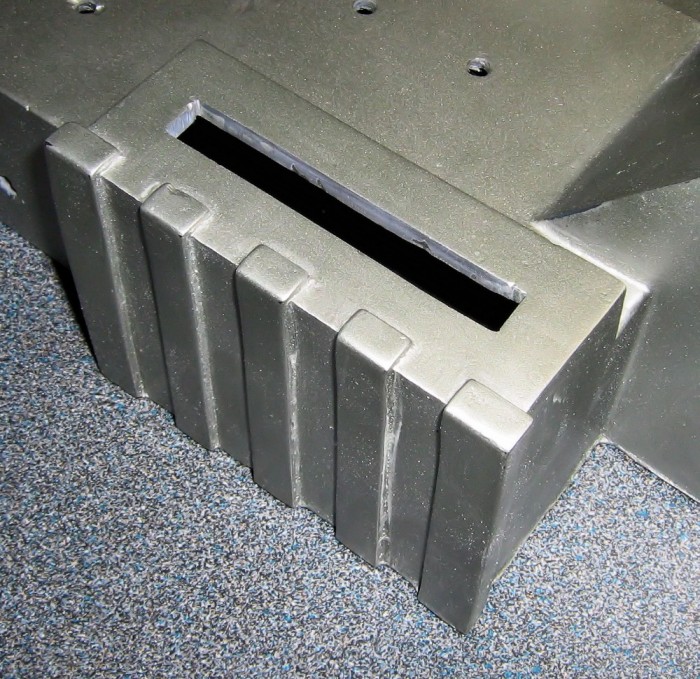
My revised power cell window. My other pictures really showed how crooked it was. I think that it’s straight now. :stuck_out_tongue:

image

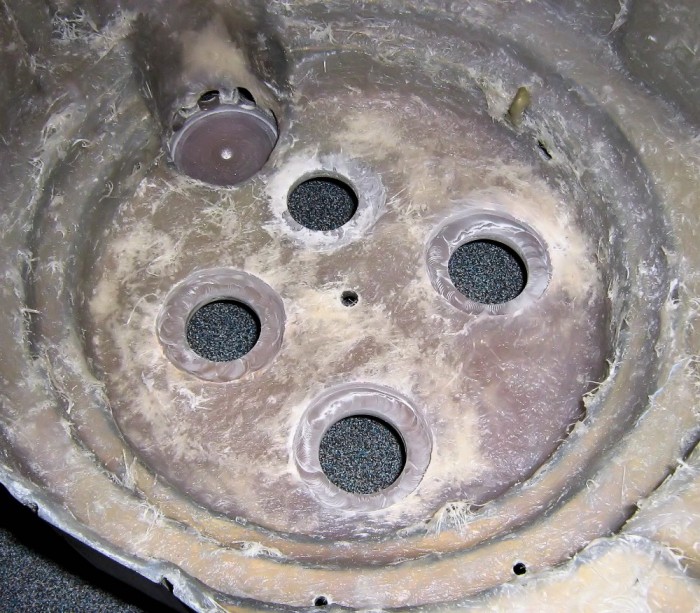
Speaking of windows, the shell in the cyclotron is way too thick. Can’t put lenses in there! I’ll have to sand the interior, and I don’t have the tools for it right now. I’ll have to buy a rotating sanding disk for my drill or something.

That’s it for now! :slight_smile:

Didn’t you order lenses from Kris? I was under the impression that they were mounted inside the shell over the openings.

Yes, I did, and yes, they will. My point is that the thickness of the fiberglass around the opening is 1- too thick and 2- uneven. One hole had 1/4" thickness, the other 3/4", etc… The inside of the shell isn’t even, mounting the lenses like this would be sloppy.

Anyway, the problem is solved. I’ll try to post pictures of my solution! :slight_smile:

Ah, gotcha. Pics would be very helpful as my Alkaline shell is due this week.

Okeydokey! As I was saying earlier, my problem is solved! I ended up Dremeling the heck out of the inside of my shell until the thickness of all the windows was 1/4", give or take.

image

The Cyclotron holes are all even now! :slight_smile:

image

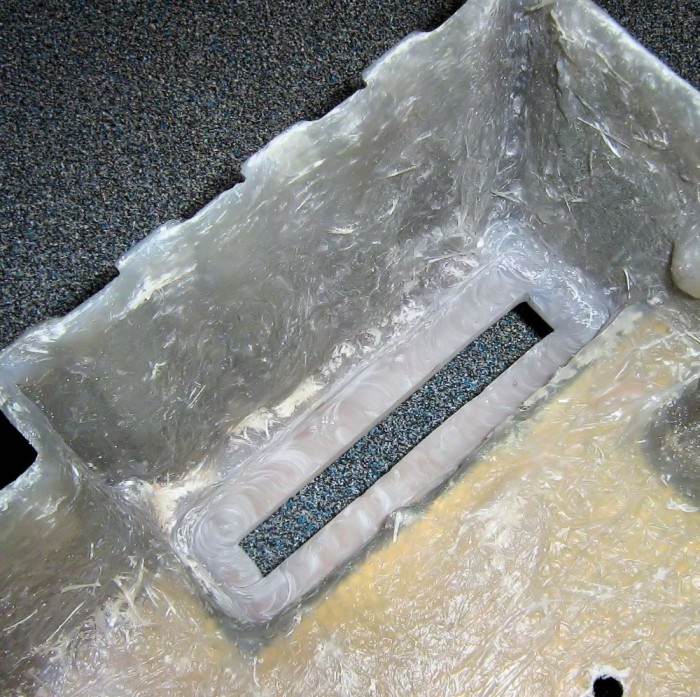
My solution applied to Power Cell window.

image

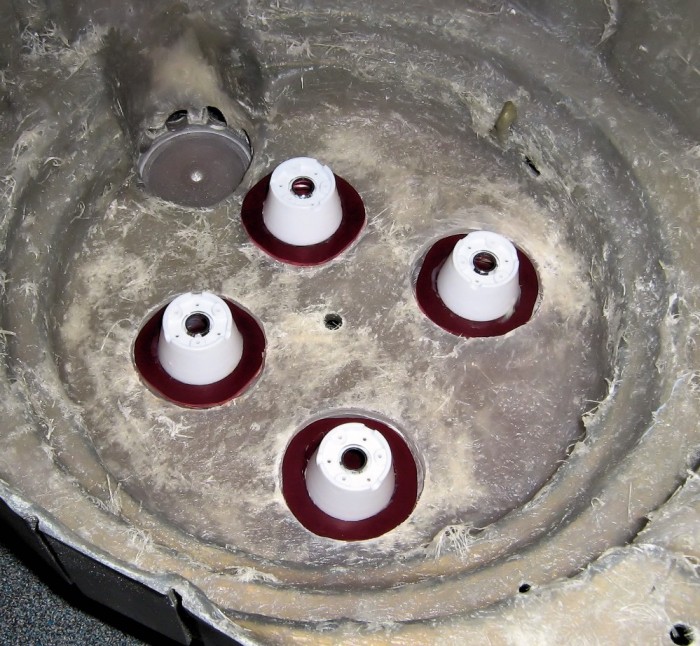
The inside. Result: Nice little grooves for the Cyclotron lenses. Round grooves. What? Lenses are square?

image

Not anymore they ain’t. Dremeled the heck out of them too. I was covered in tiny red flakes. :stuck_out_tongue: Look at them, all sitting snuggly in their littles grooves.

That’s some little reflectors that I found on the 'Bay, by the way. Plastic welded to the lenses.

image

The inside of the Power Cell…

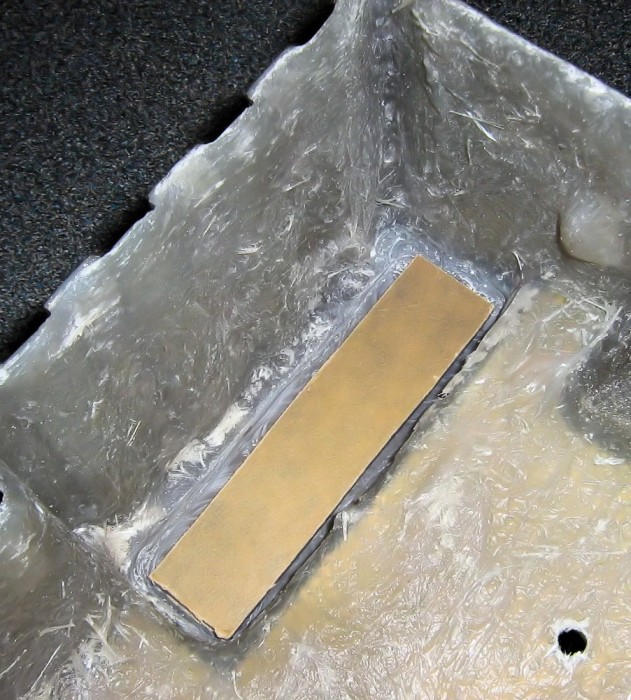
image

…And the lens fitted inside it. :slight_smile:

It was a lot of work, but it was worth it. :slight_smile:

Wow, nice work! You’re way braver than I am using a dremel to round off your lenses! I’ll probably just sand down any uneven areas and keep the lenses square.

Actually it was way more scarier to Dremel the shell itself. :stuck_out_tongue: No way to know if it was going to work, or if my tool was going to hold (yes, that fiberglass is TOUGH) When it came to the lenses I was pretty relax. And the fact that the round reflectors were already glued on and centered really help shaving off the excess. I regret nothing! :smiley:

On another note, I applied the final coat of black on the bumper and the ion arm this weekend. I’ll try to post pictures of the completed pieces later. Everything is going pretty well! :slight_smile:

Nice toys. :smiley: