I recently purchased a set of goggles from another member who did a great initial job with the resin cast and sourcing out some of the pieces. However, with the goggles unfinished and being the ■■■■ ■■■■■■■ that I am, I decided to go through them and make them the way I wanted. So while it’s not exactly a scratch build, I’ve got a fair amount of hours into it and I figured I’d start documenting the changes I made.
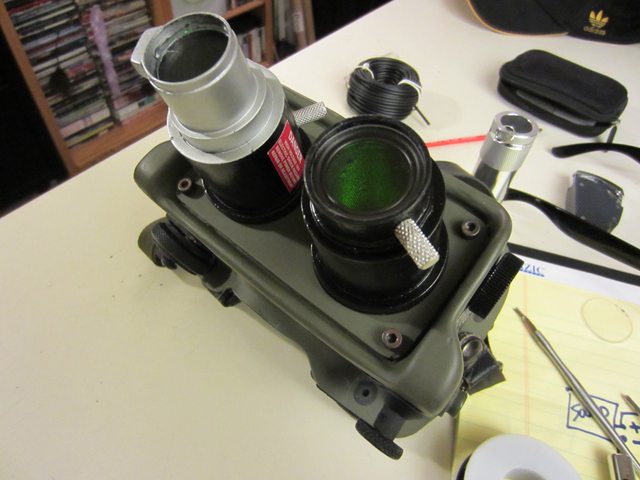
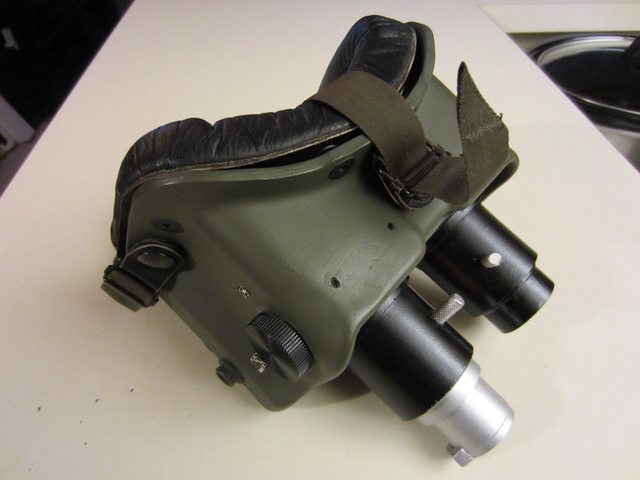
First off, here’s the goggles as they started out. I was really pleased with the paint job on the frames and the weathered bolts but the lenses needed some work as did a few other areas.
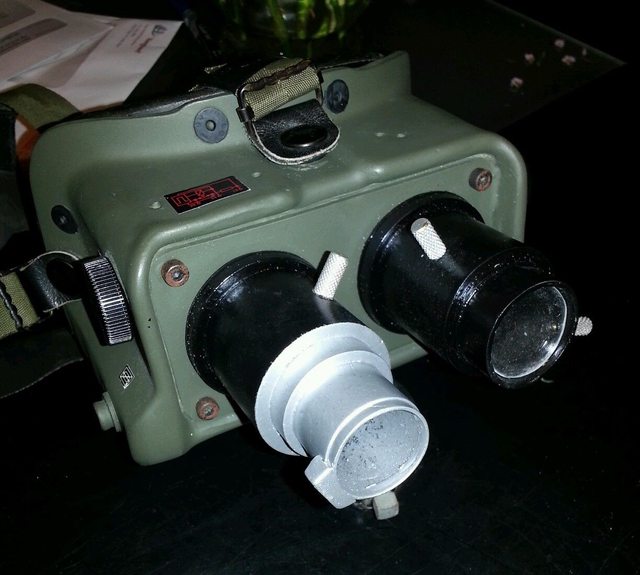
I started by removing the non-movie decal on top, redoing some of the paint on the lenses and re-applying some of the sticker decals I had.
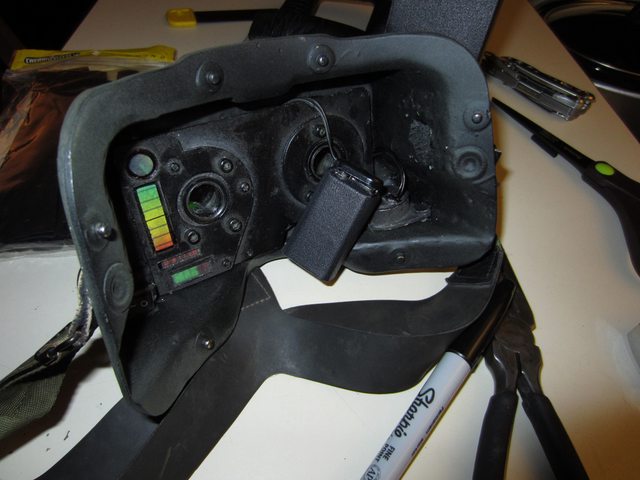
On the back side, I re-did all the wiring for the LEDs and touched up meter bar with some thin lexan and multi-colored hi-lighter pens. I still have some work to do back here to get it the way I want as the LED isn’t bright enough (for the bar) and I can probably do a cleaner job on the graph/number/MAX logo the second go round.
Here it is with the padding installed. I haven’t quite decided what to do with it just yet as it’s not movie accurate but at the same time, it’s far more comfortable with it on. I may take a page from Alex Newborn’s play-book and create my own thinner pads that provide protection but hide a little better.
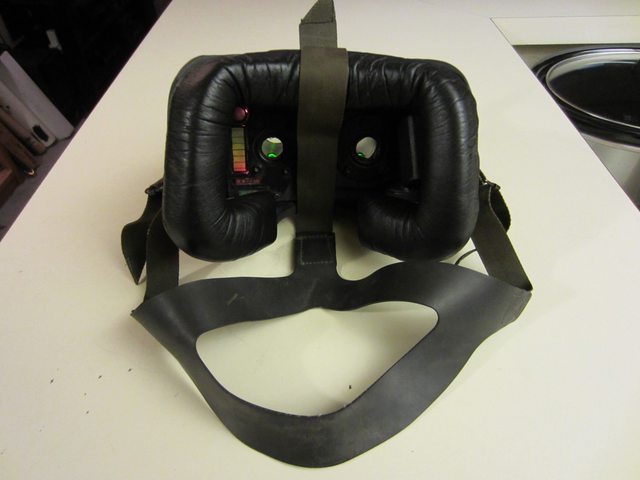
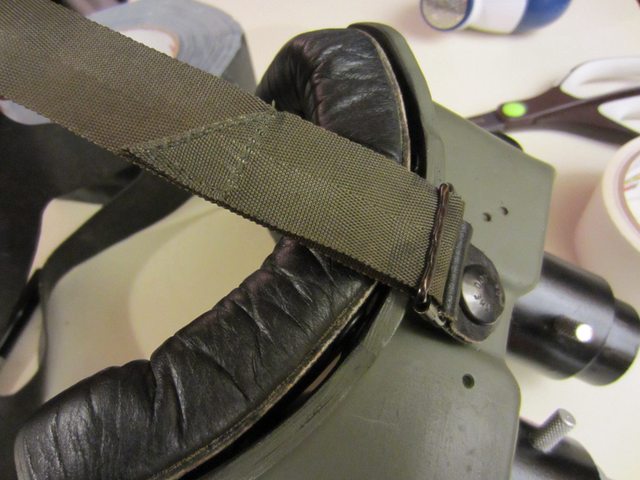
Though these straps aren’t exactly movie accurate, I found it’s really hard to tell exactly what Ray was using on his. The snaps themselves do look different but since these are real straps and are pre-weathered, I’ve decided to keep them for now. To cure the “flappy” nature of the extra strap, I just used some 3M double-sided carpet tape to hold them in place.
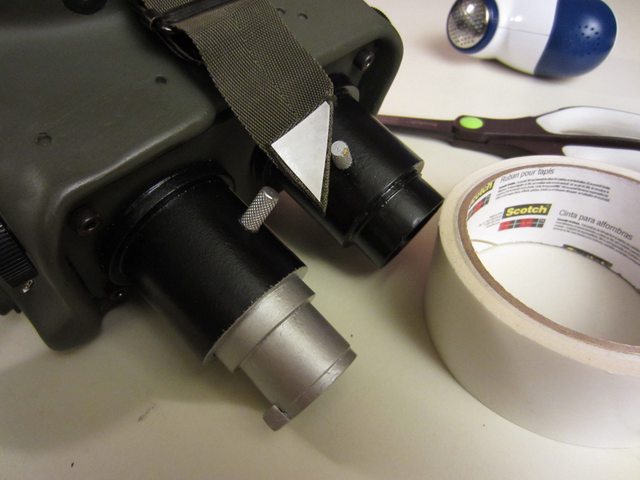
Here’s a bottom shot of the frames with the mostly correct knobs. I don’t have the little battery cover strap so I’ll probably be using something from a water bottle or something similar to put on the nub at some point.
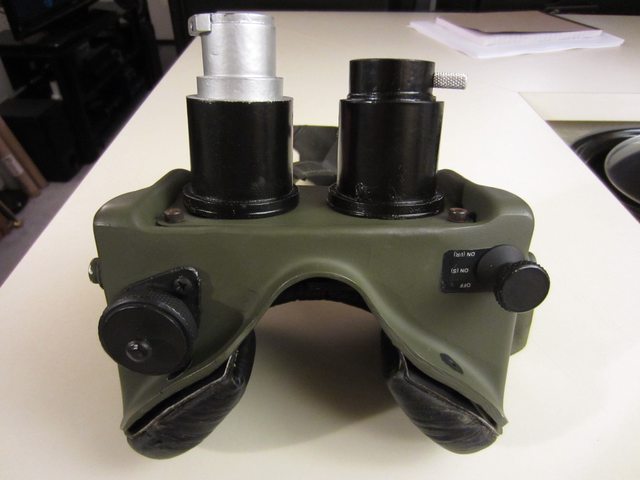
I also need to find the “BAT”/Warning labels which I haven’t had much luck with. What I’ll probably do is print my own using member Demon Vice Commander’s excellent guide image.

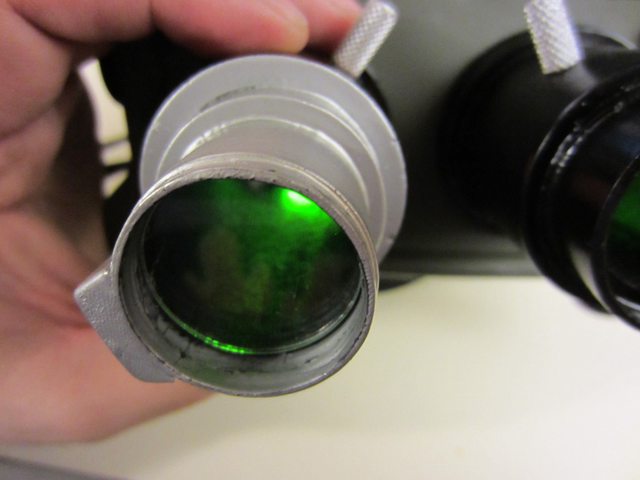
Here’s a shot of the LEDs inside the lens casings. Note the painting isn’t done yet and I’ve just got a temporary lens in there for testing purposes. At this point, I wasn’t happy with the way the LED light reflects in such a spotty way down the casing.
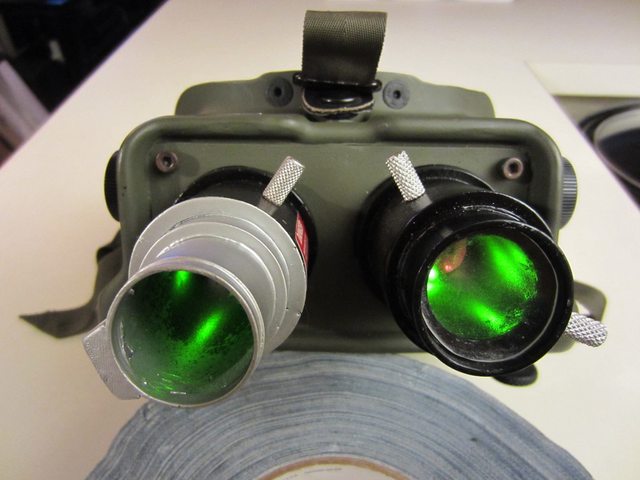
At this point I had two major issues. For one, I found the resin casts to be a bit messy on the insides. Secondly, I wasn’t really sure how I was going to get the actual round lenses inside without it being ugly. First things first, I had to clean up the casts.
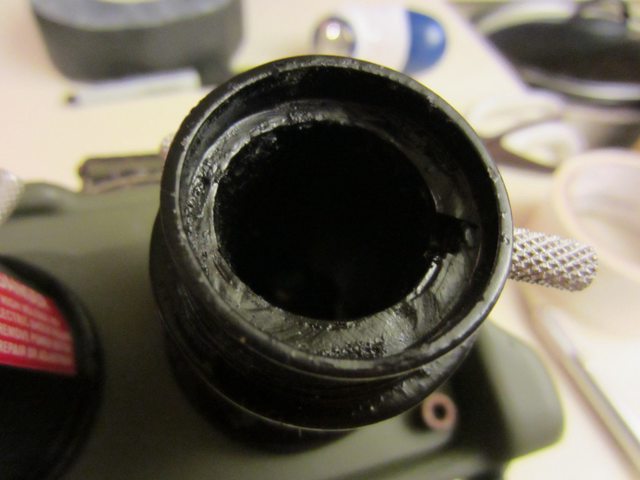
Using a dremel and some sand paper, I went through and cleaned up the edges as best I could.
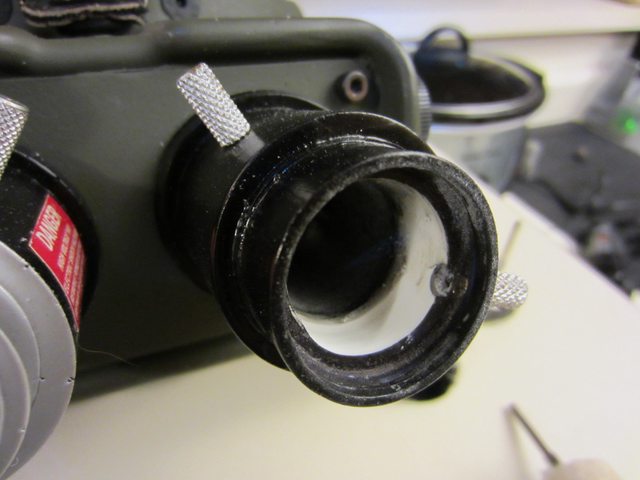
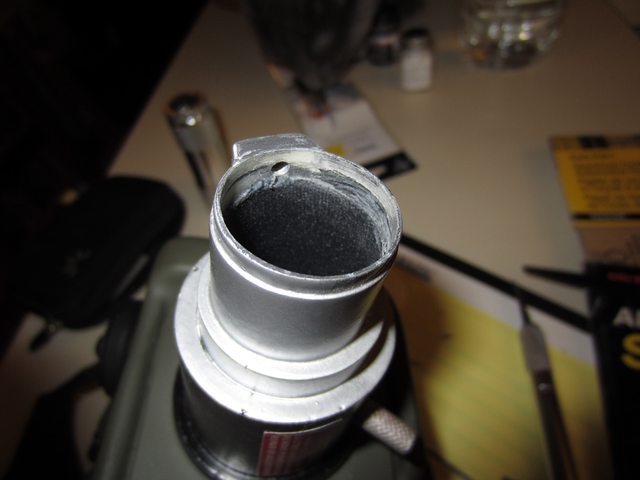
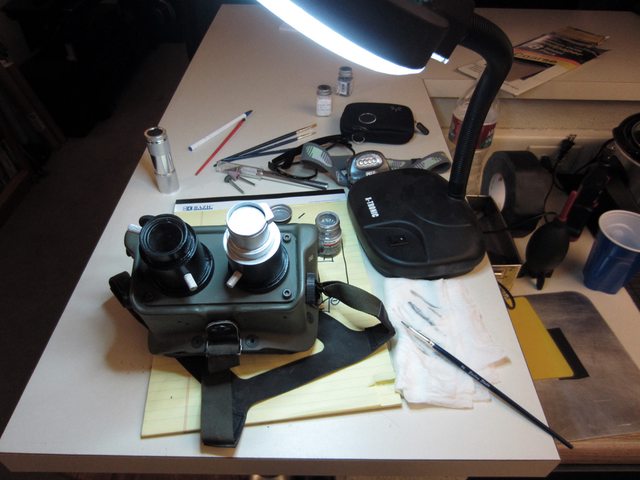
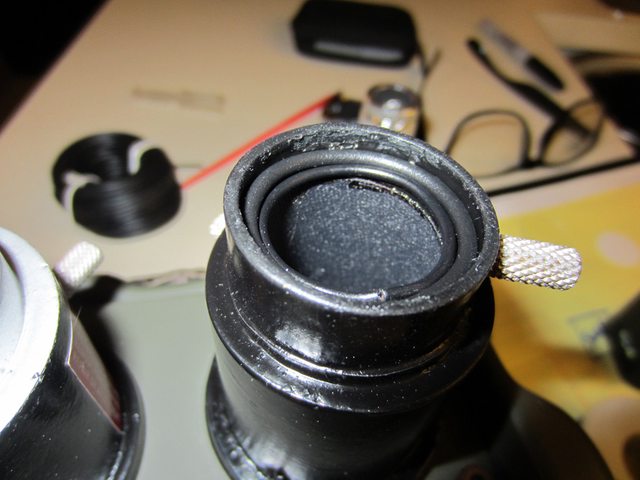
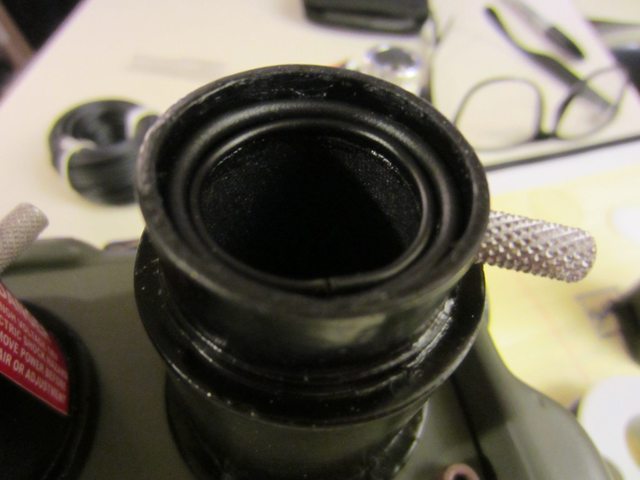
With the cast/lip fixed, I found that the insides were still a bit messy and still caused an ugly reflection of the green LED light down the lens. By complete accident while I was messing around with the LEDs, I noticed they cast a nice, even pattern when put up against the black gaffer’s tape I had on my workstation. However, my sausage fingers and the small hole meant it wasn’t going to be easy to get the tape in there cleanly. First I tried strips but it wasn’t clean enough. Thankfully, gaffer’s tape is quite resilient when it comes to sticking/unsticking so I came up with an idea. I decided to roll up the tape, push it in there and gradually “unroll” it, using sticks to press/smooth it to the edges as I went around. Here’s the roll before going in.
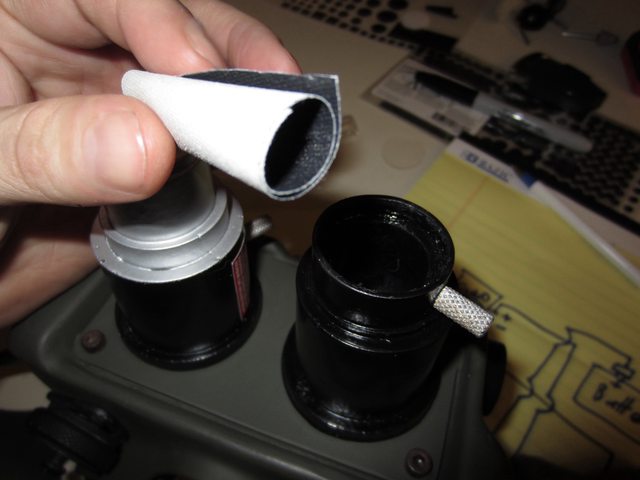
It’s hard to make out, but the roll is in there and starting at the bottom I used a paint brush stem to flatten/stick it. The rest involved using a pen to unroll it millimeter by millimeter and alternating back to the paint brush to flatten/press it down in a clockwise motion.
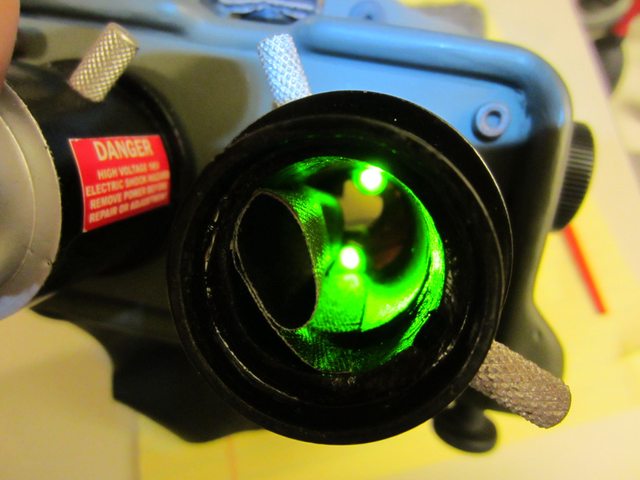
As much of a pain in the ass as it was, the secondary reason for doing this was that it gave me an artificial lip on the inside of the lens casing so I could rest the plexiglass lens on it later.
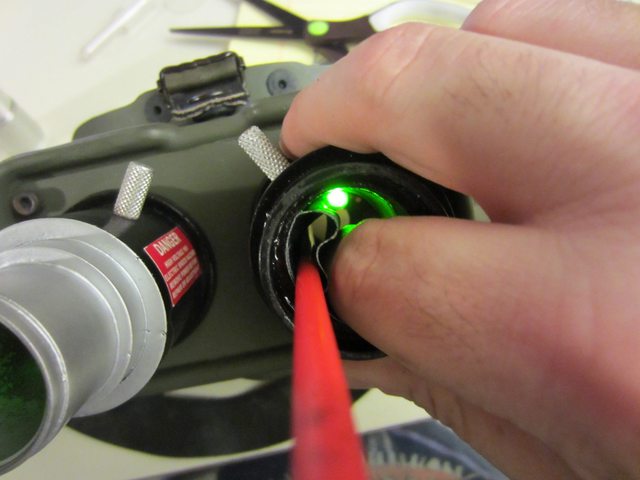
This first lens casing took almost half an hour to unroll cleanly but it came out great all things considered.

I couldn’t get a good representative photo but you can see the light pattern is a bit more even now (final/end shots look much better). In person, it has this nice blend to it.
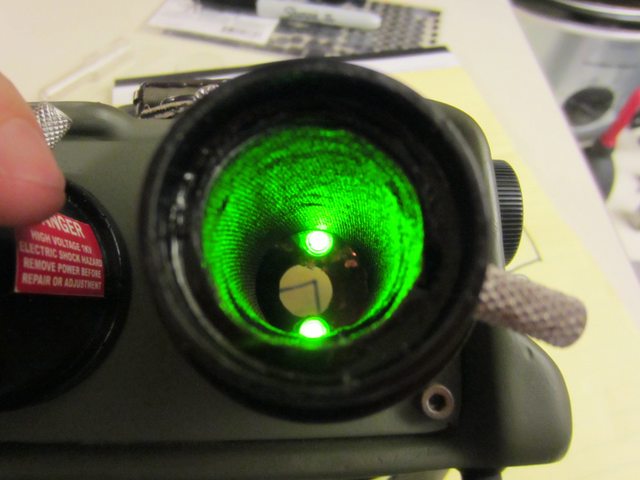
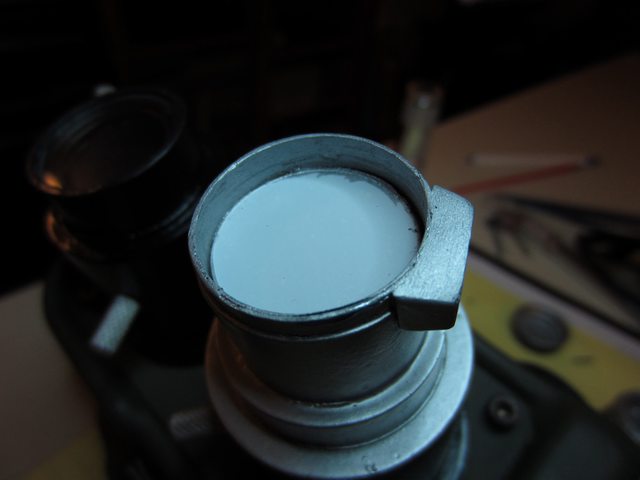
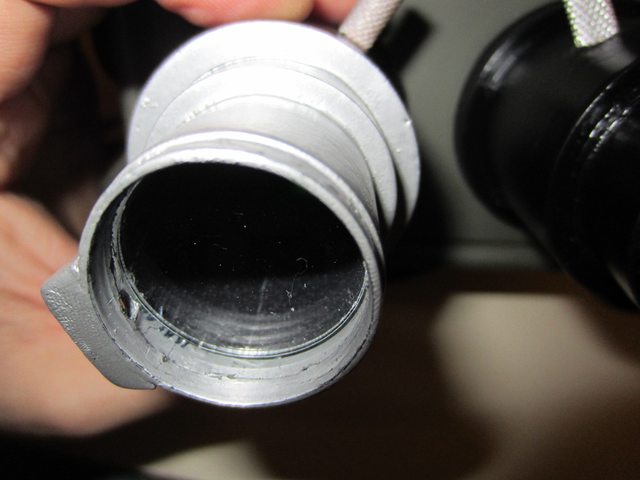
Next up was the other side. You can get a better sense of the artificial “lip” created by the tape. This way I wont have to use hot/super glue making a mess of things. The lens slides right in and rests neatly on the tape. The only hard part was getting the tape angle perfect, which wasn’t easy using my “MacGuyver” method above.
And another not so great photo of it lit up. More coming later!