My first pack - home stretch! UPDATED! with pics/ video!!!

Hey everyone, I’ve been working on my pack for the last month and a half, and I’m in the home stretch now. I figured I’d post some work-in-progress pics, since I’m at a bit of an impasse. I ordered two LED kits online (here: (http://www.escience.ca/hobby/RENDER/0001/C9/3056/11268.html) ) and I have to wait for a friend to help me assemble them. I will concede that I’m pretty out of my depth with the lighting kits. Still, they were a steal at $10.00 each. And (according to my friend who did a GB pack 3 years ago) these kits will do the same effects as the movie packs (chasing for the cyclotron, and the blue power cell one).

Speaking of my friend, he’s pretty much the reason I’m doing this. 3 Halloweens ago my friends back home in Nova Scotia went as Ghostbusters, using fiberglass packs my friend Andrew had made. Naturally, living 4 provinces away in Toronto, I was jealous as hell. As it says on my profile, I’ve wanted to do a kick-ass Ghostbusters costume ever since I was 6 years old. This year I was going home for my birthday (Sept 10th) and my girlfriend told me that she’d been working on some parts for me to build my own pack as a gift (she’s pretty amazing). So I got in touch with Andrew, he whipped up another pack and thrower box (complete with leftover ribbon cable, pvc pipe, assorted parts, AND he painted it black). Finally, he did it all for the cost of the materials. The shell might not be perfectly accurate, but I was (and am) ecstatic with it. My dad even helped me attach the pvc tubing to the gun and booster. Fun times.

Since I didn’t trust my stuff to baggage handlers, I took the whole thing as a carry-on for my return flight (thank you to the fine people at Westjet for letting me take it). Needless to say, I had some explaining to do at airport security, taking through a large hockey bag filled with what, frankly, looks like a giant bomb.

Anyways, so I’ve been working on this since mid-September. I realize I caught a lot of lucky breaks and circumstances with my build, and I’m hugely thankful to my girlfriend (who ordered me a jumpsuit and “MACINTYRE” name-patch for my birthday), my buddy Andrew, and everyone else who’s helped. Oh yeah, and an ENORMOUS thanks to everyone here on the GB Fans forums, without whom I would have been totally lost (I’m not much of a craftsman, you see). Oh, and thanks to Colin at MMM - hell of a guy, and the parts I got from him were all excellent.

Here’s some pics of me working along the way - hopefully I’ll have some great pictures (and possibly video) to post this weekend!
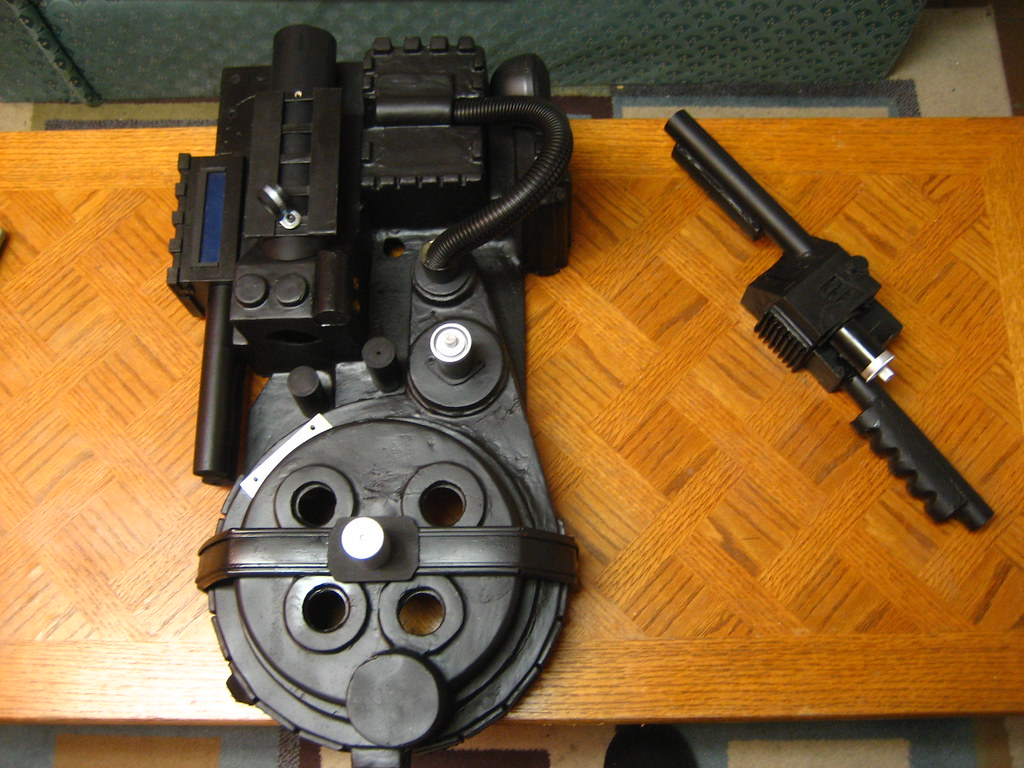
Here’s my pack as of 2 weeks ago. I’d re-painted it, and added a fair amount of stuff to it.
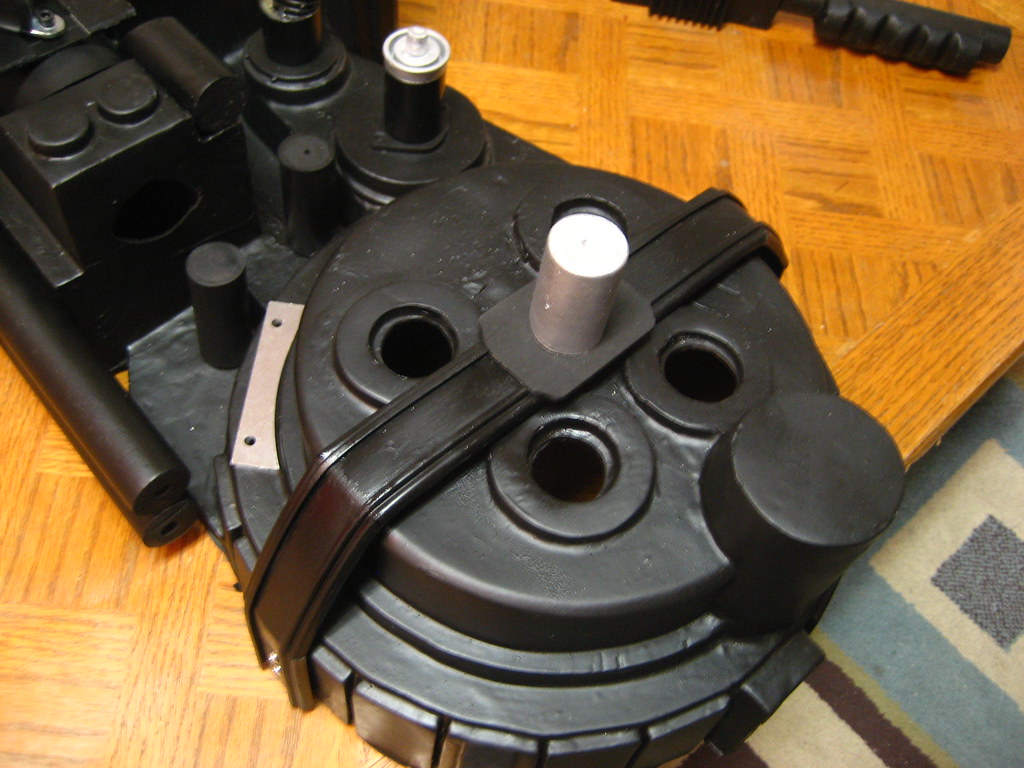
The bumper may not be totally accurate, but it’s made from a $0.85 Hot Wheels race track, so I’m pretty pleased.
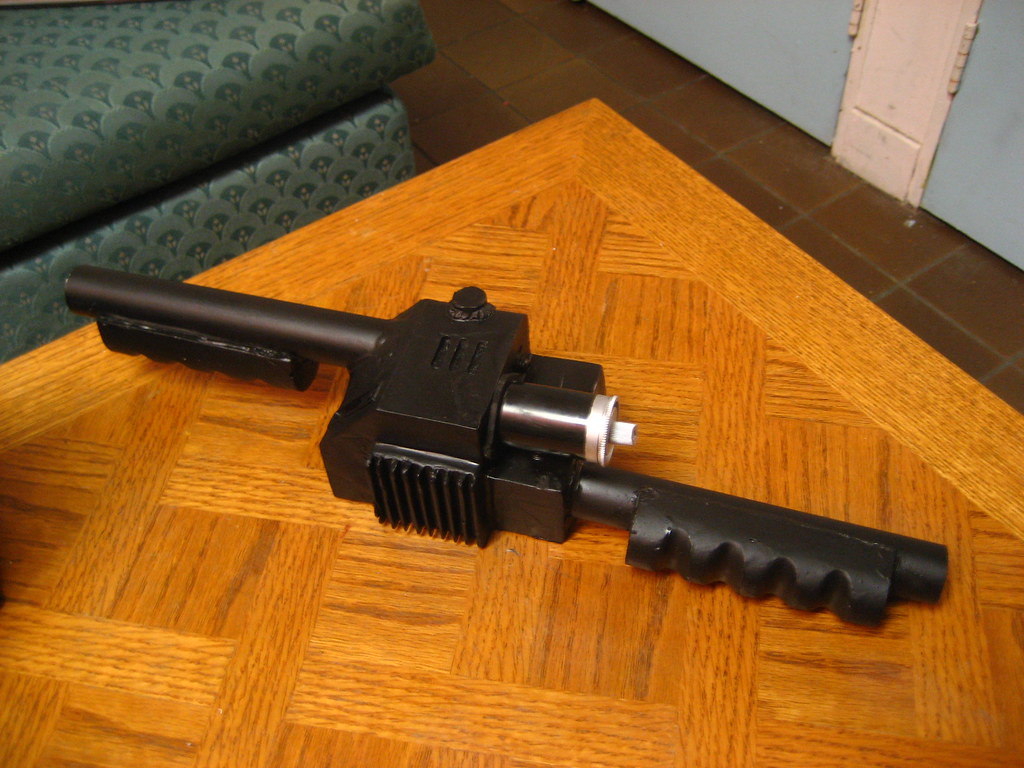
My thrower, which was coming along.
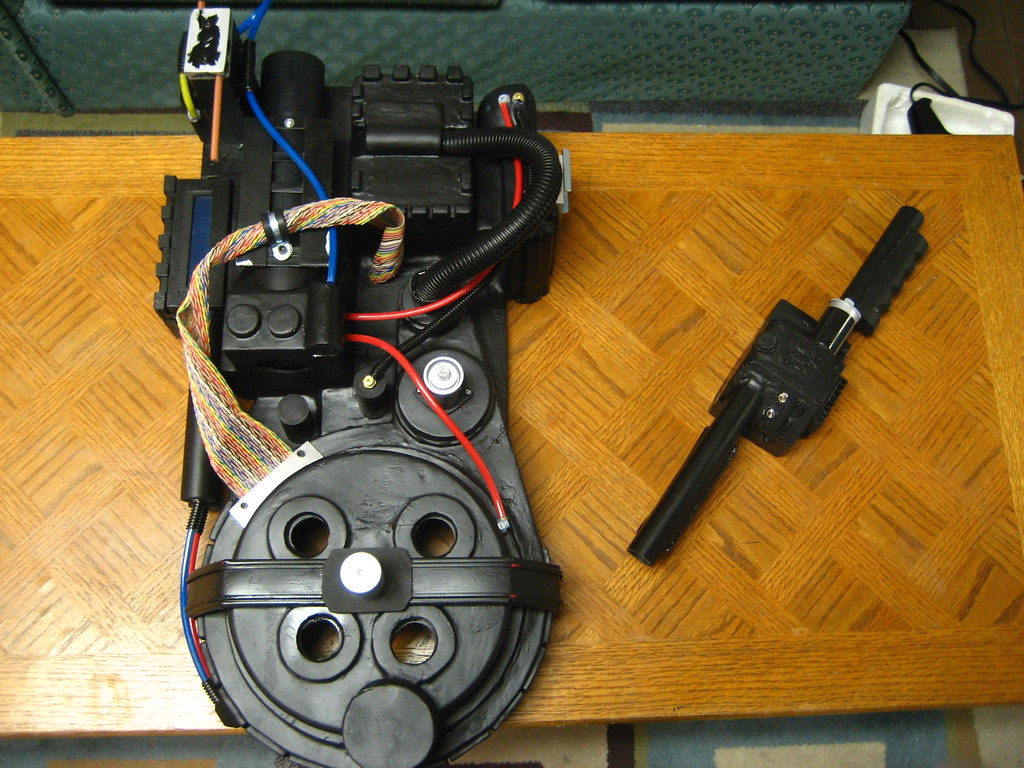
Now it’s starting to take shape. This is about a week ago.
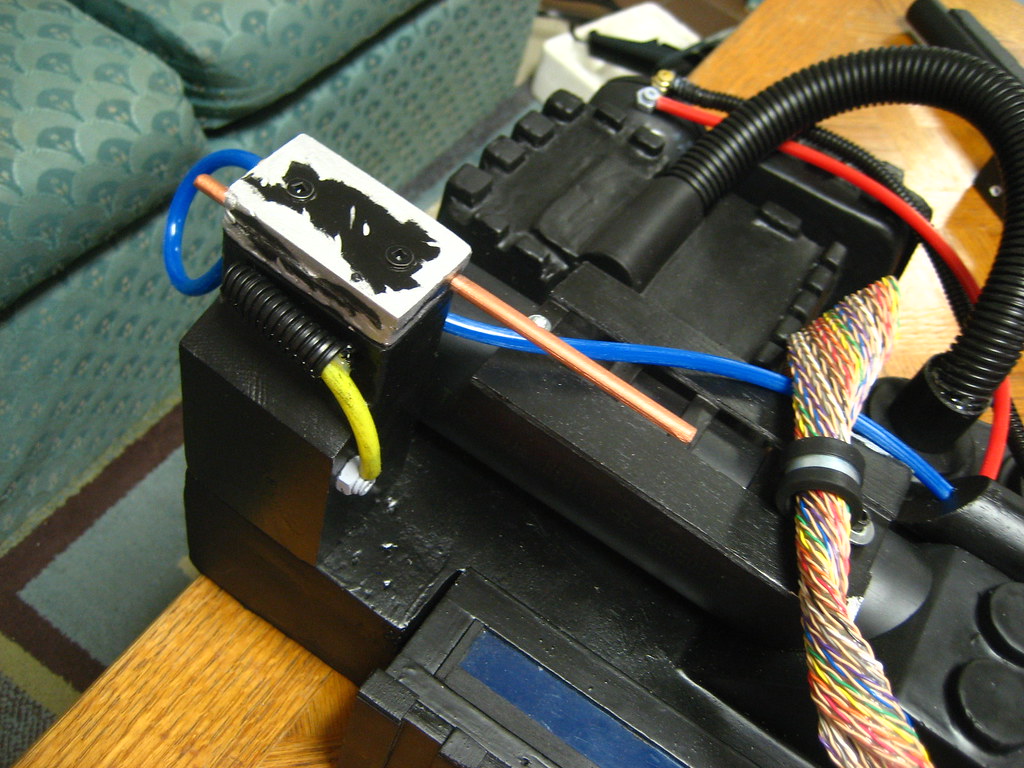
My ion arm, which is made from scrap wood, screws, and an old sushi chopstick.
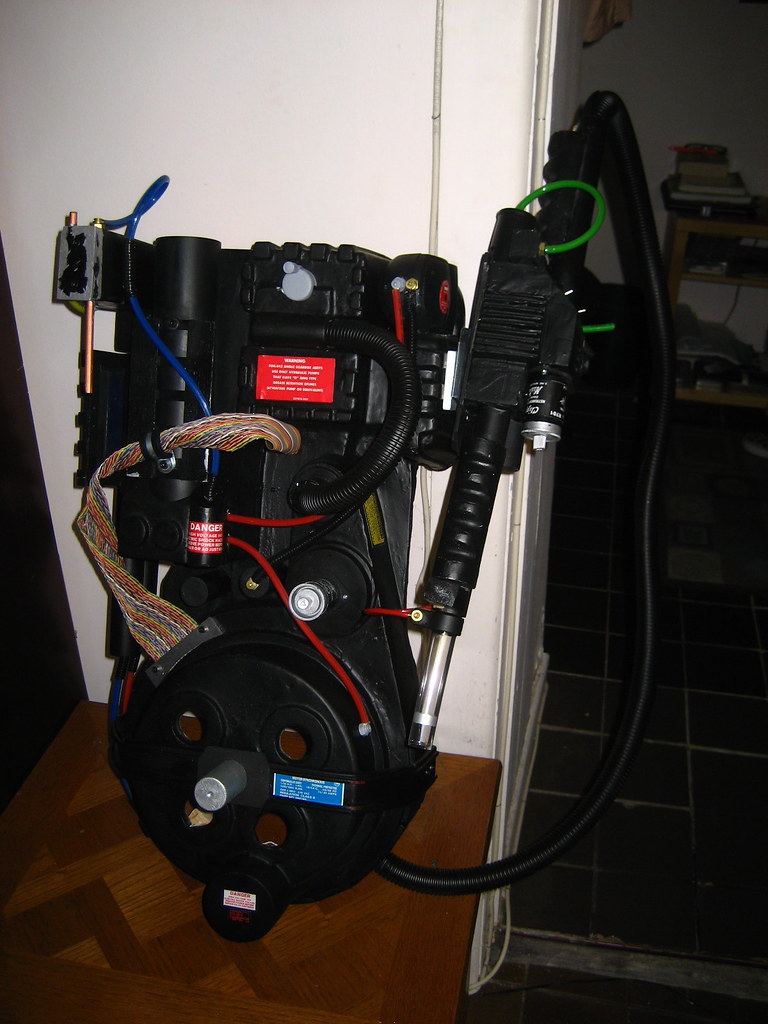
And here it is tonight! I’ve still got some paint touching up to do, and lots of weathering. Plus installing the lights and mounting it on the motherboard. I’m nervous about that. I built my motherboard out of hardboard from Home Depot, and though my friend swears that they used it in their packs and it worked fine, I will remain unconvinced until I mount the whole thing. Which, hopefully, should be Thursday or Friday.
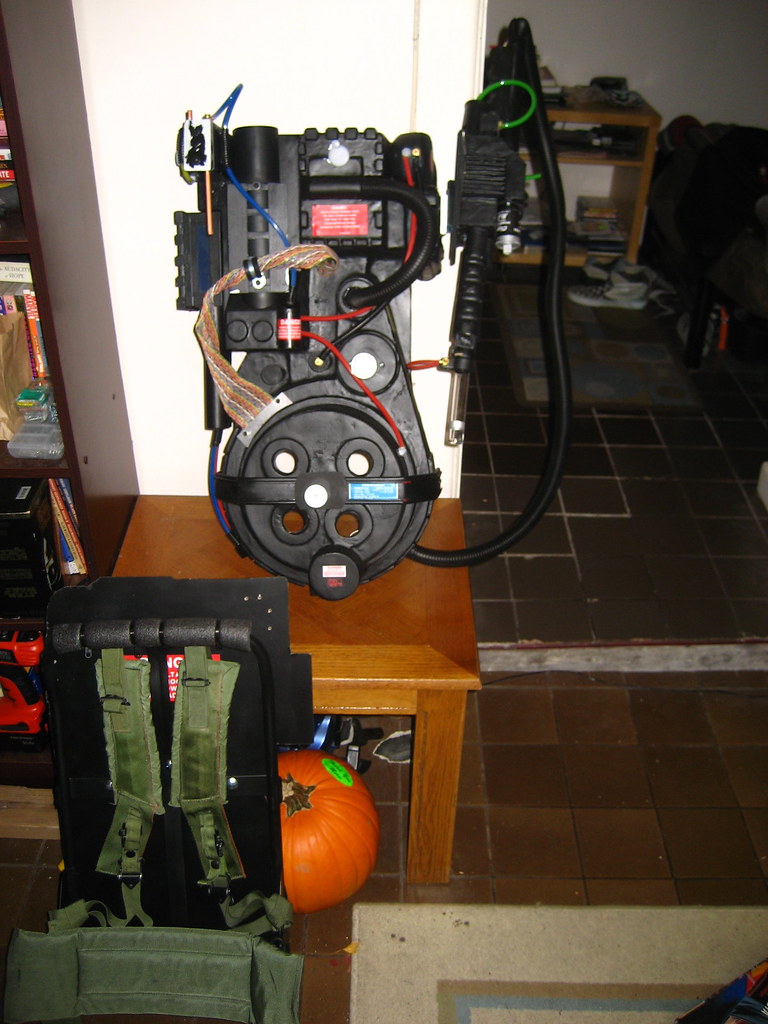
So here it is. I can’t wait to get this done, and tear up the town on Saturday. Hope everyone else has a great weekend - can’t wait to share more pictures. Thanks again to everyone who’s creativity and posts helped me out so much. Cheers!
Good looking pack, man!

I can not BELIEVE You got that thing through airport security!

Have fun livin’ the dream!

G

the upper right part (cant think of the name) is that a speaker?

Thanks GAVAL! Yeah, I told security “don’t worry, it’s not a bomb. It’s just an unlicensed nuclear accelerator!” After they finished beating me senseless, it all got sorted out…

joeghostbuster: You are correct sir, I have a $2 set of speakers I got from Dollarama installed. The other is inside the pack, right below the booster (you can see a hole in some of the pictures). Unfortunately one of the speakers is already dead - I guess you do get what you paid for. Still, I have a headphone extension cable running from the pack through the split tubing, attached to my old iPod Nano. The iPod is on the thrower, in place of the trigger box. Again, not totally accurate, but my pack has sounds! And plays music (I have the obvious GB songs, the score, and lots of Halloween music. ‘Werewolf Bar Mitzvah’, anyone?)

My friend is meeting me tonight to try and get my LED kits put together. With a little luck, I may have this pack ready to go tomorrow!

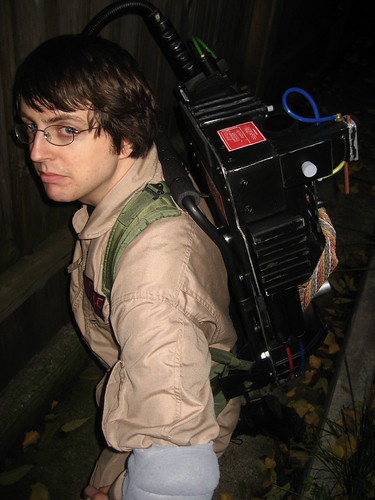
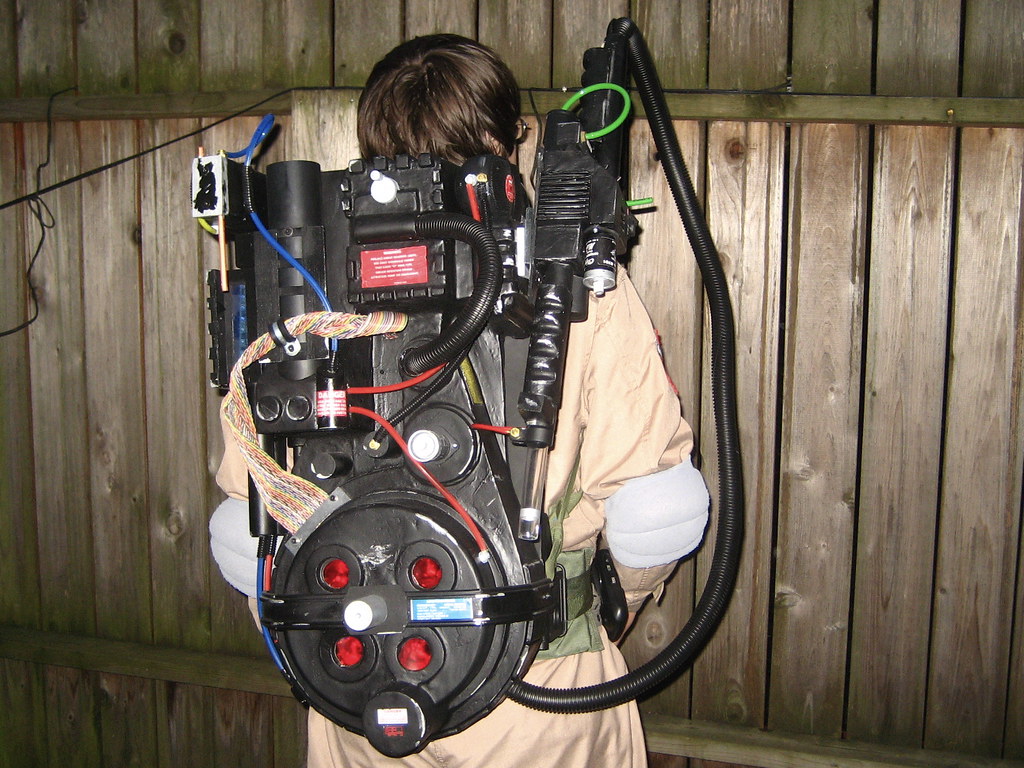
Finished! At least, I was on Friday. After a crazy amount of last-minute work I got my pack ready to go for Saturday night’s Halloween festivities, and had an amazing night to boot! Here’s some pics of the finished piece.

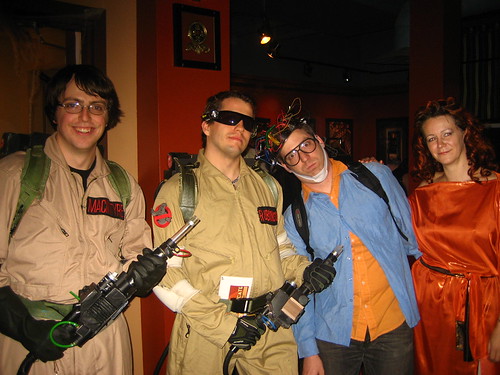
Here I am in the back yard, just before trick or treaters showed up. Man, I didn’t think there’d be many kids in my neighbourhood, but I ran out of candy at 65! Mostly it was their parents recognizing me (and stopping for pictures), but the kid next door actually got it while his mom thought I was an exterminator. Still, I had tons of fun handing out candy and feeling nostalgic.

This is the best picture I have of my pack. The flash is washing out some of the detail, but I’m still pretty pleased with how it all turned out. All told, this came to about $400, which is more than I intended to spend, but I guess I’m not the first person that’s happened to. All night people were amazed at how it looked - it’s so funny to go from the GB Fans board where I’m thinking “man, my N Filter doesn’t have a red line around it”, to a Halloween party where people are asking “Seriously, where did you buy that from?”.

This is one of my favourite pictures of the night (and the only other Ghostbuster I ran into). We had fun swapping pack-build stories, and then just had to get a picture with the Gatekeeper and the Keymaster. It was a pretty great party, held by The Silver Snail comic book store. Everyone had awesome costumes, and was super eager to chat about each others’. Though I didn’t win a prize in the costume contest, my girlfriend (very deservedly) won 3rd place for her amazing Dr. Mrs. The Monarch costume (from the cartoon “The Venture Bros”).

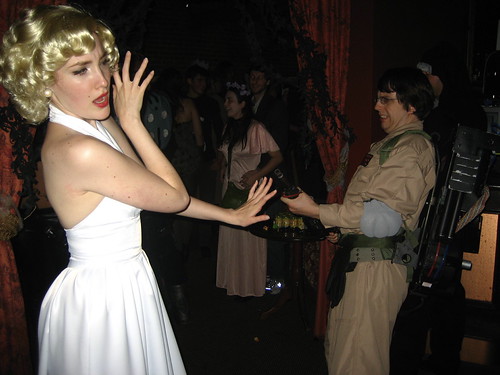
This girl dressed as Marilyn asked me to get a picture “catching” her. I’m pretty excited to photoshop some proton effects into it.

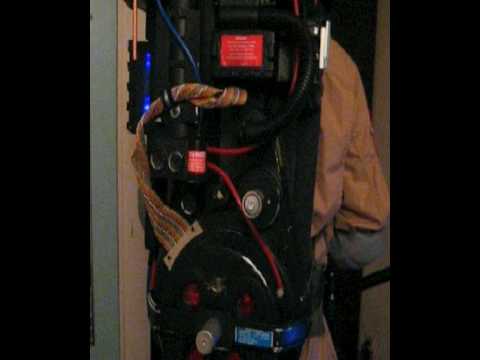
Finally, here is my video of my LED lights with (very quiet) sound. I managed to get one of the LED light kits I’d ordered to work properly (the blue one in my powercell). The other one wouldn’t cycle and kept overheating, so my buddy and I cannibalized a Dollar Store kids’ wand. In spite of the fact that I had learned to solder the night before, we actually got it to work! Unfortunately one of the connections got stripped, so instead of cycling 4 lights on the Cyclotron I was only able to cycle 3. But still I was pleased with it, and people were just amazed I had lights at all.

So yeah, that’s my pack. Thanks again to everyone who helped - my girlfriend, my friend Andrew who built the shell and my buddy Jason who lent me his cordless drill, my Dad, and especially everyone here on the boards!

Love it. Looks tight!

One pet peeve! Check the pathing of your red cable from the cyclotron to the PPD. I think it’s supposed to go above the clippard instead of under, if you have enough slack to pull it off.

You’re gonna hate me for pointing that out now if the cables are too short! lol

Sweet ass pack man.

G

Curse you GAVAL! Yeah, you are right about the red cable going above the Clippard. Unfortunately by the time I realized my mistake the red tube was already cut too short, and glued in. Maybe some day I’ll fix it…

Along with the dozens of other things that I keep noticing that I wish I could fix. That’s normal, right?

Yup. I already have a list of 6 things I want to tweak on what was supposed to be a “finished” pack!

G