My first Proton Pack build

Hello everyone.

I’d like to share with you my current Proton Pack project.

But first, a little backstory if I may,

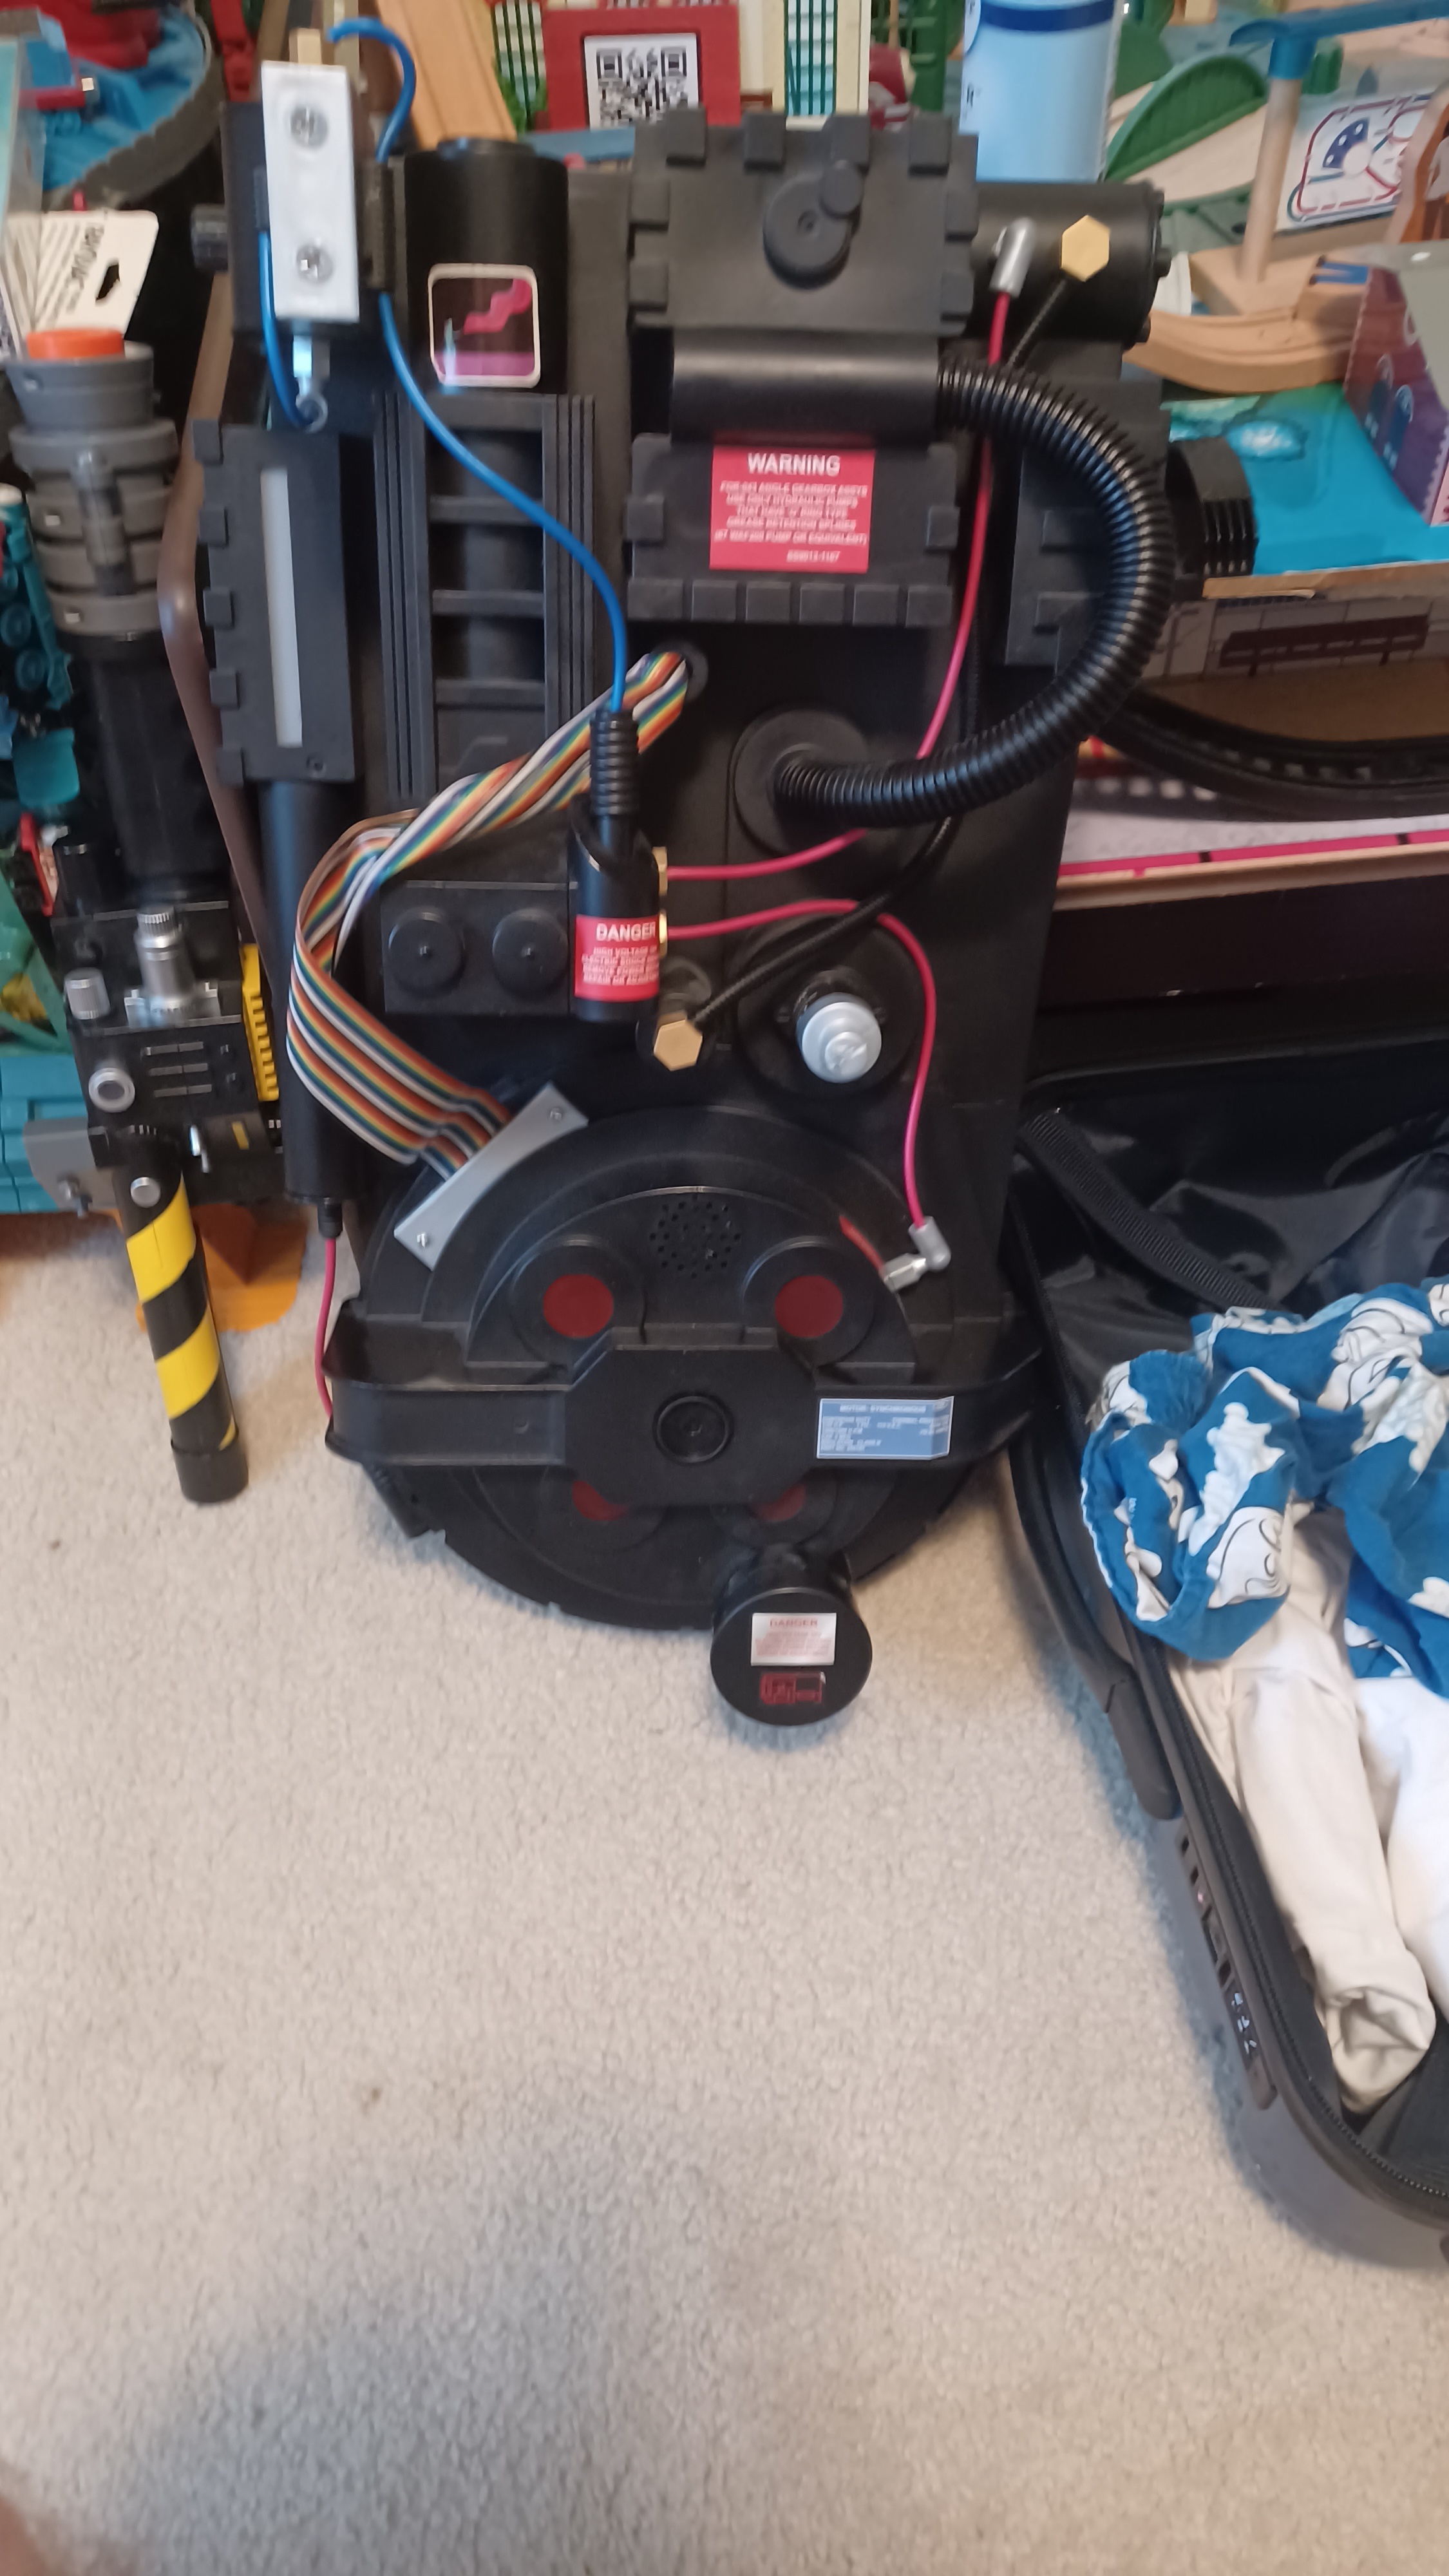
I got this 2020 Spirit Halloween 80% scale Proton Pack (revised version) for Christmas a couple of years ago. While it’s not my first Proton Pack in my possession (that being the 2016 Proton Pack Projector from Mattel), it’s the first Pack that I plan on properly modifying/detailing. At first, I wanted to model it after a Video Game Proton Pack, however after the release of Frozen Empire (and me falling in love with the H.A.S.P. Packs), I decided to model mine after one of those instead. I still would like to make a TVG Pack in the future (preferably with a full-sized Proton Pack), but in the meantime, this will suffice. However, with all this being said, I don’t plan on adding a lot of the recycled components from the Pheobe Pack from Afterlife (I.E. the copper wires around the booster tube and Pack Clippard, the heatsink next to the Pack Clippard, the tape around the HGA wires, the gas mask hose at the base of the Pack, and the tape around the wand end of the Pack hose), as IMO they don’t mesh well with the new components.

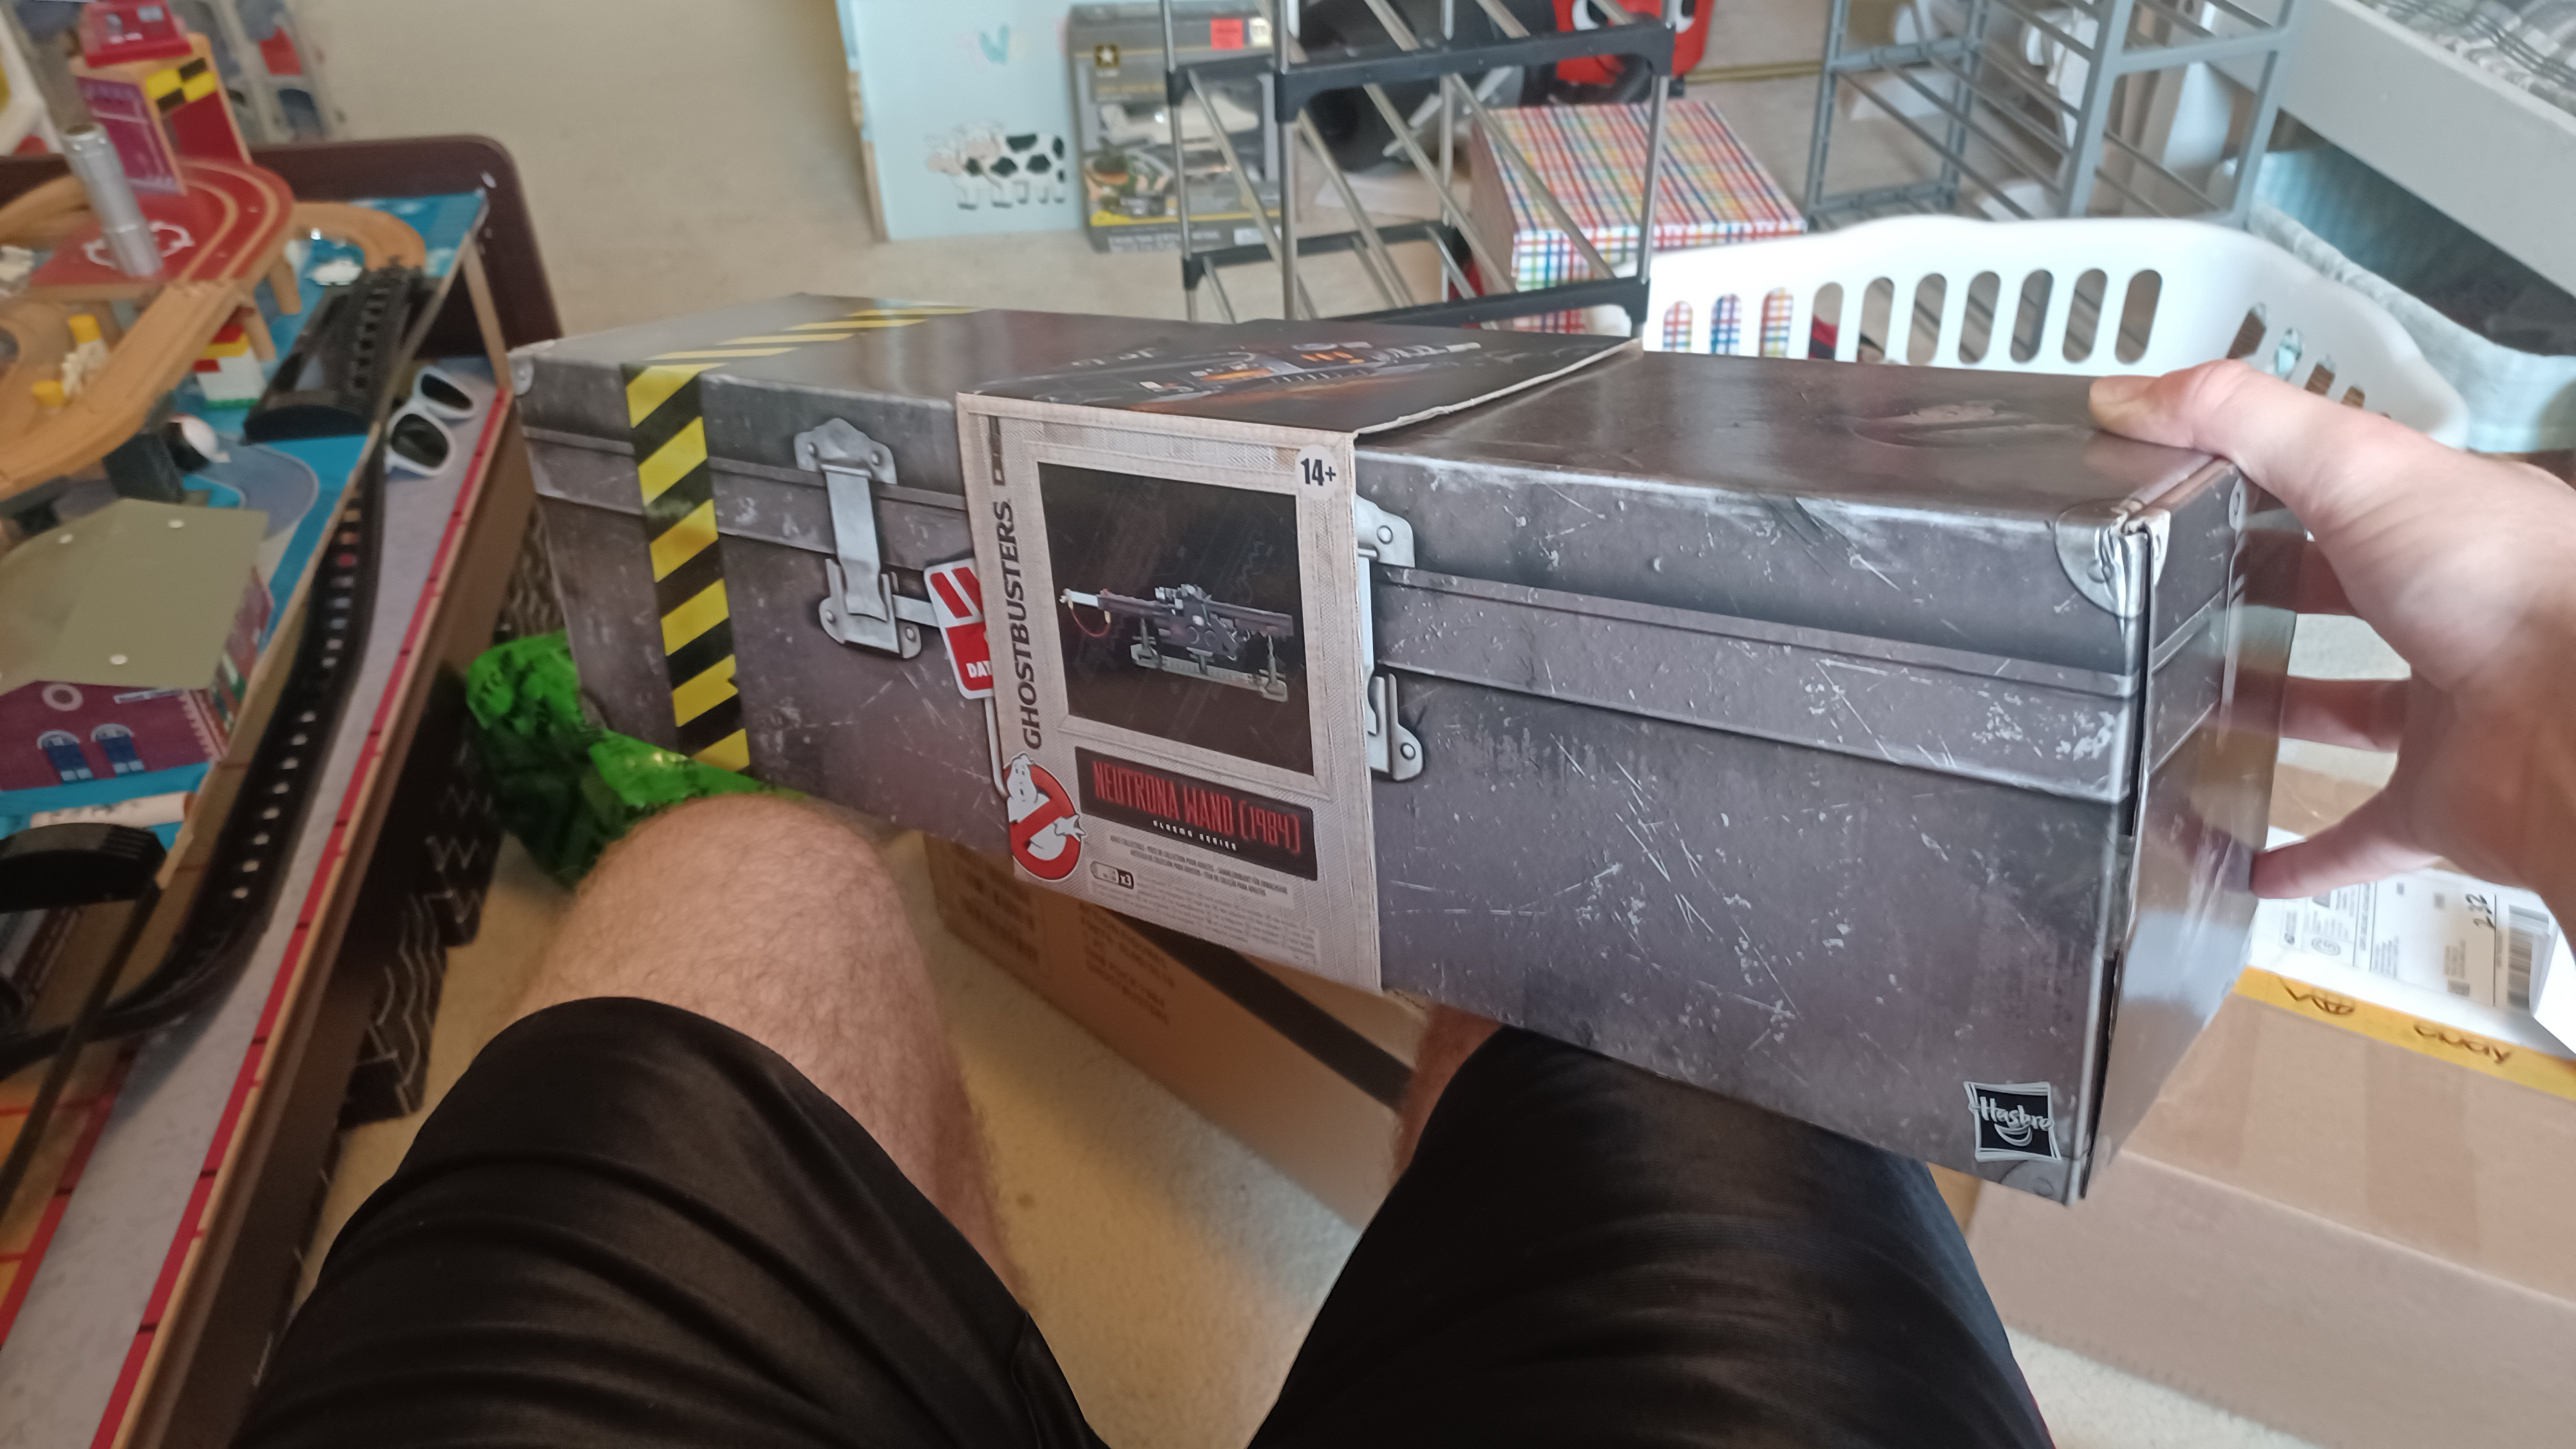
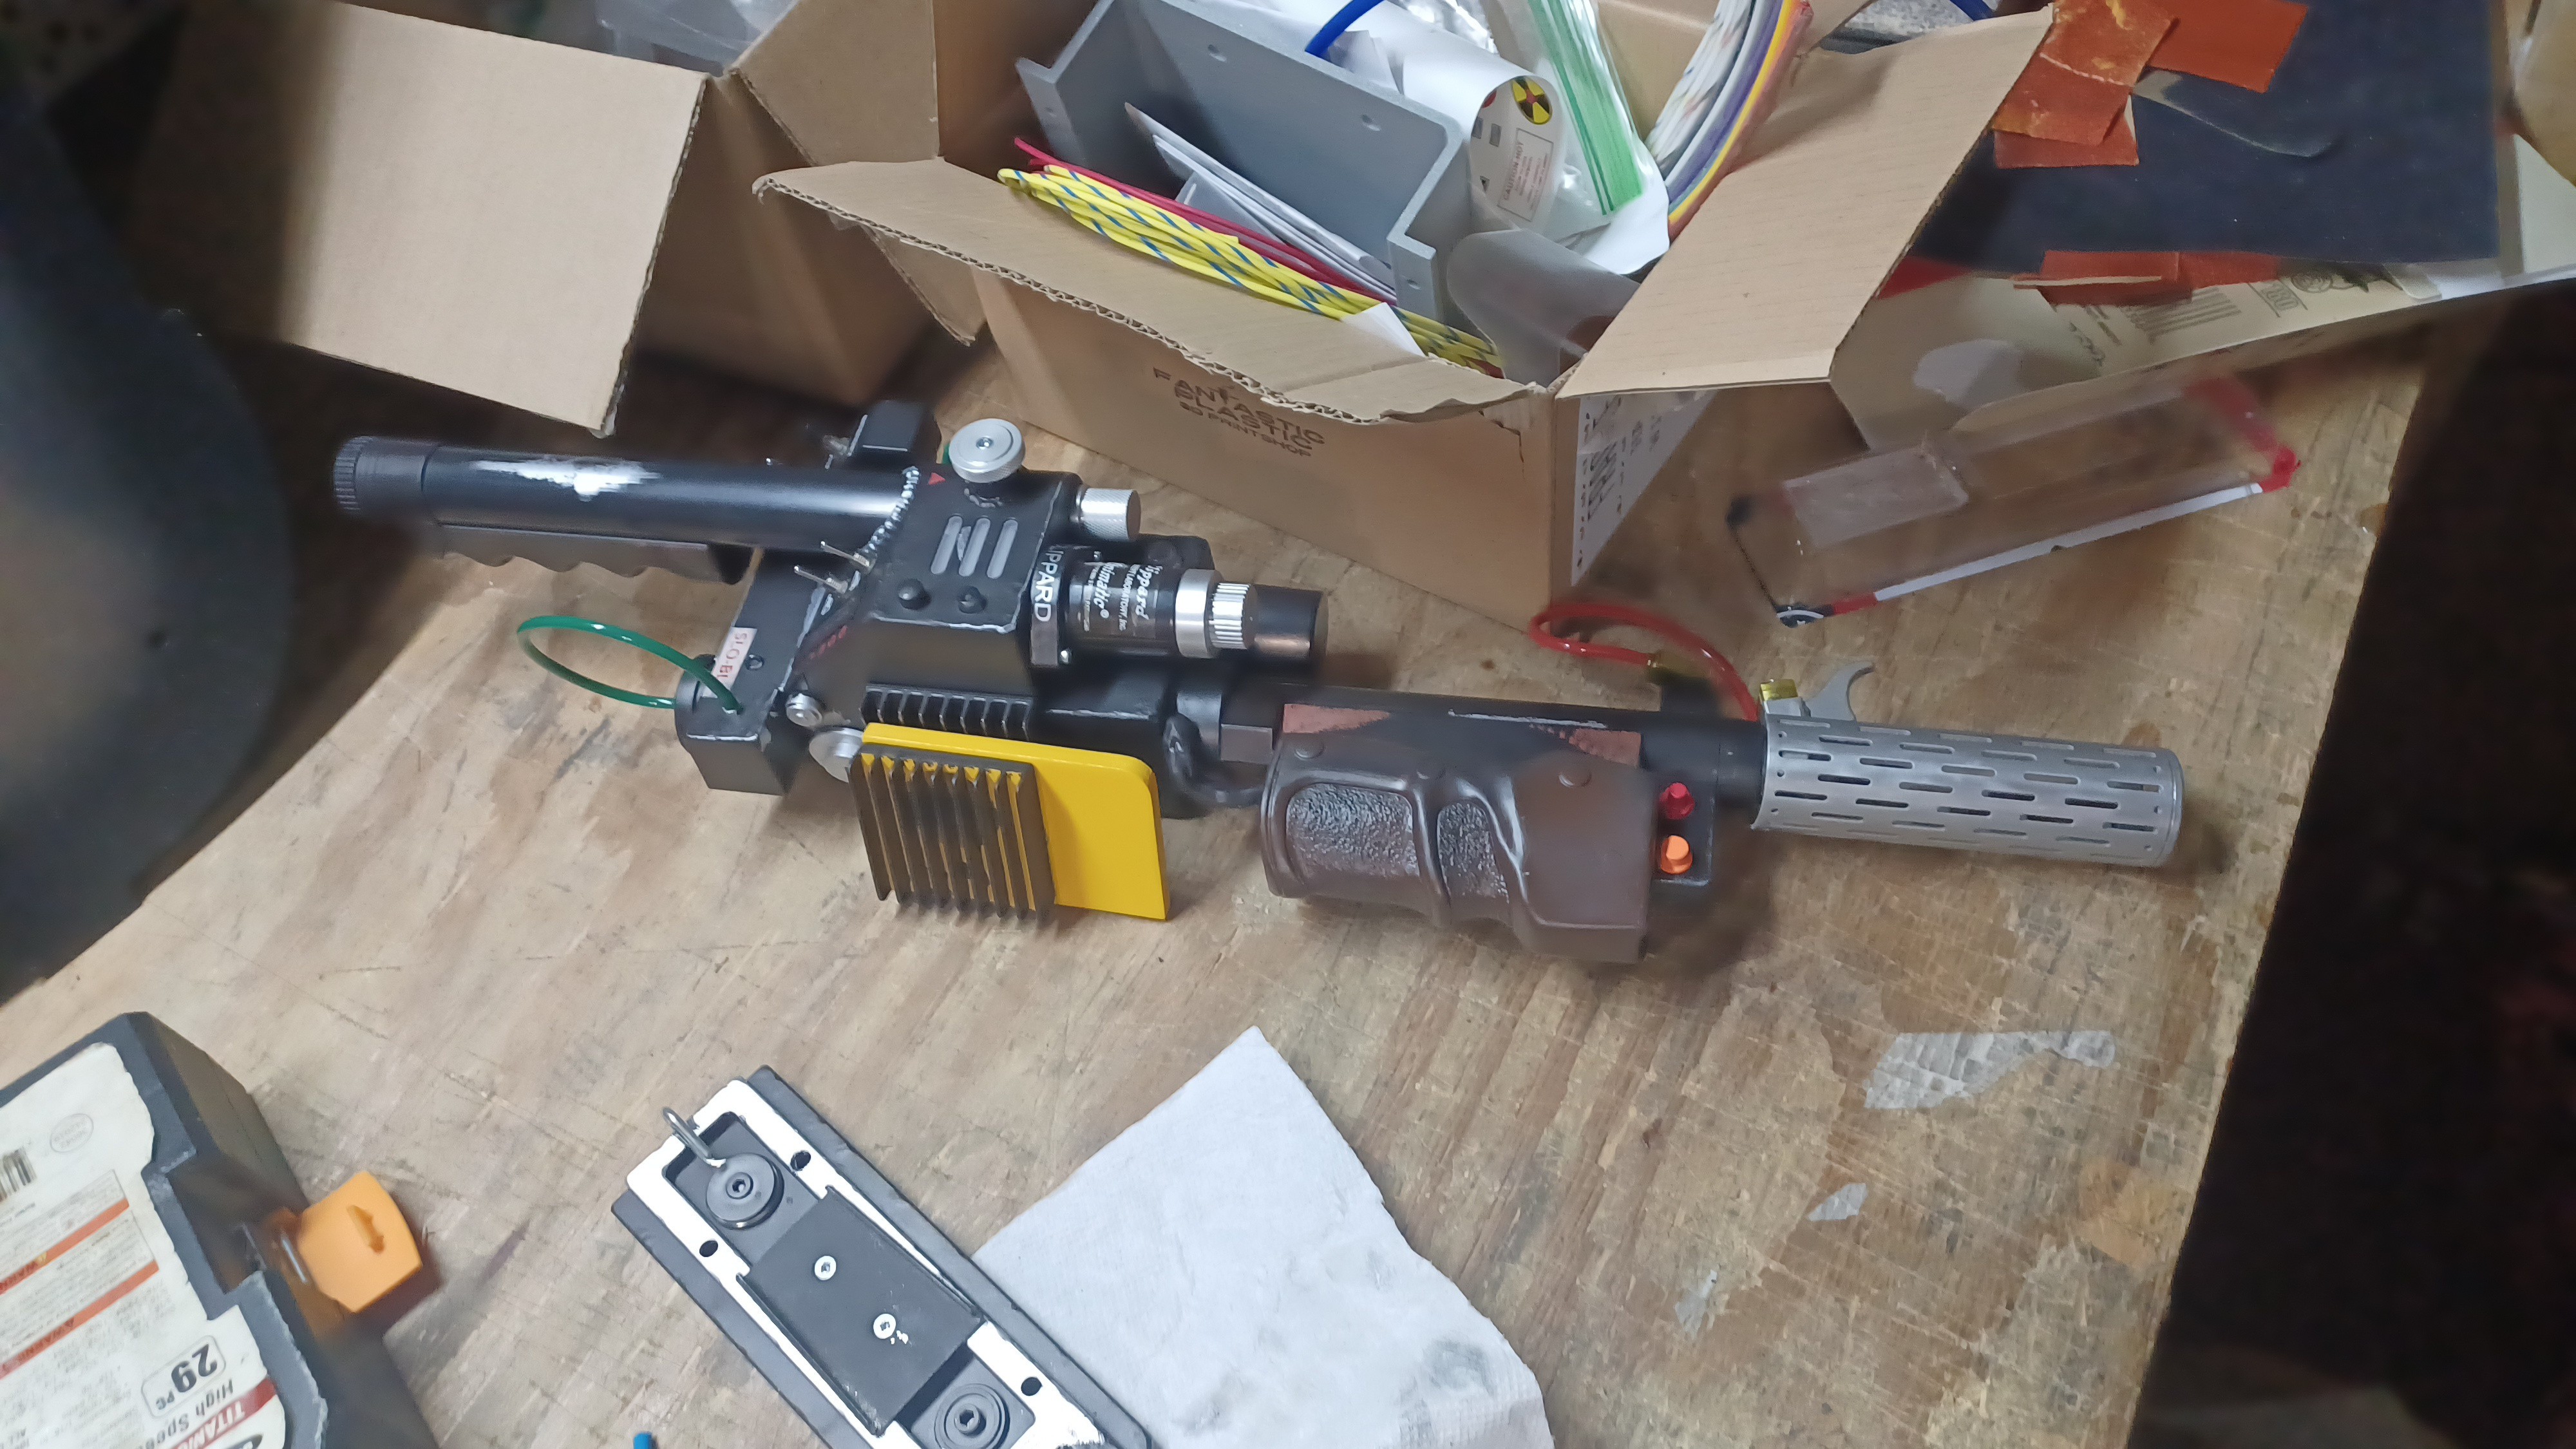
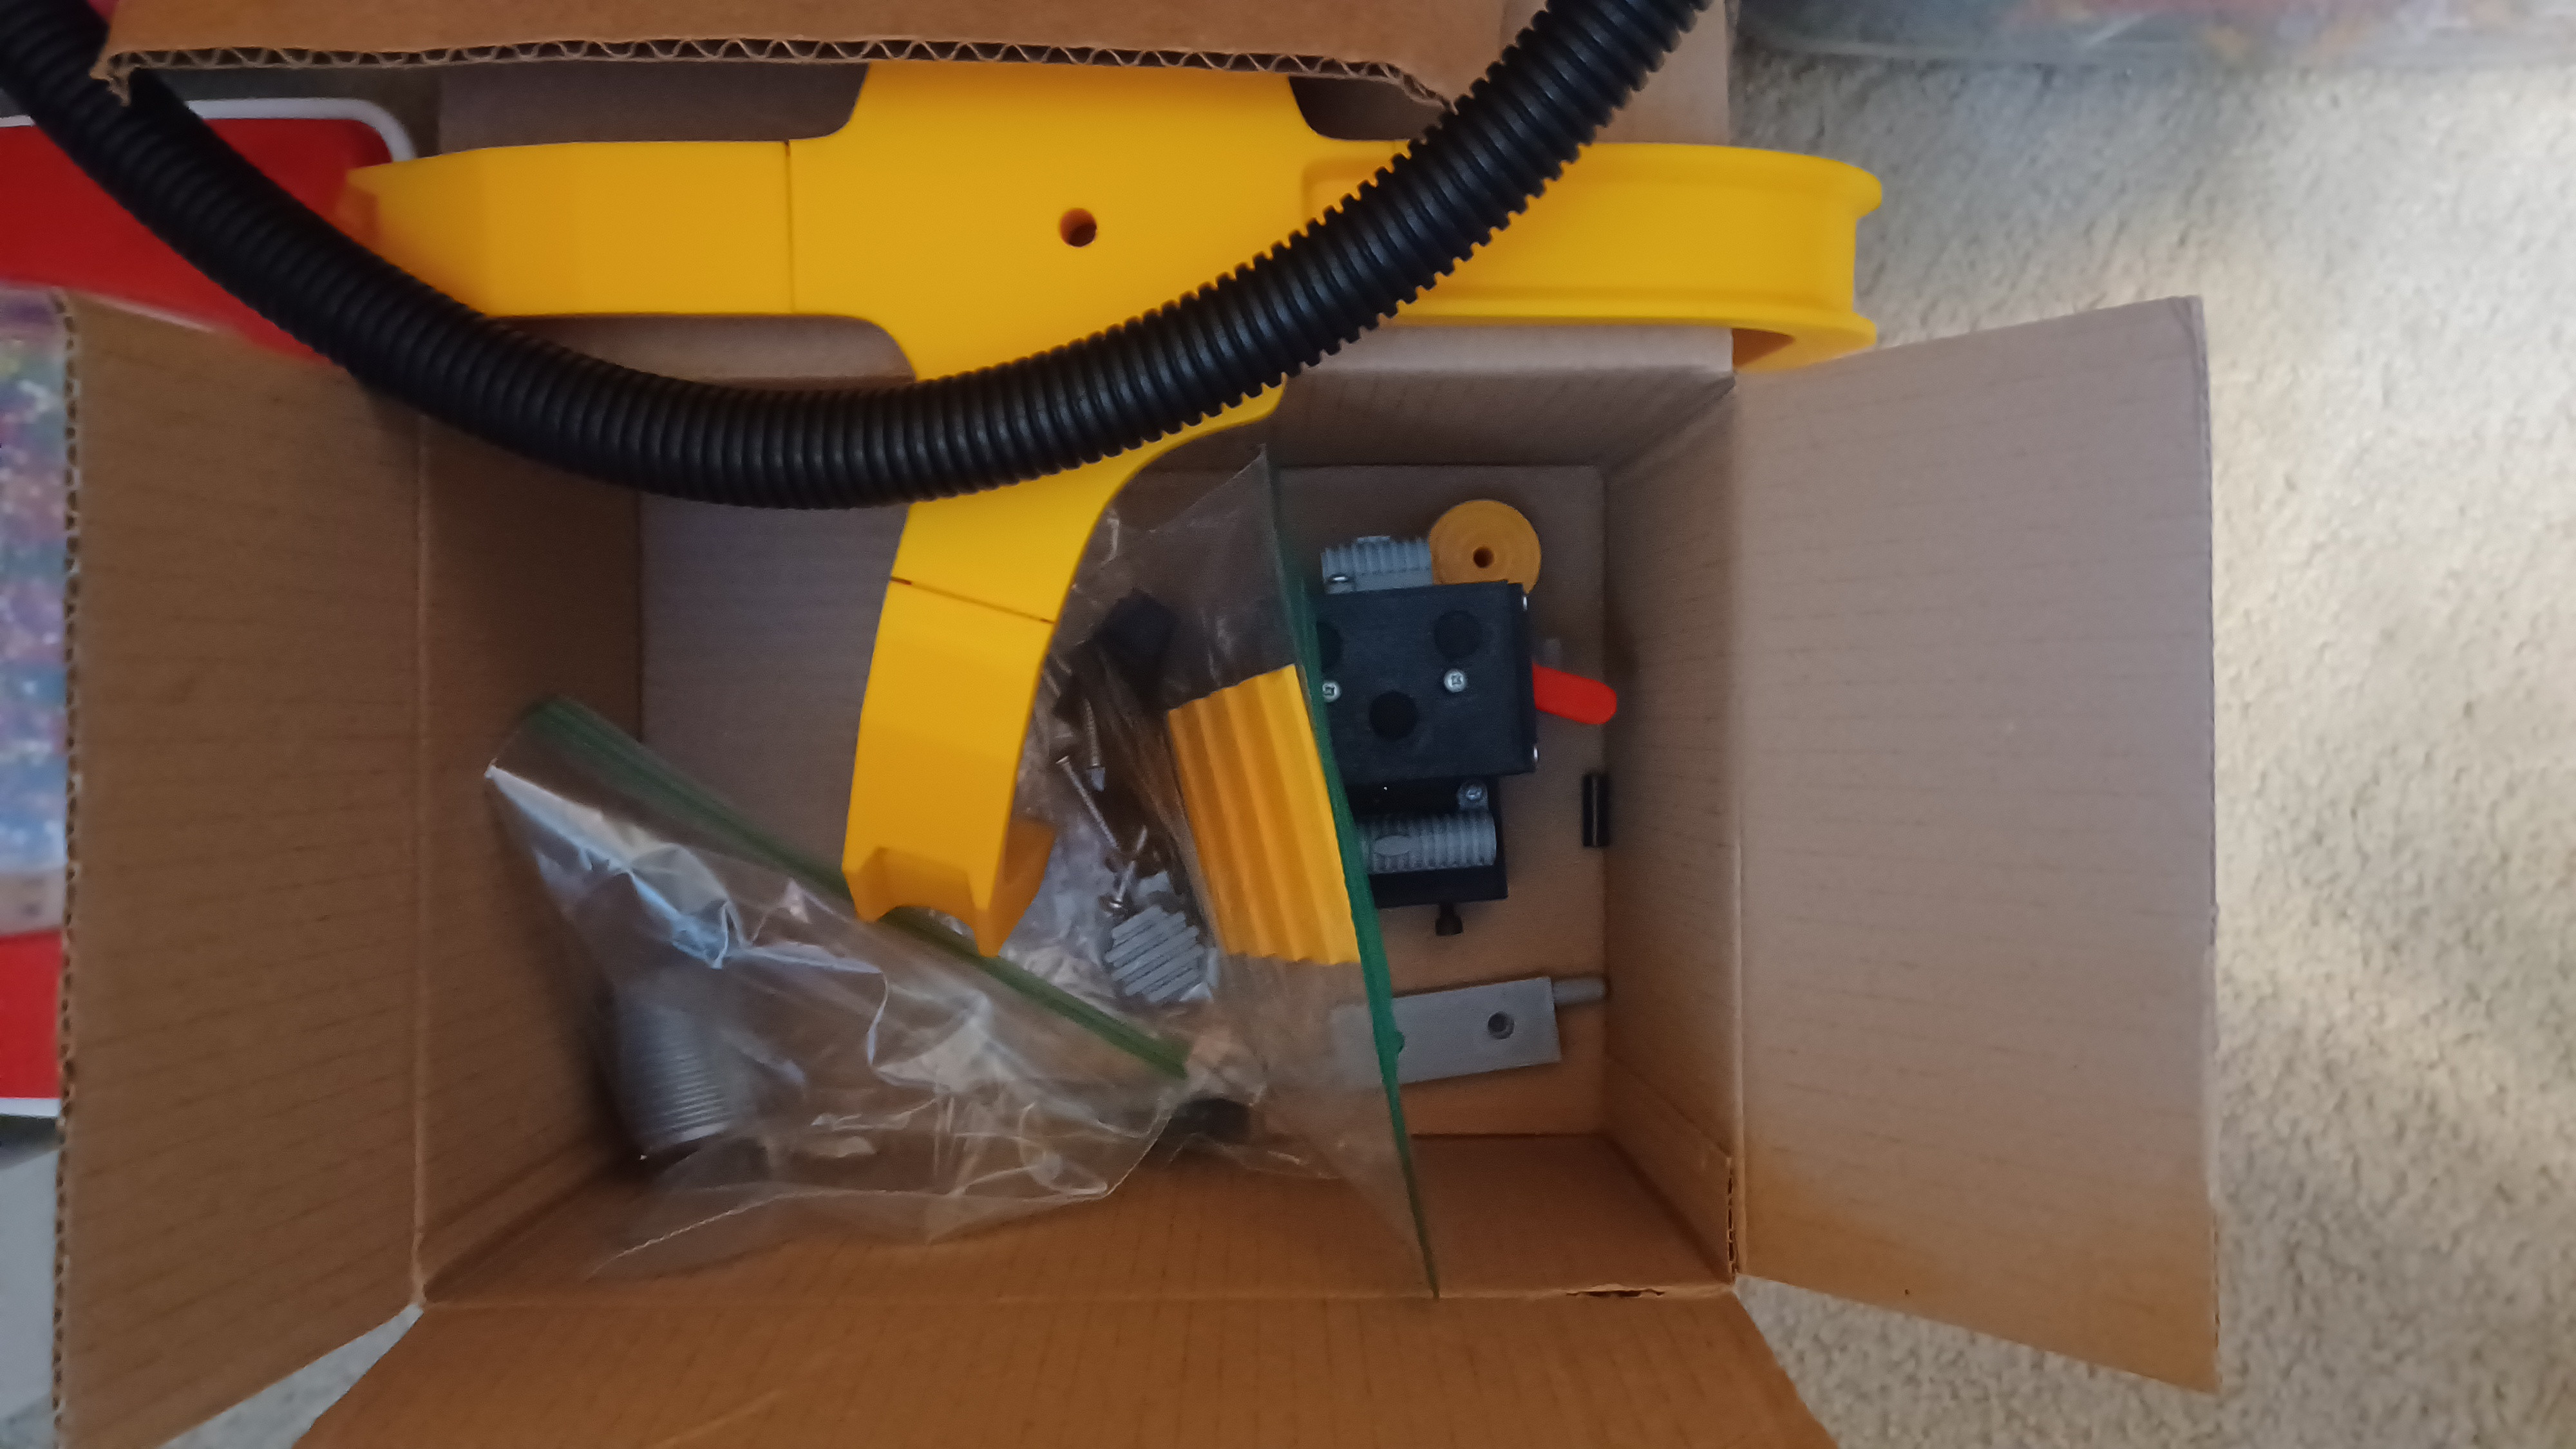
As of right now, I have my Pack disassembled, and am waited on various parts to arrive from Etsy. I also elected to replace it’s supplied Particle Thrower with a Hasbro ‘84 wand. I was thinking about using my Zap N’ Blast Thrower, but that would probably be a lot more difficult and time-consuming to modify and make look screen-accurate. I’m still waiting on that to come as well. For the electronics side of things, I’ve decided to go with GPStar’s Spirit/DIY kit, as I really like how they sound and look from other people’s videos of them on Youtube. However, I haven’t bought that yet for reasons I’ll explain below.

I plan on working on my Pack in two phases; phase 1 is acquiring/installing all the non-electronic components (besides the Hasbro wand), and otherwise detailing my Pack to make it look as close to the H.A.S.P. Packs as possible. Phase 2 is acquiring/installing the GPStar kit, and its required components.

With all of this being said, I still have some things that I need to iron out, mainly with the Alice Frame that I want to use for it. I’ve seen people just install full-sized Alice Frames to their 80% Spirit Packs, and I don’t really like how they look on them (no offense to those who do put them on). I’ve thought about making my own custom Frame and reusing the straps that came with my Pack or buying Alice Straps, but I’m not sure if I’d like how that would turn out either. If anyone has suggestions, please let me know. Alongside this, I’m still trying to decide how to make the HASP Pack’s back padding. As far as I’m aware, the exact materials for the screen-used ones haven’t been identified, nor how they’re held onto the Pack. The best I can think to do for them is to take some mattress memory foam, cut it down to size, then wrap it in black tape. As for the neck pad, maybe a black pool-noodle would suffice.

I’m hoping to have this finished, or at least 75% done, by the end of the summer. Hopefully I’ll be able to make it look as good as I want it to be. If you guys have any suggestions/recommendations, please share them in this thread :]
Update:

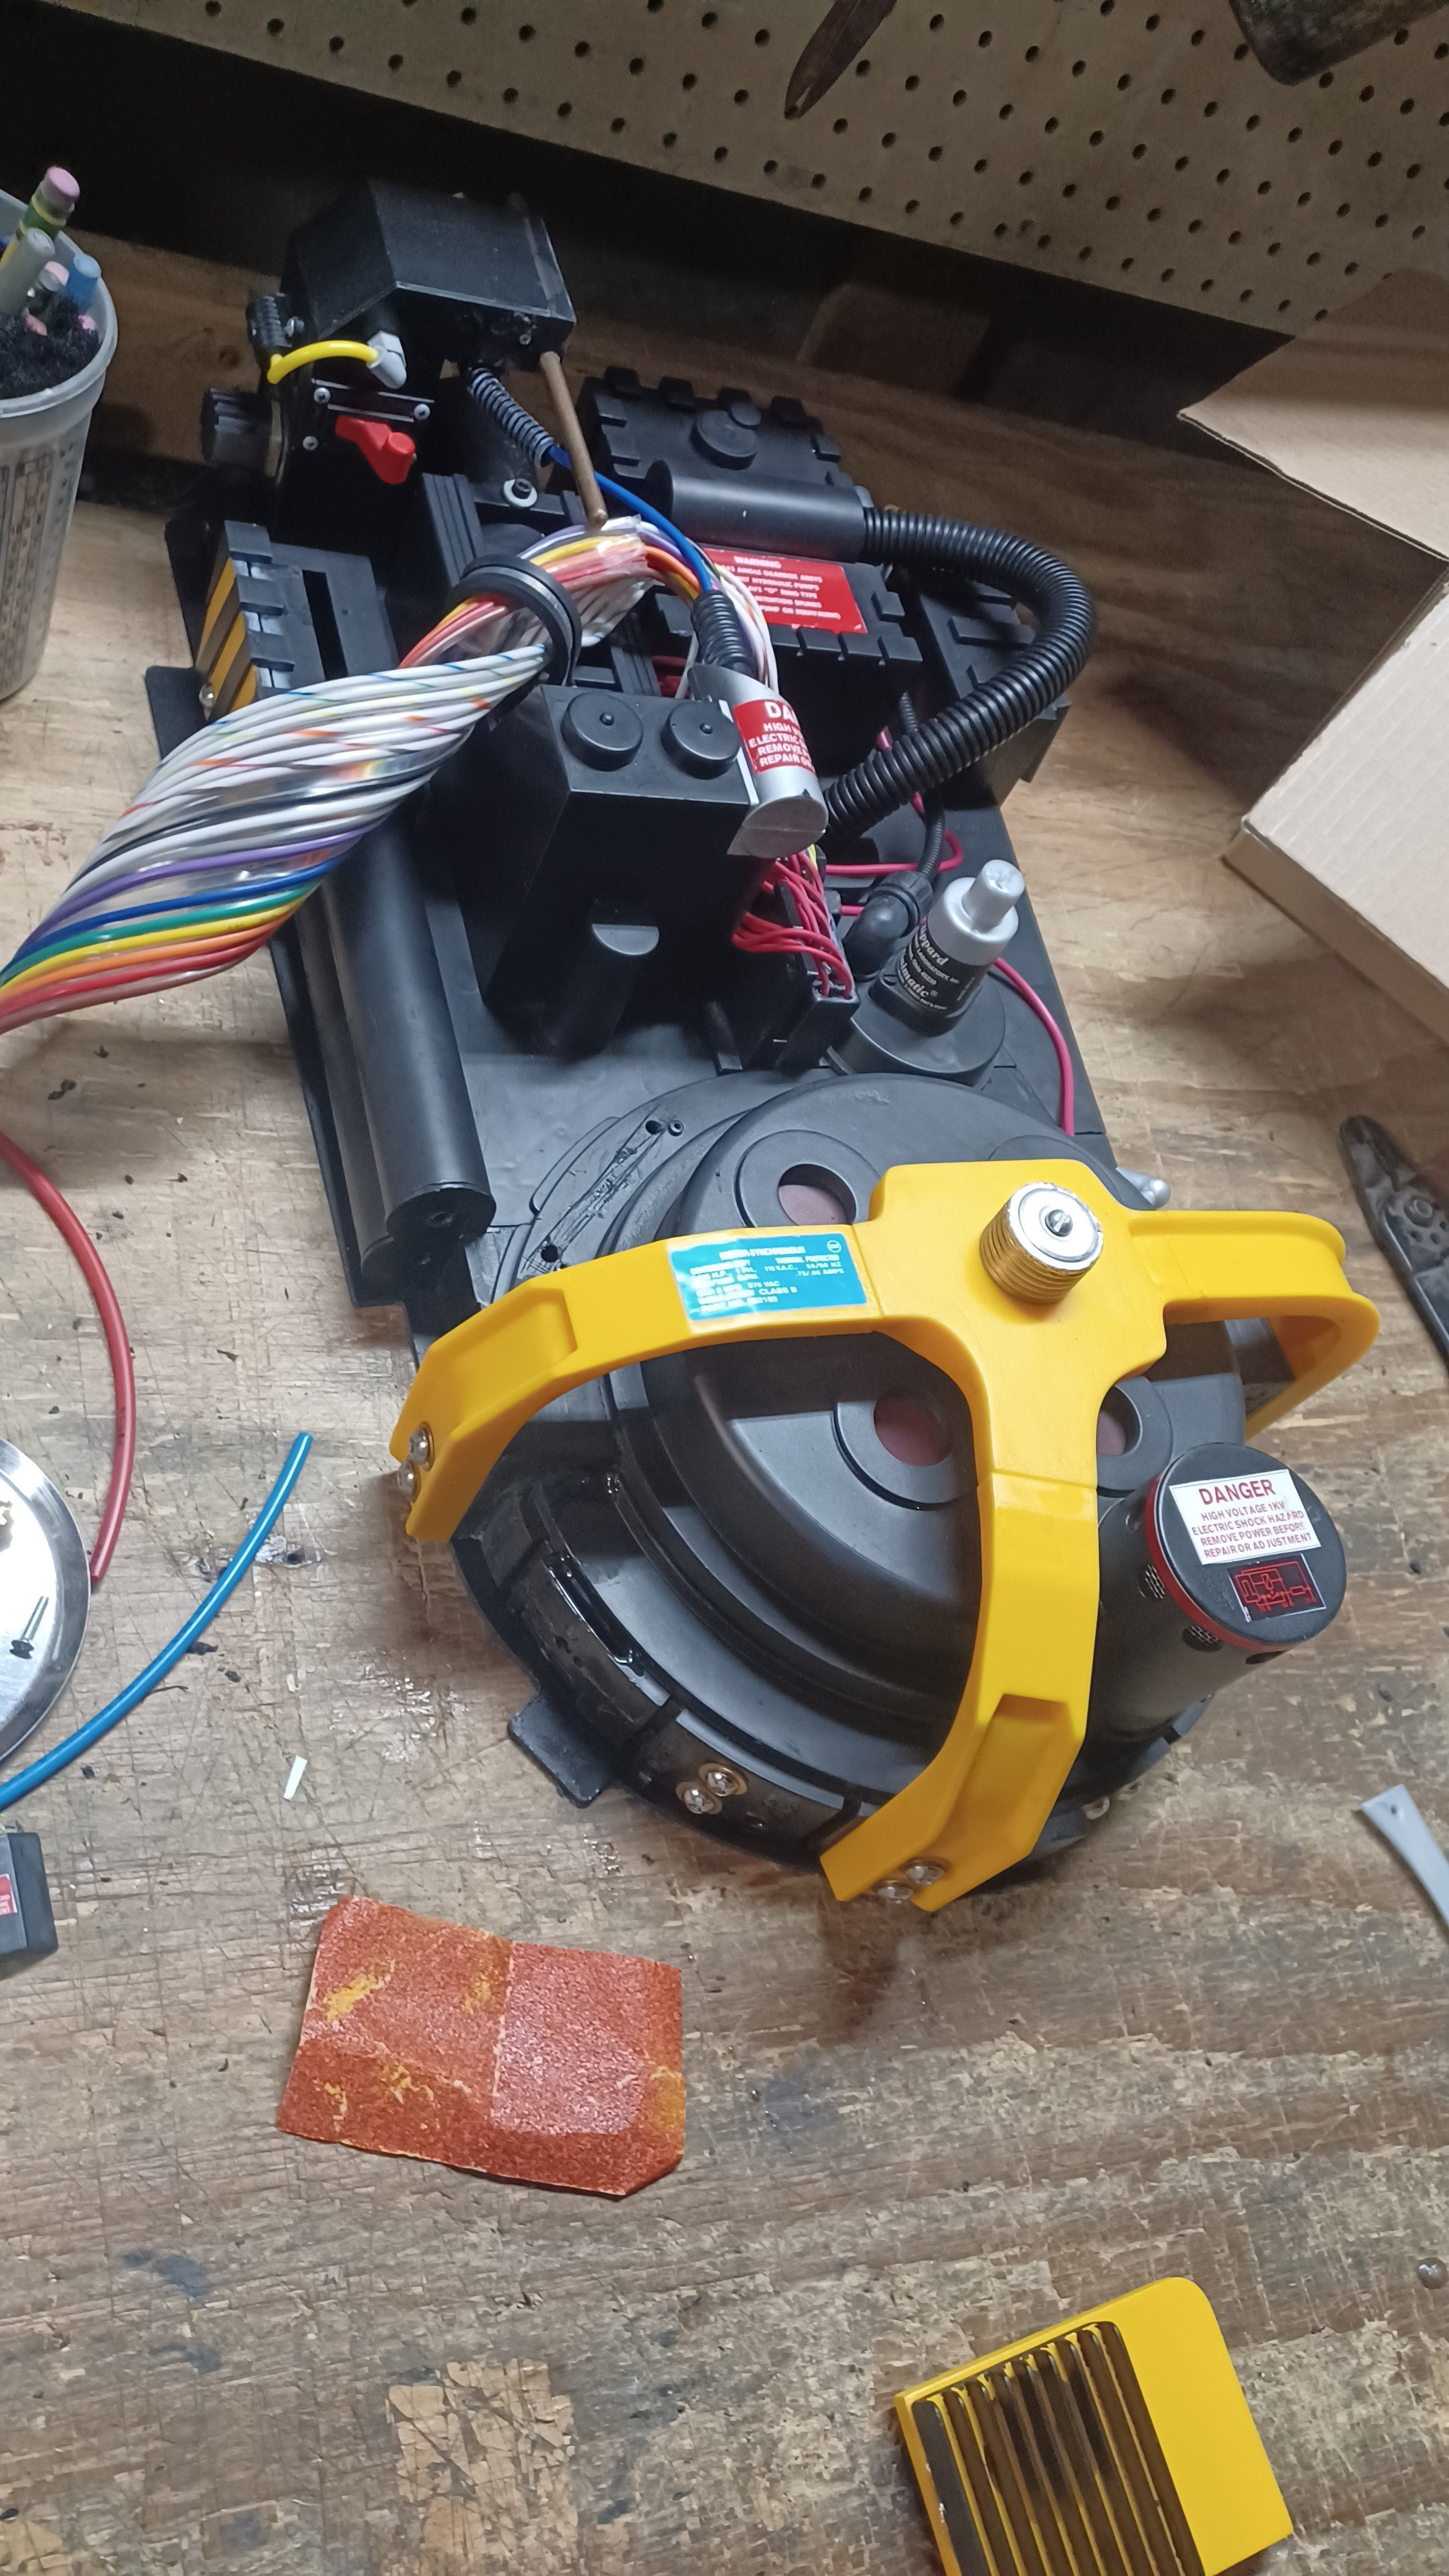
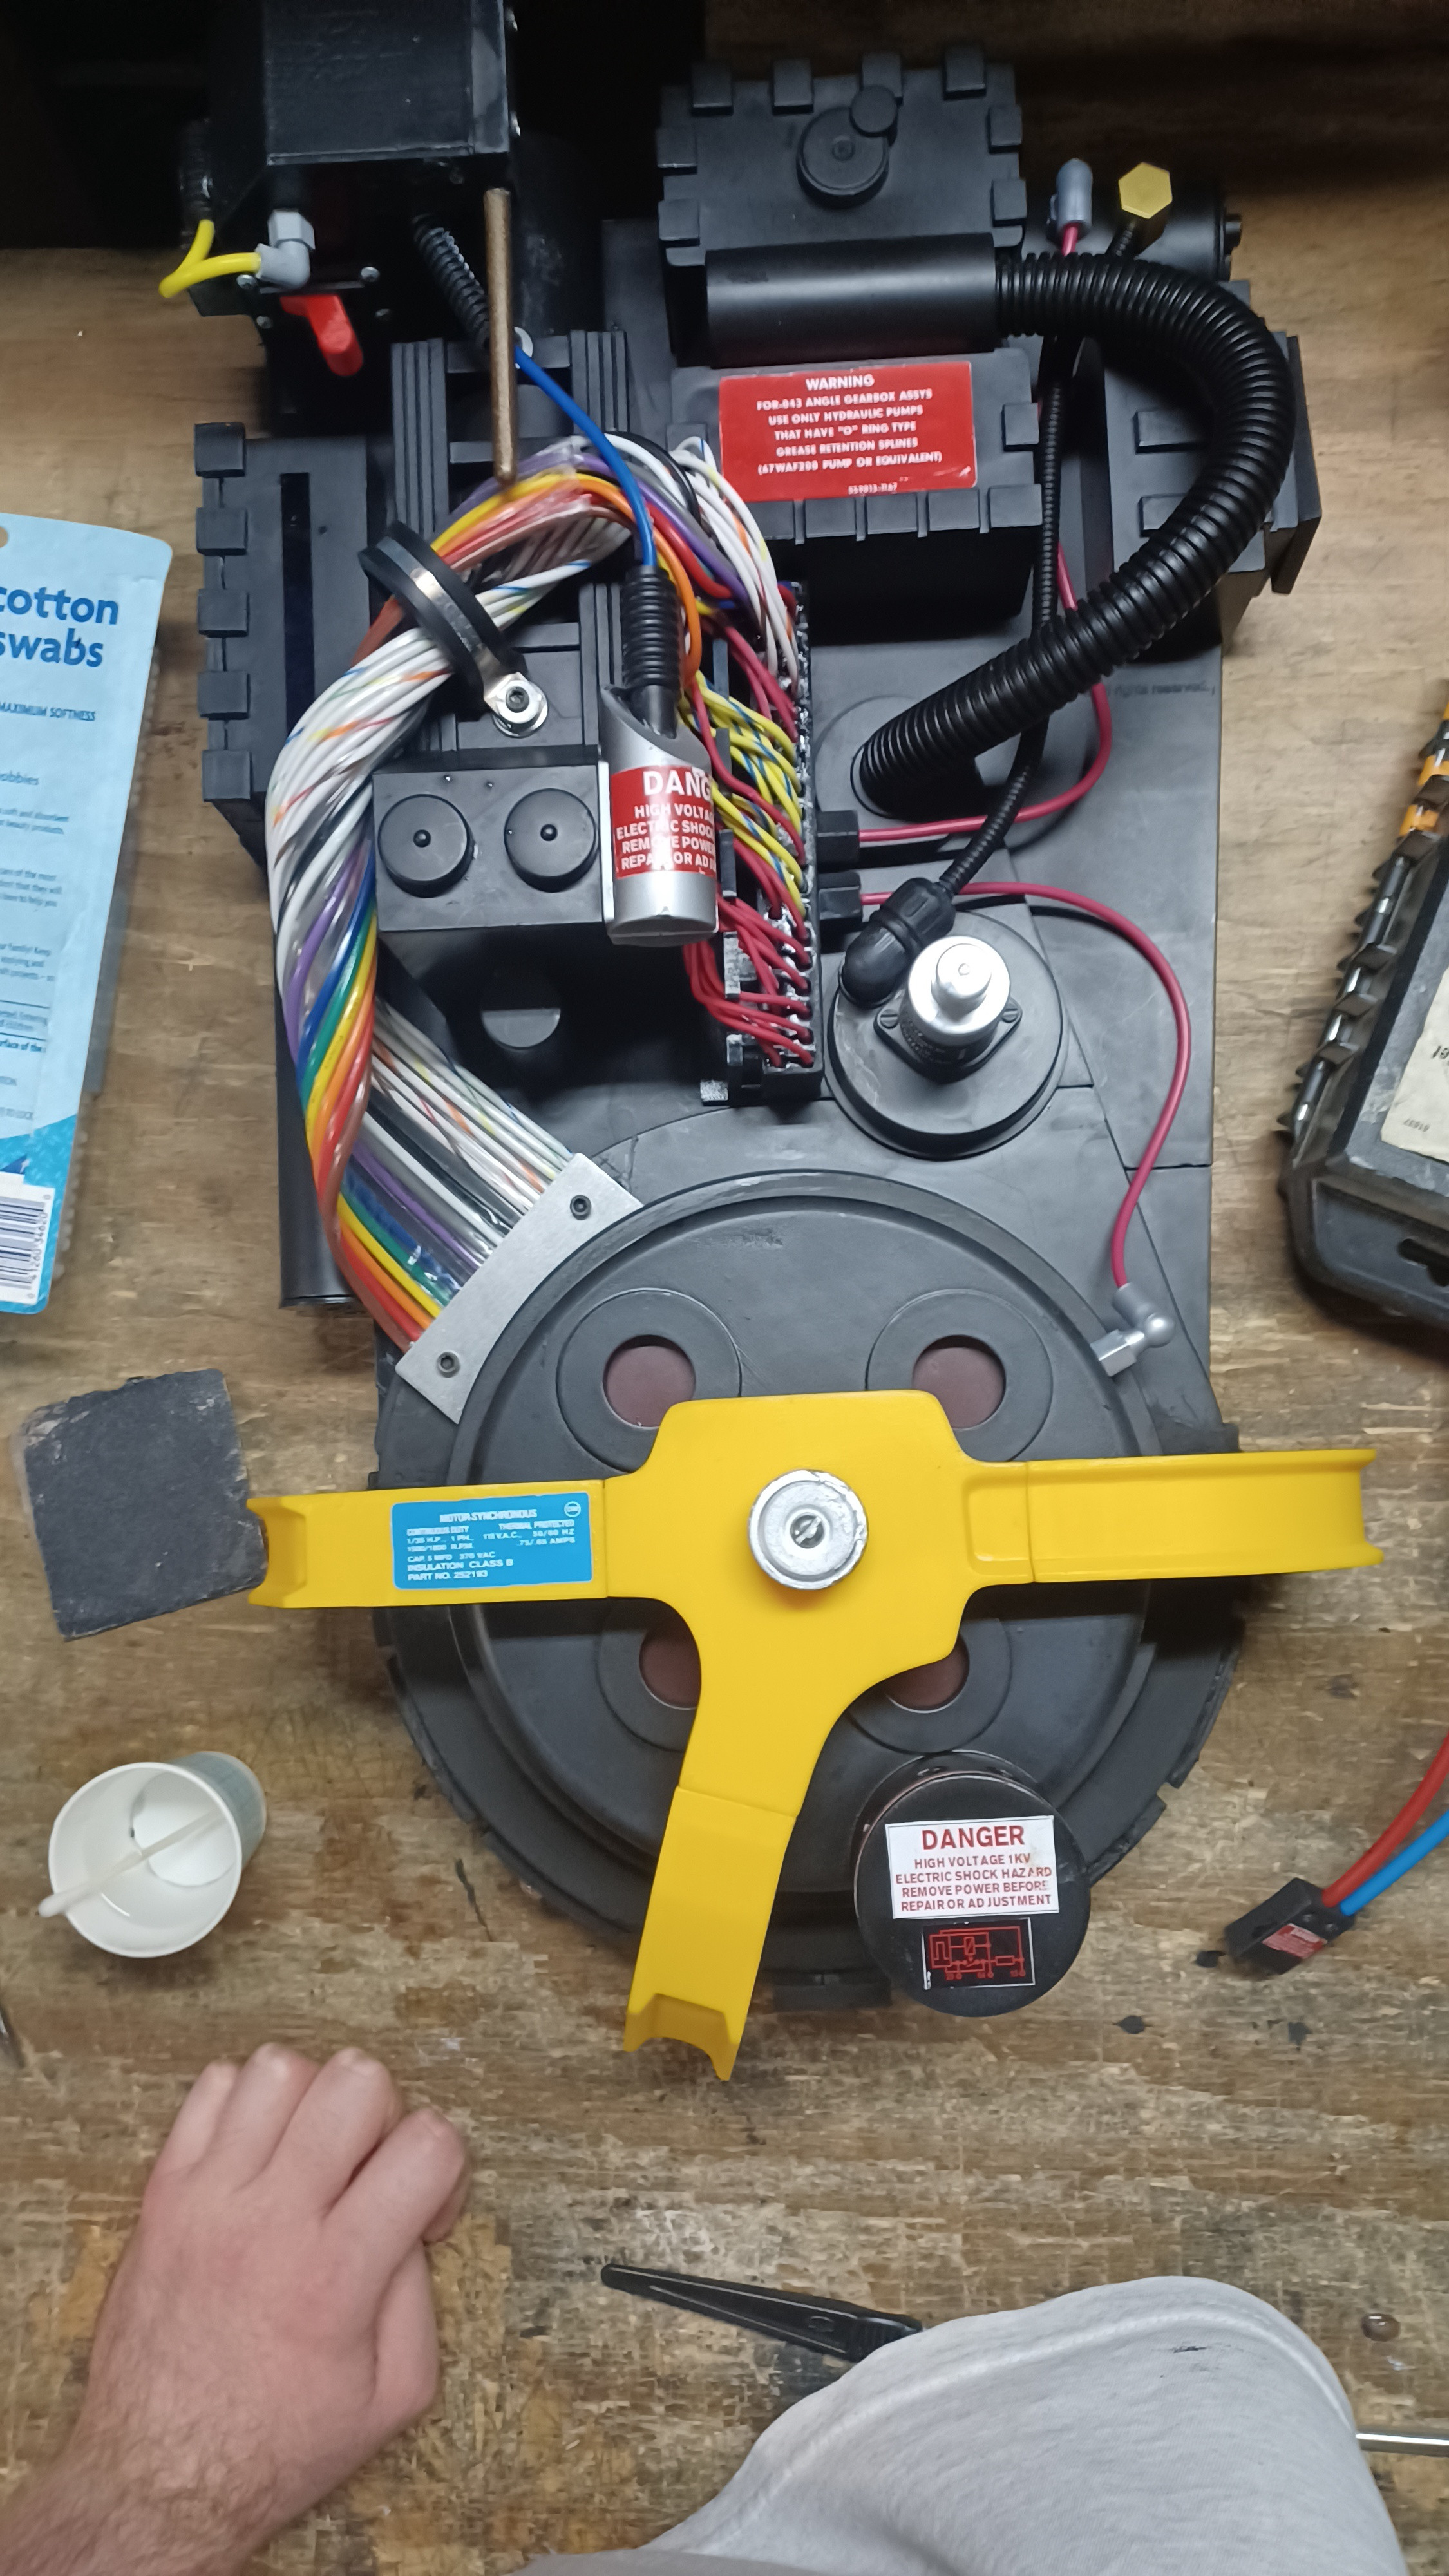
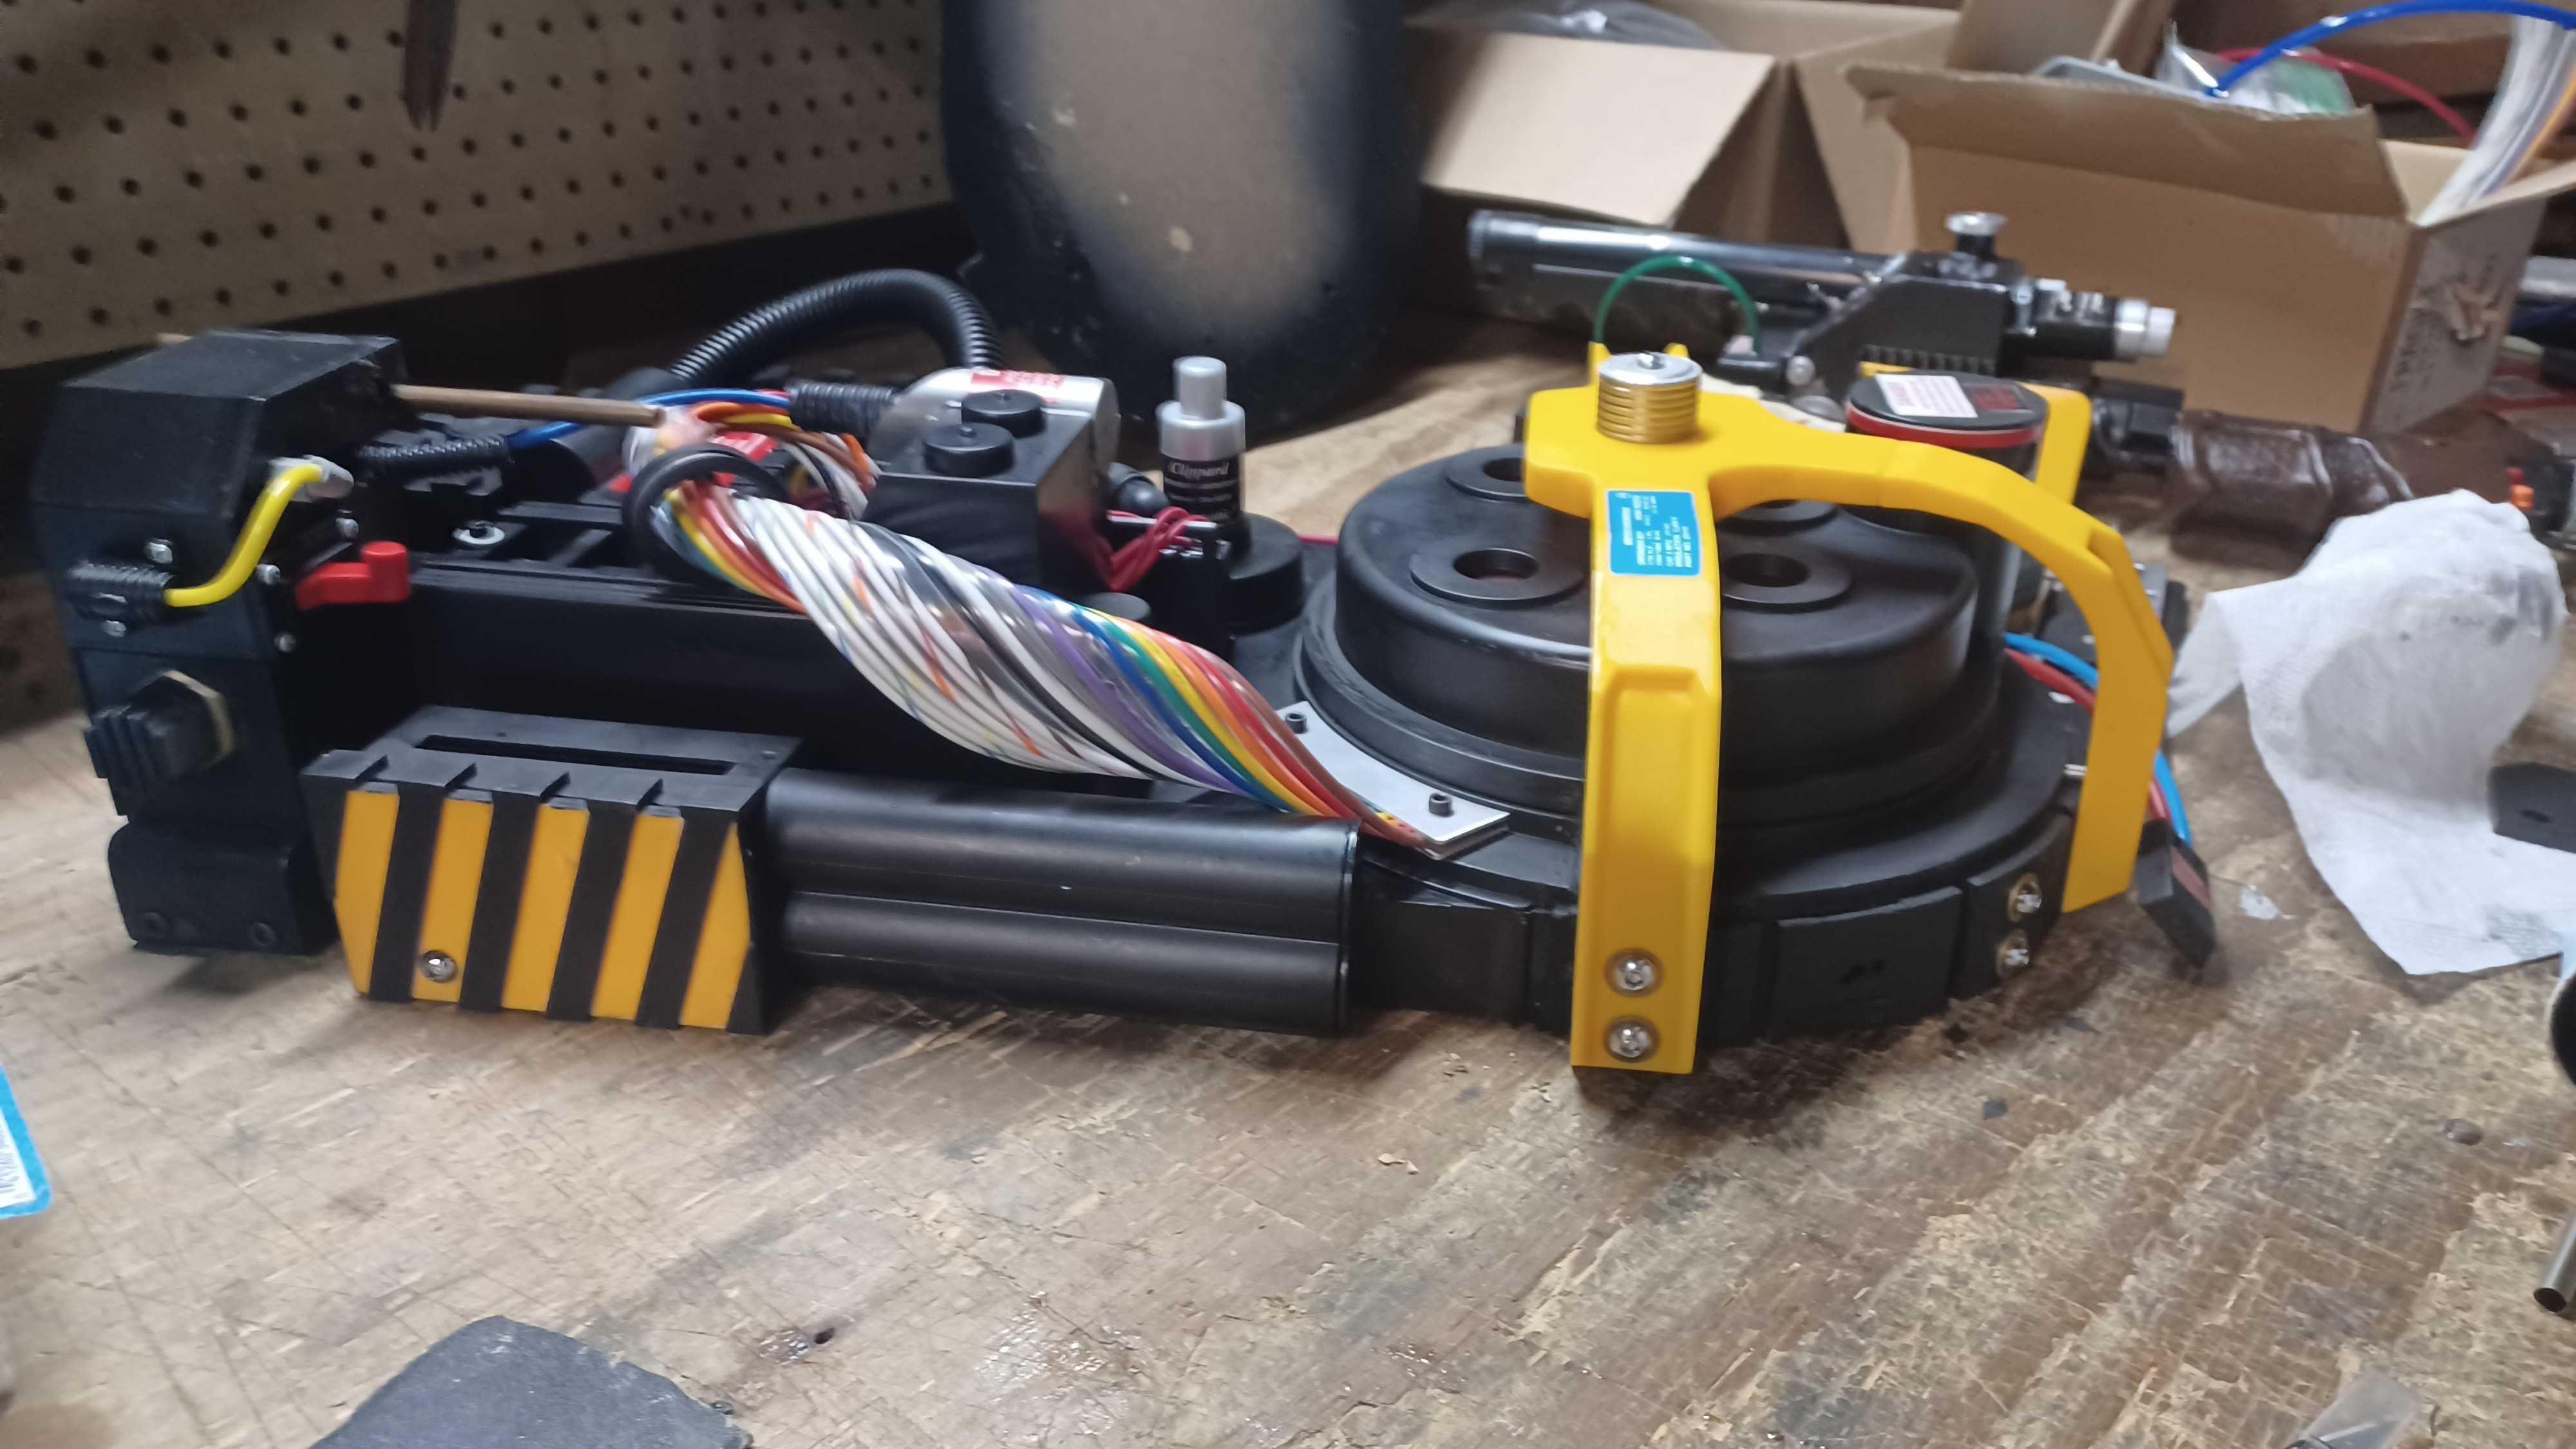
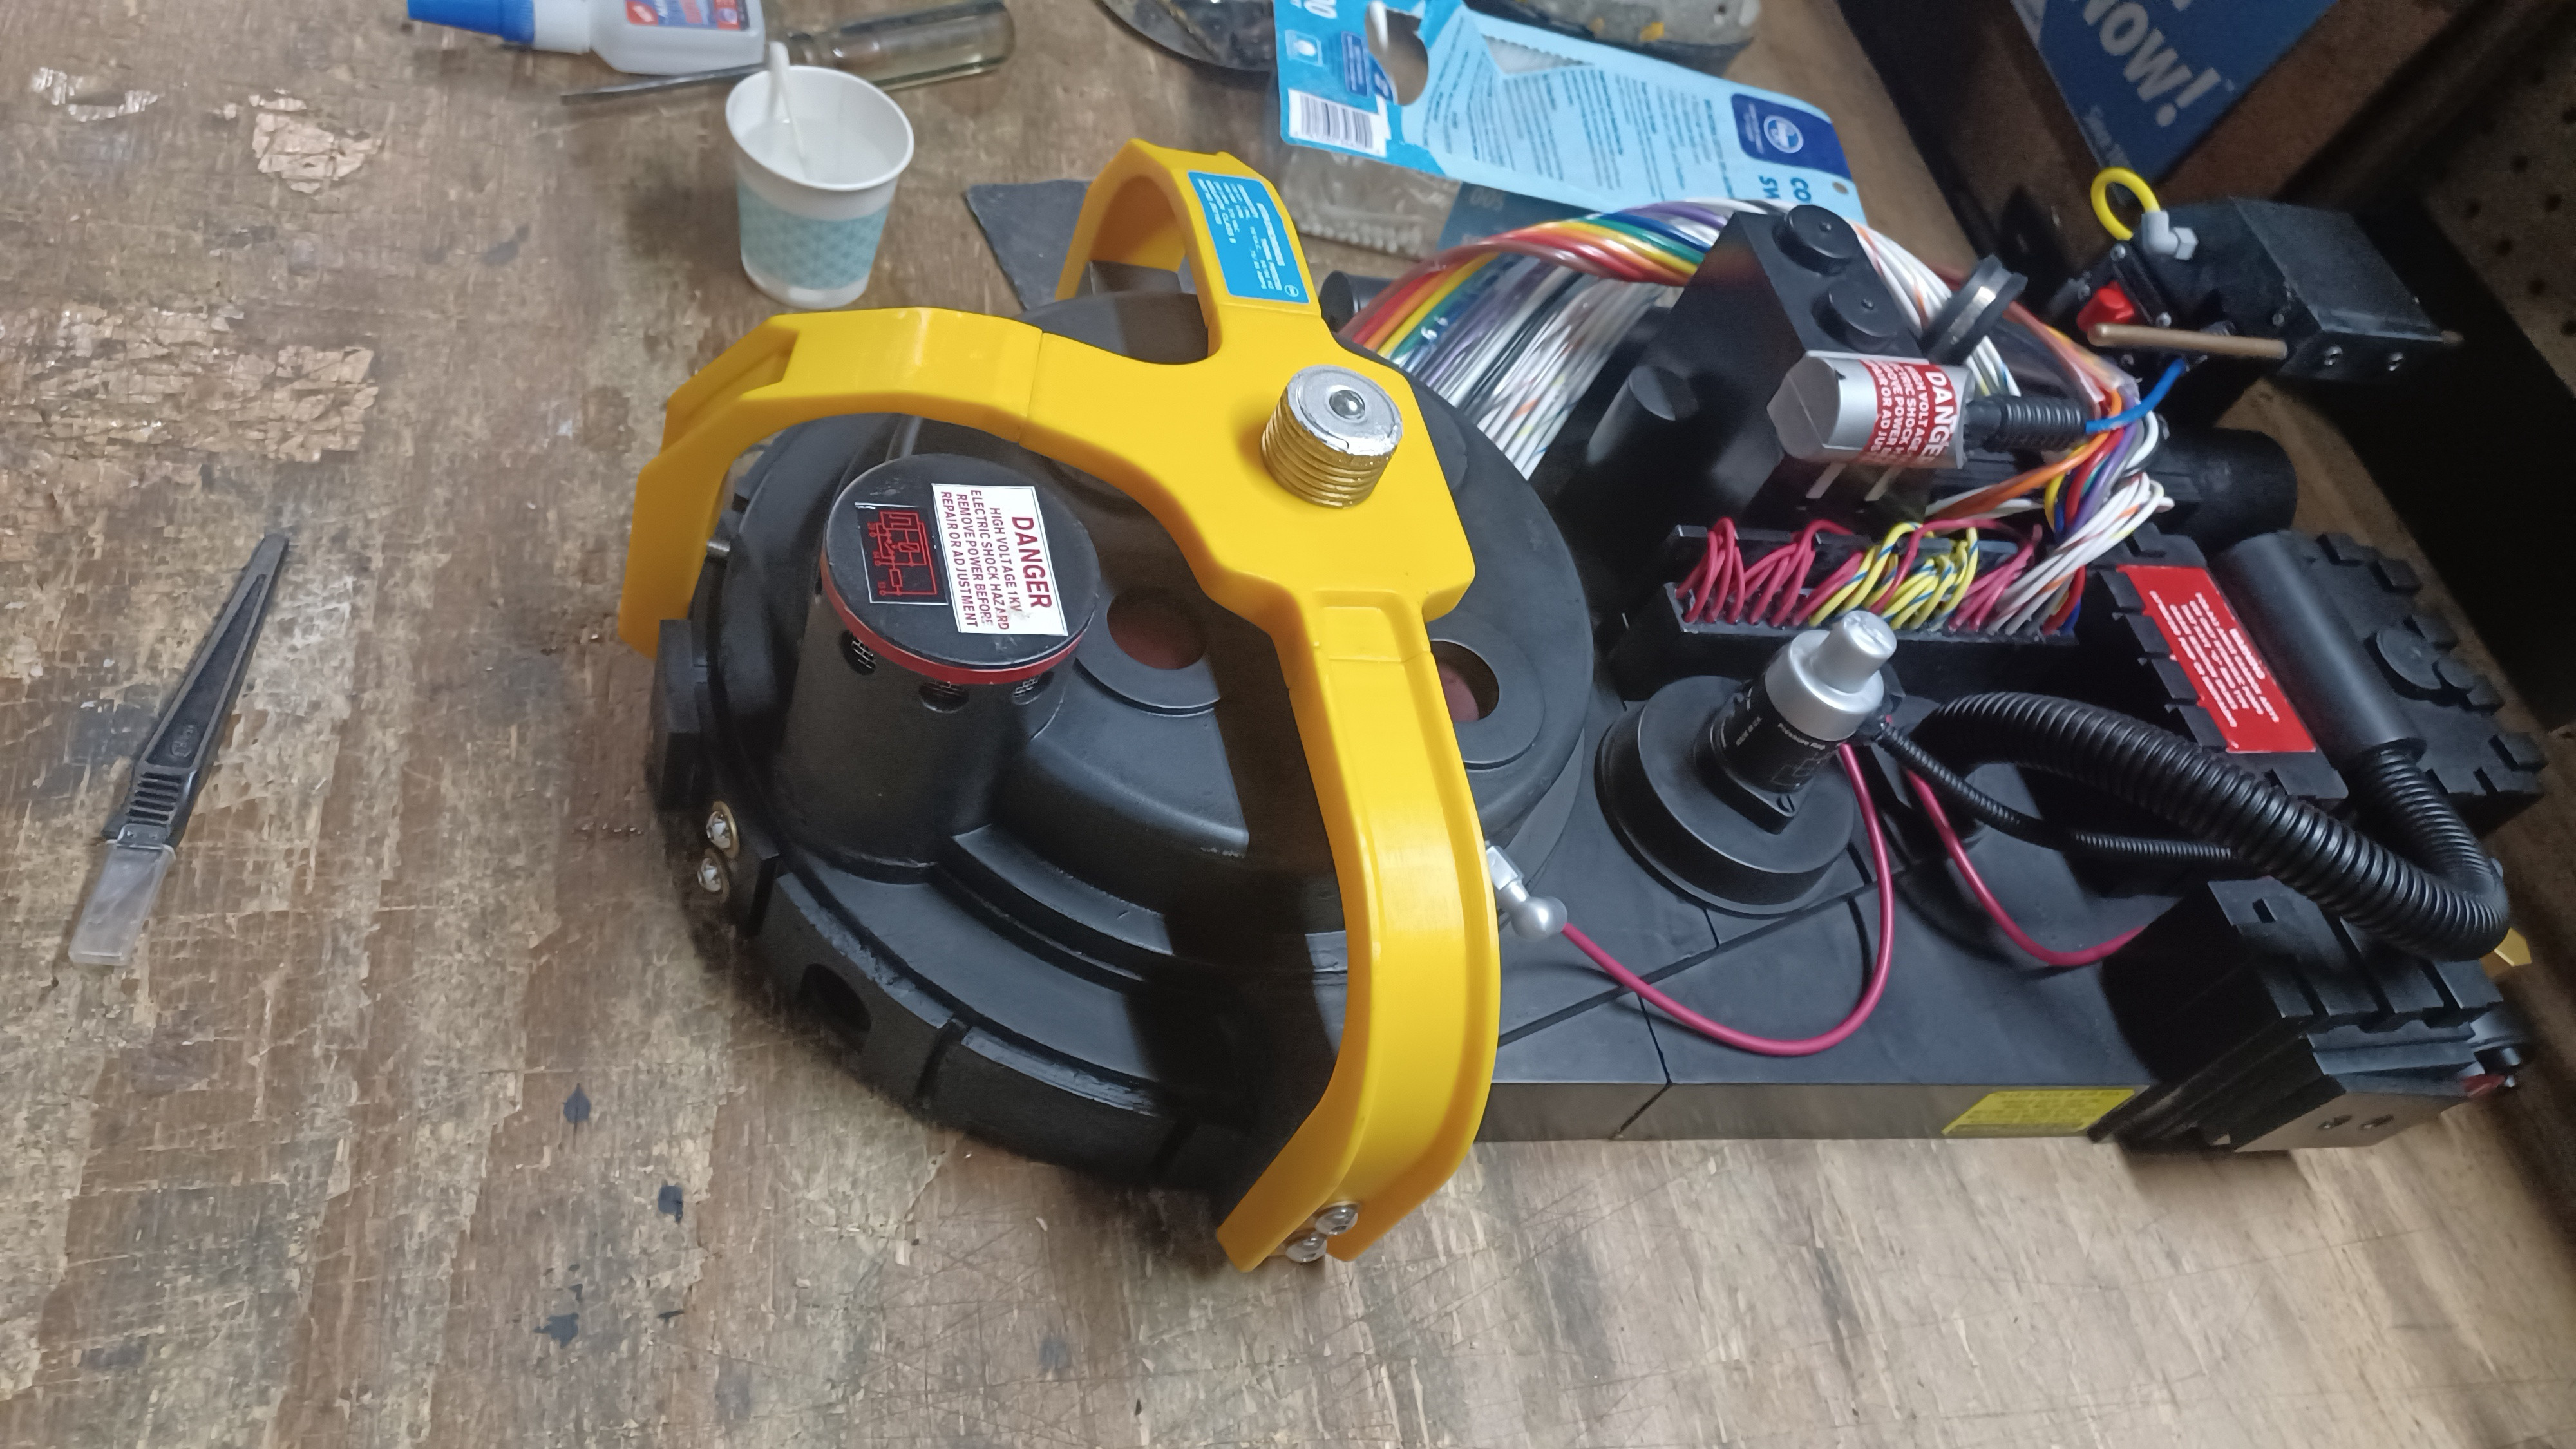
I know it’s been a while since I created this thread, but I just wanted to show my progress so far on this. Basically, Phase 1 is like 90% complete. The pack itself is almost completely facelifted to look like a HASP pack! I’ve also gotten it a motherboard and ALICE frame. As for the wand (I got that too), I’m going to install it’s upgrades after I install the GPStar kit. Speaking of that, I’ve purchased it, but am still waiting on it’s arrival. I still need to buy the other required components for it, but I’ll get to that when I get to that.

There’s still a few things I’m not entirely certain what I should do, mainly pertaining the frame. I still don’t know how to go about making the back padding. I’ve even gone as far as to thinking about contacting Ben Hall myself and asking how they made the padding for the screen-used packs. That probably sounds ridiculous, but that’s because next to nothing is known about those freaking pads.

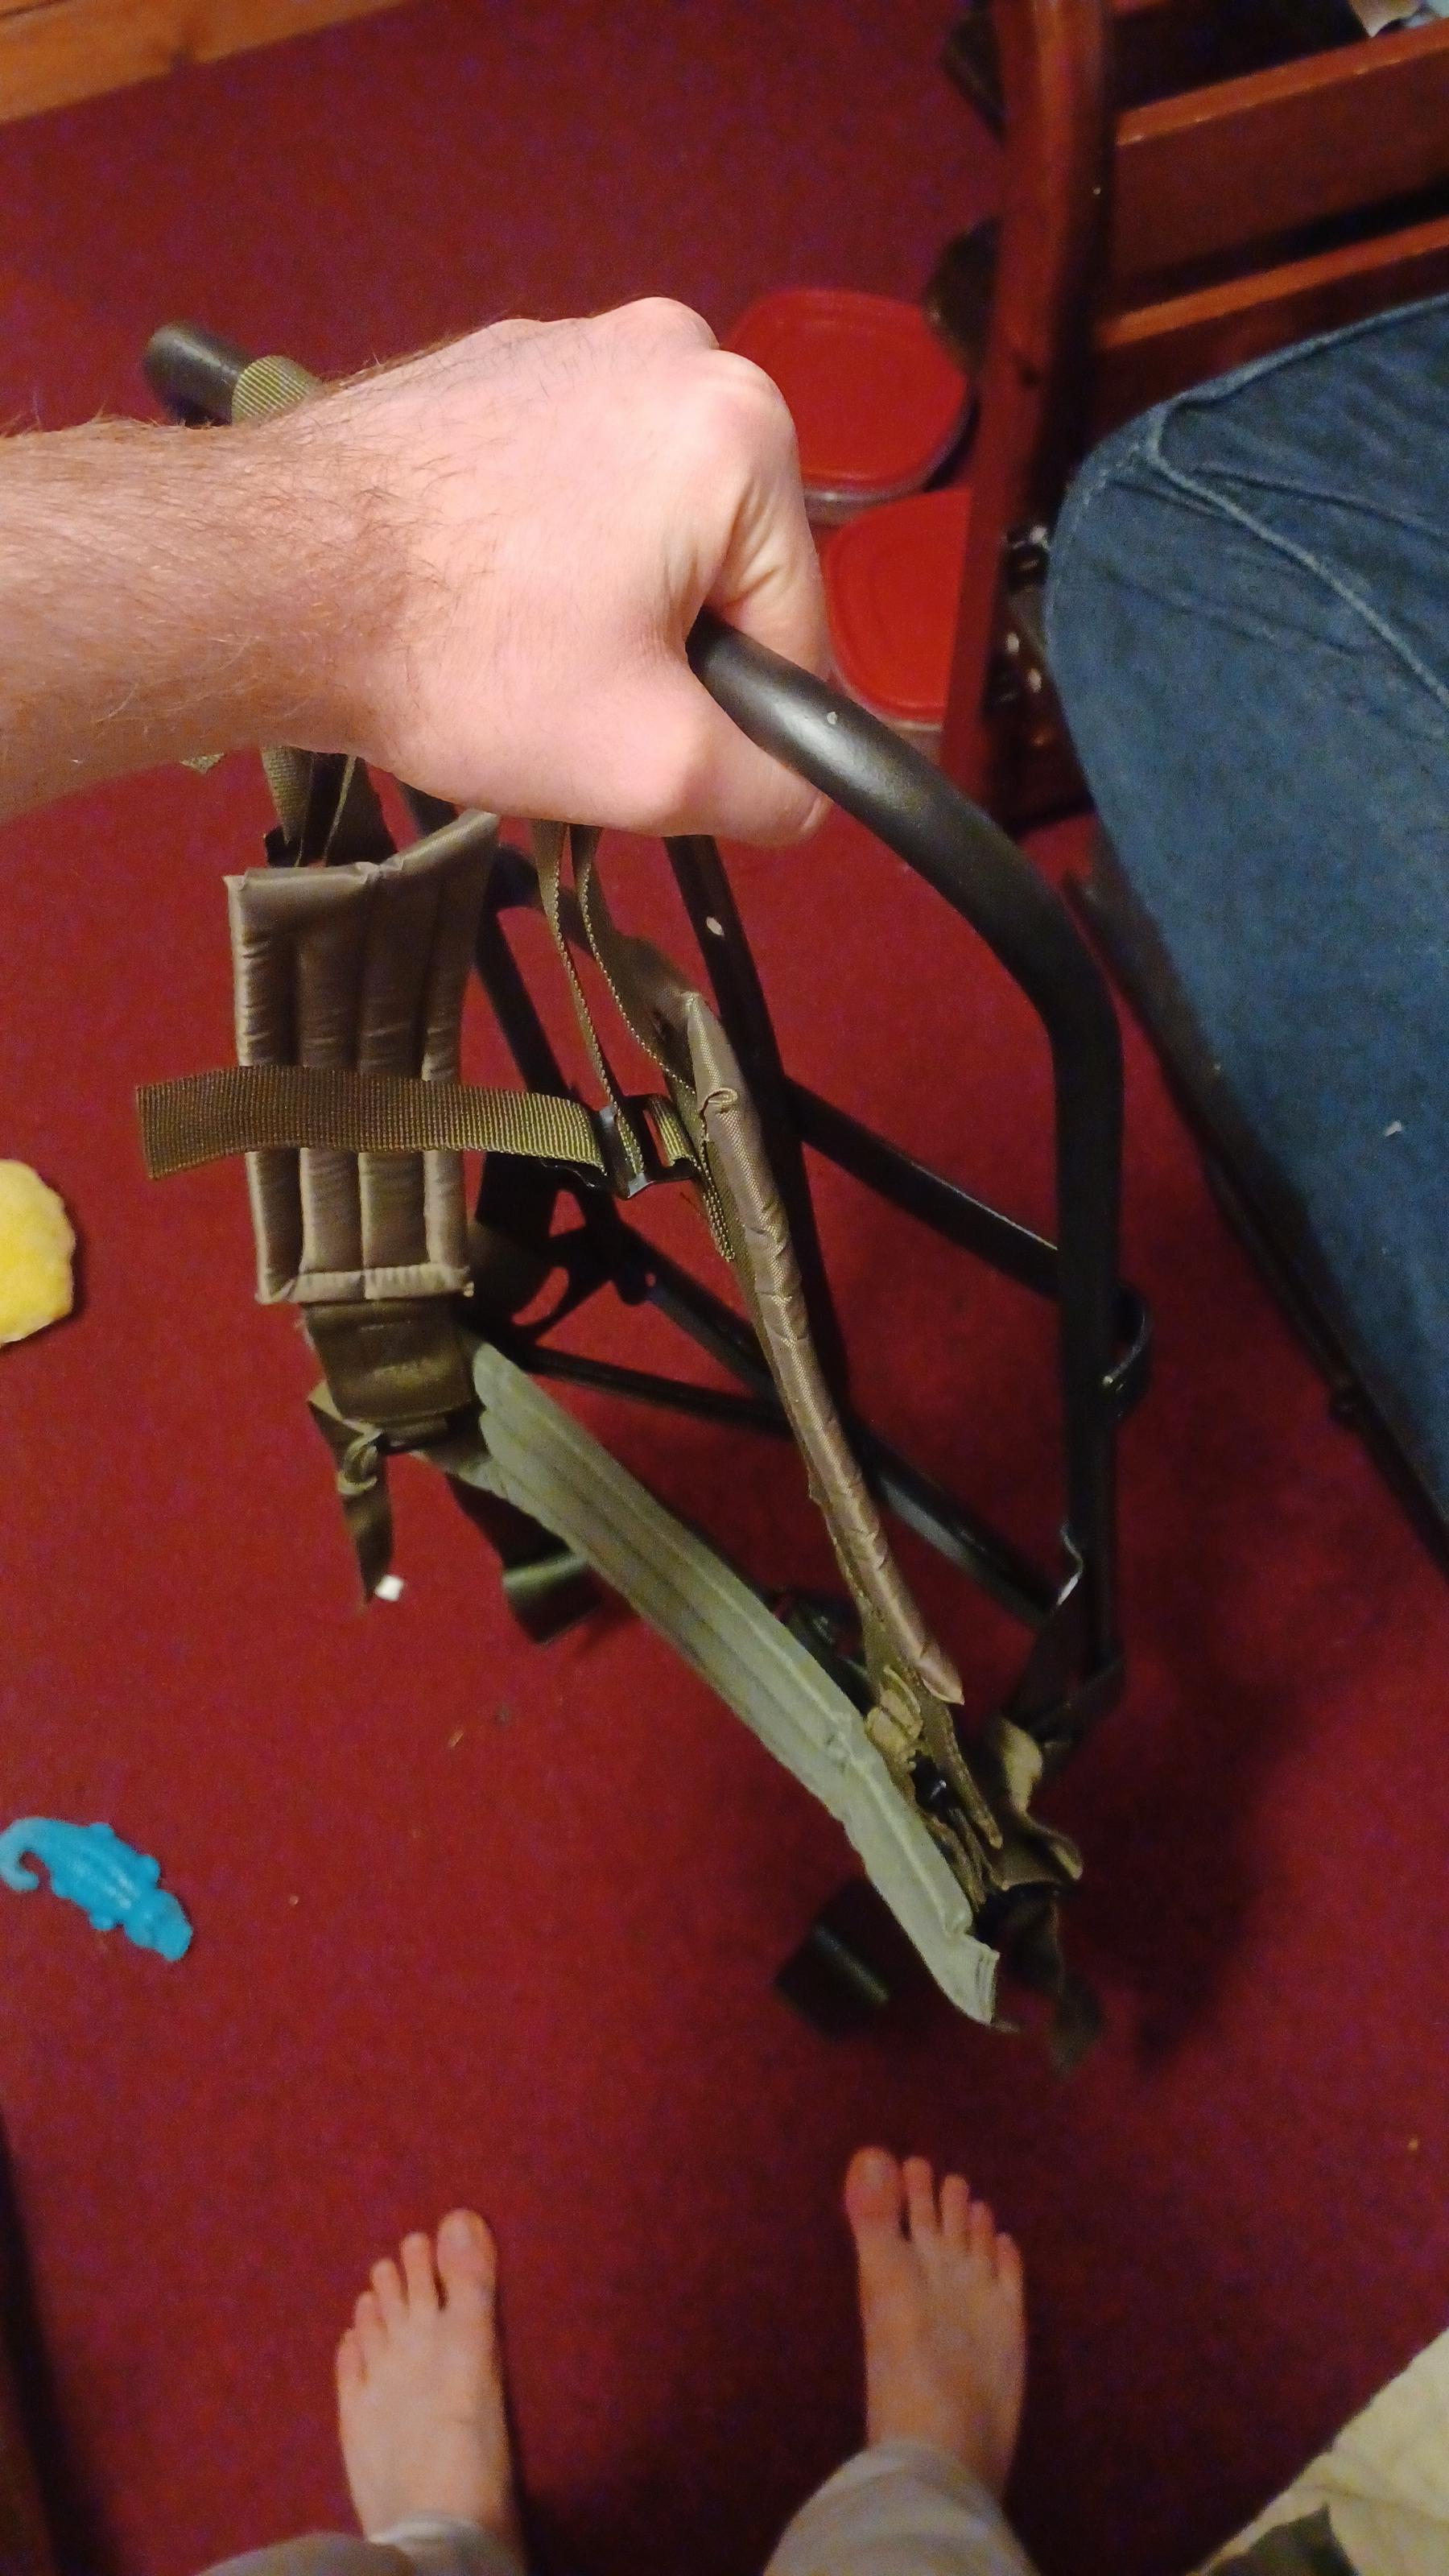
Also, I’m not sure if I still want to cut my alice frame to 80% size as I originally stated. It would make it look better from the front (i.e. the bottom half of it wouldn’t be visible), but I’m also worried about compromising the comfort of it (not that there’s a ton to begin with). I also don’t think it’d be as simple as cutting the side and middle bars of the frame down in height, which if so could possibly compromise it’s sturdiness even more.

Regardless, I’m very happy with how it’s turning out :] I’ll try to post more pictures of the other components tomorrow.

looking good. I would leave the alice frame alone tbh. It may look larger but most won’t notice and it avoids any possibility of it breaking

One of the prop guys who made the back padding posted in Spengler’s 1984 Work Bench on facebook about how it was done a while back. Wanna say his name was Lee something? Worth a look in there anyway.

Could you link it if possible?

I’ve thought about doing that too. I guess I don’t really mine the look of them on the 80% packs too much (though it is definitely noticeable), but that being said, if I could either cut it down to size or get a smaller frame, that’d be nice. After all, I have seen people do it.

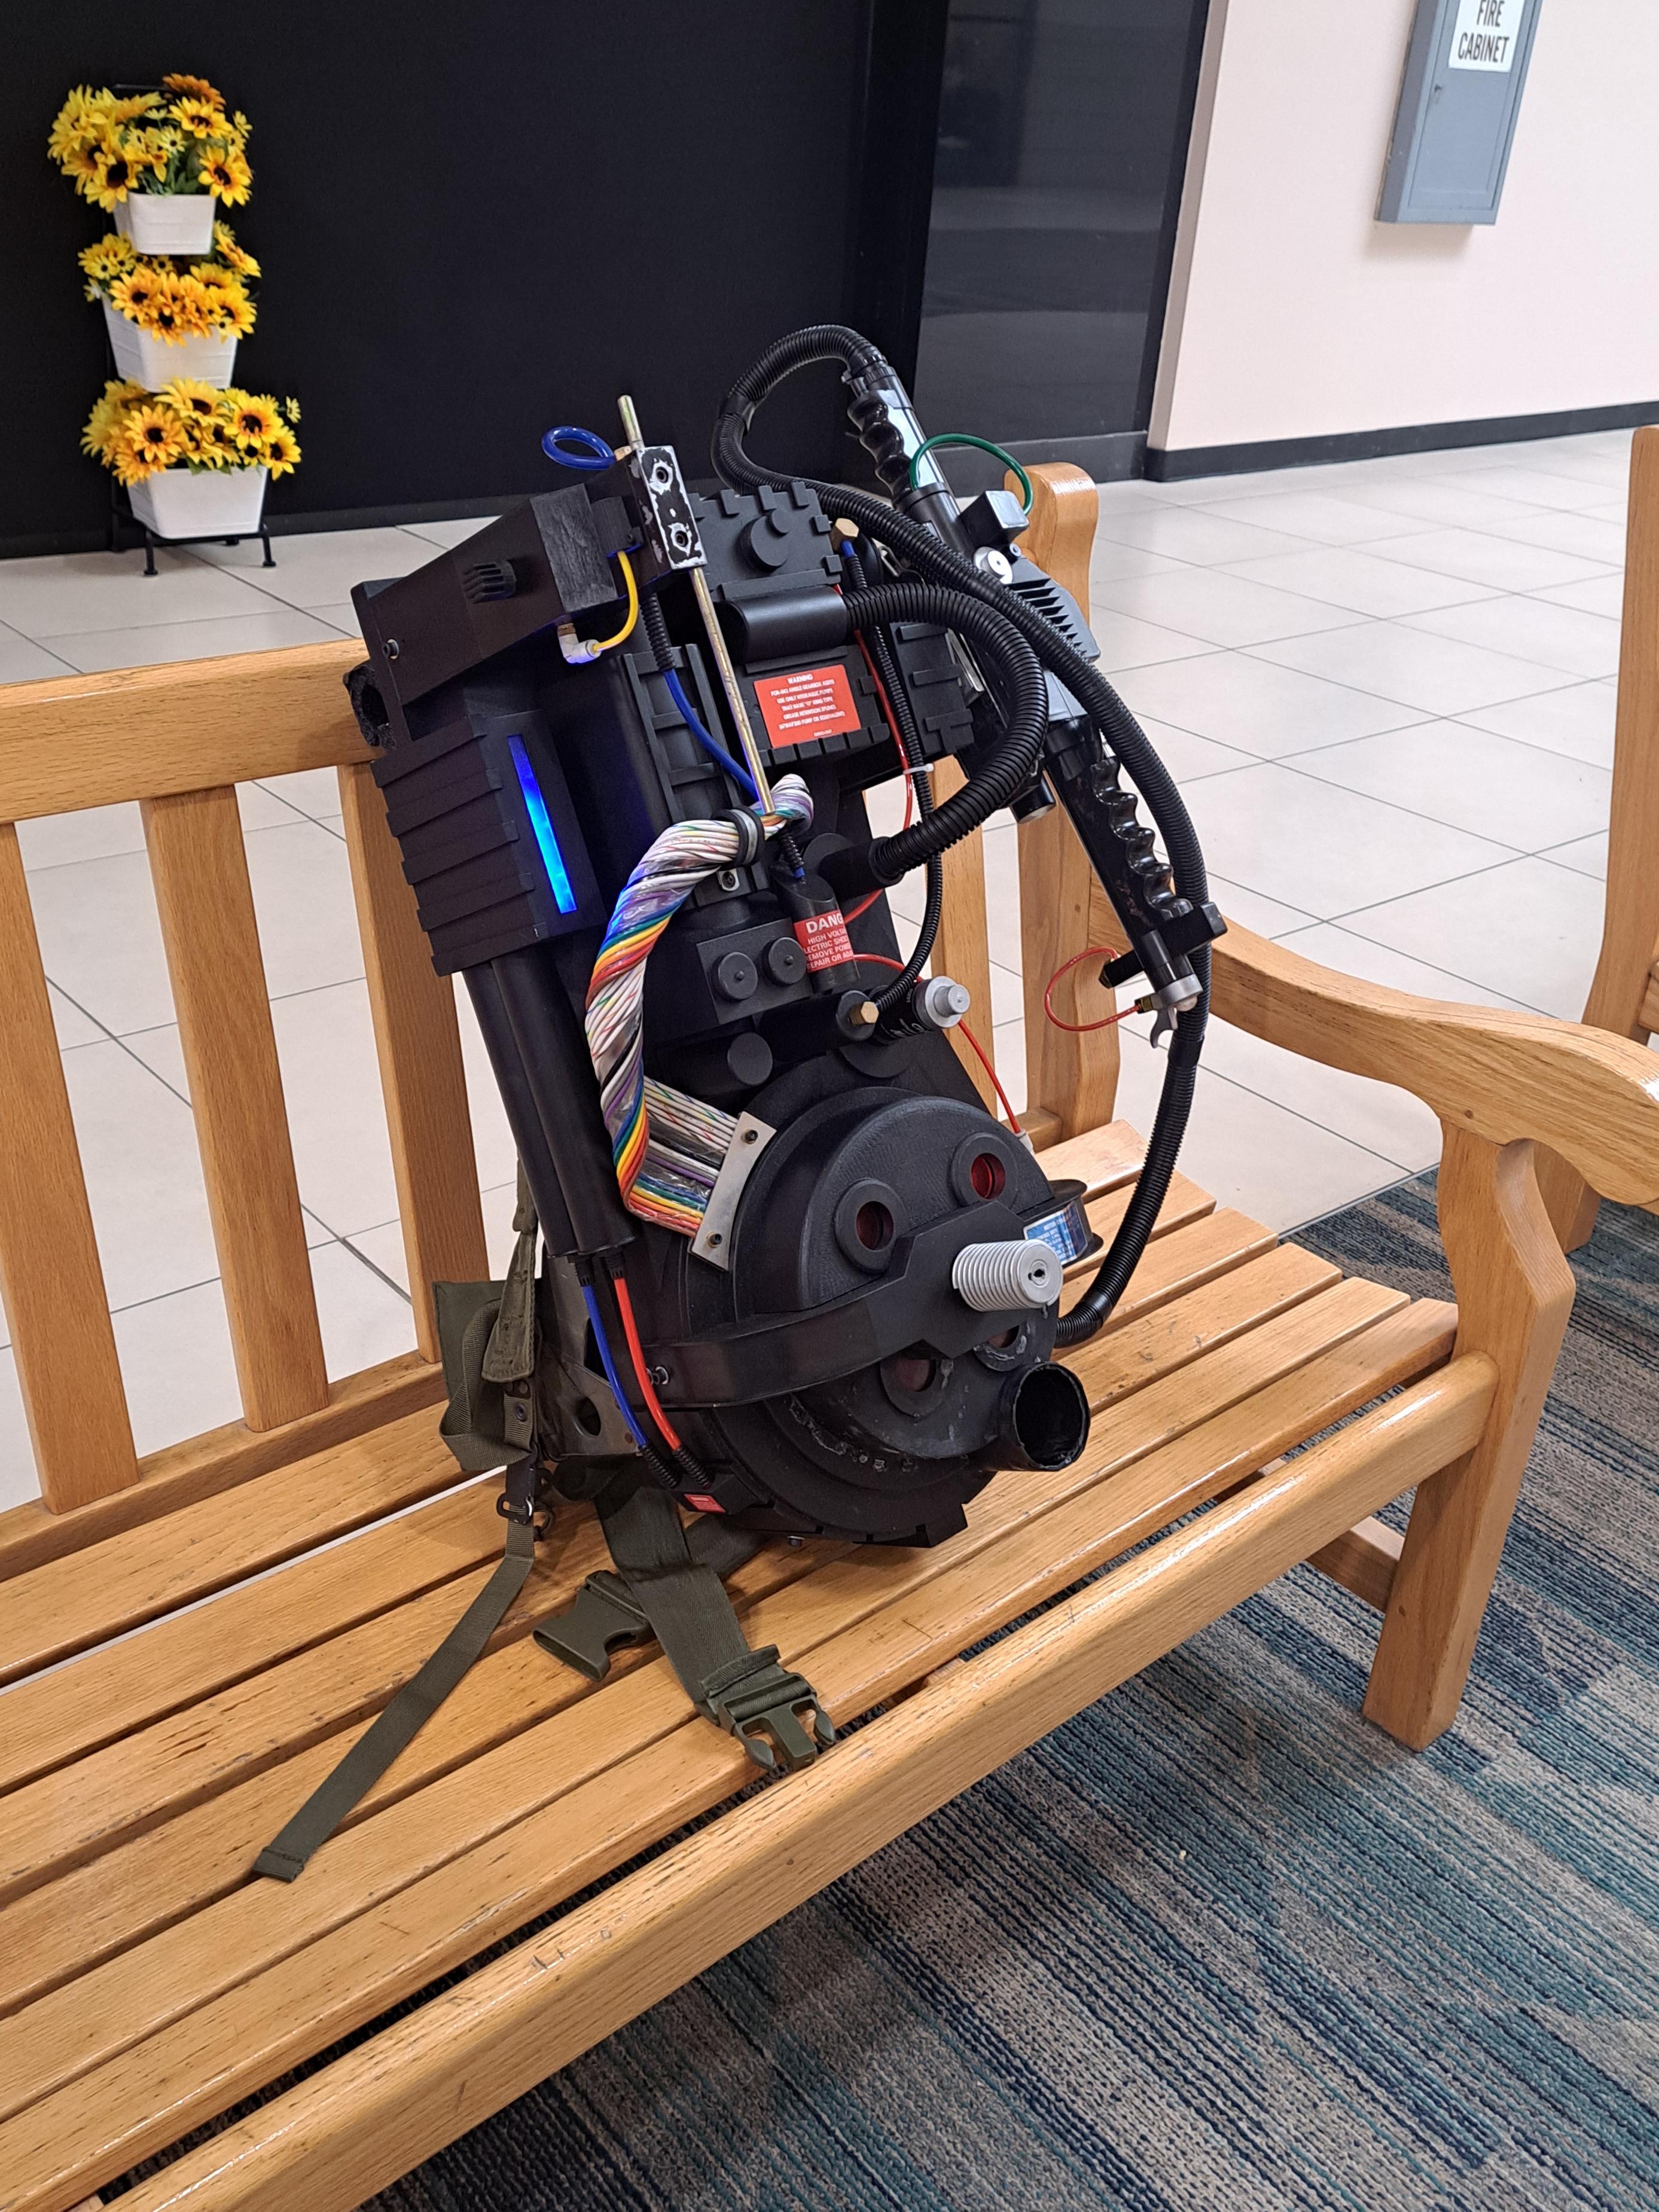
Here’s more pictures I took today.

It’s a private Facebook group, so you’ll need to join it to see anything. Look for a post by Allen Mosenkis from March this year, the comments have a bunch of pics and info from Lee Newell who made them for FE. Make sure you answer the membership questions when applying to join, or you won’t be admitted.

Tried making an account. Got freaking banned before I could to anything. I’m not joking. Not that I wanted to go fork over my personal info (and soul) to that crappy company.

Anyways, so that’s a no-go on that.

Here’s what it looks like with the motherboard and Alice frame attached. I don’t like how the two side bars are visible from the front. It just looks bad. Is there anything I could do to cover them possibly?

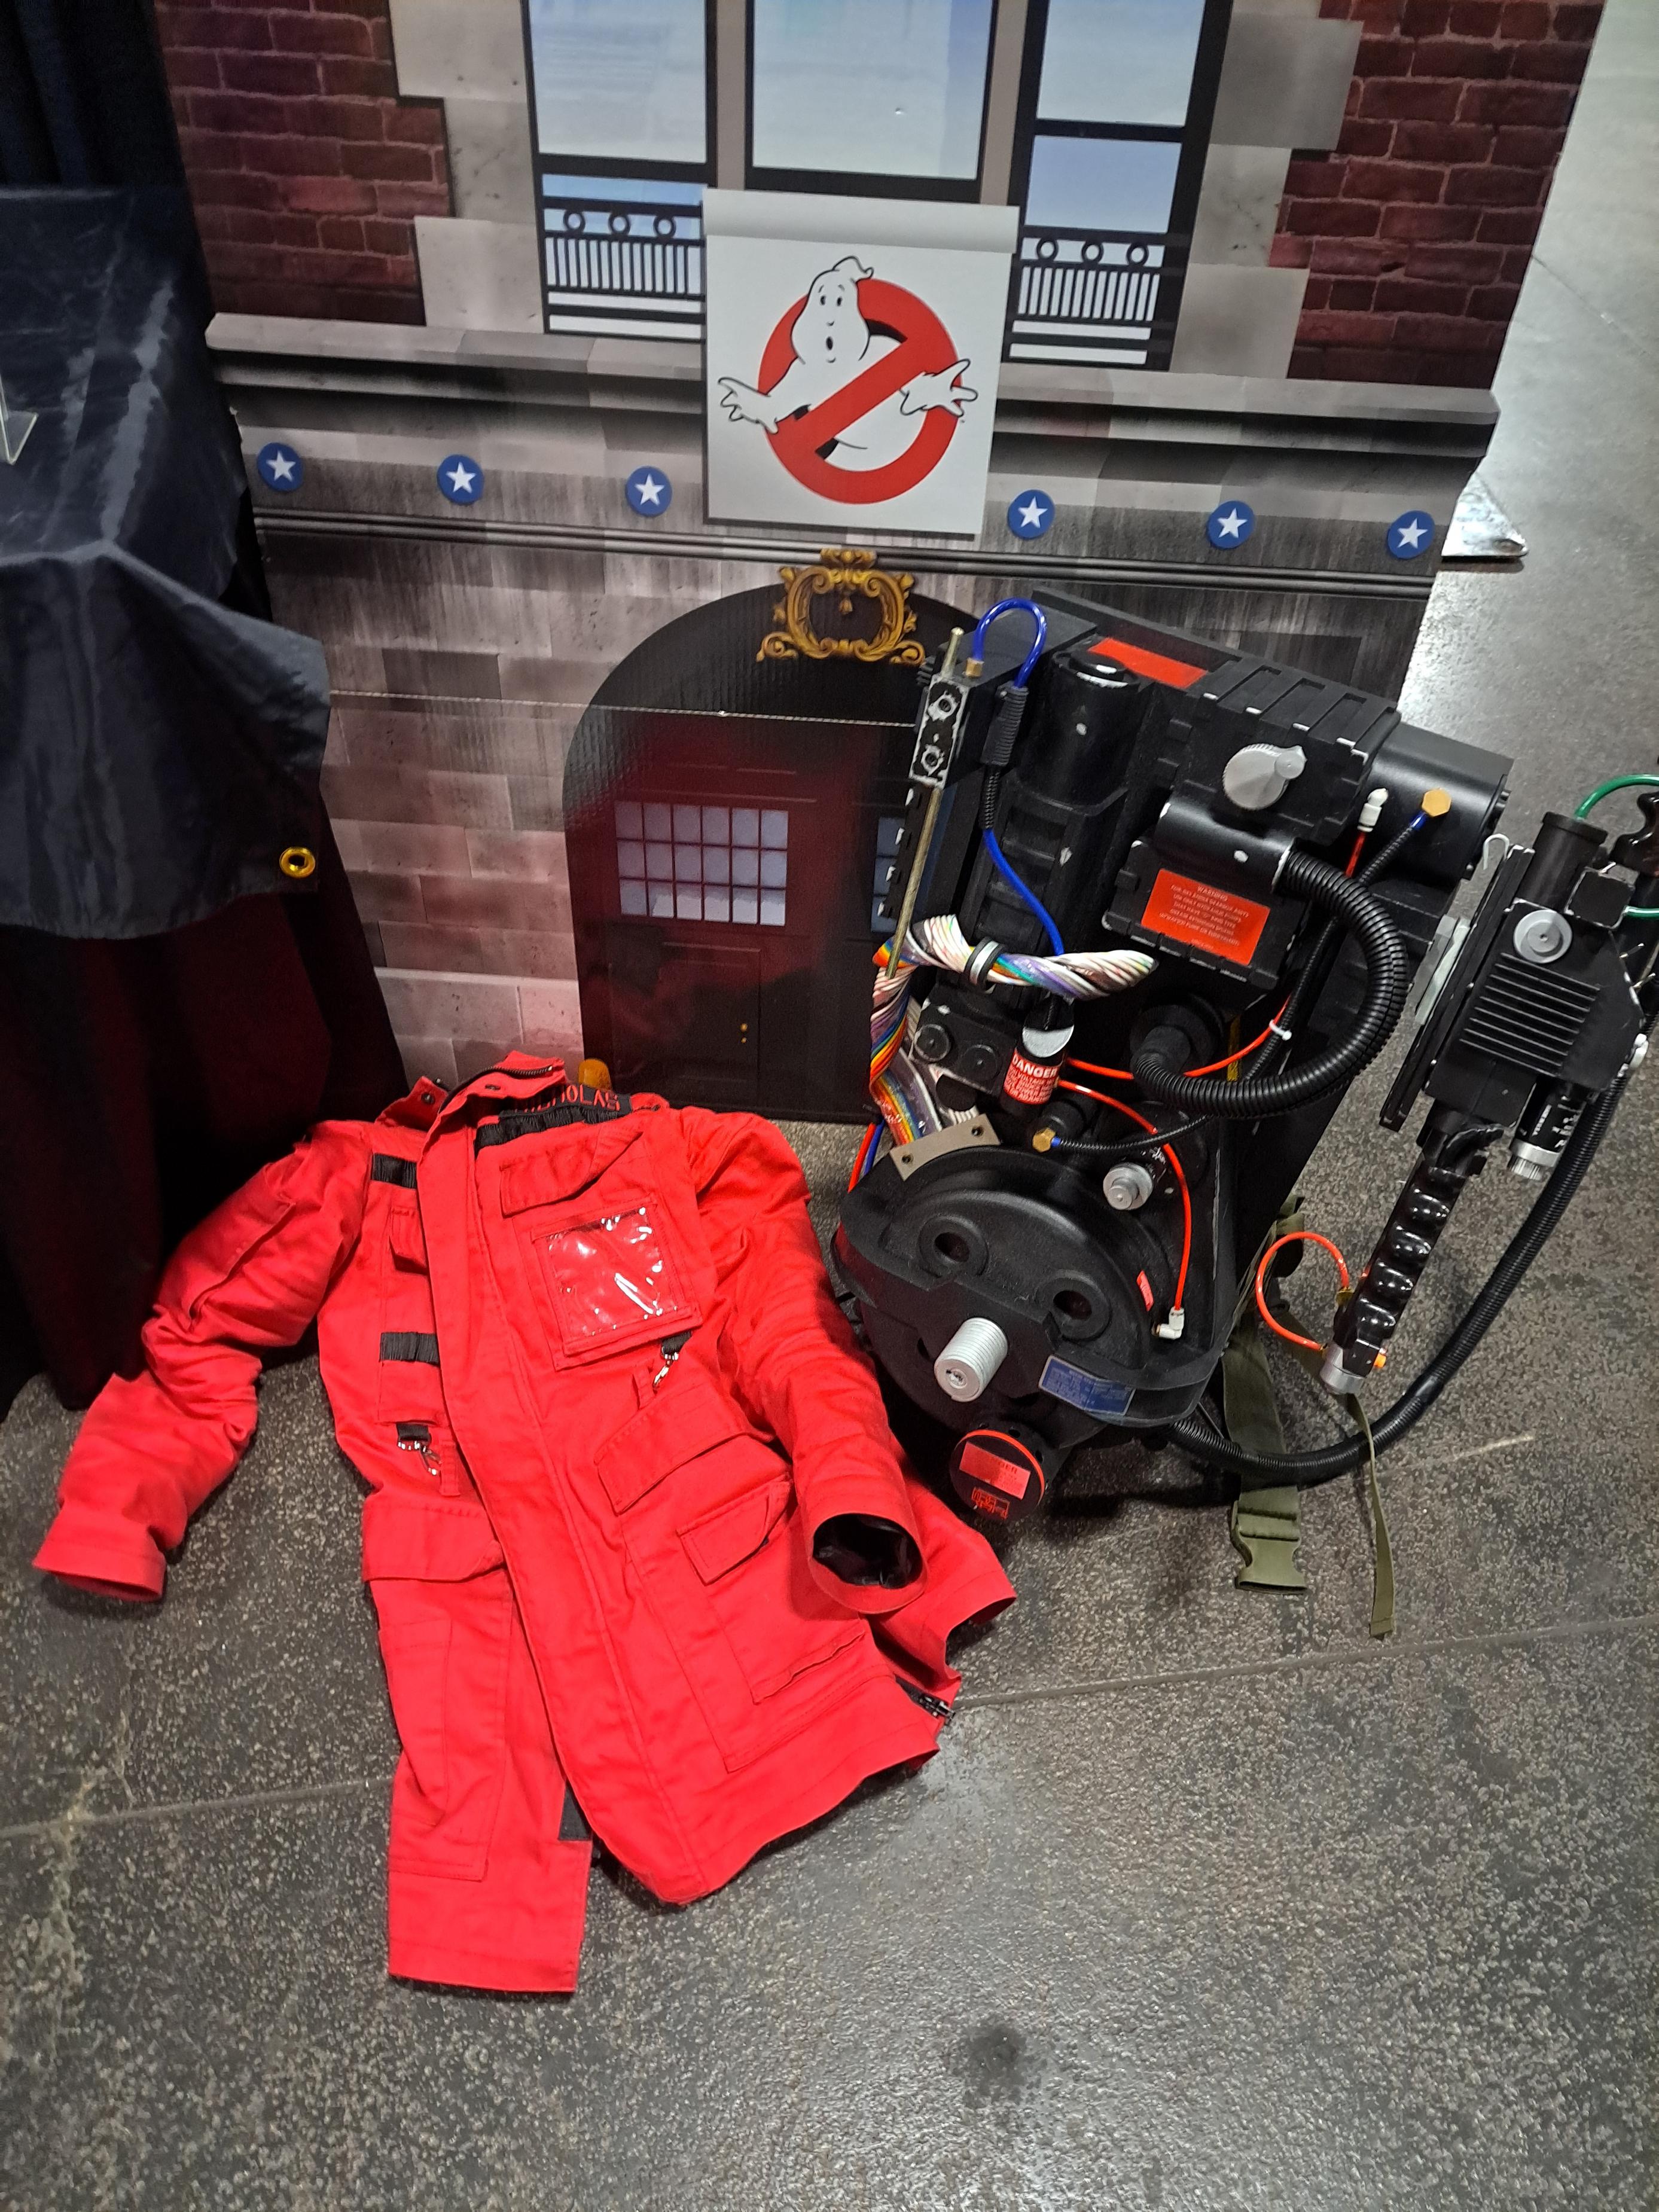
Its nick from roblox and as stated heres my pack, anyway yours is absolutely fantastic

That’s a nice Pack you got there Nick! Is that also your Parka on the right?

Update + Foam ALICE pad tutorial:

A decent amount of developments have happened since I last posted (more so recently). I’ve got good and bad news.

First the bad.

I axed the Wasteland Smoke kit from the project. I did this for two reasons. Firstly, UPS has been a nightmare to work with through all of it. It arrived here in the states, but then stayed in limbo at the Louisville Kentucky distribution center, then their tracker said they lost it. I thought that alone would be the end of it, and I would get a refund and buy another one, but about a month later, I got an E-Mail stating that it was in my state, and was expected in a few days. However, upon checking the UPS tracker, I learned that I’d need to pay $200+ in import tariffs. I had a feeling that these Trump tariffs would affect the delivery in some fashion, but I wasn’t expecting this. So, I decided that I’m going to refuse the package. Paul Gijsen thankfully refunded my money. I’m praying that this kind of headache won’t affect my GPStar kit, which still hasn’t shipped yet…

The second reason that I no longer desire it is due to the sheer amount of maintenance that the kit would require. I’m not well versed in the use of smoke/fog machines, but I did skim through the manual PDF that Paul sent me when I ordered it. After doing so, I feel as though I’m not gonna be able to use it often in safe surroundings, and that it would be too maintenance-intensive to warrant it’s inclusion. Like I said, I’m not well versed with smoke machines, so I don’t know if these are things that are of concern with other kits or just the Wasteland ones. If they’re not, then I’d gladly buy a different kit and install it. I’m not writing this to personally attack Paul and Wasteland Industries, but just to “vent” a little, and ask for advice on how to progress.

With that being said, here’s the good news.

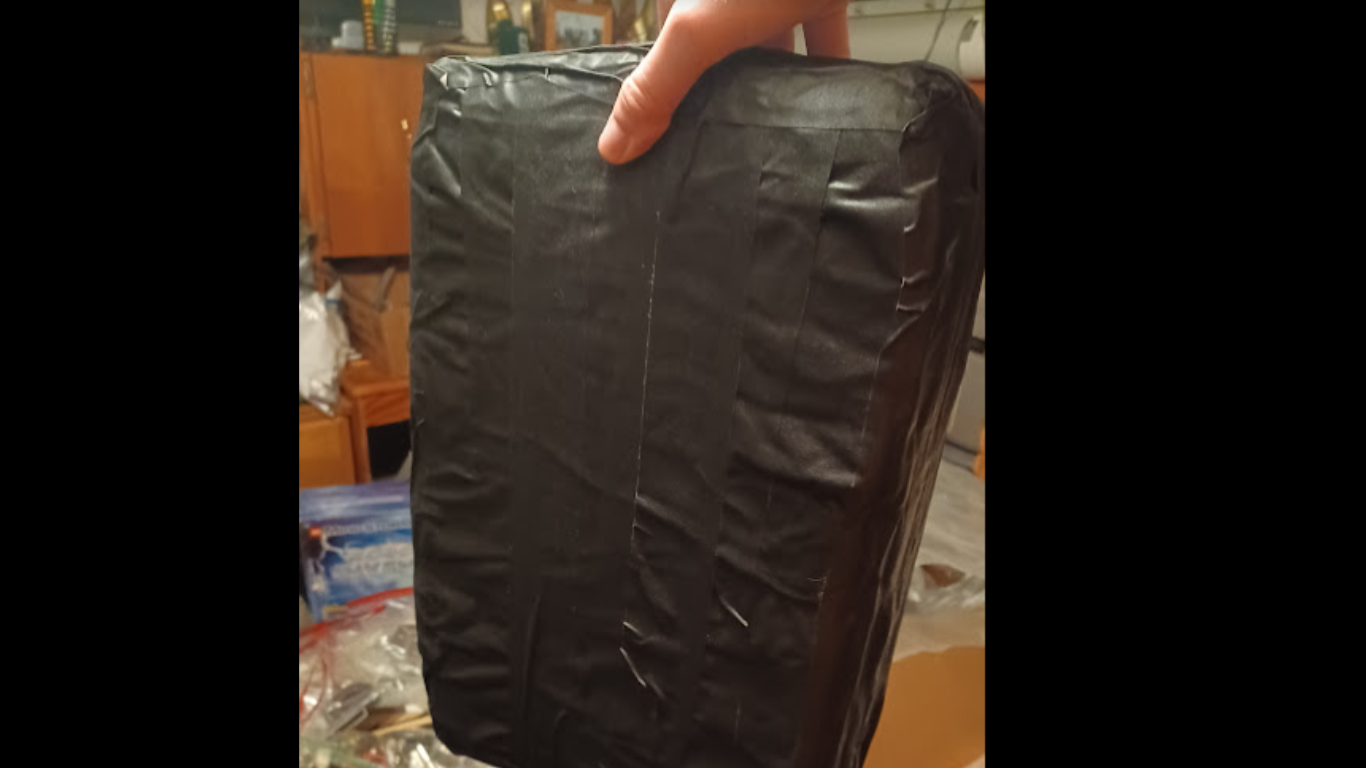
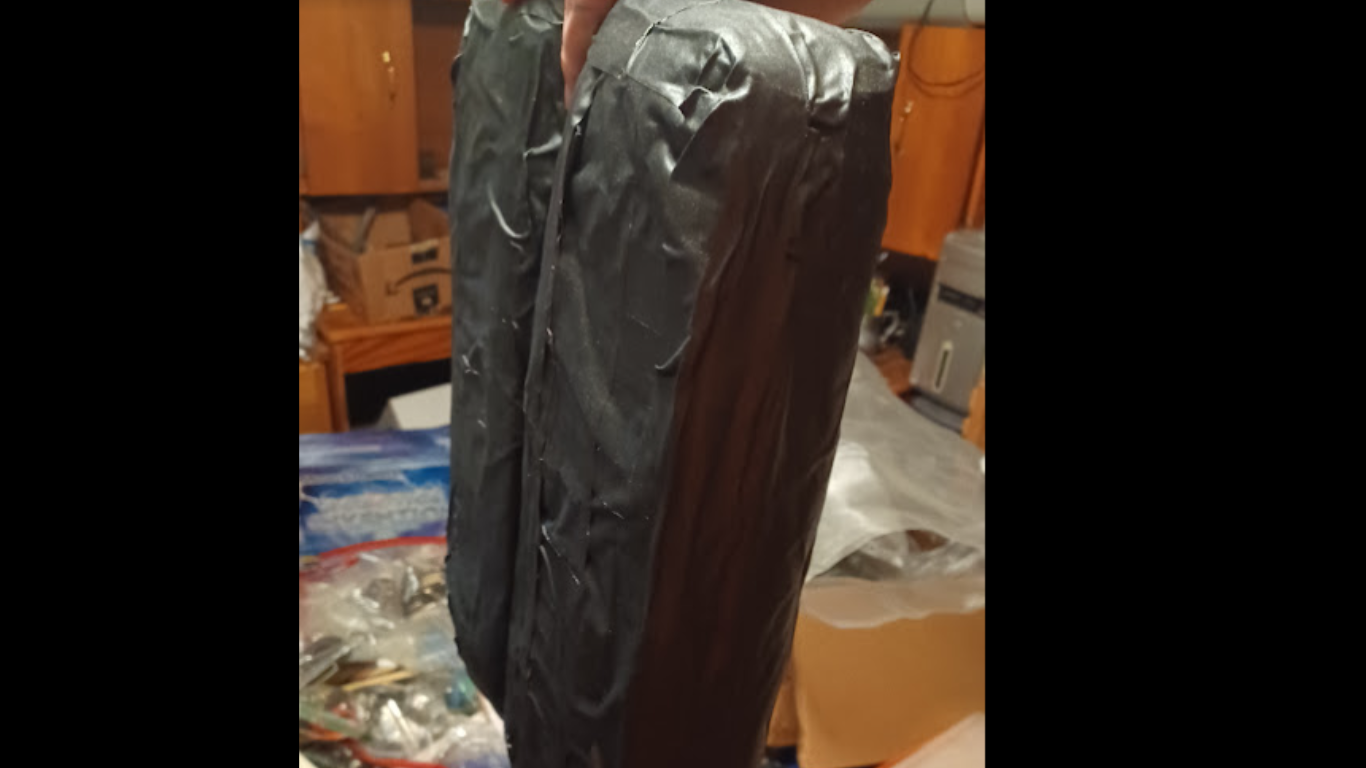
Yesterday I completed the back padding for the Pack! At first I was on the fence on whether or not I wanted to make it, as I initially wasn’t the biggest fan of how they looked on the screen-used Packs, but eventually I caved in and did so. Here’s a tutorial on how to make one for yourself.

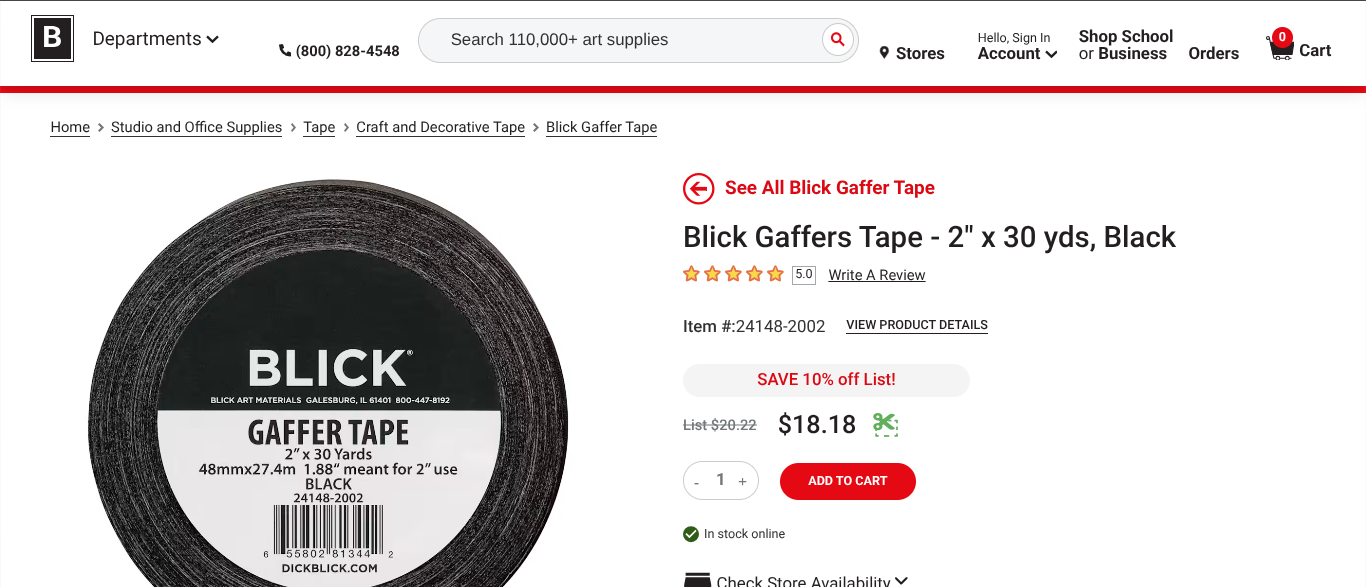
First off, for the Gaffer’s Tape, I went with Blick brand 2" x 30 yard tape. While It does have the white backing and thus isn’t kosher, I’d say it doesn’t matter, despite the concerns of it showing. If it were to start peeling off, which was the concern with the prop team for Frozen Empire, I’d say it’d be better to patch/replace it anyways (even then, you don’t see a whole lot of the pad once it’s on your back).

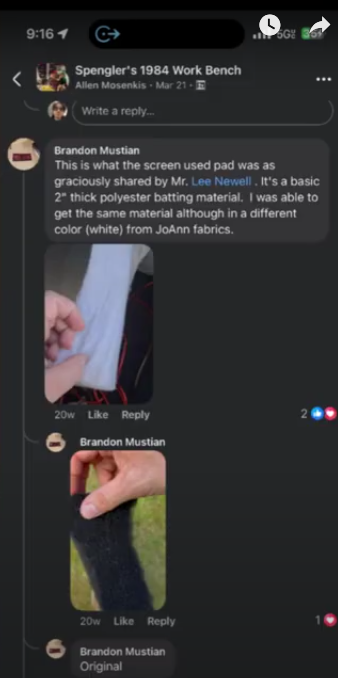
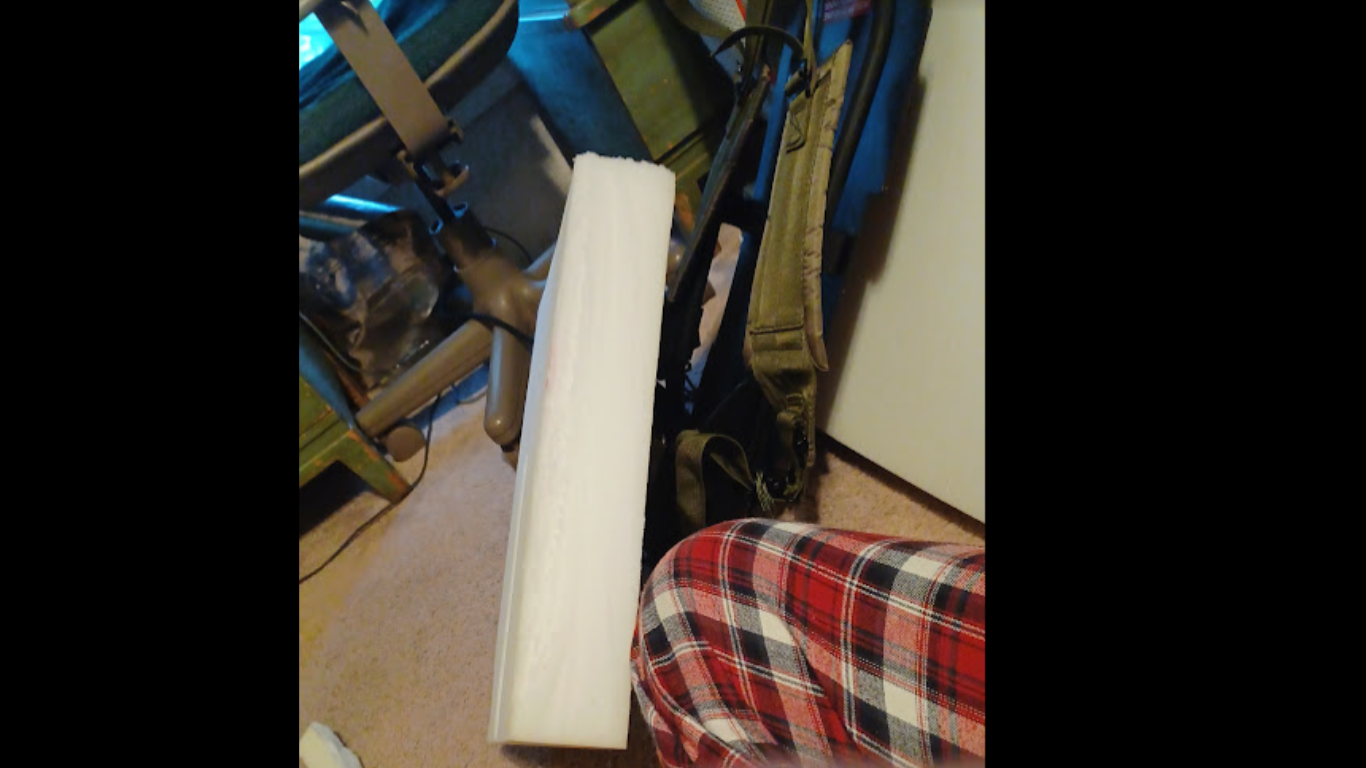
For the foam, I just used 3" memory foam that I got at Home Depot. Again, I don’t think having the same materials as what was used on the screen-used HASP Packs is necessary, but if it bugs you, the Hero HASPs used 2" thick polyester batting material (screenshot courtesy of Ted West’s video on how he made his padding).

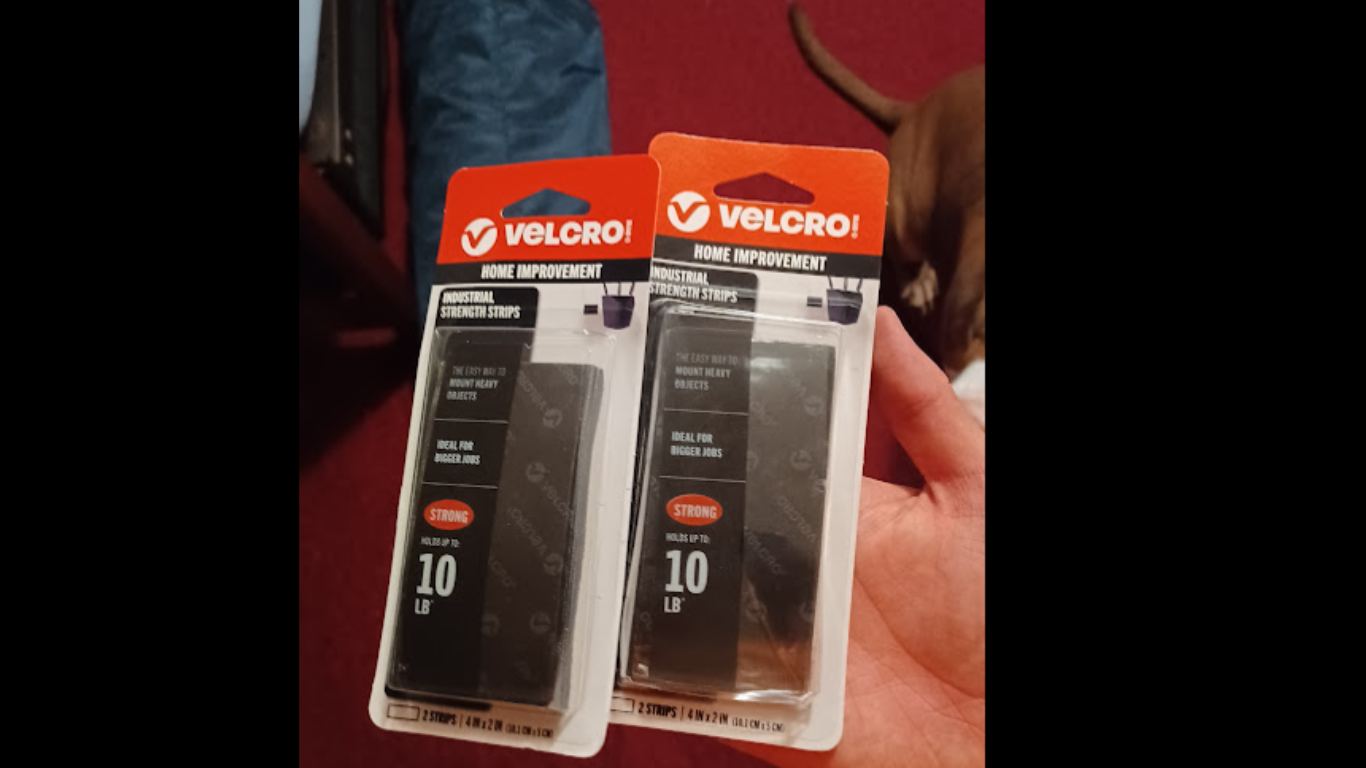
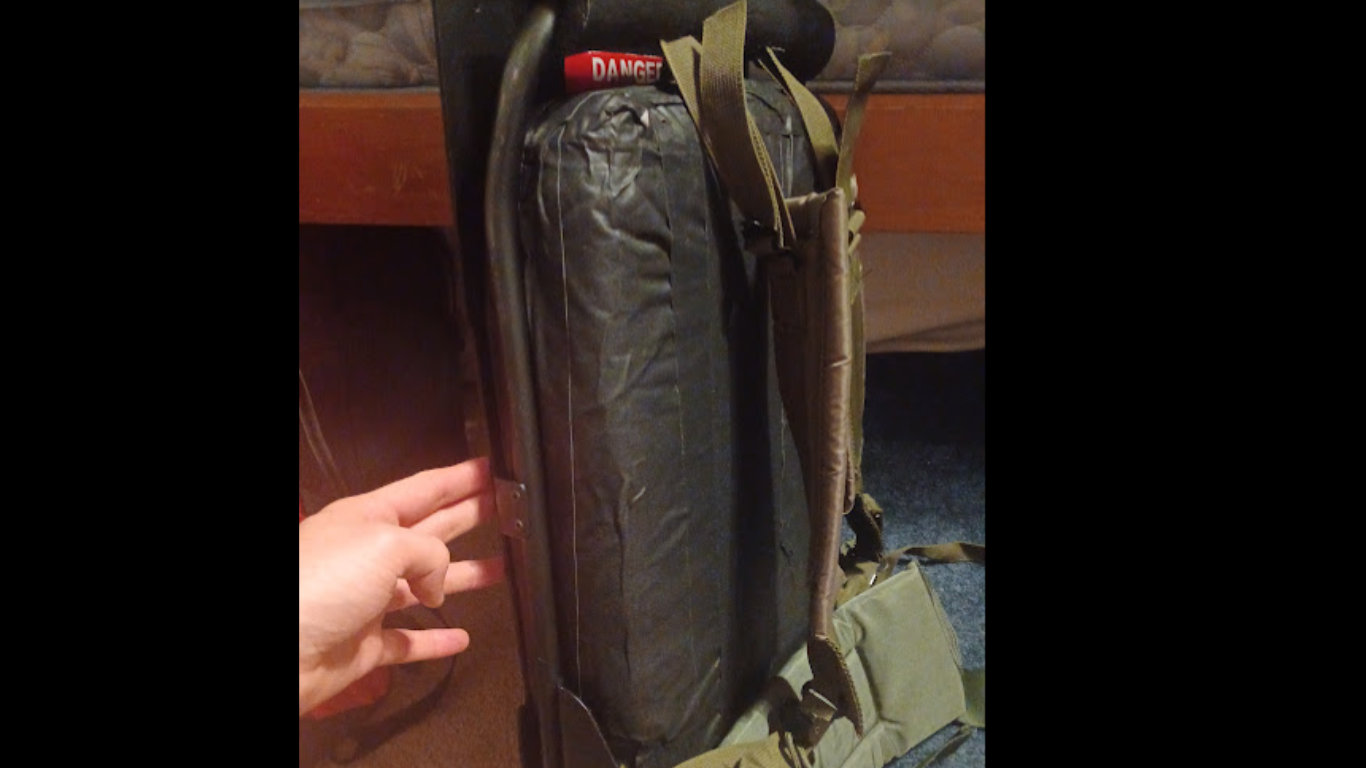
Finally, I used 4" by 2" Velcro strips to mount the pad to the motherboard. To be honest though, these may or may not be necessary, as the pad already sits pretty securely between the ALICE frame bars, but whatever. If you do decide to use them, you should put them on the top and bottom left and right corners of the back side of the pad, depending on the position of your speakers, access ports, battery packs, etc.

Before I say how I made it, there’s a few additional things that should be mentioned.

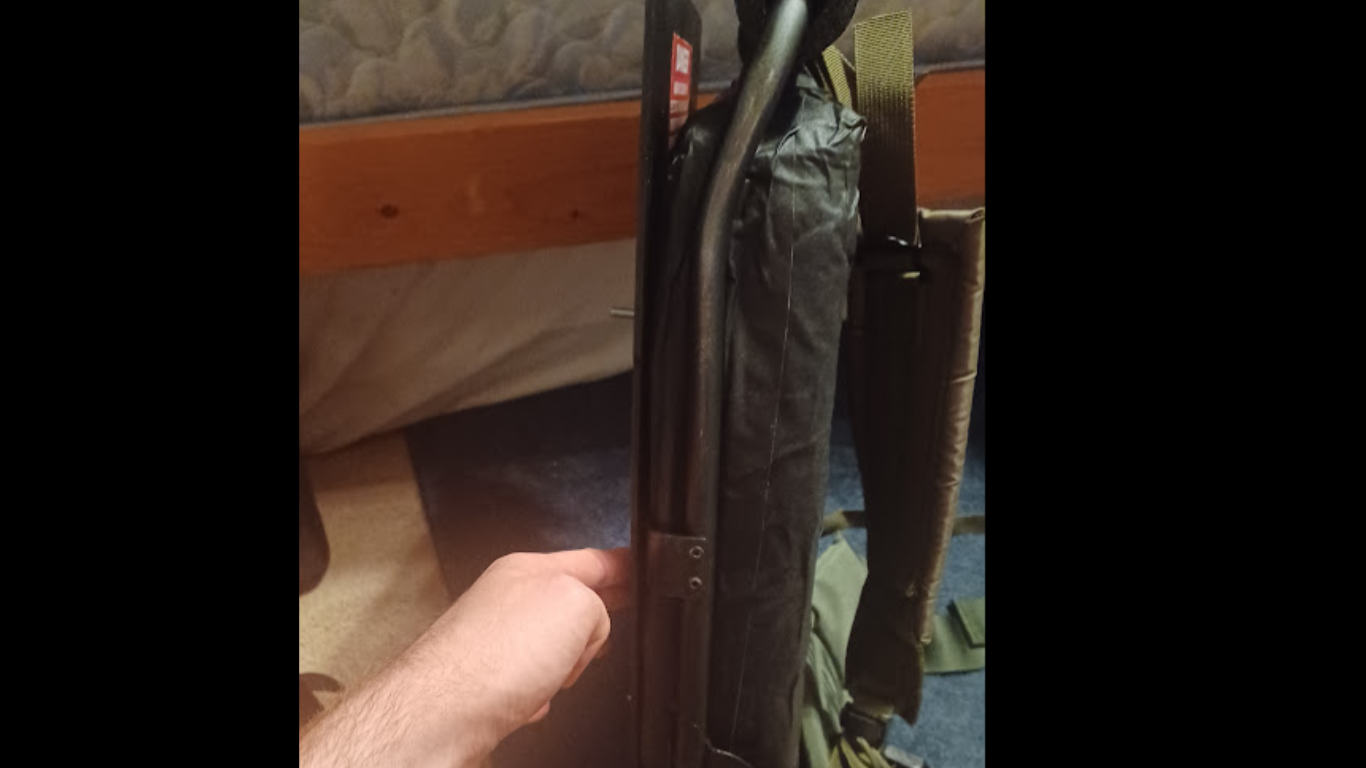
*If you’re going for an accurate HASP pack look, you need to use and LC-2 AlICE Frame. This is so that the pad can rest behind it exactly how it does on the screen-used ones. It probably is possible to use an LC-1, but it wouldn’t have the same look, and you’d want to make sure to use proper spacers.

*If you do use an LC-2, you’re gonna want the rear-horizontal bar to be flush with the motherboard with next-to no gap. For me, that meant cutting my 1" spacers down to 1/2".

*Make sure that there is clearance for your neck roll (side-note: I’m using a normal sized neck roll, courtesy of SirNickJustice on Etsy. The Afterlife/Frozen Empire rolls seem to be “jumbo-sized”. I didn’t want it to be super noticeable from the front, since mine is an 80% sized pack). And before anyone says it, yes, I know there are 2 different heights of the pad seen with the different Packs. I just chose to model mine after the shorter one.

With all that out of the way, here’s the tutorial:

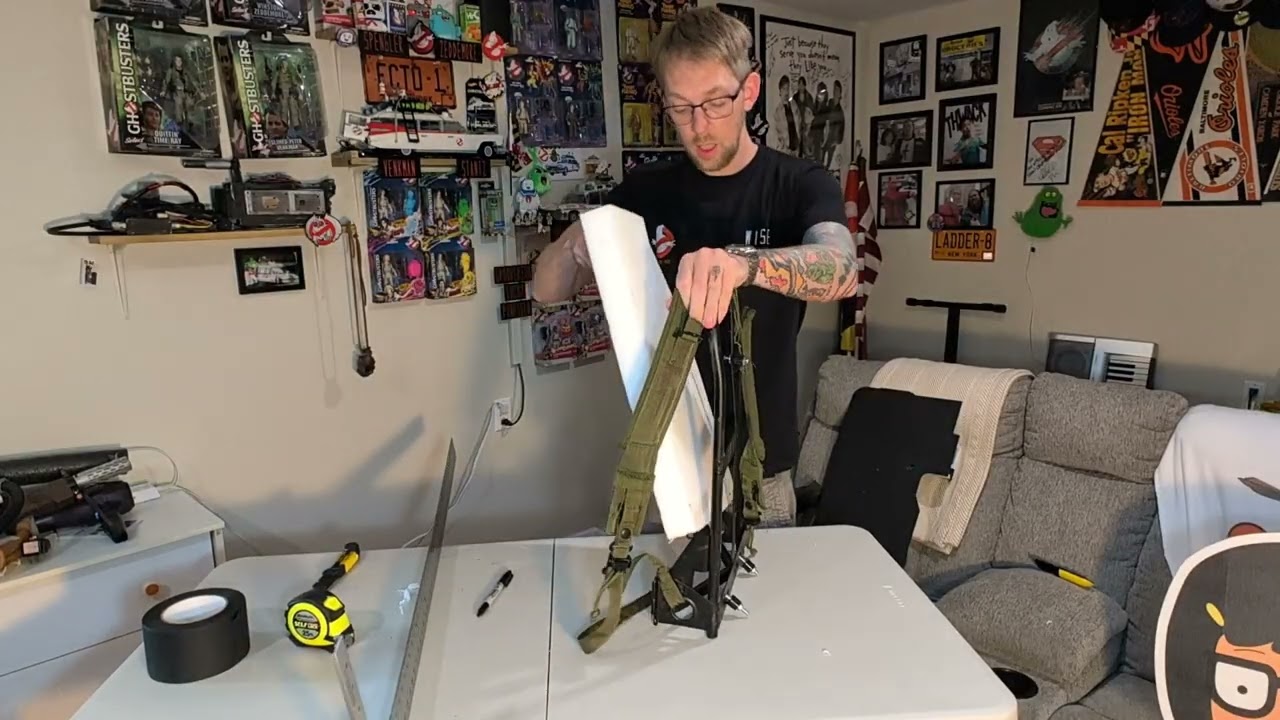
Firstly, I cut the memory foam to size. In my case, that was 17.5"-18" by 11". Once that was done, I made a cut down the middle of the backside in order to accommodate the middle-vertical bar. The bottom of the pad is going to rest on the angled bars behind the kidney-pad.

Now onto the taping process. I started out by taping the sides of the pad vertically, then going over the rest hoziontally, with the two ends meeting at that rear groove. This part was probably the trickiest, as the tape didn’t grip the greatest to the foam. However, this was resolved once I added another layer of tape, this time vertically. The ends met at the back, and oftentimes overlapped (same goes for the first layer). That being said, try to make them as equal and straight as possible for the best look.

Finally, add your Velcro strips, and boom, you have yourself a HASP Pack pad!! I think mine turned out very nice, and it feels very solid and comfortable on my back after test-wearing it. I am a little bit unsure of how durable it will be, though, considering that gaffer tape is not meant for permanent applications, but I’m thinking that as long as I store my Pack outside of direct UV light, and am gentle when removing/attaching it to the motherboard, I should be fine. I’ll post updates in case anything happens.

Does that ship from Europe? If so, you’re definitely going to get hit with fees, unless the GPStar guys are somehow covering them up front, which I’d be surprised by… it’ll also depend how honest they are about where they get their PCBs manufactured. I’d suspect they’re made in China, so it won’t just be the standard EU tariffs if they declare it as China as the country of origin. Sorry to be the bearer of bad news!

I actually am not sure where the raw PCBs are made; but PCB assembly happens in France, and the shipping is also from France. But of course individual components on the board come from all over the place (especially Malaysia and China, as we use chips from Texas Instruments, Microchip, Espressif, etc etc). So far what we’ve seen from customs in the US is that customers are getting hit with the 15% EU tariff plus a brokerage fee from UPS since the postal network is horrendously broken and so we had to switch to using a private courier in order to even get shipments to move.

Unfortunately UPS has apparently also begun using AI for brokerage, and we have indeed seen a few cases of people being charged insane four-figure tariff bills which then “magically” dropped down to the correct 15% after humans got involved. As of September, UPS’s brokerage support division was still addressing issues from late June, as a hint of how backlogged they have gotten themselves. But I’m sure it was in the name of operational efficiency or whatever. Typically the tariff bill comes out to about $135 for the full all-in-one kits.

Trust me, GPStar hates this as much as everyone else. It would be really, really cool if the Supreme Court in November rules alongside every other court in the nation that the President cannot just arbitrarily invent tariff law out of thin air, but I think we all know deep down that that is not going to happen.

Best of luck with your build!

First of all, it’s an honor to meet one of the people behind my favorite GB electronics group! I hope you like my Pack!

Secondly, I definitely think it’s a good call to ditch UPS. I was super worried that something similar to what happened with my smoke kit would happen with my kit, but maybe it won’t since you guys switched to this different carrier.

I would say I’m surprised that UPS is using AI for their price calculations, but I’m not, just angered. Ironically though, my Hasbro '84 wand came all the way from Australia via Popcultcha, and that was delivered by them in the states just fine. Though this was over the summer, presumably before the tariffs took effect.

Finally, as I’ve said to Michael Rajotte over E-Mail, my goal is to have my Pack done by Halloween, so the sooner I can get my kit and all the extras I ordered, the better. If it doesn’t arrive before then, that’s okay. I have an idea for on how to improvise, and that’s simply to use the loom-connector that came with my '84 wand with the loom that I cut off from the pack, and reconnect it somehow. It wouldn’t be a perfect solution, as I’d have no lights or sounds for the Pack itself, but it’d be something. Just do what you gotta do.

The problem is we can’t. GPStar does not ship UPS; the kits ship from France via ChronoPost, a private courier in France. It just so happens that when ChronoPost gets the parcel to the USA, it is then handed over to UPS. The only alternative is FedEx and at least for now that is not any better than ChronoPost/UPS.

Obviously we would much rather just go through the international postal network, but that is not possible at the present time. The moment it is you bet your buttocks we’re switching back to postal mail.

Like I said, as long as my kit arrives safe and sound, and hopefully before Halloween, then I’m fine. Just do what you gotta do. However, if no matter what it’s going to be shipped by UPS in the states, I think I’d want to switch to FedEx, as I’ve had marginally better experience with them (granted it was mostly with stuff being shipped from inside the US).

Hello everyone

I am a ghostbusters fanatic and I would like to say that looks incredible. You have done a great job and I look forward to seeing more in the future, also (if you wouldn’t mind) could you tell me/us how you built it or what you used and where to get up the stuff. Thank you in advance.

Egon approves! :cool:

I’m so glad that you enjoy my pack so far!! Seriously, it means a lot for a first-timer like me :smiley:

As I’ve said before, the base pack shell is a revised 80% scale Spirit Halloween Proton Pack, while the Neutrona Wand is a Hasbro 1984 one. Pretty much all of the Frozen Empire-specific parts were acquired from sellers on Etsy, with the exception of the back padding, which I made myself, and the wires for the wire harness, which I got from Ebay. Are you asking me for a comprehensive list as to where I got my parts? Or how I put it all together?