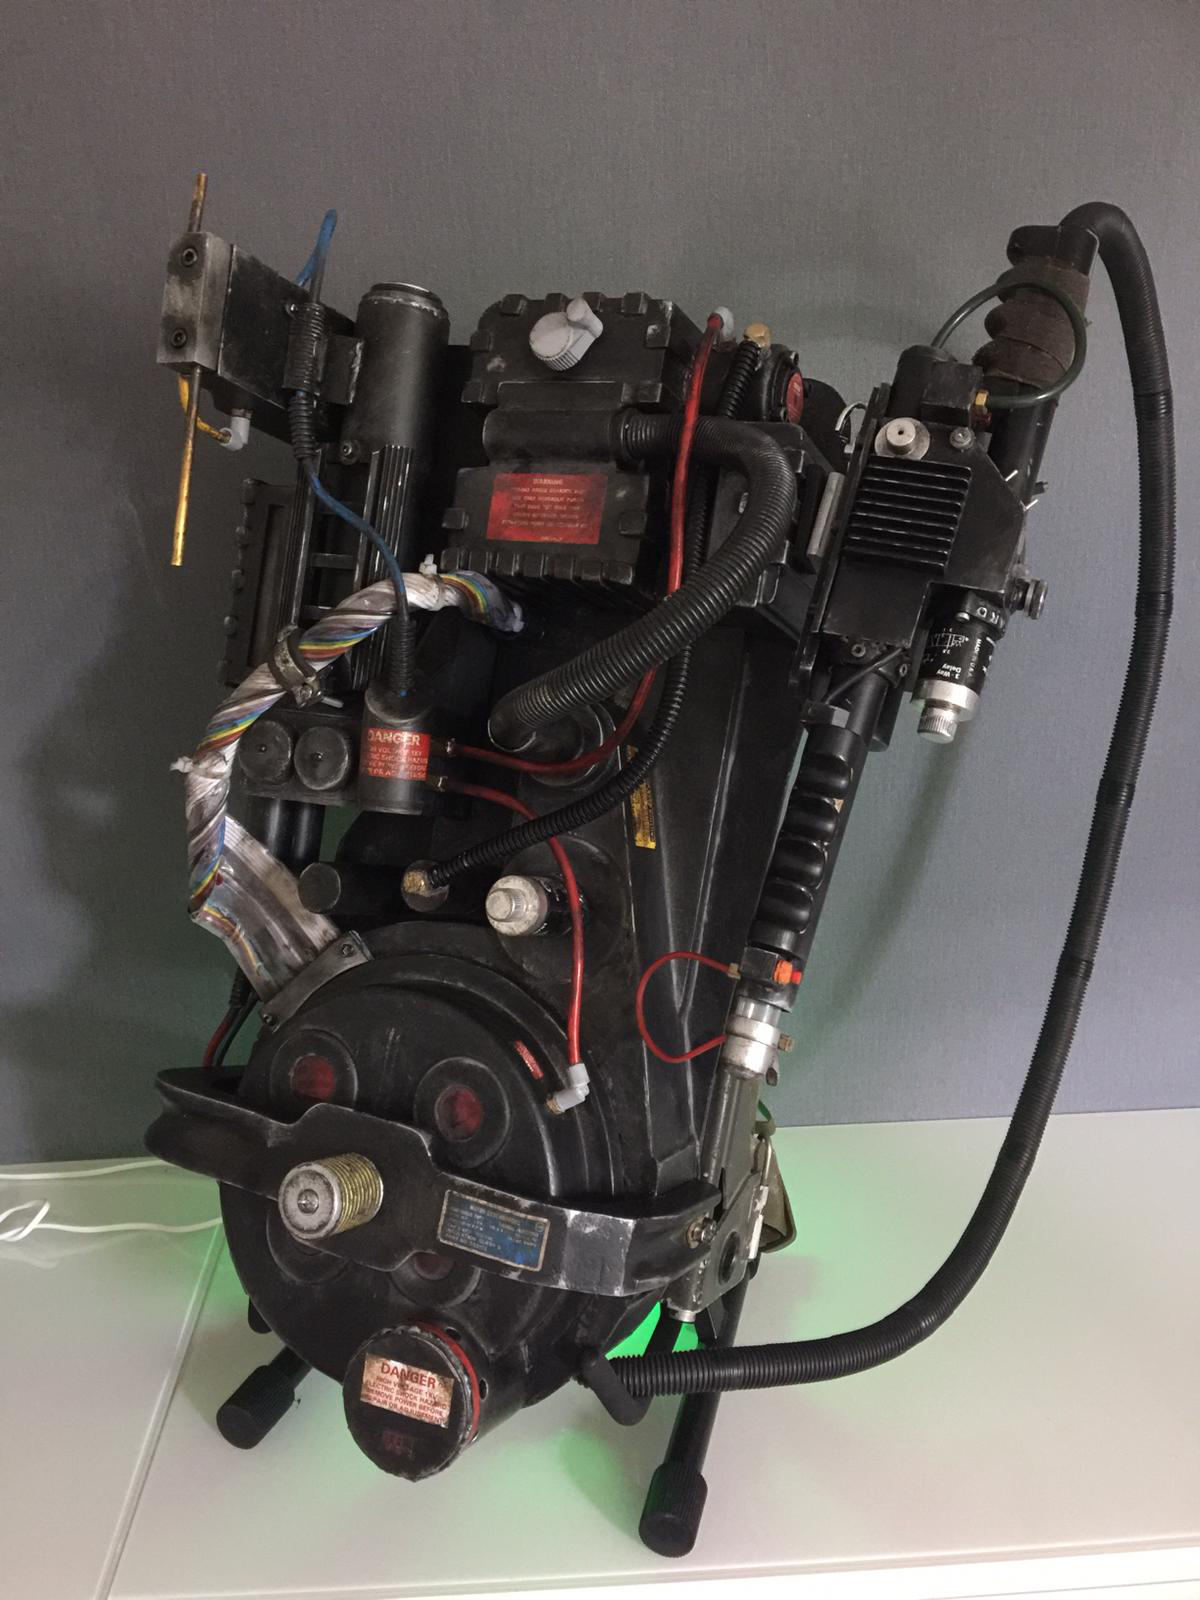
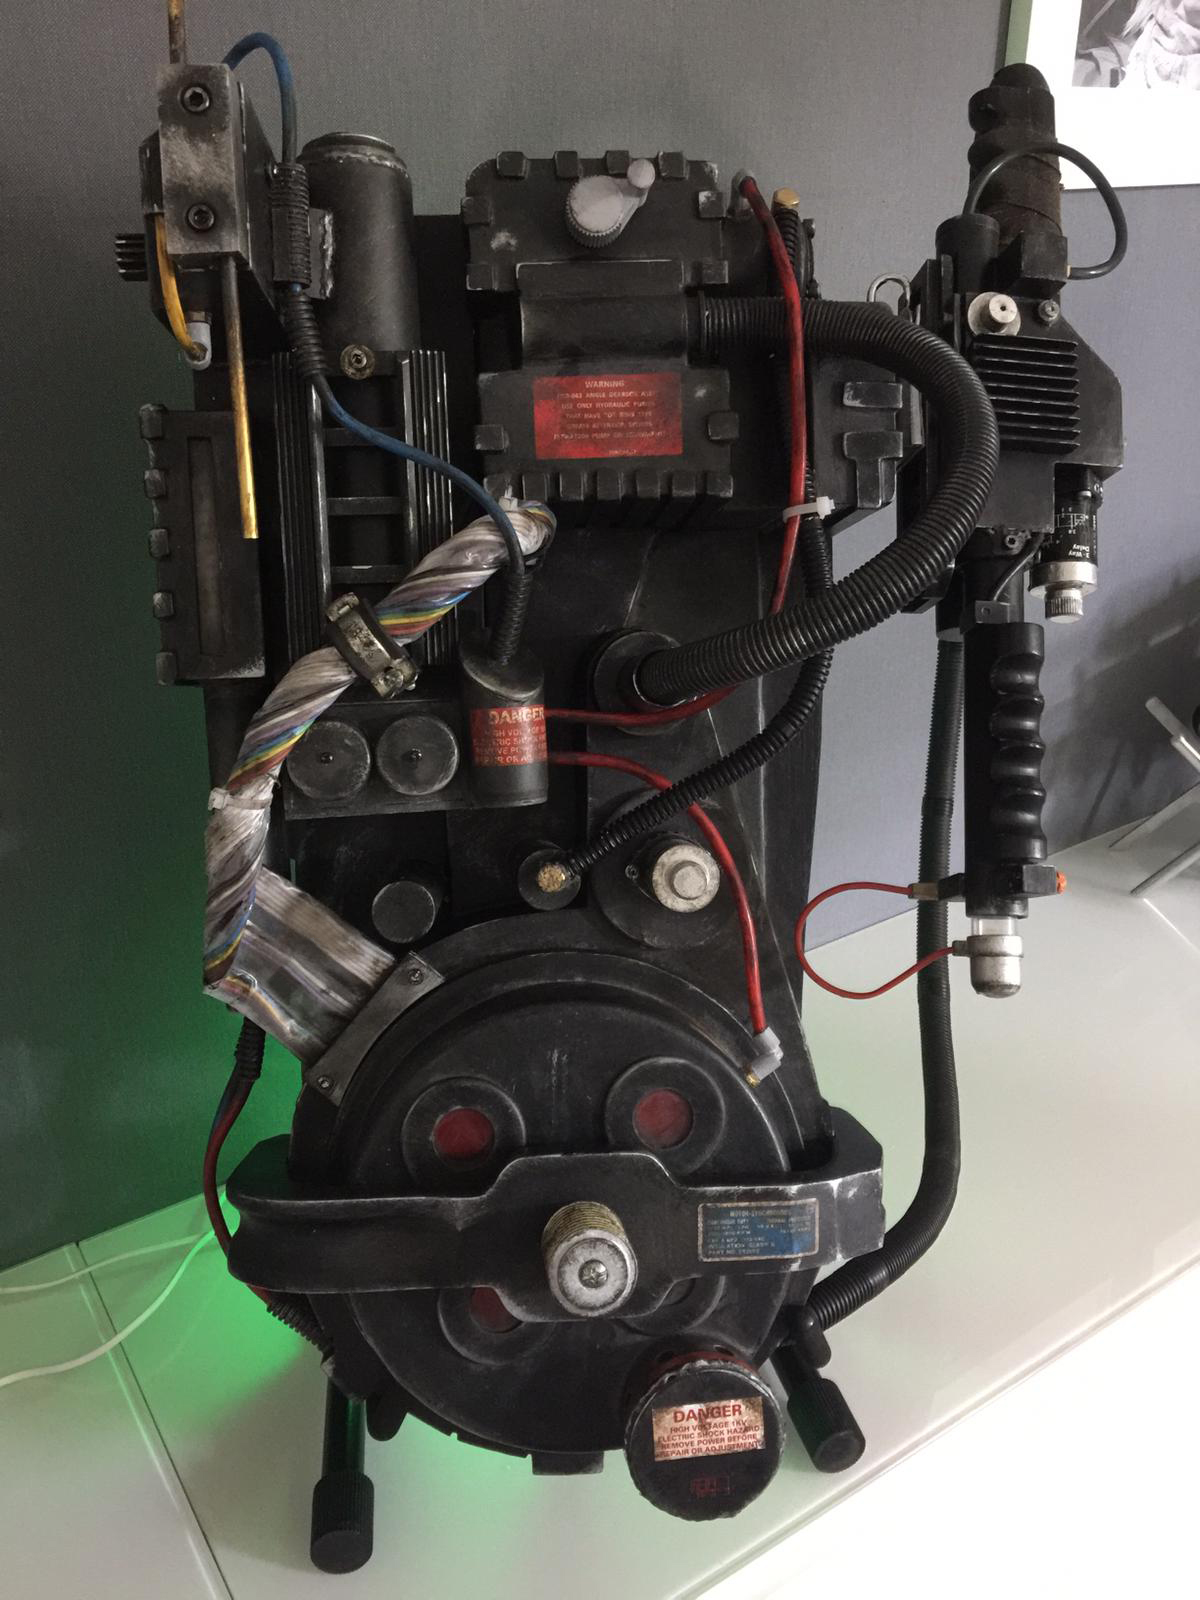
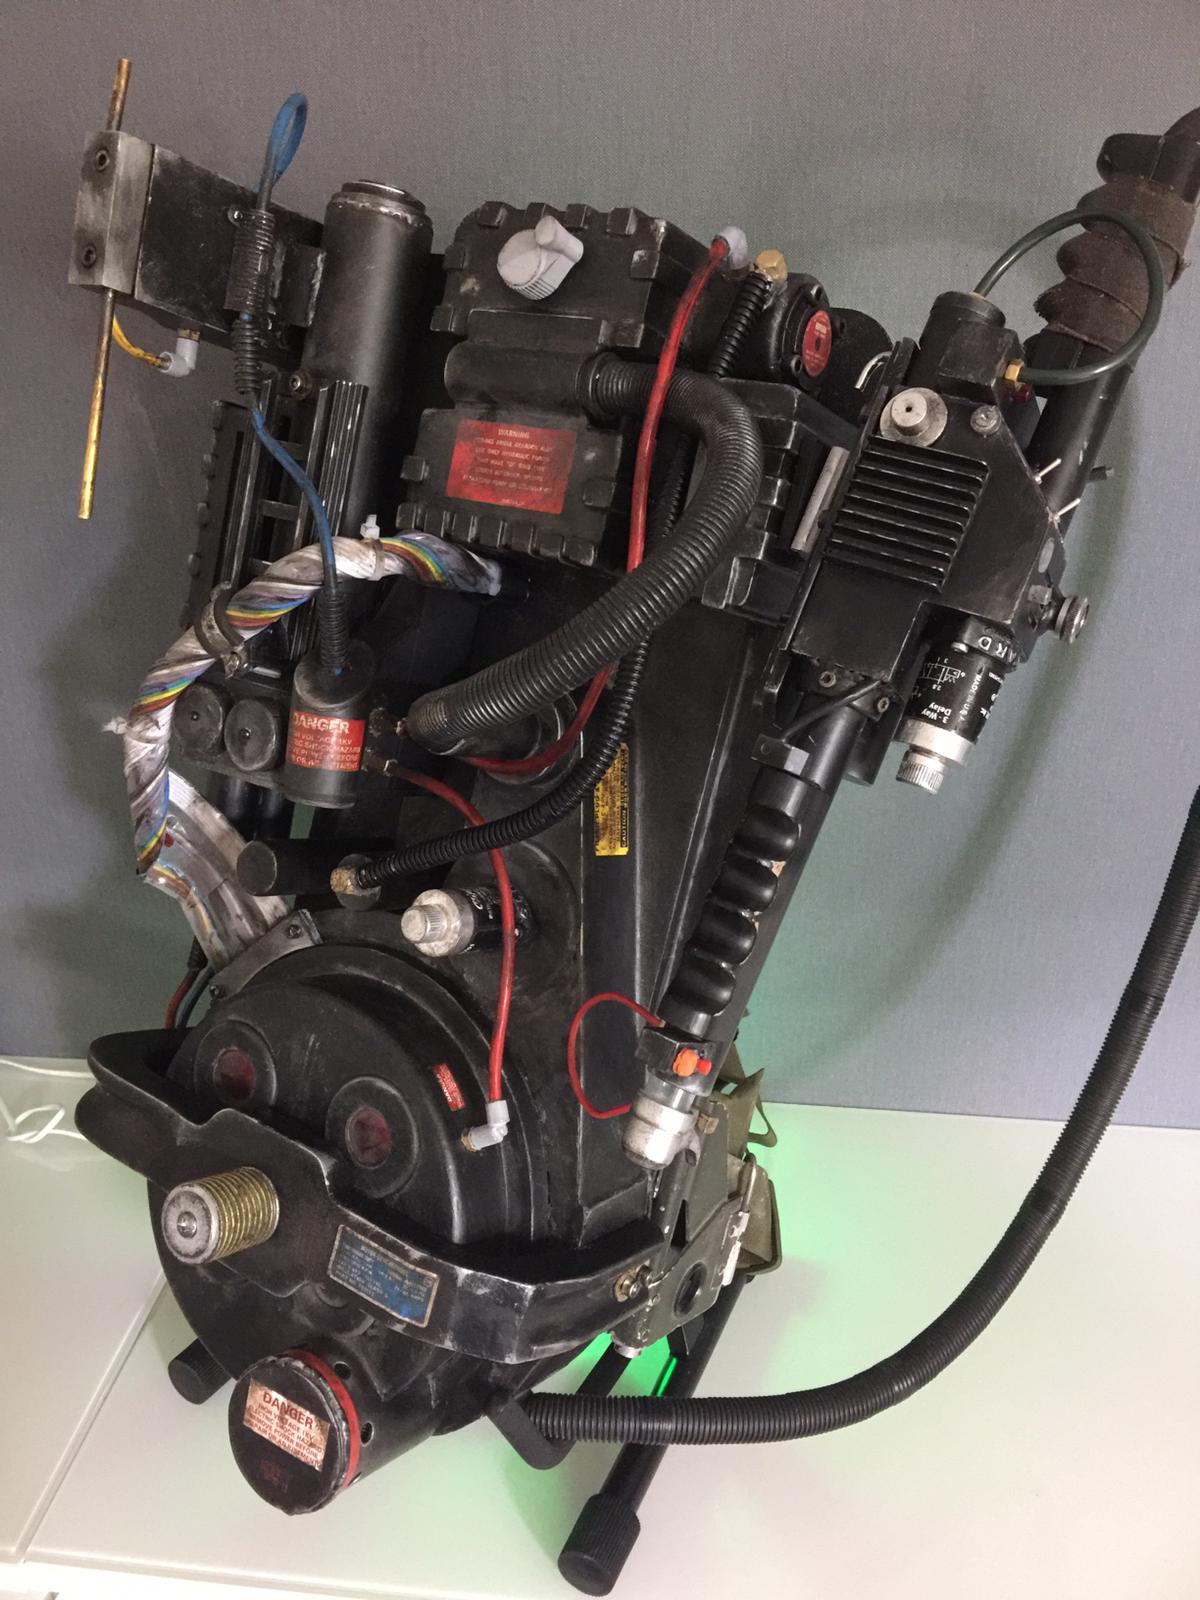
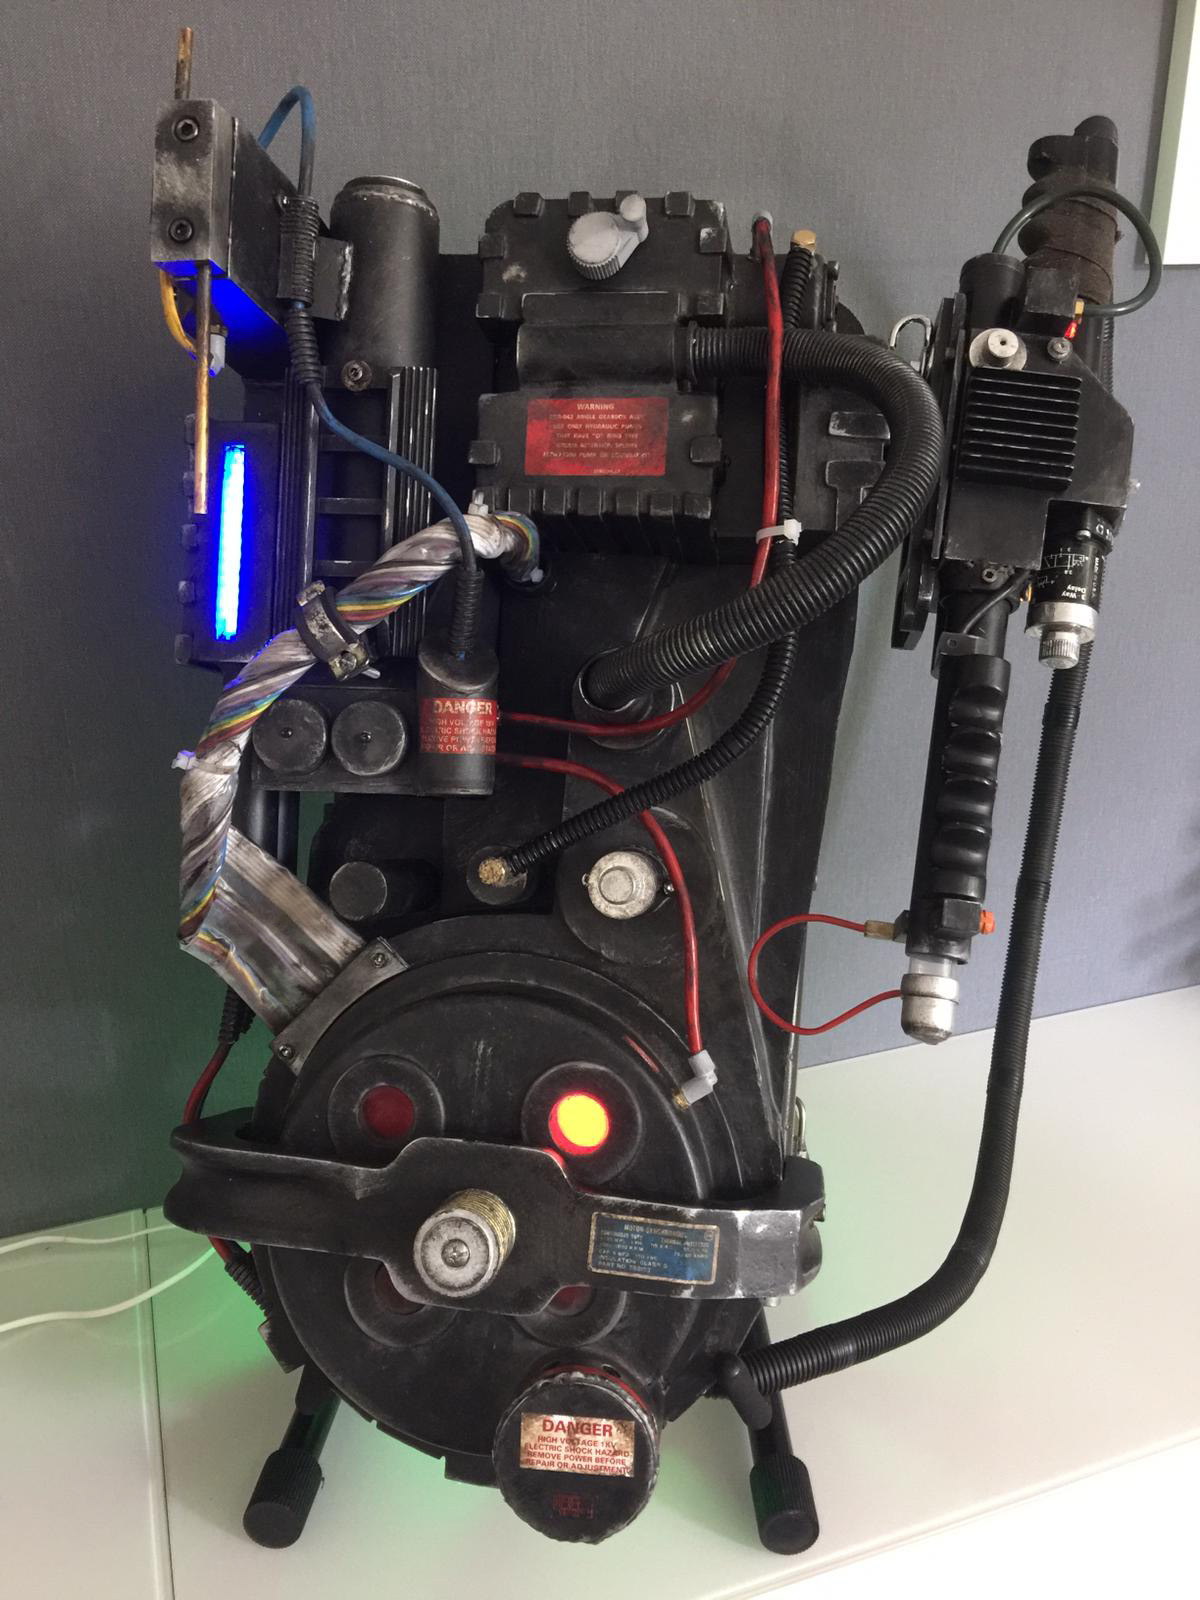
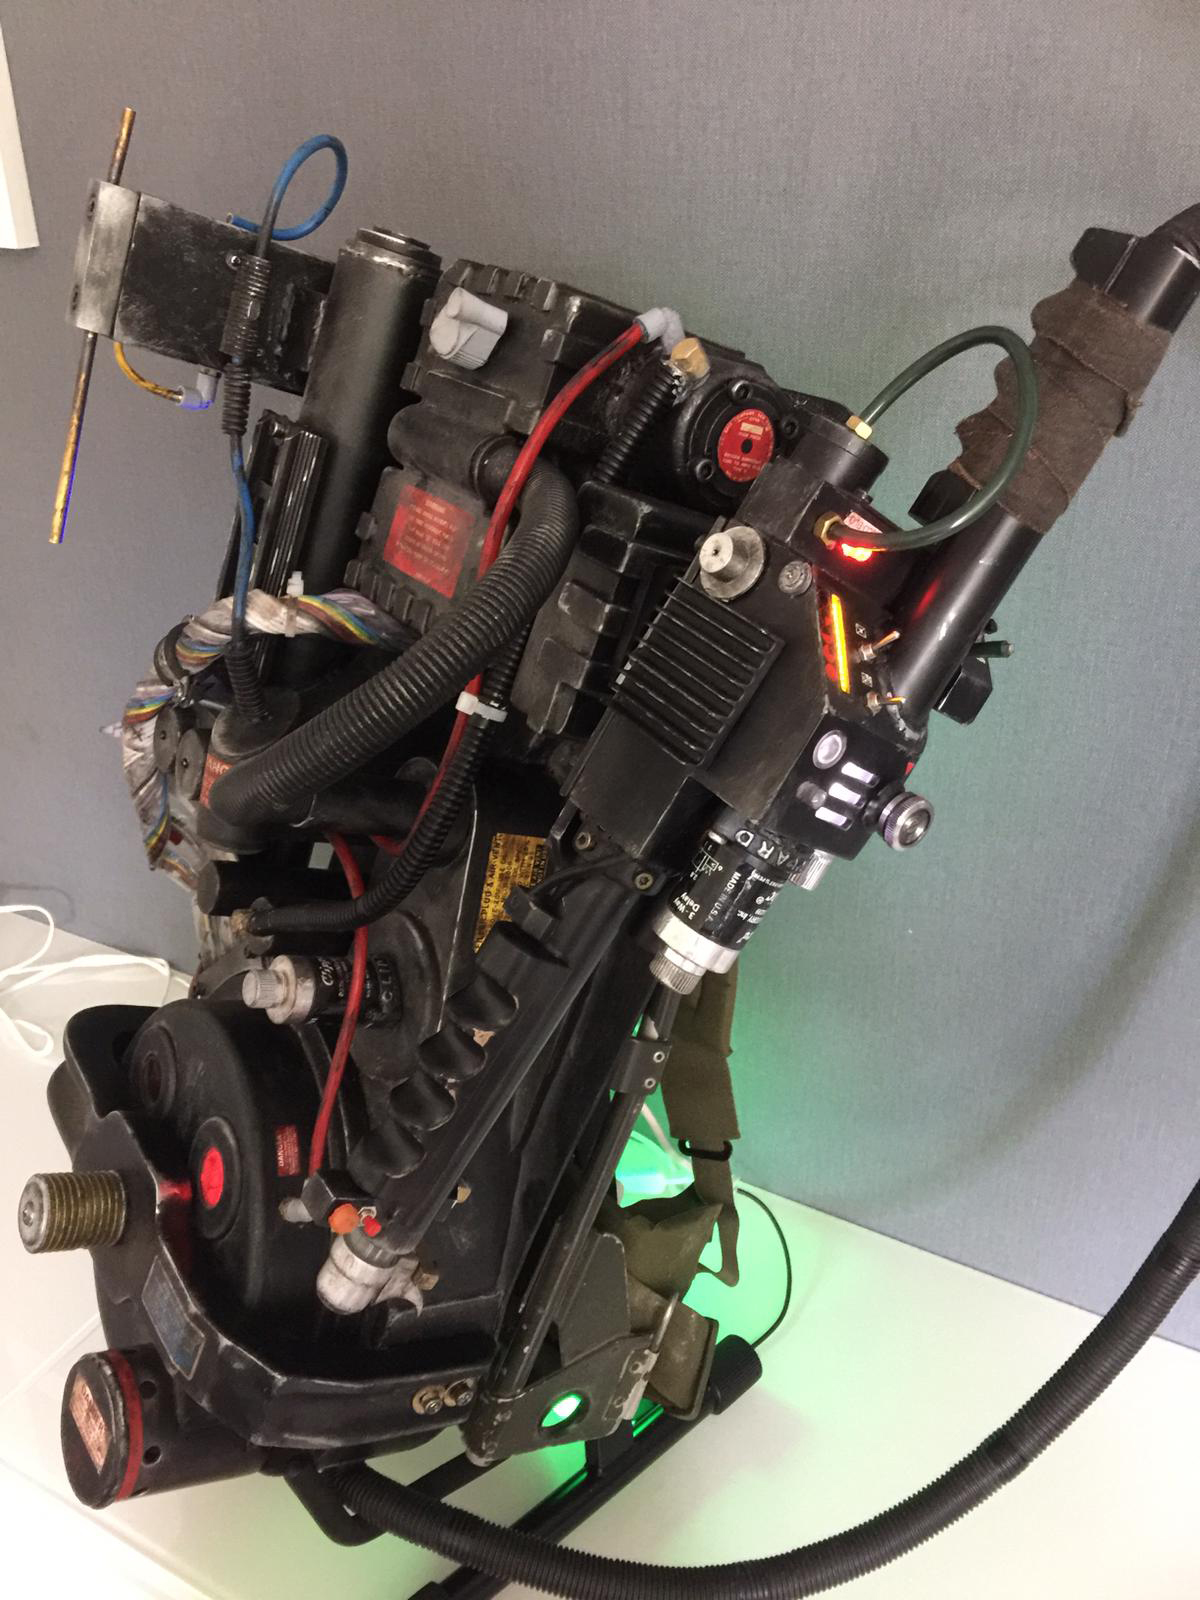
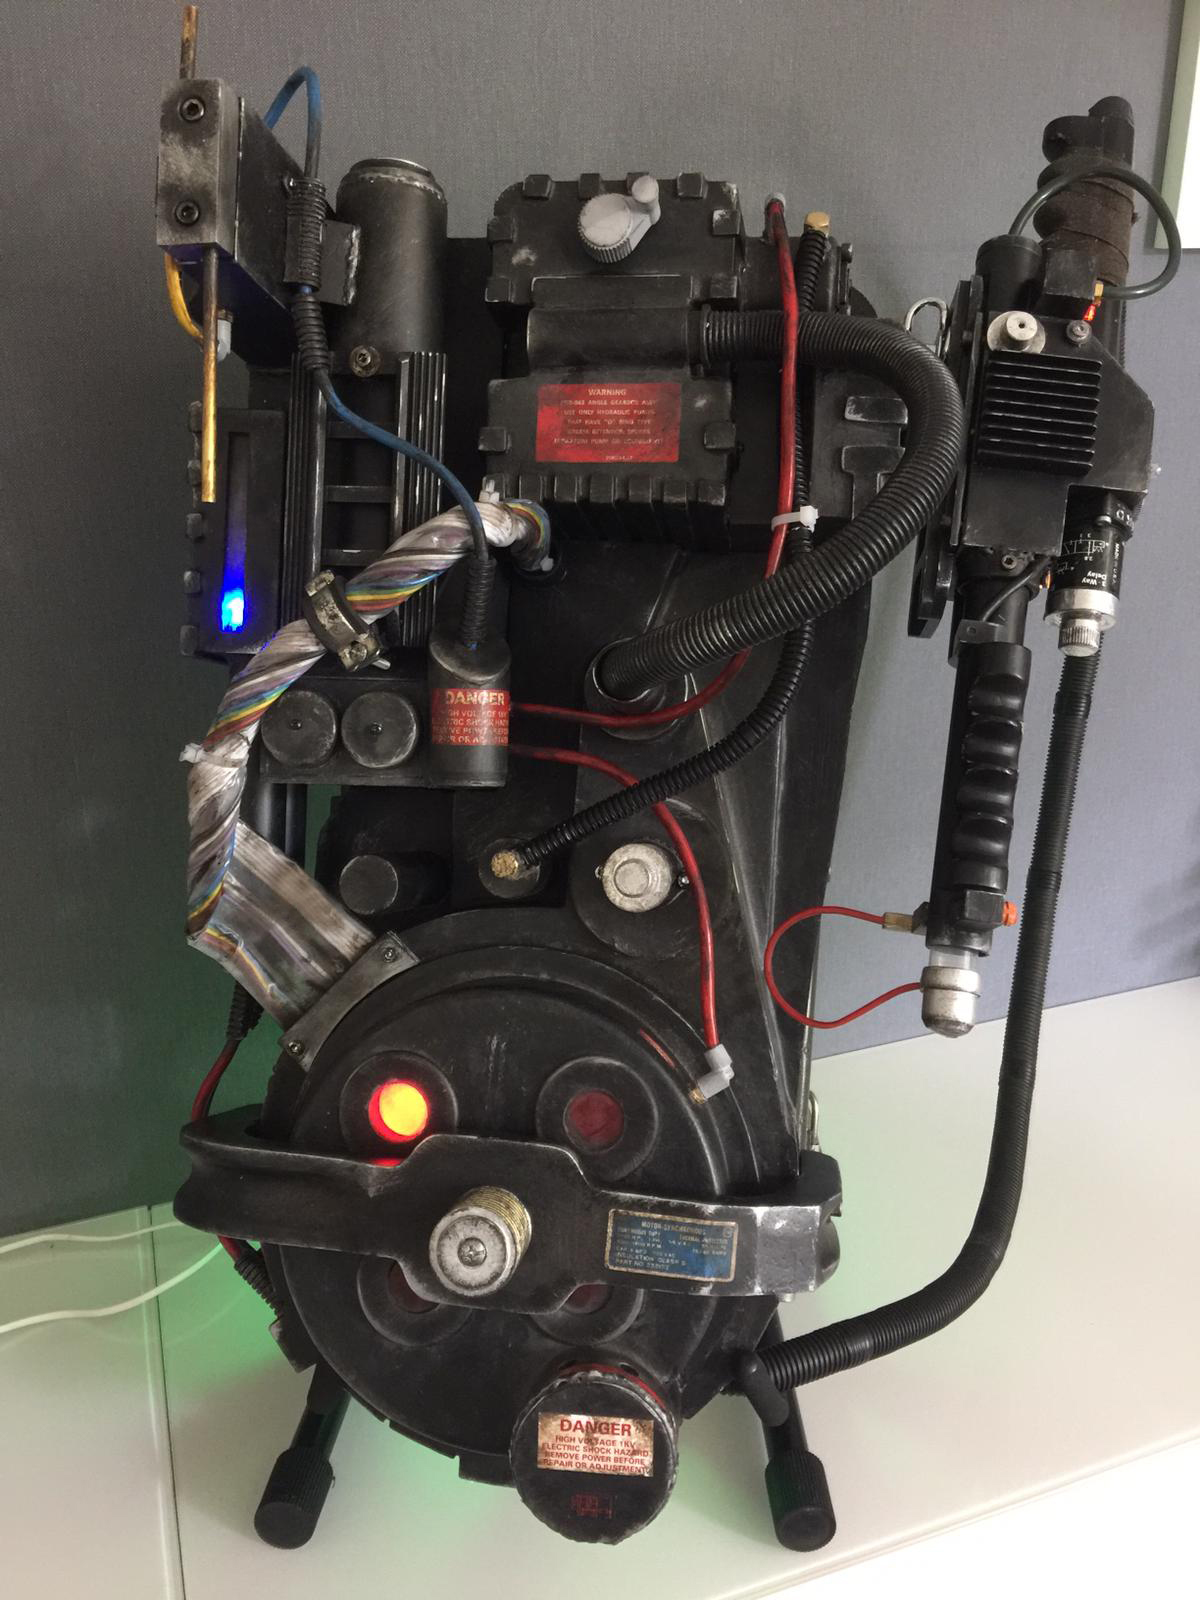
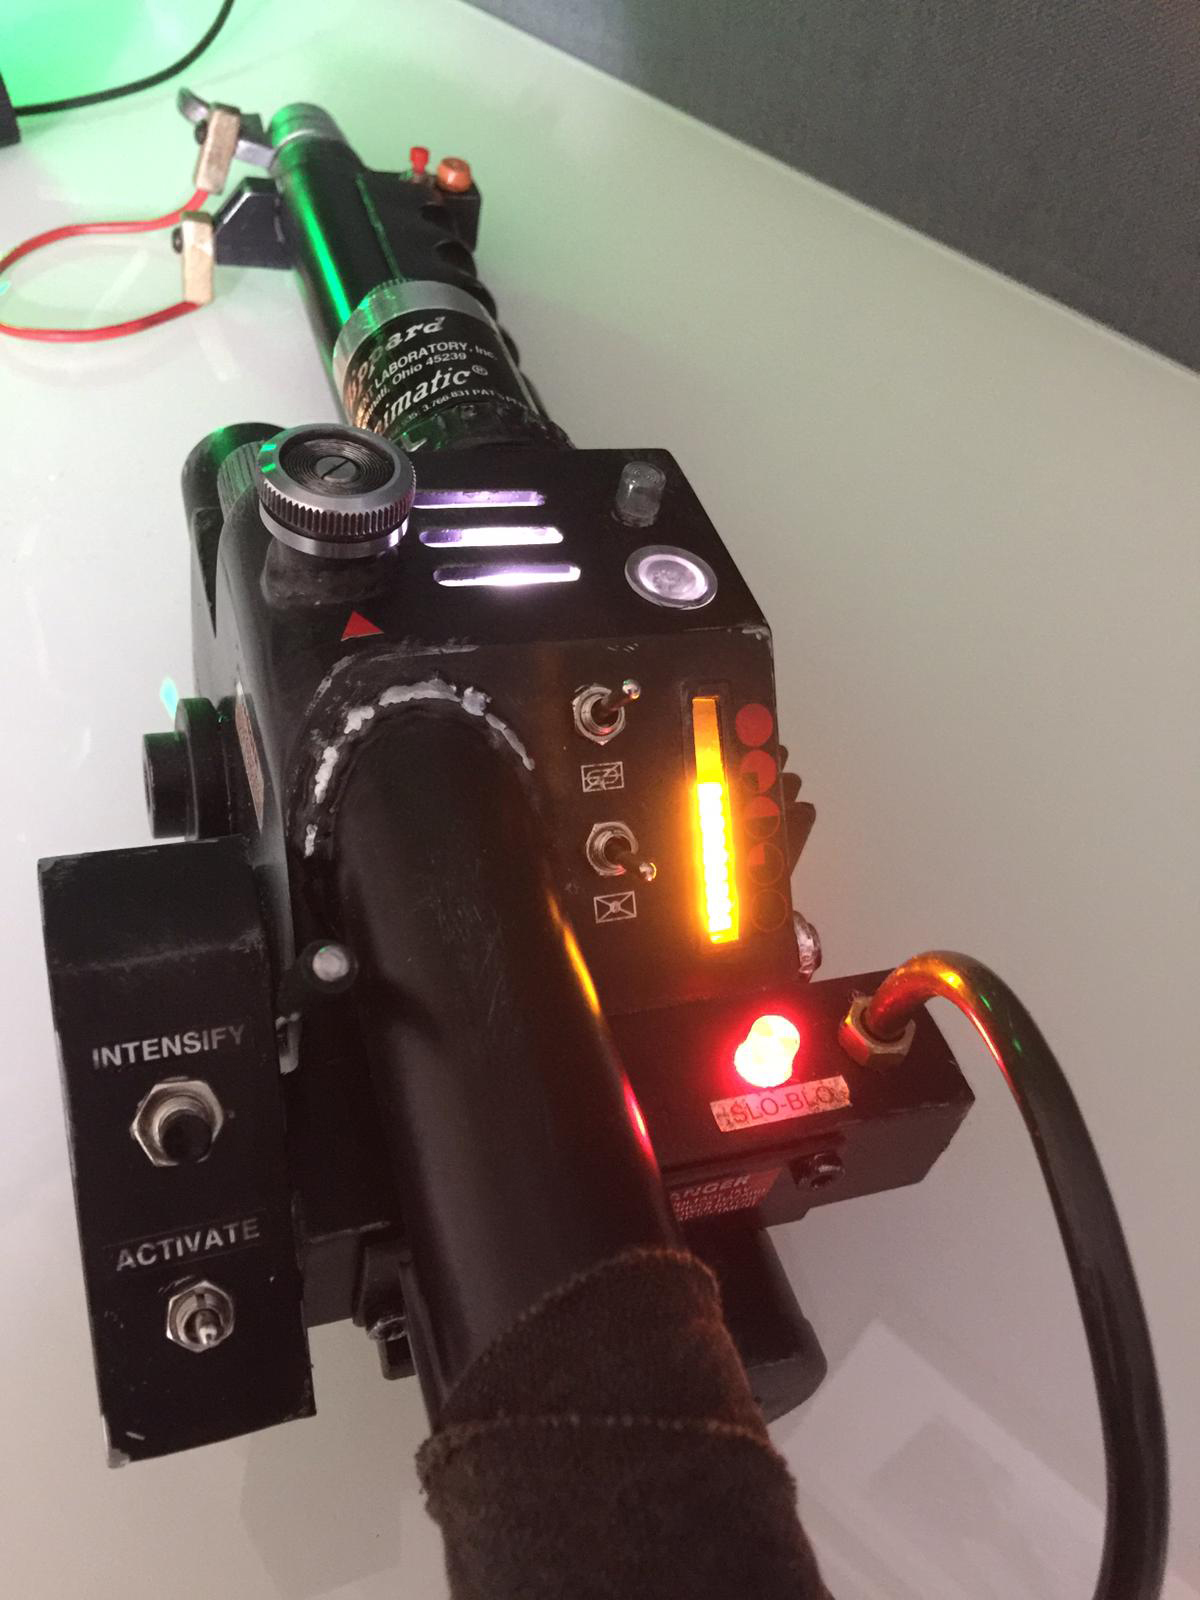
after 3 months i’m almost done with my proton pack, almost done because you all know that there is always something to improve, be it with original parts or other little things to replace or modify. I have now arrived at a booth where I think the proton pack is good enough to show you and I don’t have to hide. I wanted a gb 1 proton pack that didn’t look too new from the condition, but to be located between the two films is scratched with dust and dirt.
I used many parts that I had in my workshop such as cables, wood and various screws and nuts etc. but also my 3D printer was a great help :-). We only had limited access to shops here in Germany due to the corona pandemic, which made it difficult to get to various parts, but I think I got the best out of it with my modest means. I’m really looking forward to your feedback. stay healthy
Congrats on the new pack! It’s rewarding to put months of time and work into a project and end up with a nice final piece you can be proud of. Yes, there are always things to improve and there always will be. In this hobby, there is always something you tell yourself “I will do this different next time” but that is what makes projects like this so rewarding. Nicely done.
Of course, it is quite simple. The whole process is called dry brushing. I used an old toothbrush and an edding3000 in silver. first I painted the spots that should be silver with the edding and about 30 seconds later I rubed the toothbrush over the spot (not back and forth but always from the edge or corner in one direction). the hard bristles give you a good effect of small scratches. just try it out it is not difficult if it is too much or you do not like it you can easily reduce it with black oil paint or make it disappear completely but caution oil paint takes about 2 days to dry through and is very difficult to get off your hands.
I am currently working on my gb1 ghost trap and will publish a small manual when I am done with everything if you wish
I weathered the stickers with brown oil paint, just apply them in a little bit of color to a sponge and apply them to the stickers in an irregular pattern and wipe them off immediately with a clean cloth otherwise the staining becomes too much.