I am putting my gun and parts back in the paint booth today and just wanted to post pics on here of the before pics and after pics. The after pics will come later. The parts shown have had one coat of primer and paint, but will be sanded back down for a smoother finish and recoated. I also have to finish sanding out the front led display for the light bar (my drimel gave out).
looks pretty clean. Are you going to sand off the paint for where you are gluing it together?
What I have planned for this build is try very little to use and epoxy or glue. Any knobs etc. will be secured with a bolt or screw. The wireing for my lights will be ran along the sides of the gun on the inside. That will leave plenty of space to place a bolt or screw and tamp it off so it will be flush on the inside. The screws will not be visible from the outside of the gun either. This will also allow for easier repair of parts if damaged.
Here is my gun to this point. Everything you see is held on by screws for better durability. Also, the front knob that you see is not where it should be and I knew this befor assembly. I ordered the Clippard R501 (yes, I know its not movie accurate) for the gun and will be here shortly. Unfortunatly, this is how it will go to adventurecon for Ernie to sign. I might have one handle in by that time but we will see.
Let me know what you think so far.
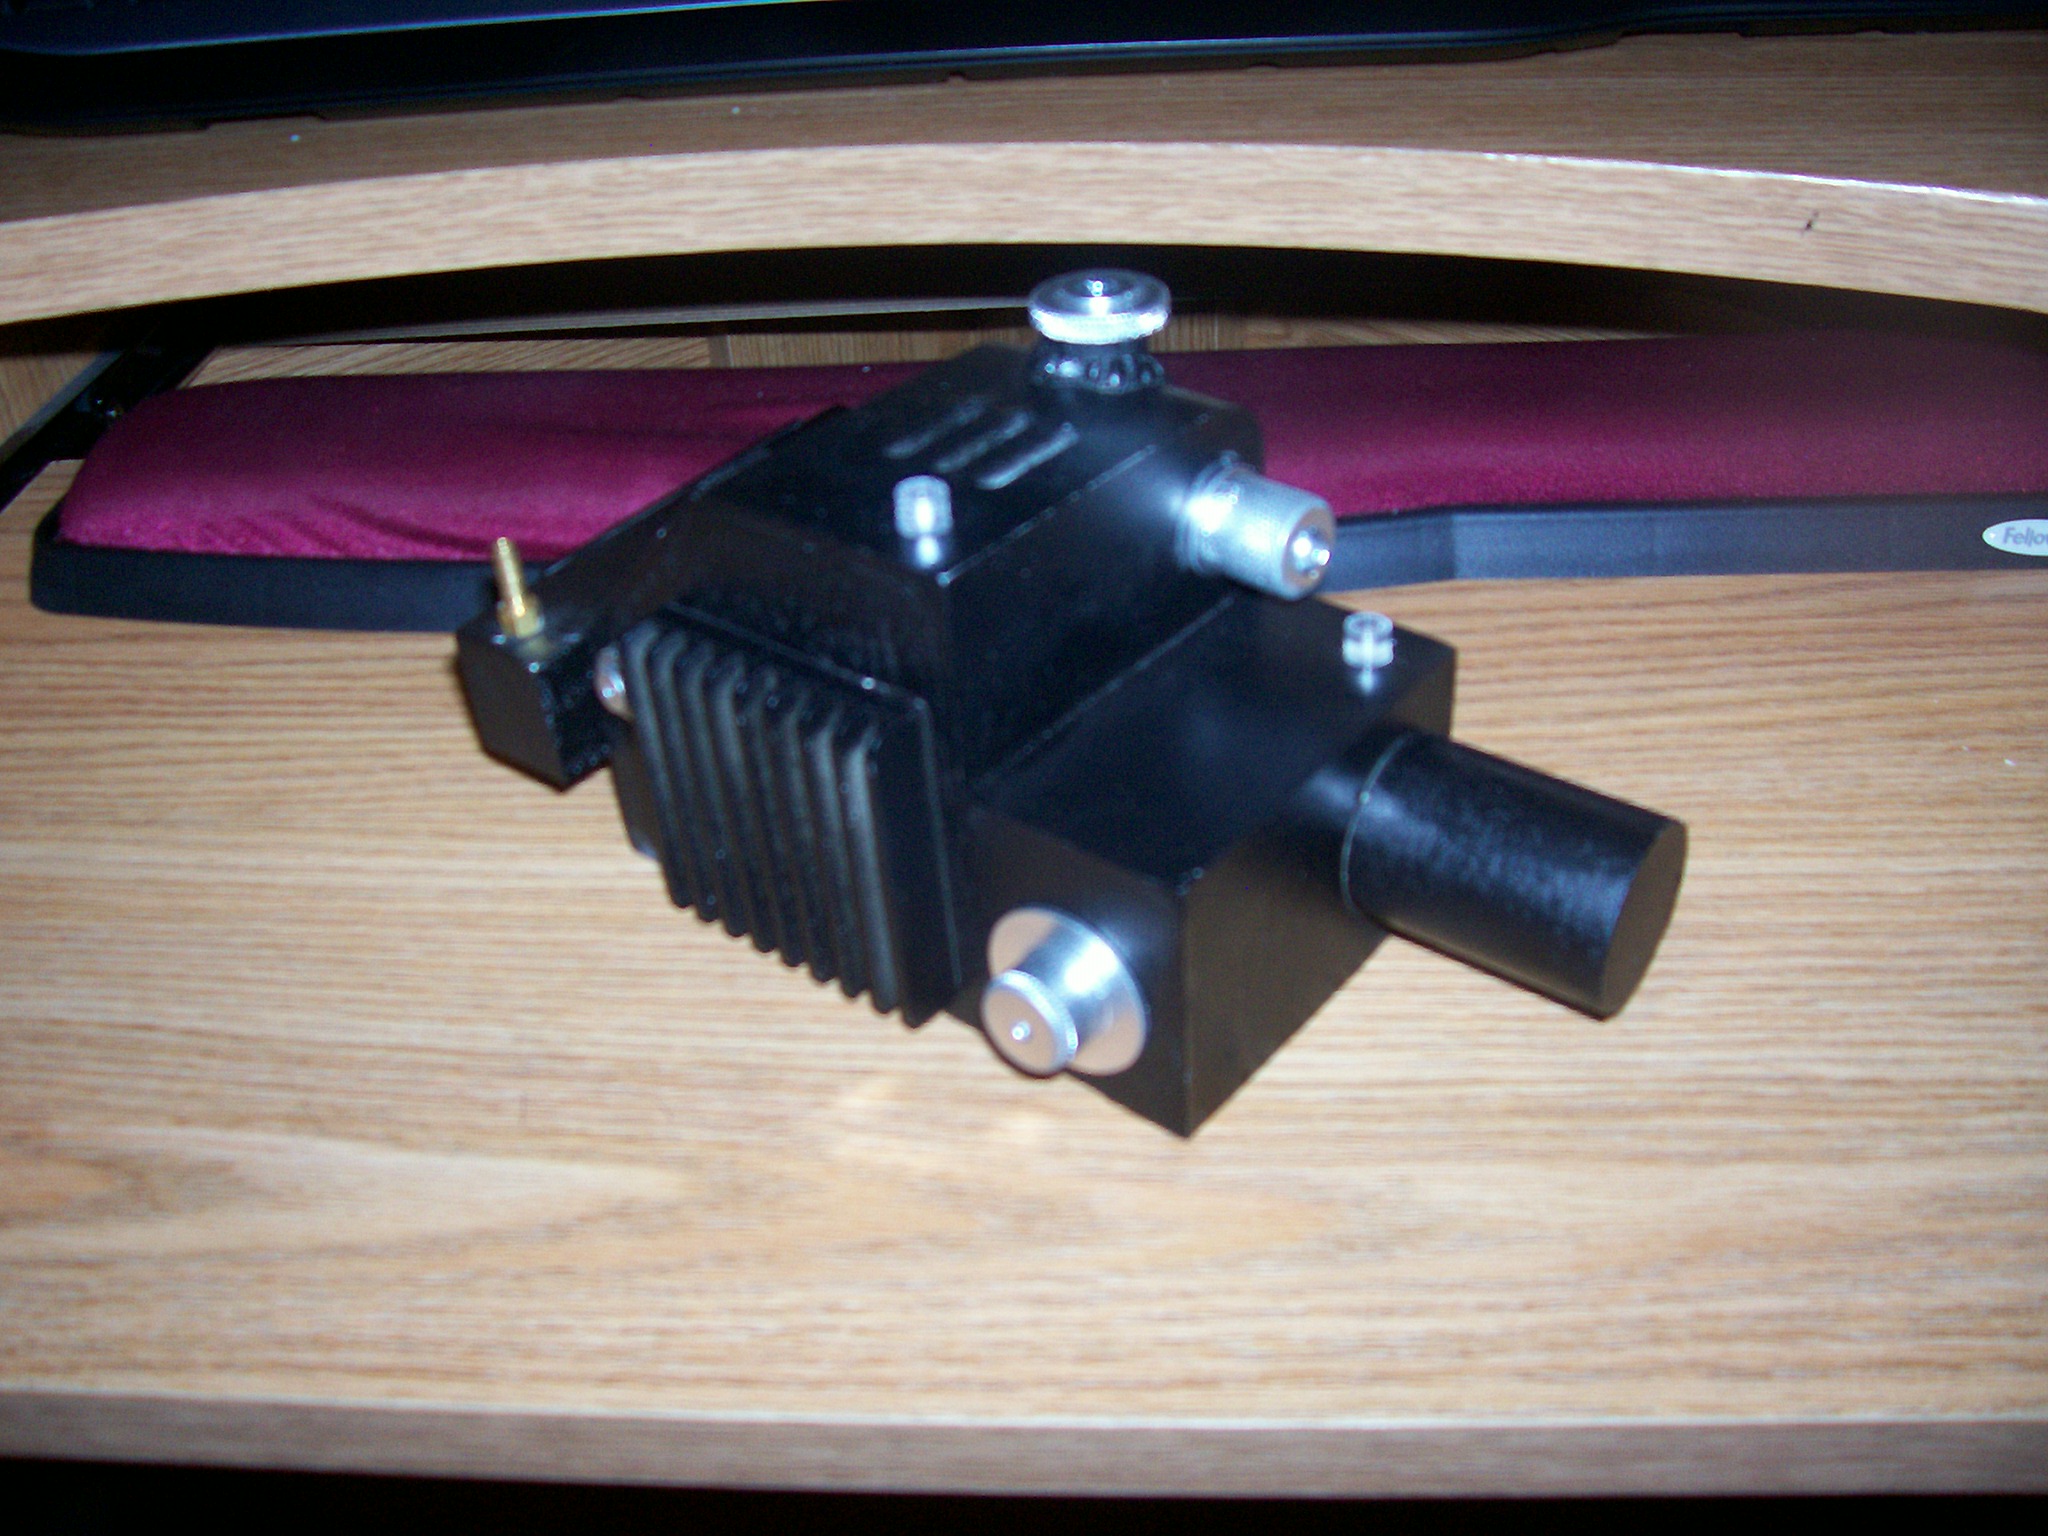
The knob!.. it moved to a new location!! 
looks great! but the large silver knob goes to the left of the heatsink. just a heads up.
you’ve got a clip-it cover where a hat light cover should be and your missing a hat light on top
edit didnt mean to sound like a dick i wasnt fully awake when i posted this lol
dude chill :walterpeck:
I haven’t got the second light on top drilled out yet and yes, I know the knob is not in the right place. I like it there though. Makes it different and it gets noticed at the same time lol.