Since my financial derailment from my RGB proton pack I have been sitting on a few spare parts that are just laying around. So I figured I will attempt a RGB PKE meter, using a spare Radio Shack project box I had laying around, some PVC I bought from my RGB toy Ghost trap conversion, and finally cardboard… And last but not least, as this progresses it will be because of
A: Found Parts
B: Borrowed materials
C: Help from my two friends who just graduated from the Special Effects college in Monesson, PA.
FIRST STAGE:
Taking the advice of experienced prop builders (given to novice ones, that is) “Build it out of cardboard first”.
Its easier, faster, and CHEAPER - added bonus of seeing what will work and what won’t work.
Beginning this task was already discouraging, as I had NO CARDBOARD in the house, however I found a far dorkier substitute, but one that actually let me gauge how thin my material needs to be without being too bulky…
Now a little duct tape, a little imagination and you have my first prototype…
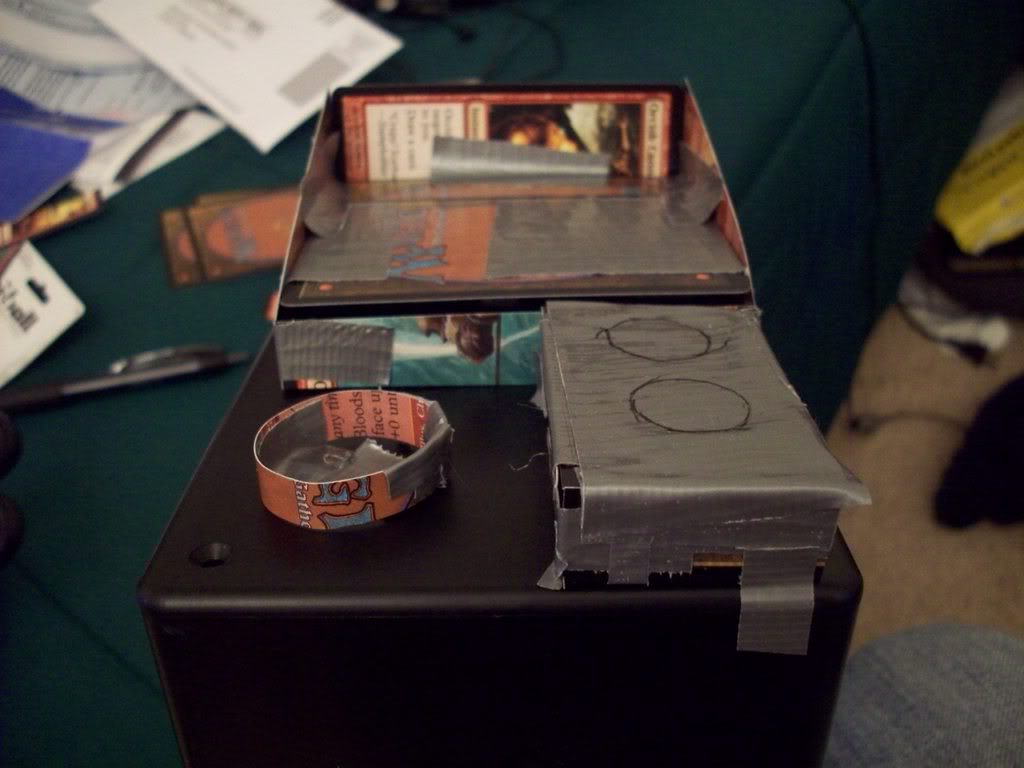
Yep, there she is. Configured out of CUT UP MAGIC CARDS. I’m a dork of all trades, but Ghostbusters have been my vice since I was… well since I can remember.
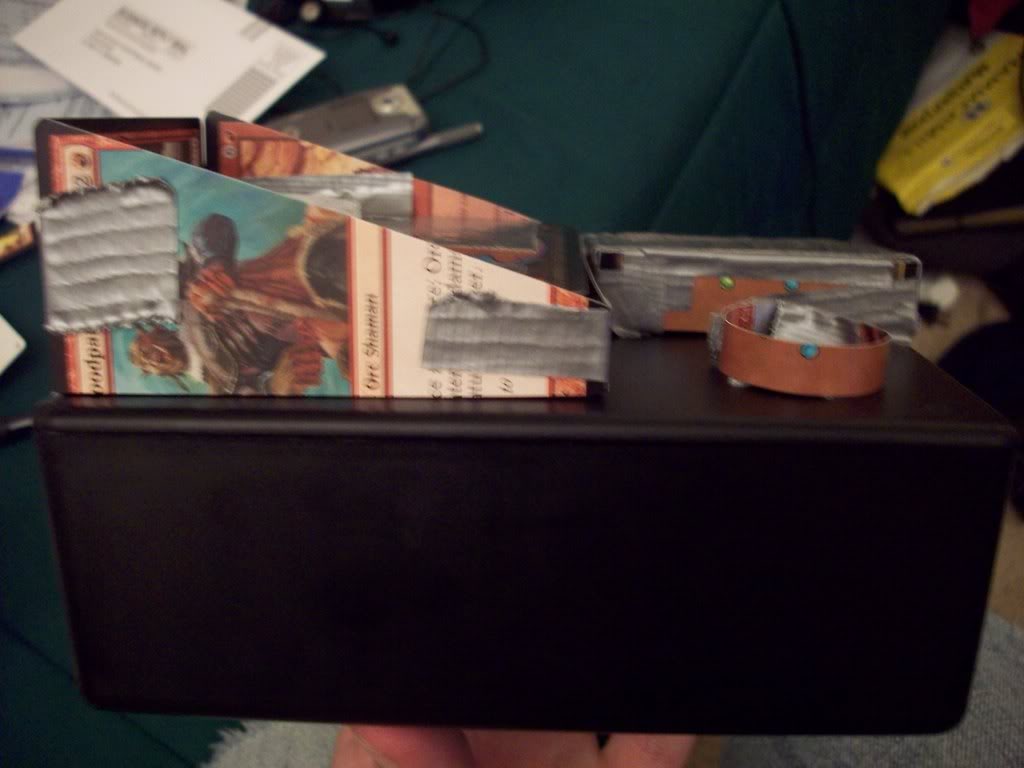
As you can see the ‘drastic’ amount of work I put into this- I actually put all of the stuff on the WRONG SIDE. The panel should open on the back and let me get a hold of everything, not be in the way. - AND THATS WHY WE MAKE IT OUT OF CARDBOARD!
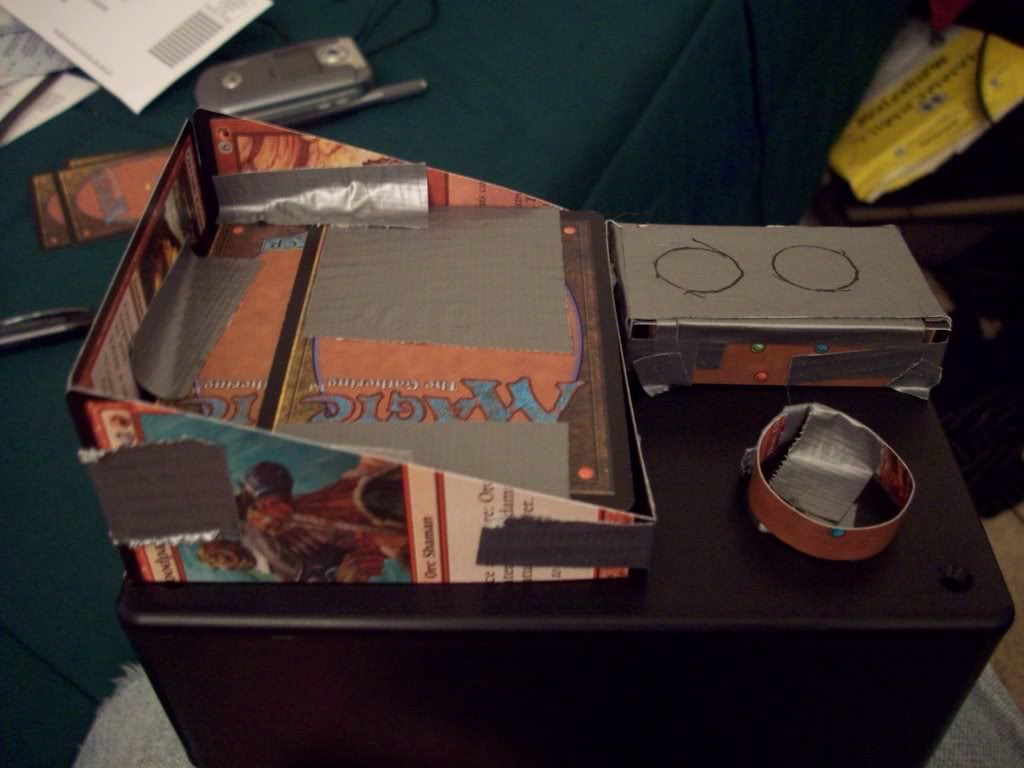
I even made a fake ‘screen’ out of cards just to see if I should recess anyone I actually make into the box itself or raise it to the outside of the screen housing.
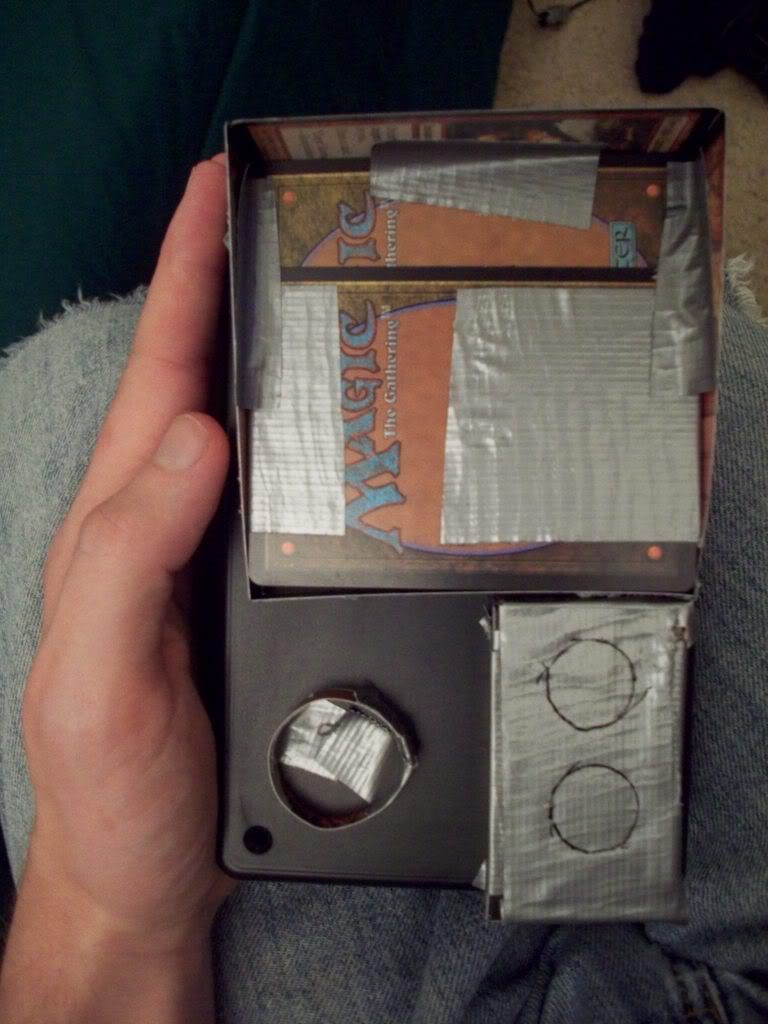
As you can see the box is the length of an average guy’s hand, probably 3 inches deep. if you have a radio shack you can find the box easily.
Future:
My friend found me THIS little jewel off of a dryer his family was throwing away literally the day after I told him I was looking around for a certain sized knob. talk about luck! this thing is PERFECT for the knob on the RIGHT.
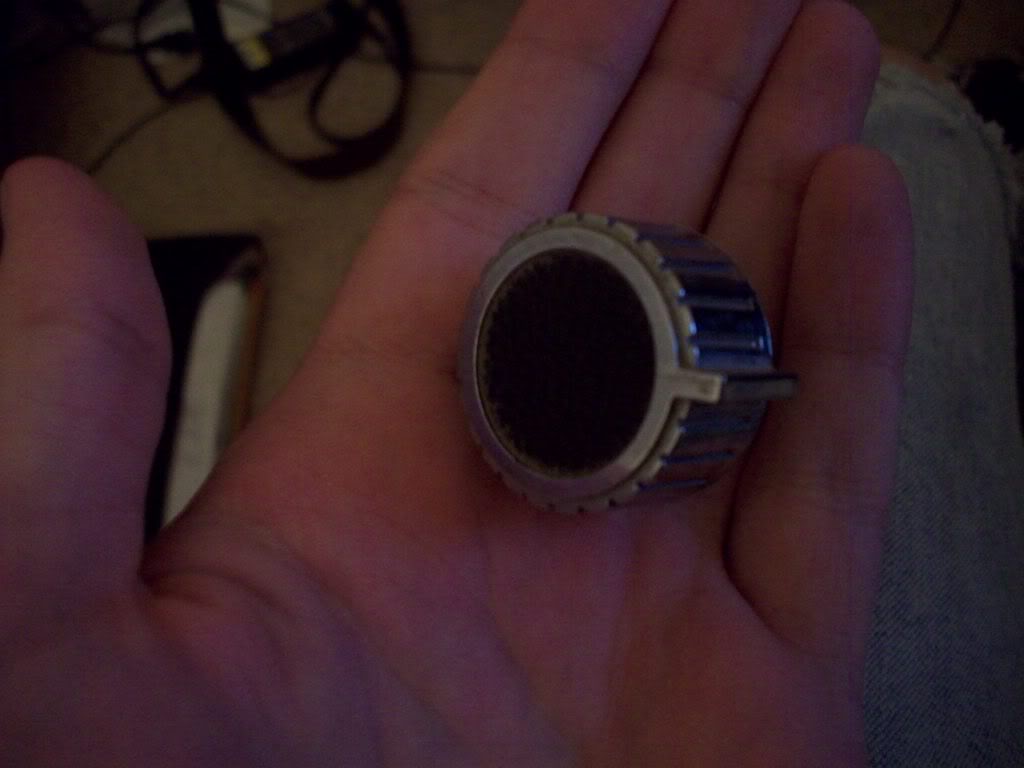
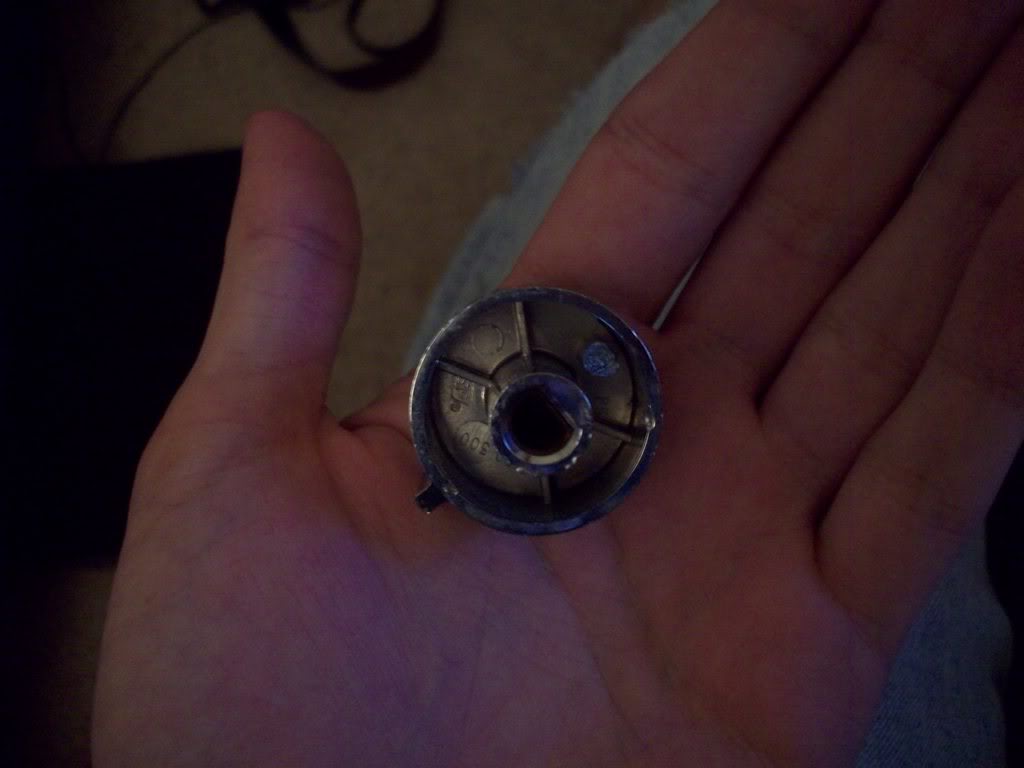
- Could use a little coloring, but otherwise a FINE knob. He actually gave me two, so chances are that I might color the second one and use that for the smaller one on the right as well.
My friends also told me they have material suitable to make the screen protector, and I was assuming if I can find some electronic device to become the ‘guts’ of my PKE
(I remember a LONG time ago someone posted the name of a child’s palm pilot thingy that looked to be PERFECT to become the new guys of a PKE… No idea what the name of it was, but it had an SD card feature so you could program it to run what you wanted, if anyone knows about it PLEASE tell me!)
The guy who gave me the knob was also good at Animatronics at his special effects school - wherein he is working on figuring out how to make the ‘wings’ (more like light-rods) of the RGB PKE move when you turn the LARGE dial…
Just in case you need clearer pics of the RGB PKE here they are:
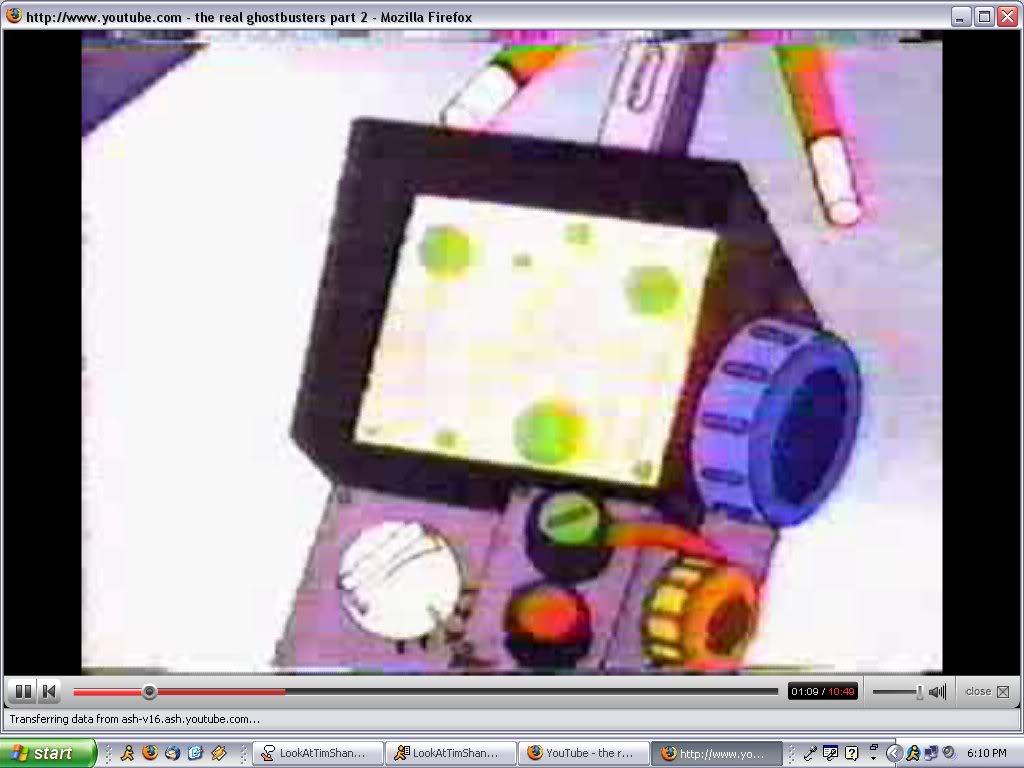
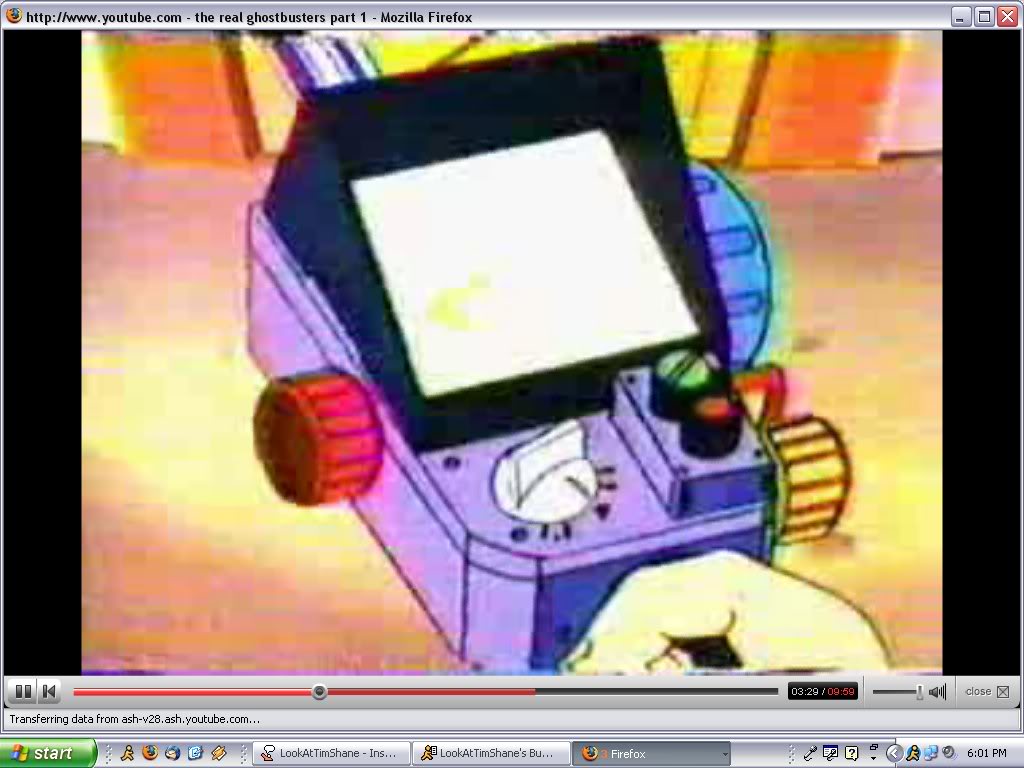
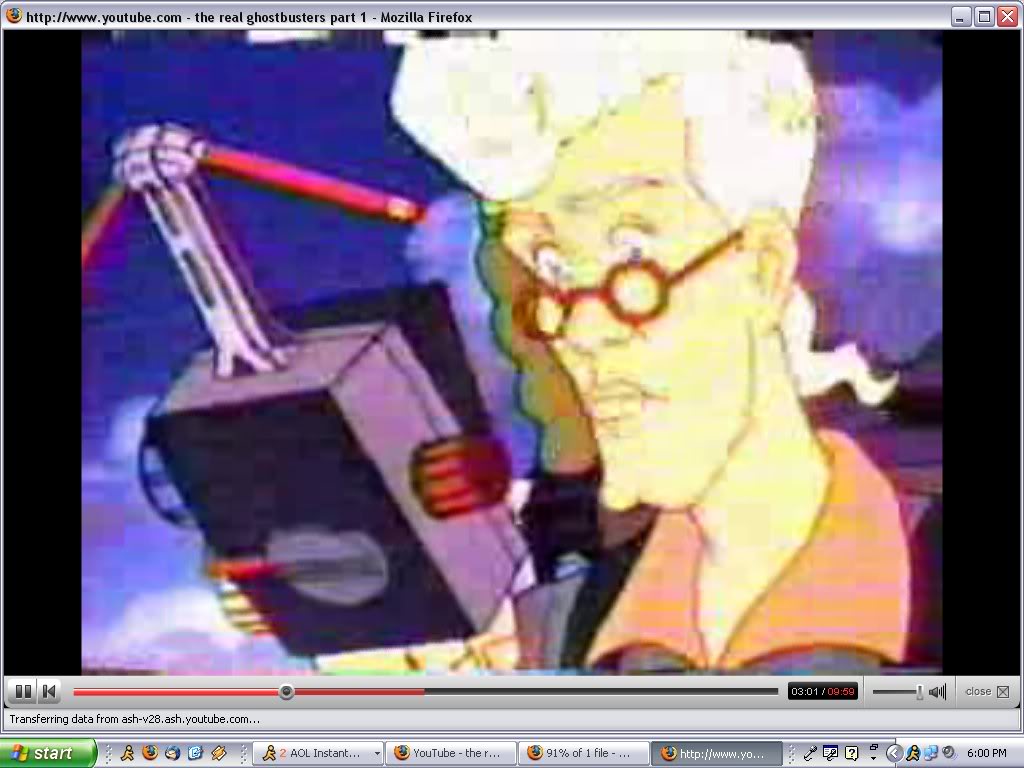
If anyone has an suggestions, comments, recommendations or whatever I’m 100% up for them.
I do have a question of my own though: WHAT is the ‘stem’ of the PKE antenna made of?! How can I duplicate that?
