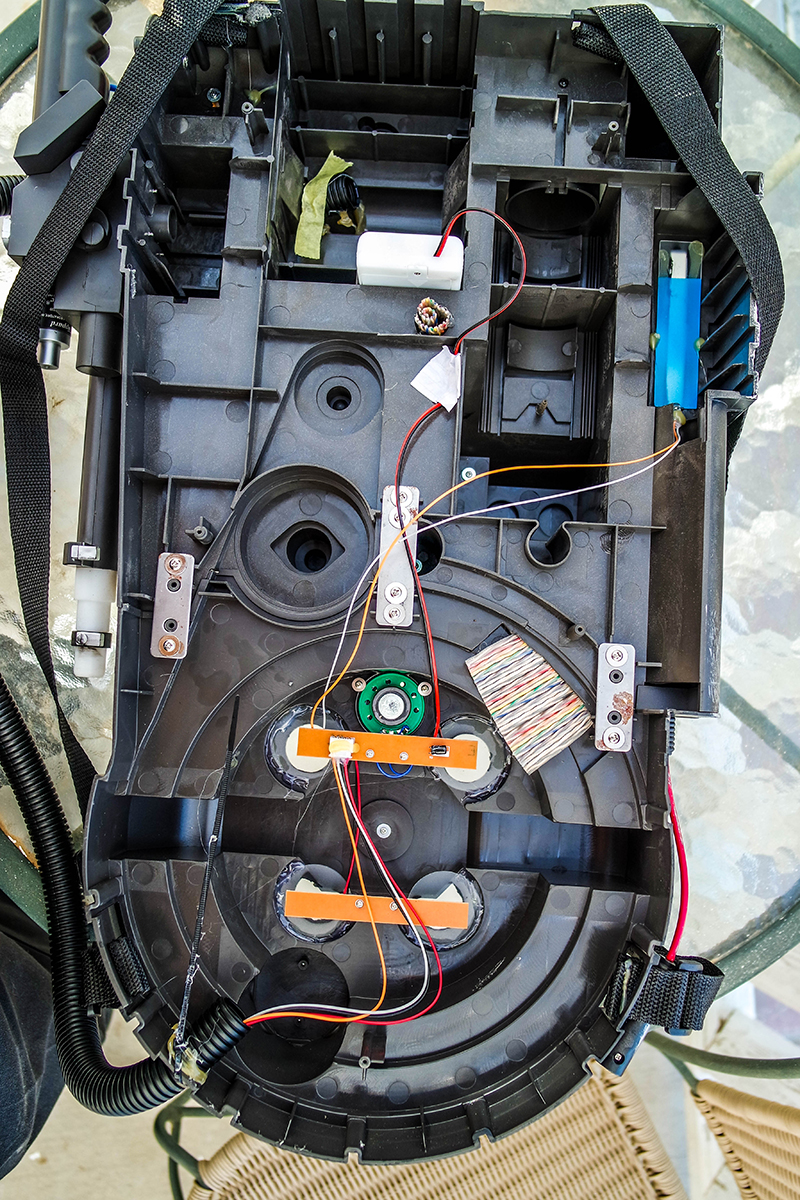
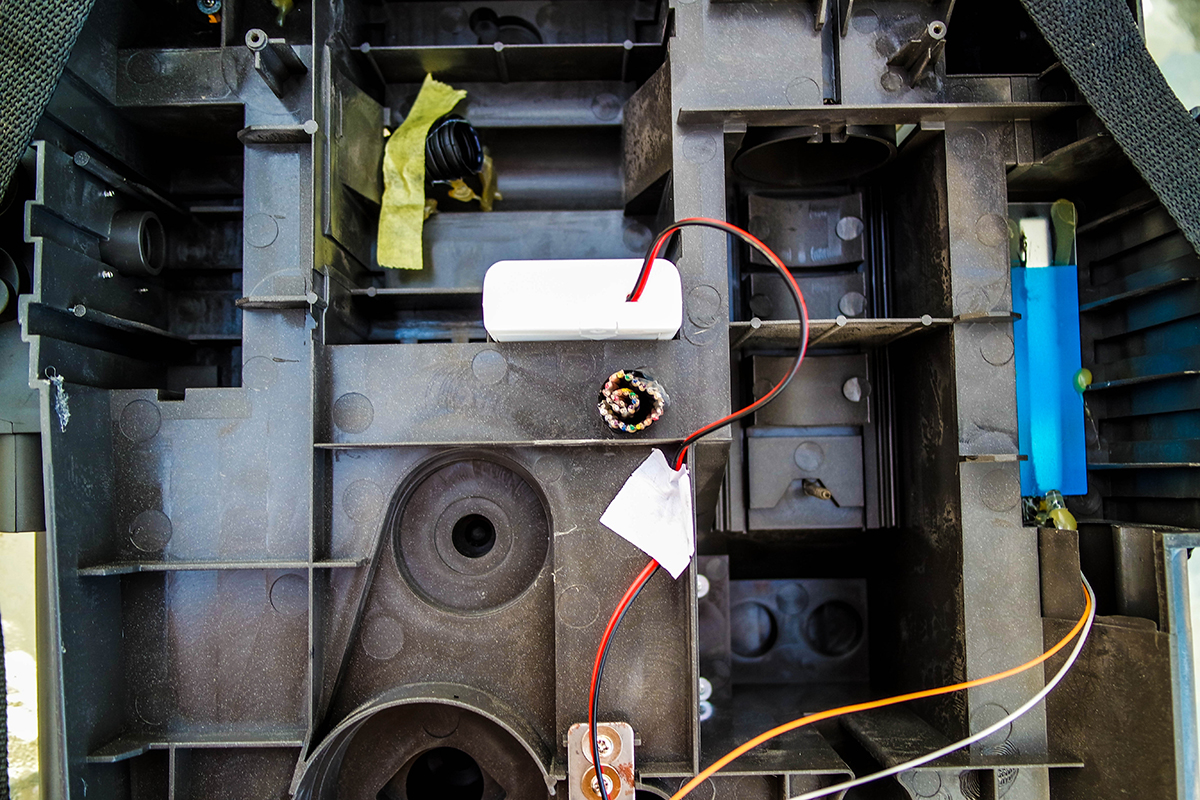
Hey guys, I am going to be posting pics here as I change things up on the spirit proton pack. Before I get started, does anyone know if you have to buy the Red and Blue lenses in order to use the light kit that we have in the shop?
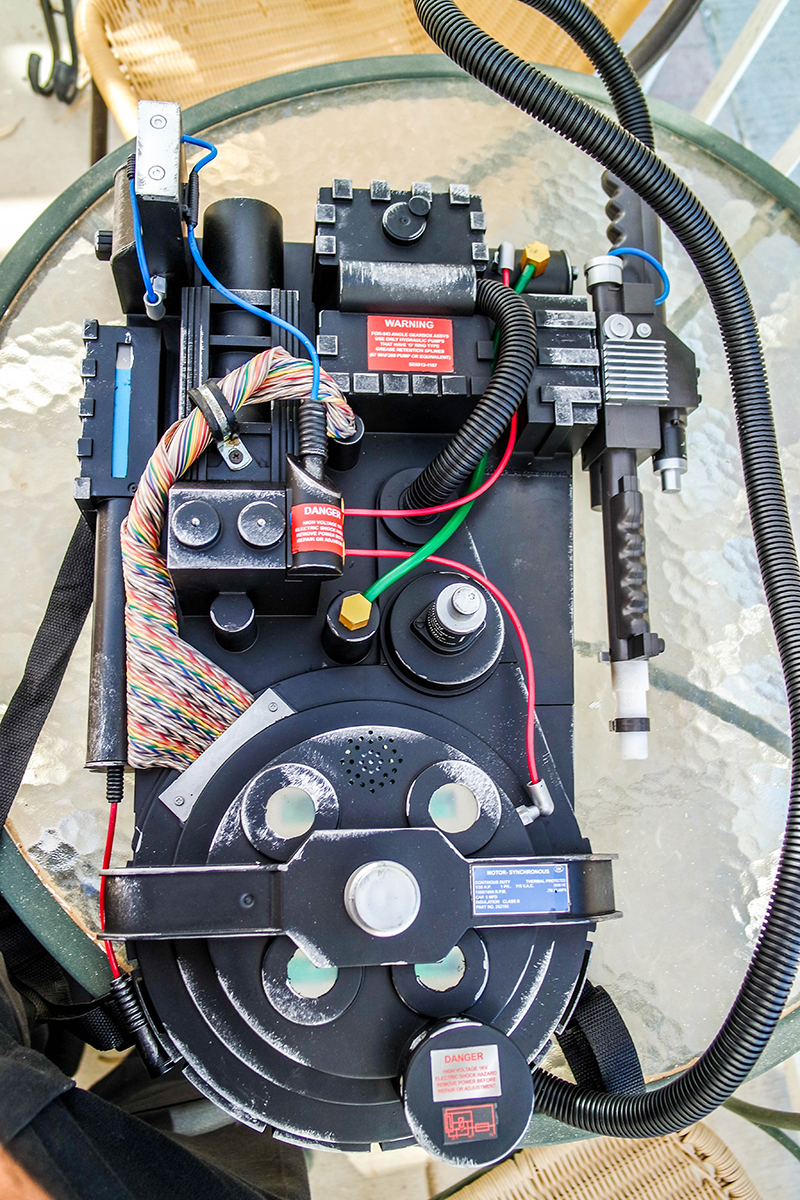
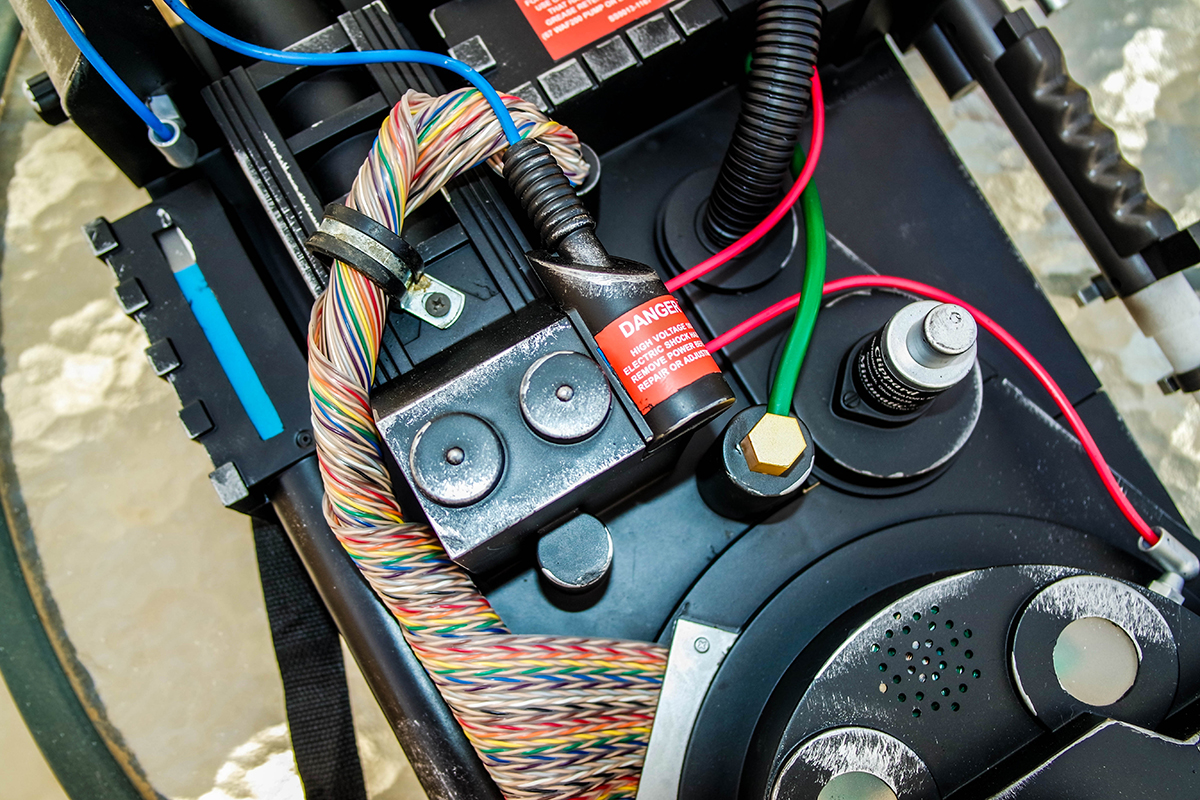
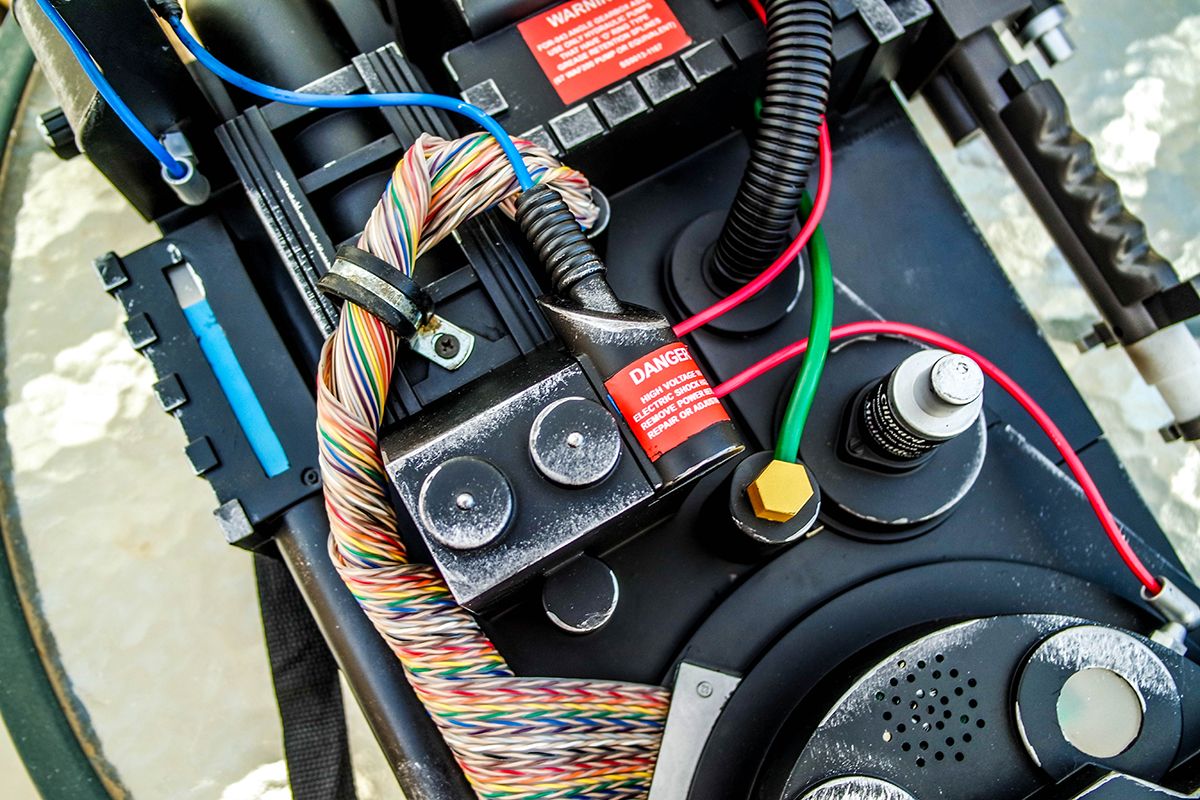
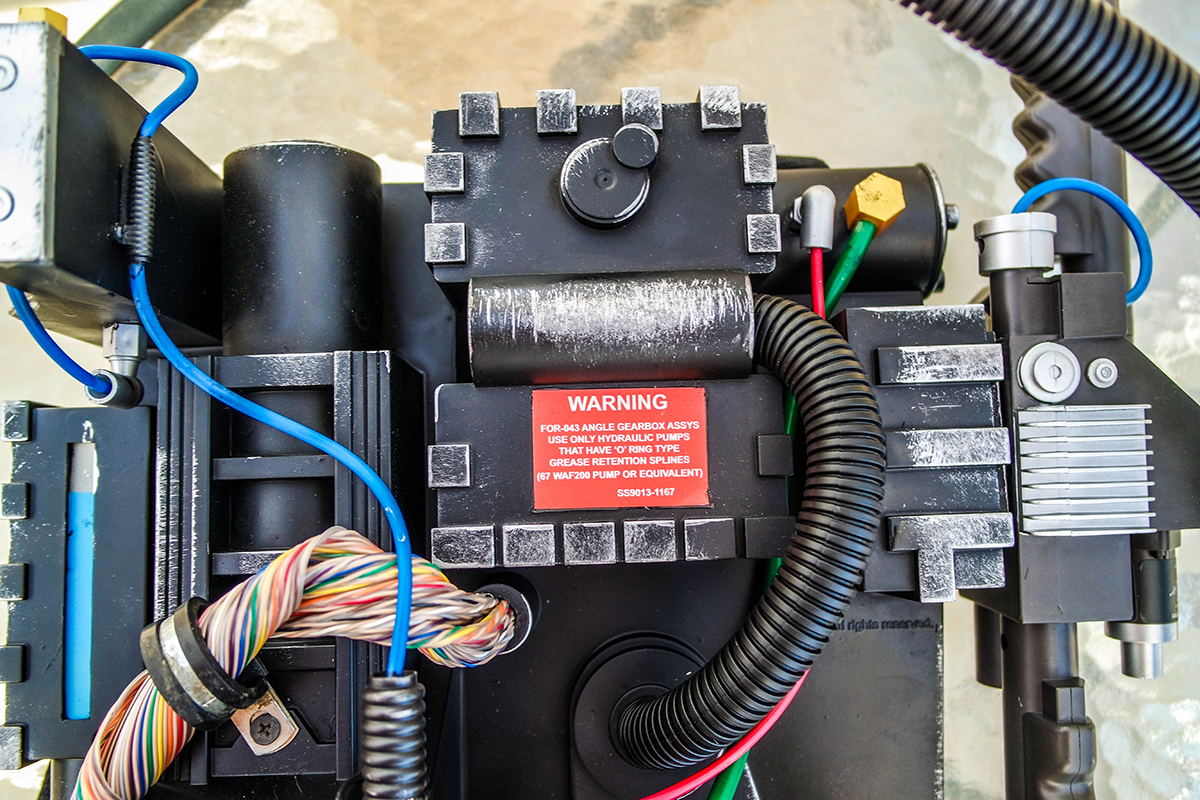
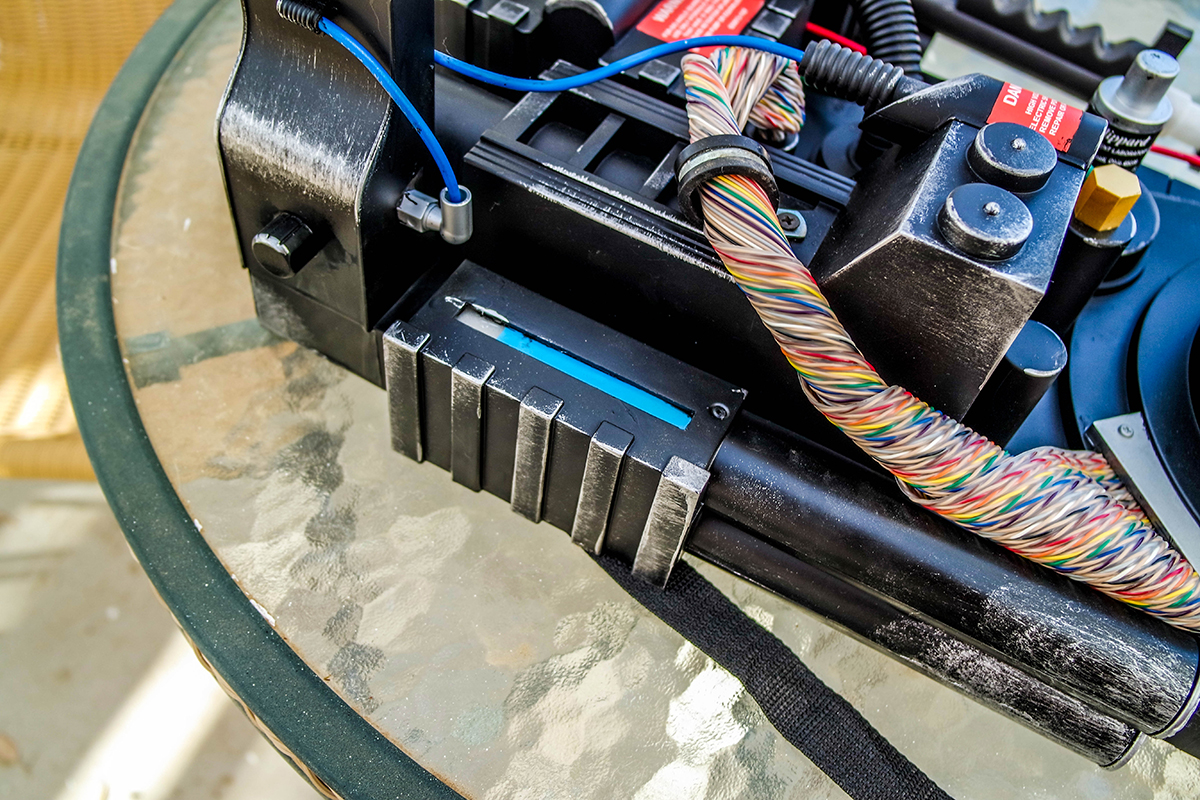
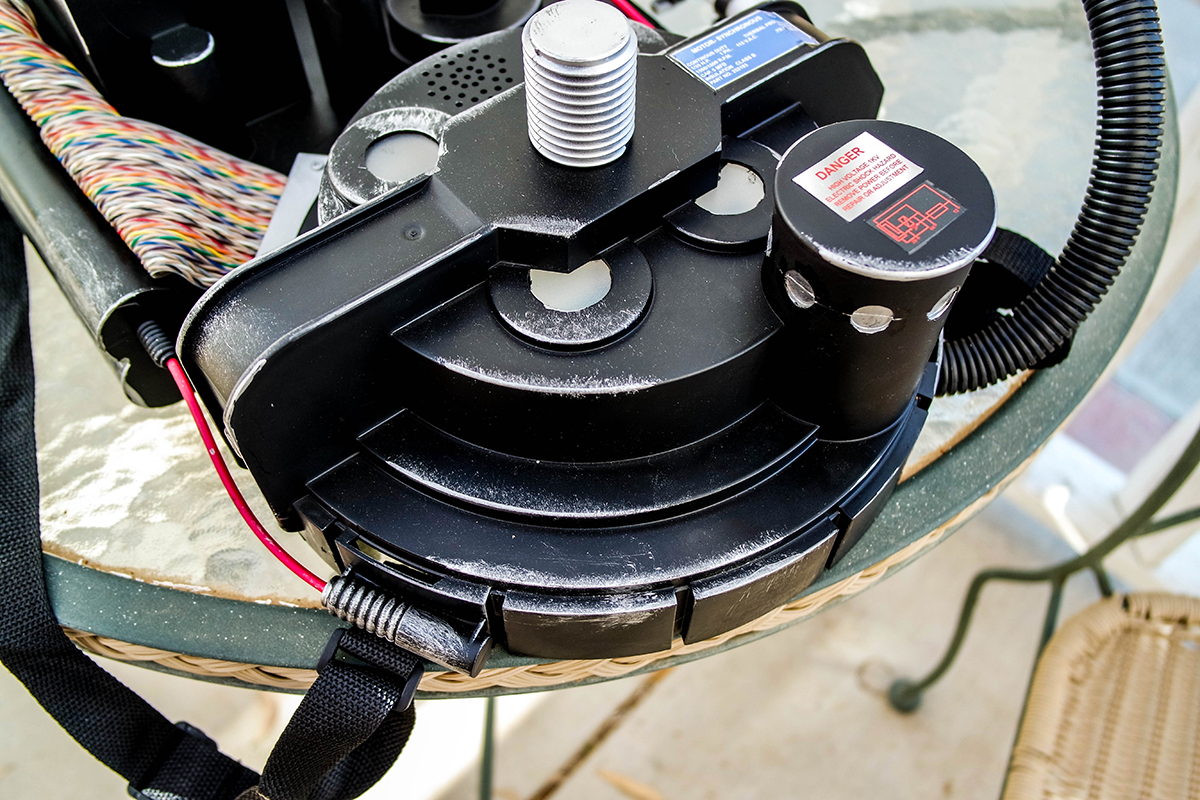
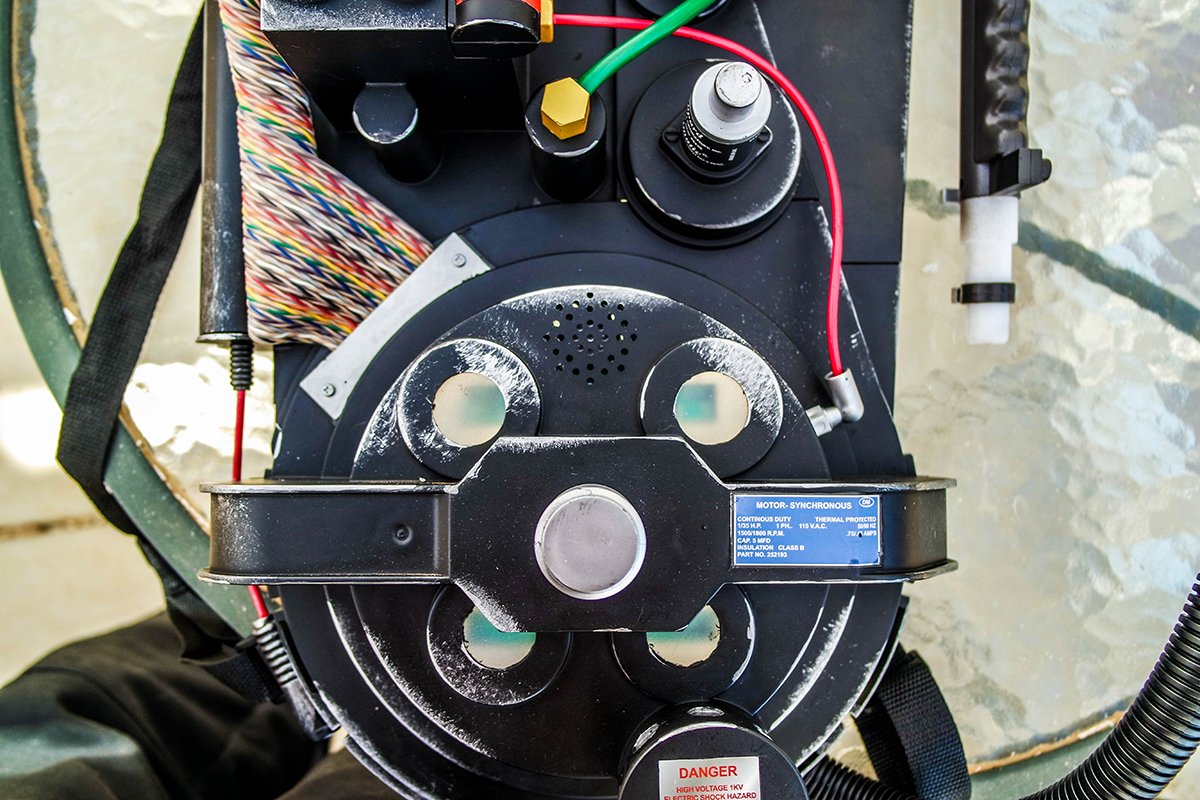
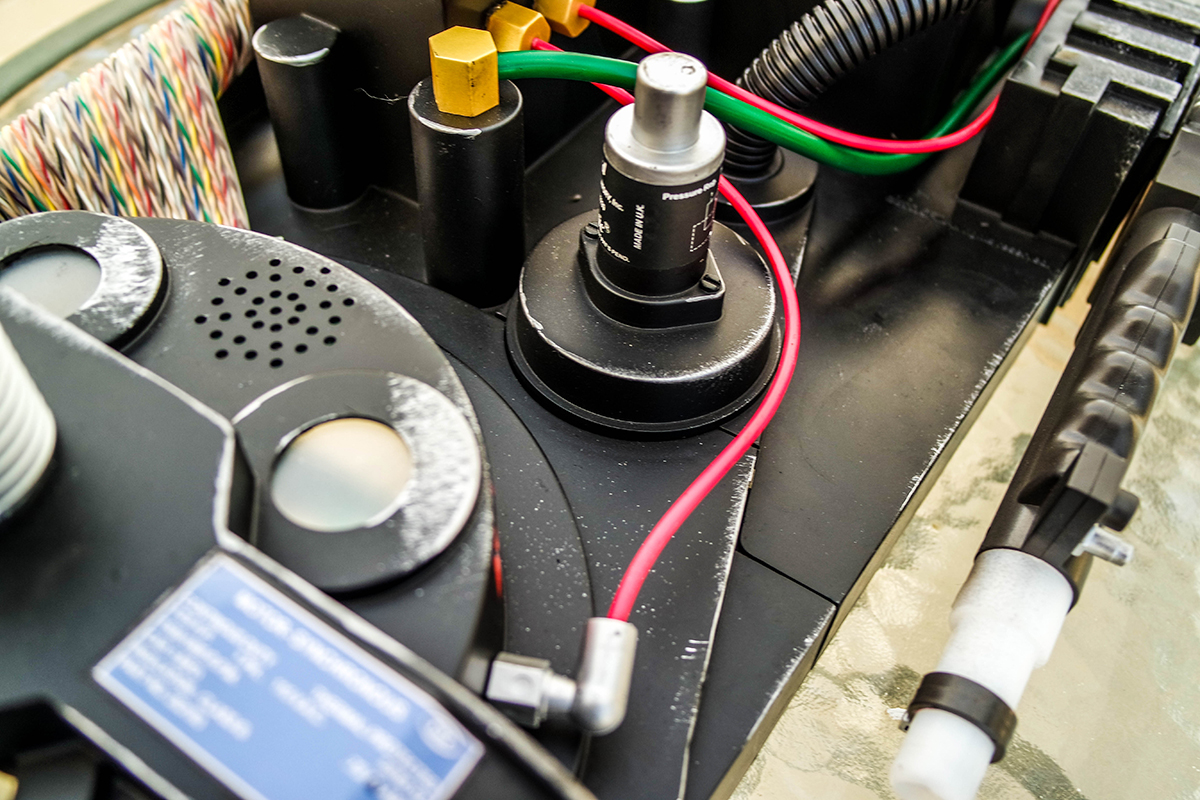
So far I have the pack painted. I haven’t touched the wand yet because I am still waiting for my V-Hook to arrive. I am also waiting for a new ribbon cable to arrive as well. If you look at the proton gun, these things don’t come black at all, it’s some really odd dark brown that just looks plastic/toy-like. I took the back off of the pack which can easily be done by feeling for 5 screws under the fabric and then cutting a small line across them with a razor blade to get your screwdriver in there to unscrew their “motherboard”. A few things can then be removed from there, like the speaker so you can tape off the speaker hole, you can unscrew the bellow from the cyclotronbumper, the two “brass” connectors holding the green wire can be completely unscrewed, I couldn’t get the connectors with the red wires to budge except for the one on the cyclotron so I took that off and masked the wires themselves and the connectors. Since I do screen printing, I have a tape that can be removed without removing something that it is stuck too plus it is more of a thick plastic-like tape so I used that to very carefully mask off the stickers the best that I could. The stickers do appear to have a slight protective layer on them but i also know if I mess up the stickers there’s no going back since they are smaller than making a scratch build pack. I sprayed it with some flat black paint that bonds to plastic and as you can see, I tried my best with the weathering lol. I’m not a painter. For the price of this proton pack, I figured it wouldn’t hurt to make it closer to screen accurate in the way it looks since it is mainly for Halloween. I always wanted a proton pack and when I get a chance I may either scratch build one of break down and get a 3D printer that is just big enough to print it in parts.
So far, I am happy with the spirit pack, I am just waiting for the cable and v-hook to get here and when they do I will remove that silly little peg from the Proton Gun, paint the gun, open it up, install the V-hook, open the pack, install the other side of the V-hook as well as the ribbon cable, and on my next paycheck I will grab an alice frame and a light kit from the shop.
I will be basically moving their lights out of the way to install a light kit that way thier button will still activate the sound if I want it. I am debating if I want to just have the light kit switch inside of the pack next to the battery pack for the sound (which also has a switch so you would have to go there to flip it on anyways), or if I want to run the lines into the gun and at least install a toggle switch (If I can find functioning ones that fit) hmmmmmm, lol.
Nice work. Did you tape off the stickers so you can paint the pack black? I’m not sure I wanna paint mine yet but I have installed the light kit from the shop. I’ve also kept the sound effects it came with for now as I will replace those later on, hiding the other lights.
Yes, I taped off the stickers so I can get it painted. Hey when you installed the light kit did you have to install the red and blue acrylic sheets over them or are the lights themselves already red and blue? Did you add any switch to the gun or did you leave the on/off switch to the lights by the battery pack inside? Thats what I am thinking of doing because I am sure it may be tough to get some toggle switches in the gun that actually function but who knows. I do plan to keep the sound effects that it has but I want to install the light kit from the shop like you did on its own power supply.
I installed new red and blue panels for the lights made out of transparent storage boxes, I got lucky at Fry’s…the cyclotron lights are already red but the power cell is white, that’s why I bought transparent blue material.
I soldered a switch onto the kit and I placed it on upper back.of the pack while making sure.it.wont get in the way if Alice frame
I stay in Victorville, California and man I wish we had a Fry’s Electronics out here, I would go crazy lol. The radio shacks are all closed down and that really sucks.
Hey when you get a chance do you think you can post a few pics? I would love to see what you got going on.
Here’s one pic. I got the light kit going on here, I wish I know how to make & attach a gif so you can see the animation. I’m slowly modding my pack here and there. I covered the top corner blue wire with yellow tape. Added ion arm using a wooden dowel.
Hey man did you change out the light kit or work with the one in the pack? I would be ok with the one in the pack as is for this Halloween (read:I’m. Broke) but I can’t get it to stay on. Is there a way to wire the existing one to keep flashing?
GOOD STUFF BROTHA! I forgot all about the ion arm lol. I’m thinking to still put screws where you can see they would have been. I thought of going to Lowes and finding some 1/4 OD copper tubing to add as the ion arm. I know these packs are smaller than one we would build but for the price and what you get to start with, they do have a lot of potential. I know the wand itself feels small but the pack itself actually fits me just right compared to one I made a long long time ago out of foam board from the Norm G pack plans. By the way… when you installed the light kit, how did you do it? Did you use hot glue? How did you mount your board for the power cell?
Cool, thanks man! I will keep that in mind. I just purchased my light kit about 30 minutes ago. I know the closer we get to Halloween the possibility that things can be sold out in the shop and I sure didn’t buy this pack to have the lights not working constantly when Halloween comes lol.
Somewhere along the way I decided I wanted to make this thing look like it has been through hell and back, so I looked up a dry brushing tutorial on youtube. I’m amazed with the way it is starting to look. I also got my cyclotron and powercell kit in today from the shop! Unfortunately I am not sure if it is possible to get a button and toggle switch in the side of the gun and still allow them to be able to function but then again I haven’t opened the gun yet. I will experiment with that shortly since I am still waiting on the V-Hook to get here. I did however get 2 mini toggle switches which I plan to add to the gun where I know they should fit and one of them will become the switch for the light kit. I will be keeping the spirit lights since it does operate the tip of the gun and the sound when you push their button but as far as walking around with the pack, I will let the toggle switch run the main running lights. After this I just need an alice pack frame but here are the pics so far including a shot of the inside. Keep in mind the gun is not painted or finished, I also got a blue lens for the powercell that I didn’t add yet, I will take care of that when I install the lights, and I am debating if I should add red lenses for the cyclotron. Do you guys think I should? BTW… to add a normale sized ribbon cable you have to bore out the hole a bit on both ends! I had to do it because their stock ribbon cable just looks silly, lol.
I do have a question for you or anyone, I have the amplified sound board chip from the shop, and wondering do I need the wand light kit to make the light at the end of the wand to work or does the amp sound board capable of doing both?
Hey thanks. I think if you want the tip of the wand to light up as well as have st sound in your pack you may need to get the proton gun light kit. I know all of it won’t fit in a spirit pack but if your talking about a regular sized setup then that kit is what you would want…
Awesome work, I hope I get at least 1 of the two pre-orders I have in for these from spirit halloween. Keep us posted on any other mods you do to the pack.
ALso I just saw the video. The light kit from the store is amazing. How did you add it in. Do you have to solder anything inside? Also how did you fit the new lights into the cyclotron windows while also keeping the original lights in there and working?
I didn’t do any soldering but the hot glue did it’s job, lol. Once you get it open everything is pretty much spacious. I just twisted my wires and used electrical tape and drilled the holes in the proton gun for the toggle switches. The proton gun is VERY tedious to work with when routing your extra wires (not included with the light kit) in-between the pack and gun because the proton gun end has A LOT of hot glue from the factory.
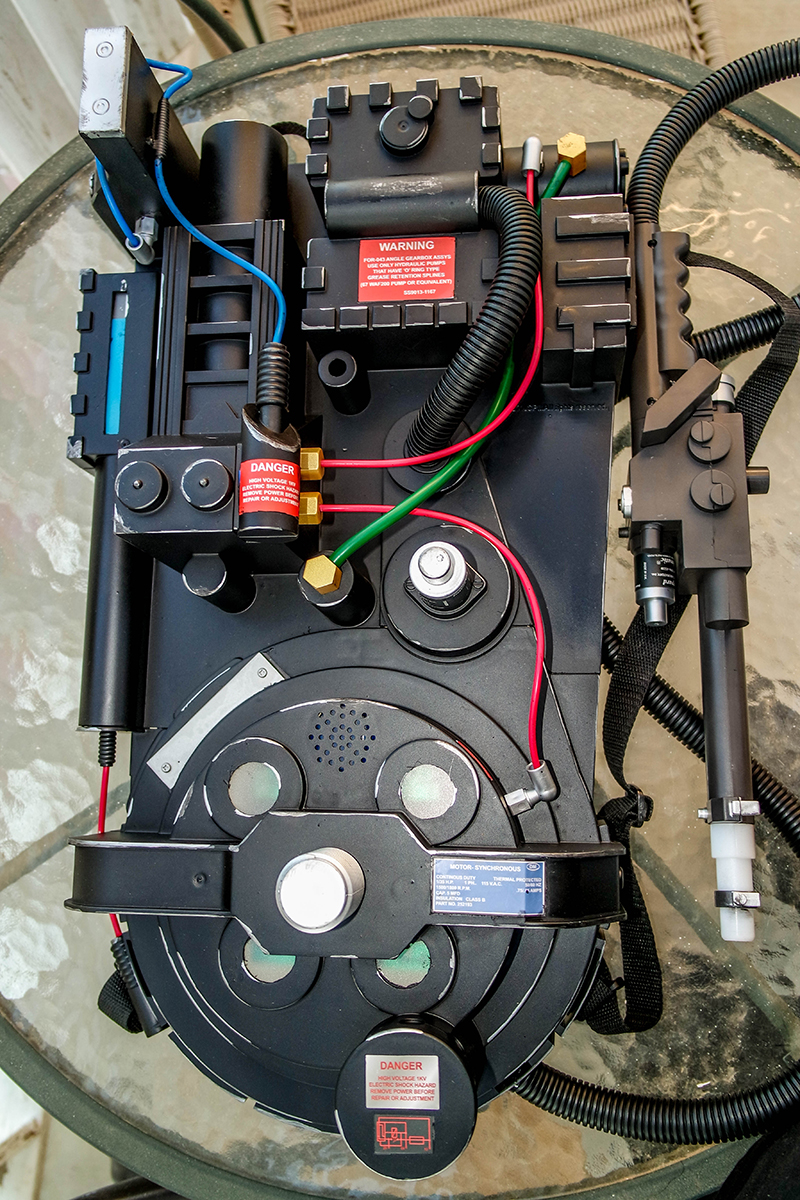
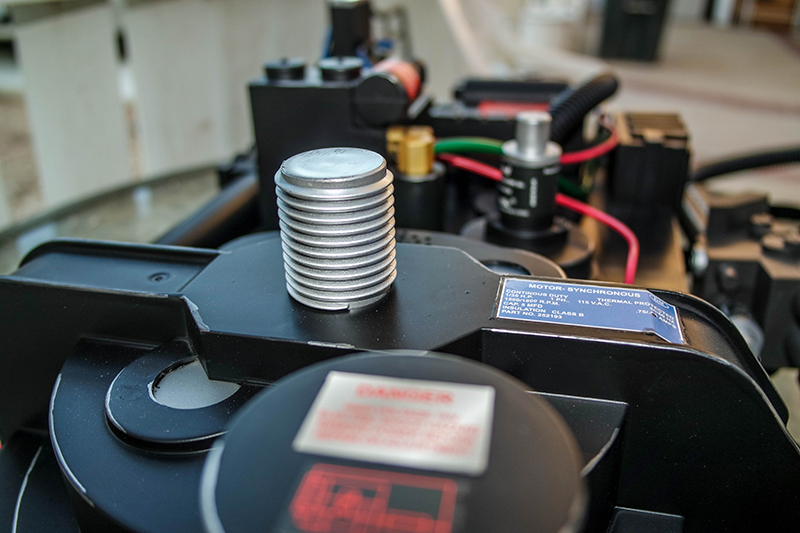
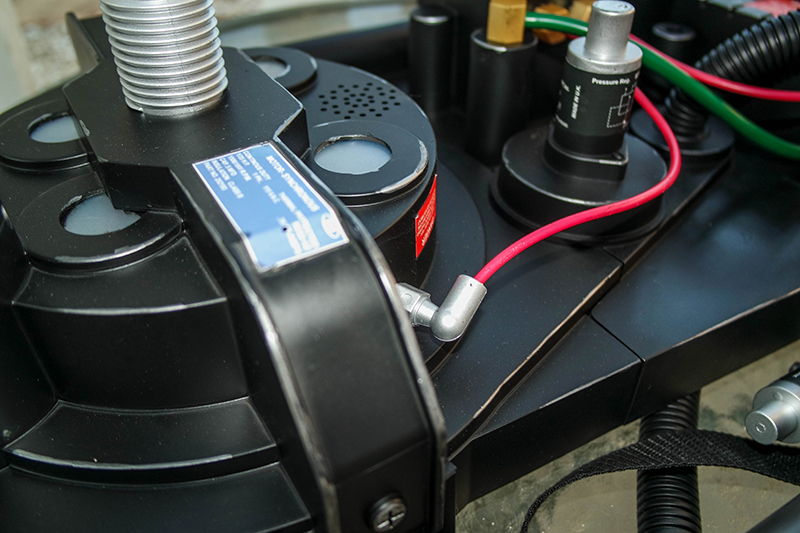
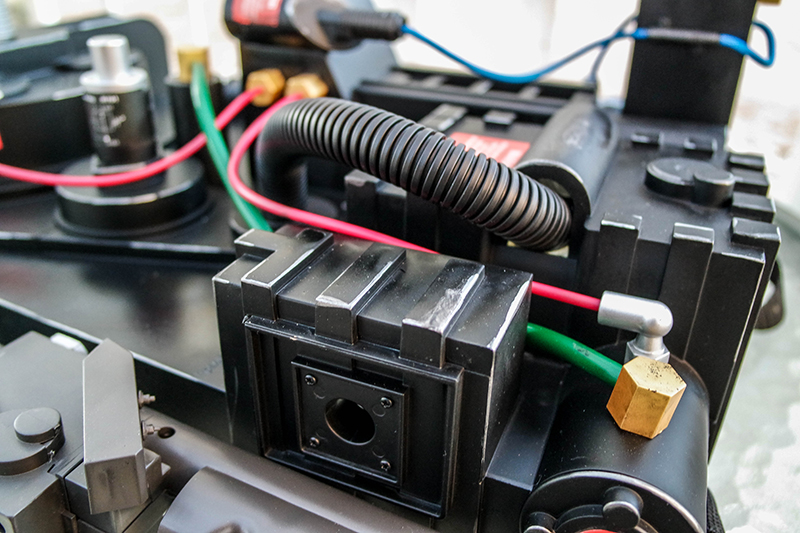
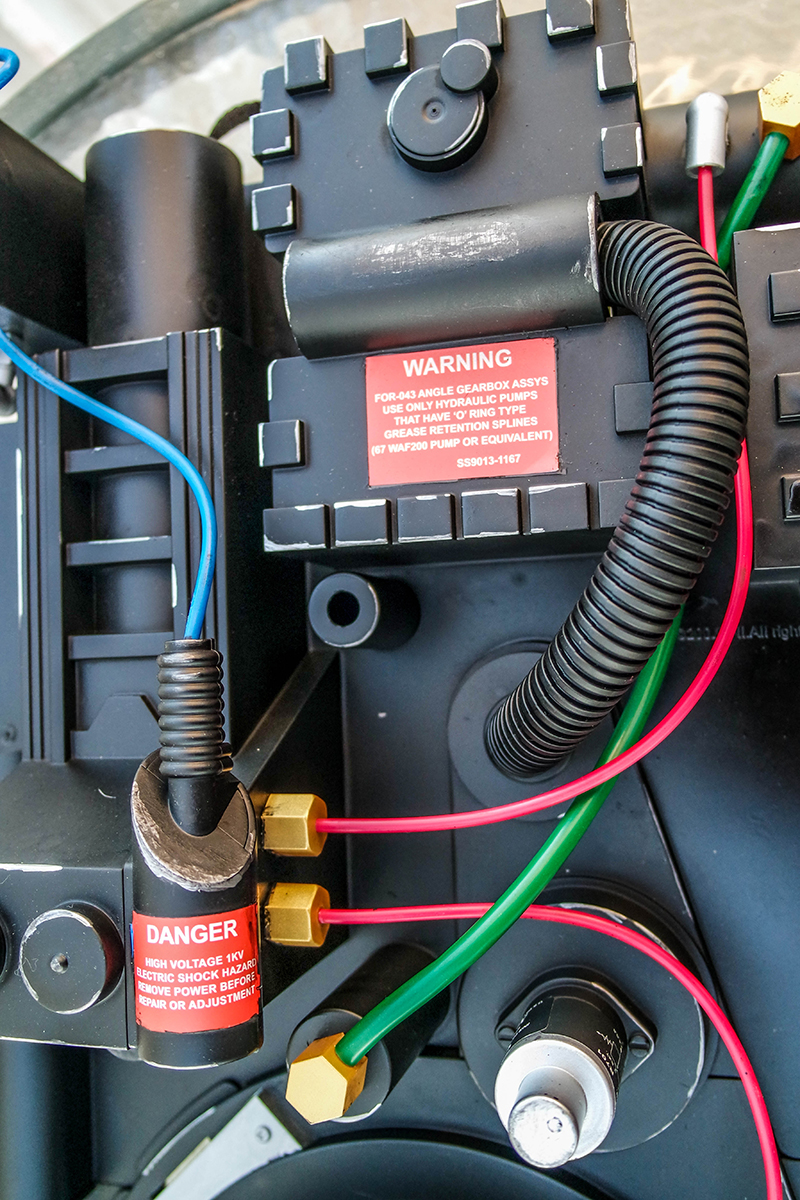
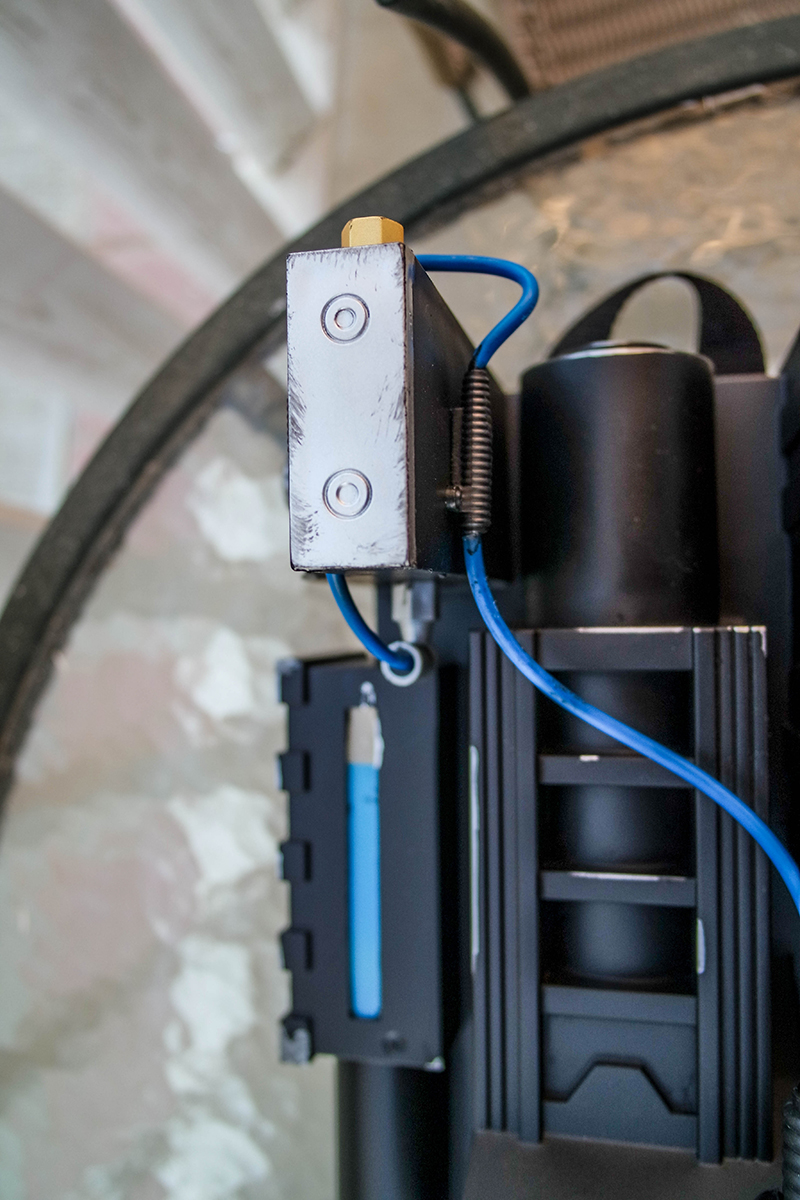
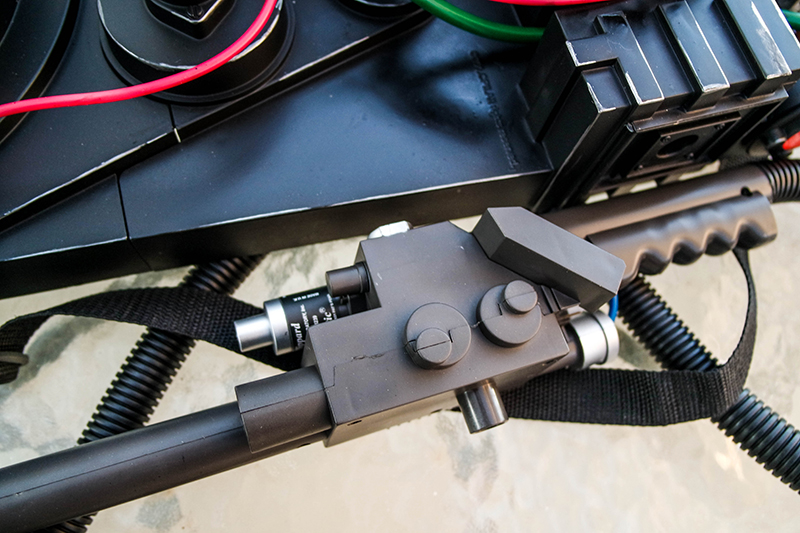
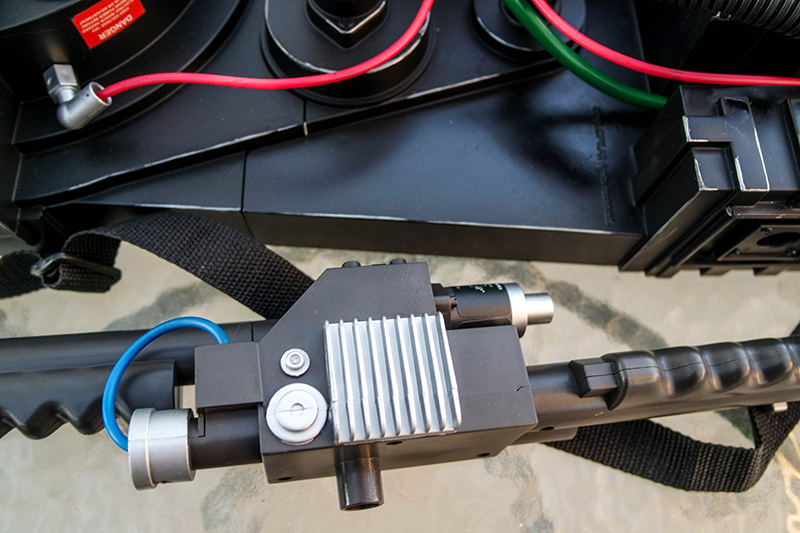
 Unfortunately I am not sure if it is possible to get a button and toggle switch in the side of the gun and still allow them to be able to function but then again I haven’t opened the gun yet. I will experiment with that shortly since I am still waiting on the