BK's Hasbro Haslab Proton Pack Mods

I believe that I’m pretty much done with my mods… How many times have I said this now?
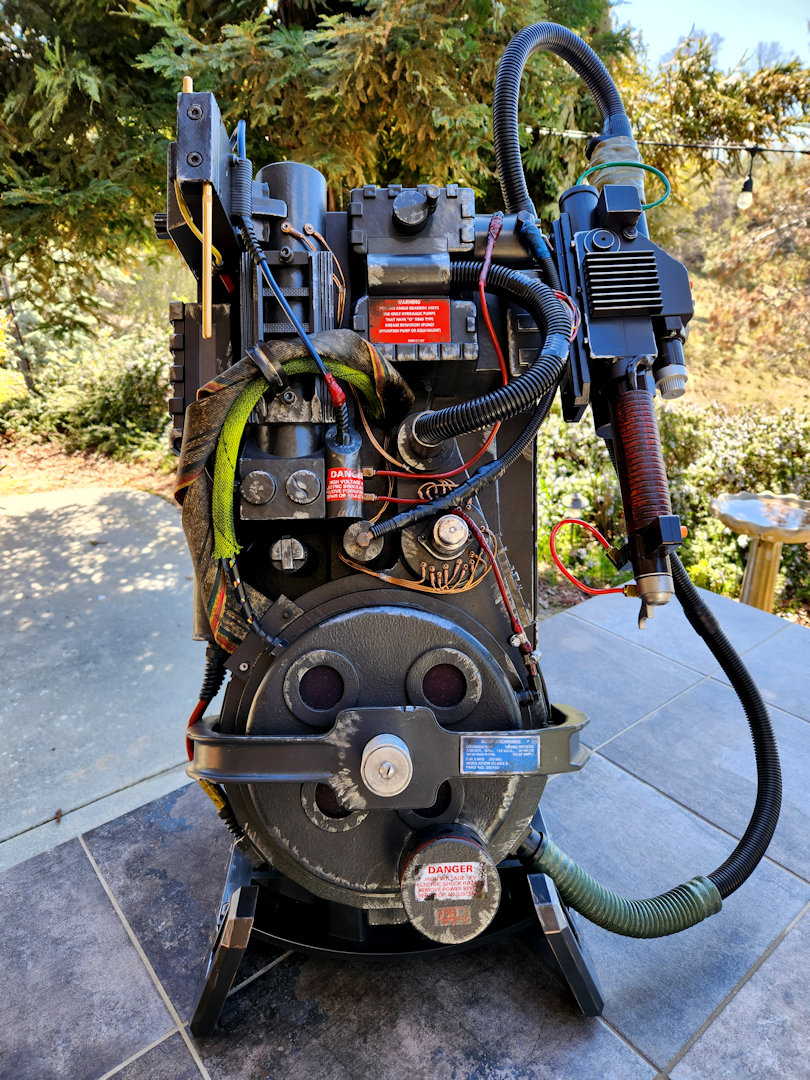
I have to say, this thing is pretty darn cool right out of the box but I felt it did need a few changes.
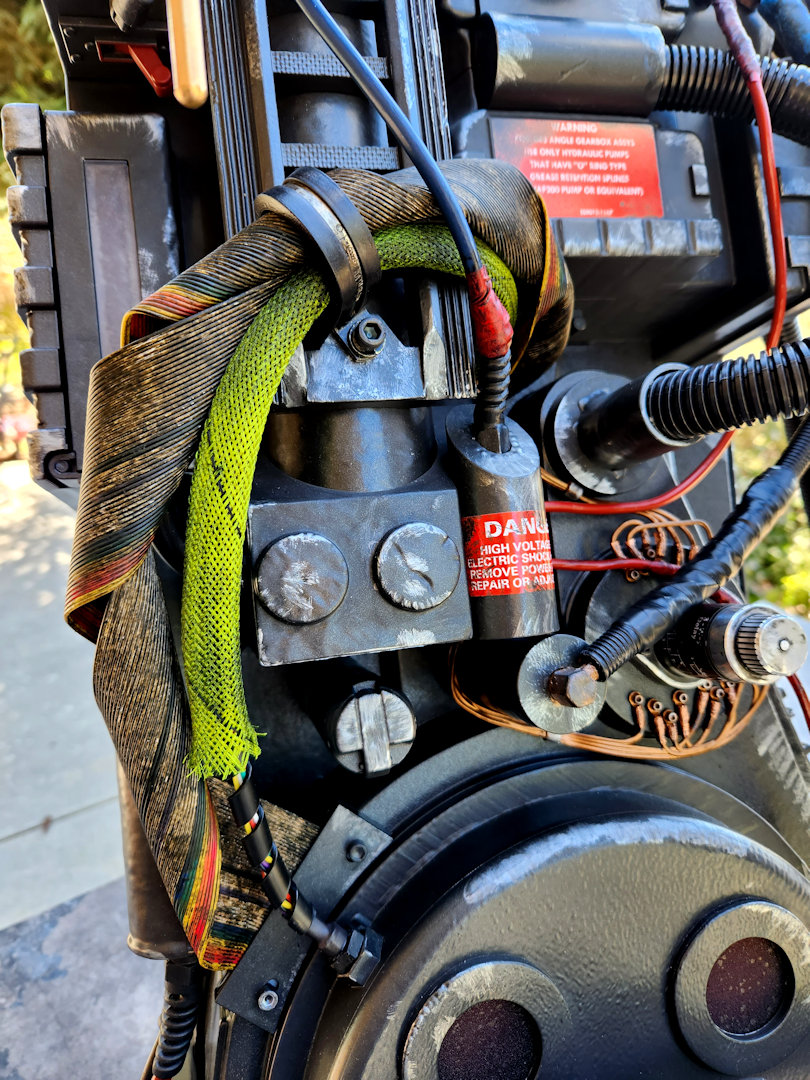
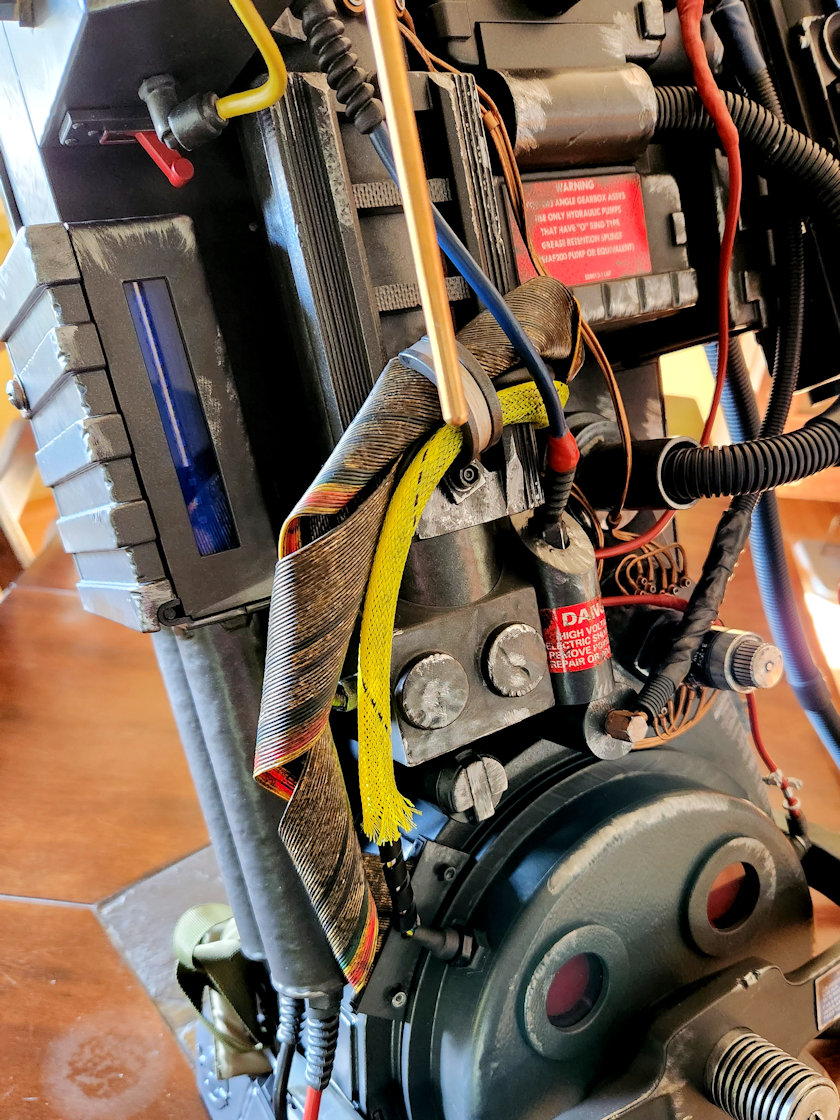
Firsts off, I changed out and weathered the entire wire, loom and shroud from CharlesworthDynamics to a more film accurate option. I just couldn’t stomach that big fat pale yellow shroud they decided to use. For this change I needed to remove the motherboard, which wasn’t as bad as I thought it was going to be.
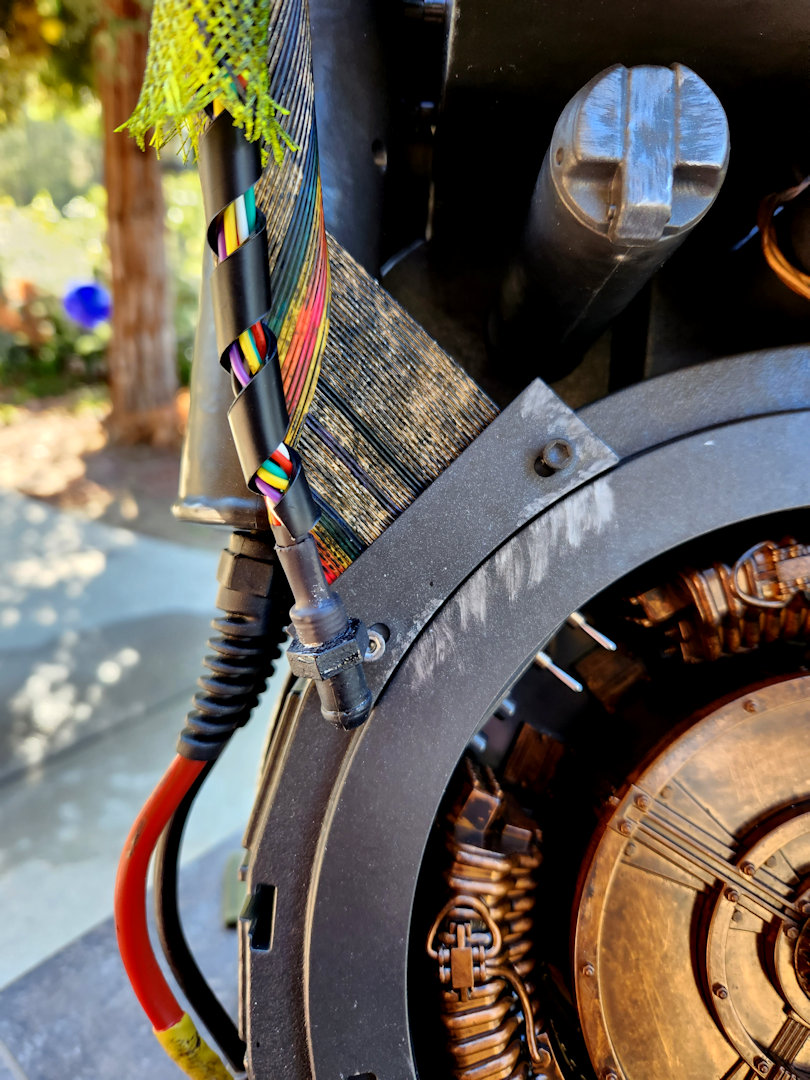
I also grabbed a rubber plug from Reman Studios for the end of the wire loom. It fits perfectly, even better than the plug that came stock.
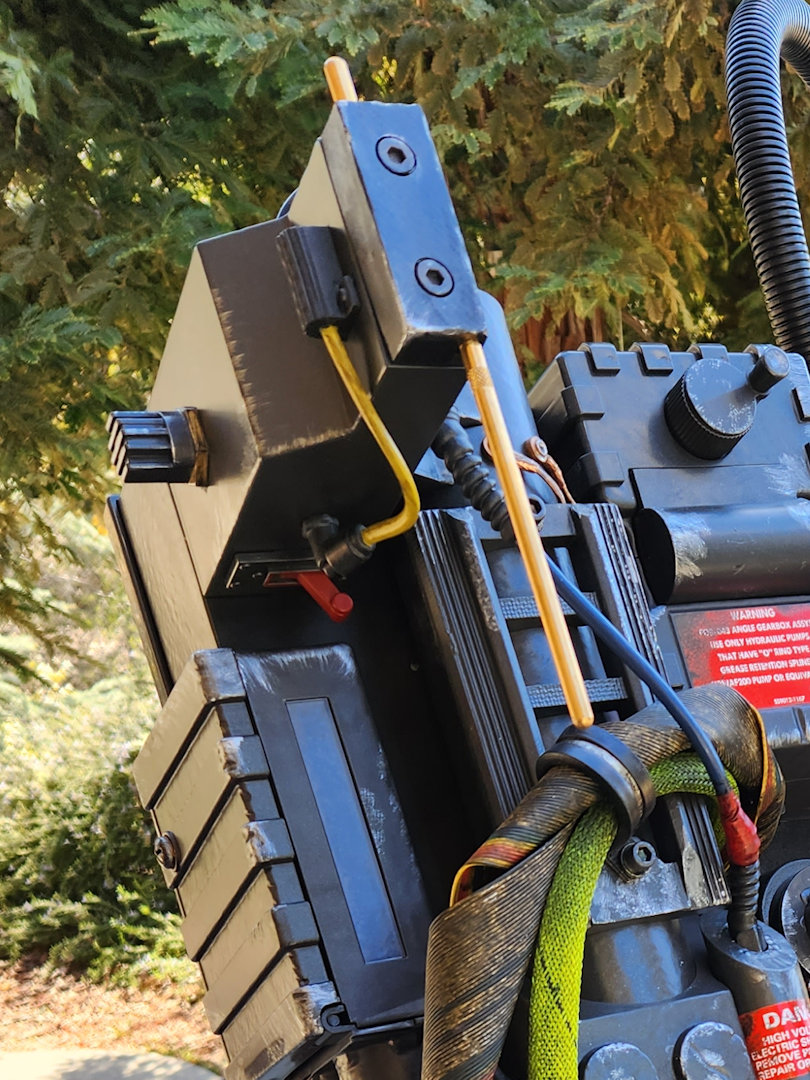
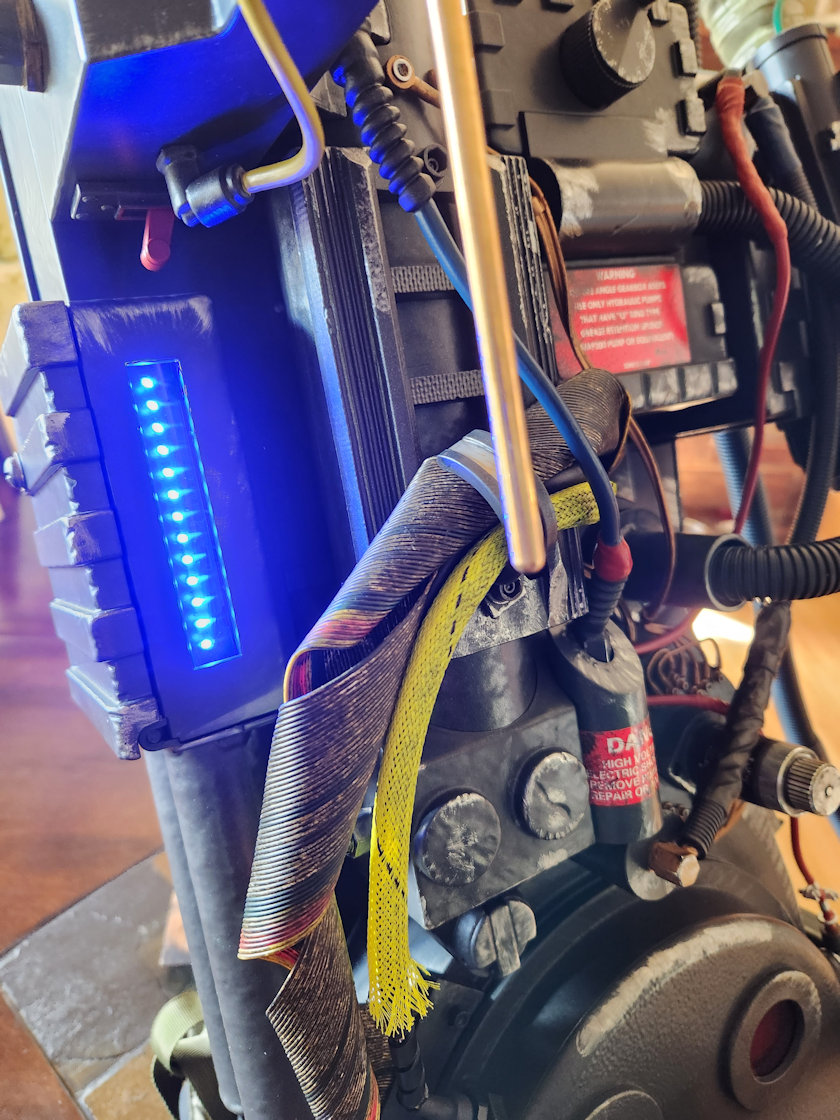
I sourced this ion arm cover from DragonWorkshop. I chose the weathered option and I couldn’t be happier. Not sure why Hasbro tossed the screws on the ion arm as they were shown in the mockup, but this was a quick and easy install using the stock mounting plate, and is easily reversible. I changed out the milky white diffuser behind the clear lens of the power cell with a blue lens from RightCoastCreative. This looks so much better when lit and when not.

I painted the little mounting plate of the DALE Resistor to make it a little more realistic.
I painted the little screw/button to make it look more like a real screw and washer.
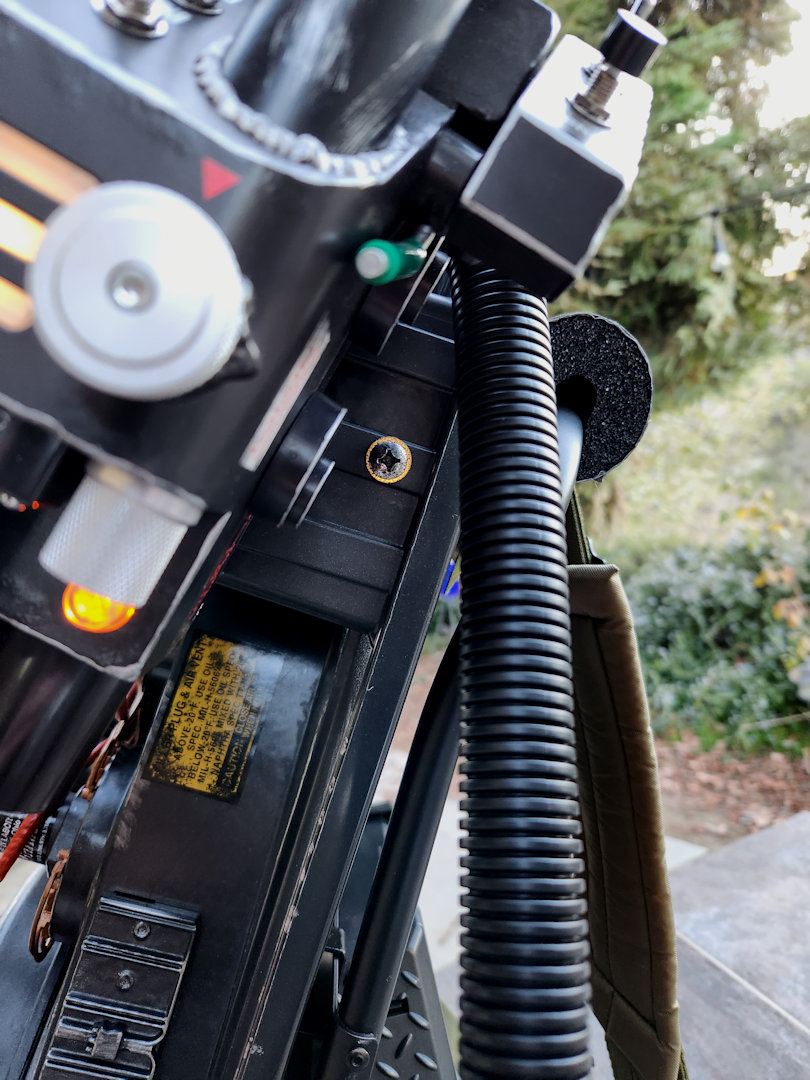
I noticed a little hole just under the wand mount and when I checked Adam Savage’s pics of Phoebe pack, I could see they used it to mount the shell to the motherboard. I added a film accurate panhead sheet metal screw and washer which was splattered just a bit with black paint.
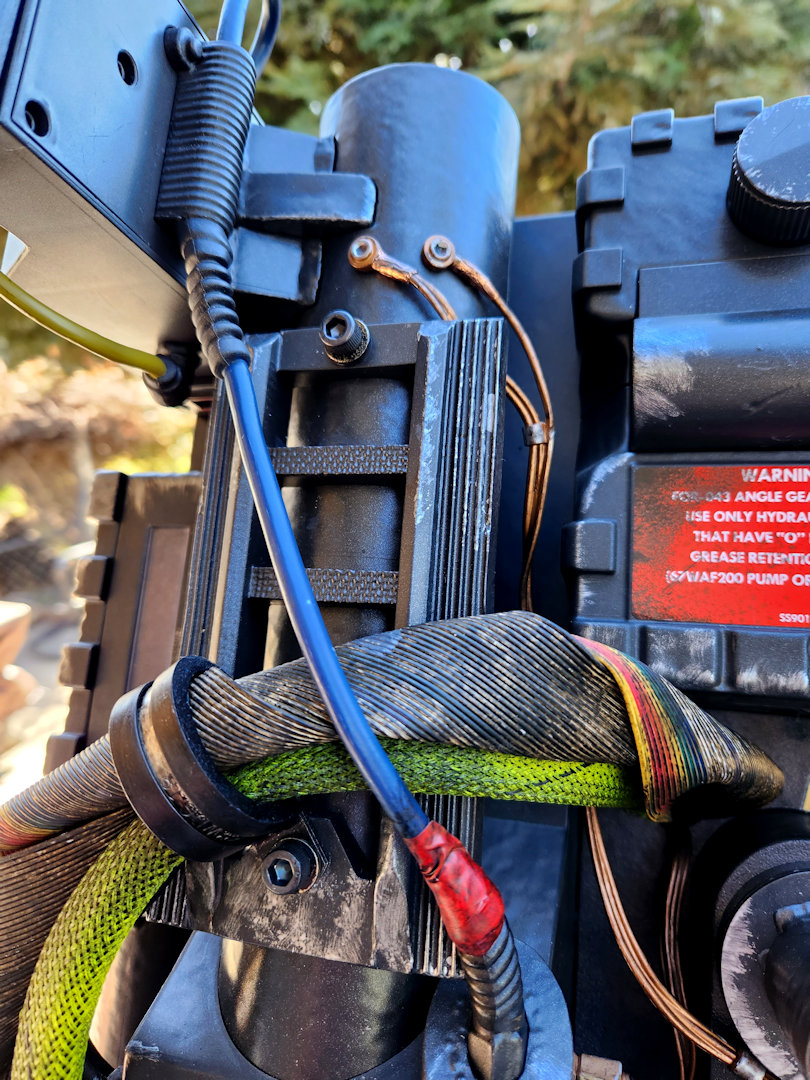
I decided to take the leap and cut out the tiny faux Booster Frame screws and clamp and replace them with more realistic alternatives from MiscHobbyParts . Finished the clamp and screw of with a spray of black paint.

I replaced the stock loom that goes to the crank box and added the wires bursting out like they were in the movie. I just used some wires I had around the house and some loom I had left over from my Rubie’s pack. Looks so much better than the stock part that was just black molded wires.
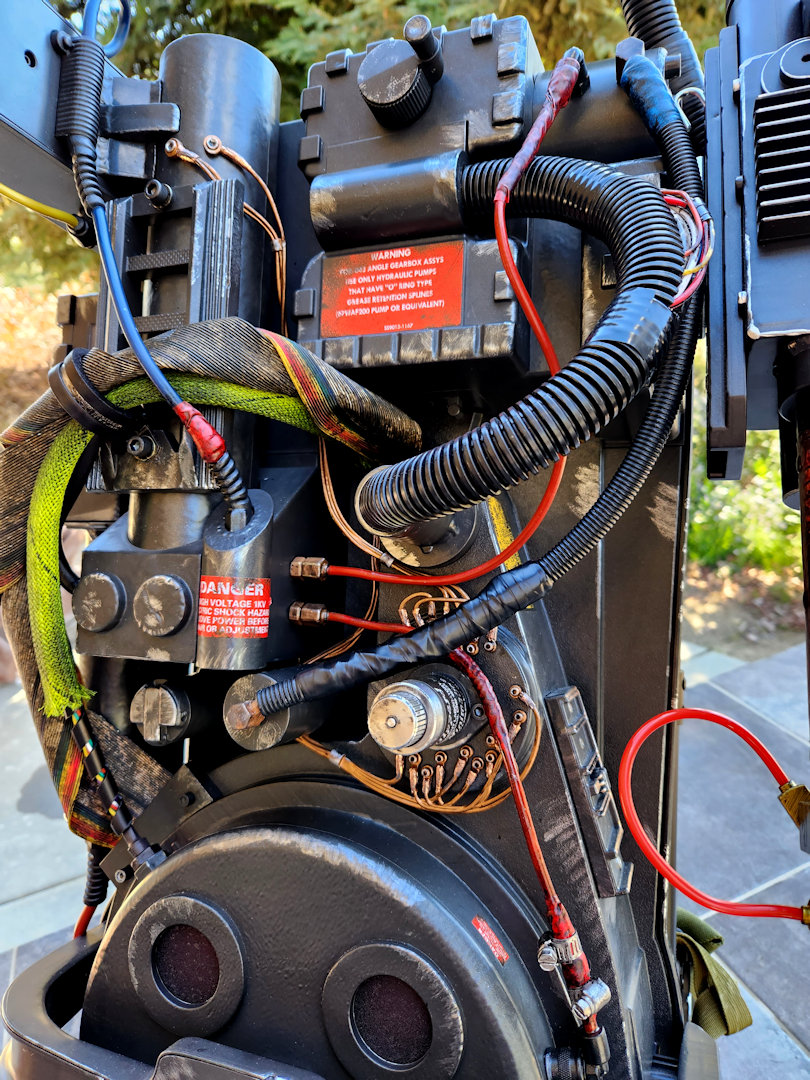
I painted and sealed all the little brass wire ends that were left black from Hasbro. Also added a little silver to the copper wire mounts to break up the contrast just a bit. I also noticed that the copper wires were not arranged in the correct way from the factory. On Phoebe’s Pack, one strand wraps around the beam line tube and the other runs under the ribbon cable up to the booster tube. I also re-tape the areas that used faux tape, and weathered them a bit to match the rest of the pack.
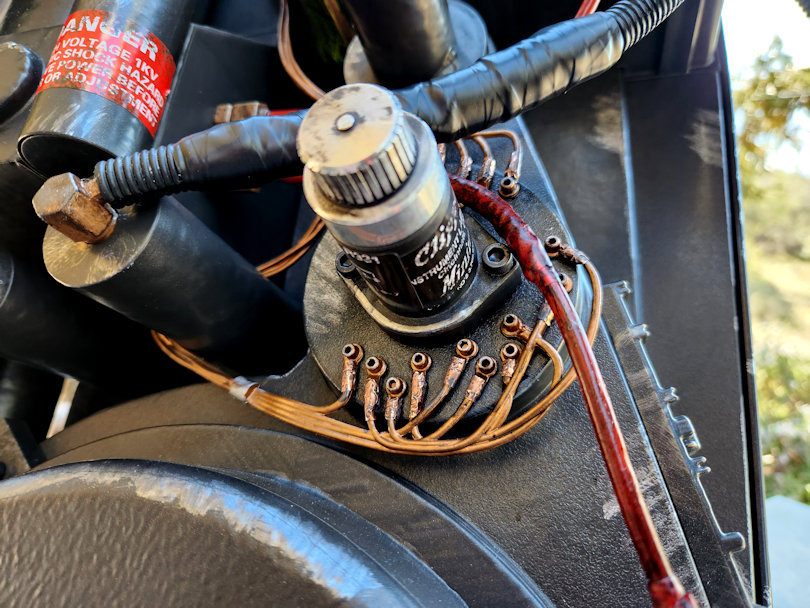
I also changed out the Clippard screws to more accurate larger Allen head screws, as well as cover the wire ends with copper tape.
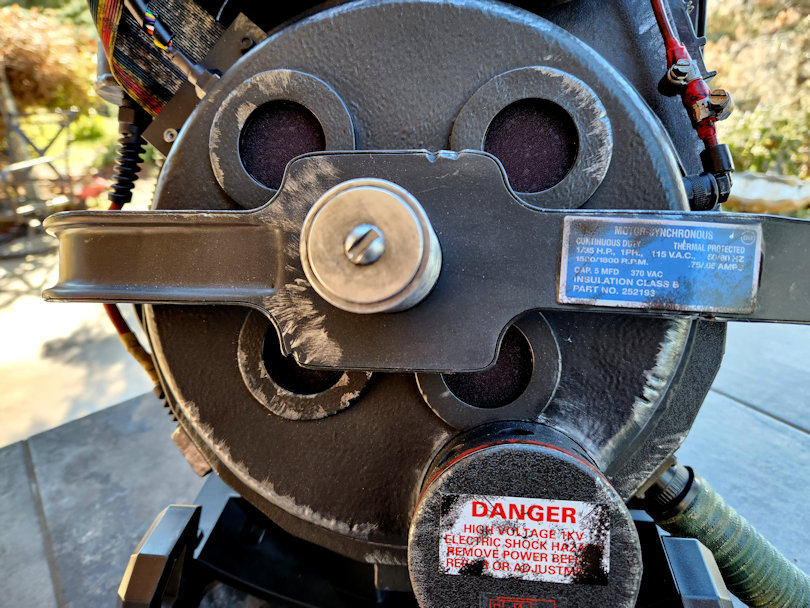
I’ve been looking for the perfect solution to both diffuse and darken the LED lenses for both the cyclotron and power cell lights. Rory over at MiscHobbyParts came up with my favorite option that handles both of my needs perfectly. They were very easy to install and darken the lenses just enough, allowing the blue and red lenses to still show a little bit of color.
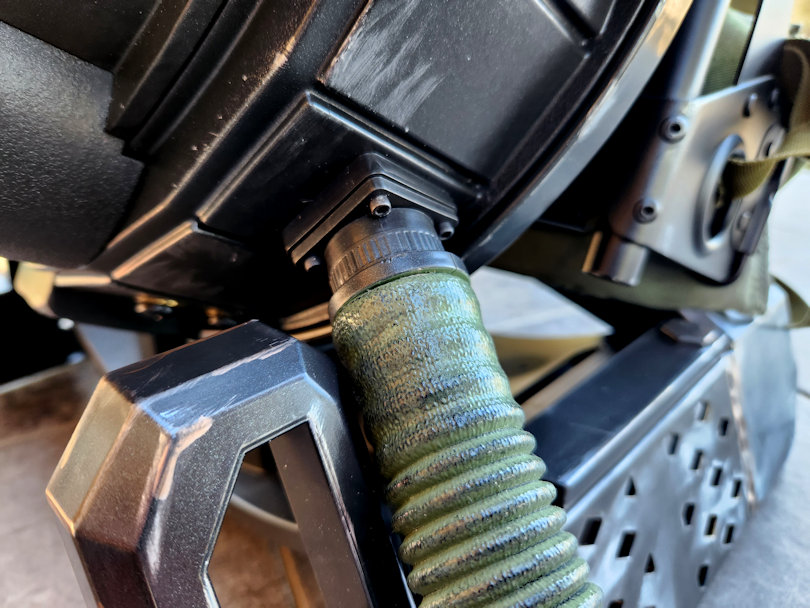
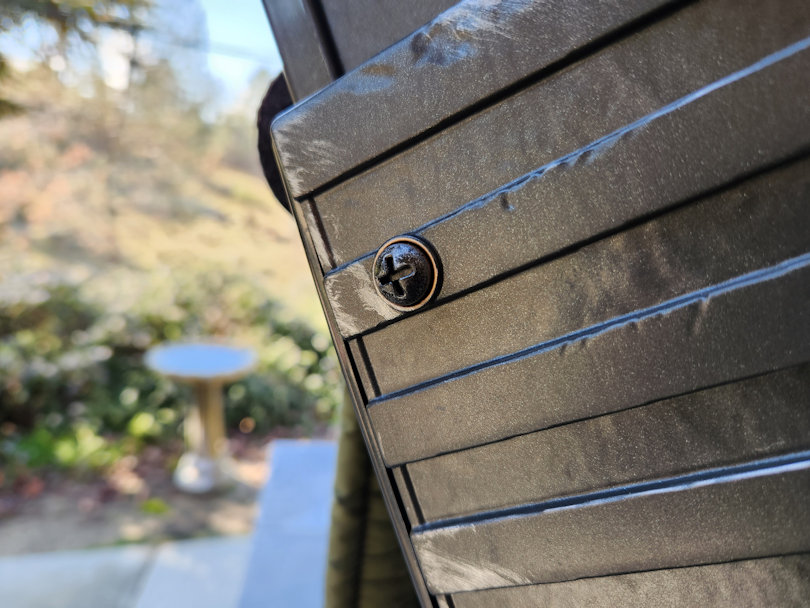
I replaced all the little silver screws on the outside of the pack with #4-40 X 3/8 black Allen socket head screws (which fit perfectly in the stock holes) including the hose adaptor, Clippard mount, booster frame and the three visible screws on the ion arm.
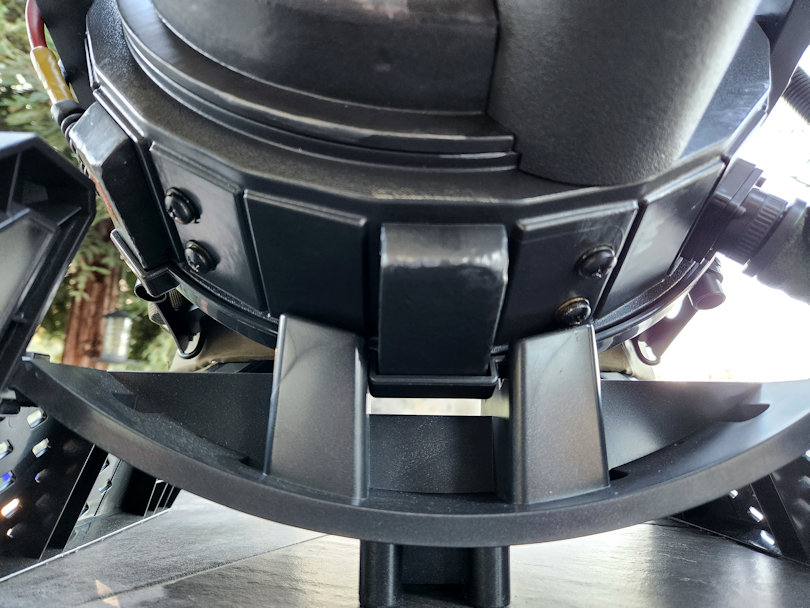
I changed out the four screws on the bottom of the pack with more accurate panhead sheet metal screws and washers, and yes they have been splatter with black paint. These four sheet metal screws require an unreversible change as the screws enlarged the holes just a bit when I screwed them in.
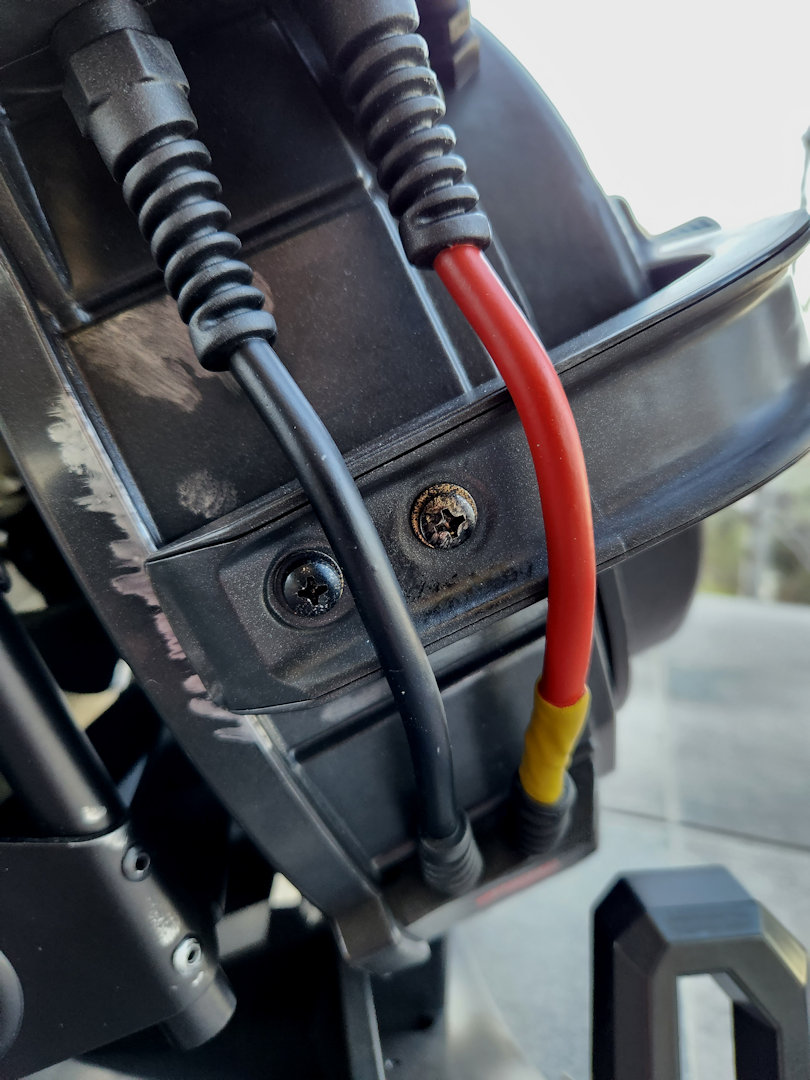
I replaced the bumper screws with more Afterlife accurate panhead sheet metal screws and washers. I then splattered them with some black paint like the were on the film used pack. Unfortunately, this is not reversible as the screw holes were enlarge when I screwed in the larger sheet metal screws.
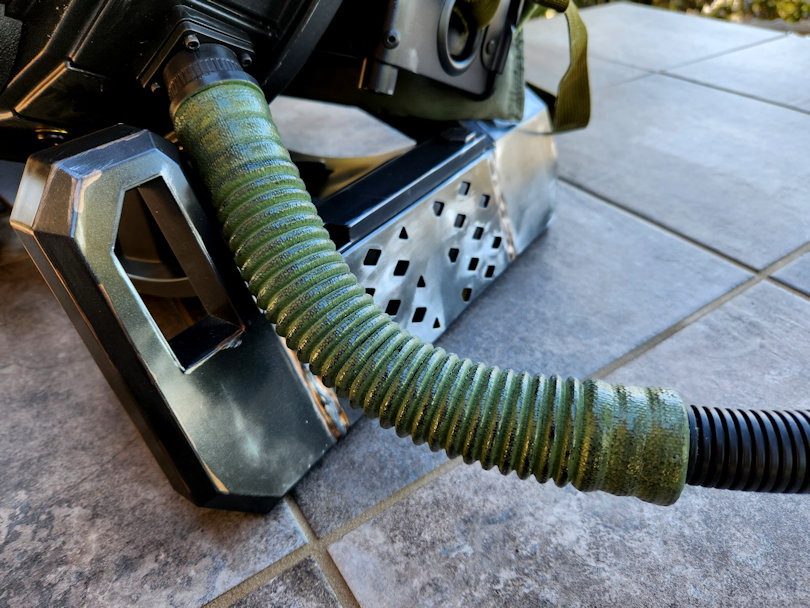
I painted the shroud on the wand hose with Army Green Rust-Oleum Camouflage Spray Paint , and then weathered it to better match the film used pack.
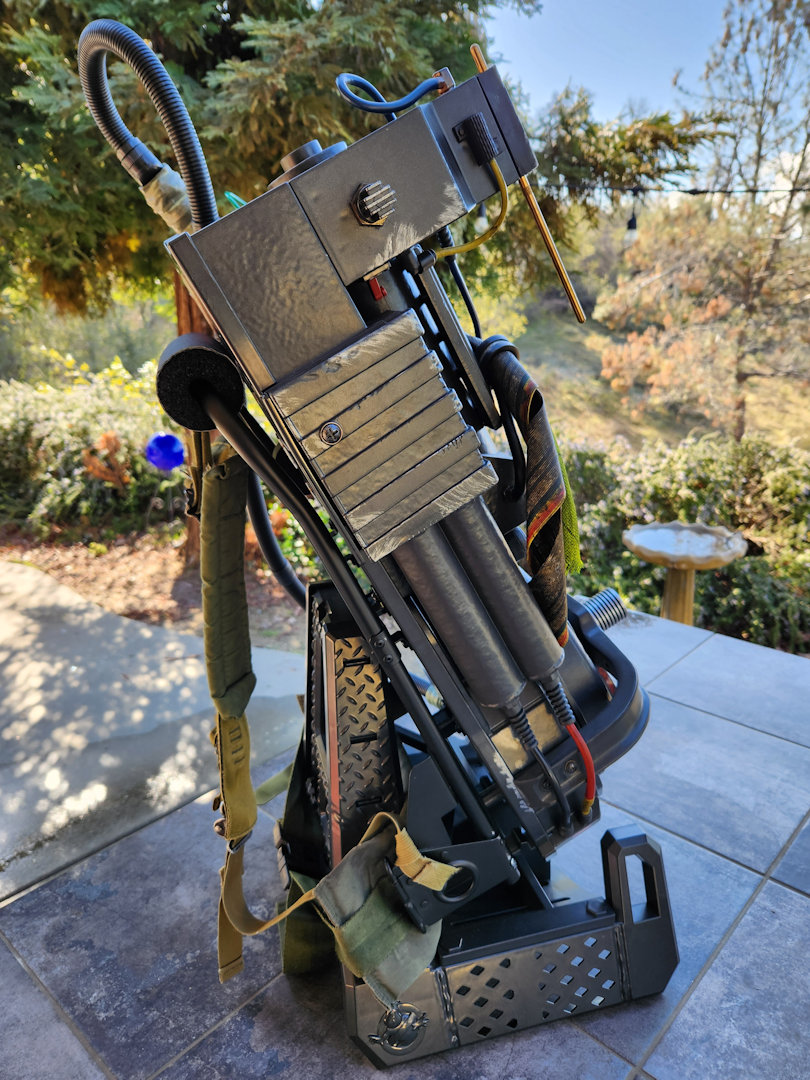
I added a frame spacer I found on Etsy to bring the gap from the ALICE frame to the motherboard a little more prevalent.
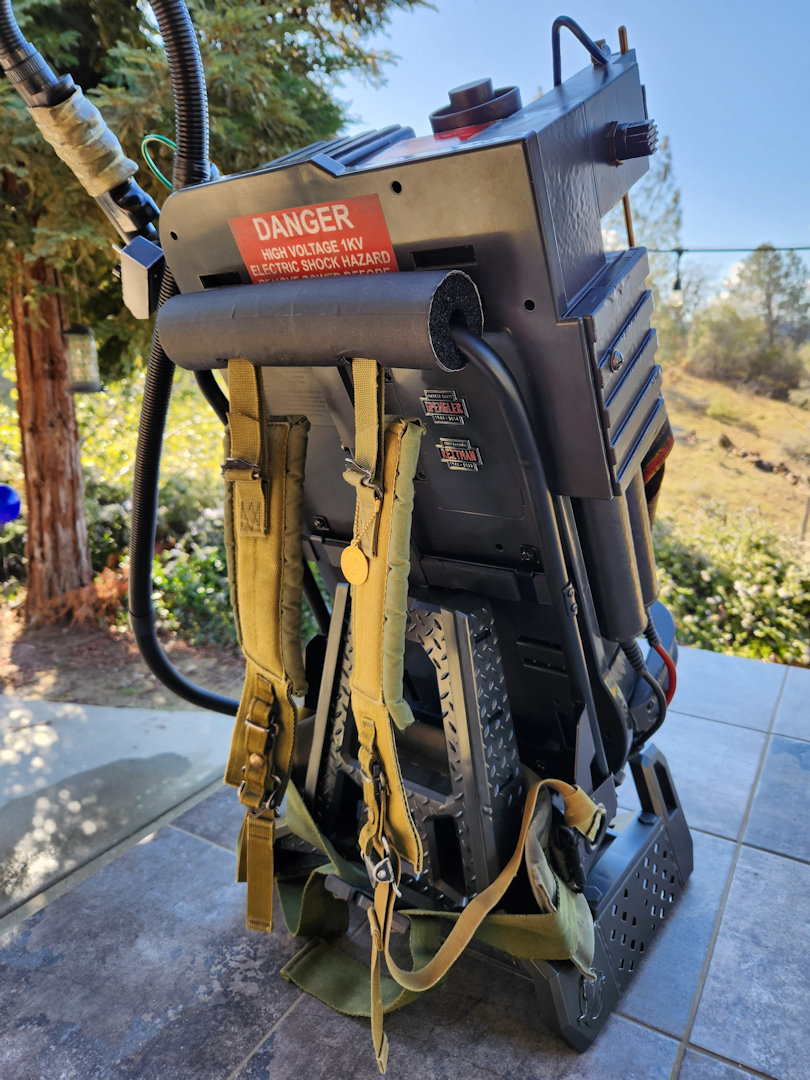
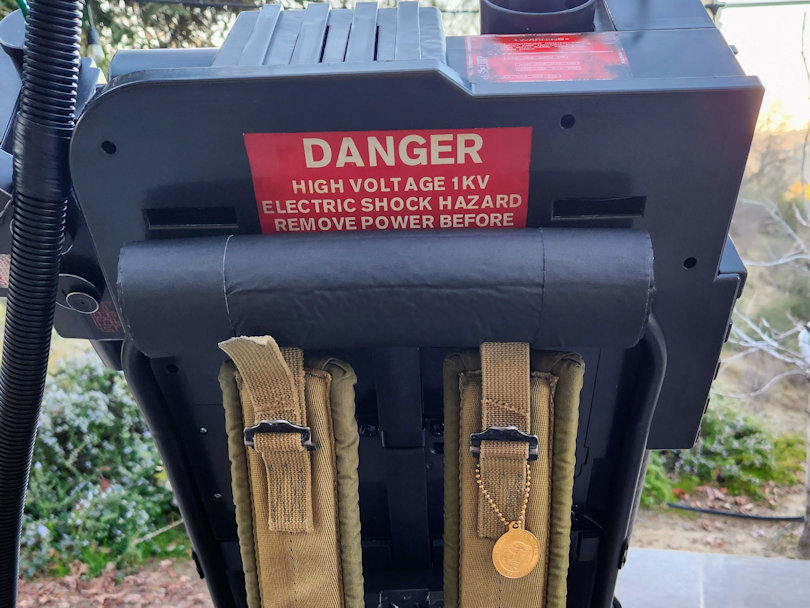
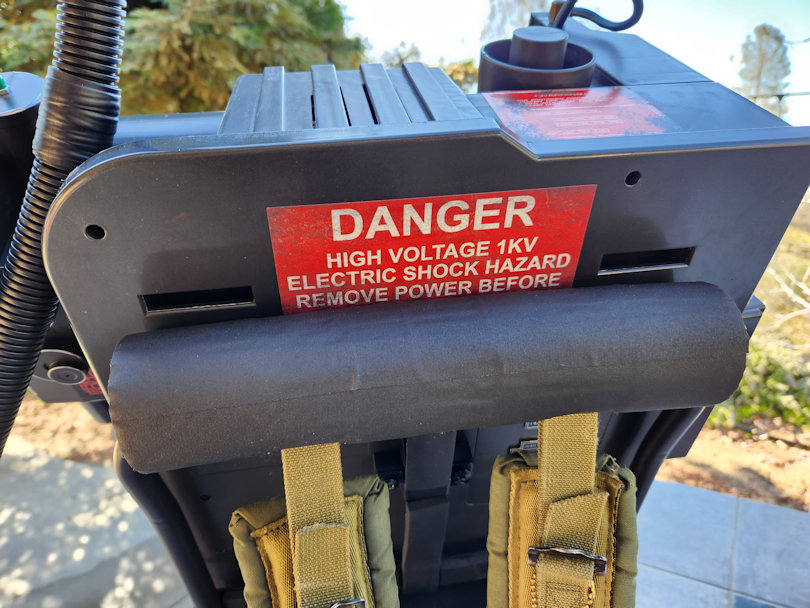
I painted and wrapped the foam pad on the ALICE frame. I also painted all the mounting brackets and screws black to make everything flow better and added a thin layer of foam padding along the pack frame as seen on the movie pack. I sourced the missing motherboard warning label from MobySignCompany. The weathered version fits great with the Hasbro Haslab pack. So happy I didn’t have to buy a full set when all I needed was the motherboard label.
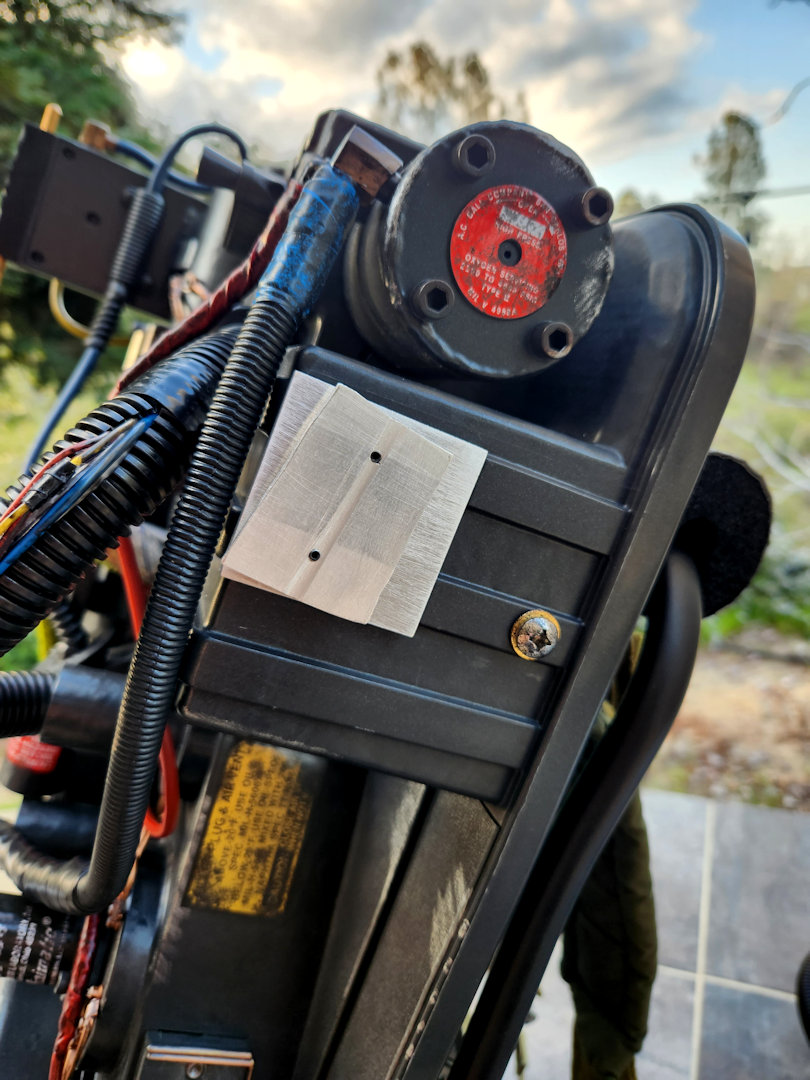
tobycj hooked me up with these awesome film accurate v-hook wand mounts. It is so much easier to mount and retrieve the wand with these new v-hooks over the stock setup.
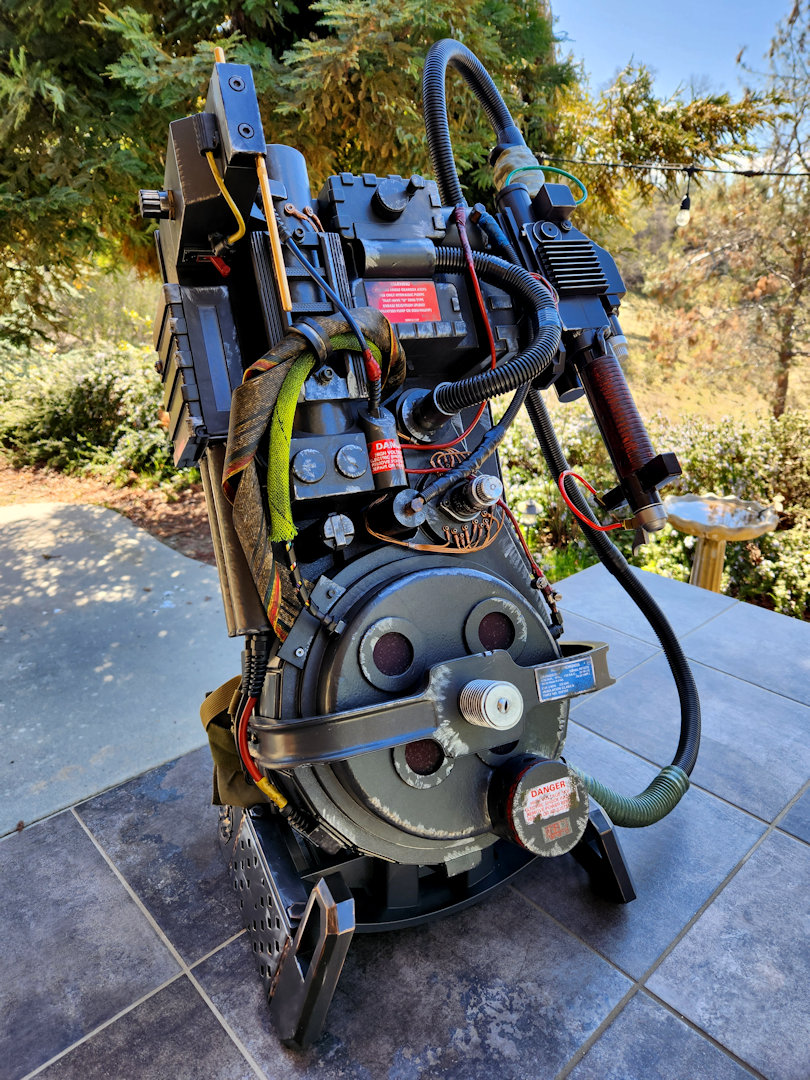
All in all I’m extremely pleased with the outcome. Hasbro has made it really easy to mod this pack and make it your own.

The following posts journal my mods as I made them…

I’m intending on offering these in the next few weeks, they’ll be modelled off the Phoebe hero and be a direct replacement for the one on the pack, and made to fit the Spengler wand. I’m prototyping one this week when I get a couple of hours in my workshop.

Awesome… Will they be metal or 3D printed? Ship to the states?

Aluminium, and yes, I’ll be shipping worldwide!

[quote=tobycj]Aluminium, and yes, I’ll be shipping worldwide!

[/quote]

Awesome! If they line up with the same factory bolts I’m in for two!!!

Which Etsy seller did you get the plug and play ion arm end cap from?

Not sure about the rules on posting Etsy links, but I try. :slight_smile:

DragonWorkshop

https://www.etsy.com/listing/1396060065/ion-arm-bolt-faceplate-replacement

Looks like he’s out of stock at the moment but he does still offer the digital file.

Just chatted with the shop owner and he told me he restocks every Monday at noon PST.

Which type of strain relief/connector did you use for the new cyclotron cables?

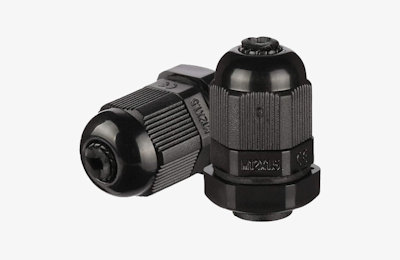
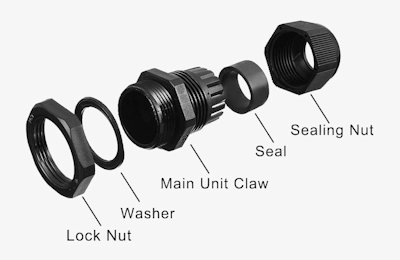
I filed down the threads on a PG7 Cable Gland just enough to hold the connector in real tight. I gathered up some wires, bent them over at the end. Used some heat shrink to keep them together, and then use a smidge of hot glue as I slid them into the cable gland. I don’t have the pack with me, but I’ll snap some pics of just the wire when I get home.

Plastic Waterproof Adjustable 3-6.5mm Cable Gland

https://amazon.com/gp/product/B077R1RT2T?tag=gbfans-discourse-20

Links in this post may be affiliate links. Purchases made through them help support this site at no additional cost to you.

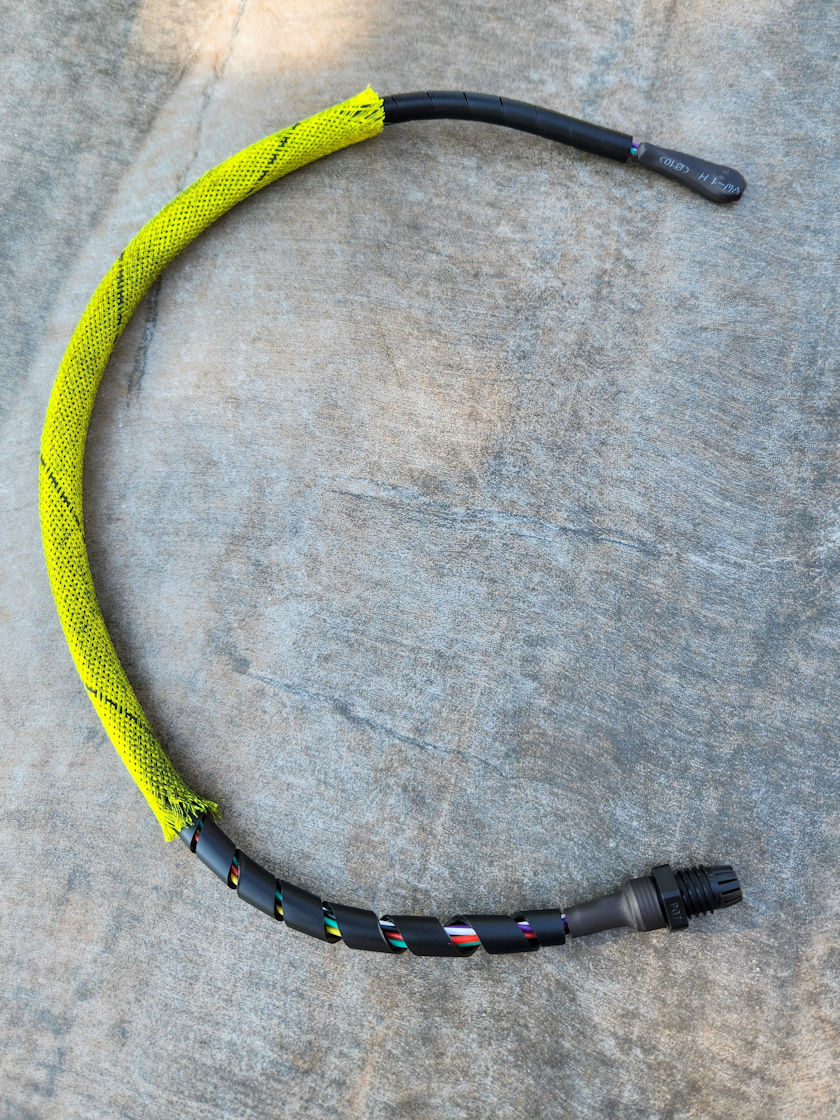
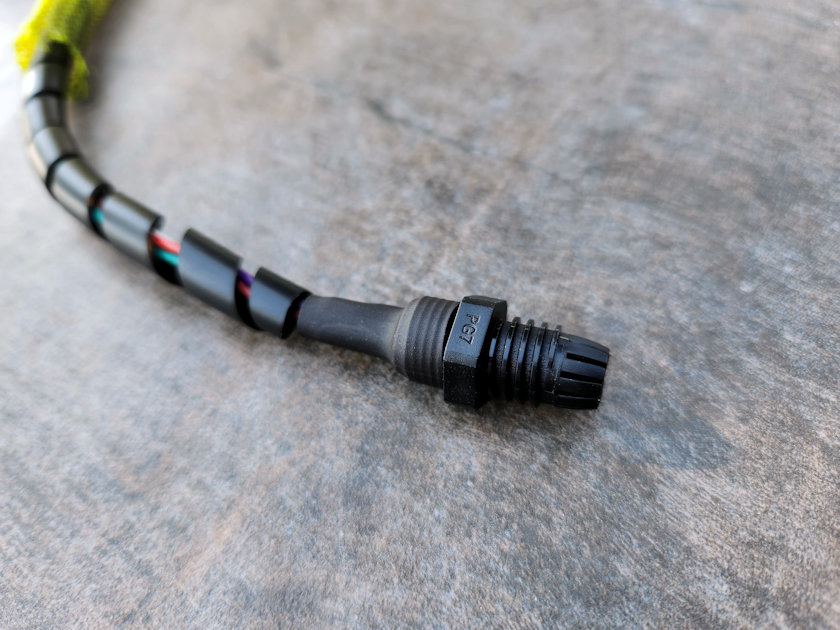
Okay, here’s the wire loom setup that I’m using. This is for my second pack which I haven’t even opened yet. :slight_smile: On this one I haven’t cut down the threads yet but you can see how I put it together.

Thank you!! Can I ask where you got the correct spiral wrap? The one I got goes the wrong way and want to make sure I get the correct one this time.

Ha, I didn’t even know there is a right and wrong direction for the spiral wrap. I purchase both the Shroud and Loom as a kit from CharlesworthDynamics on Etsy but he must be sold out as I can’t find it now in his shop.

Great mods! Which size screws and washers did you use for the sides of the bumper?

I didn’t record the sizes of the washers and screws, but I’m heading to the hardware store today at lunch to pick up a new set for my second pack and I’ll make sure to document the sizes.

Okay, just got back to the shop.

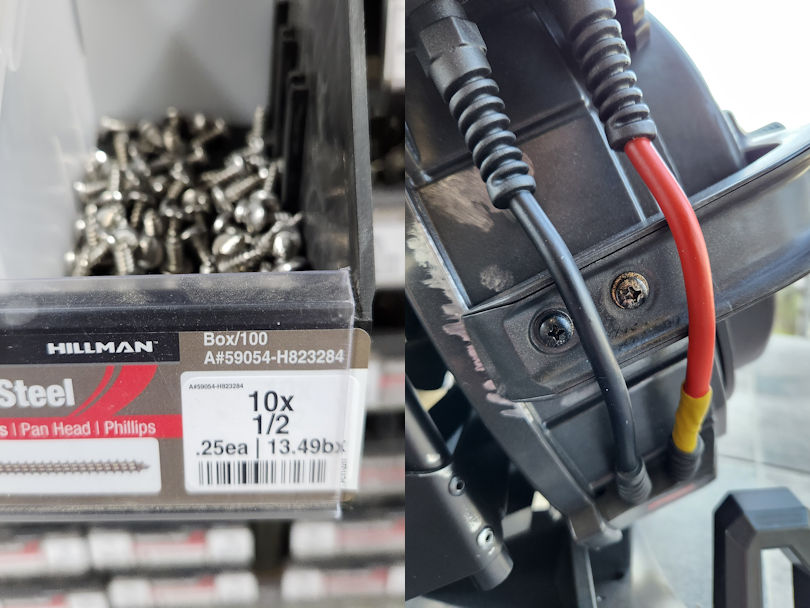
Here are the screws and washers I used for my pack. I didn’t drill the holes any bigger, I just used a little pressure on the larger screws to get the started and then they fed themselves.

These bumper screws fit great in the factory holes without damaging the bumper mounting brackets.

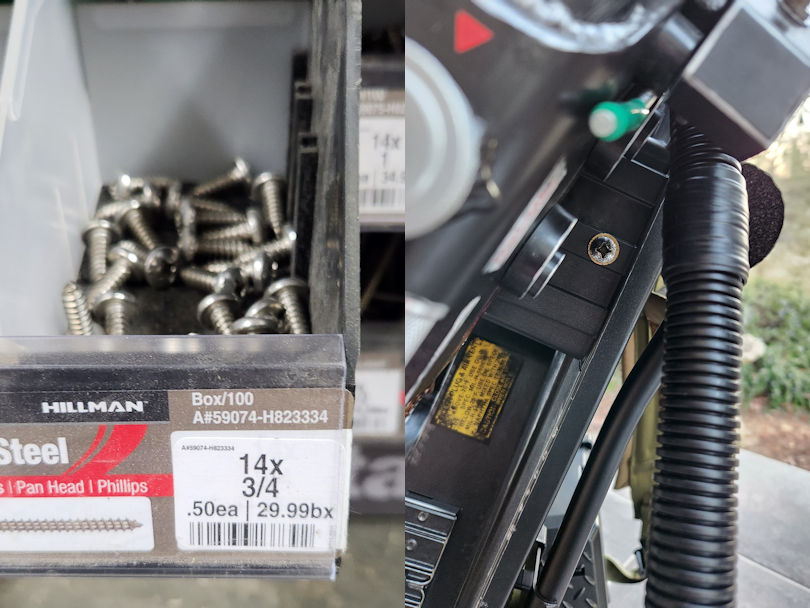
These are what I used for the bottom “motherboard mounting” screws and the empty hole near the wand mount. the screws are a little too long for the holes near the N-Filter, so I had to file them down just a bit. I looked again but I couldn’t find any screws with this size head that were any shorter.

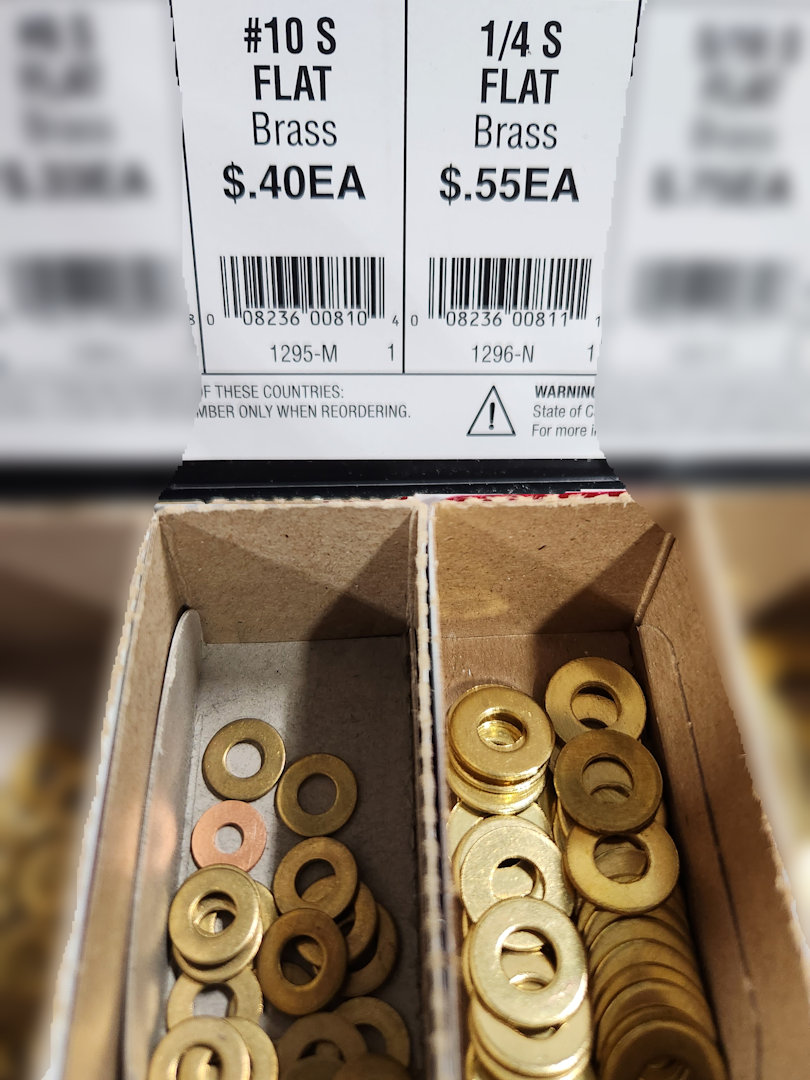
These are the washers I used, bumper on the left, bottom “motherboard mounting” on the right.

Thank you

@tobycj I would be interested in the afterlife v hooks for the Hasbro pack as well when available

I picked up the missing motherboard warning label from Independent1Trading. The weathered version is just slightly distressed and fits great with the Hasbro Haslab pack. So happy I didn’t have to buy a full set when all I needed was the motherboard label.

UPDATE: Somehow when I was working on the pack I scratched up the motherboard sticker pretty bad, so I decided to replace it. This time I found a label from MobySignCompany. The weathered version also looks great and although it doesn’t show in the picture, is quite a bit more weathered than my previous choice. MobySignCompany labels seem to be a bit better in quality and are pre-cut for easy install.

I’m still waiting on the blue lens for the power cell, and then I think again, I’m officially done. :slight_smile:

Well, the blue lenses arrived and I was eager to get one installed. First off, I can say that this is by far the most difficult and frustrating mod I have done to this pack. After removing the ALICE frame, and motherboard, you need to remove two screws for the storage compartment separator, two screws for the compartment door, and two screws that hold the injector tubes. The injector tube screws require a right angled Phillips head screwdriver. The screw closest to the motherboard was easier to remove, but the one found deeper into the bowels of the pack was very difficult to remove, and in the end I didn’t even try to get it put back in when I was done. I’m currently searching for the best tool to use for these two screws before I attempt the mod on my other pack.

The lens I purchased off Etsy was much thicker than the clear diffuser on the stock part, and although the seller’s instructions say to leave the molded clear lens (which I actually prefer) in place and just swap the white lens for the blue, I could not get everything sitting flush. I tried a few times but could not get everything to sit right with the clear molded lens. So I had to remove both the white and clear molded lens and just use the new blue lens.

I doesn’t look bad, just a little too new for the otherwise well worn pack.

I’m going to take a breather for a bit, and then look to see if I can find figure out a different way to mount this.

Still much better than the white washed look that came out of the box. I wish I would have checked to see how it looked without the white diffuser and just the stock molded lens, but I was hell bent on getting that darn blue lens installed after all the trouble I had getting those two injector screws out.