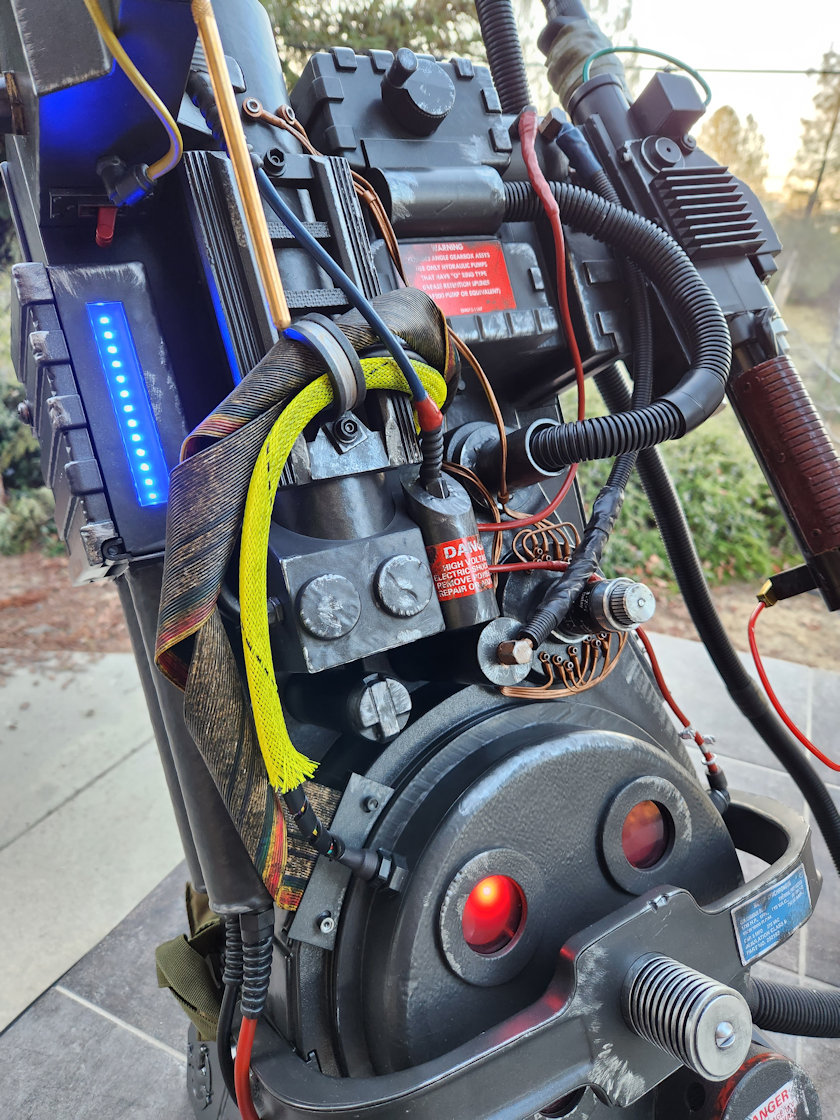
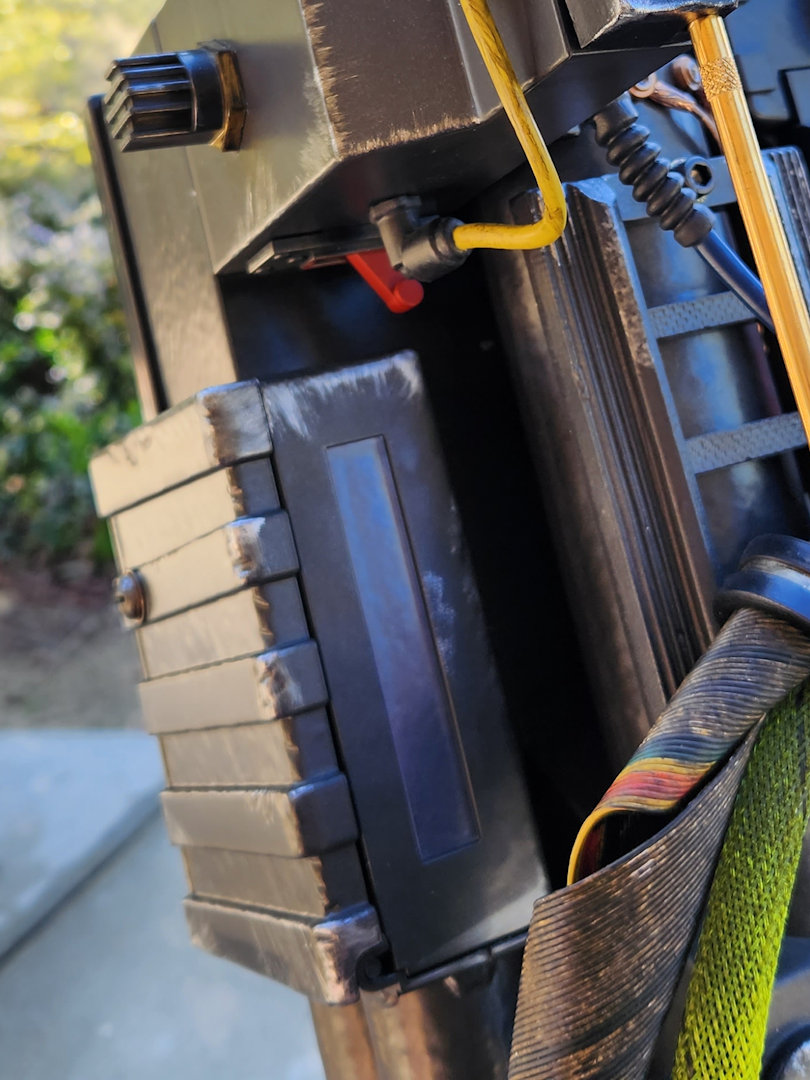
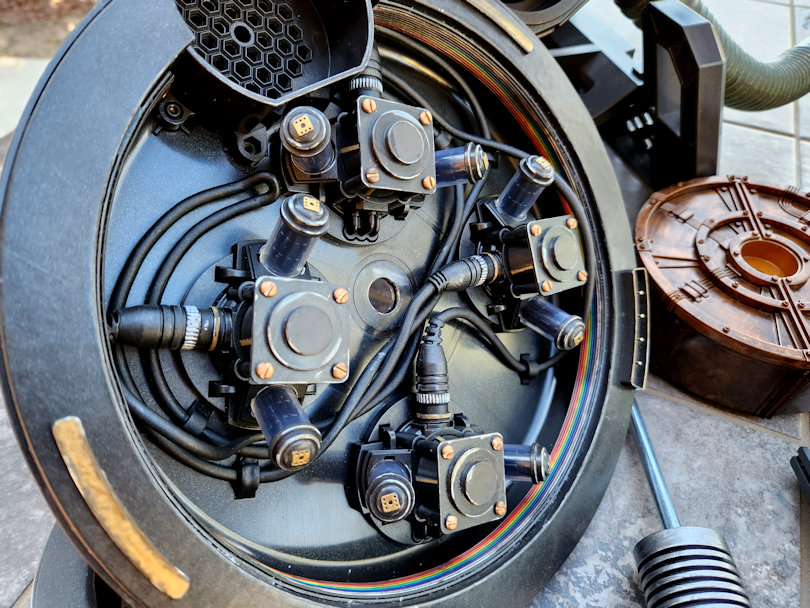
Okay, I decided to open everything up again and give it another shot. I added the clear plastic molded piece back in its spot, and then I cut down the little tabs on the LED housing just enough to accommodate the thicker blue lens. Everything fit back together perfectly with no extra gap.
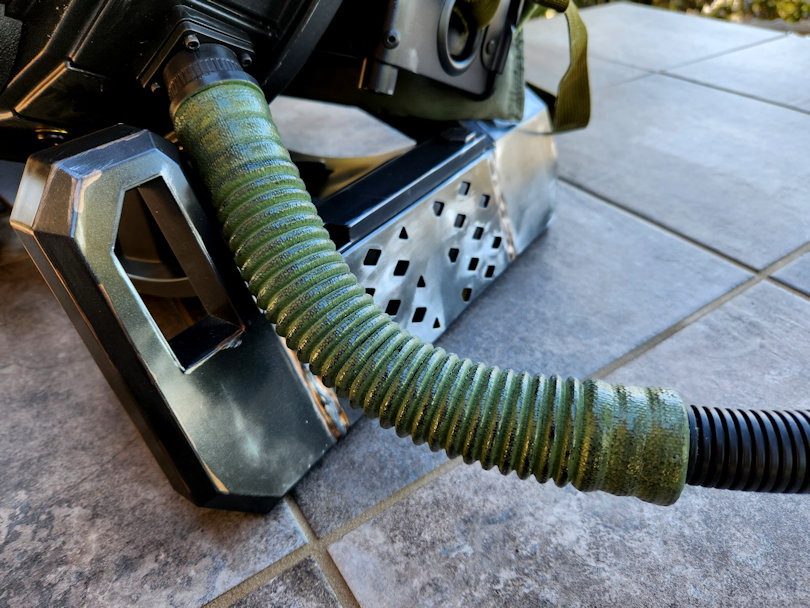
I think I’m done with my cosmetic changes for now. I painted and weathered the little shroud on the hose to better match the screen used pack. I was hoping the matte clear was a little less shiny, but I’ll try roughing it up a bit more when at the paint is totally cured. Over all, I’m very happy with all the mods I have made to the pack.
The only thing left to change is the faux wires coming out of the split hose that goes the crank generator box. I haven’t seen a solution that I’m happy with for that mod so for now I’m done.
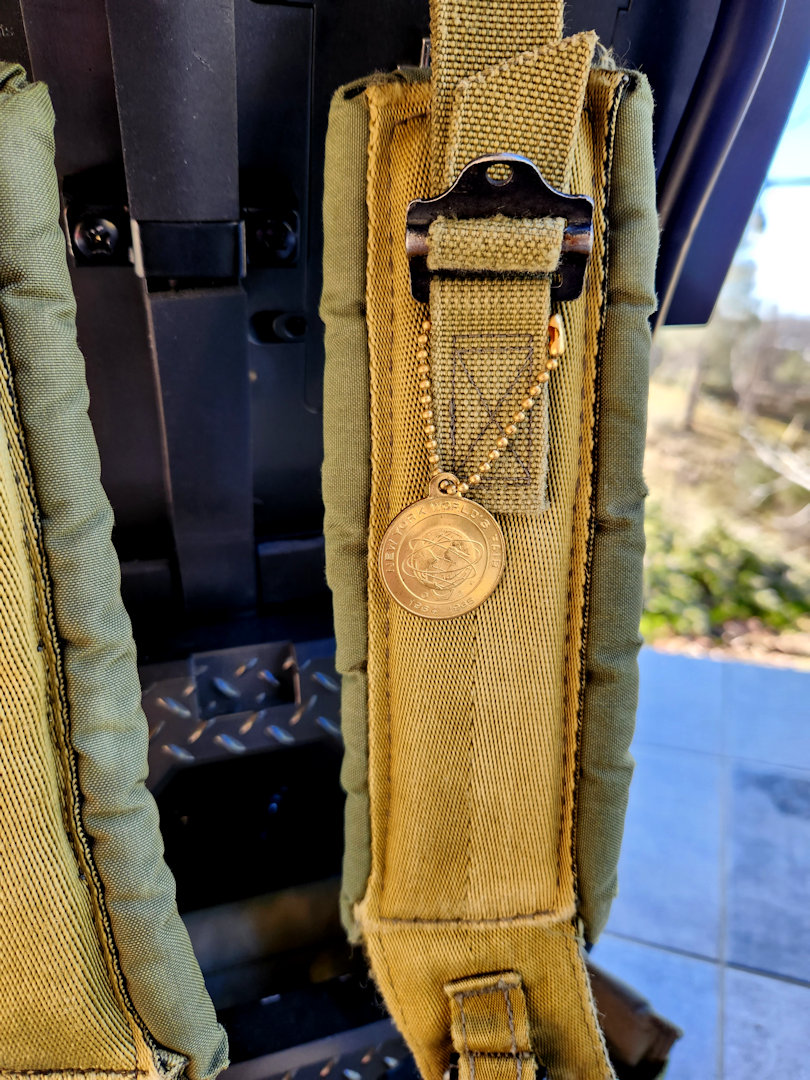
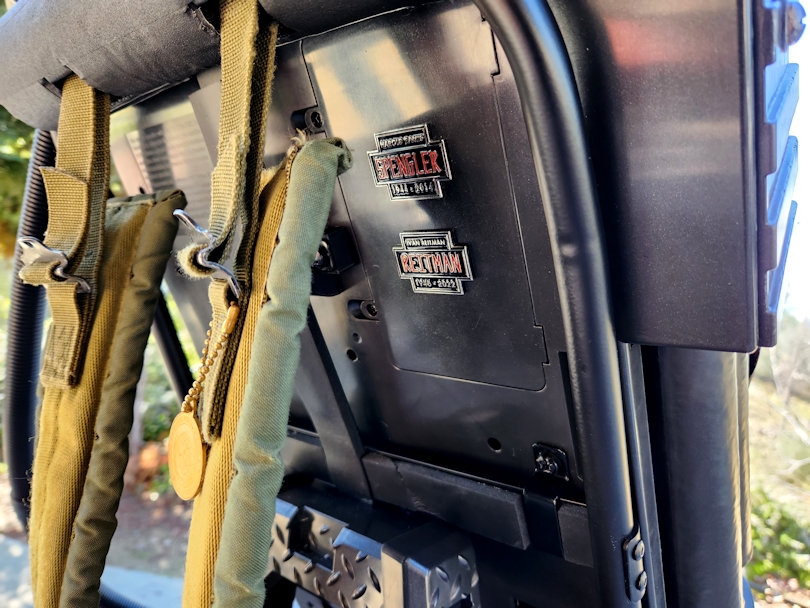
One little touch, I added a little 1964-1965 World’s Fair Token Keychain I found on eBay a while back. Thought it fitting since this is a Spengler Pack.
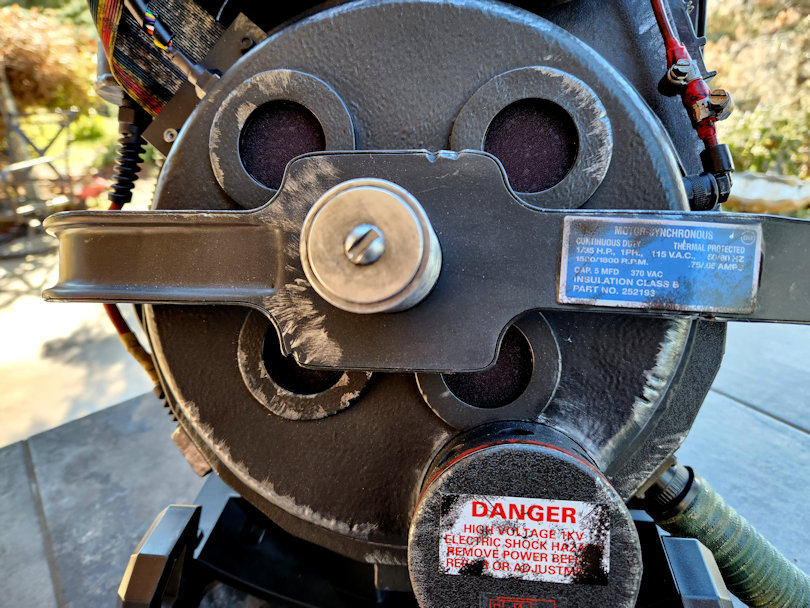
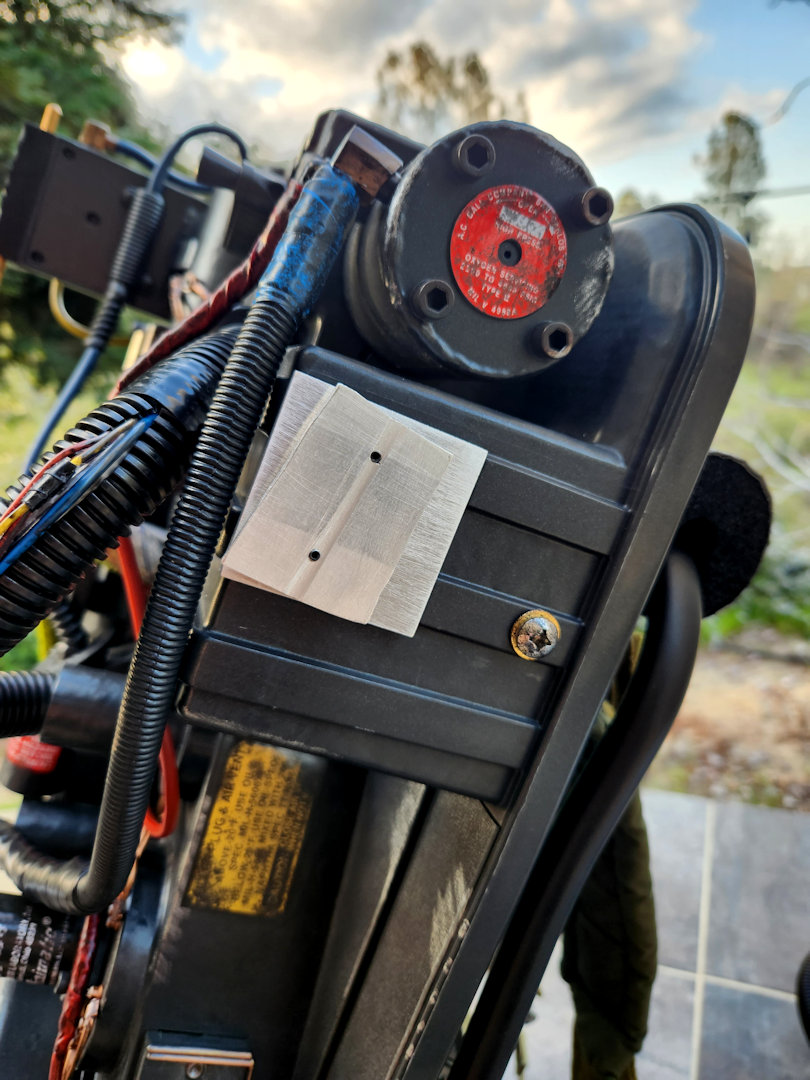
Finally fixed the HGA label that was put on wrong from the factory and has bugged me from the get go. Super easy fix, just heated it up a bit with a hair dryer, carefully pealed it off and then replaced the label in the proper orientation while it was still warm. I continued to applied a little smoothing pressure while it cooled.
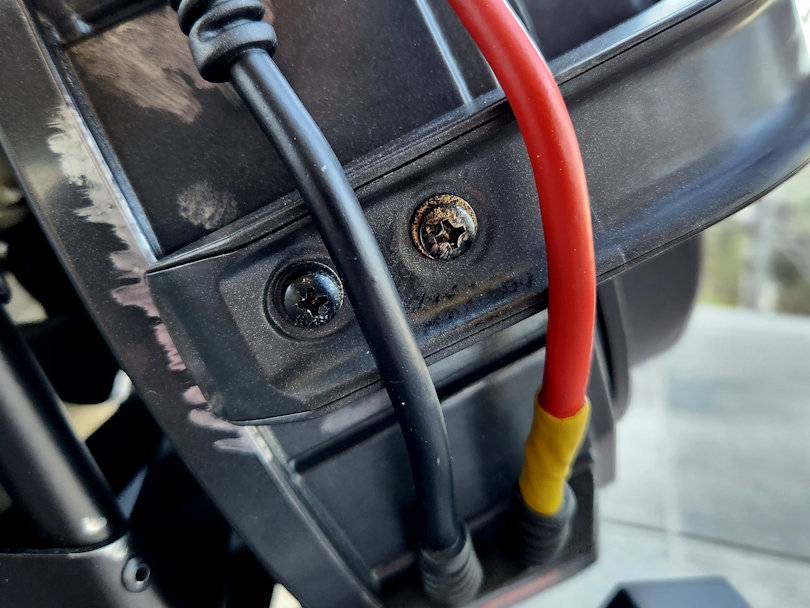
I used the 14 x3/4 stainless panhead sheet metal screws for the bottom and empty hole near the wand. I looked for a head size that was close to the screw/button on the compartment door.
I used the smaller 10x1/2 for the bumpers because you are limited on the size you can use so as not to screw up the brackets. I believe ideally they should be the same size, but I think having the slightly smaller heads on the bumper fit perfectly in the space and look awesome on the pack.
All these will screw into the existing holes with just a screwdriver and a little pressure, no drilling needed. The two screws near the N-Filter will need to be cut down just a bit, unless you can find some shorter screws that match the head size.
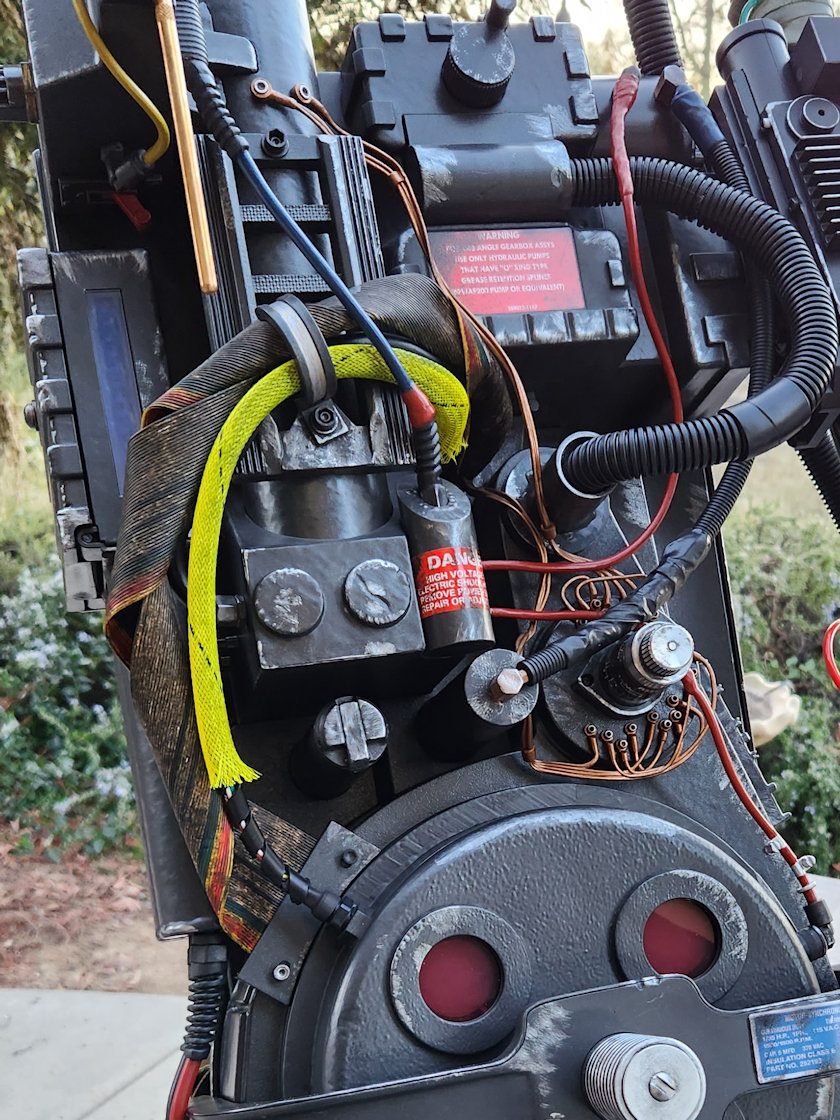
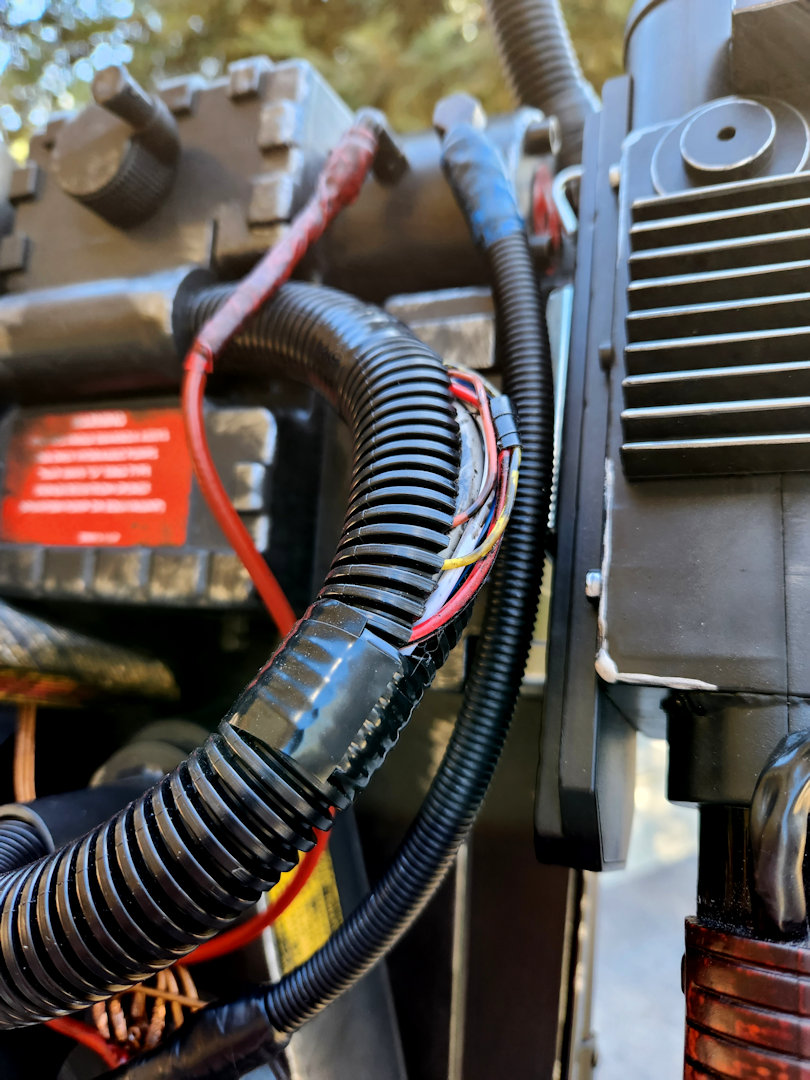
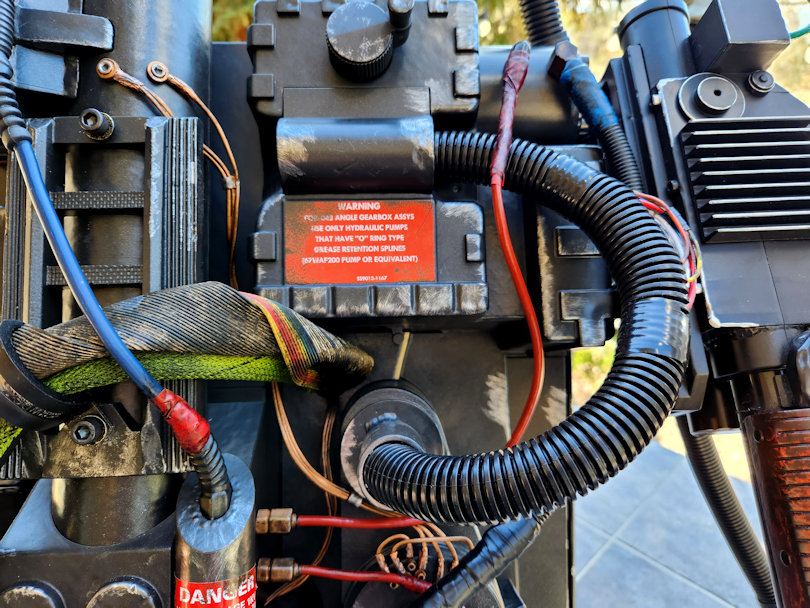
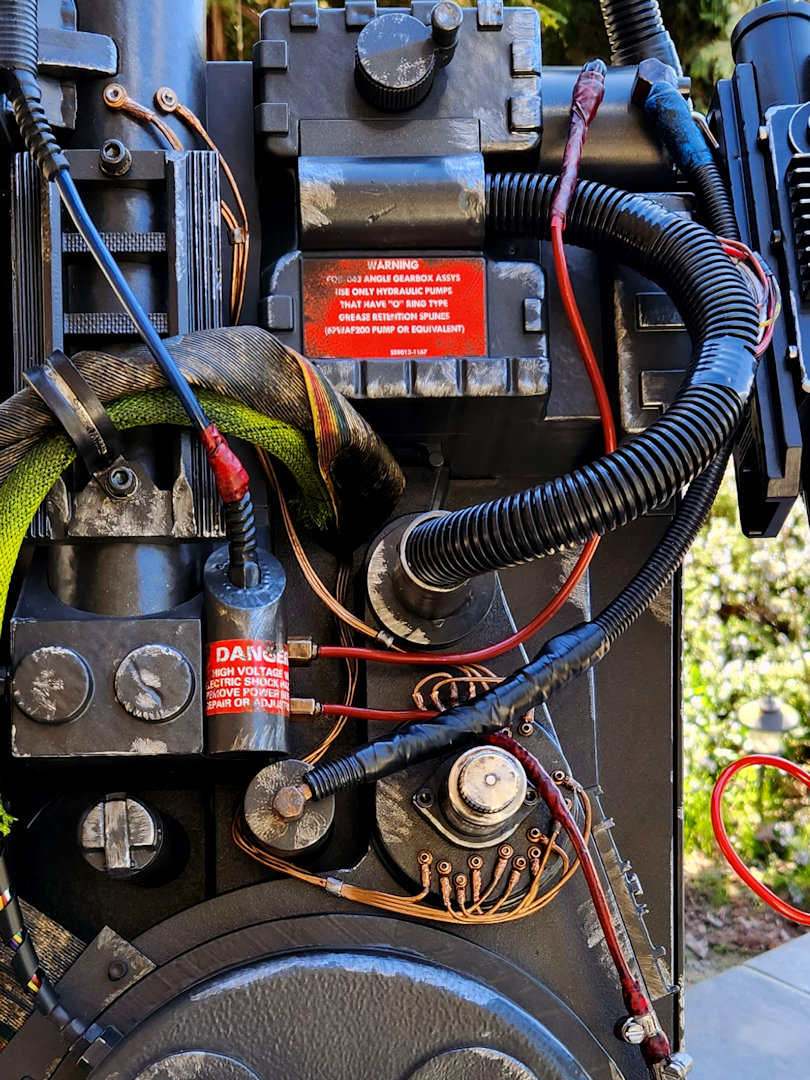
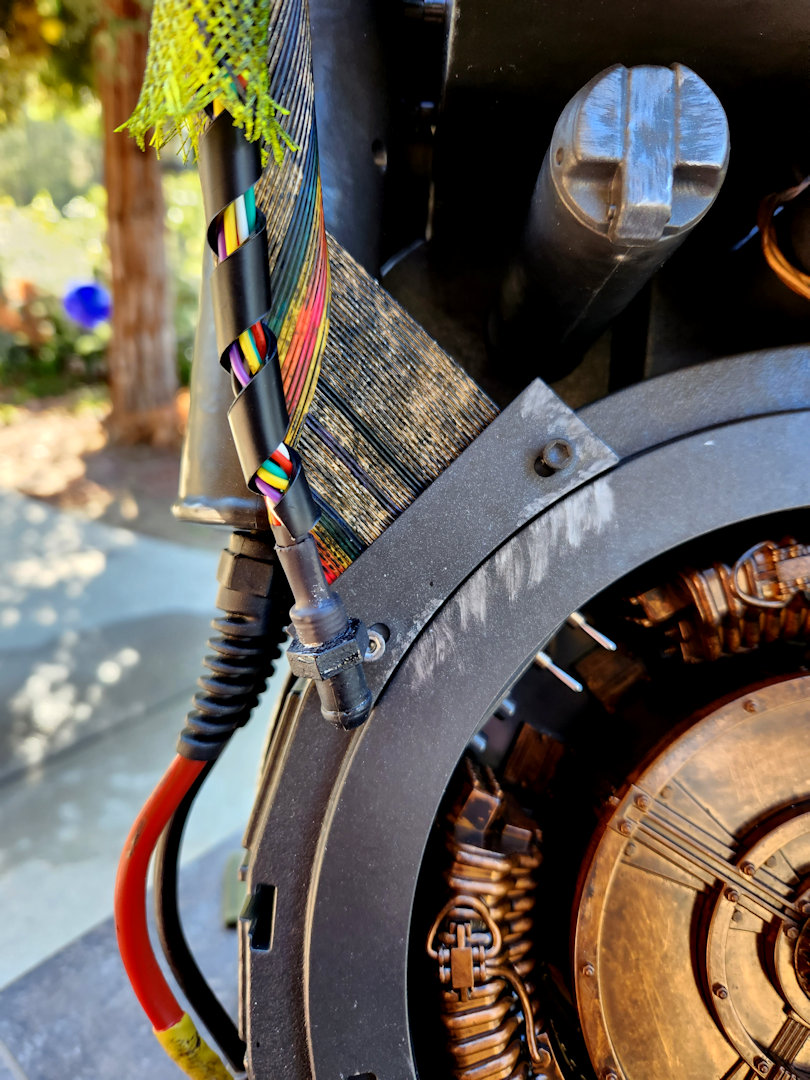
I heated up the old loom with a hair dryer and carefully separated it from the glue. Be careful, the stock loom is very thin and will start to melt if you get it too hot. I replaced the old loom with some non-split loom I already had from working on my Rubie’s pack. Using Shoe Goo(OMG, this stuff is the bomb!) I glued both ends back to the pack. I grabbed a bunch of wires I had around the house and hooked them together at each end via shrink tubing. I then cut a slit in the new loom and stuffed the wires in and arranged them to my liking. I did splash them with some black paint and thinner to dirty them up a bit.
I think it came out really nice, so much better than the stock part that was just black molded wires. I was toying with the idea of just replacing the loom and not doing the exposed wires, but I’m glad I made the attempt as it looks so much closer to what was used in the film.
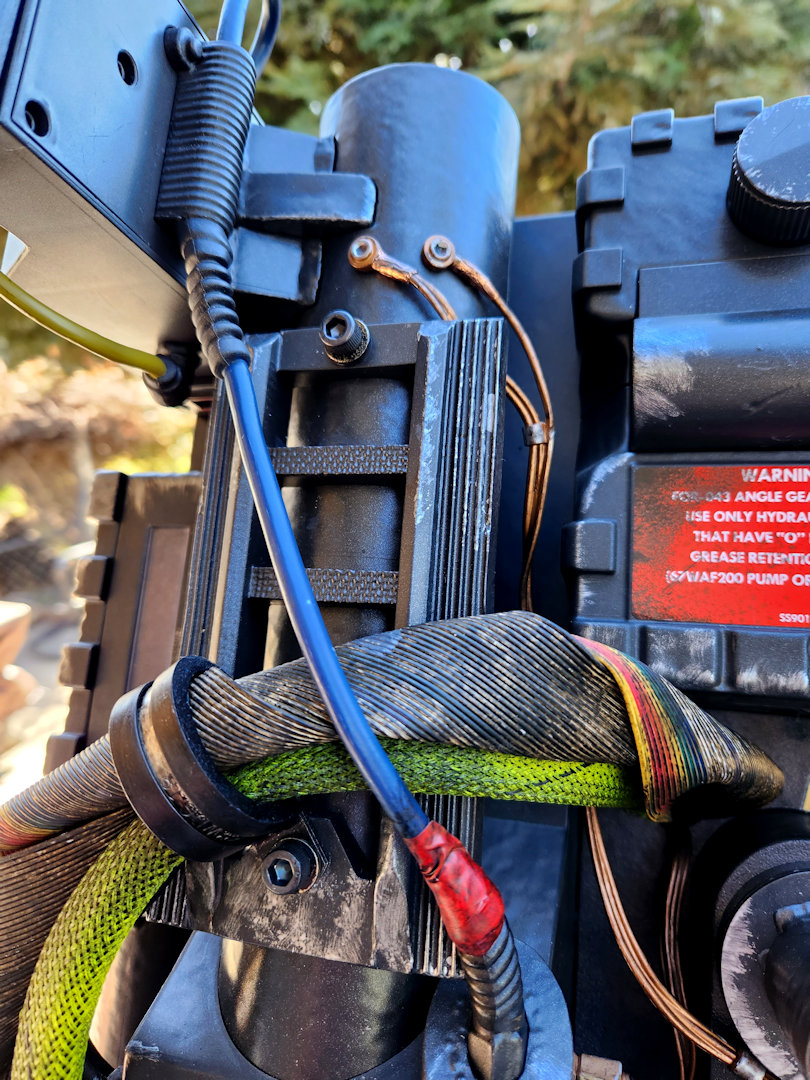
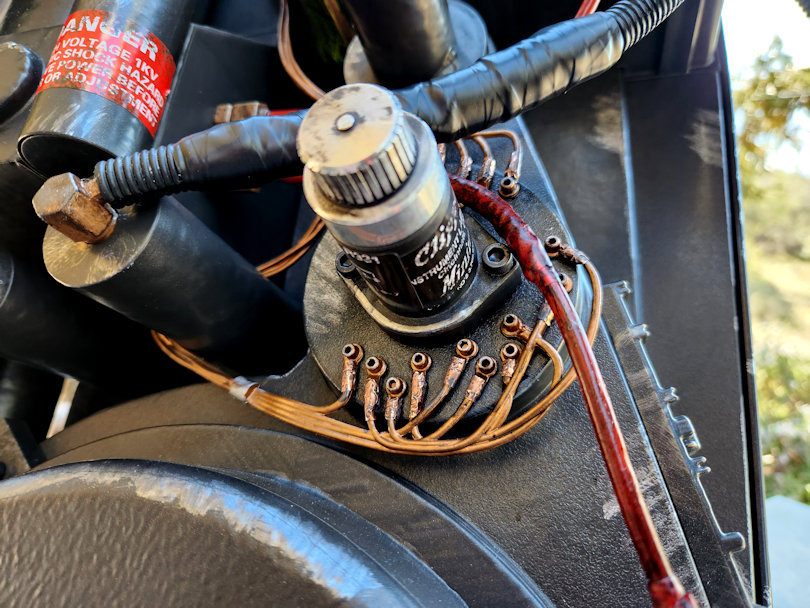
I also noticed that the copper wires were not arranged in the correct way from the factory. On Phoebe’s Pack, one strand wraps around the beam line tube and the other runs under the ribbon cable up to the booster tube. Not a huge change but making it just a little closer to film accurate is a good thing… right?
Okay, I’m willing to admit I may have a problem… I just can’t stop tweaking this thing!
I pick up a bunch of mods from Rory over at MiscHobbyParts who hooked me up with most of these awesome parts.
I’ve been looking for the perfect solution to both diffuse and darken the LED lenses for both the cyclotron and power cell lights. Rory came up with my favorite option that handles both of my needs perfectly. They were very easy to install and darken the lenses just enough, allowing the blue and red lenses to still show a little bit of color.
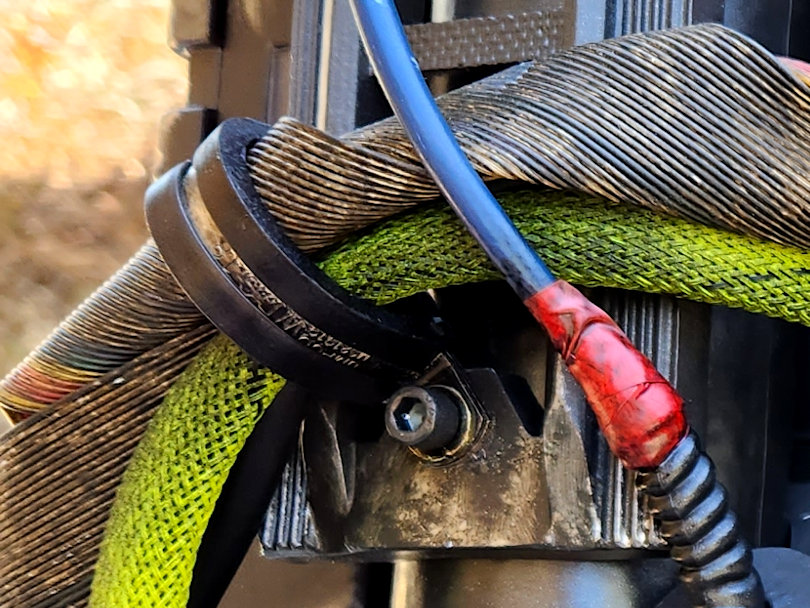
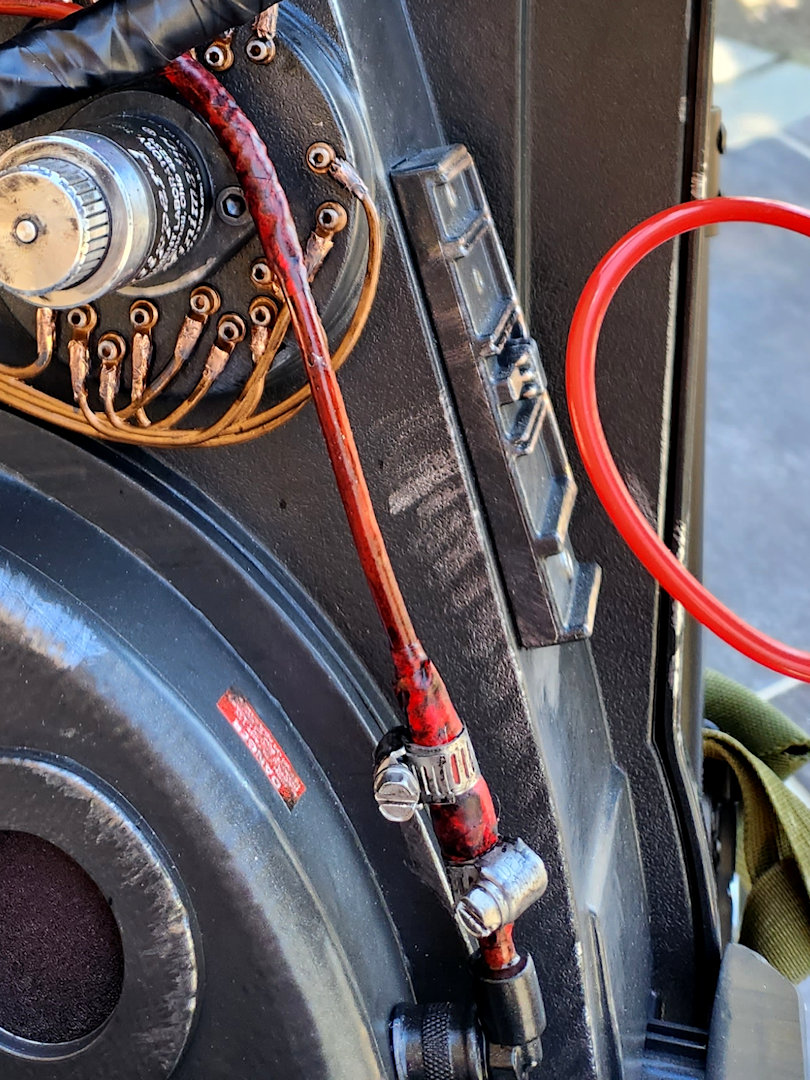
Decided to do the hose clap mod because I realized that the stock alternative looks pretty weak. I ran down to the local hardware store, picked up some colored electrical tape and a few small hose claps. Then I simply clipped the old parts off with a pair of dikes, wrapped up the hose with some tape, tighten down the hose claps trimming the excess, and did a first wave of some weathering.
I been following the updates and made a few changes to my pack based on what I’d seen here.
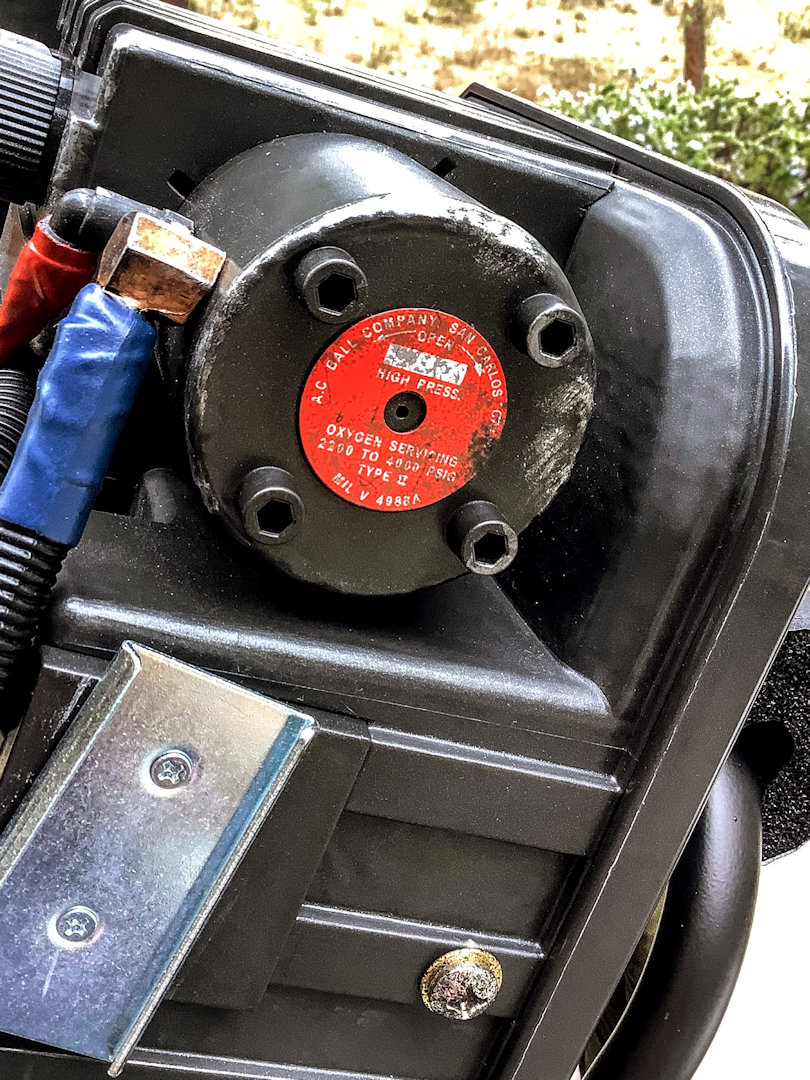
The silver on the tiny copper connecting around the clippard was one thing. I went gold for some of the connectors (like the HGA and hydrogen gas tube connectors).
I’d kinda like to change the diffusers on the cyclotron next to make them a bit darker next. I’m not sure if I want to modify the powercell’s blue or not though.
So good work and I look forward to seeing what you do next.
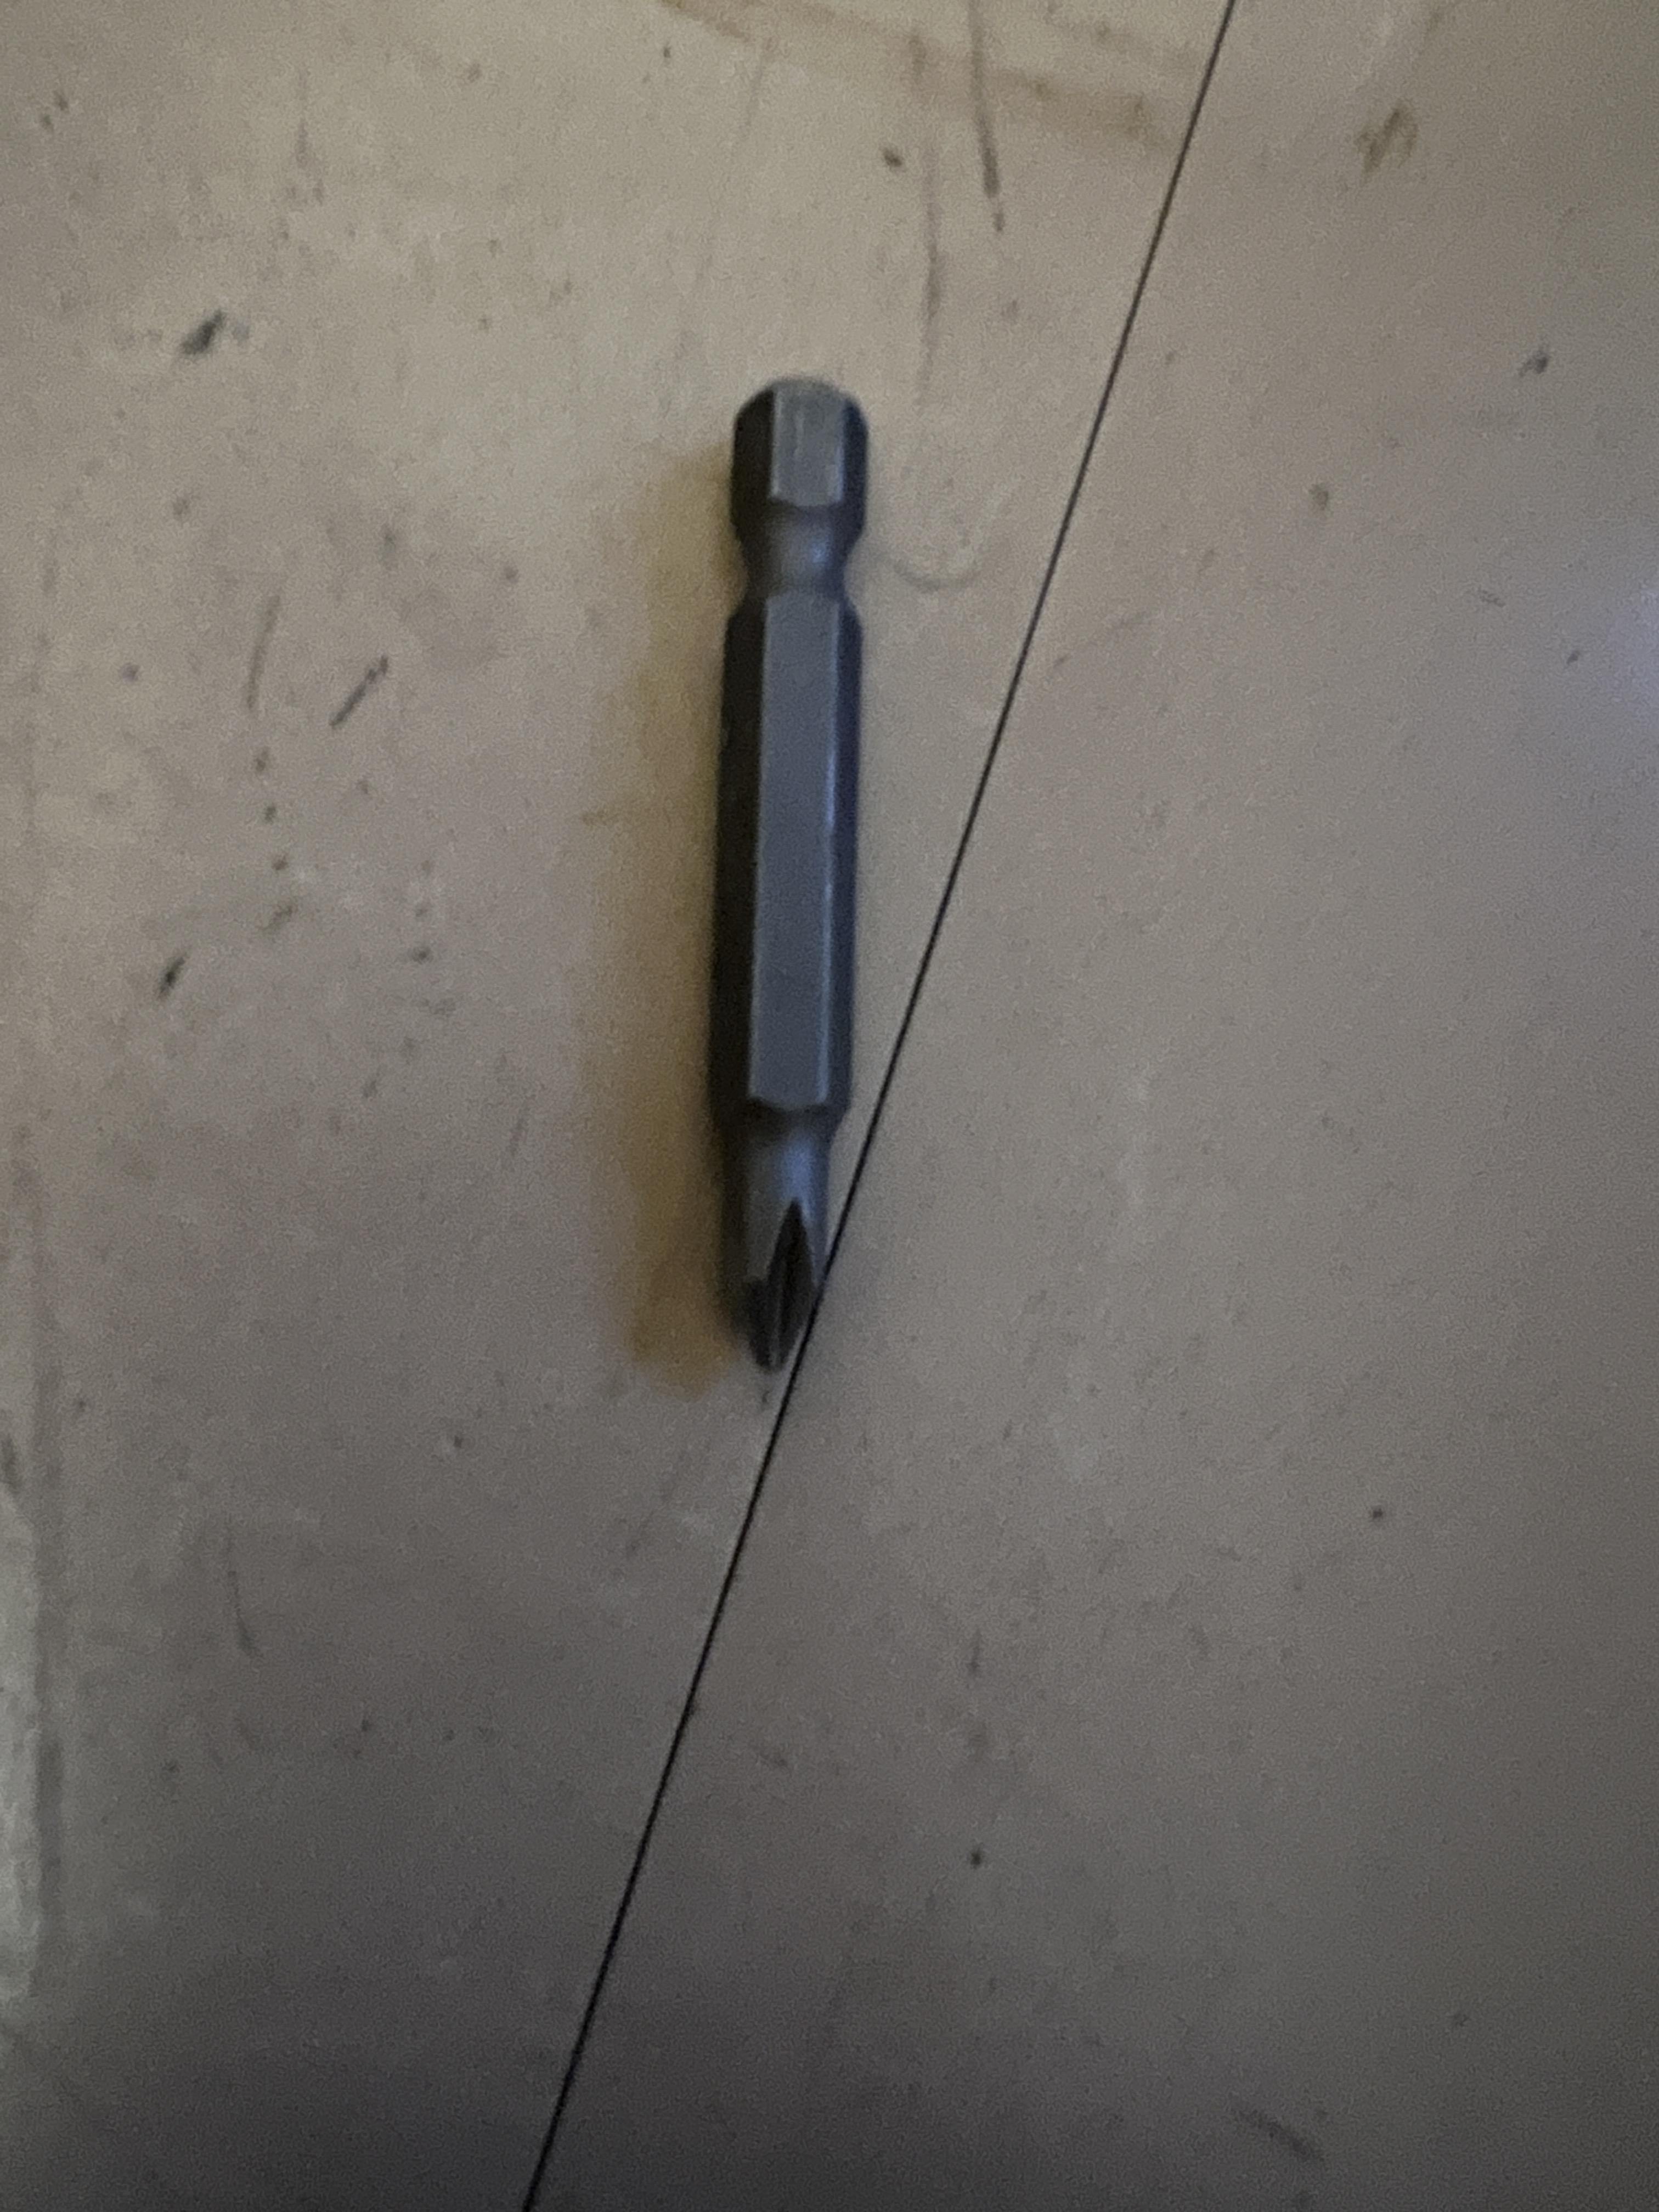
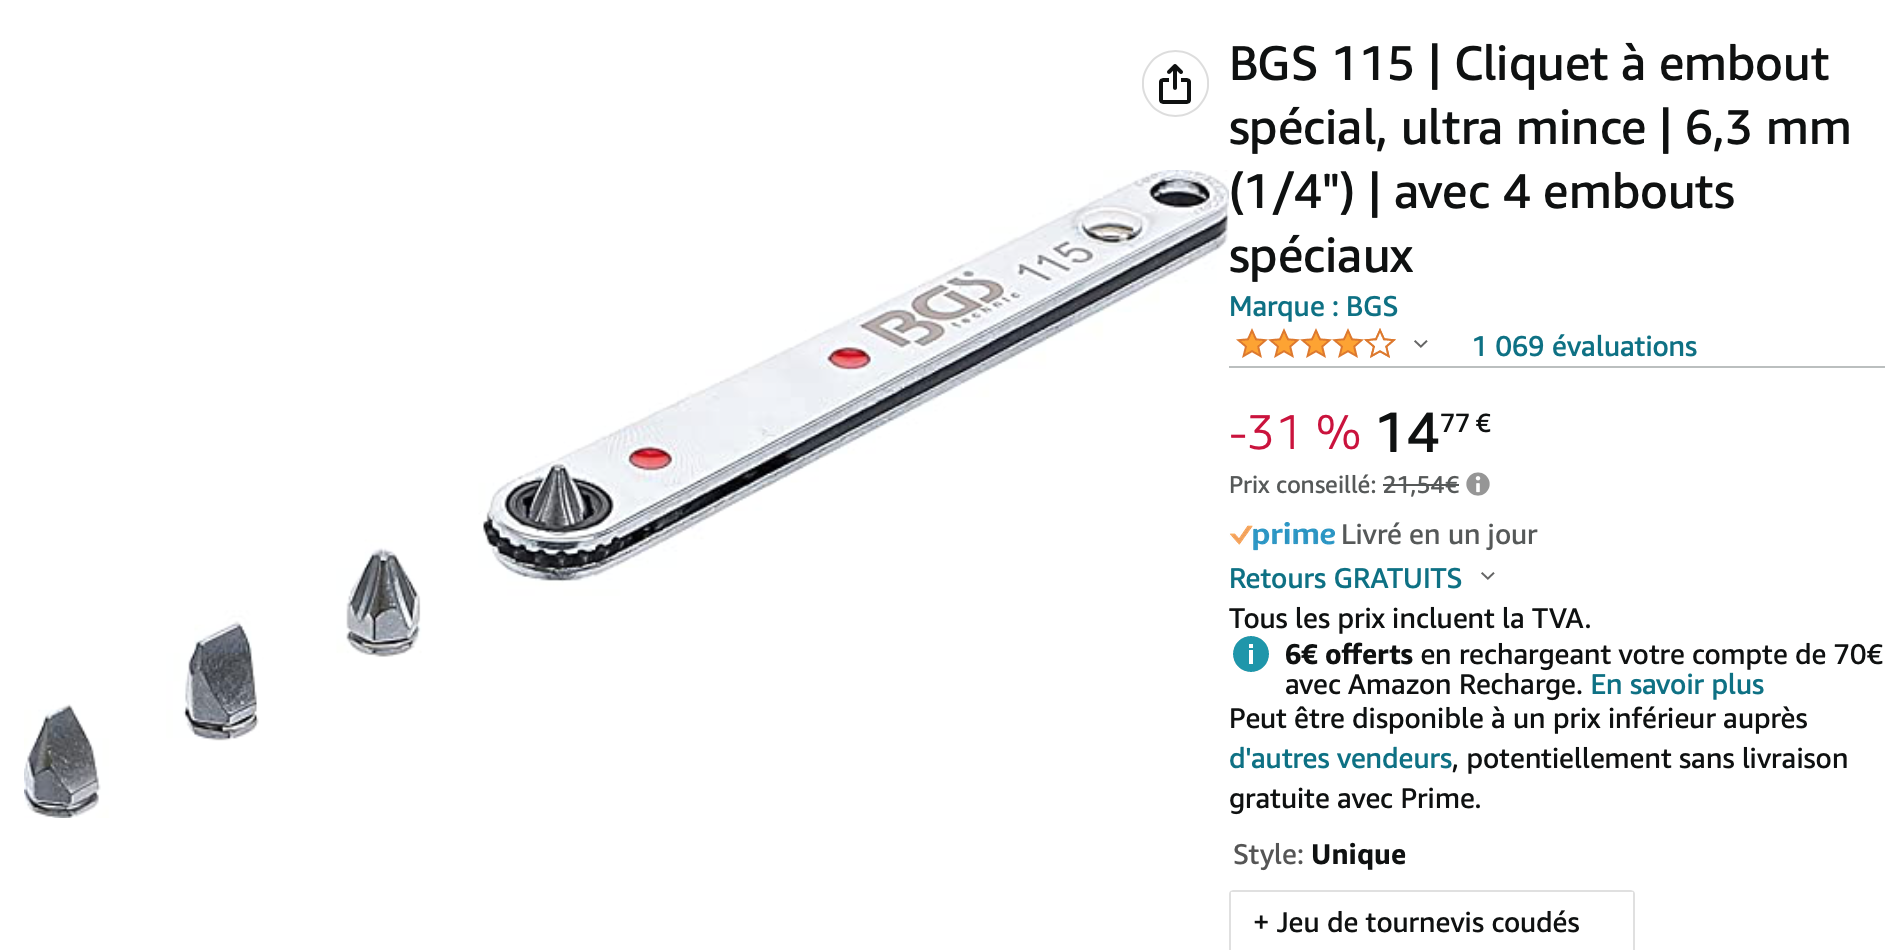
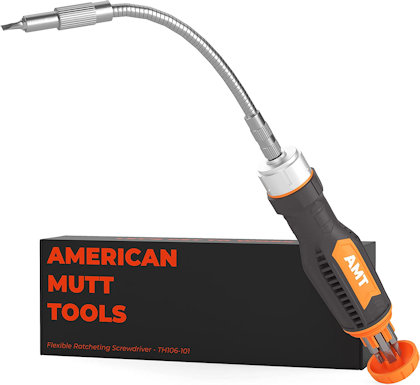
Ha, I had one of those sideways screwdriver things and it was still way too difficult to get to the one screw in the back with my big ol’ hands. I ended up grabbing one of these off amazon which made the process much more easy. I can’t believe I didn’t have one of these in my tool chest, they are extremely handy.
I just replaced all the fake electrical tape on the hoses on the pack and then weathered them. My wife thinks I’m so silly because the pack looks exactly the same to her after the mod, but I know it’s not.
I did do a bit of tweaking to the cyclotron cover. Picked up a ribbon cable from MiscHobbyParts. Rory is so awesome and is always eager and available to listen to my wants and needs.
I also did some light weathering with my brass, gold (for the screw heads) and silver metallic markers. Weathered up the ribbon cable with a mixture of black paint and a smidge of thinner.
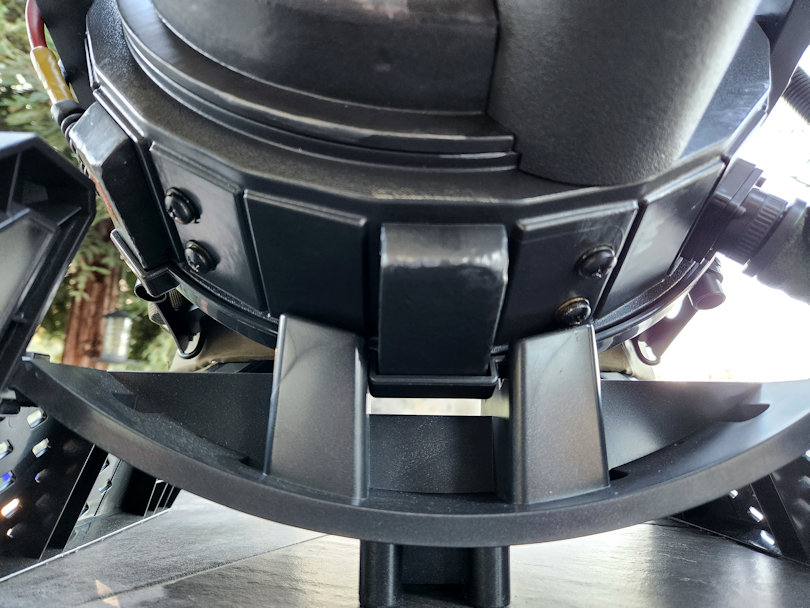
tobycj hooked me up with these awesome film accurate v-hook wand mounts. They fit a little tight but I was able to get these on the stock mounting points with just the right amount of wiggle needed to slide them on. The mounting screws could be a little longer but the seem to be just long enough to hold the stock washer and nut. It is so much easier to mount and retrieve the wand with these new v-hooks over the stock setup. Thanks tobycj for helping me finish off the pack with this awesome mod.
In that latest picture, I see you found a bolt and washer to fit the empty screw hole next to the v-block. Do you remember what gauge bolt you used? I want to add one there myself but I haven’t taken the time to try to figure out what size will fit it.
[quote=kahuna900 post_id=4980725 time=1680190371 user_id=53272]I just replaced all the fake electrical tape on the hoses on the pack and then weathered them. My wife thinks I’m so silly because the pack looks exactly the same to her after the mod, but I know it’s not.
[/quote]
My wife is the same way. If I try to explain to her the mods I’m doing/have done, she just looks at me with a dead stare and says, “If you say so. I don’t see a difference.” But we do. WE know the difference.