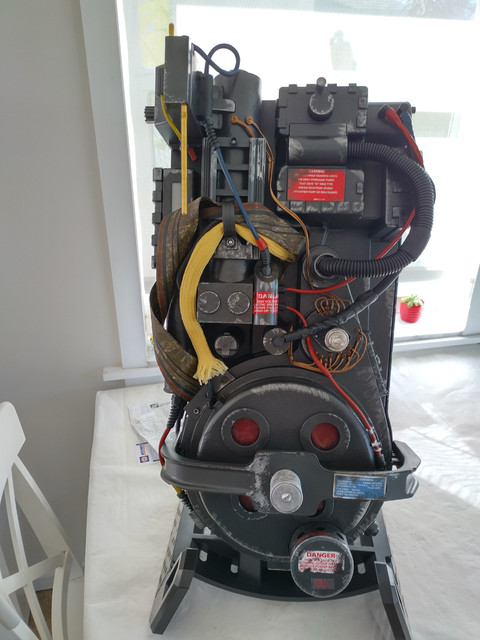
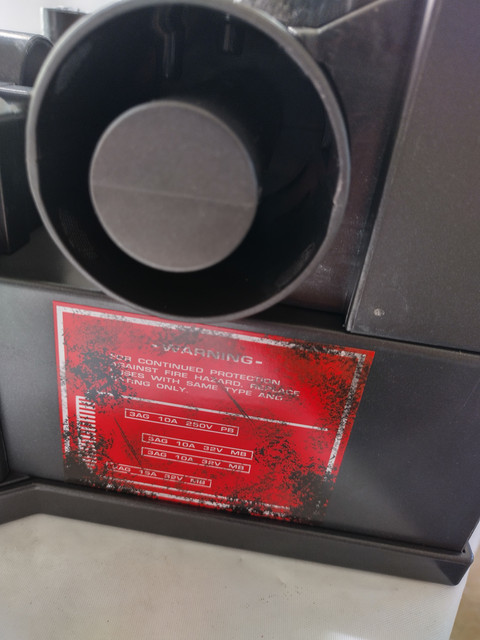
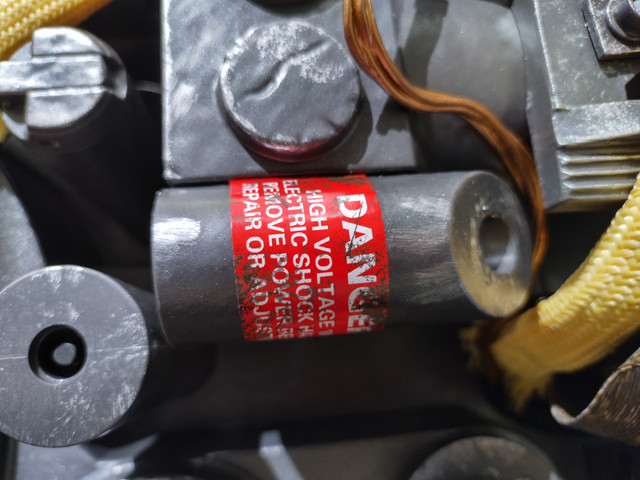
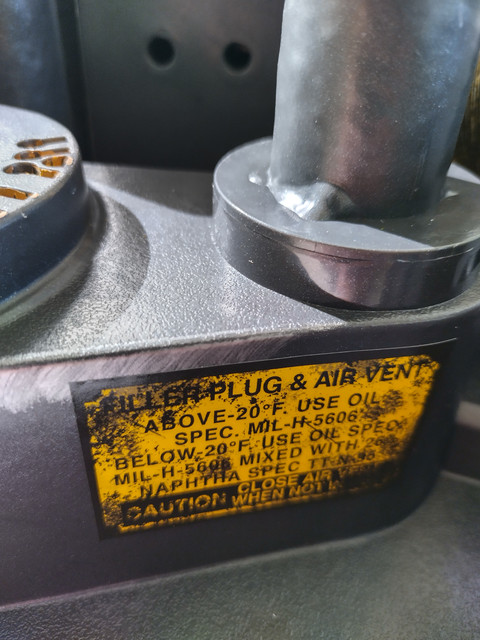
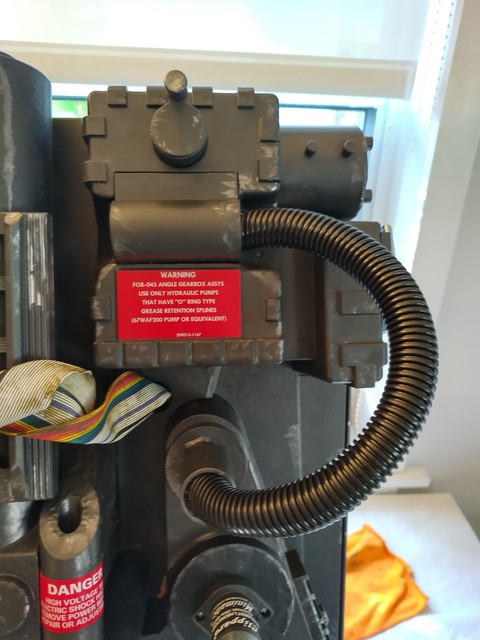
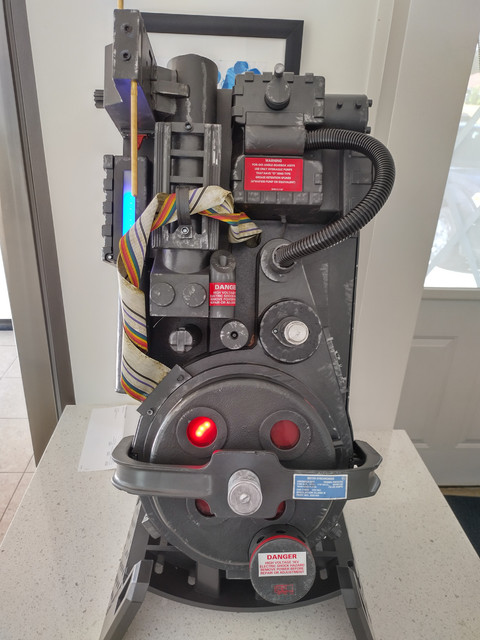
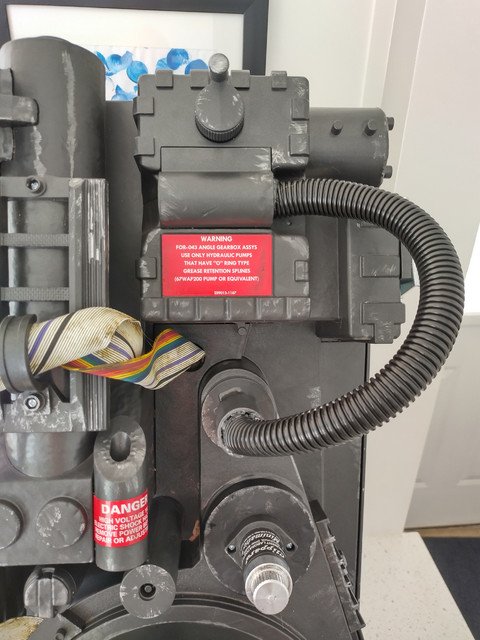
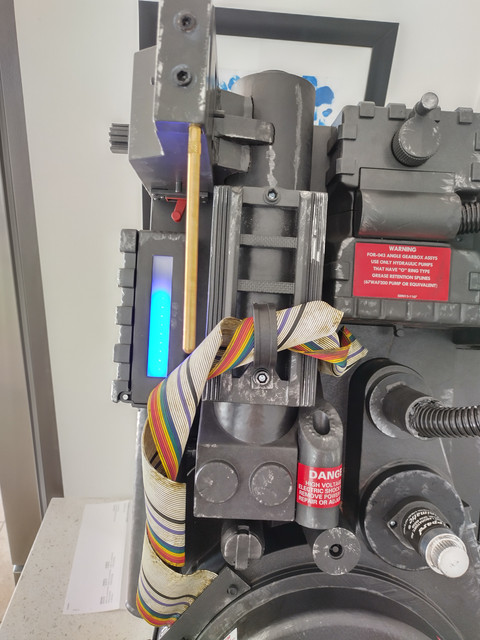
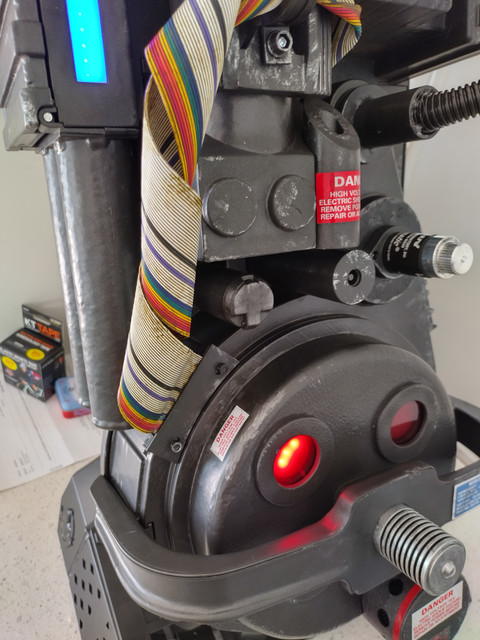
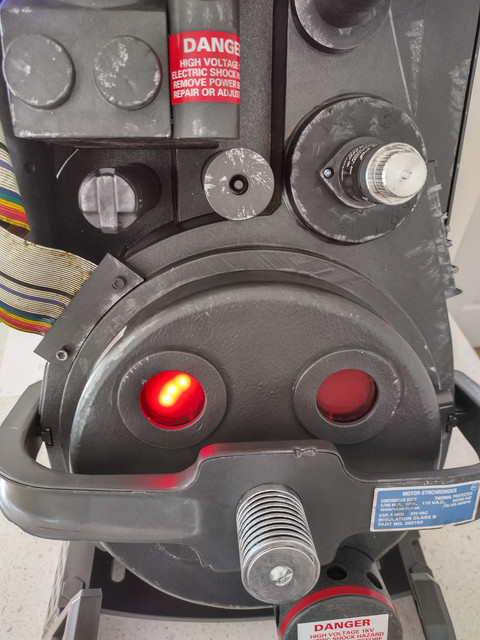
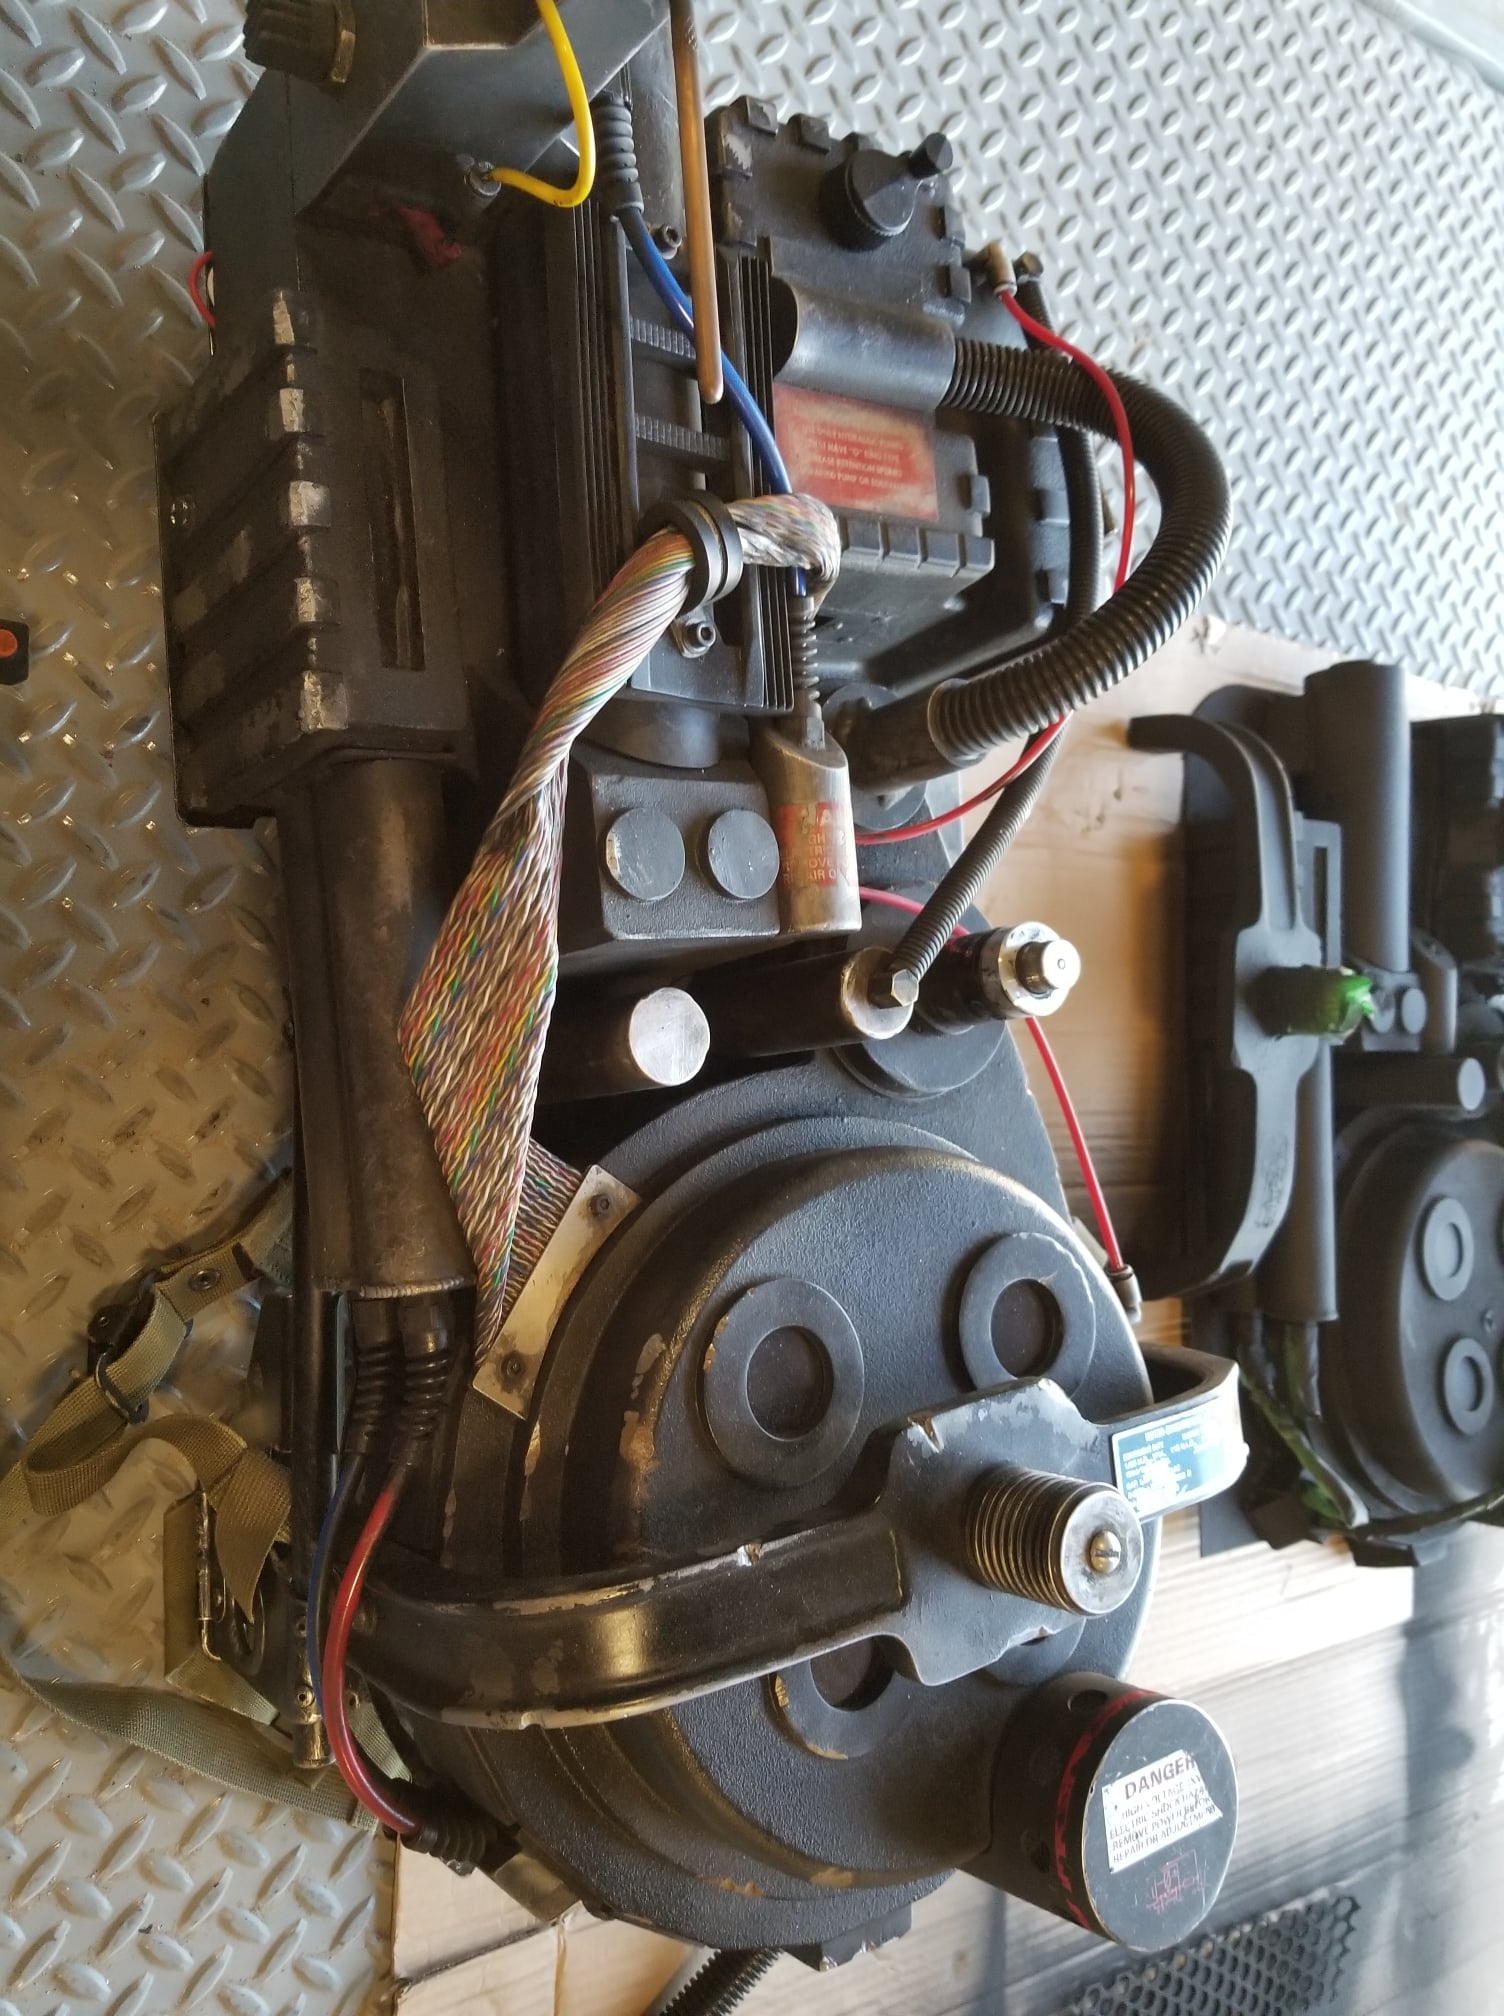
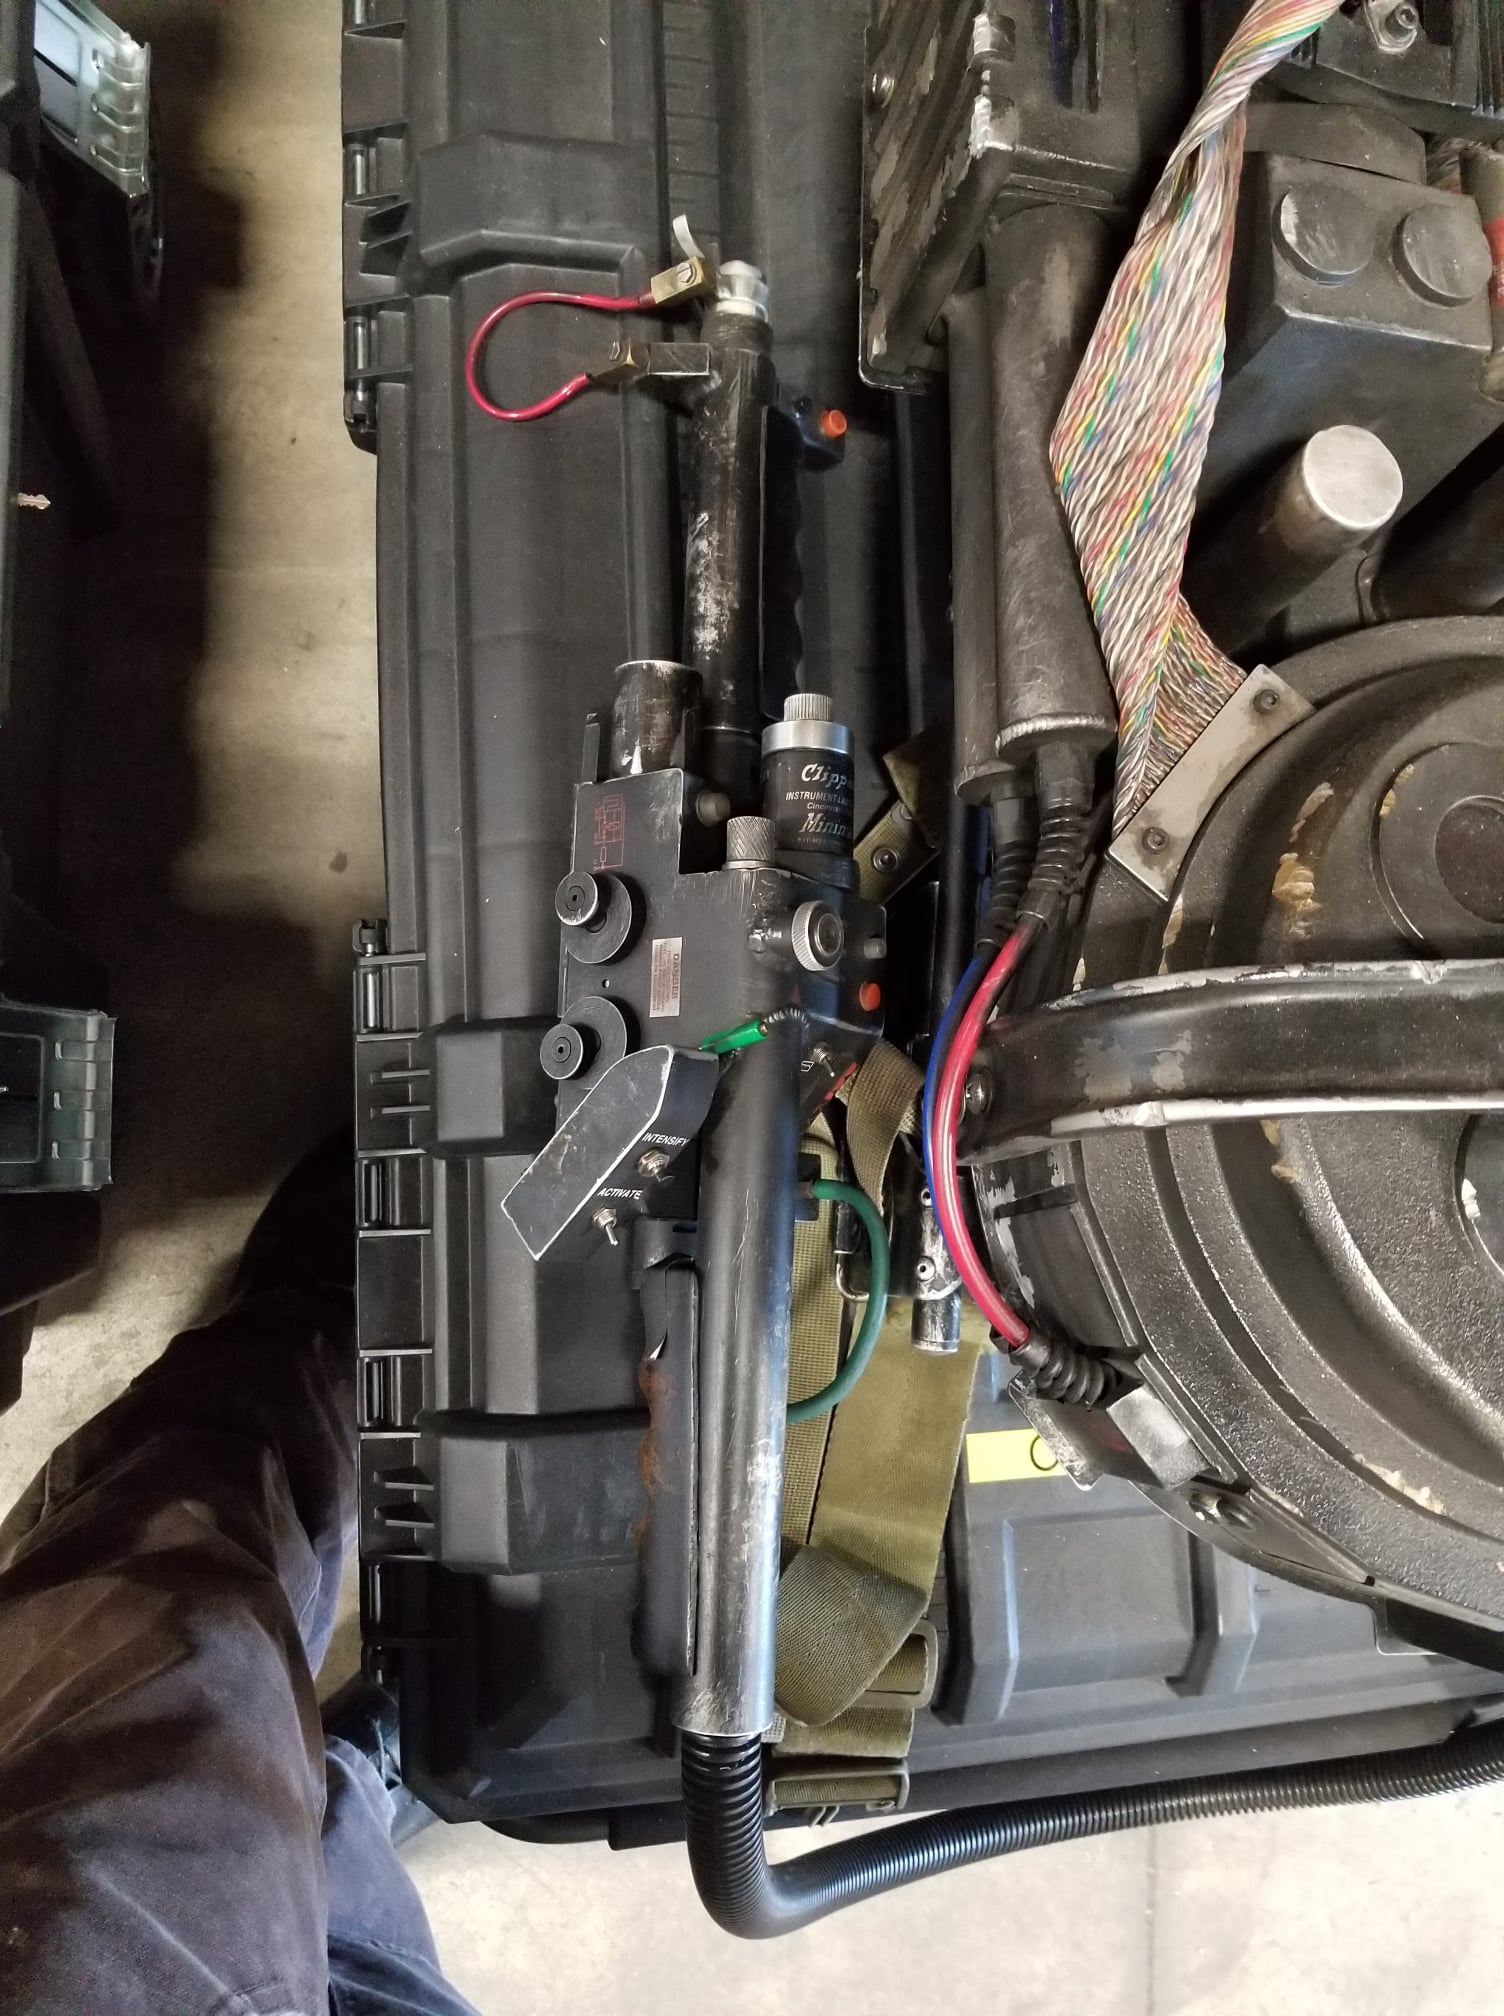
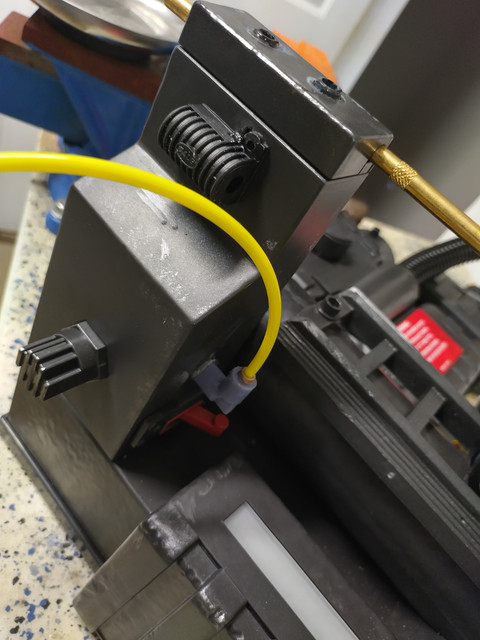
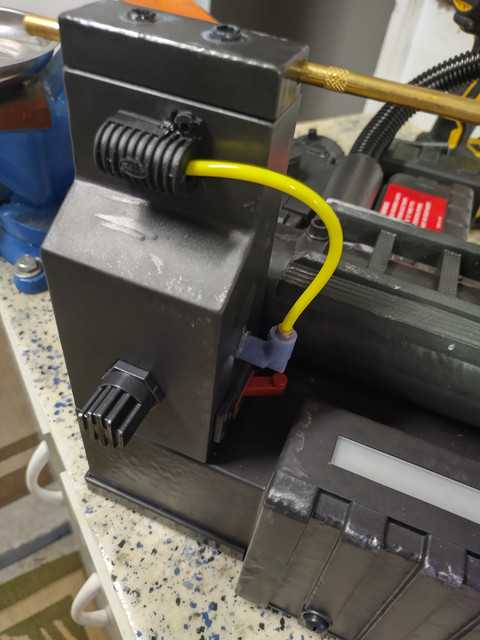
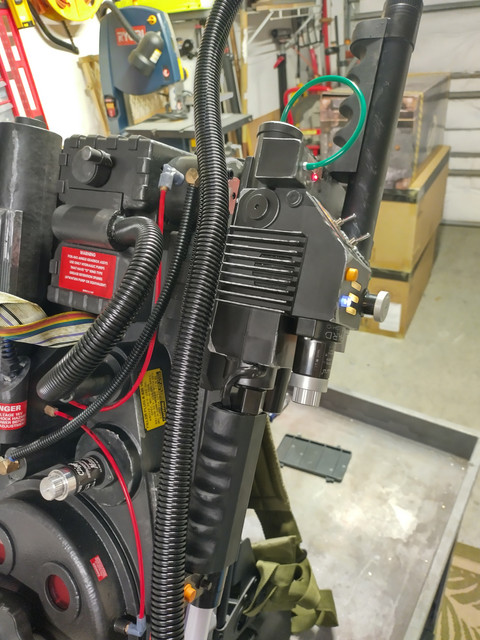
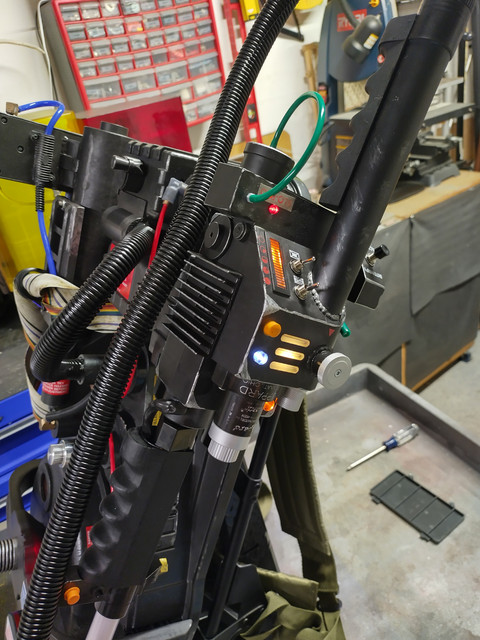
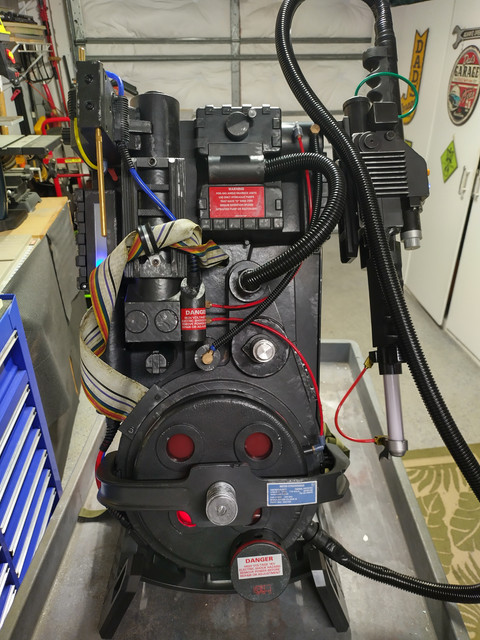
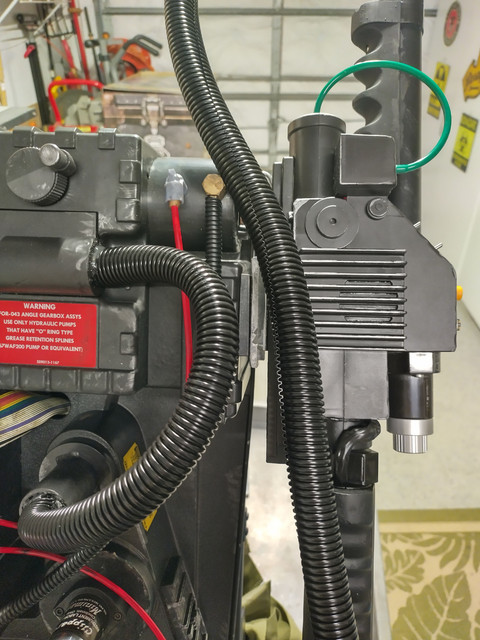
Hi, All. Nick Here. I’m using this thread to document/ show off my Haslab pack’s transition back to a standard GB1/ GB2 pack. I’m not aiming for on screen accuracy, I’m just not a fan of the Afterlife add-ons and how filthily this pack was weathered. I’ve always wanted a full size pack, so I bought 3 of the Haslab packs. If I mess this one up, I still have a backup . (Some of the pics are a little out of order.)
I started off with a Spirit pack a few years ago, in this thread:
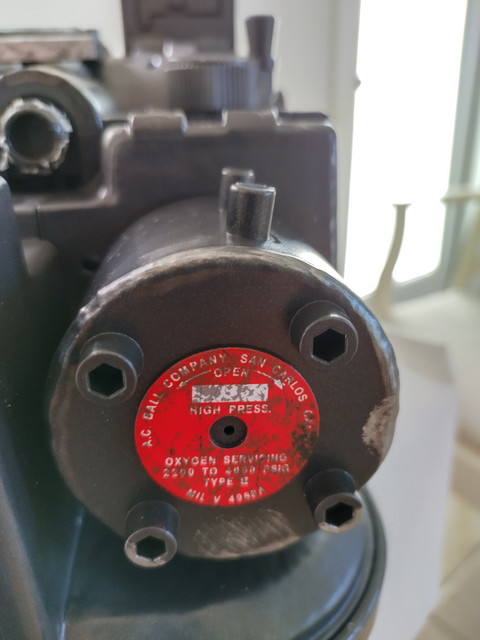
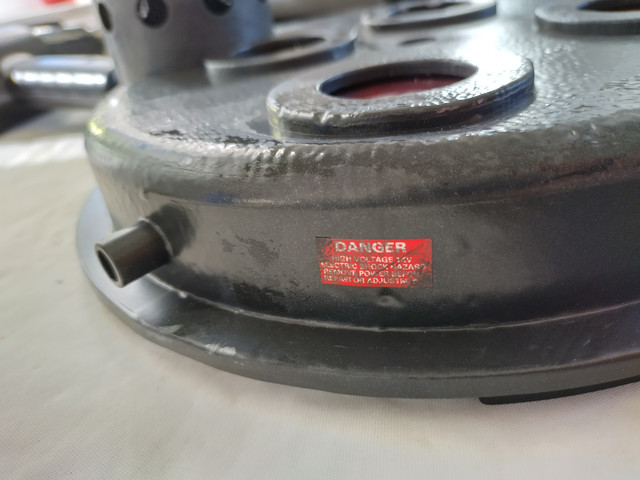
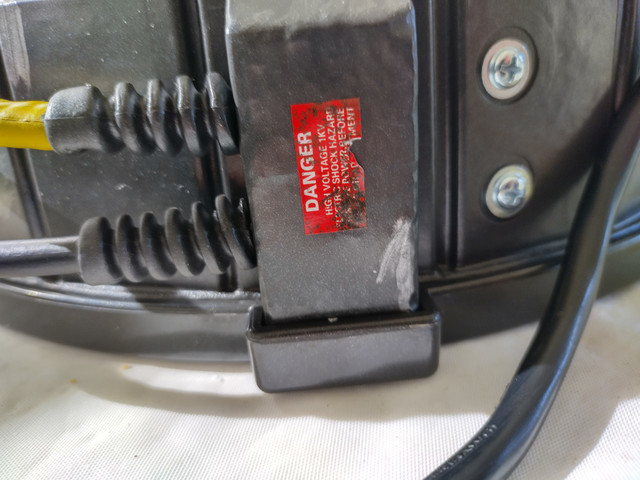
First thing I did was take some “before” pics, so I’d remember where everything went and the correct sticker placement:
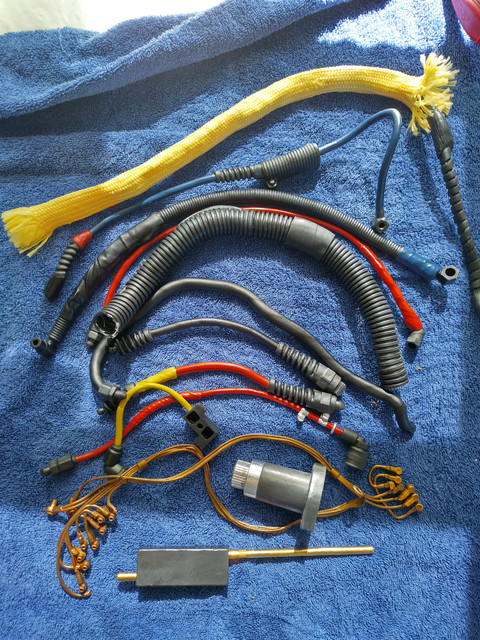
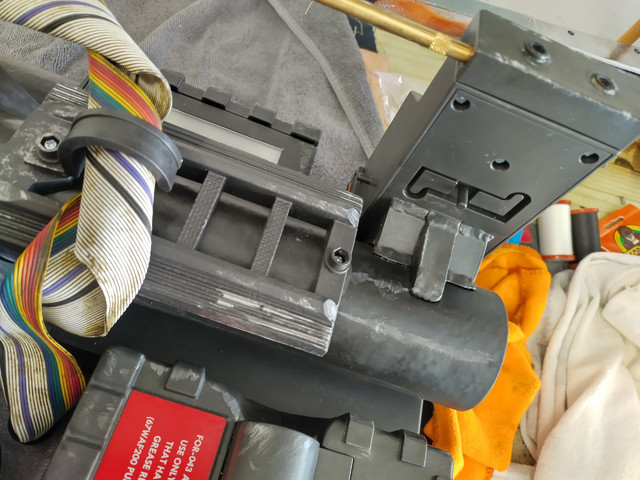
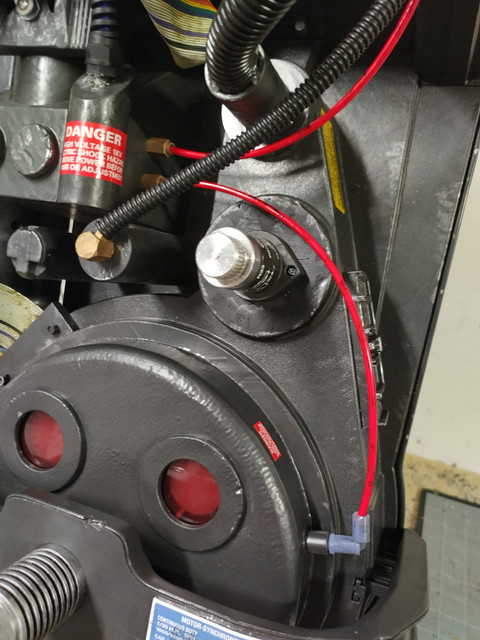
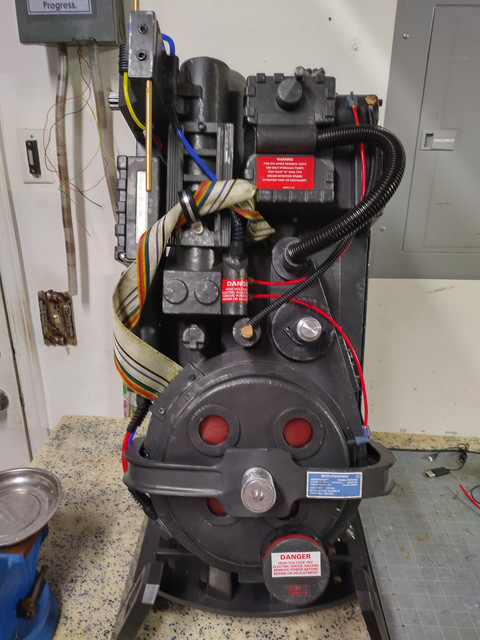
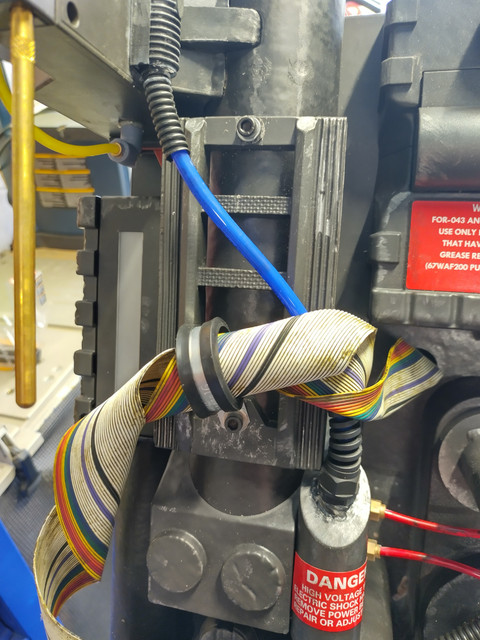
Next, I stripped off all the hoses and tubes. Most of it was surprisingly easy. The “fittings” on the ends of the hoses are just rubber and simply pressed on to a plastic nub on the pack. The ribbon cable and the two other cables coming out of that opening are held on by a small bracket inside the pack, so you have to open it up to remove them. The fake copper wiring around the clippard is a little more challenging. A lot of it can simply be pulled off by hand, but some of it is in deep molded in grooves and needs needle nose pliers to yank it out.
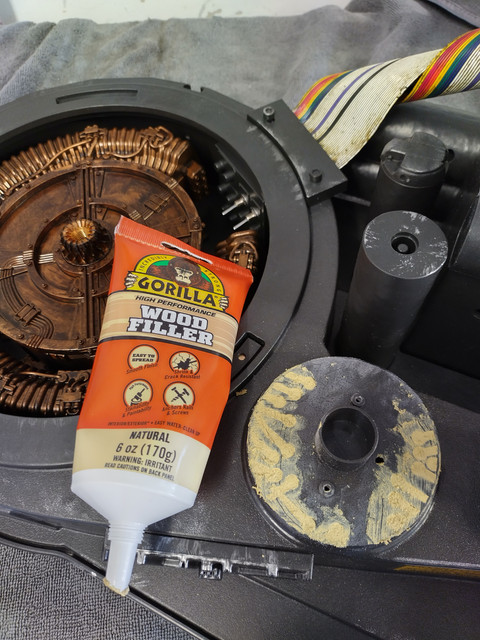
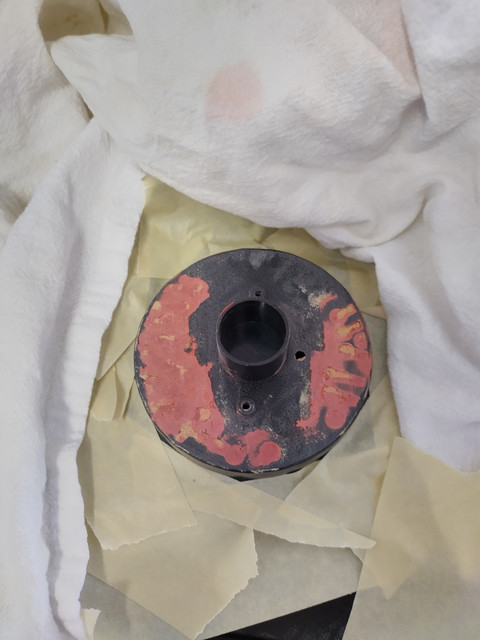
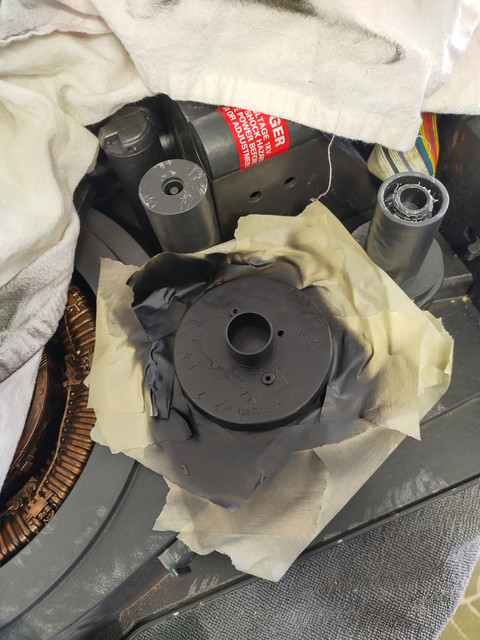
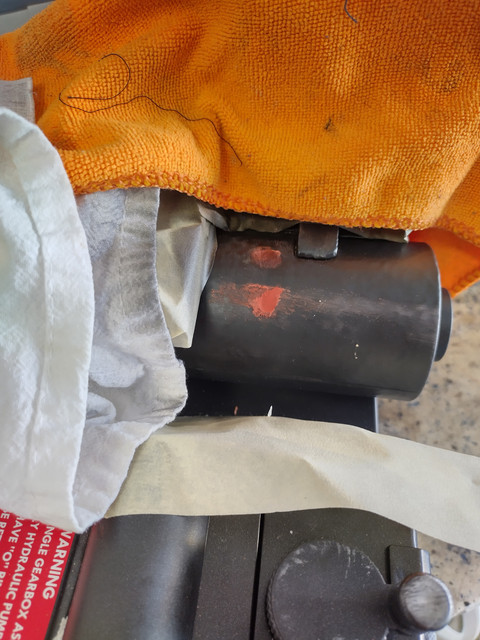
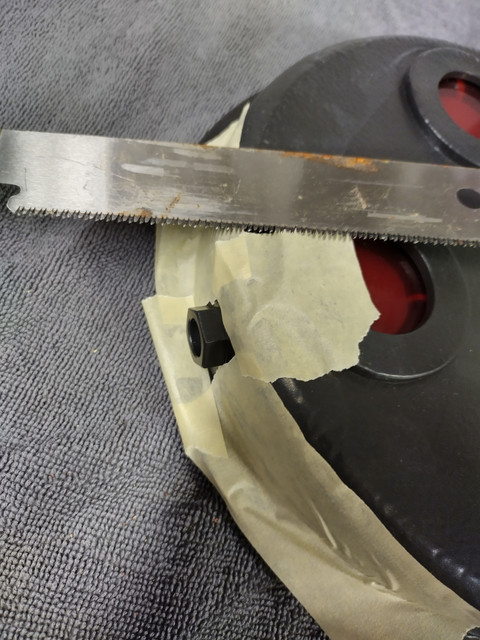
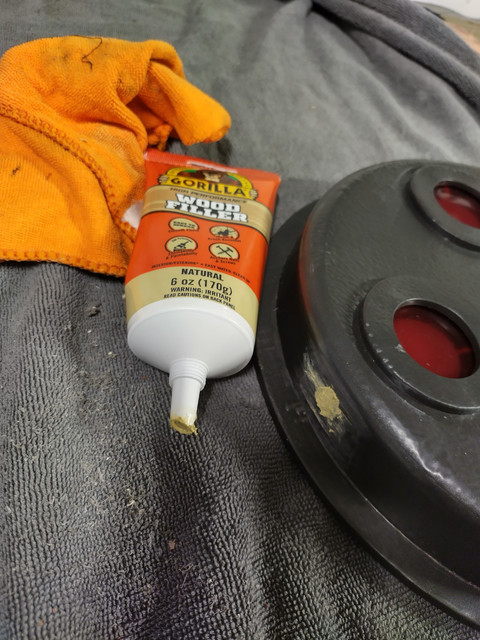
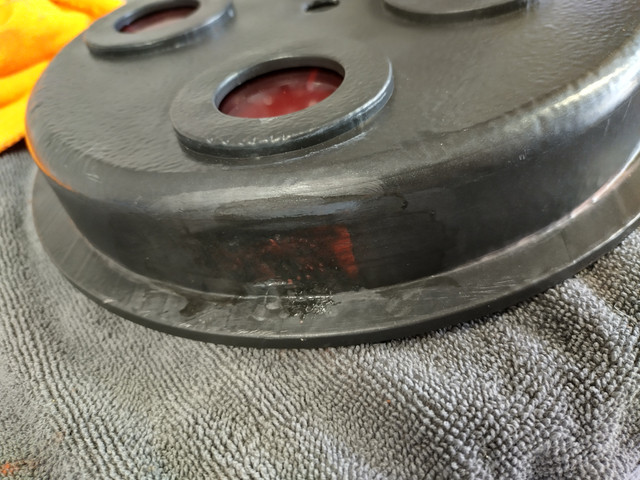
Then, I started filling in all the holes left behind with wood filler and bondo glazing putty:
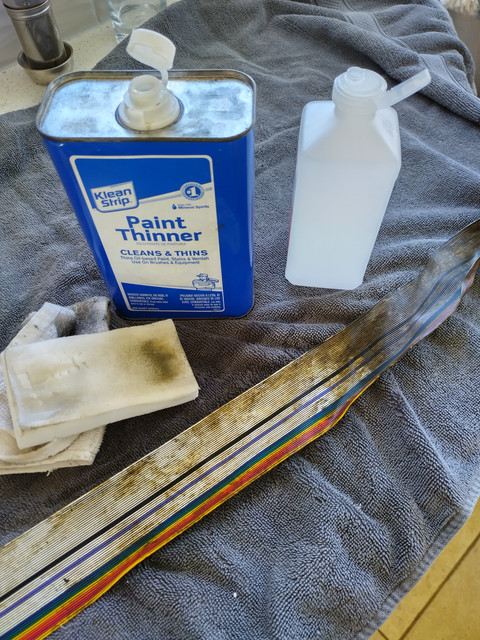
Then, I cleaned up the ribbon cable with alcohol, paint thinner, and a magic eraser:
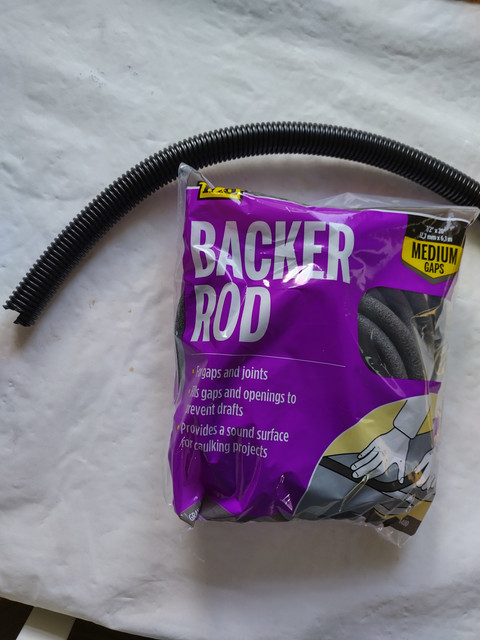
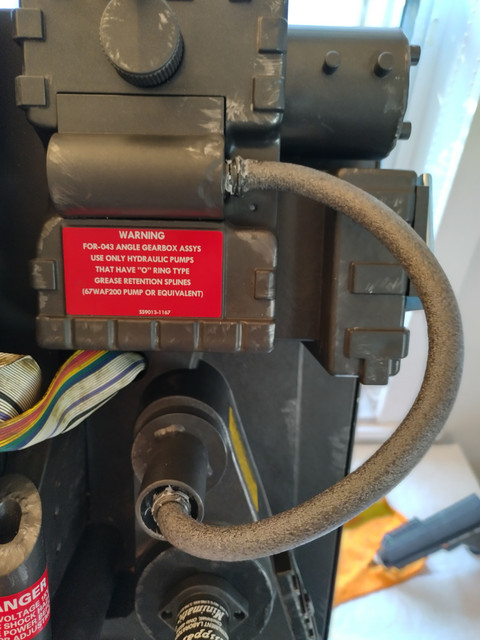
Next, I worked on replacing the upper split loom hose. It is just held in with hot glue at both ends. It can be removed by gently twisting and pulling on it until you break it loose. I replaced it with a section of 3/4 split loom and filled it with foam backing rod to give it some support and structure:
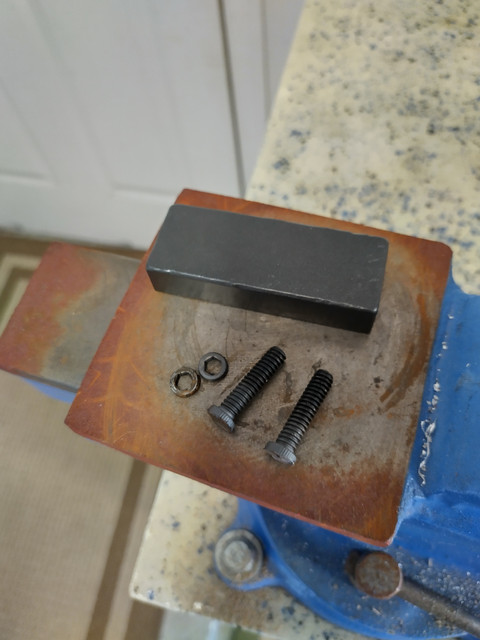
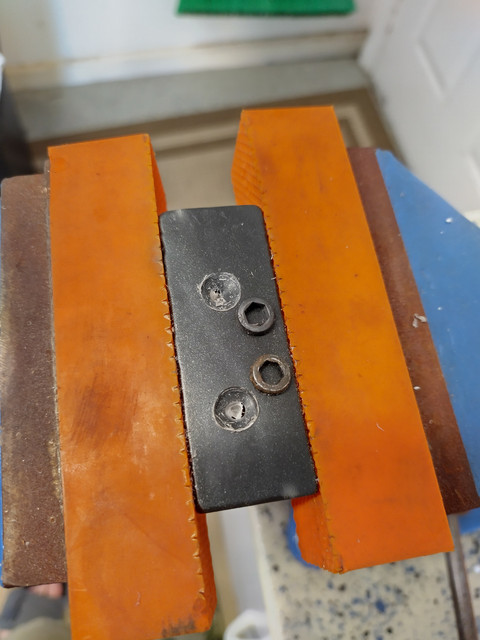
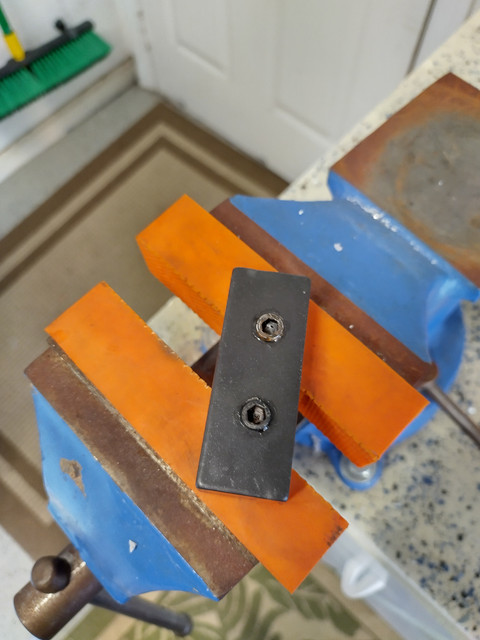
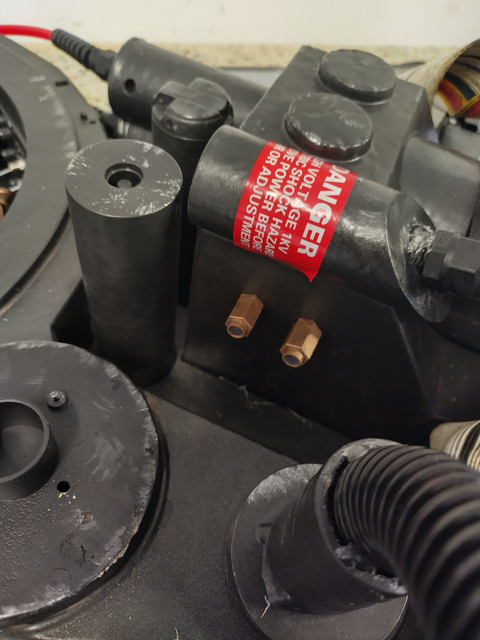
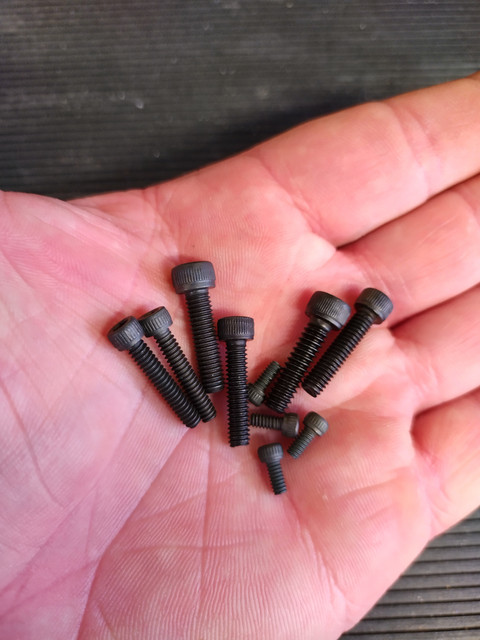
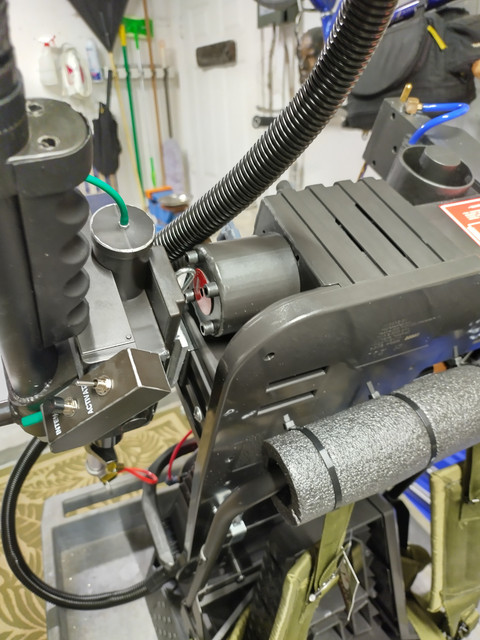
For the Ion arm, I used a dremel and cut the heads off some black oxide socket cap screws. I drilled shallow holes in the endcap and superglued them in. I realize the placement isn’t quite right, but I’m fine with it:
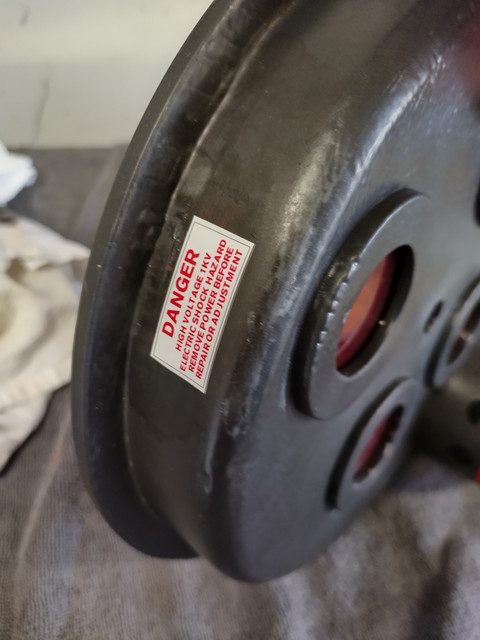
I’ll add that I removed the old stickers with a heat gun, and removed the glue residue with paint thinner. I also removed a lot of the weathering with a magic eraser.
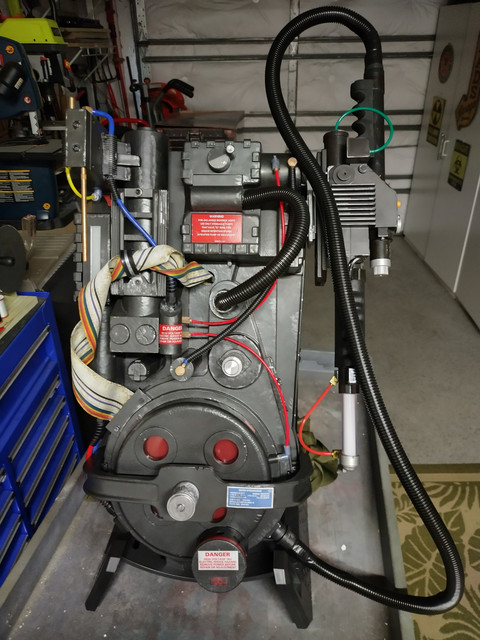
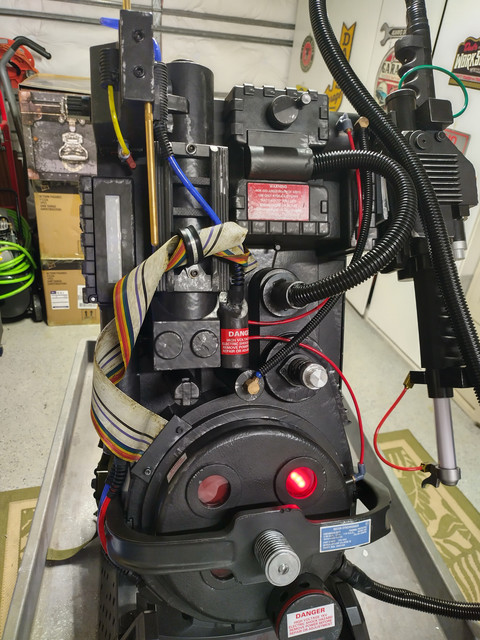
Here are some preliminary “after” pics while I wait on a replacement hose/tubing kit to arrive:
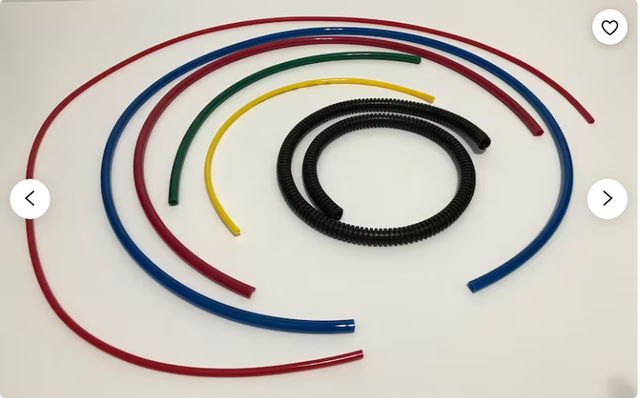
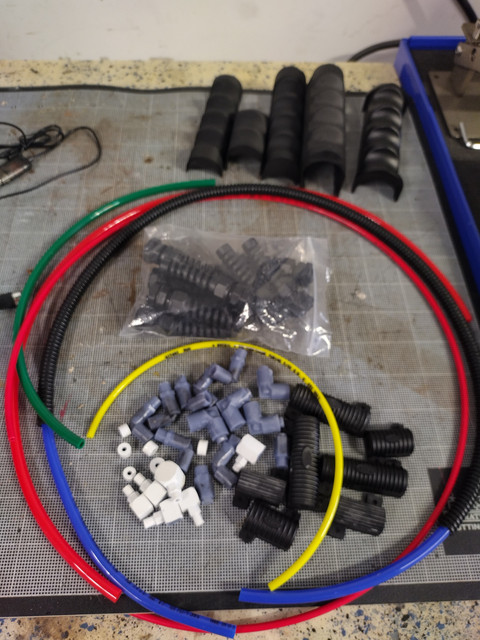
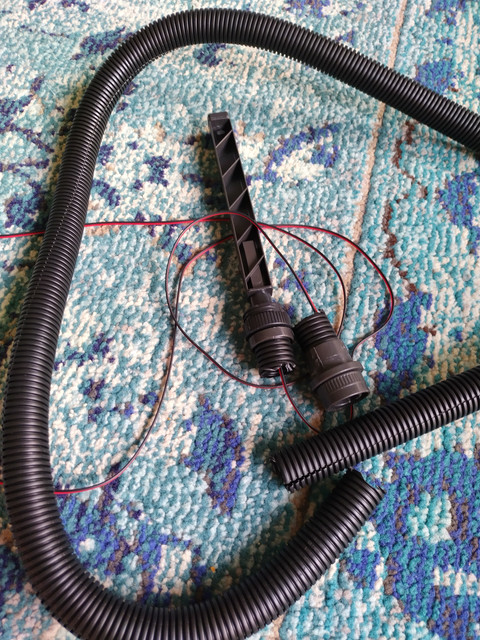
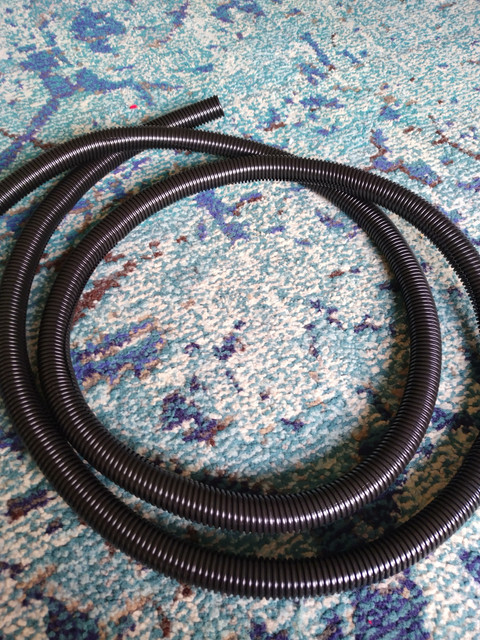
The tubing kit:
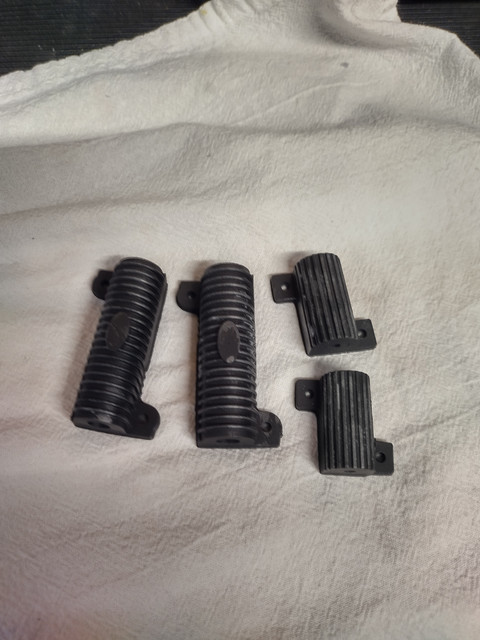
Thanks for looking! I’ll add more when the tubing kit arrives. I also plan on adding a Spengler wand that I’ll be replacing the grips.
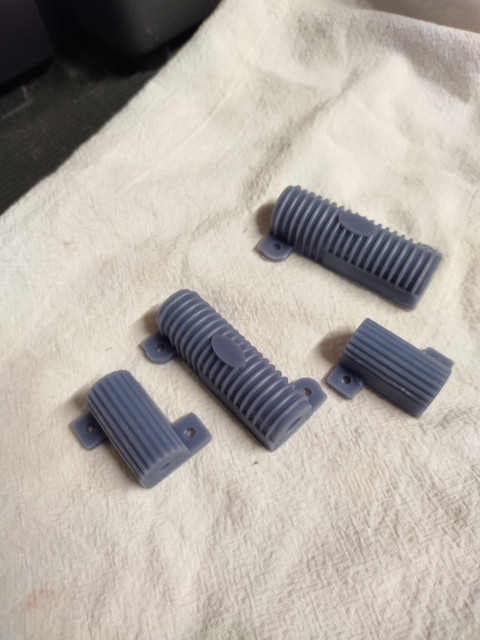
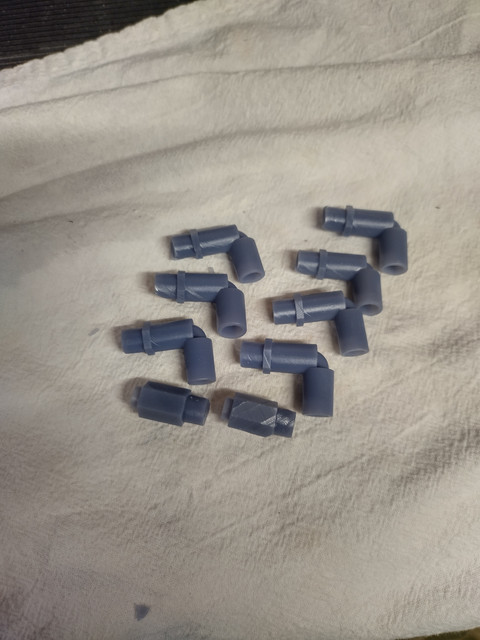
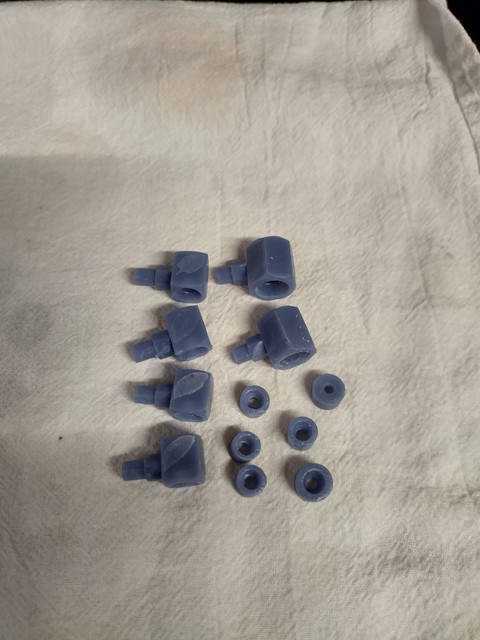
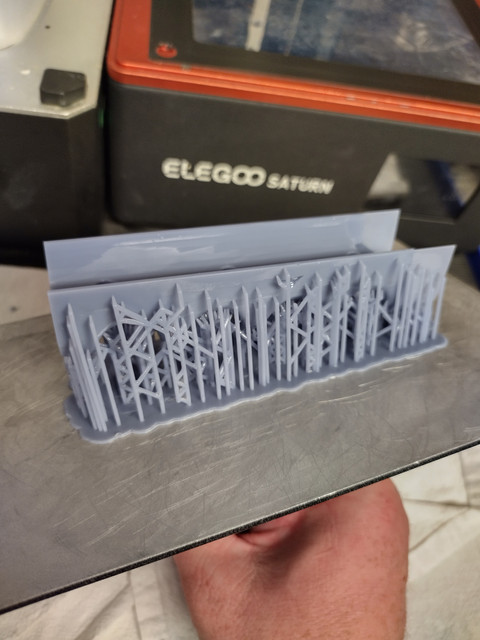
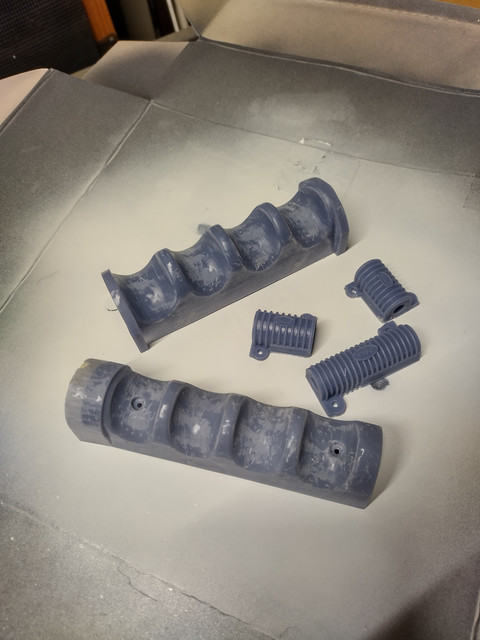
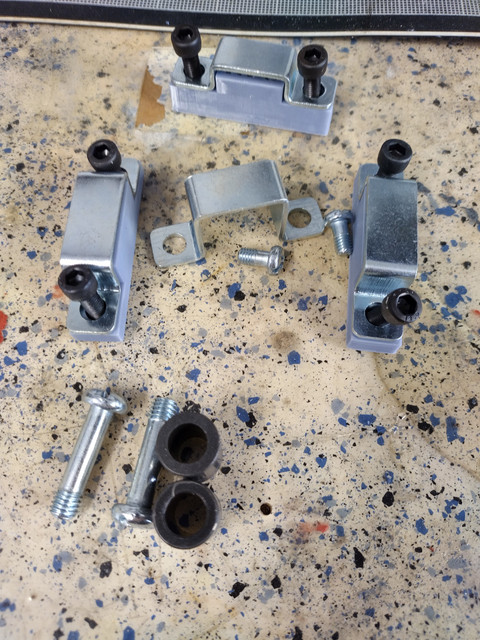
Here is the tubing kit, and all the 3d printed fittings , resistors, and grips for the Spengler wand. I printed multiple parts in different sizes to have some choices of some parts didn’t fit or look right.
Someone finally did it! looks great so far. The ugly ribbon cable that hasbro provided is more apparant when clean and on a less busy gb1/2 type pack. if it’s in your budget it’s worth replacing with a gb2 ribbon cable
I saw on Adam’s Savage’s channel where someone mentioned that the ribbon cable for this pack was chosen for its accuracy from a company that still produces them. Is there something inaccurate about this particular cable? It seems that Hasbro went to lengths to get it accurate to the films.
They tried to go for the GB1/Afterlife cable look, but it doesn’t really work. The Afterlife Packs originally used the GB2-style cables, as seen in the photos from the “making of” book, but were later swapped out for the GB1 style. I agree with the idea of switching out the Hasbro cable with some GB2 Spectra Strip cable, or the Fincher Technologies GB1 cable, however I’m not quite sure how to remove the stock Hasbro cable and replace it with a different one, while keeping the functionality of the “alarm” sound effect that the Pack makes when the ribbon cable is unplugged.
A deeper dive into theghostbustersreferencelibrary.com shows that only Egon’s pack got switched back to an '84 style cable, and the other 3 packs are in continuity with GB2 still with spectra ribbon cables.
The alarm function comes from a spring loaded switch on the pack body. Any ribbon cable clamp is capable of depressing the switch, but the play feature of being able to easily remove the clamp to sound the alarm is less easy to access if you end up using actual cap head screws into a real metal ribbon clamp.
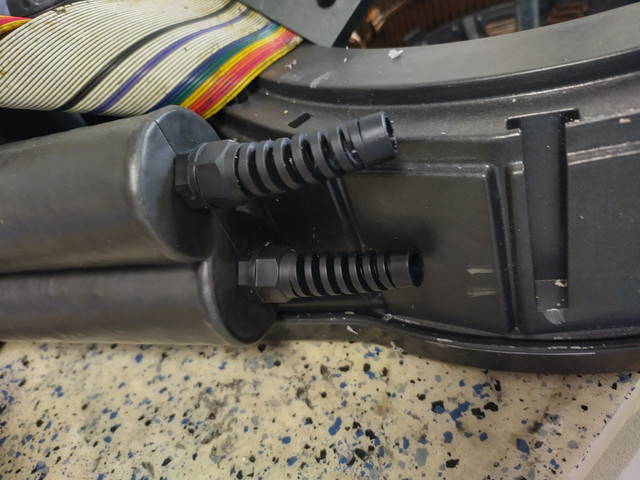
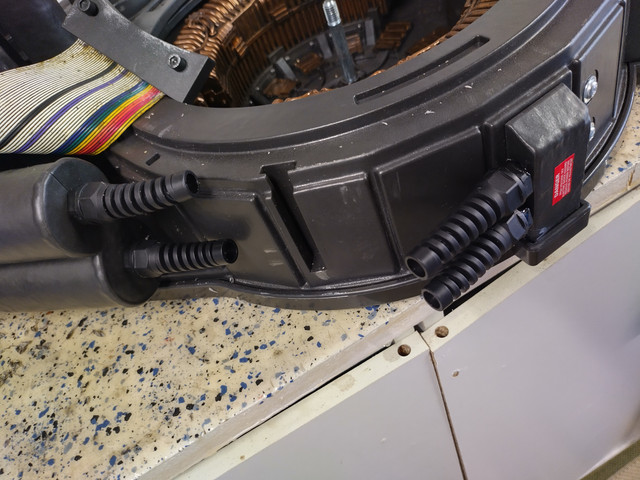
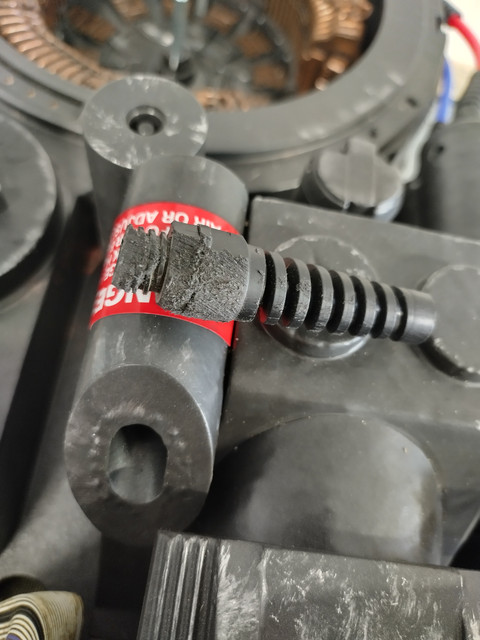
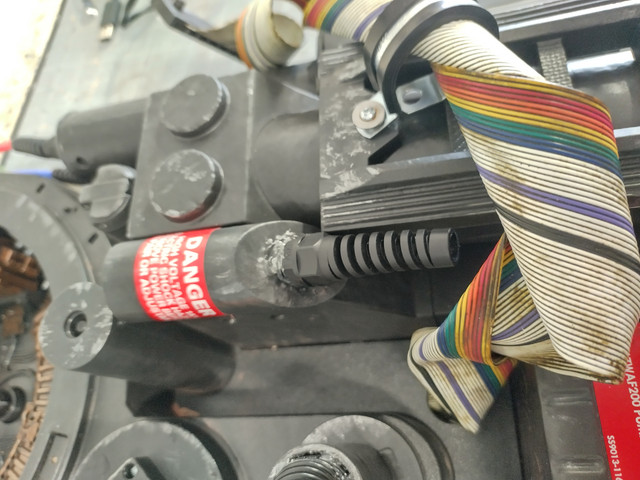
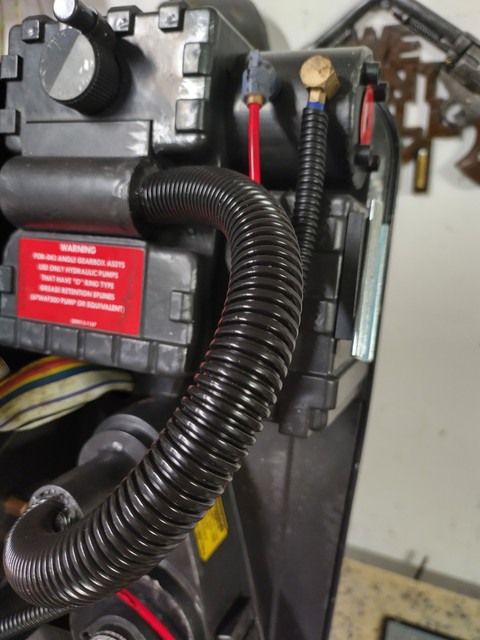
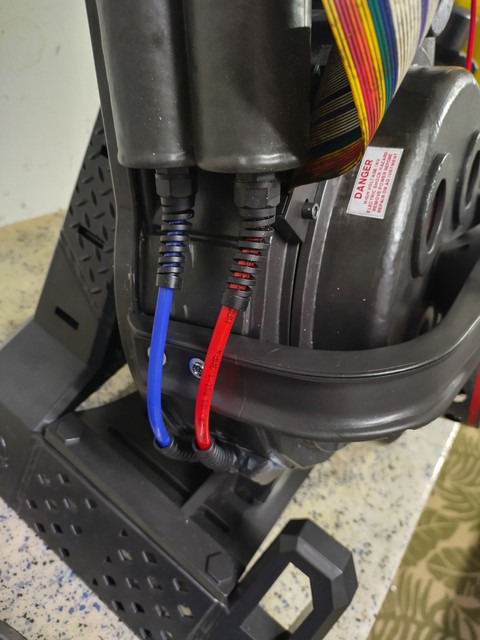
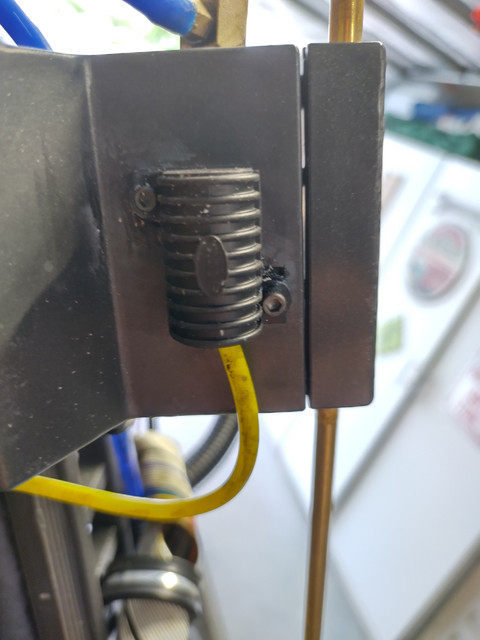
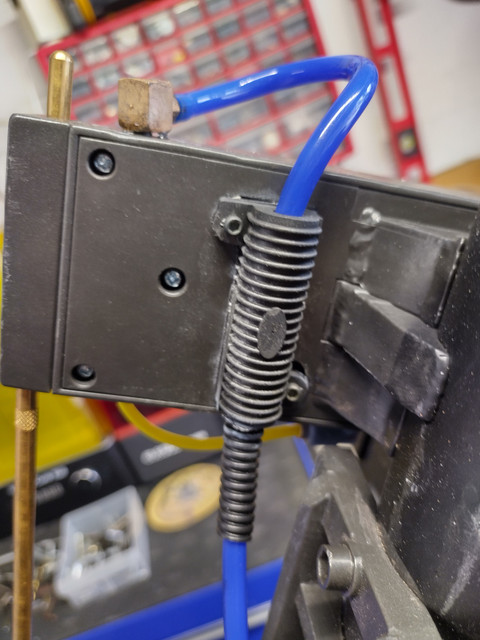
I know the GB1 and 2 packs used pieces of 1/4 inch loom instead of actual strain reliefs, but I really liked the look of them. Here are pics of the 2 tubes on the side of the pack. I enlarged the existing holes on the pack with gradually increasing sizes of drill bits until the PG7 strain reliefs fit. I screwed them in and held them with superglue and/or hotglue.
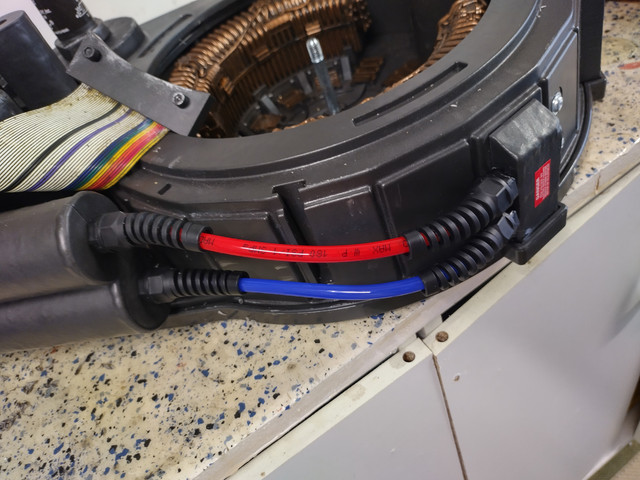
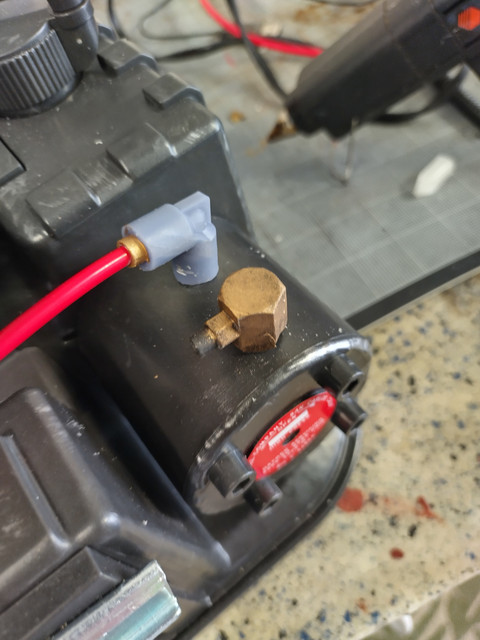
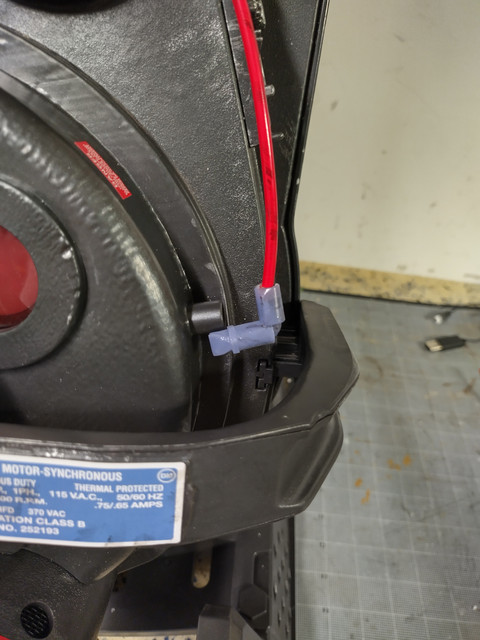
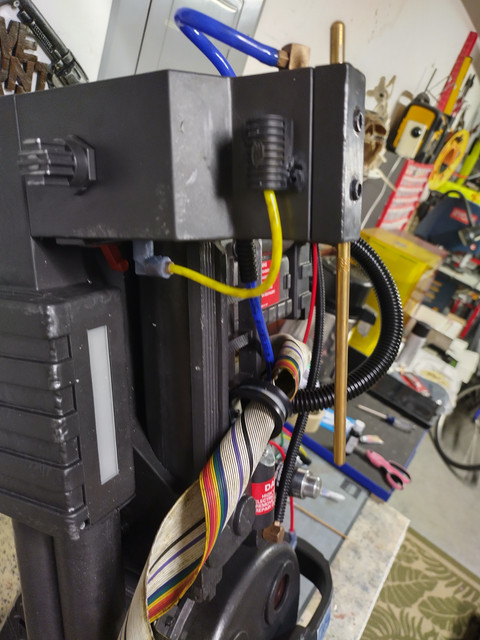
Next, I worked on the smaller resistor , yellow tube and legris elbow. I drilled out the back of the resistor to fit the plastic nub on the pack that held in all the rubber tubing and resistors. I use siraya tech build resin, which can be drilled and tapped instead of breaking .
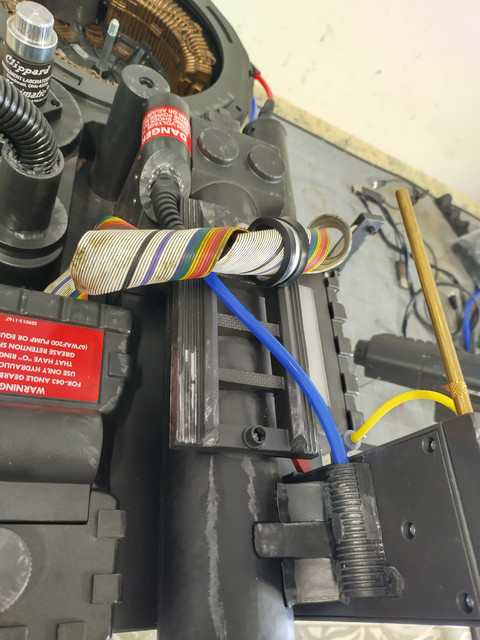
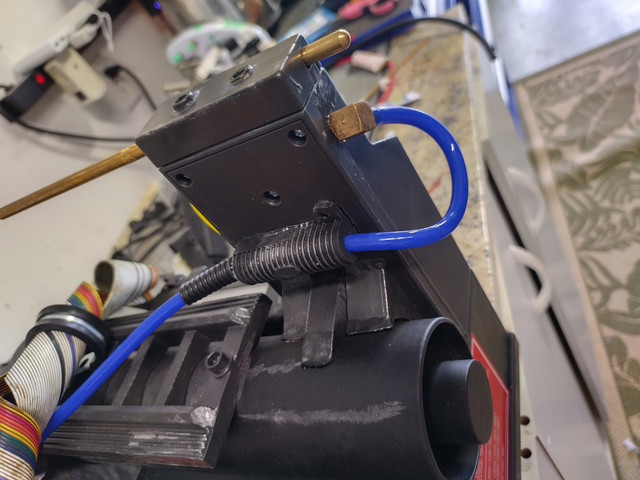
Next, I worked on the larger resistor, blue tubing and brass fitting. I use antique gold rub n buff on the fitting, drilled out the resistor, and heated the end of the tubing with a heat gun to fit it over the nub on the fitting. The PG7 strain relief had to be sanded down to fit properly.
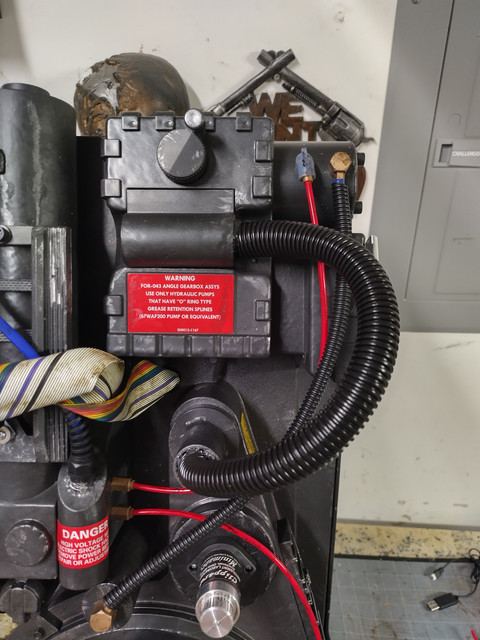
Finally, I worked on the three longer tubes. Same process. Drilled out the elbows or fittings, rub n buff, drilled out the pack to fit. Held in with superglue and/or hotglue.
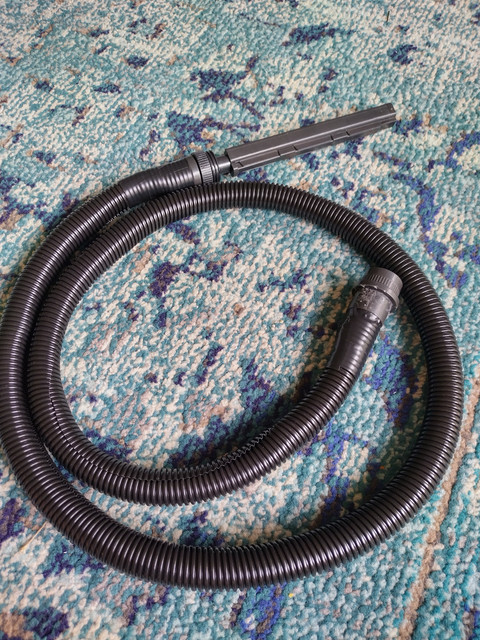
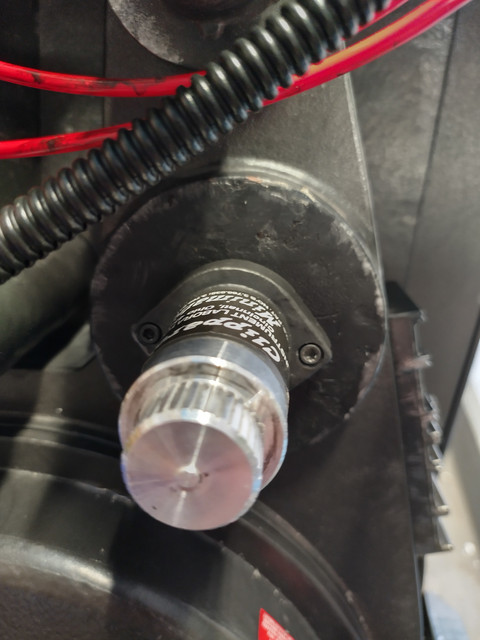
Today’s update: replaced the stiff hose with some 3/4 split loom, replaced the clippard and ladder screws with socket cap bolts, and added socket cap bolts to the resistors. I also swapped the vhook bracket with a solid resin printed one.
Hose replacement:
Screw replacement:
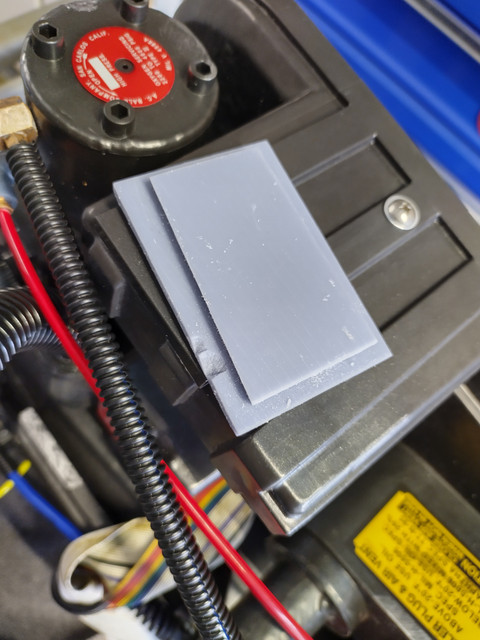
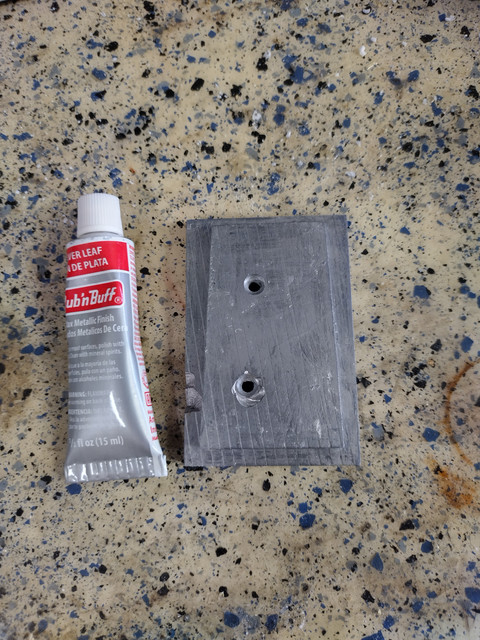
Vhook replacement. Design from thingiverse, printed solid in Siraya build resin and silver rub n buff. Not sure about the long term durability, so I did order a metal cup dispenser bracket from Amazon that I can swap if this breaks or gives any indication of breaking .
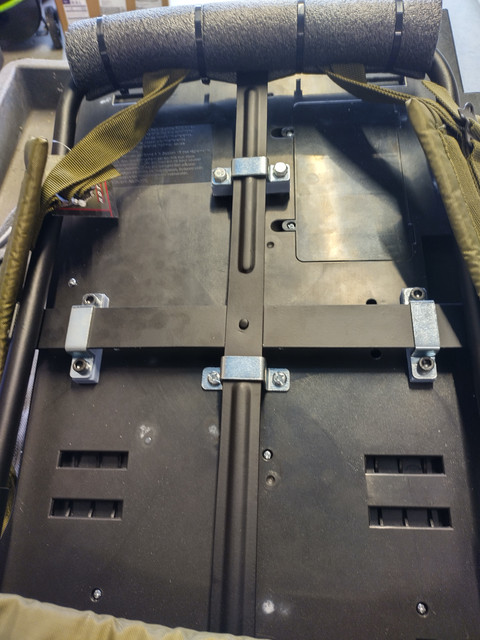
Then I added the spacers available on thingiverse. Also printed in Siraya build resin. The top one wasn’t quite tall enough, so I added a couple small spacers from a TV mounting kit. I didn’t want to stress the frame, motherboard or spacers too much by tightening the frame to meet the bracket.