To preface this post, i’ve been a Ghostbusters fan as long as I can remember, born the same year the 1st film came out my earliest memory is being scared into nightmares by the terror dogs  . When the Kenner blue pack came out, I was fortunate enough to get one and played with it for YEARS (possibly past when it was acceptable). At the start of this year I was able to get my hands on a HasLab pack and have loved it, but there’s always been a couple of things that I wished I could change with it.
Finally after summer I decided to have a shot, i’m not a maker in any sense, I work in IT but love learning new things and have definitely had fun with this “little” project. I’ve used the spoiler drop downs to try and stop this being a hugely long post, might work, might not!
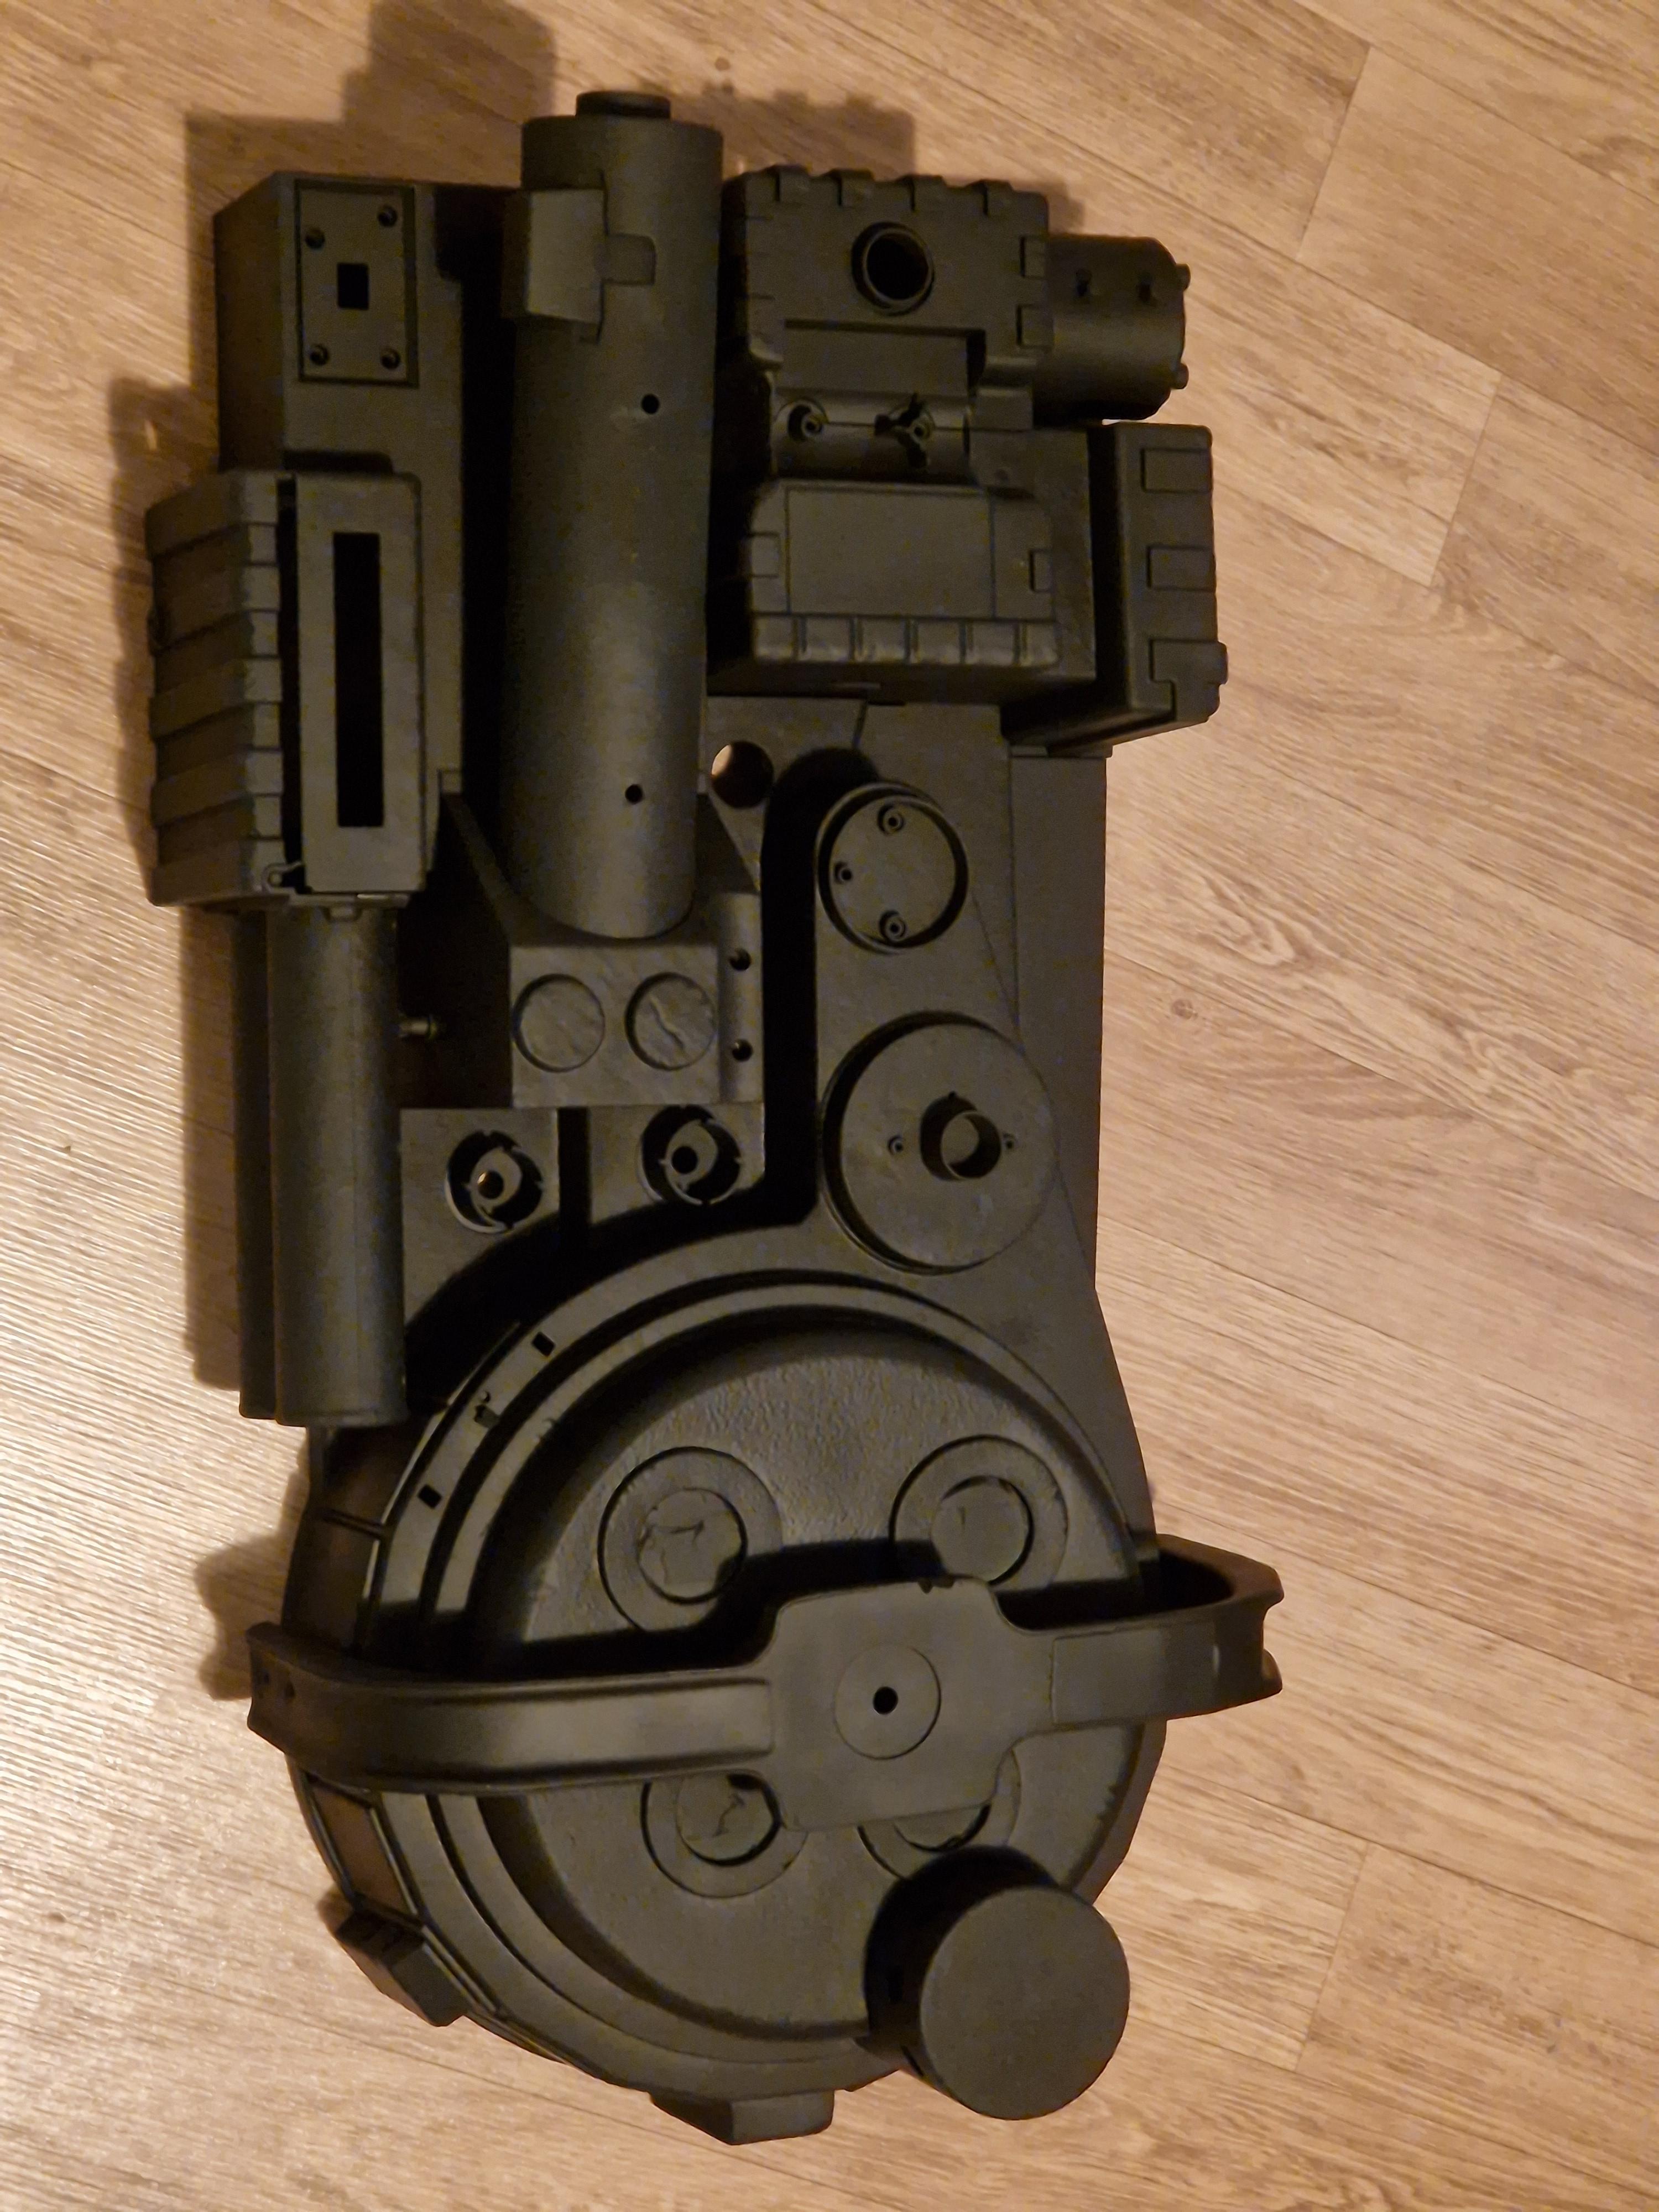
Here’s where we are today:
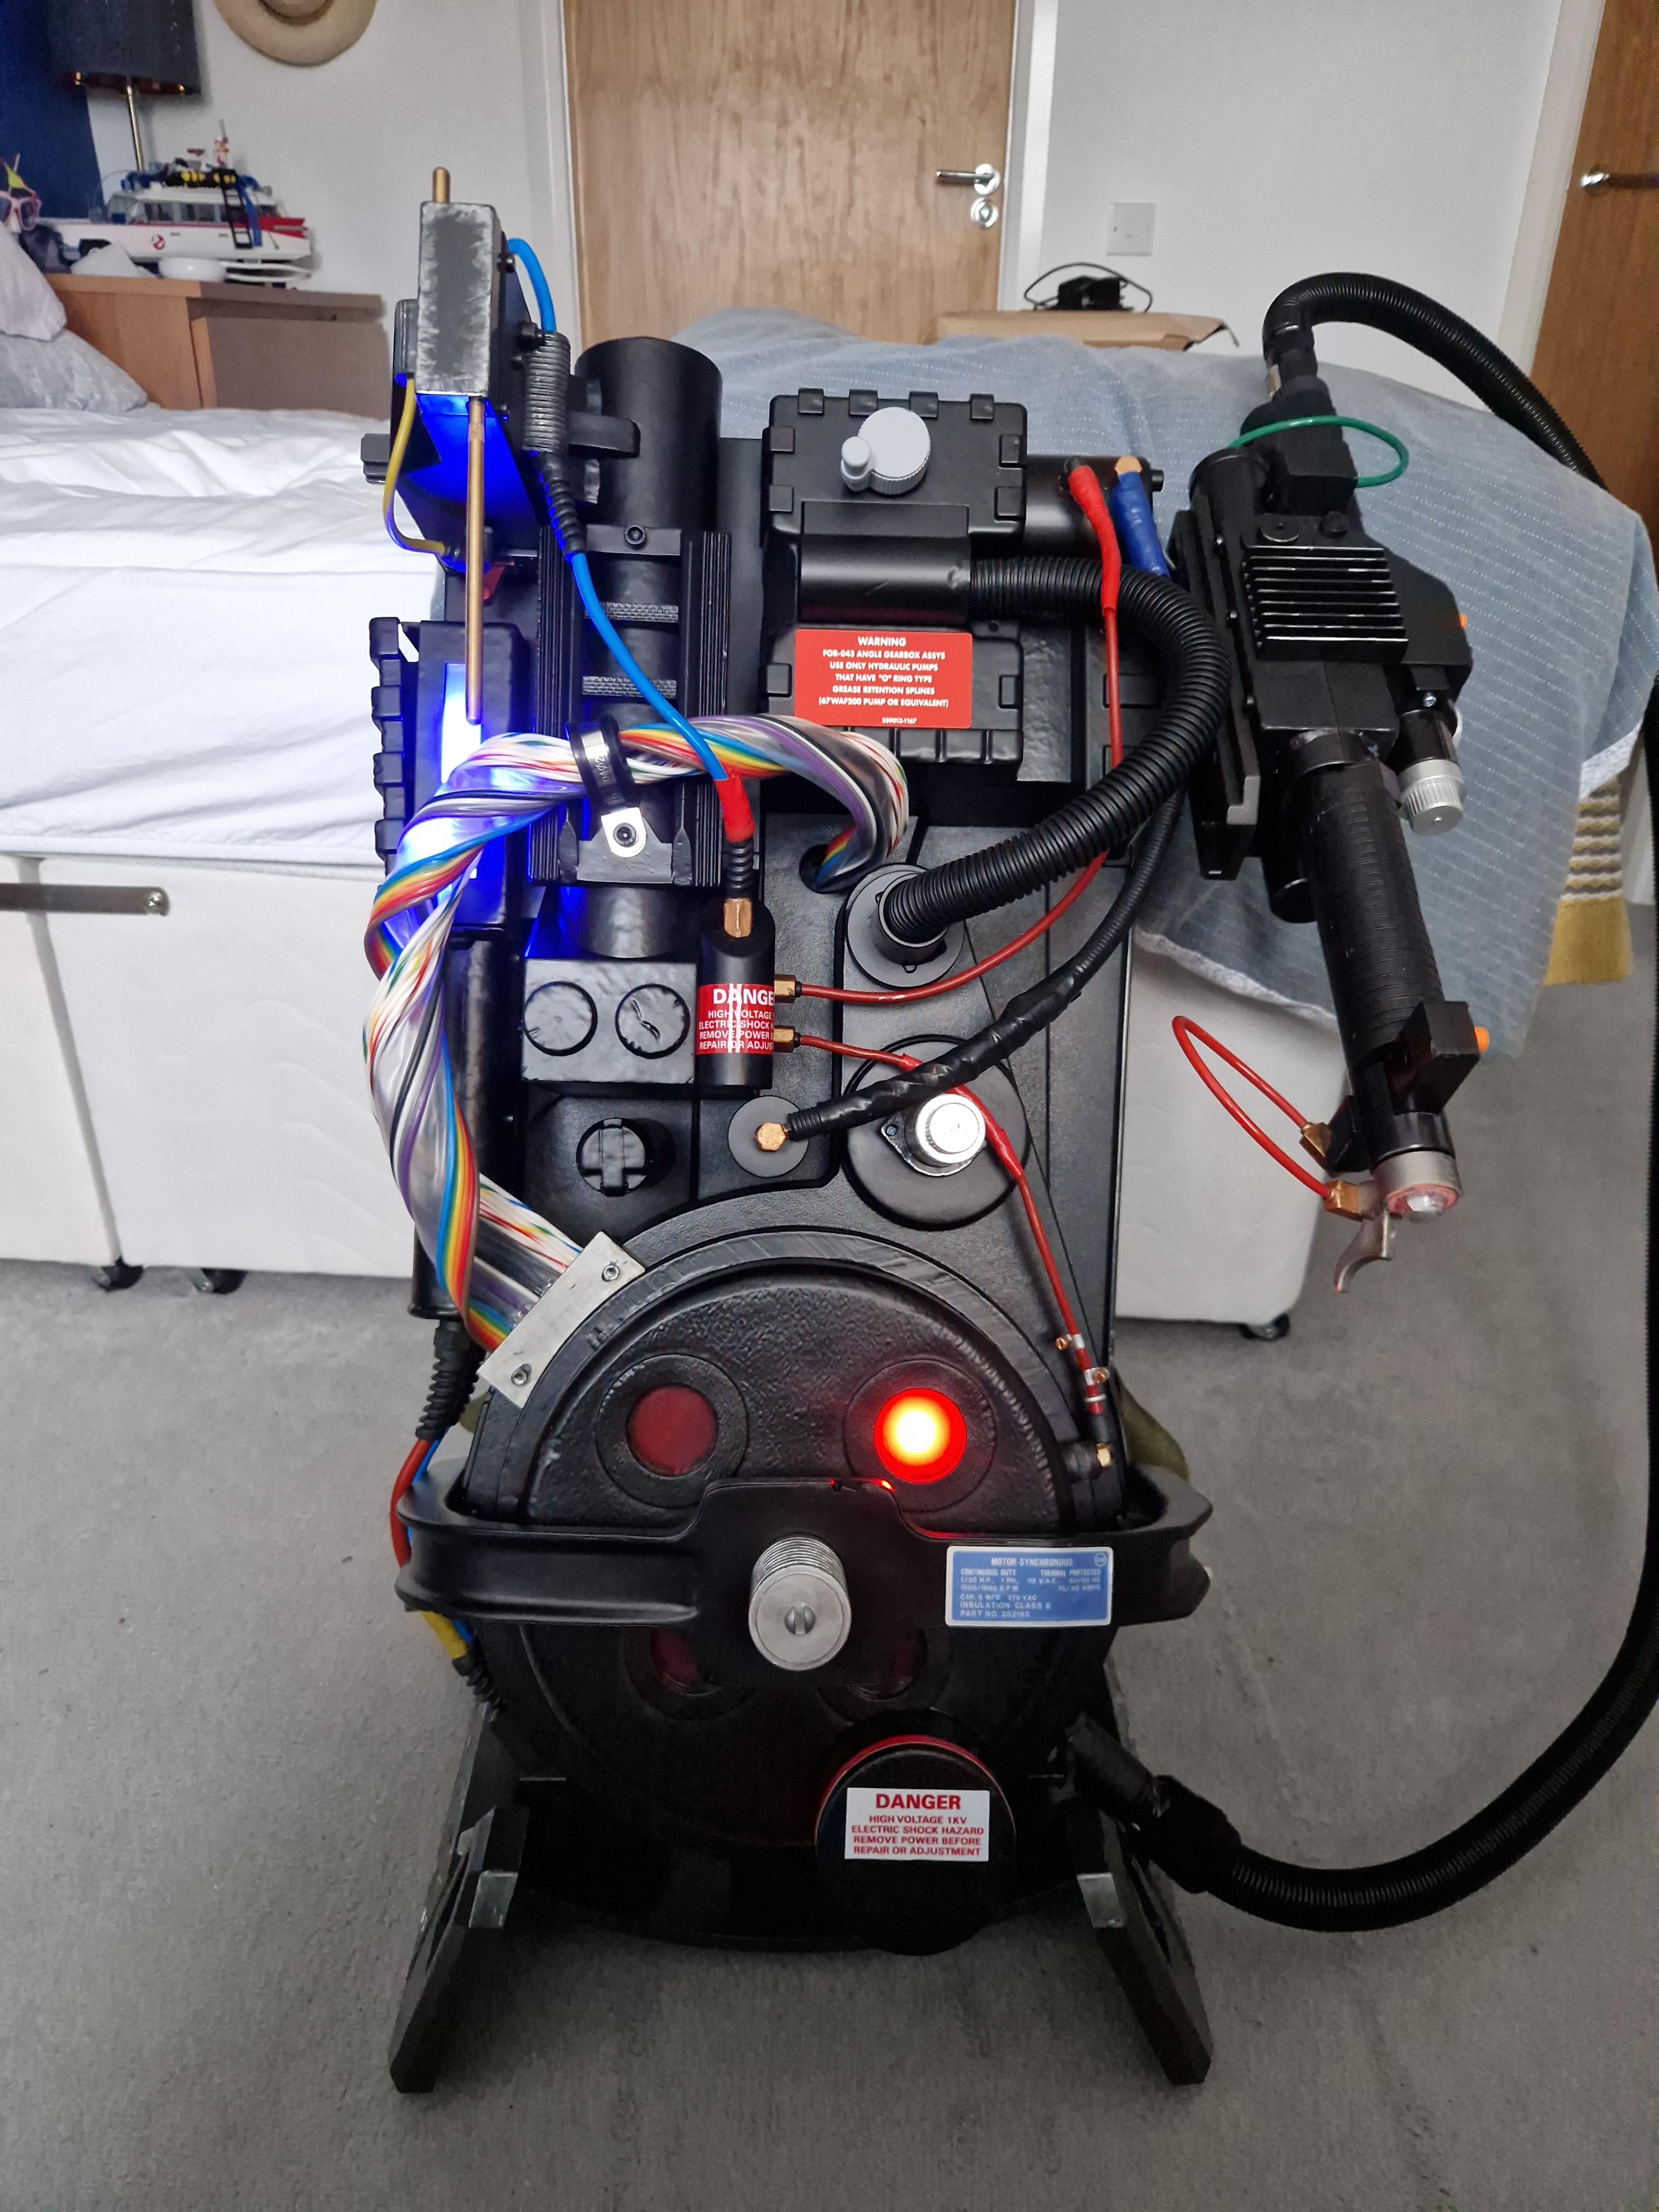
None of this could have been possible without the work of the below incredible people:
- The GPStar Team - Jonathan, Michael, Dustin - For the frankly herculean work they put into getting the kits out, satisfying customers all over the world and the constant improvement and new feature development that they’re doing - https://gpstartechnologies.com/
- Frutto Technology - For their amazing addons - https://fruttotechnology.com/
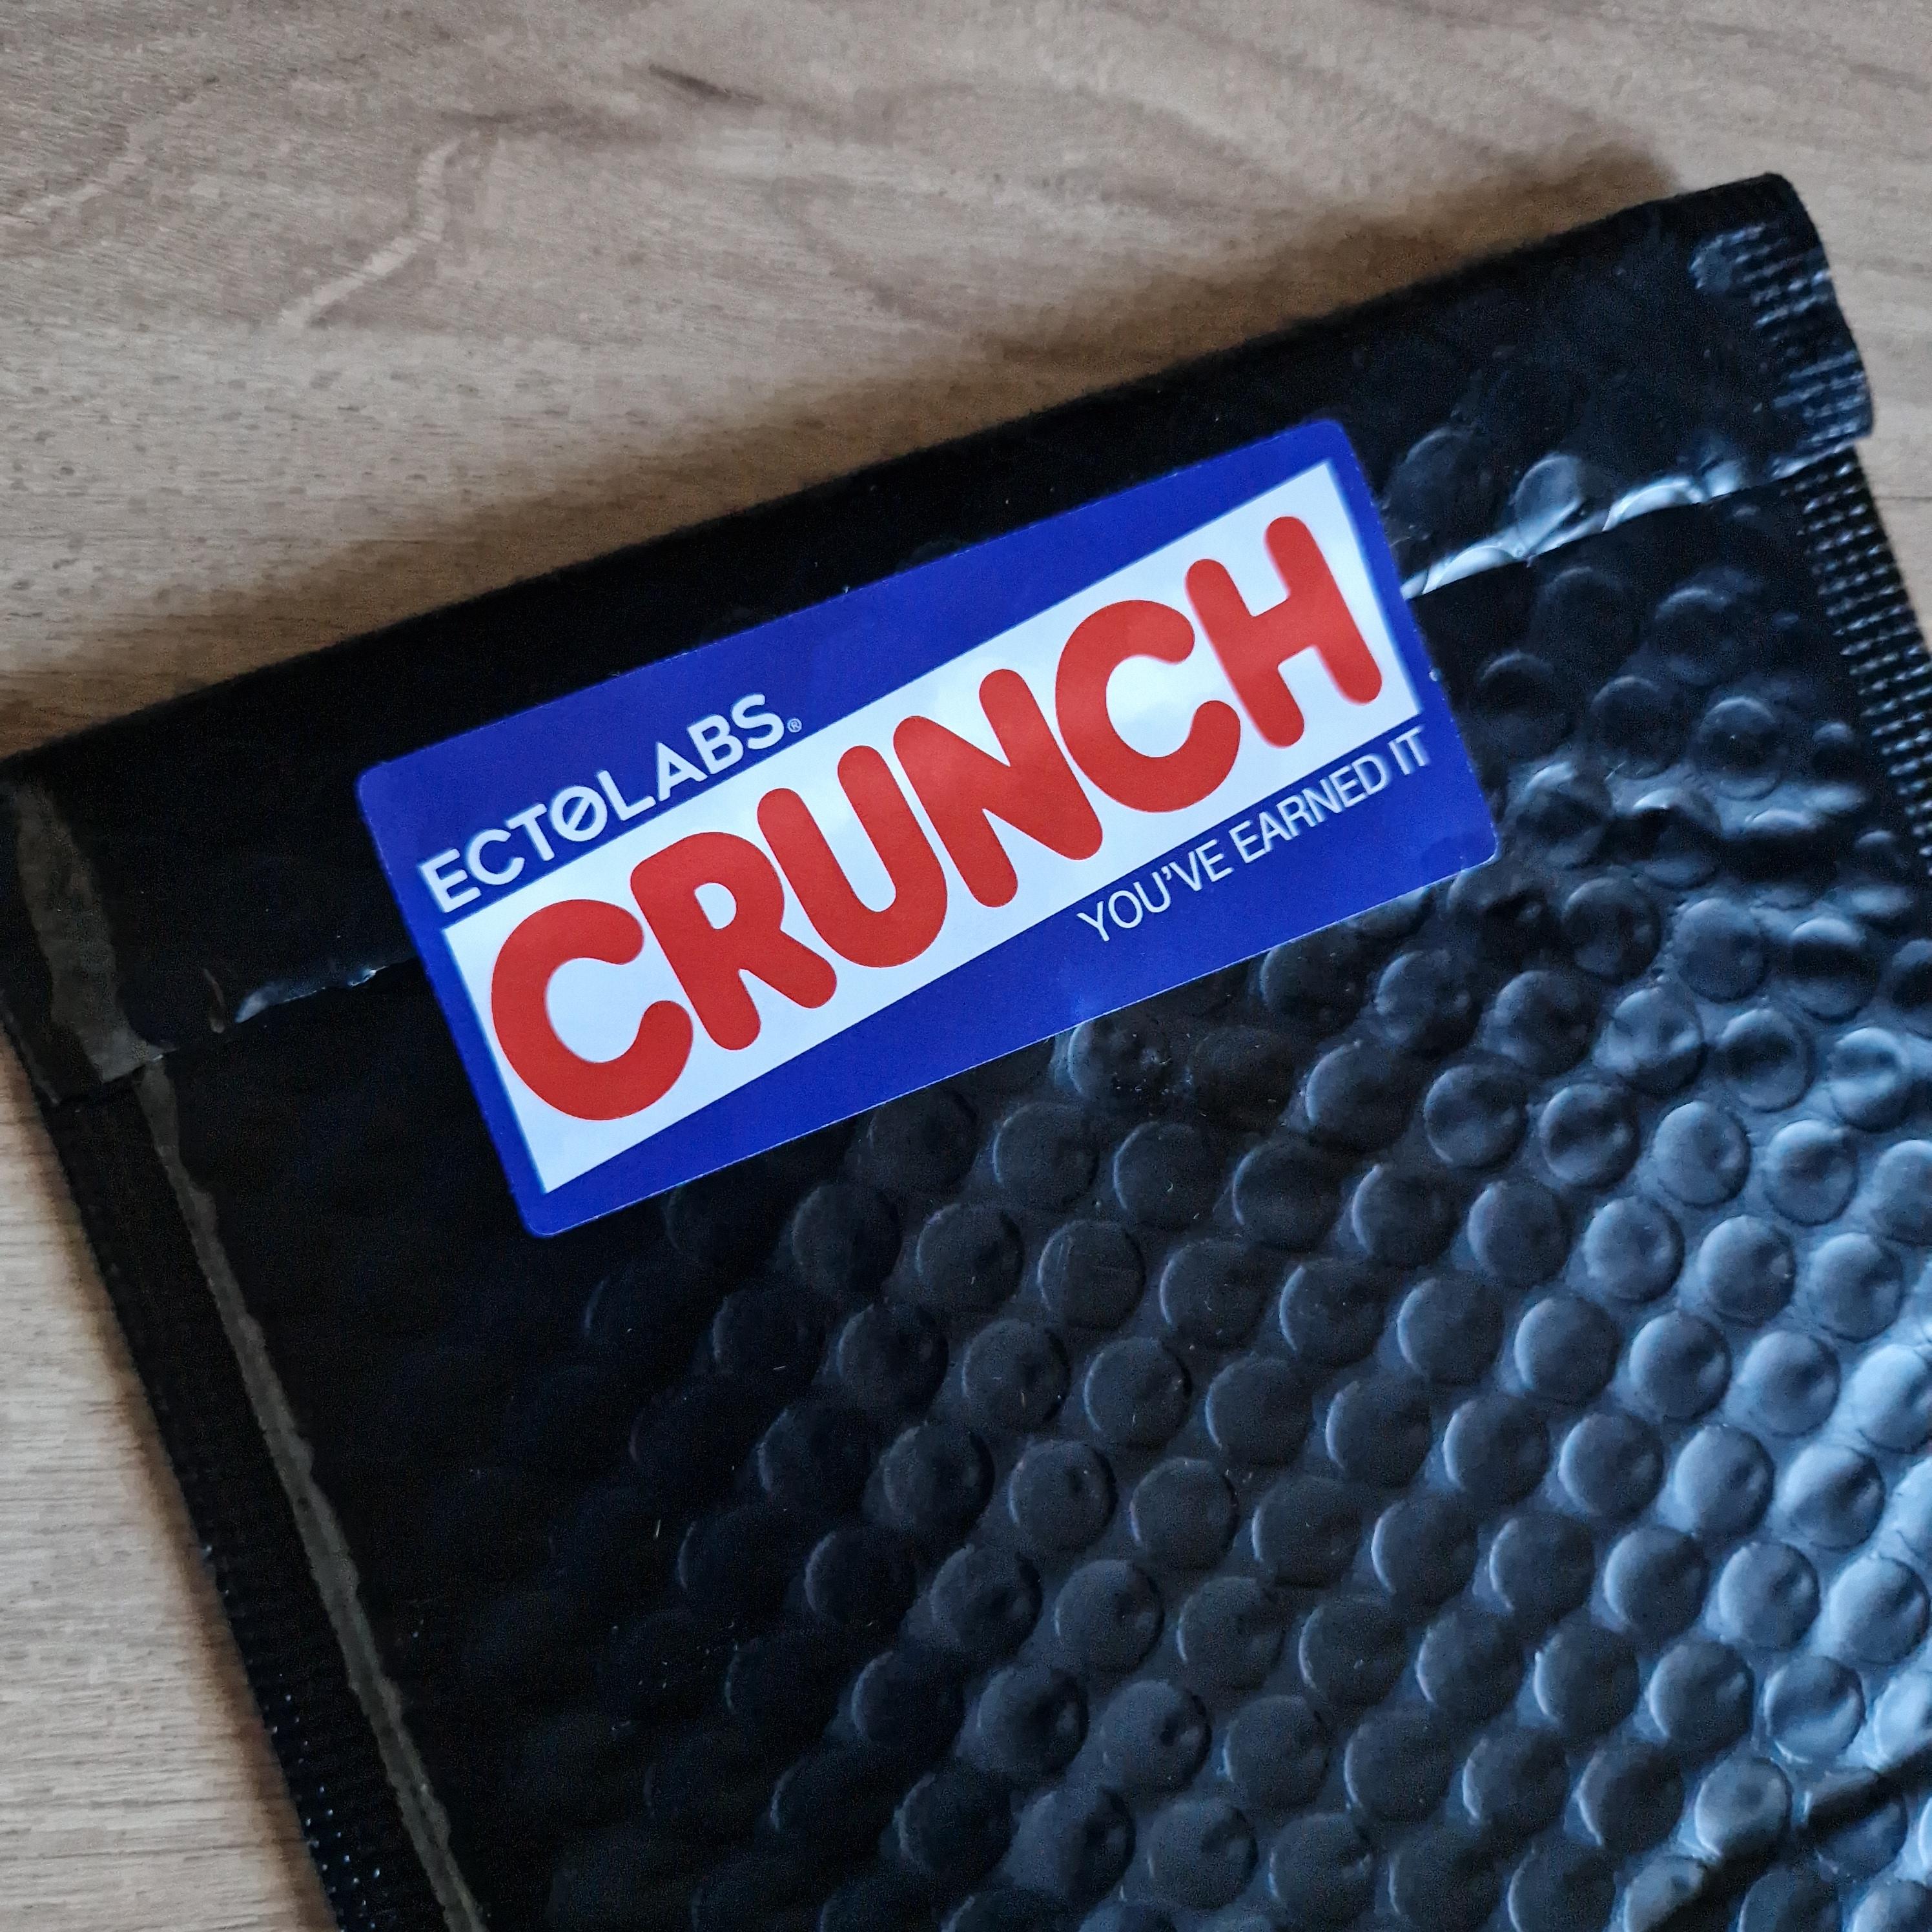
- EctoLabs - For the outstanding labels, can’t wait to get my hands on the dry transfer kit when they come back in - EctoLabs | Proton Pack Label Set | Ghostbusters Replica Props & Costume Accessories
- Epic Props - For the ribbon cable and other extras, including helping with a custom order as I already had some of what I needed. - https://www.epic-props.co.uk/
If anyone has any questions about what I did, or how I did it please ask. I’m always happy to help share lessons learned and hints/tips.
It started off like most HasLab projects, in changing the yellow cable cover, and cleaning off a bit of the weathering.
After this, I painted, then removed the molded gas mask hose to give it a bit more flex, save wiping out kids at various conventions if I walked through a tight space.
[Spoiler]
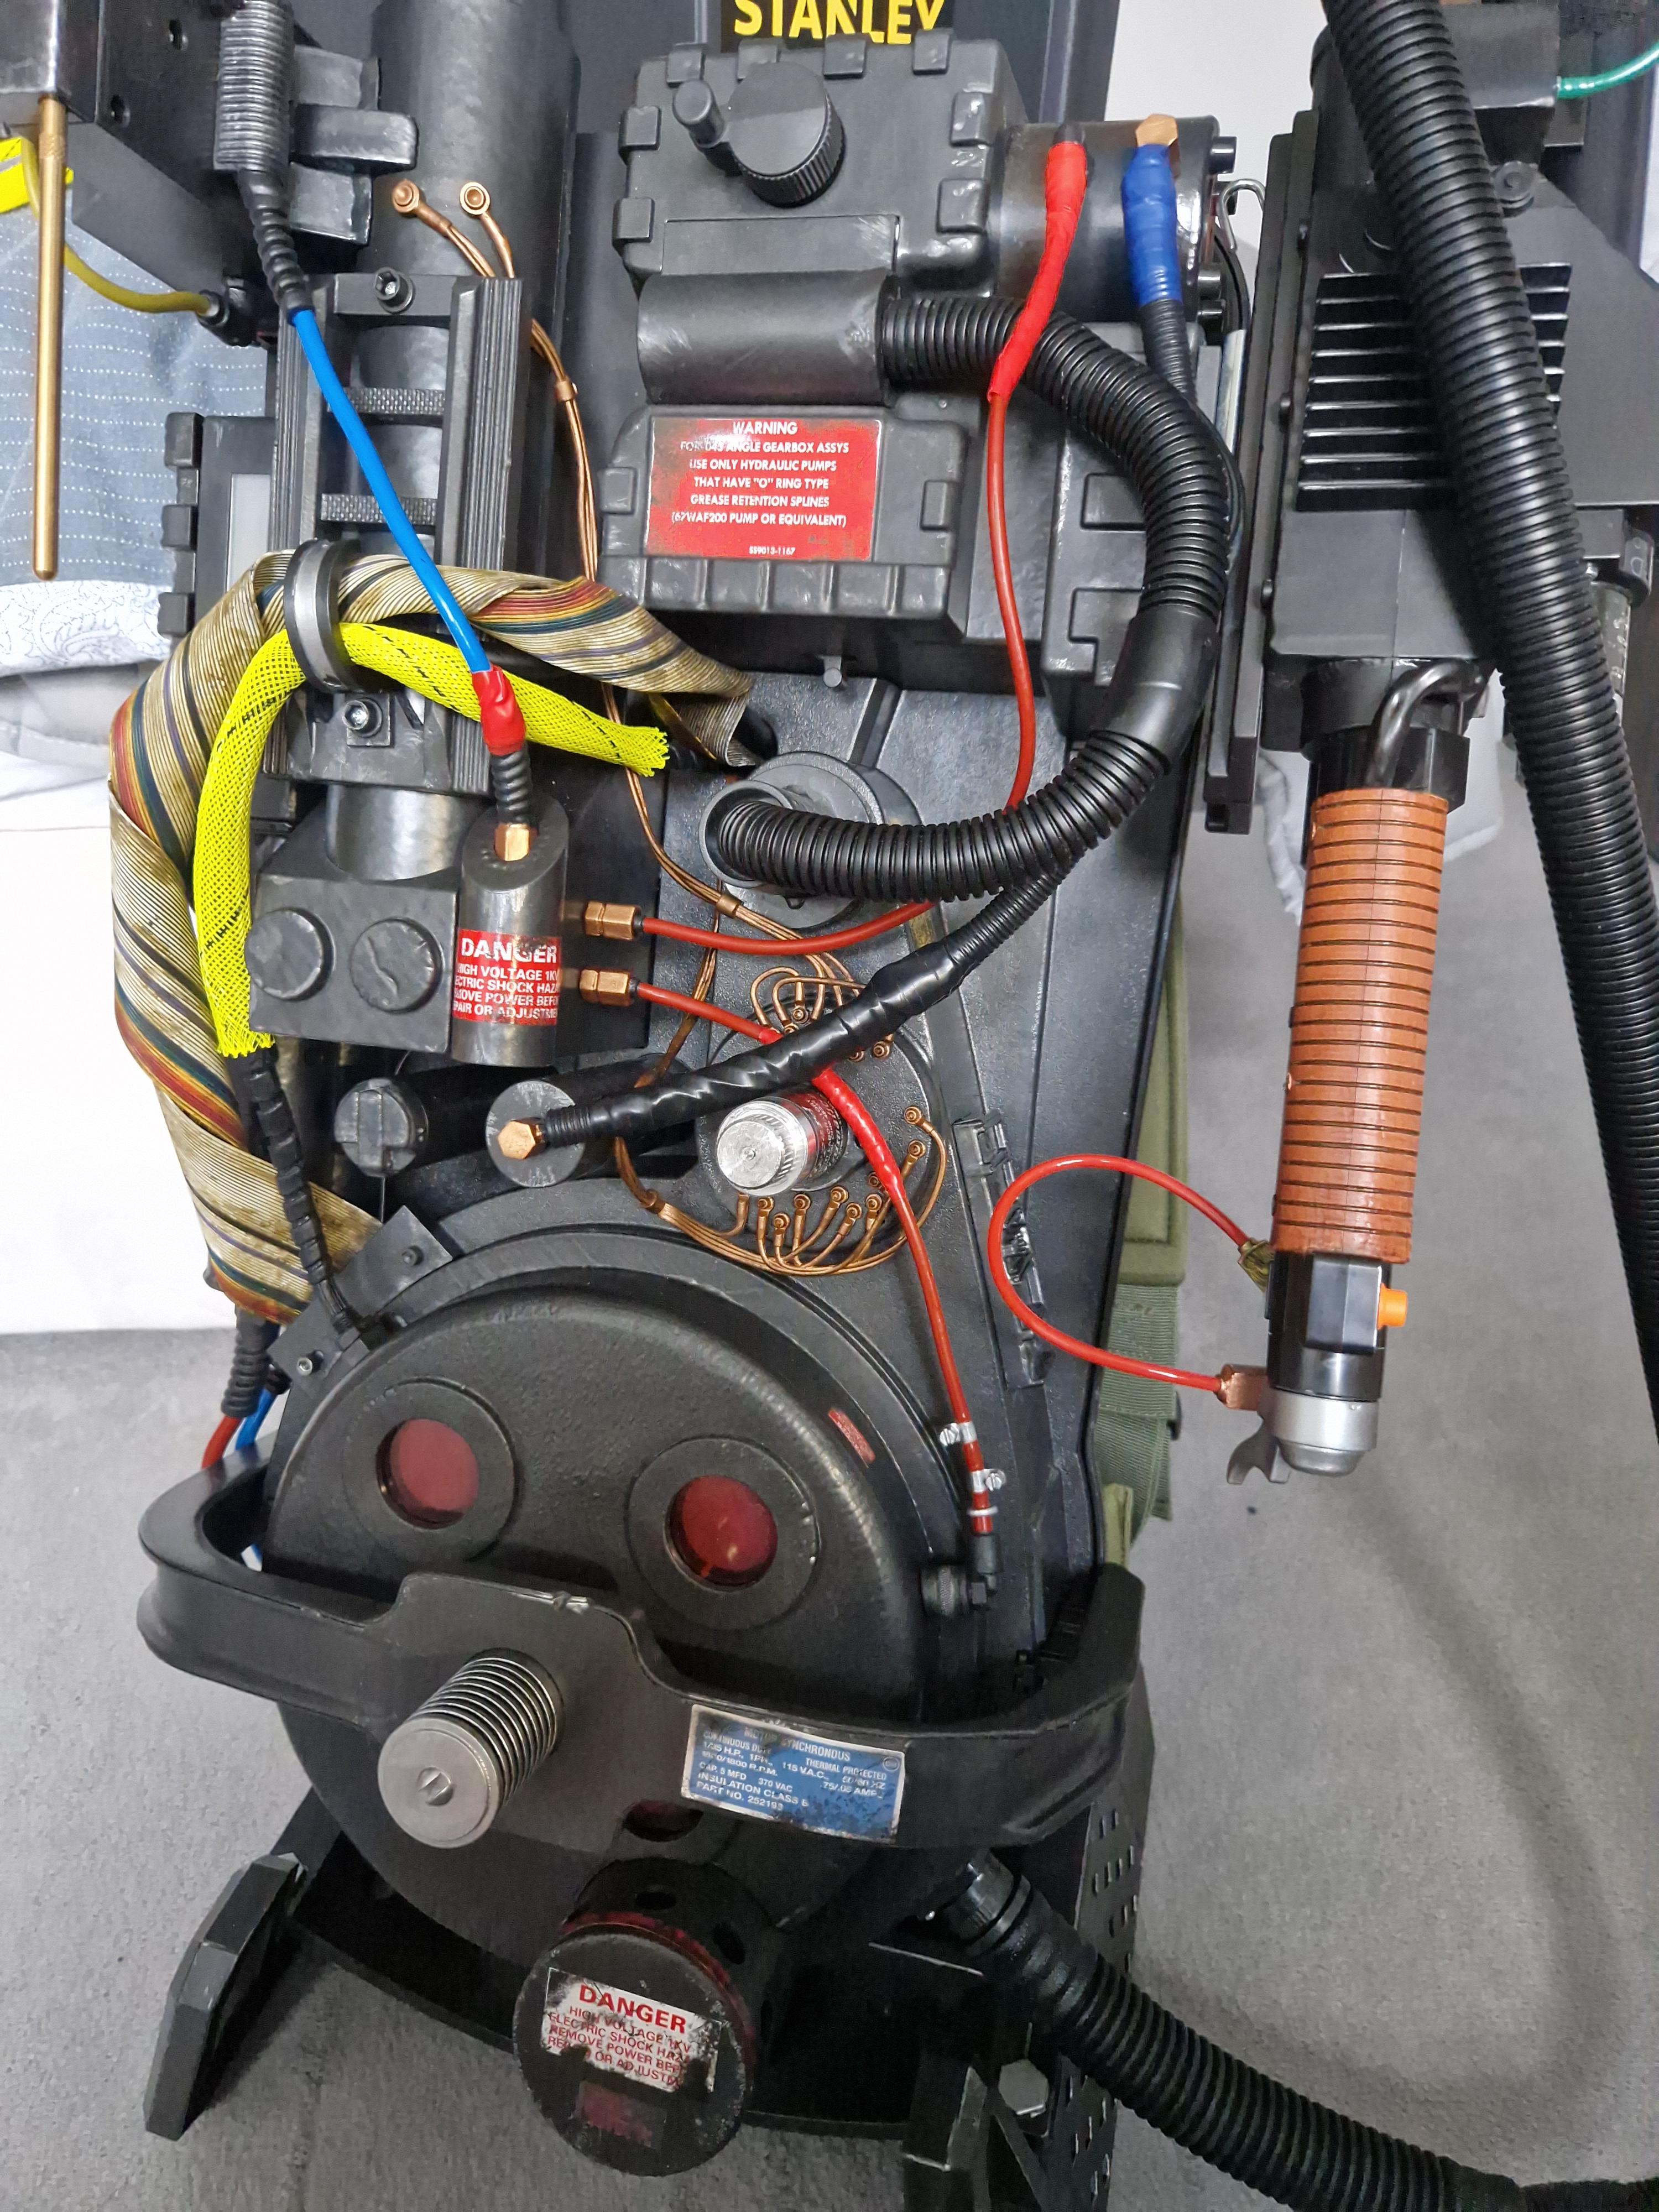
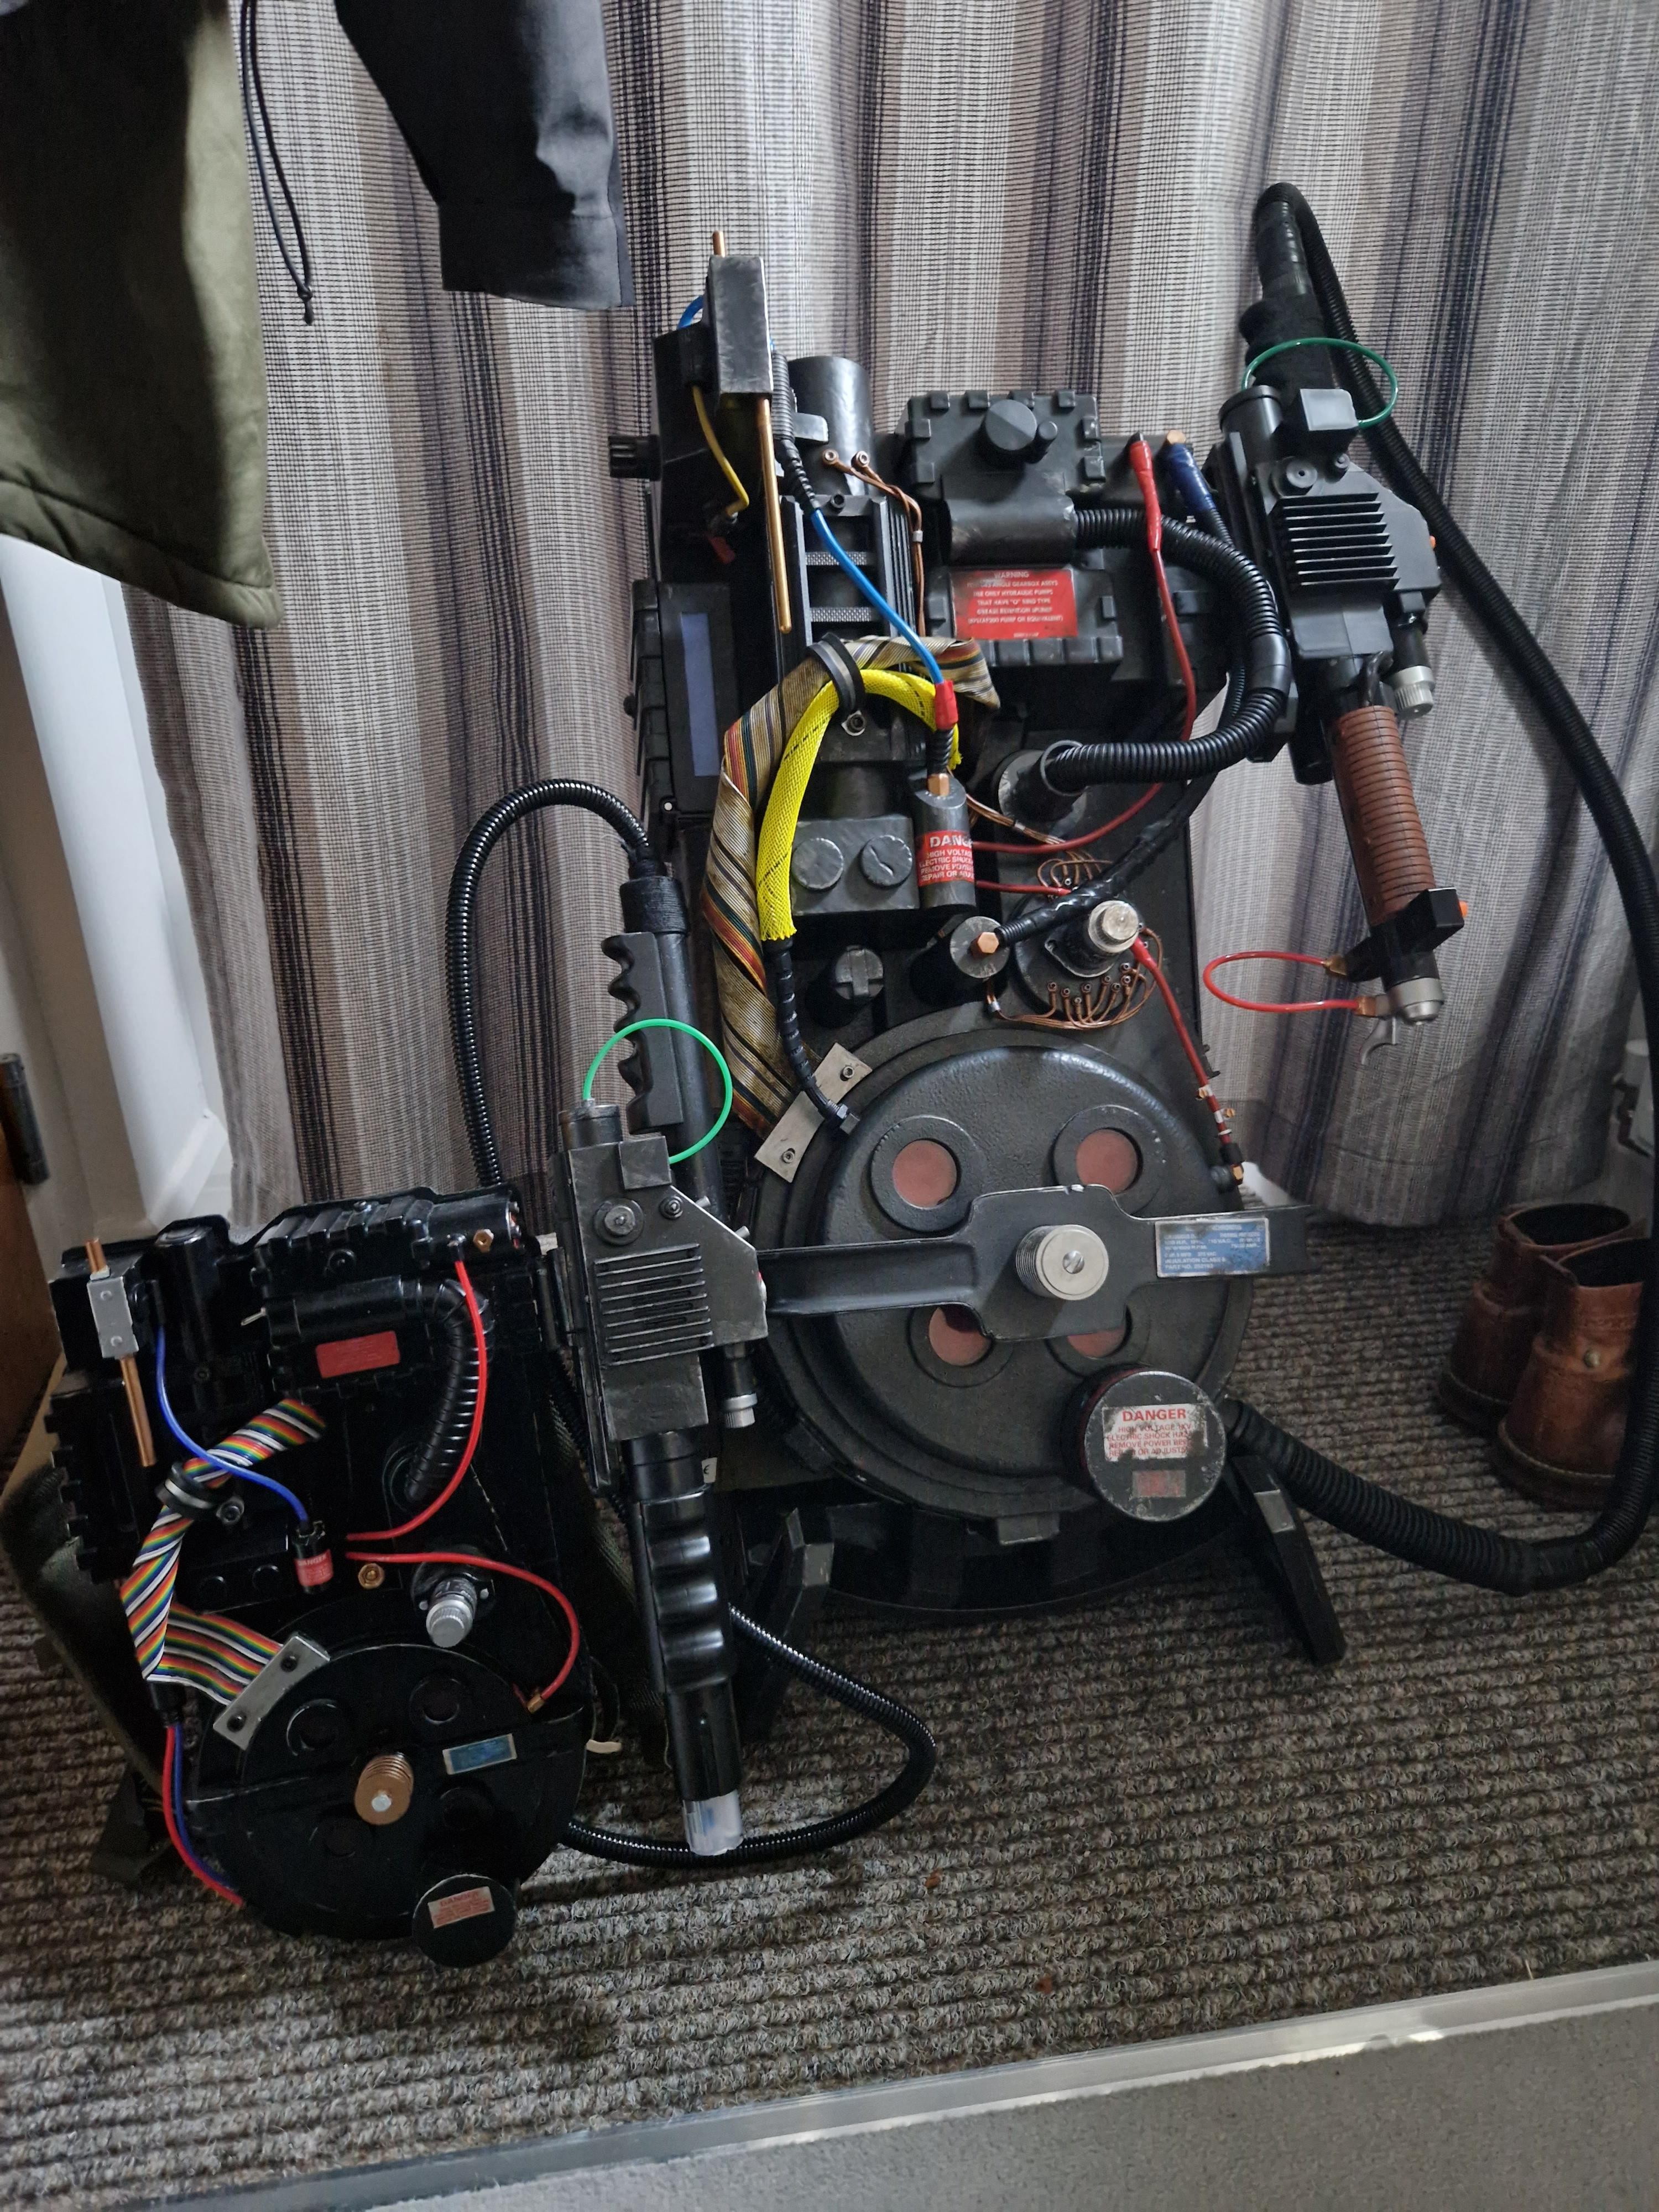

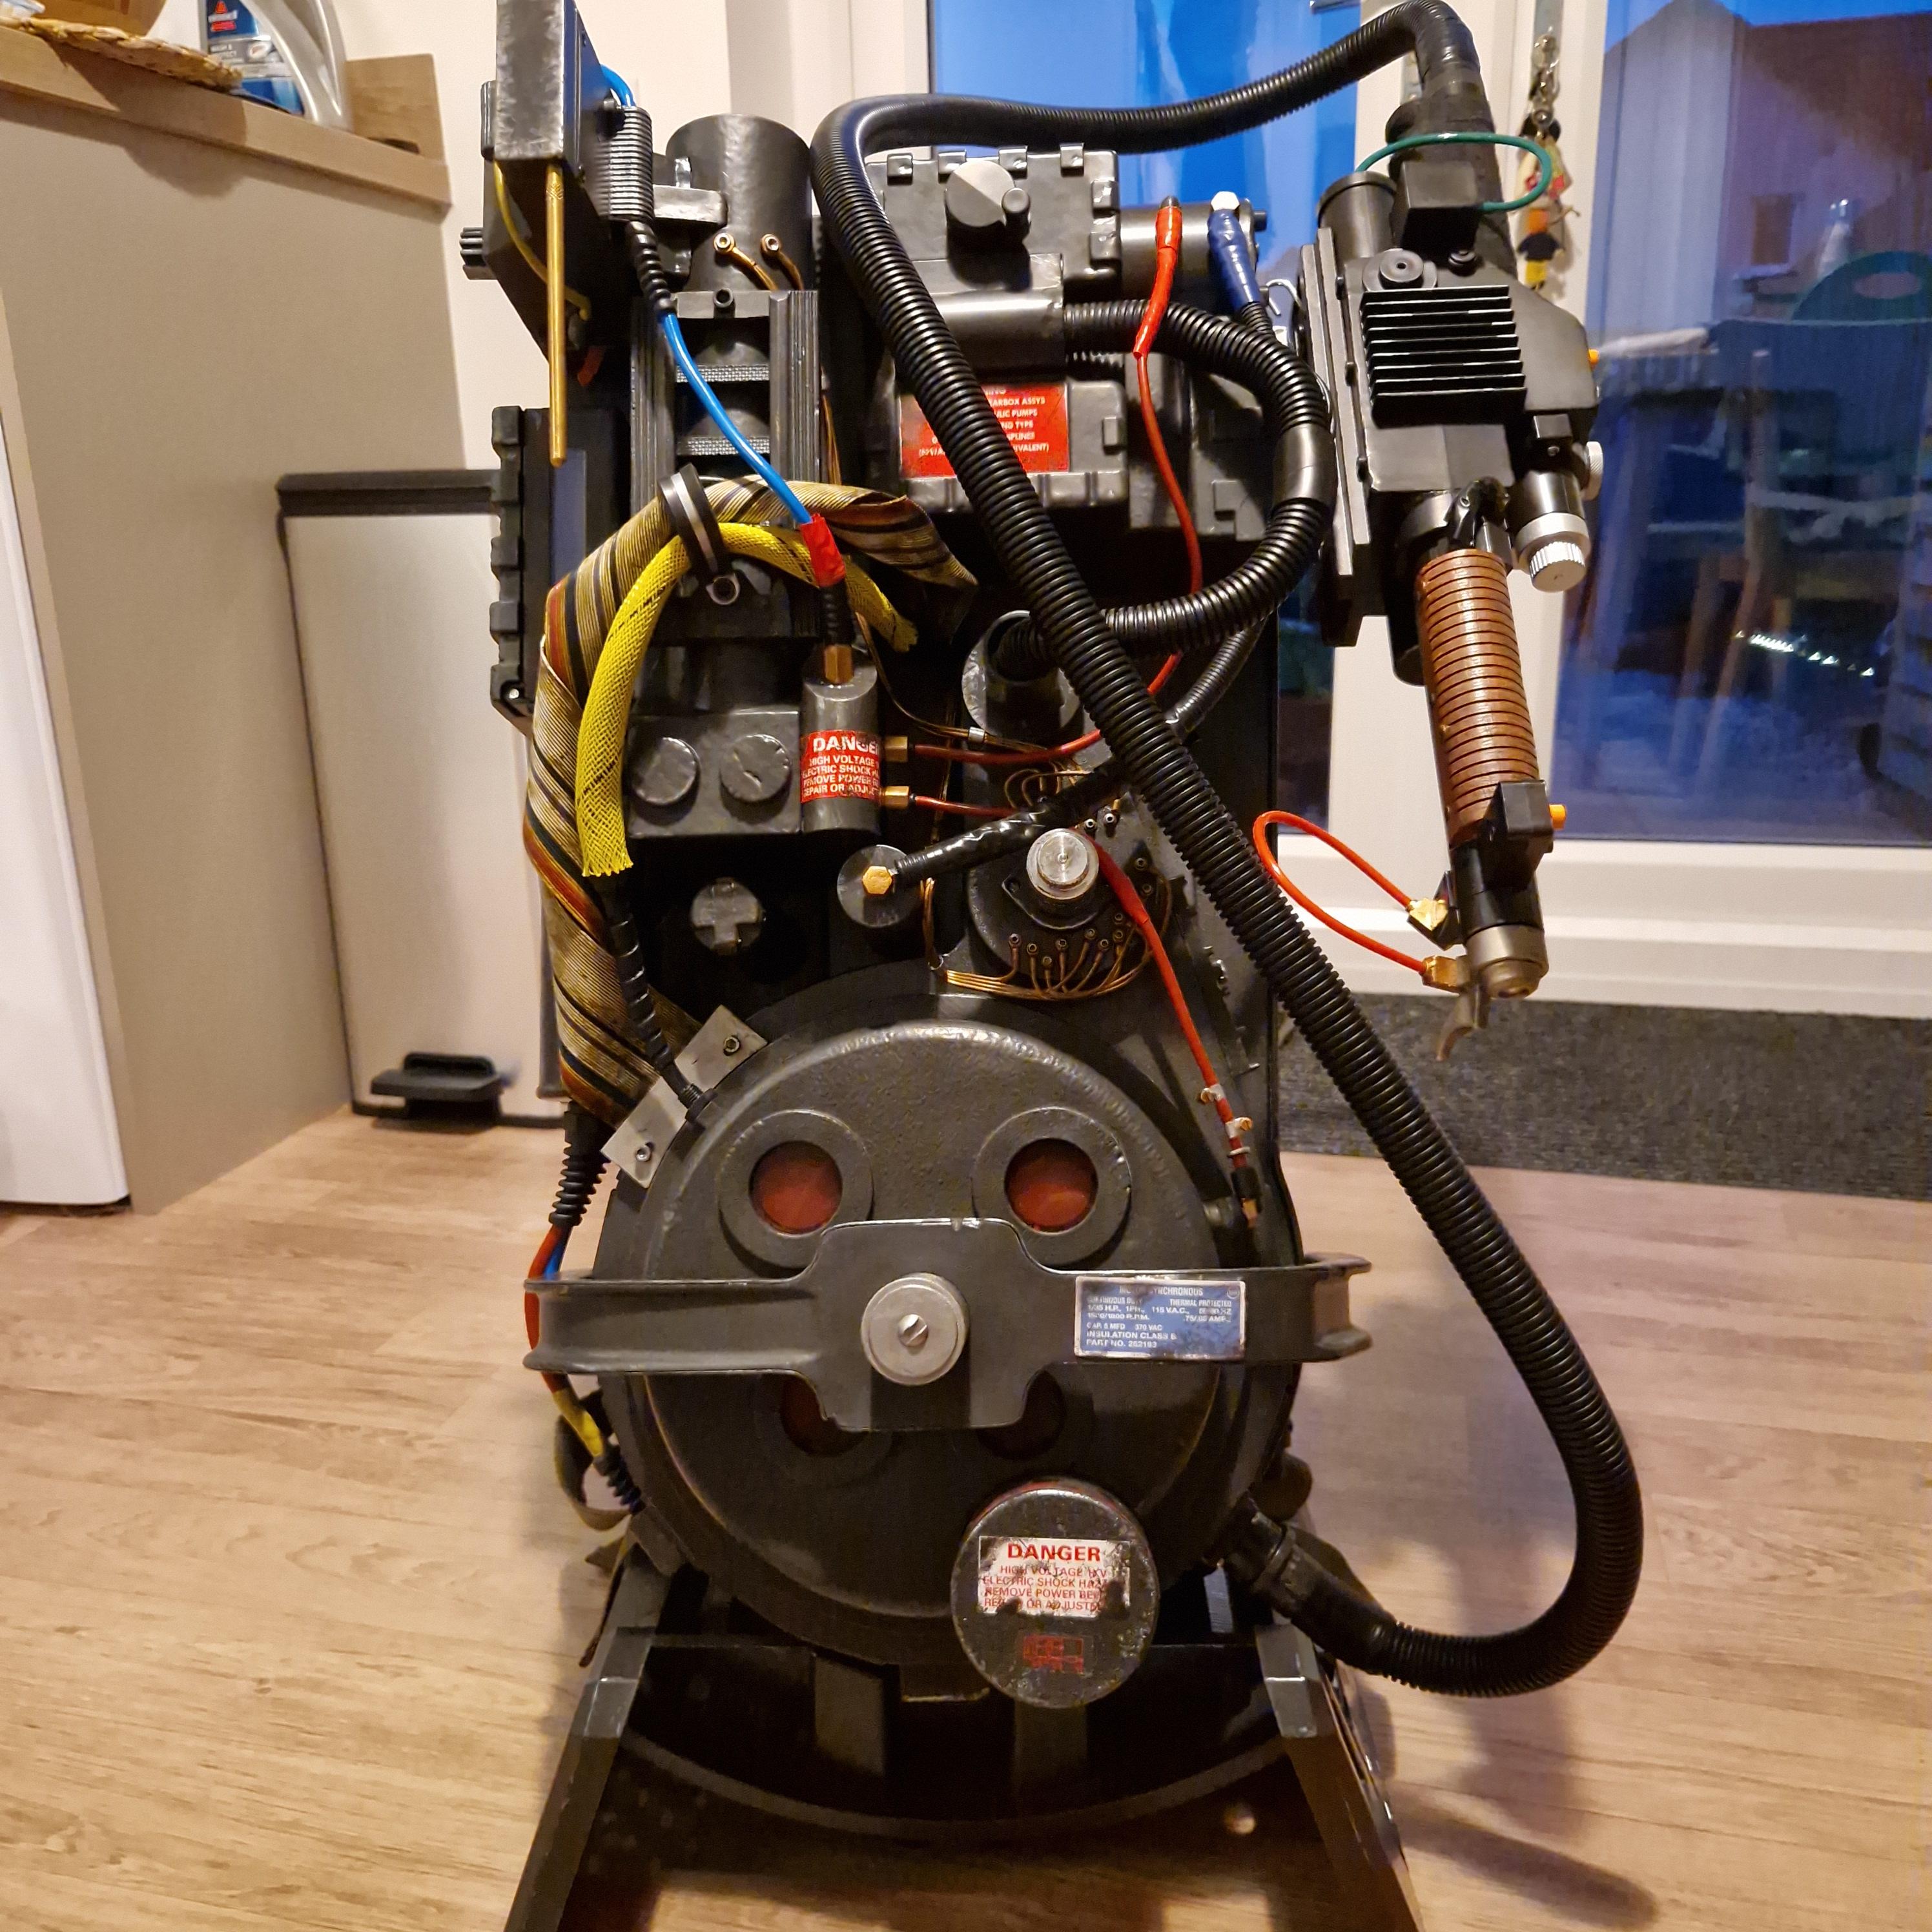
The next mod was the Frutto Technology always on mod, real easy to do, made a huge difference when trooping with the kit, not having to constantly turn it back on every few minutes. After that I took a bigger step and soldered a 3.5mm headphone jack onto the speaker terminals and got the HP version of the JBL Go 2, this did wonders for the audio (always thought the speaker was a bit anemic).
The pack stayed like this for a long time, until that fateful day when I spotted the GP Star mod and the posts that accompanied it. I was/am blown away by it, so jumped both feet into that. I figured if I was going to do such major changes to the internals, why not sort some stuff on the outside too.
I started to order parts (and some tools) in anticipation of the kit arriving,
[Spoiler]
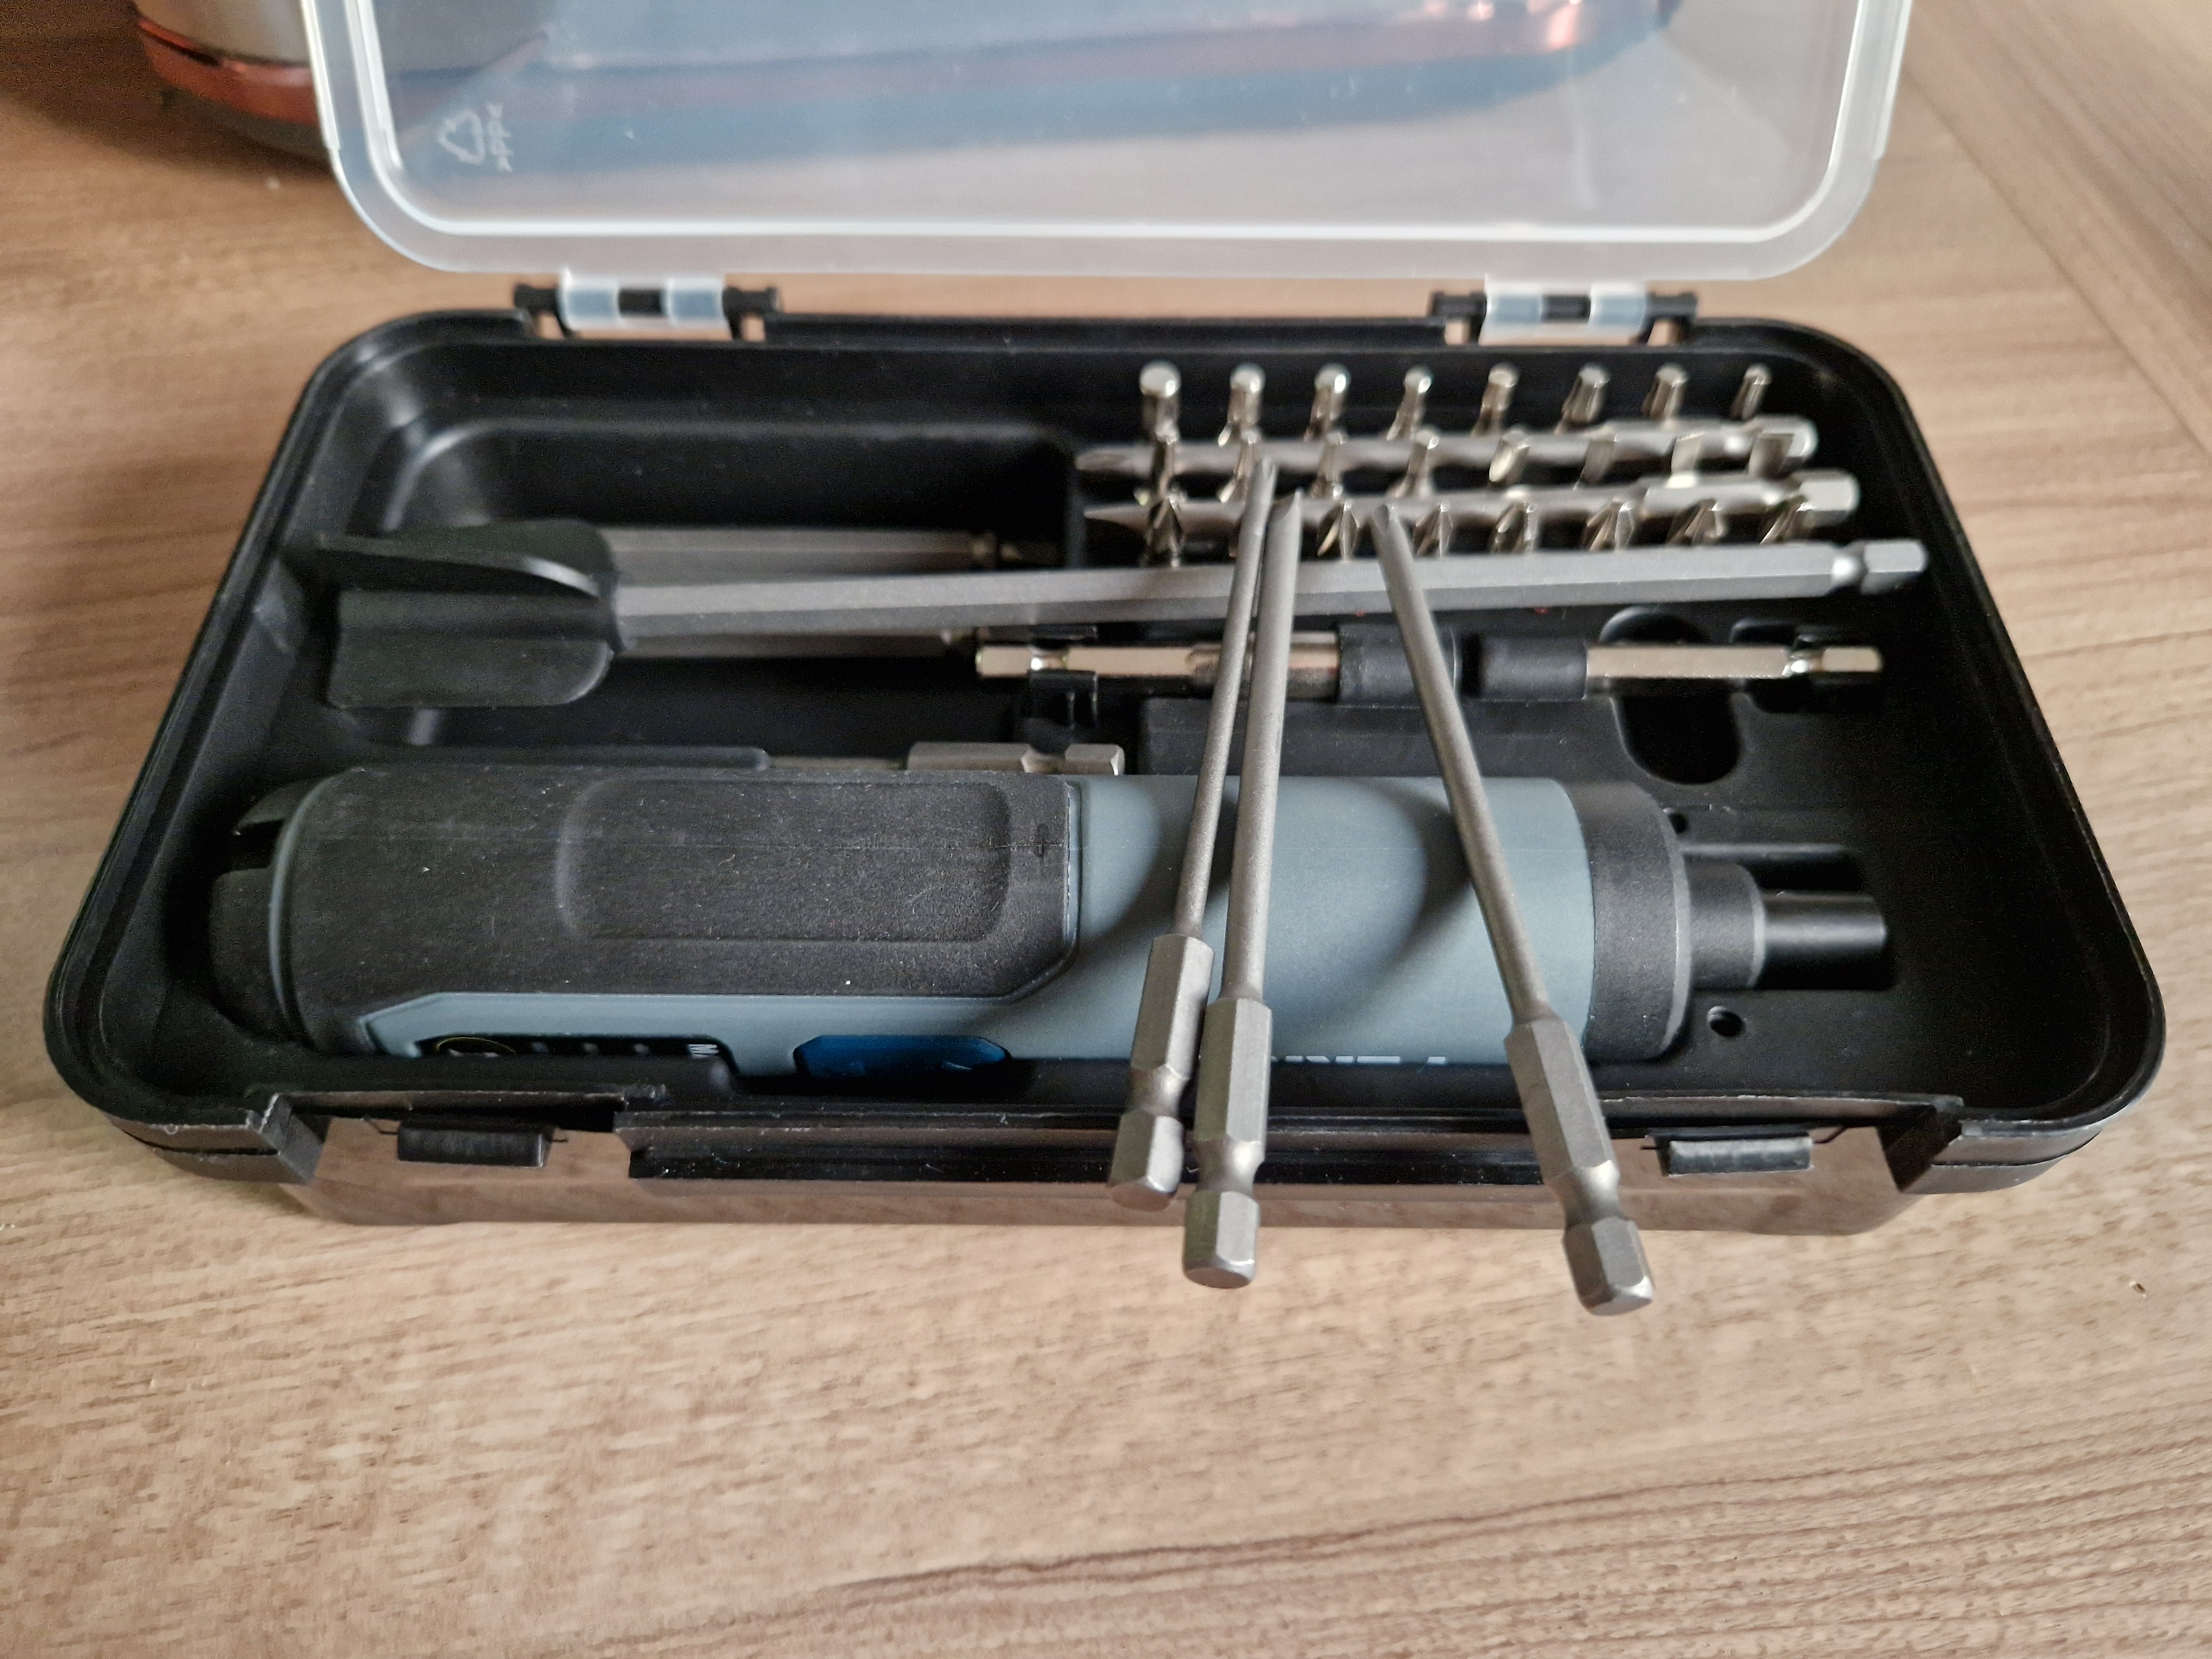
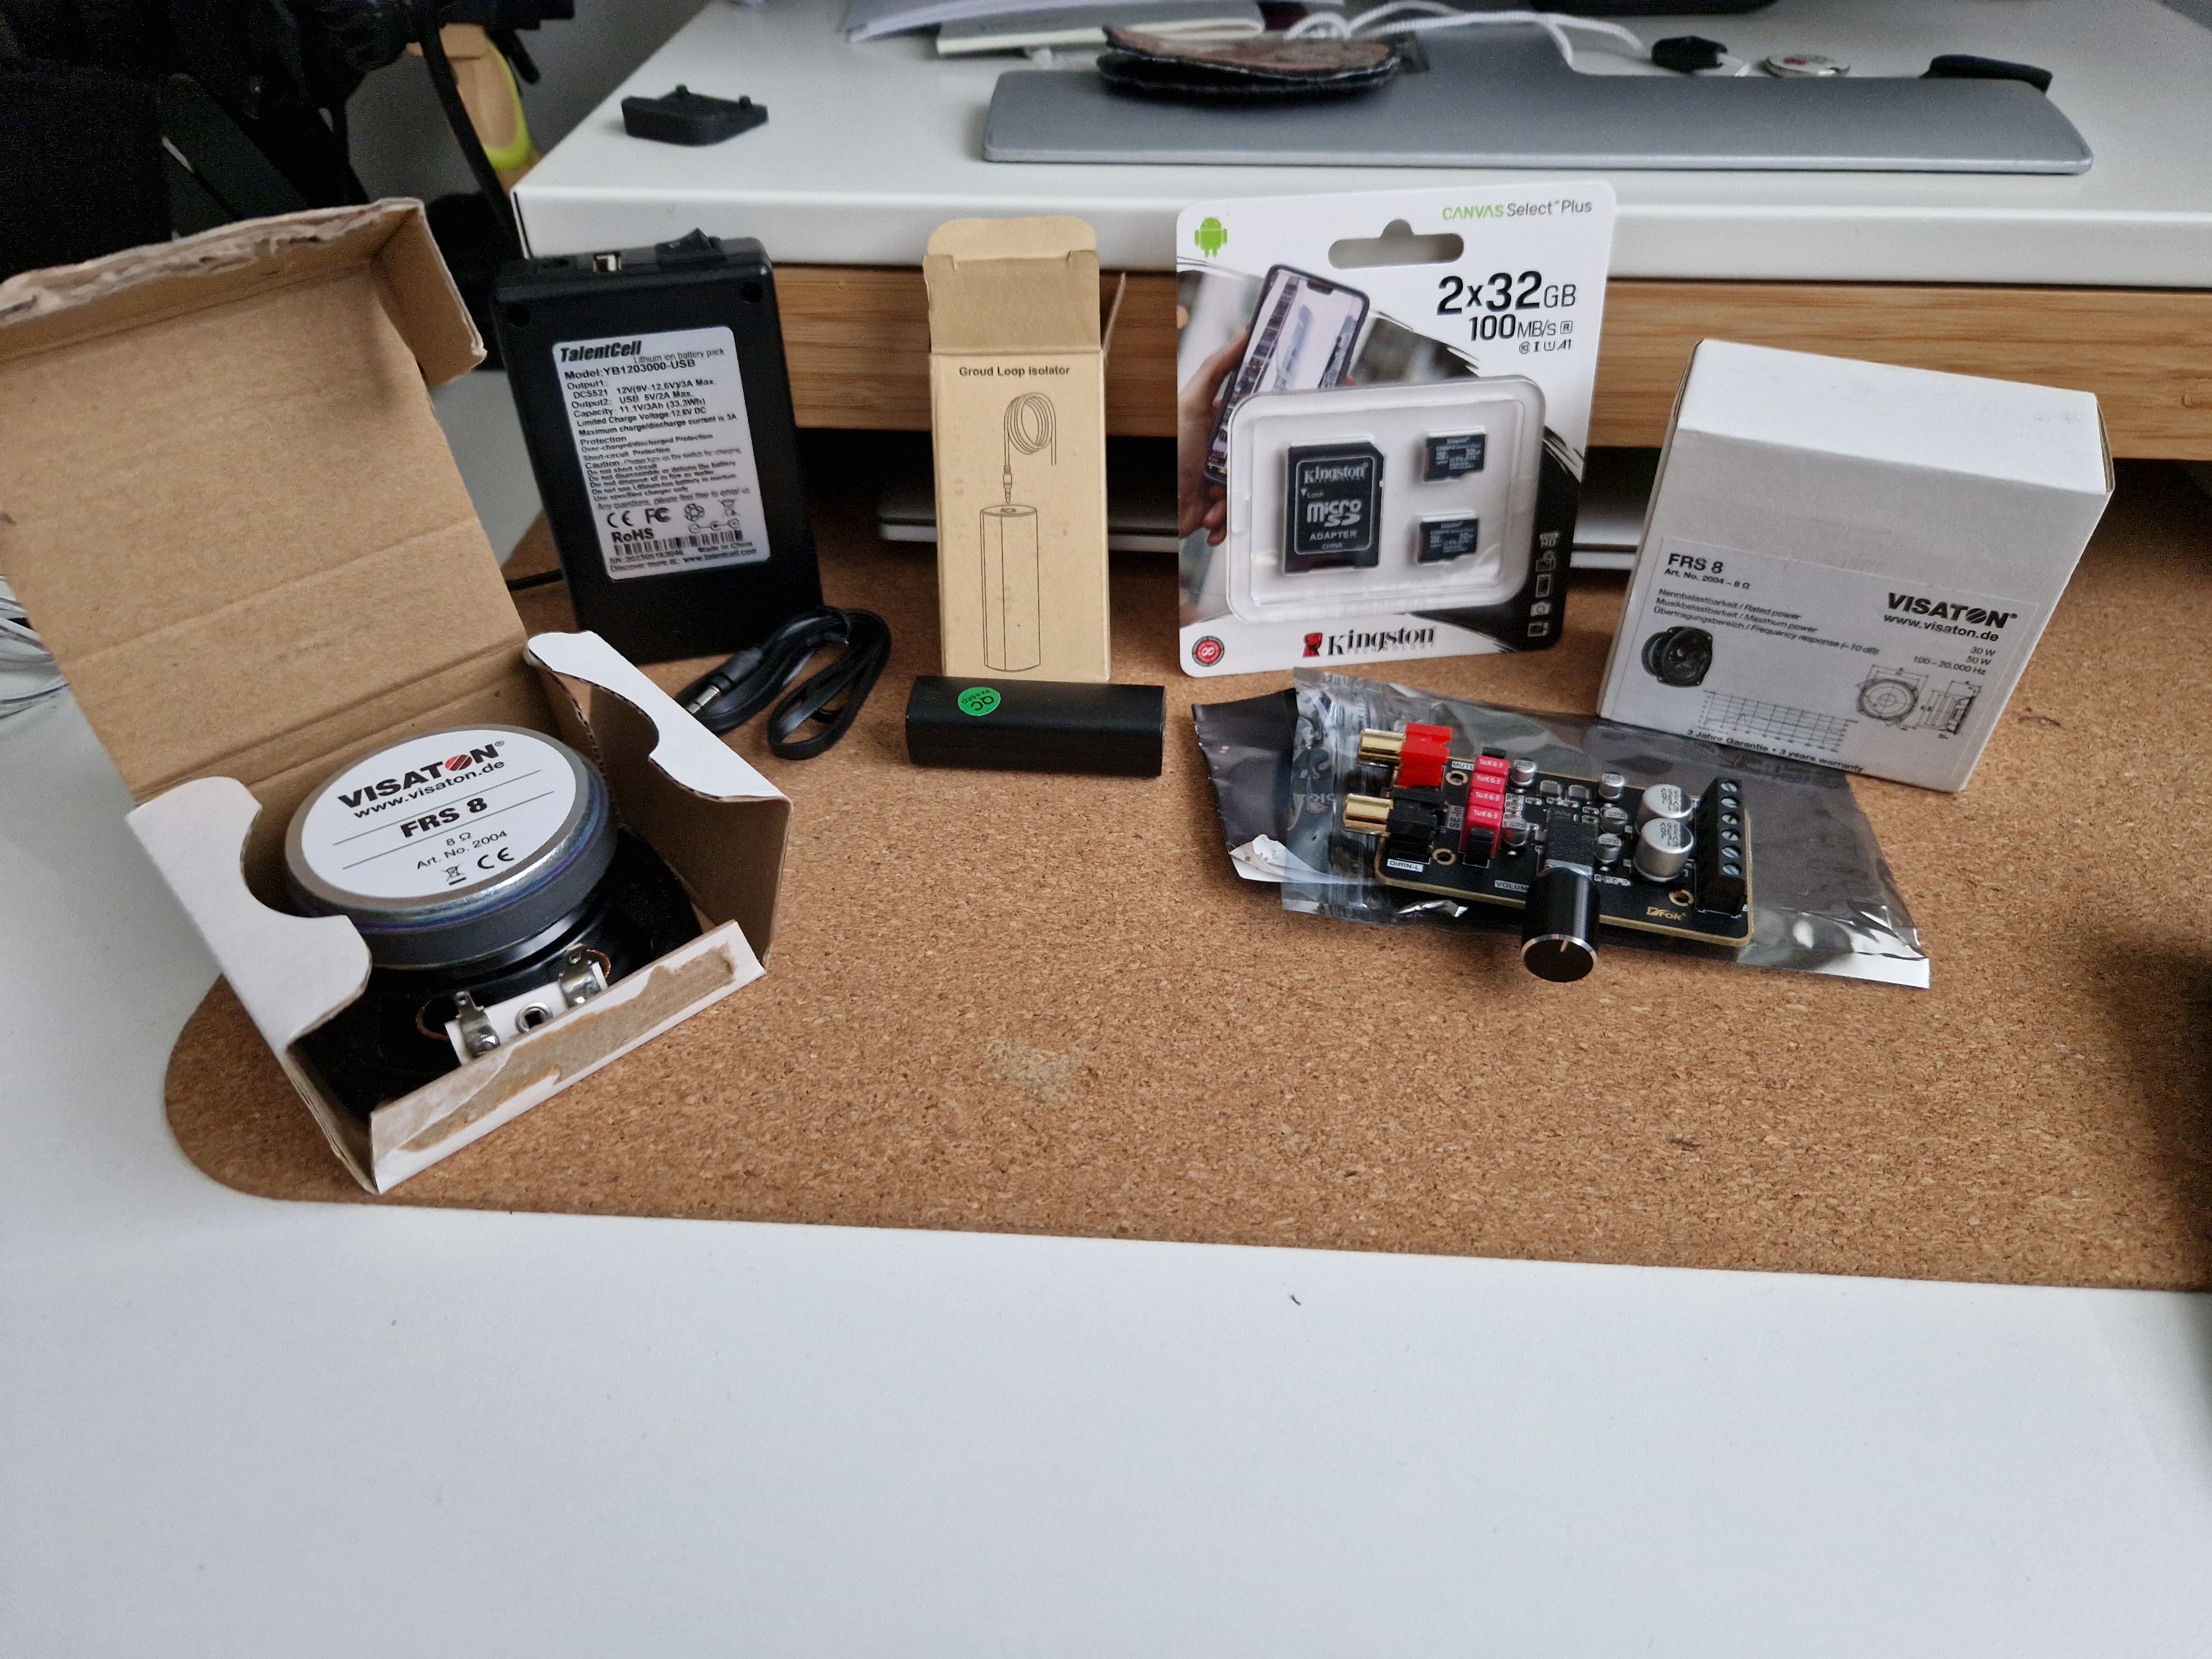
[/Spoiler]
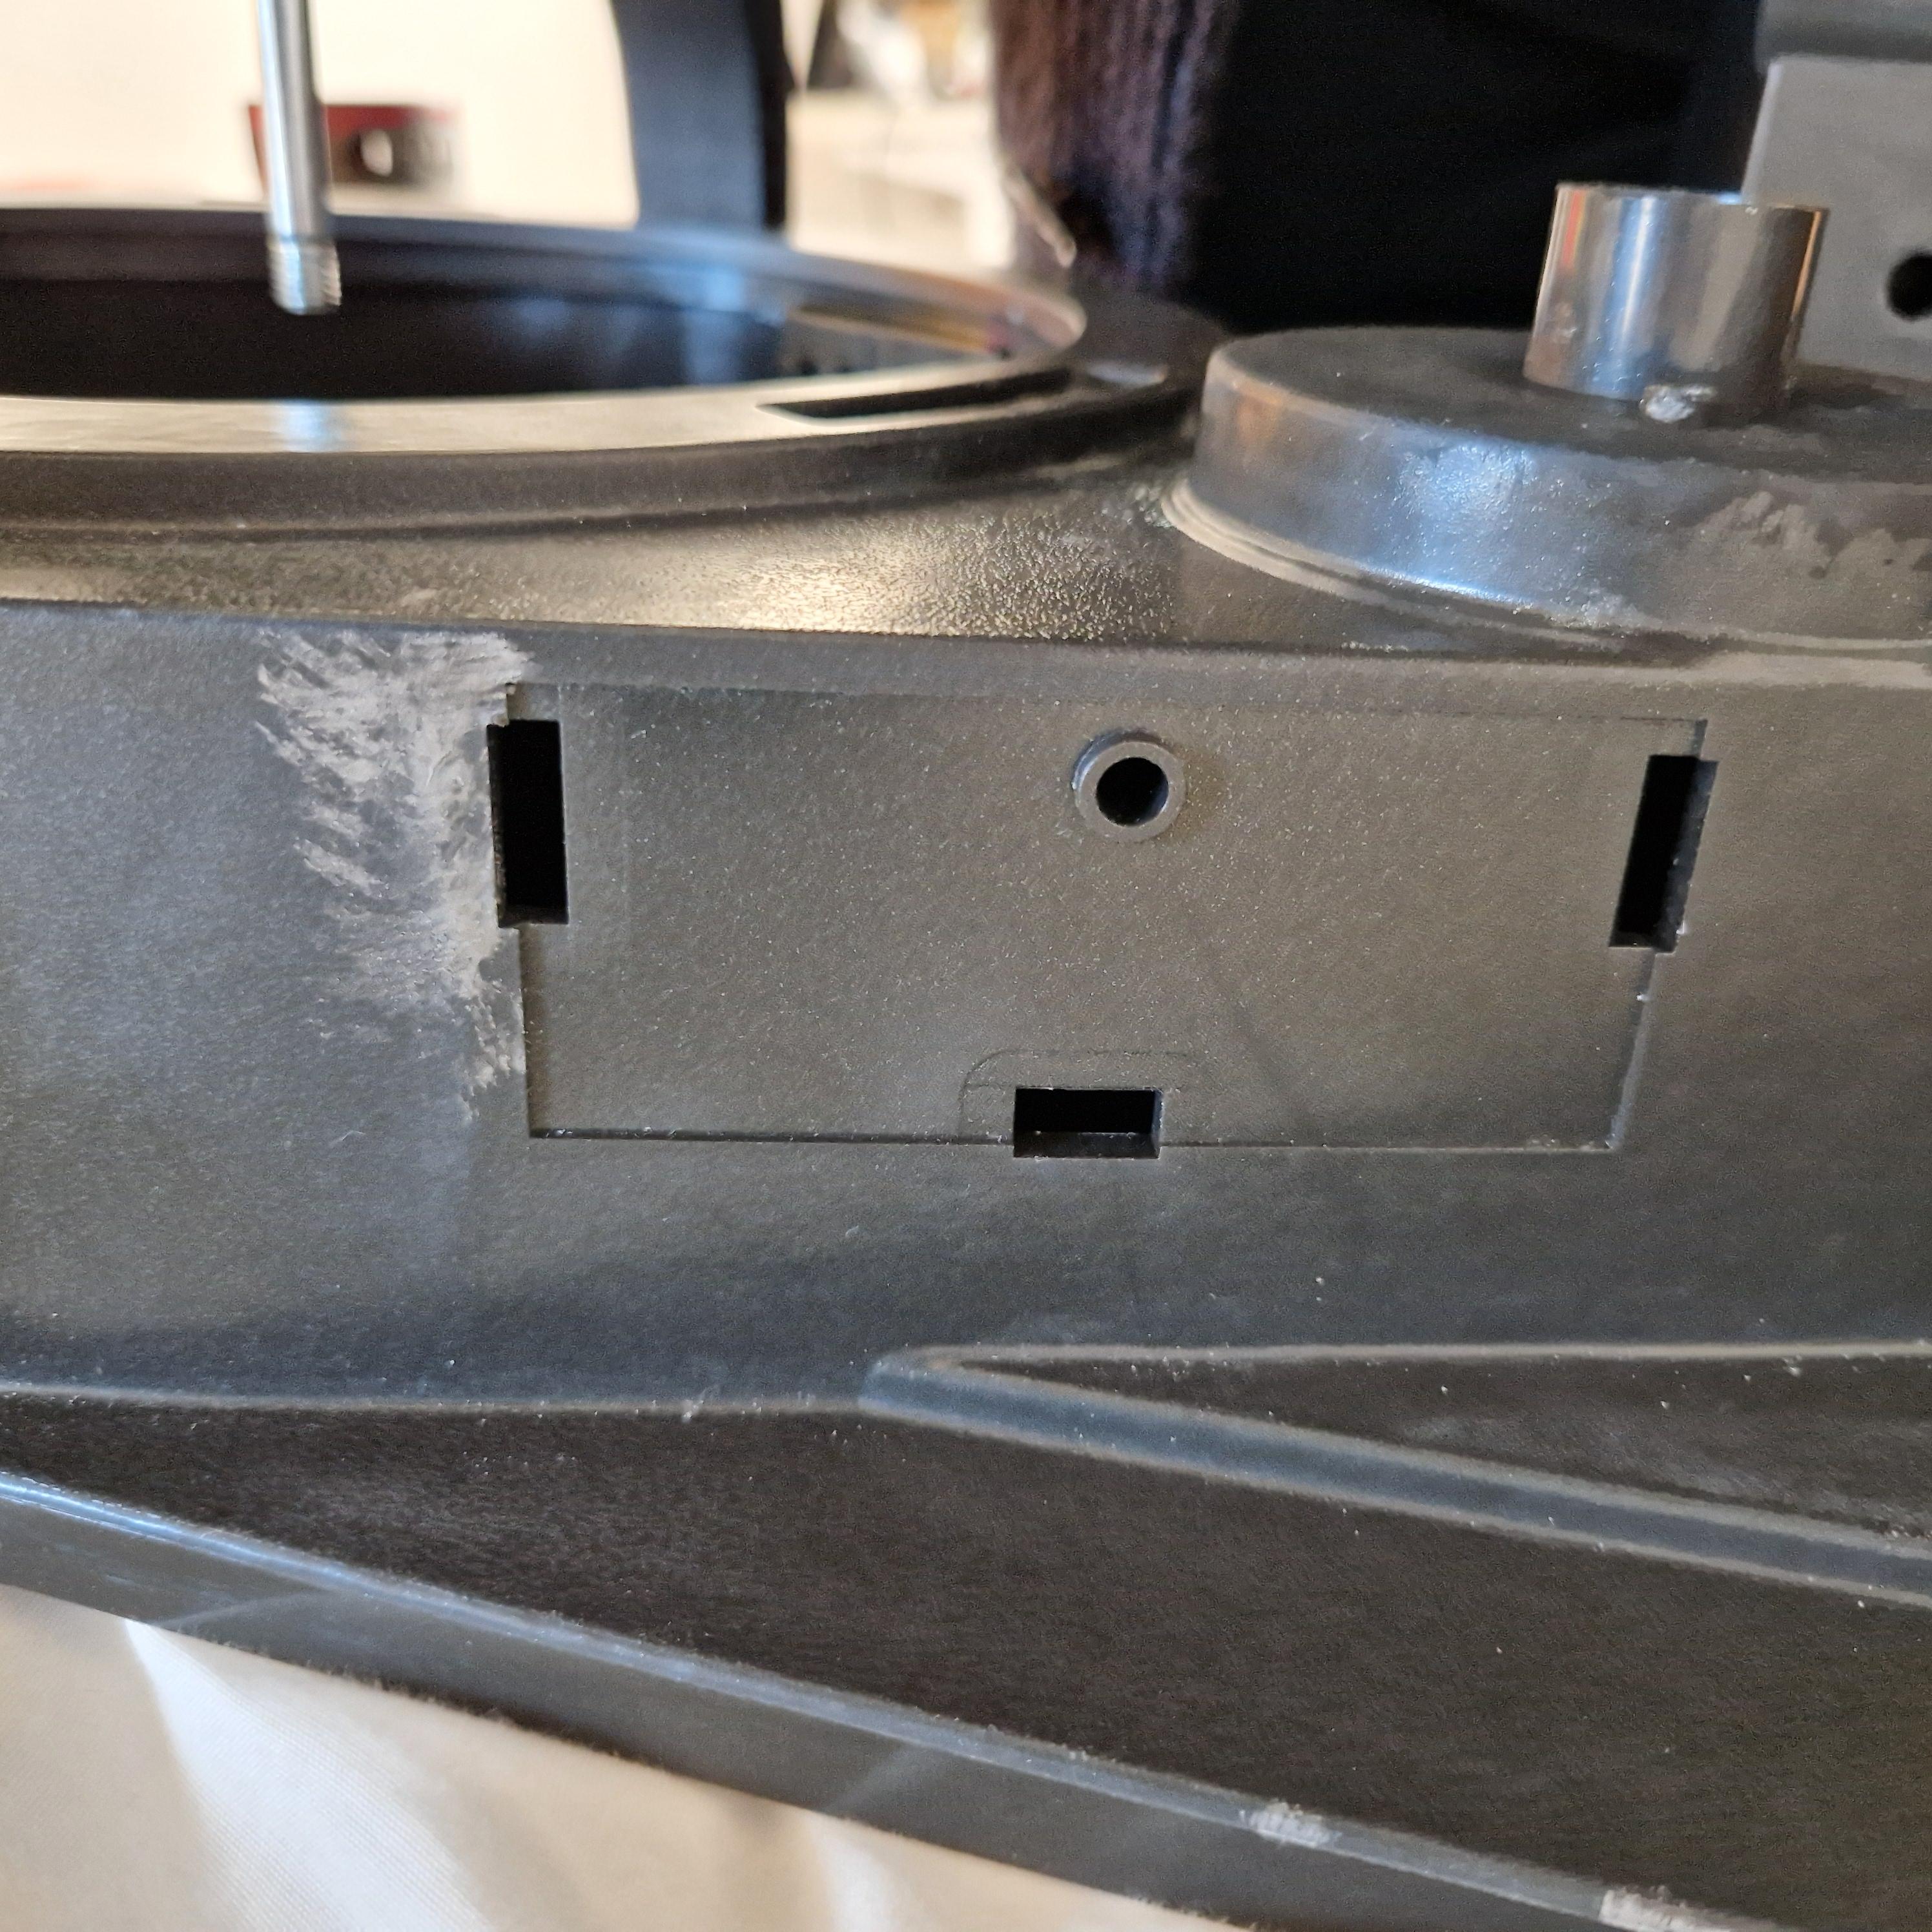
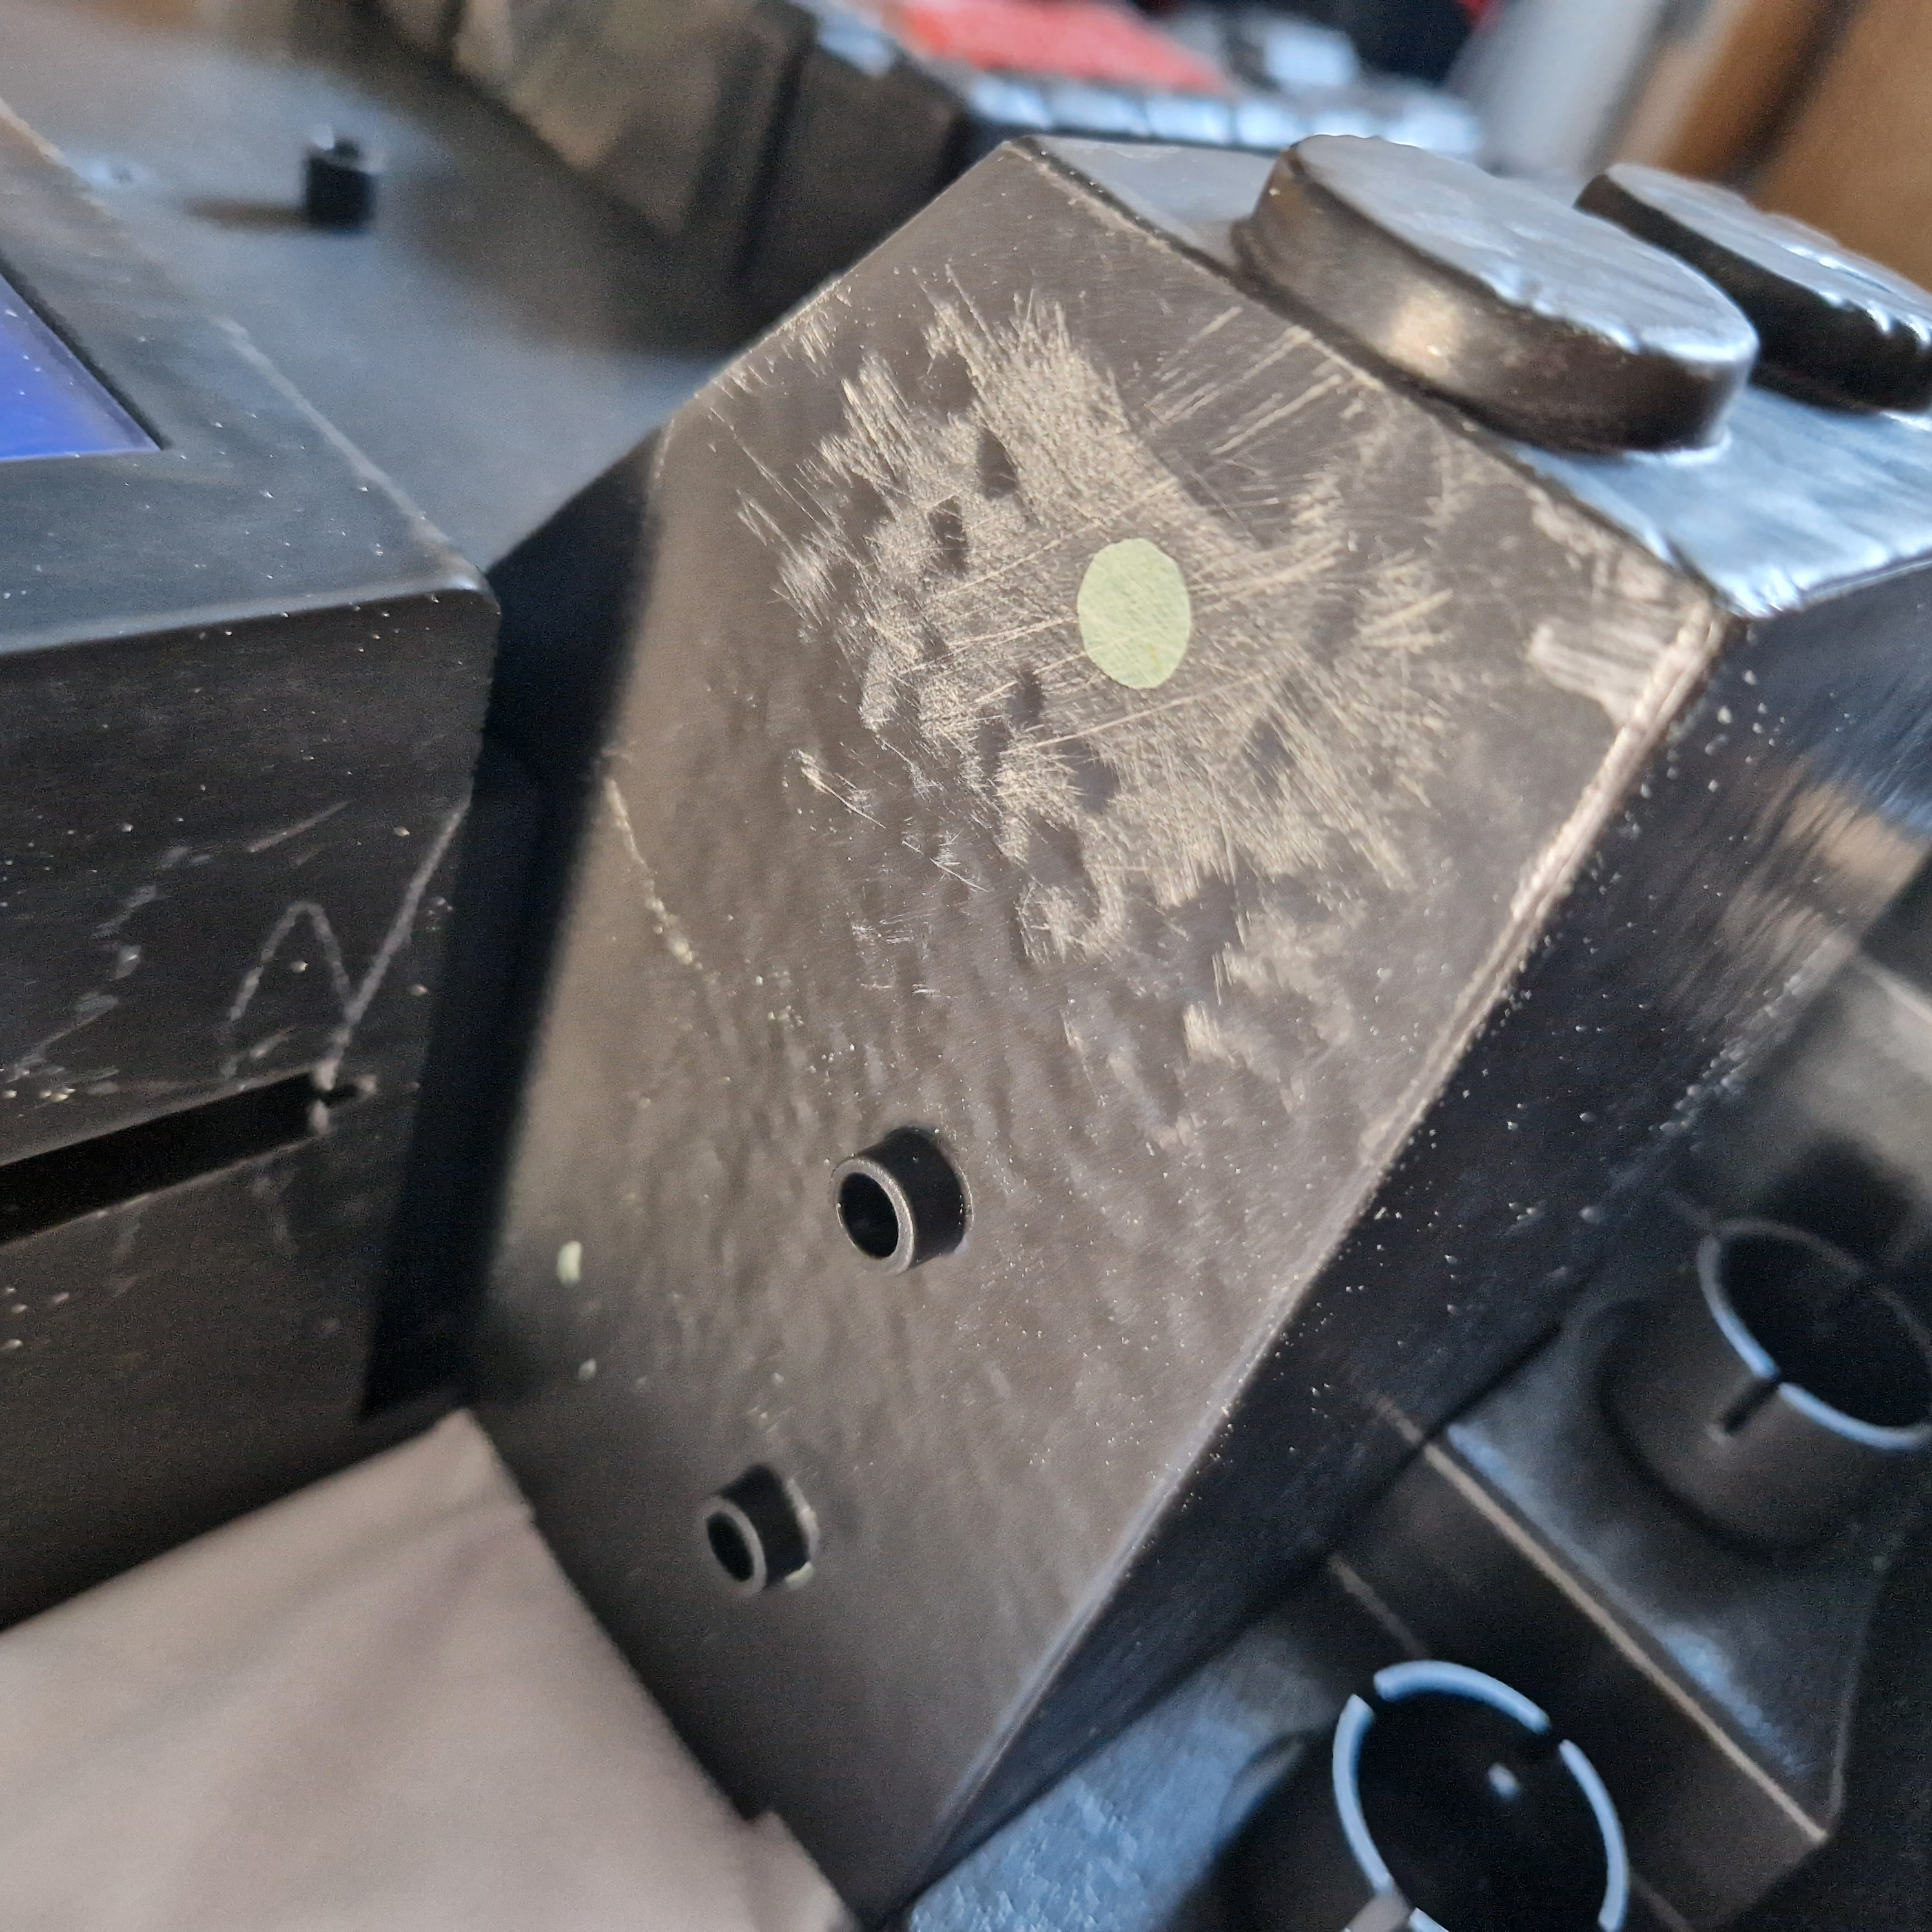
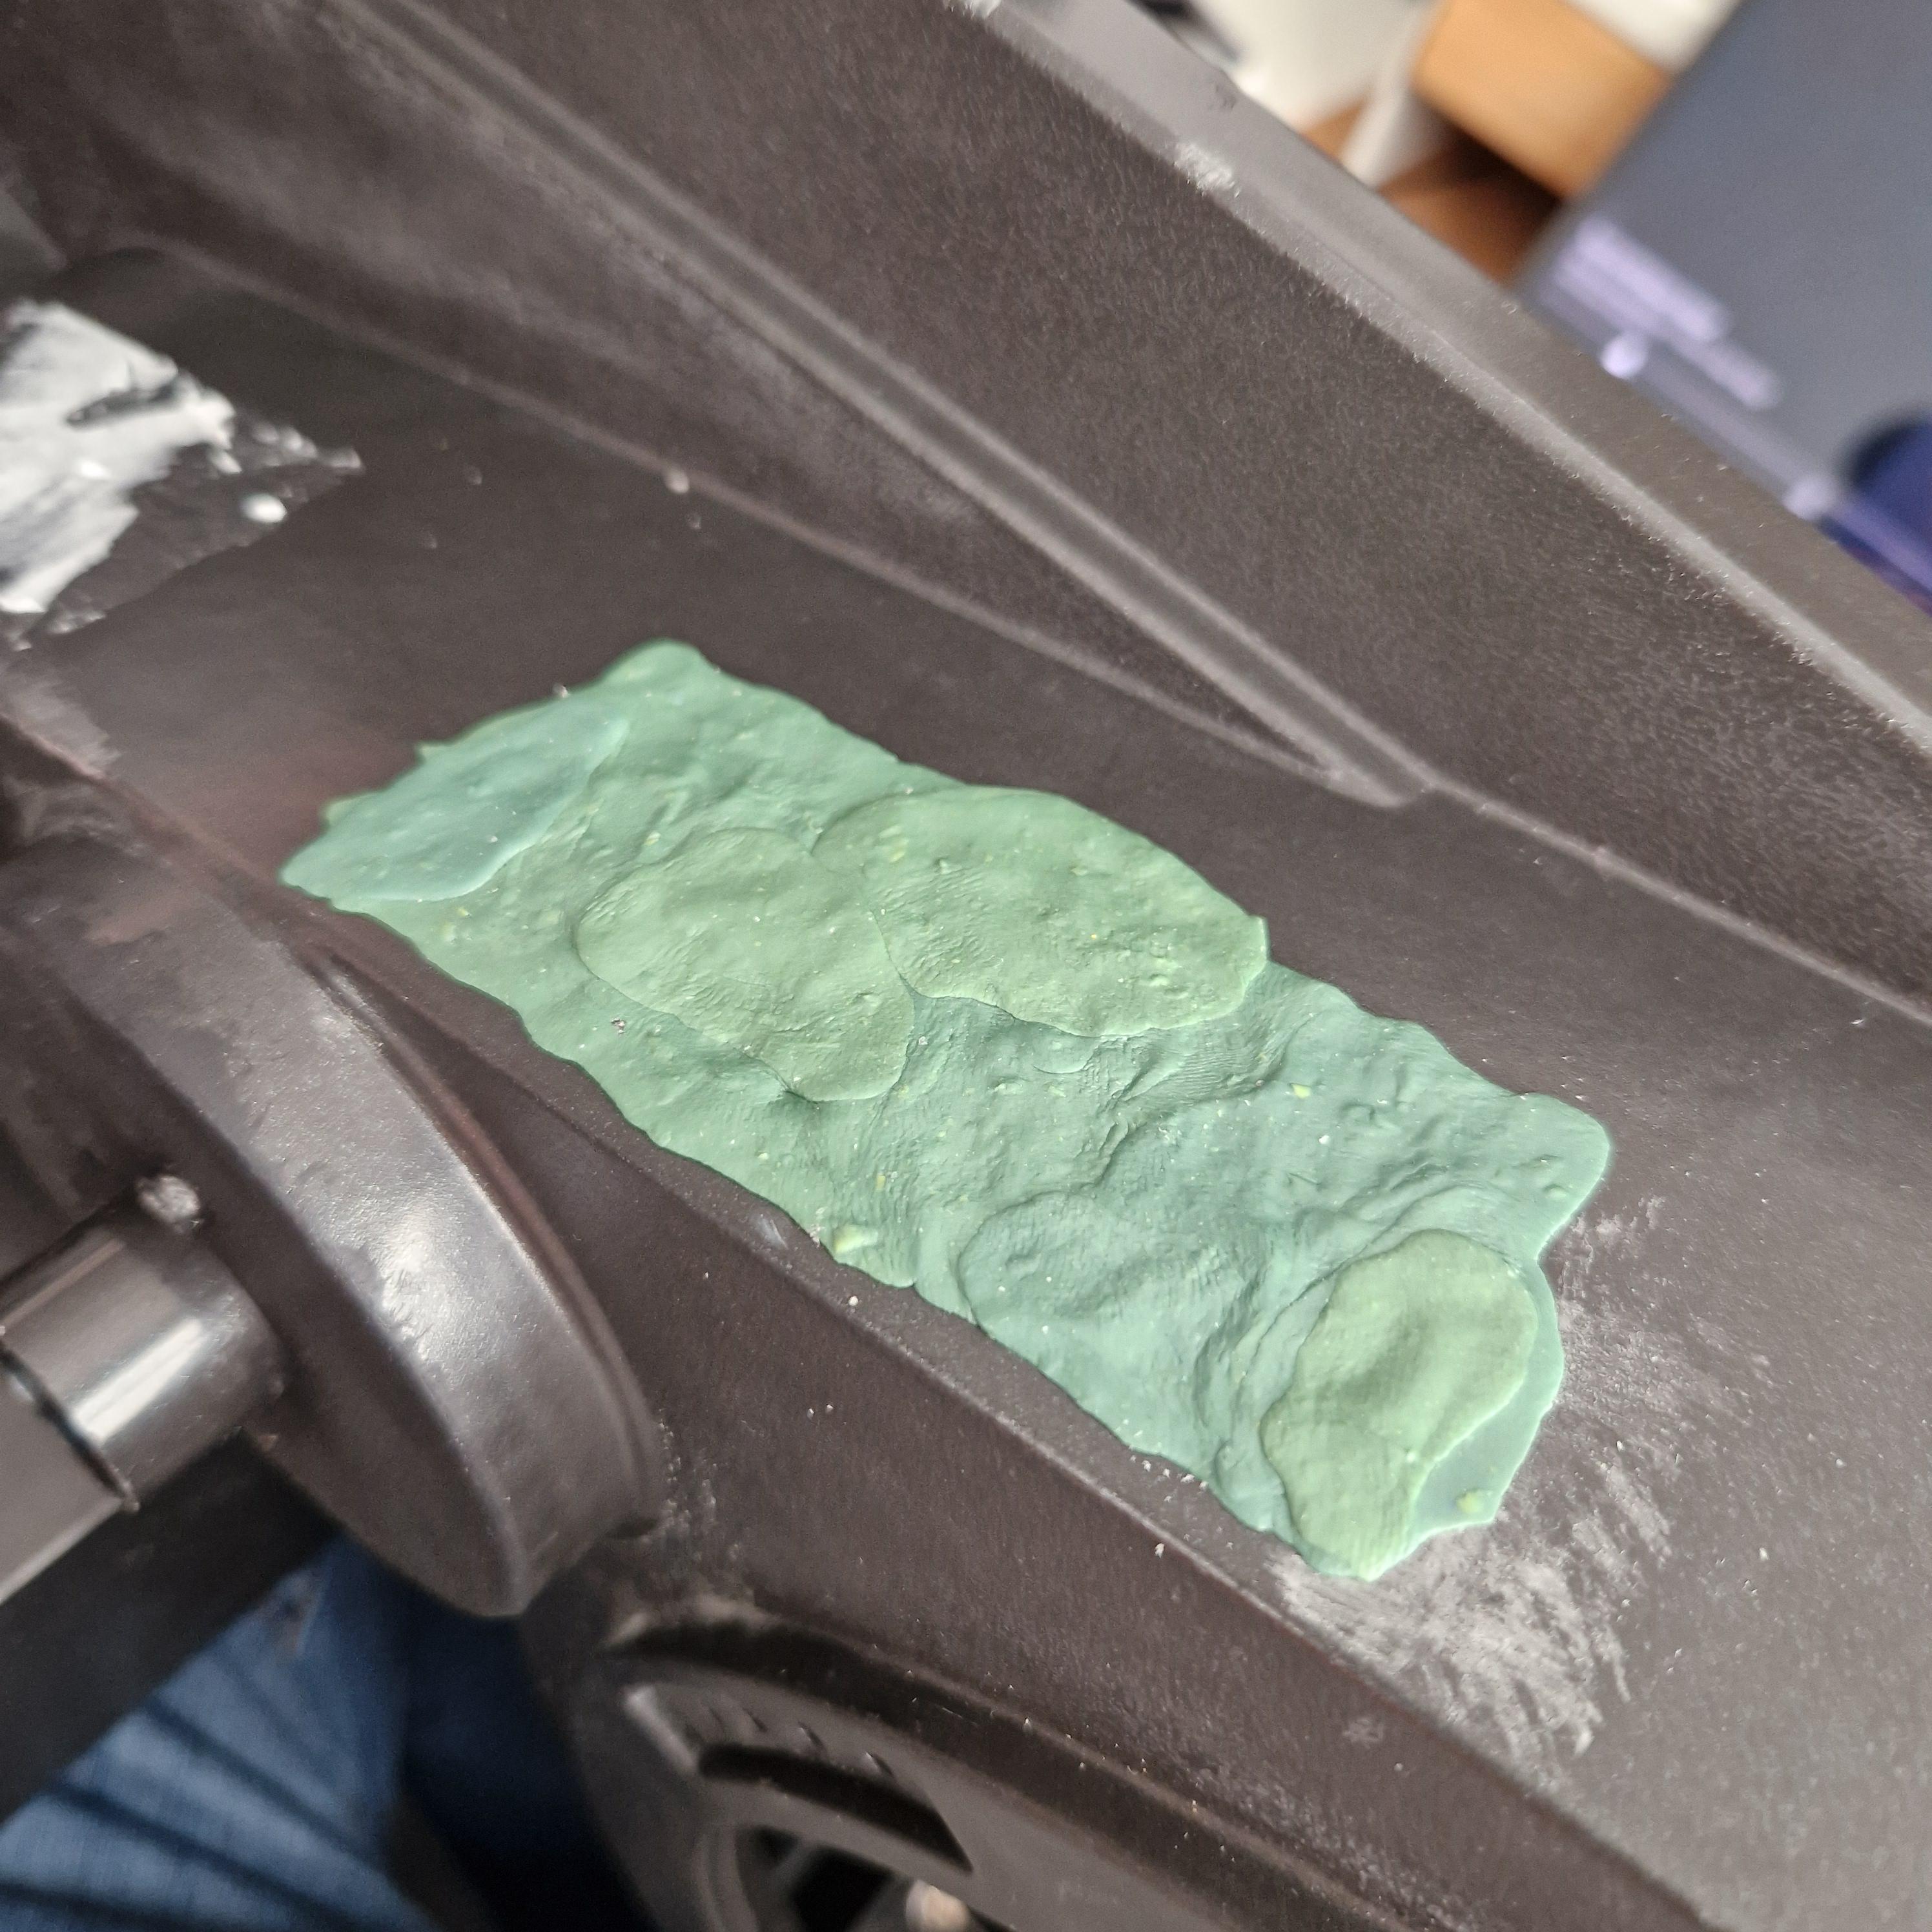
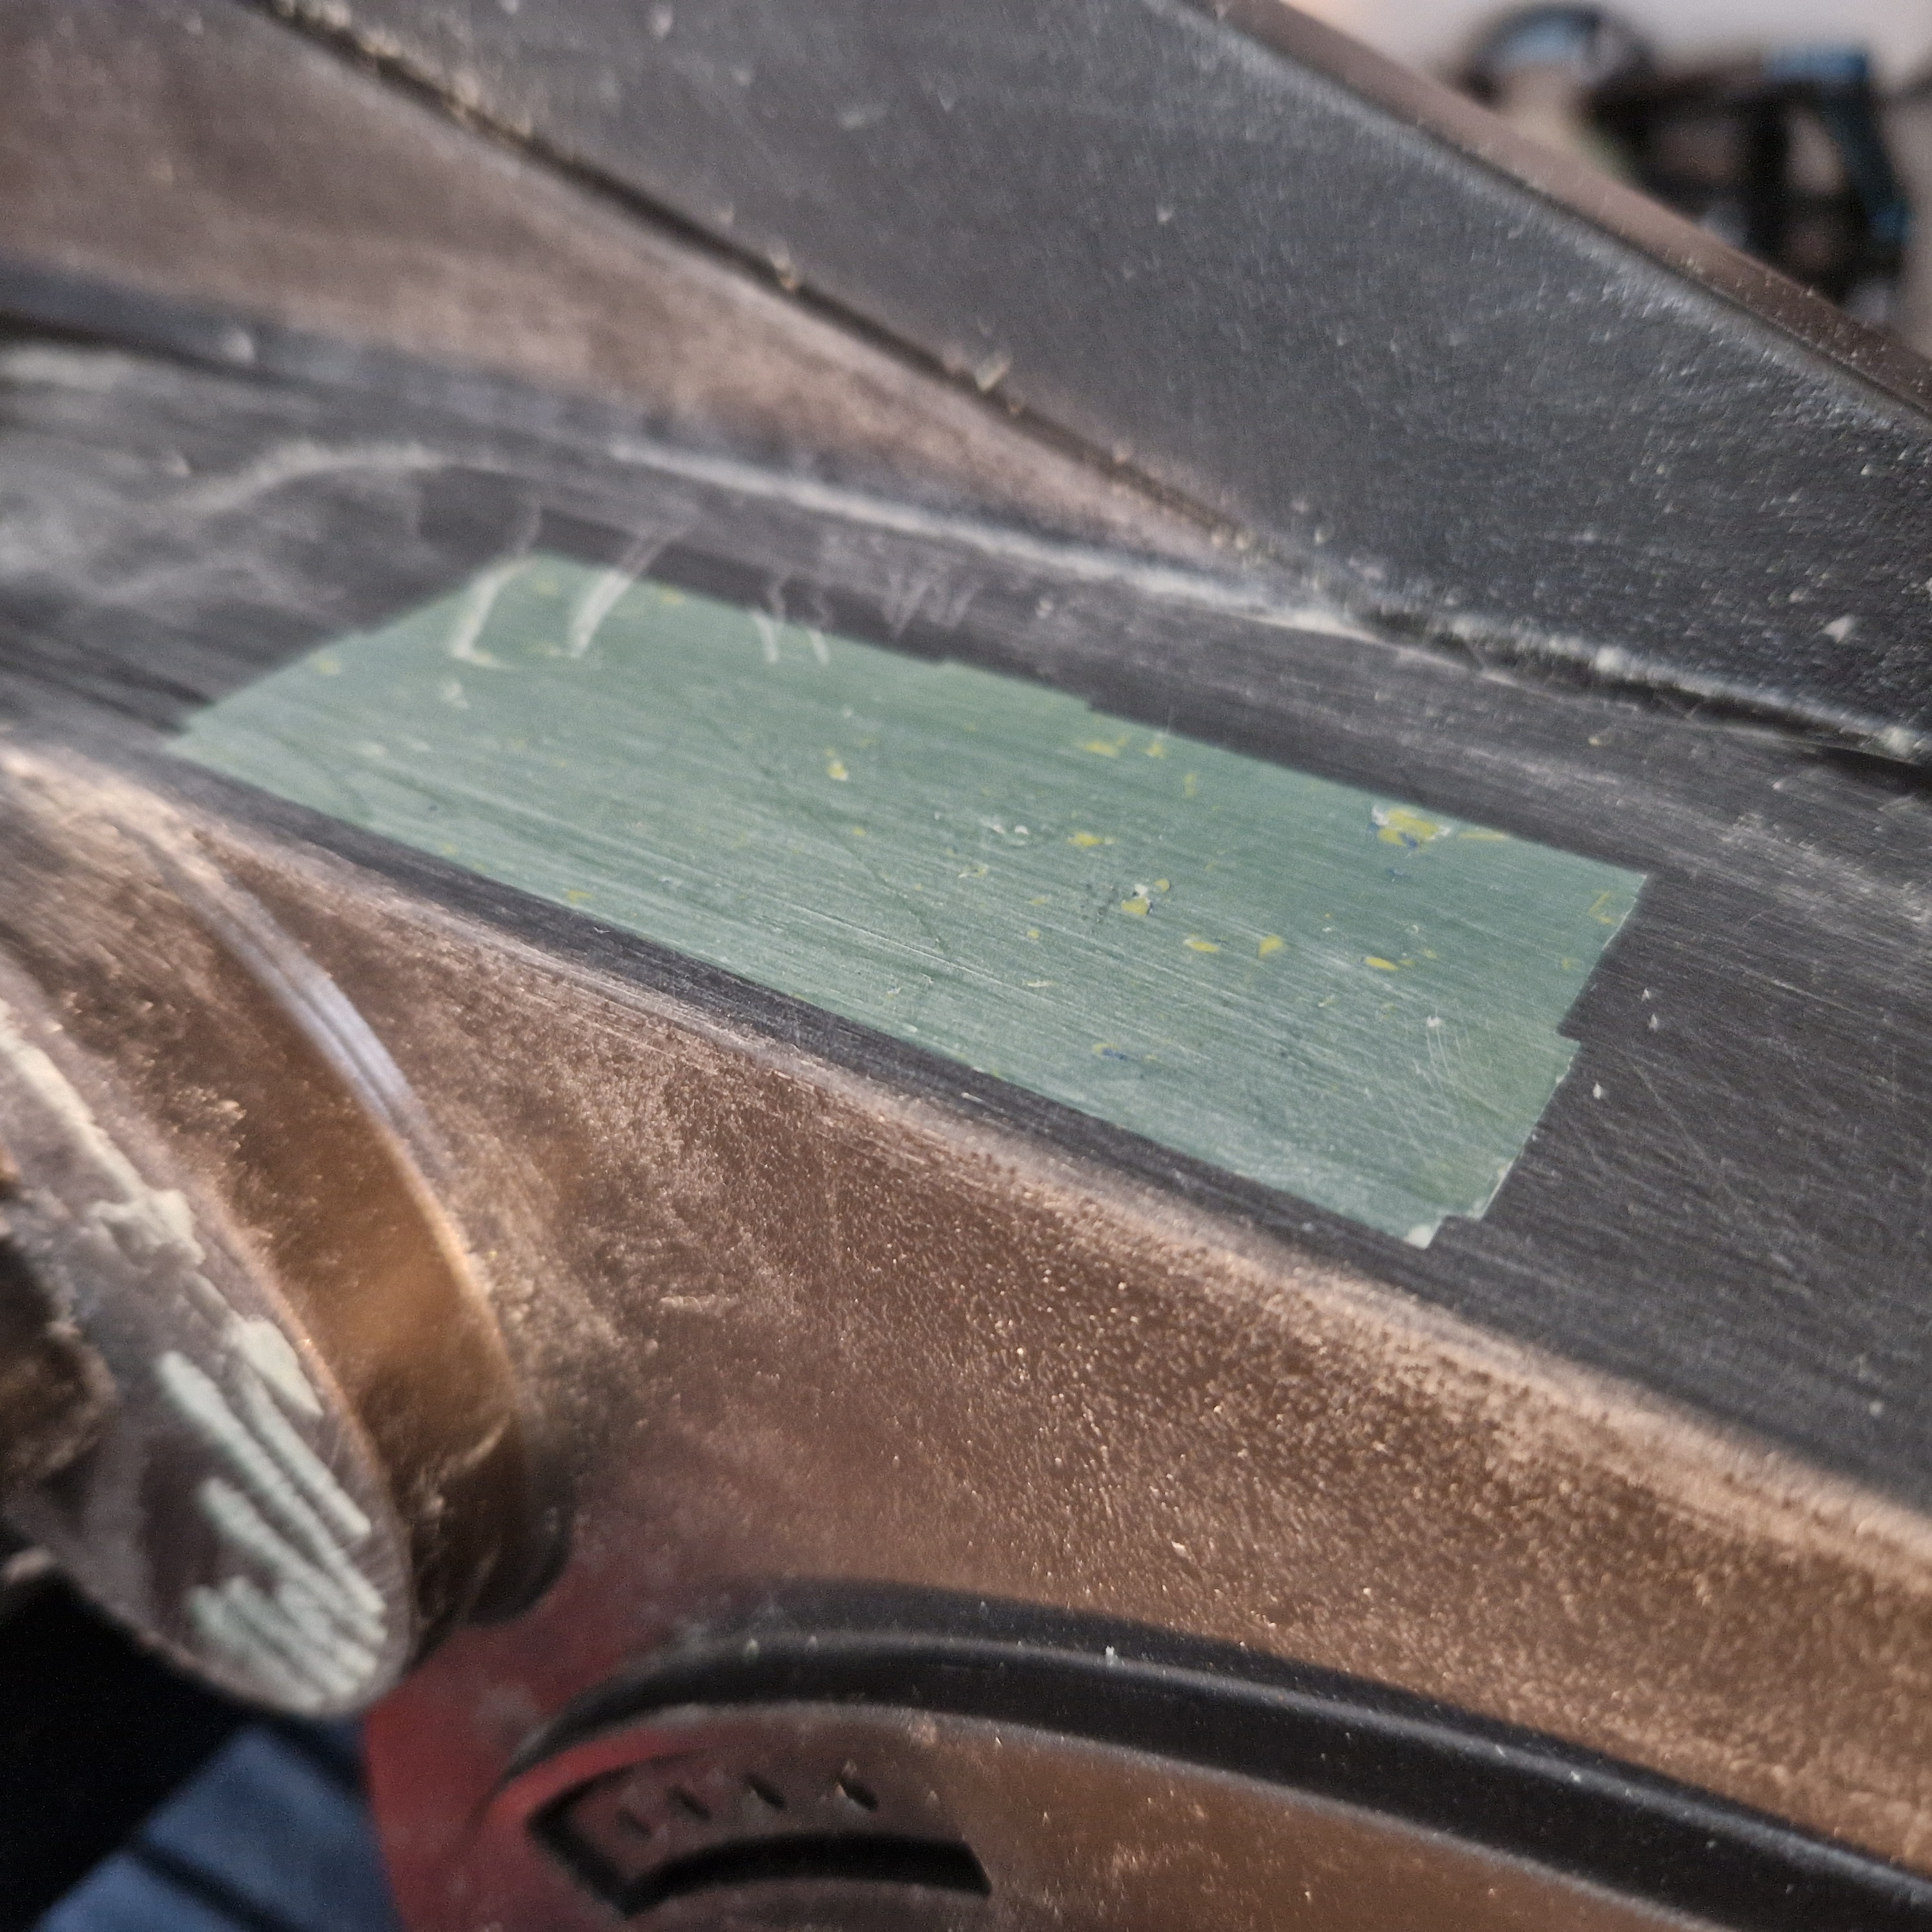
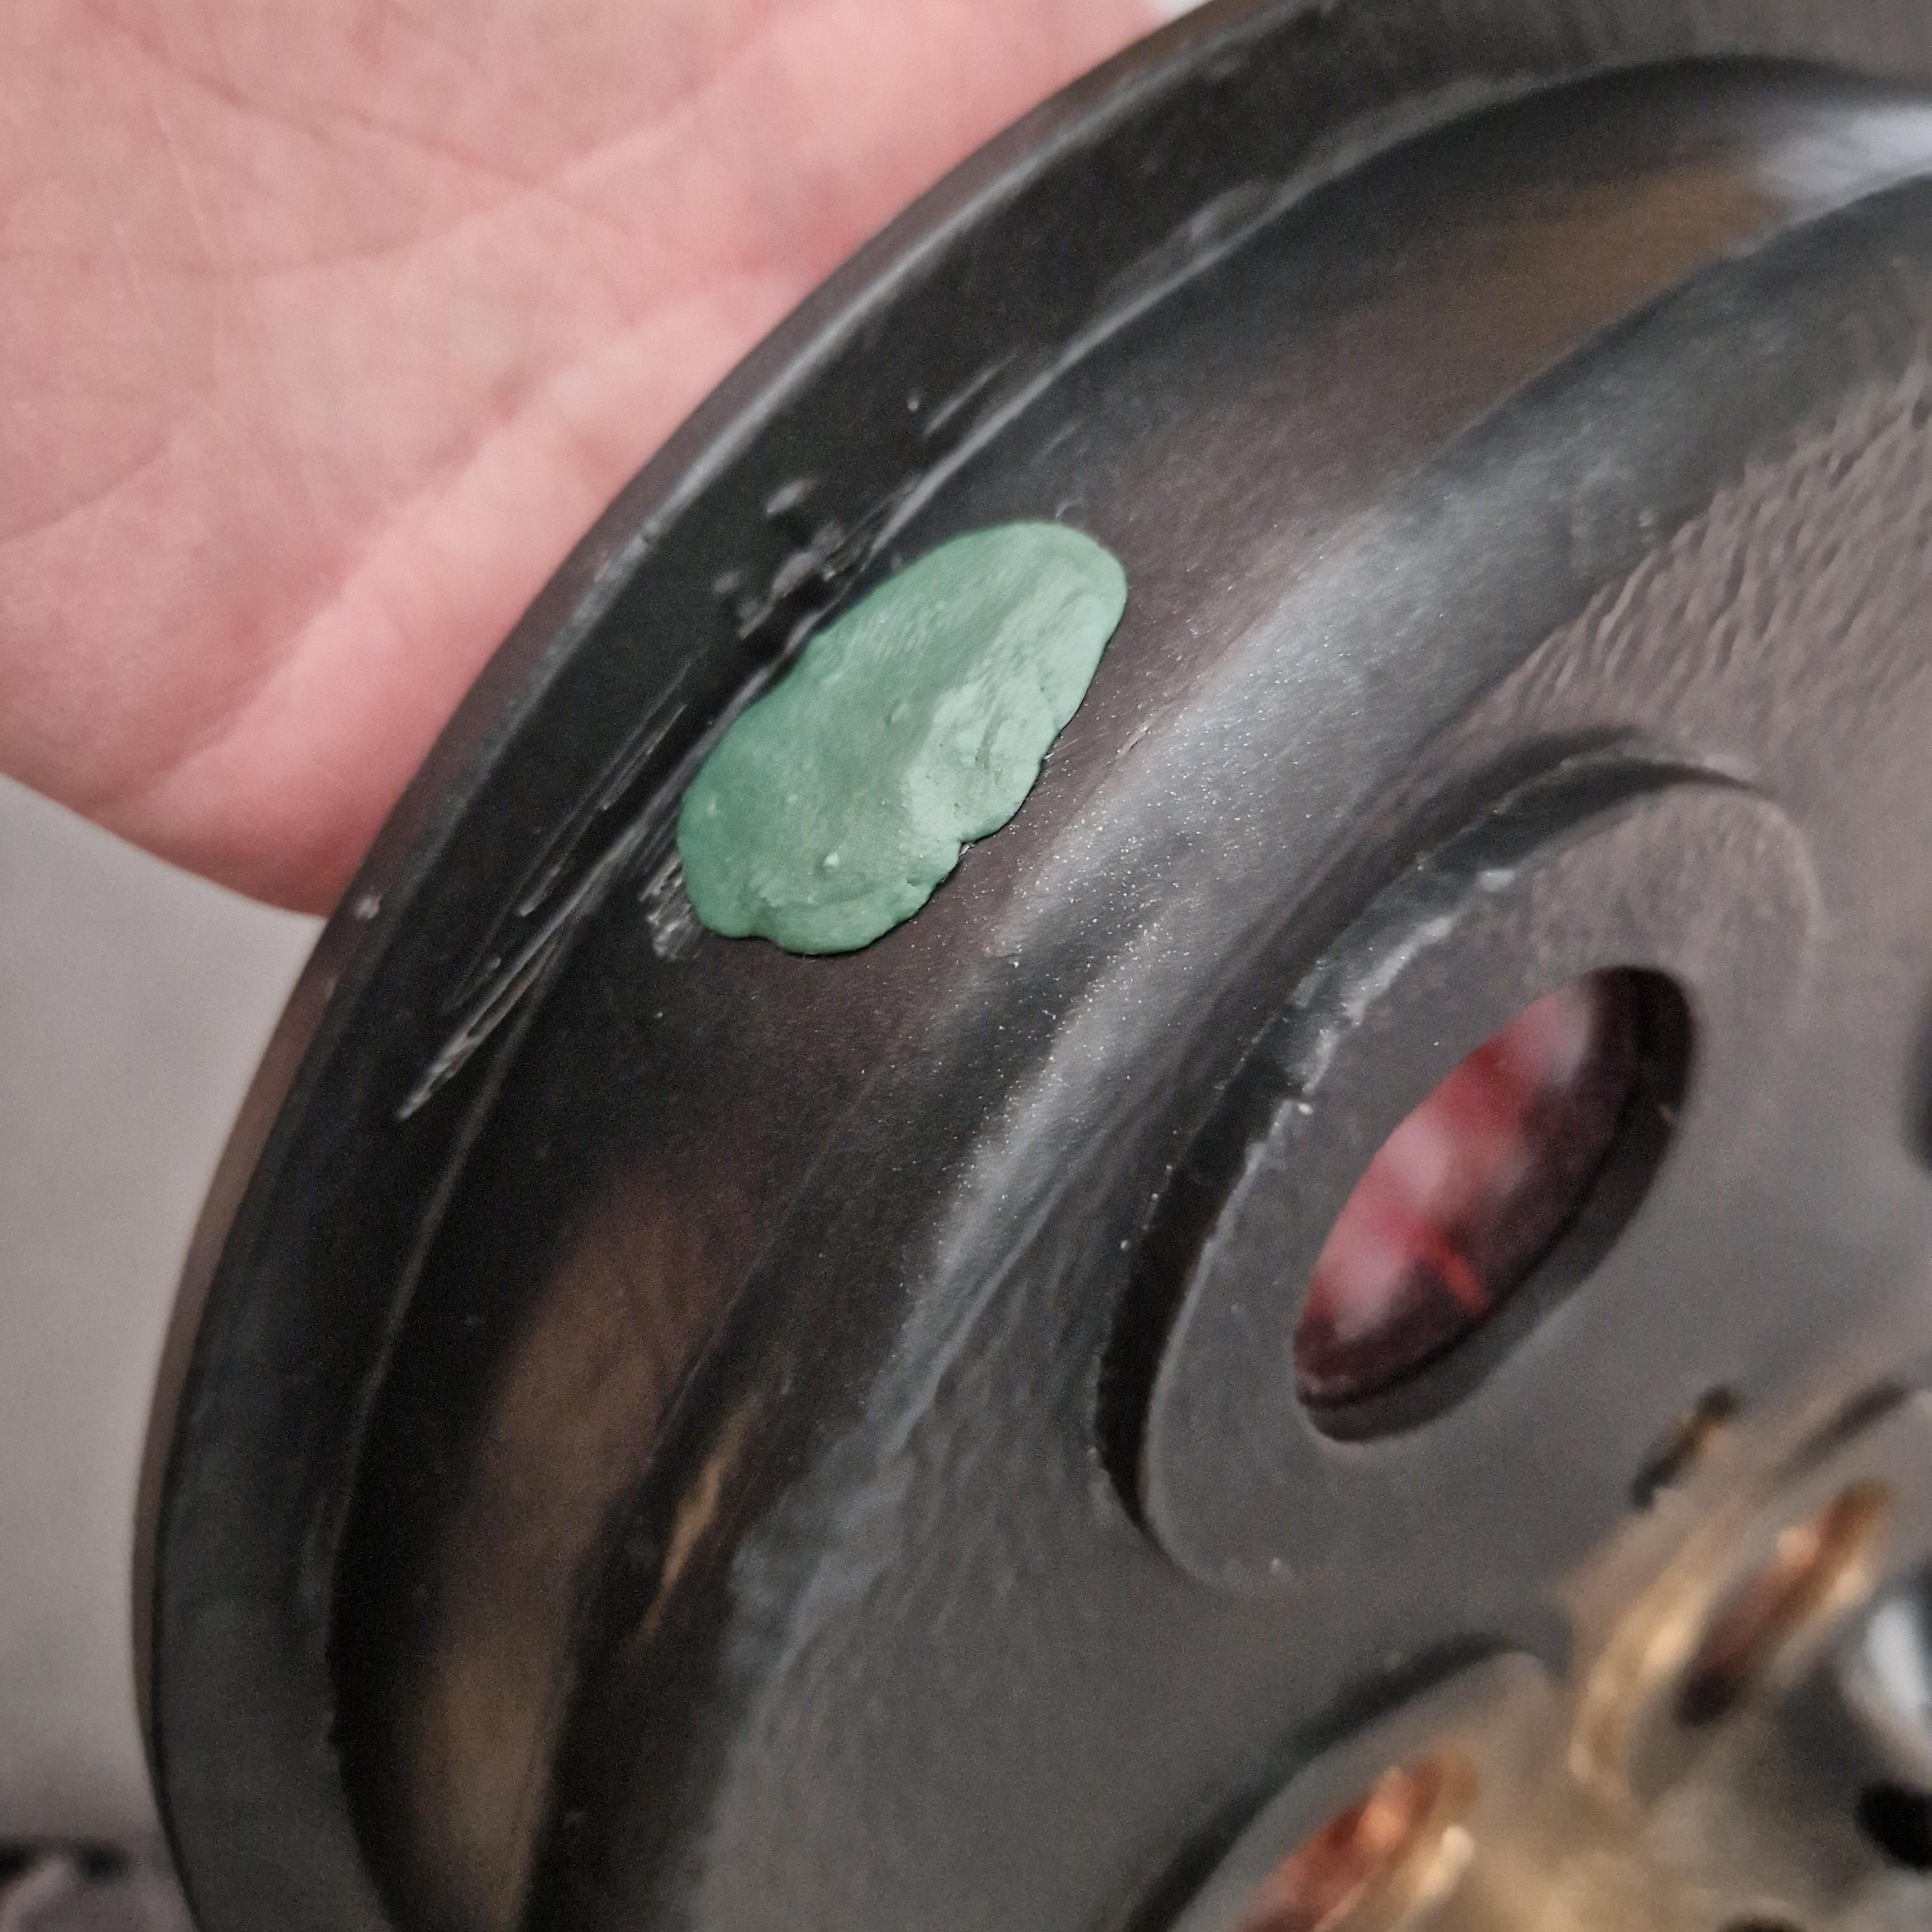
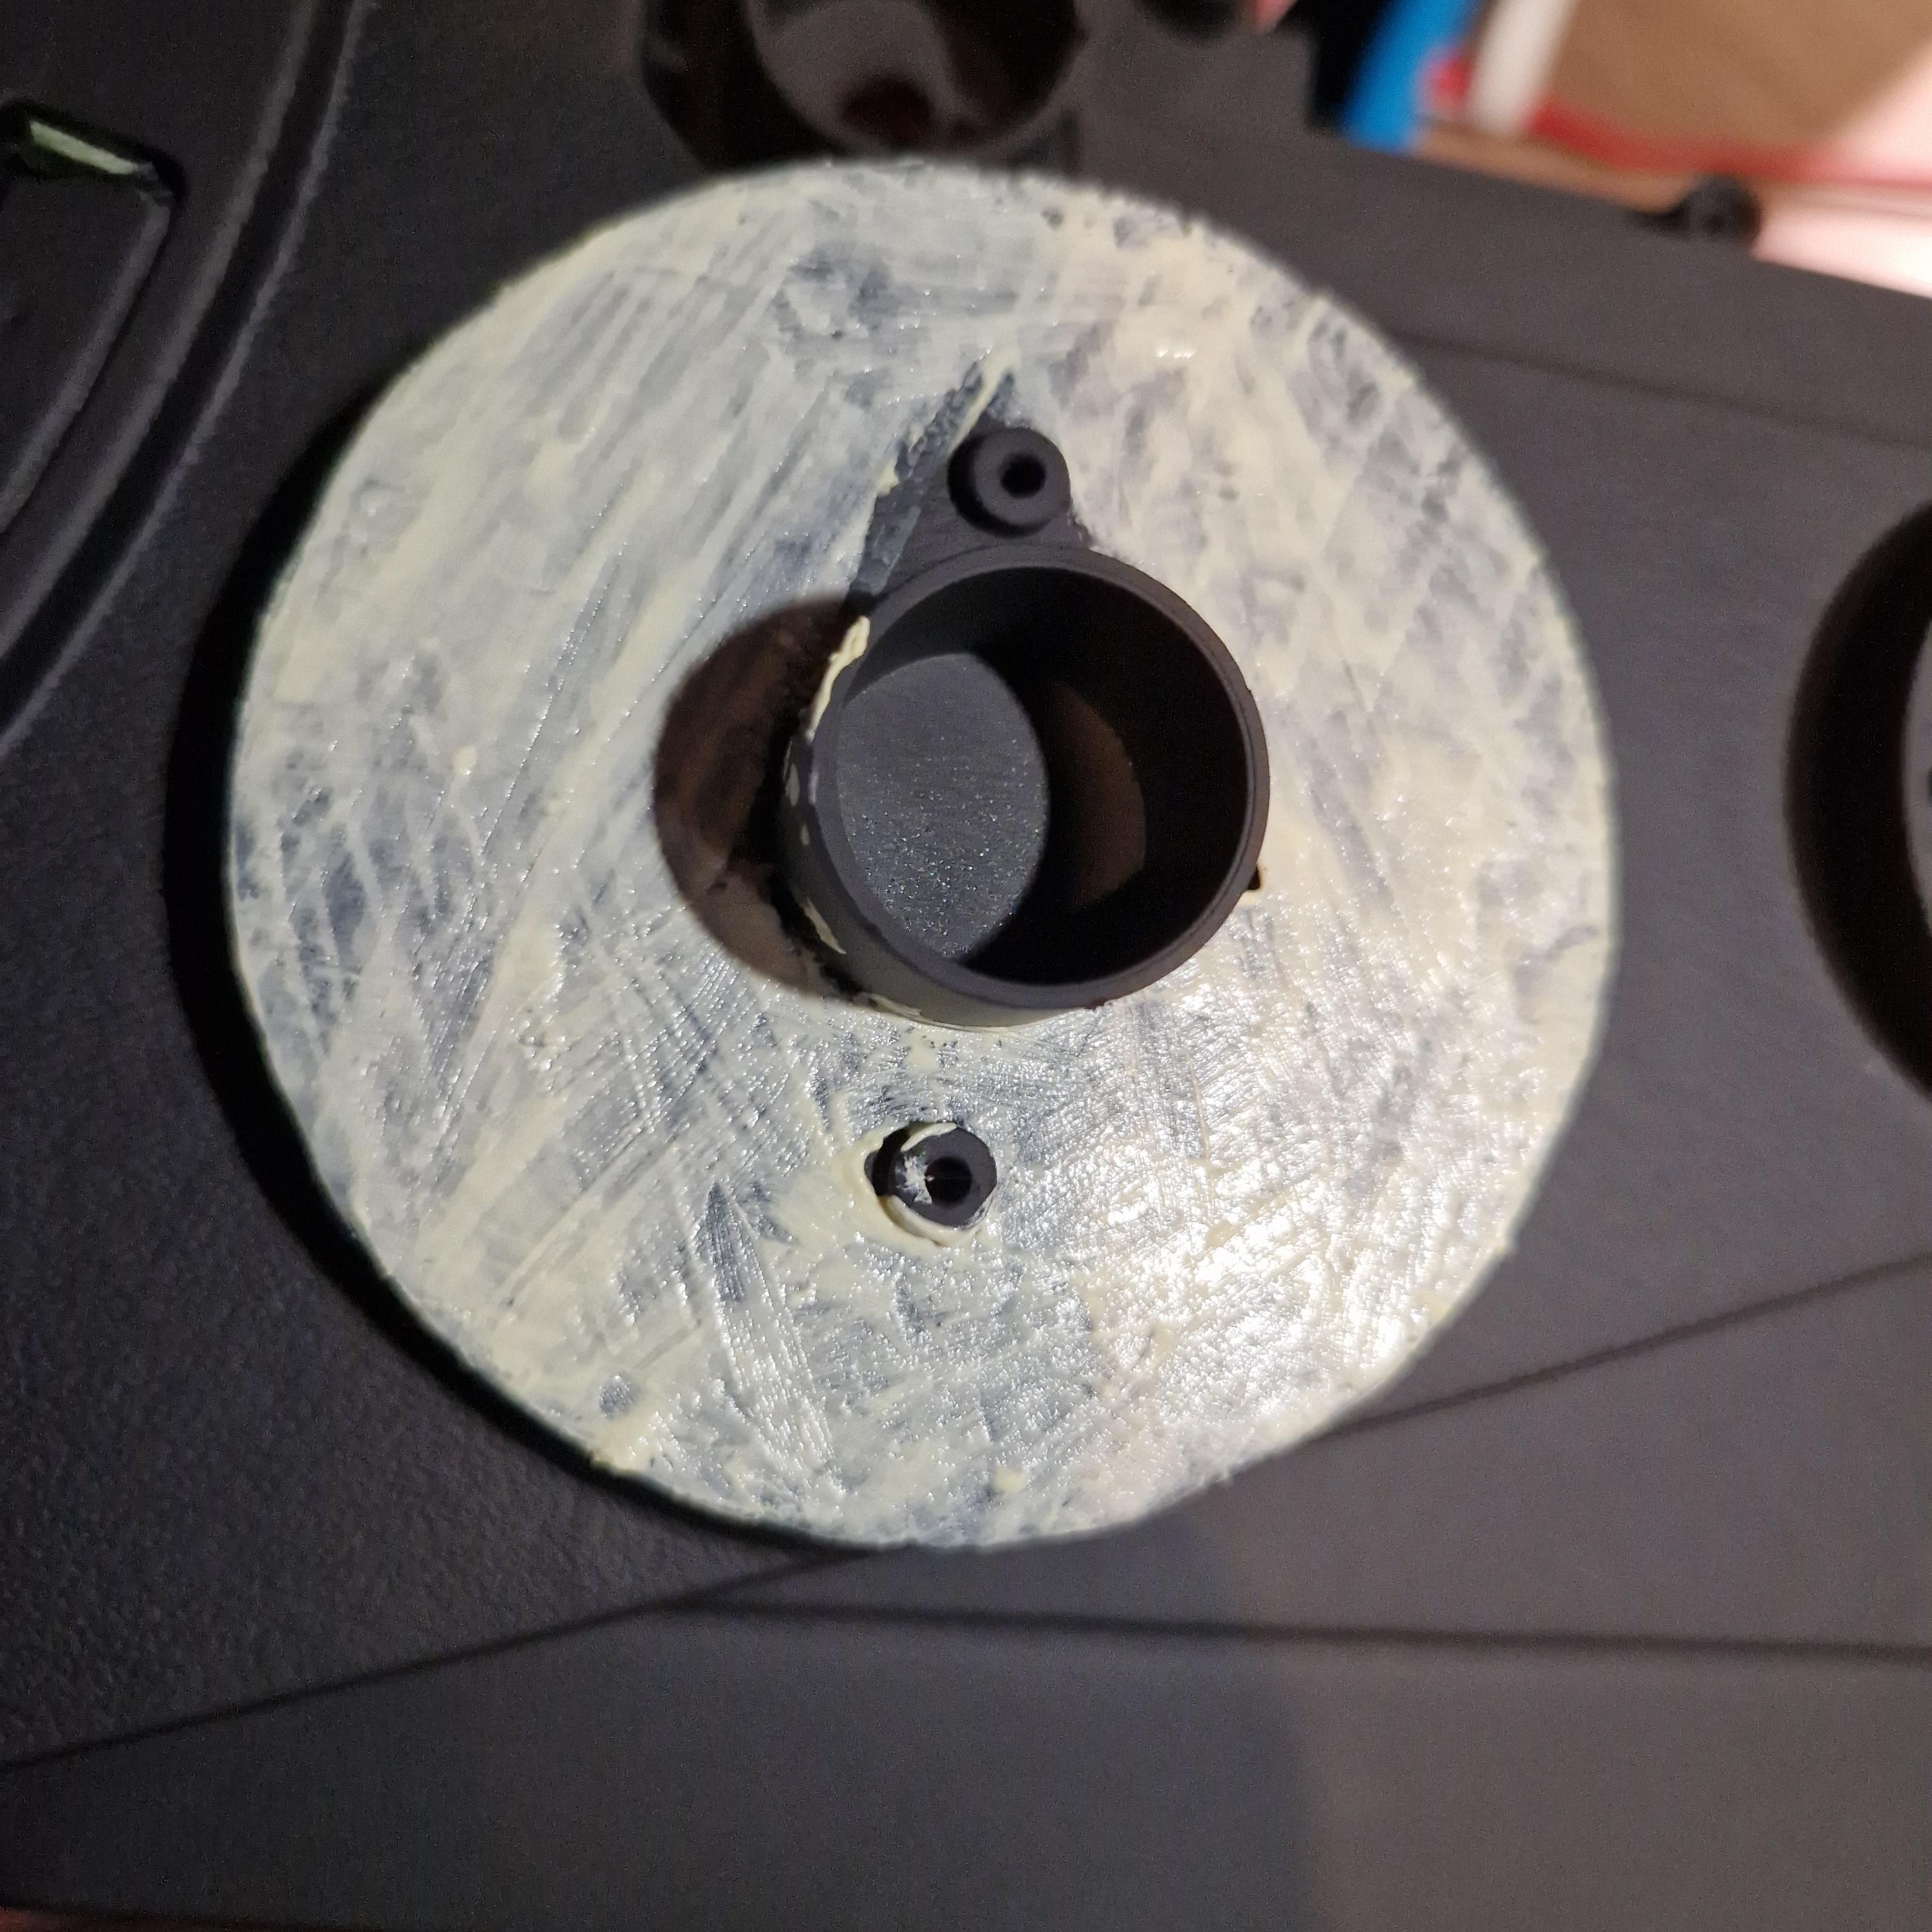
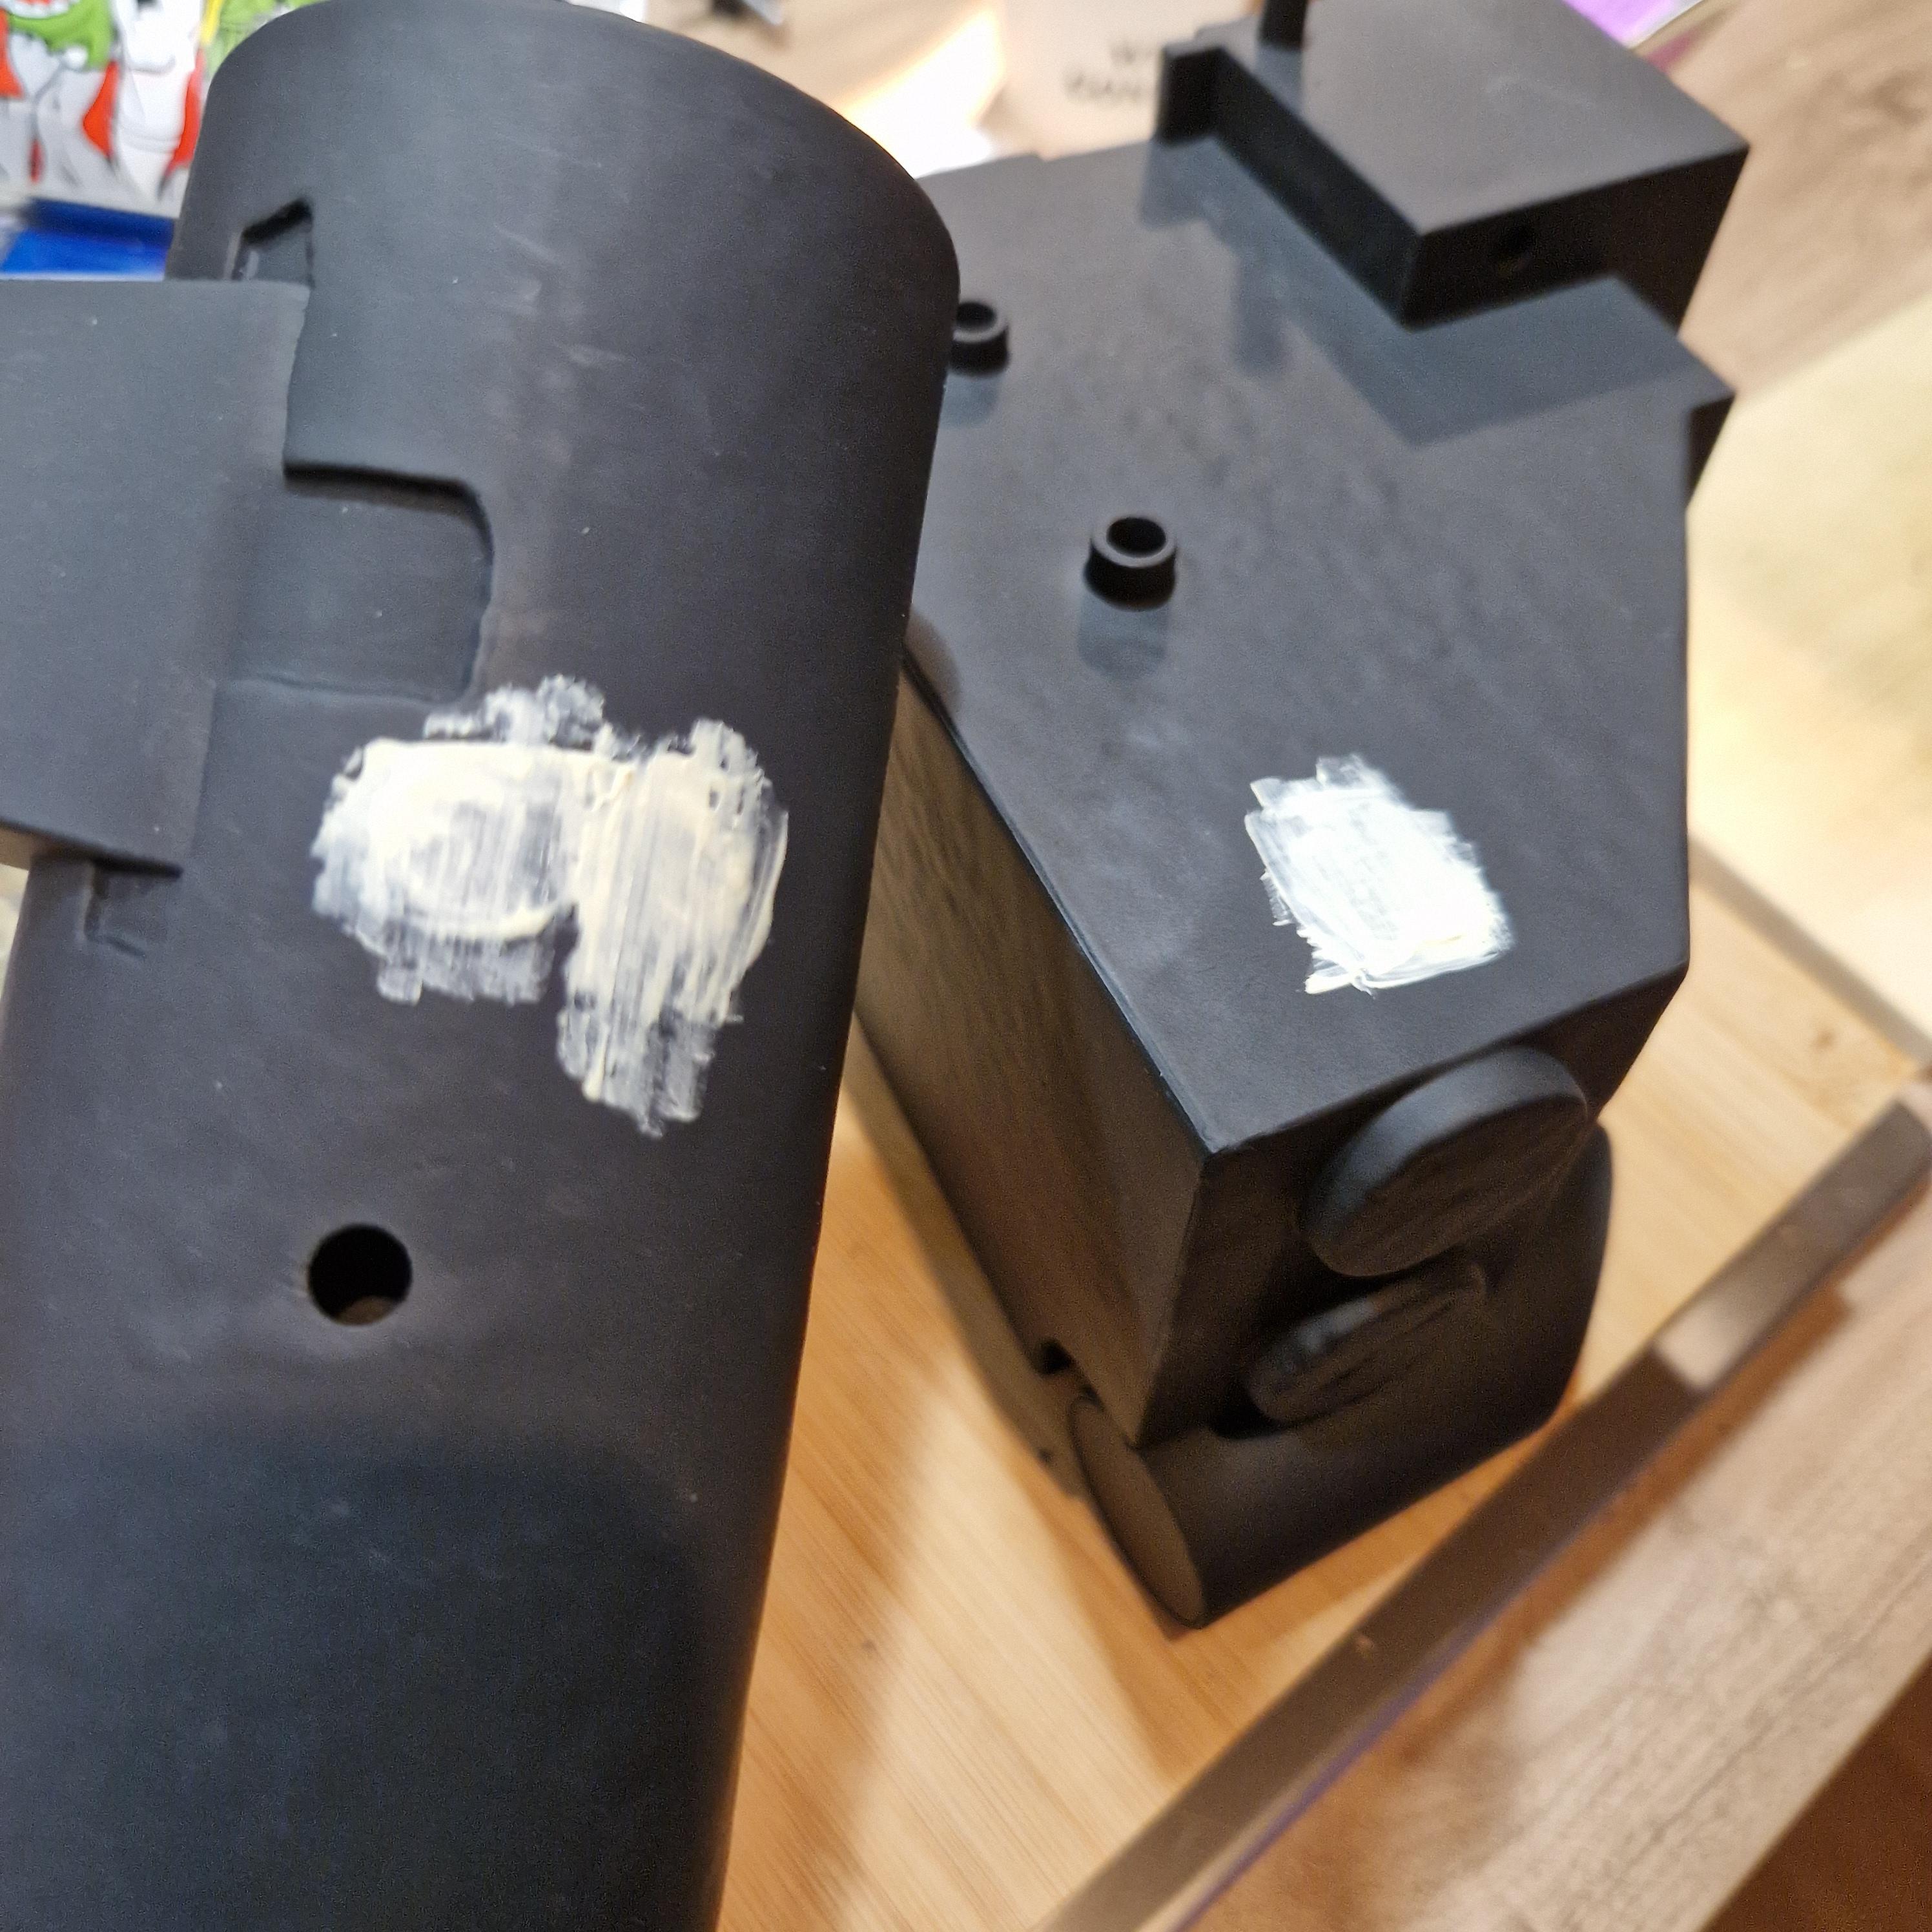
First step was removing some bits that I wasn’t a huge fan of, the heat sink, and “copper” wires, this escalated to removing some other cabling as well and having to patch up the holes as best I could. At the same time I stripped the whole pack down into parts and sanded it a few times to give a decent surface to paint on. I also used the tip that Ben Eadie shared in one of his YouTube videos of using scrapers for larger areas, this also helped get a smoother finish in some areas I thought.
[Spoiler]
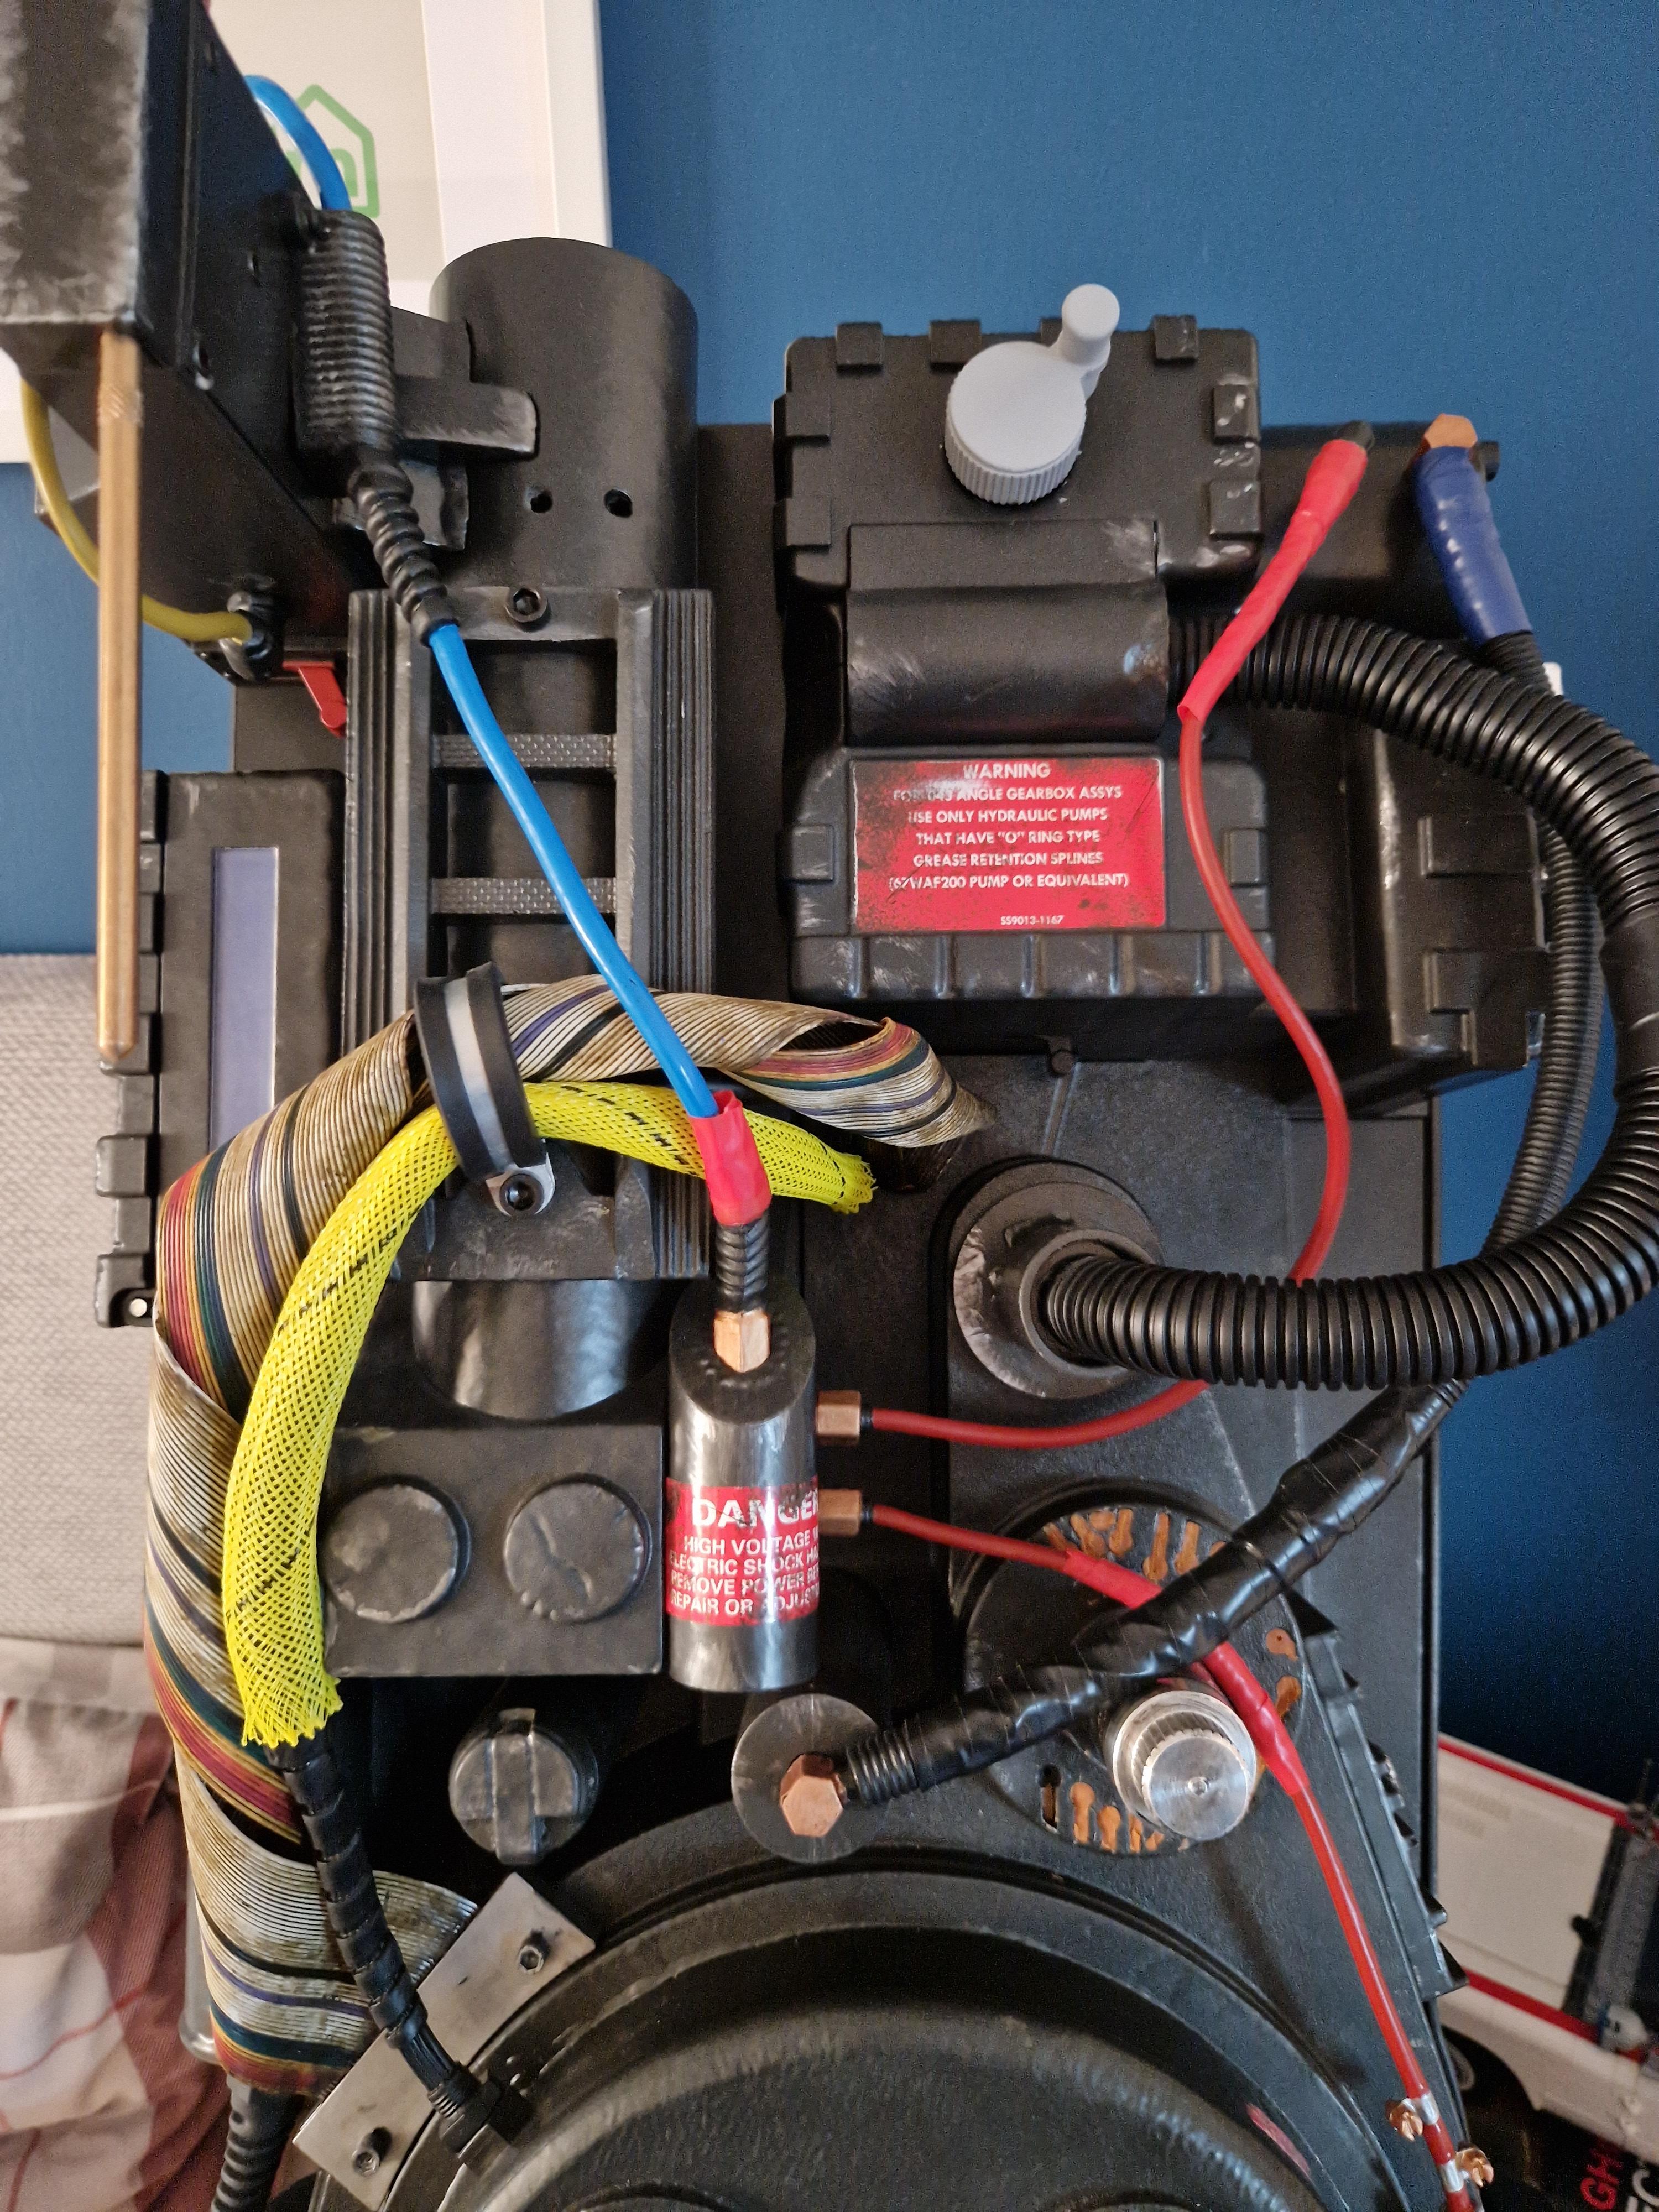
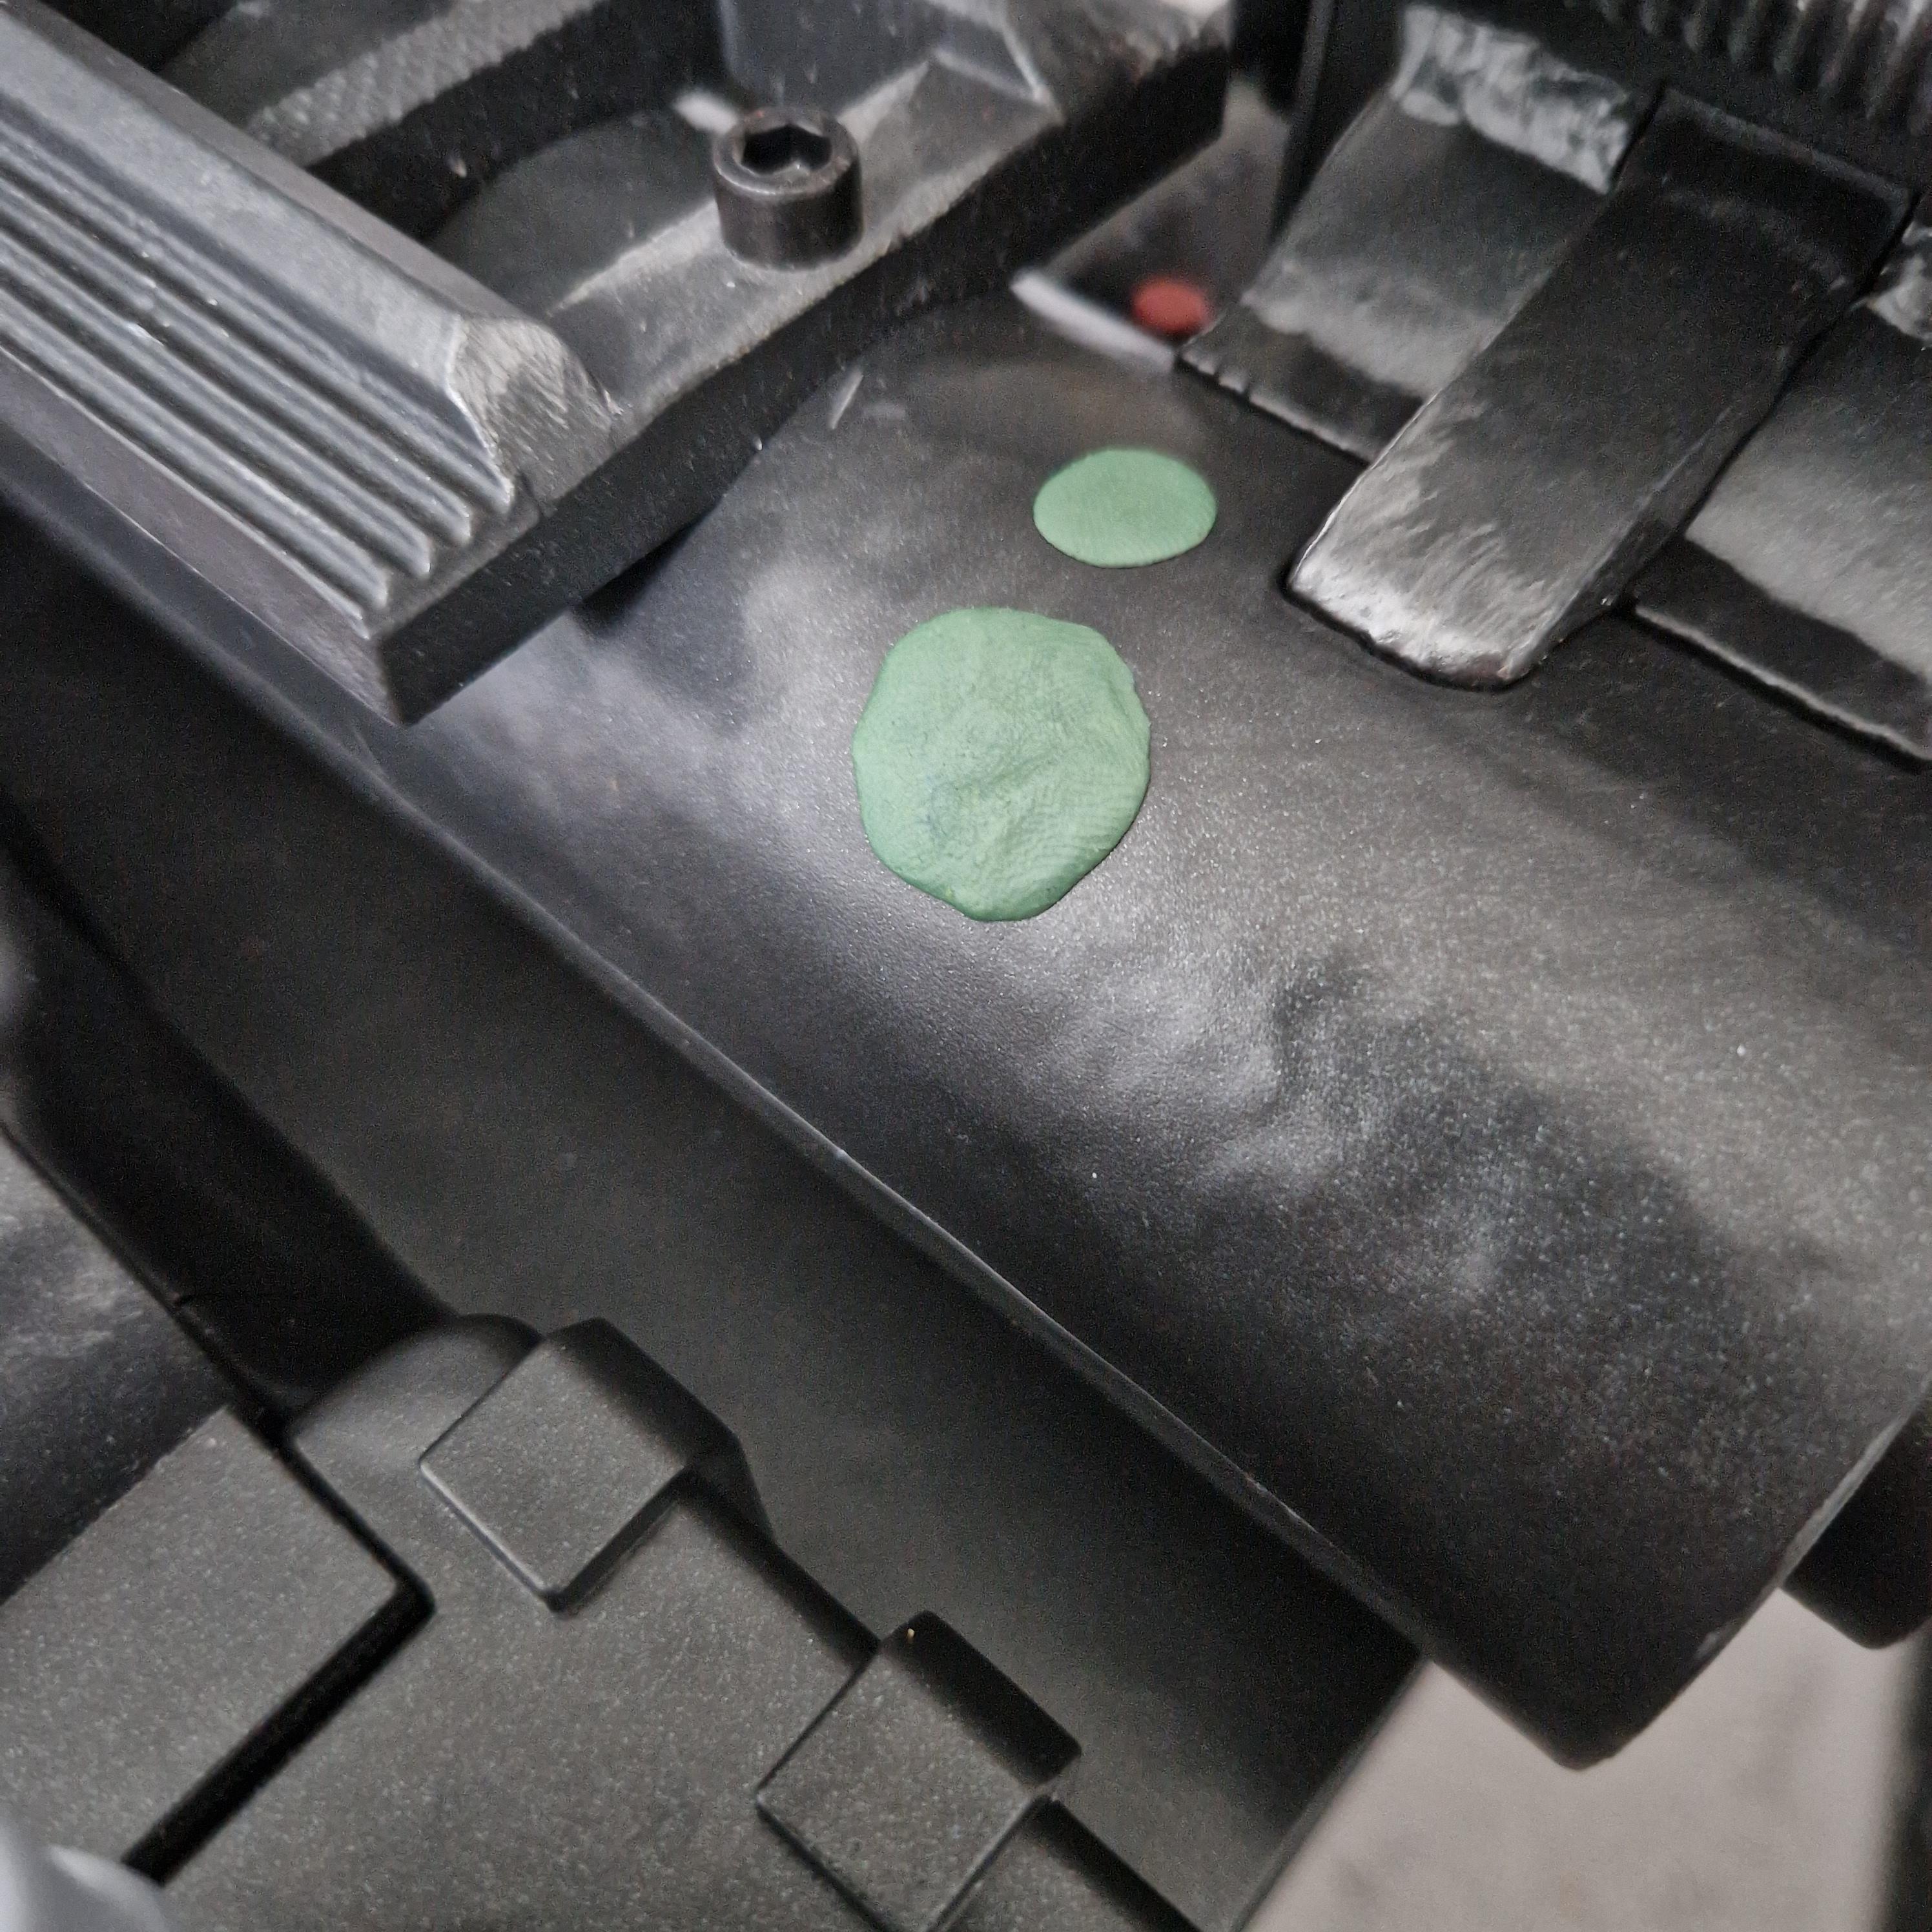
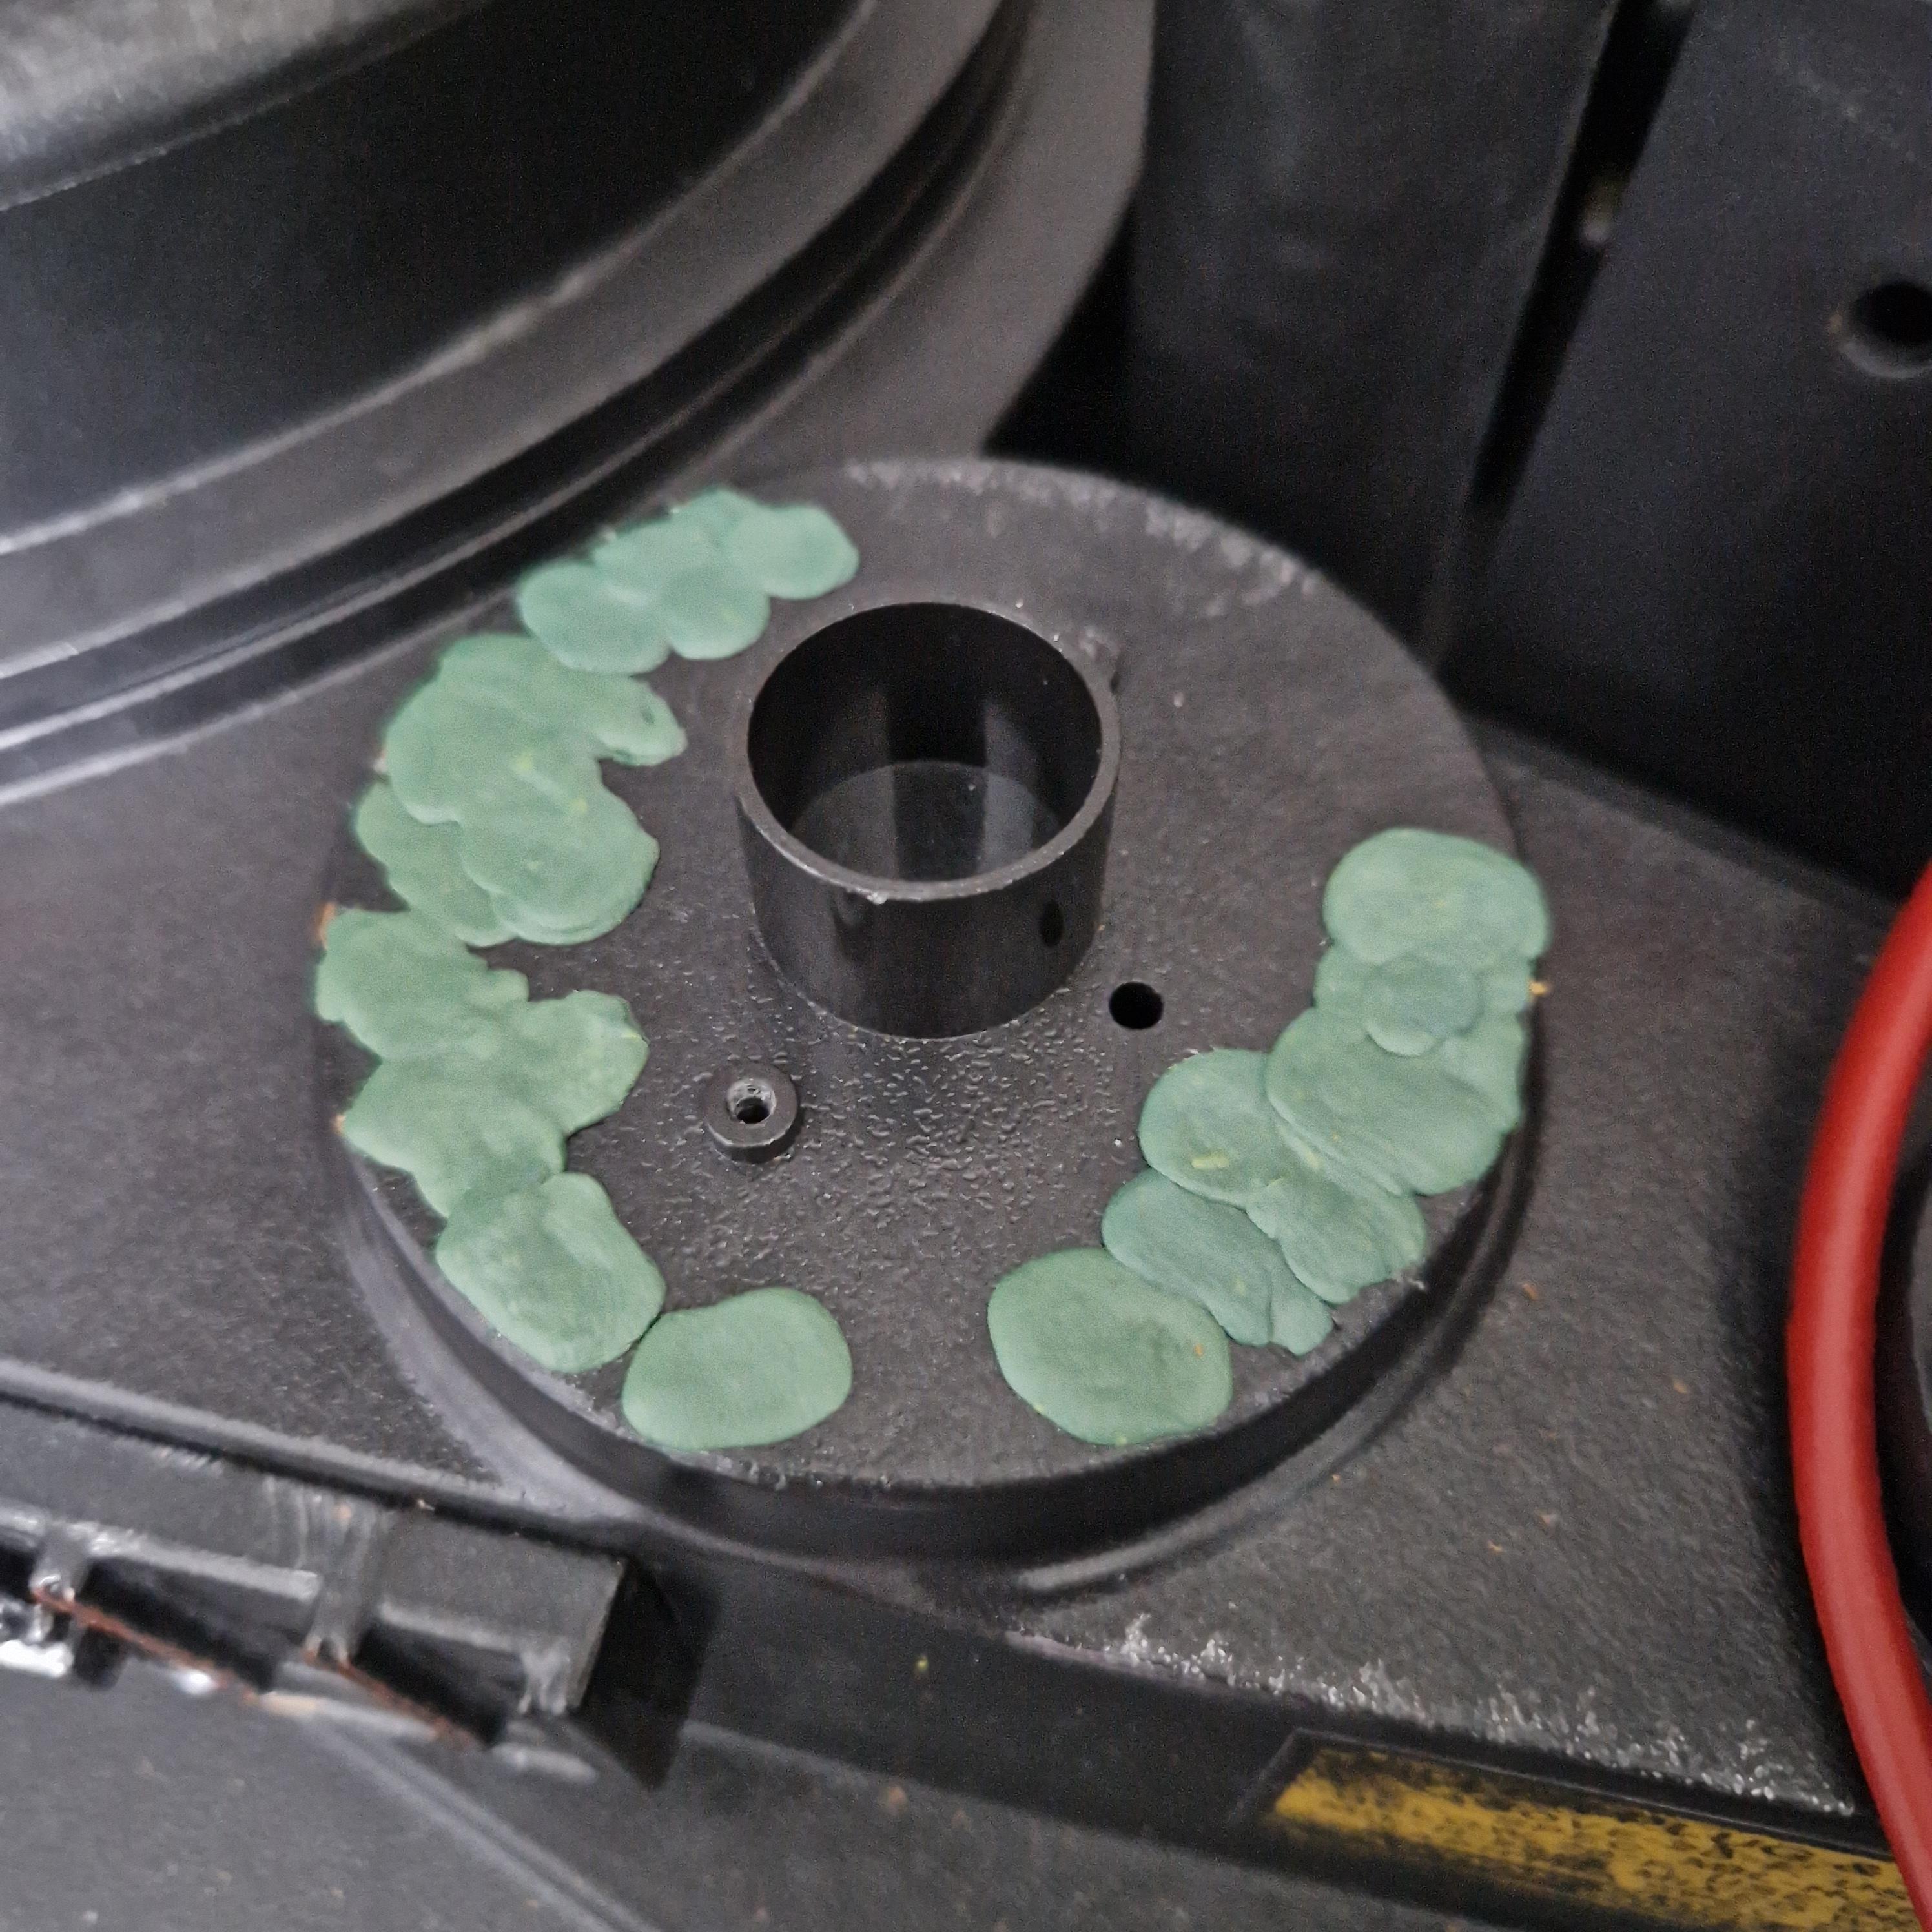
Black paint used to help me see where it wasn’t smooth
[/Spoiler]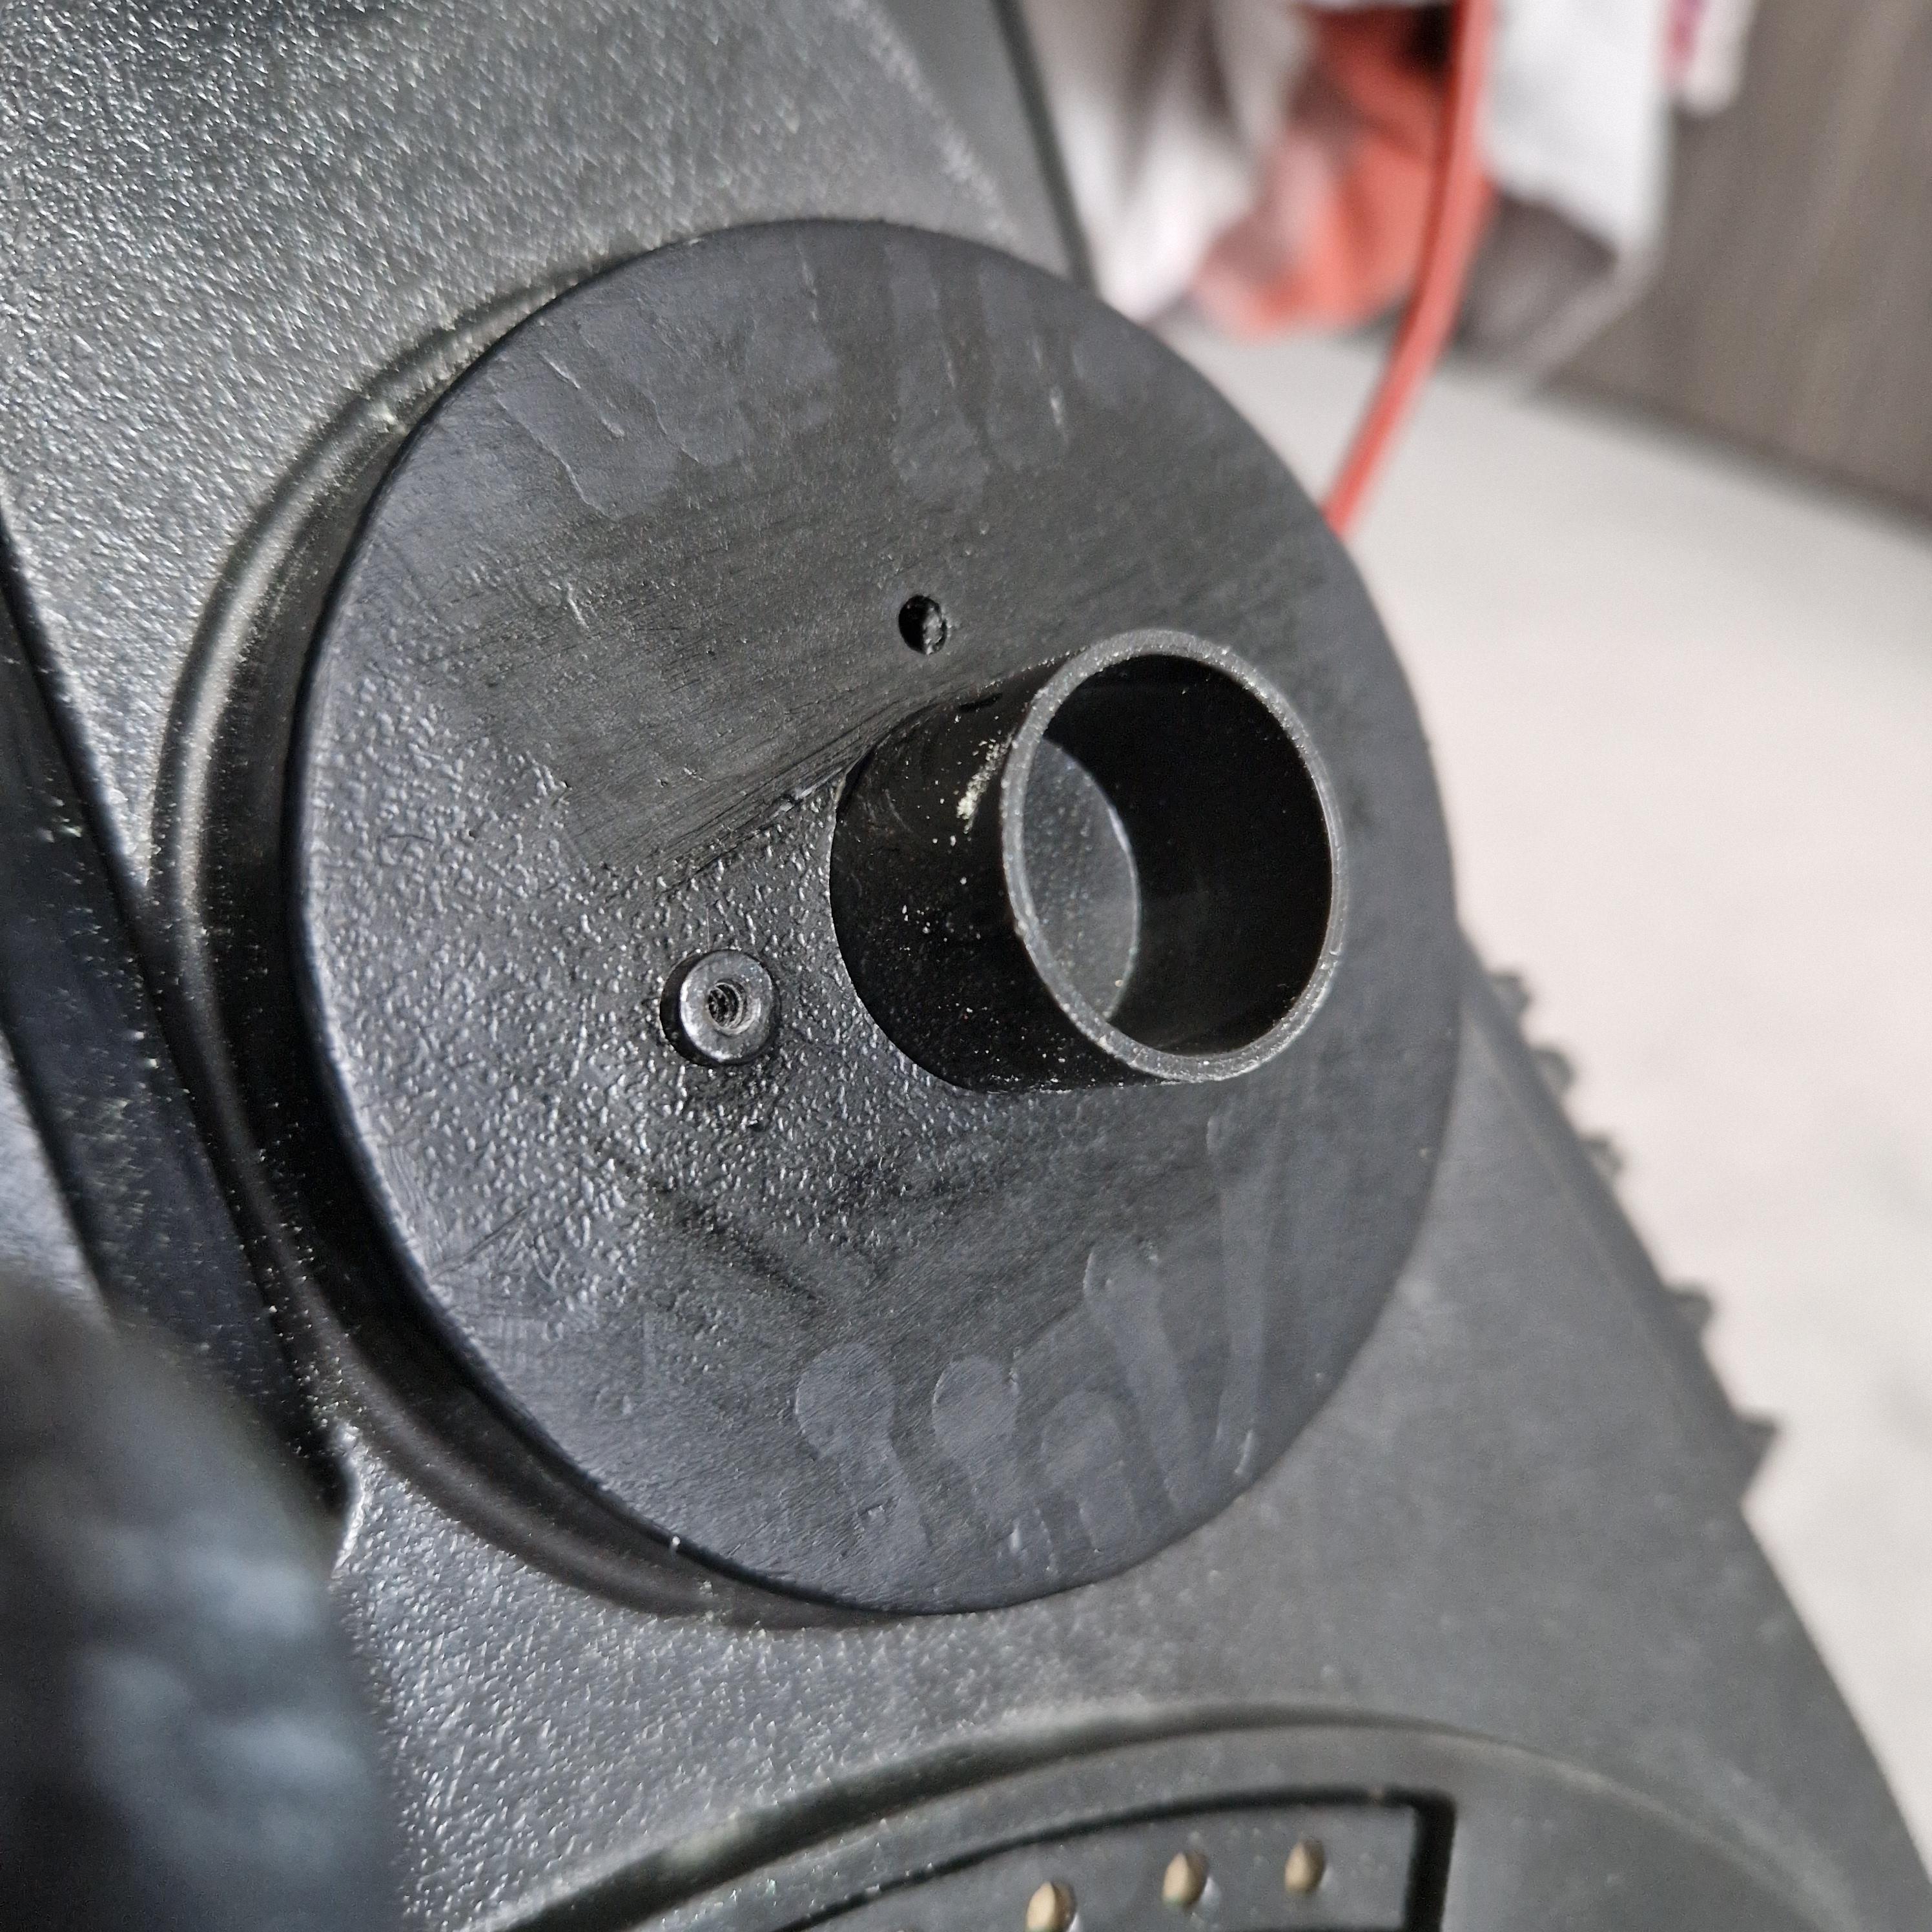
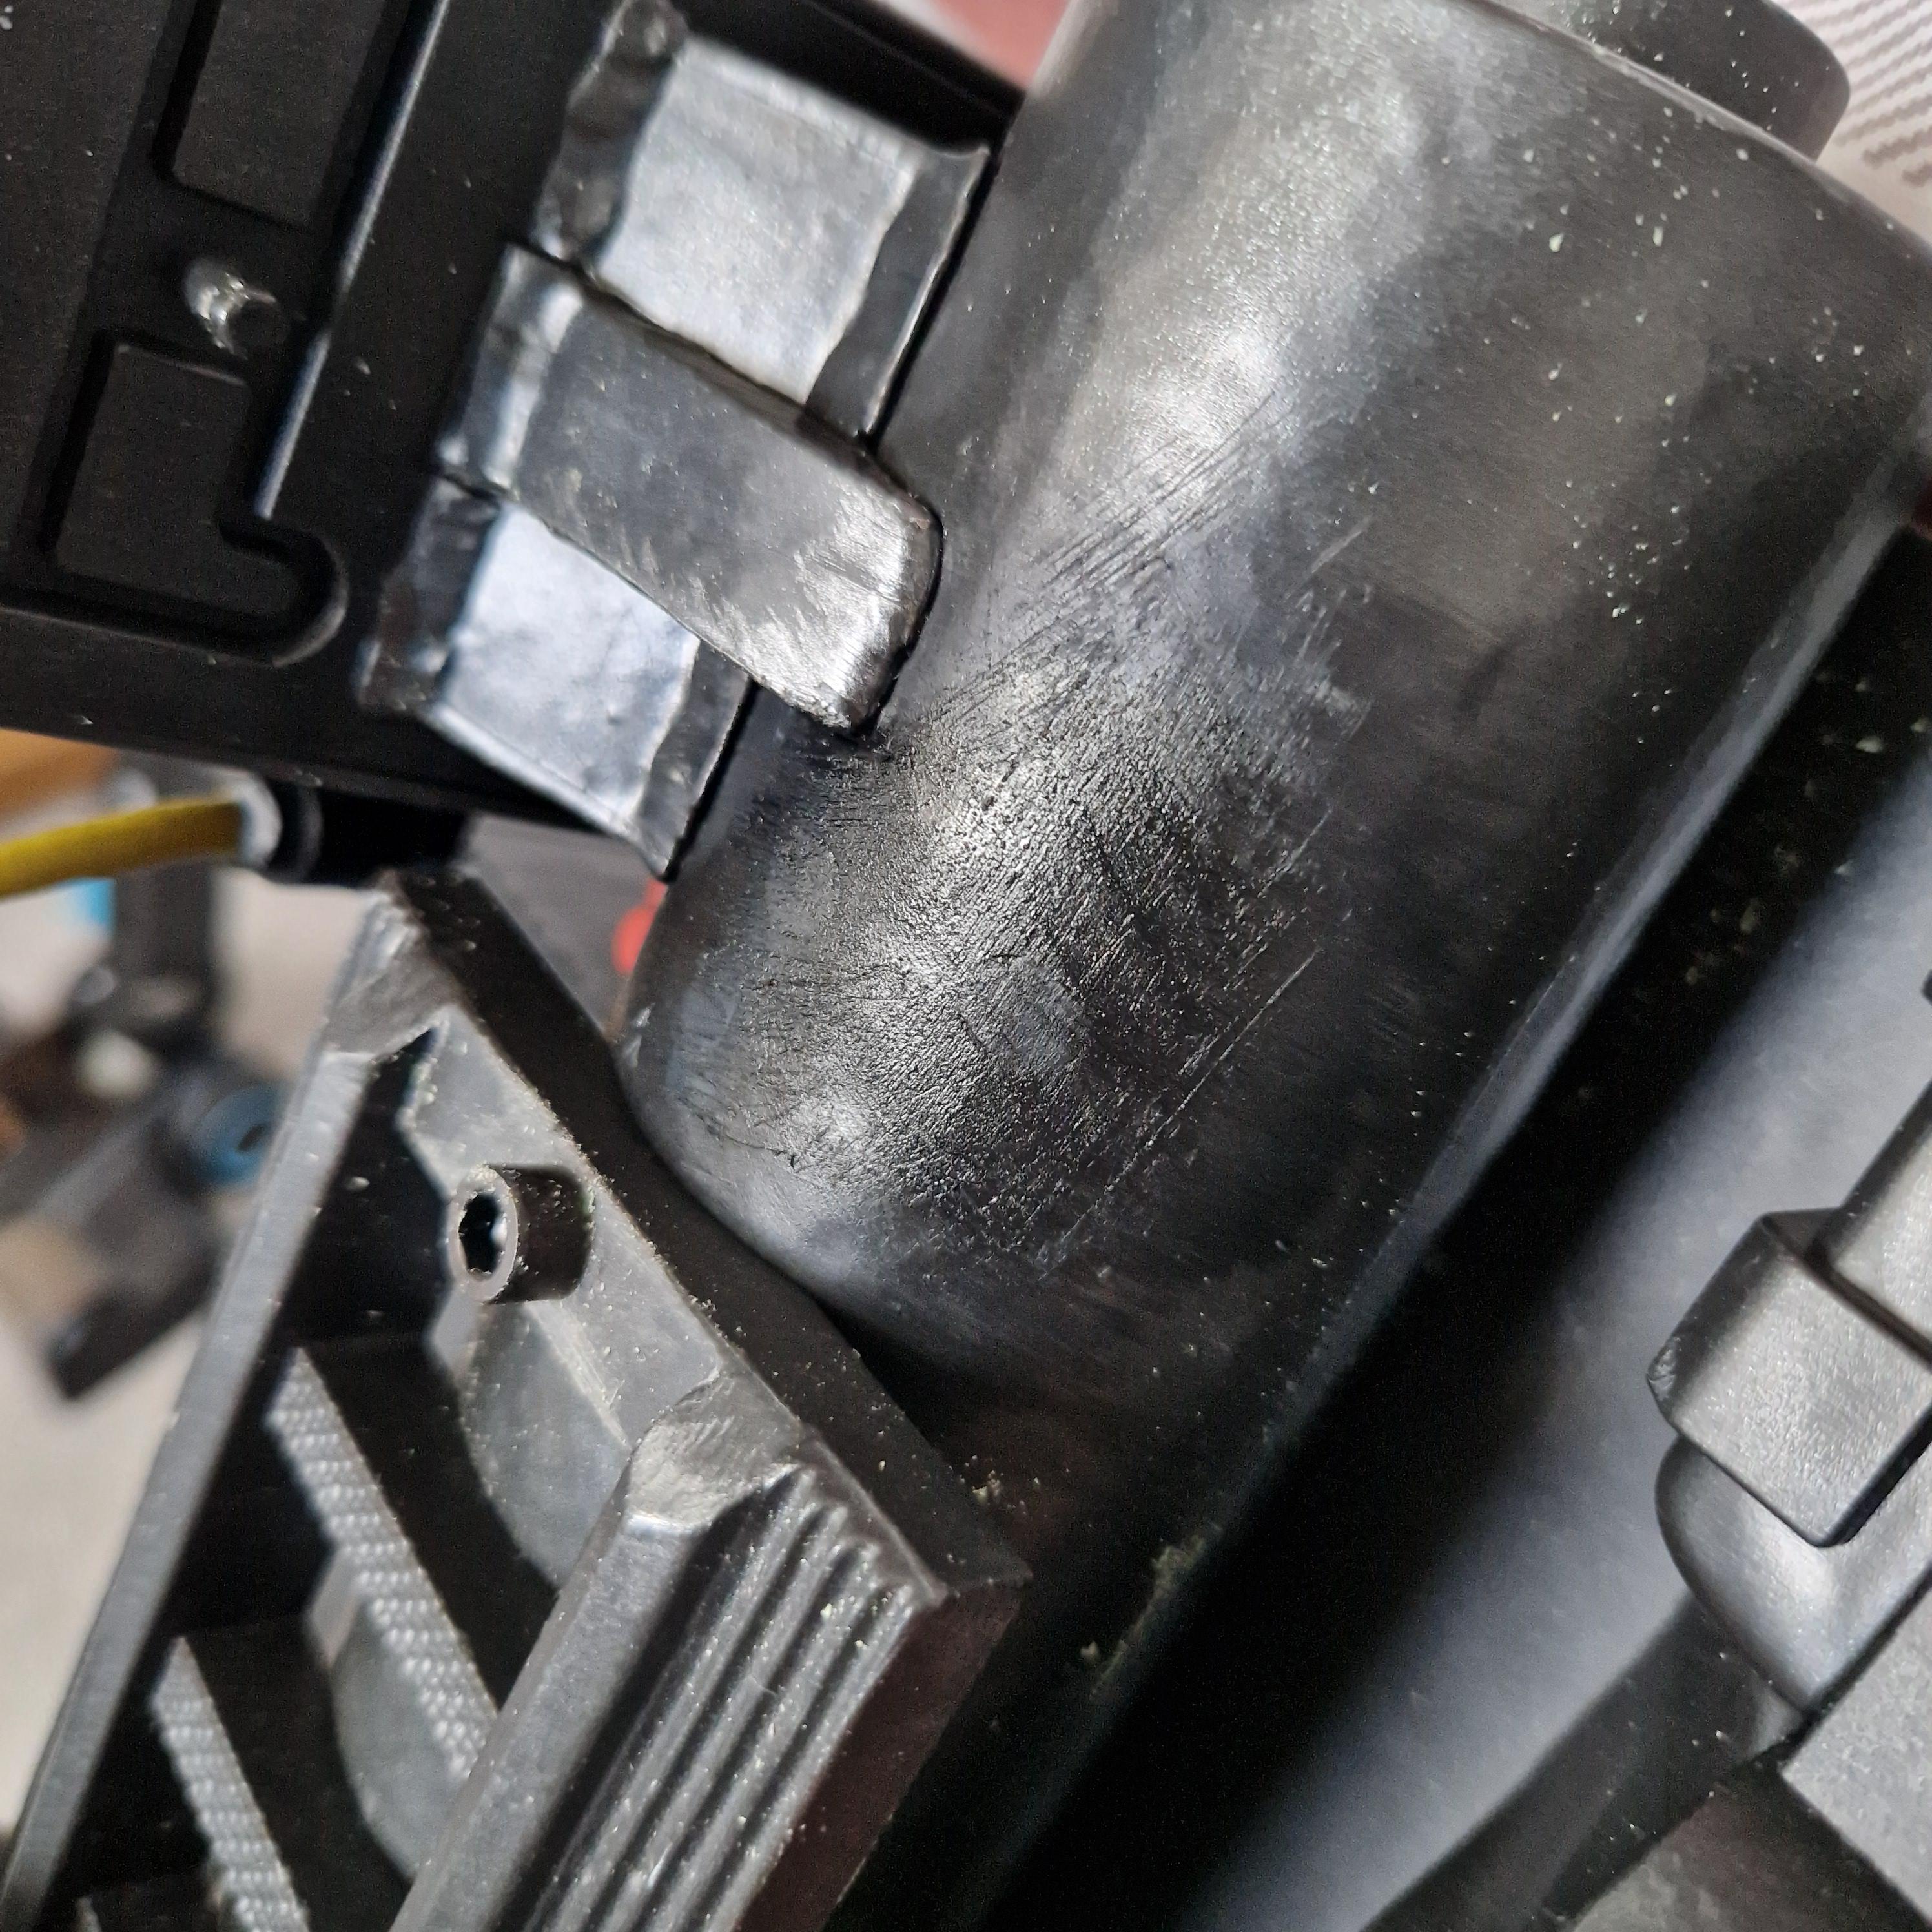
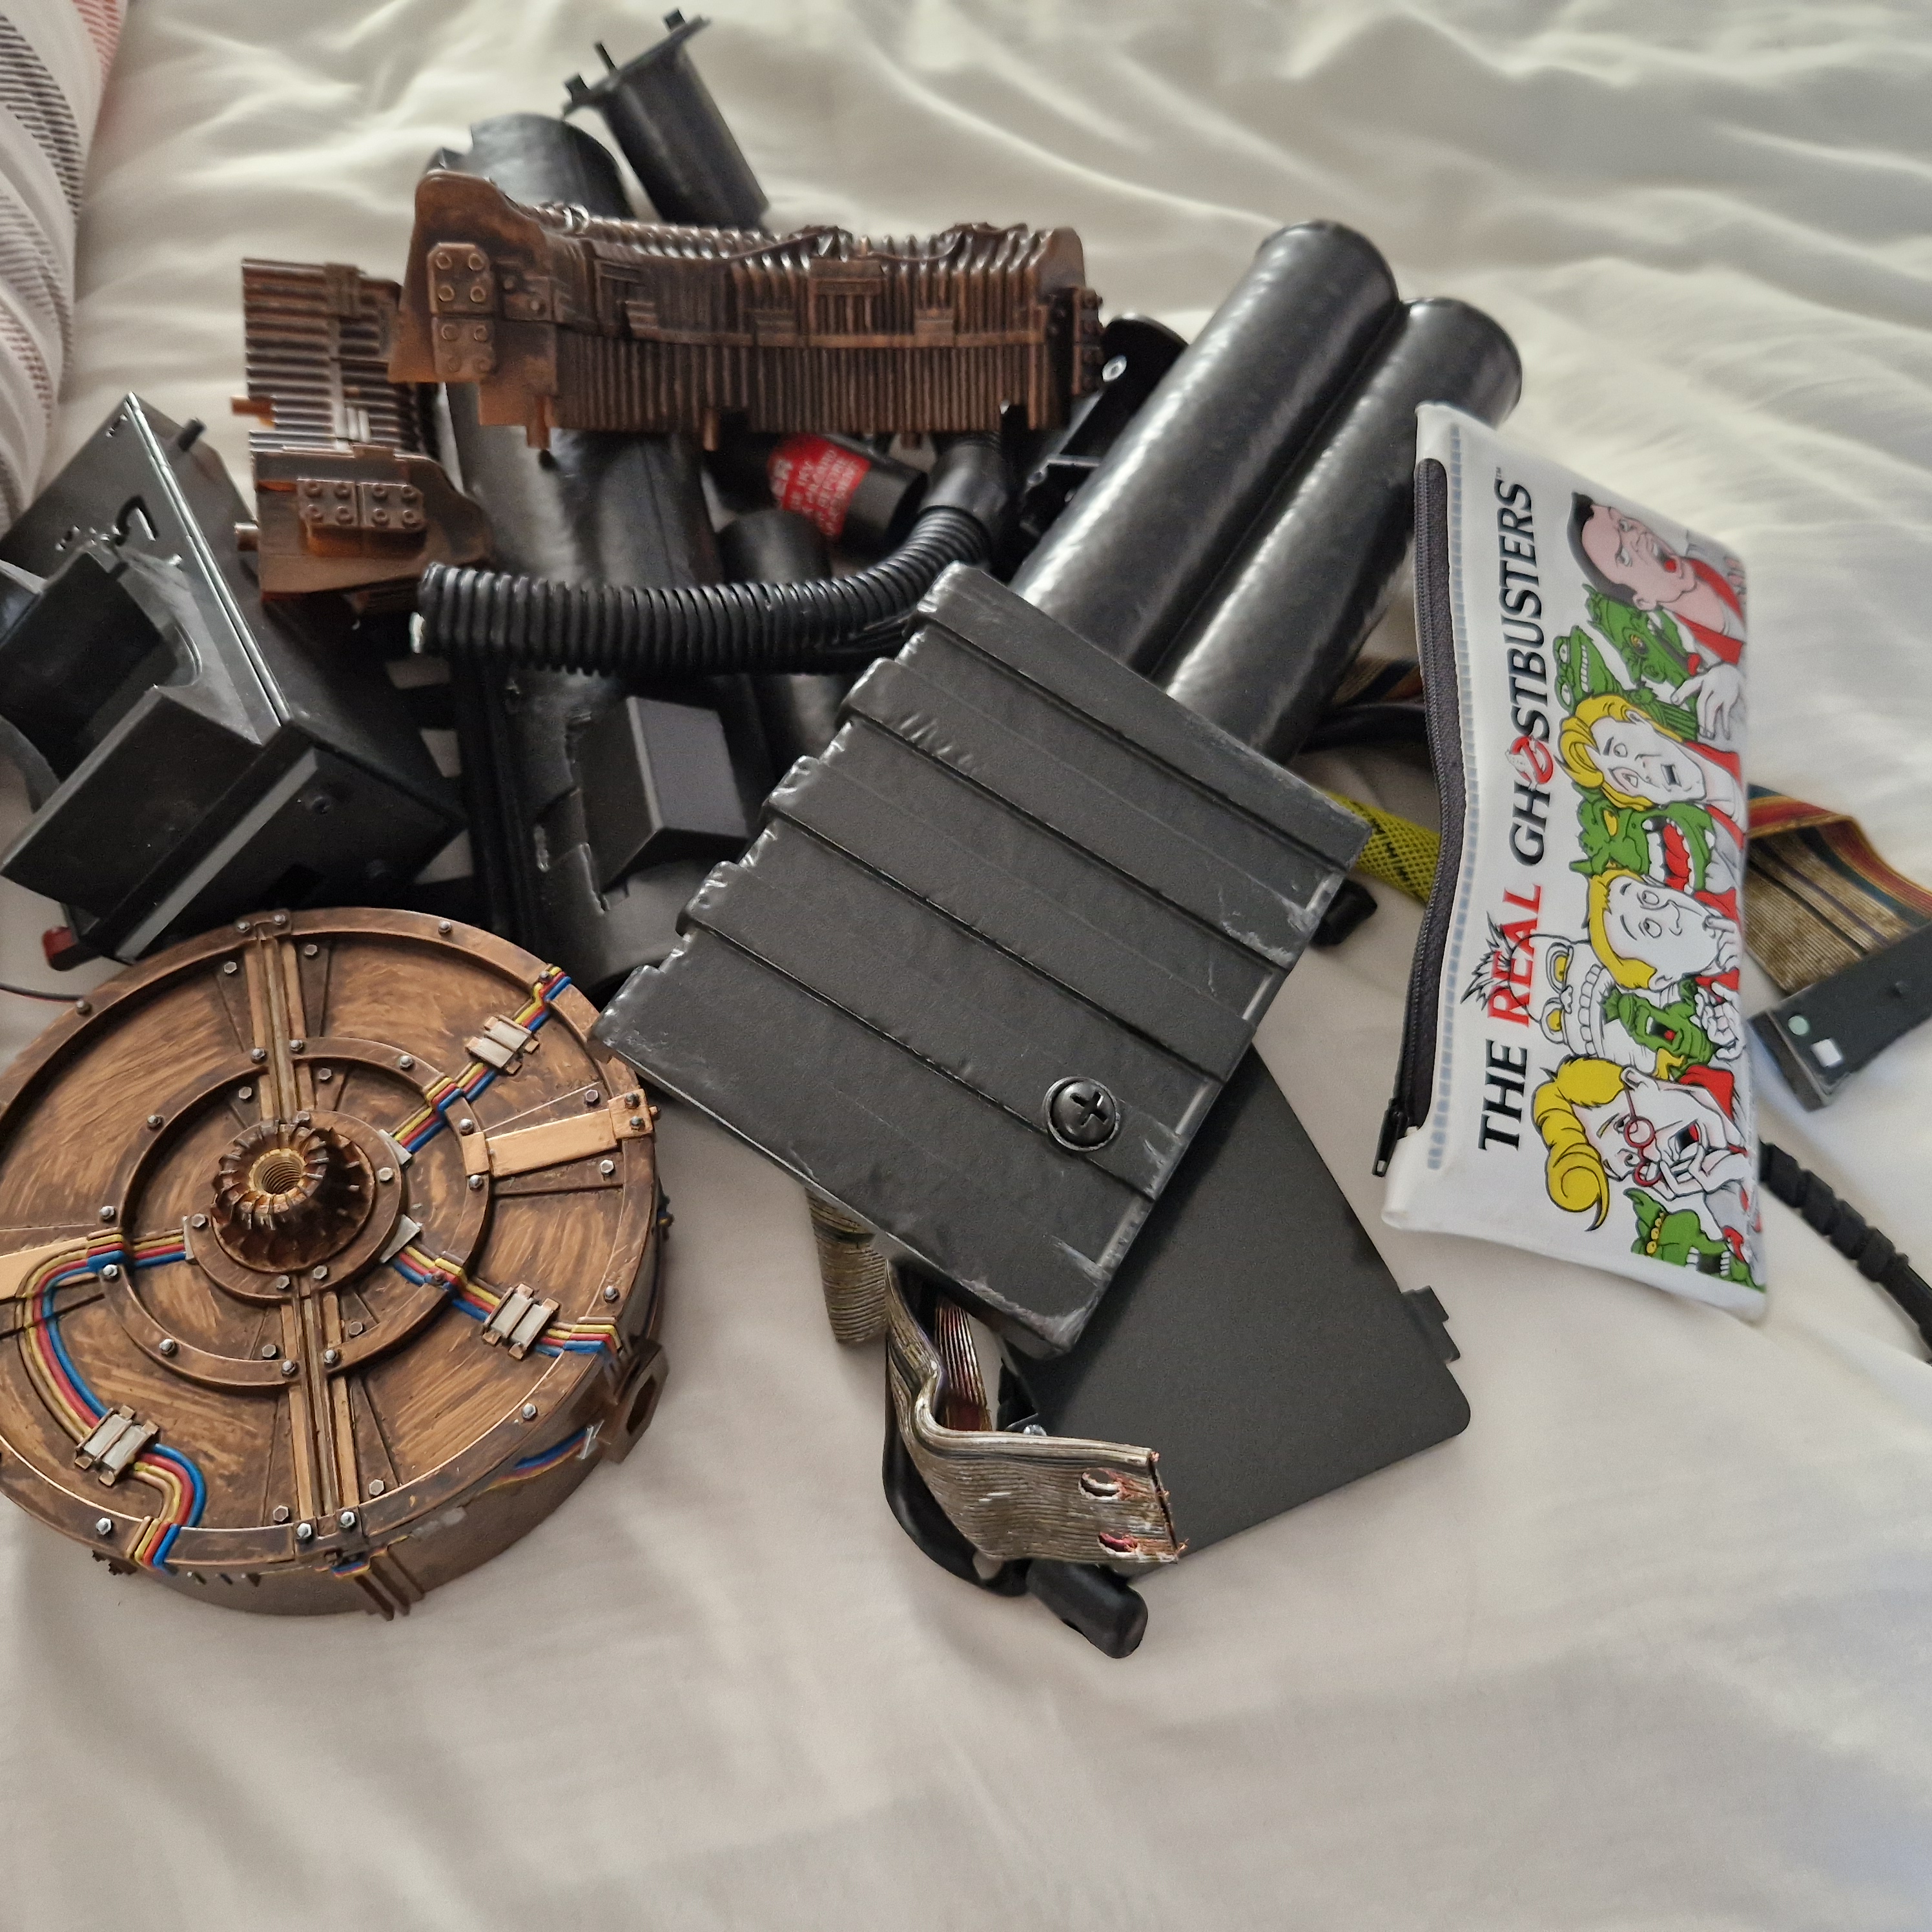
Disassemble parts to see how easy it would be to replace, sand and paint areas.
[Spoiler]
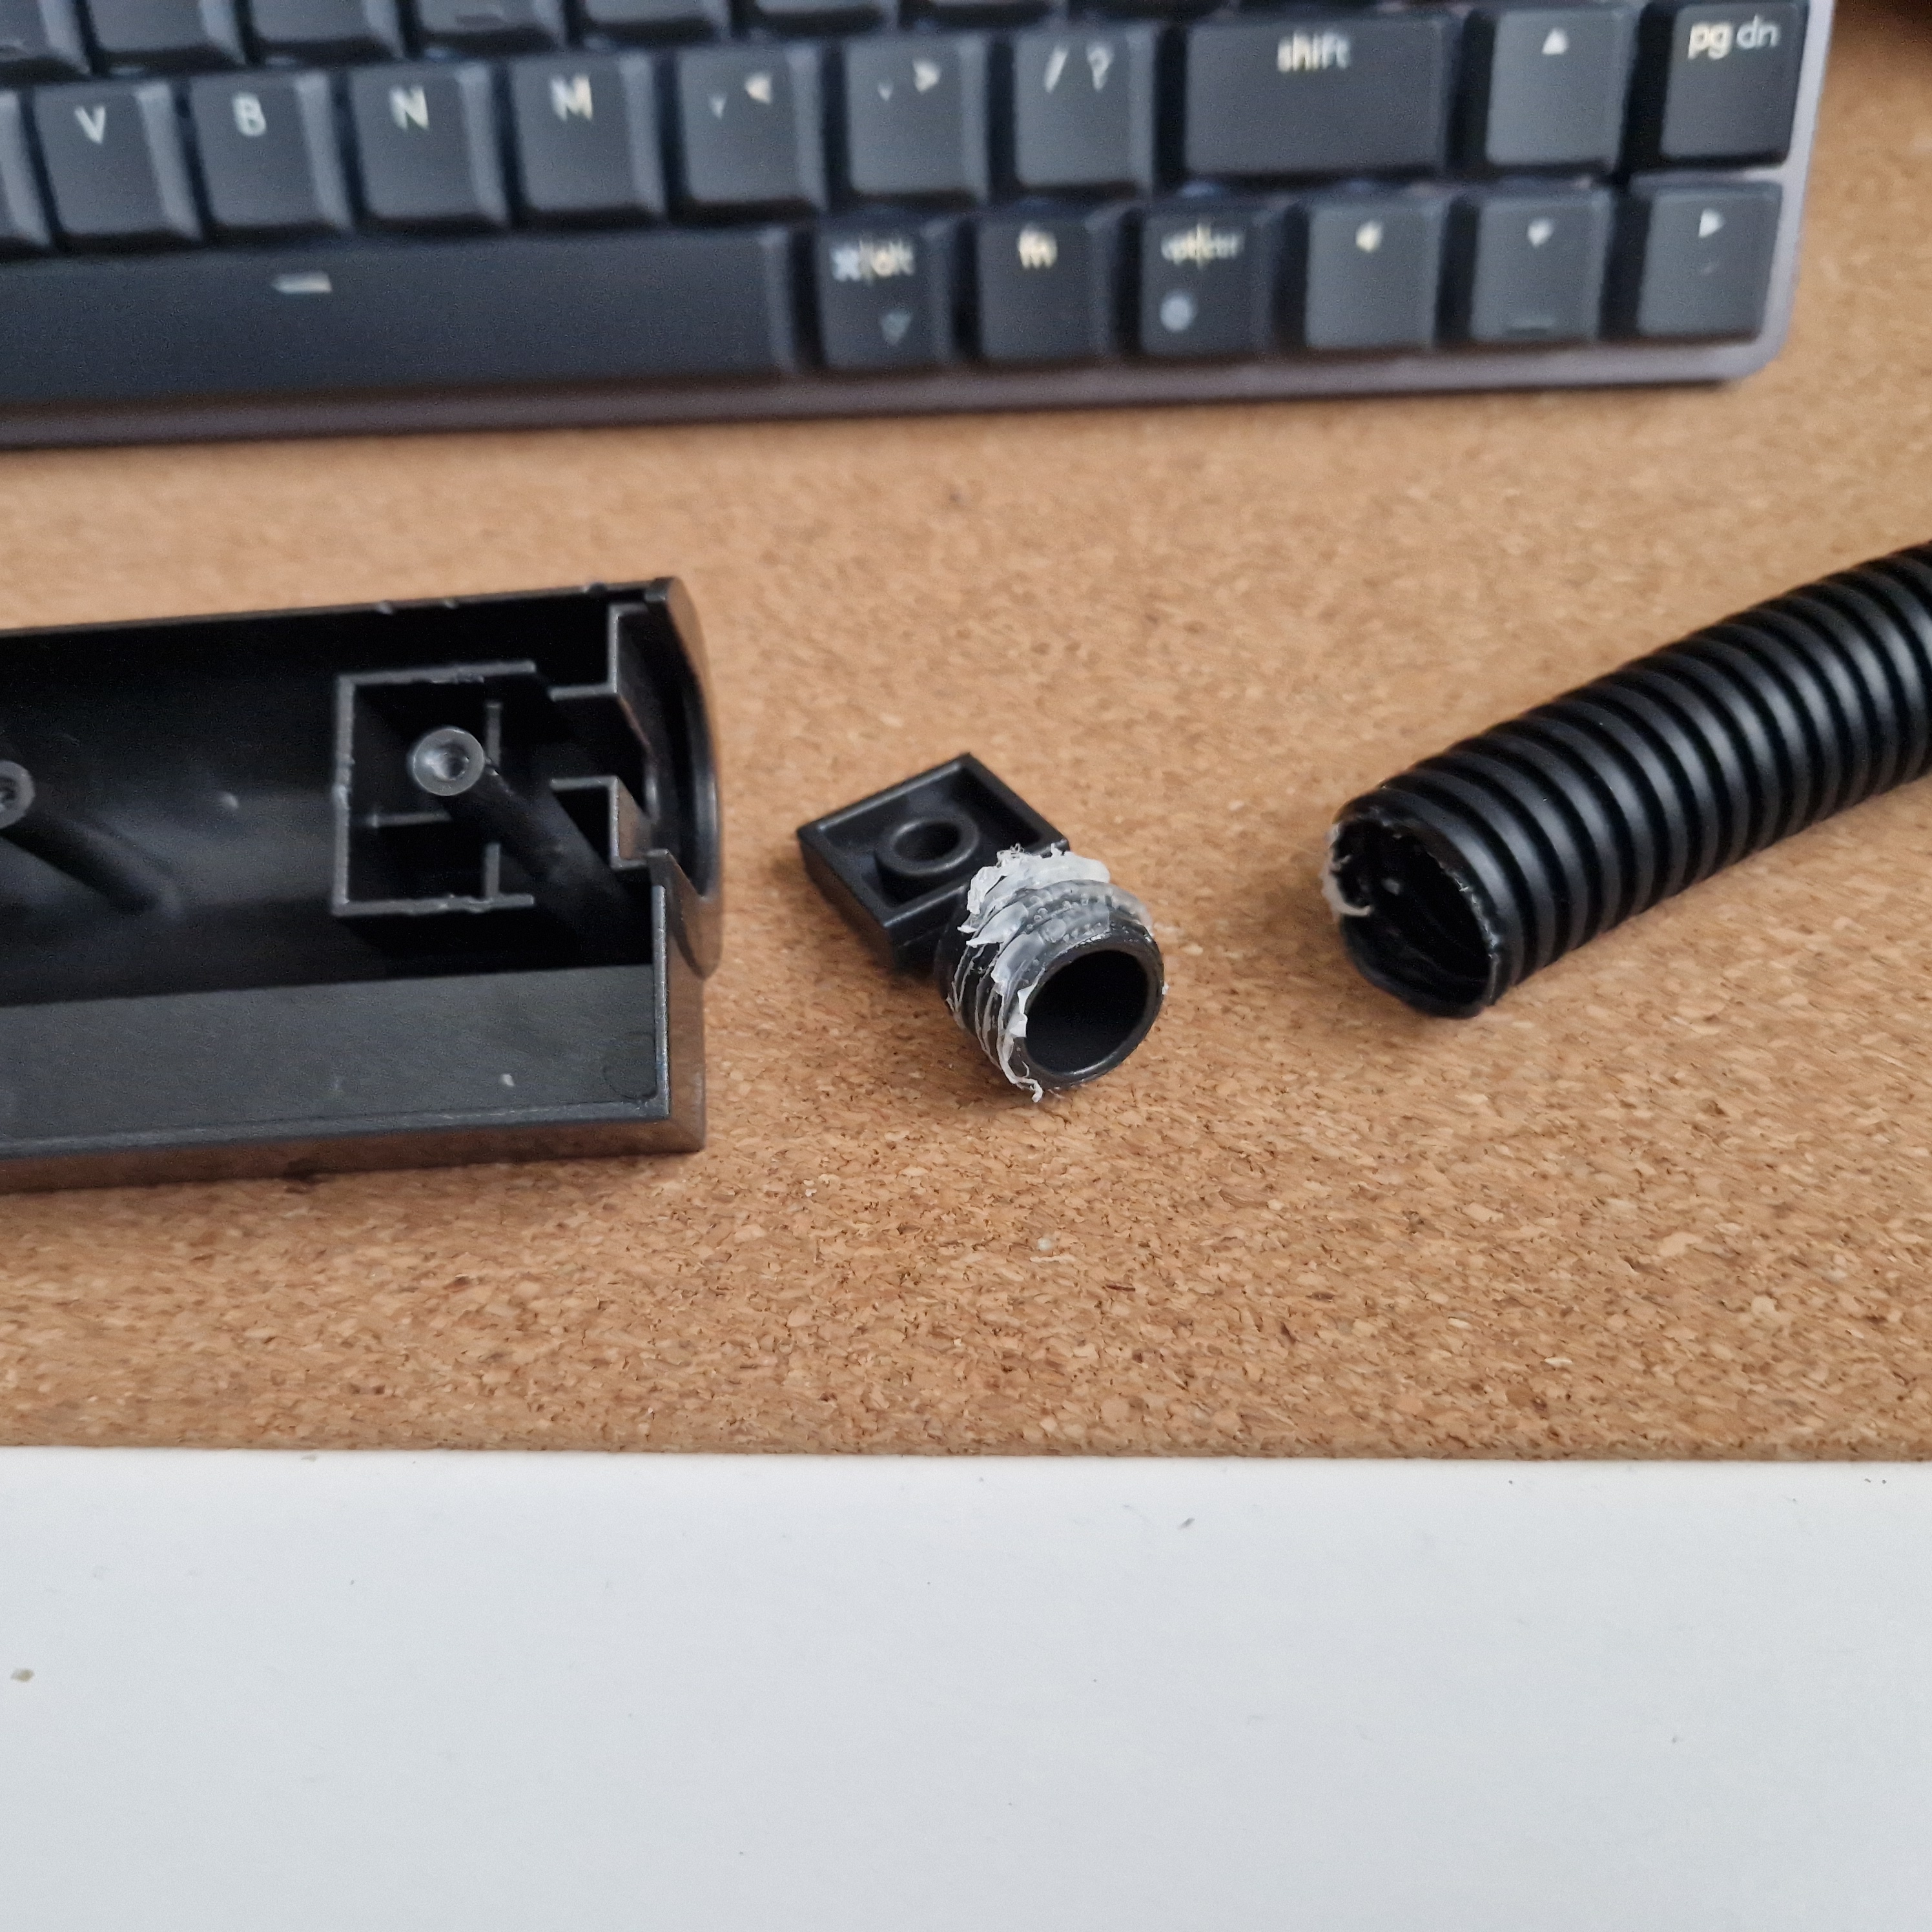
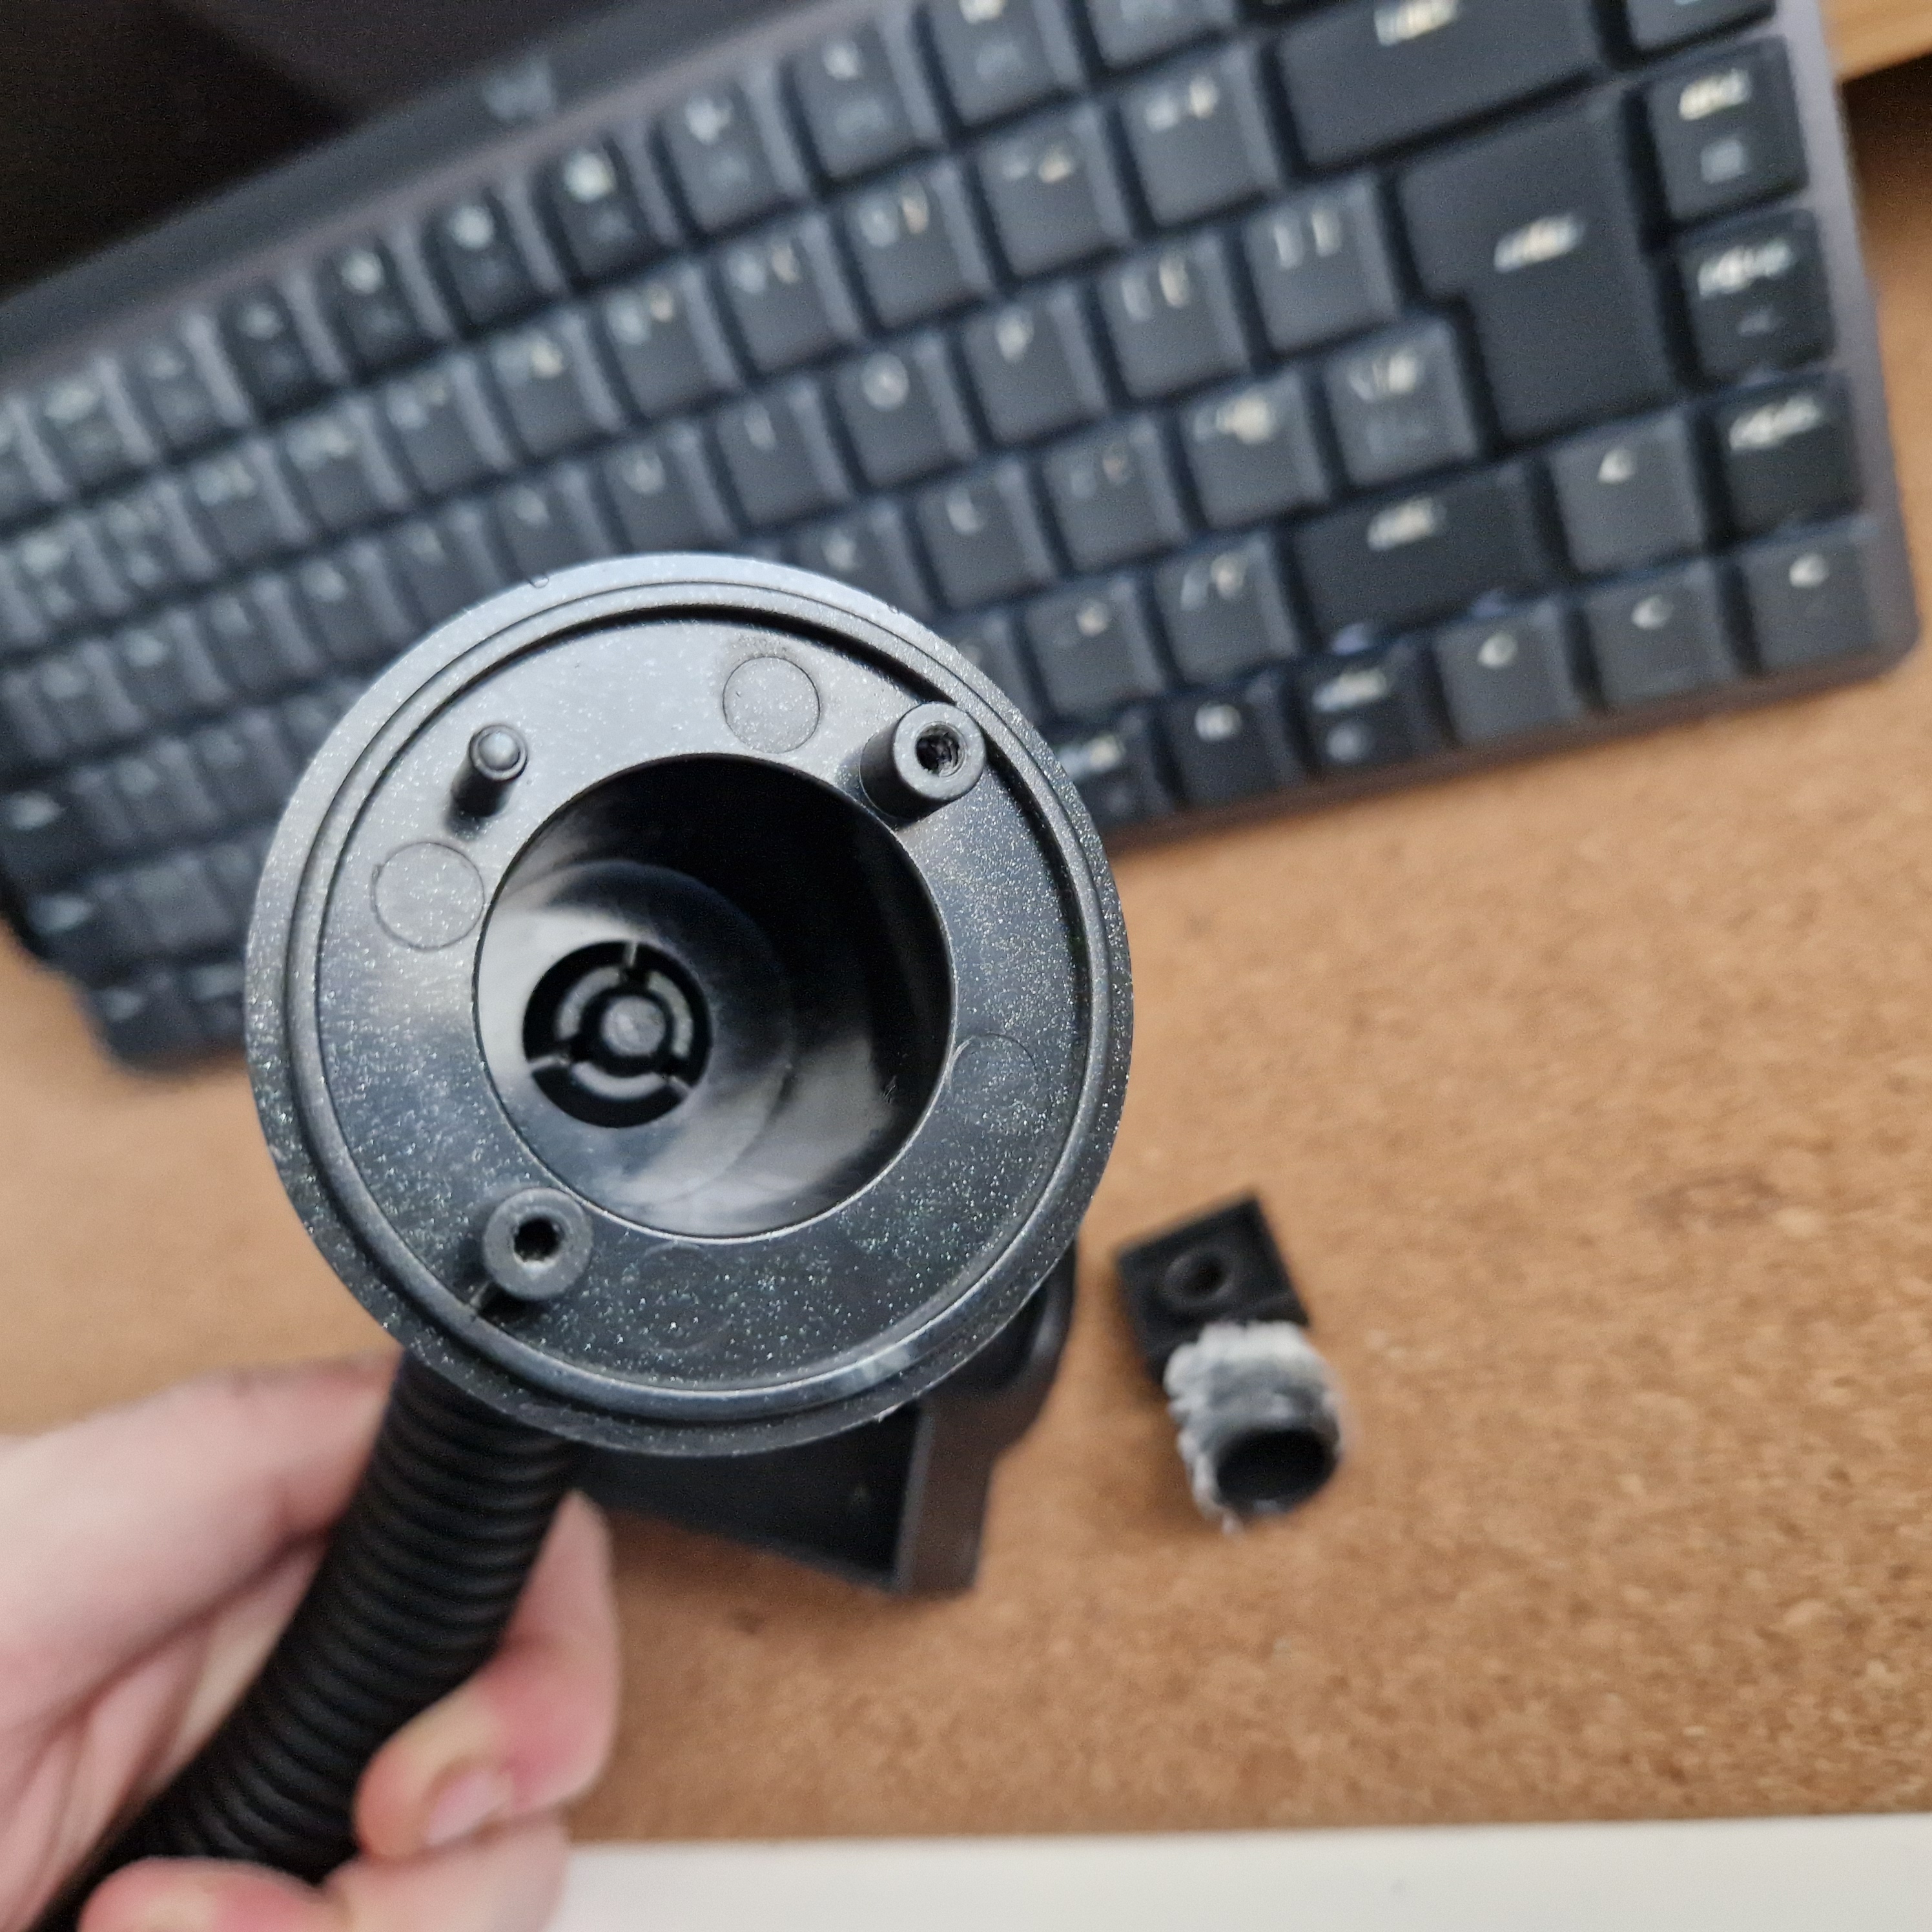
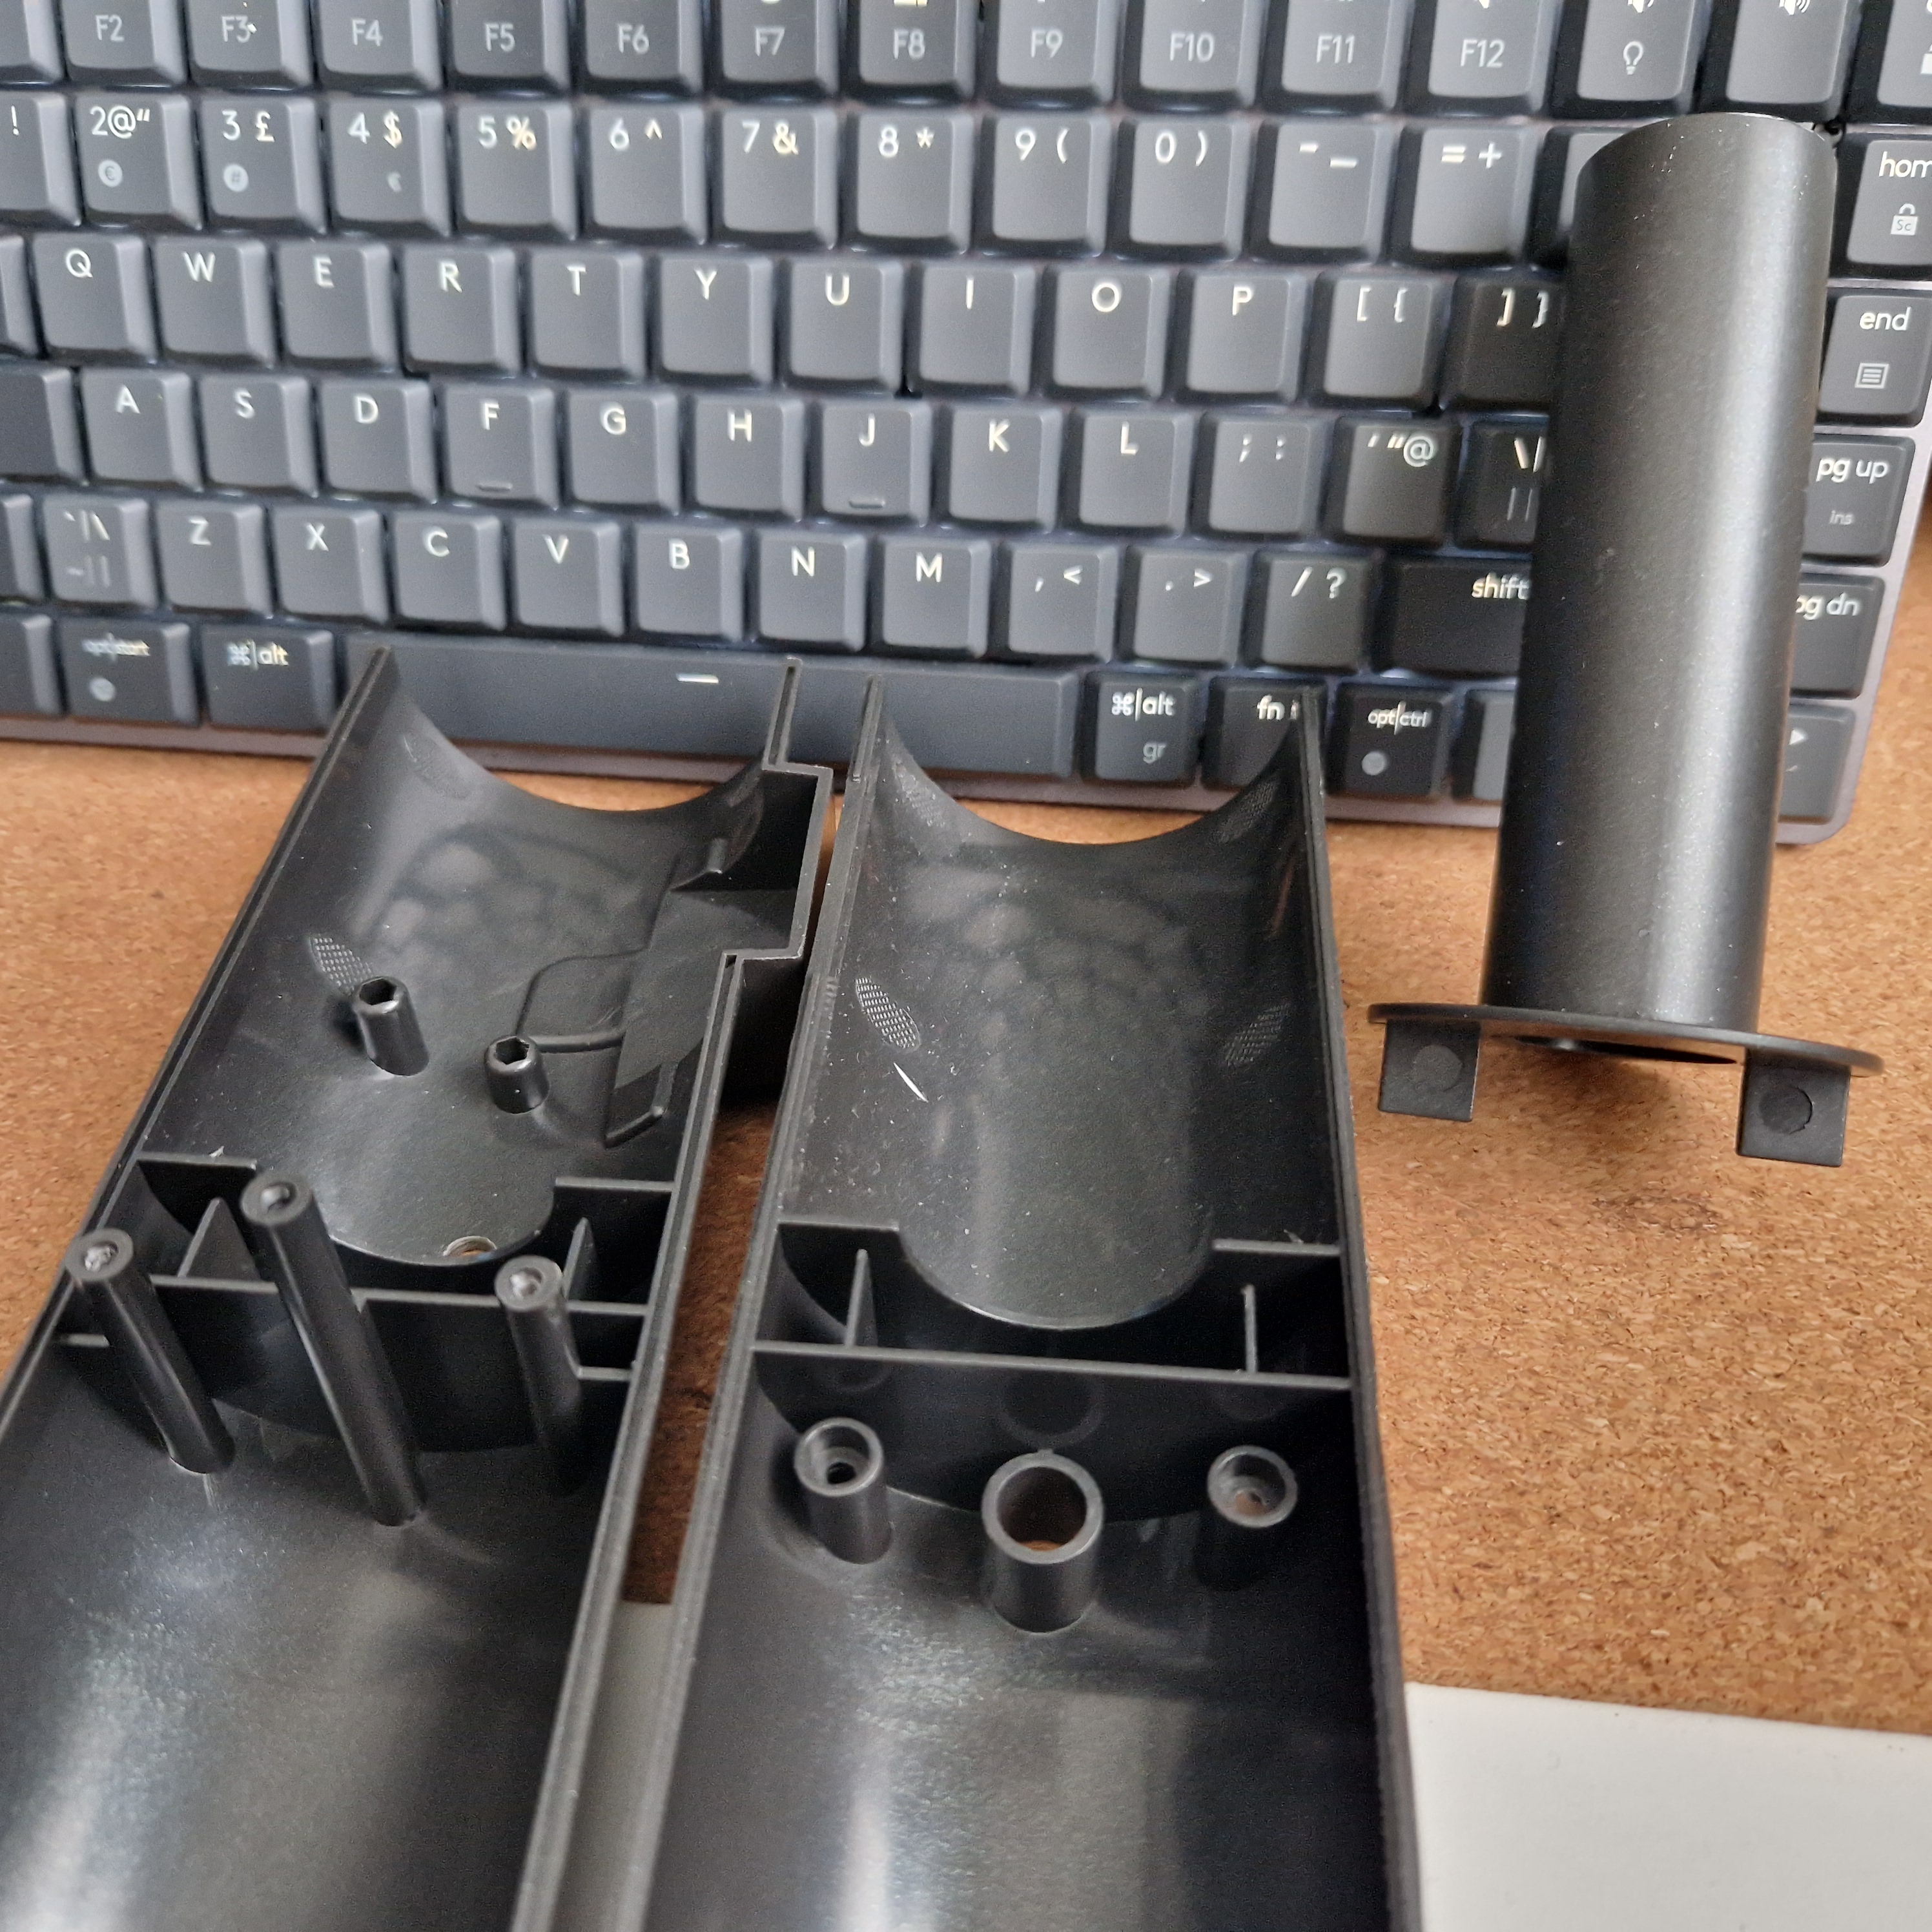
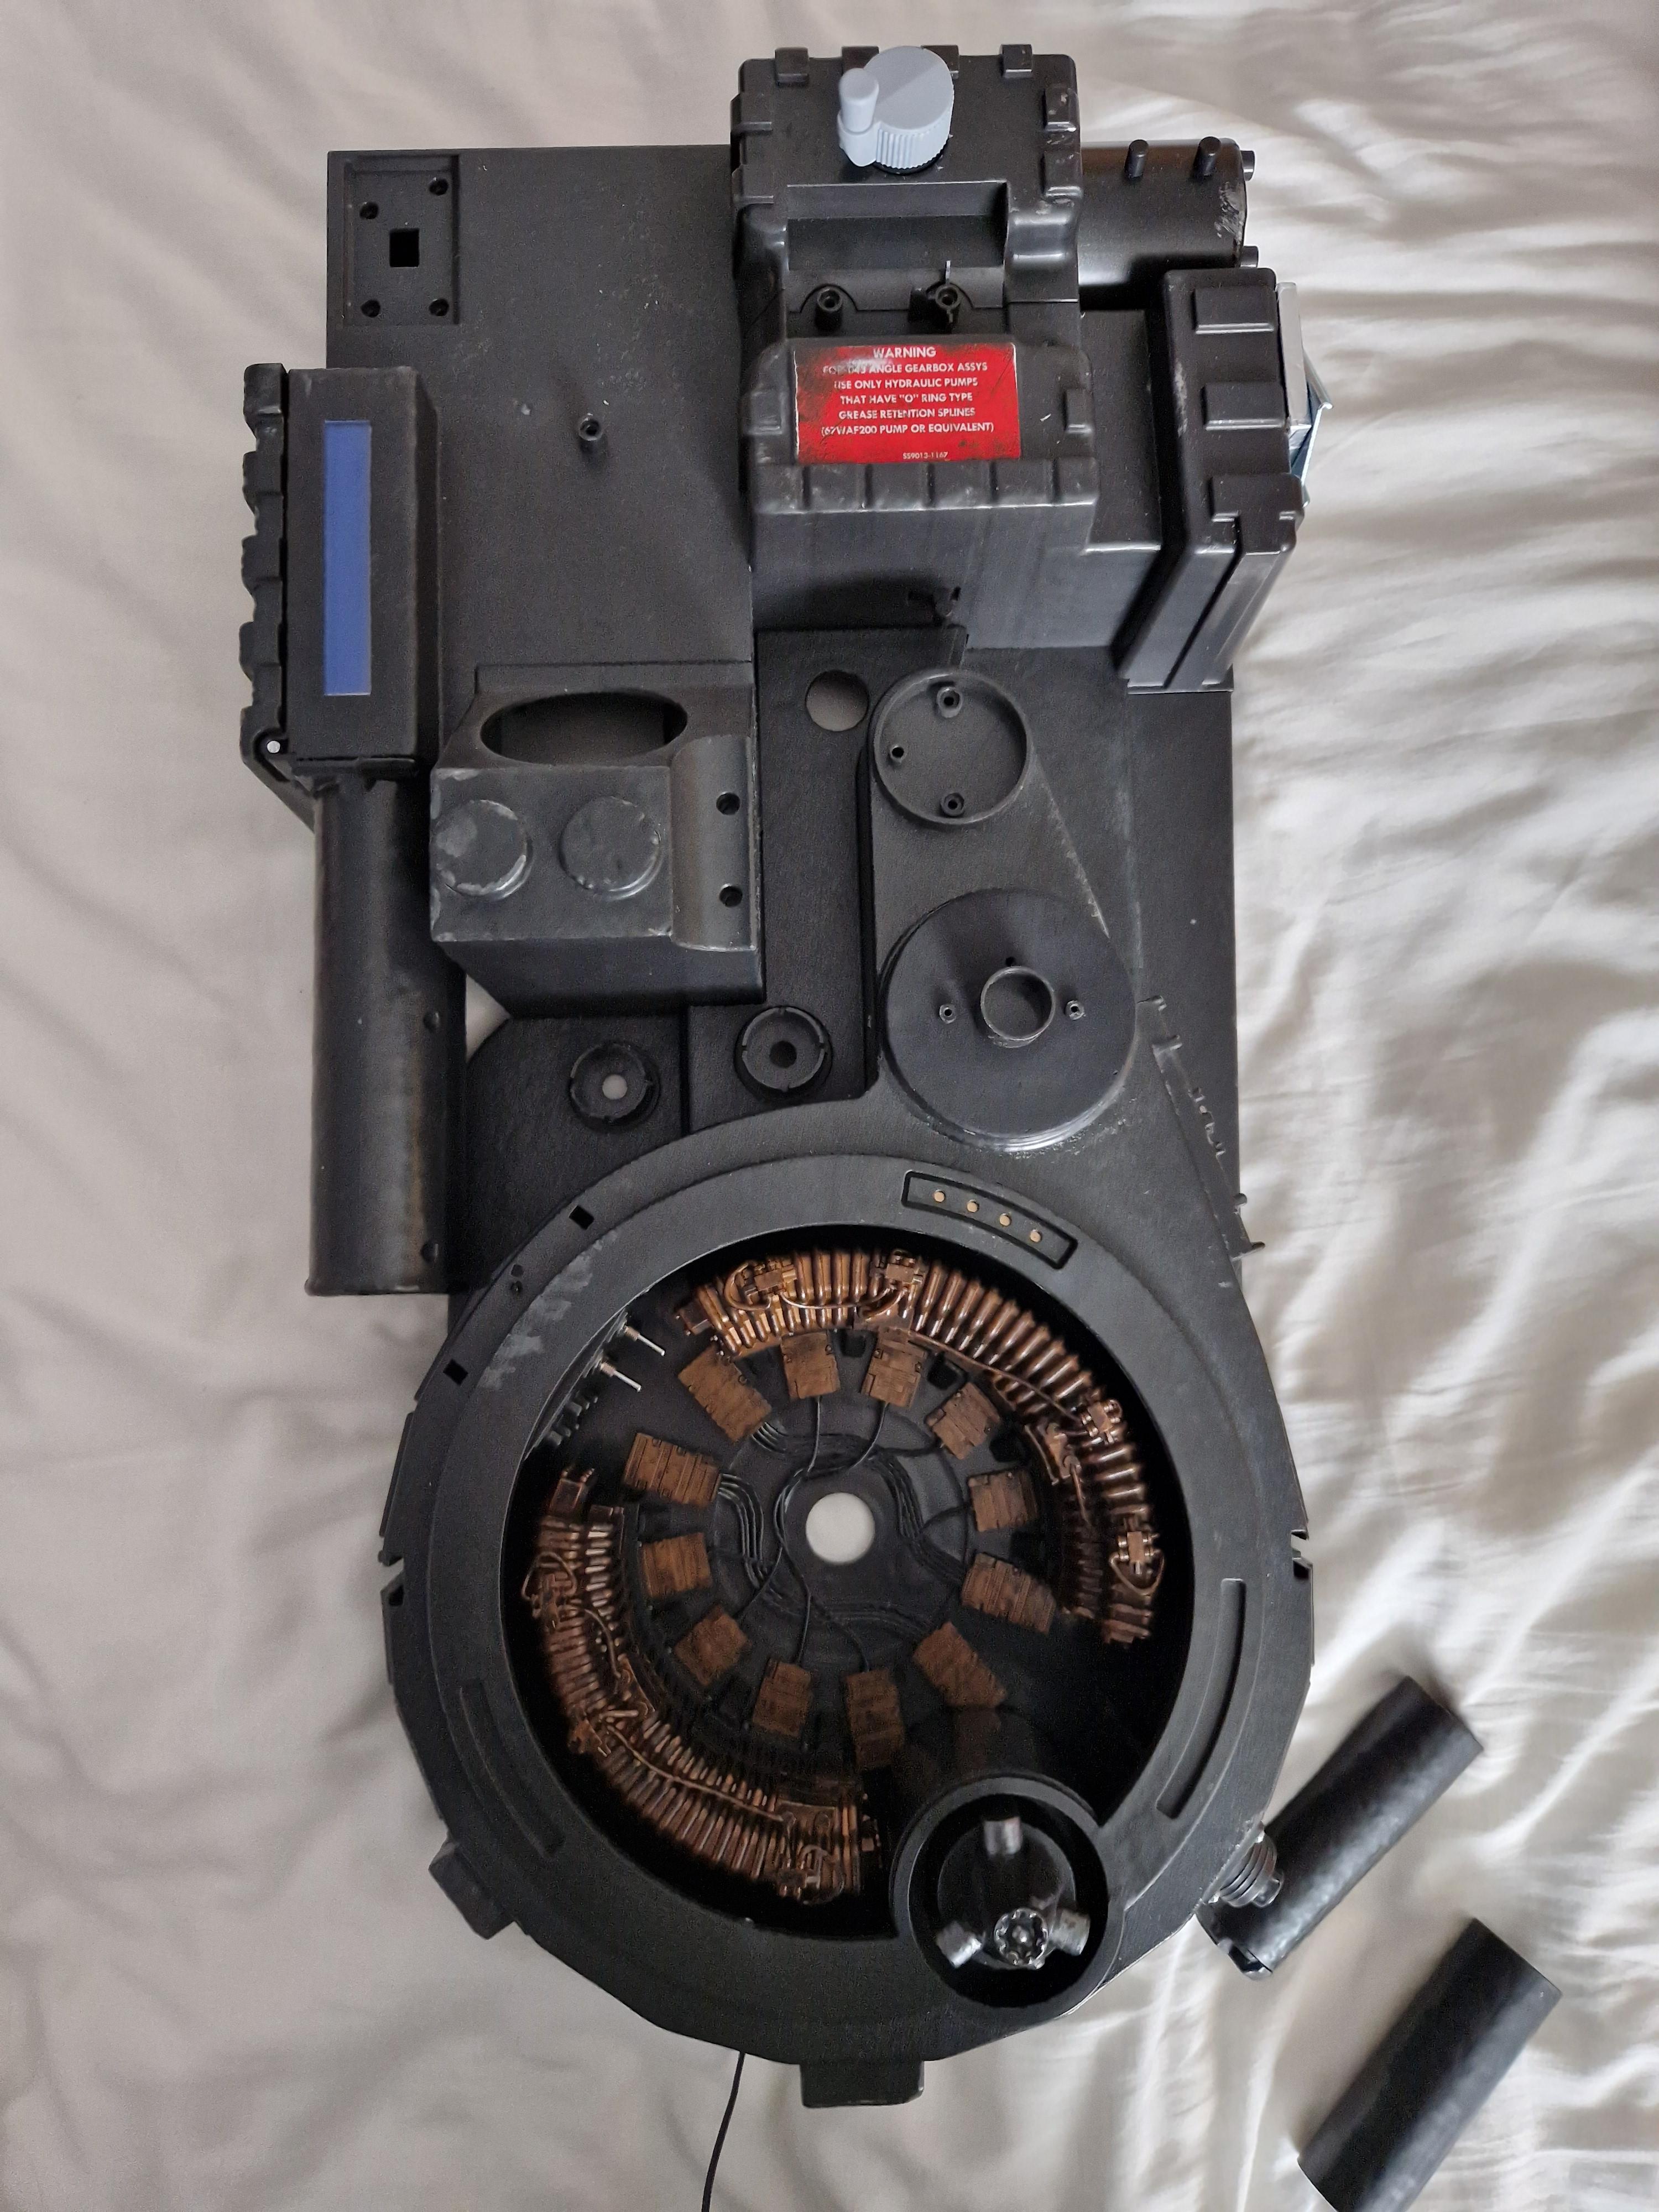
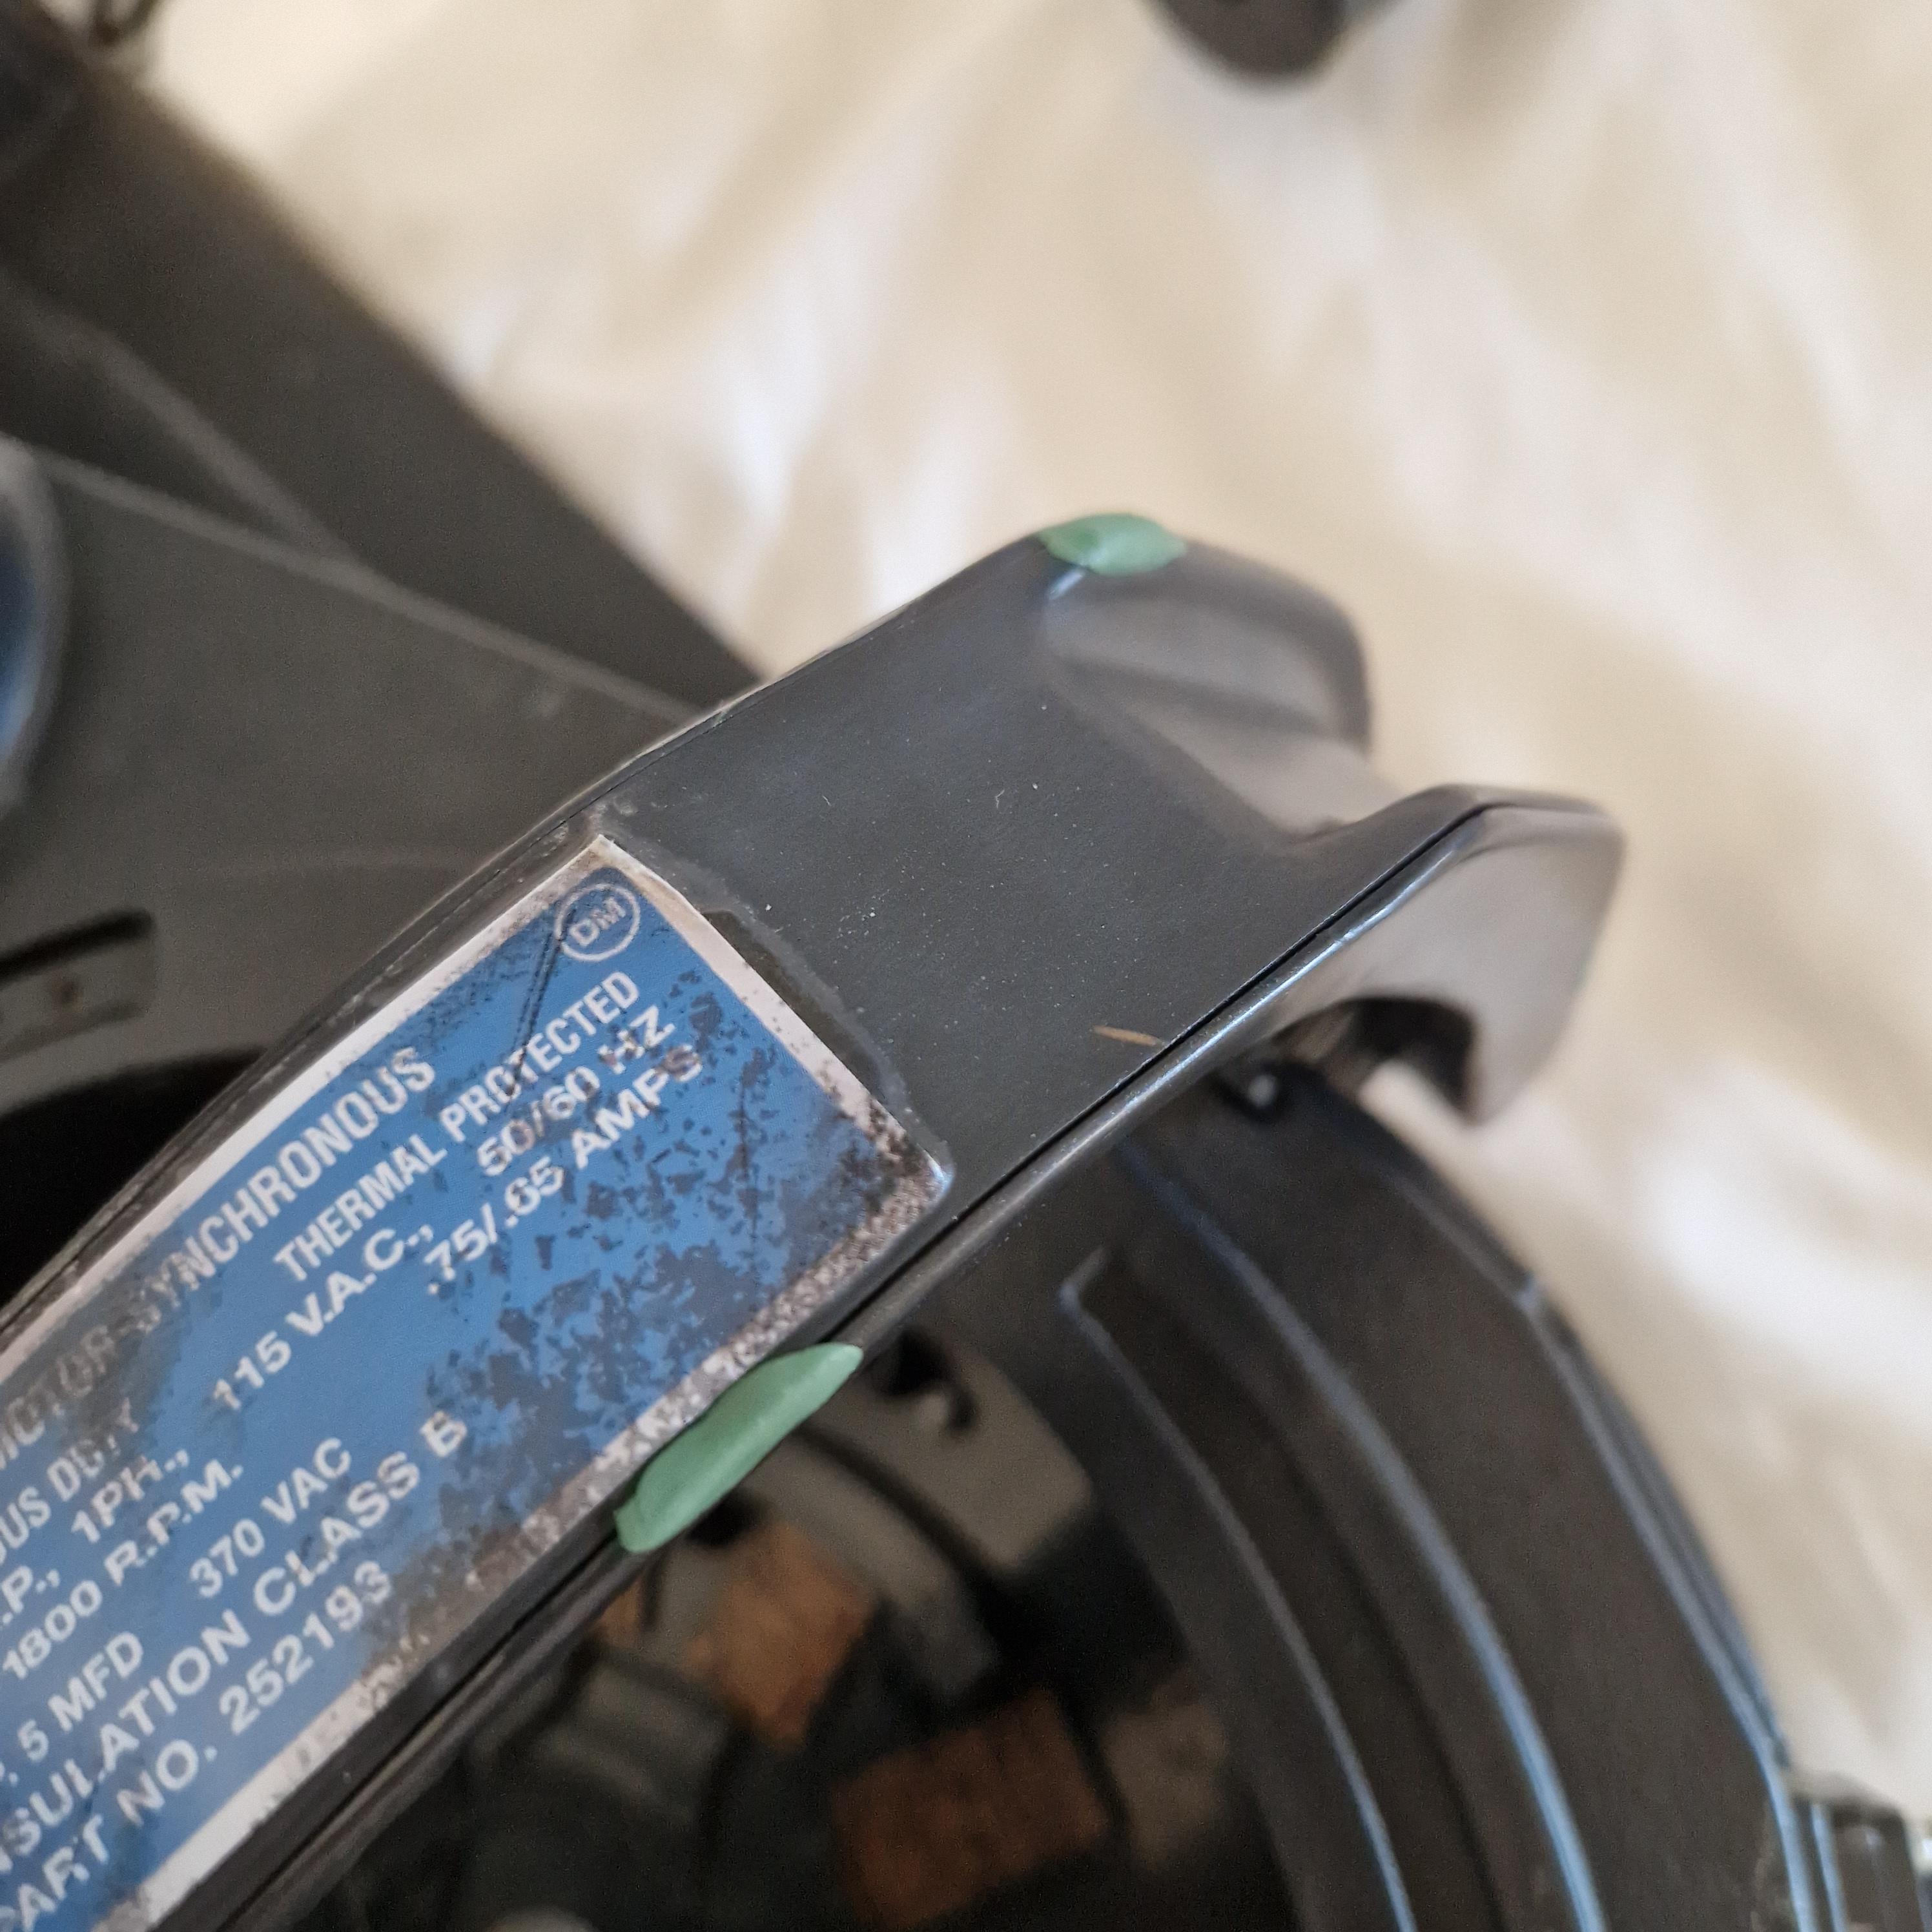
The pencil case was used to keep all the screws and tiny bits, nice for it to be useful again after some time…
[/Spoiler]
I then decided on the more extreme filling job, of getting rid of the heat sink and some other cabling.
[Spoiler]
[/Spoiler]
I’m in the UK, so used Halfords Camo Black paint as a base coat (with the paint adhesion spray before it). With living in Sunny Scotland, by the time I started this it was getting pretty cold, so I pulled a few funny looks from neighbours as I stood outside with a hairdryer pointed at pack parts.
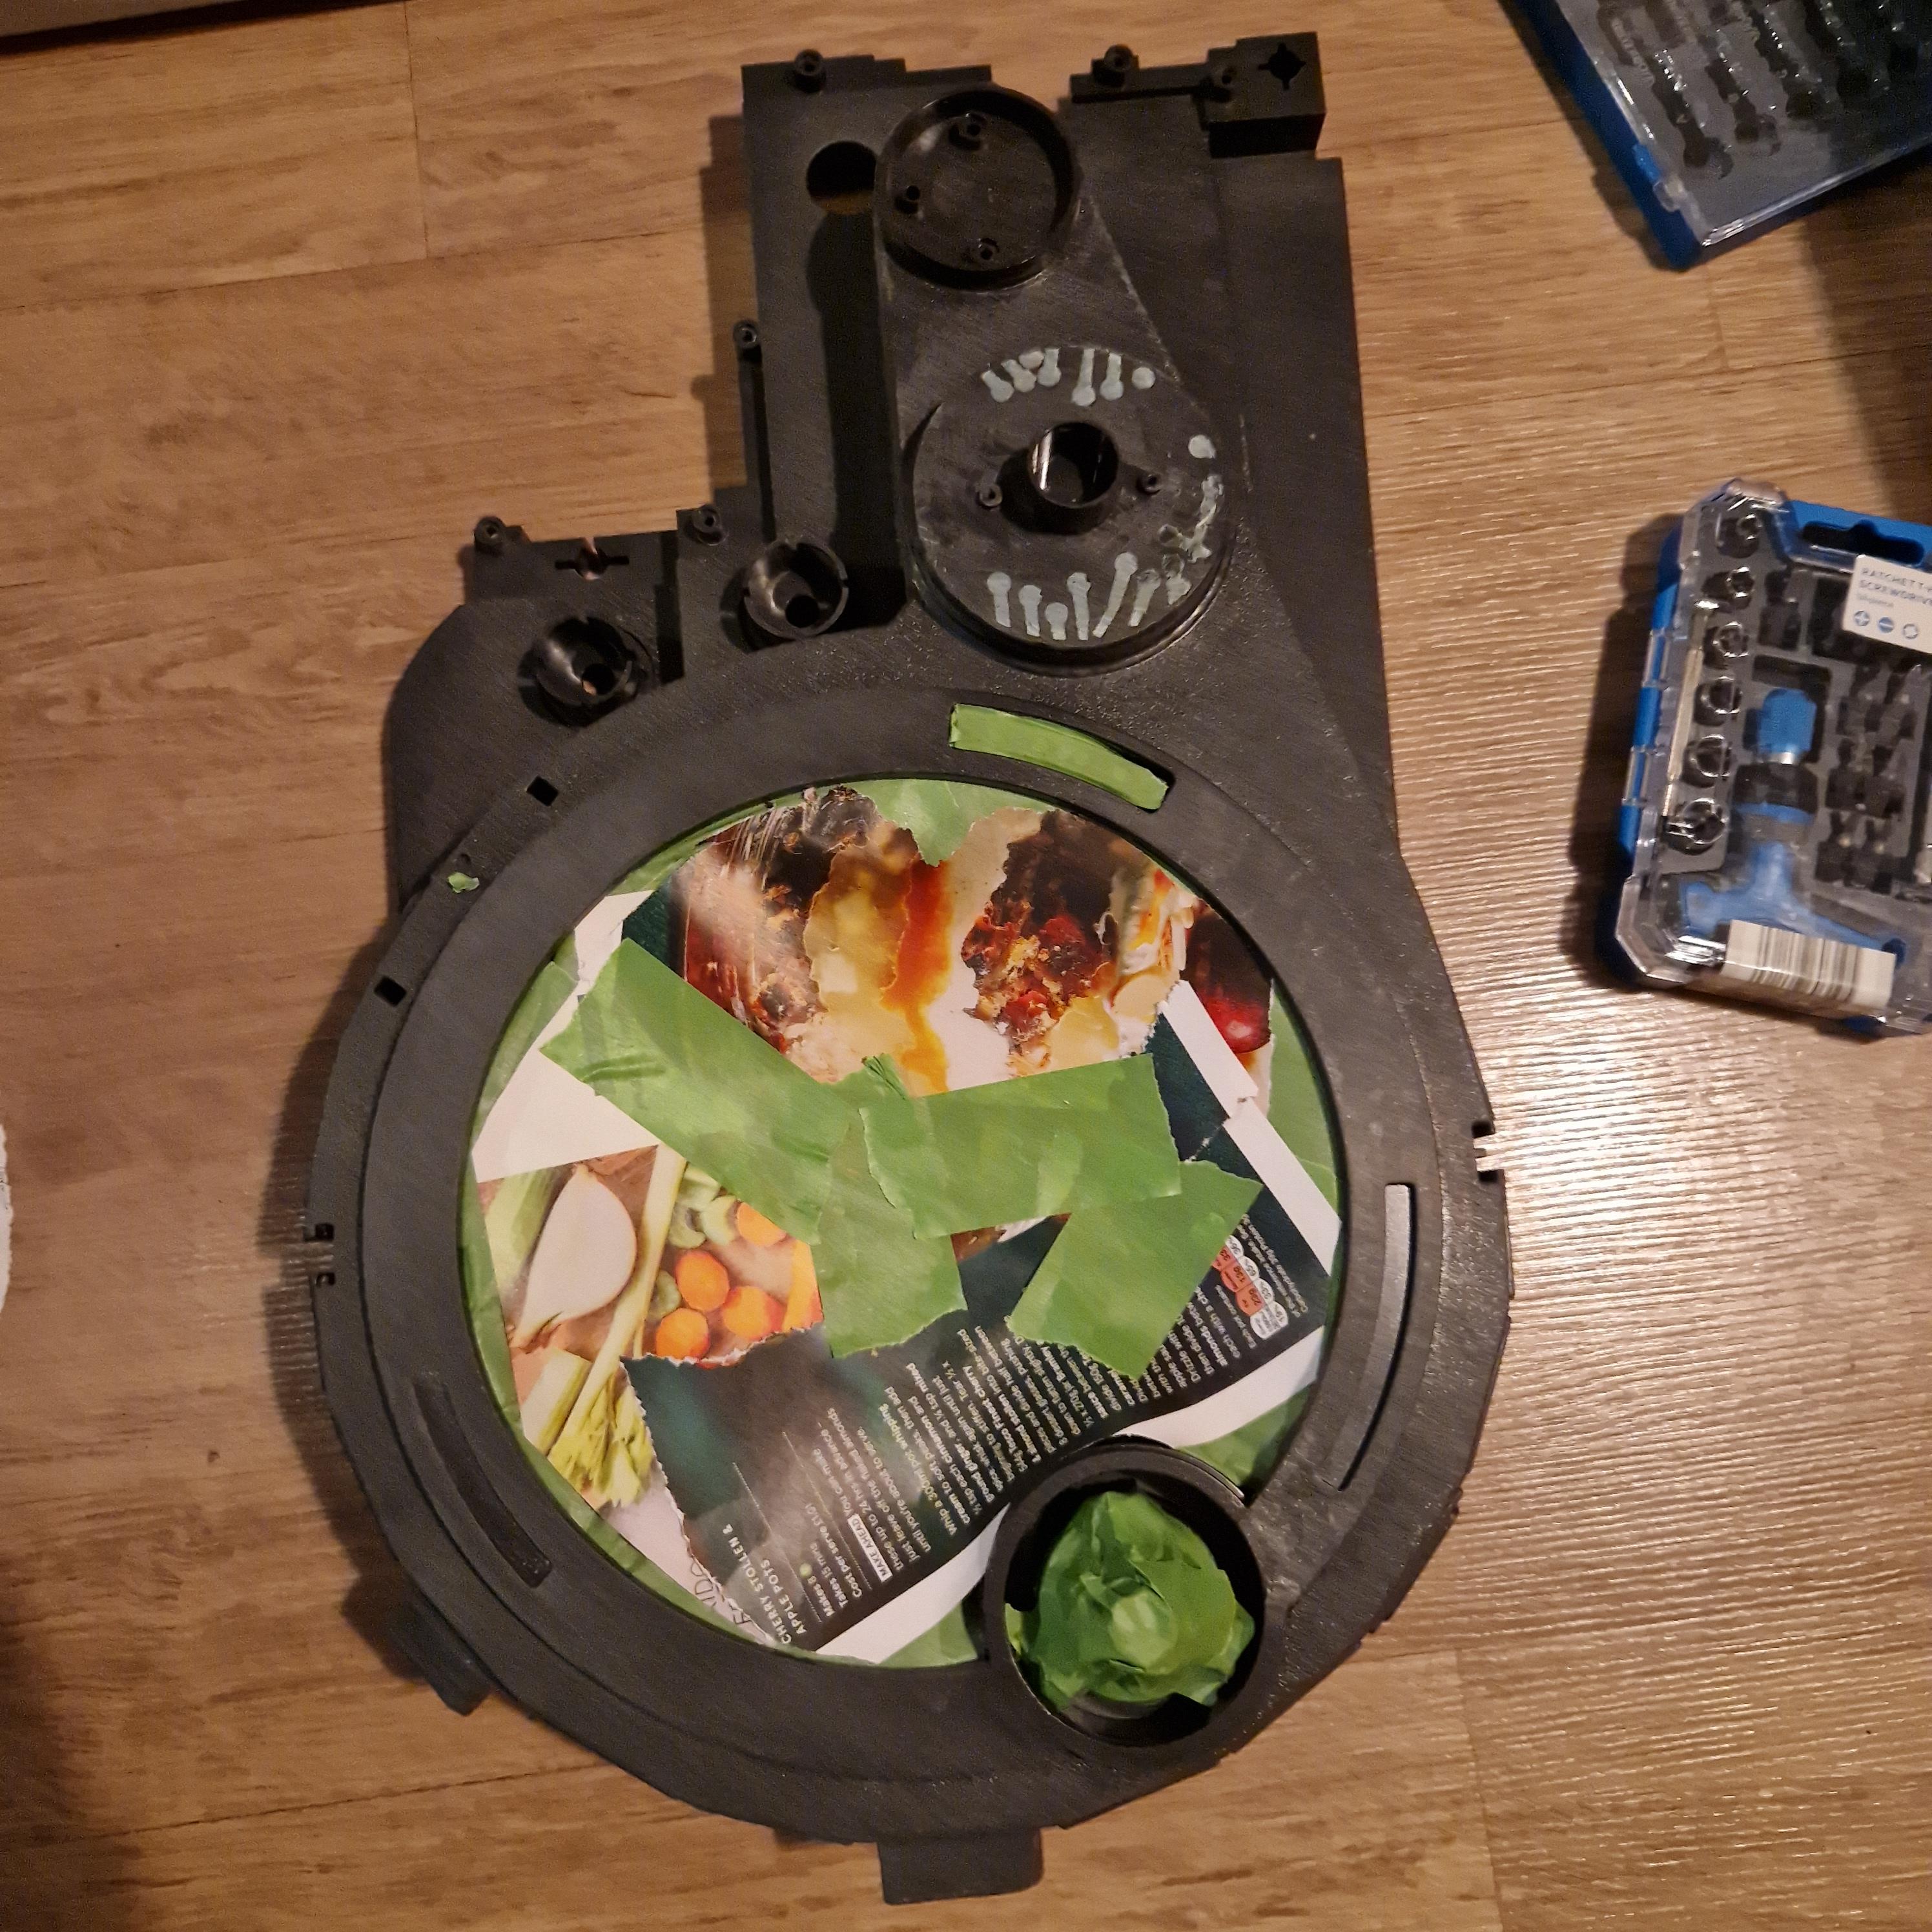
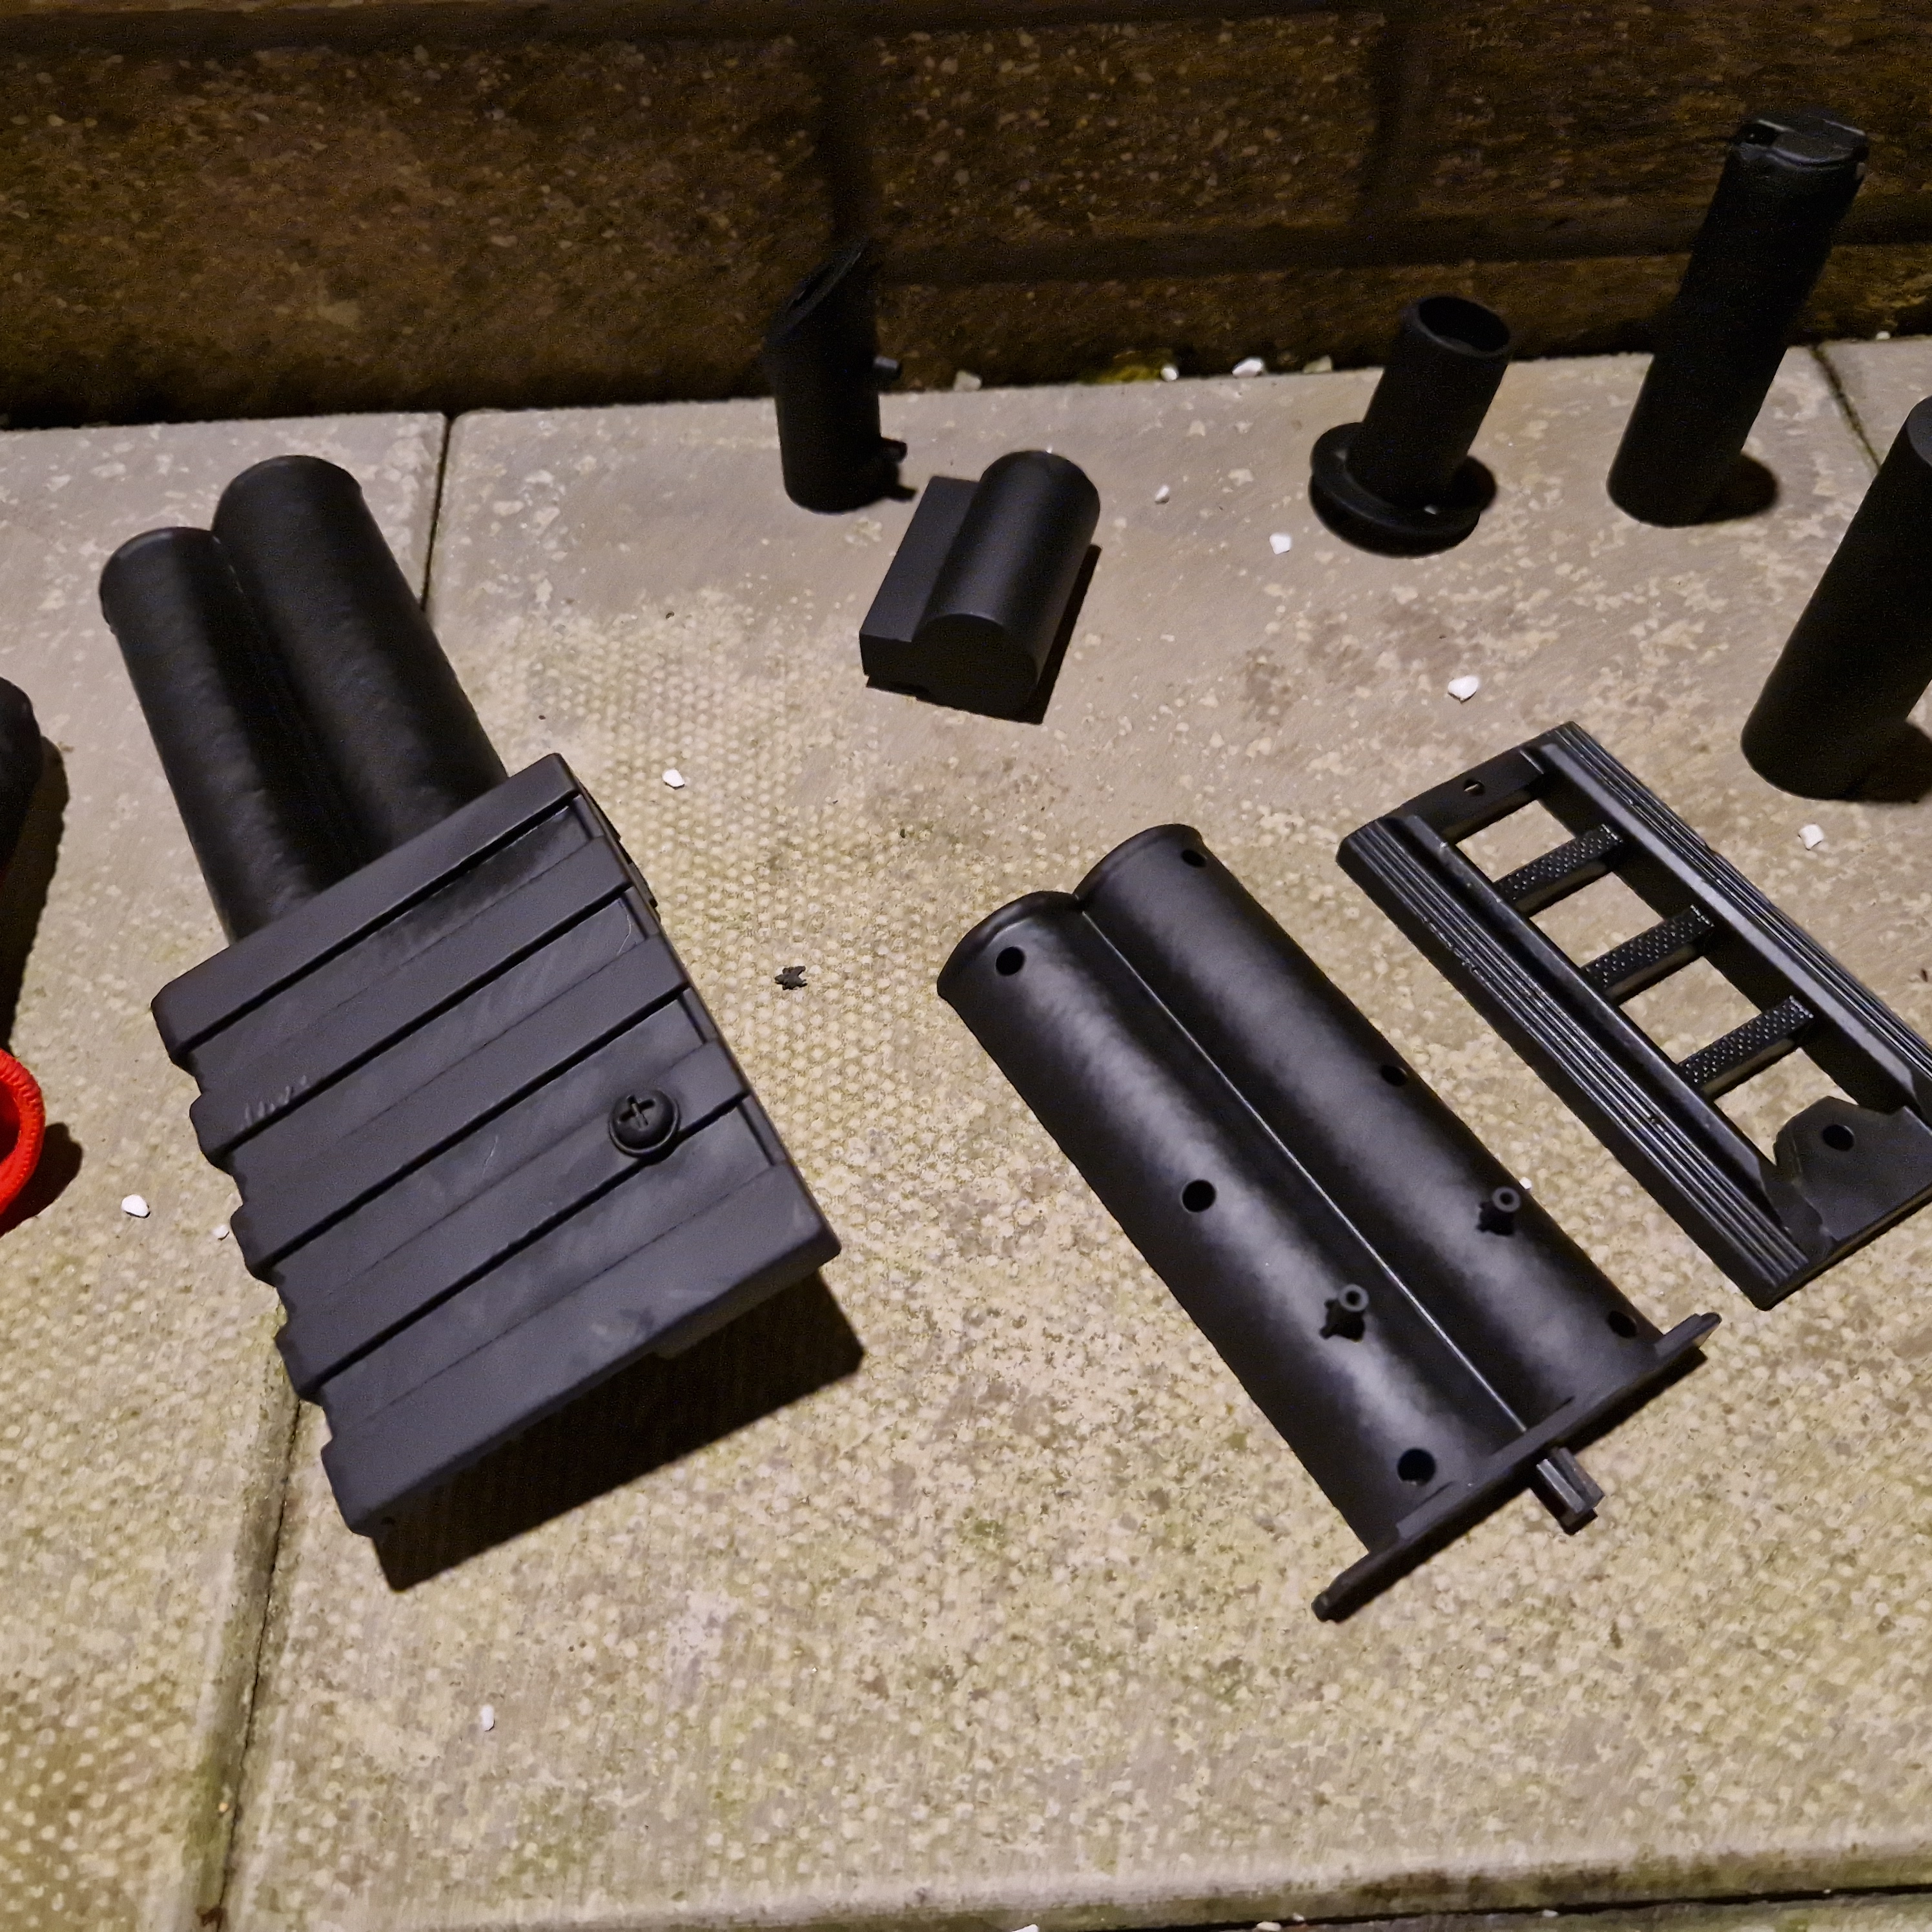
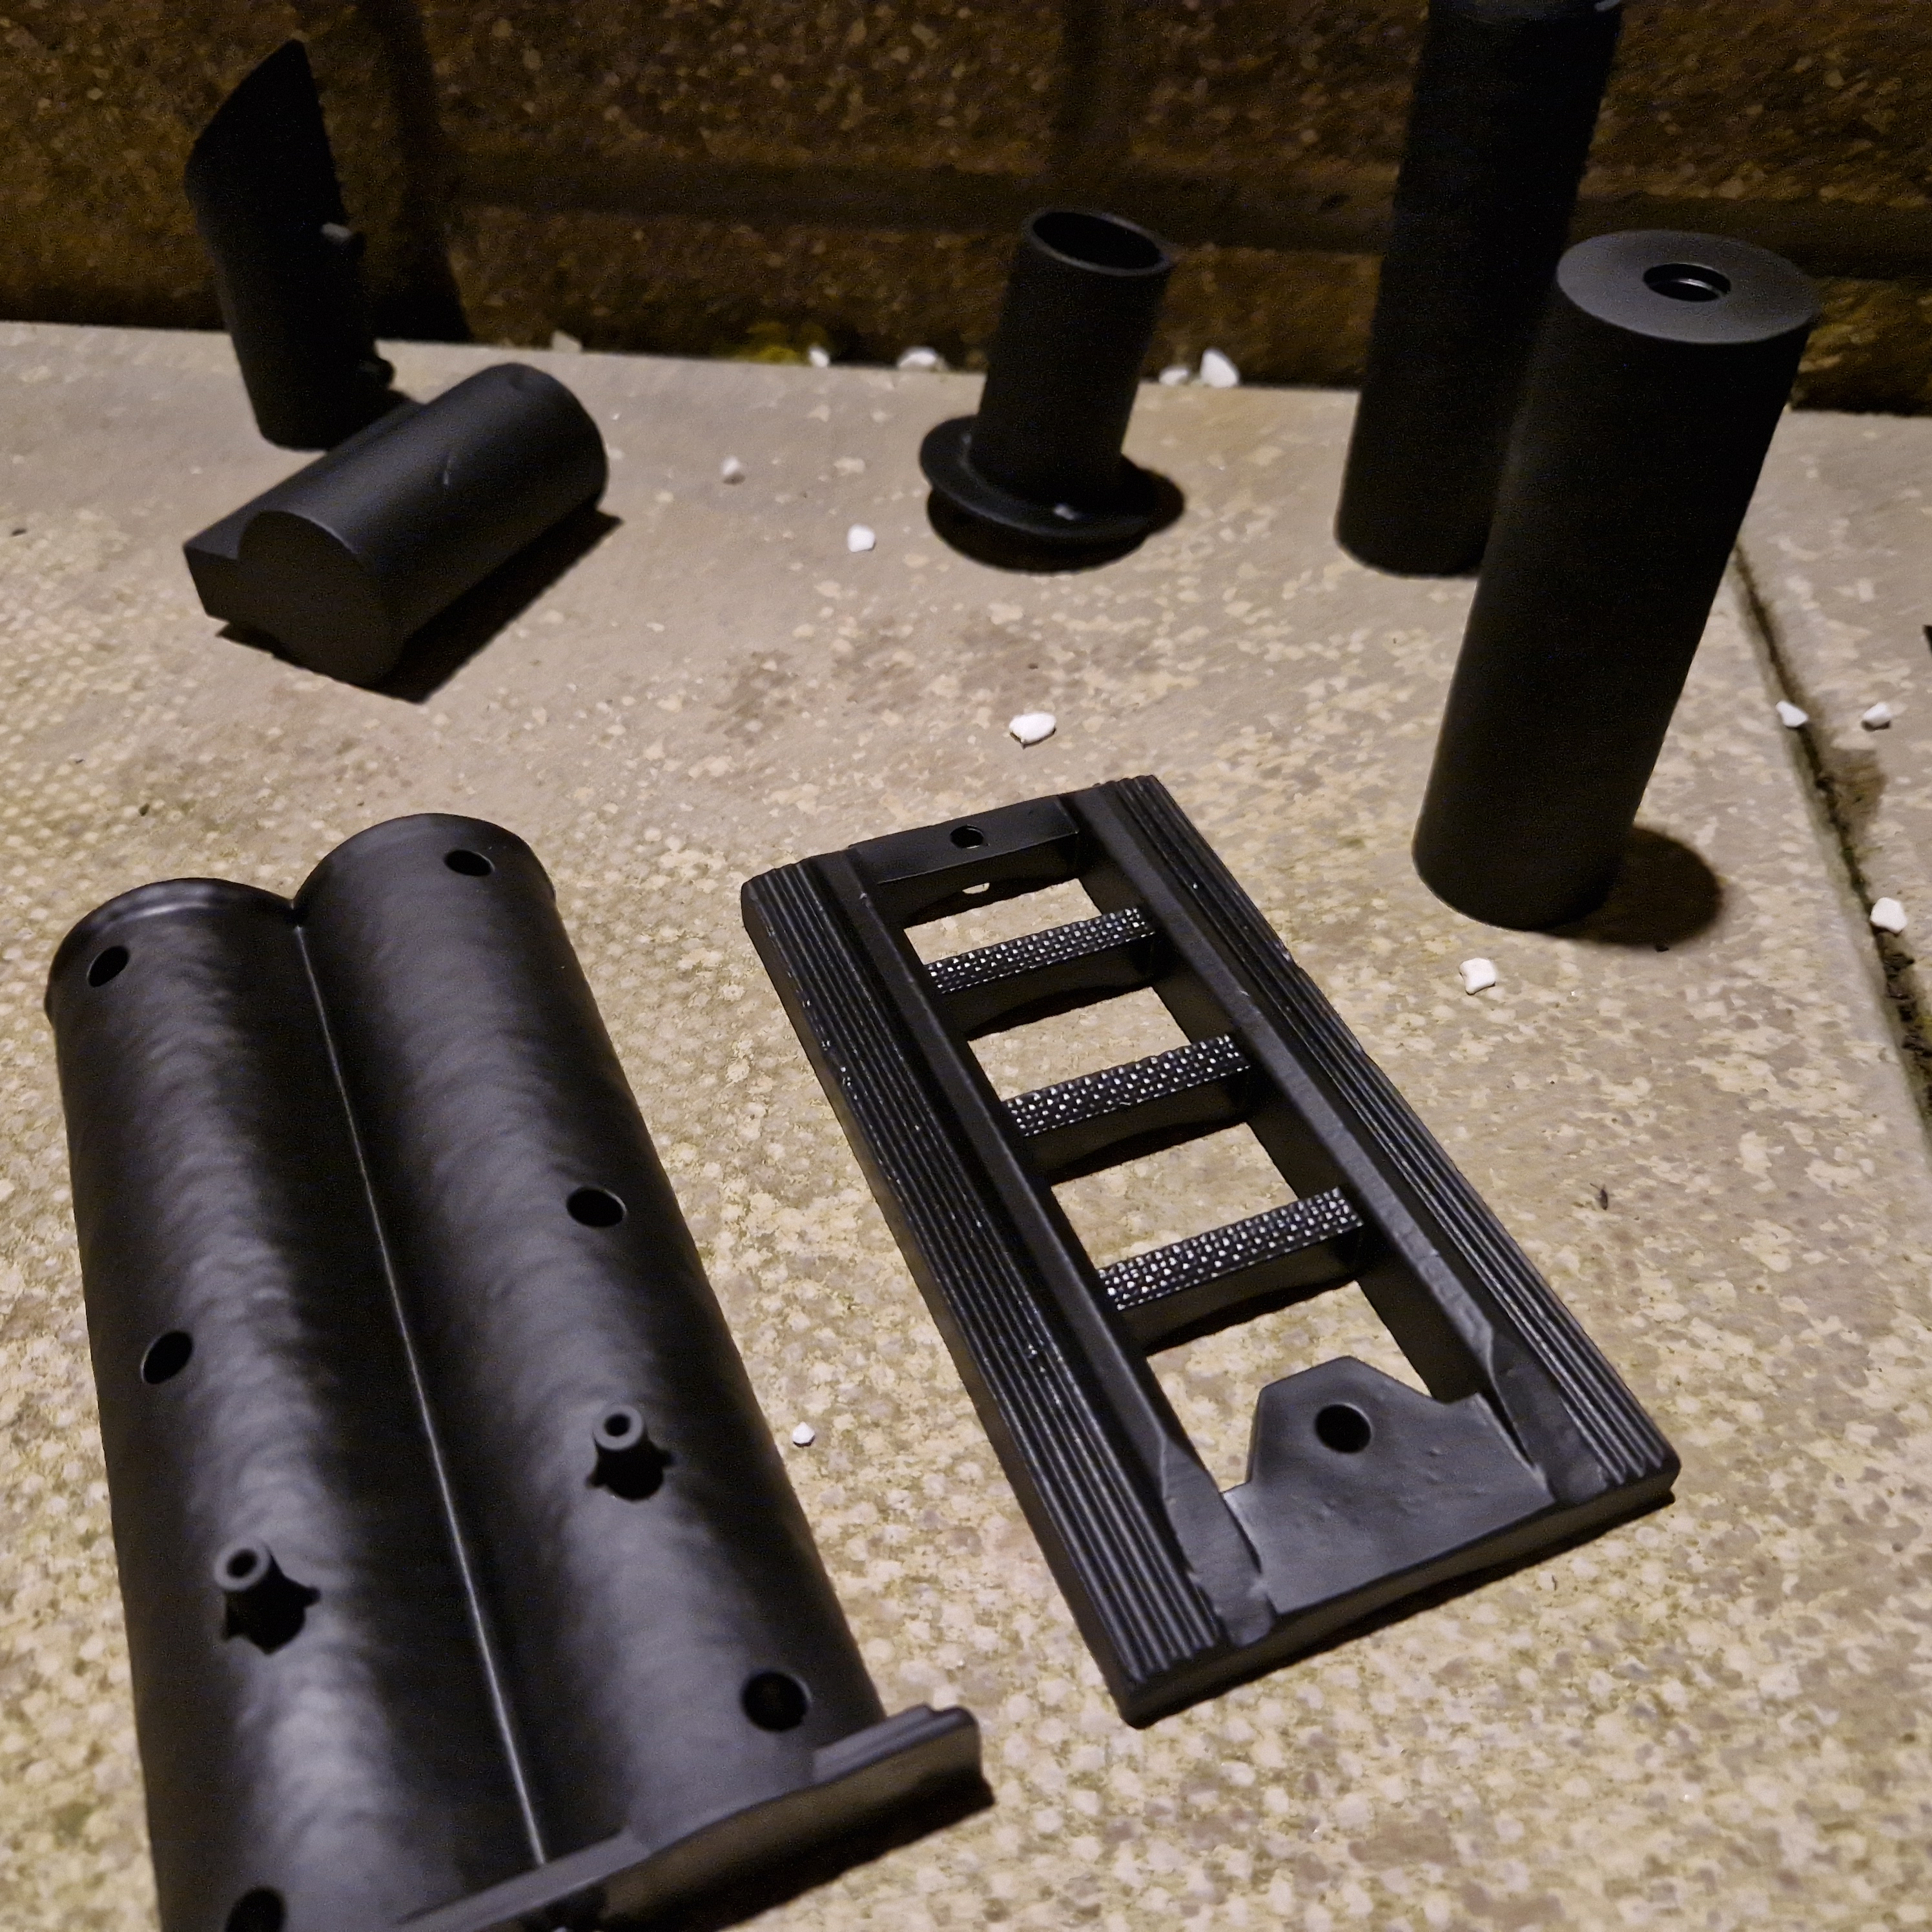
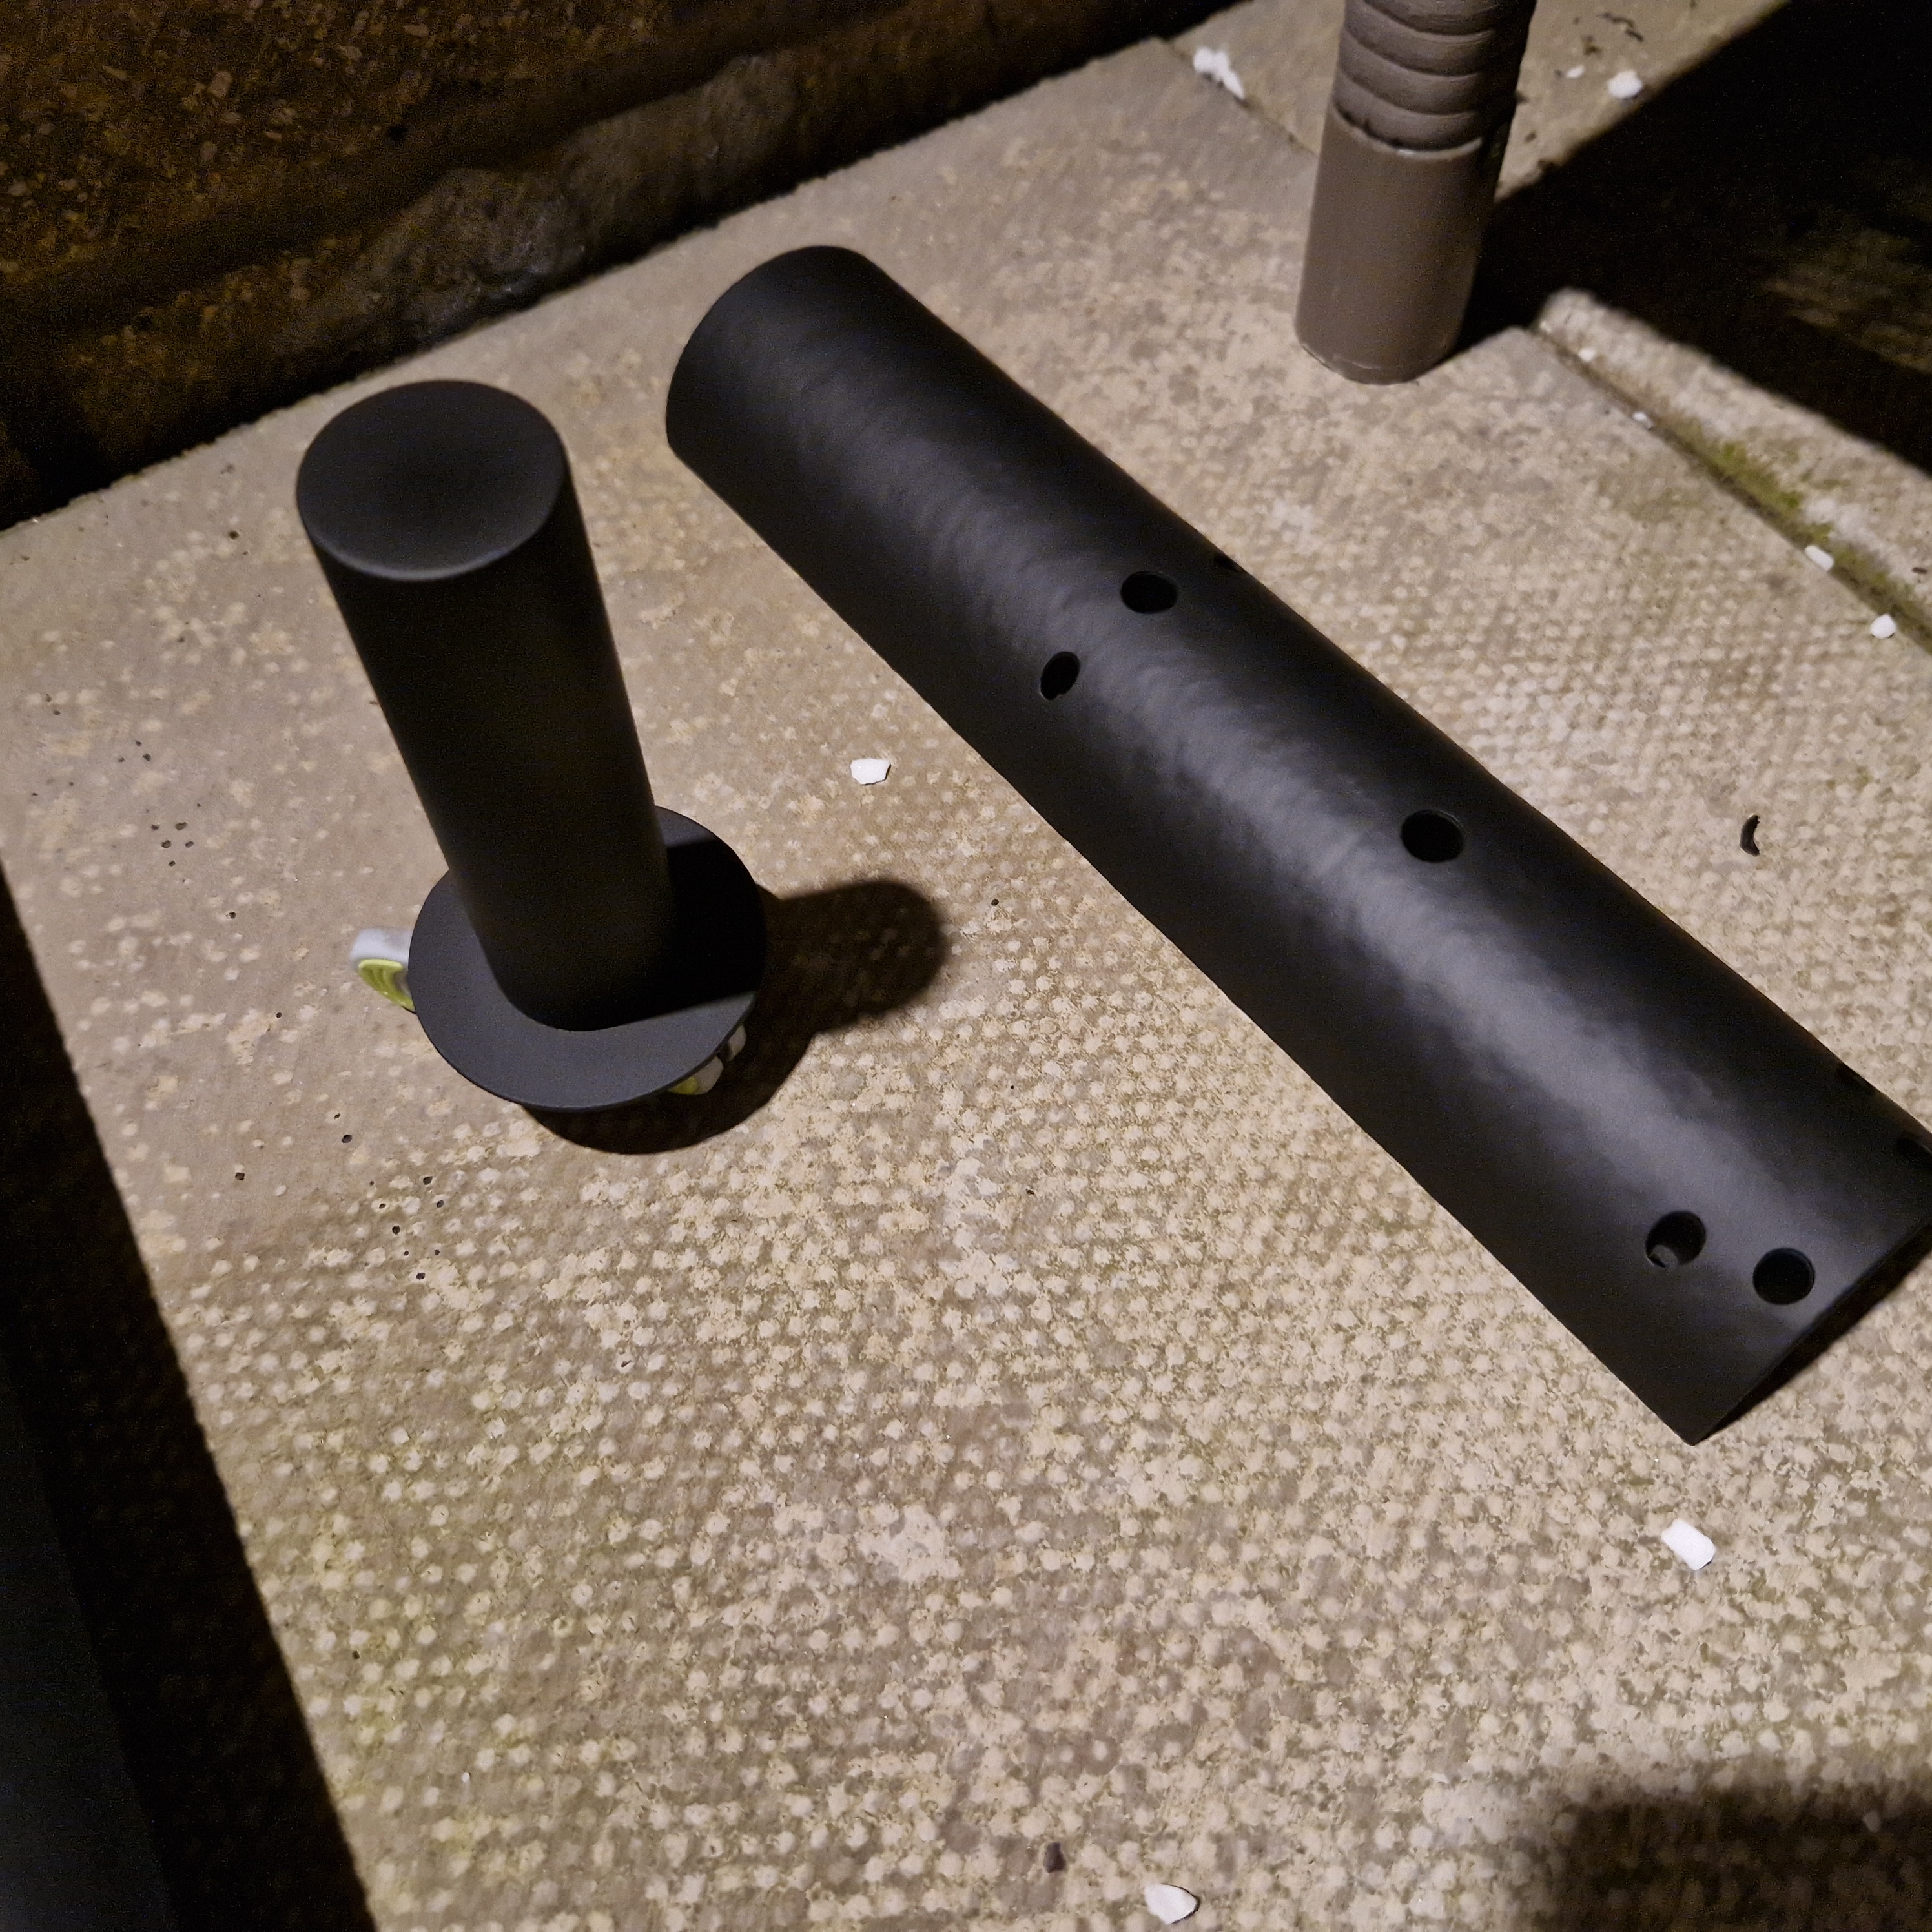
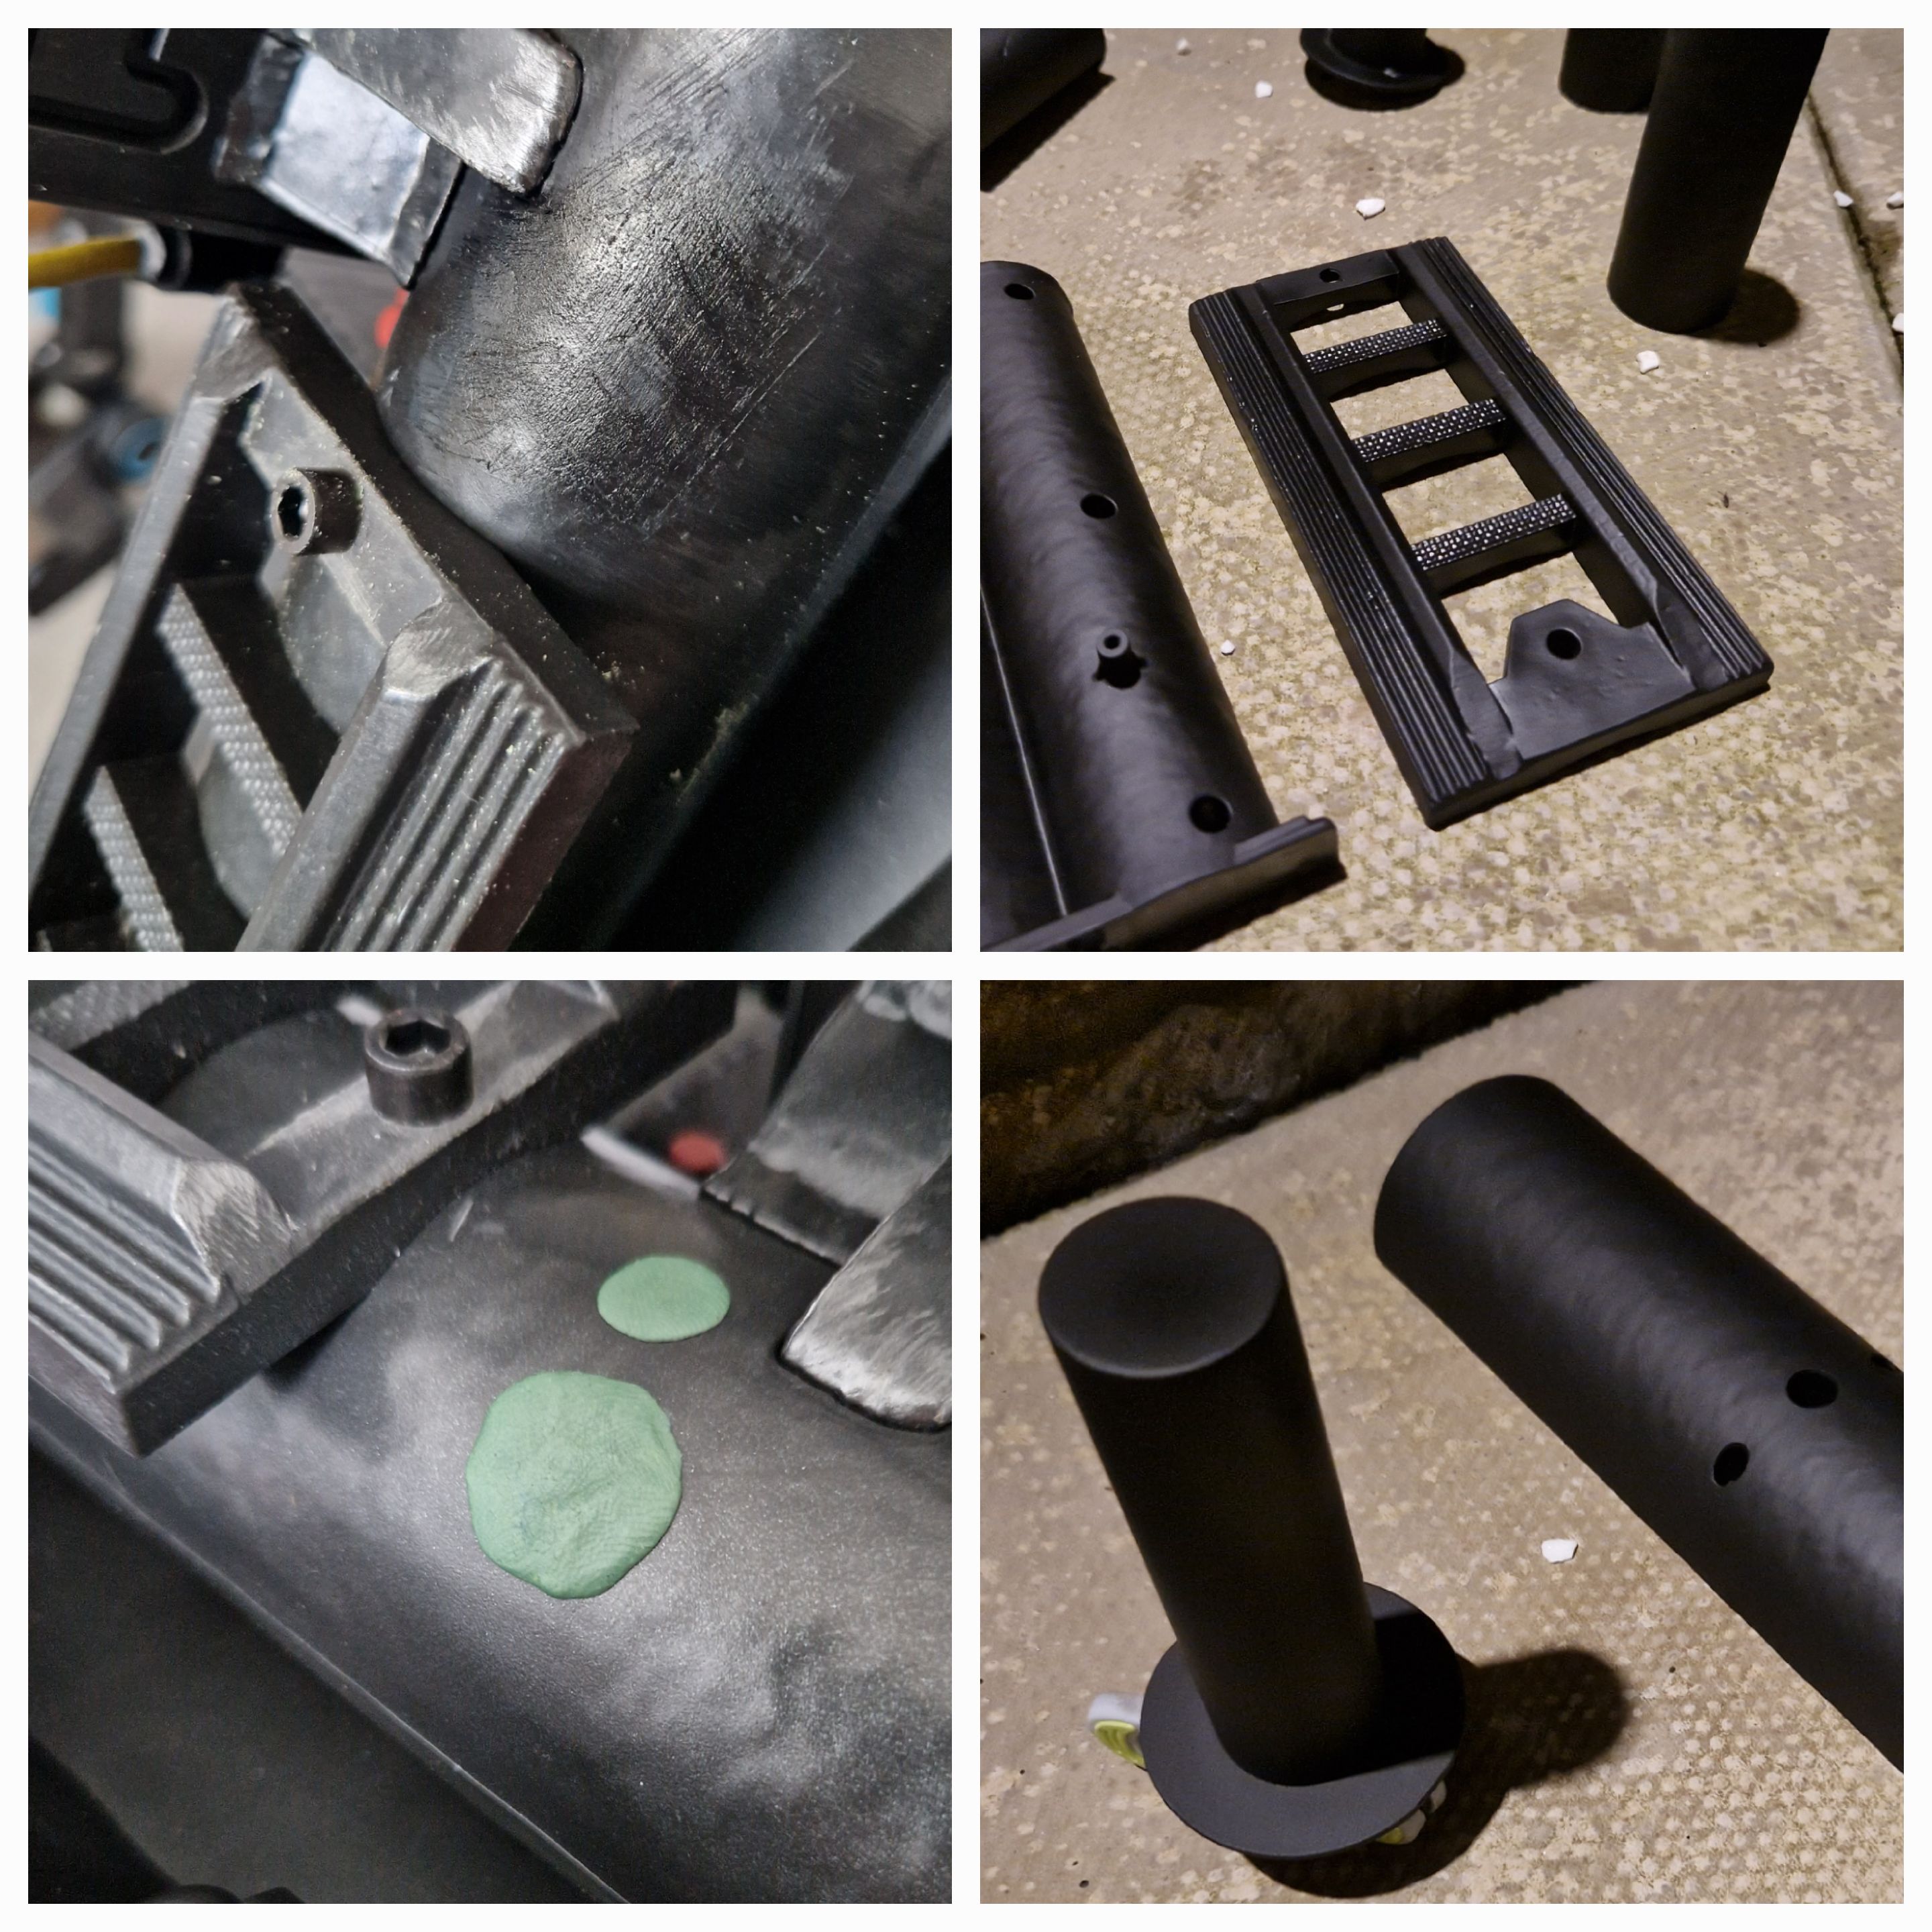
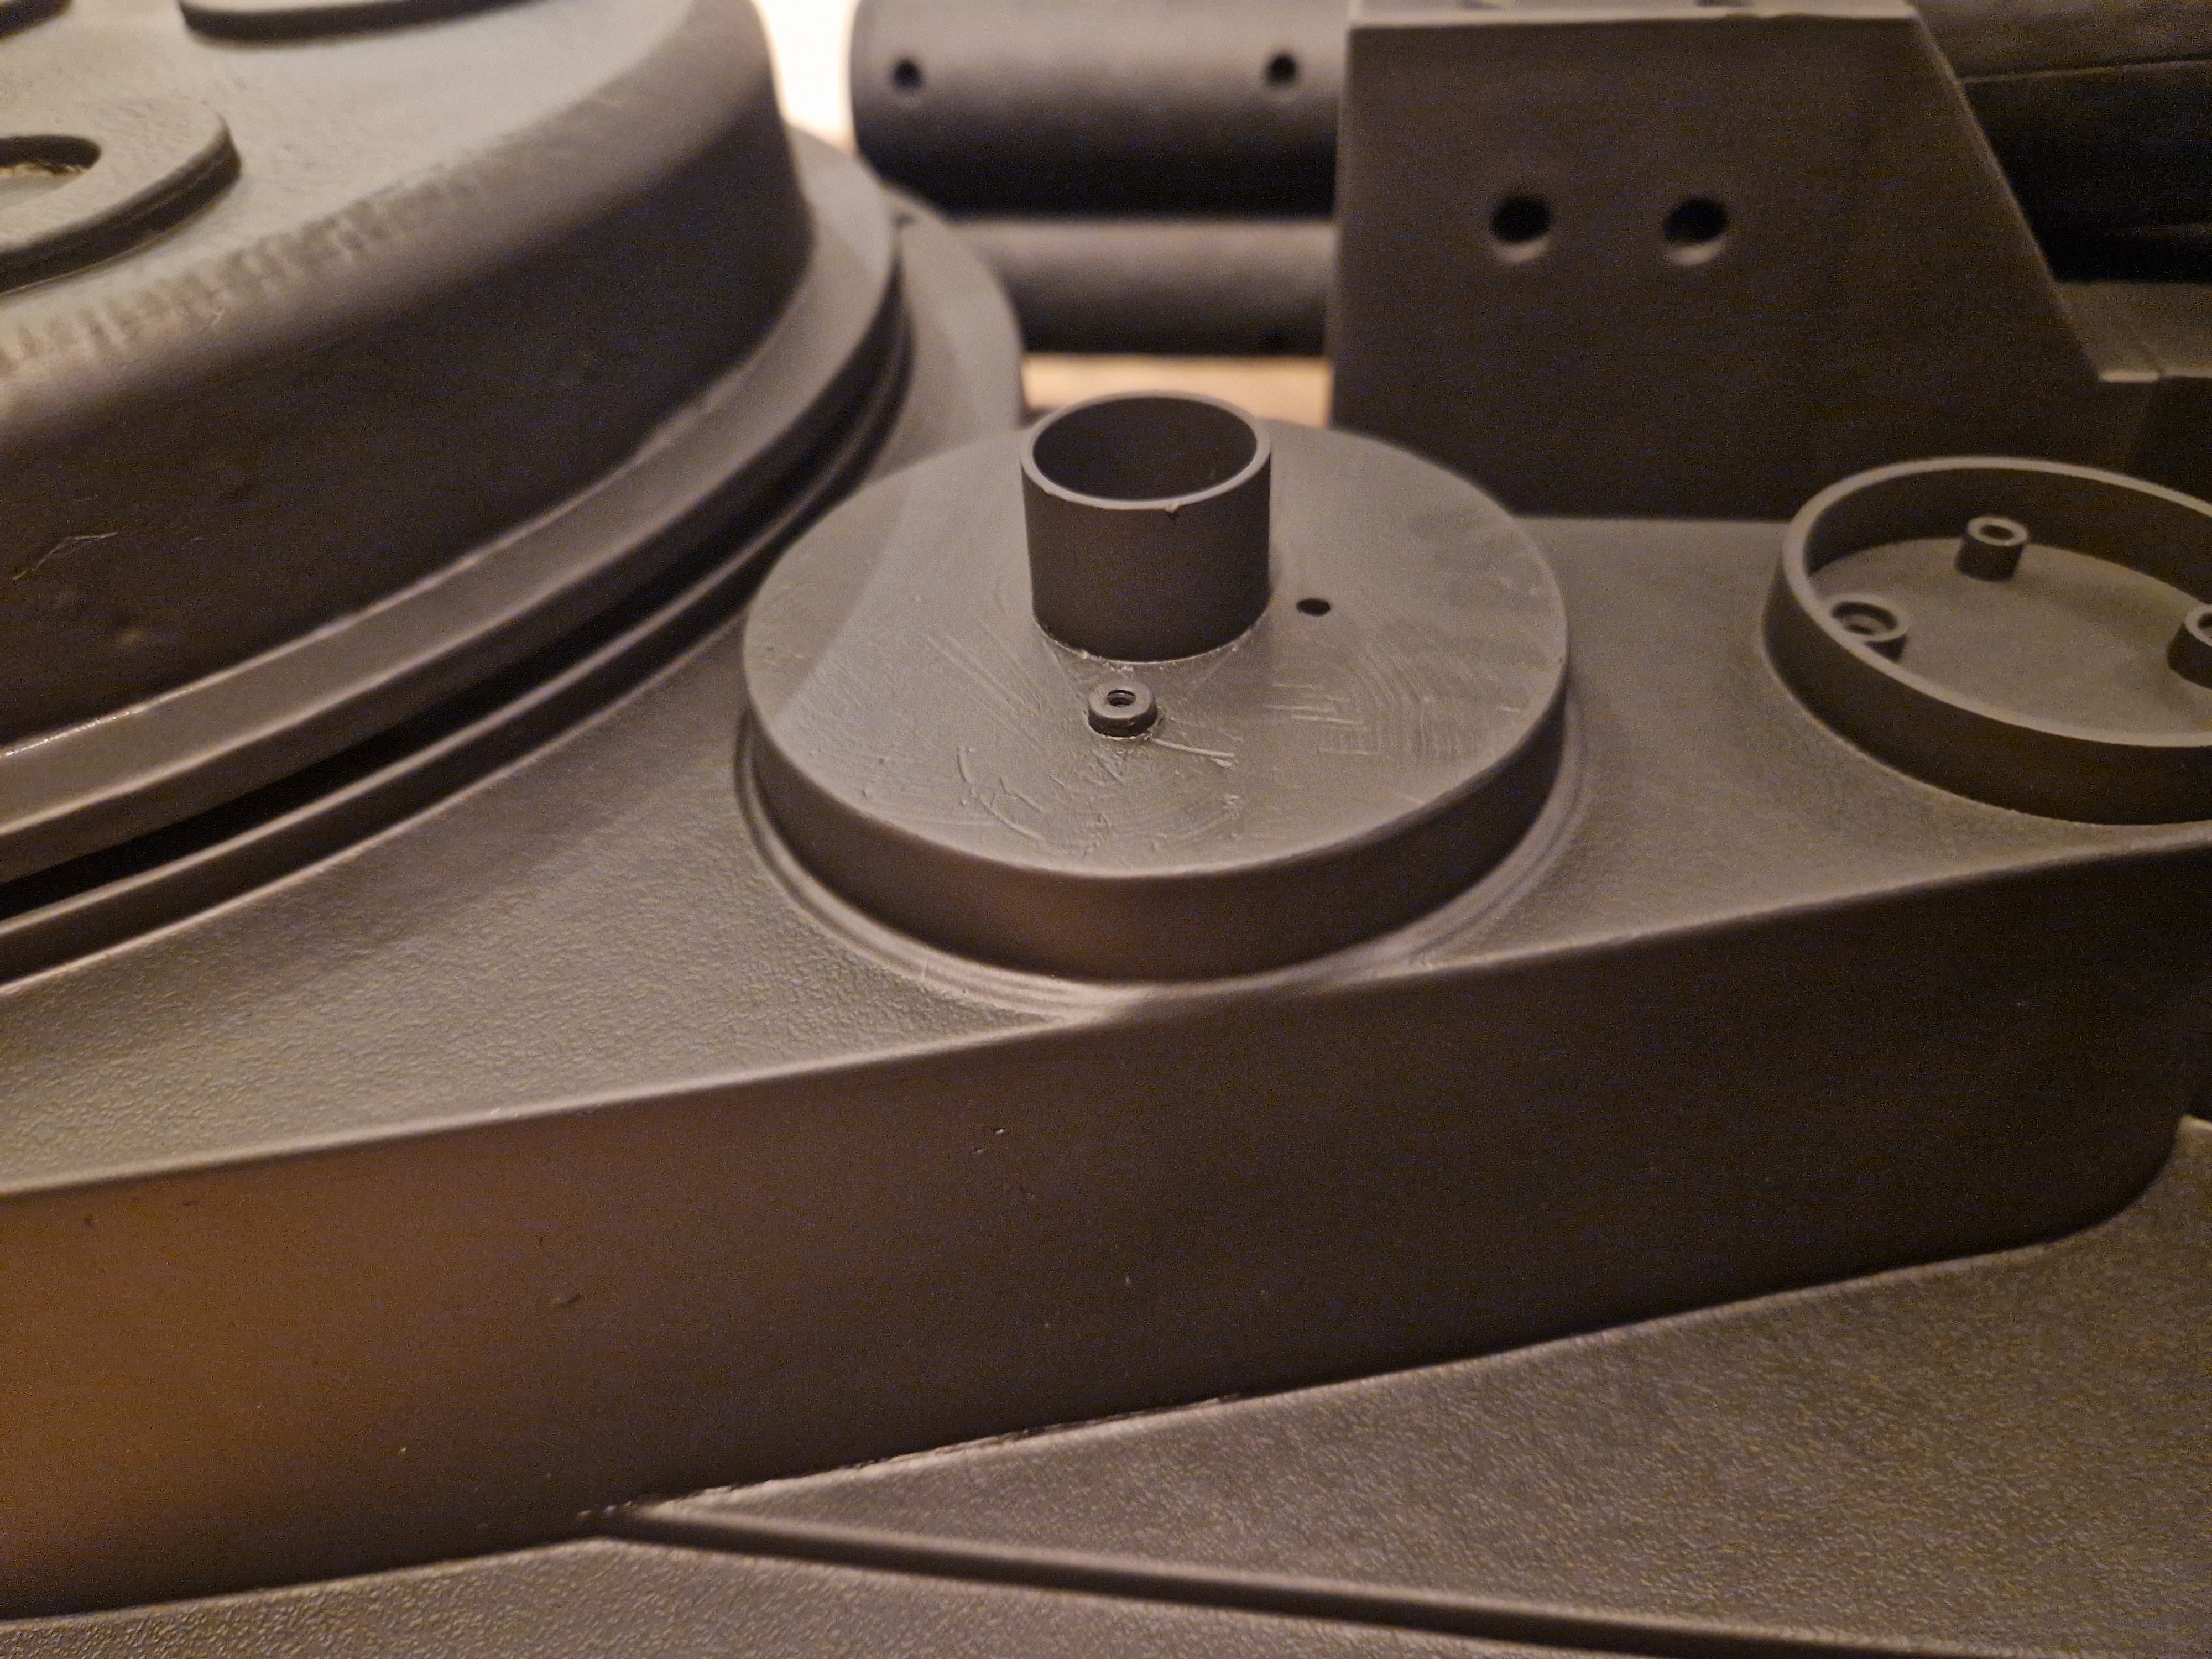
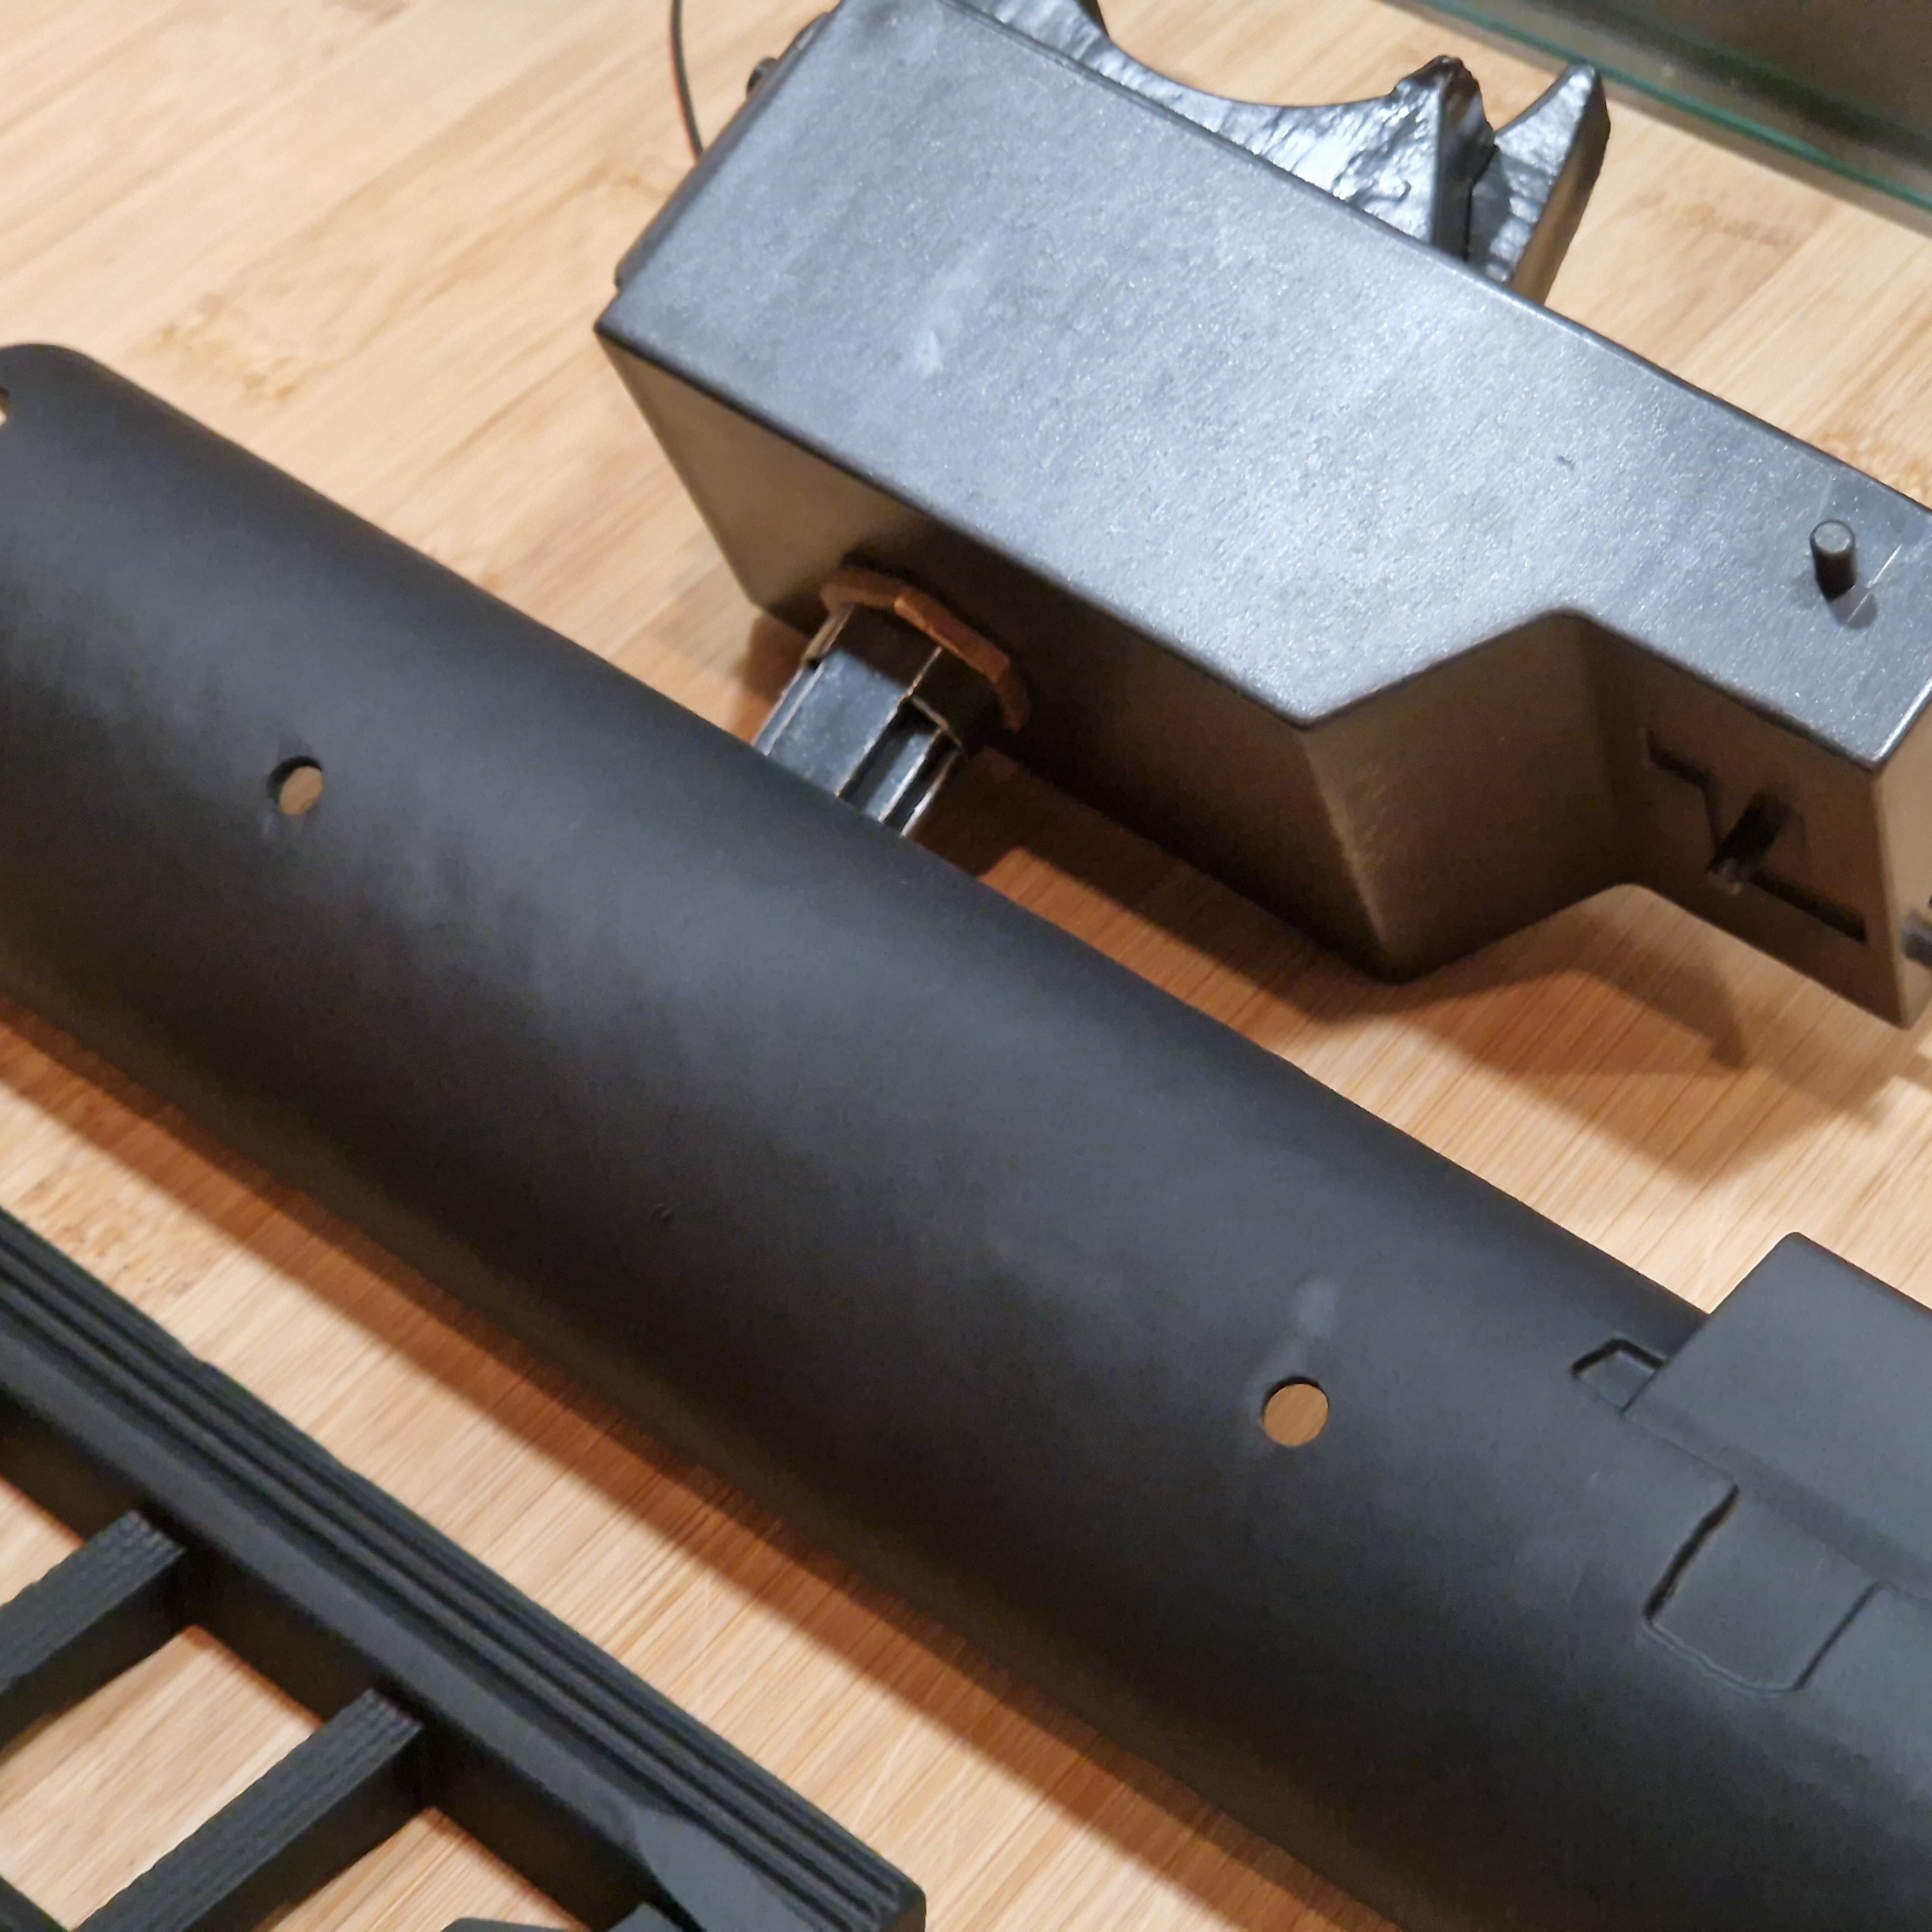
Once the parts had a few layers of this, I moved onto Halfords Enamel Black (Matt), a few coats of this (with hairdryer breaks inbetween, and off gassing in a Keter to avoid stinking my house out) its final coat (or 2) was Halfords Enamel Matt Lacquer, more hair dryer, more sitting in the Keter to avoid divorce.
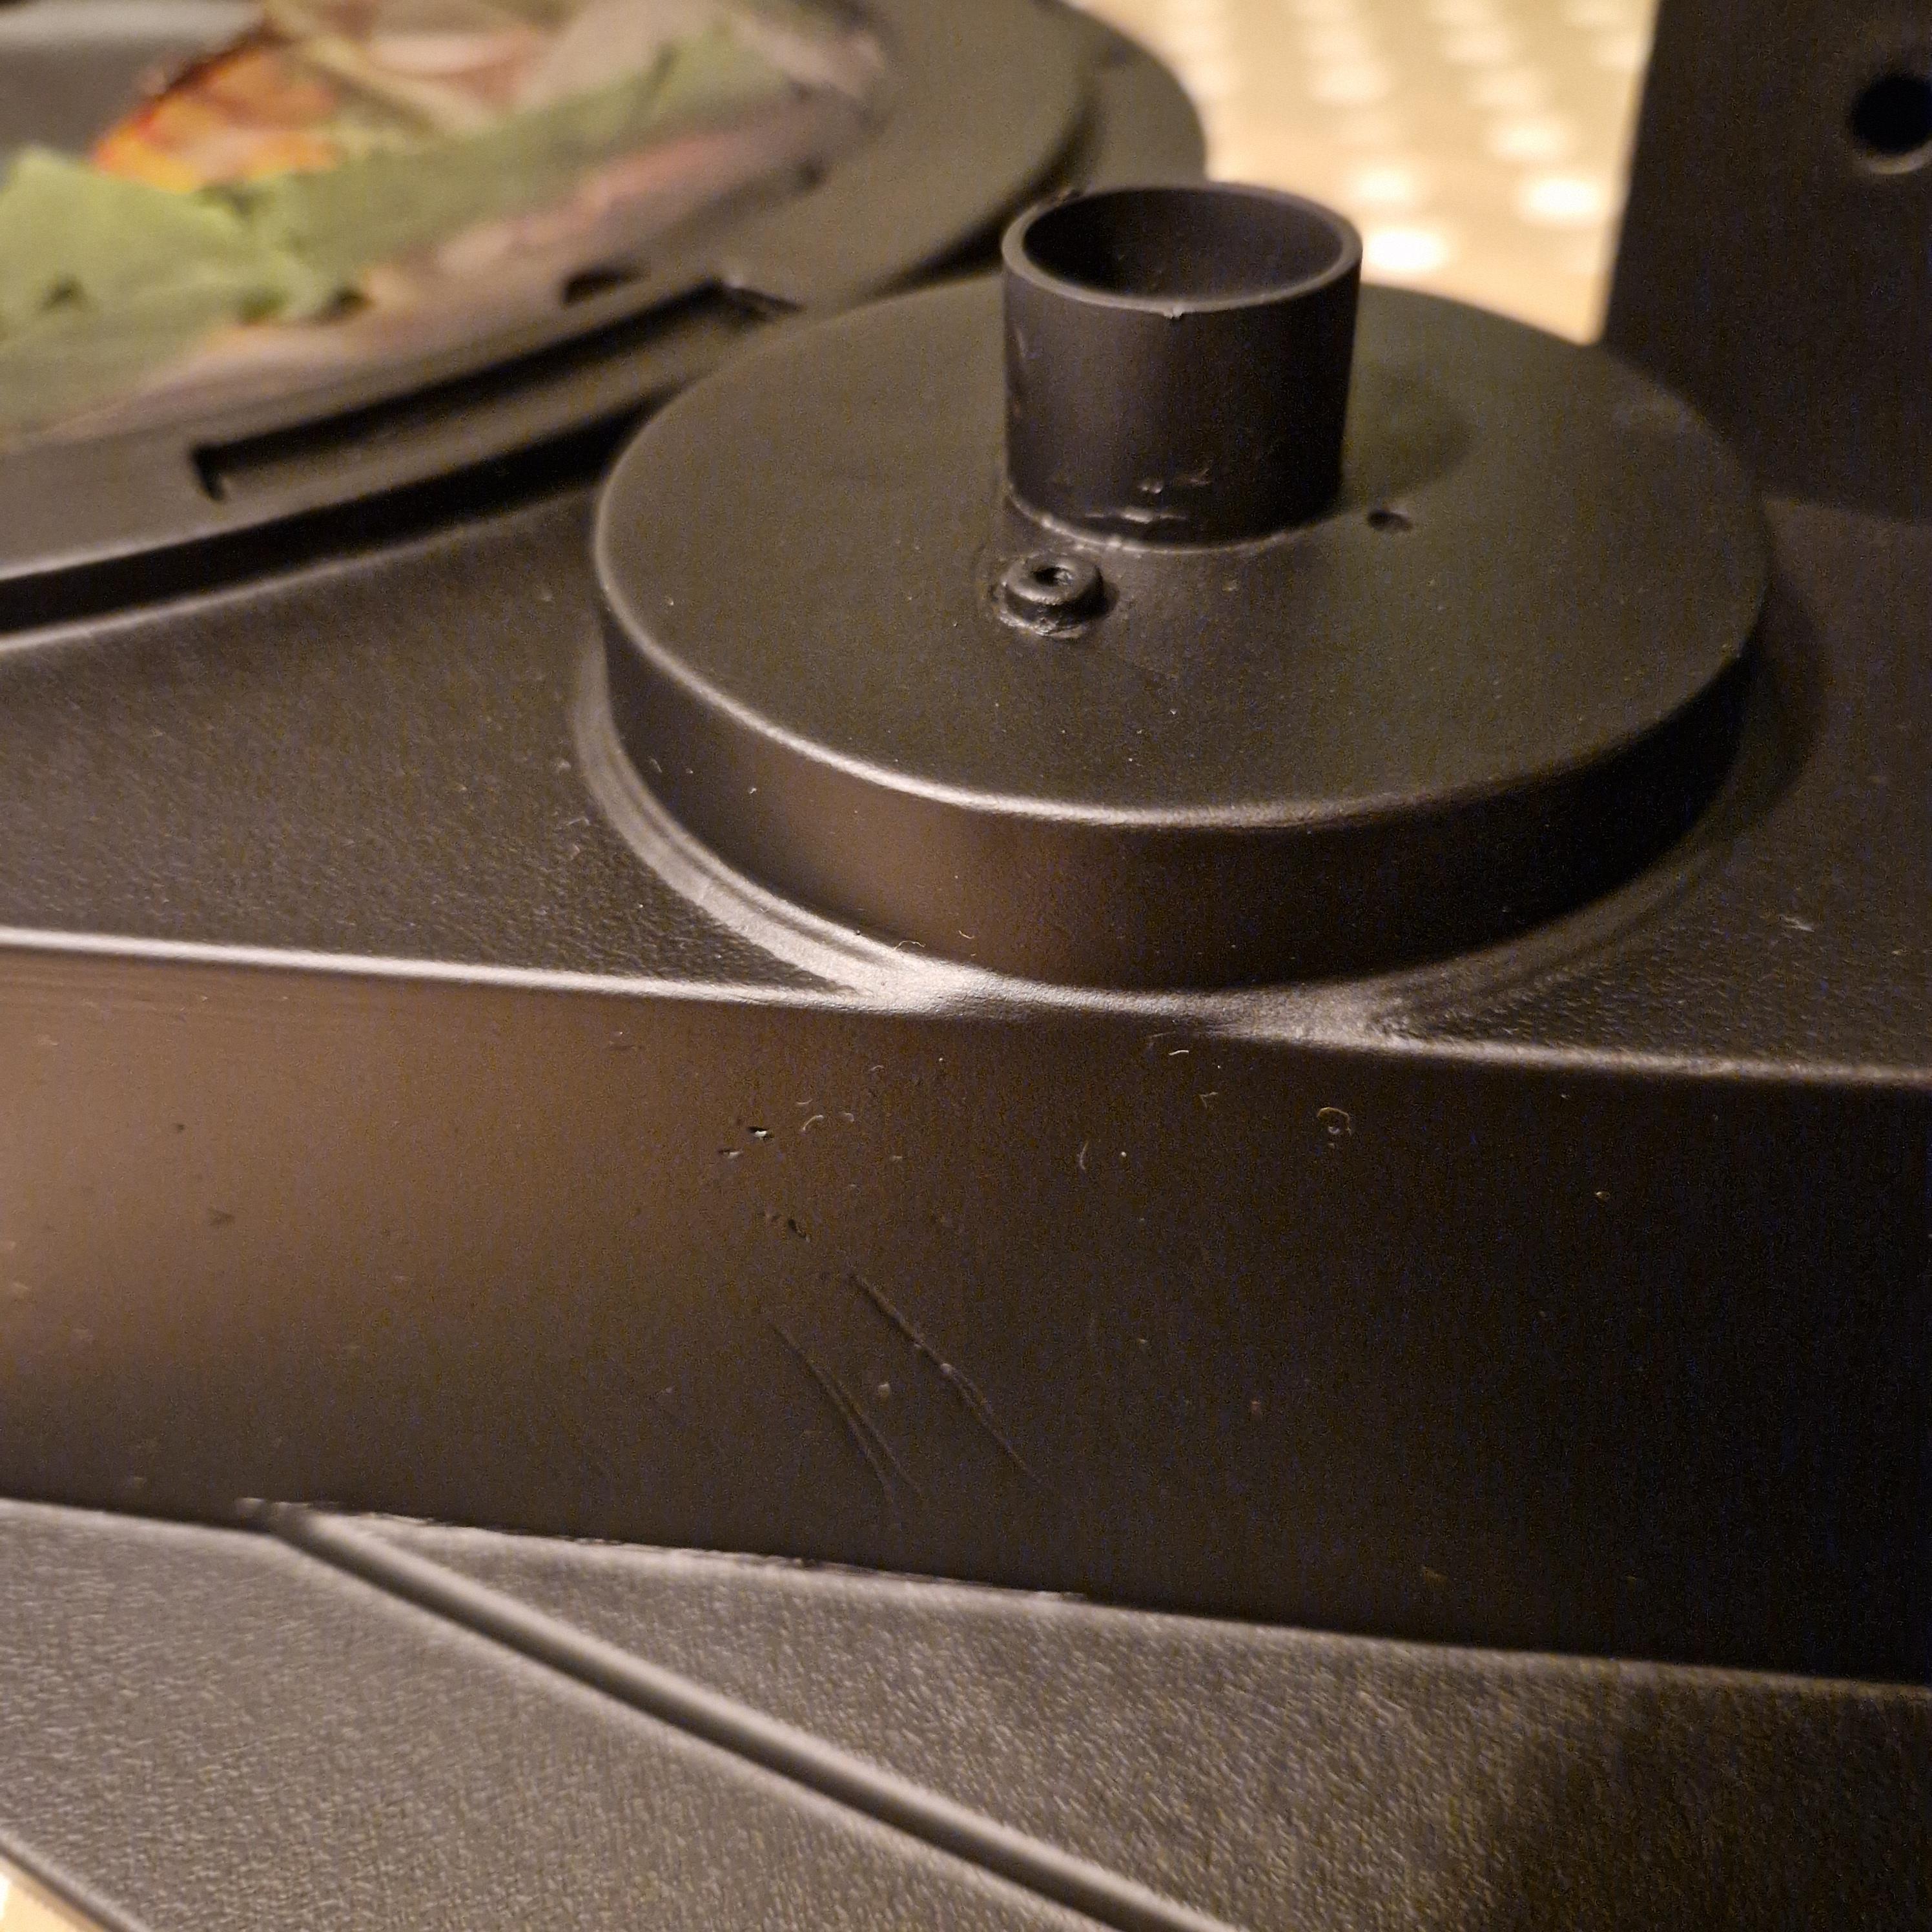

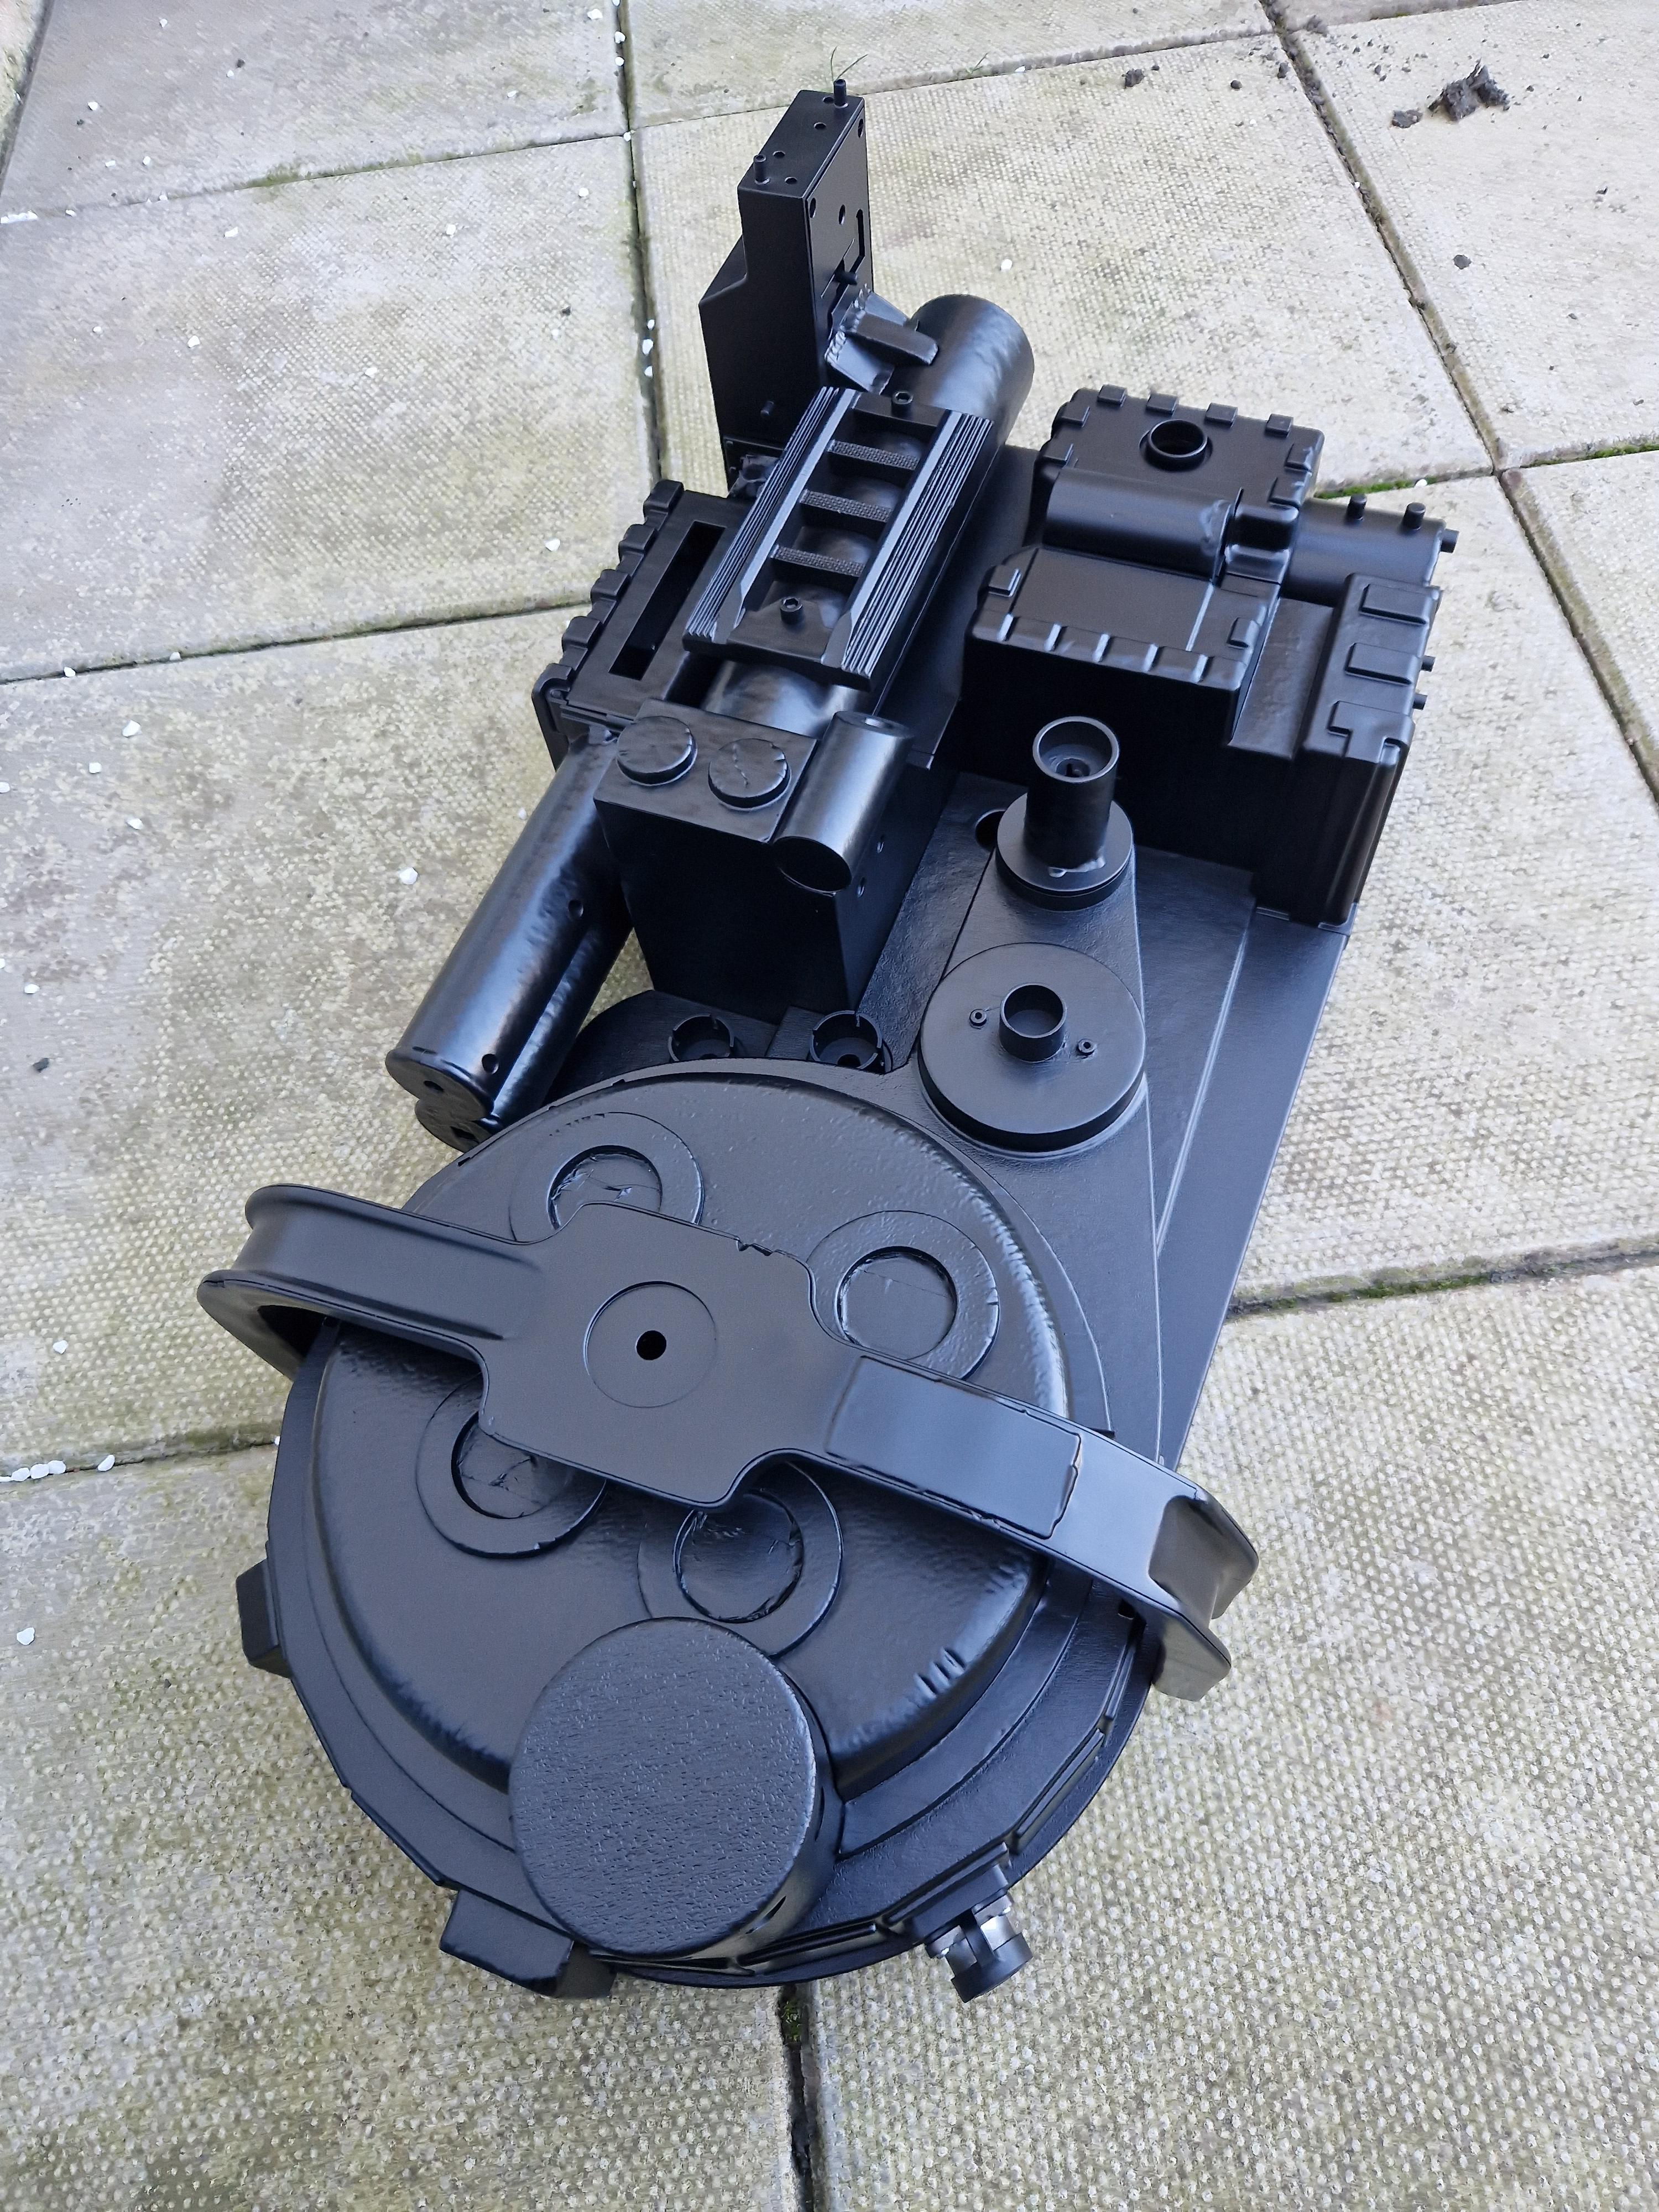
I ordered labels from EctoLabs at the suggestion of one of my fellow Ghostbusters of Glasgow, and a Ribbon Cable (and other tubing) from Epic Props. These arrived and I was buzzing to get them on, they really started to pull the pack together.
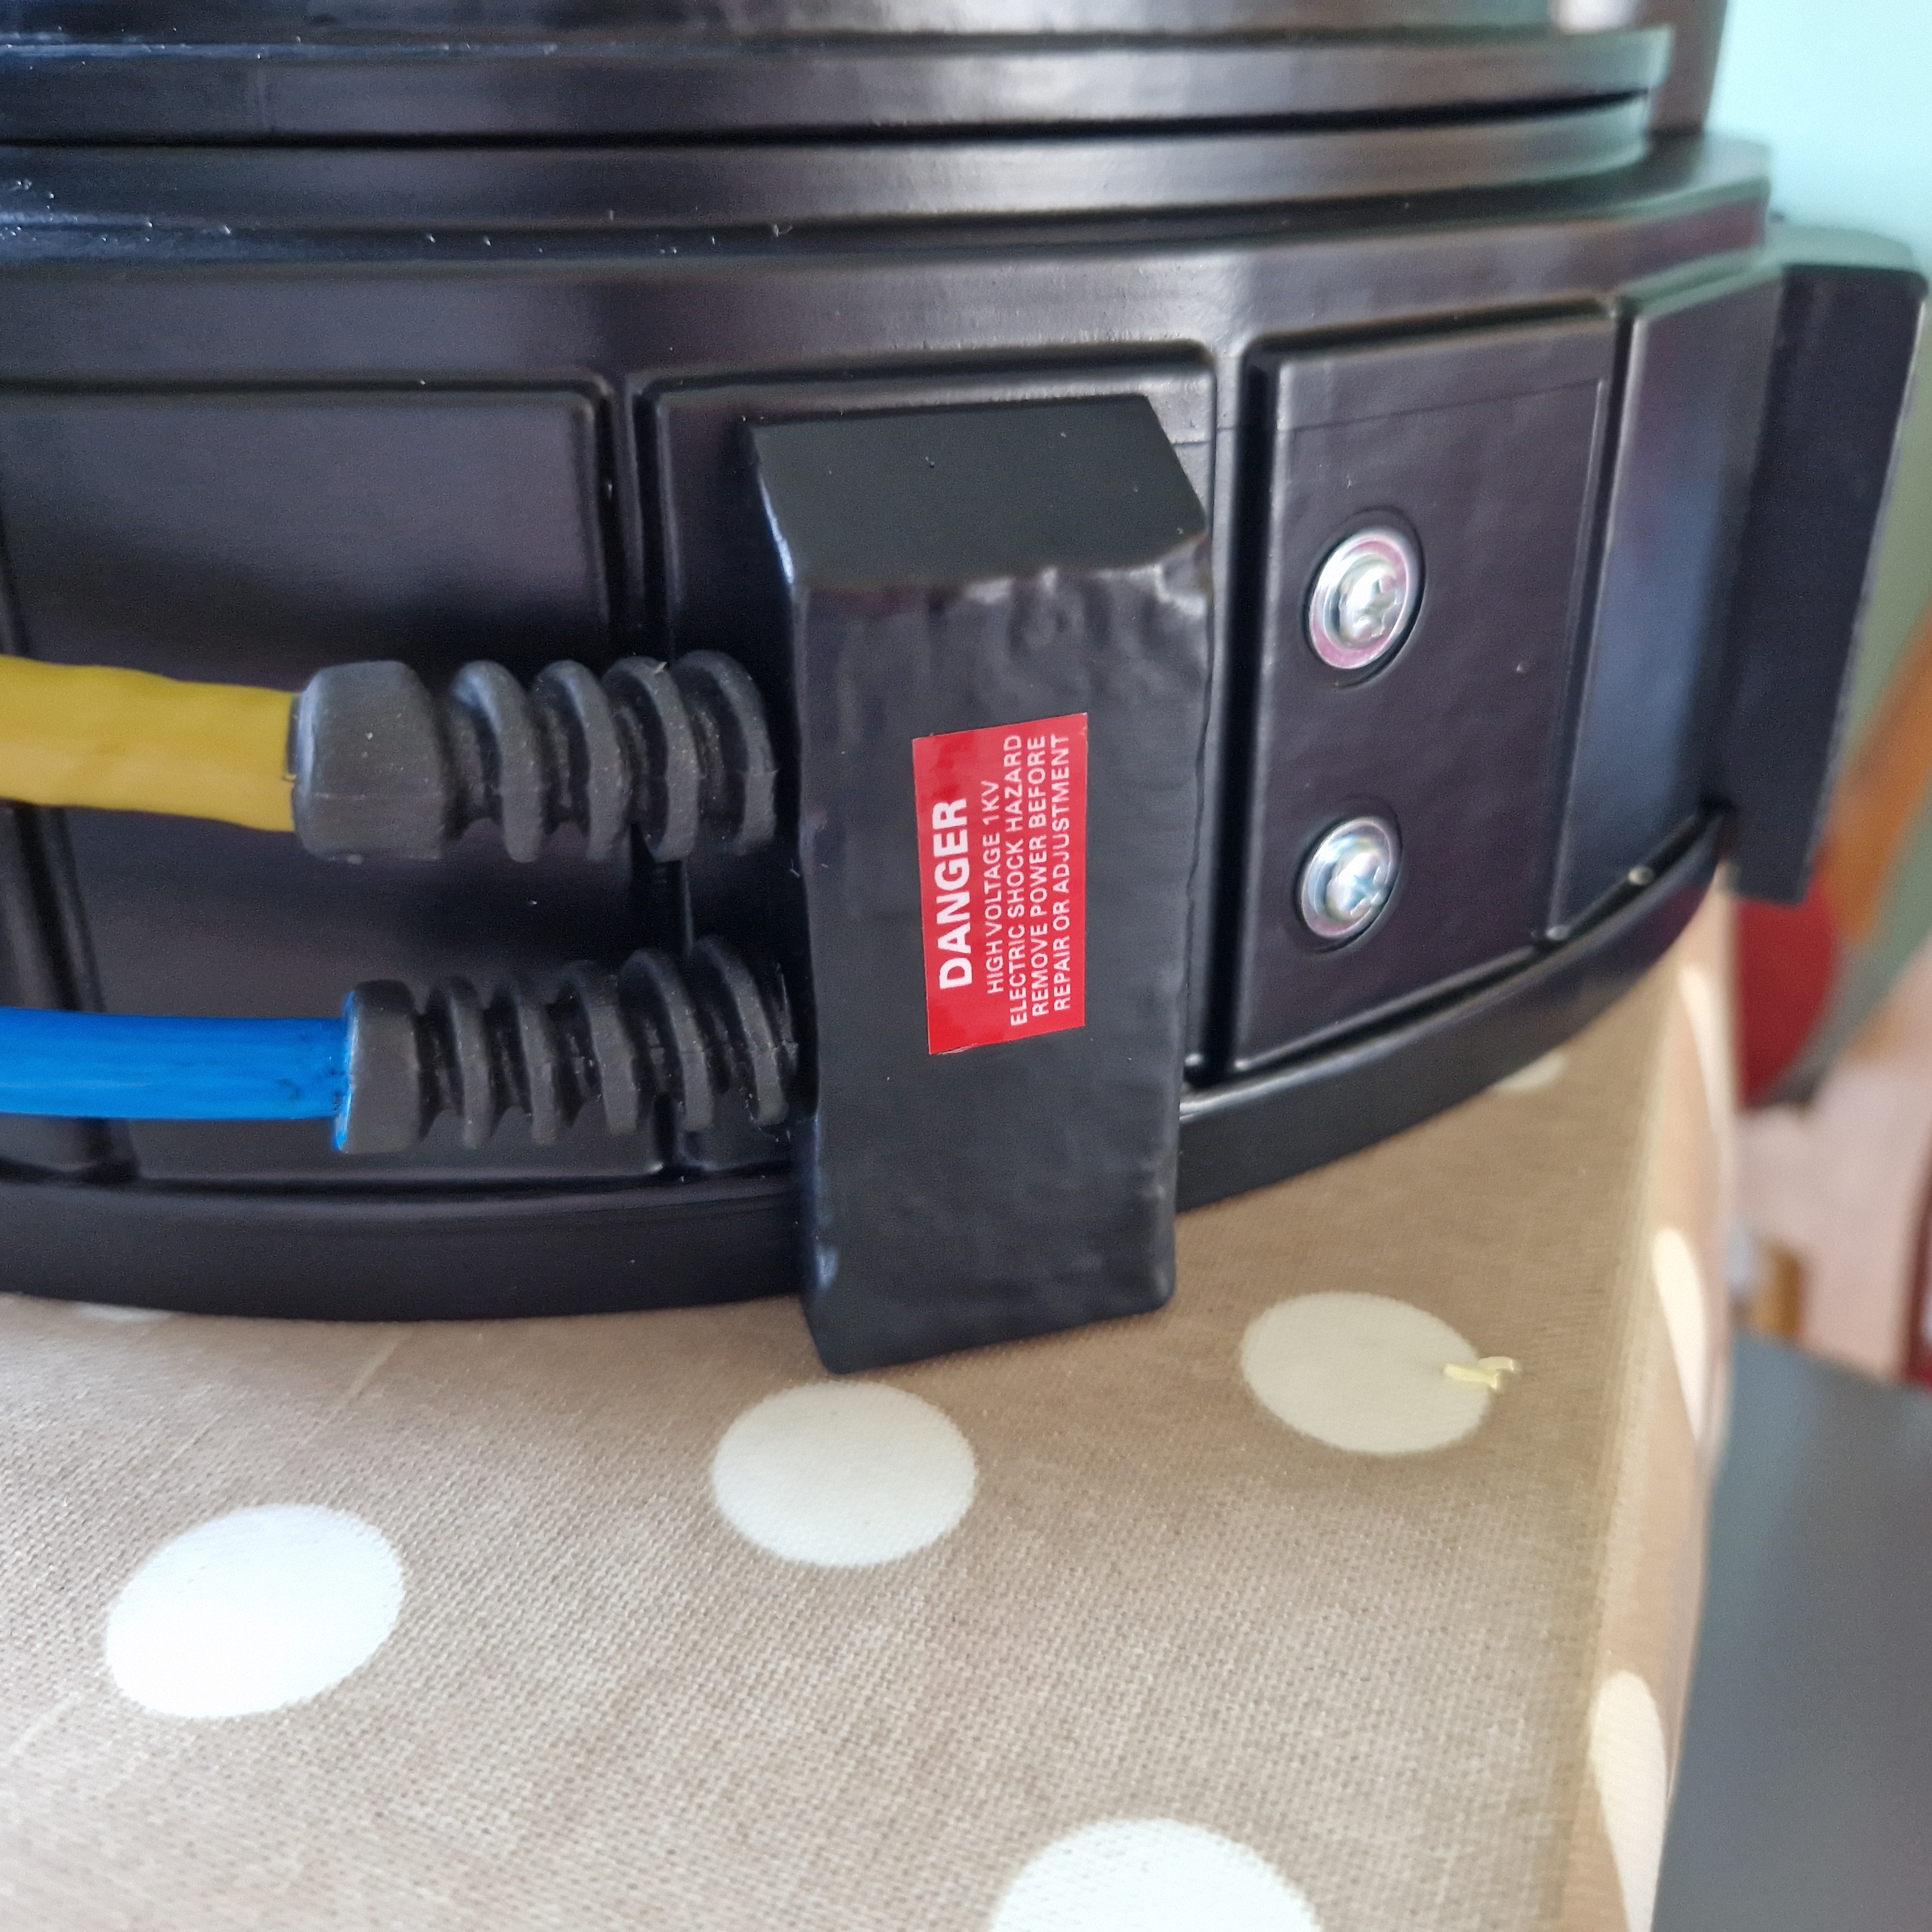
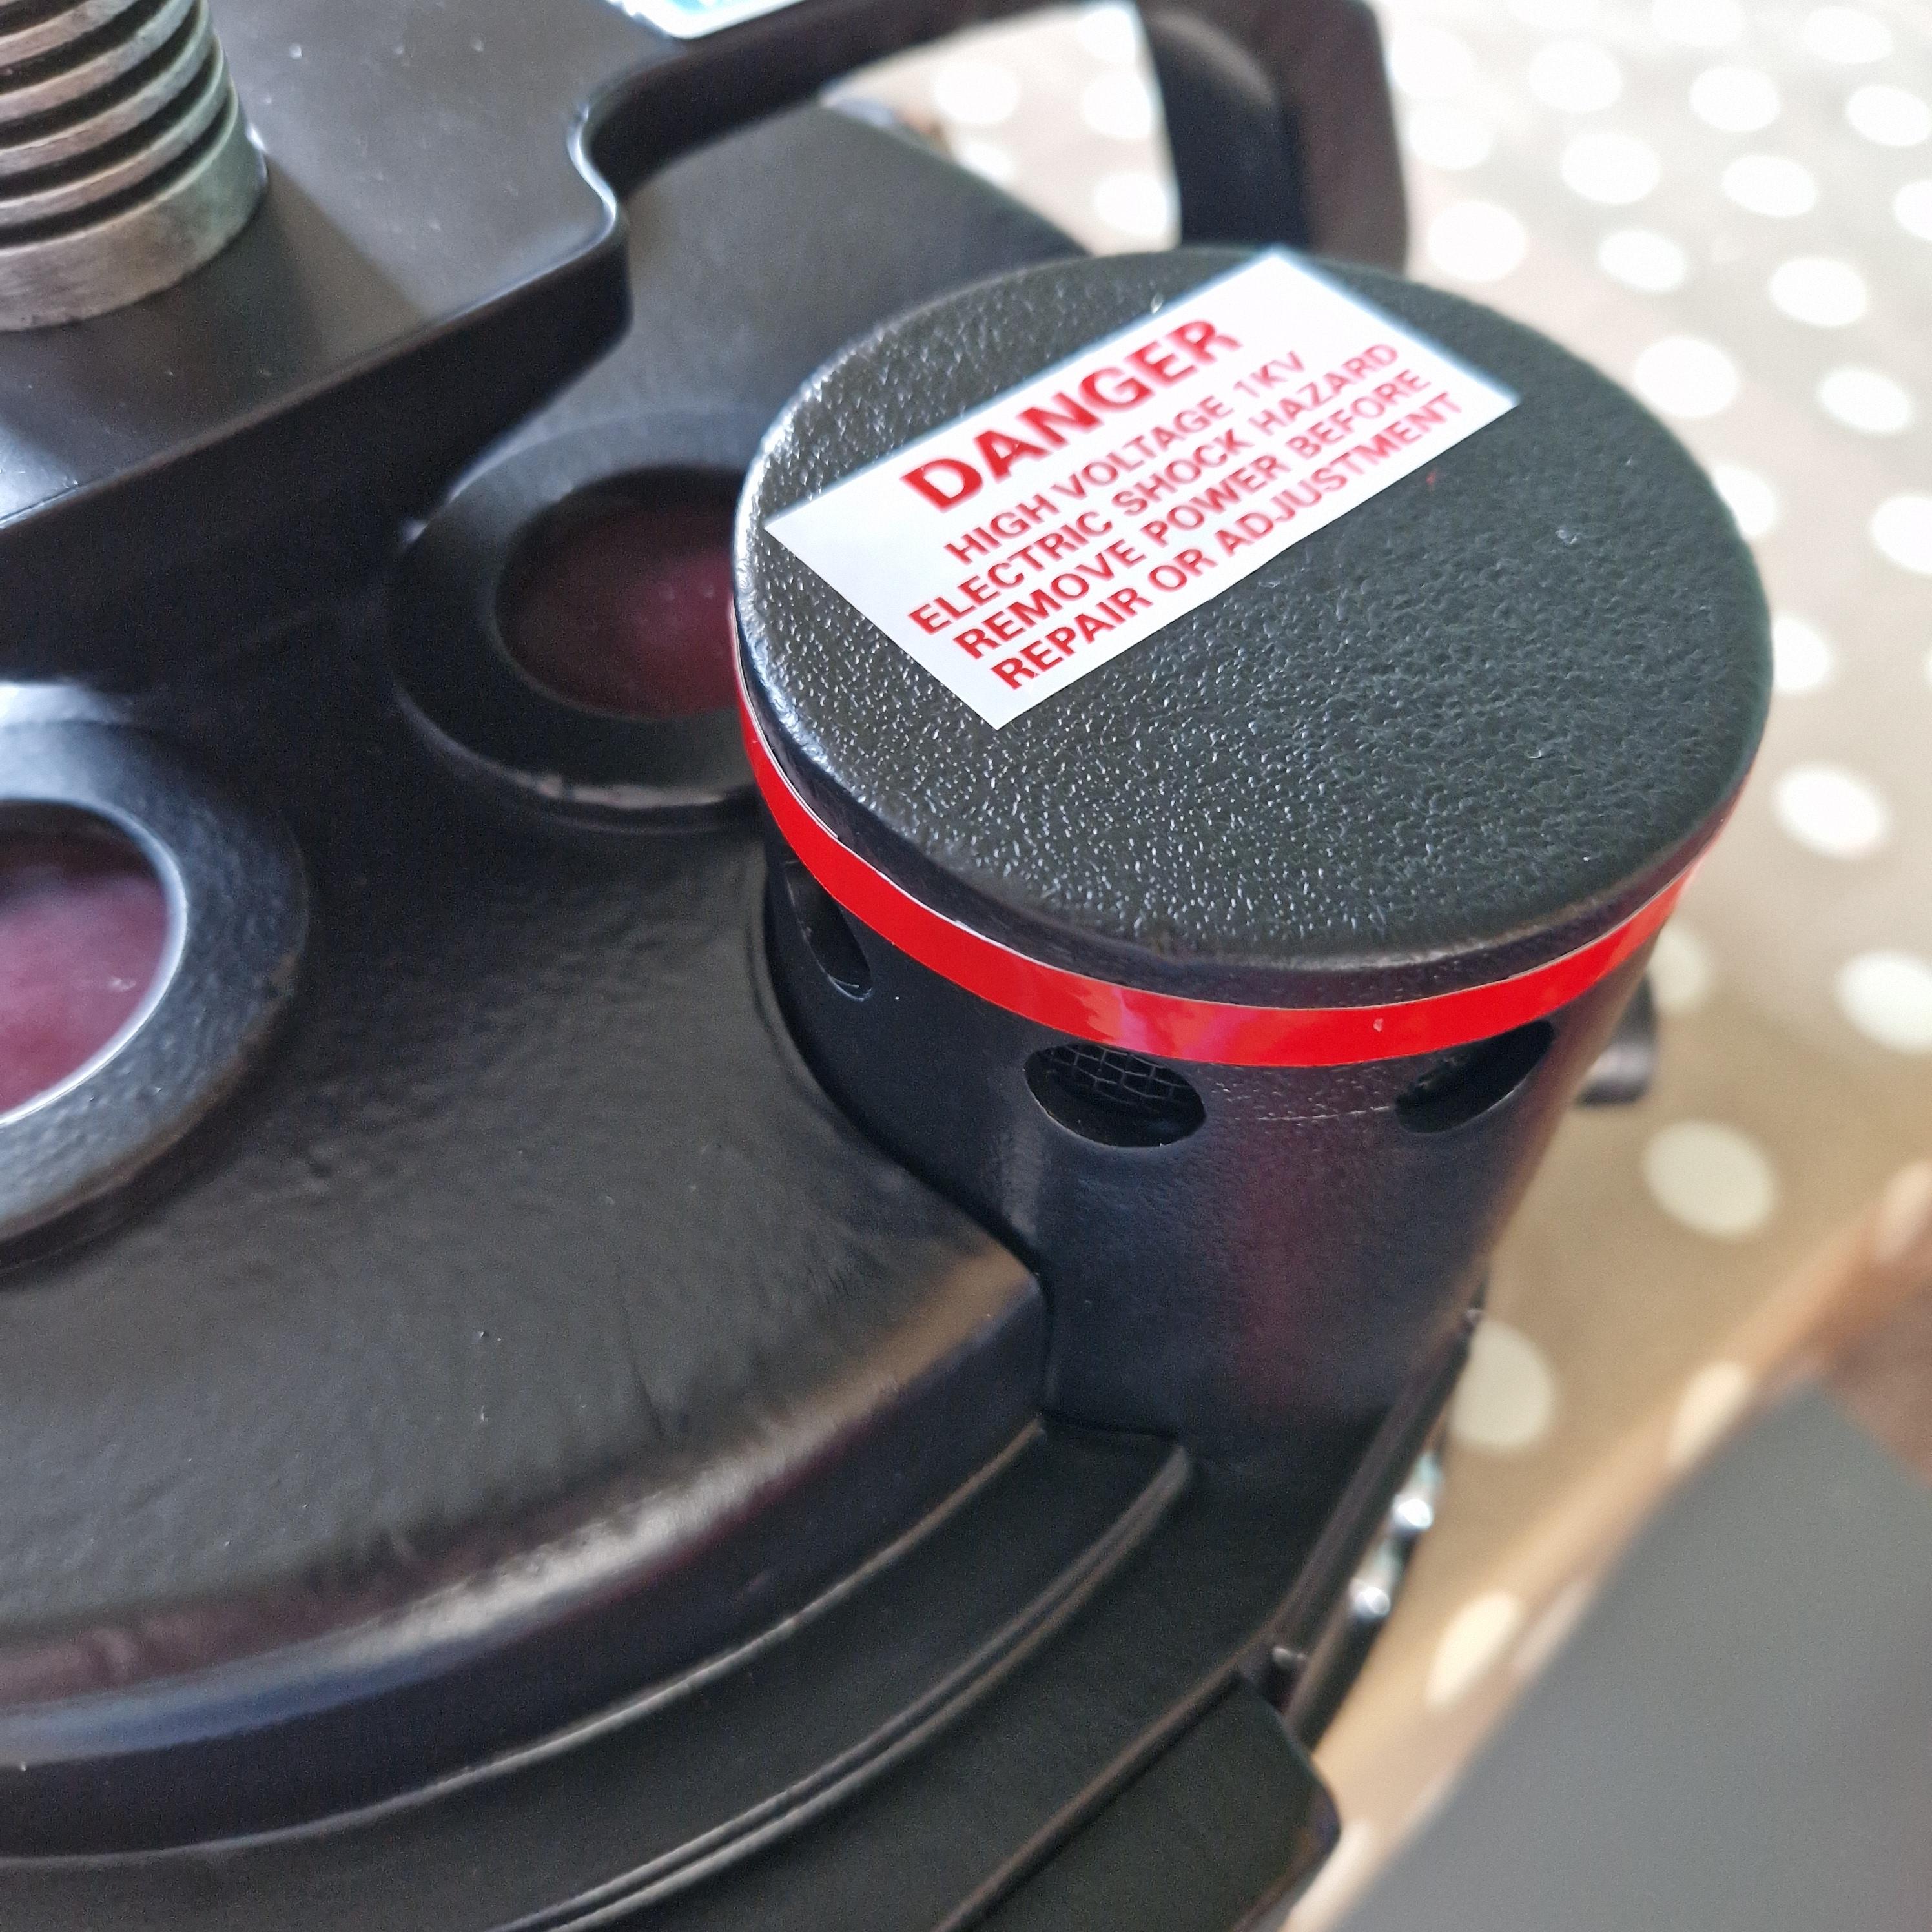
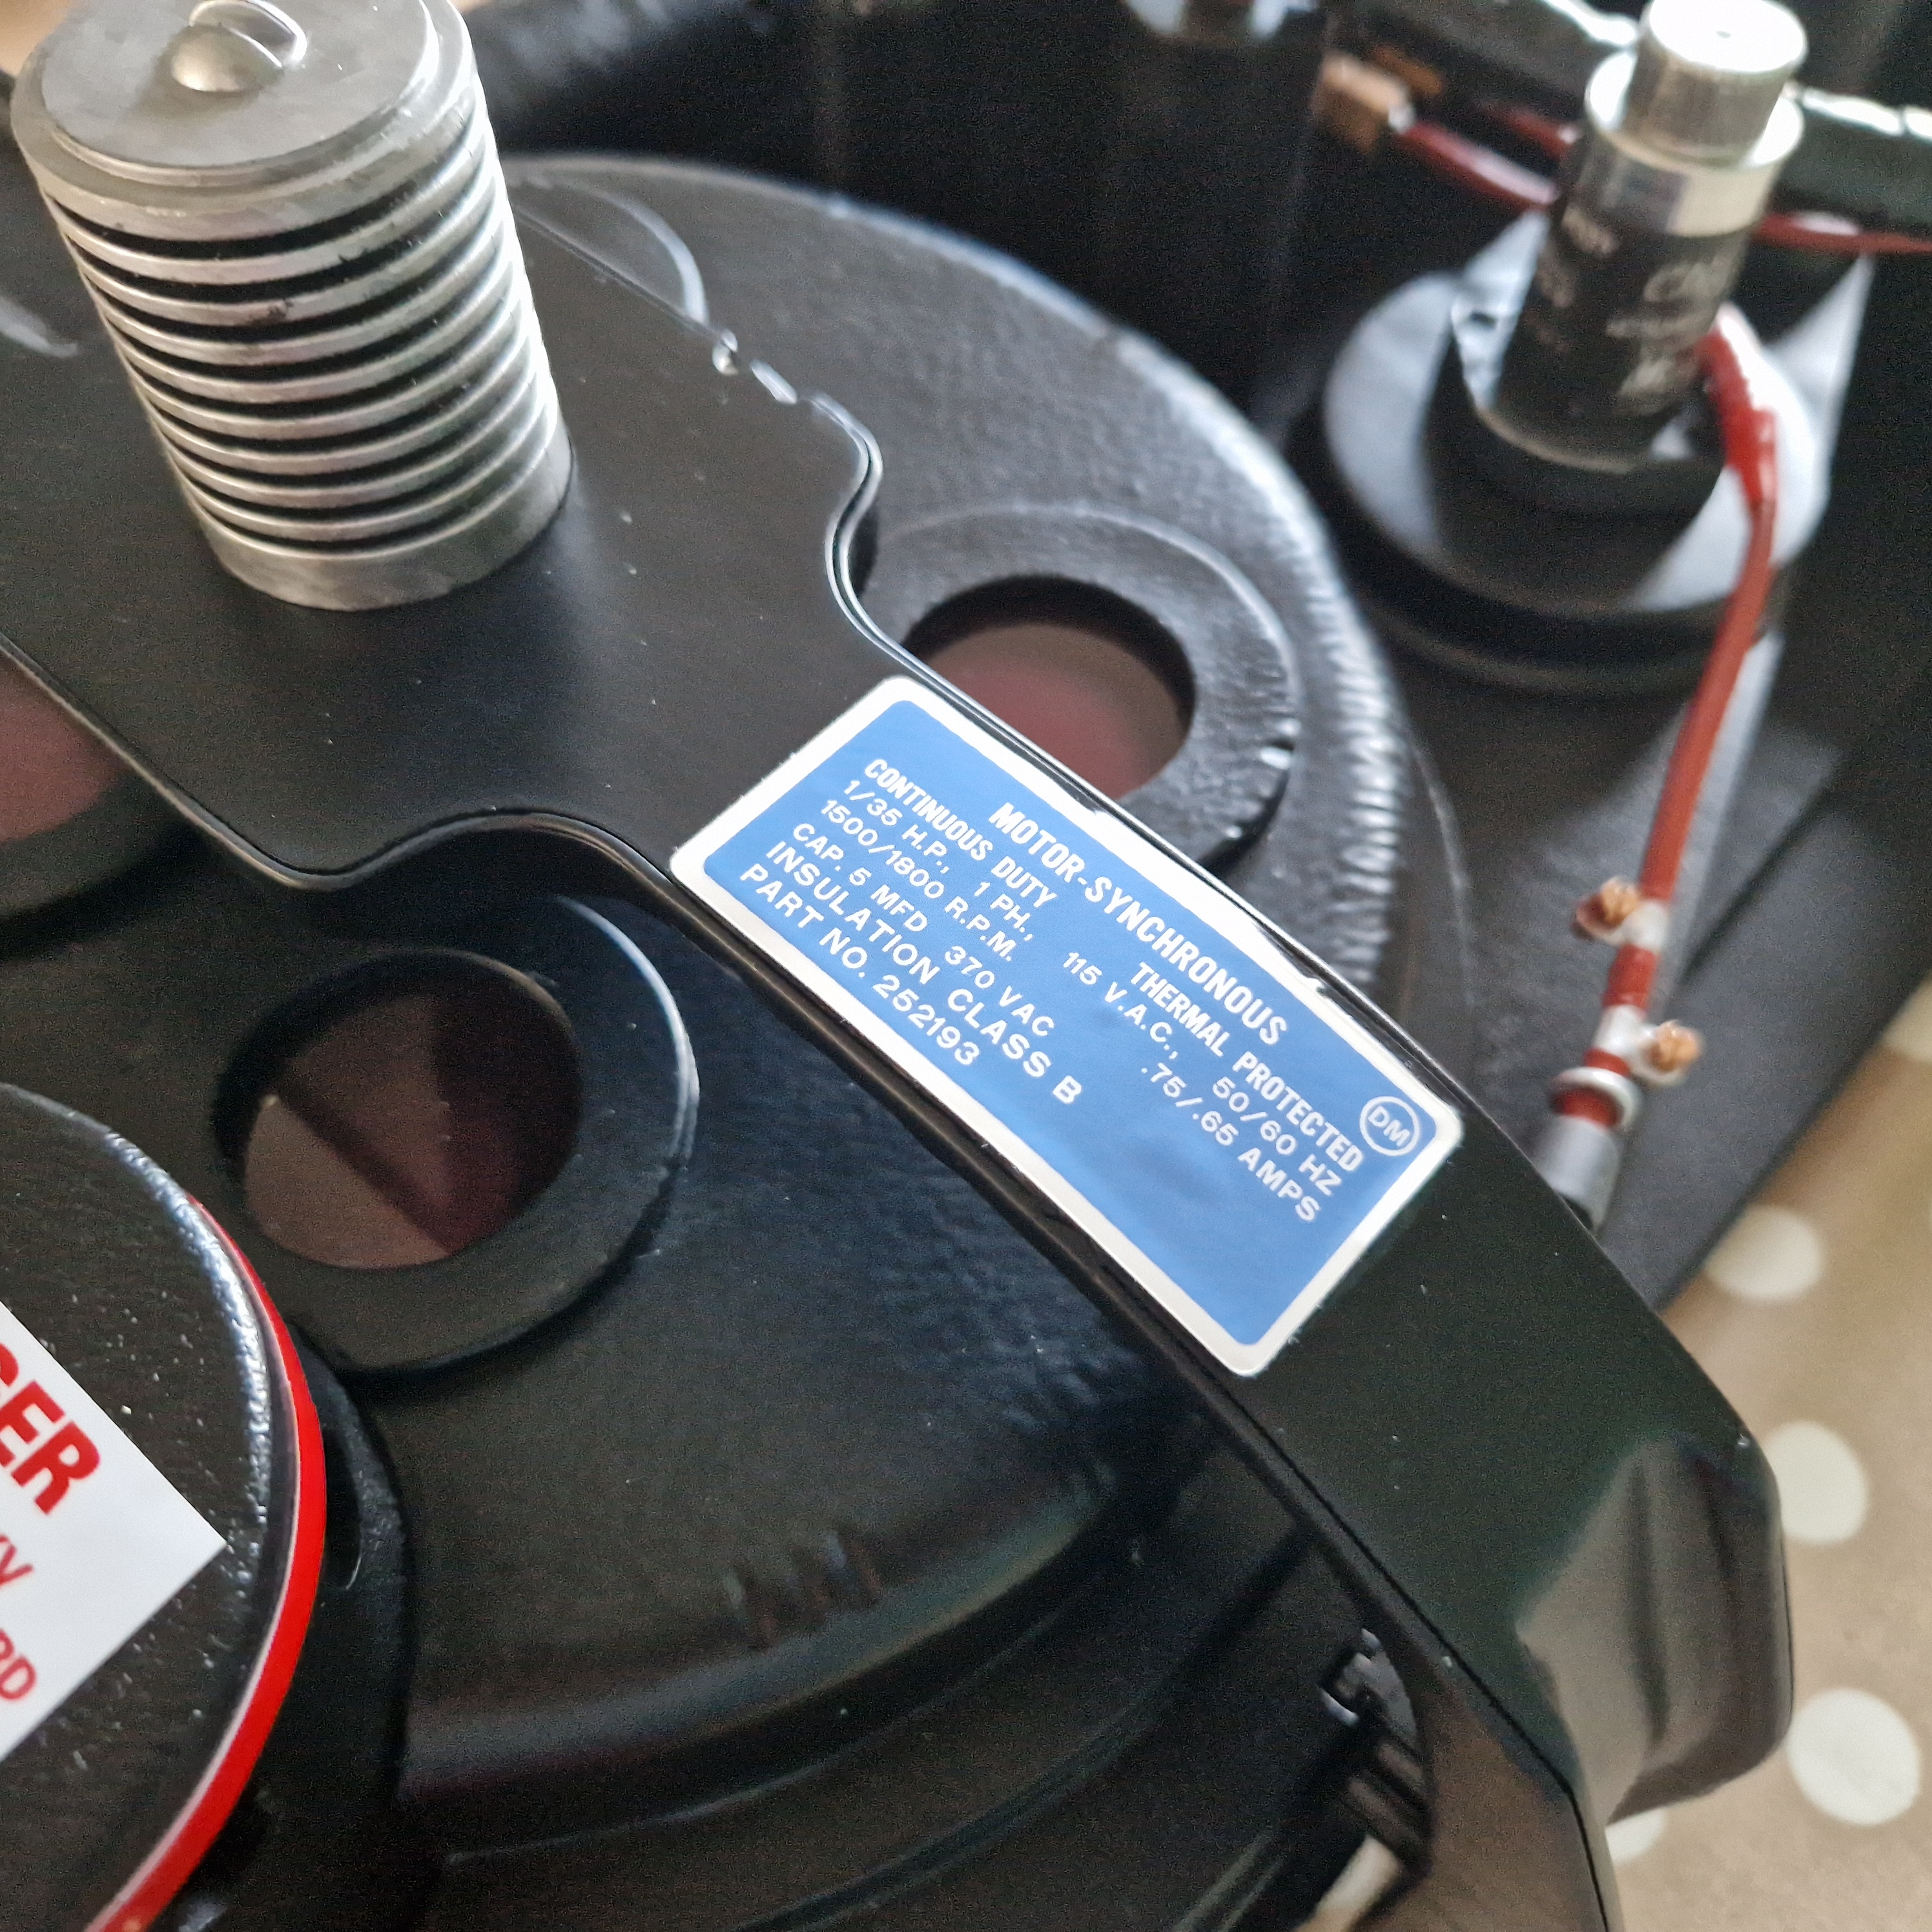
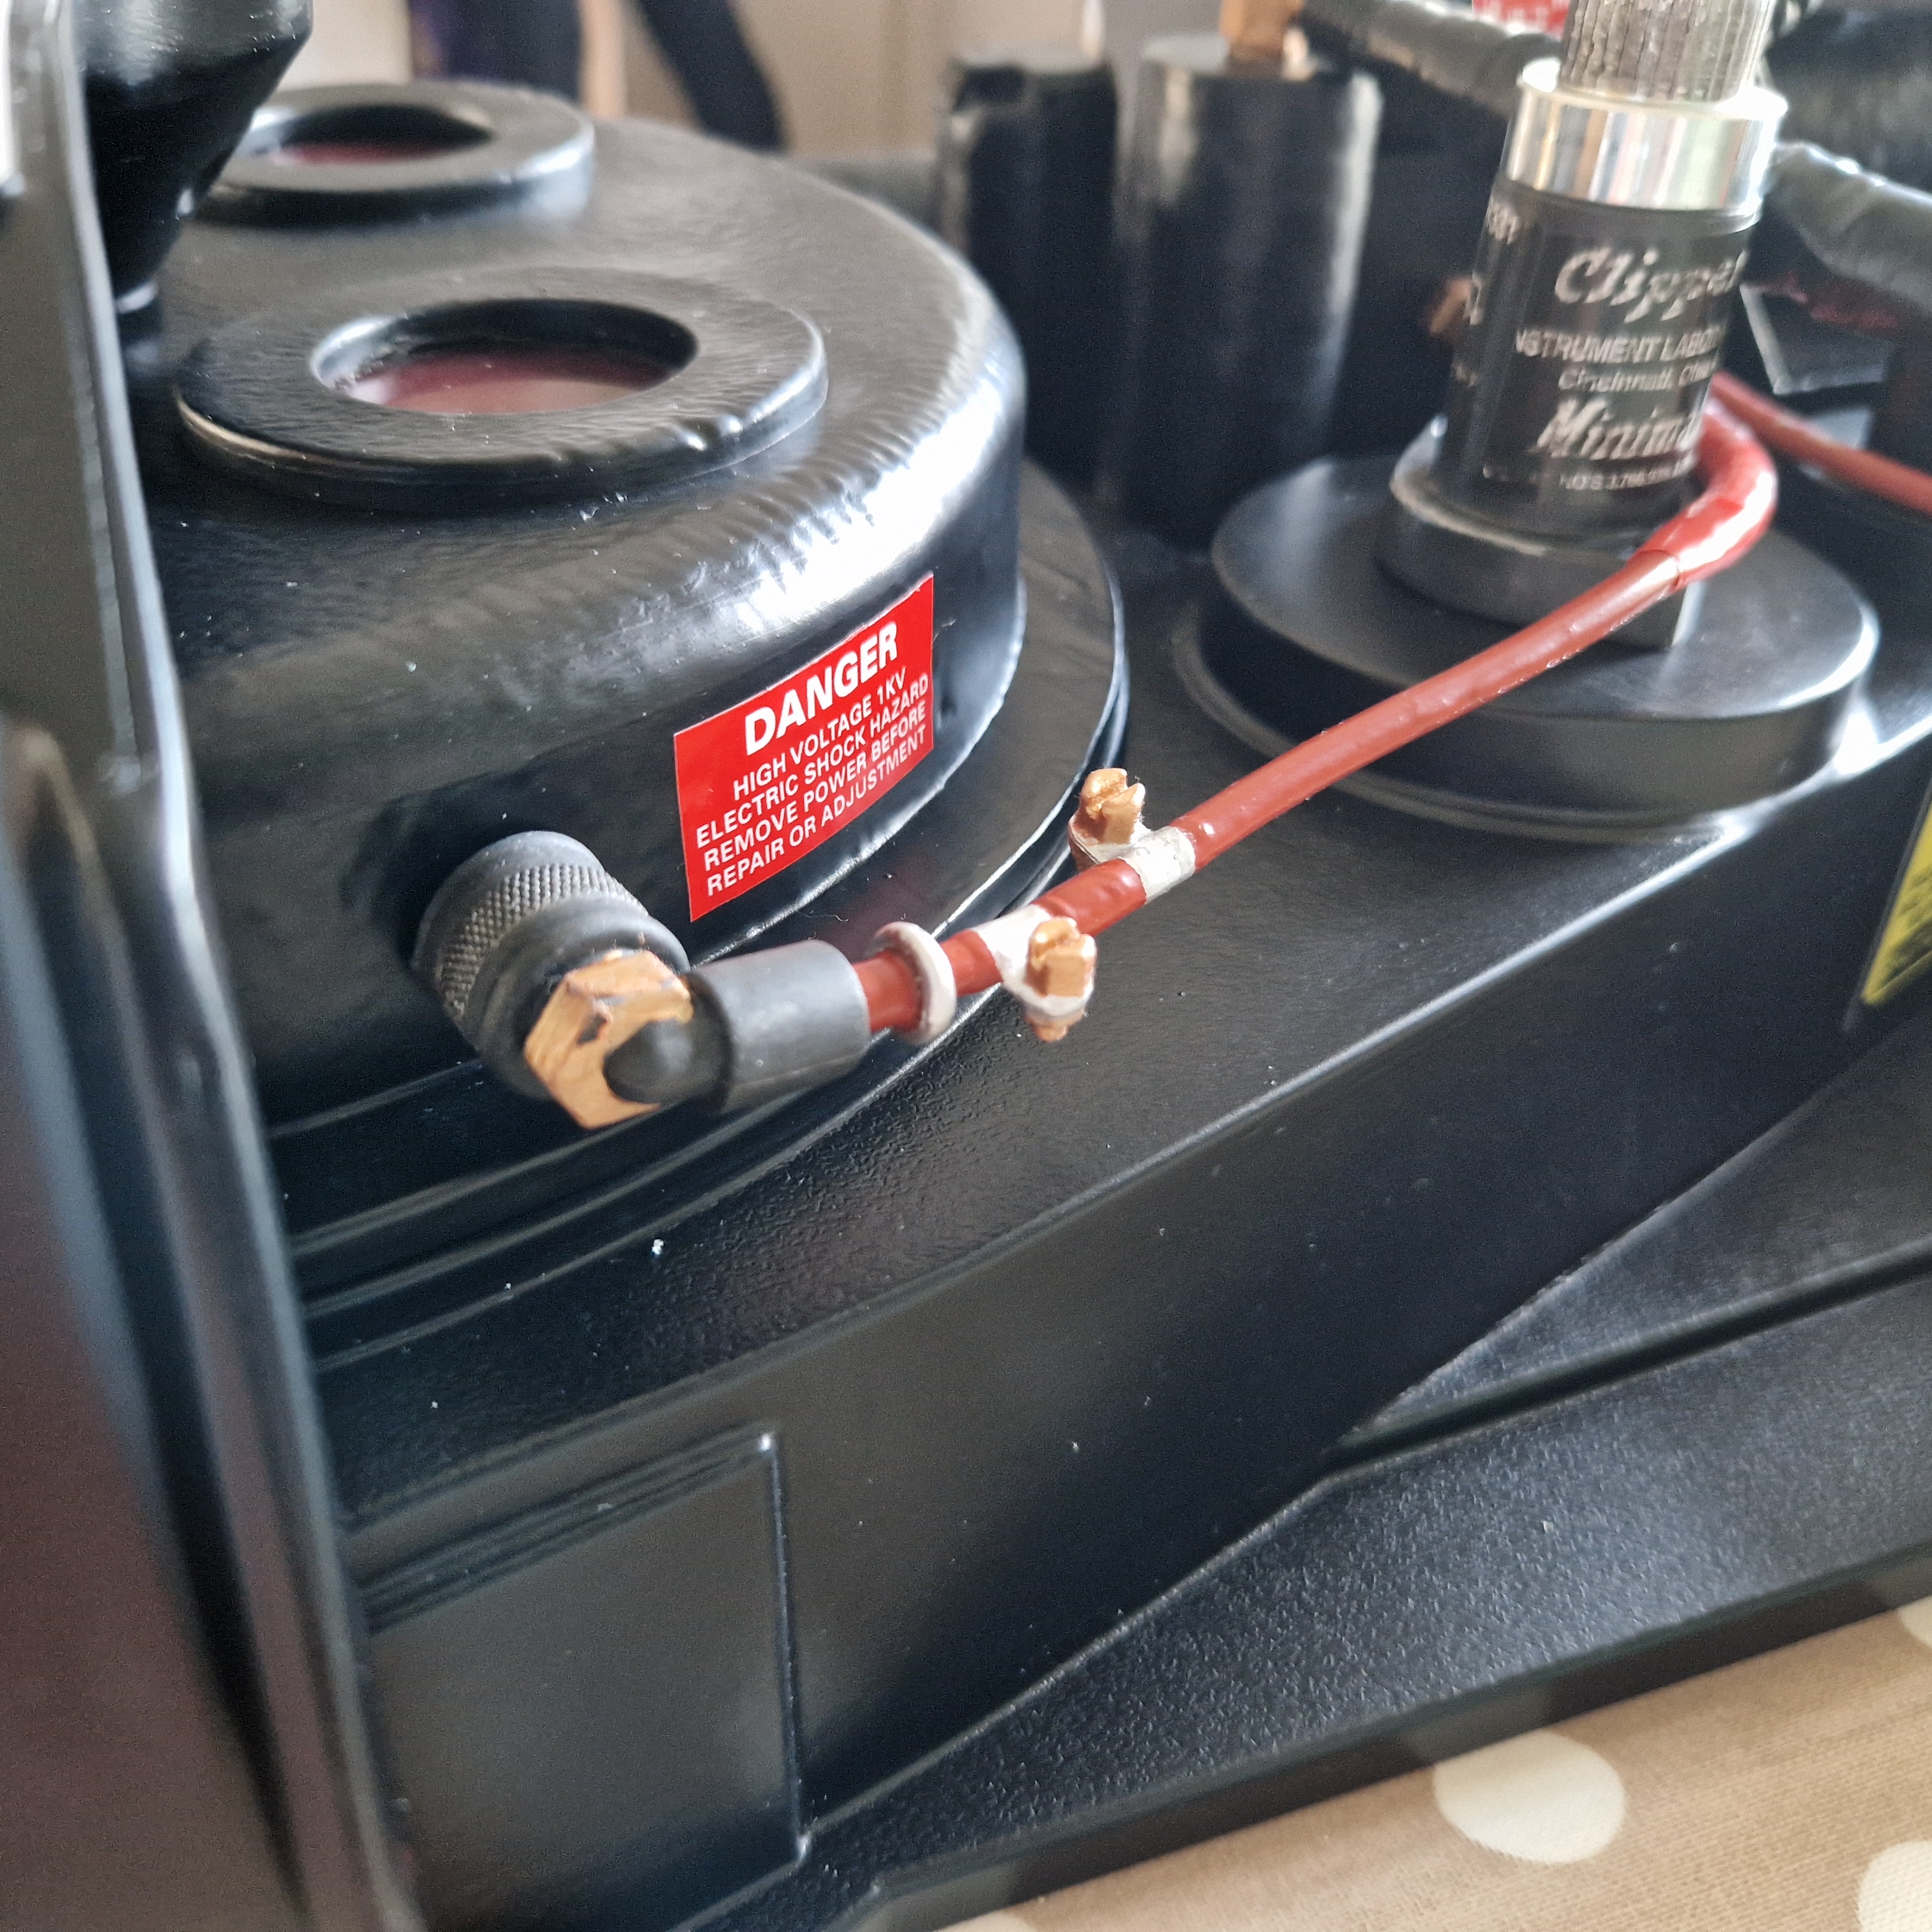
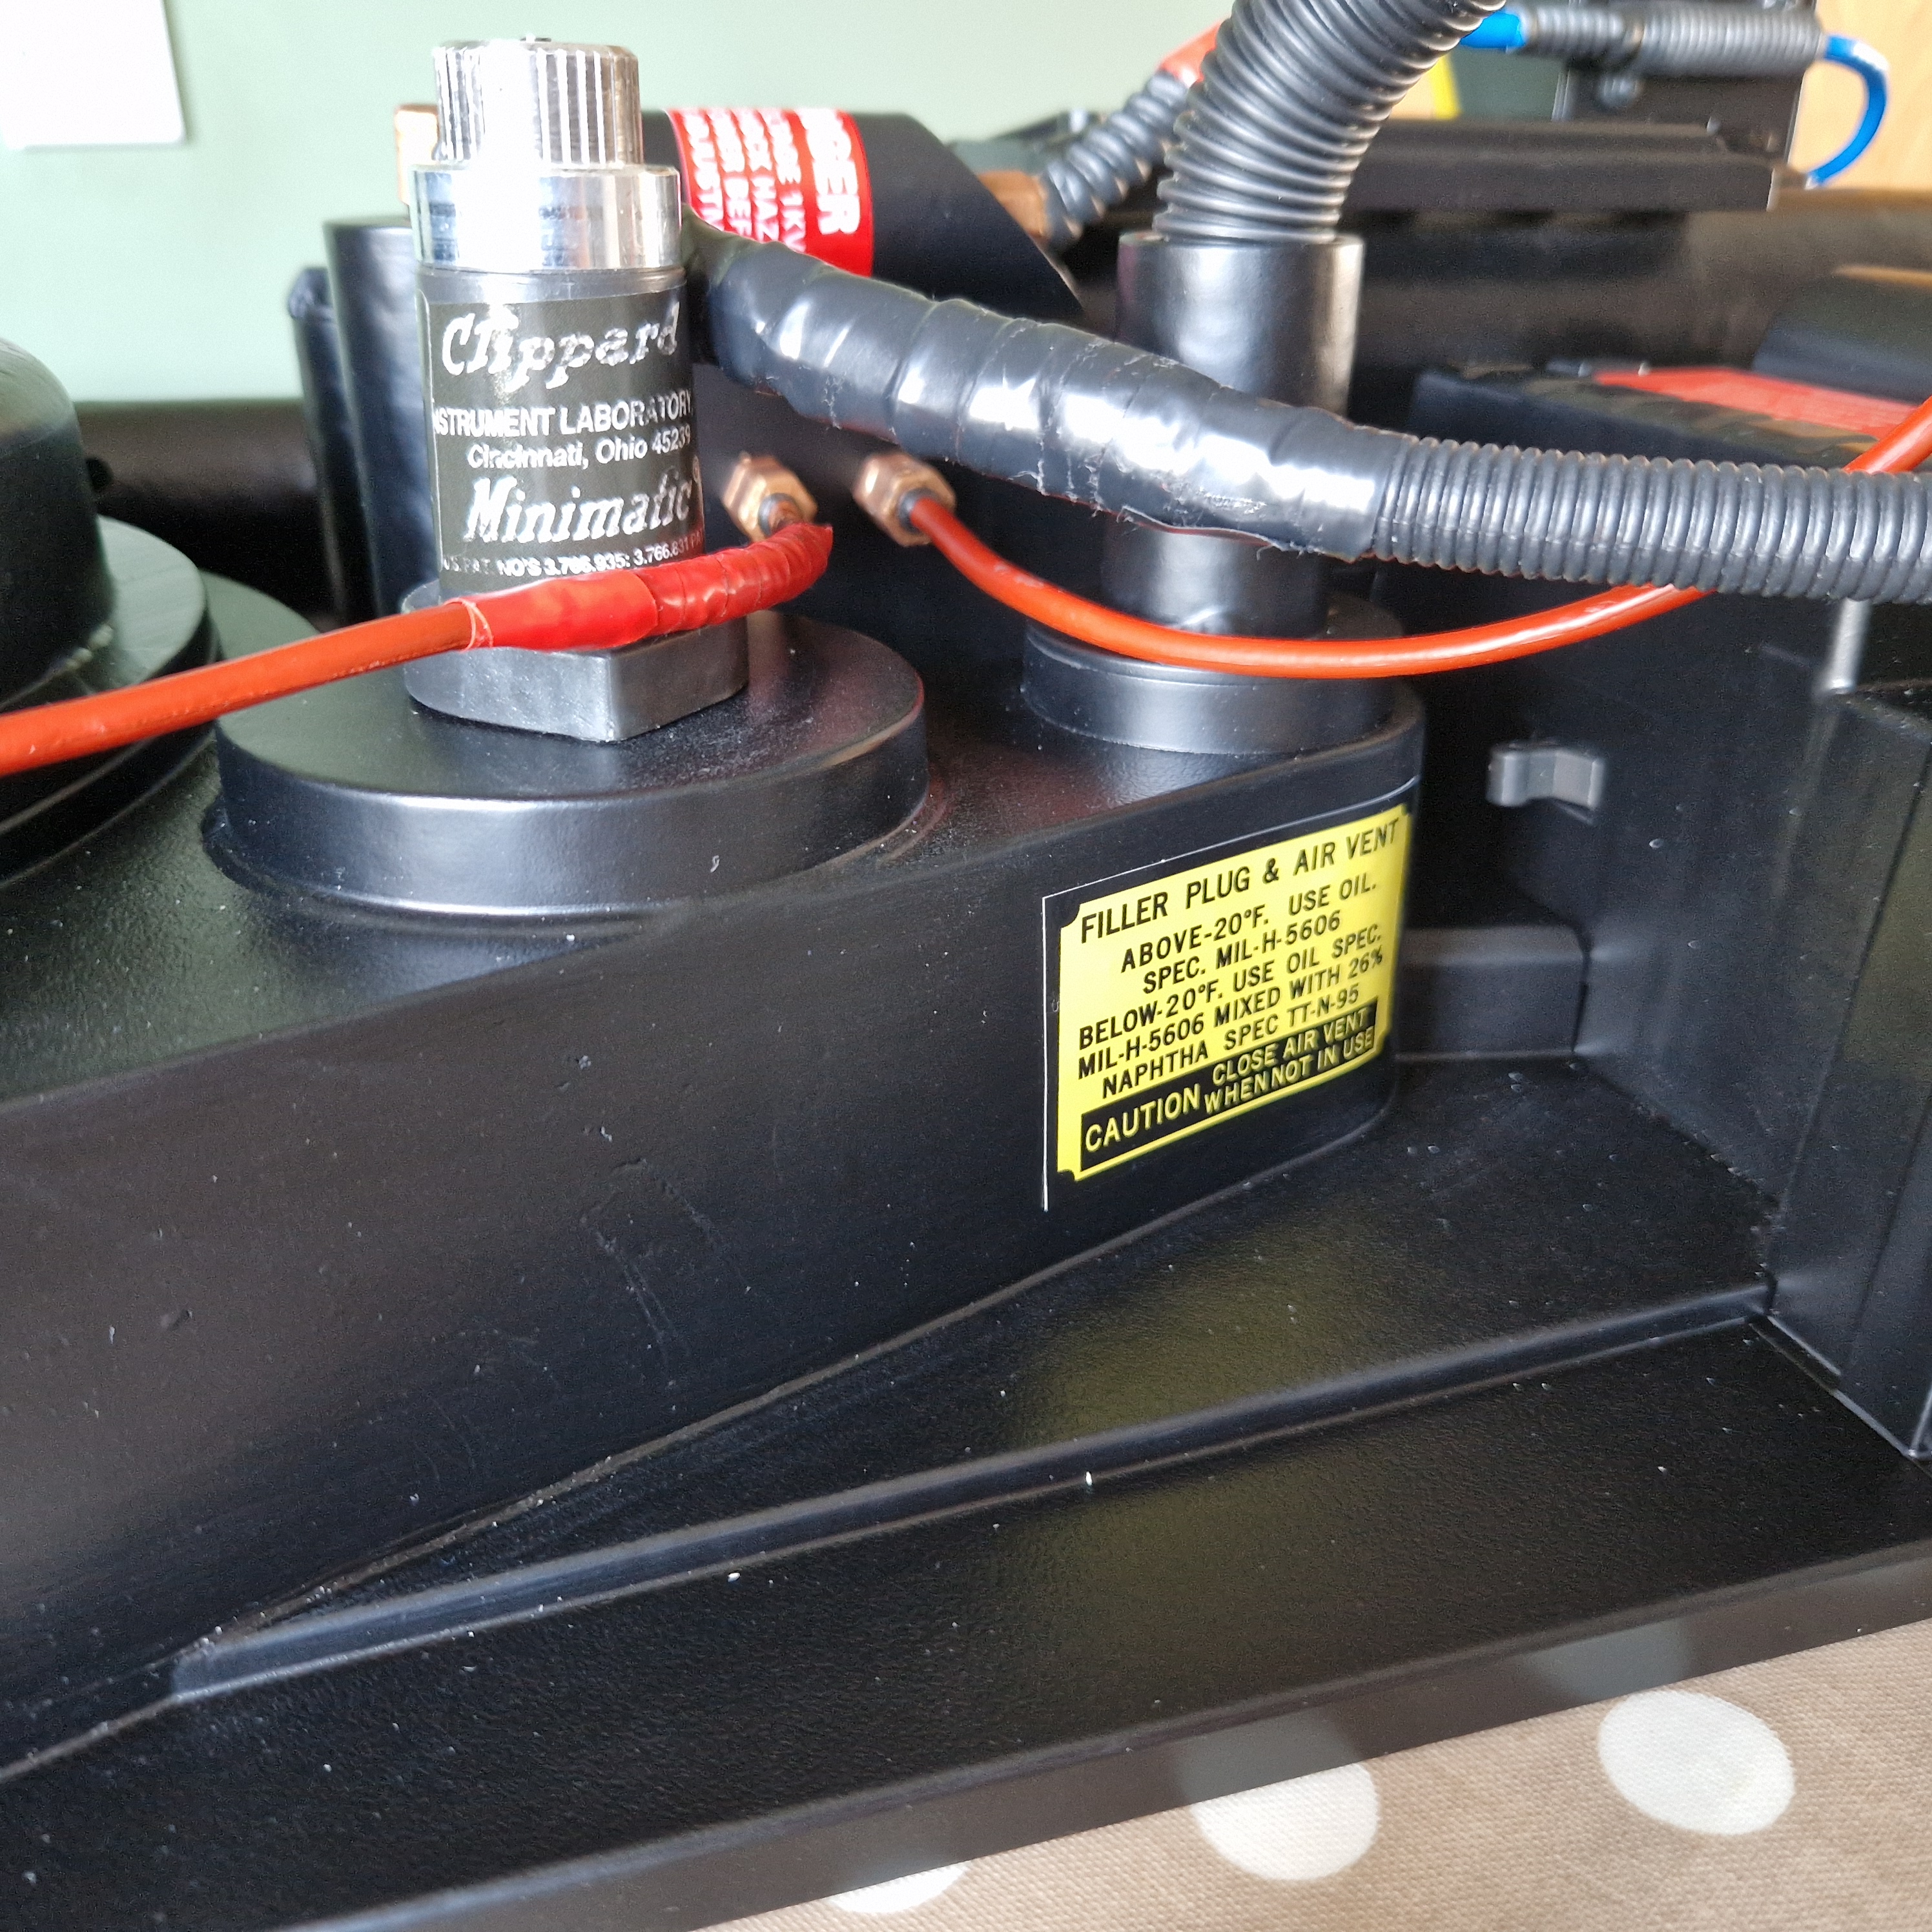
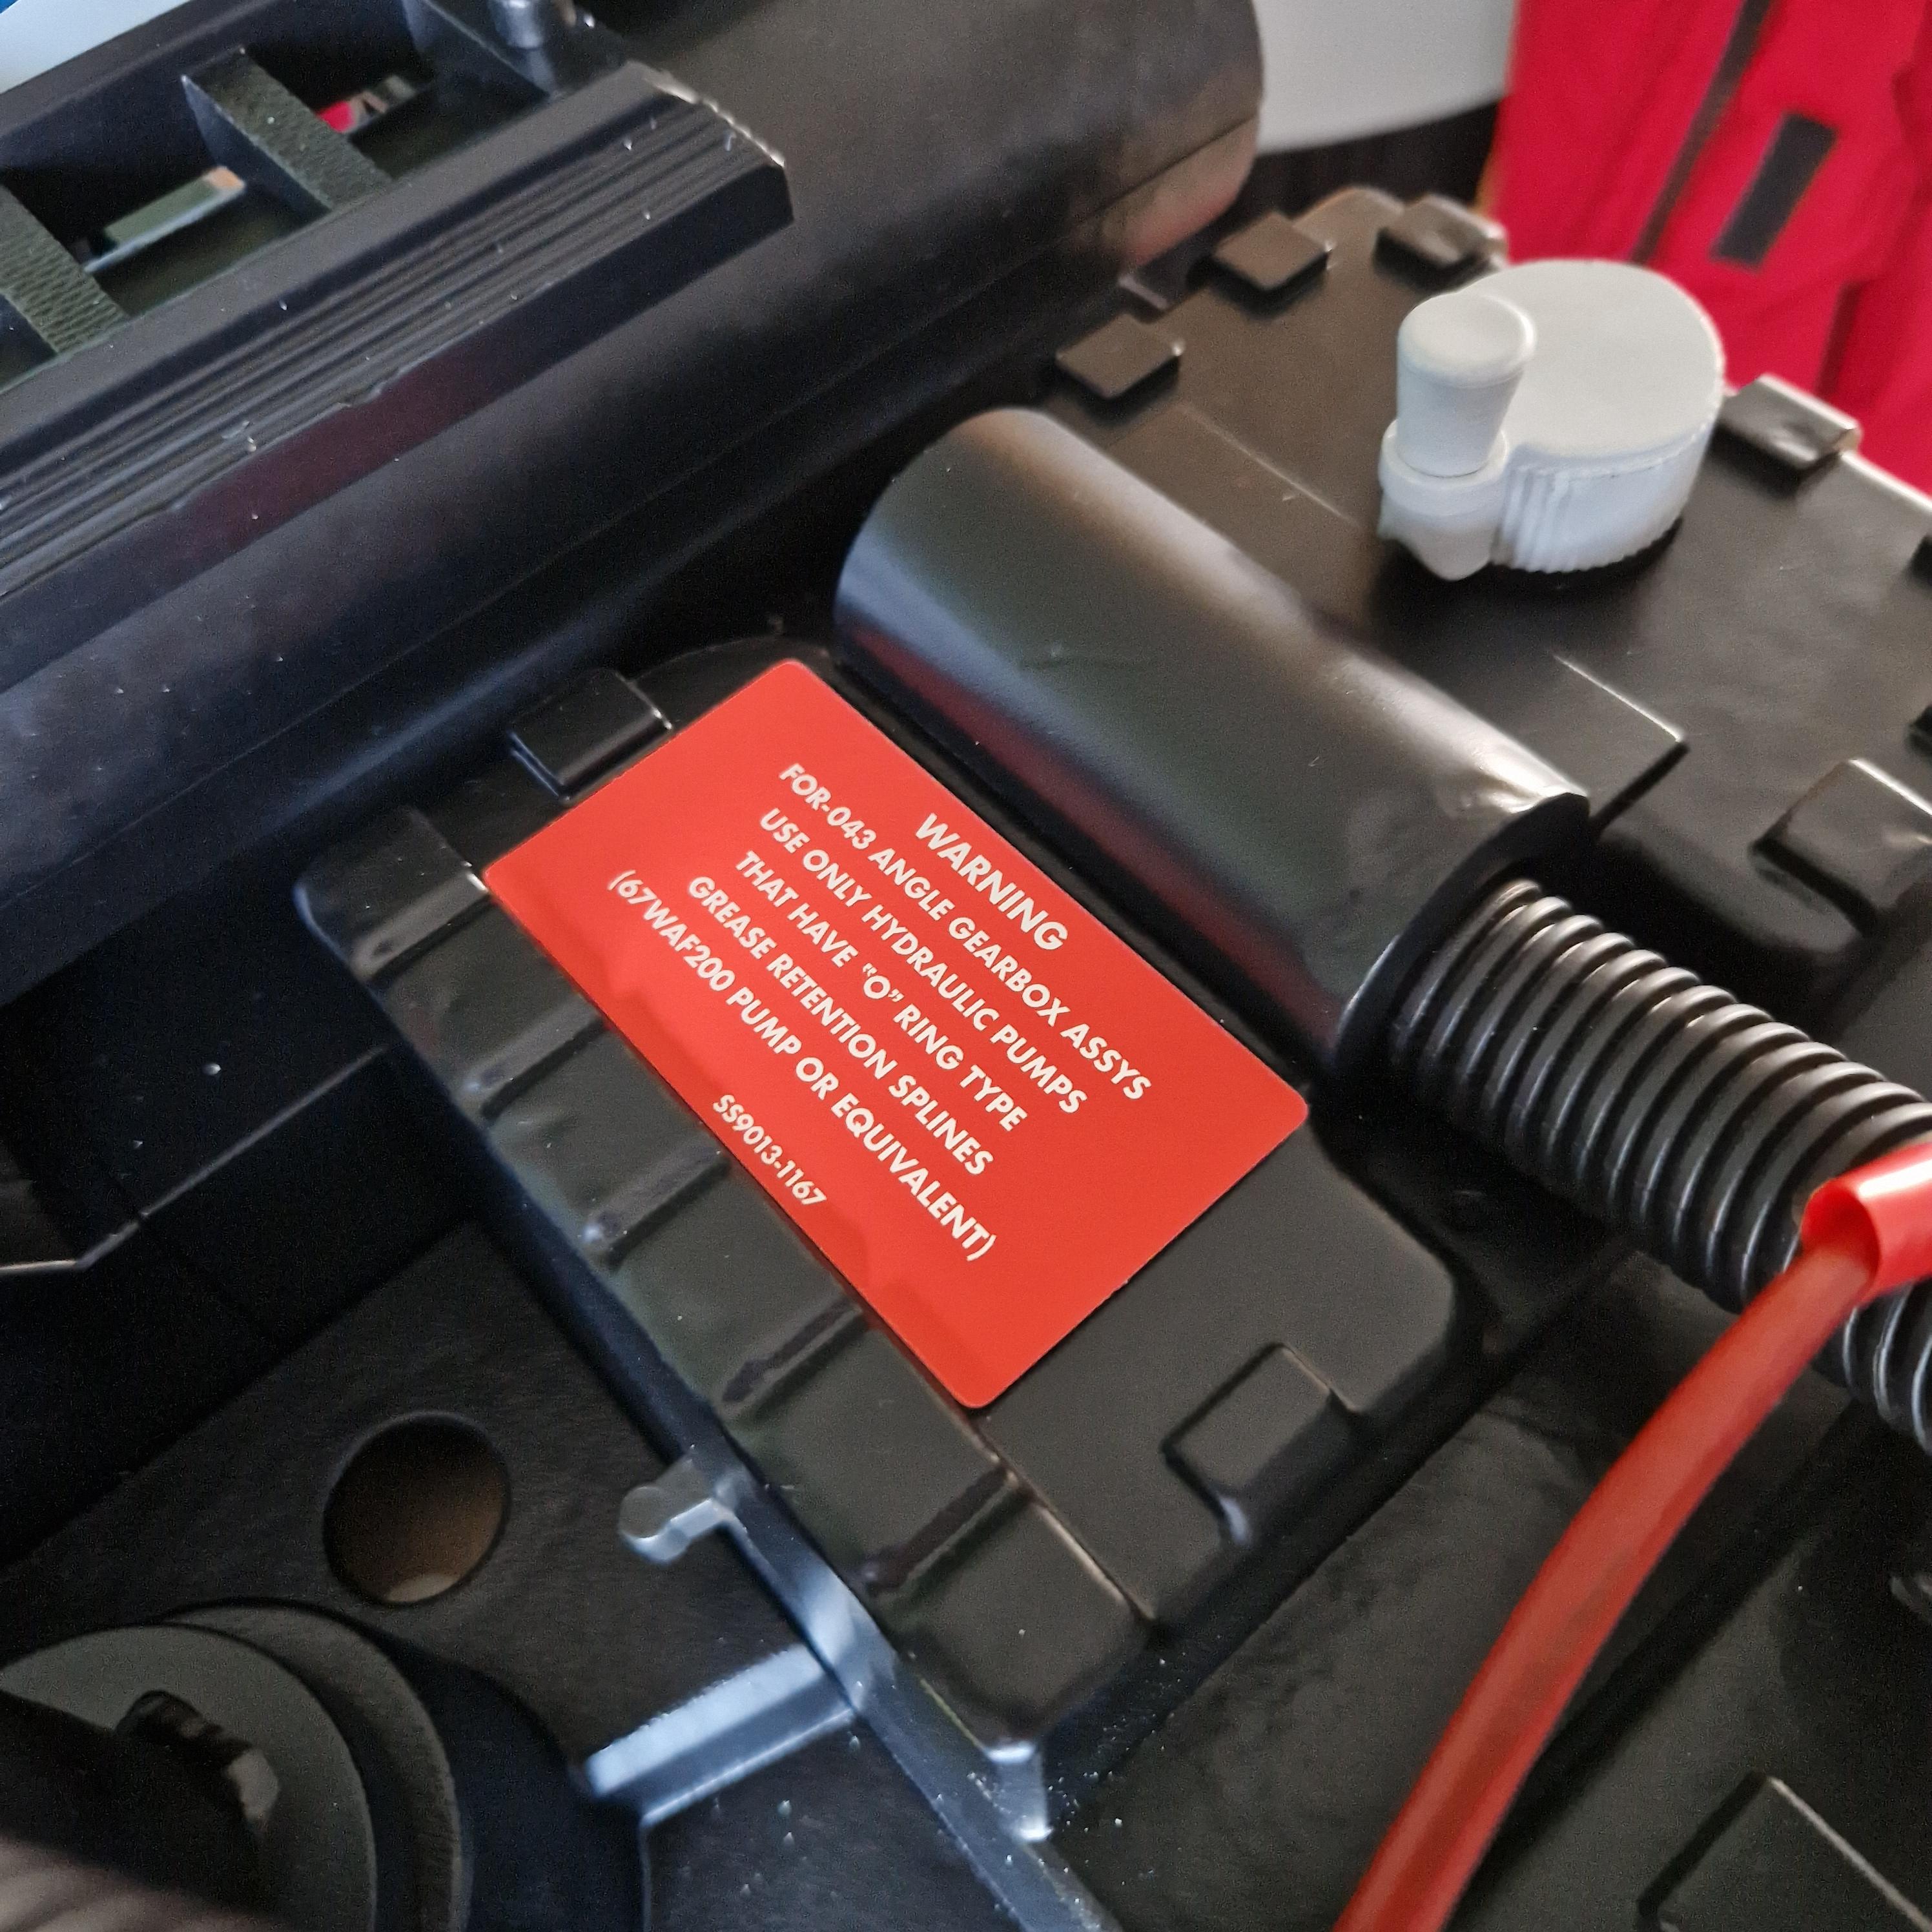
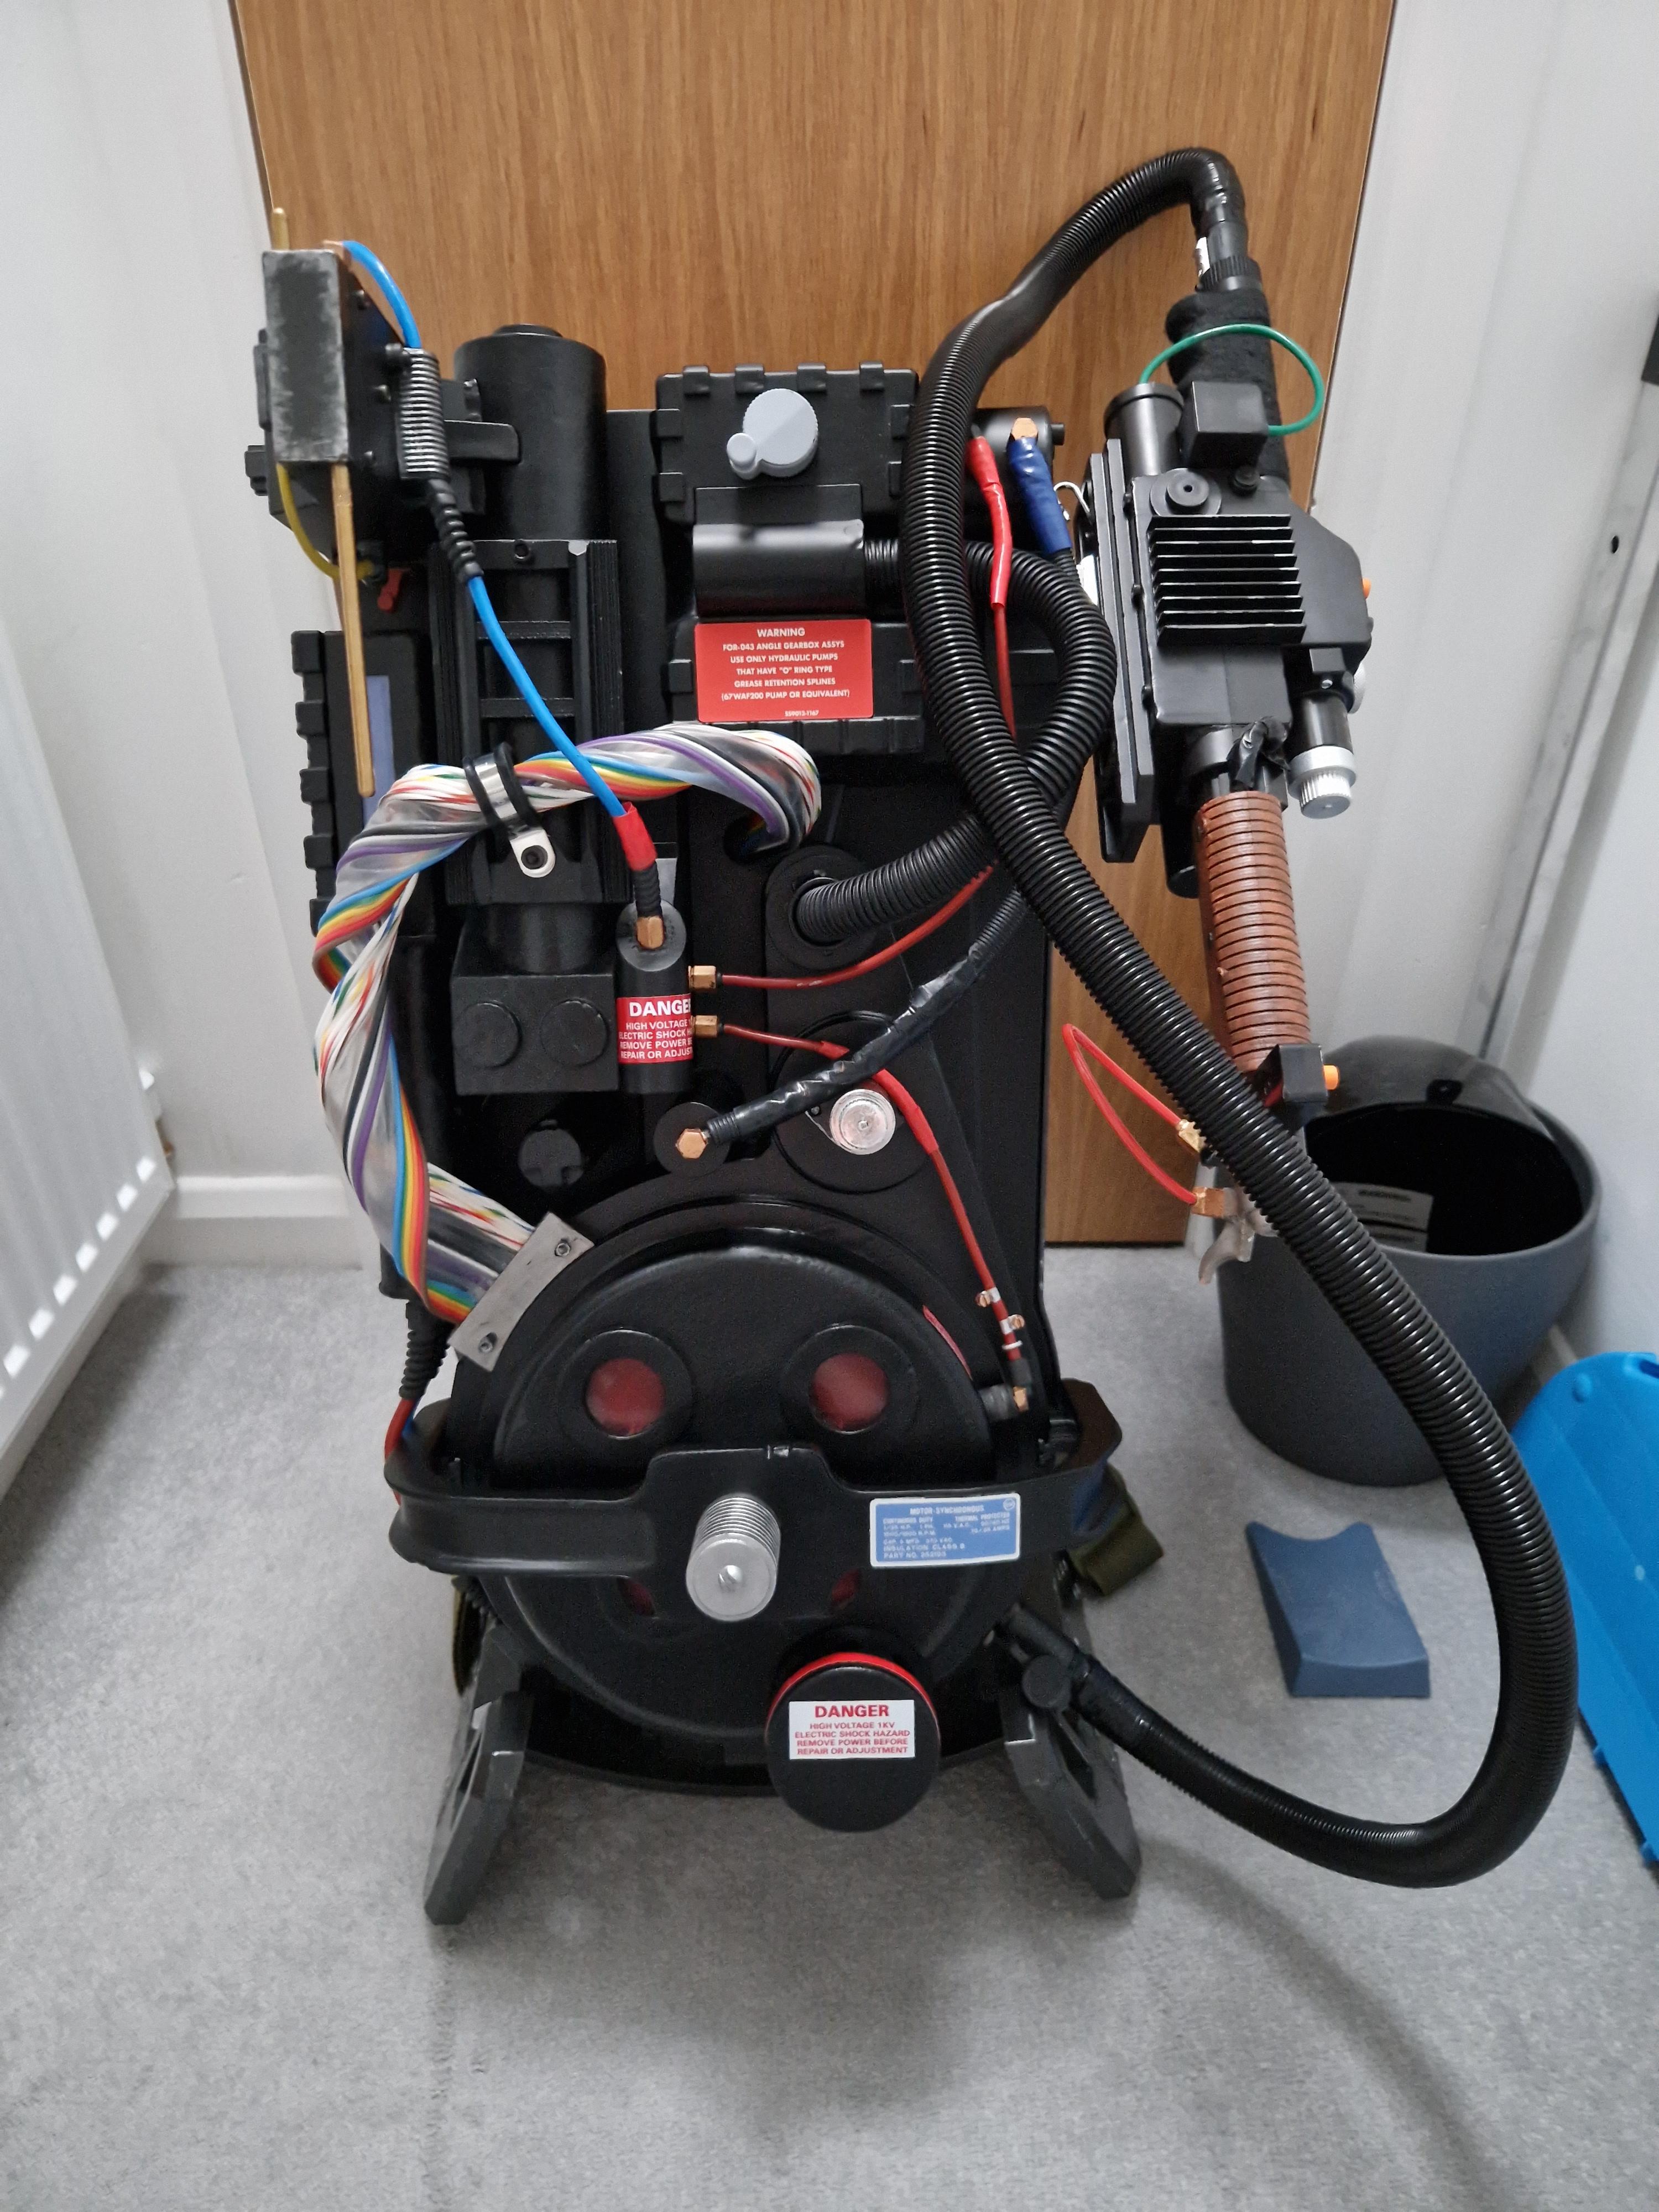
At the same time as all this was happening, I was getting the parts needed to install the GP Star and Frutto Technology kit, speakers, battery etc. Making sure I had as much as I thought I needed. When it arrived, I could barely contain myself, I wasn’t able to start the installation straight away, but I quickly added the hose connector (for no other reason than lack of self control).
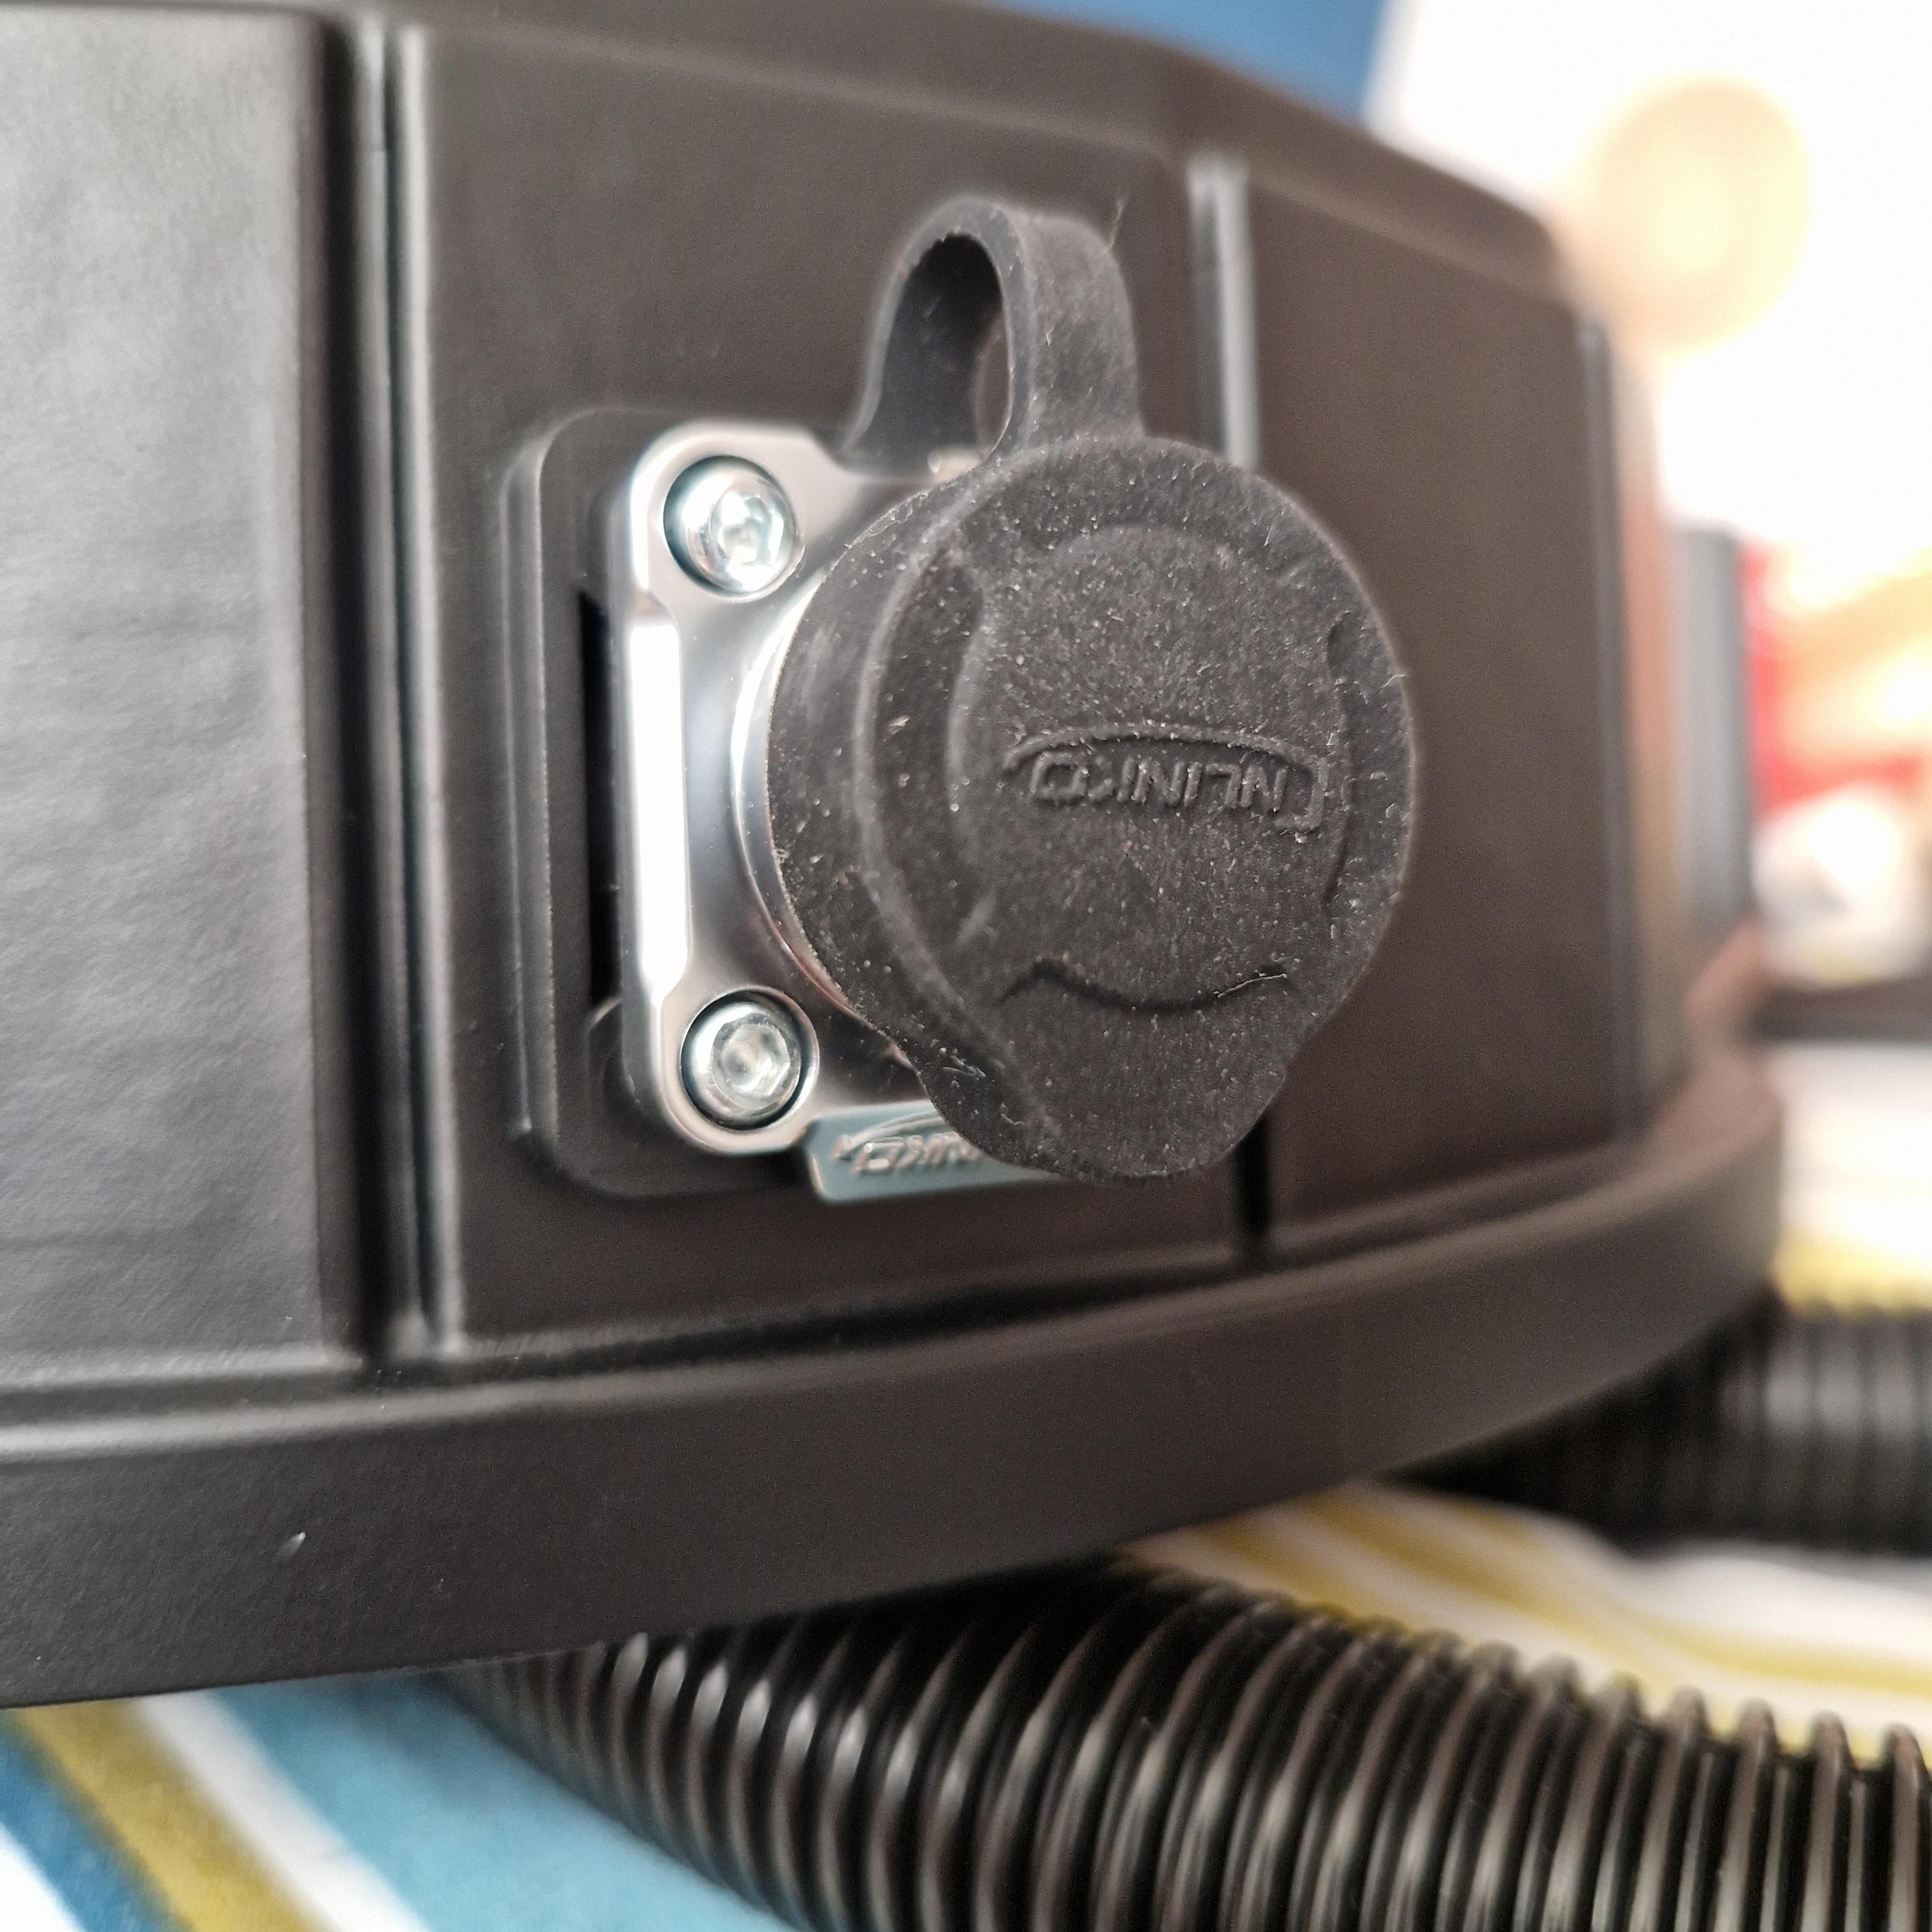
The installation isn’t for the faint hearted, but it’s not difficult provided you follow the instructions on the GitHub and YouTube channels. The team there (on the FB group) are exceptional, really helpful and always share hints and tips that they or others have picked up along the way. It adds 2 new speakers, an amp, dedicated audio board for pack and wand (with files from a Micro SD card - adding your own music is now an option!)
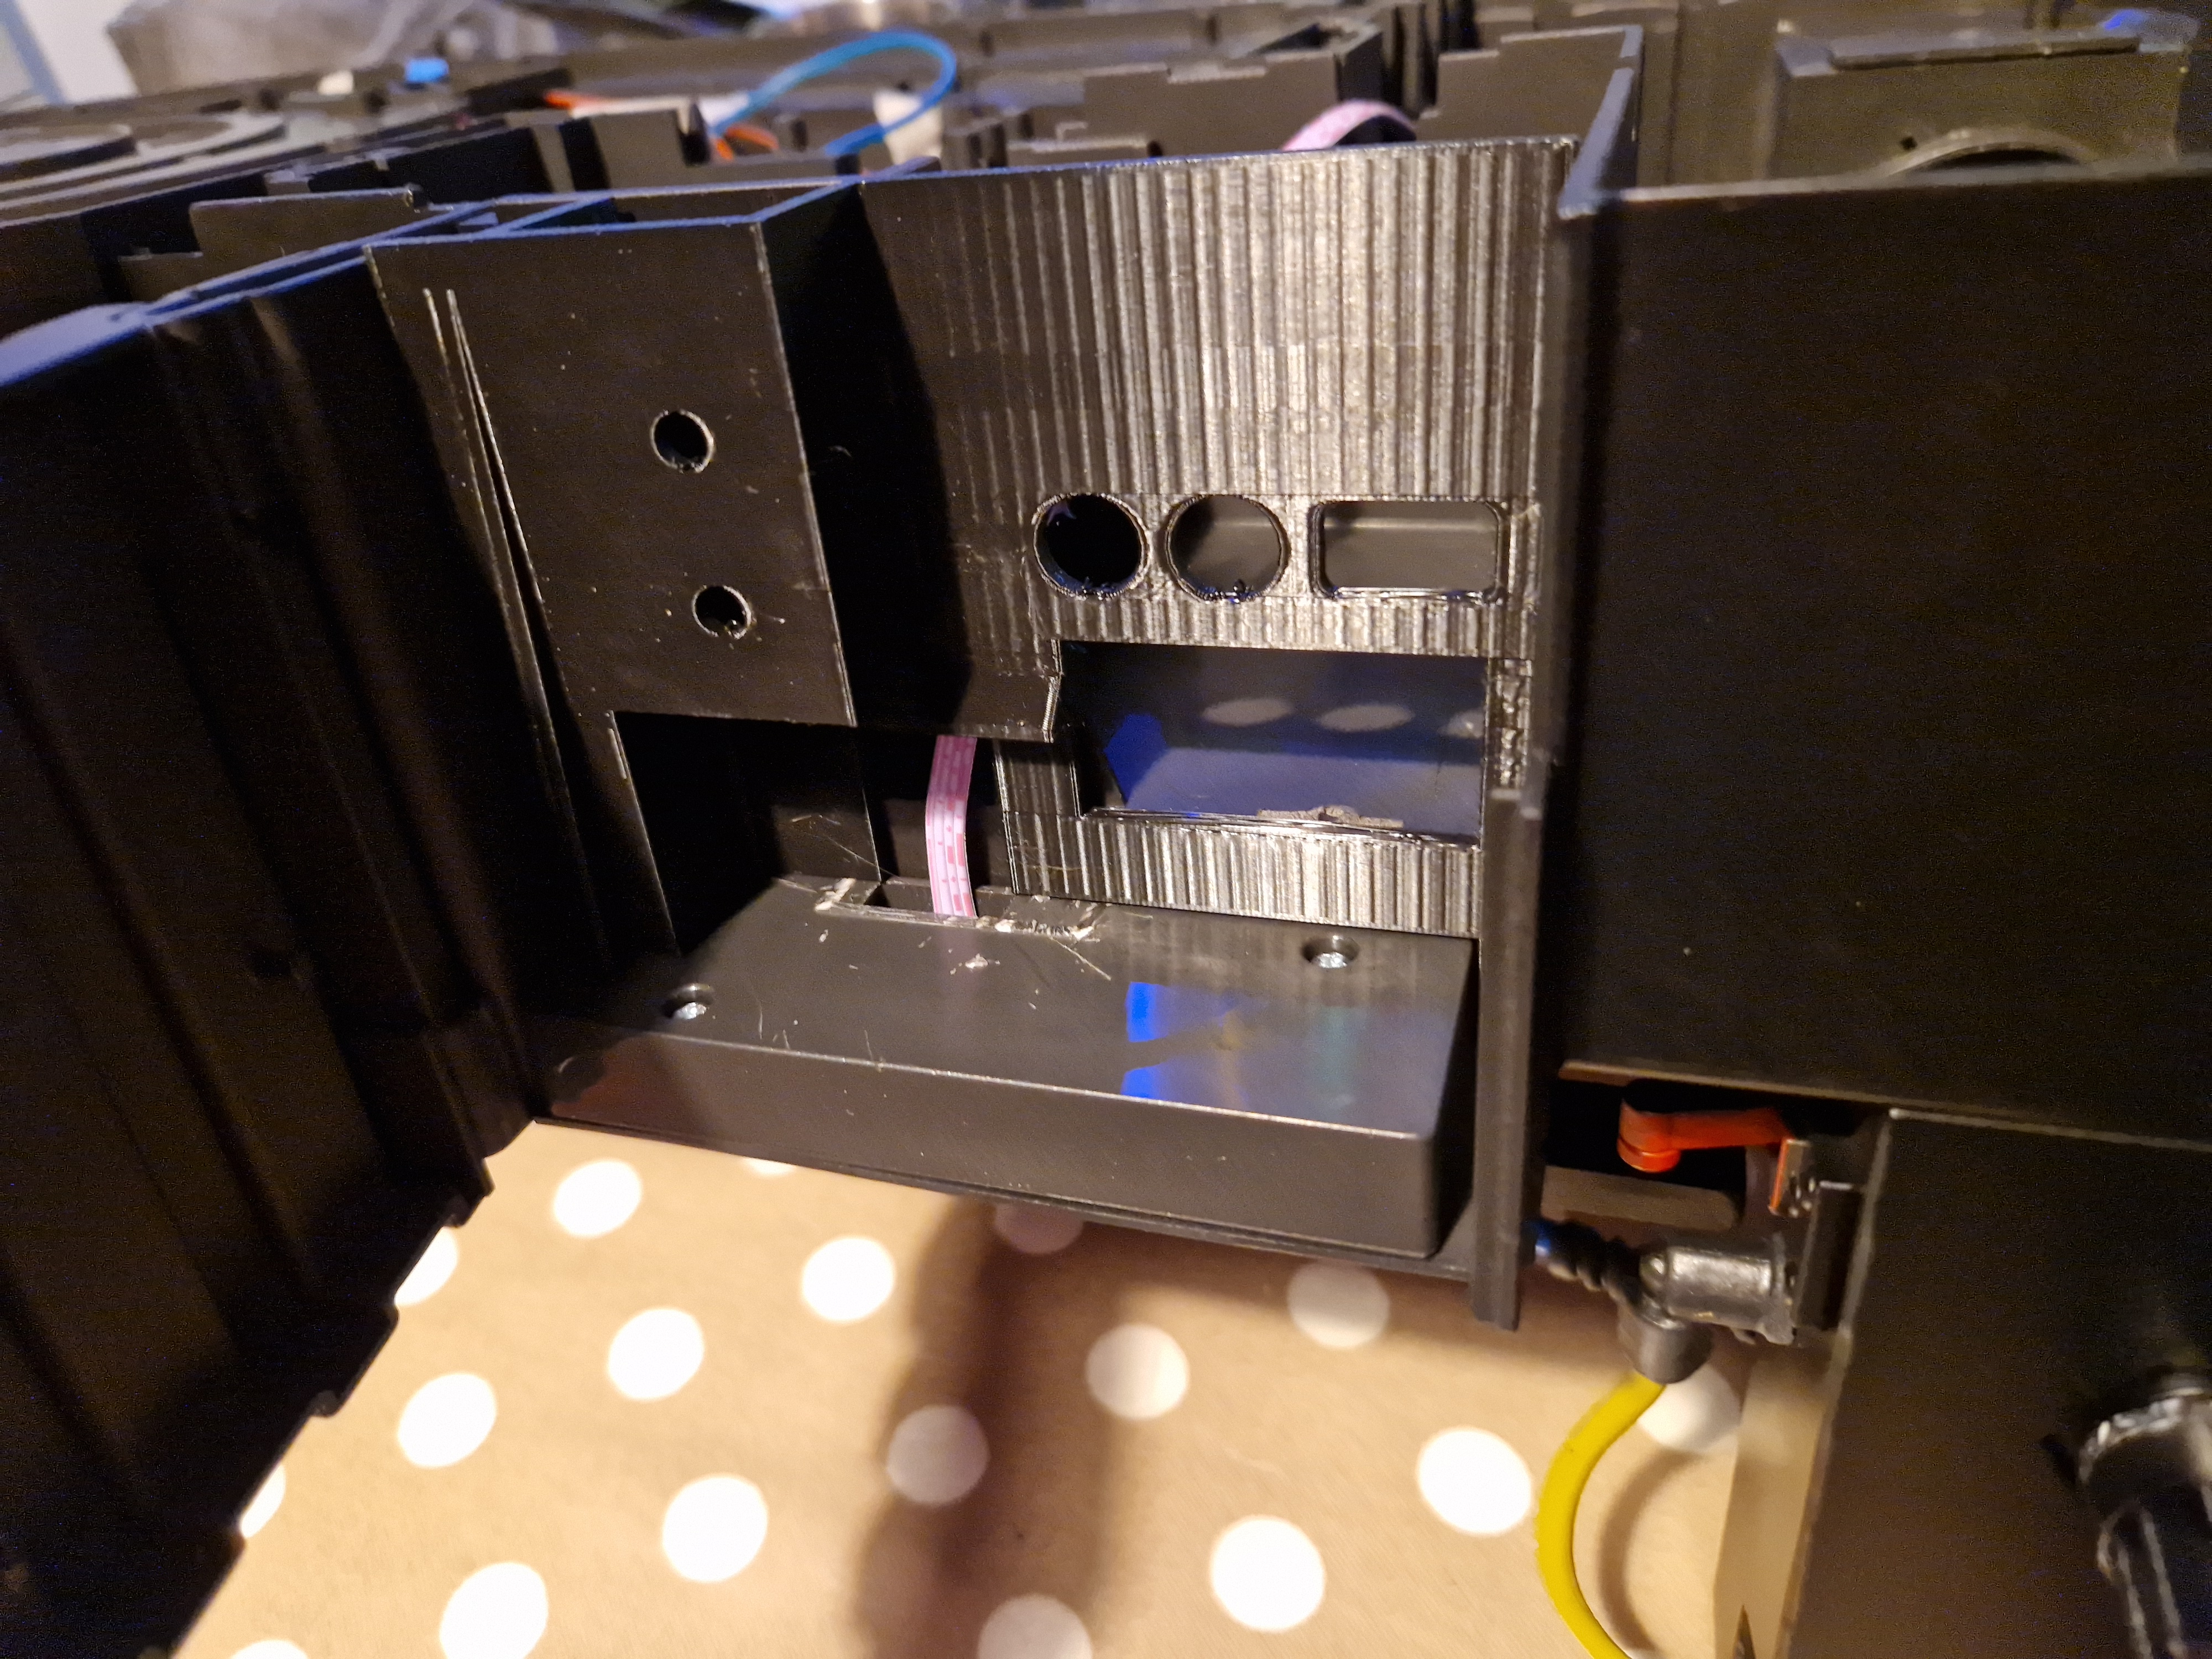
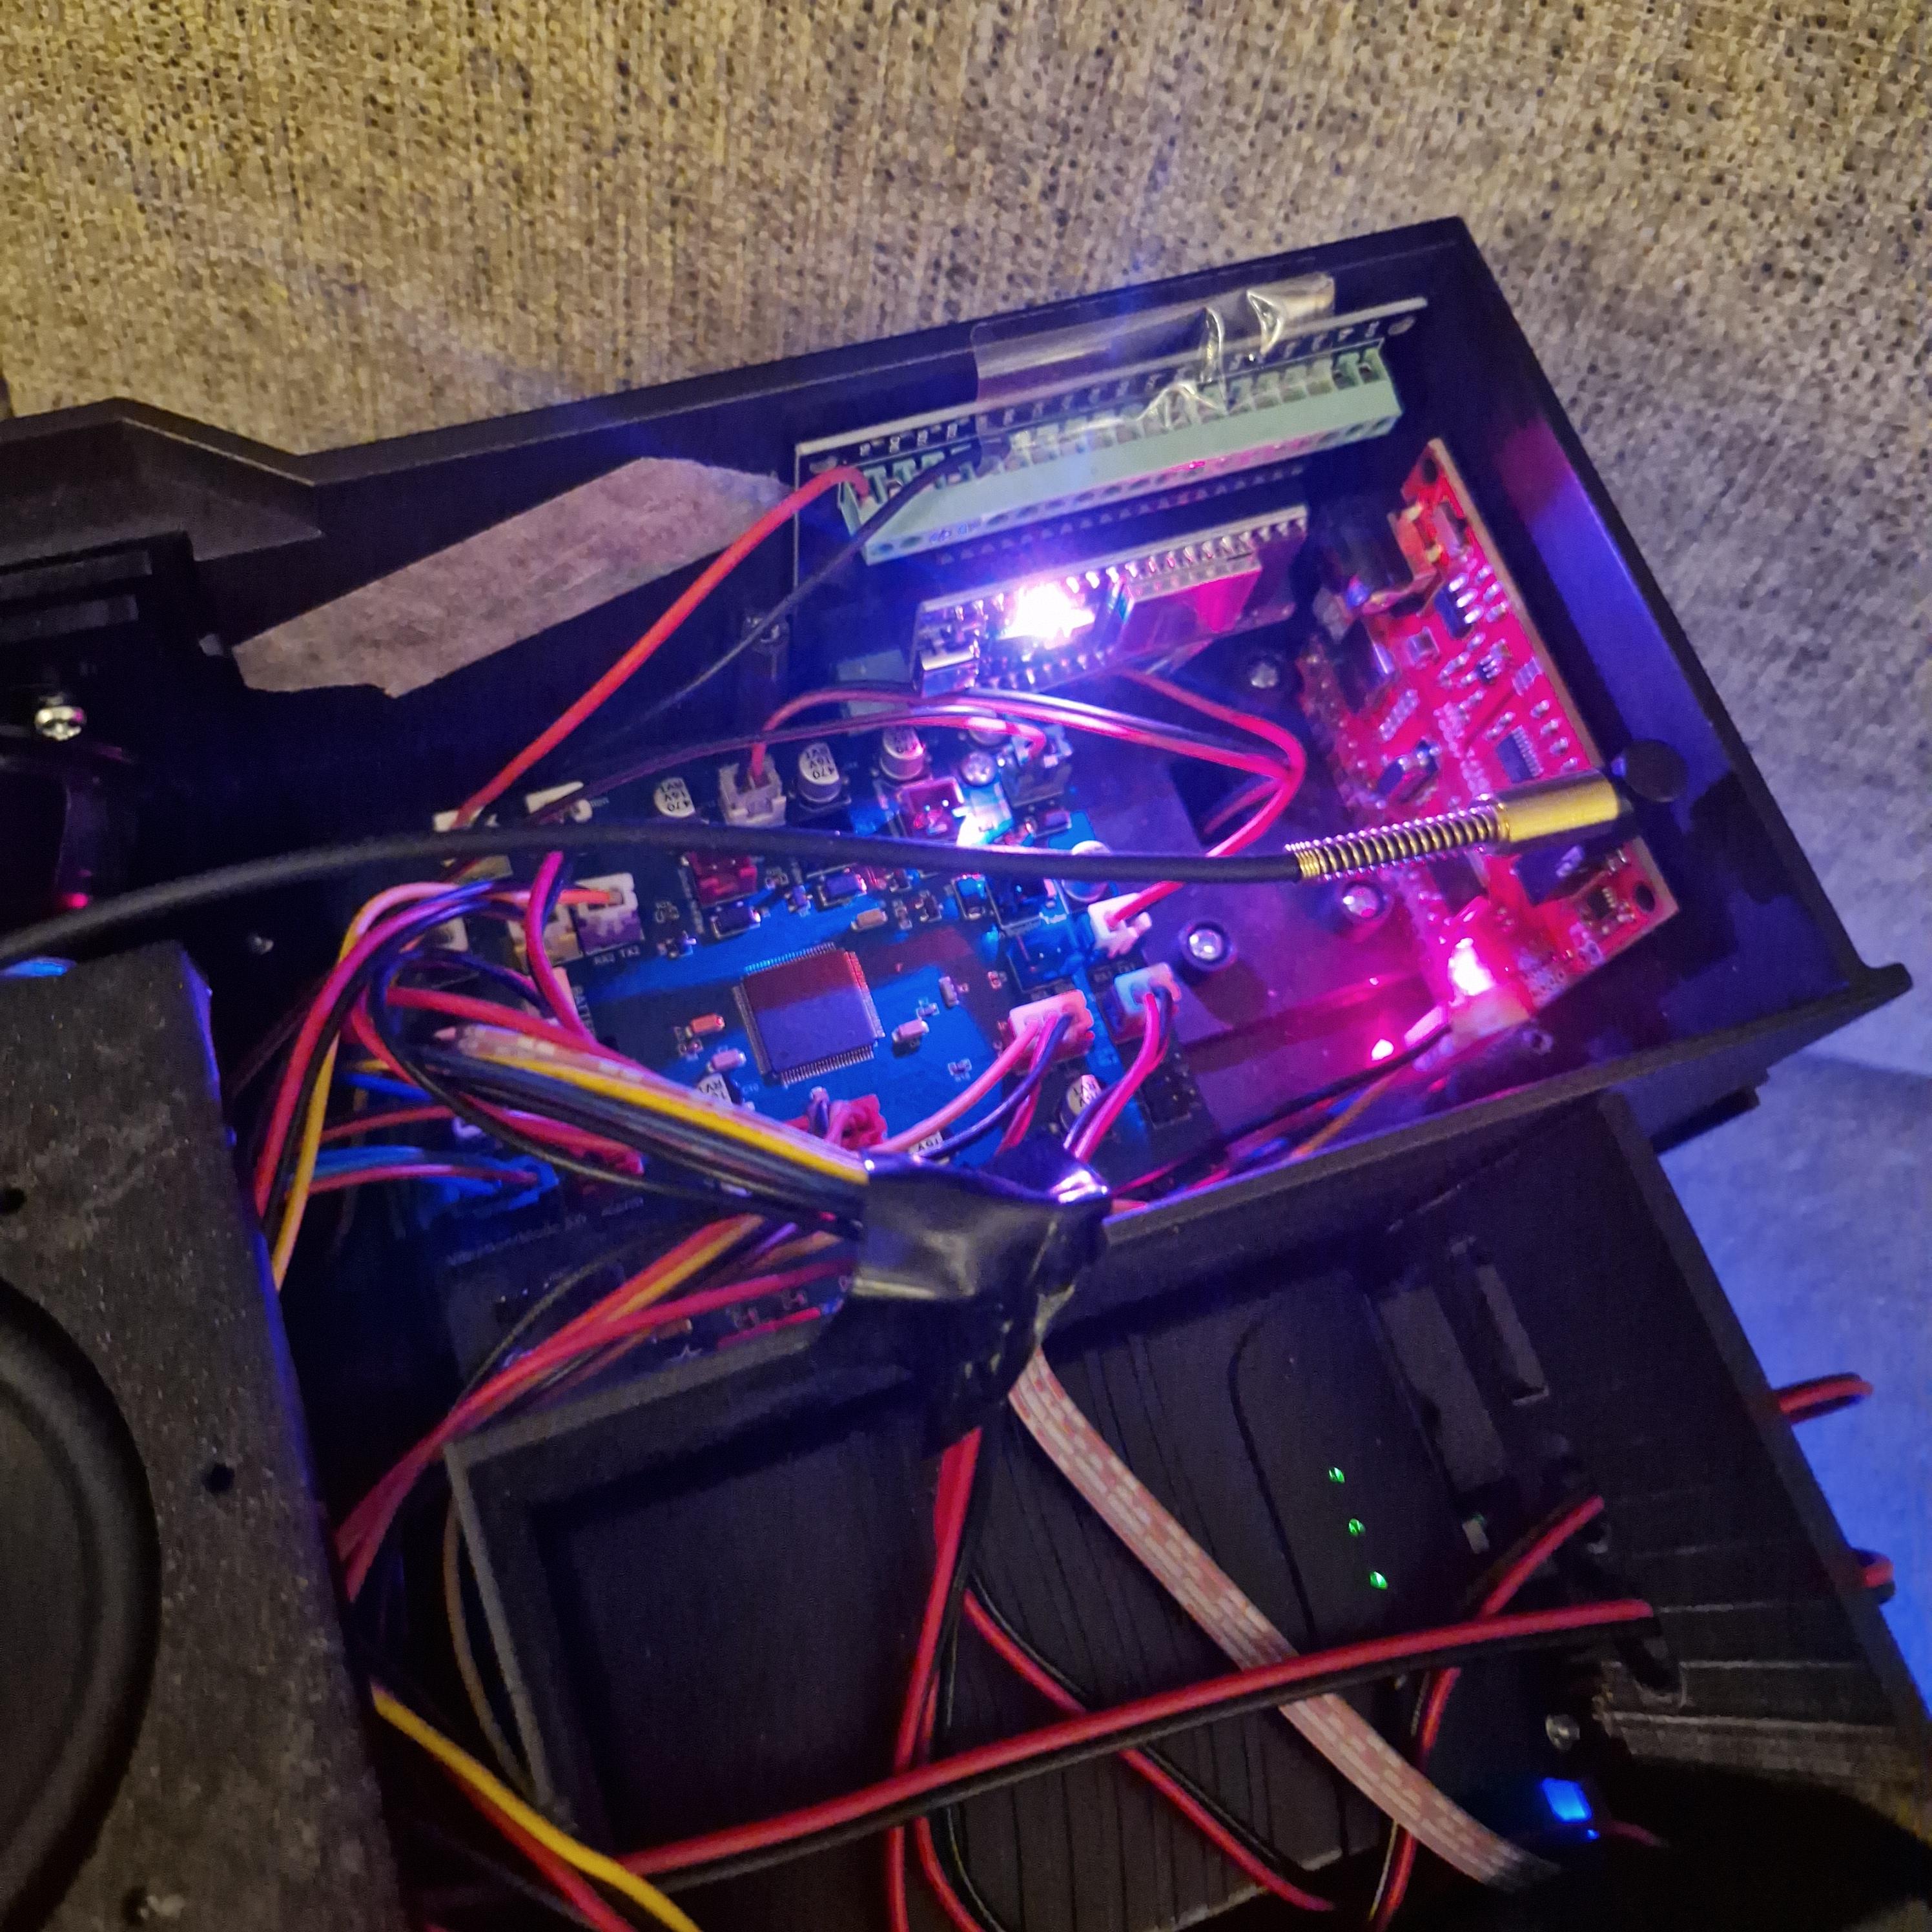
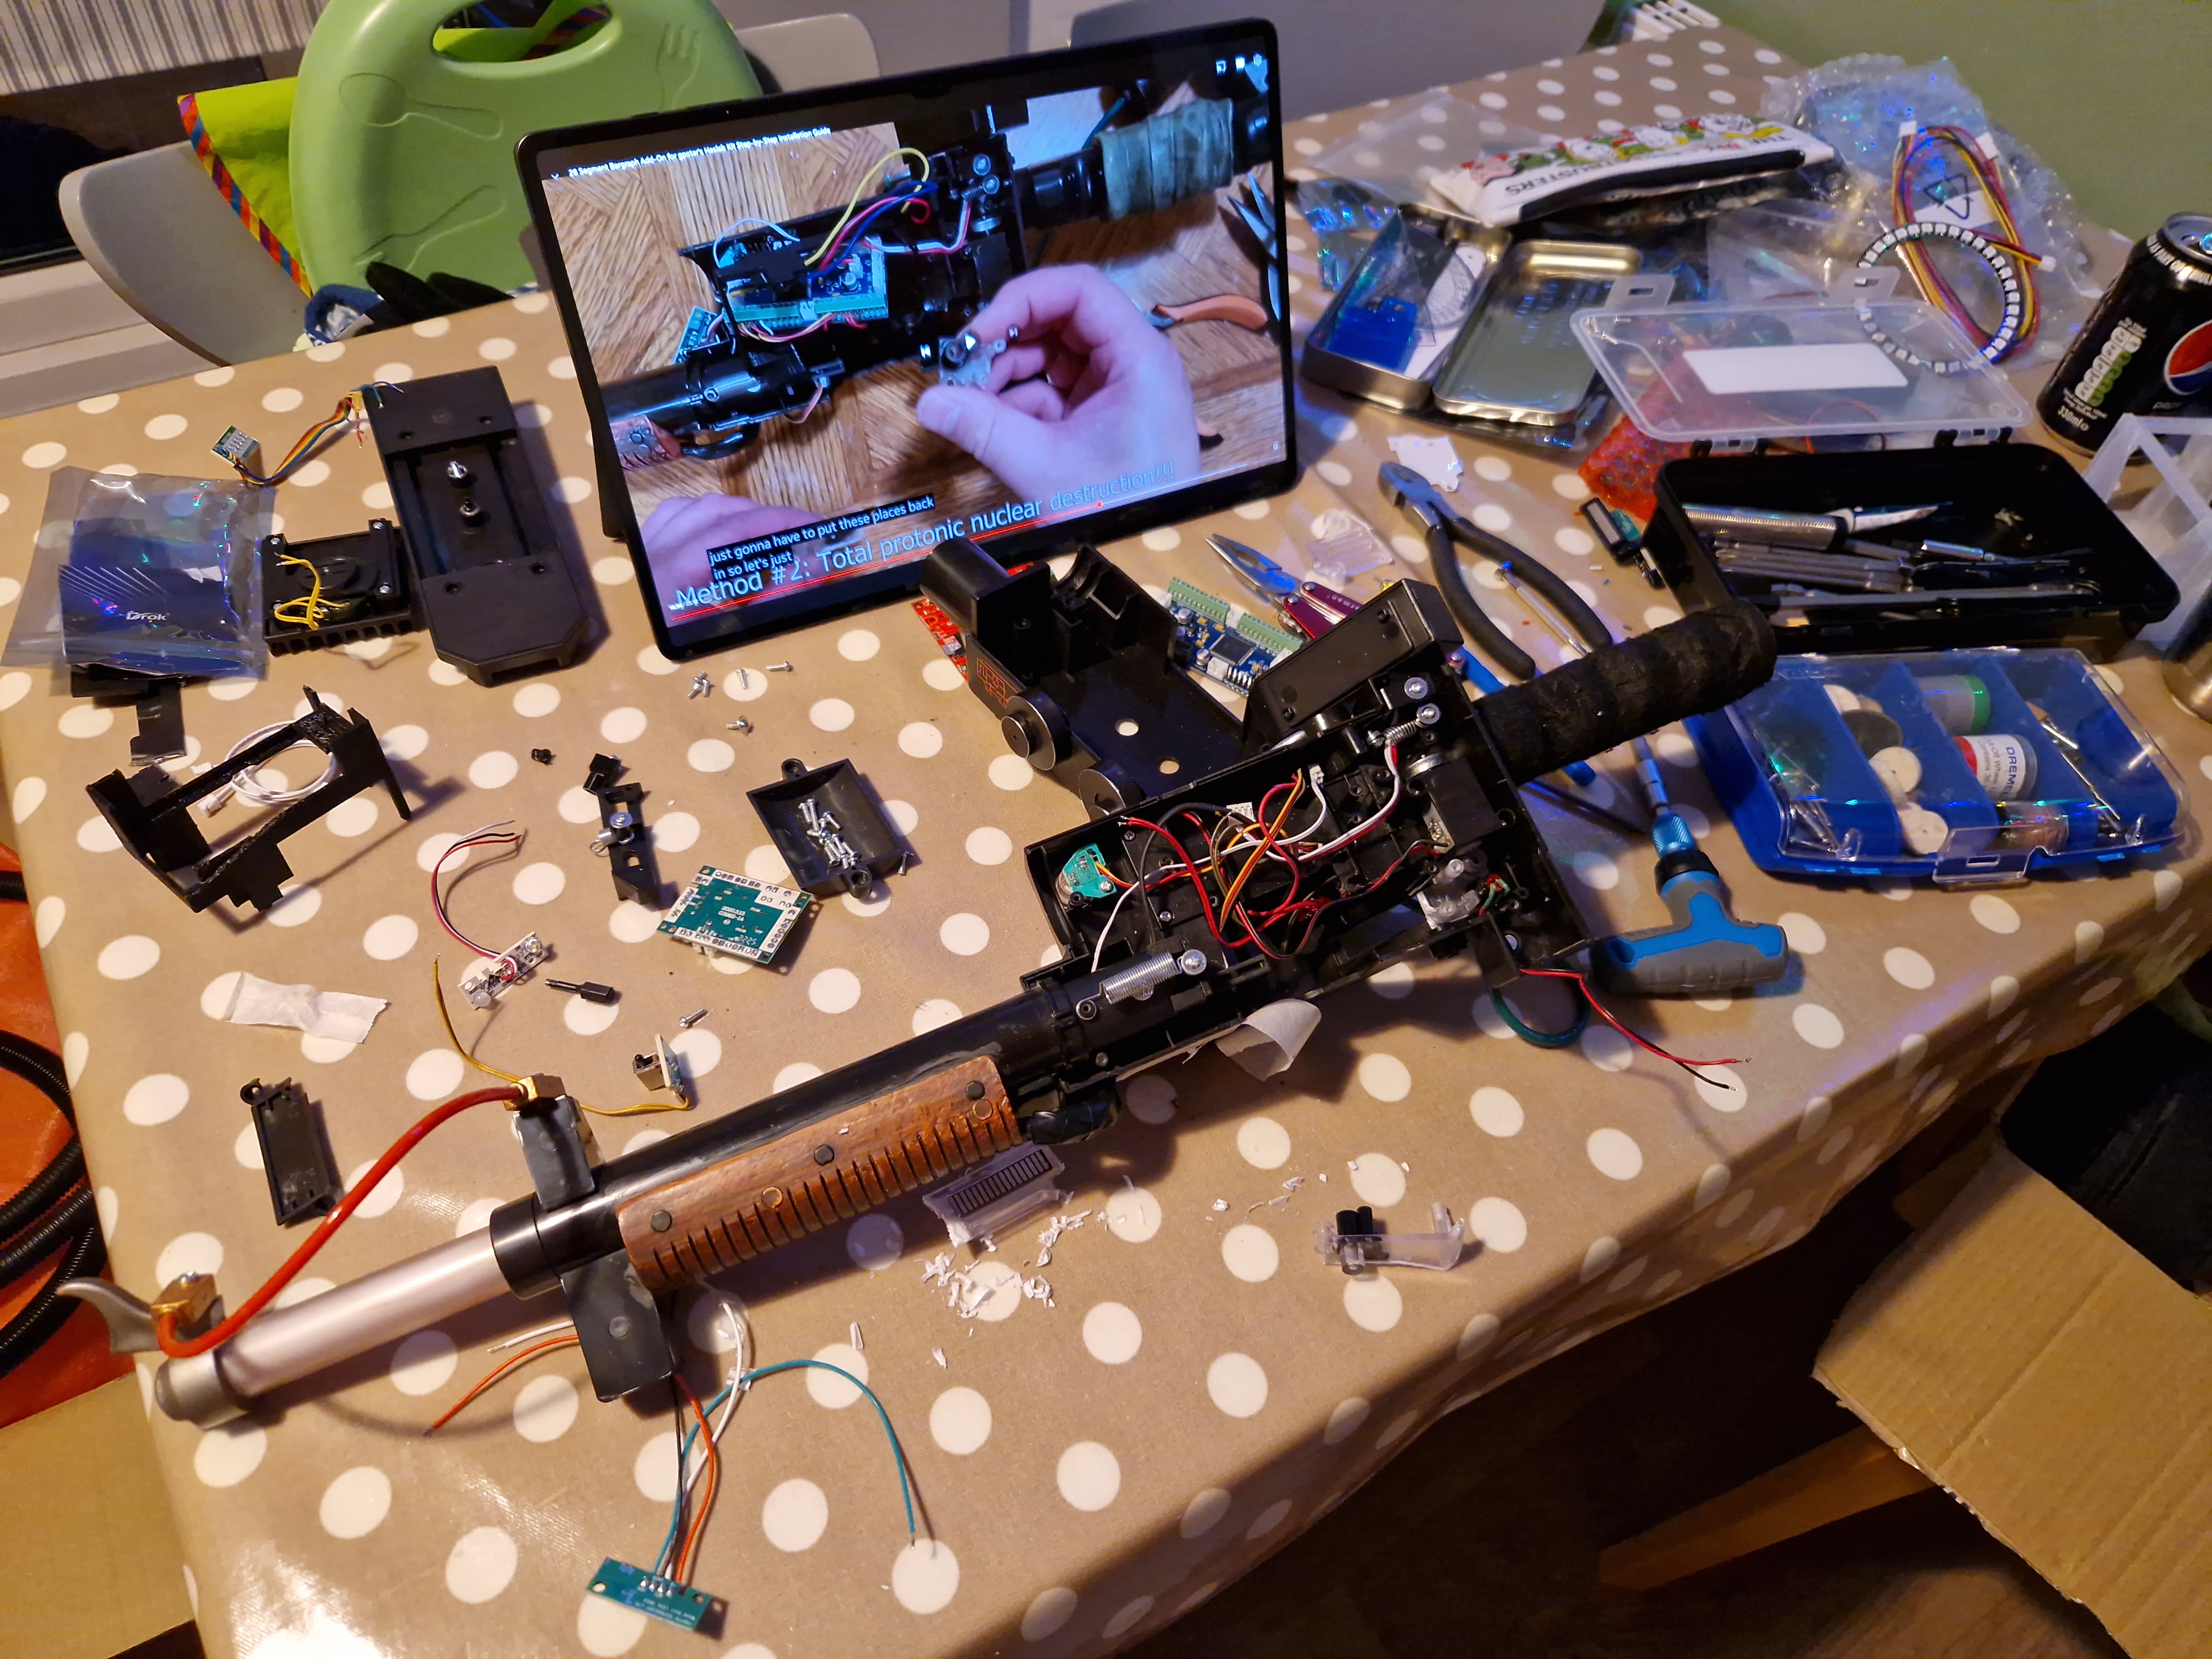
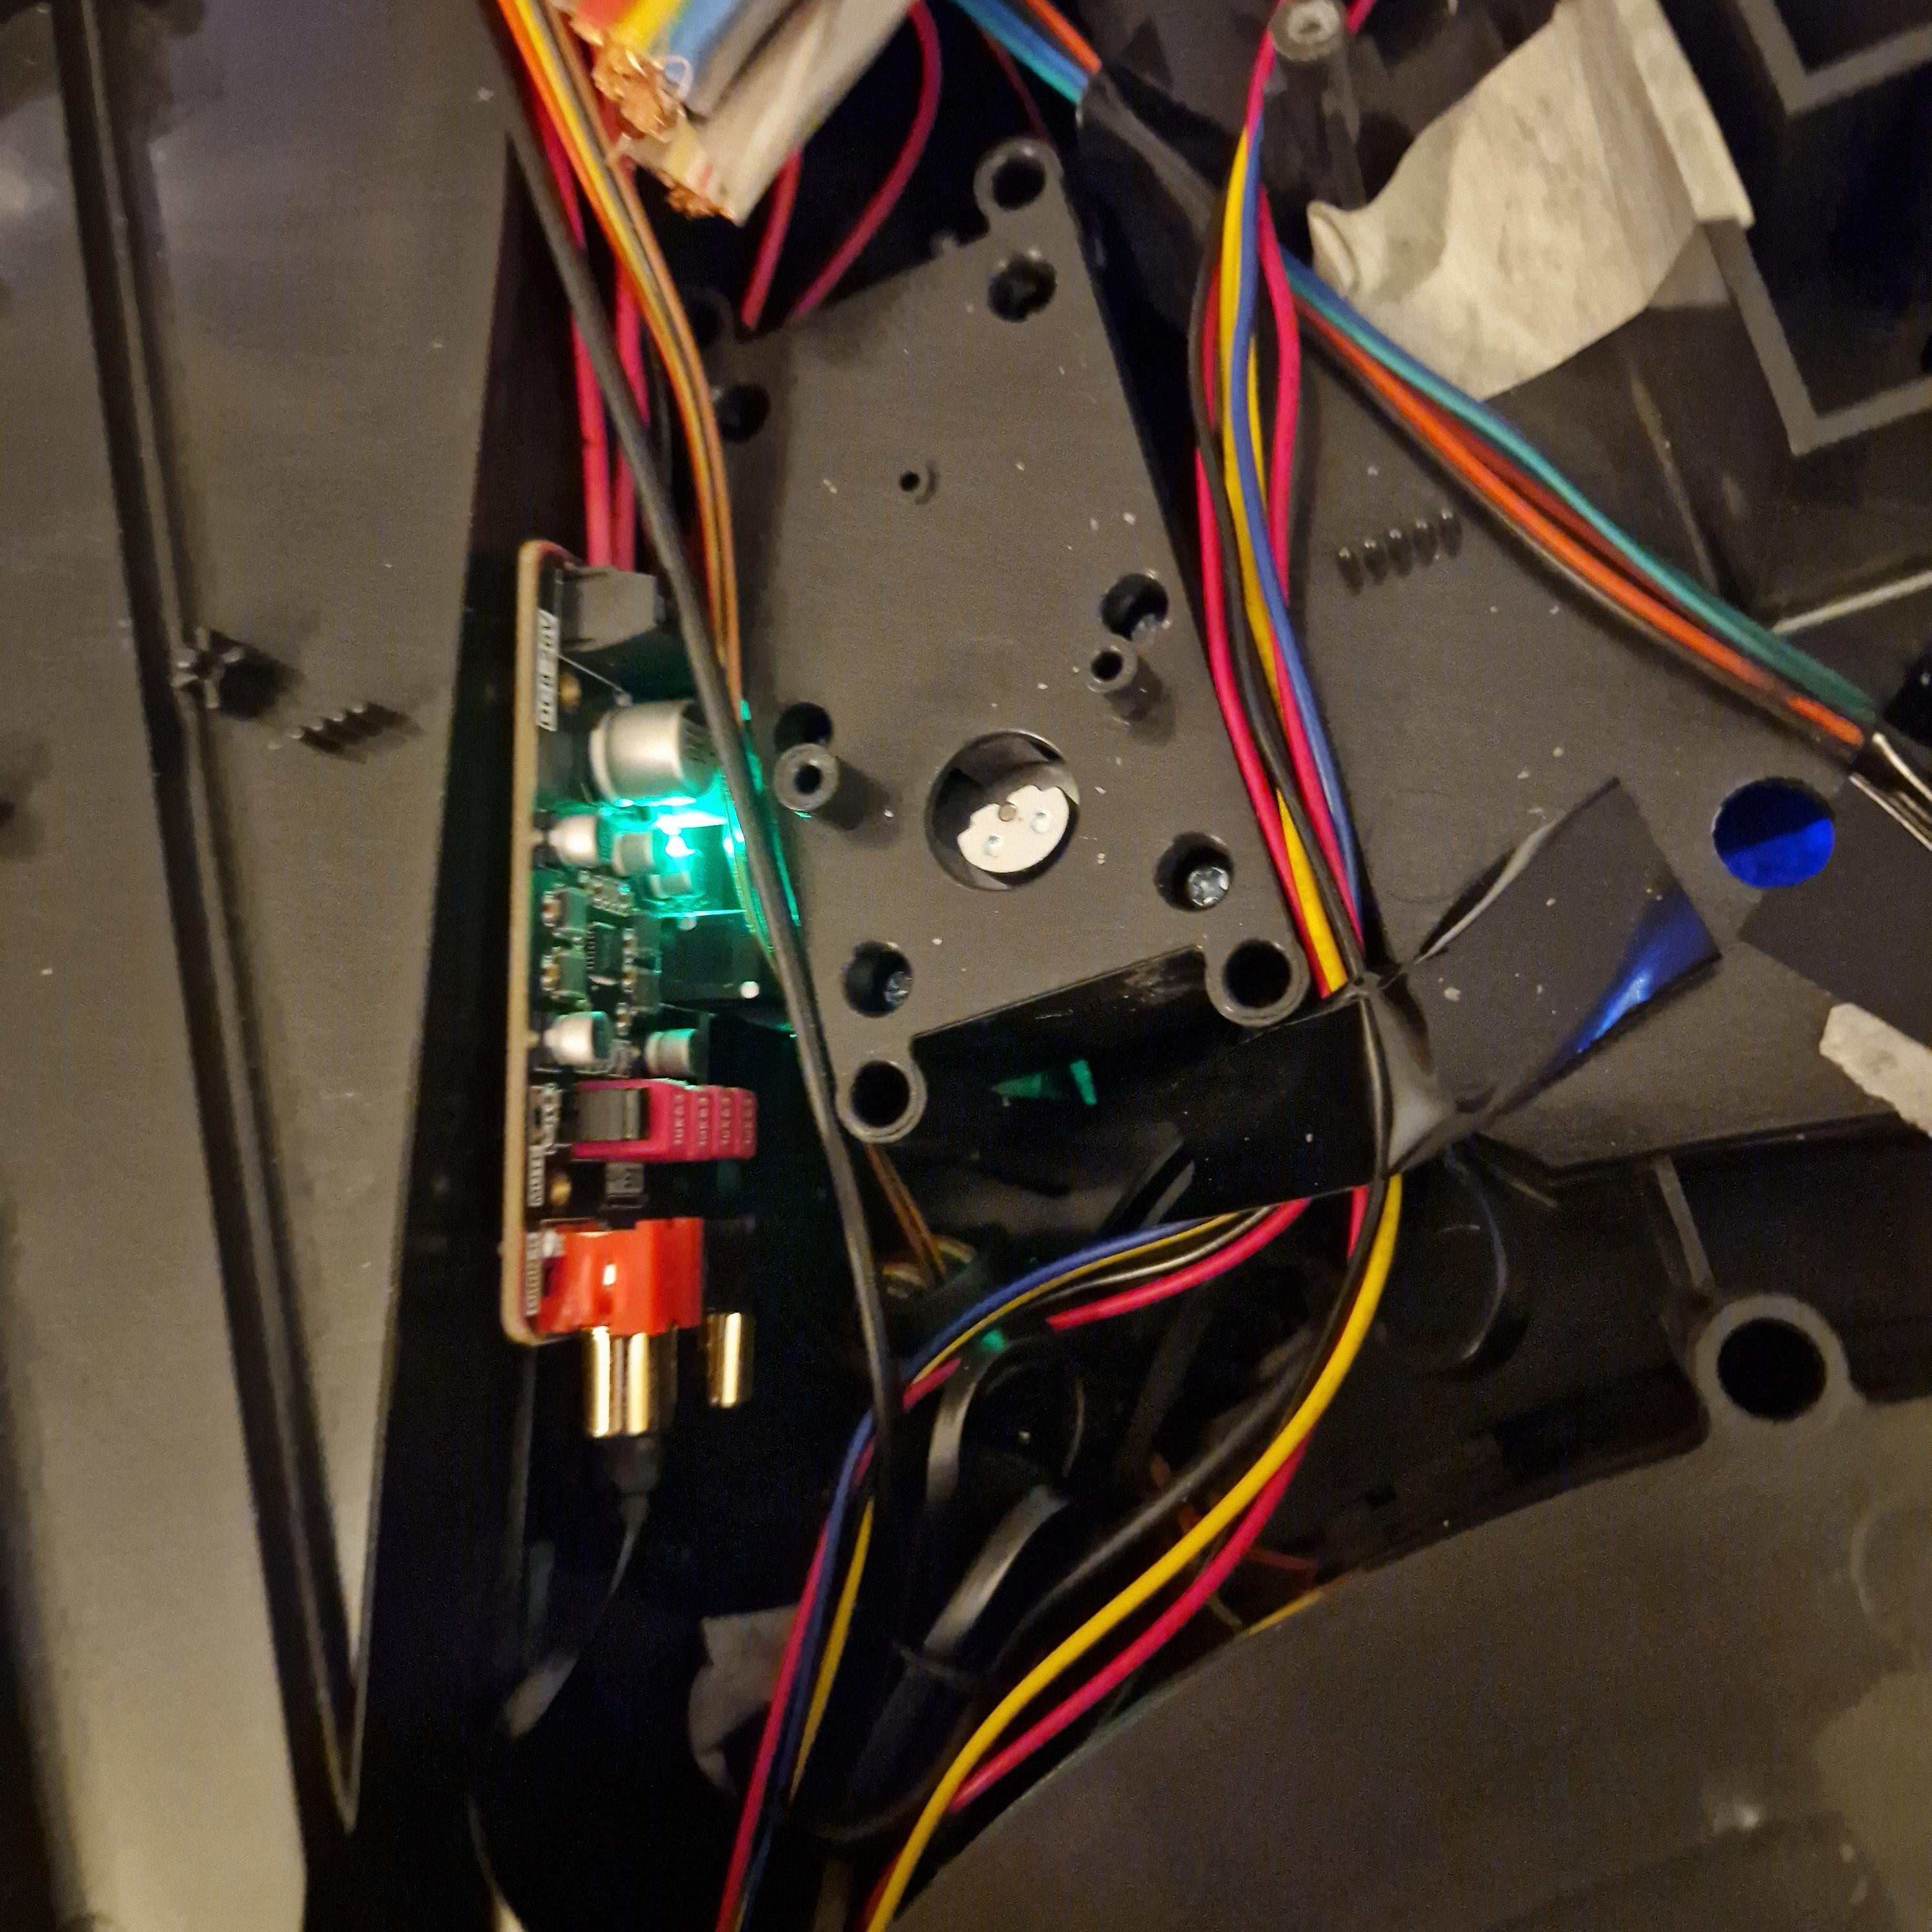
After completing the pack install, I moved onto the wand (desoldering the entire board is an experience, and I only stabbed myself in the finger with the soldering iron twice).
[Spoiler]
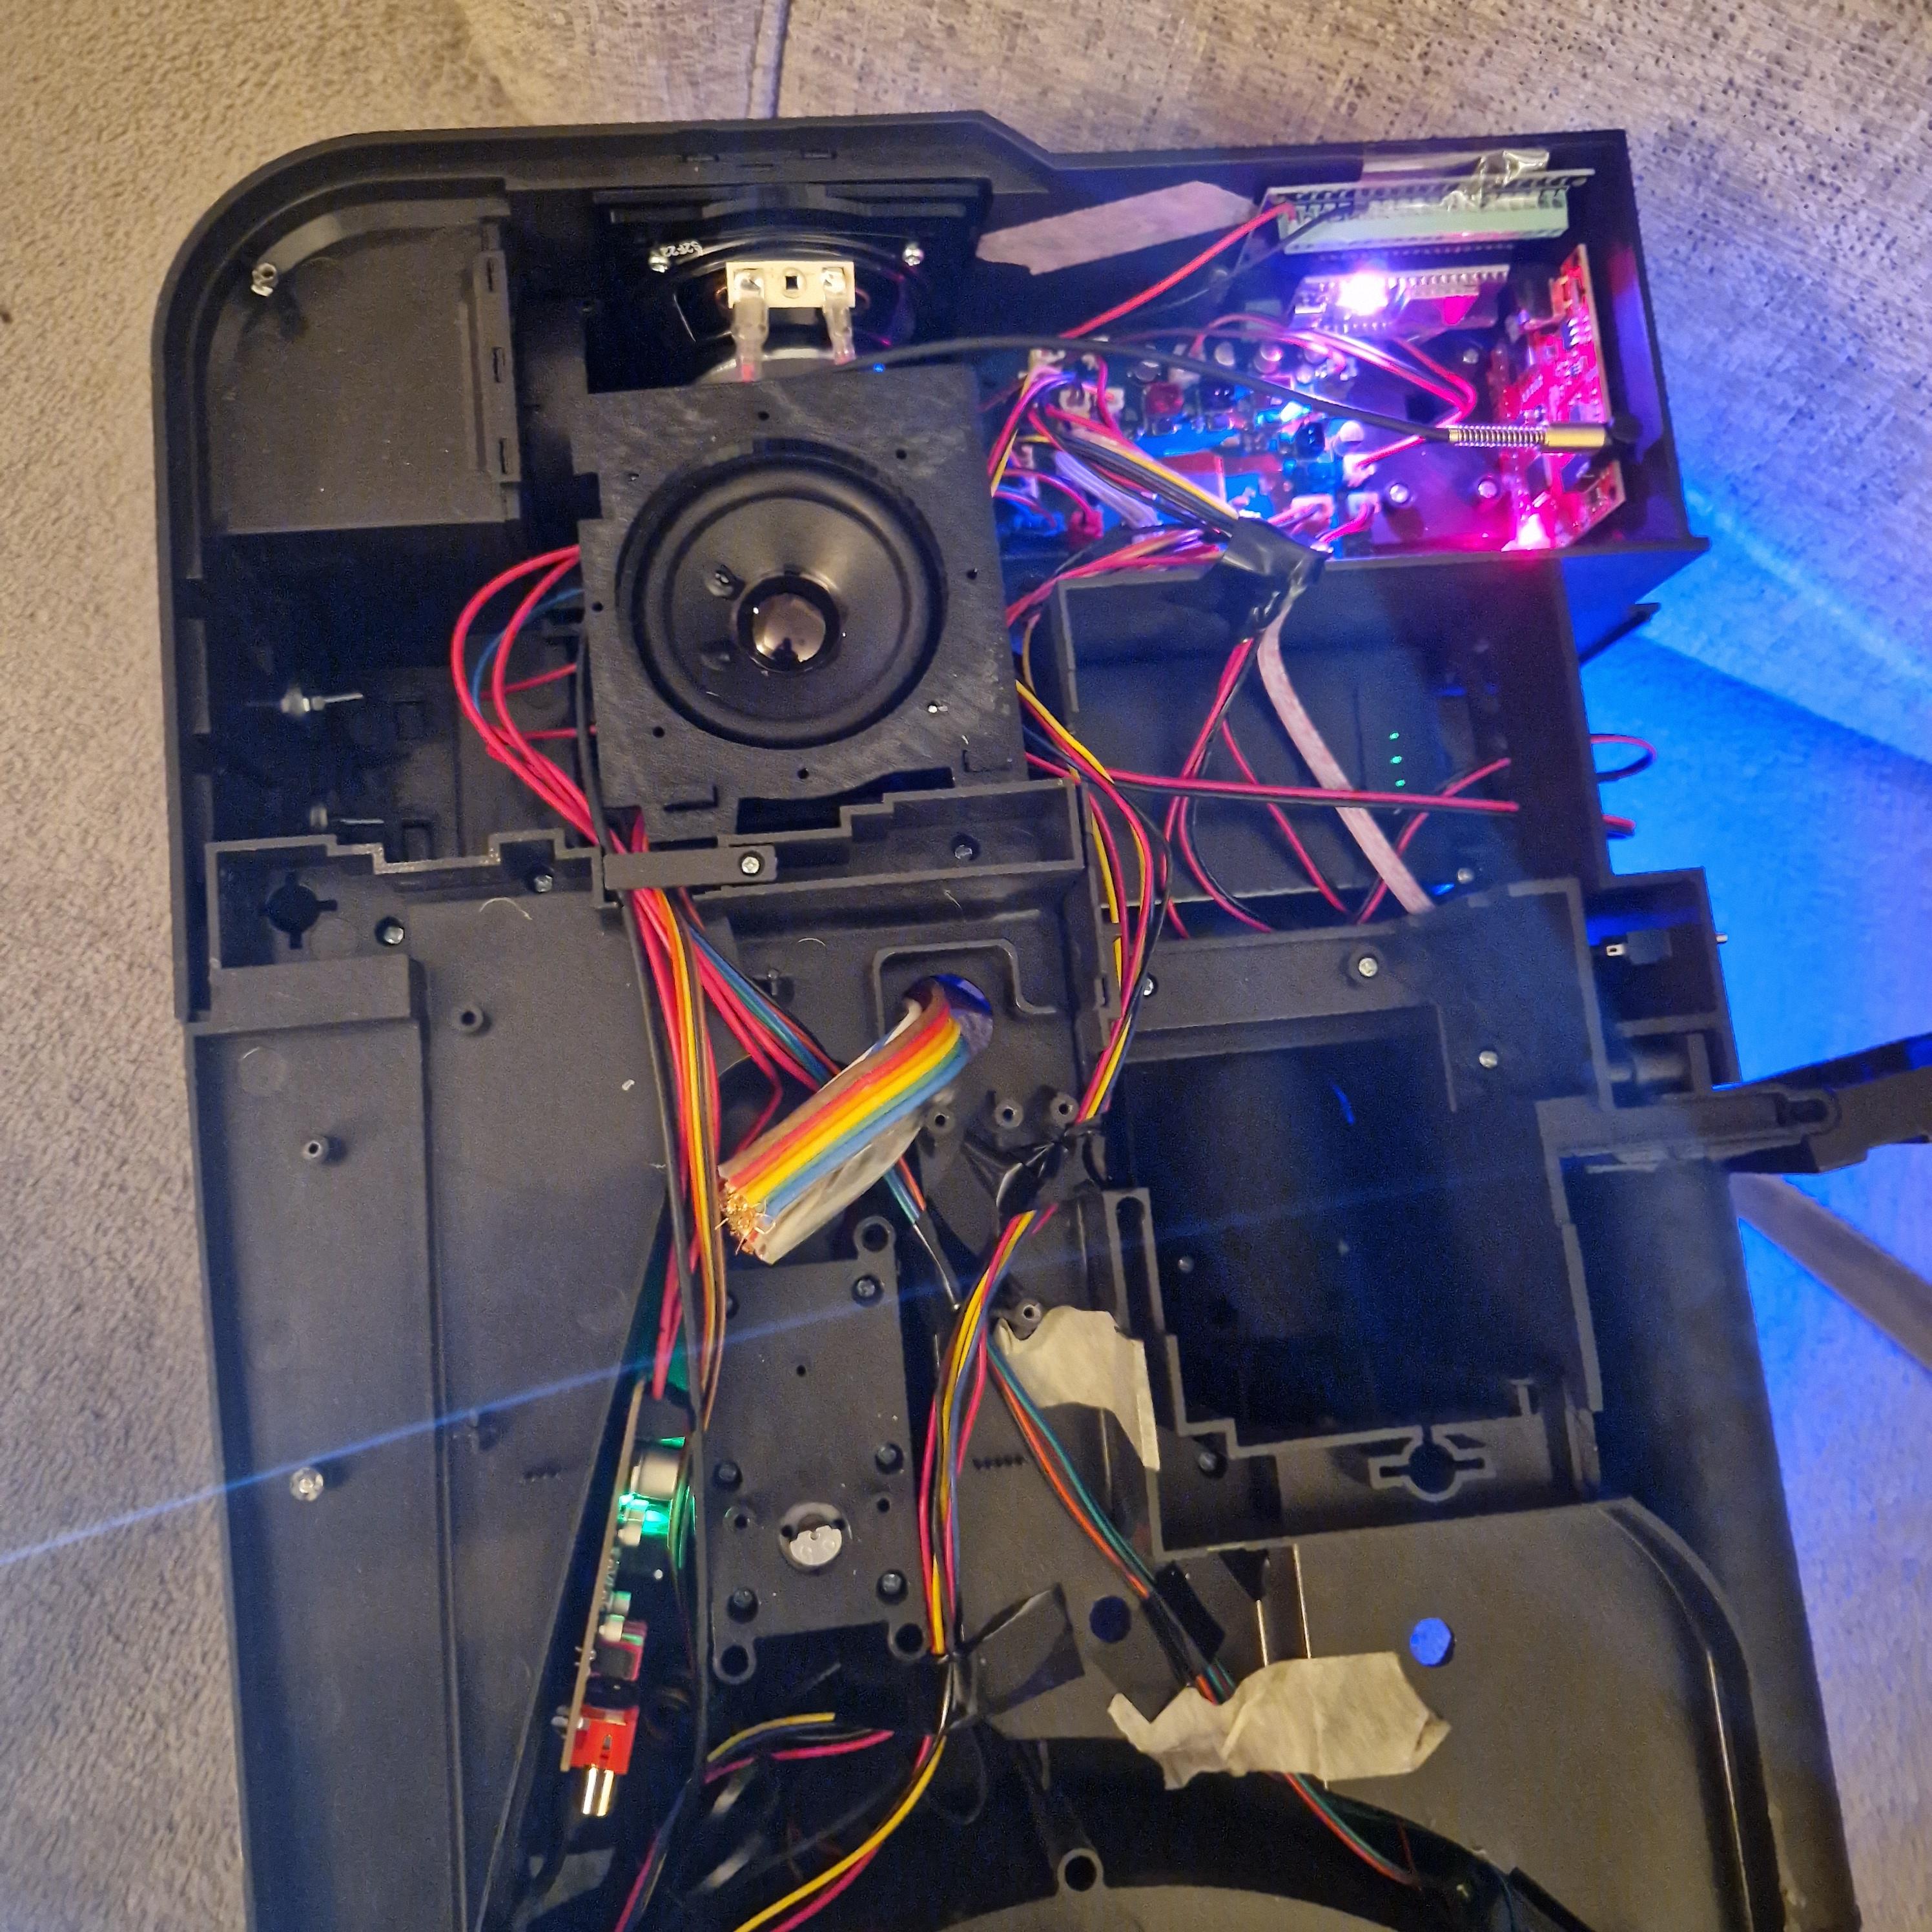
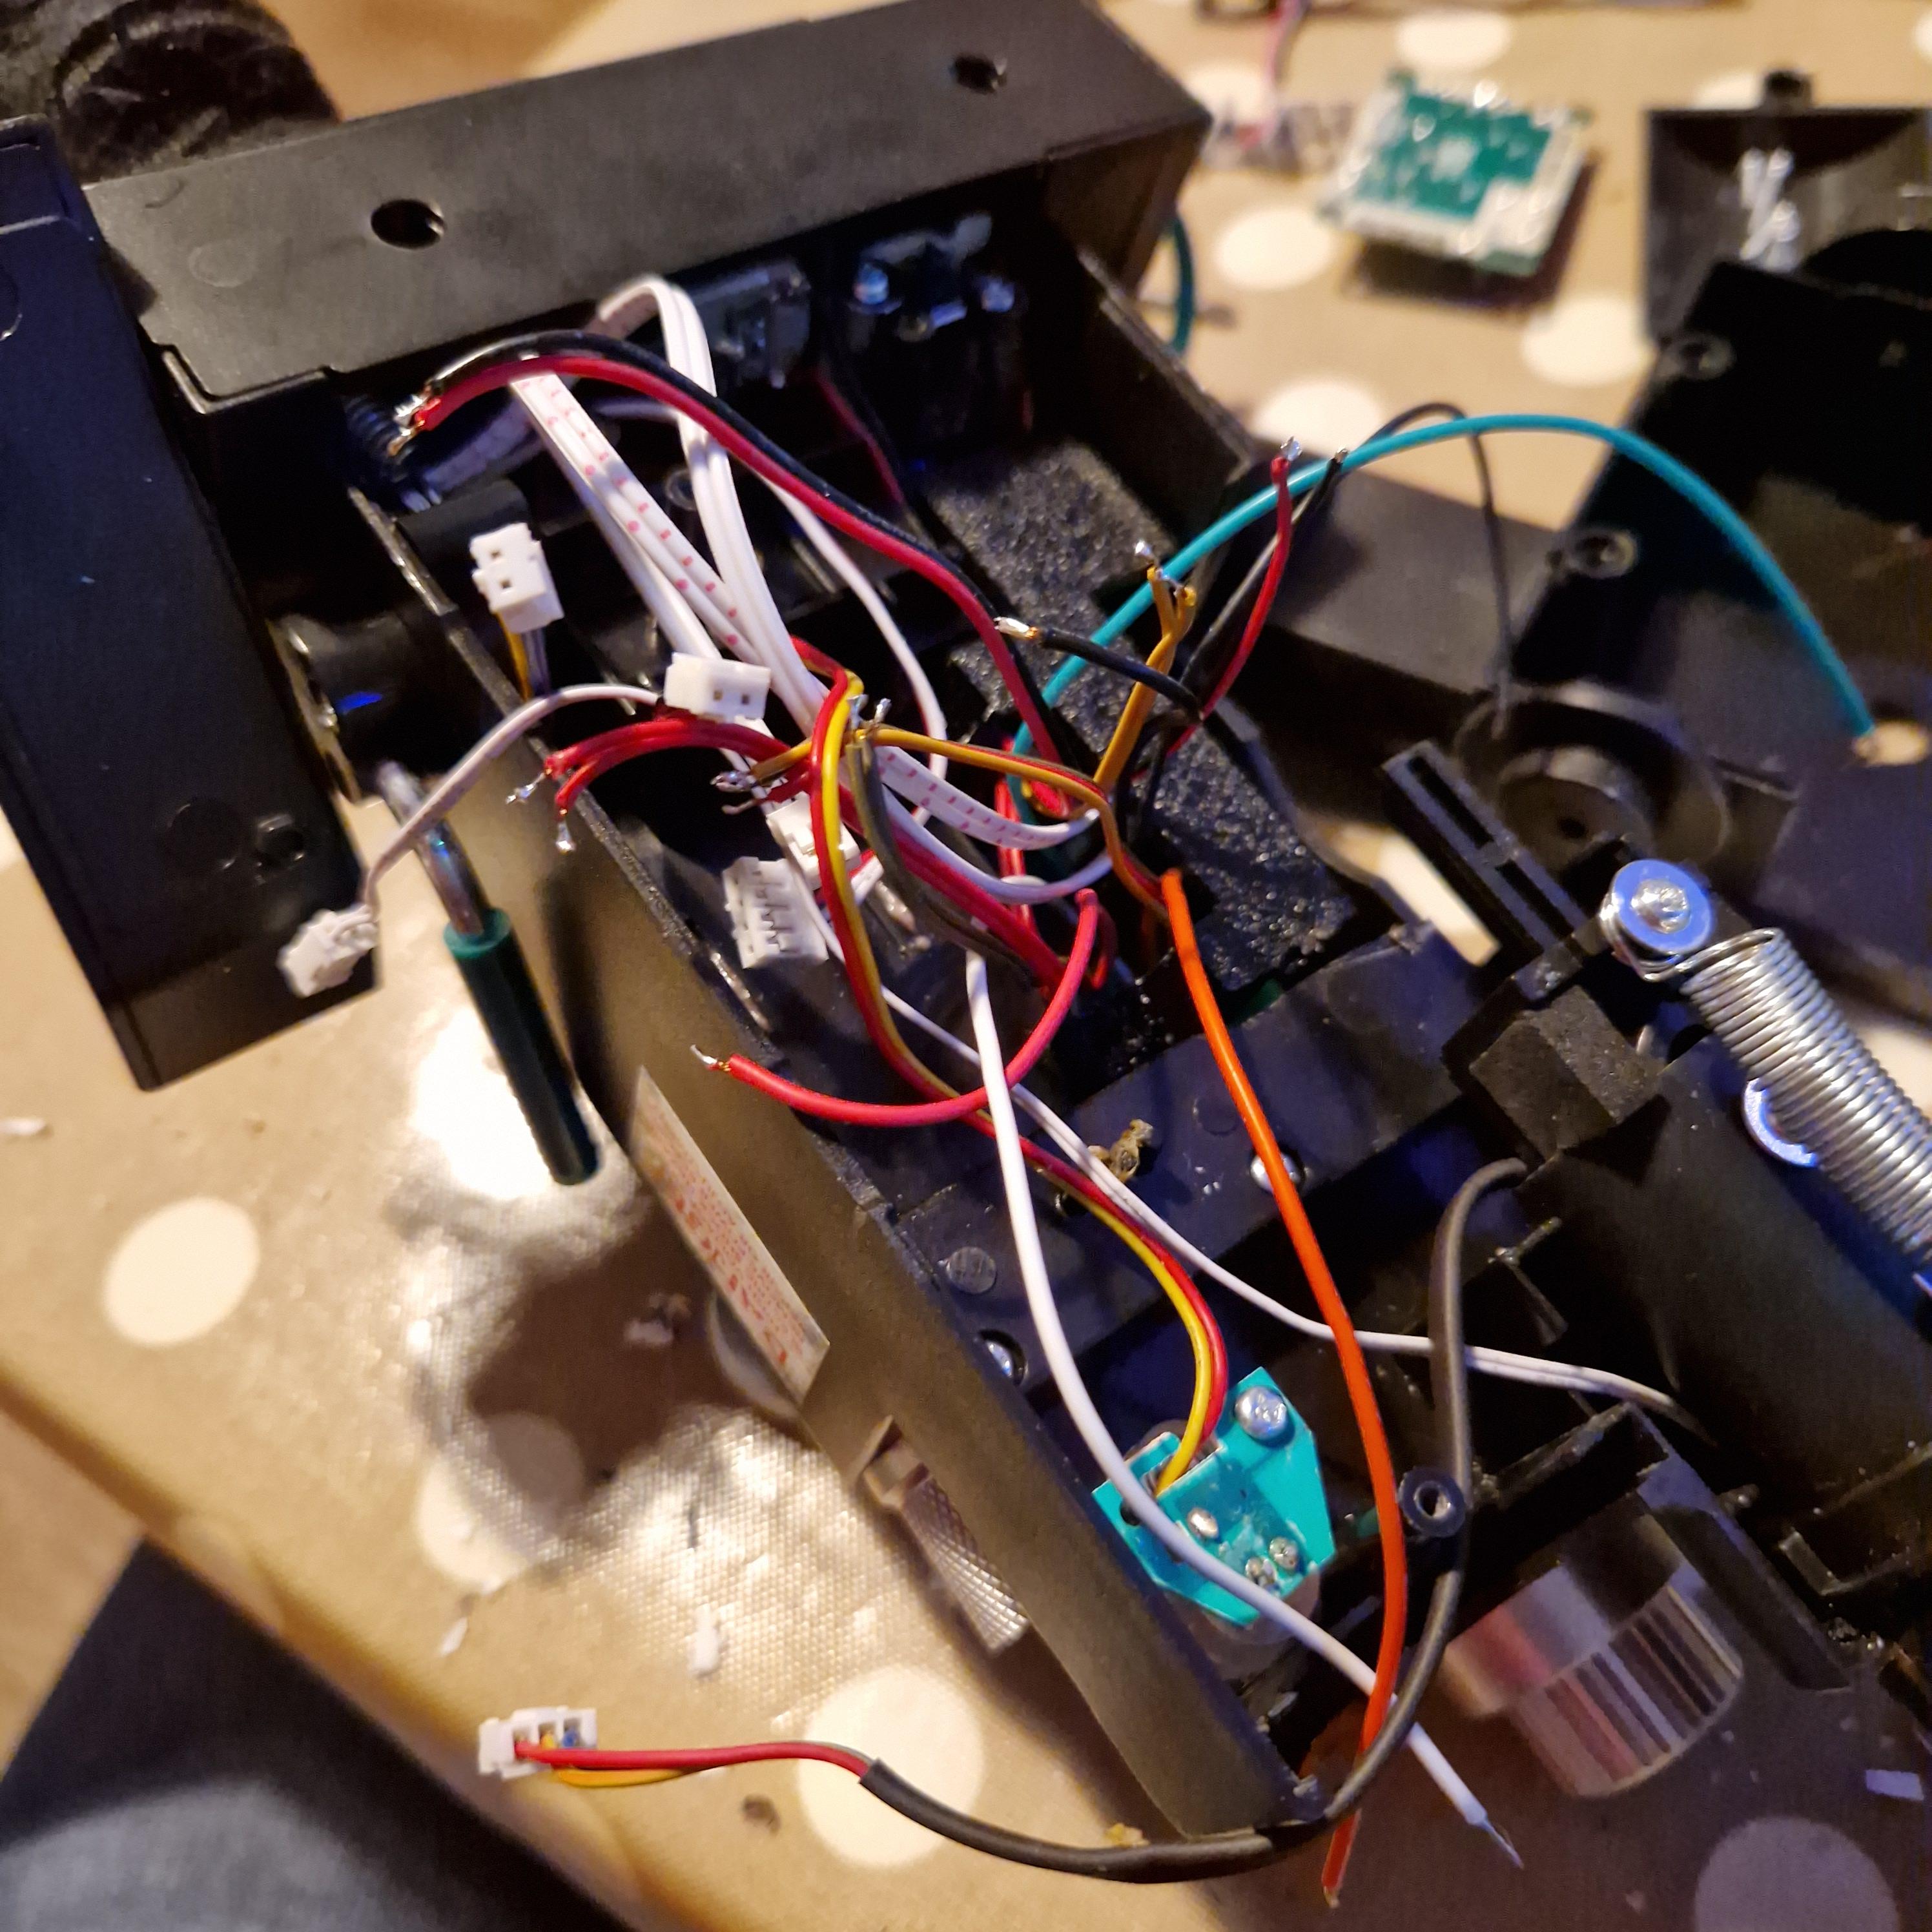
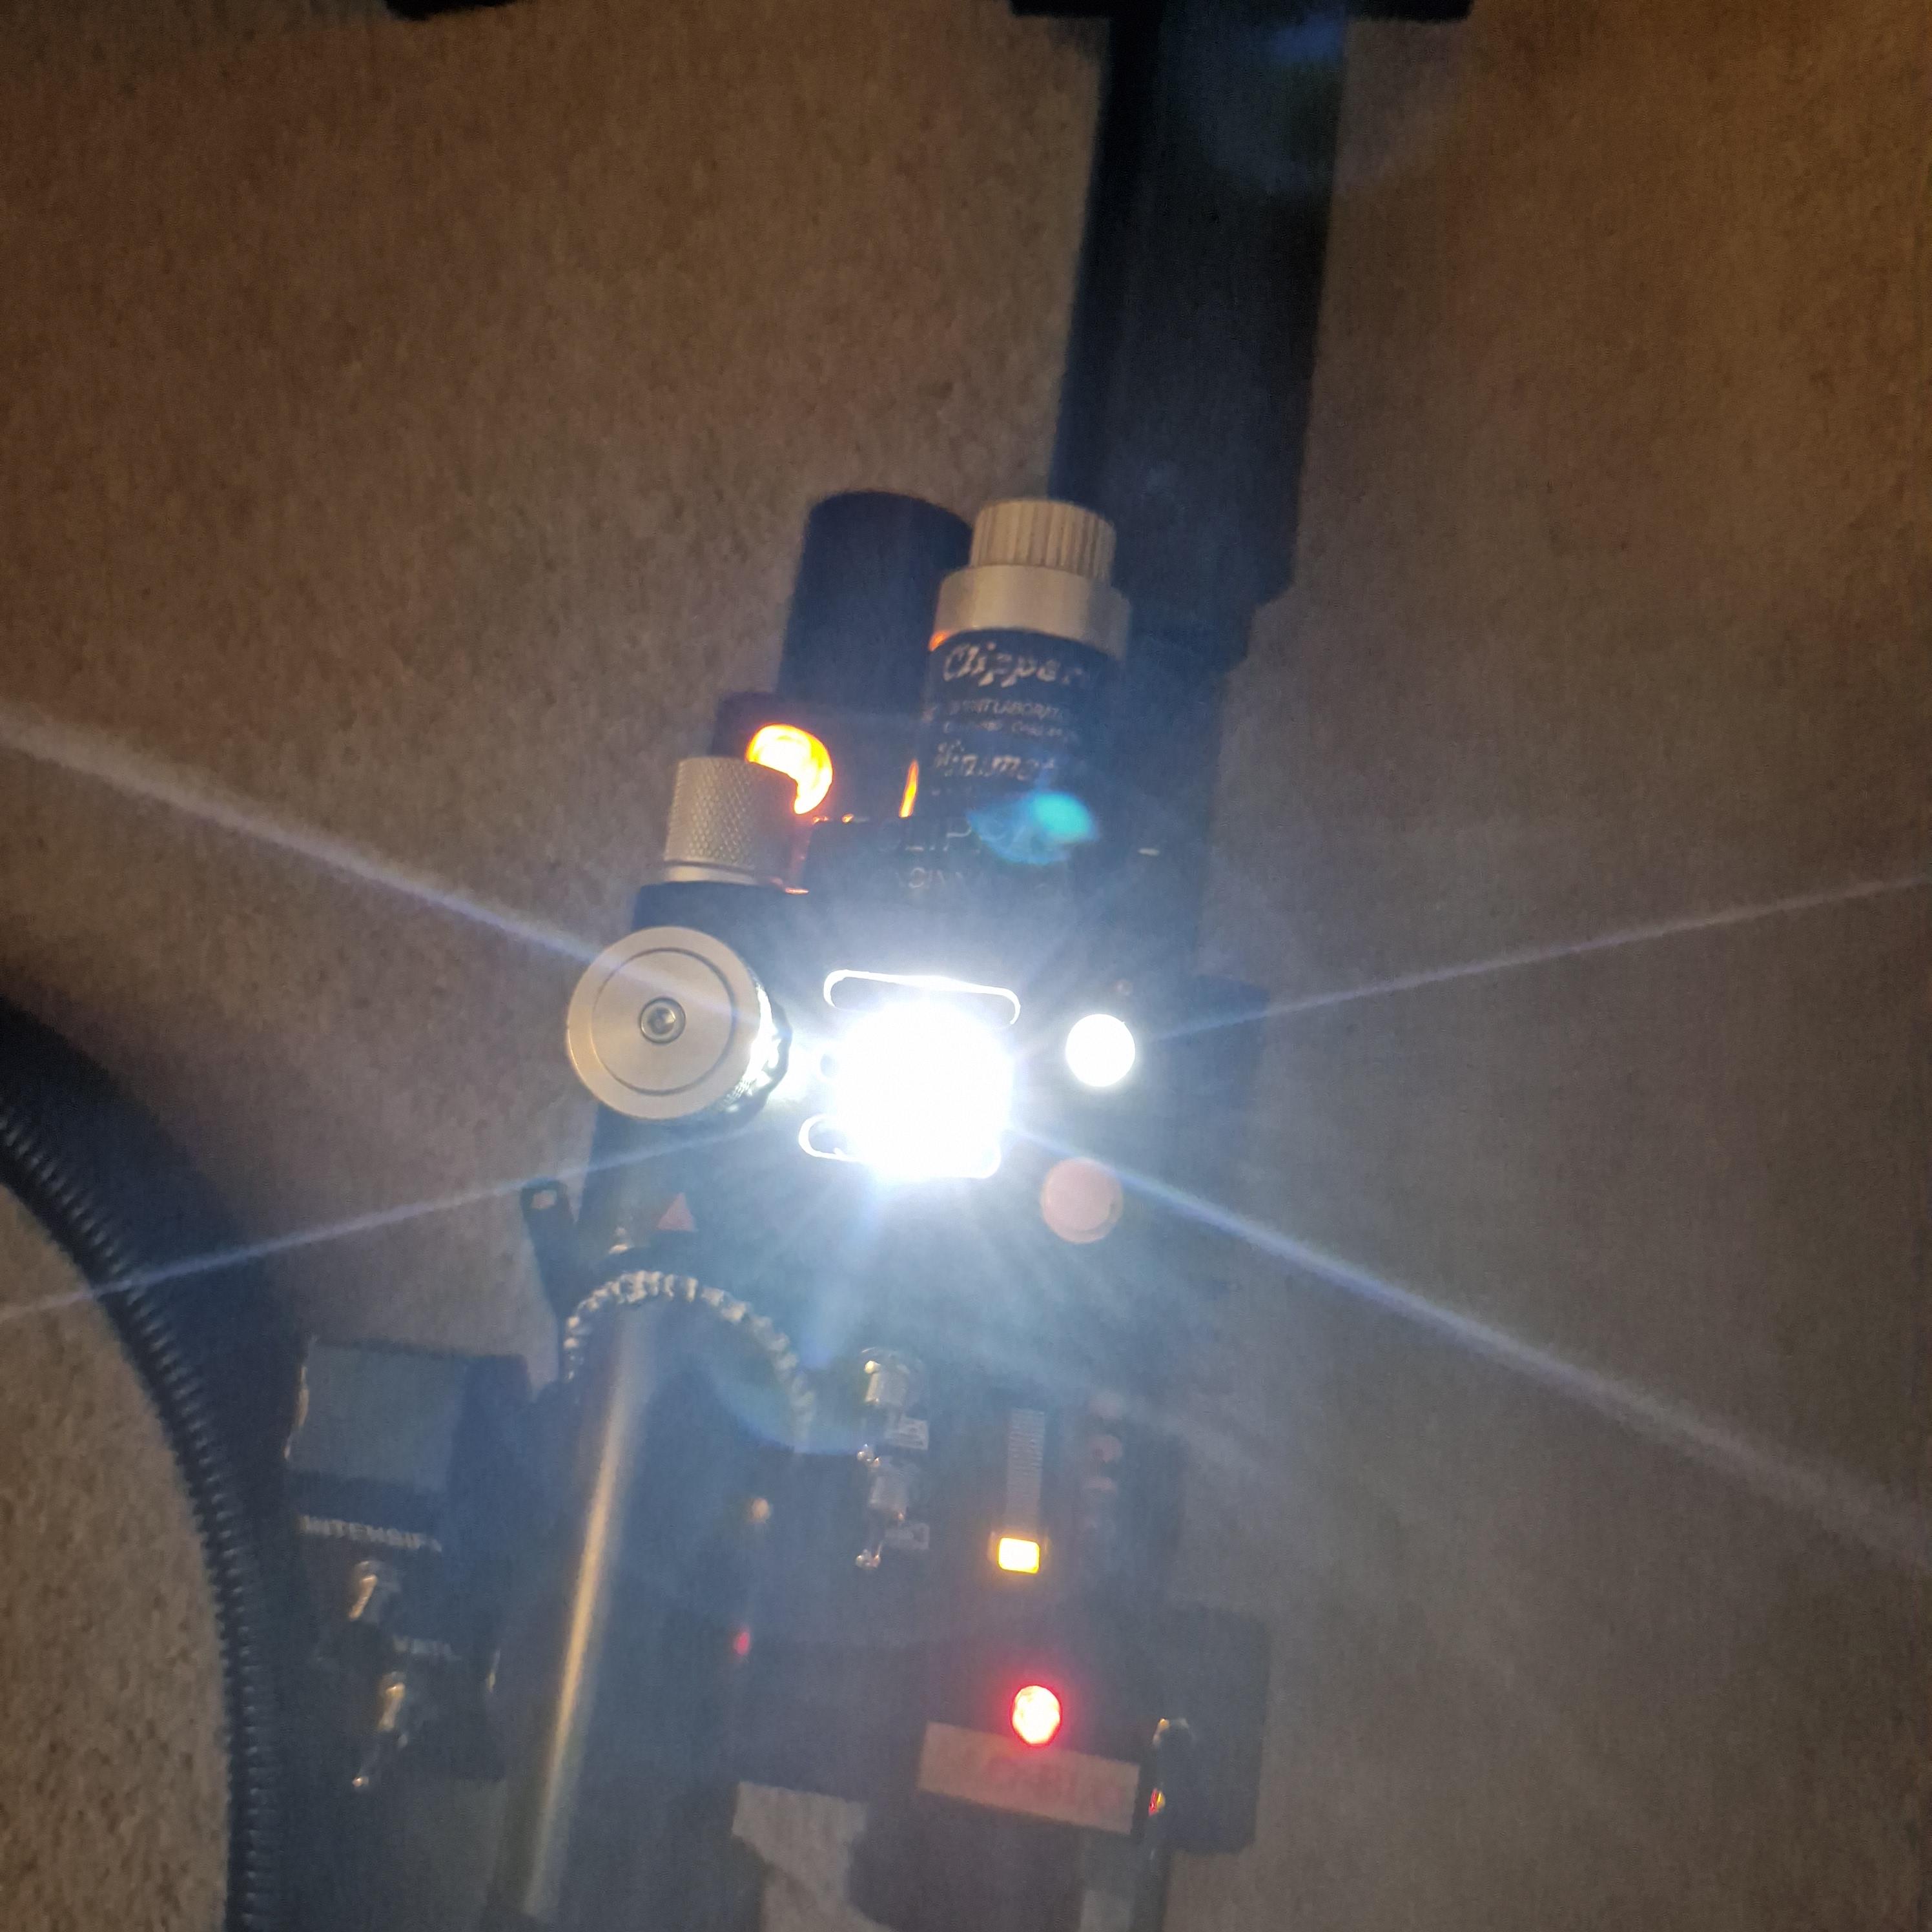
The latest addition has let me add wireless connectivity to the pack now, so as long as the TalenCell is on and providing power, I can connect to a wifi hotspot and turn the pack on/off, play and change music, volume etc all from my phone!
[Spoiler]
[/Spoiler]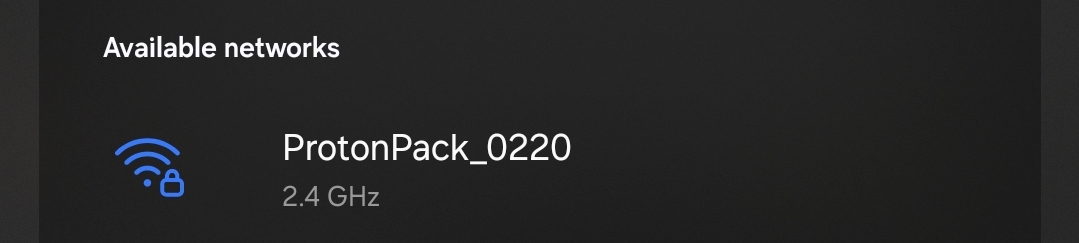
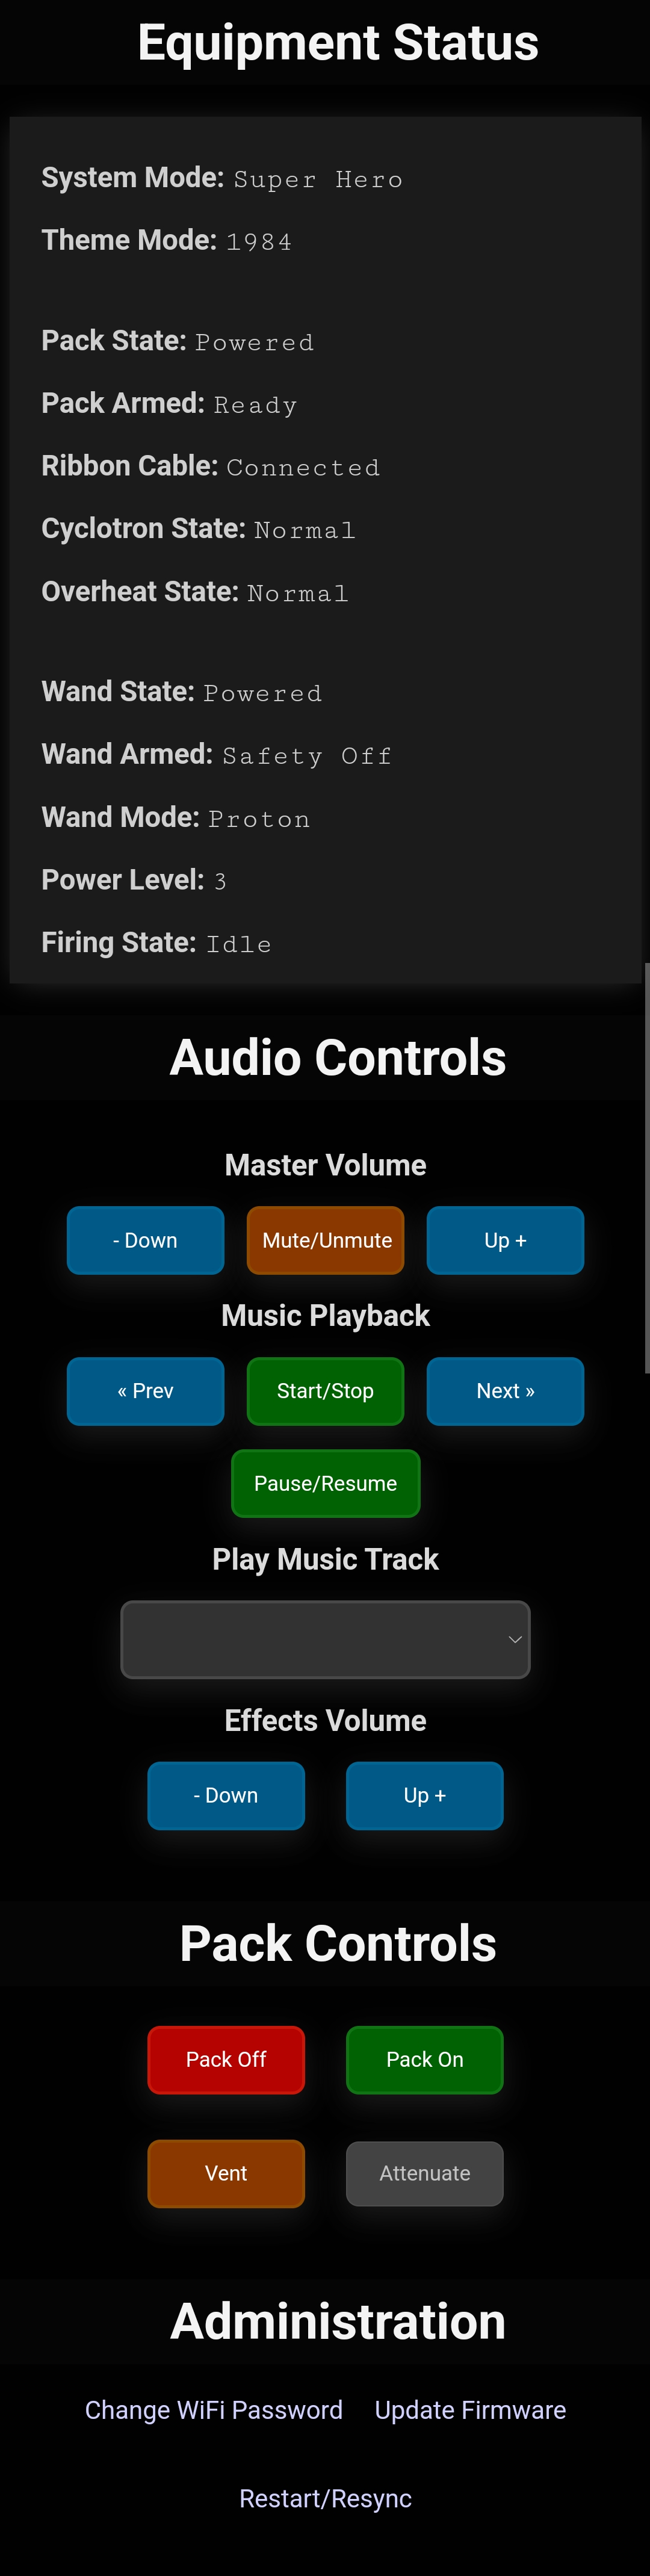
And that brings me back to where I am now, I’m going to upload some videos of it in action as it’s really something else. I’ve said it many times, the HasLab pack was an incredible entry into owning a pack, for me it’s been a gateway drug into something much deeper. Now I’ve got a pack that I love more than I thought I would. There’s still work to be done, including:
- Repaint of Wand
- New labels added to Wand
- Dry Transfers bought and added
- Replace remaining cabling on pack
- Replace Clippards & other hardware
And I’m sure there’ll be more somewhere down the line.

 . Broke a speaker wire, killed the white
 . Was cracking fun, great chance to use the pack properly since the upgrades.
