August 6, 2023
Some real successes, finally, after a frustrating day yesterday. 
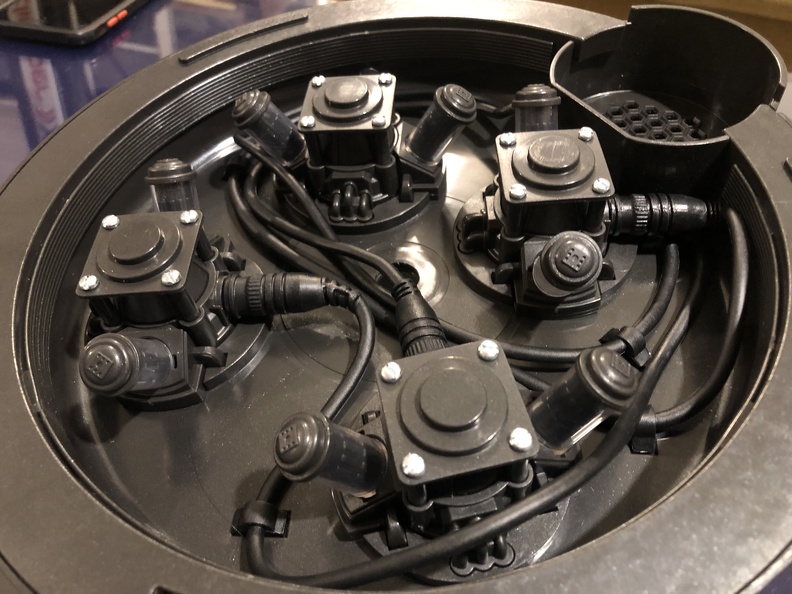
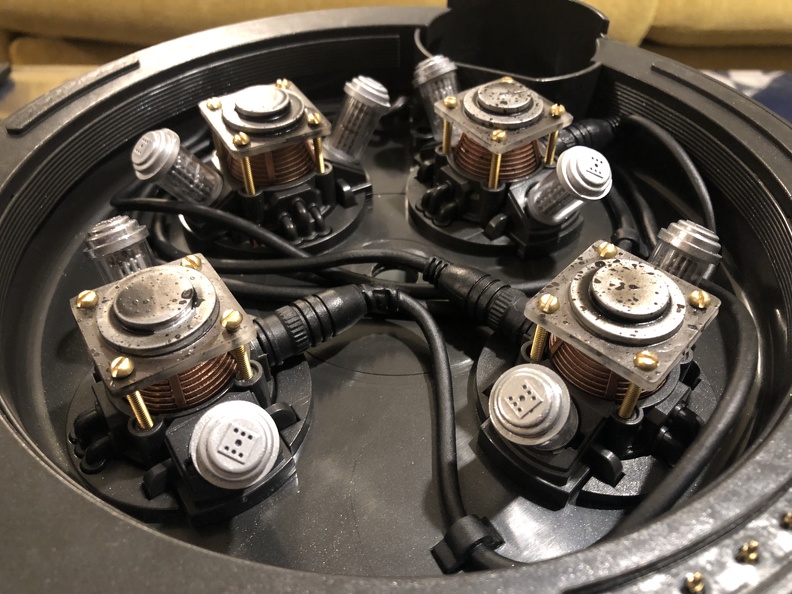
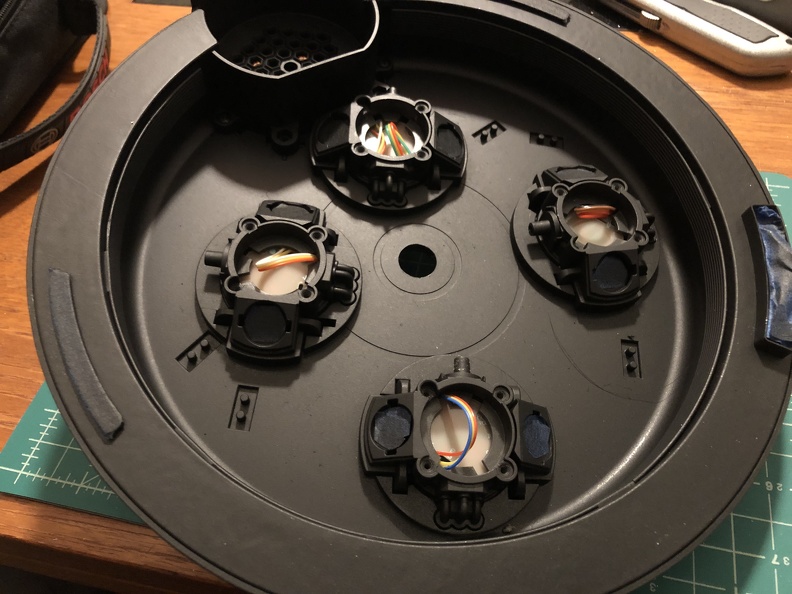
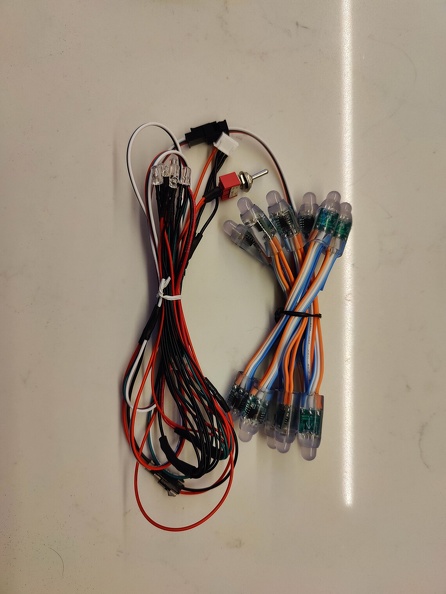
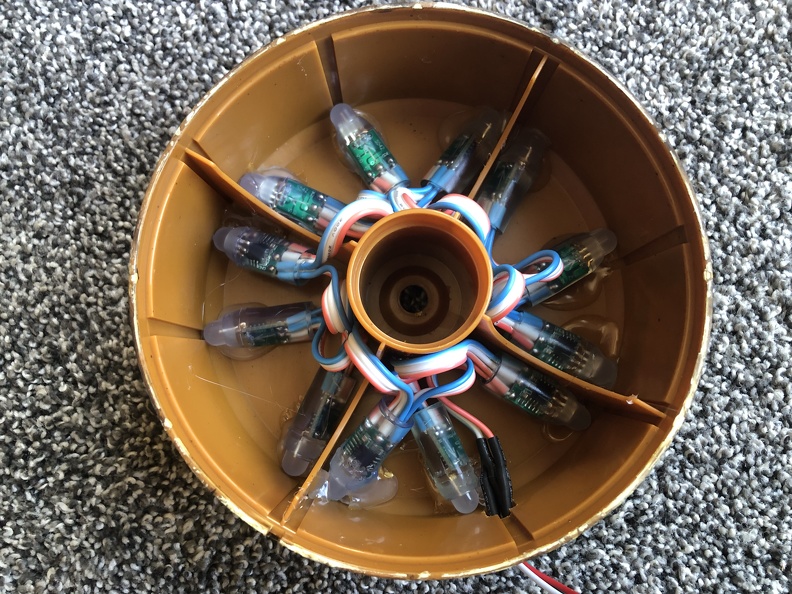
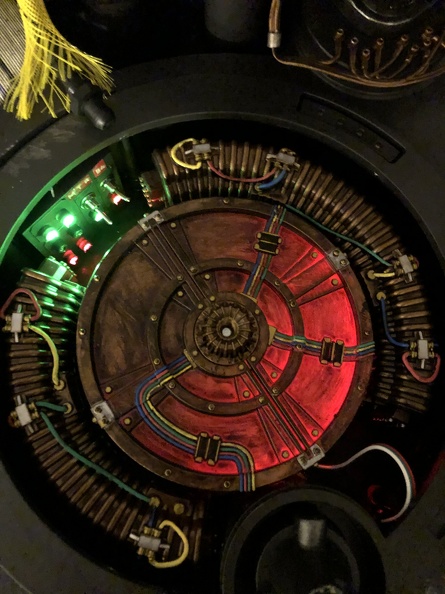
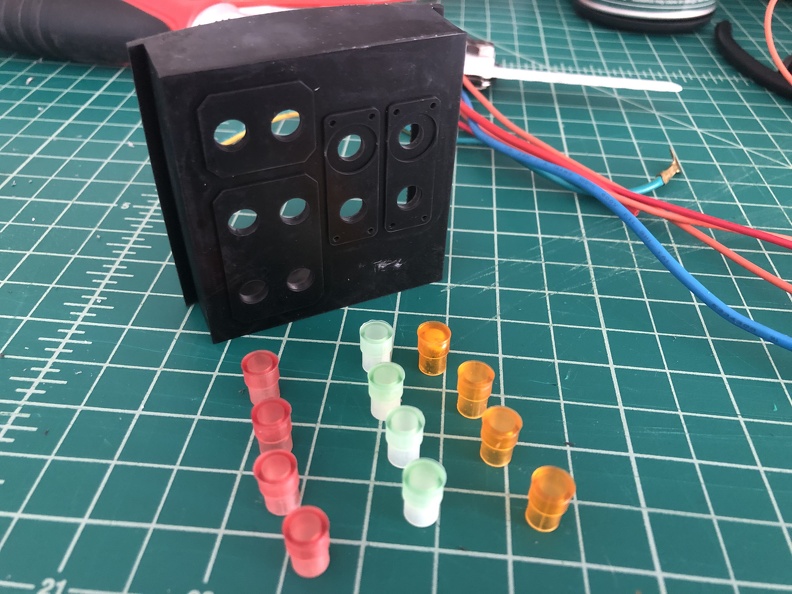
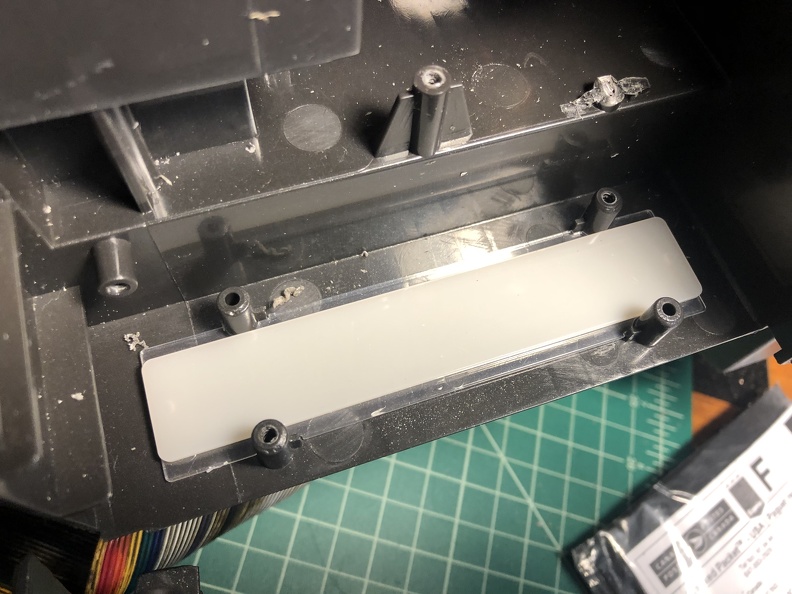
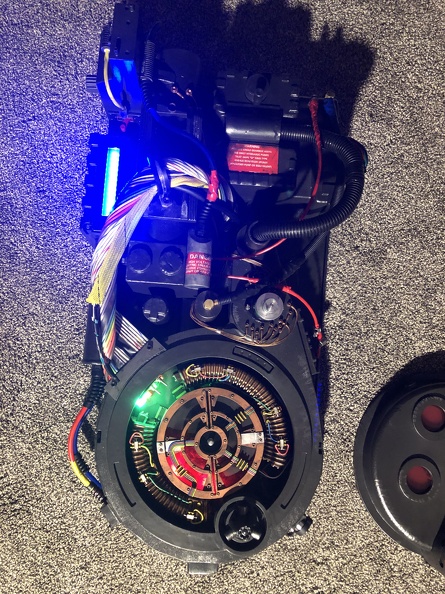
First up, I didn’t get into this yesterday, but my TacoBellli interior LED plate came in yesterday, and I actually did get it installed. I didn’t mention it since I wasn’t able to get the pack back together to actually take photos of it in situ.
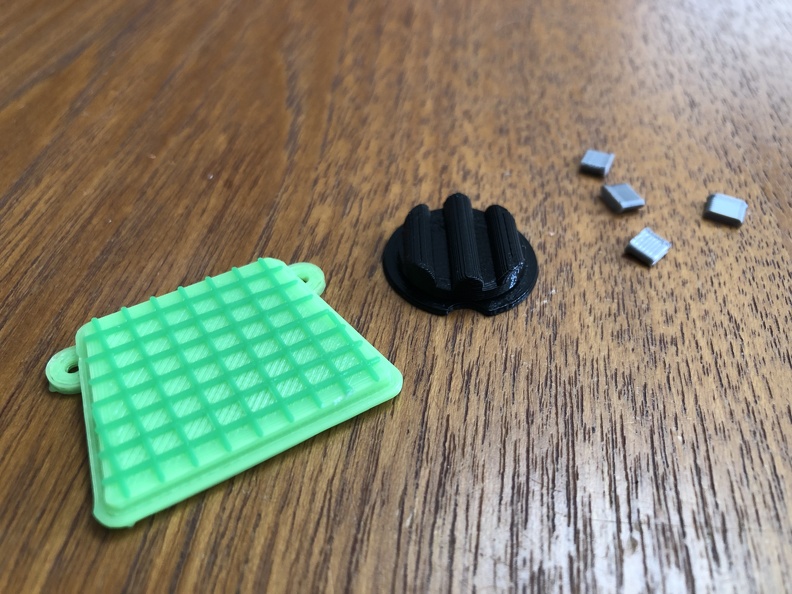
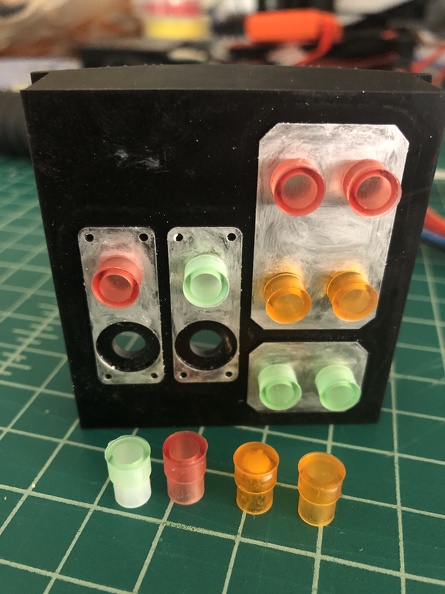
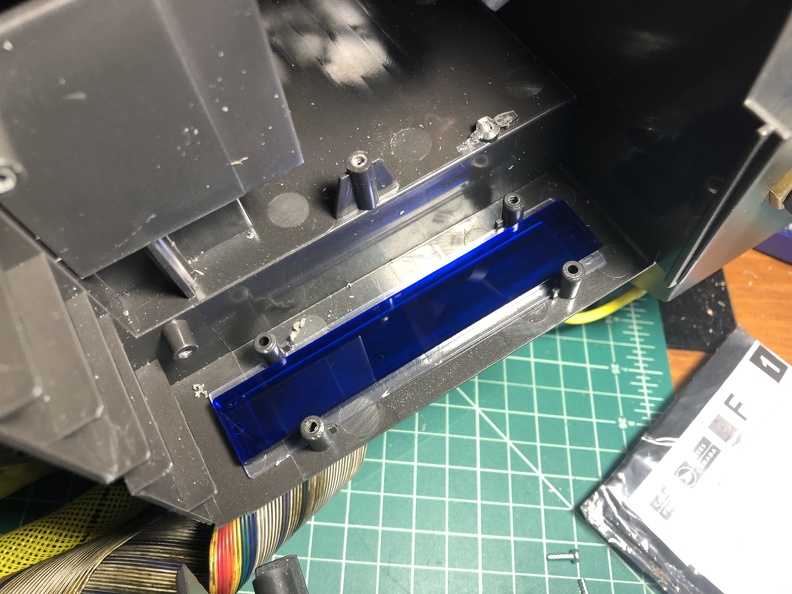
Here’s the panel and the lenses that come with it (which fit beautifully into their holes:
All painted up (the panel came with a few extra lenses). It still needs some real weathering but I’m going to hold off and probably do the whole pack all at once:
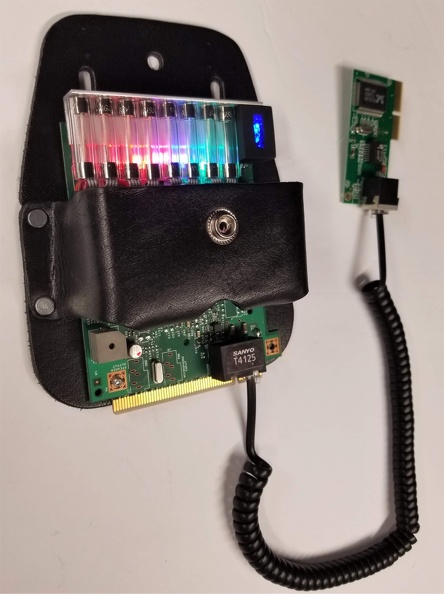
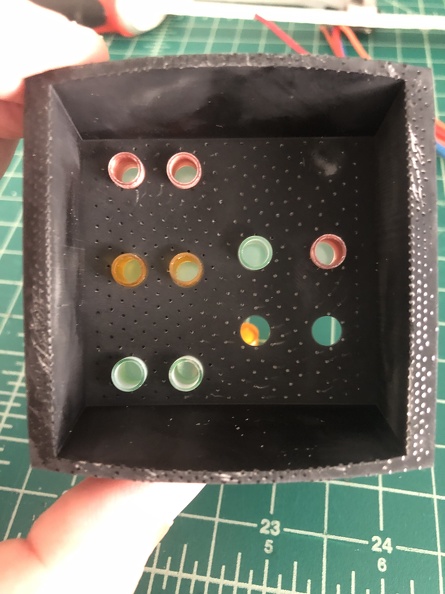
And the panel inside:
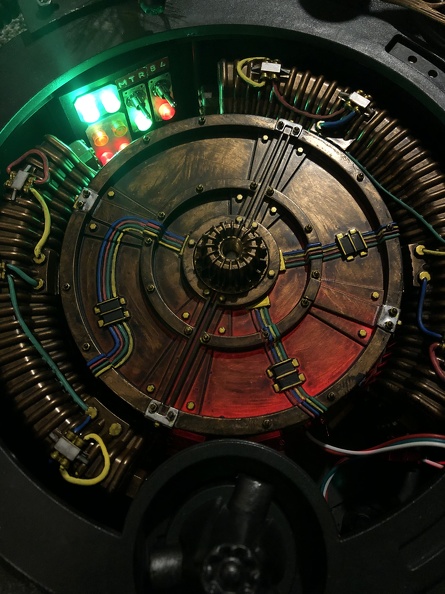
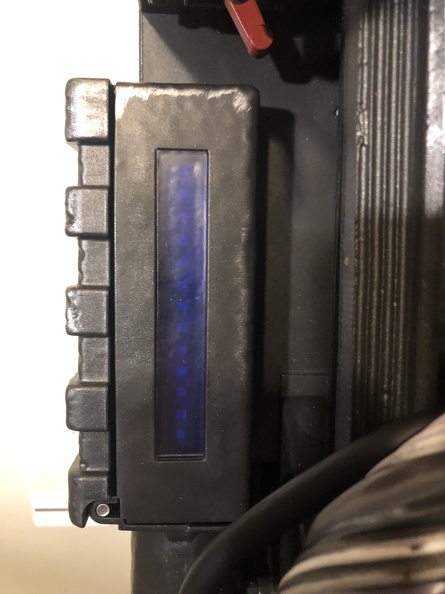
… And finally, installed and on!
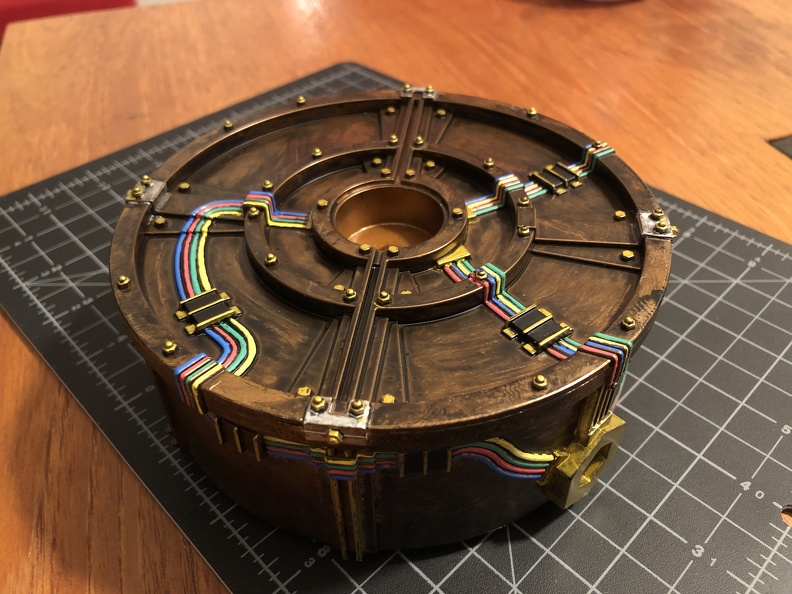
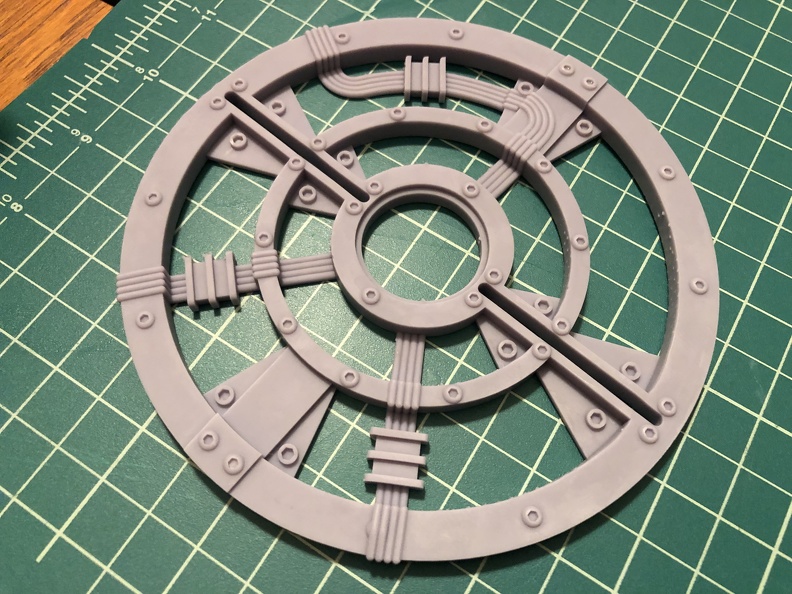
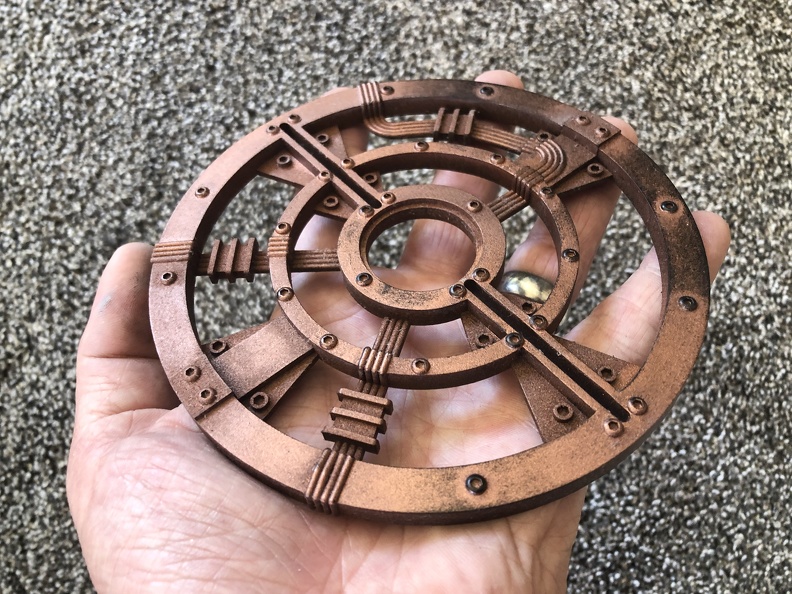
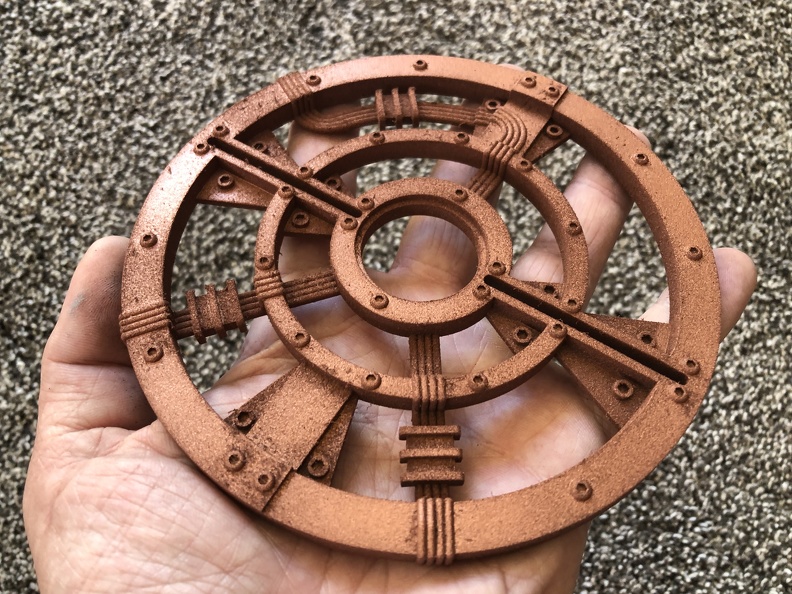
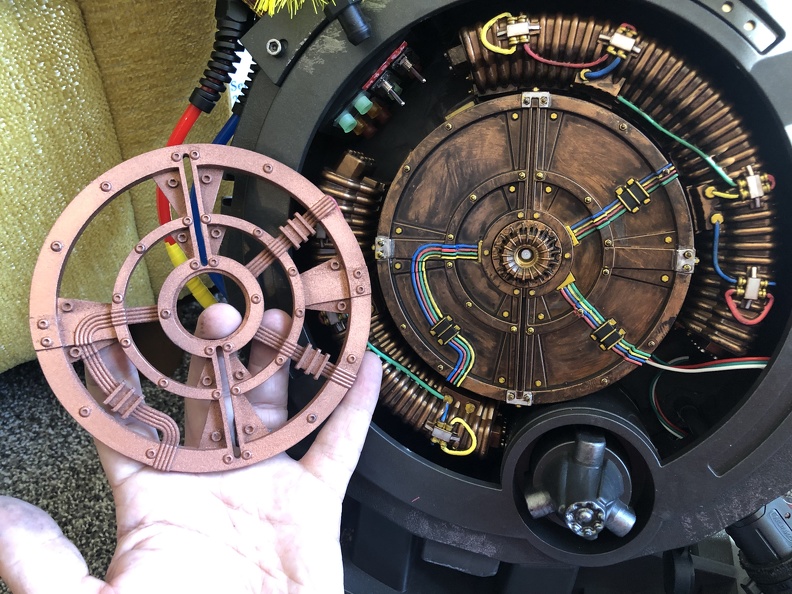
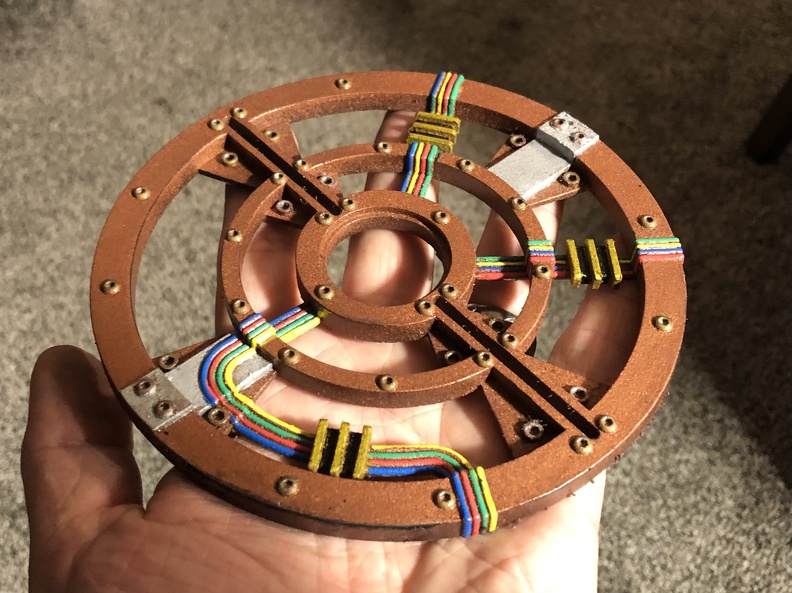
I haven’t had a chance to get the replacement cake topper painted yet. I’m still angsting on exactly what paint to use, and I need to sand it a little smoother. (It’s resin, but I guess the print had lots of supports because there is a ton of tiny nubs… at least it’s resin, so they sand down nicely!) Meanwhile, daytime was scorching hot, literally too hot to paint (some tests came out not great, thank god I tested), and evening was filled with clouds of mosquitoes, so that may have to wait a little longer.
Btw, any suggestions on how best to match the OEM aged copper look, in terms of paint? I have a lovely gold, but I’d be happier with a real copperly look that matched the original reasonably well. I found some copper but I’m not sure it’s good enough for this.
Moving on.
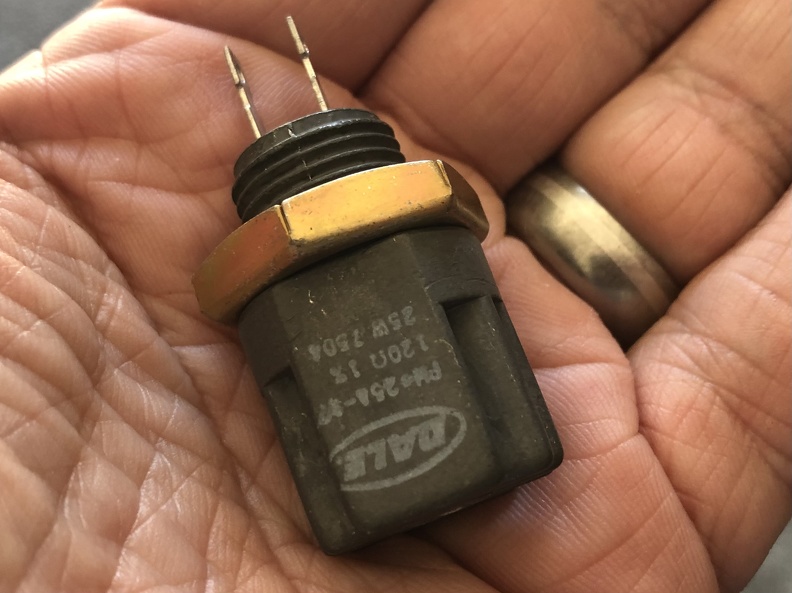
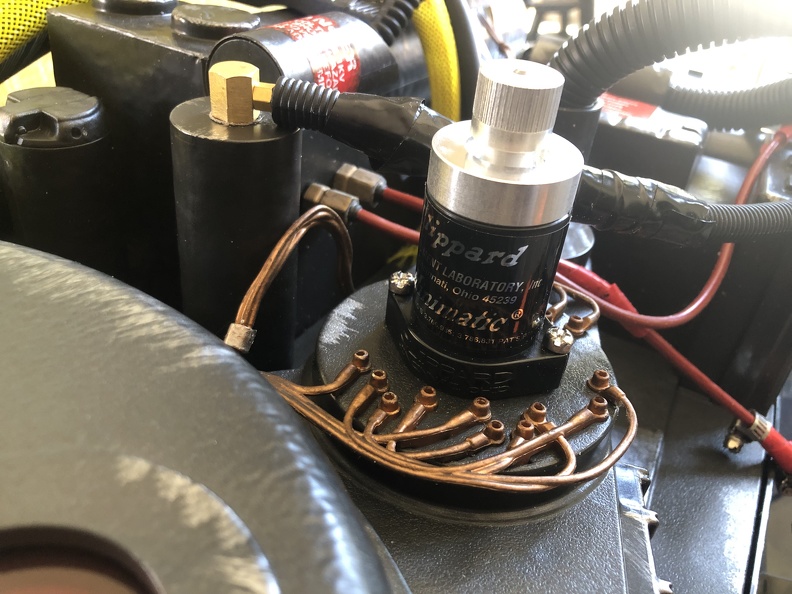
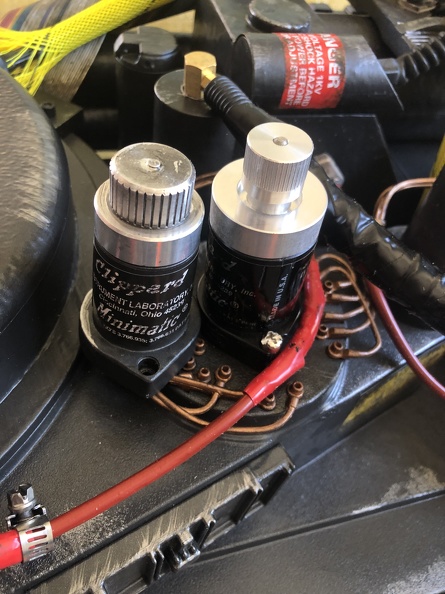
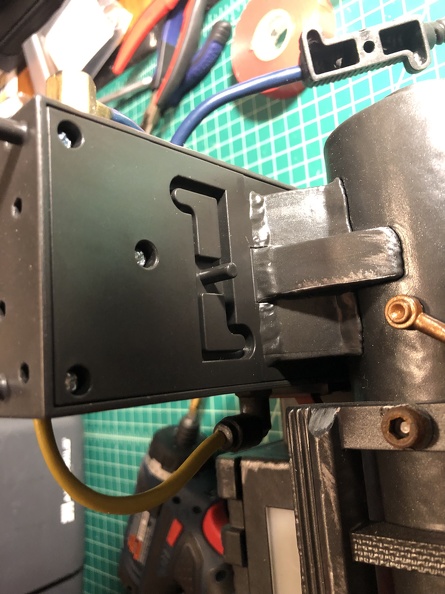
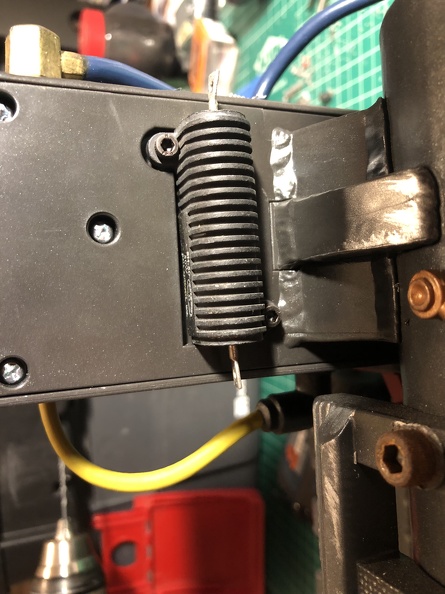
ONE of my near breakdowns yesterday had to do with my Dale PH25 resistor. It’s lovely, and has the correct brass base, but didn’t come with a lock nut, so I was stumped as to getting this mounted securely.
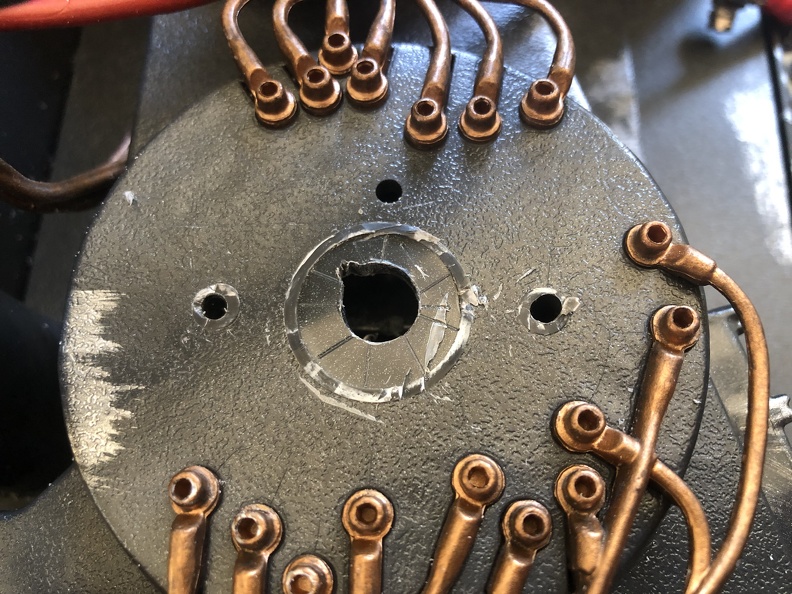
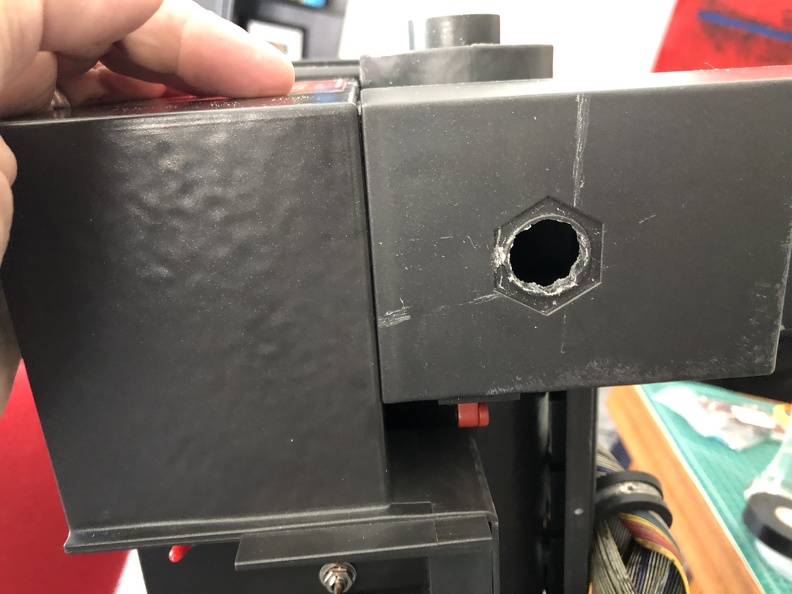
Installing it was a bit of an adventure, as figuring out how to remove the ion arm assembly entirely was a lot more involved than I had imagined, disassembling LOTS of the pack. Then I learned the hole needed was bigger than my biggest drill bit (ignoring appropriate wood-drilling spade bits), so I ended up spending some quality time with some files, getting the hole to right size (approximately 5/8”, for those interested). A little minor scraping damage cutting off the original plastic mounting stuff, but that’ll disappear once I add some weathering over it.
I wanted to protect it from knocks (and theft… or simply falling out and getting lost!) so I wanted it secure, but I also wanted to be able to remove it if needed, so simple epoxy was out.
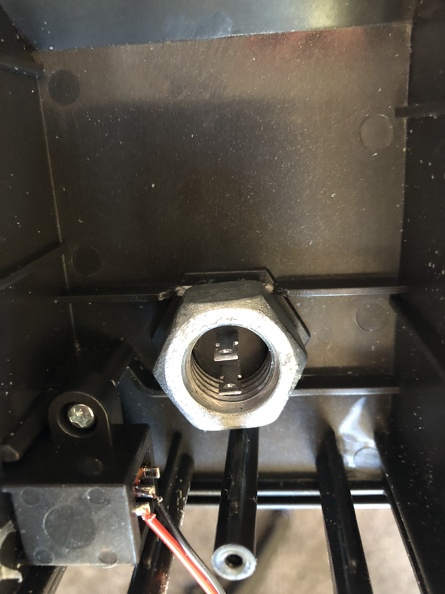
Long story short, ultimately I went to Lowes and found that literally the biggest nut they carried, 5/8”, did fit, kinda. The threads didn’t align perfectly, so it doesn’t thread completely. Still, it did a nice job of catching the first couple threads and holding tight, so I ended up threading this massive nut on the back side to hold it. For extra security, and to prevent spinning (I hope?) I ended up completely filling inside the nut with hot glue. In theory, I should be able to get this out if I need to, but it should be reasonably secure against accidental loss, I think.
Moving on.
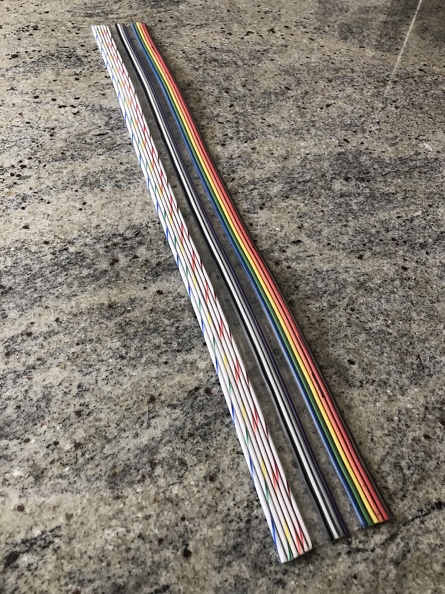
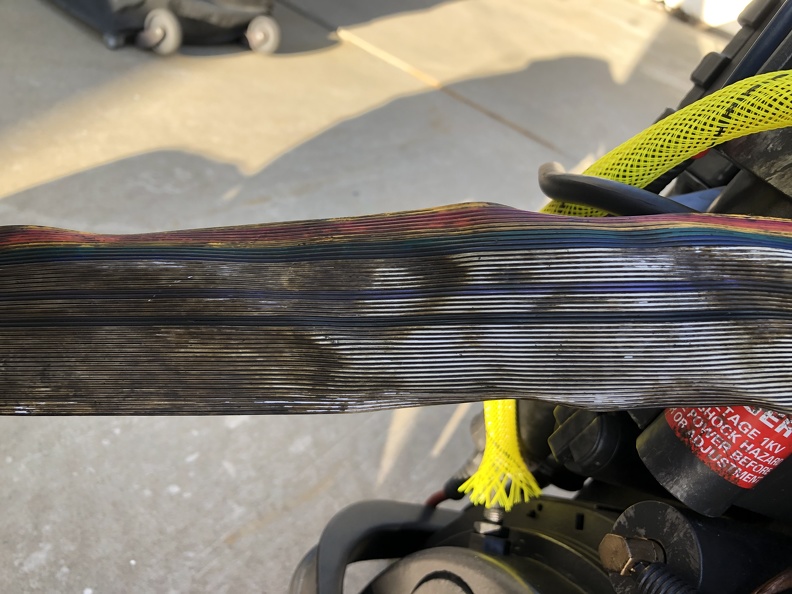
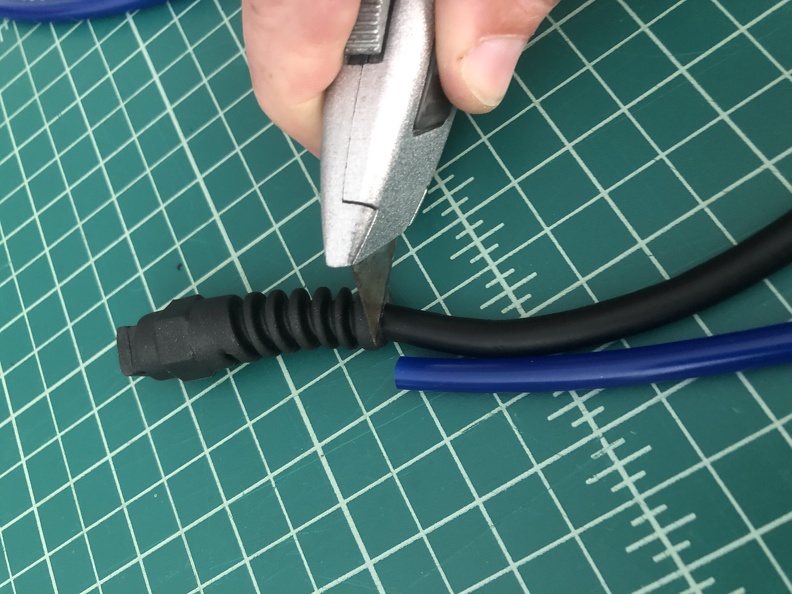
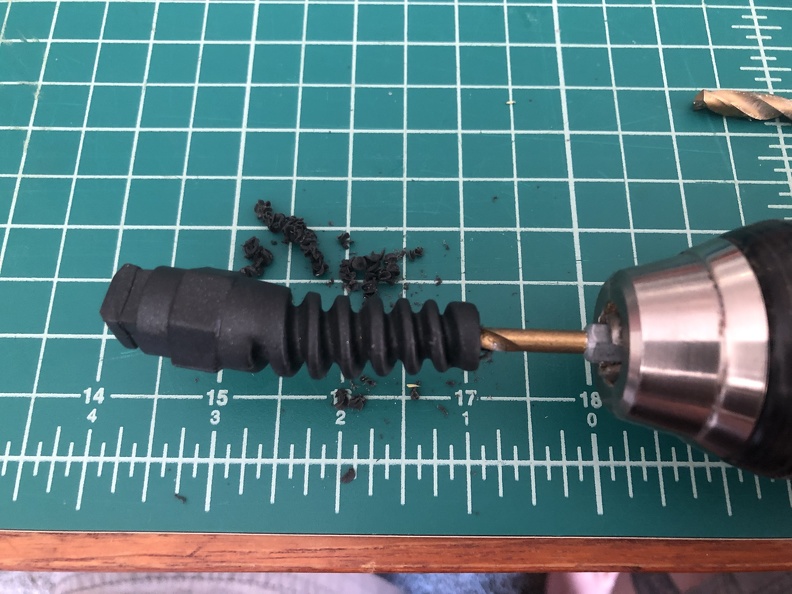
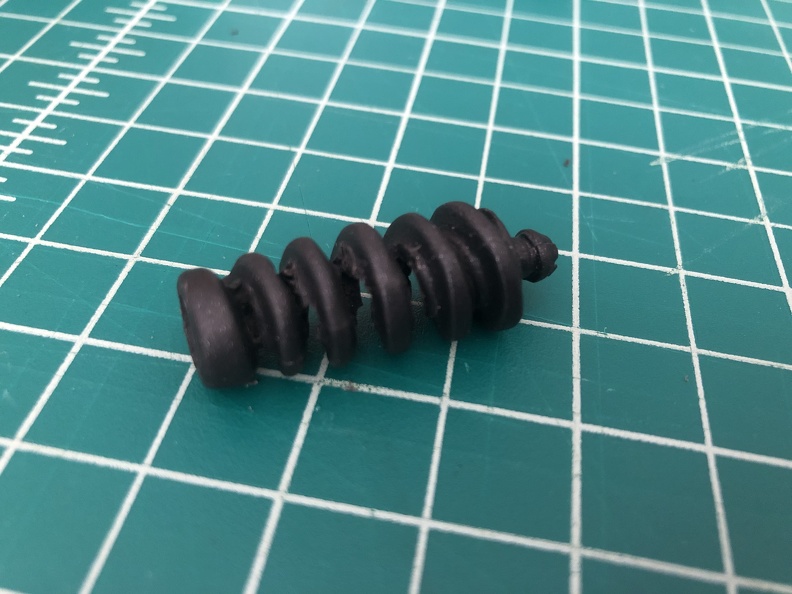
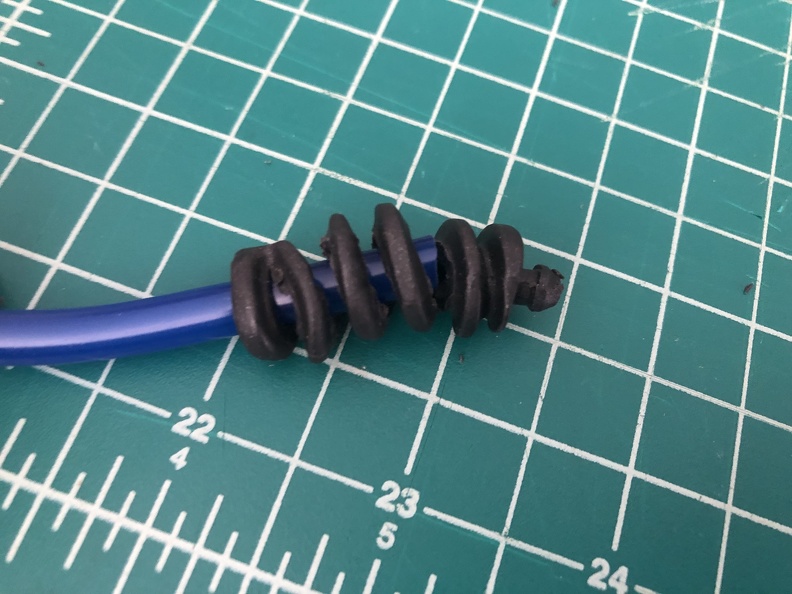
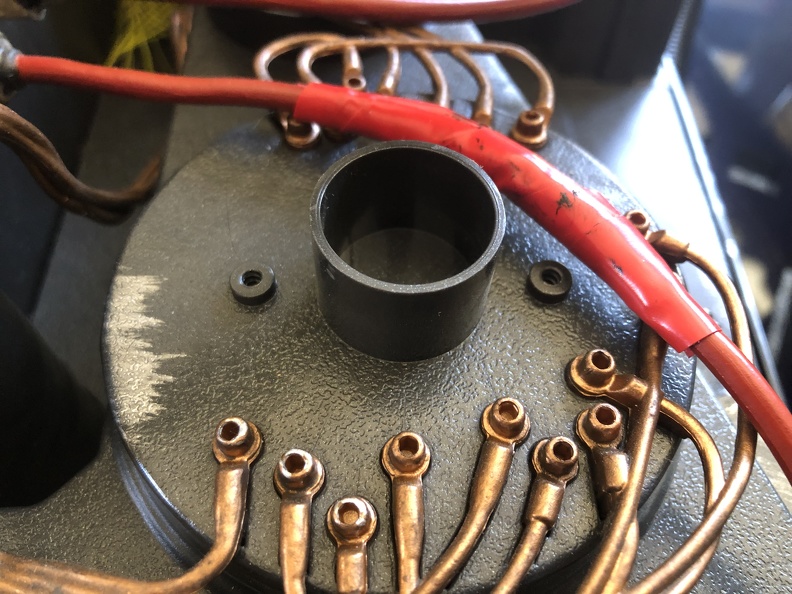
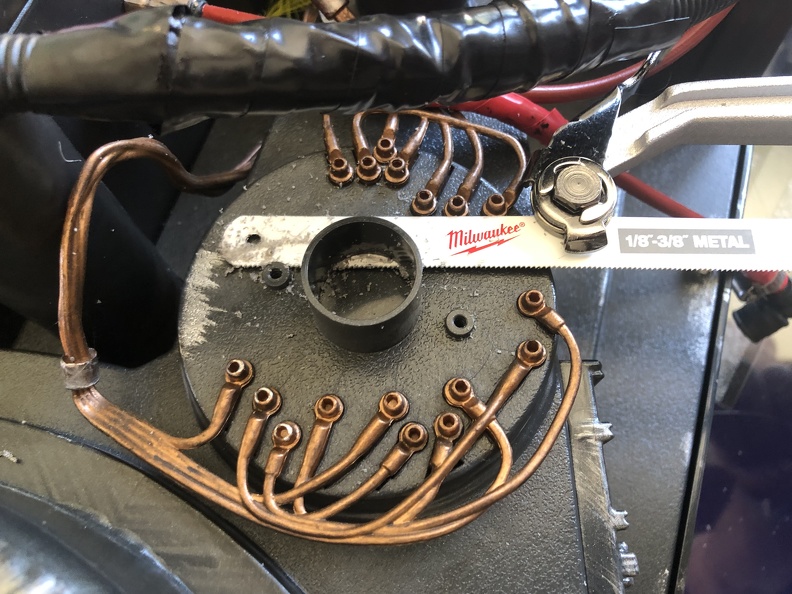
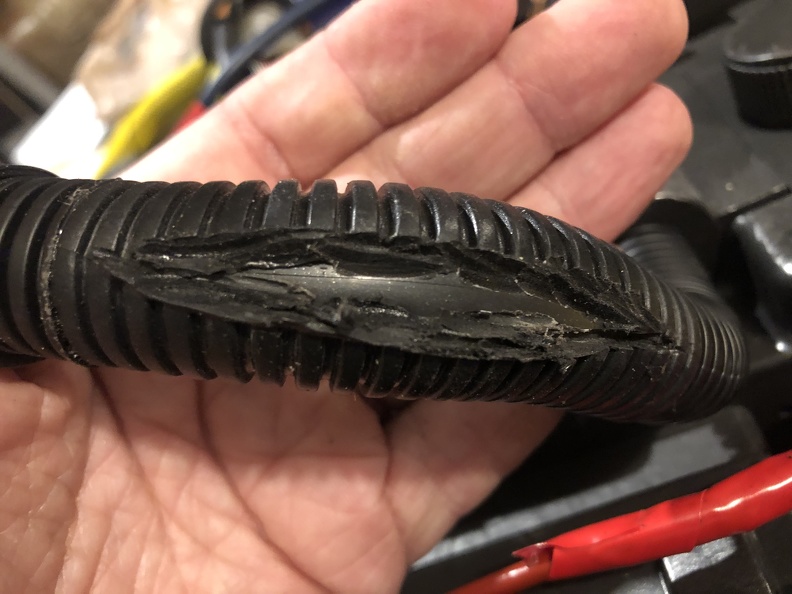
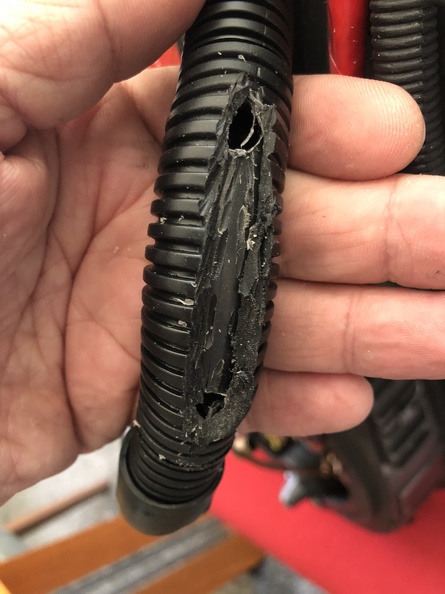
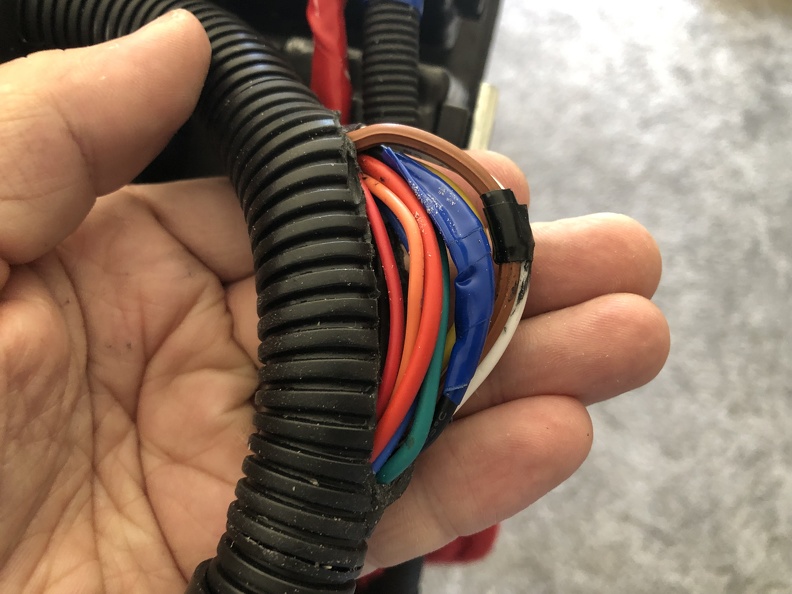
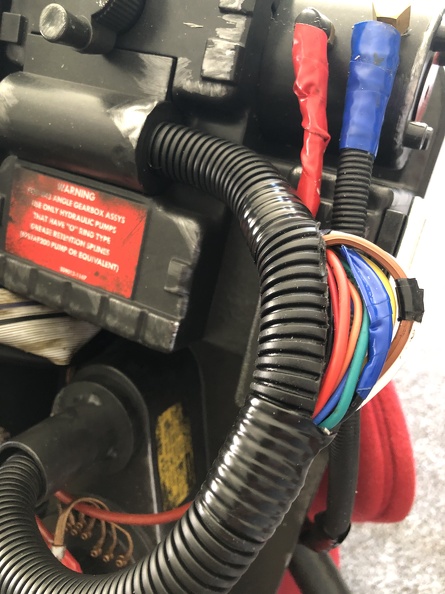
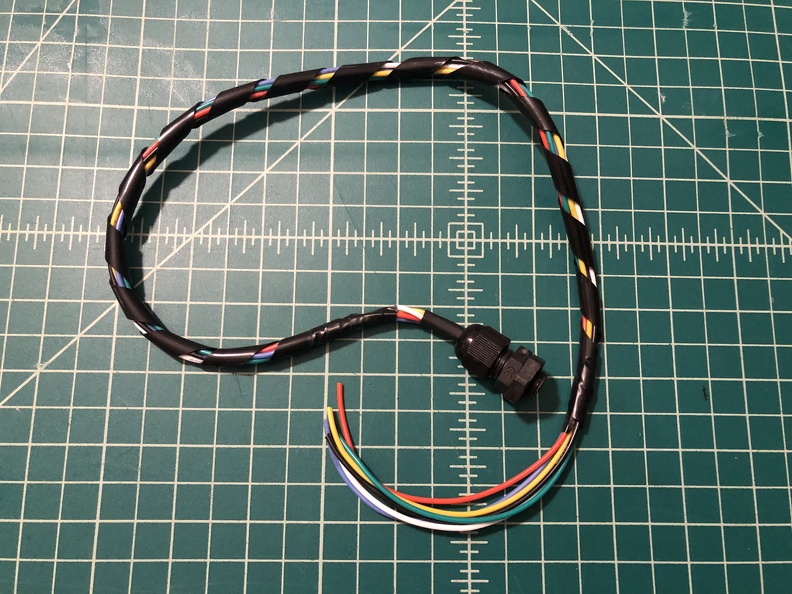
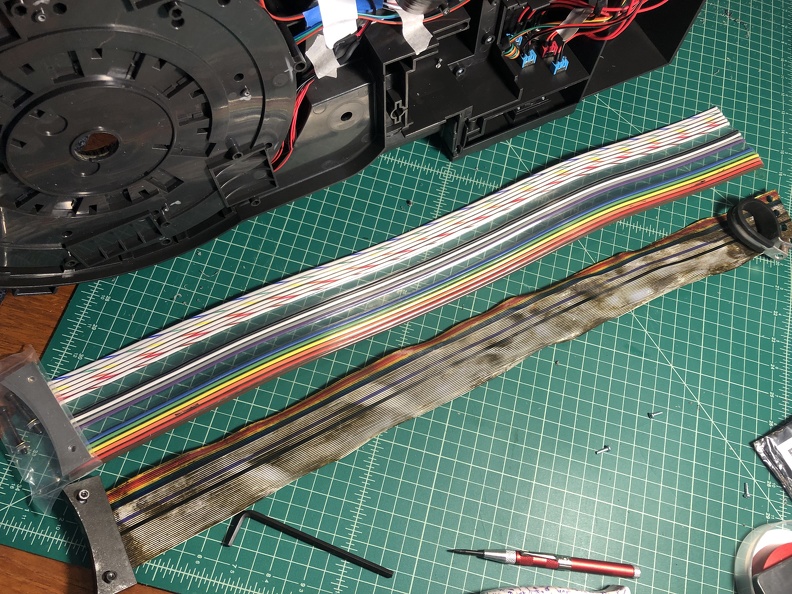
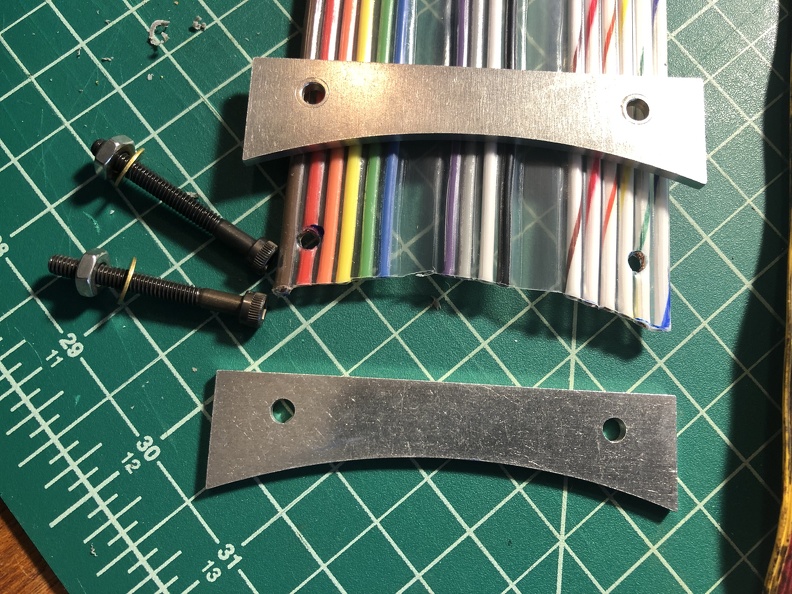
For a long time, I have wanted to upgrade the “split” wire loom on the pack, where fake wires poke out from the side, to replace the rubber bit with real wires for a hugely upgraded look. I took a Dremel to the rubber to cut the wires out… turns out there is a hard plastic piece glued down the center of the molded rubber exterior, so just cutting it out with a razor wasn’t as effective as you’d think. Not super hard, but surprisingly more annoying than I would have thought.
Next, drill holes into that plastic pipe at the top and bottom, for the wires to go into.
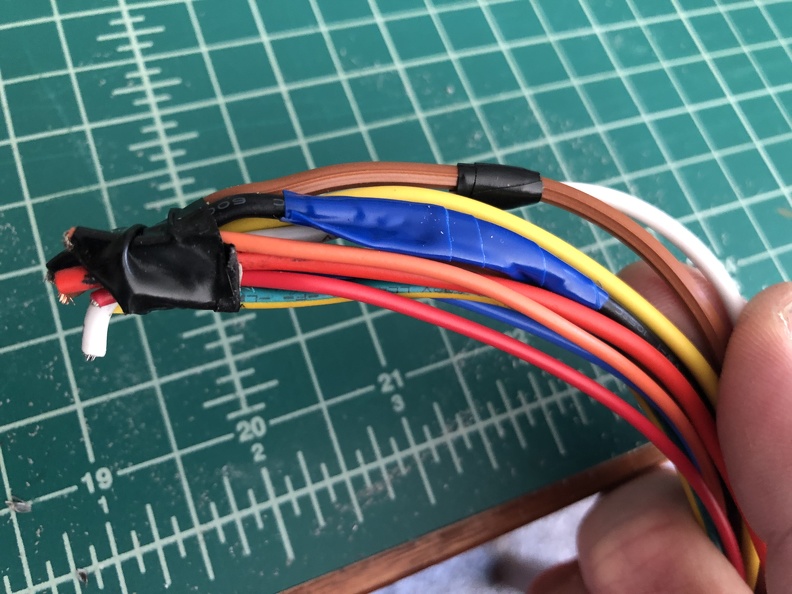
Arrange the wires to your liking. (Mine are mostly based off the Phoebe pack reference photos, but not an exact match)
…and start cramming them into those drilled holes.
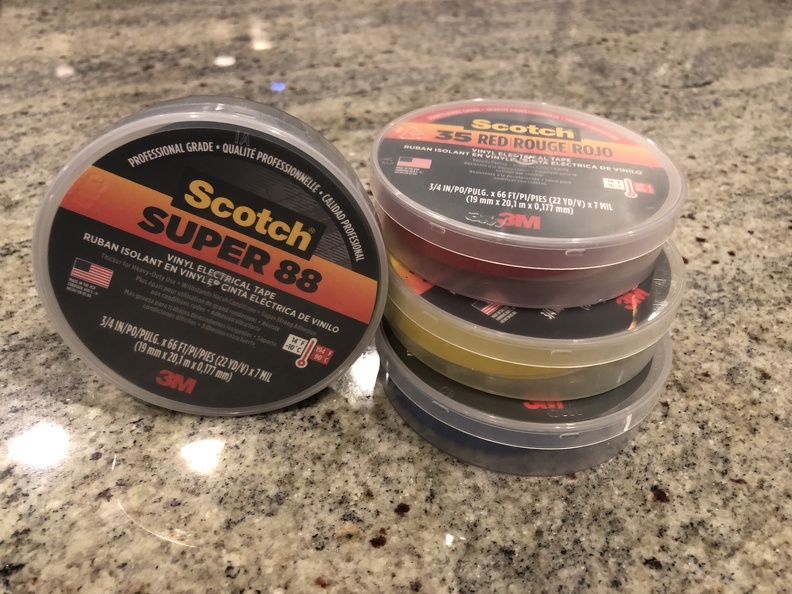
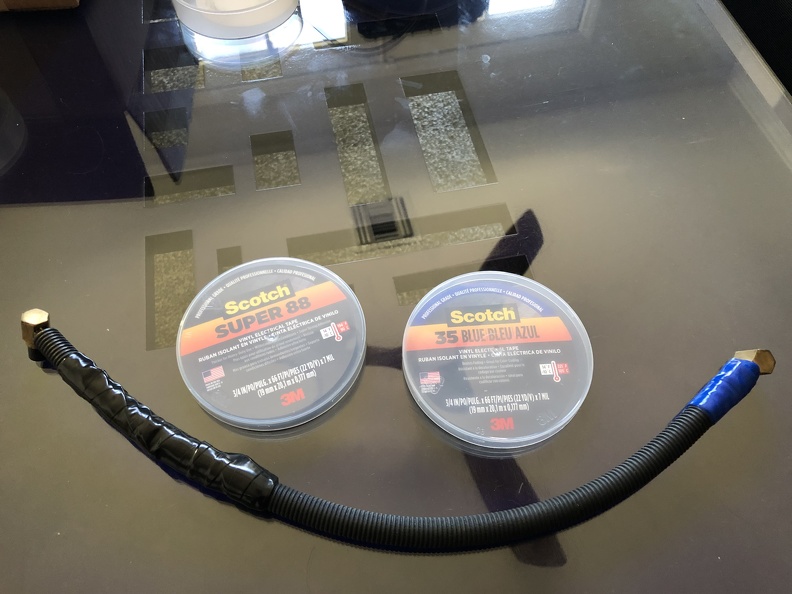
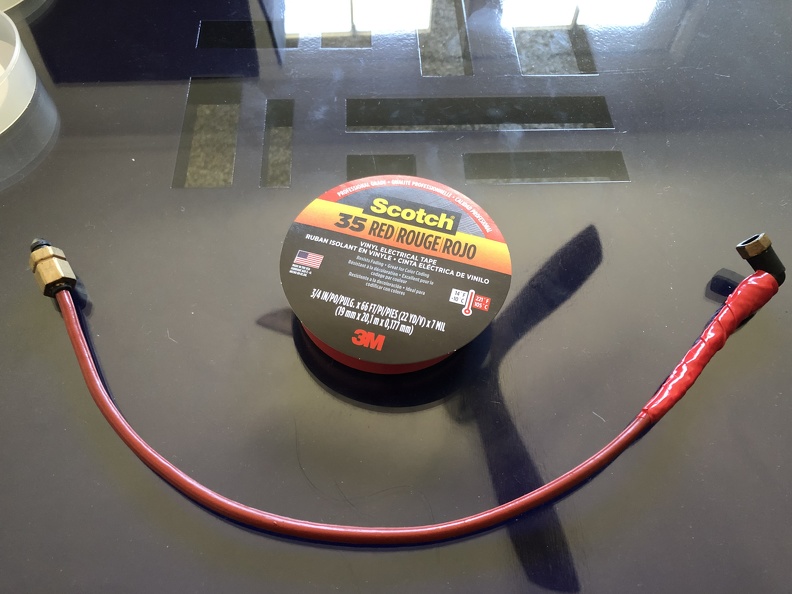
I finished it off with a little electrical tape “repair” wrapping, and cut off that dumb fake ring.
Moving on…
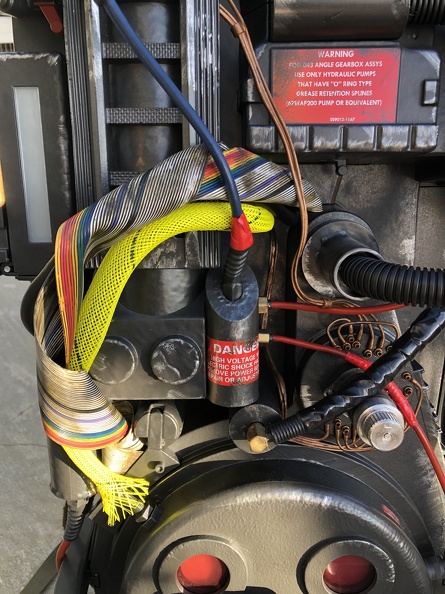
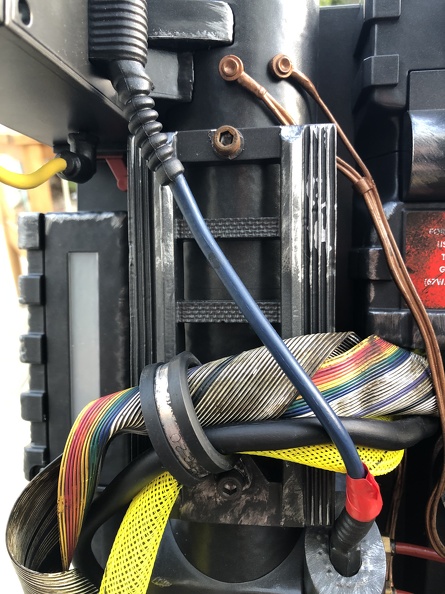
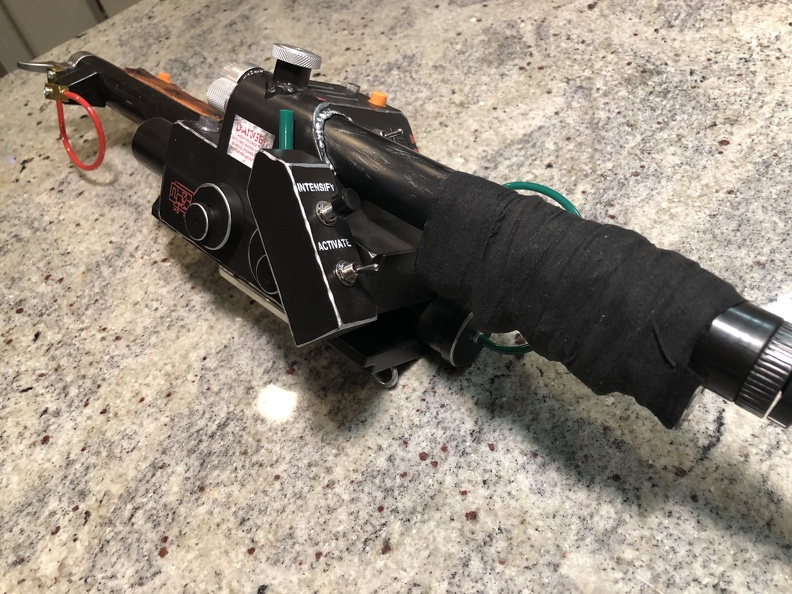
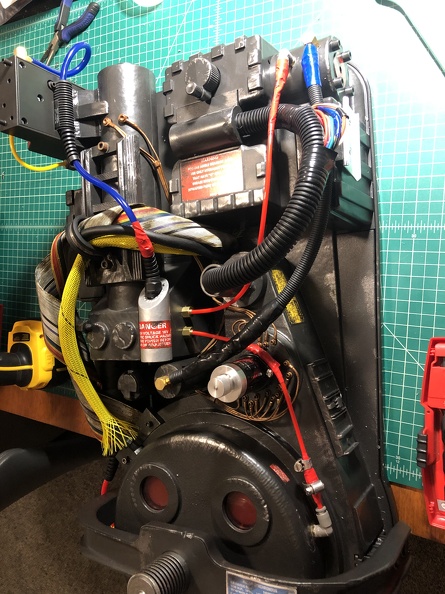
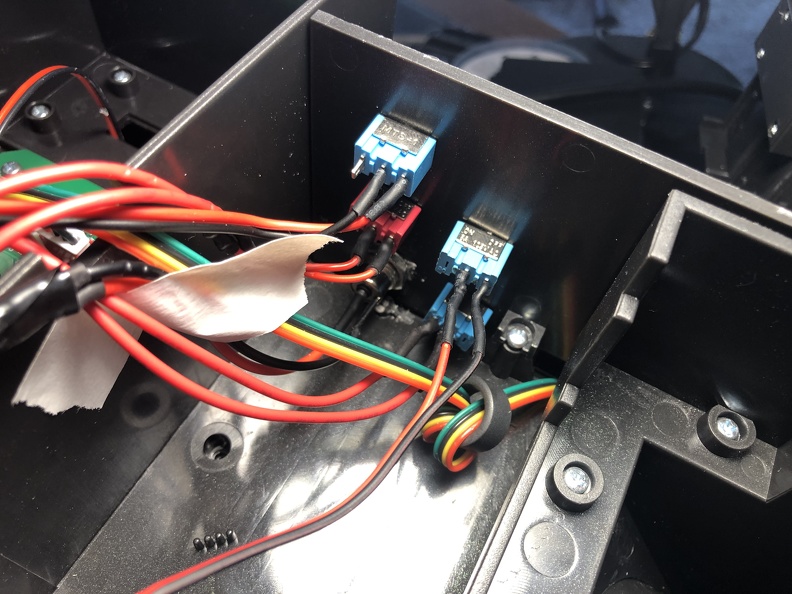
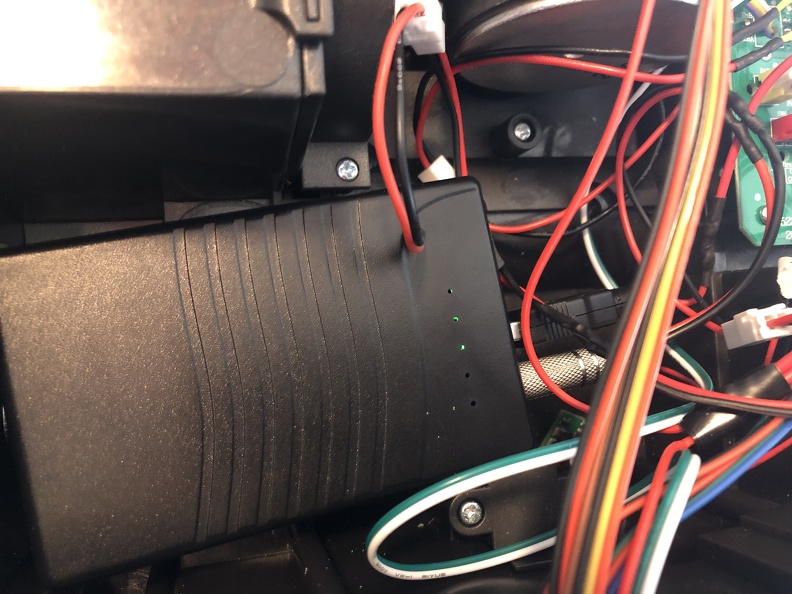
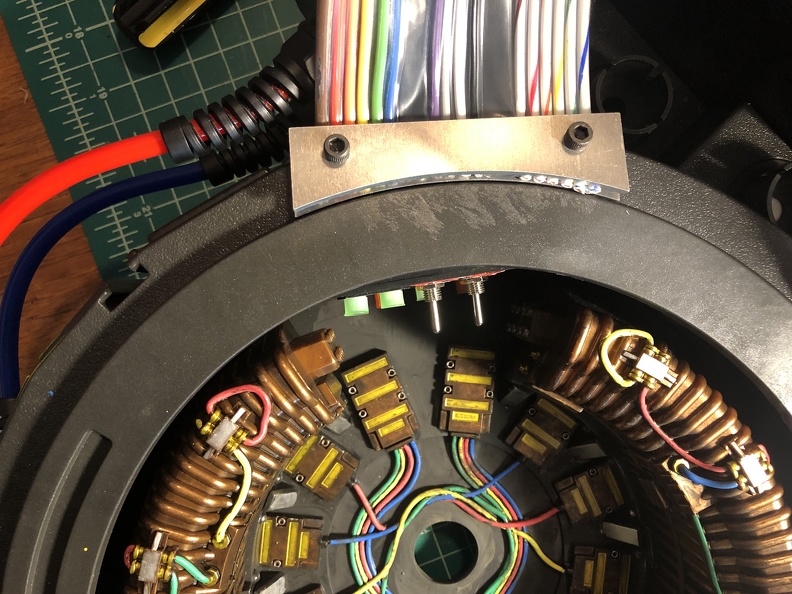
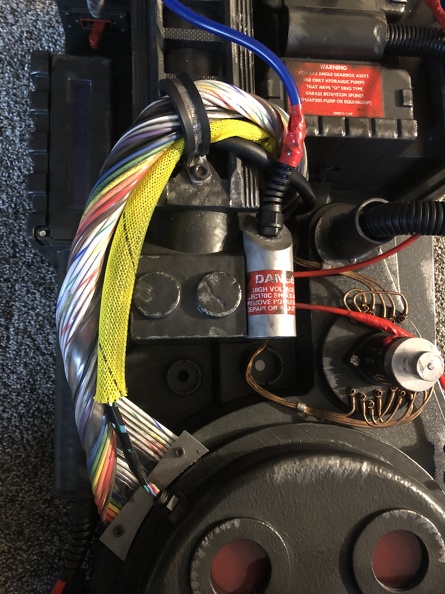
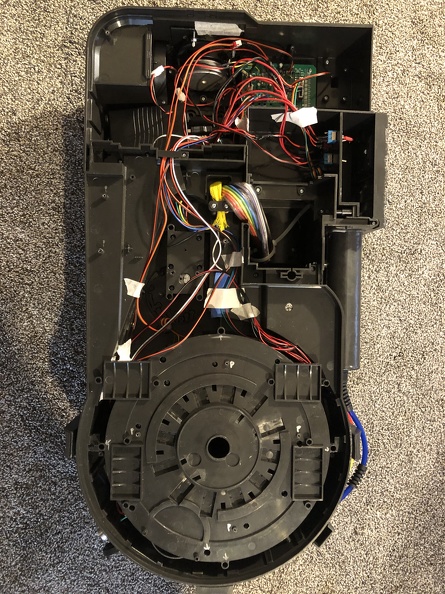
I did some electrical work, which I haven’t photographed very well. It’s something of a spaghettii nighmare inside right now… I really need to clean it all up! But I got the TalentCell battery installed inside the pack. I’m still evolving my methodology, but it’s functional, as of now.
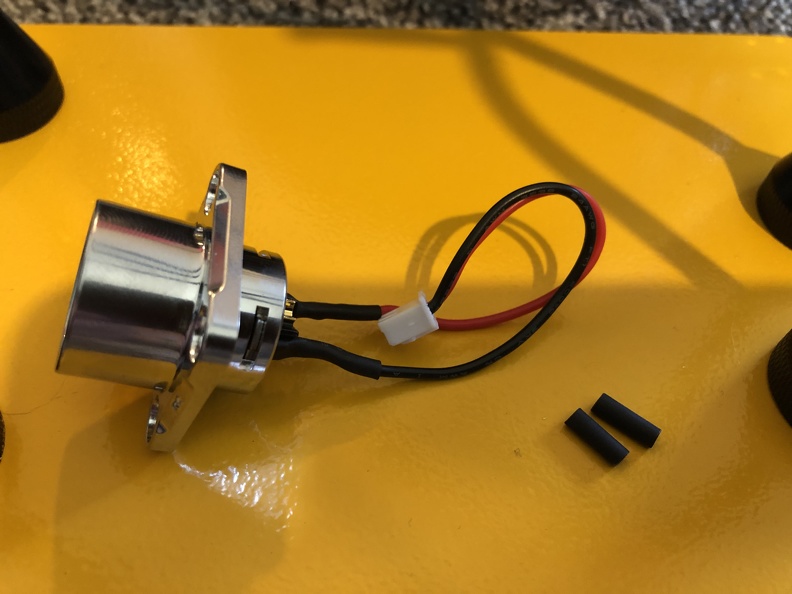
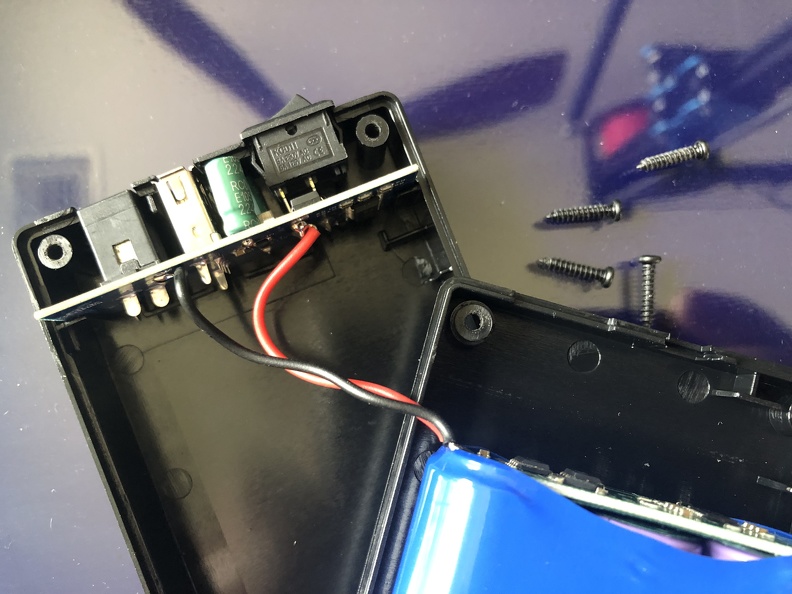
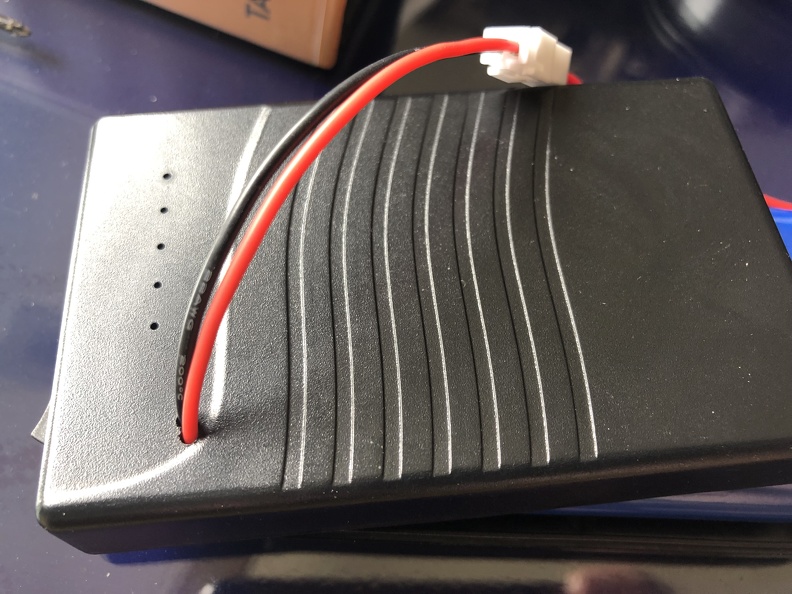
Step one: I picked up some USB clamshells and soldered a pigtail with a JST connector to it, to plug into the system board. That’s the core thing. But without mounting it outside, or inside the snack compartment (which doesn’t work, since I have mounted a ton of things in there), or hacking a big hole to reach through inside, I needed more.
Step two: I also got some 2.5mm barrel connector and panel mount jacks.
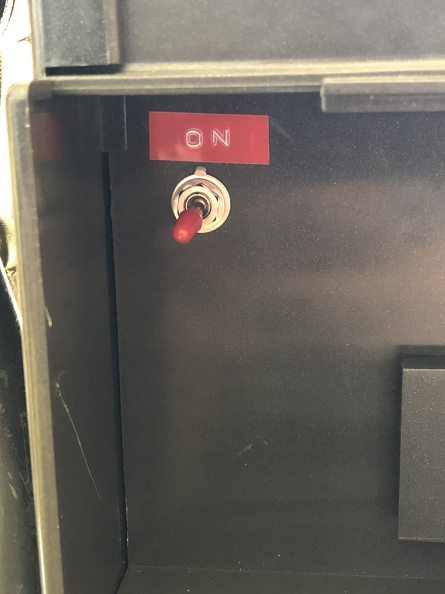
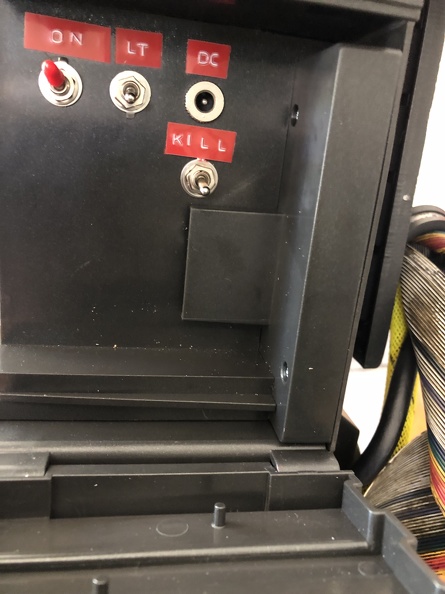
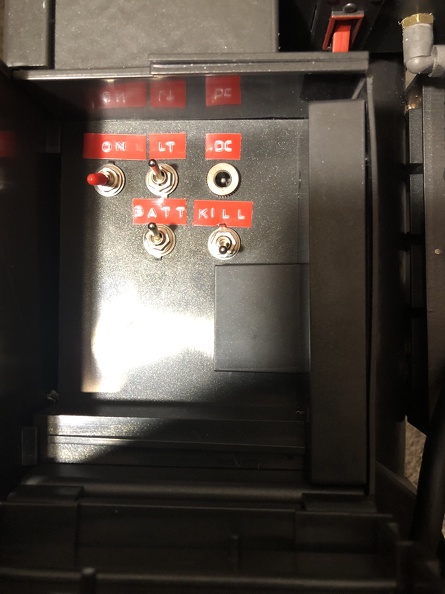
The panel mount jack lets me move the charging port to outside the pack, so I don’t have to open the whole thing to charge the battery. But because these are known for leaking current while charging (I’m told), I also put a kill switch inline with the USB > JST connector, and mounted that switch (and the charging port) inside the snack compartment, which let’s me completely cut power to the board. My compartment’s panel is starting to get crowded, since I have the Keep-Alive switch AND the lighting effects switch inside there, too. And perhaps more to come (smoke?). But for now, it works. And the D cells are a thing of the past…
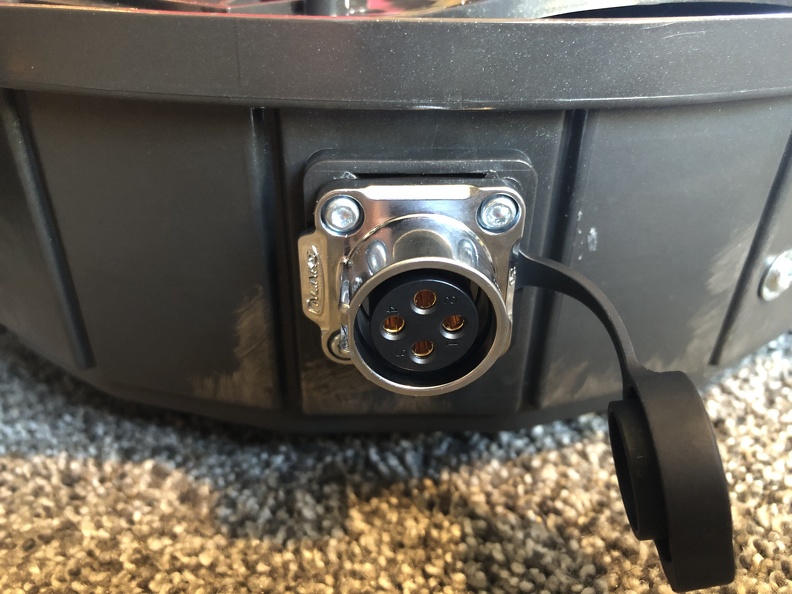
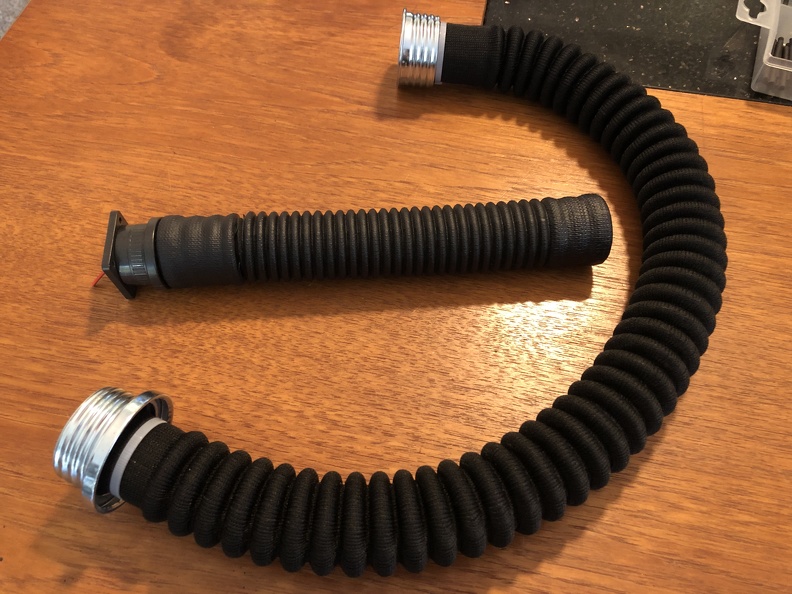
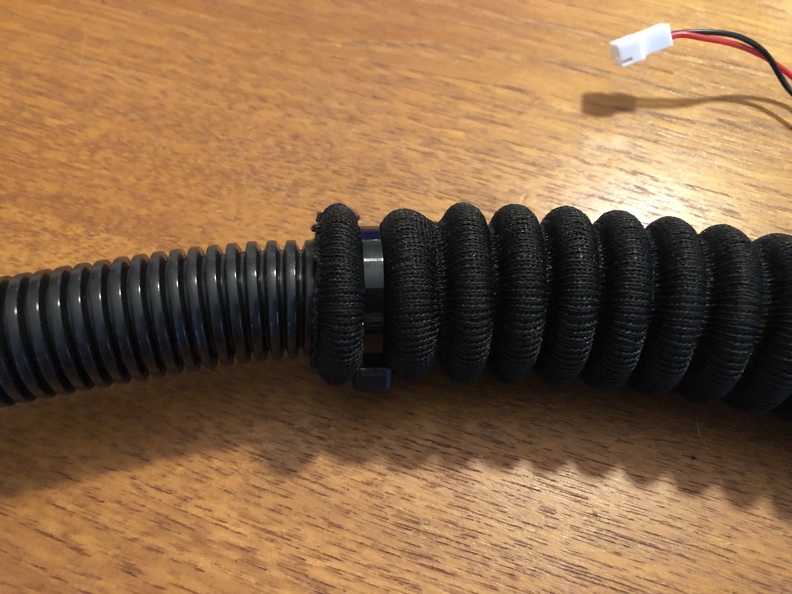
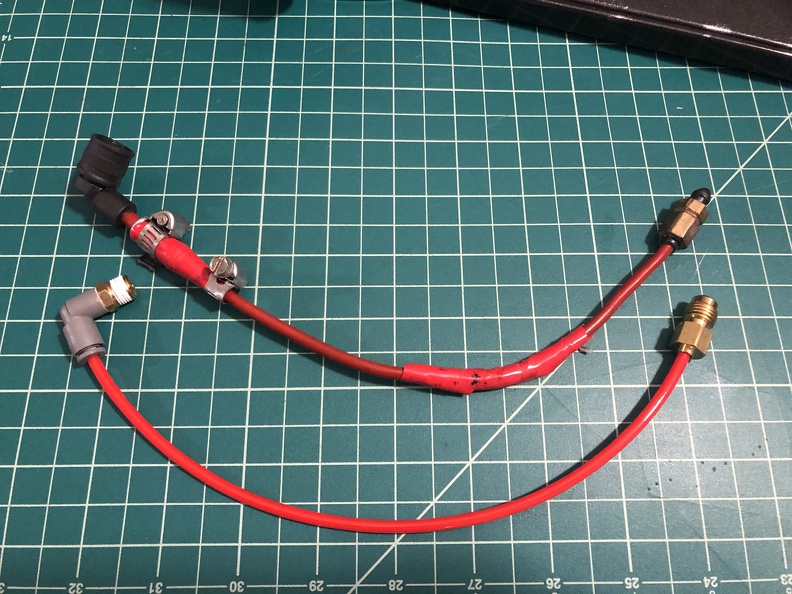
Moving on. Up next, the hose upgrades, with PG7 connectors.
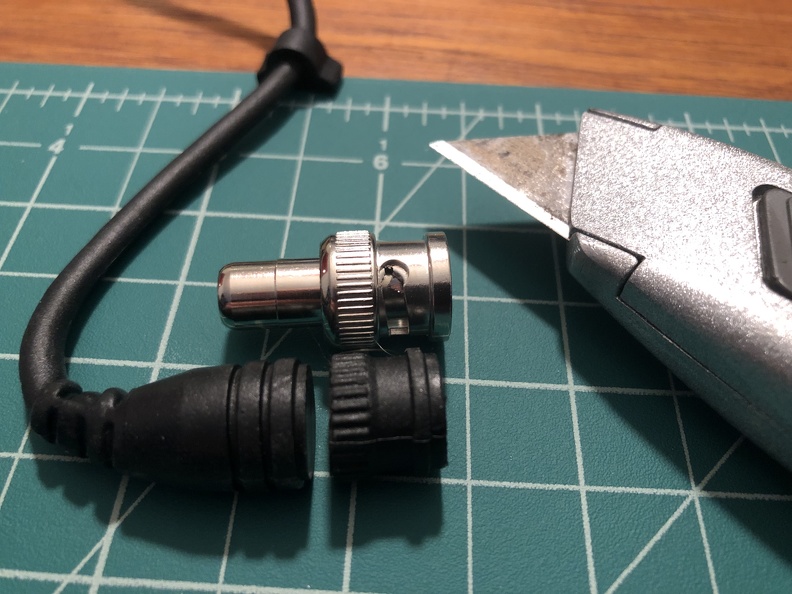
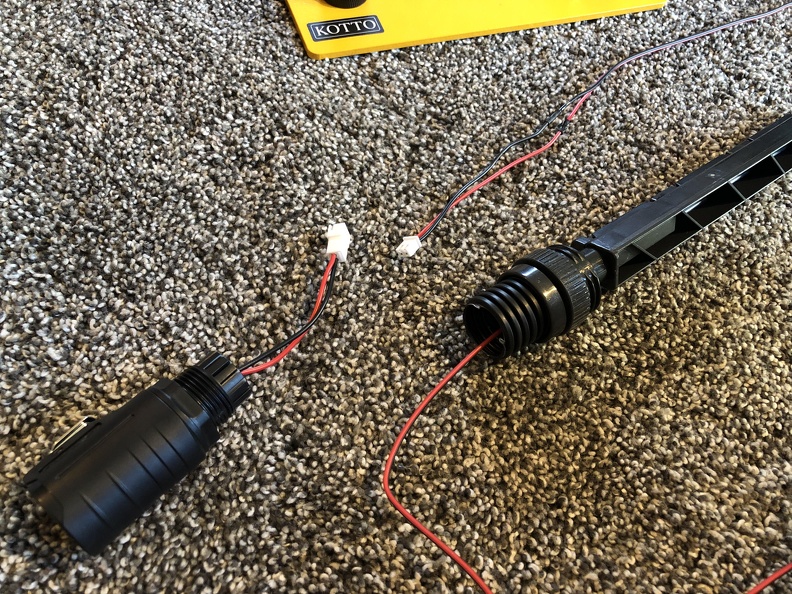
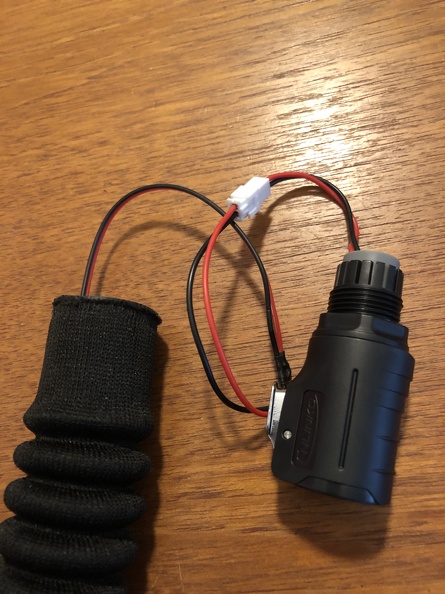
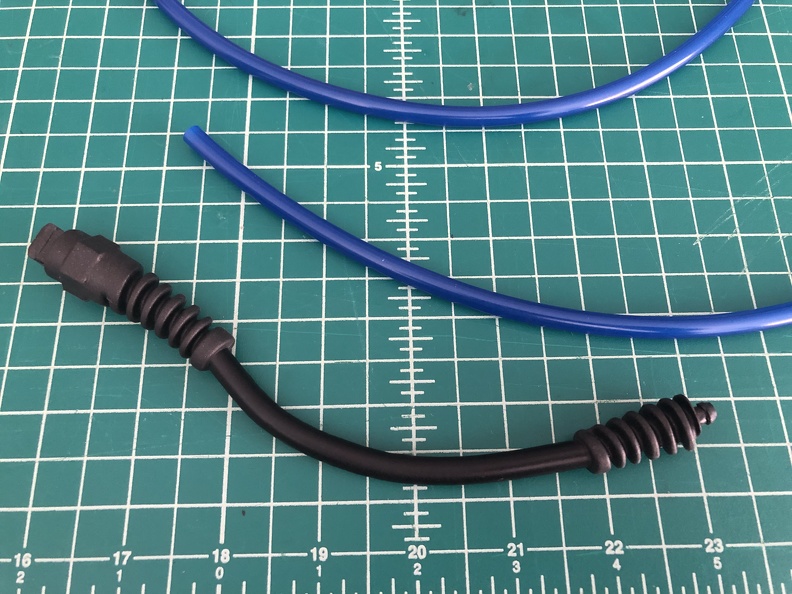
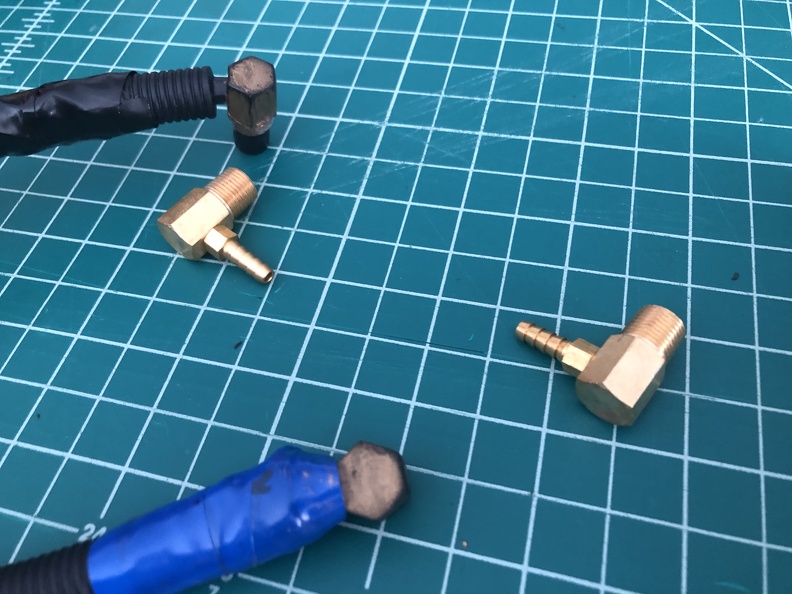
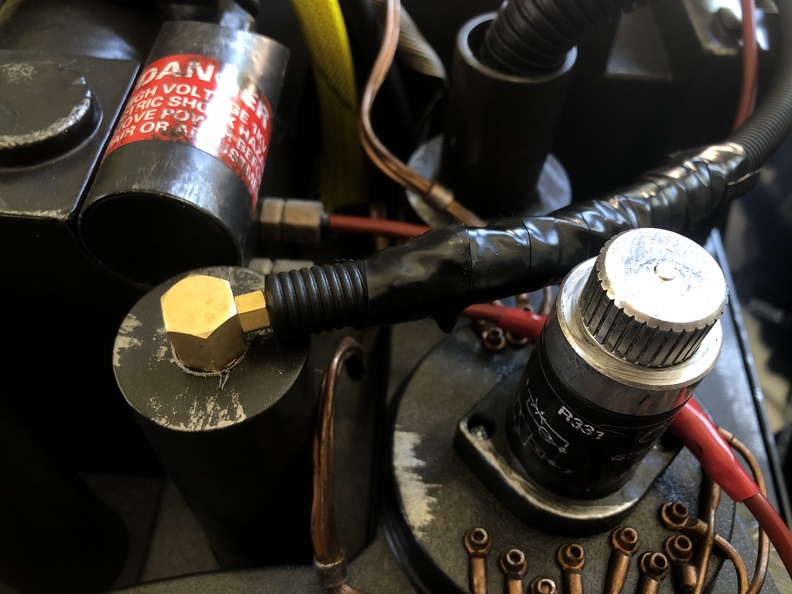
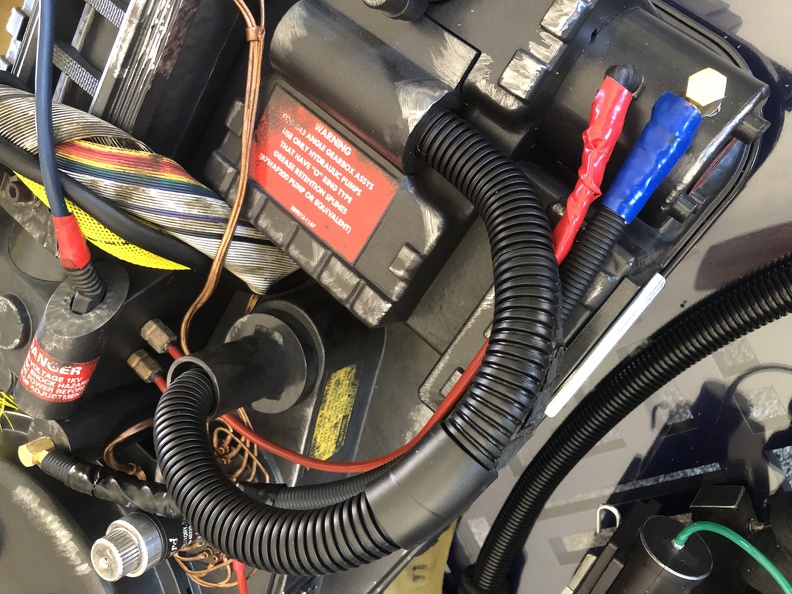
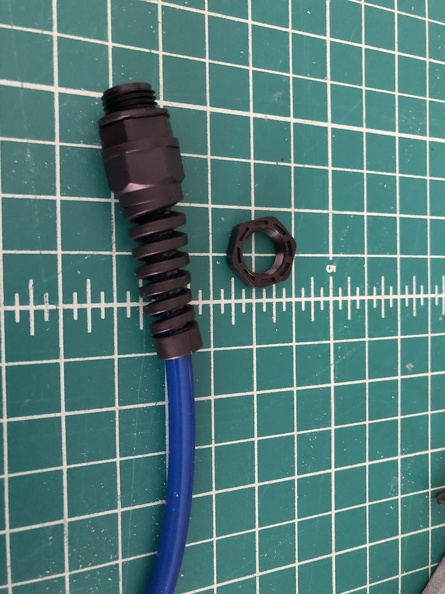
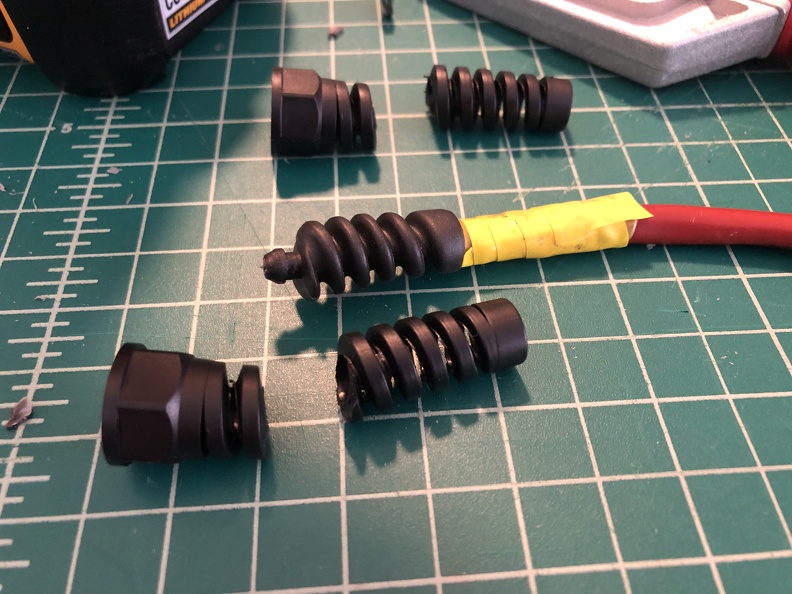
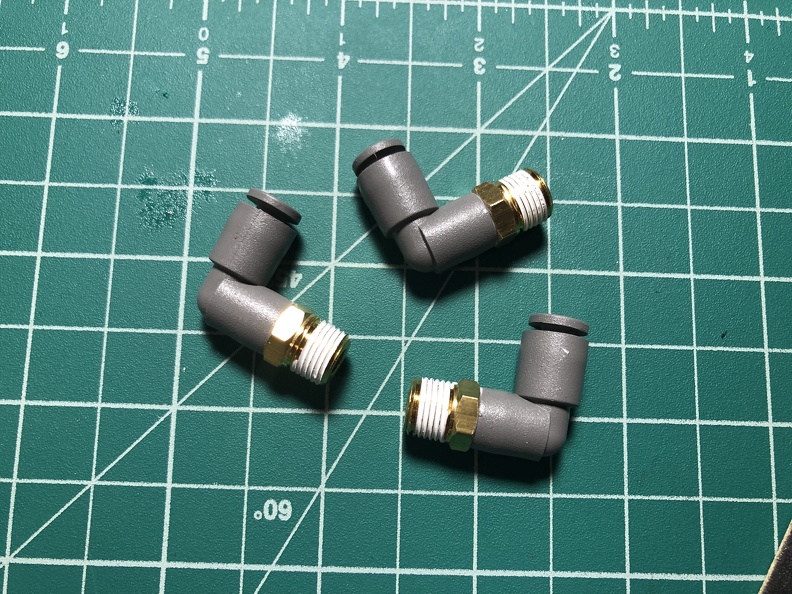
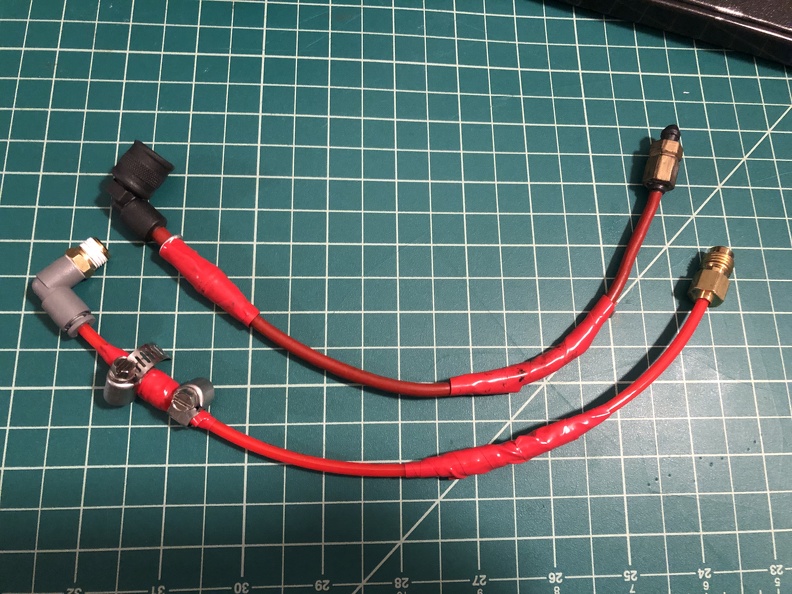
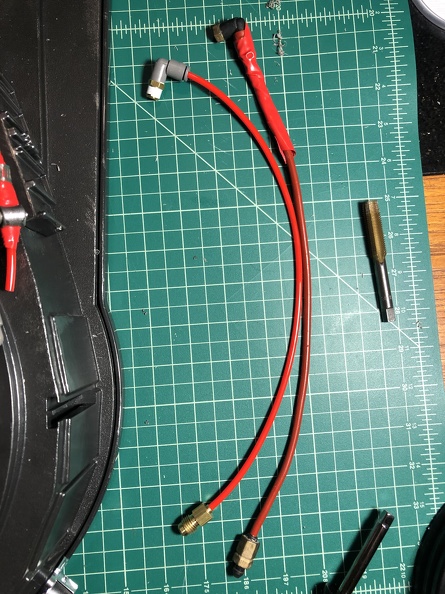
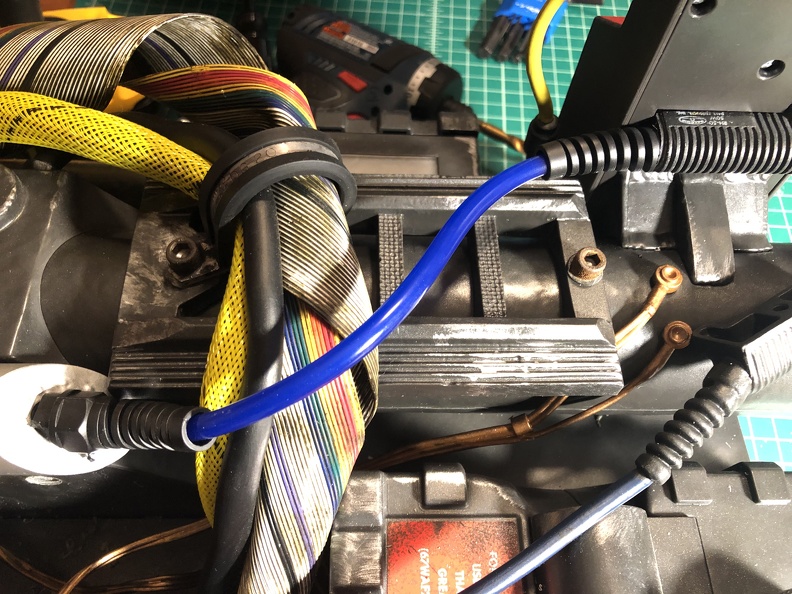
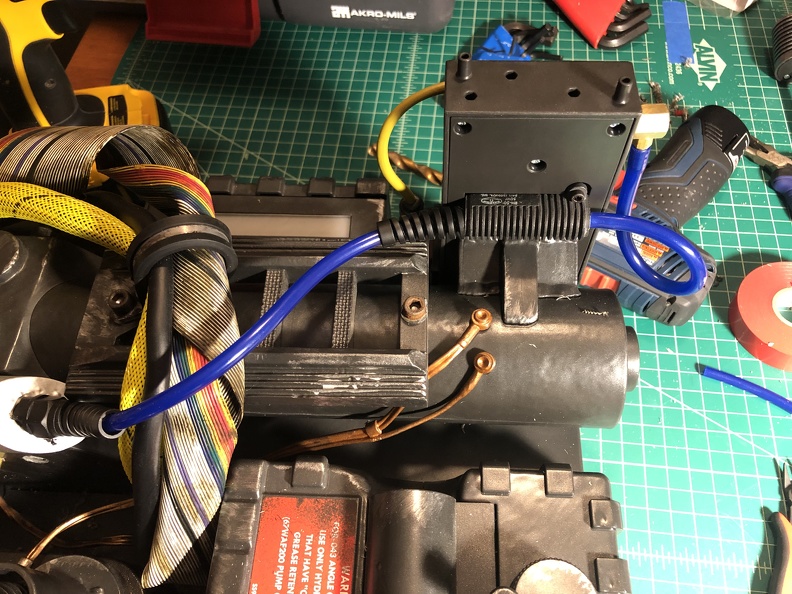
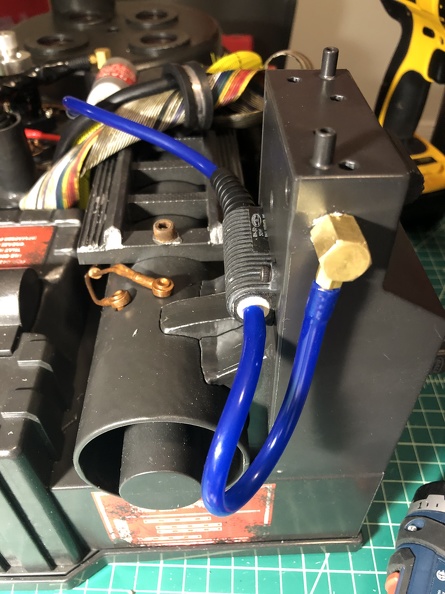
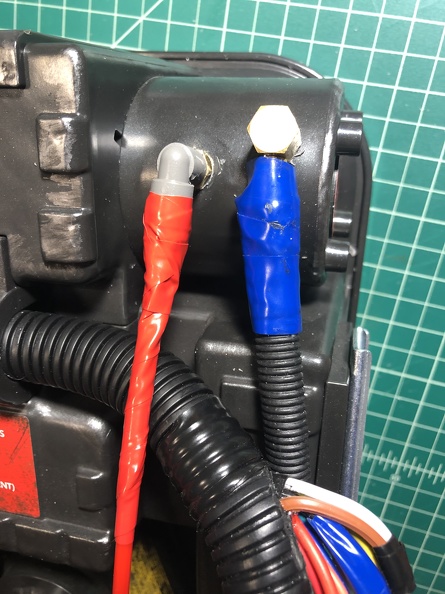
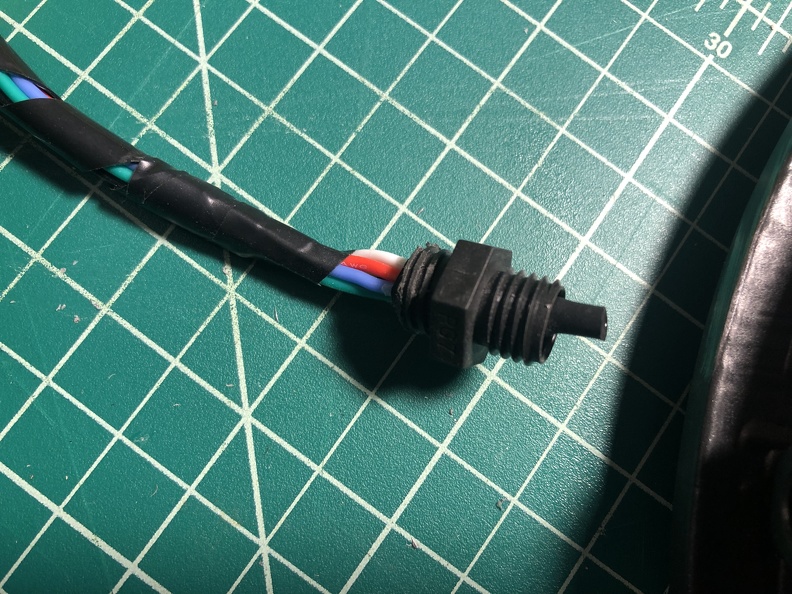
My PG7 strain relief doodads came today (yay for next day delivery!), so this part is finally cooking nicely, albeit not completely done yet. But these things look great! They’re not 100% identical models to the screen used ones… they seem a little more squared off and less rounded. But they’re still the right type, and “good enough,” especially at this point. Who knows, maybe someday I’ll swap some or all of them out, if the exact match ones turn up.
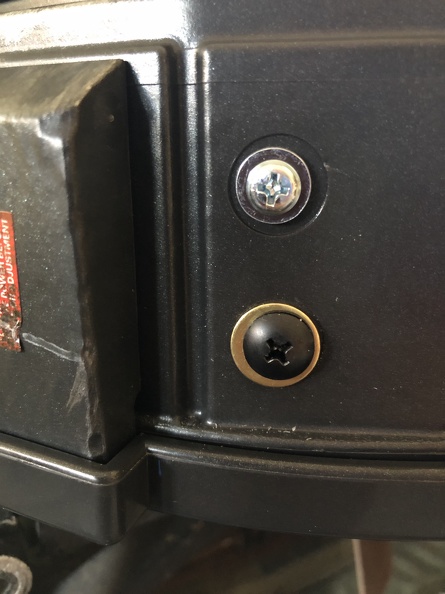
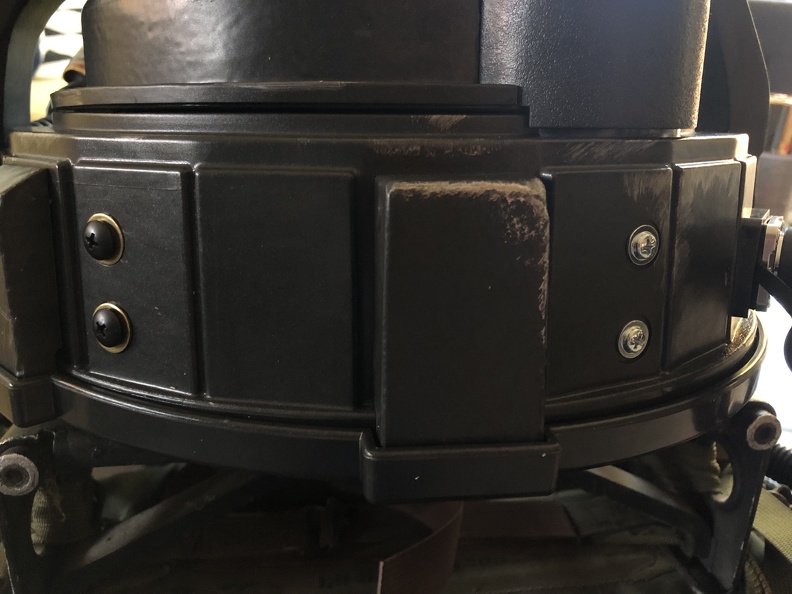
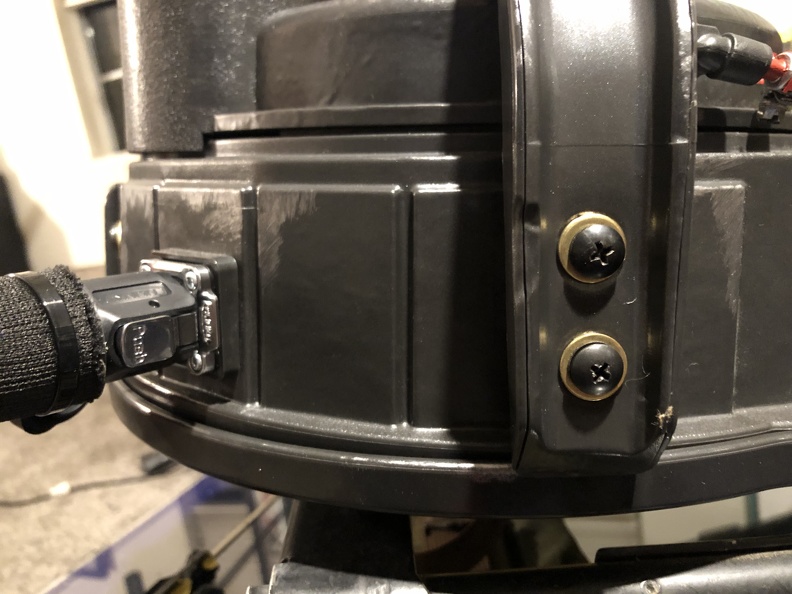
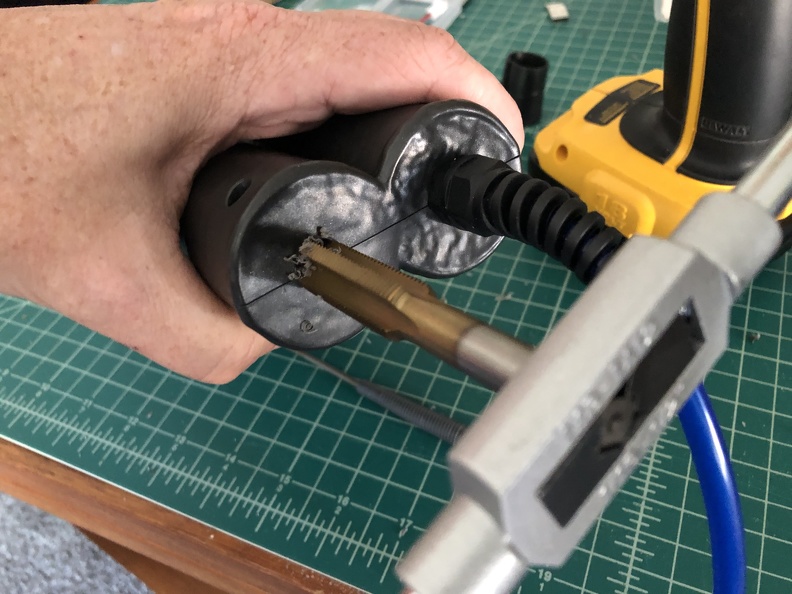
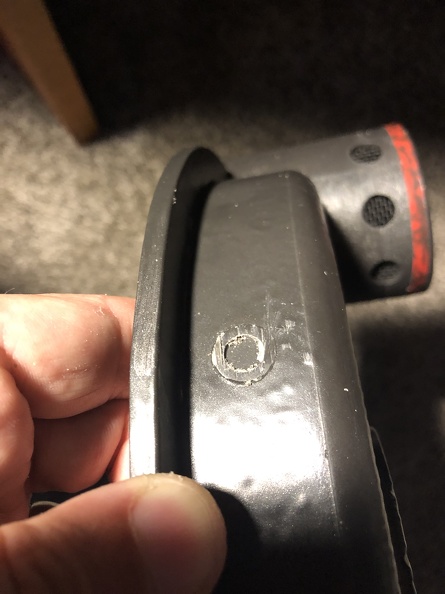
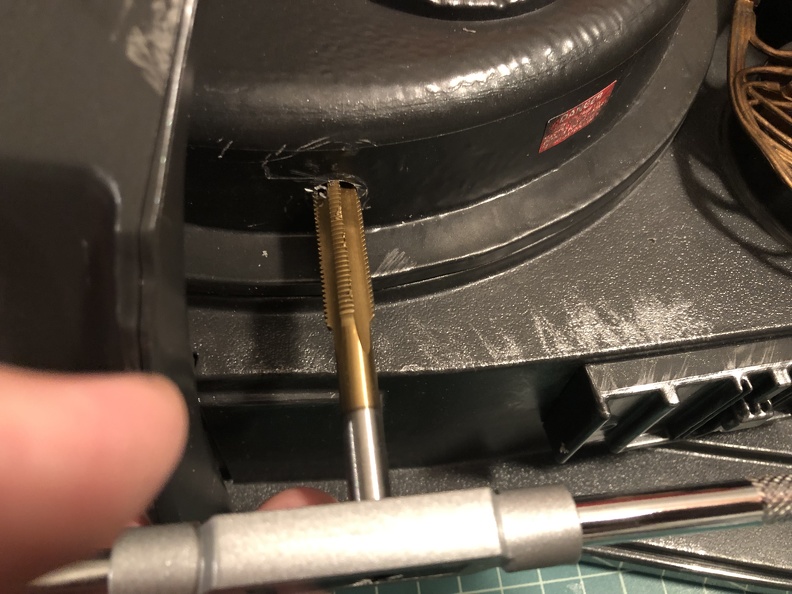
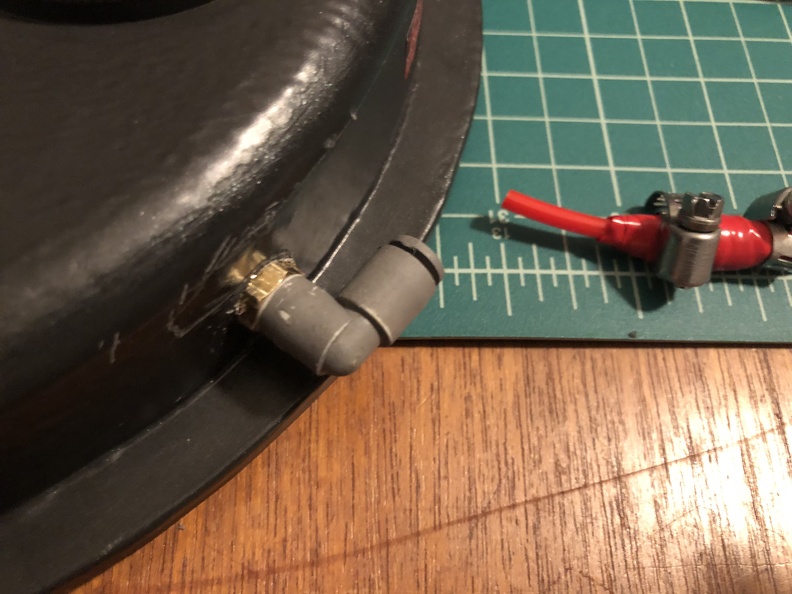
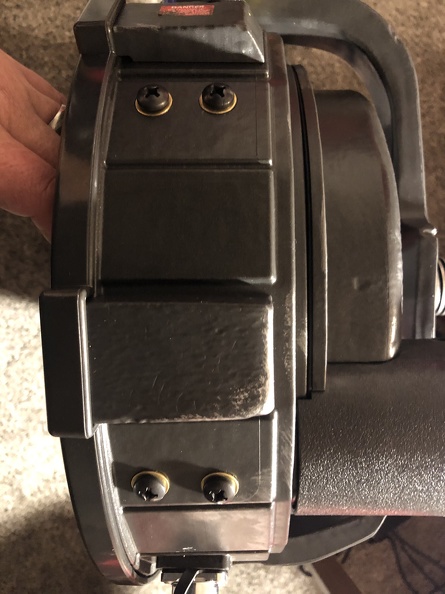
Getting the darned tubes off was a bear, as others have warned, as the two screws are in a nightmare area to access. And there’s no easy way inside to use the back screws to hold the strain relief in place from the inside, as I had hoped. The seam for the two halves splits right across the opening, grrr. So I ended up actually tapping and threading the holes and screwing the connectors in. This seems to work pretty well, though, and the plastic is just thick enough this appears to hold nicely.
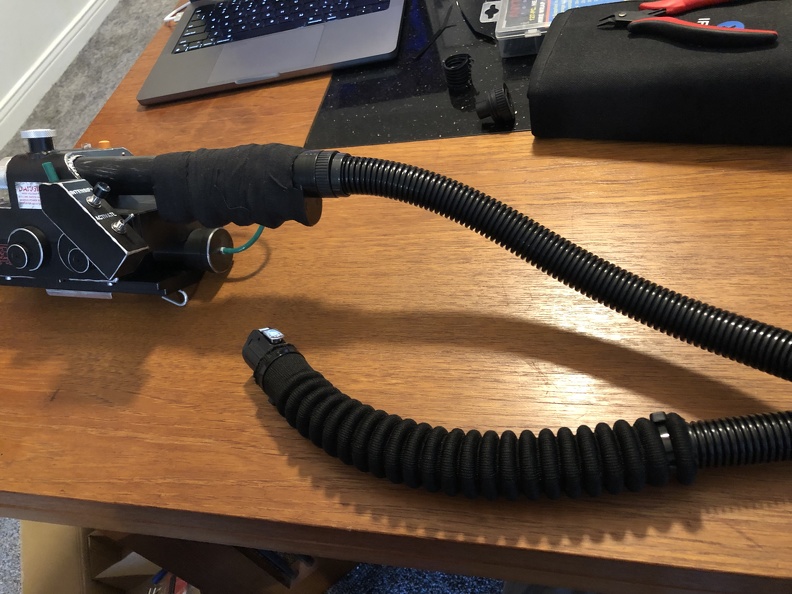
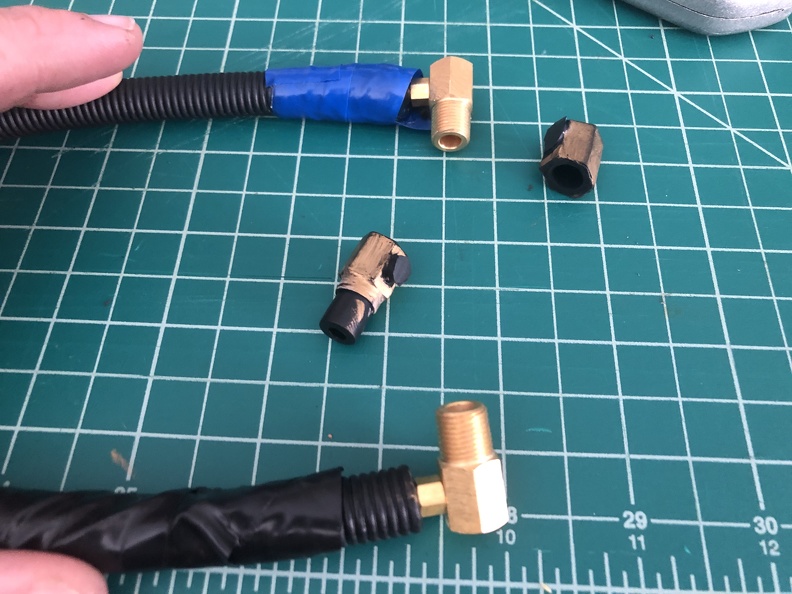
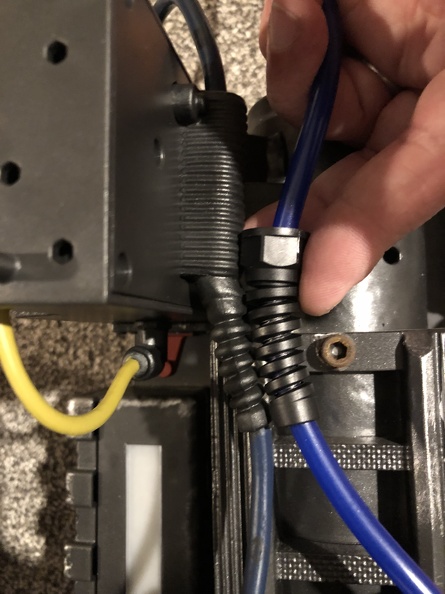
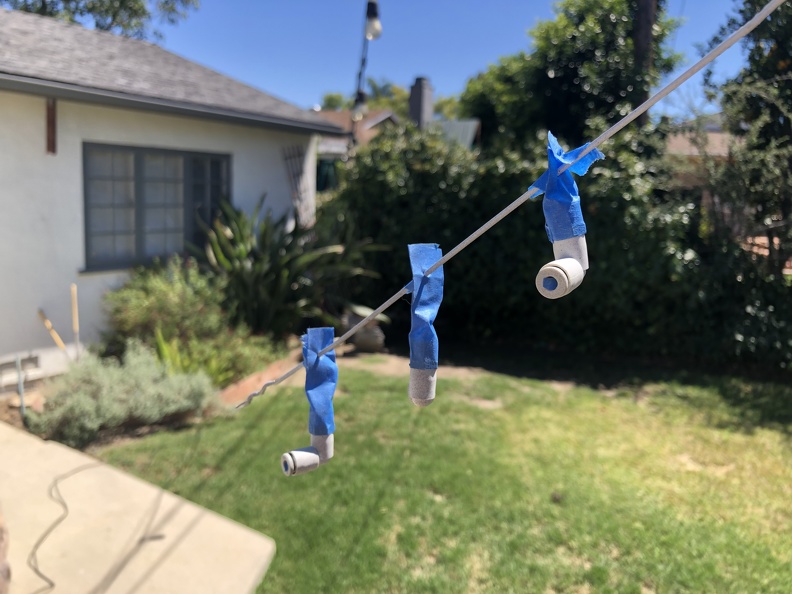
At the bottom of these two short side hoses, of course, they don’t use the whole connector. Screen used drilled right into the little bump-out, but I don’t think that will work here. So I cut down the strain reliefs to the part that is supposed to be exposed.
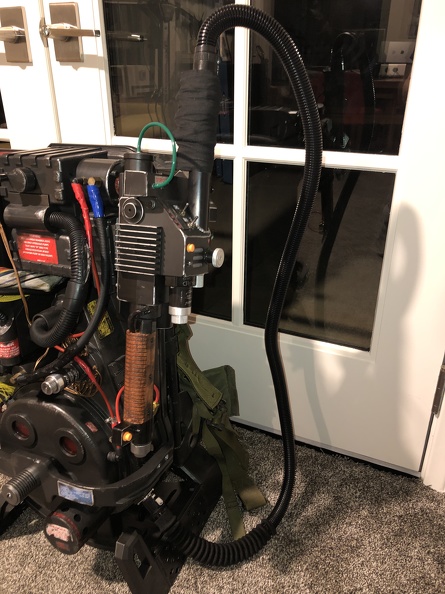
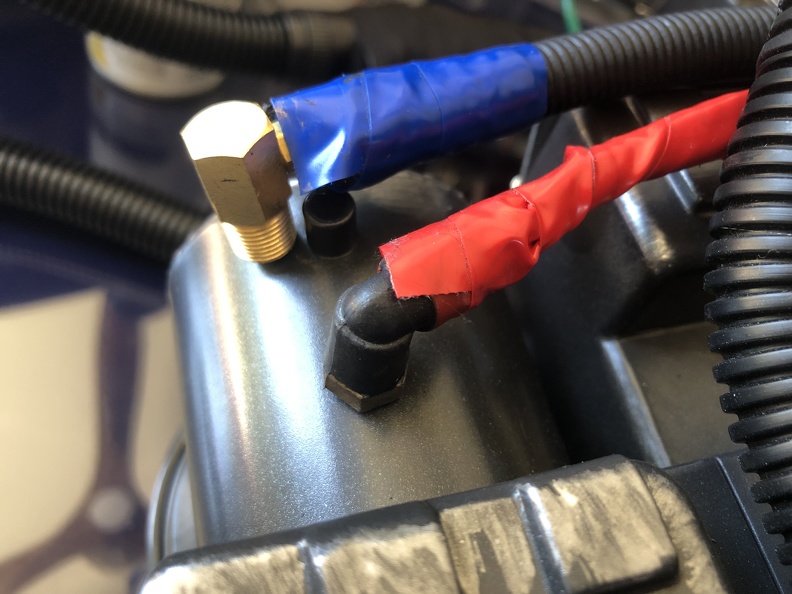
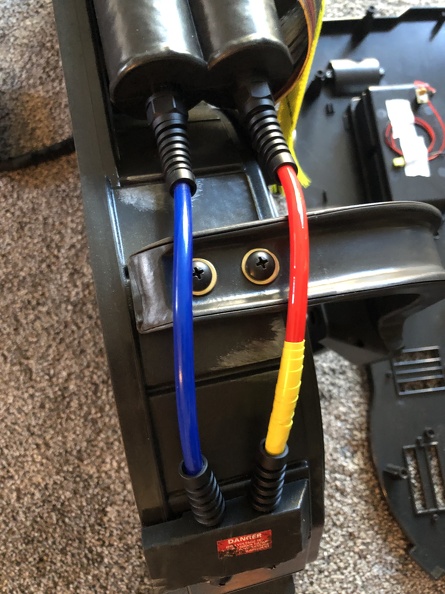
It turns out this works quite well. The hoses themselves can be stuffed into the little slots that the original connectors used, and are tough enough to move that I’m going to try leaving them like this and see how it goes. If there’s a problem later, I can tear down the pack (again), get into that little bump (which appears to be screwed in from the inside, so access should be ok?) and run a screw down the hose itself, which will lock the hose inside, and just a little bit of glue should lock down the strain relief piece, outside. Meanwhile, I’m good for now:
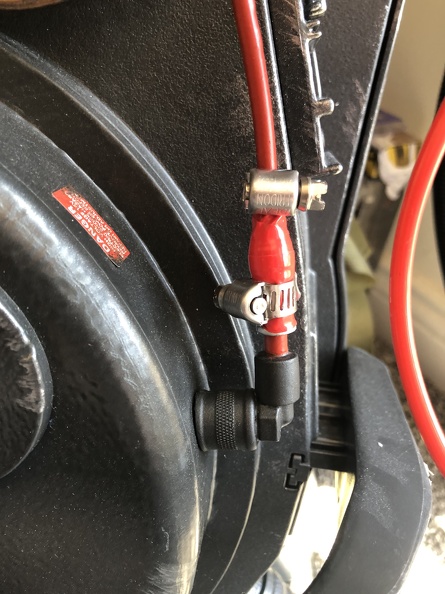
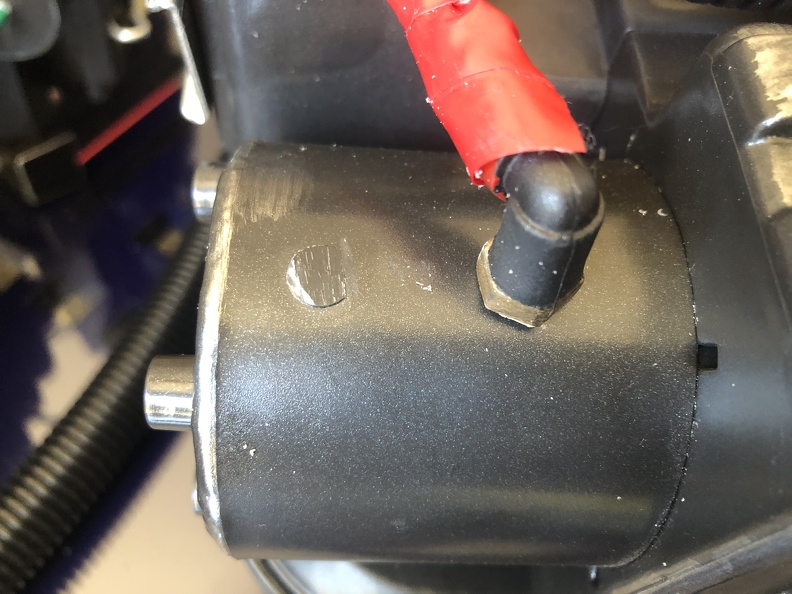
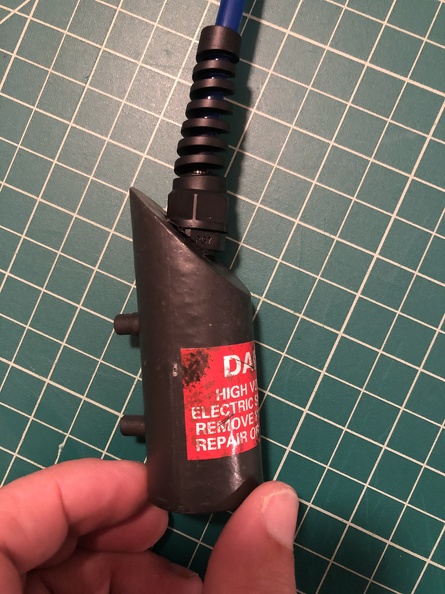
The next replacement was a little trickier… the PPD. On the bright side, upon close inspection, it turns out the PPD is a fully separate piece, and is simply screwed in, from the inside, and easily removed. This is especially great because I’ve been meaning to paint it anyway, and having it off made that sooo much easier.
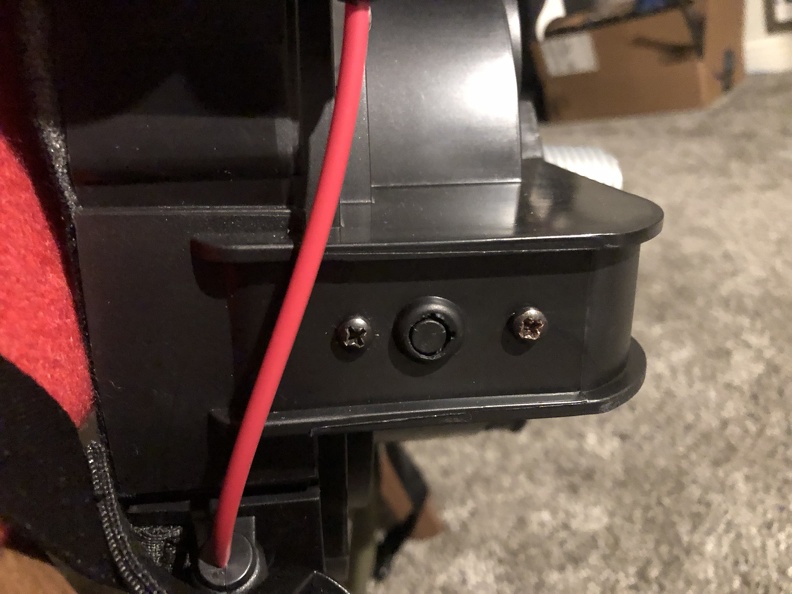
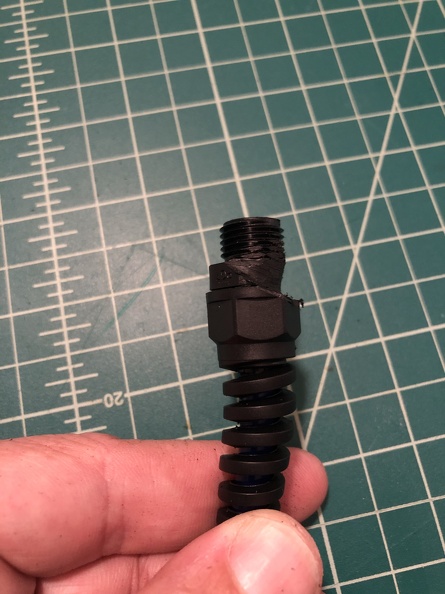
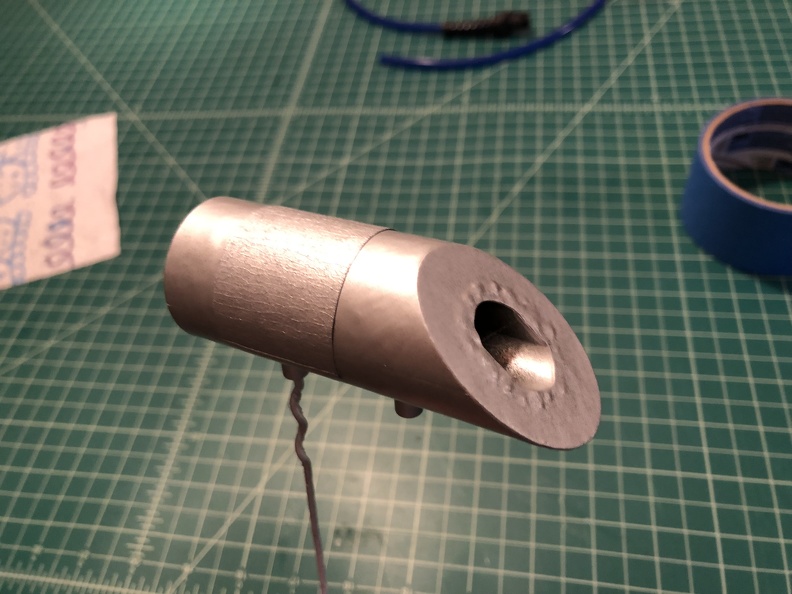
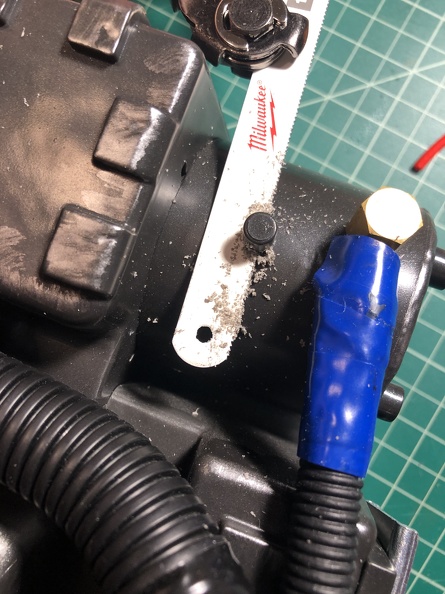
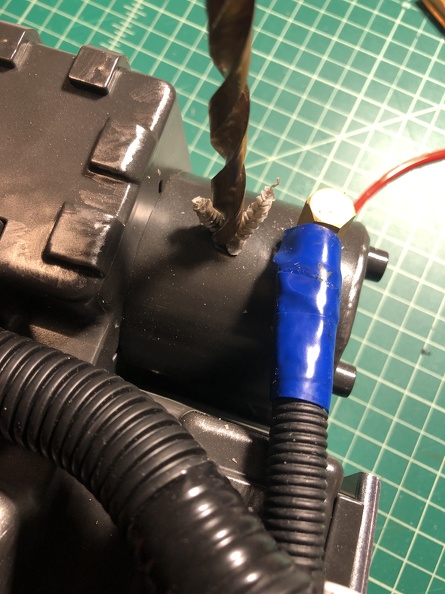
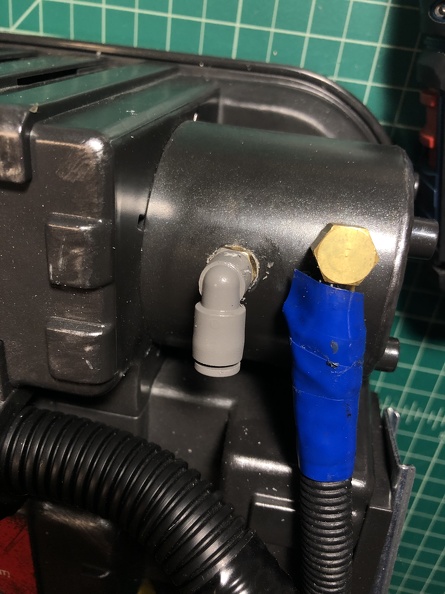
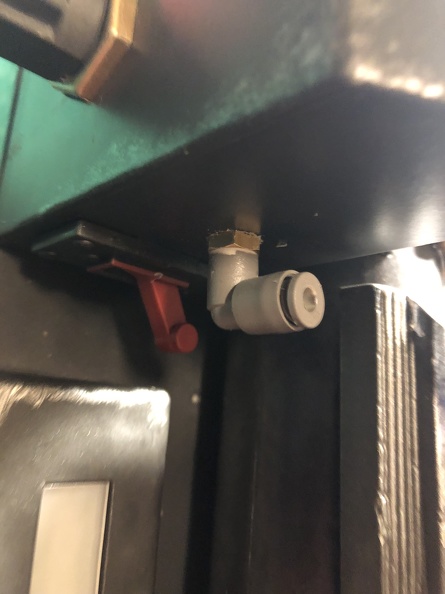
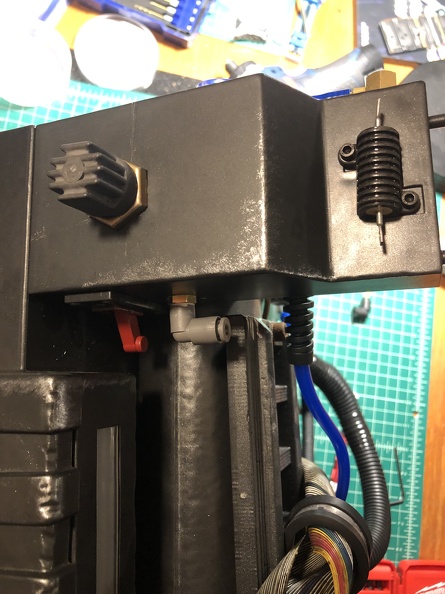
The connector goes into it at an angle, which is super weird. I had thought maybe I could shave it down, and insert it, and use the retaining ring from inside, but there’s no good way to get inside for that. And the inset hole is not just a hole, it’s a molded, enclosed, inset cylinder, so going inside seemed questionable. I ended up dremeling the PG7 connector down at an angle, and just friction fitting it inside until I was reasonably happy. I’m going to glue it in place with some E6000 once it’s all worked out.
Rough shots, partway through the fitting process:
Then I masked the sticker and gave it a quick coat of silver (Rustoleum rattle can “Aluminum”). This will look great once I add weathering on top.
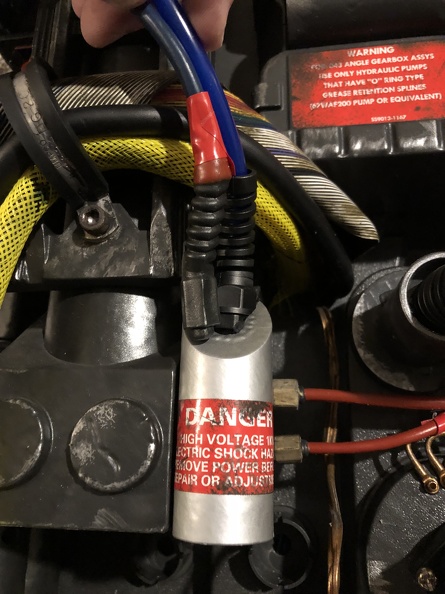
Side by side with the OEM part:
And the other side rough position:
I’m not going to finish the other end, into the HasLab rubber Dale resistor, as I have a real Dale resistor en route. So I’m holding off until that’s in hand. But very pleased with this progress so far.
All in all quite a productive weekend, I’d say!
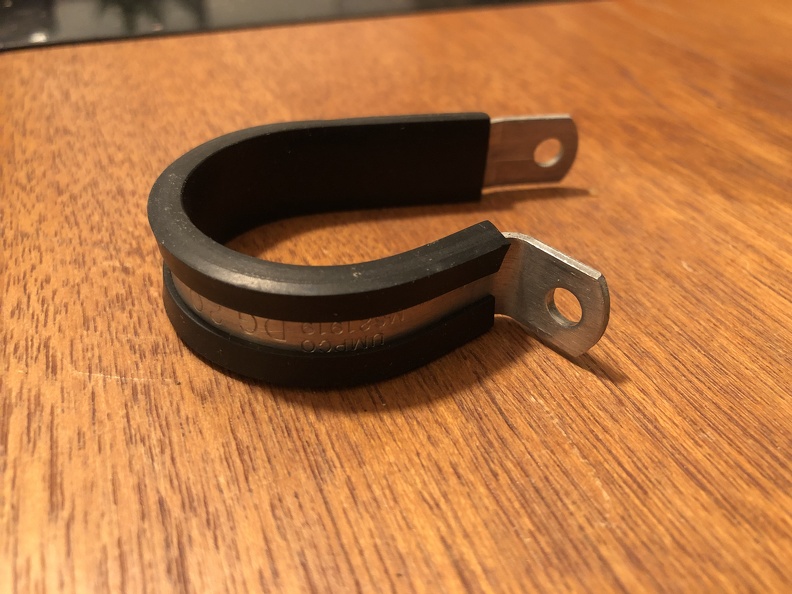
More to come, but this coming week is going to be hell at work (moving… AGAIN), so things will likely slow down for the next week or so, but we’ll see. Lots more to do. And decisions to be made. (Biggest decisions: What cable clamp, so I can finally install that GB1 cable, and which Ion Arm cap to go with?)