Hi guys! i’m a proud owner of the haslab proton pack, but i never touched it because i really suck with manual works. but now i would like to do some easy mods, what do you suggest? plus, i’ll need detailed video of how to apply the mods too, if possible. thank you!
so, I’m just going to assume soldering is out of the question.
So, let’s stick with the plug and play options. First off, find a video that details the tear down of the proton pack. Watch it a few times and bookmark it. Also, keep your screws organized.
Now! For the recommendations! Without knowing what you want to do with the pack, I’ll keep these pretty universal. The first would be a Talentcell convertion. Best part? The conversion is swapping out one wire. Tubing swaps and Clippard replacements for a more authentic look. Lastly, if you’re feeling brave, cut off the large rubber sleeve on the pack end of the hose and replace it with a more accurate green cloth sleeve. It not only LOOKS better, it’s healthier for the connector. Last thing, grab an ALICE frame and mount it to the pack.
If you go into more detail on what your end game is with these mods (better looking Afterlife pack, Frozen Empire conversion, classic conversion), people can give more recommendations to fit with what you want to do.
@Turtuv - There are a lot of video tutorials for free on YouTube. Just find the ones that are around your skill level. The amount of mods on there is staggering, but anyone can do them as long as they take their time. Good luck, and don’t cross the streams.
https://www.youtube.com/results?search_query=Haslab+Hasbro+proton+pack+mods
Congratulations! It is awesome 
Everyone does something different. I think the easy to hard list, for me, could be something like this:
-
Fixing the cable positions
-
Adding the accurate Flexo PET
-
Getting a Rothco frame and adding that
-
Add the neck foam
-
Adding the Etsy 3D printed Ion arm end cap with the screws
-
Buying Rub and Buff 4 pack (with the 4 colors) and adding gold to the cable banjos, etc. (Well gold diluted with black + naphta) Using RnB Black and silver you can also get the Etsy endcap to be the exact same color as the pack
-
Using a magic eraser to get rid of the Hasbro weathering
-
Using RnB to add slight definition to the edges of the pack and add copper tape to the Clippard wires
-
Use streaks N tips to add weathering
-
Seal it all in using a clear coat
-
Apply weathering highlights using silver RnB or a silver sharpie
-
Weather the inside of the cyclotron
-
Add a GPstar or Ninjatunes kit for always on and added functionality/
-
Add a better speaker
-
Add lights to the inside of the cyclotron
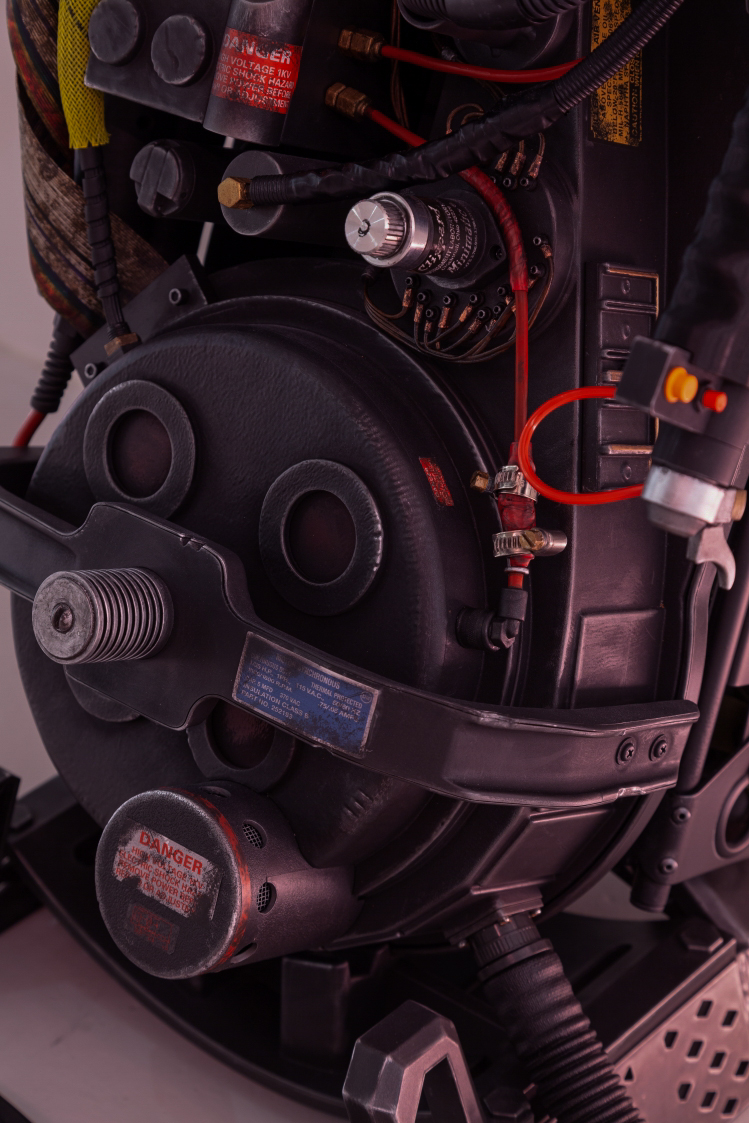
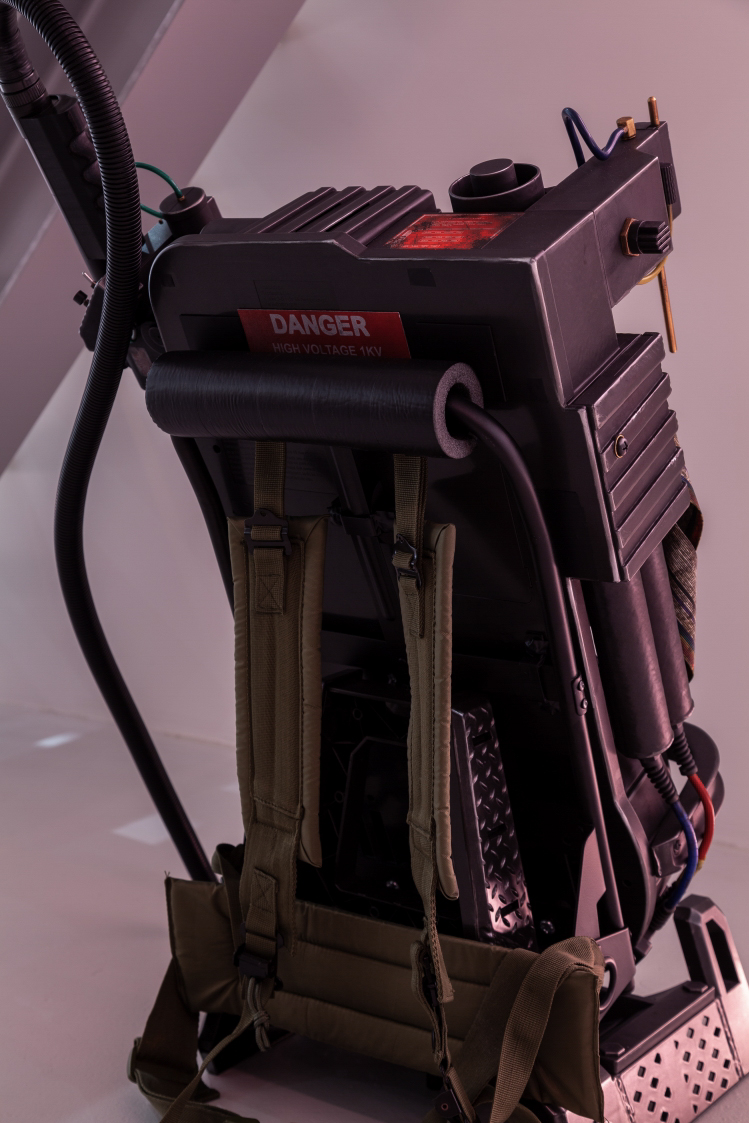
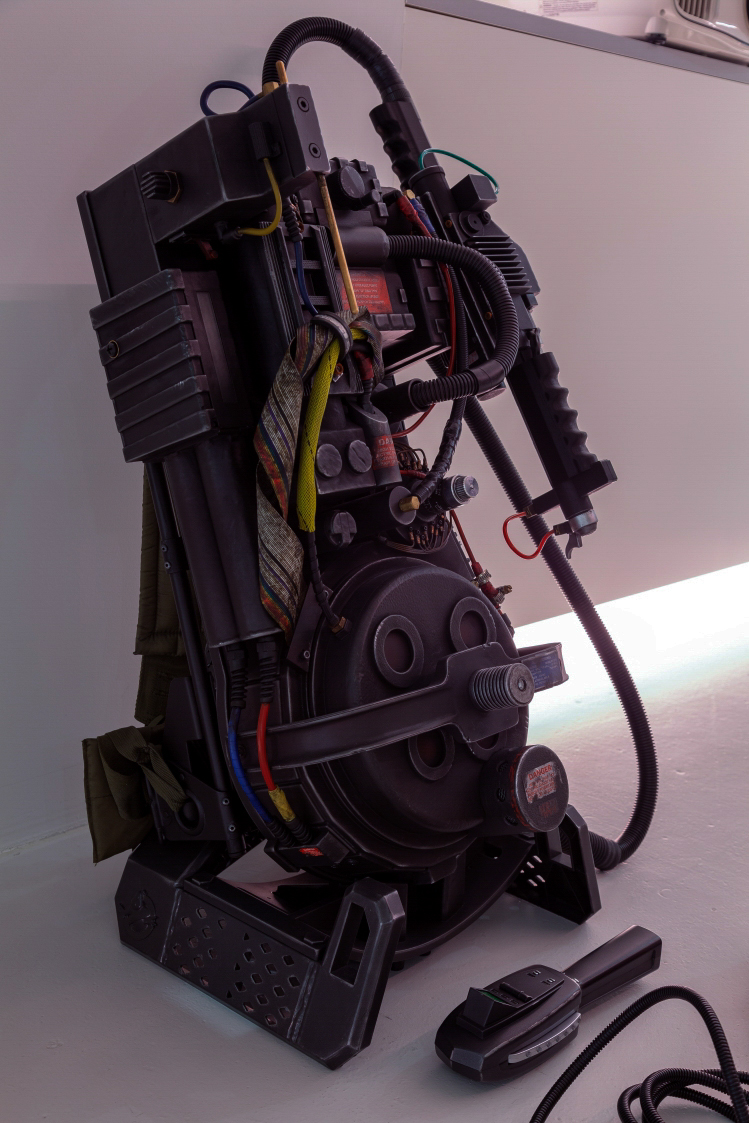
This thread has my own weathering project if you want some inspiration:
Let me know if you have any questions, happy to help with the things I picked up.
I did some some minor paint mods, added an aluminum back, Hose upgrade, and replacement labels from Moby Signs. Pre weathering, the bumper looked too clean:I didn’t want to change the door, so the yellw stripes are electrical tape: Are you ever really done?
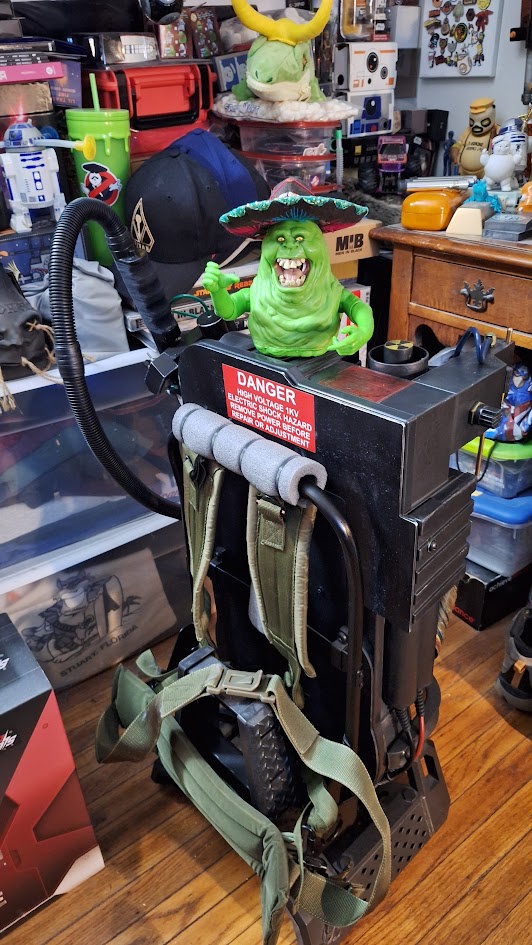
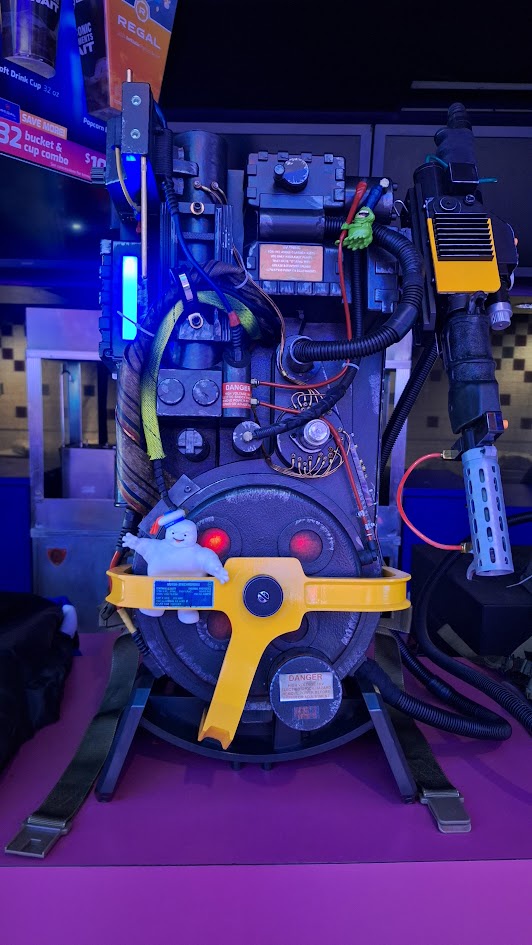
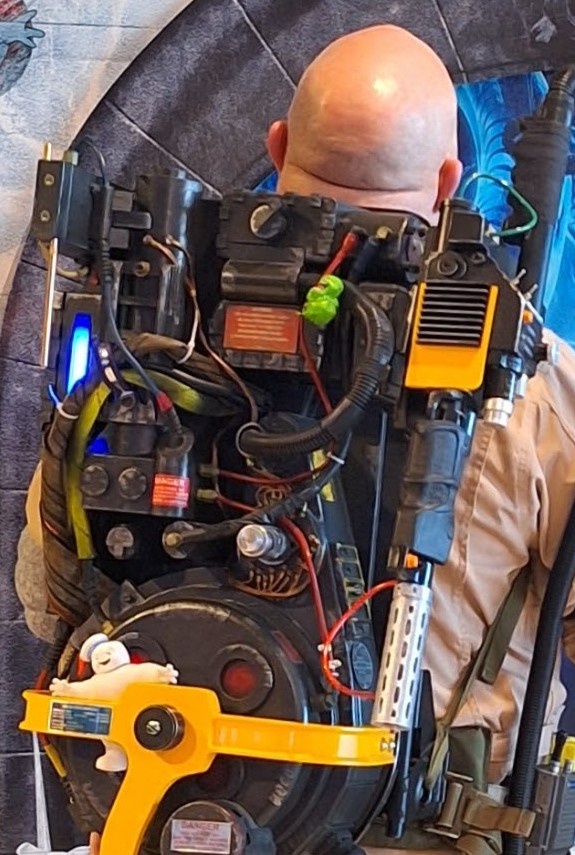
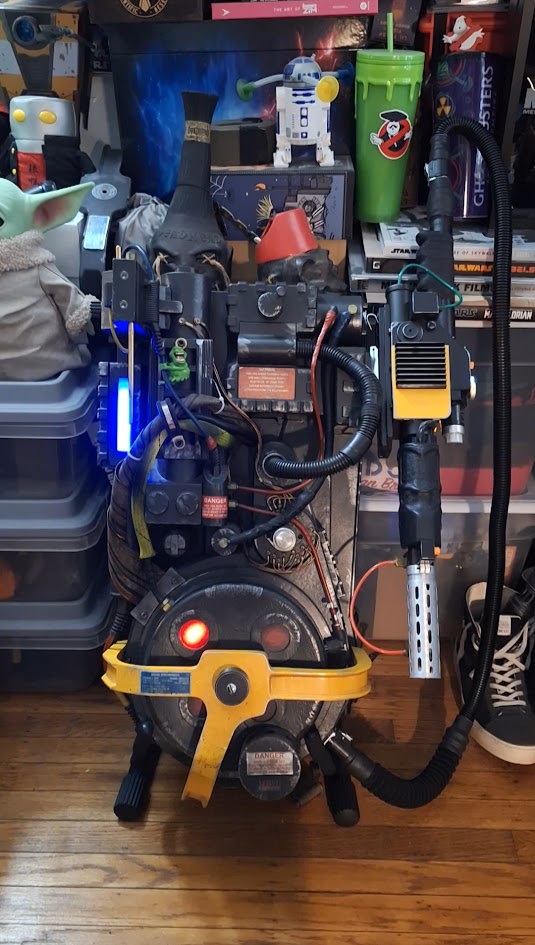
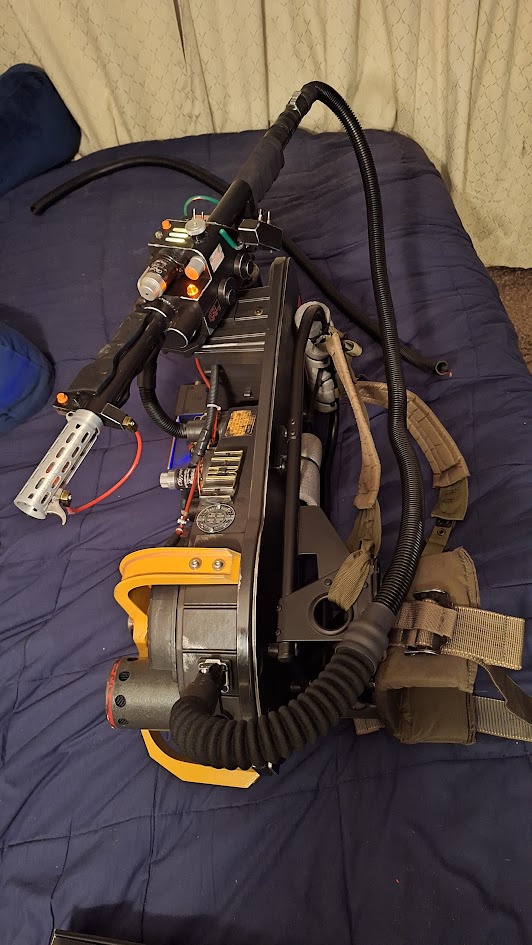
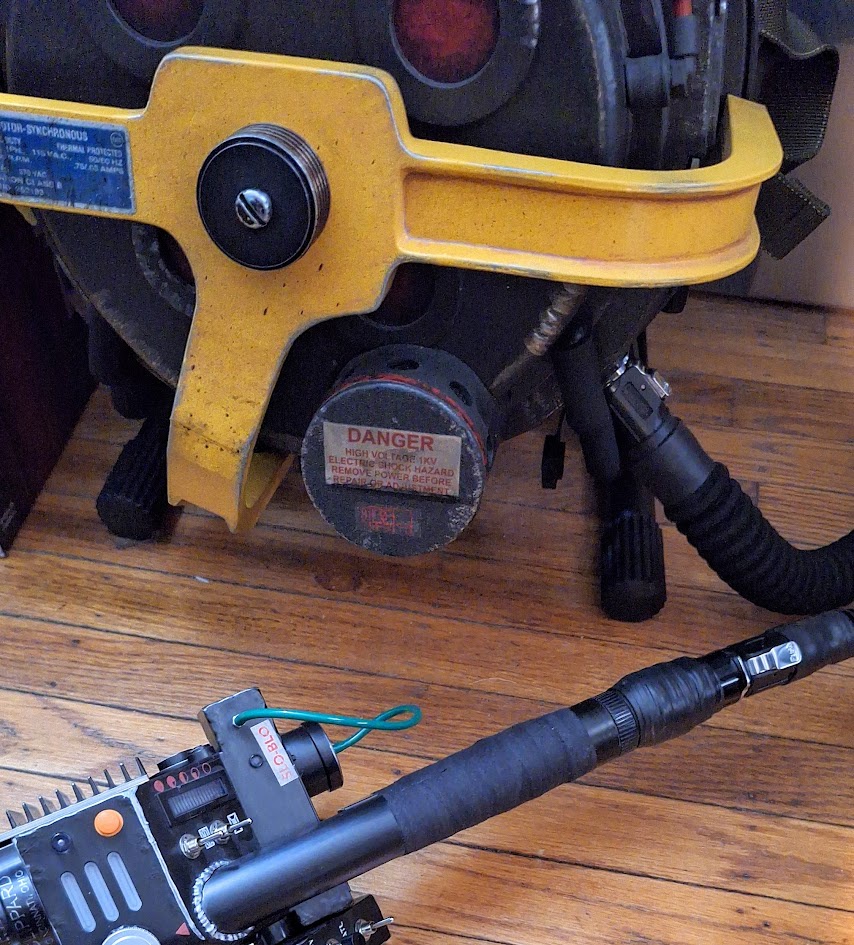
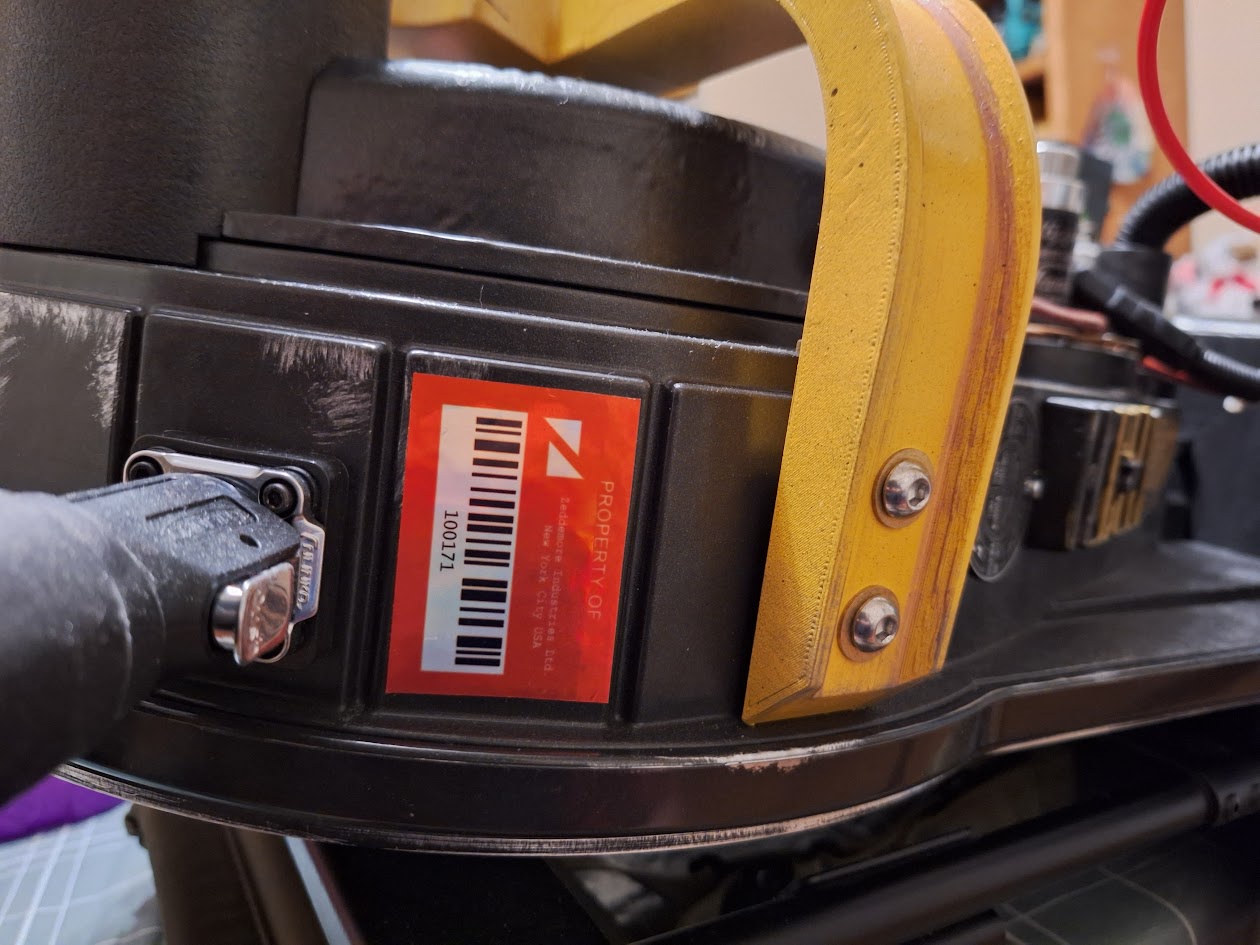
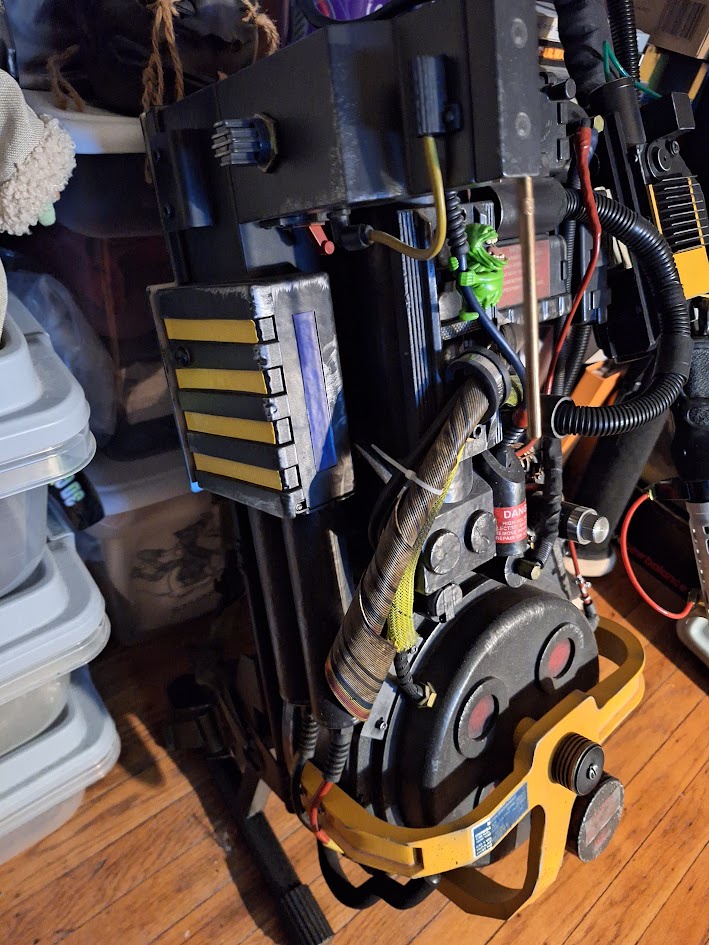
Sent from my Samsung Galaxy using a hacked pirate satellite in a decaying orbit
Looks great!
I bought and installed the cyclotron upgrade kit from Etsy (the CRT emitters, etc) and the thin rgb cable but still haven’t weathered the inside yet. FWIW alcohol cleans that black stuff from the stock ribbon cable pretty well. You can get it looking a bit whiter easily if you prefer, like I did. Still takes a good few scrubs though.
Unfortunately yes
do you know a very well made video about the teardown? there are many on youtube, but i don’t which are good.
that sounds amazing, but without any video or image reference i have some hard time eheh basically what i want to do is to buy some kit (actually, where can i buy them? do you have any suggestion?) and do some plug and play mod like the alway active mod, the cyclotron lights, the cable replacement and similar.
and yes, i really would like to have the chance to mod it as the frozen empire pack and come back by removing the yellow parts when i want
i know, i’ve already searched but most of them are for experienced user and they almost never says where to buy the parts. so as i asked to zeta otaku, do you know a shop where can i buy the mod and that ship to italy?
this looks amazing!!
Thank you! good suggestions, i take notes! i would like to start with some simple things, like the cables, clippard, cyclotron lights and similar. any suggestion?
and i ask you the same thing i’ve asked to others: any suggestion on where to buy the mods?
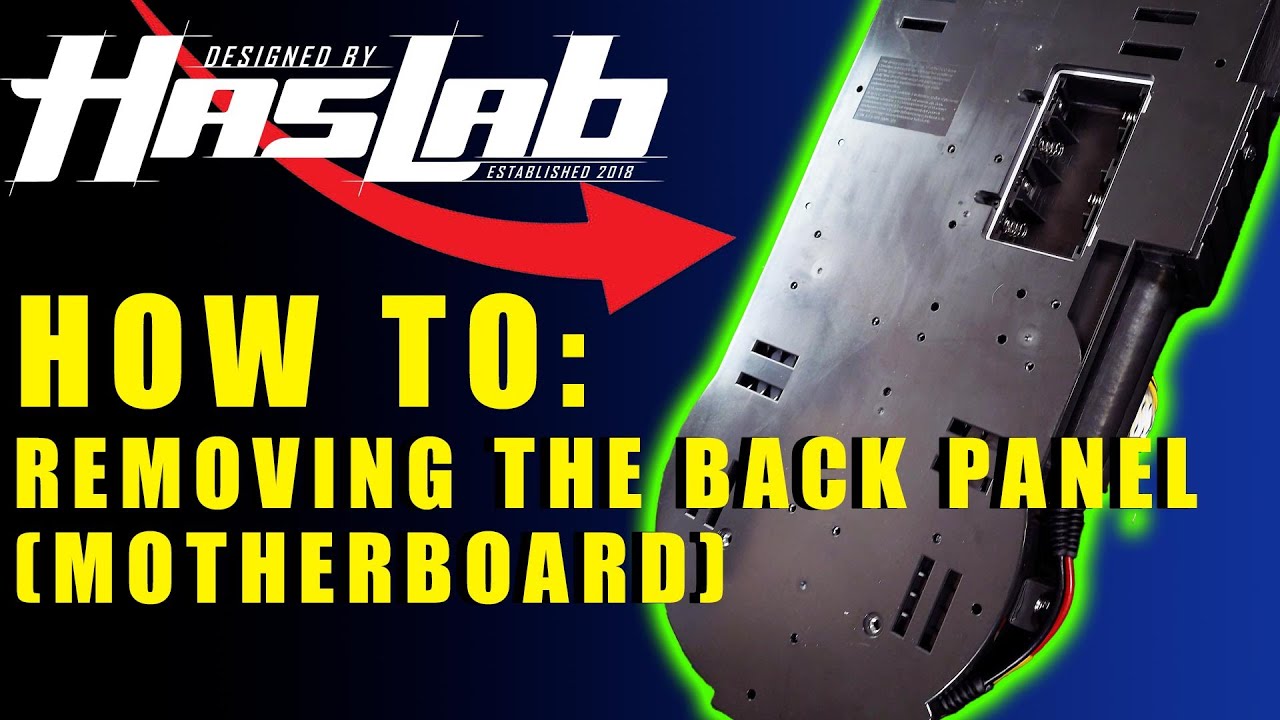
So, for videos, I recommend Gregors85 here. His presentations are fun, professional, and easy enough to follow. Real nice guy and I’ve even printed up a Frozen Empire bumper for him for a future mod he’s doing. He has a whole series of pack modifications and the one I’m linking is how to remove the back panel. He also goes into detail where he got the stuff he’s installing.
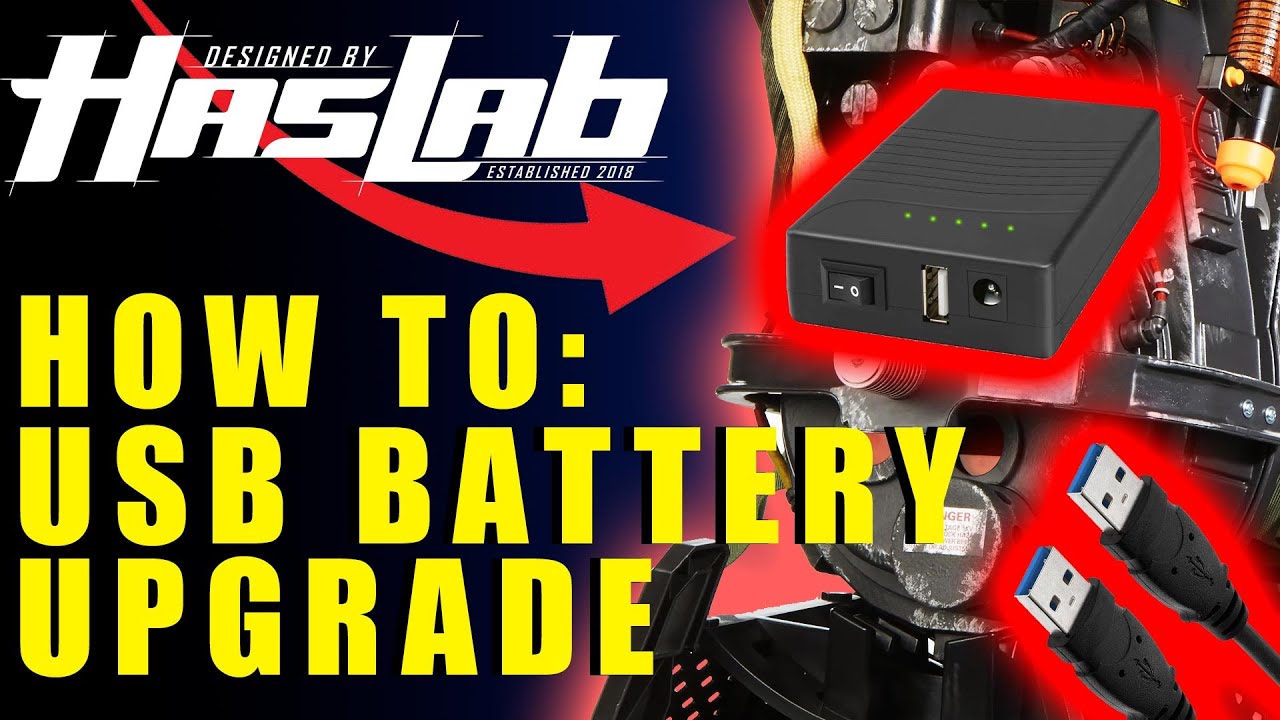
and here’s his video on converting the pack to a battery pack:
thank you! i’ll bookmark the videos. what about the components? any suggestion on where to buy?
Etsy, definitely Etsy:
https://www.etsy.com/shop/CharlesworthDynamics?page=2#items
There is so much on Etsy it’s insane.
I second what One Time said. Etsy is the way to go. I know some of the shops are shut down until after the holidays, so if you can’t find something now, wait until January.
Ok got it thank you guys. i think that the way i have to proceed is to choose a mod, look for a beginner video, buy the component and then apply it. and repeat with other mods i want to do. i don’t see easier way than this eheh
Just a suggestion, but anything that requires the shell to be opened, do as many as one time as you can. Sure, they’re only screws, but it really is a pain in the butt to go into the pack more than you have to.
great advice. what mod can i do that requires the shell to be opened? the stay alive mod with frutto and then what else?
The battery pack conversion. I think those would be the two main ones I can think of.
what is the battery pack conversion? what’s is purpose?
Some people added a USB battery pack inside the unit so they didn’t need to use 4 D cell batteries. They would charge the USB battery using a USB cable.
Personally I never saw the point, as the D cells last a long time and they are very easy to swap out, unless I missed something.
@One Time - The USB battery pack mod can run the pack for 3 to 5 days during comic-cons. I have never had any issues with that failing for the past year or so.
D Cells are heavy. I have run the pack a full day (8+ hours) with full lights and sound using the wand and only charged it for 15 to 20 minutes back to full charge. I am running Spongefac’s keep alive board and a 12 volt talent cell for power…
I forget some others don’t have the mod and I’m surprised when their packs shut down.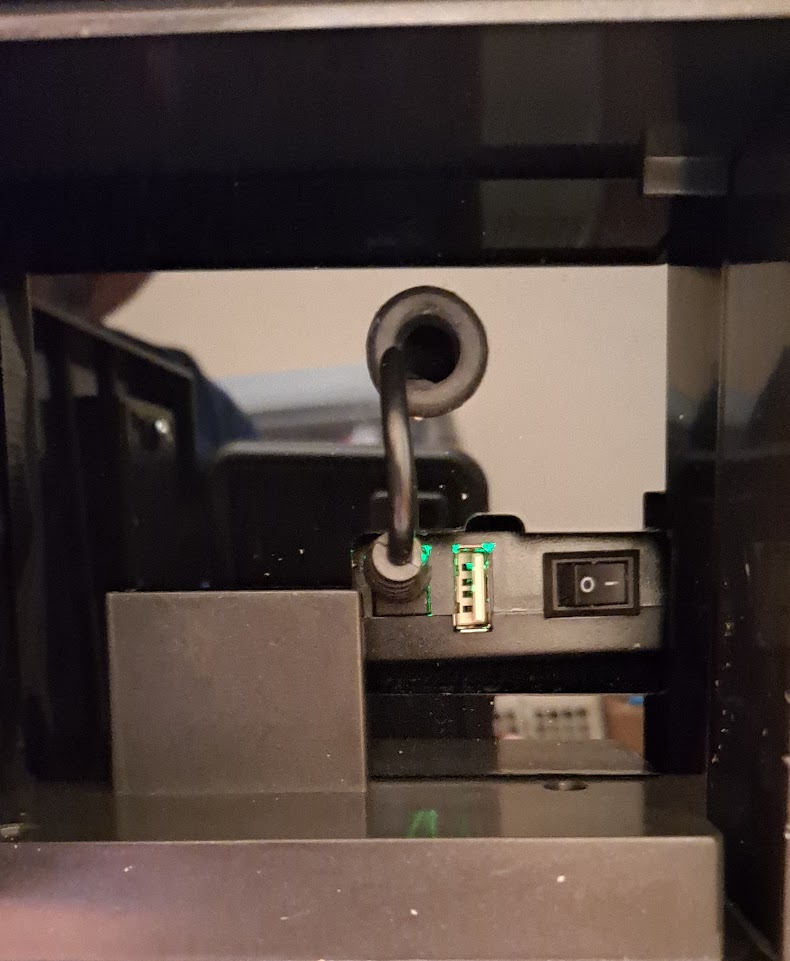
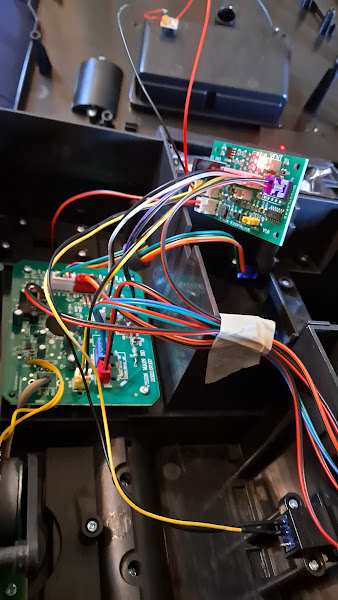
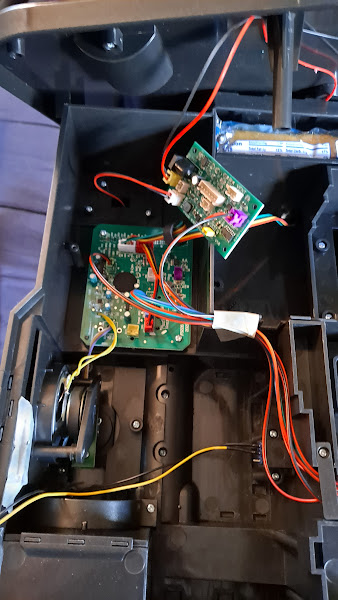
Sent from my Samsung Galaxy using a hacked pirate satellite in a decaying orbit
this seems a hard mod to do for my skills :walterpeck: