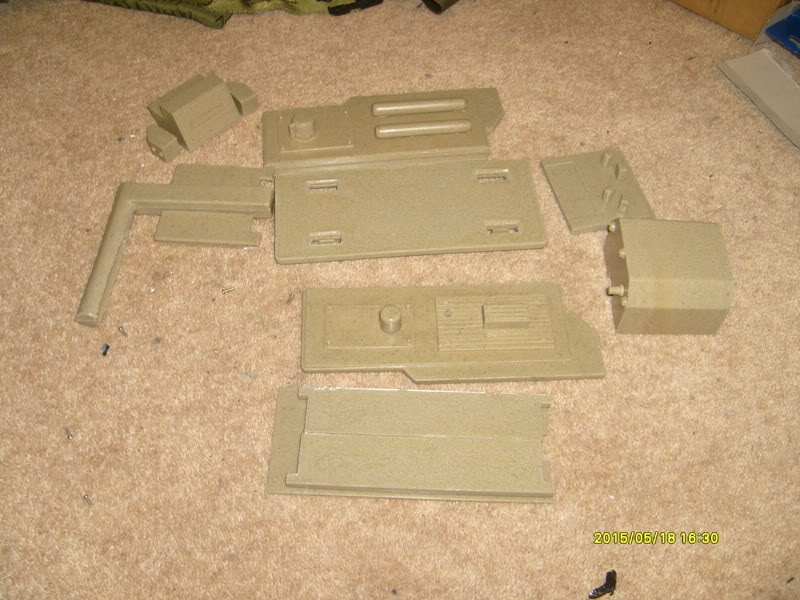
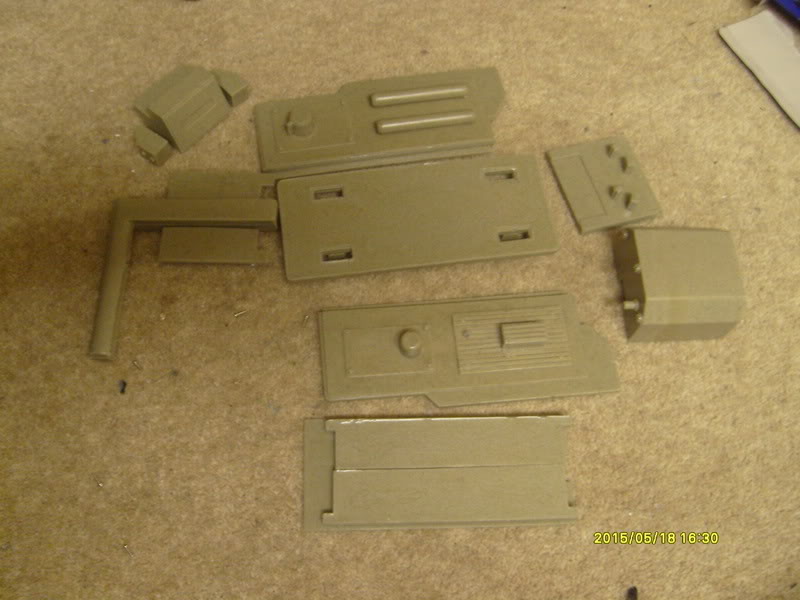
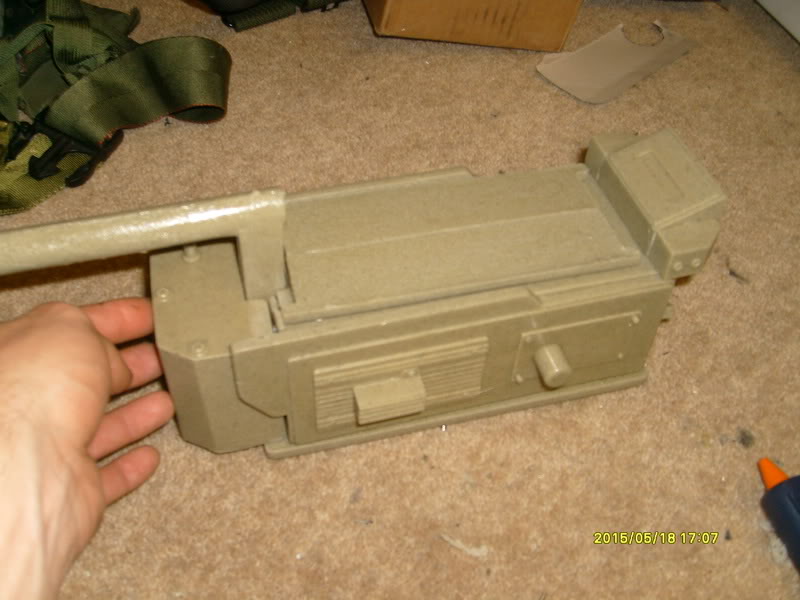
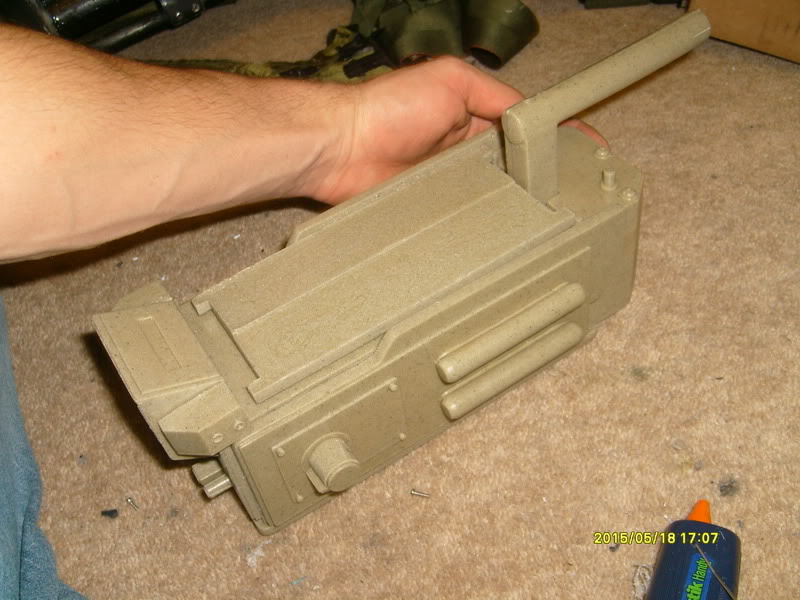
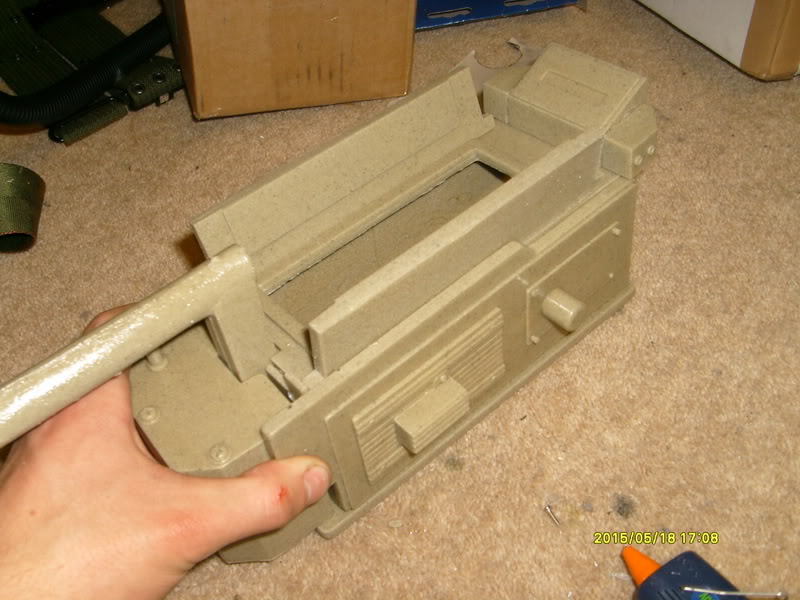
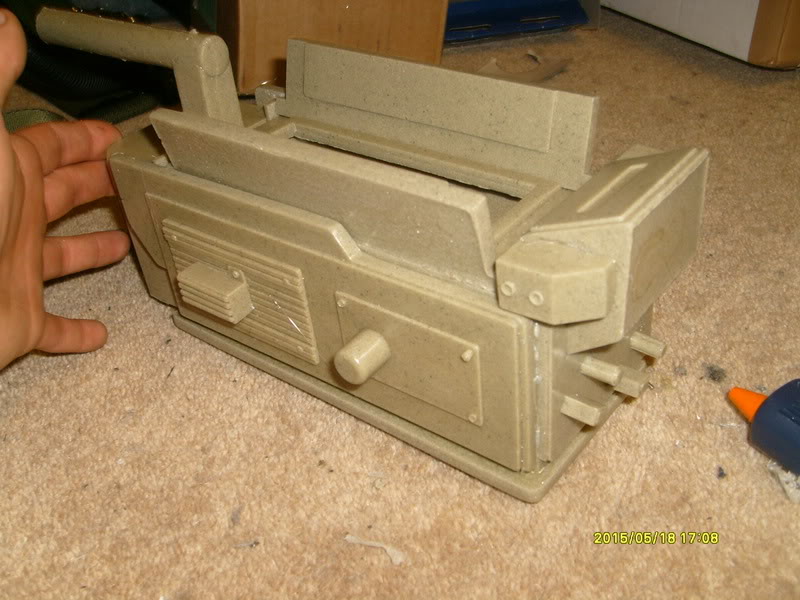
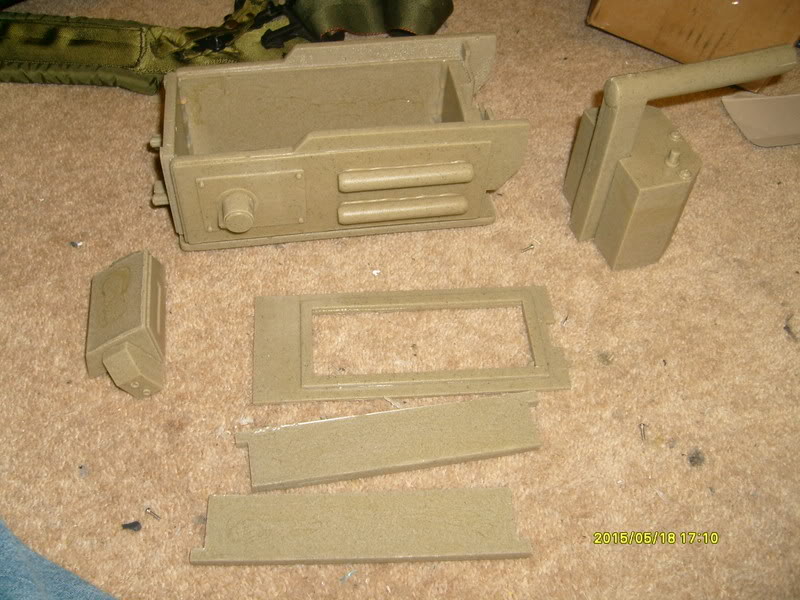
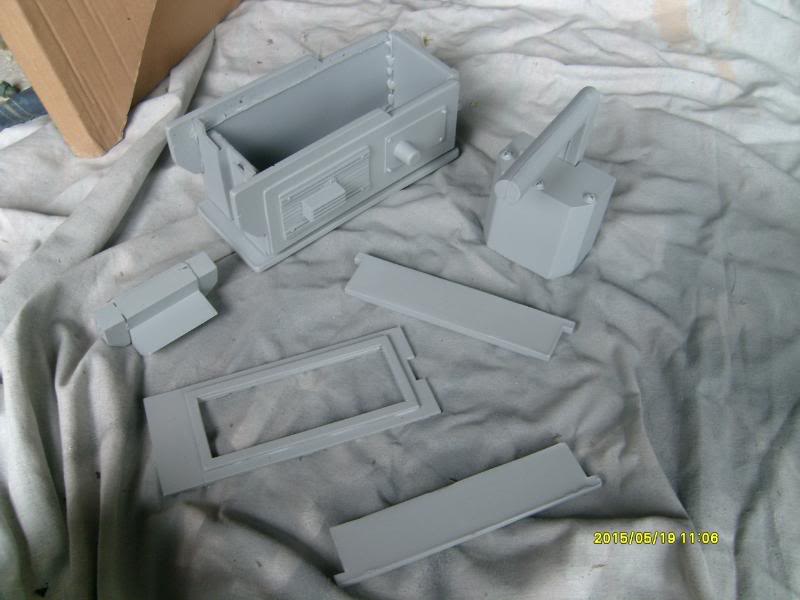
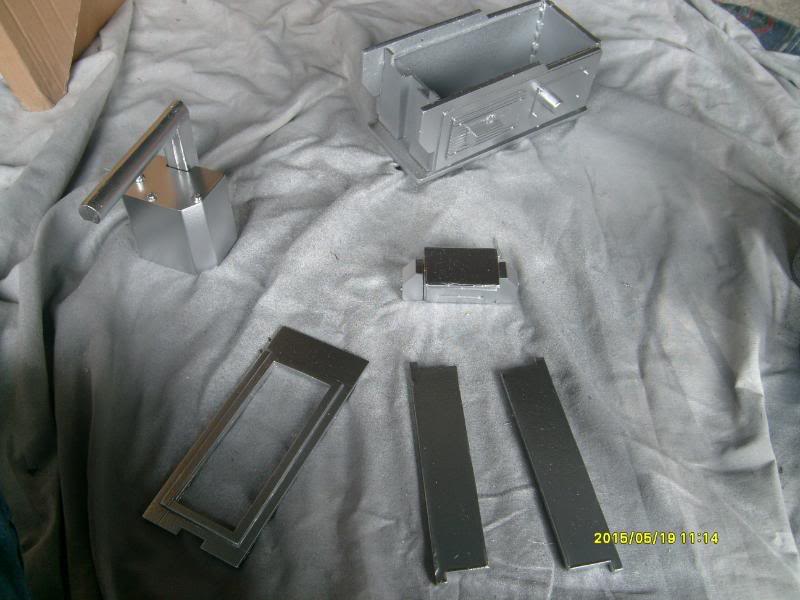
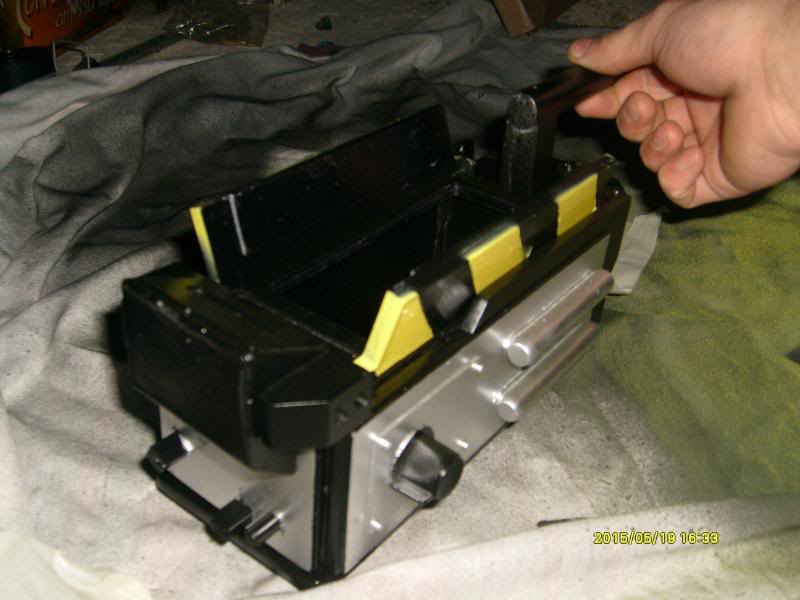
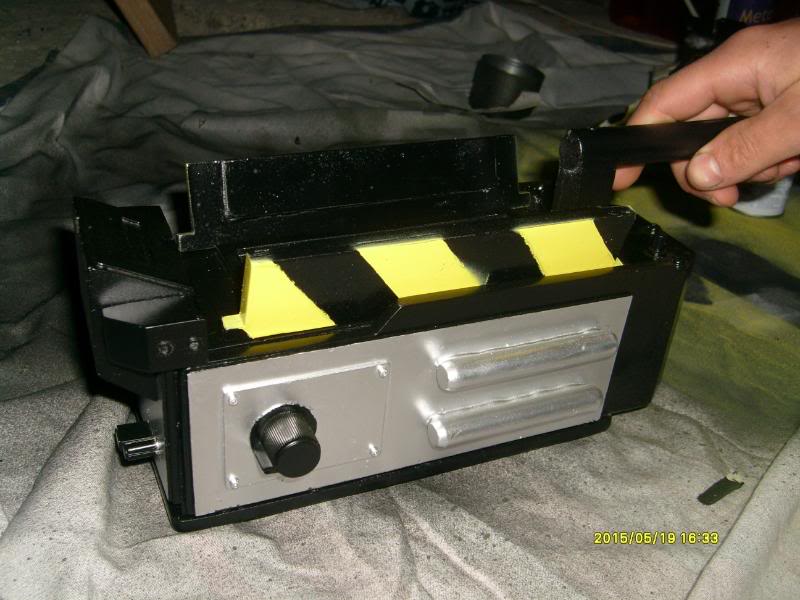
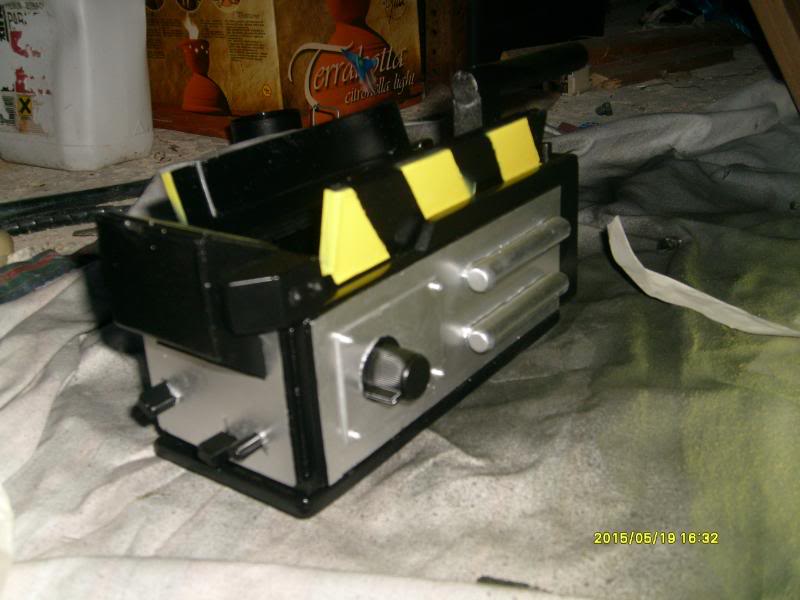
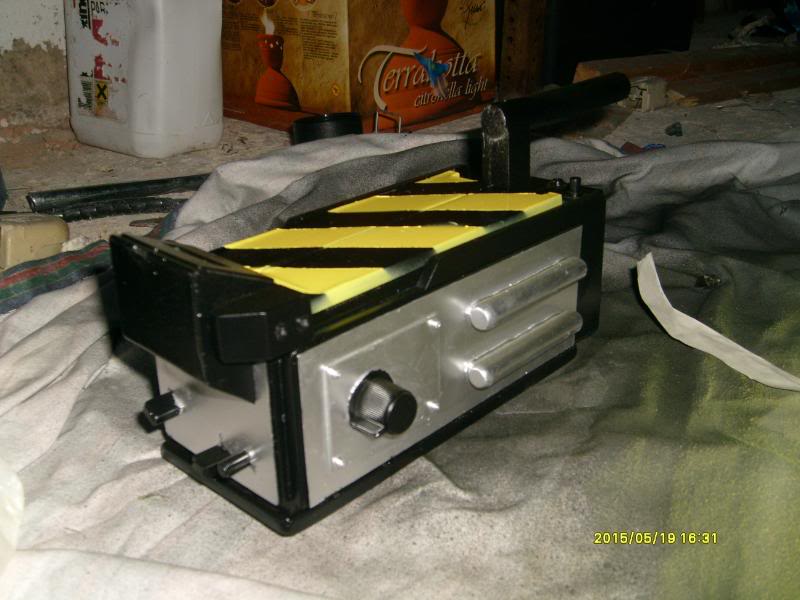
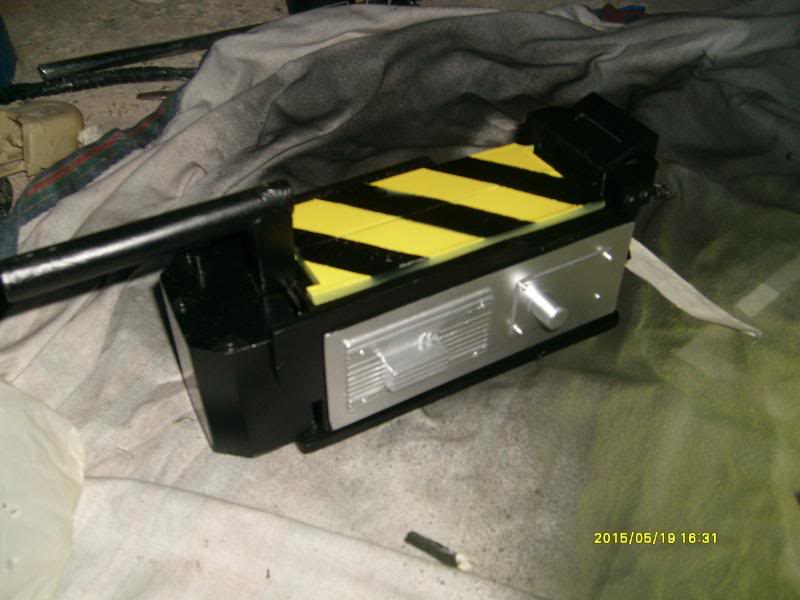
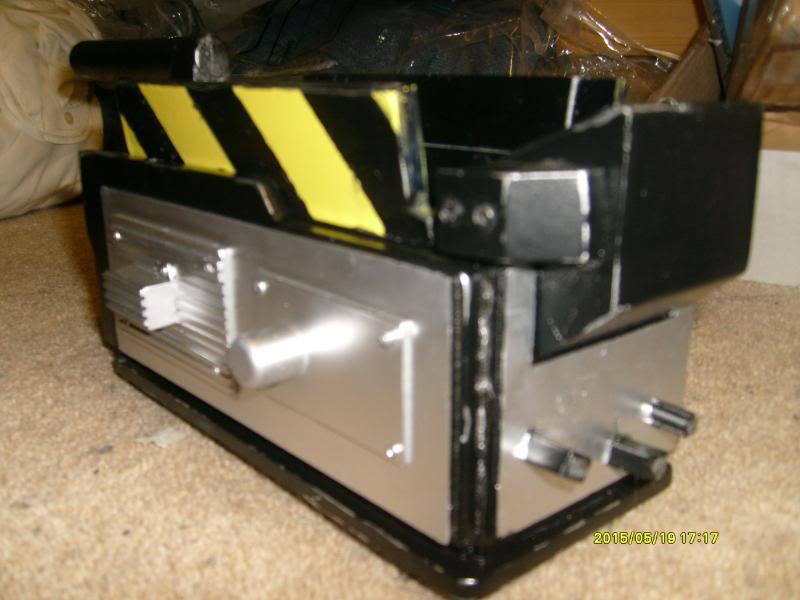
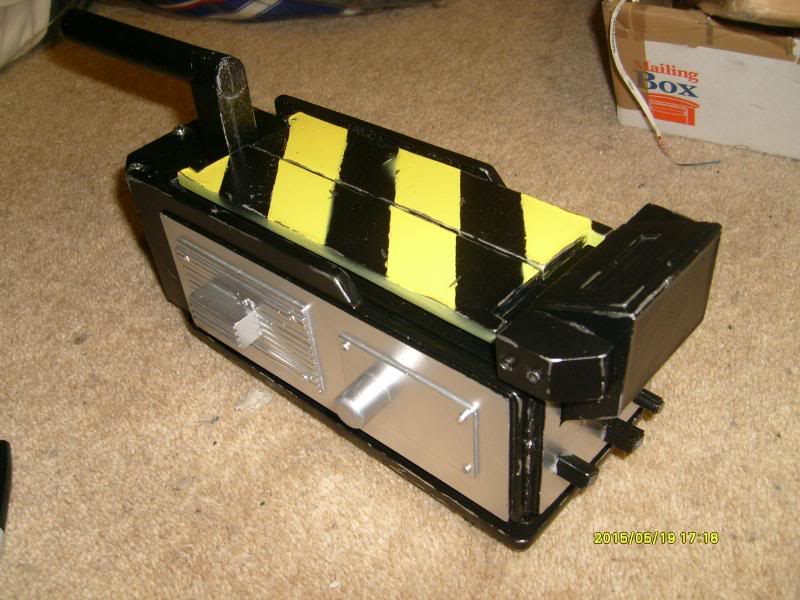
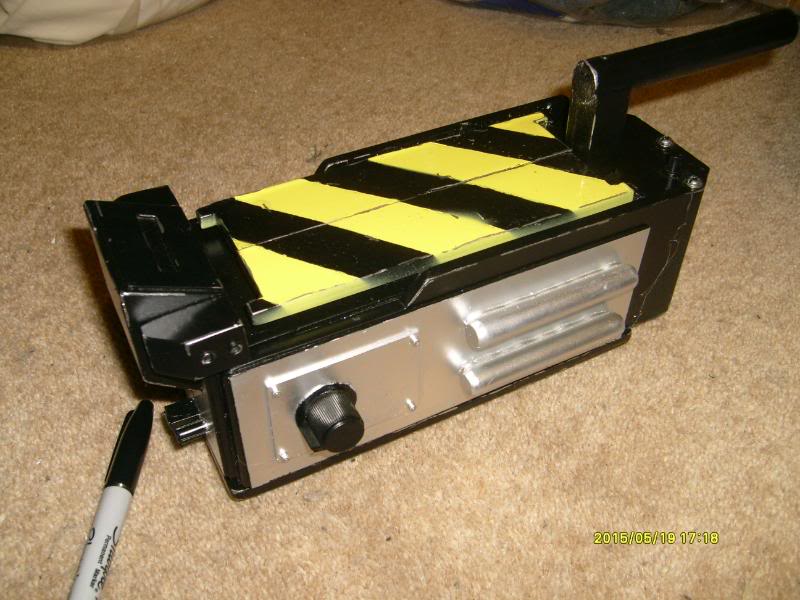
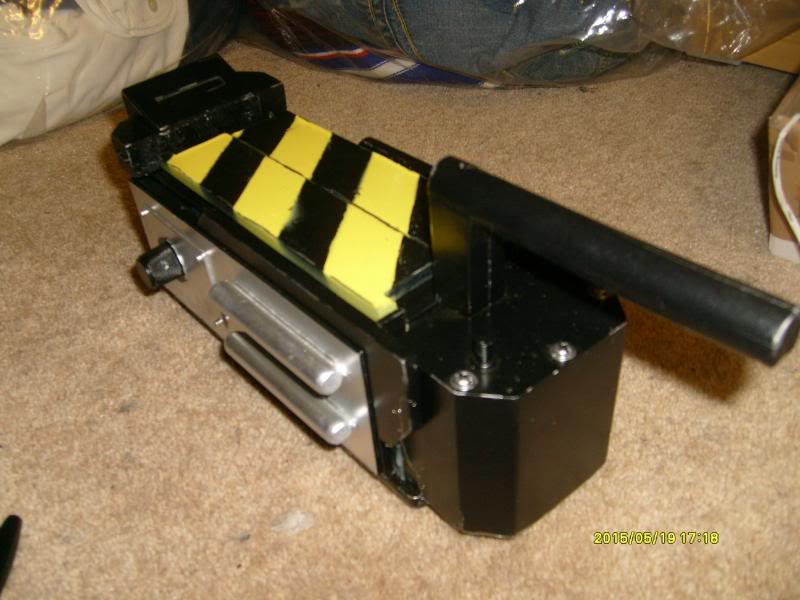
hey all, here i will be showing you all my progress while building my trap
i bought the trap kit from Nick-A-Tron, and is very well made
if someone could tell me how to post pictures on here i will show you how far i am up to yet?
thanks all
Gary
hey all, here i will be showing you all my progress while building my trap
i bought the trap kit from Nick-A-Tron, and is very well made
if someone could tell me how to post pictures on here i will show you how far i am up to yet?
thanks all
Gary
To post an image all you have to do is click on the “Img” tag in the “Post” window. It puts in what is known as BBCode for images, just make sure you terminate the code - the Preview button is your friend while you’re figuring it out!
-Tyler
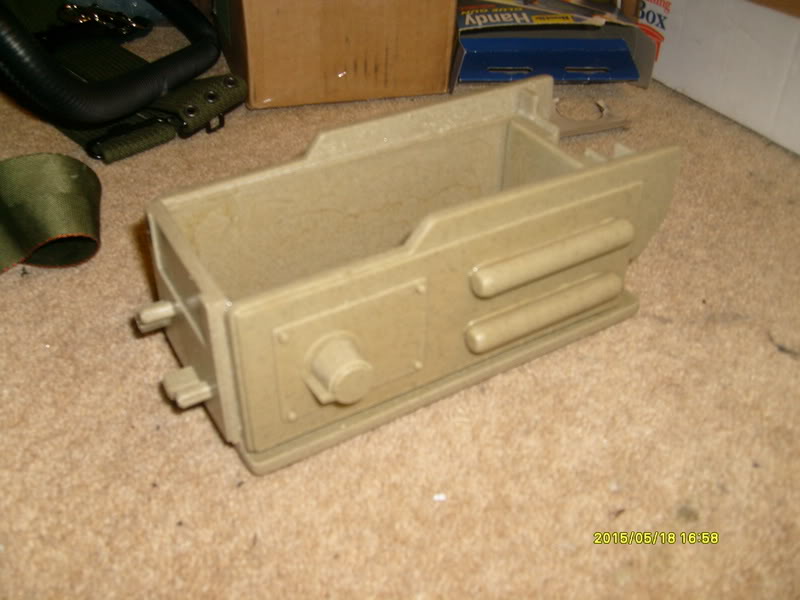
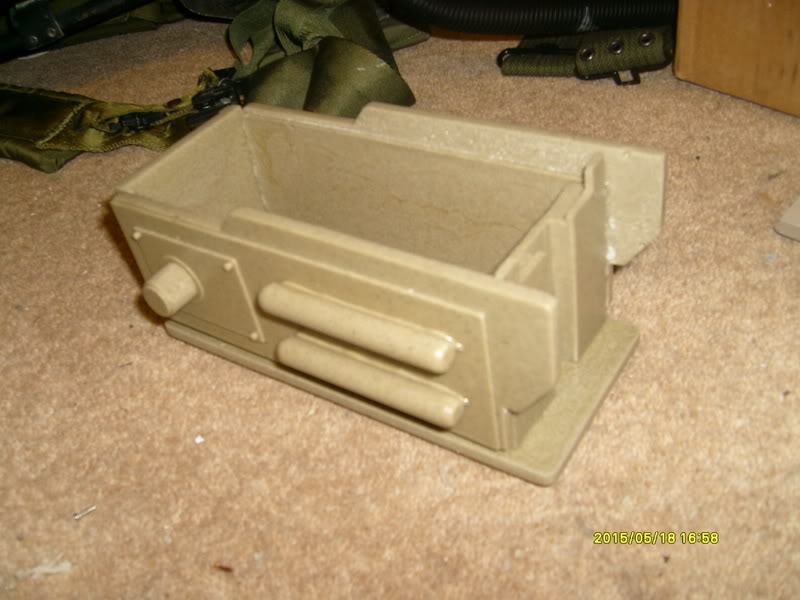
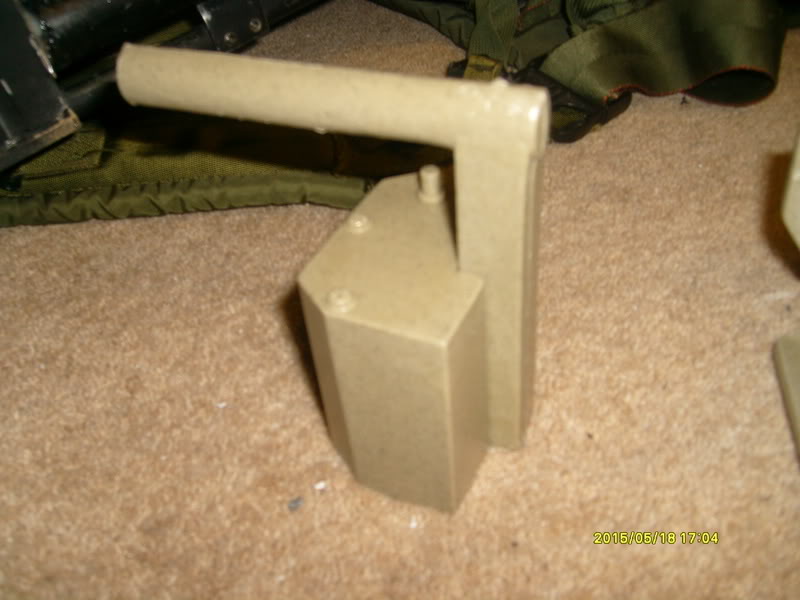
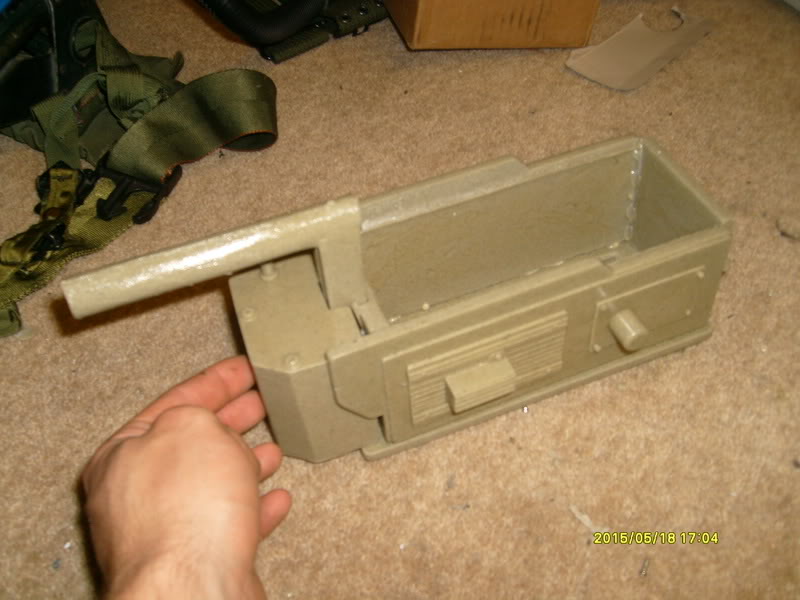
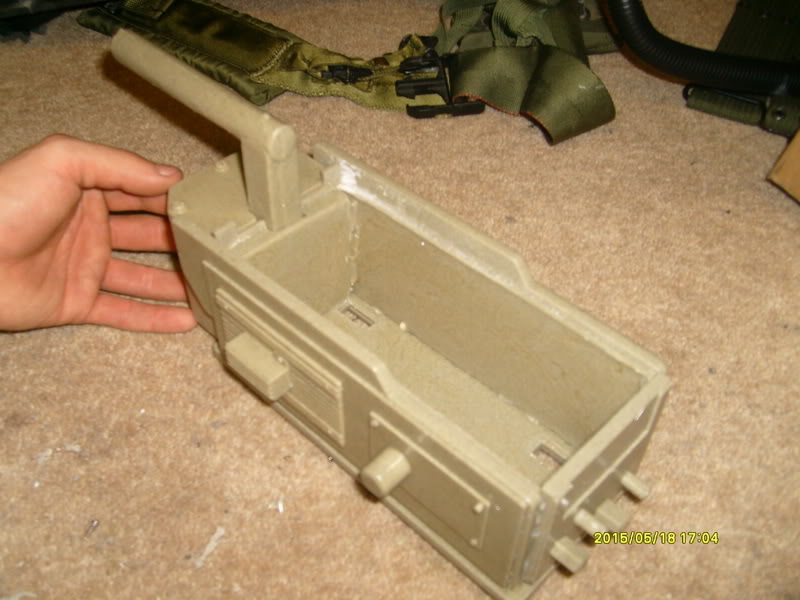
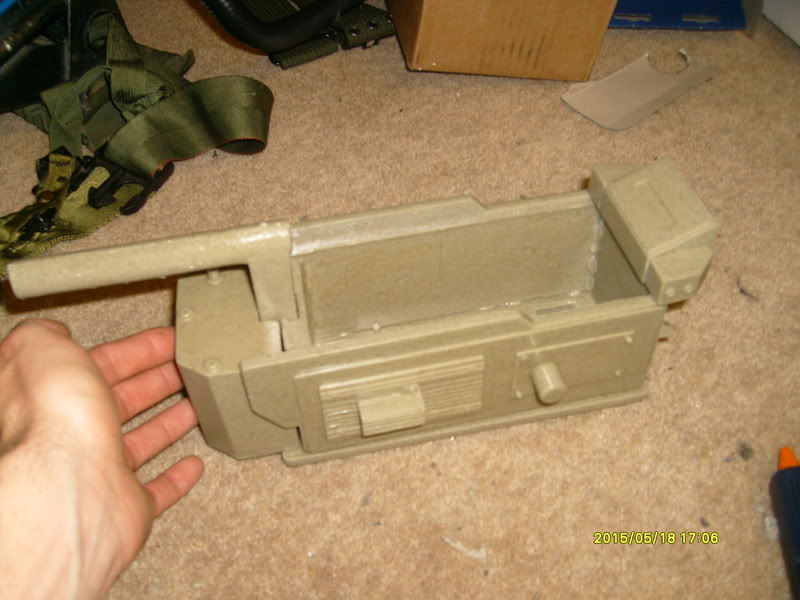
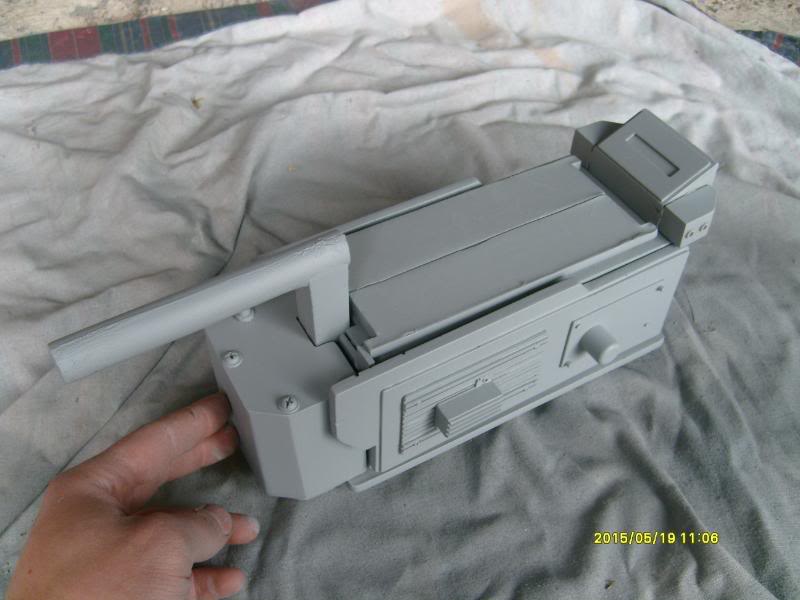
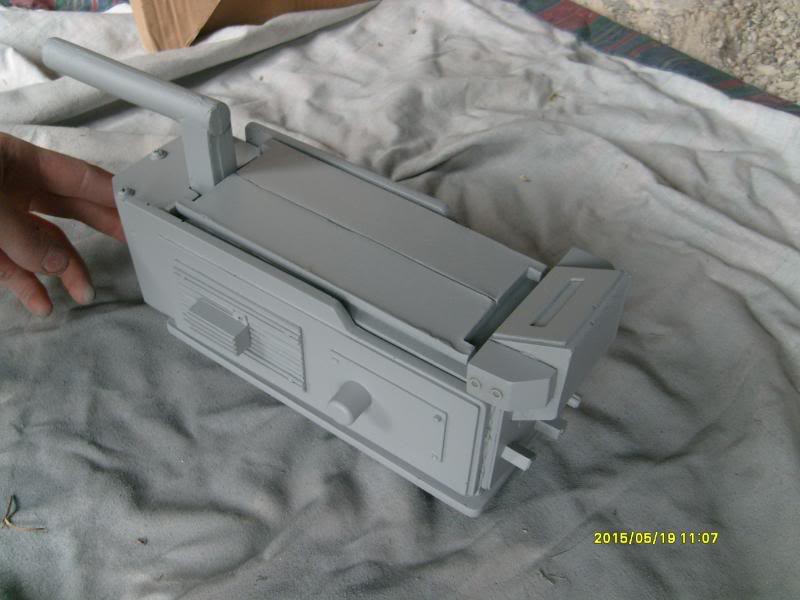
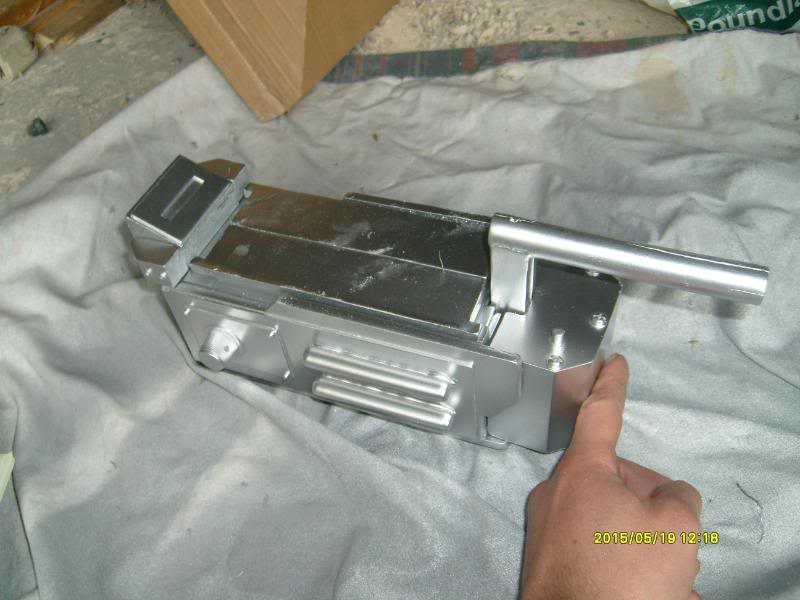
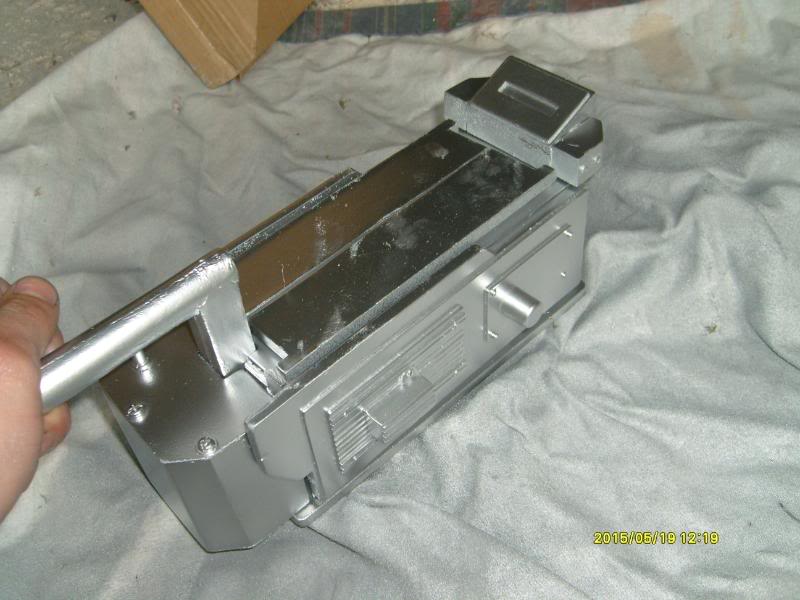
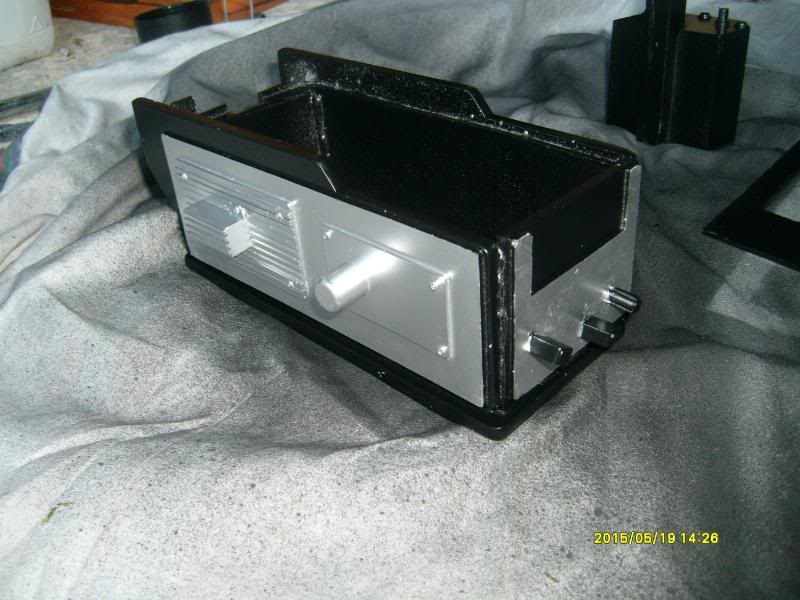
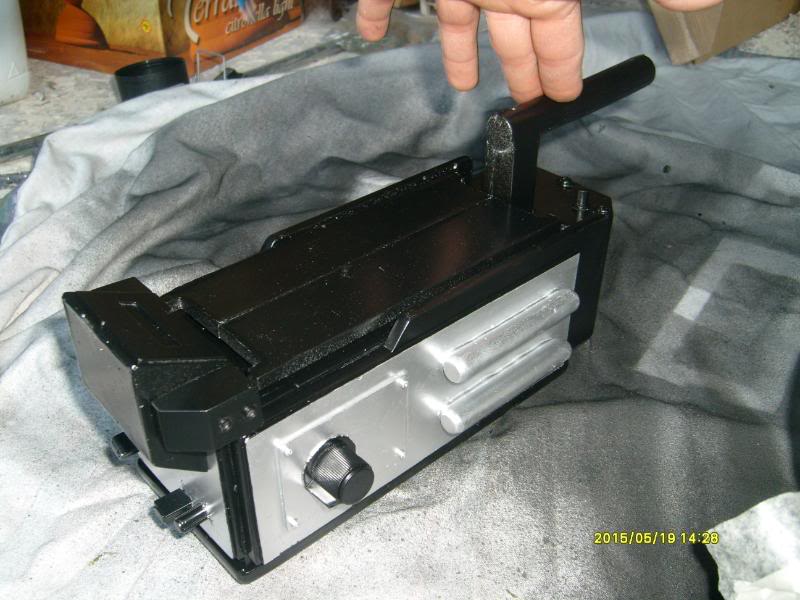
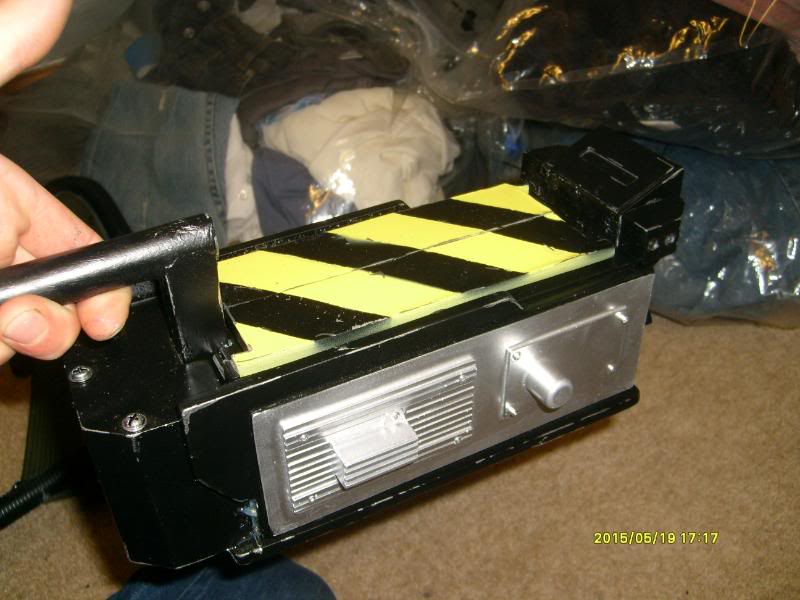
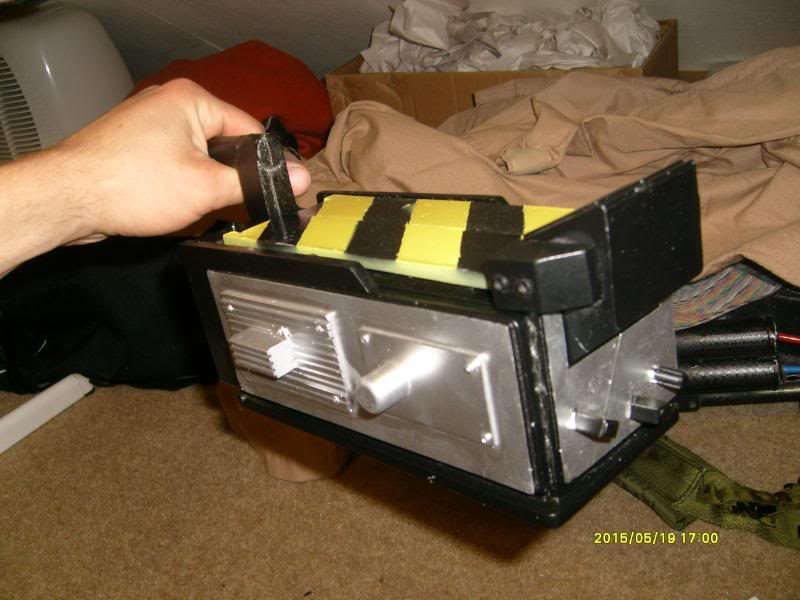
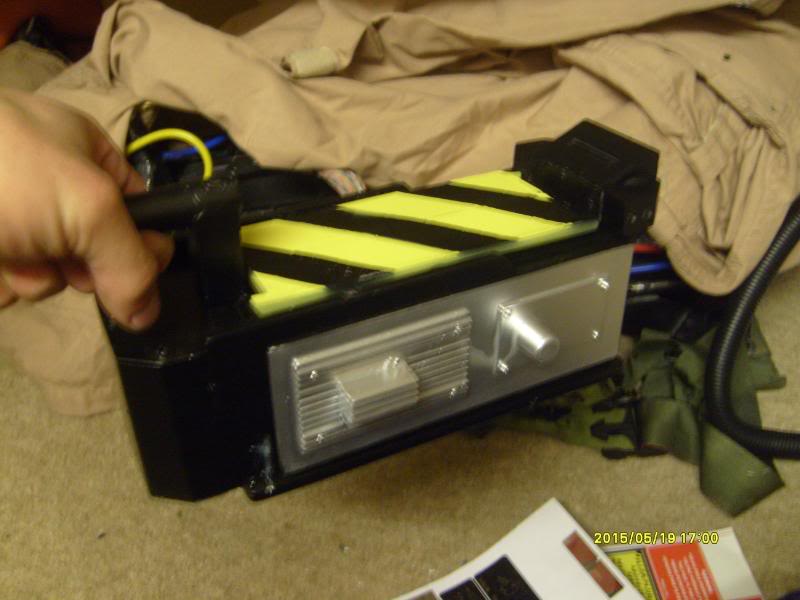
here we go, i managed to get my pics up. the trap is partailly assembled and not painted, i will post up my progress when i continue
and the reason my hand is in every pic is because its not all joined together yet, waiting for it to get painted first lol 
comments appreciated
thanks
Gary
looking great so far!! id recommend giving the whole thing a light sand and a coat of primer before you paint it. just makes the resin “accept” the paint better. cant wait to see more pics 
thanks, yea i was meaning to bring some sand paper homf from work, but was in a rush and forgot it, lol
would you reccomend spraying it? or brush painting?
i HIGHLY recommend spraying it with acrylic paints! get a roll of good masking tape and some black, silver and yellow spraypaint and you cant go wrong. i do recommend brush painting the details such as the battery light and the weathering (if you choose to add some )
nice, thanks, i think a trip to b&q is in hand
lol
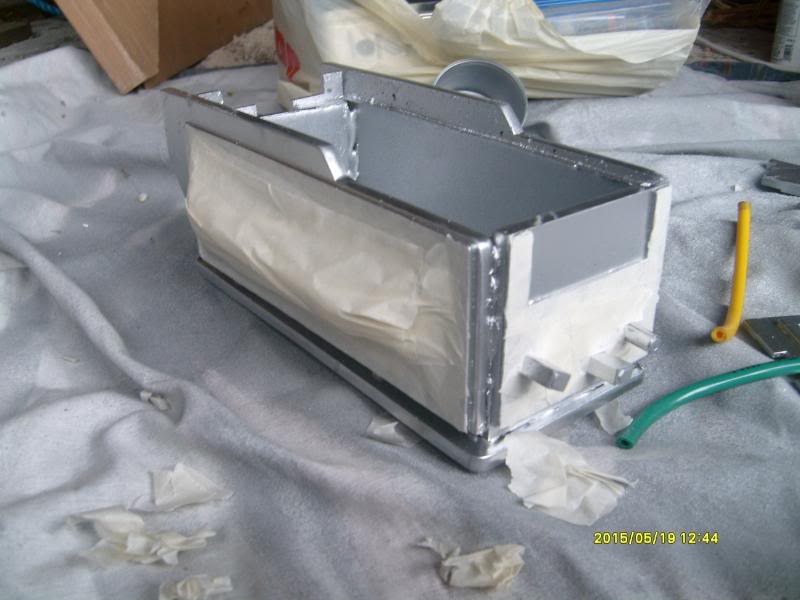
ok, here is pics of my trap as it is now, first off, pics of it primed …
now a coat of metallic silver (could this be the new look trap??? i doubt it , lol)
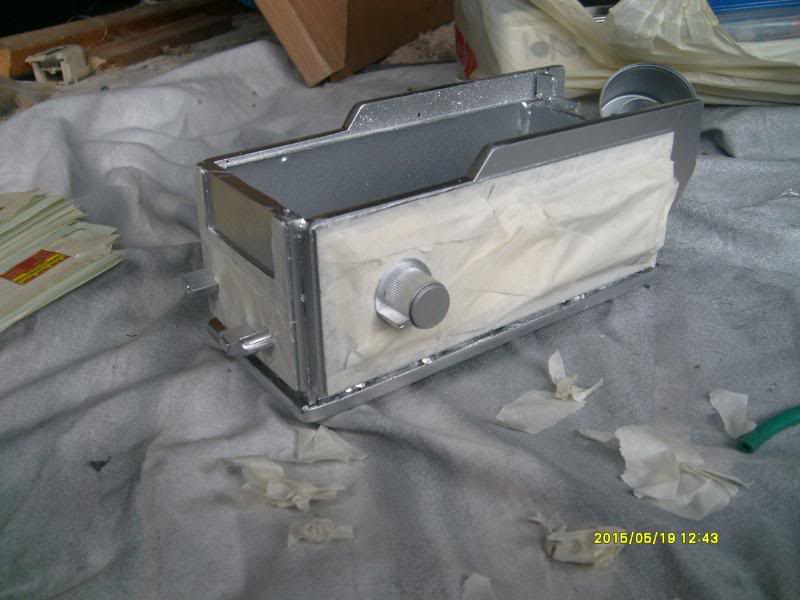
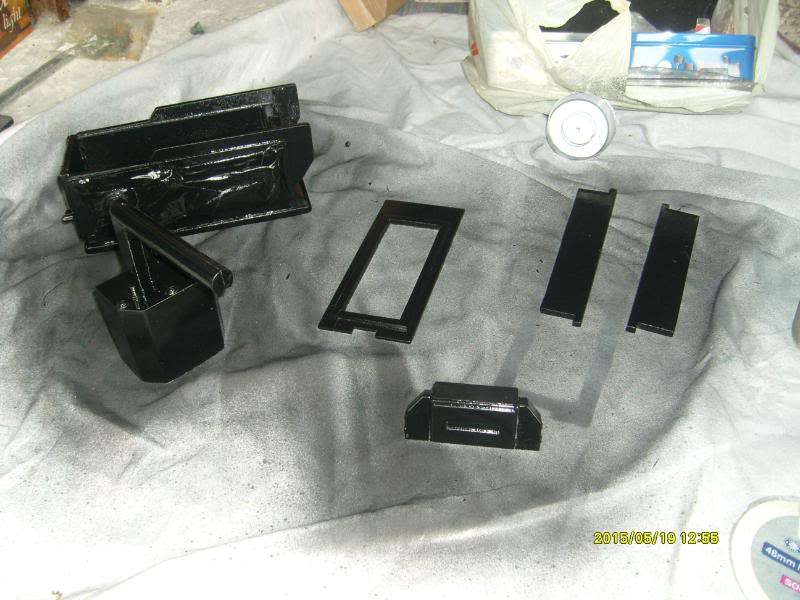
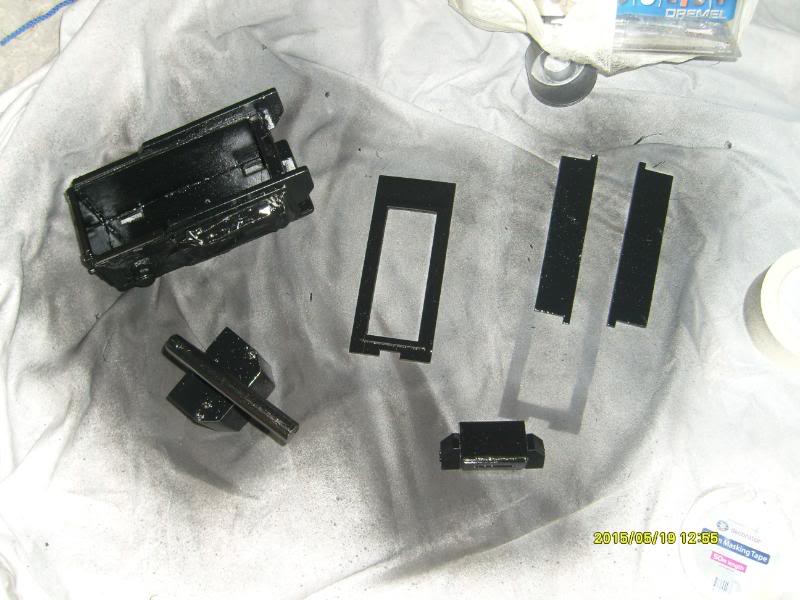
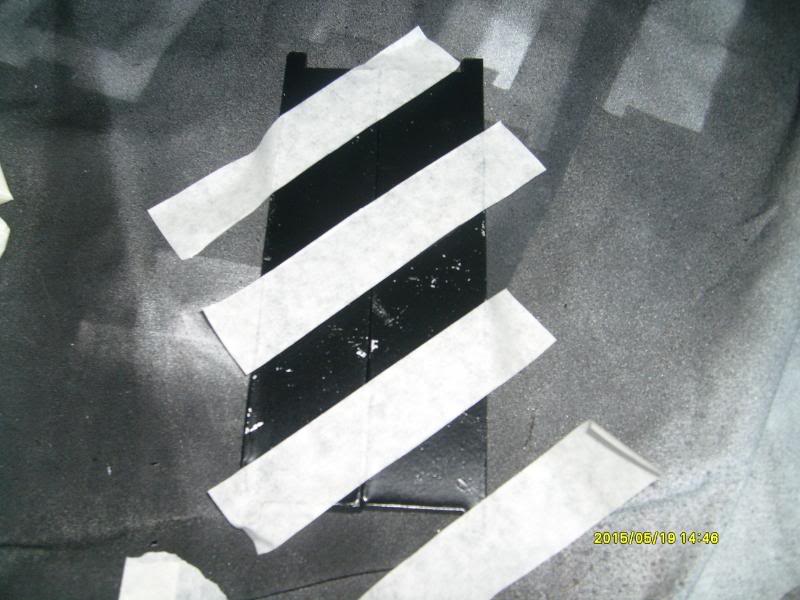
now the trap has had its first colour, it gets prepped and masked off for the black layer
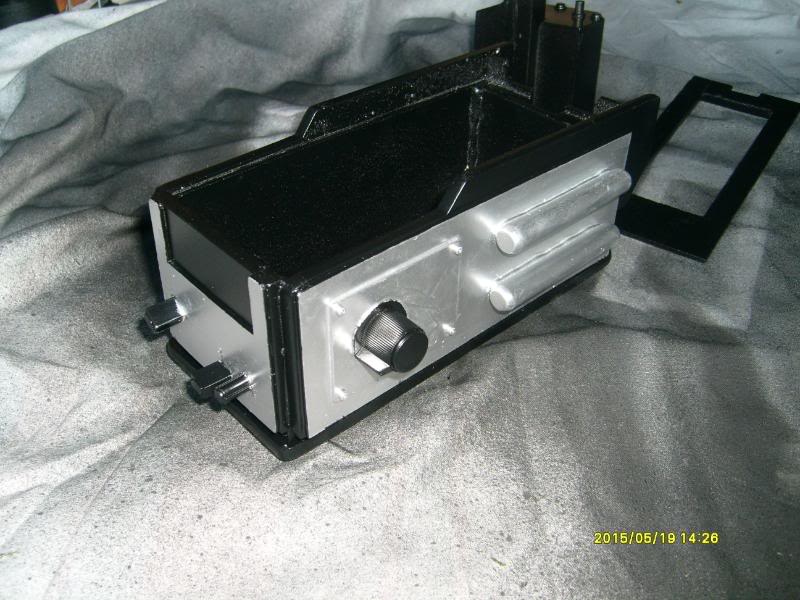
and as of up to now, the black layer
now i just need to wait for it to dry, take off all the masking tape. paint the trap doors, and add detailing
That trap kit looks awsome . Even the battery light is in there. So cool. hehehhee. Love it.
SAl
yea the kit is sweet.
heres more pics
after the black coat
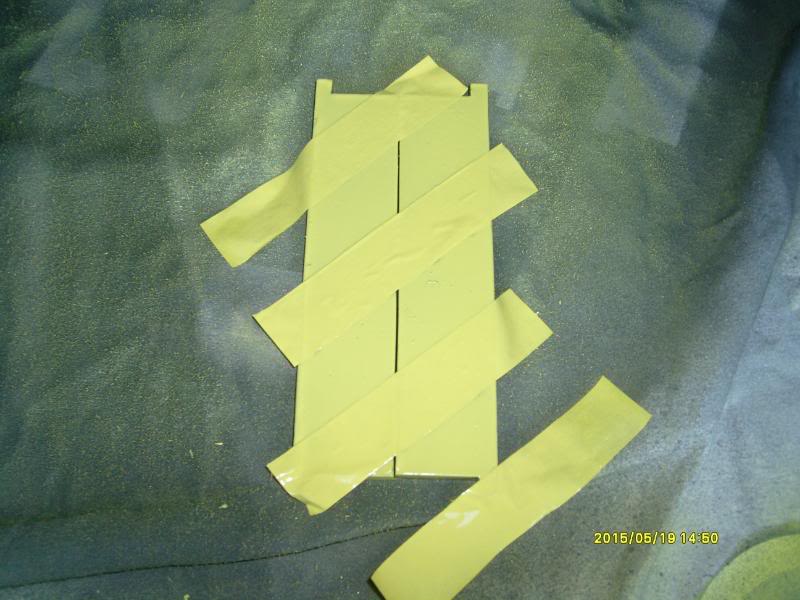
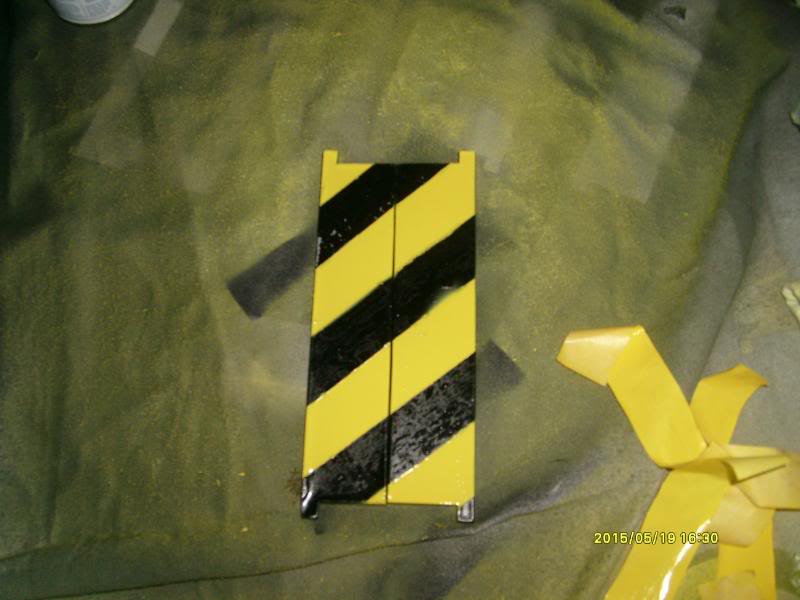
the doors going in for a coat of yellow
and the trap put together (the end ones have mor details on it, screw heads silver, wear to the trap ect)
And thats about it! prop complete! hope you like it.
i am currently working on a smoke unit to get the trap smoking! a non-toxic, SAFE smoke unit:)
i will let you know if and how it works out! no promises yet though
Gary
ROLL IT OUT! hehehehe. Looks cool man. Love it.
That’s great! Decals man…
yeh i thought of that afterwards, lol
i have the dial sticker on now, but seem to have run out of the big “danger” stickers, so need to get some printed off
Oh and By the way GBrob, Its Gary here froom the UK thats bought the Pack and gun shells off you before christmas:) lol
I keep meaning to post pictures of it up in the pack section but dont get time to take some. its not %100 accurate, but itl do for me haha
also, im not sure weather to make the doors opening, or just glue them shut, at least if they open i could do somehting in the future if i wanted, but not sure if to try and put hinges in the middle (becasue of a lip lifting it a litte i dont think it would be possible) or weather to try hinging it from the door ends as per usual
looks nice! You may want to matte the black (maybe brush some acrylic paint on since you have it completed already)
thanks, i dont fancy painting it anyway again, lol so might go for a different alternative, maybe some high gritsand paper and just rub off the finish?
The Trap looks good, and I’m looking forward to seeing it when it’s finished… but I would’ve suggested sanding off some of the flashing on the handle and doors before painting.
Are you intending to paint the sides of the Trap doors black so only the top has the yellow on them?
hey ben, well to be honest, it is as done as i want it, im only using it as a so called “stunt trap” just for added effect hung on my belt, so im not wanting to get it %100.
and im not too fussed about the sides of the doors, i think it looks pretty good as it is tbh lol, i think it makes it look more worn
bet hey, if ya dont like it, thats fine
GREAT JOB GARY! it looks great! cant wait to see it with the decals added
i would just recommend also painting the sides of the doors black. just use a brush to paint around the edges, will take about 2 minutes and will really tidy up the overall look. but apart from that it looks great!!
Nice kit…I agree with nick, you might want to go and touch up the edges. The stickers will also bring it all together. Also, you might run into trouble with the hot glue that you used to hold it all together.
-g
PS. is the battery compartment hollow?
hey, what kind of problems with the hot glue?
and unfortunatly no its not hollow