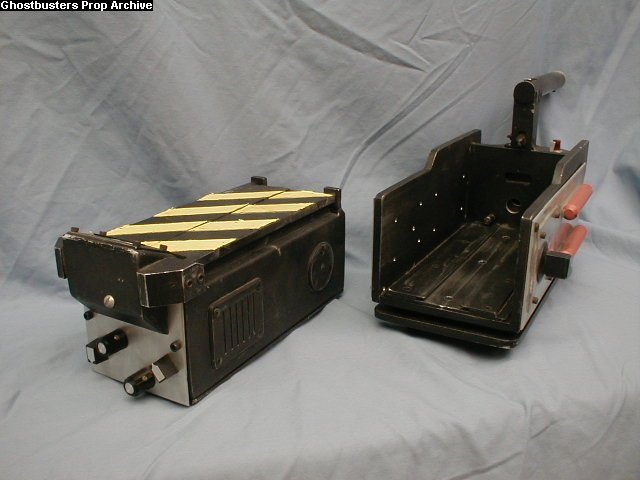
Having finally got my hands on a metal plate set to fit my Nick-a-tron trap it’s time to get my hands dirty at last. I’ve been lingering around for a while collecting parts and i’m still missing a few but i’ve made a start anyway. This is my first Ghostbusters prop build so i’d welcome any feedback you might have!
The first thing I plan to do is install a track system like the GB1 hero has. The problem is the base of the nick-a-tron kit needs to be cut down to make room for it… oh well here goes!
A bit of P38 filler to fix the odd hiccup from the cutting down process!
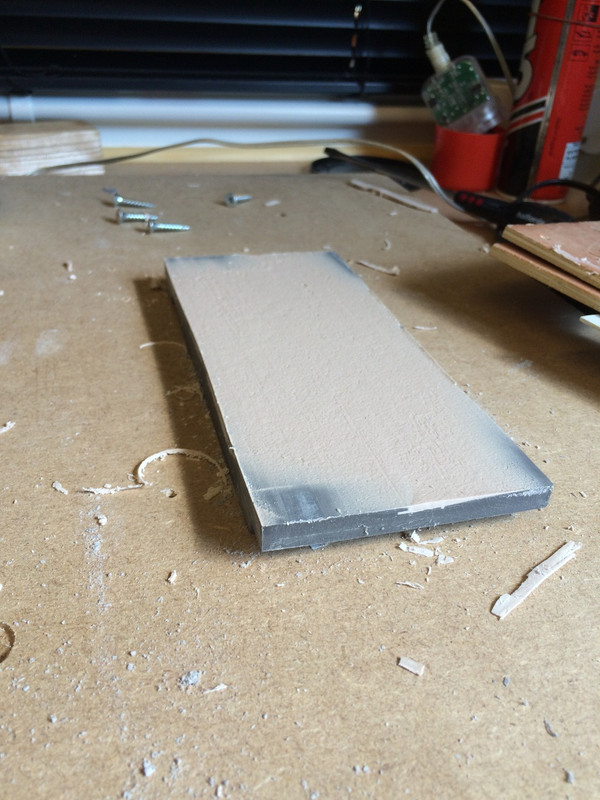
Not too bad once sanded down
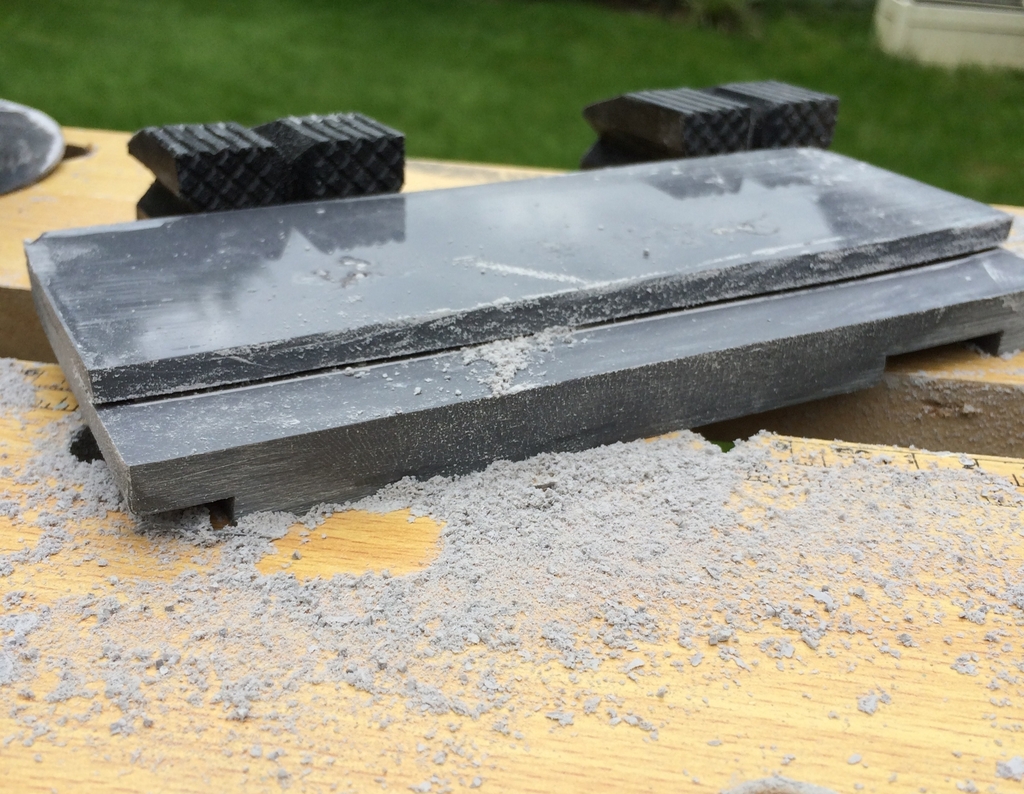
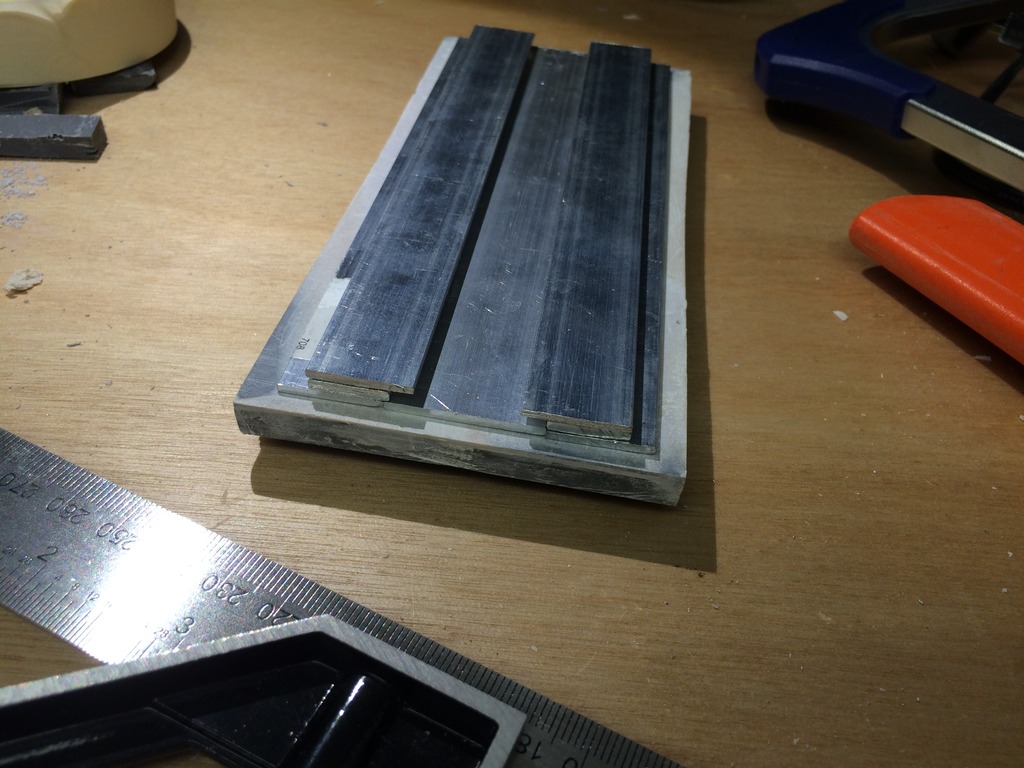
Cut the track from aluminium strips. Only sizes I could find but hopefully a close enough approximation.
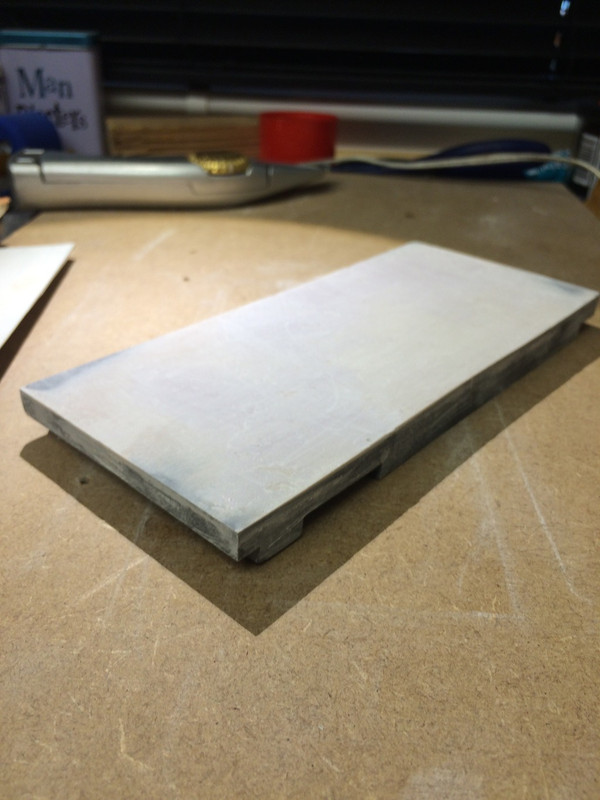
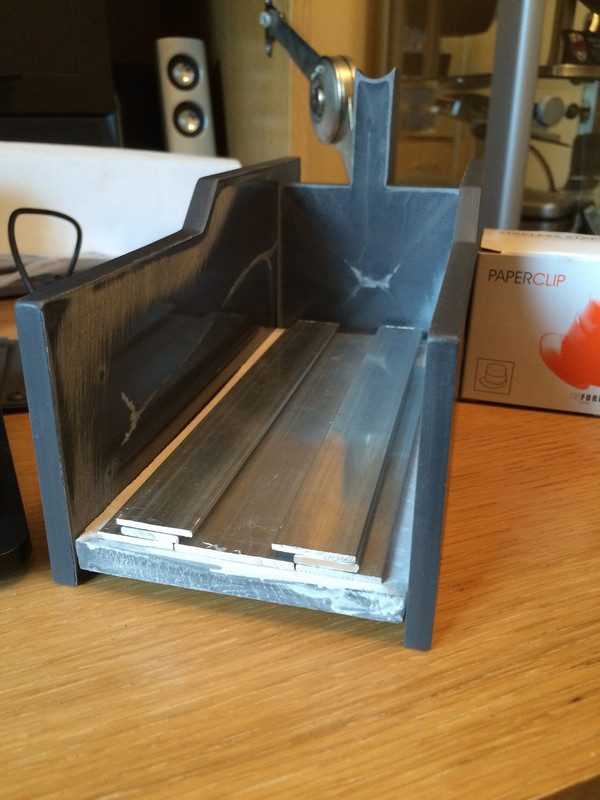
Trial fit together to see how she looks. That’s as far as I’ve got for now folks.
I started work on the cartridge today. The top of the cartridge was glued in place with epoxy resin, then once that was set solid I filled the gaps around the seam with P38 car body filler. This only takes around 20-30mins to harden ready for sanding smooth. Using a large sanding pad all four sides were sanded until level and smooth with 200 grit sandpaper leaving me with this:
As this is going to be a hero trap I need to think about cable routing as I assemble the kit. I started by marking out where the front indicator block will go, and from that where to cut a slot for the bargraph cabling
I actually enlarged the opening slightly from the original marking out as it didn’t look large enough once cut.
Then it was onto the indicator block itself. I drilled through at the angle I wanted
Then opened it up with the Dremel
I think that should do the trick
Now onto the rear of the cartridge to open up space for the D-sub connector.
That’s it for this update. If anyone has any questions or comments/suggestions i’d love to hear them- I’m worried with each step I take that i’ve gone wrong somewhere as it’s my first trap!
I’m at the stage where I need to source the bolts for the trap. Thanks to Dan (Bromie) I have a supplier but i’m getting a bit confused as to the correct bolt sizes to use. I found the following info in another thread:
Is this info correct for the GB1 hero? I’m also unsure whether i’m ordering the correct sizes, i’m assuming a #4 is the same as a 4-40 is this right? What kind of lengths work best for a trap? I’m thinking as the side panels are about 1/4 of an inch thick that a thread length of 1/4 would be about right so the bolts don’t poke out the other side-, but would this be long enough to hold the vector plate and resistor in place also? Sorry to sound a complete noob but I’m not used to imperial sizes and don’t want to order a ton of screws that turn out to be no good!
Not n00b questions at all. Those are the correct sizes, from my experience. And when you order them, the first number is the size, the second is the threading. Higher number equals finer threading. If you don’t have a way to cut threads, I would recommend doing that.
For the length of the screws on the vector plates, I would measure the plate thickness and then the thickness of the wall of the trap. You will probably make the holes in the vector plates big enough for the screws to just fit in, but not thread in. And then thread into the wall of the trap. If you are doing a cartridge, you definitely don’t want them too long. Depending on how thick your vector plates are, you may need 1/2 inch.
If you have trouble getting the correct sizes figured out and ordered online, I could help you get some where I’m at and put a packet together. I’ve actually thought about doing that and selling baggies of them. It can be a hassle to try to figure out which ones and where to get them.
Ah I see! Imperial is starting to make more sense now! The place I’m looking to get them from also do thread taps so I’m going to attempt to tap the resin (fingers crossed!). I’m not sure if the bolts would self tap into resin having never done this before.
Thanks for the offer I’ll see how I get on sourcing them here in the UK, if I have trouble I may well take you up on it! I’m sure a lot of people would be interested in trap bolt kits, im surprised no one has thought of it before!
Have a look at modelfixings.co.uk, they provide the screws in metric. UK Ghostbusters forum users have ordered from them, and I have a bunch for my pack build. Pretty fast shippers too.
Thanks for the suggestion, I did think about getting them in metric sizes but I wasn’t sure If the equivalent for each bolt size would look right in terms of cap size so I’ve gone for the established imperial sizes for the trap. It’s all given me a bit of a headache to be honest! Which metric sizes are you using out of interest?
I have just ordered brass inserts from modelfixings to use on the battery cover for durability as these will be opened for access unlike the bolts elsewhere which I’m going to tap threads in resin for. (Well, attempt to tap anyway!)
Received my bolts today and they look about right apart from the #6 button head screws which look way smaller than the moulded-in ones on the original Nickatron side plates. I’m a bit confused as to which is correct? I wonder if the master for the kit used #8 size bolts? Here’s a pic to show the size difference:
This shot of the hero GB1 looks the same size as Nicks kit to me
I’ve spent a whole day drilling and tapping today and have the main body test-assembled for now. I’ve decided to try to include as many of the little details from the Propbay Hero pictures as I can, in this case namely the side plate fixing bolts.
I noticed in the propbay images that there are five screws running along the bottom of each side plate, countersunk VERY close to the edge.
They’re not that visible, but as i’m doing a hero build I thought they should be present. It was a bit daunting but i’ve drilled as near to the edge of each plate as I dared and i’m quite pleased with how it turned out.
I’ve also added the screw above the metal side plates. It’s not in 100% accurate position fore/aft due to differences in proportion between the real prop and the trap kit but I think I have the height about right
Cheers Dan Right onto today’s update. I’ve started bolting down my tracks and have ruined one of the strips!! I think my countersinking bit is worn as it’s starting to produce octagonal countersinks I don’t think it’s operator error as i’ve kept the surface lubricated with cutting oil and have only used gentle pressure with my drill press. It’s pretty annoying as it was going so well…
I don’t know whether to make a new strip or live with it. Need to finish up filing that end too looks wonky in pictures!
I see what you mean, but I don’t think you’re too far off:
(That’s noslliT’s amazing all-metal build just above)
I had a quick look through the build forum and although most people do seem to locate the track near the front of the trap, I don’t think yours looks that obviously ‘wrong.’ Just measured mine and it’s about 3mm from the front edge, although I eyeballed all my measurements based on the GBFans reference shot at the top.
It won’t be too hard to fill the existing holes and relocate them a few mm’s forward, although you’ll be drilling partly into the old holes due to the small movement required, and I never liked drilling into filler if I could help it as I always thought it was too brittle compared to the resin. Still, something like Apoxie Sculpt may not be a problem. A slightly more expensive option (and probably the option my OCD would force me to take!) would be to buy new metal for just the top two strips. The holes in the metal underneath could be elongated to accommodate the movement forward, and the two new top pieces would be drilled in the proper location and hide any work underneath.
With regards to countersinking the holes - you can see I had the same problem on my build. I didn’t use oil, though, and I also had the same problem on the base of the trap. Someone with a bit more expertise may be able to advise on the problem…?
Just measured it and it’s a hair under 4mm at 3.65 from the edge! It looks more doesn’t it! I don’t know if it’s worth re-doing all that for the sake of less than 1mm! I notice that the tracks on your build don’t go right to the edge of the “base plate” part of the track so I think my 20mm tracks themselves are in about the same place as yours so I could just shift the bottom layer closer to the edge.
Saying that I think we both have it wrong as looking at the propbay pics the rail seems to be a lot closer than it looked in the old low-res reference pics
I’ve already had to fill and re-drill a few holes in the course of this build and believe me the screws hold very firm in filler and are just as hard to screw in!
With the countersinking bit I think it’s just a worn out tool as it’s made for wood really and i’ve used it a lot since i’ve moved house (I did about 500 countersunk holes when I lined out my shed/man cave with plywood!) so it wasn’t new when i started the trap build. It’s cut fine up until this point and it does look visibly worn also.


 I’m sure a lot of people would be interested in trap bolt kits, im surprised no one has thought of it before!


 I don’t think it’s operator error as i’ve kept the surface lubricated with cutting oil and have only used gentle pressure with my drill press. It’s pretty annoying as it was going so well…