Pchrisbosh1's proton pack scratchbuild progress-COMPLETE

Hey guys I’ve finally stopped beating around the bush and decided to finally do my own scratchbuild. I’ve been putting this off for years but now with all the great reference material available I’m going to give it a shot. My goal is to incorporate as much detail as I can and closely match the hero shells as close as possible. I don’t really have a timeframe on this as I plan to pay close attention to each piece of the shell before throwing it together.

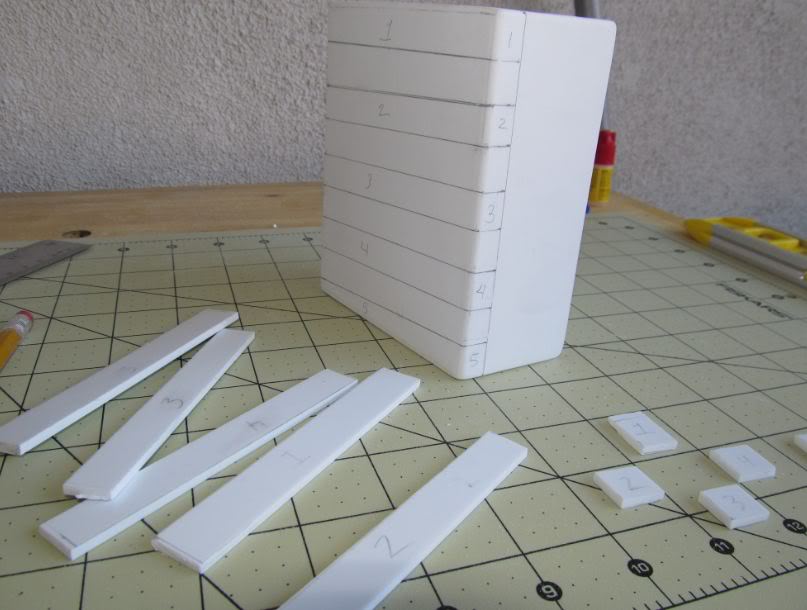
I’ll be using .080 styrene for the body and .125 for the ribs and inner base support when needed. So far I’ve started with the powercell, heres my step by step progress of this particular piece.

image

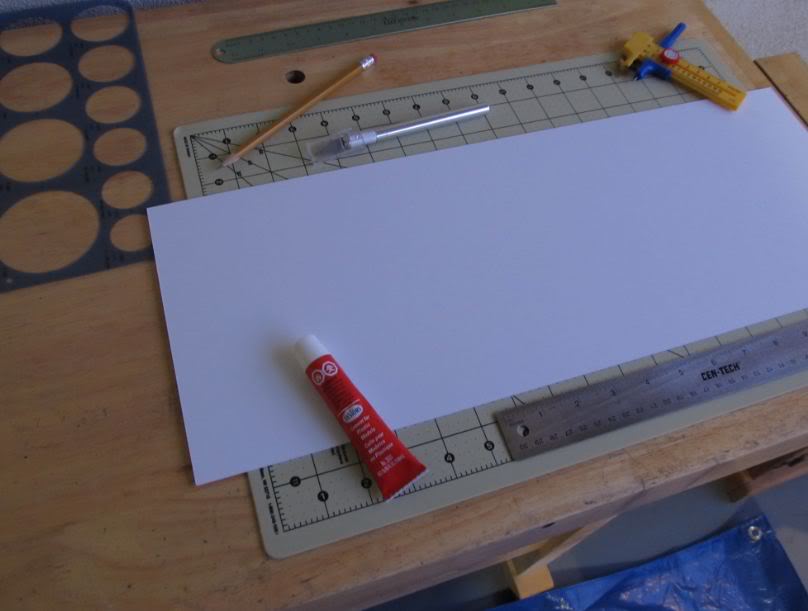
work area

image

base of the powercell

image

I like to draw out my measurements before I add the pieces. It helps me better position each piece.

image

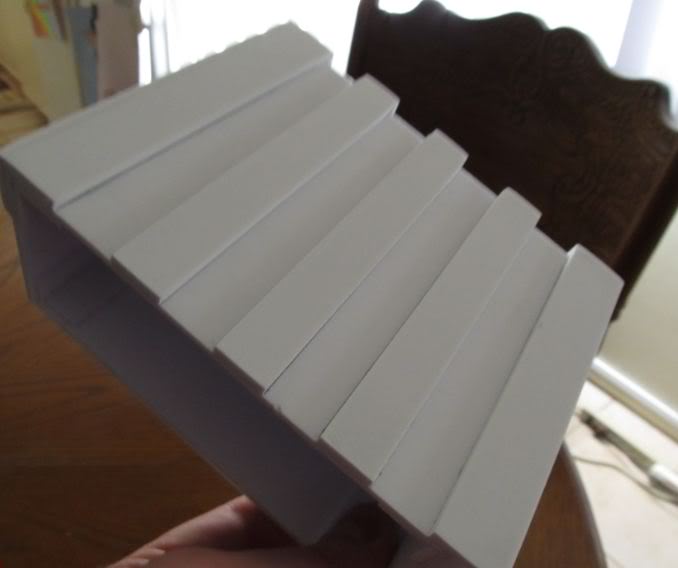
I made sure to do the angled powercell ribs

image

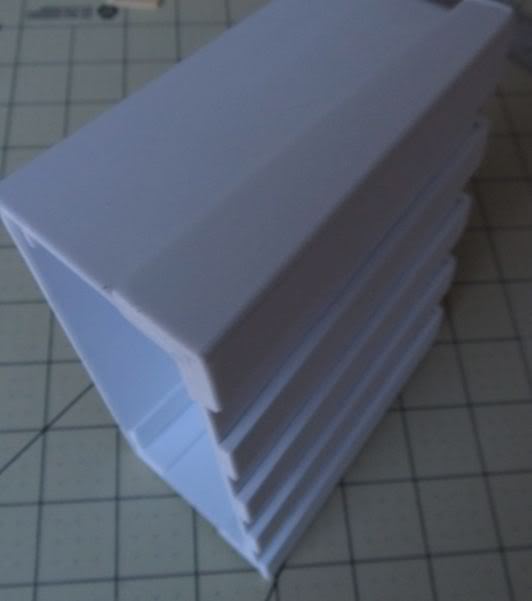
made sure to taper the powercell box like the hero packs

image

image

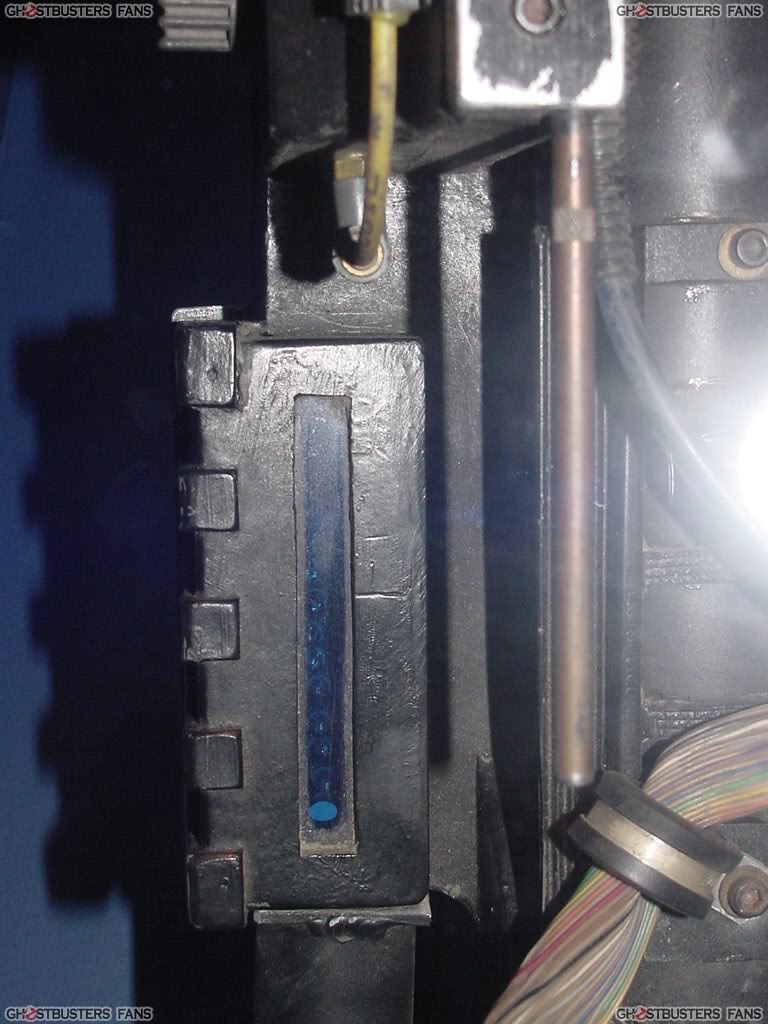
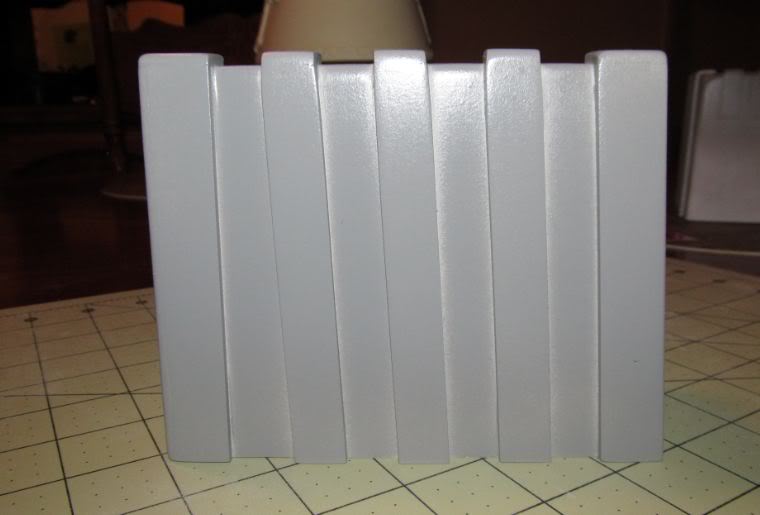
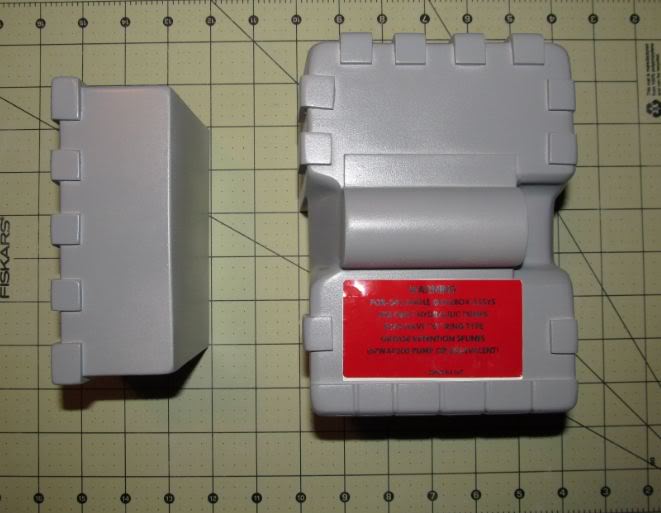
Comparison shot I made sure to closely match the uneven powercell spacing and angle of the ribs.

I’ll post some more progress as I go along. I hope to capture all the detail I can down to the angle of the ribs, tapers, texture, nail marks etc…it will take some time but I think it could be done. Any comments and or input is very welcome.

Thats looking great so far! Good luck on the build. This wants me too make my own even more.

Sent from my SGH-T759 using Ghostbusters Fans on Android

Nice job Chris… I look forward to this thread. You always do fantastic work!

I have subscribed to this thread!

Looking great so far. Looking forward to more.

Awesome job so far! I’ll be keeping an eye on this :slight_smile:

Oh no you didn’t. This will be one for the books, I can tell. I never subscribed to a thread so hard before. :stuck_out_tongue:

Can’t wait to see the rest. :slight_smile:

Just tell me that’s all you’re gonna do with it…

Always good to see another styrene scratchbuild!

It’s always the quiet ones.

This is refreshing!

Looks great, Chris! I really wish I had the time and patience to do something like this as well.

Anything you build Chris is awsome. Gunna be watching this one closely.

Youuu…You Hound!

God damn Cris you have only done a little bit and i’m already blown away! I expect nothing short of perfection :wink:

Totally subscribing to this as well!

Thank you guys for the awesome support and comments. I think I’ve been inspired by each one of you one way or another, I greatly appreciate it.

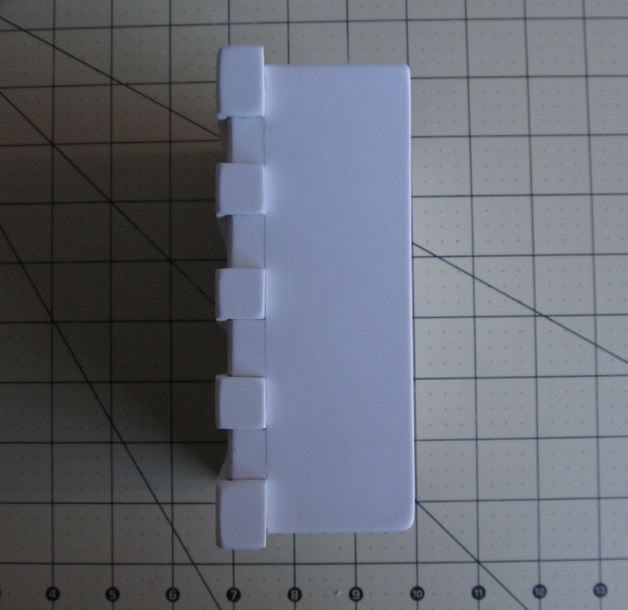
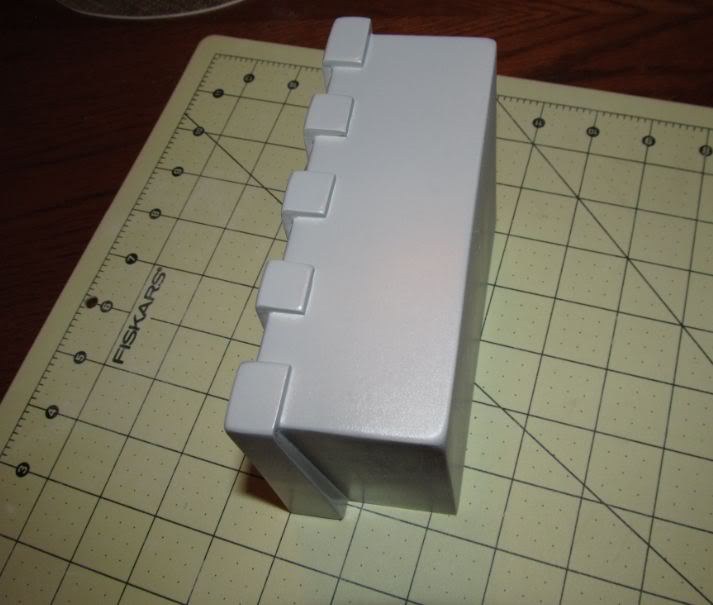
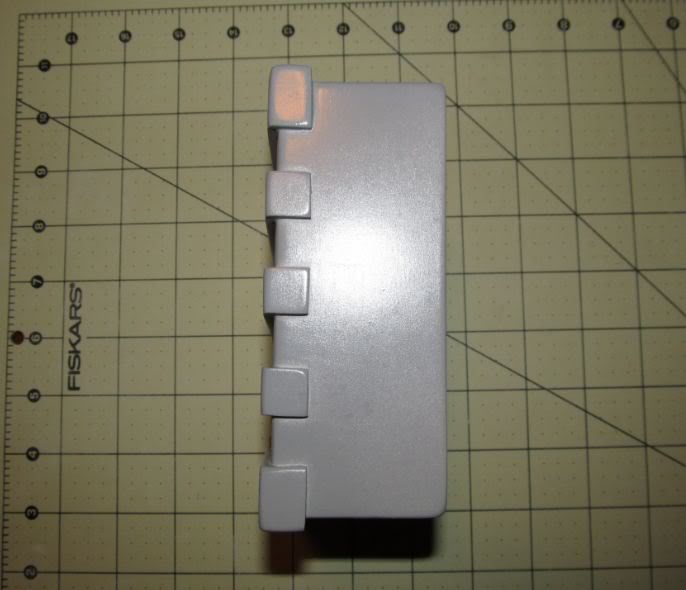
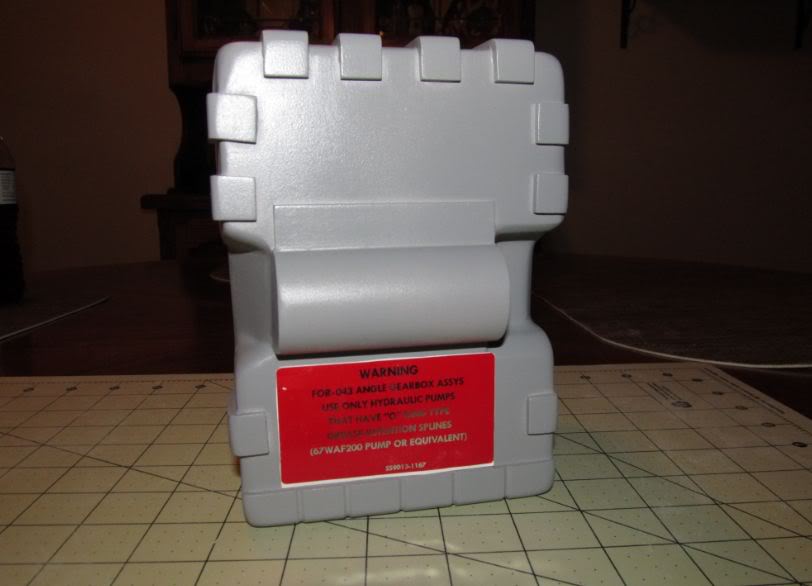
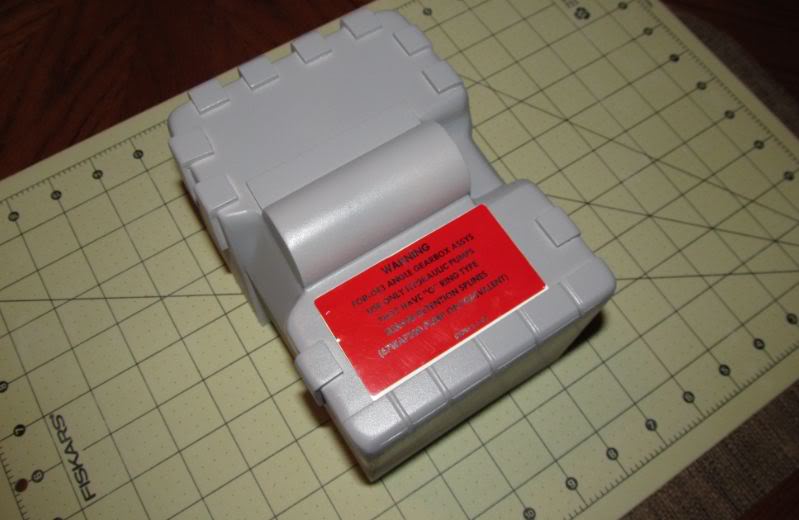
I’ve been hitting this project hard and I finished up the powercell and crank gen box today. Here’s some pics of the powercell box in better detail. I like to prime my parts when they are nearly finished because it helps me to better see the details and imperfections so I know what to improve and or adjust.

image

As you could see I made sure the bottom rib was angled correctly so the injector tube plate will sit accurately like on the heros.

image

better pic of the angled powercell ribs

image

That’s pretty much it for the powercell, I’ll go back later and do the rest of the minor clean up when the shell is finished.

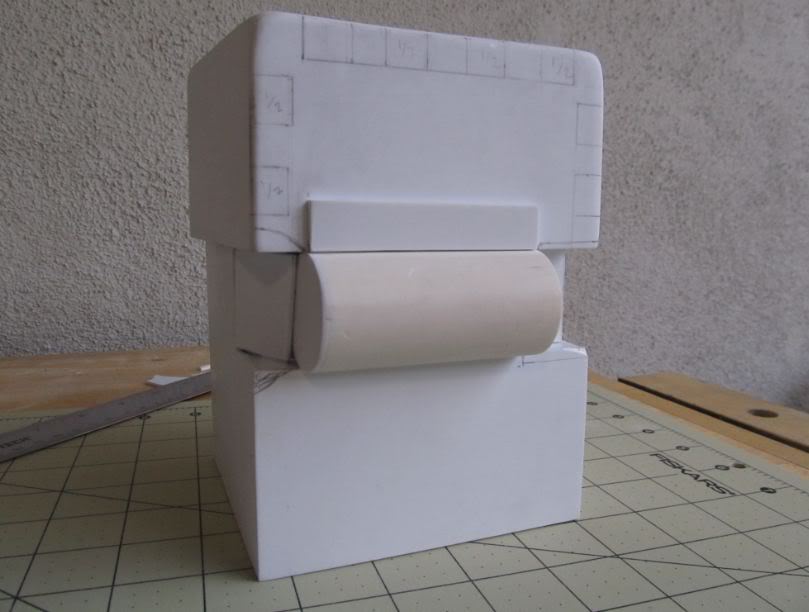
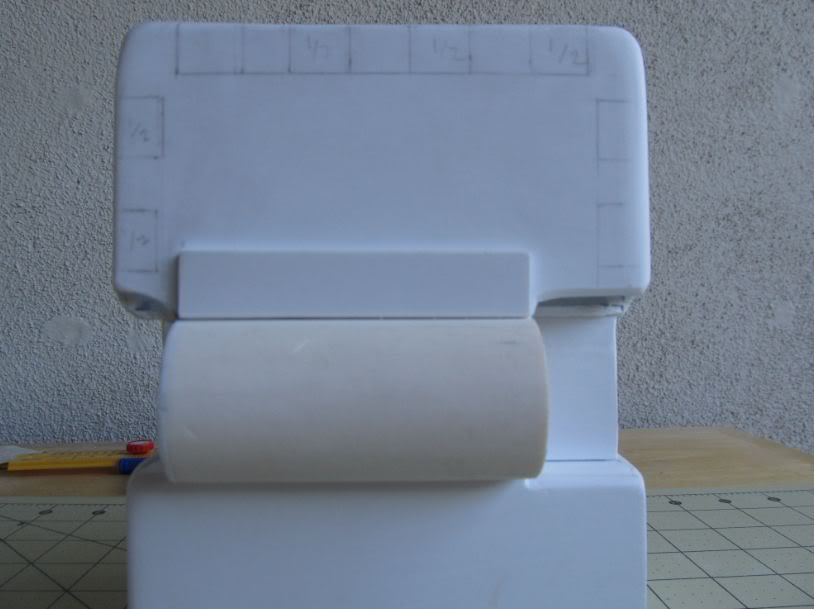
Now we have the crank gen box which was a great challenge for me. I think I’ve put about 20+ hours just on this one piece. I strongly feel this along with the powercell is one of the most standout pieces of the shell. Since my goal is to replicate the hero pack shells as close as possible these pieces are critical. I apologize ahead of time for the quantity of pics but I wanted you guys to see the detail from different angles. The hardest part with this piece is that no plans available accomdate the tapers, angles of the ribs, and height of the boxes correctly, so I had to study the reference photos tediously and make sure to check all angles.

image

Here’s the base of the box. I had to do the boxes in two seperate pieces because the top box is actually tapered inward to the front plate of the box and the bottom box is vertical.

image

getting the misc curves ready

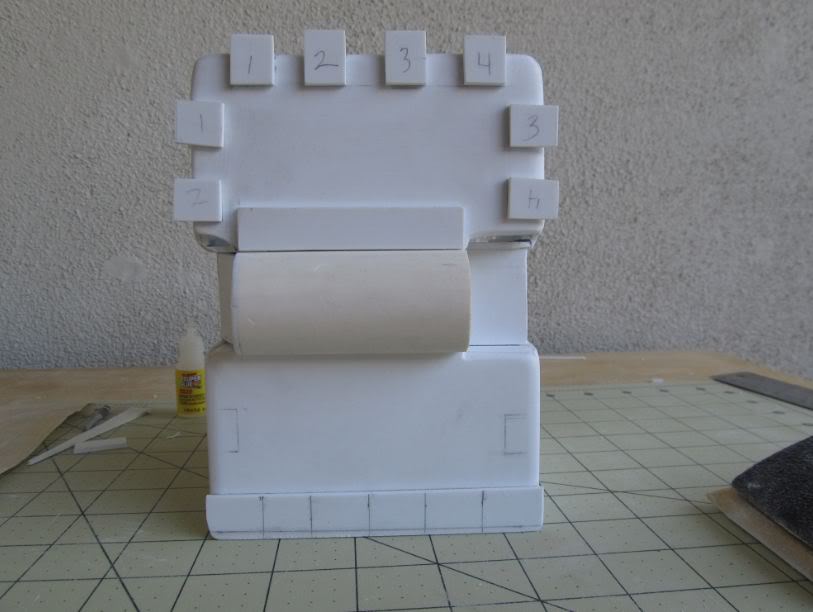
image

adding the ribs. Yes I know my 4 is upside down :slight_smile:

image

now were getting there :cool:

image

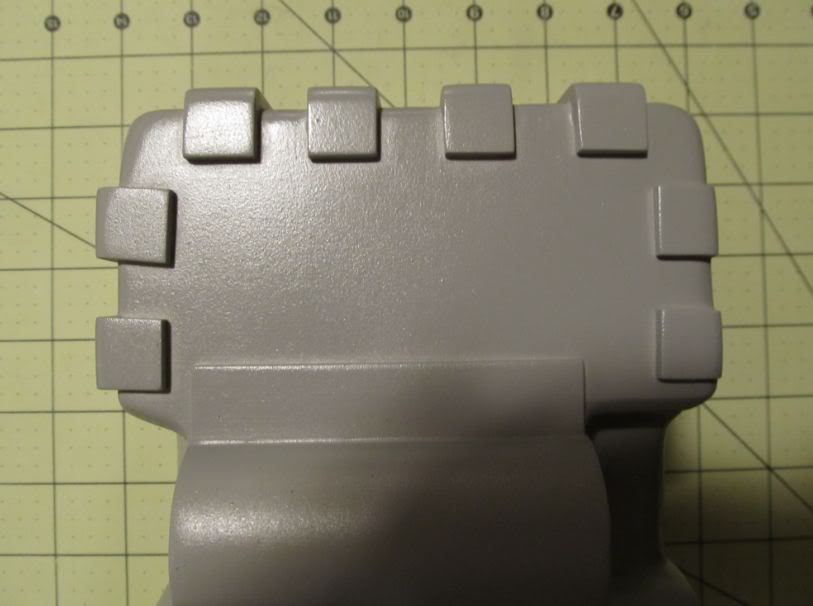
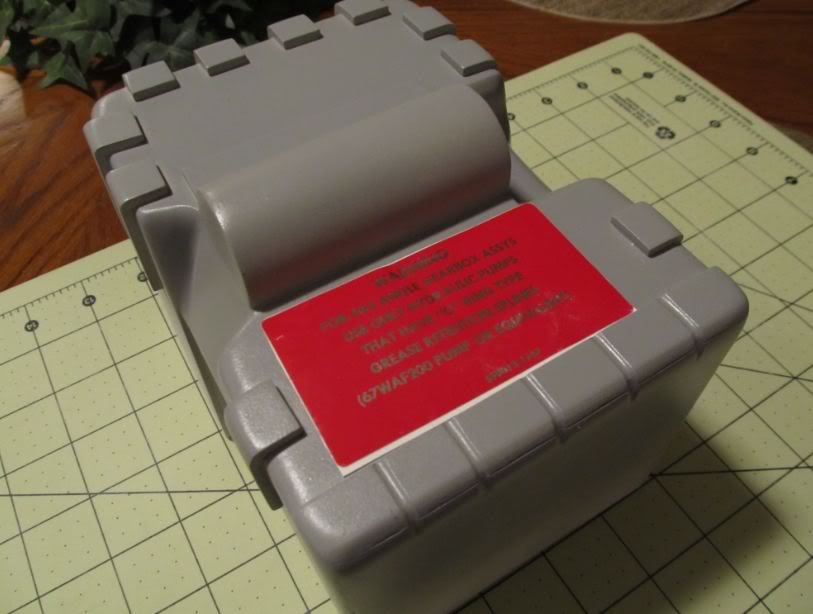
Here it is primed and nearly finished. Pay attention to the angle of the ribs and placements. I tried my absolute hardest to get the angles, curves of the box, etc as close as possible.

image

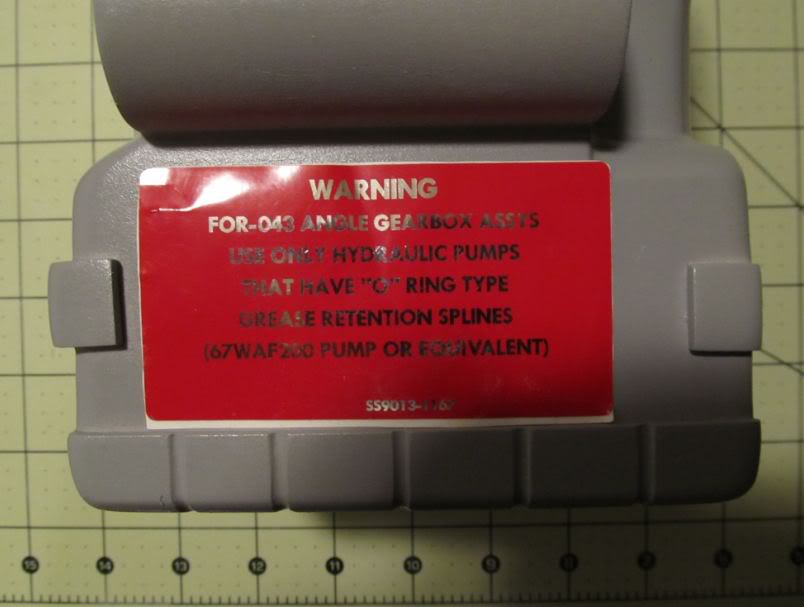
I made sure a accurate sized sticker will sit right on the box. I use the Minnesota pack for the reference of the sticker placement. I also accomdated the uneven size of ribs on the bottom strip. I used miniature files to acheive the grooves.

image

Here is the top of the crank gen box. I angled the ribs exactly like the hero packs.

image

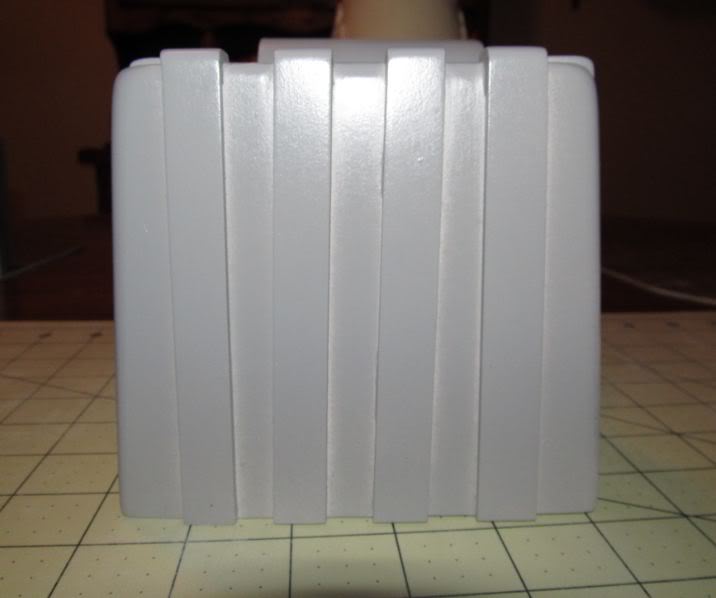
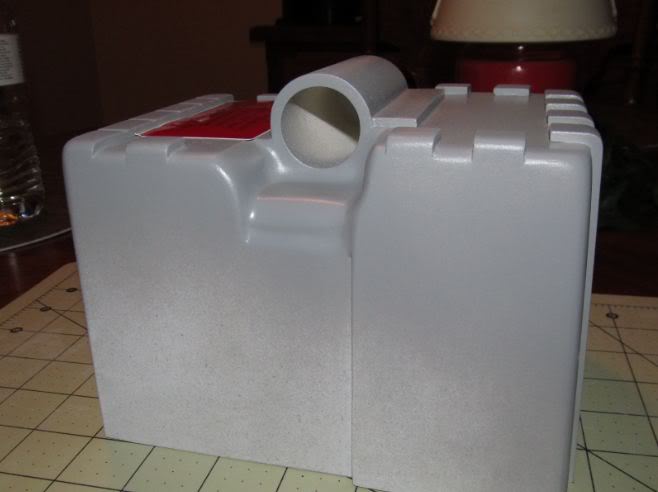
Another detail I incorporated was the shorter bottom box. This box is about 1/8 of an inch shorter then the top box.

image

Exposed the bottom seam from the bottom rib strip

image

image

image

That’s it for now, I think i’m going to take a little break then start the gunmount in a couple days. I’ve putting as much heart as I can on this shell and give it my all. I’ll post more pics once I get the gunmount finished. I’ll be adding the texture, nail marks, and what not once the whole shell is finished.
This is insane. I’m without words. PLEASE GIVE US MORE

image

^^^^ Agreed.

Beautiful scratchbuilding Chris, you’re making this an incredible labour of love.

This is going to be one of those epic pack build threads! I’m excited to see how this turns out!! What are you basing your measurements off of, if you don’t mind me asking?

Really great work so far Chris. Awesome attention to the quirks