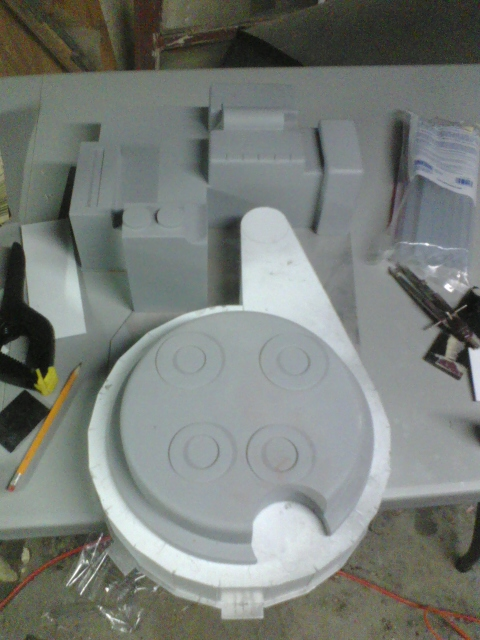
2nd Pack scratchbuild, PIC INTENSIVE

Hey guys, this is my second proton pack scratch build. I built last year, molded and cast a few for my friends for halloween. Now I’m starting over making it a little bit better, not necessarily more accurate, but more idealized and making so it fits available aluminum mother boards a bit better.

unfortunately some of my pictures never made it to my computer from my last phone that was broken. So this will pick up a little into the build.
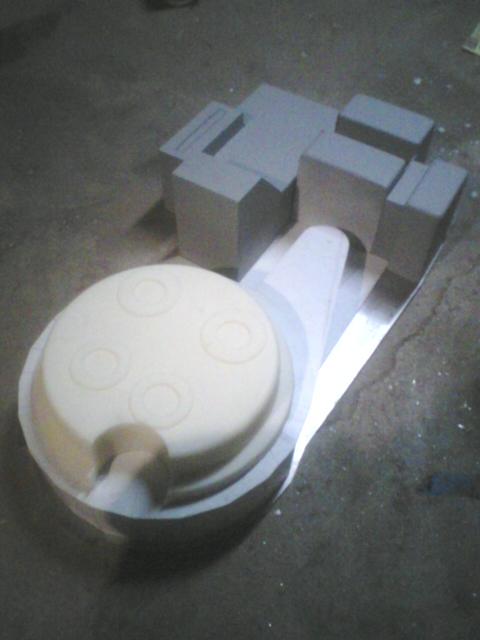
All the sub assemblies were started, the synchronus generator was started but I scrapped it because it wasn’t square enough.
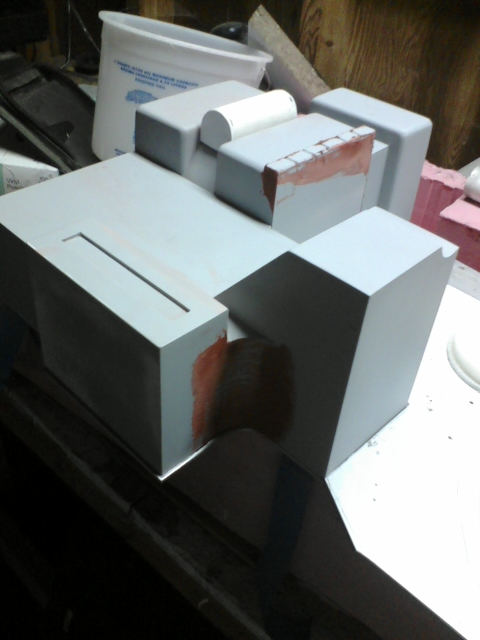
refining edges and rounding over corners. Fun times
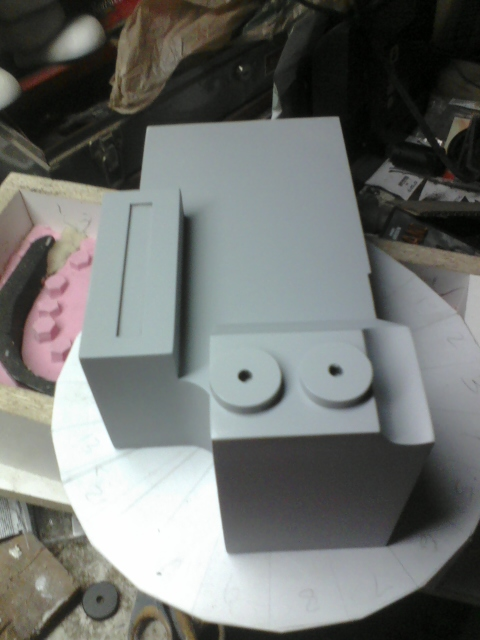
Added the discs to the front of the EDA, refined the rounded edge by the powercell. Also fine tuned the spot for the PPD.
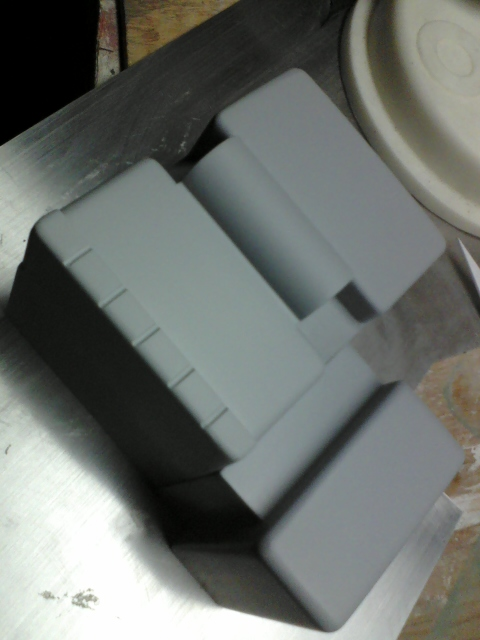
Smoothing out the gear box, still rounding over edges.
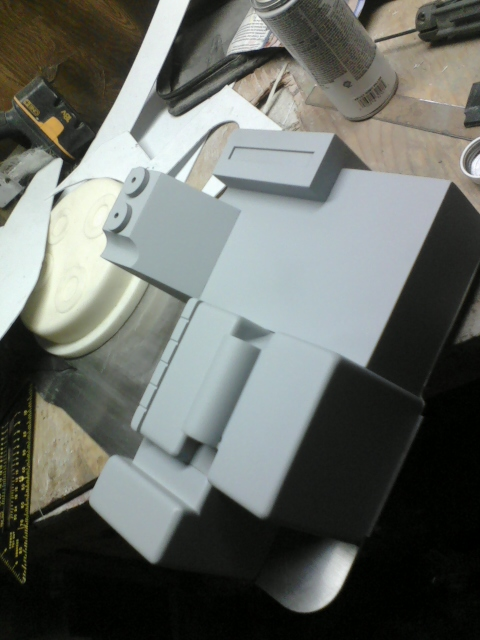
Fit on the motherboard is looking pretty good to me.
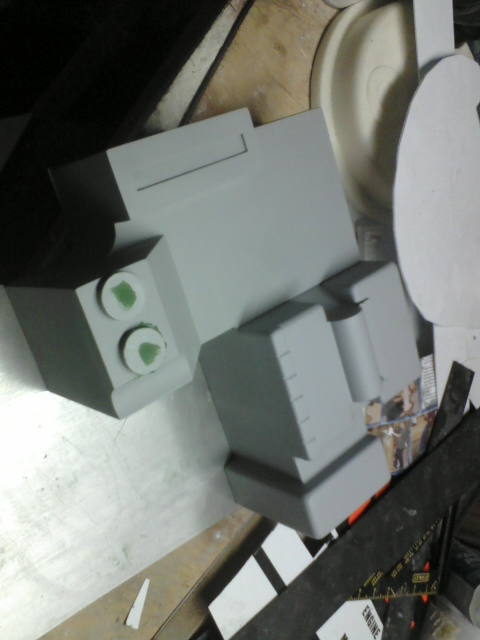
Putty and paint, makes it what it aint.
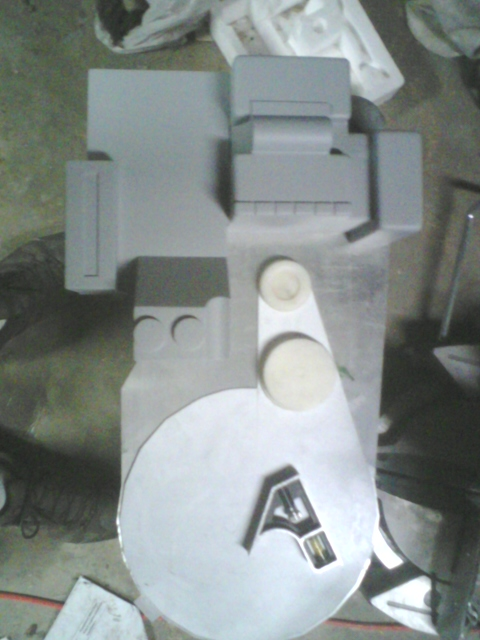
New synchronus generator is cut out
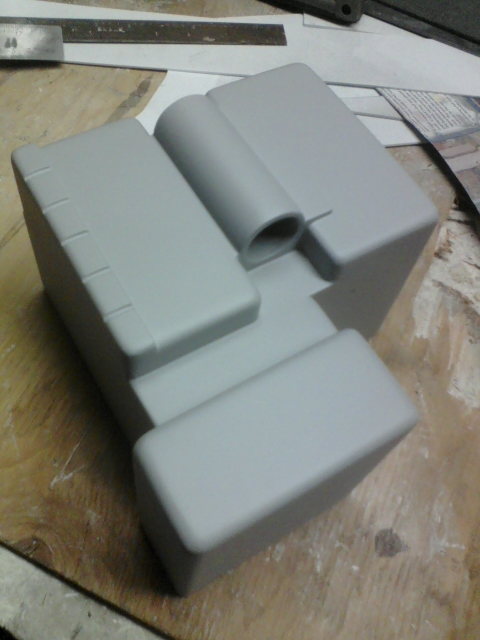
Pretty happy with this part.
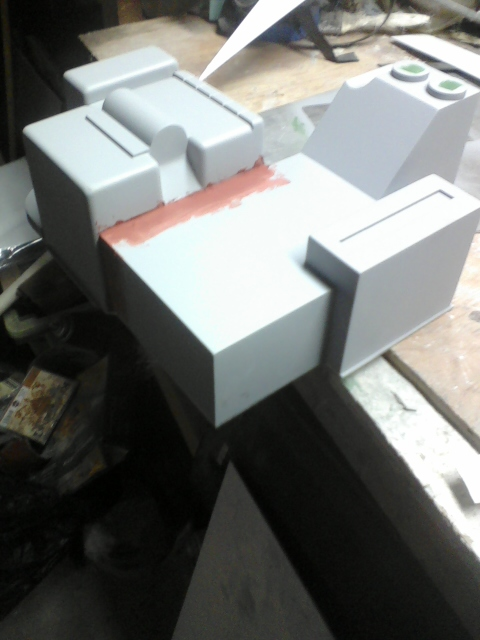
Joined all the top sub assemblies.
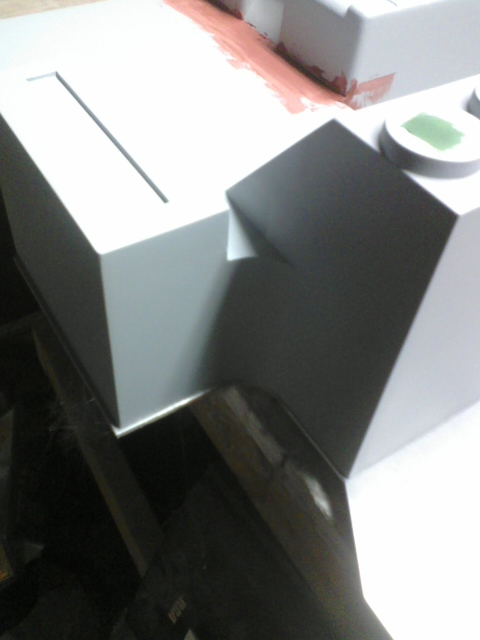
Refining the curve here a little bit.
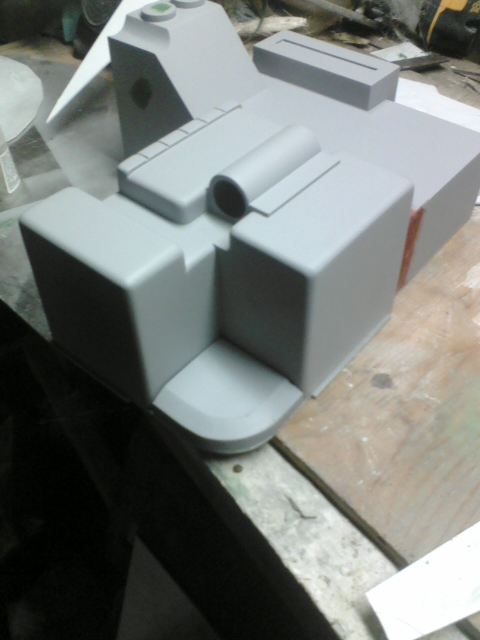
Got the corner in place.
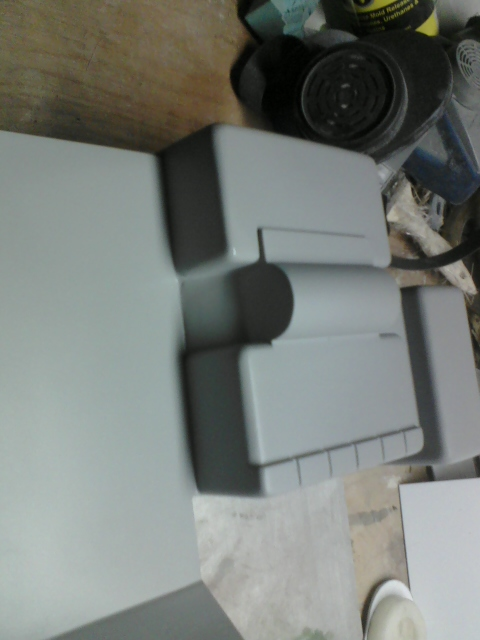
Filling the seam between the two main sections.

Cut all the parts for the generator, parts 8-15 were all a quarter inch short, my bad.
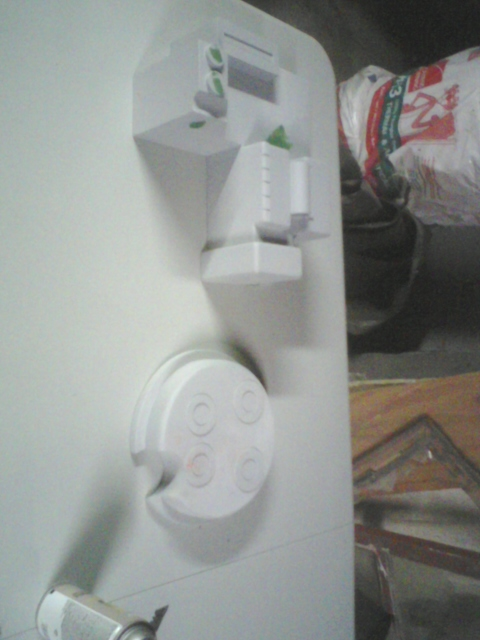
wanted to rotate this picture but apparently its not an option on photobucket anymore.
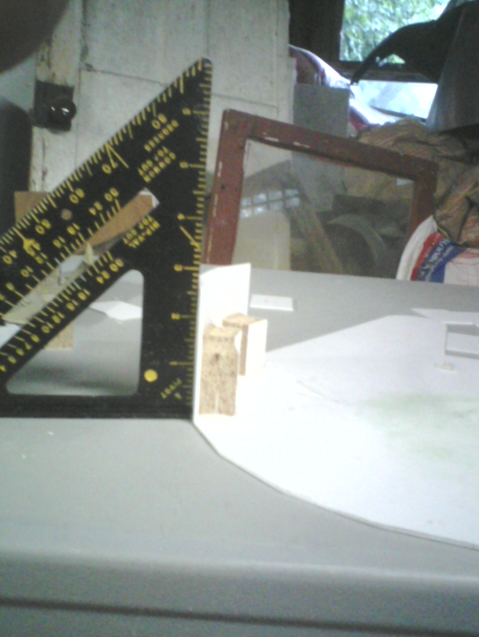
Finally started building the synchronus generator.
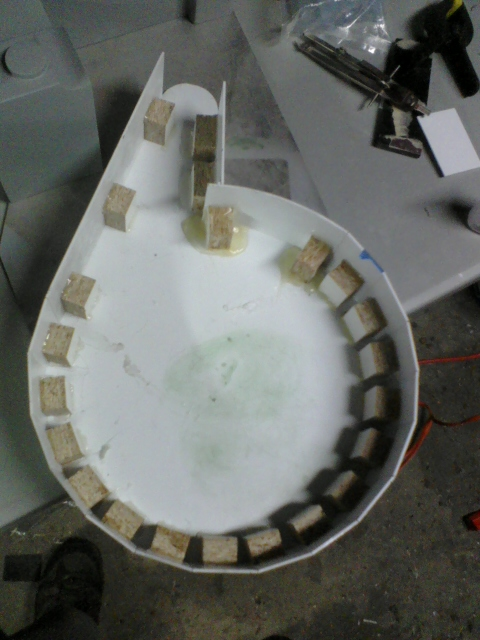
Nice and square :slight_smile:

Checking the fit of everything, looks good to me.

Started the “ribs”
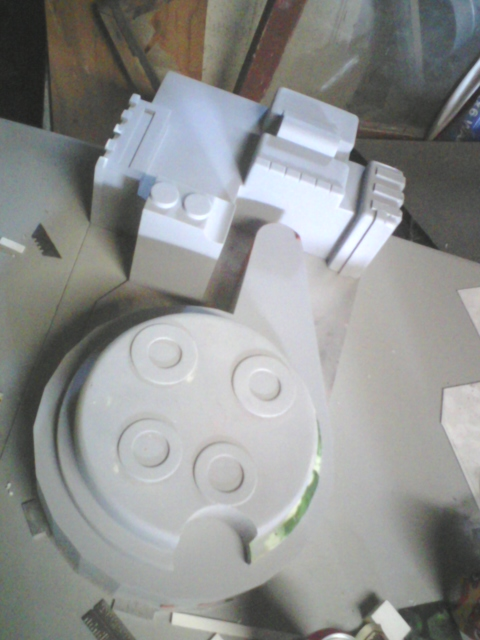
More of the same.

This pic is almost as sexy as my wife I think.

Thats all for now, Thanks for looking.

Looking good man. I can’t wait for shell #2!

That are nice…

im really digging this

oooo yeah! So smooth and clean.

BEAUTIFUL!

Thanks guys. Its my goal to be molding it in no more than 3 weeks.

GAVAL Likes!

You can rotate on Photobucket. Just go into “Edit” on the image while logged in and it’s an option there…They let you crop and zoom in too. It’s nice!

G

Maybe today they’ll give me the option, photobucket is terrible when it comes to not screwing with things. I looked everywhere for the edit option and couldn’t find it.

I’d just like to add, my first post should say “I built one last year” this is my current build that I started about 2 months ago, I’d say I probably have about a week and a half invested in it.

Dude this is amazing. But you already knew that didn’t you :wink:

Coming along beautifully Pat keep up the awesome work man.

Thanks guys. I’m working on smoothing out this curve, I’m hoping to start on the cosmetic plates today.

Looking beautiful Zombie. It’s about time you made a thread for a project. Keep the pics coming.

Started the ribs on the powercell, progress was slow today for some reason…made me sad :frowning:

Looking great Pat. Such a clean and square build.

Again, thanks for all the compliments. This picture makes me happy :smiley:

it fits SO WELL!!!

Just updated this on the site. :cool:

Got the center section all made up, I’ll have to fine tune it when the glue dries

Nice.

Was the “Spacer” all done in one piece of plastic? With the flaps folded over? Good process! Turning out really well.

The spacer was made out of a few pieces. I made the .5" section the entire area of the spacer and then built the 1" section on top of it