Sadly I was born with the complete inability to cut anything in a straight line.
Anything.
At all.
Despite this overwhelming handicap, I still want to build myself a proton pack. The last time I tried this, for a friend, I used Poundshop plastic and it came out … okay.

Adequate, I guess. For a friend who didn’t care about accuracy.
Problem is, I do. A bit. Not as much as I probably should, but enough. I want my pack to look right, but I also want it to look homemade. I want to be able to point at bits and go “that’s just a something we all have in our bathrooms”.
So my pack has to be more accurate than the last one, but still cheap and cobbled together from odds and ends.
But then there’s that problem - what do I build it out of?
Wood? Plastic sheets? Something else I can’t remember the name of right now?
Basically all the things I can’t cut. Not straight at least. Part of that’s not having the proper tools, most of it’s not having the proper ability.
I can’t afford to buy a pre-made shell … or rather, I can afford to buy one, I can’t afford to lose my long-suffering wife when she finds out.
They’re kind of hard to hide.
So what does that leave me with? Well … cardboard. And papier mache.
I have no idea if this is going to work, but I need it by Halloween and time’s a ticking … so let’s see how it goes.
First up - a big pile of things:

… with a note from my six-year-old daughter. These packages have been arriving for a while now and the postman is getting really annoyed about it.

All of these things are off eBay - just bits and bobs to finish off the pack, nothing cost more than a pound. Except this:

Which is from JT - the only pre-made part because … well, just because. It’s pretty.
The rest of it I’m building using Stefan’s plans and it started off looking like this:


And after a bit of newspaper and PVA glue:

This was the end of the first day:

Which is looking hopeful. Right? I mean, all the parts are vaguely recognisable. To me, anyway.
Day two I discovered one of the limitations of papier mache - drying time. Damn this stuff takes a long time to dry. Day two I couldn’t add the second layer, so I busied myself with incidentals:
Clippards:

Trigger box and instrument bar:

(made out of plastic cut (badly) from DVD cases).

And a dry(ing) fit:

Day three brought a pink(ish) layer:

I figured it would be wise to alternate between regular newspaper and a pink one so I could tell what I had and hadn’t covered with each layer. I also widened the powercell window since it was looking too narrow to me.
This second layer went on much quicker. I also changed the way I applied it, instead of dipping the paper in the glue, I brushed the glue onto the pack first, laid the paper and then soaked the paper with more glue in situ. This was easier to get the paper lying flat and seems to aid drying time.
I even had time to make the bumper:

That’s foamcore and hotglue …

wrapped in more papier mache.
Immediately upon finishing it I realised I’d put a rather odd slope on the bottom for no reason. I keep forgetting the cardinal rule: check the damned photos because it doesn’t look like what you think it looks like!
Day four I fixed it by attacking it with a knife and some filler. The day also brought another layer and another dry fit:

Day five (I’m only doing a few hours a day, by the way) was today. This morning I hotglued all the bits into a shell, of sorts:

And then a fourth layer. Pink(ish) again:

And that’s where I am so far. It seems to have gone a bit wonky somewhere, seeing as the bottom block on the spacer is not vertical but a little askew … but I can’t really fix that now.
It’s got all the right shapes (sort of) in almost the right places. The cosmetic plating to the right of the spacer seems to be coming too far down. Not sure if that bothers me enough to fix or not. Overall, kind of happy - the newspaper swallows up a lot of the detail in photos. One more layer to go and then I’ll see what happens when I spray it up.


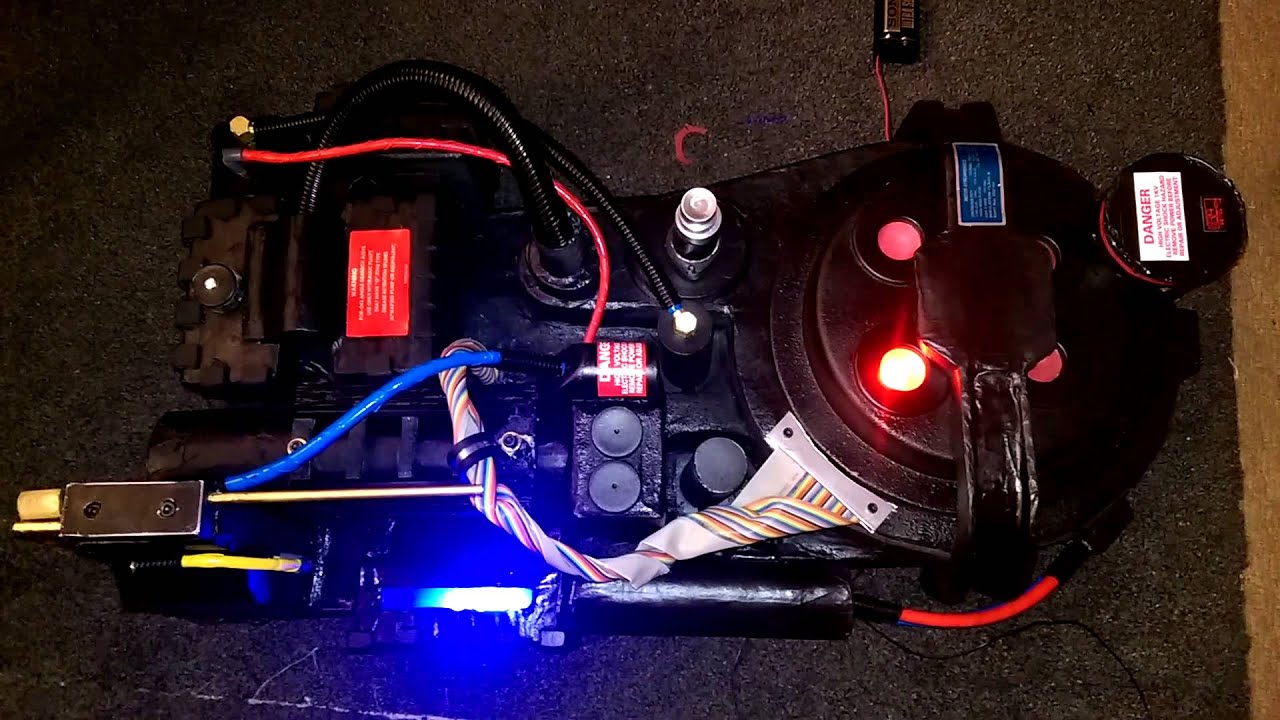

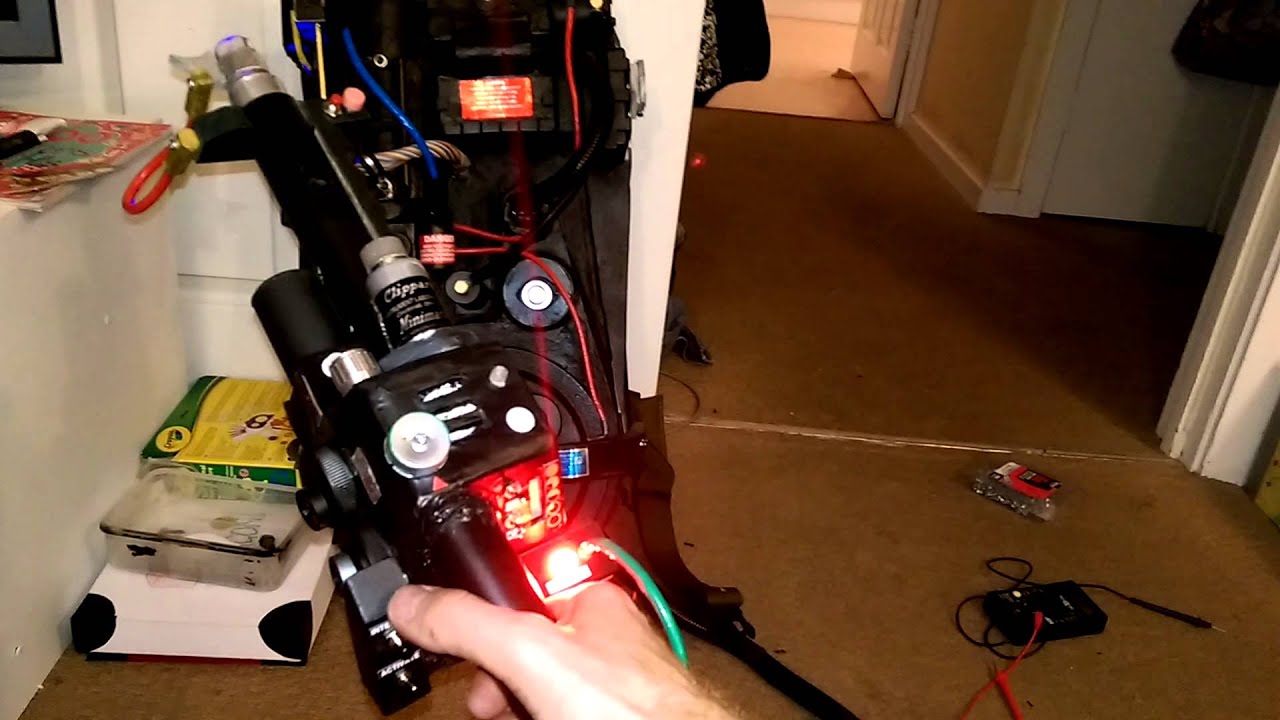
](http://s1278.photobucket.com/user/phillbarron/media/Mobile%20Uploads/IMAG1067_zpsaqwkolwc.jpg.html)
](http://s1278.photobucket.com/user/phillbarron/media/Mobile%20Uploads/IMAG1069_zps5elrbxfj.jpg.html)
](http://s1278.photobucket.com/user/phillbarron/media/Mobile%20Uploads/IMAG1070_zpsonakirk0.jpg.html)