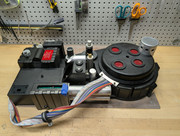
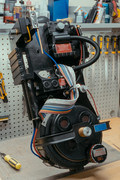
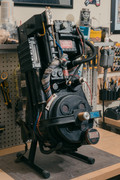
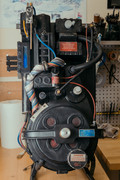
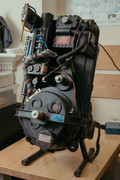
I don’t know if it’s a personality flaw but I couldn’t help upgrading my Haslab ‘84 pack. I didn’t set out to do anything major, I was just going to paint the PPD and replace the jelly-hardware.
This escalated, naturally, to painting all of the “aluminum hero parts.”
I painted the N-filter, HGA, PPD, uh and the rest.. with aluminum chrome and clear coated it. Thinking they looked nice I thought of my stash of real aluminum parts. So I took them out to compare.
This escalated, naturally, to discarding the plastic parts entirely and just using the aluminum parts.
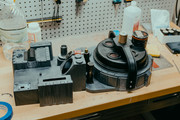
I had to discard the bottom of the power-cell hinge because it’s attached to the injectors. I figured I’ll just attach the door permanently so that ugly seam isn’t there. I hot-glued the outside to hold & seal it in place while I lined the interior with fiberglass.
I also extended the top and bottom ribs with some sheet styrene. And I put in some rivets and putty on the circle things. This will all need painting.
This escalated, naturally, into painting the shell entirely.
I prefer the natural weathering techniques from the original films to the theatrical weathering of the modern ones. I painted the shell with gray primer, and then sealed it with a layer of mod-podge. The podge layer is important because it keeps you from breaking through to the plastic when you wear down the outer paint.
The Mod-Podge also lets you add more texture to the shell. Since the plastic already has some wonderful textures modeled in, a very subtle layer on top does wonders to meld the textures together and give organic variation to some of the overly artificial patterns.
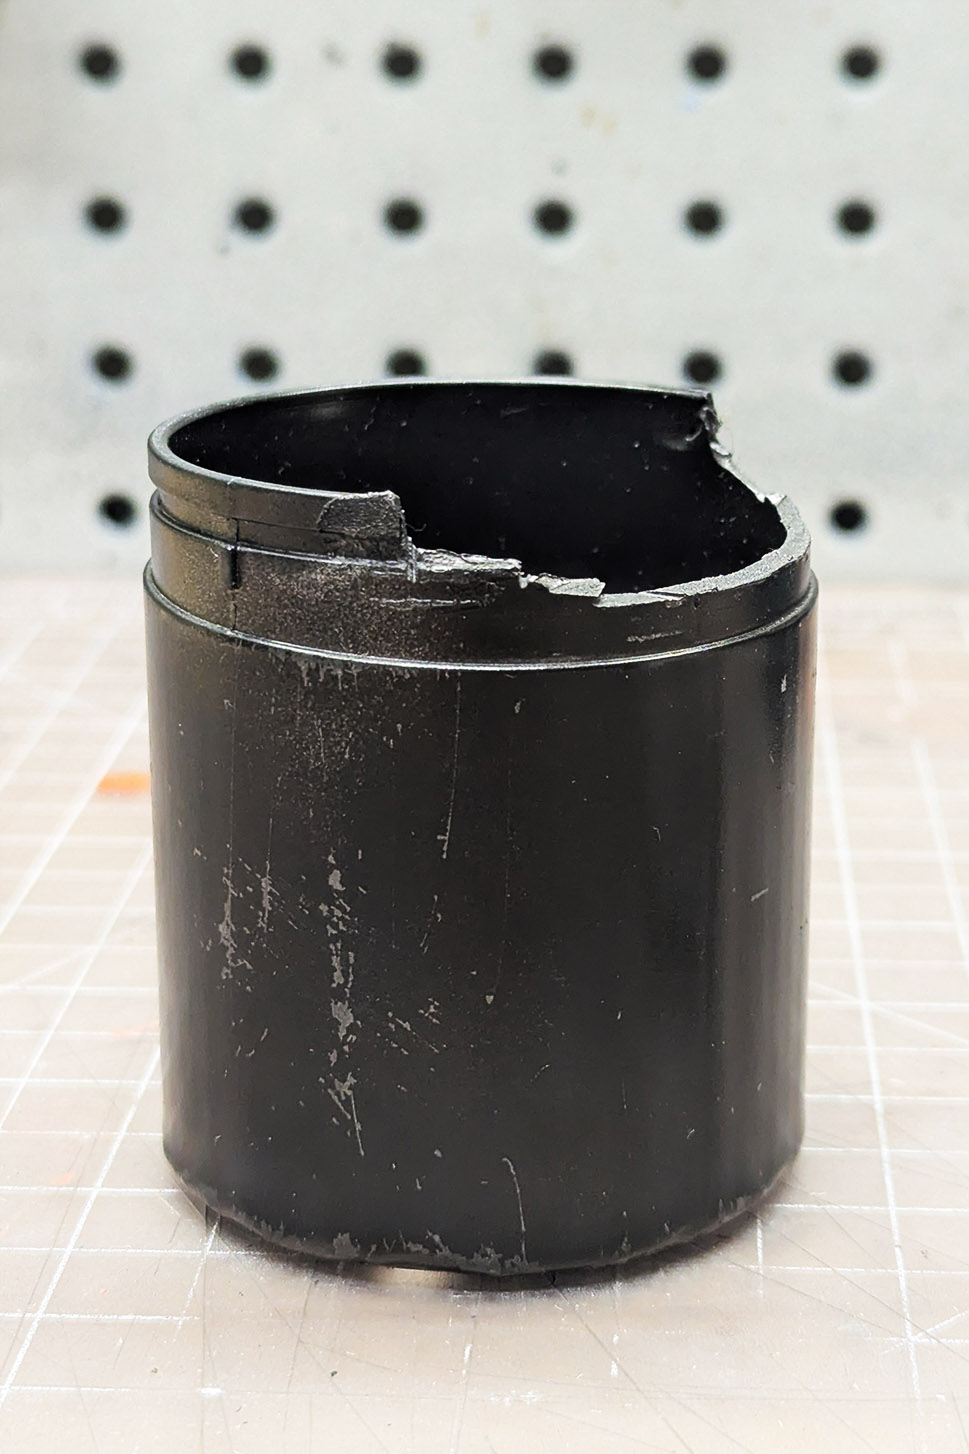
For the booster tube I lined the outside with aluminum tape and then treated it like a real aluminum part.
Looks great! I appreciate the more controlled weathering, very GB2. I totally get needing to mod this pack, I didn’t think I would when I bought it but when it got here with the very rubber (your word jelly was a good one for them) looking tubes and connections…it NEEDED it.
Amazing work! I have metal parts that I have slowly adding to my Hasbro '84 pack into a Venkman Hero version. I have been trying to figure out how to add the injector tubes and HGA as well as looking for any potential “how to’s” on the web. Did you replace the HGA? If you did, how did you remove it and what did you attach the metal one to?
Did your aluminum Vac tube line up with the plastic ones? The one I have hangs over the area rather than fit perfectly there.
I lined the remaining hole with sheet styrene, the aluminum HGA screws into that. It can stay on with only pressure but I glued the styrene in before painting.
I’m still using the original plastic Vac tube for now. I may buy an aluminum one for it, if it hangs over a little that still fits well within the ‘margin of wonk.’
From what I have seen cutting it out is overkill. Once inside the pack you remove the screws from the bracket around it and then you should be able to wedge under it to pop the glue.
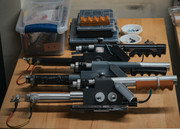
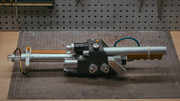
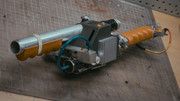
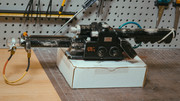
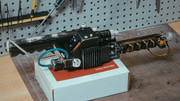
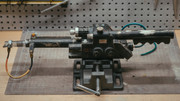
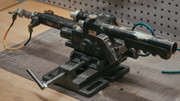
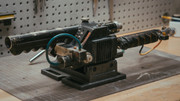
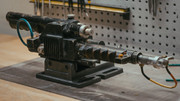
So while I did watch some videos to see the wand interior, I quickly decided I had no intention of messing with the wand. The designers of the pack appear to have gone to some trouble to make the pack mod friendly. I wouldn’t say the same for the wand, and frankly it’ll be easier and more satisfying to just build a new wand. So I’m do.
I thought of using a throwing chicken kit, but then I looked over my aluminum parts again and I had everything for the wand but a body. I had this resin body in the resin parts bin, I have no idea who made it and it’s probably 15-20 years old now. It’s a pretty great cast, I’m going to use it as long as the interior doesn’t cause me too much trouble.
Yeah the Hasbro wand is way less mod friendly sadly, but it really needs a few touches. Even changing the Clippard requires opening it up and removing internal parts.
Well I don’t have my electronics/guts worked out yet but I really just wanted to dress the wand. I’m probably going to switch to a 3d printed body, working inside this is just going to keep frustrating me.
Still a WIP but we’re going for a super distressed 90’s build;