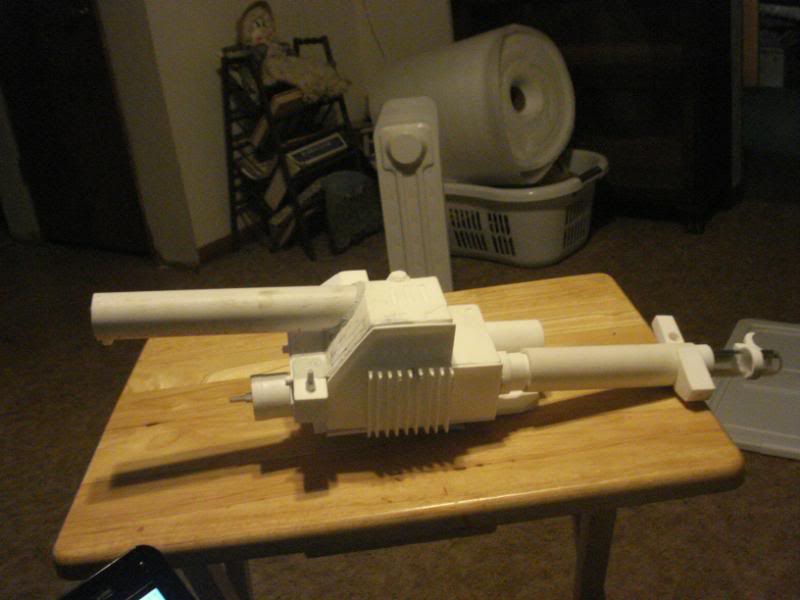
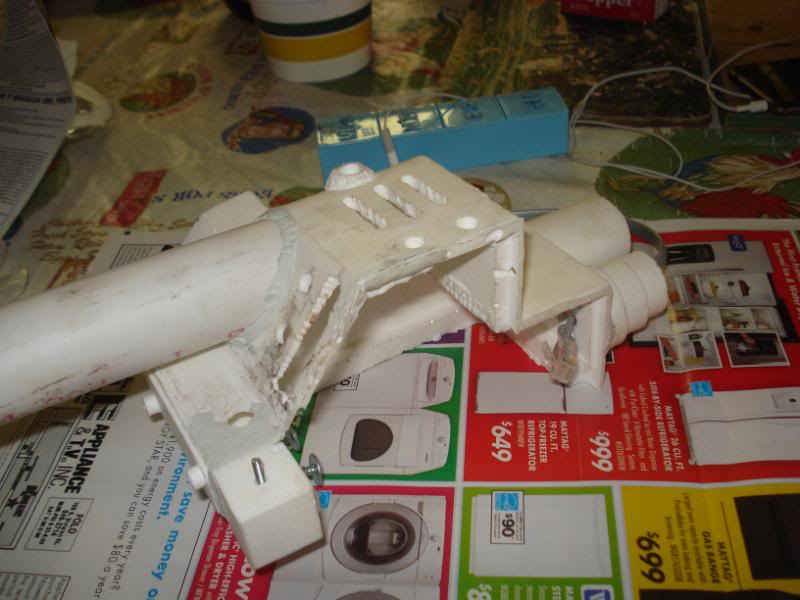
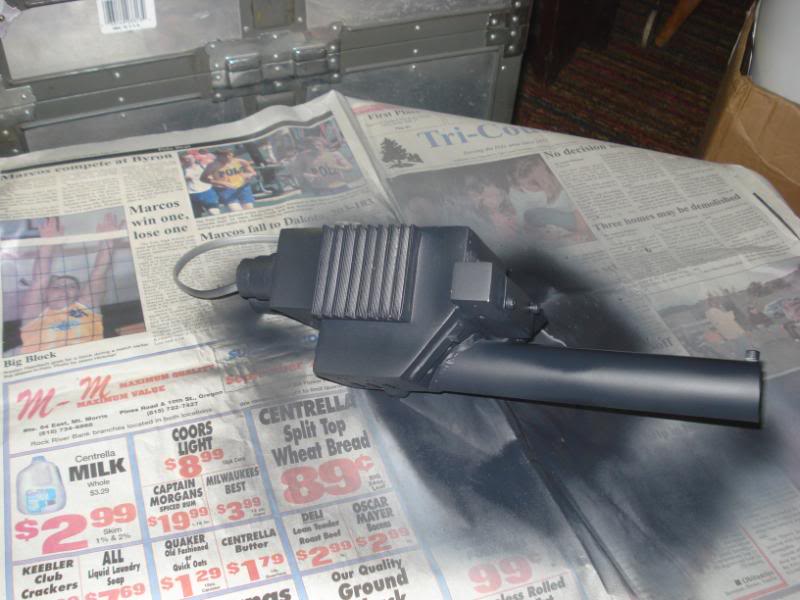
**This is my fourth pack that I have created over the past four years, I decided to finally make as close to a 100% accurate pack as possible. I bought HOTSHOT’s proton gun kit cause I wanted to cut down on some construction time. Also bought Exoray gun lights. Will hopefully be completely finishing the gun by next weekend.
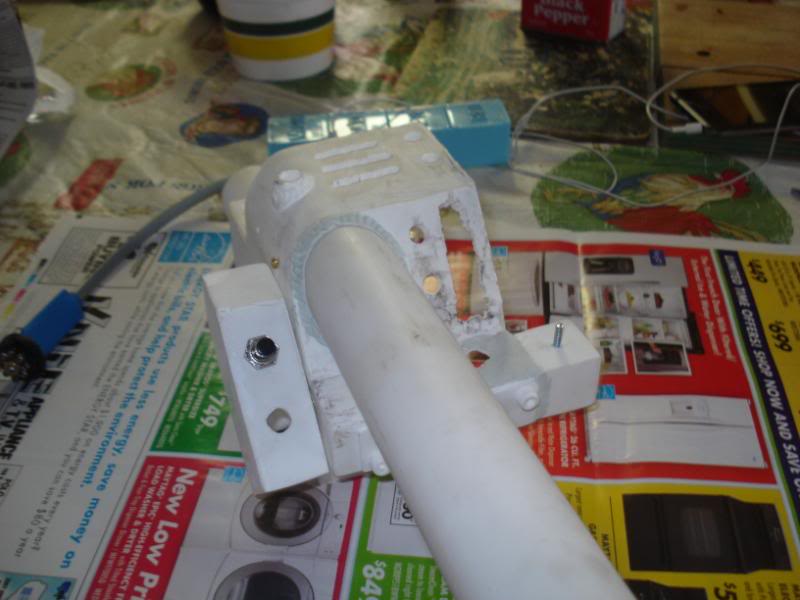
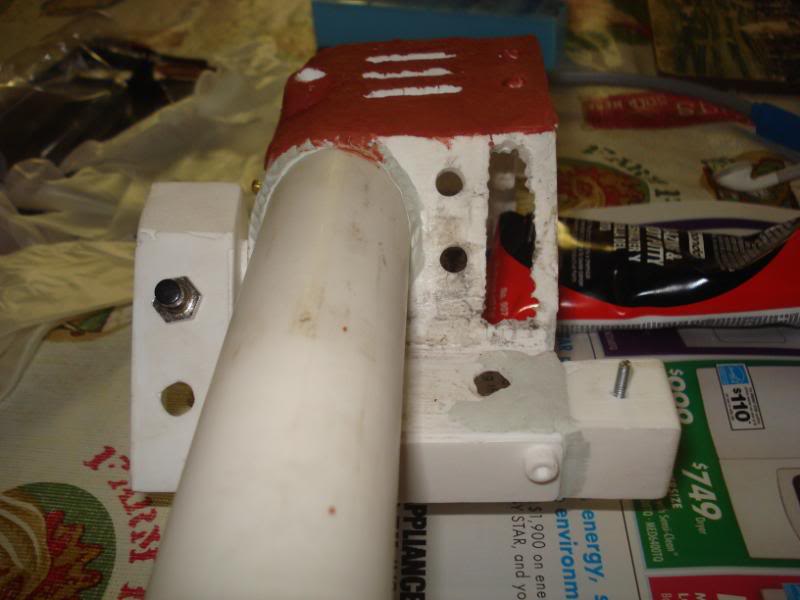
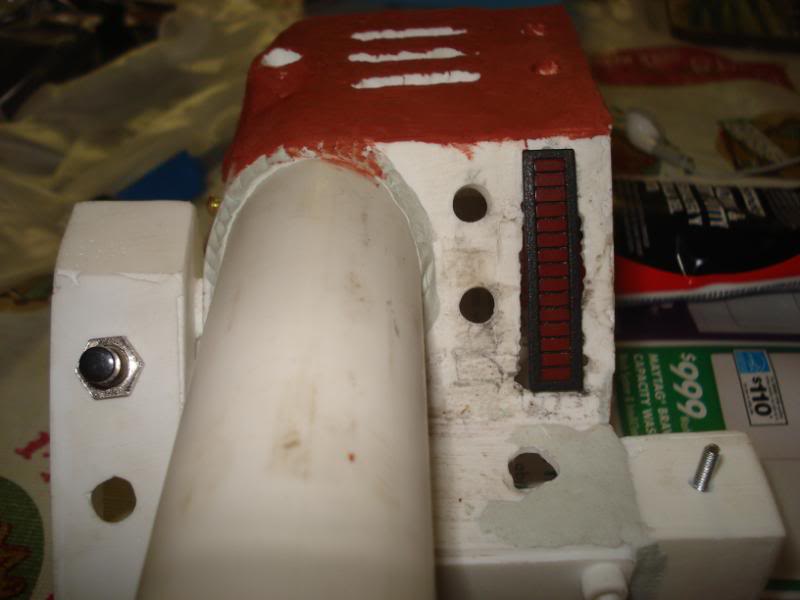
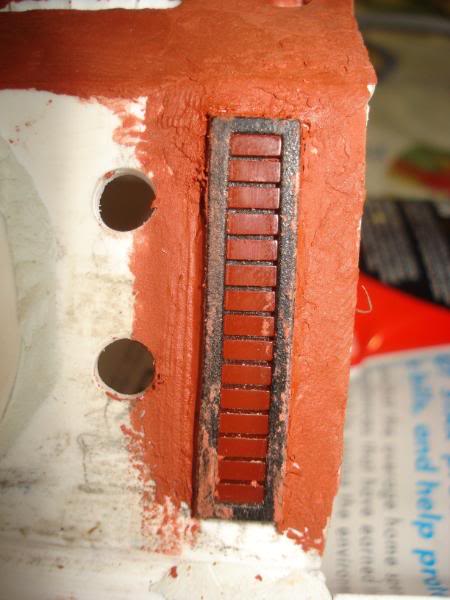
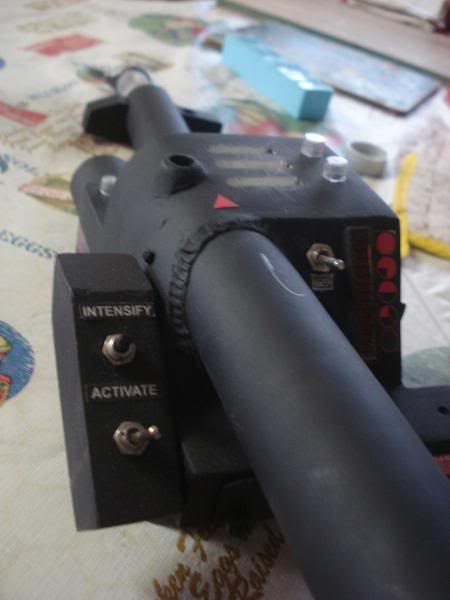
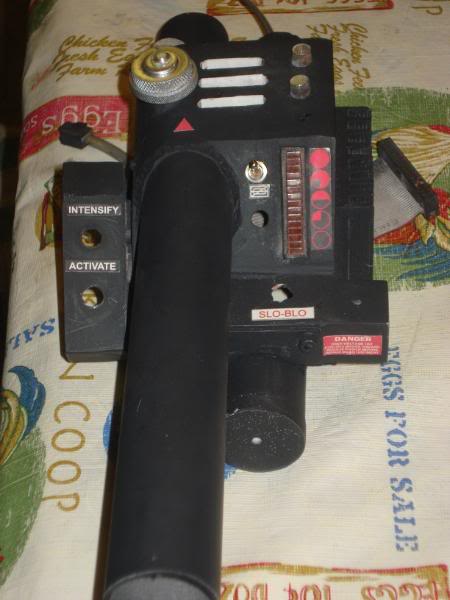
I drilled out the switch holes and the bargraph opening, I had to make it a little bit larger so the bargraph would slide in there. Will putty later on…
wow!!! That gun sure needed a lot of work to be decent. Good work by the way! What i did on my decals is i took the file to a print shop, and asked them to print it in photographic paper, then i covered them with translucent paper… and glued them with cilicion or spray glue. Makes it look shiny and professional.
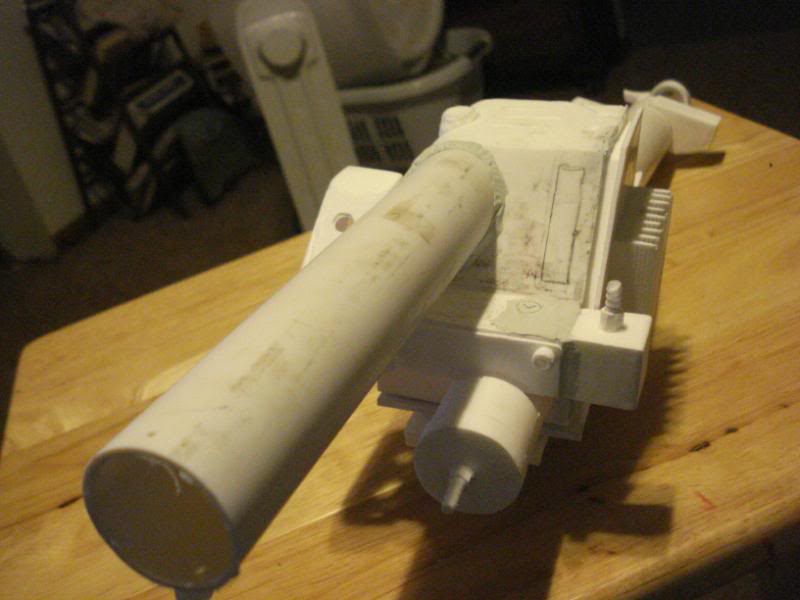
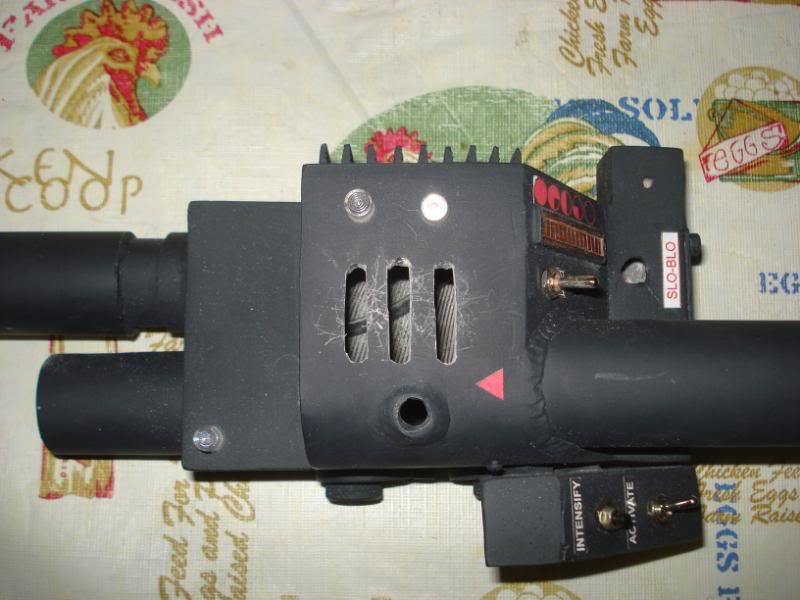
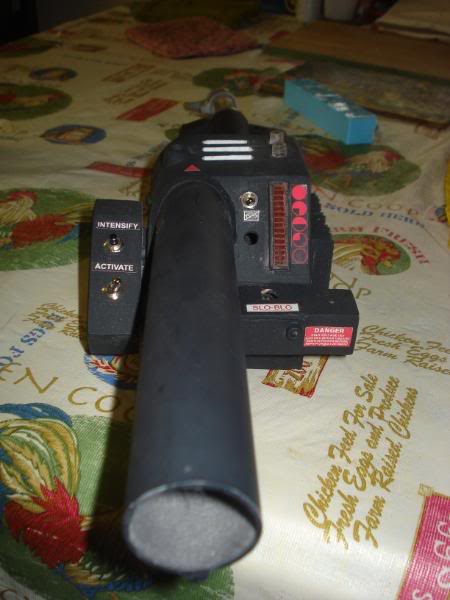
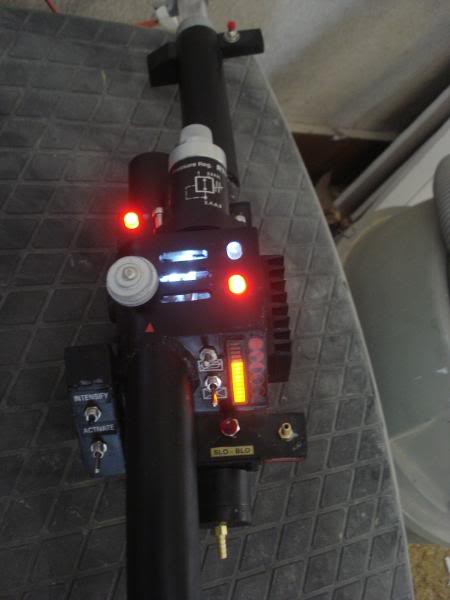
man, i hate to say this after all your hard work, but i would want someone to tell me, so here goes…you got the switch block at the end of the barrel on backwards and upside down. the angular side should be on the left of the barrel for the banjo connector, then the flat side with the orange LED on the right as you look down the barrel as if aiming at something. check out the reference pics to see what i mean. the gun looks really good though. good to see another person shelling out the bucks for a real clippard too! i think it make alot of difference.
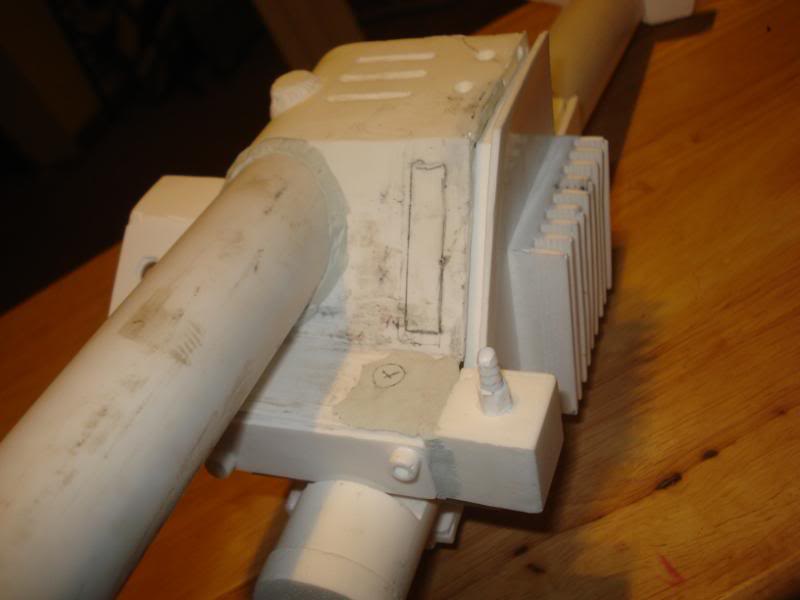
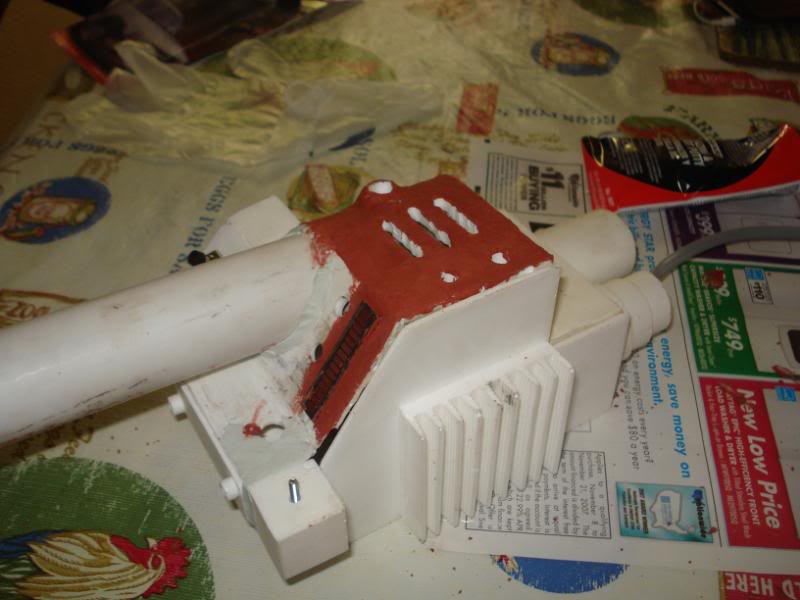
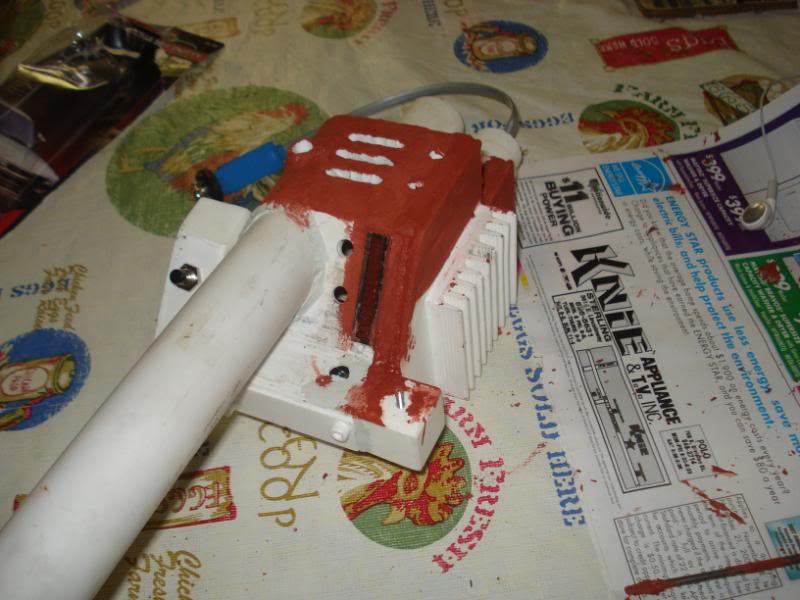
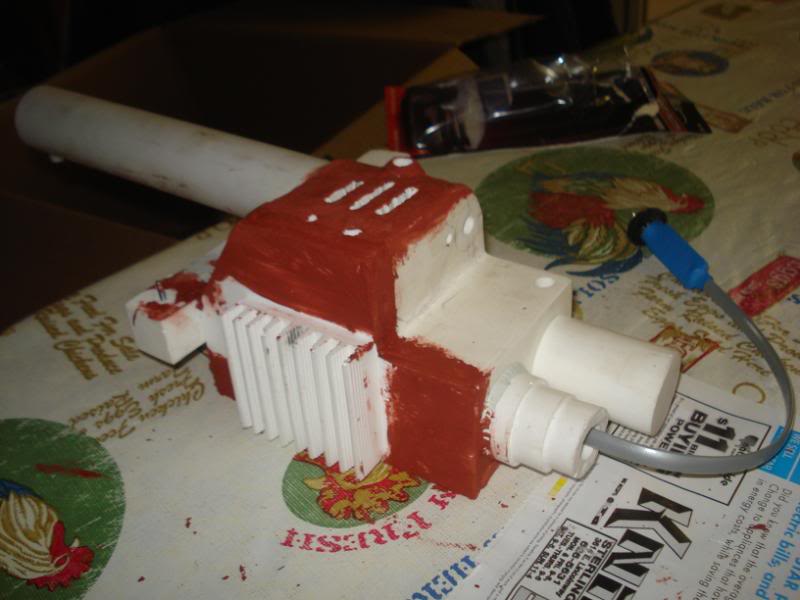
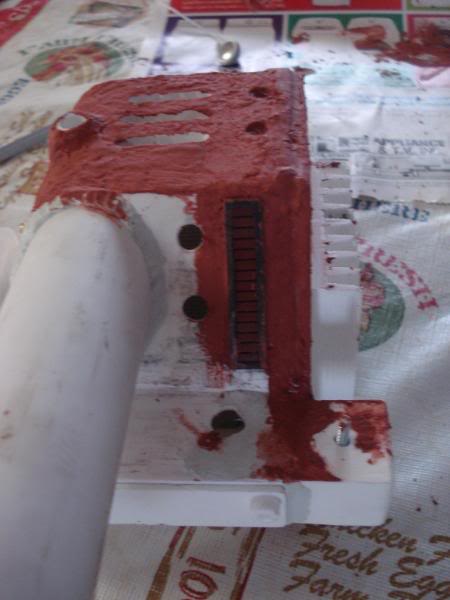
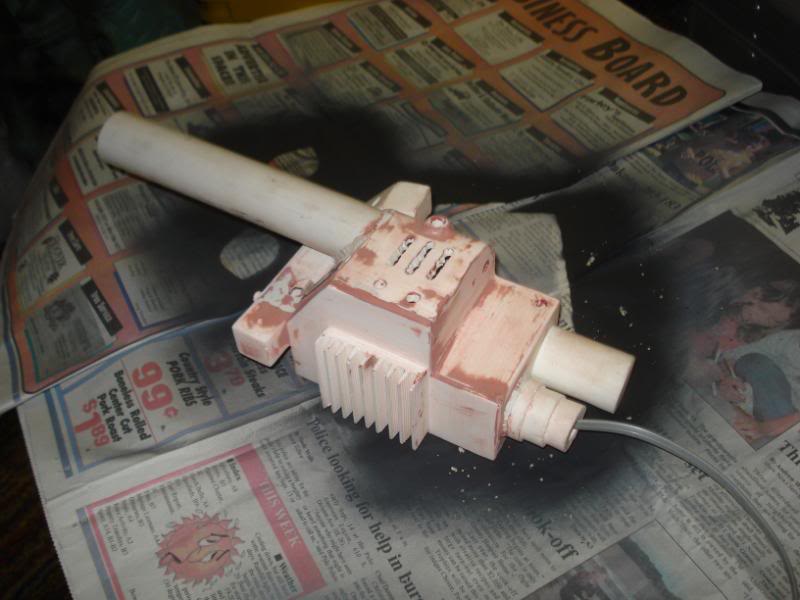
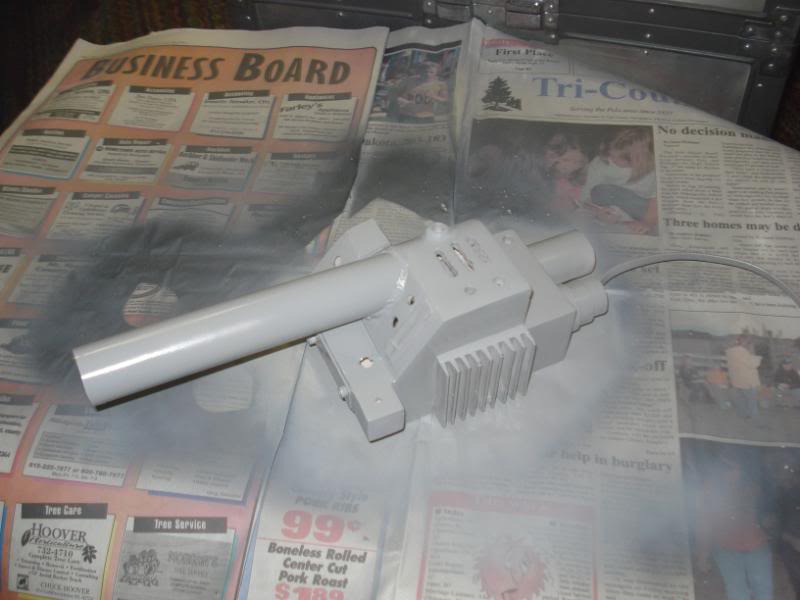
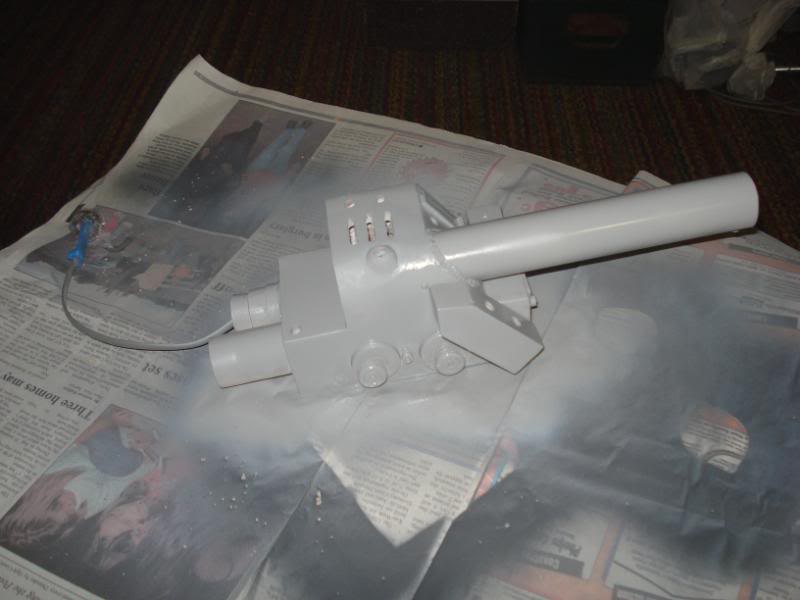
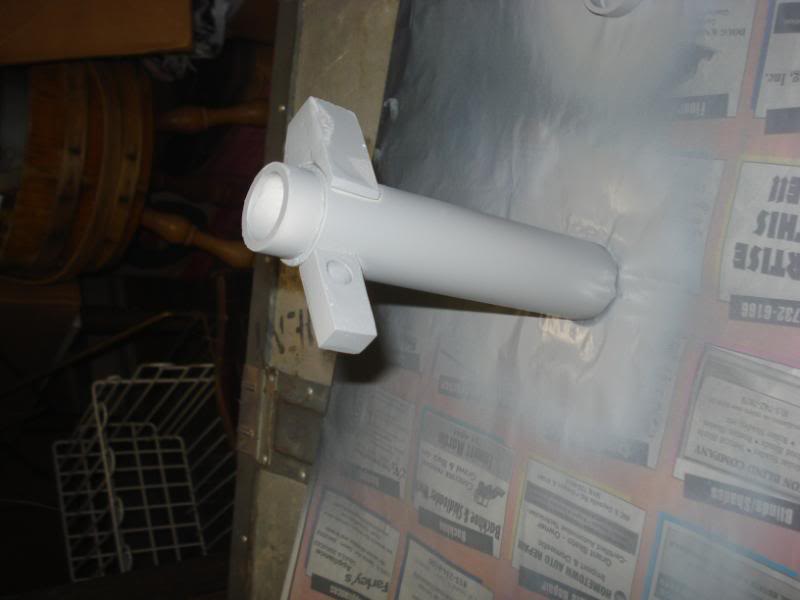
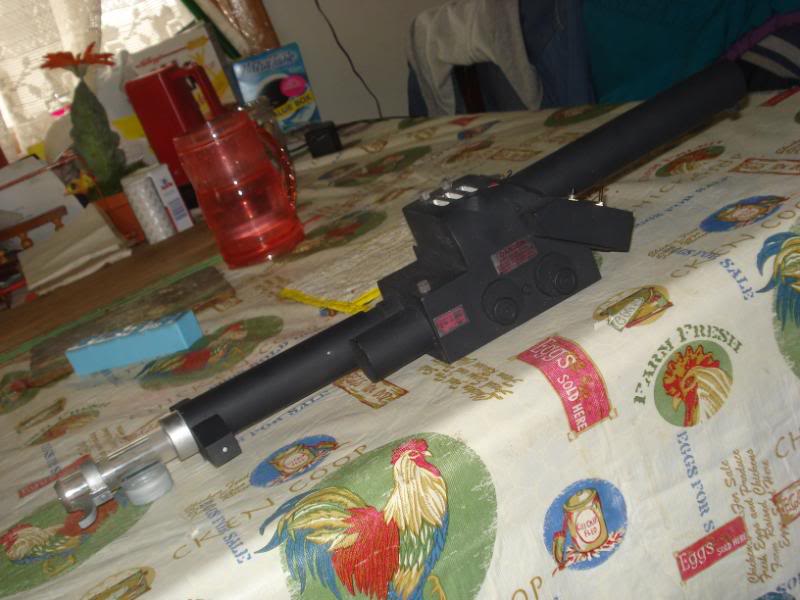
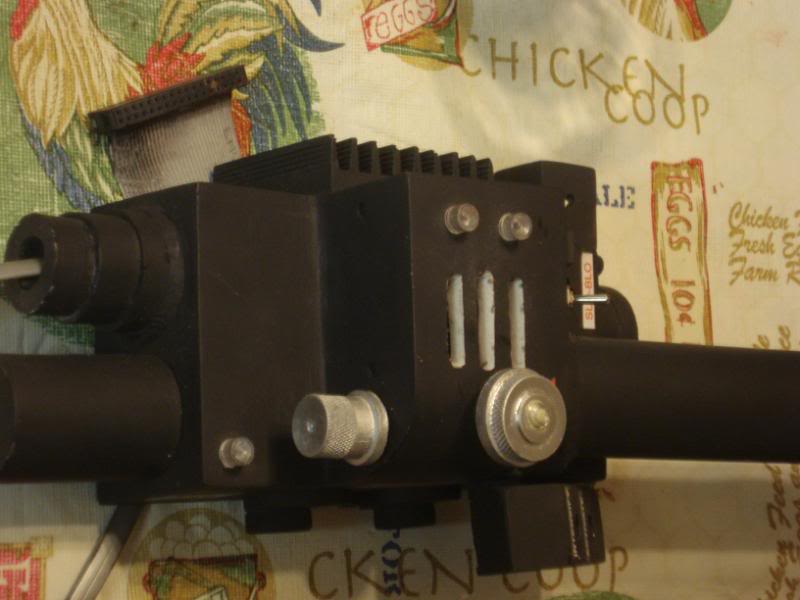
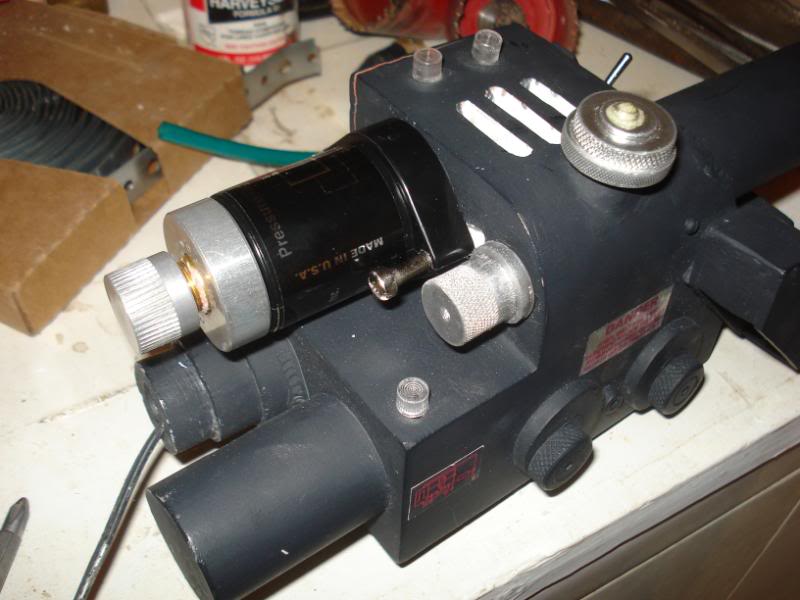
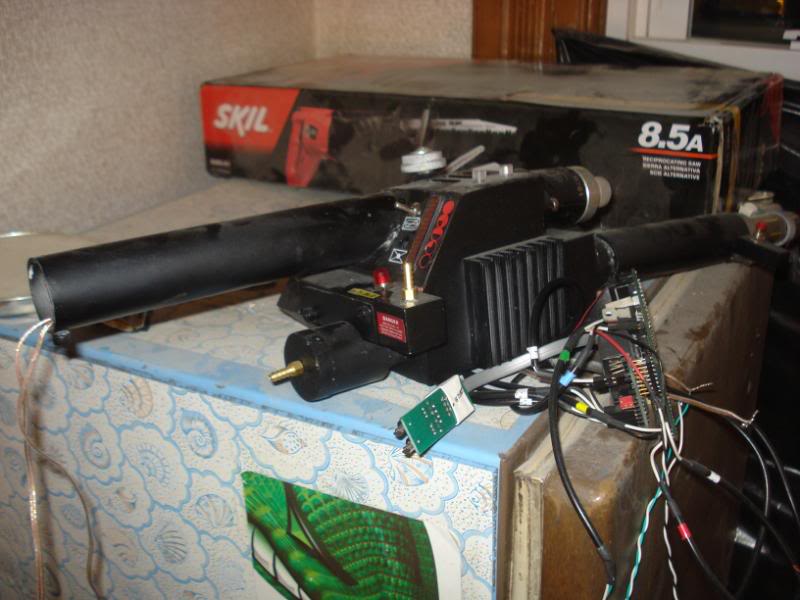
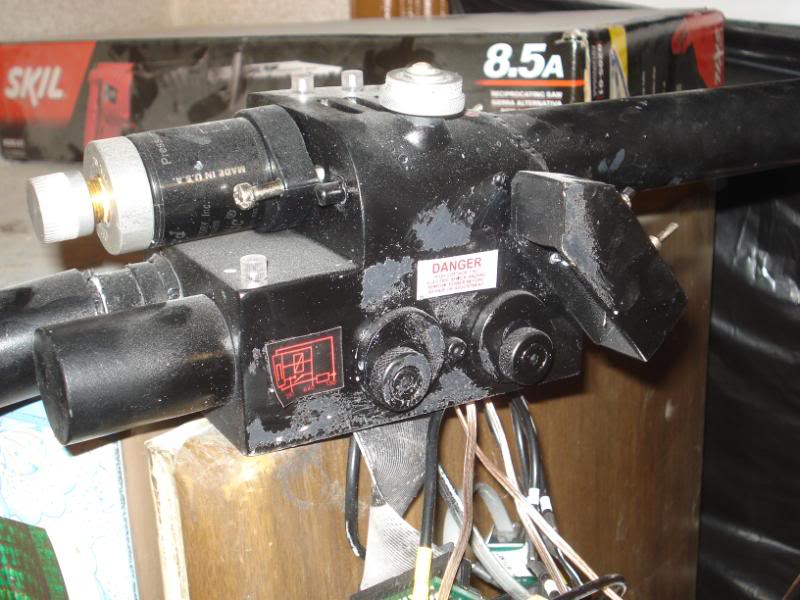
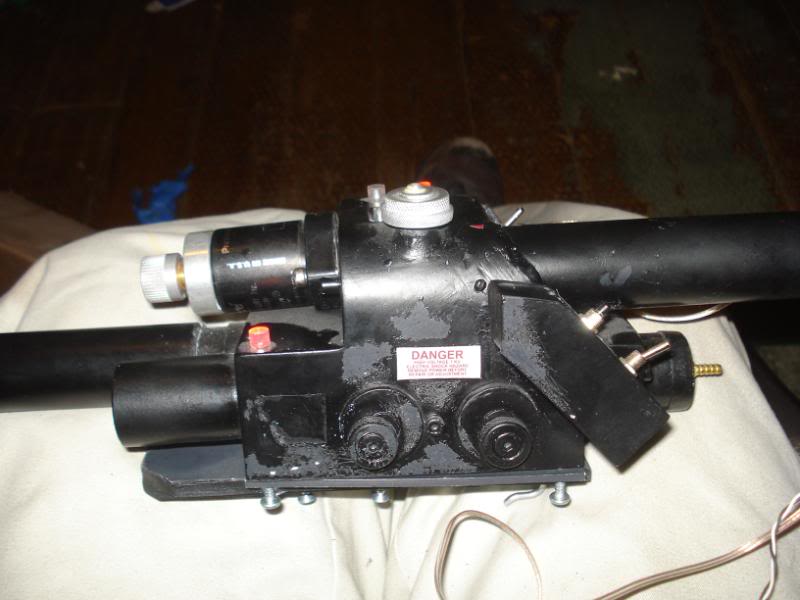
Static if you’re talking about my very first picture I put up, that is what the full non-worked kit looked like out of the box. The front boxes are in the right spots i just had them turned around in my first picture. Here are some more pictures from this week’s progression.
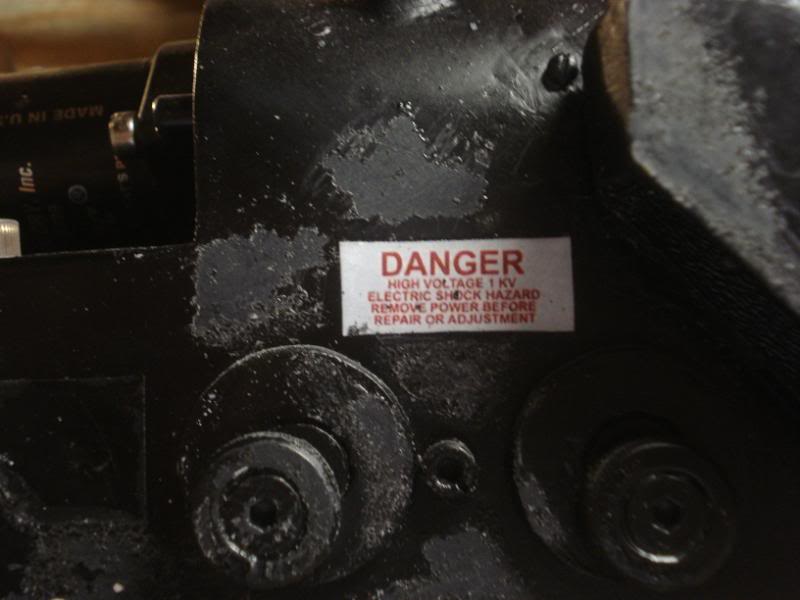
After I put my clearcoat on, the paint started to bubble up in certain spots and then dried that way, so I decided to scrape it away and repaint it but when I did that I kinda gave a cool look for weathering, What do you guys think?
There is a part of me that likes it. Its nice to make it look used but i’d rather make it look perfect so ill be fixing the sratches this weekend. And I used a epoxy car putty that can be found in the automotive section in walmart near the car paint. thanks for the opinions!
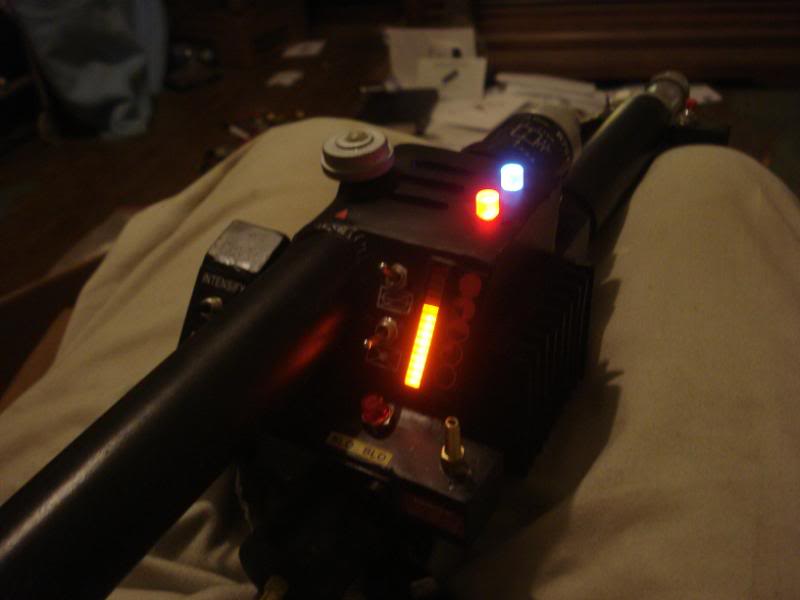
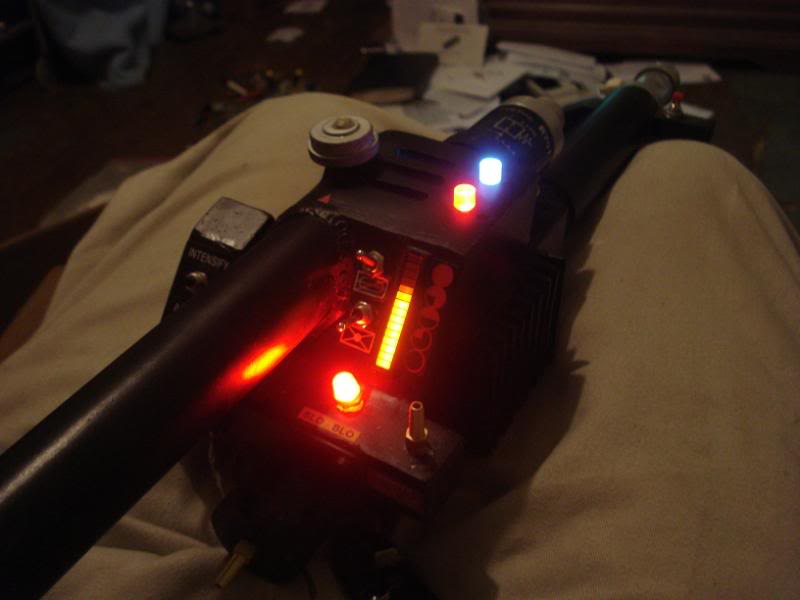
As far as how long they last, I think it depends on what type of batteries you use. I think a fresh one would last a couple days before the vent light starts to dim down a bit. When the batteries get low when you press the fire button the vent light will actually turn off, thats kind of a warning sign to change the batteries. I agree the lights are amazing! I do have limited room inside the gun body though. Also I’ll be fully attaching the front barrel this weekend, I didn’t have time last weekend to secure it properly so actually right now its just hanging loose that explains the crookedness look. Will post more pictures sunday night of the update. Also I’ll post some pictures of my old pack as well.


 Can’t wait to see what your pack looks like when it’s completely finished.