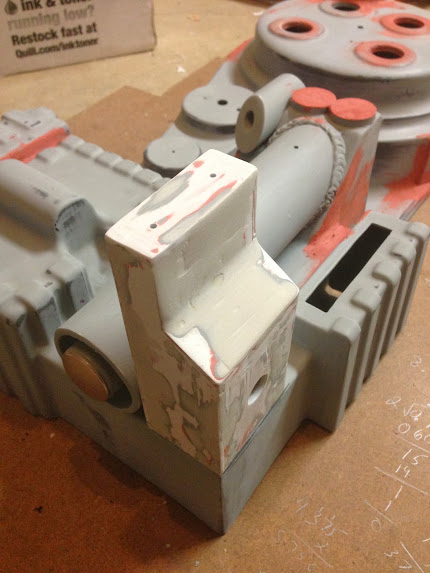
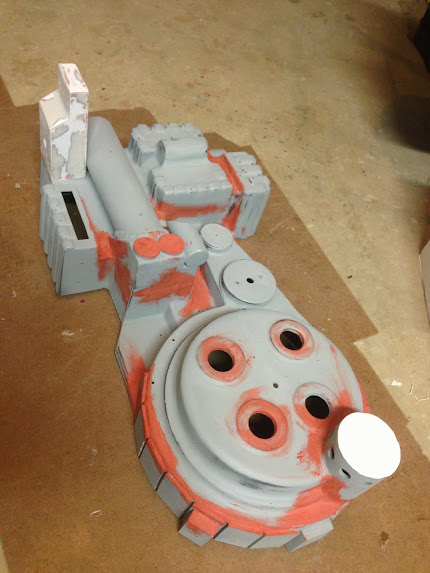
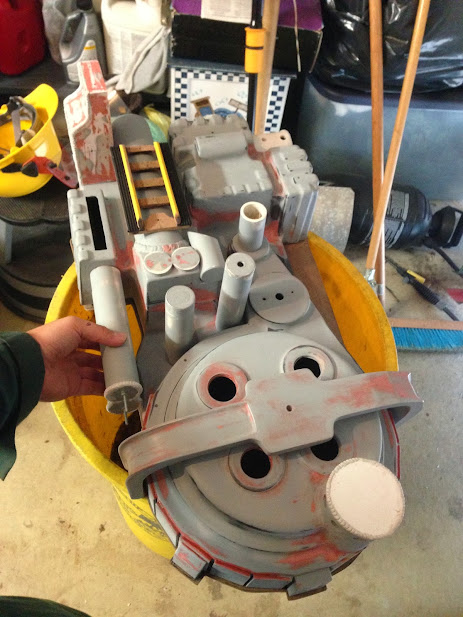
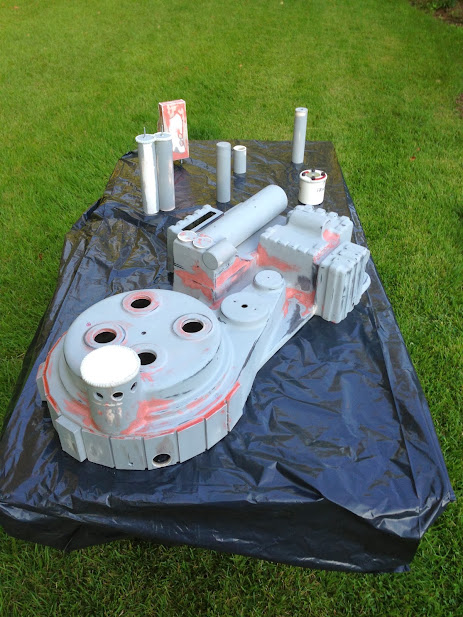
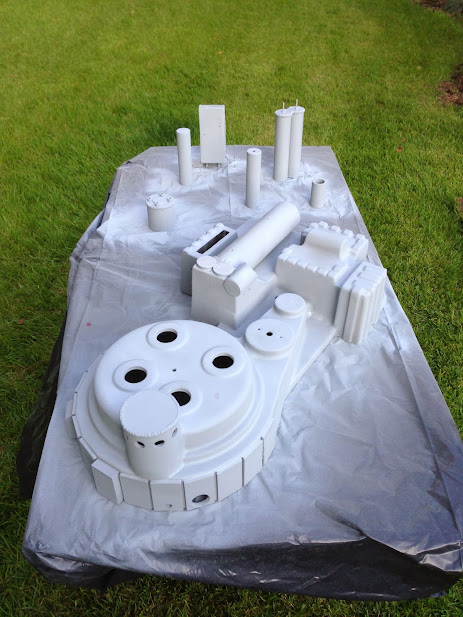
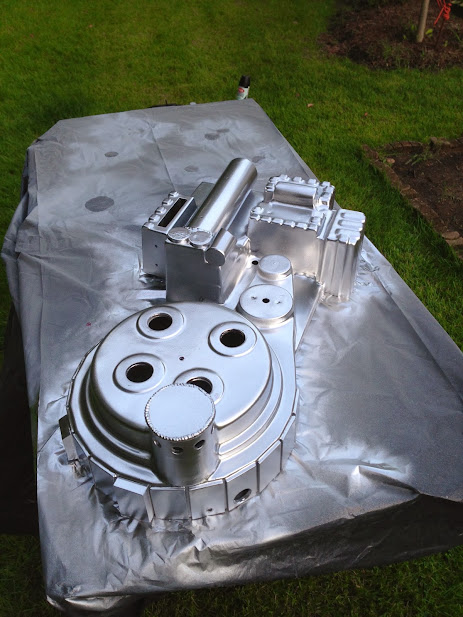
My best advice is to say just go for it. I’ve never done anything like this previously. Sanding sucks. It takes a while and it’s dusty (wear a mask). But in the end, it’s not hard -just tedious. The great part is that even if you make a mistake, odds are good you can just bondo the mistake and be good to go.
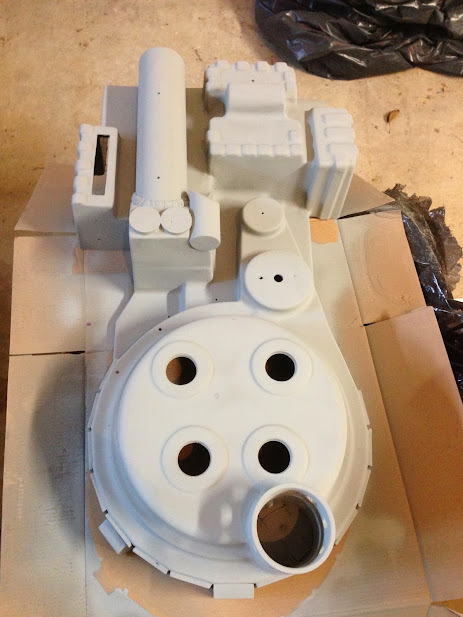
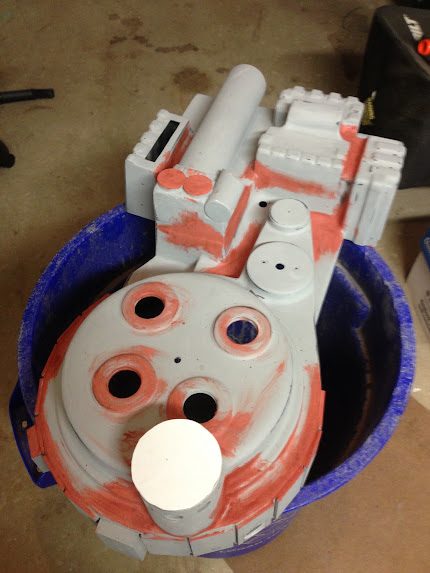
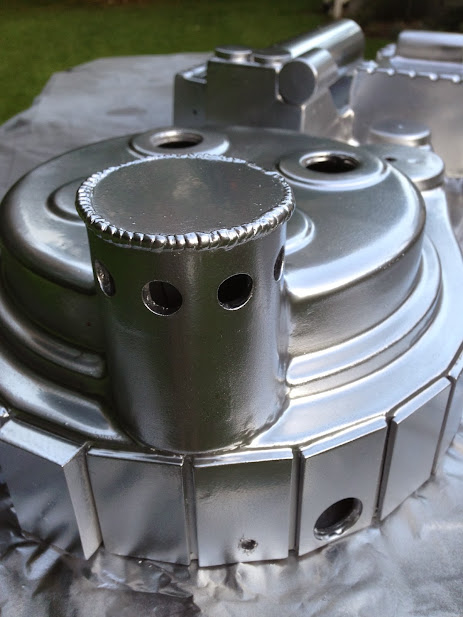
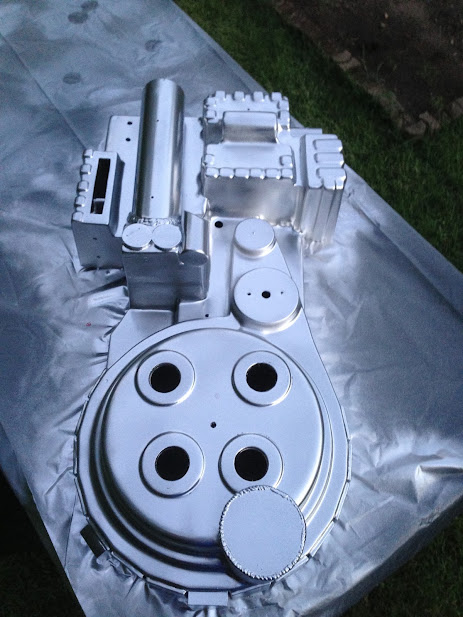
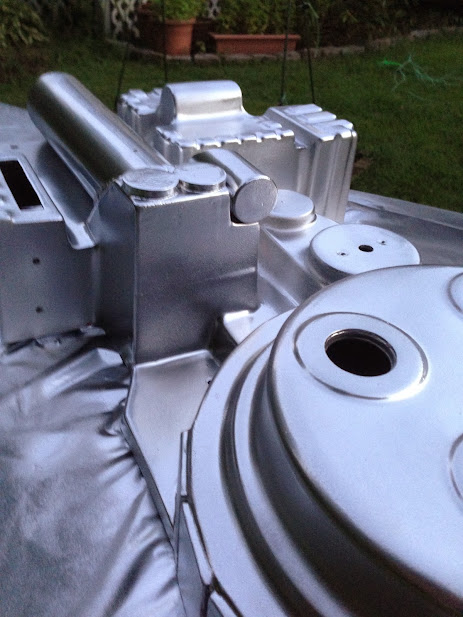
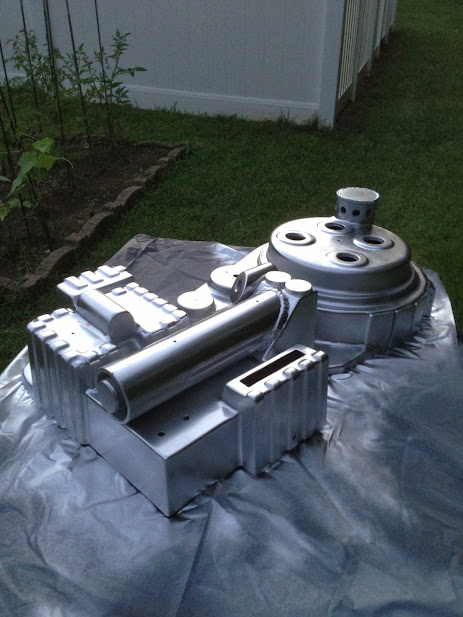
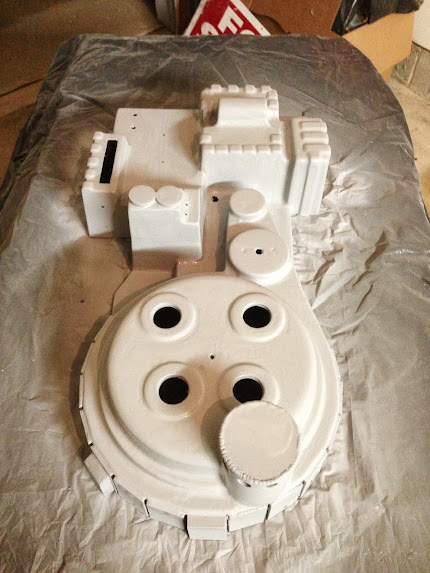
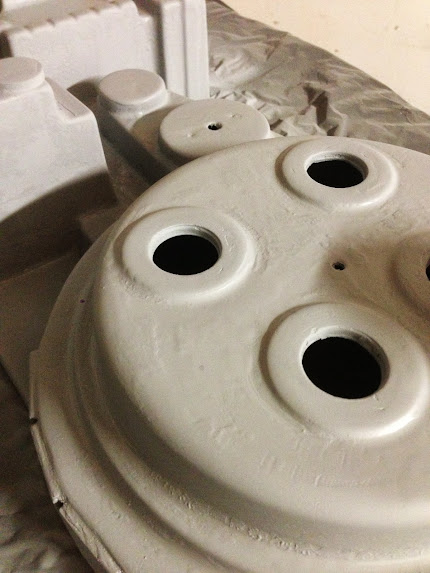
Here’s the pack primed up with the Booster tube installed and “welded” in. It’s held on with two screw form the back and I’ve already drilled the two front holes for the booster frame. I’ve also attached the PPD I made and and EDA discs. I followed Stefan’s plans but I guess the Studiocreation’s pack is slightly off so my discs look large. I thought about changing them but I like the MasterCard look. I’ve also added the two boxes along the bottom of the sync gen.
Finally got a cover on the N-Filter. I’m not really going for a GB1 or GB2 pack specifically, just kinda cherrypicking what I feel like. For the N-Filter, I think I’m going with the metal mesh look vs the white.
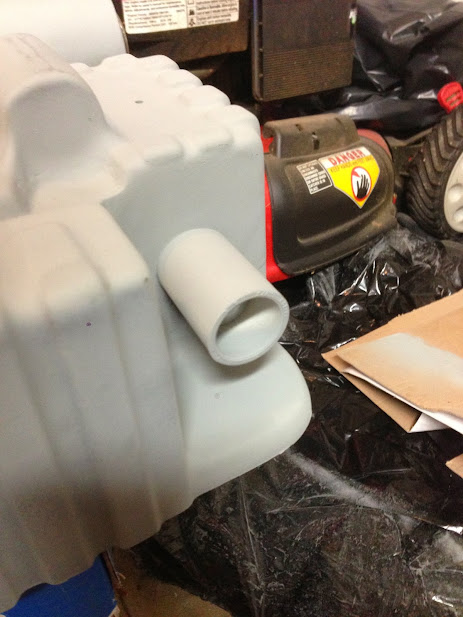
Here’s the hole for the main hose to the gun. I decided to not cut out the typical mouse hole and go for a snug circular opening. The thickness of the walls here matches my loom so I can essentially “screw” the loom in and create a pretty snug fit. I’ll secure the loom on the inside as well but it will look nice this way.
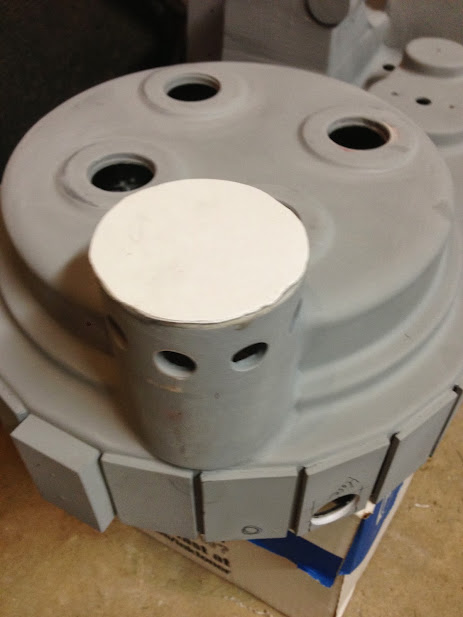
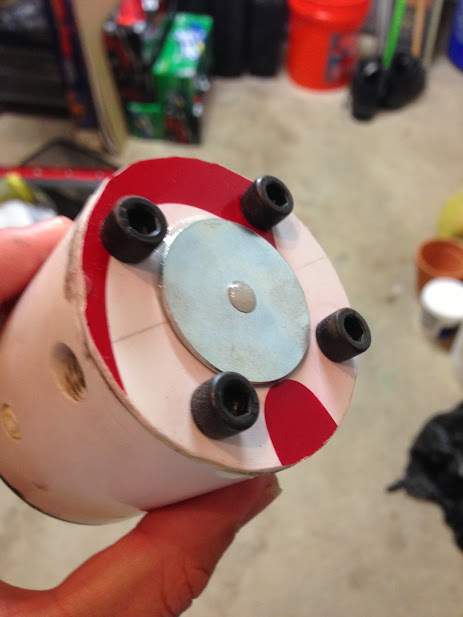
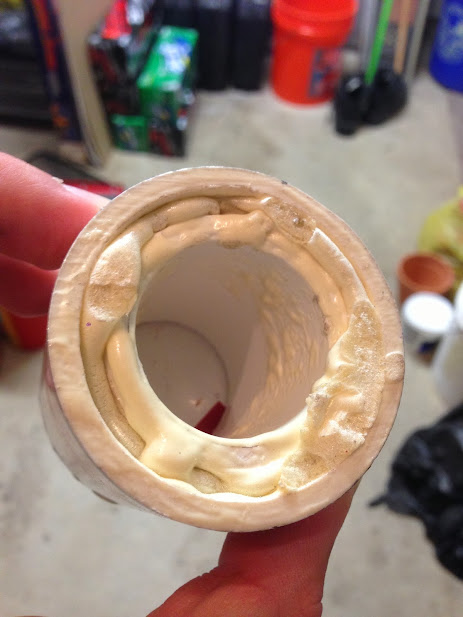
This is a detail of the interior of my HGA. What I’ve done is expoxied and foamed a PVC coupler into the center of the HGA. This will then fit verrrrrry tightly on the matching end on the pack in the next photo.
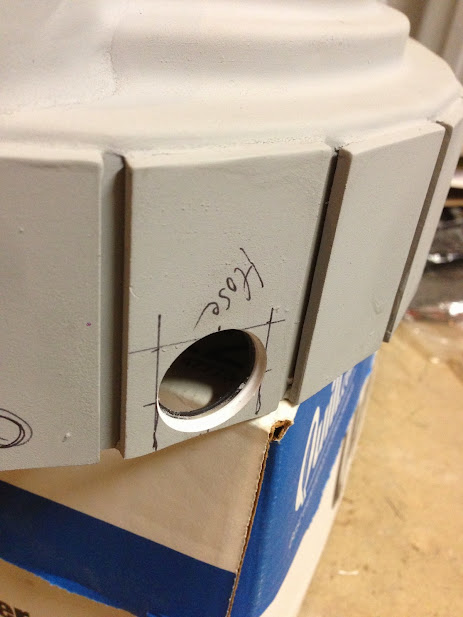
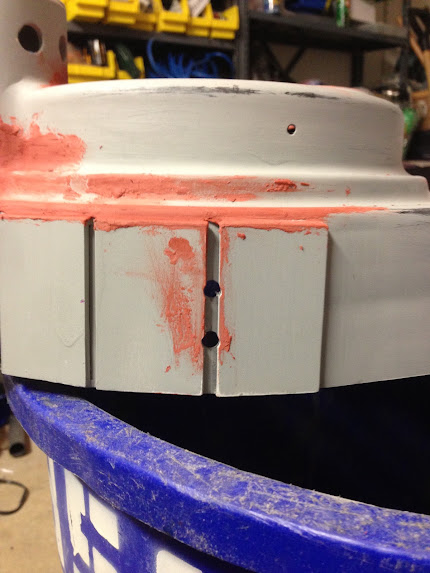
Side holes for bumper. Luckily both sides are centered between two fins. Unluckily, drilling the holes pulled the fins on either side so I had to re-epoxy the guys back on.
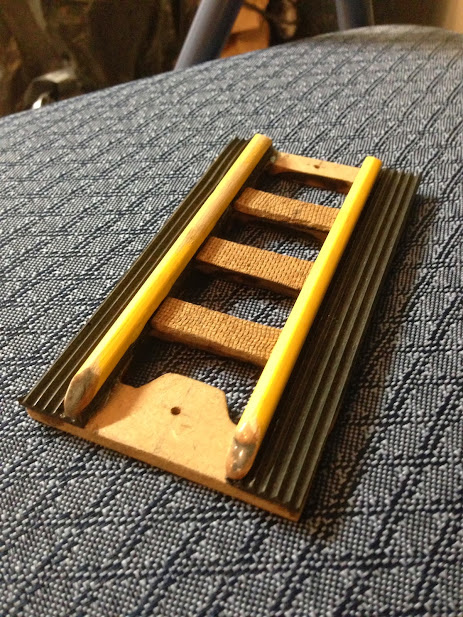
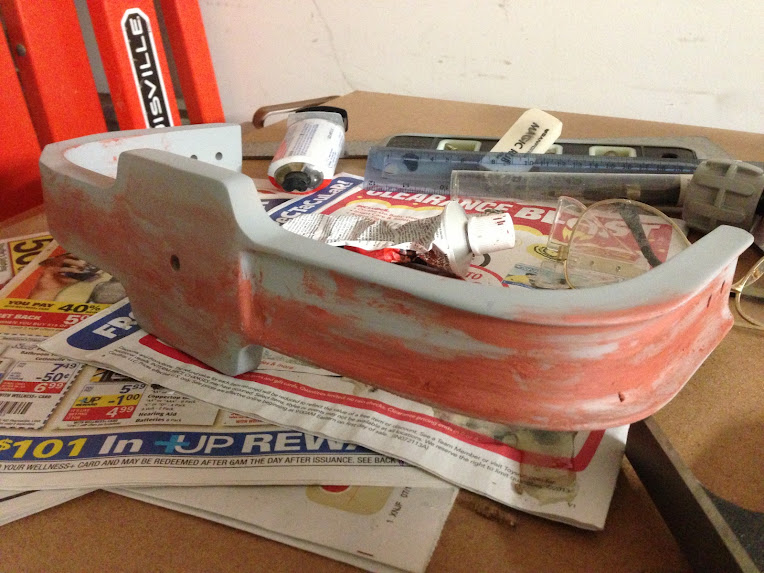
Here a few shots of the ion arm I made. This guys has been built three times.
After building it the first time I figured I’d use some spray foam to help give it some filling. The foam expanded and broke all the joints. The second time I built it, I dropped it on the garage floor, scattering the sides to various parts of the garage. Let’s hope the third time is the charm!
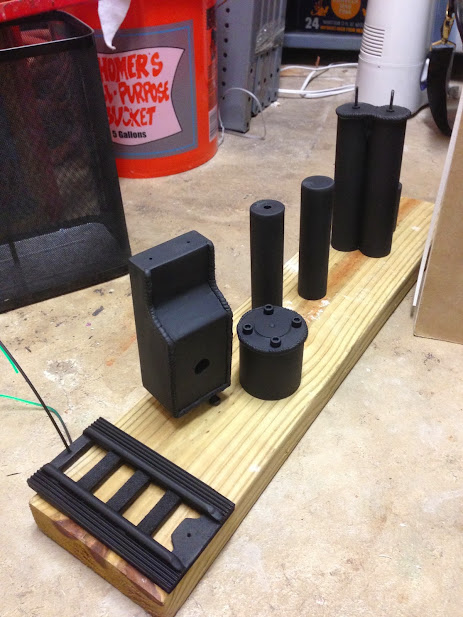
This guys was made from the leftover 1/8" PVC sheeting from fins. I had primed it once before, but have stripped it away mostly during the rebuilds. I’ll need to putty some imperfections, sand, drill some holes again, add the weld lines, and prime.
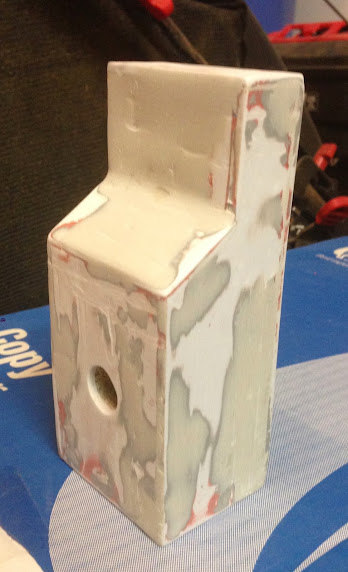
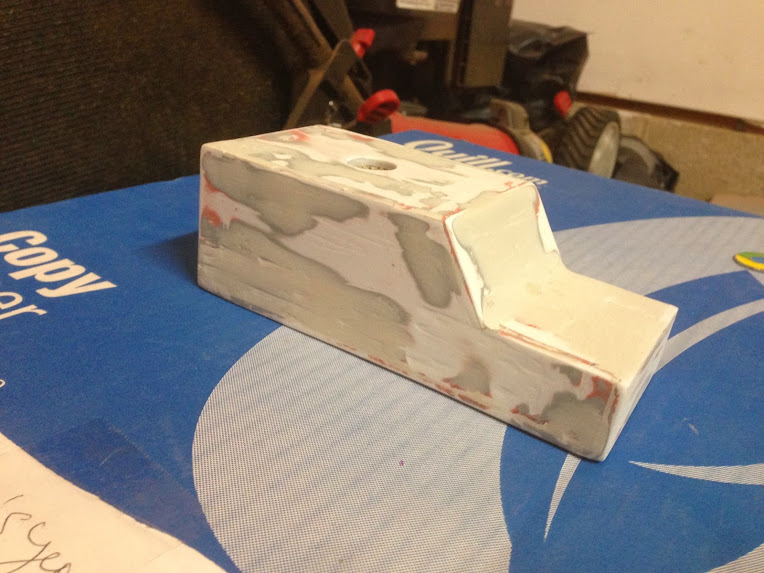
For mounting I’m considering attaching a wood block to my pack that the arm will fit over, and then add a set screw underneath. Anybody have tips that they’ve done or seen to mount one?
Was able to get a good amount done in the last few days. I can finally see an end in sight for the pack! Then on to to my TC gun kit!
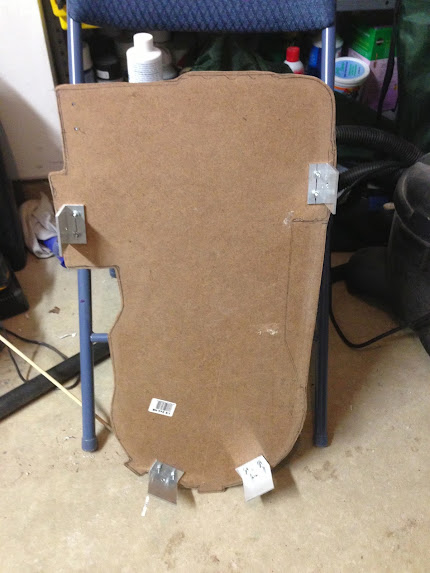
Cut out a motherboard from my left over 1/8 MDF. I mounted by bracket lower than normal on the left side to help with a warping issue. After joining the two halves the power cell was just not laying flat. Moving the bracket here fixes it.
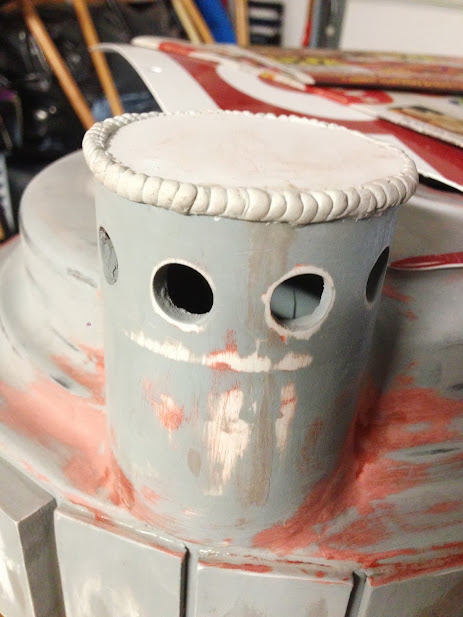
I think I’ve finally got the putty weld trick down! Here is my weld on the N-Filter. I’m pretty happy with it. I applied the same welds to the HGA and injector tubes.
For painting of the pack, I plan on priming it once more. I’ll then paint it chrome so I can expose some of it later with weathering. After chrome, I’ll hit it with hammered black. Since the studio creations pack can be a little soft, I’m going to finally paint it a flat back vs a satin to keep the sheen off so the roundness does not get accented more.
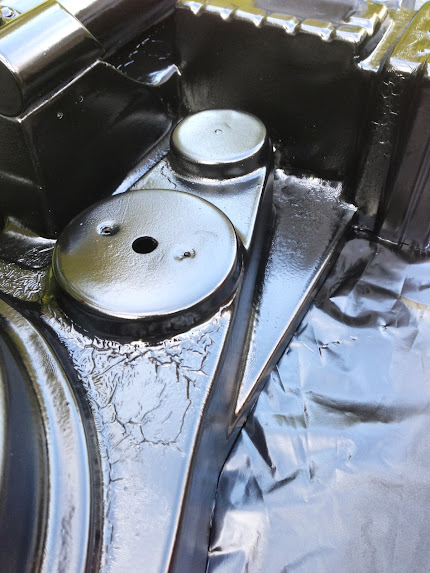
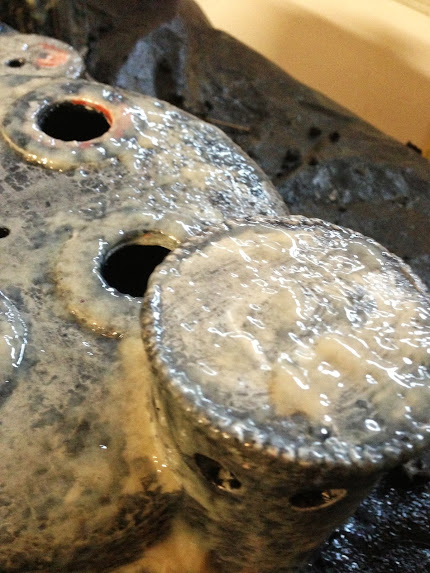
So I did a coat of hammered black to texture the guy. Let it dry for a couple days. Then went back with a Rustoleum satin to finish up. Did one light coat and noticed some orange peel texturing which I thought was add but figured it’ll add to the texture. As it started dying though a few areas like right below the clippard circle and near the crank generator started wrinkling badly. My only guess is that hammered paint was not fully cured?
So I sanded down the several wrinkled areas and did a quick light coat to finish it up. Then EVERYTHING wrinkled!!! I’m in utter shock of how bad it ended up. Would never have expected something that bad.
I’m trying to strip the paint now but some of the stripper solutions are removing some of the putty work I’ve done which is pretty annoying. Trying to keep optimistic but not sure how it’s going to go. Luckily the paint jobs and all my other tubes and bits are fine so it’s not a total fail.
Considering the time and money spent on it so far, and how much time to get it back, its a numbers game, hence me looking into the GBFans shell.
Ugh! You have a reaction going on there. It happens when the formula between two different paints react. (I try to stay with the same brand and type so I know they will play together well. If you’re not sure it’s always a good idea to test how they will react on some spare pieces.) My best advice is to get away from chemicals and sand. Sand until your arms fall off.
It’s a great pack and you have worked hard on it. Hope it can be salvaged.
I did keep it all Rust-Oleum for that reason, so it’s odd. Yes I’m done with chemicals once I saw the some of the putty work coming off. My hope is to sand, sand, sand. Prime and sand. Then try again with the hammered paint to help hide any rough spots our gouges from the paint removal. I just need to figure out at what point am I painting the Titanic.
I’ve heard of people using filler primer to help fill over rough patches. I always thought that is what regular primer was for and haven’t seen it in my many hardware store trips.
Since my paint debacle I haven’t had a proper update, so here goes.
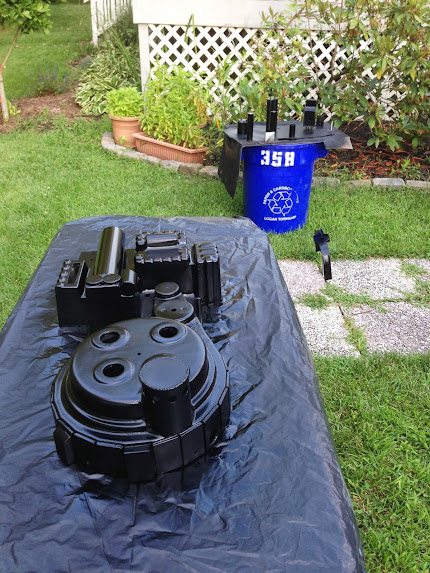
Finally got to the last step of painting. I decided to move to Satin Black over flat black as I previously wanted. I sprayed the tubes flat black first and didn’t like their finish, so tried again with satin and preferred it, despite that it would accentuate the vac form roundness more.
Thought that was odd. Hadn’t had any issues with the last four coats but hey, murphy’s law. I sanded this area and a few small others that had this issue and repainted lightly. And then hell broke looks. The areas that got touch up paint spidered even more, especially on the cyclotron, ruining the entire paint job! No pics of this due to my preoccupation of cursing loudly follow be sobbing.
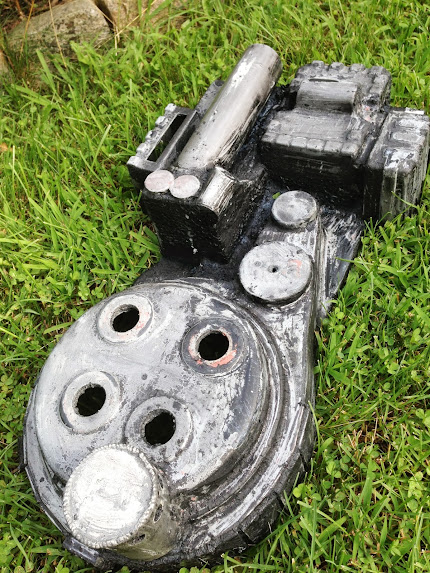
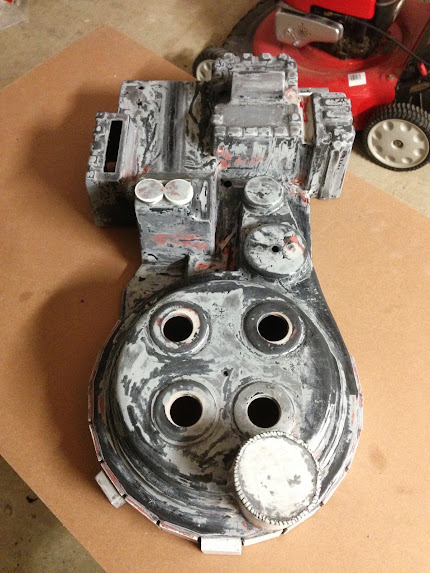
This was the aftermath with some initial paint removal by sanding and acetone.
So far, I am actually surprised it’s not too horrible. I think my next step is to sand it down and either give it a shot of normal primer or directly back to the hammered black paint. I’m hoping the hammered paint’s texture will cover up what I couldn’t remove and still leave a reasonable finish.
Then hopefully, and finally, the last coat of Satin black.
May I recommend some Testors spray products? These vac shells are made of thin ABS, right? Testors paints would probably work well on them. I do a lot of prop and custom figure work and I’ve had some bad results from the more mainstream spray paint products.
Dupli-color also makes a great product to help spray paints bond to plastic. It is intended to help automotive touch-up spray bond to plastic car parts. It’s just an ‘adhesion promoter’. I’ve had a lot of fortune with it. I’ve used it for hobby and automotive.
surprisingly, Valspar has some really good paint. its what i used on my silver and gold pack. It goes down pretty smooth and looks good. I know Lowes has a very nice selection.