FatTortoise's proton pack build w/ GB Fans shell and TC 3.0

Hello y’all (I can say that since I’m from Texas, right?)

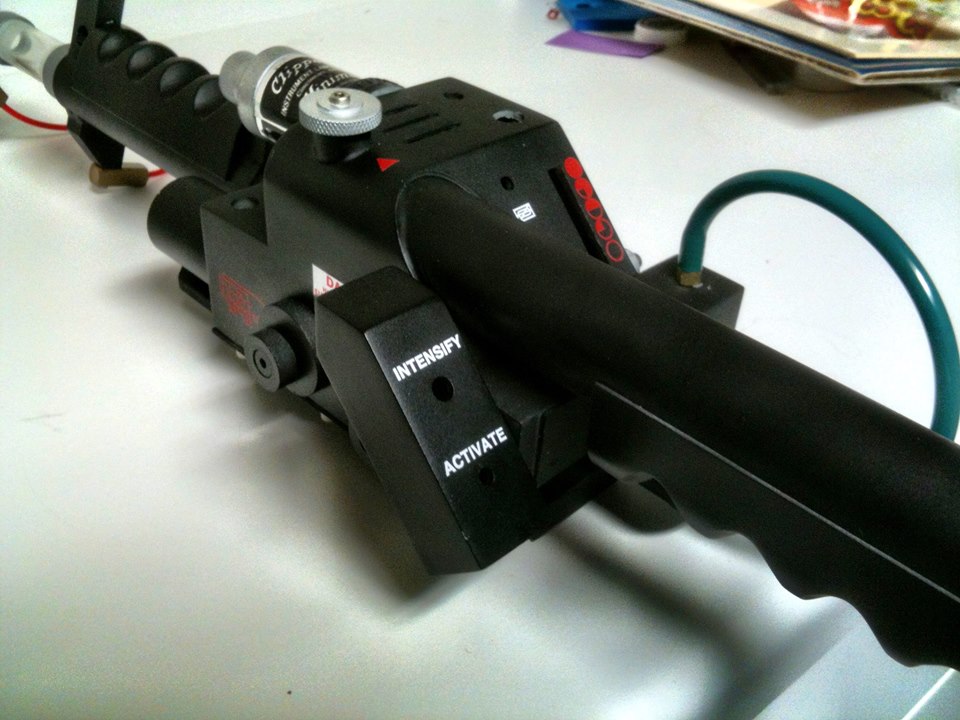
At the beginning of September I decided that it was finally time to make the proton pack that I’ve been dreaming about for the past 10+ years.. It all seemed somewhat intimidating at first, but after hours and hours of reading and researching I knew I could do it.. I went ahead and placed my order for a GBFans hero shell, a motherboard, and a Throwing Chicken 3.0 neutrino wand kit. So far I’ve only begun building the nutrino wand, therefore I will start with that..
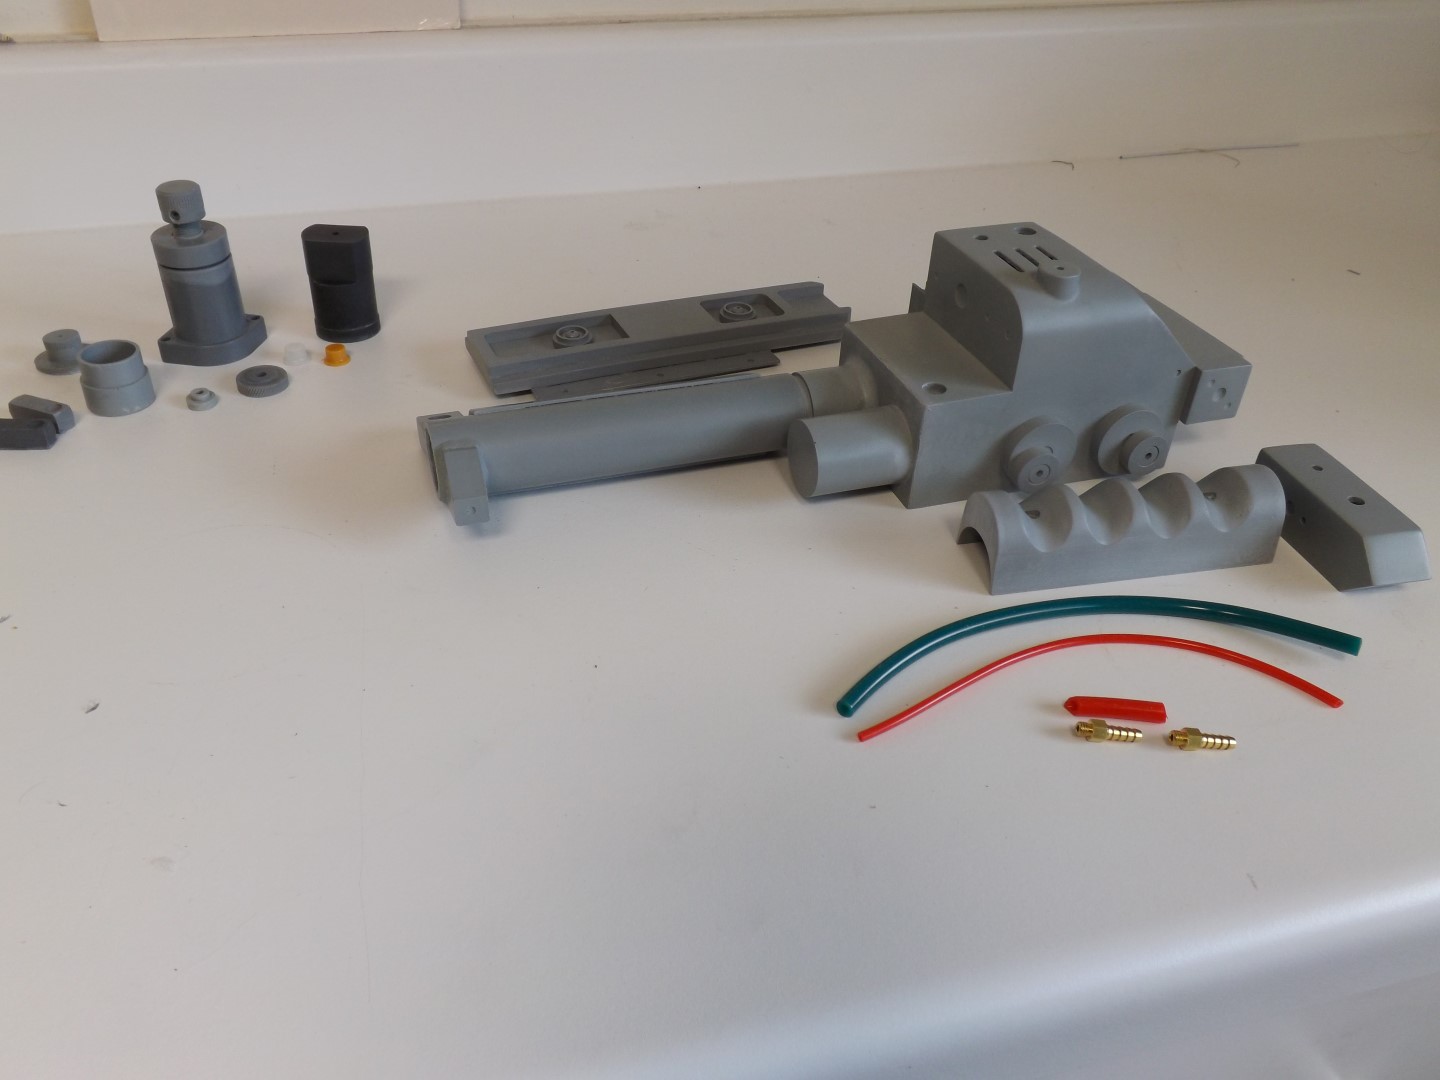
I placed my order with Throwing Chicken and received this in the mail. While opening the box I felt like a kid in a candy store and it was at that point that I realized that I’m actually going to go through with this! My kit was missing a part, but I made TC aware and hopefully I’ll be getting it in the mail soon..
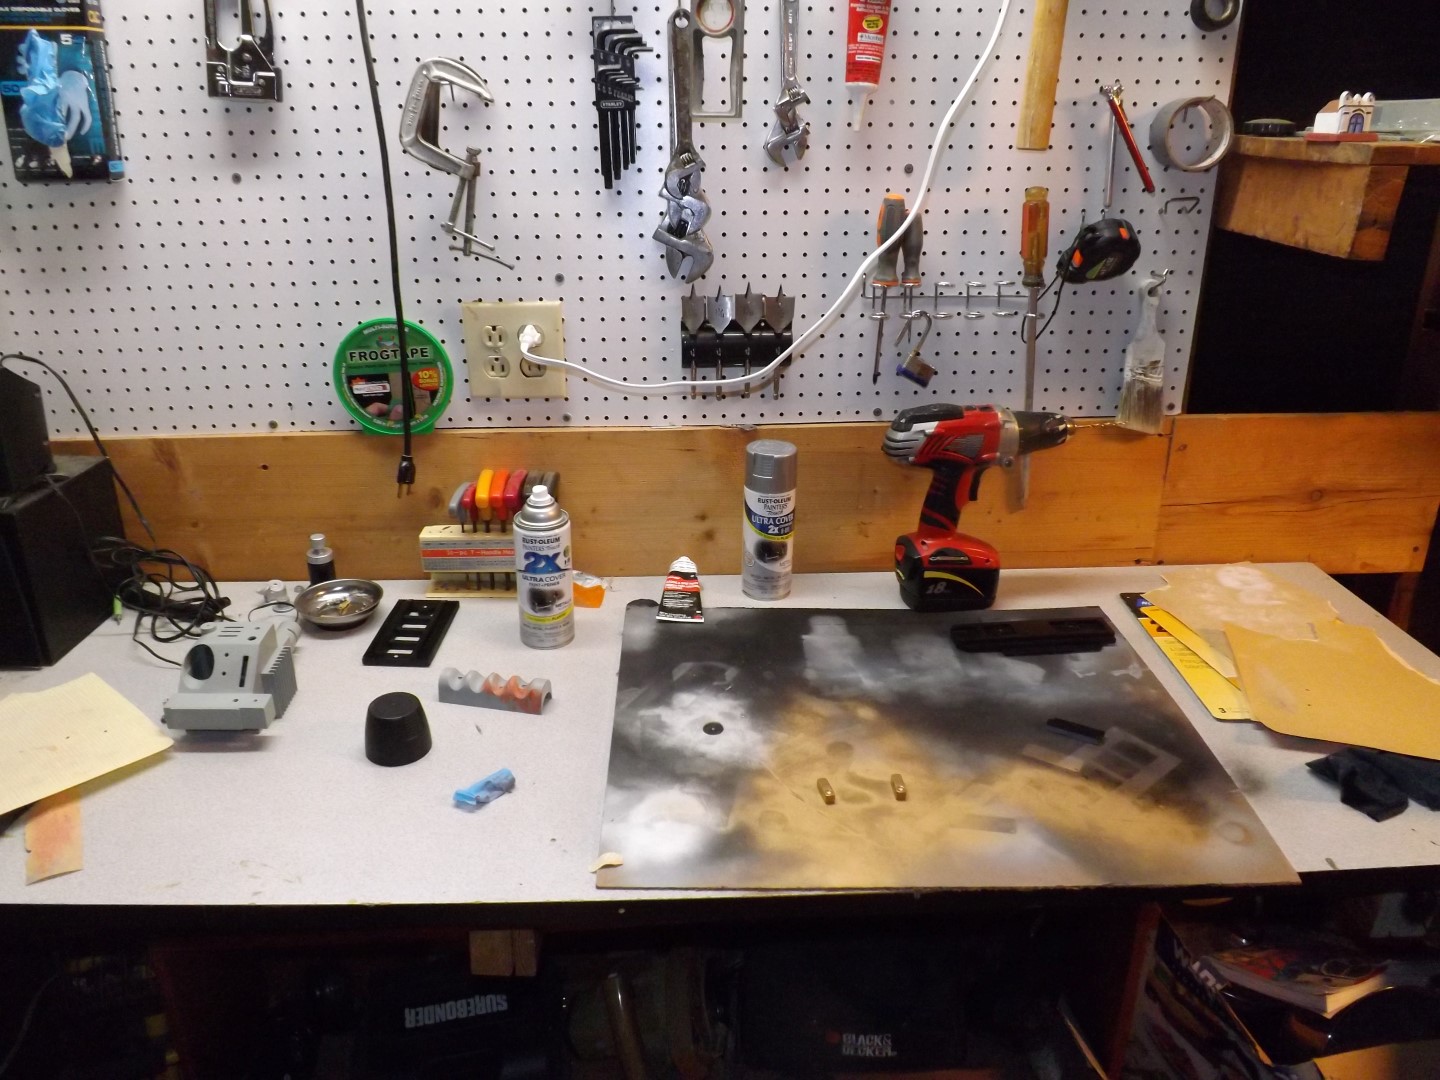
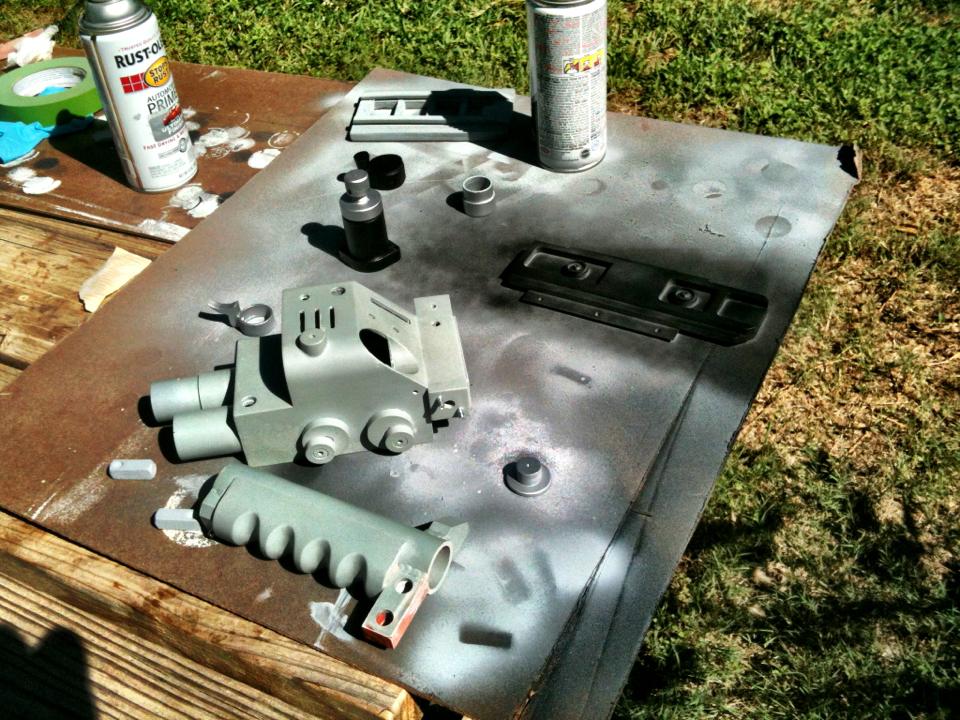
This is my workstation in my garage. San Antonio just had some good rains in the past week or two and my garage is FULL of mosquitoes! It’s terrible.. I had bug spray on and the determined little buggers would land on my cheeks to suck my blood! That’s determination! In the pic you can see that I’m already painting some things and prepping others..
I ordered some aluminum tubing from SpeedyMetals and when they arrived I was soo excited to see the gun like this. It’s starting to come together!
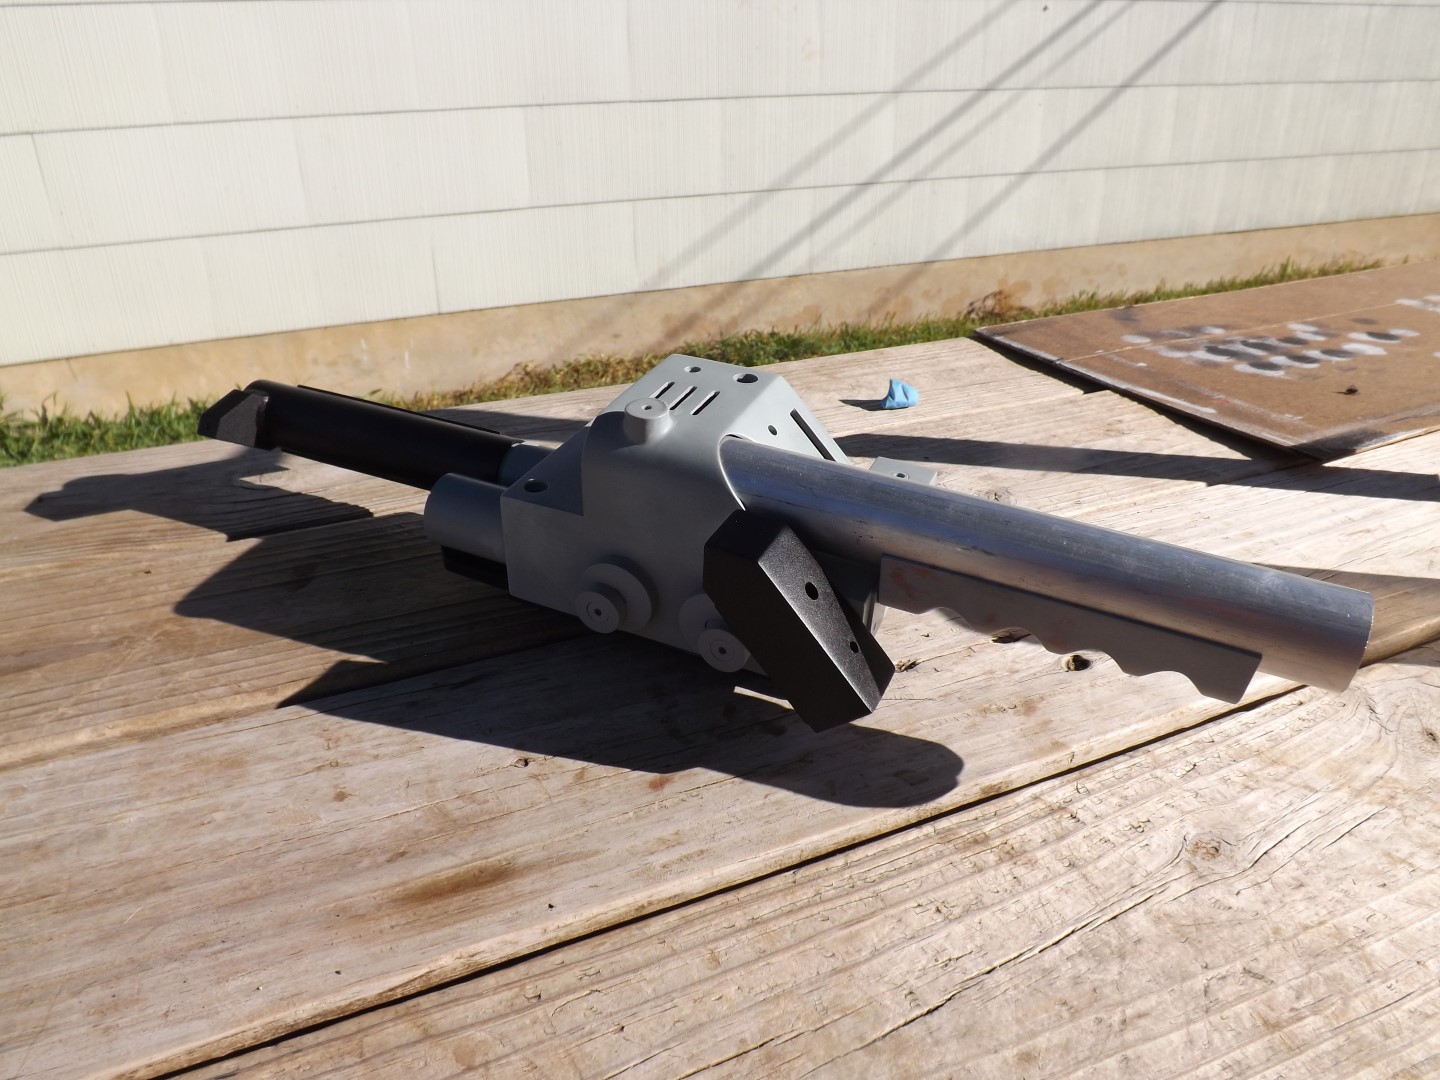
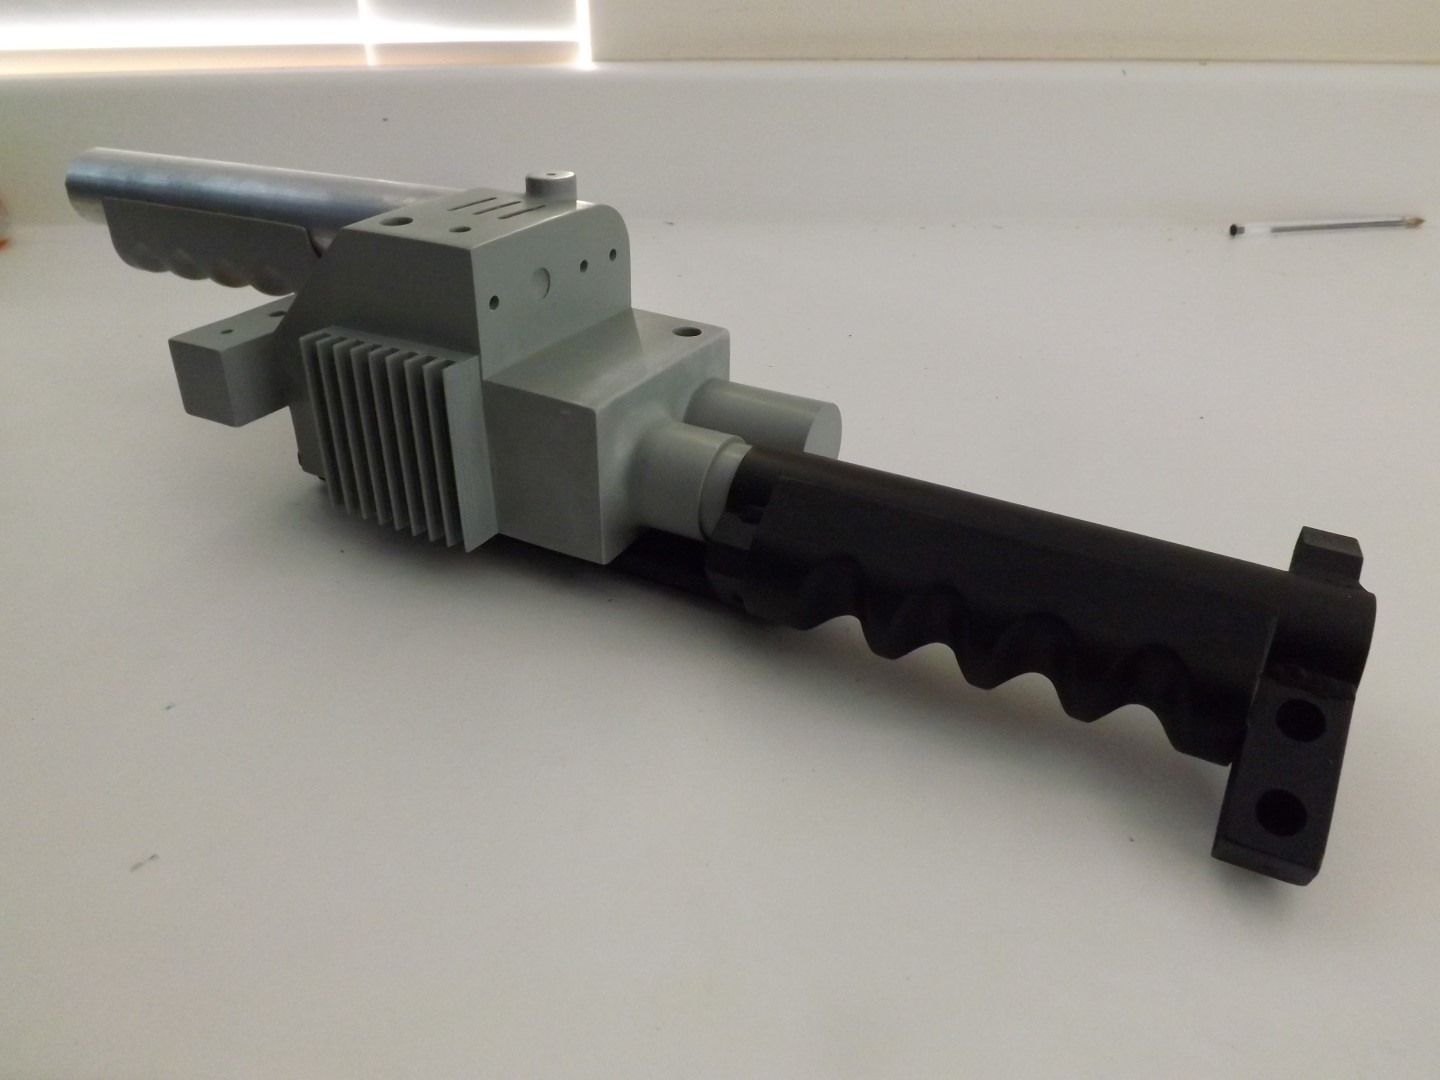
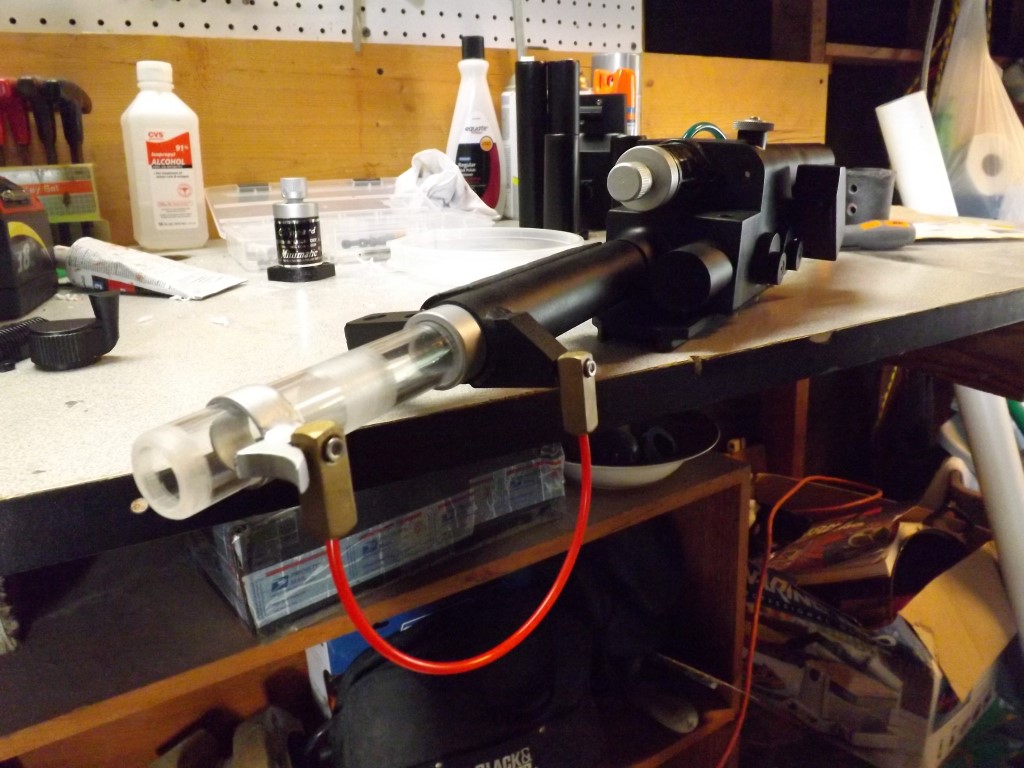
Here’s where I took a little creative control. I know that there are supposed to be some fake welds on the thrower but I’ve never been a fan of how they look. I decided to use JBWeld and create a clean seam and not add fake welding to the other parts. I like it!
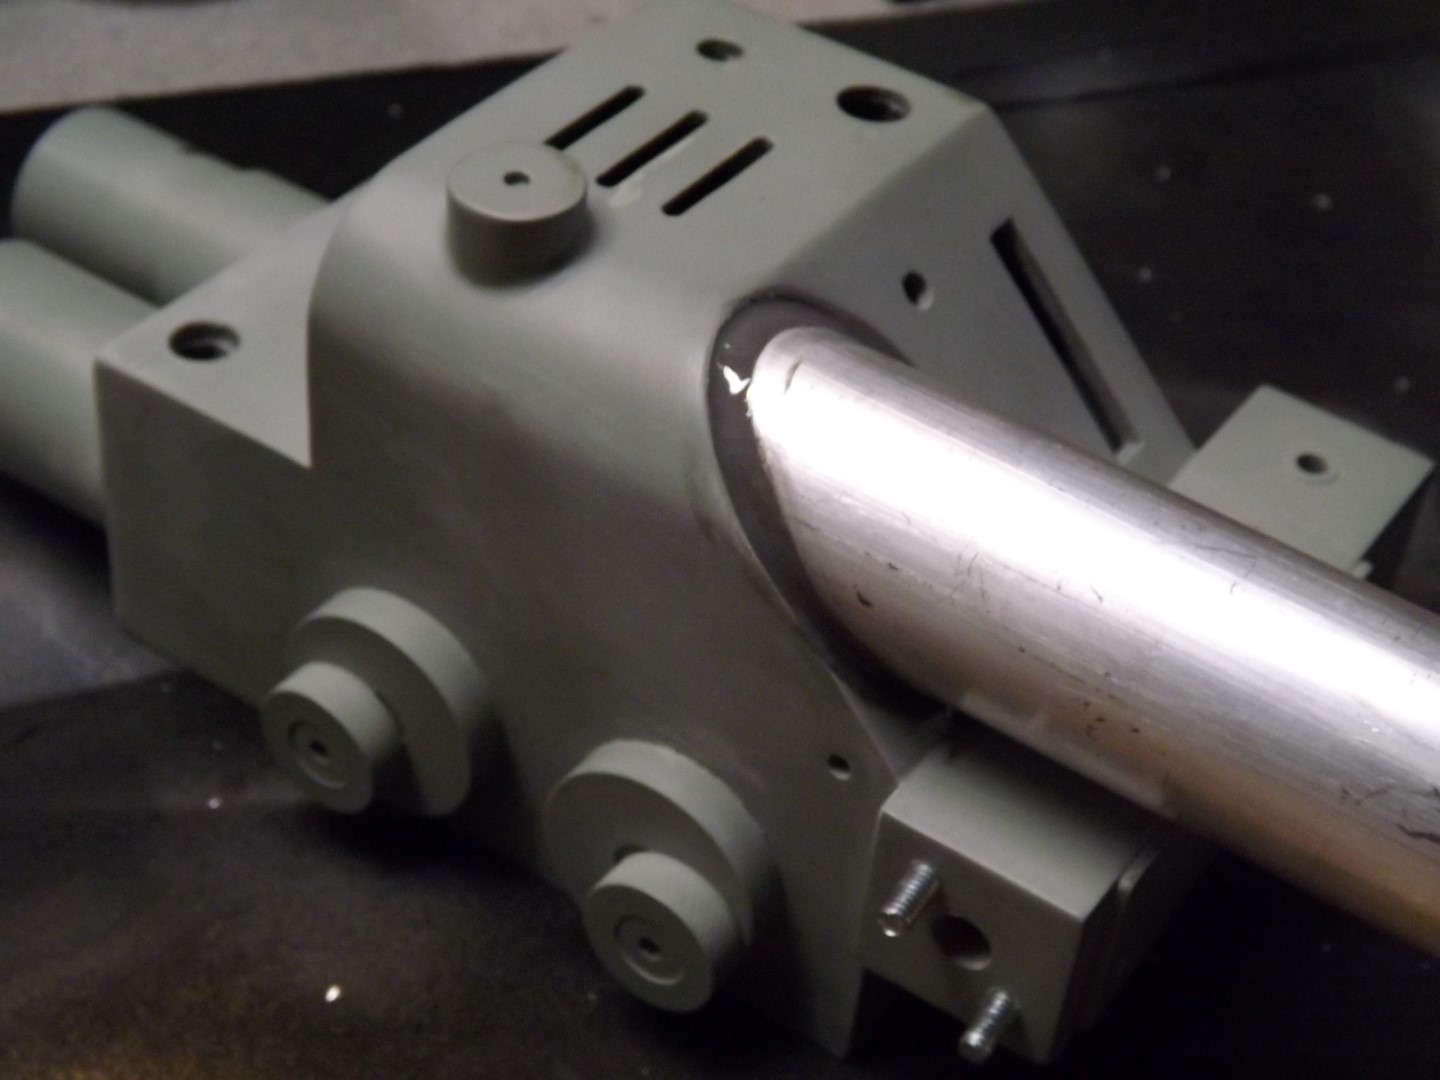
Painting the body of the gun on a lovely day in SA..
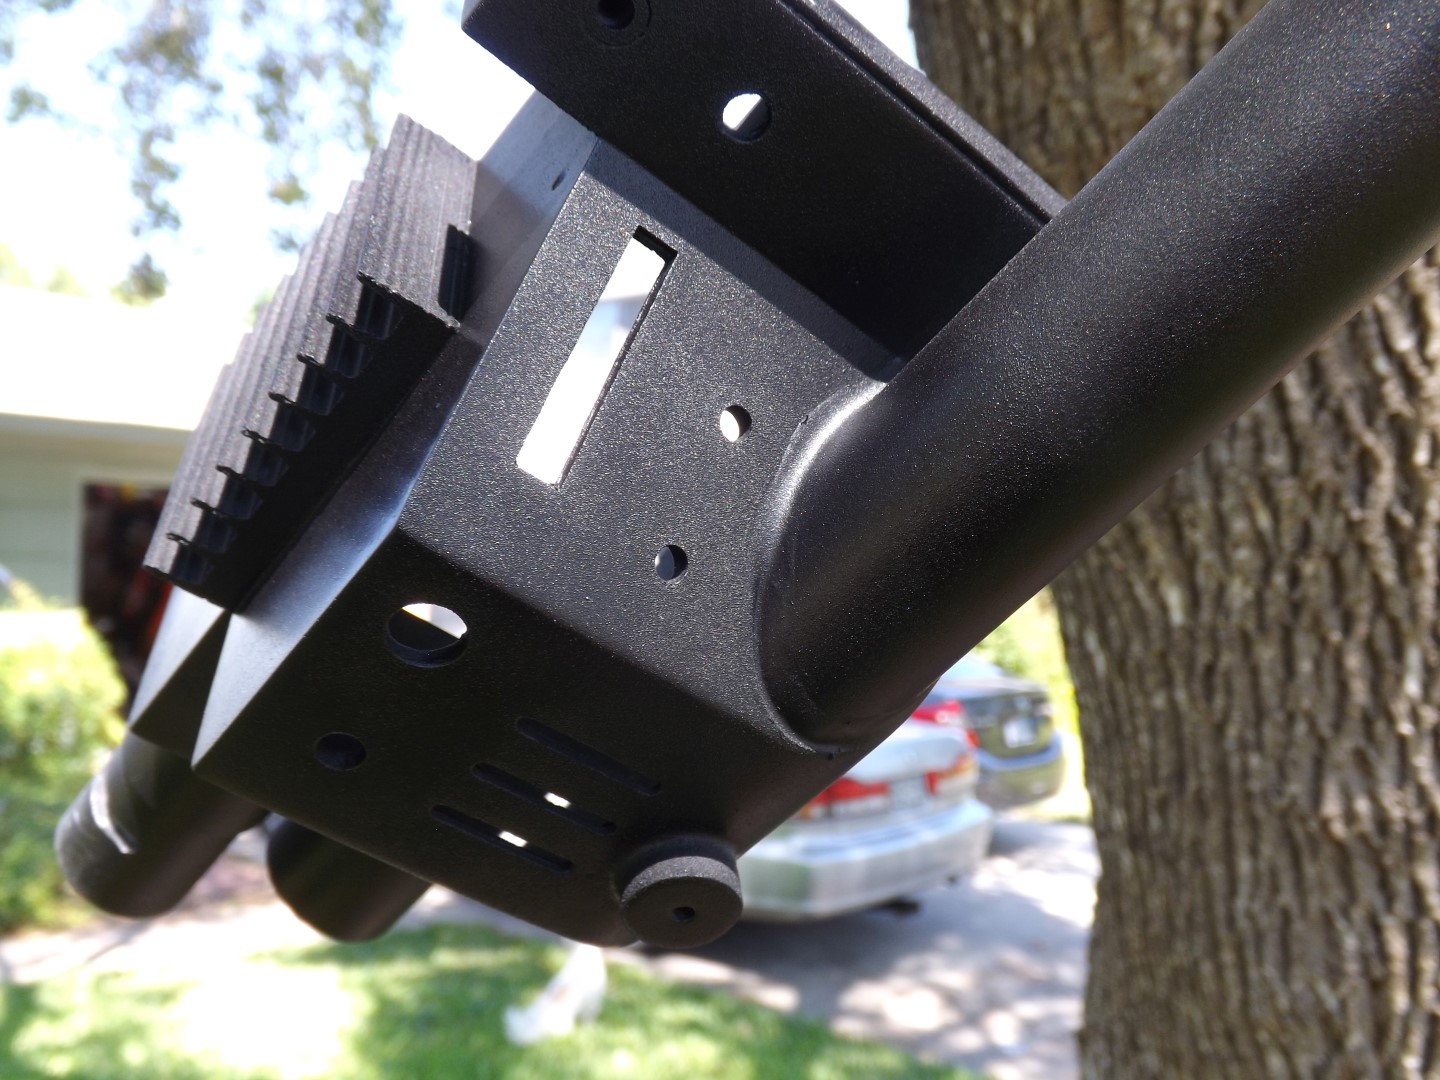
Everything is getting painted and becoming ready to be assembled..
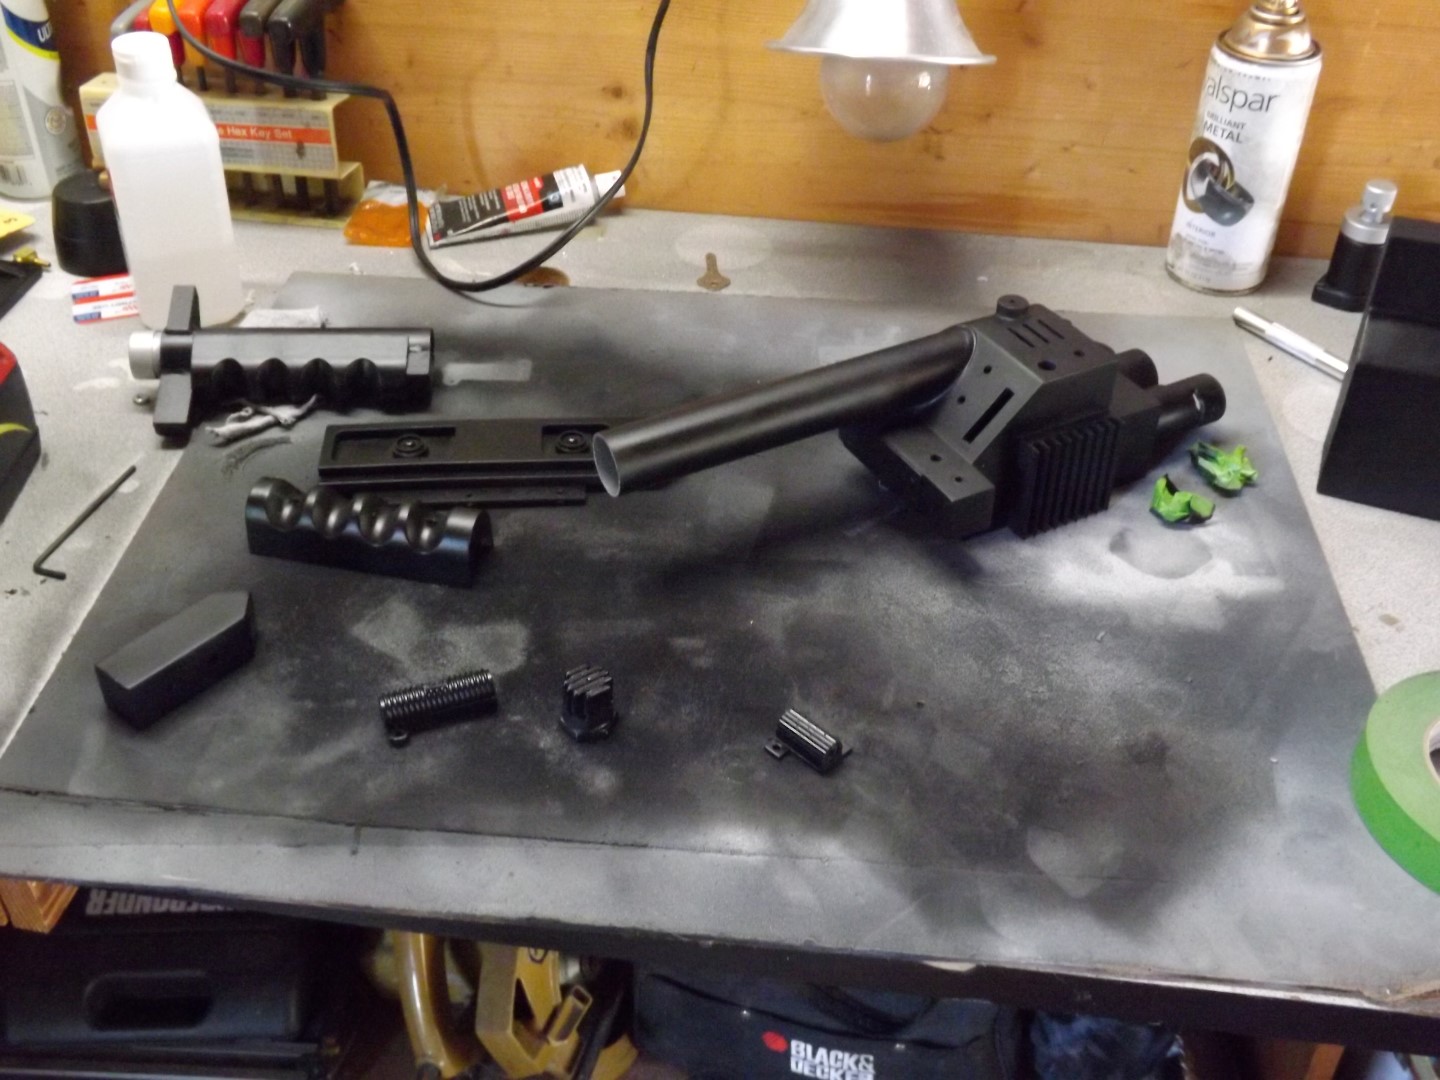
Assembly commencing!
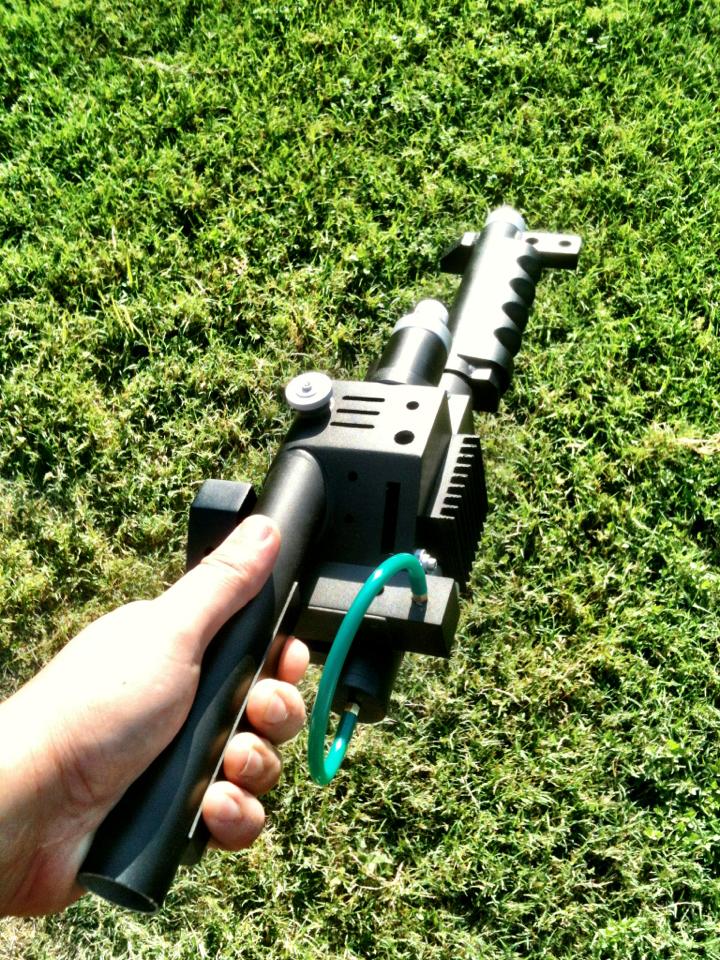
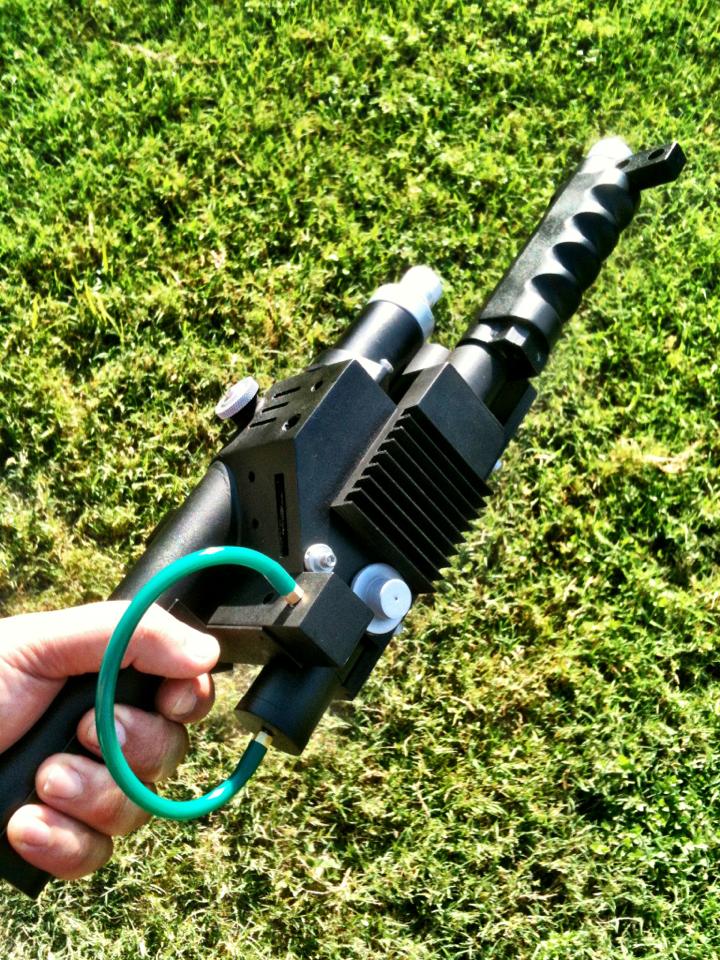
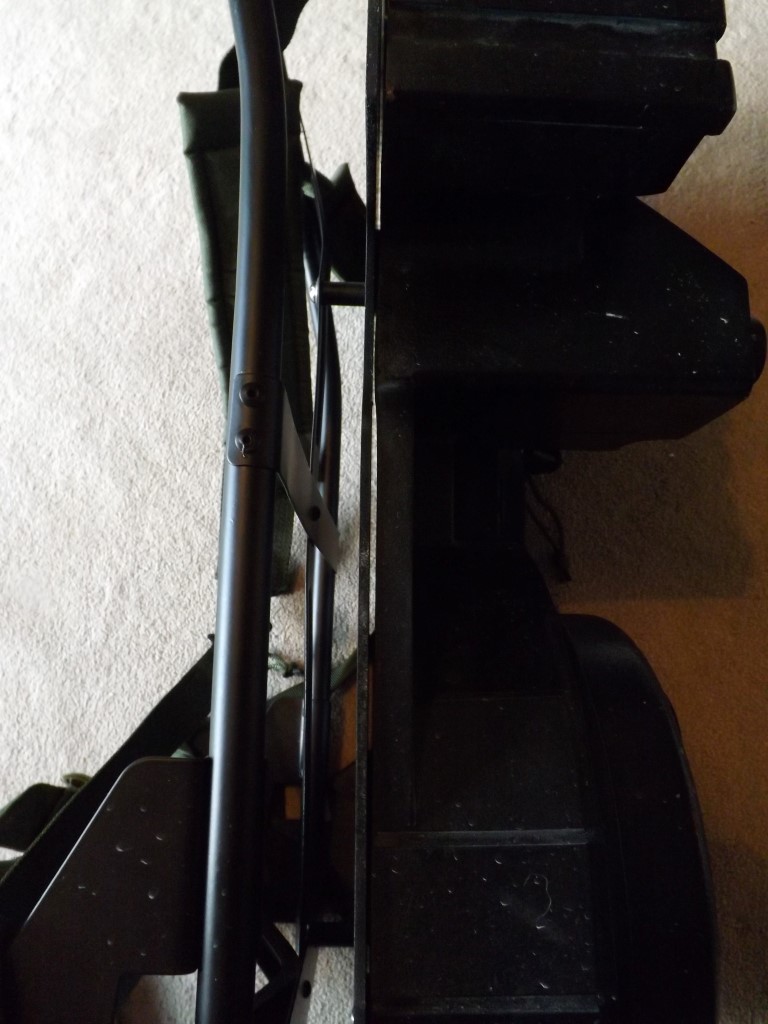
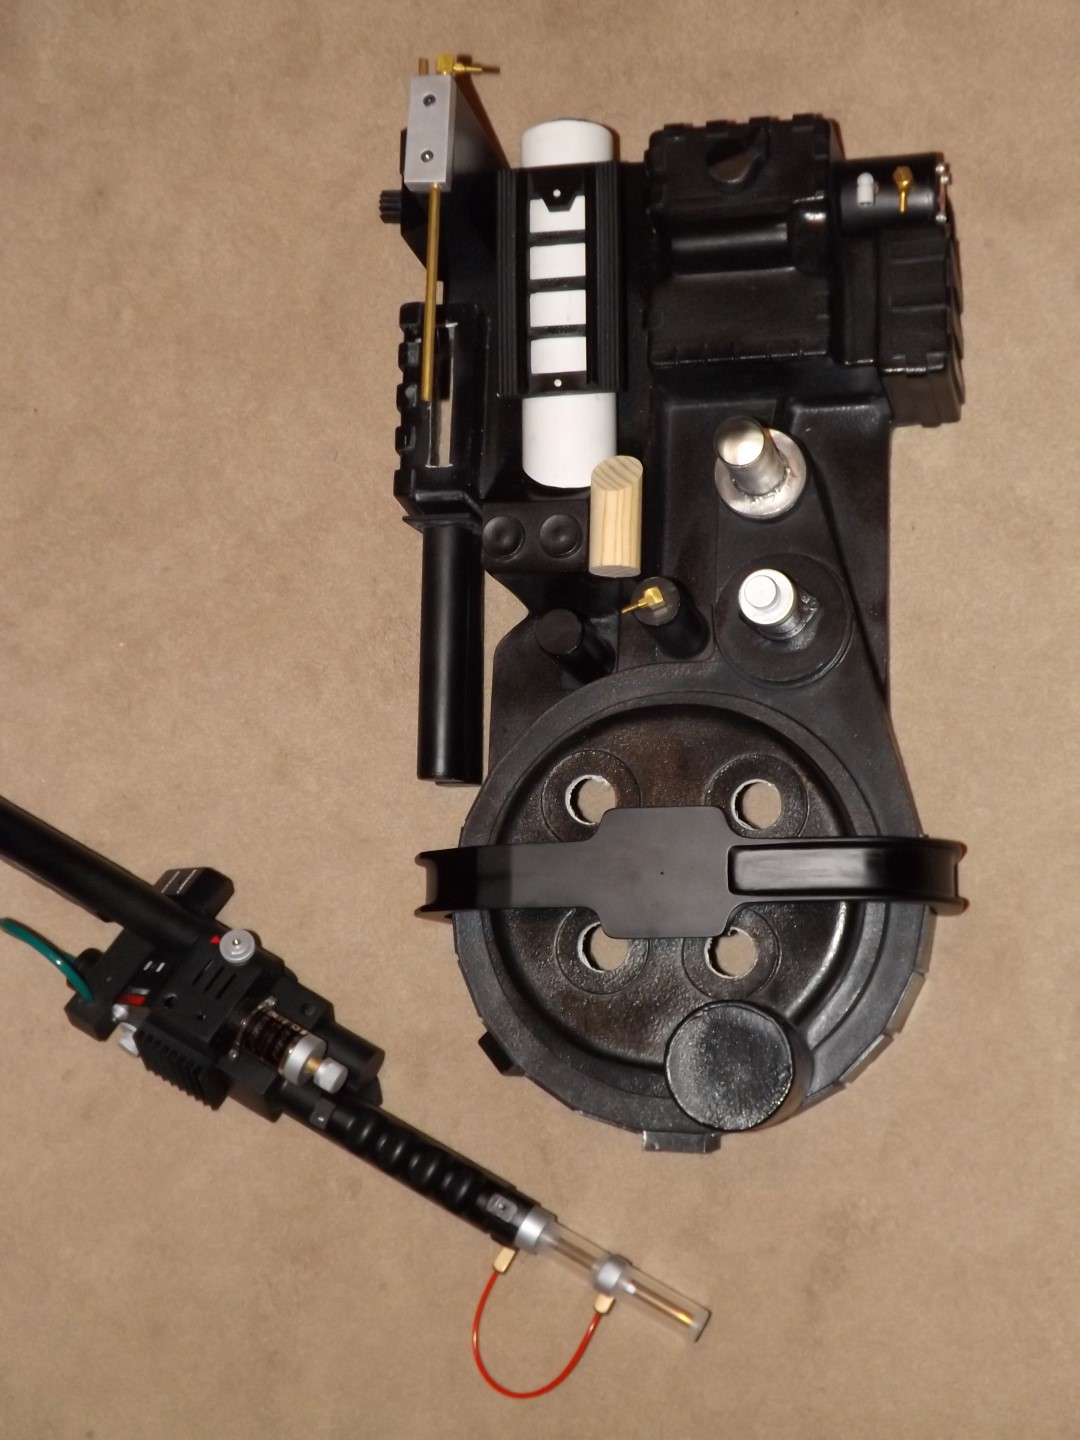
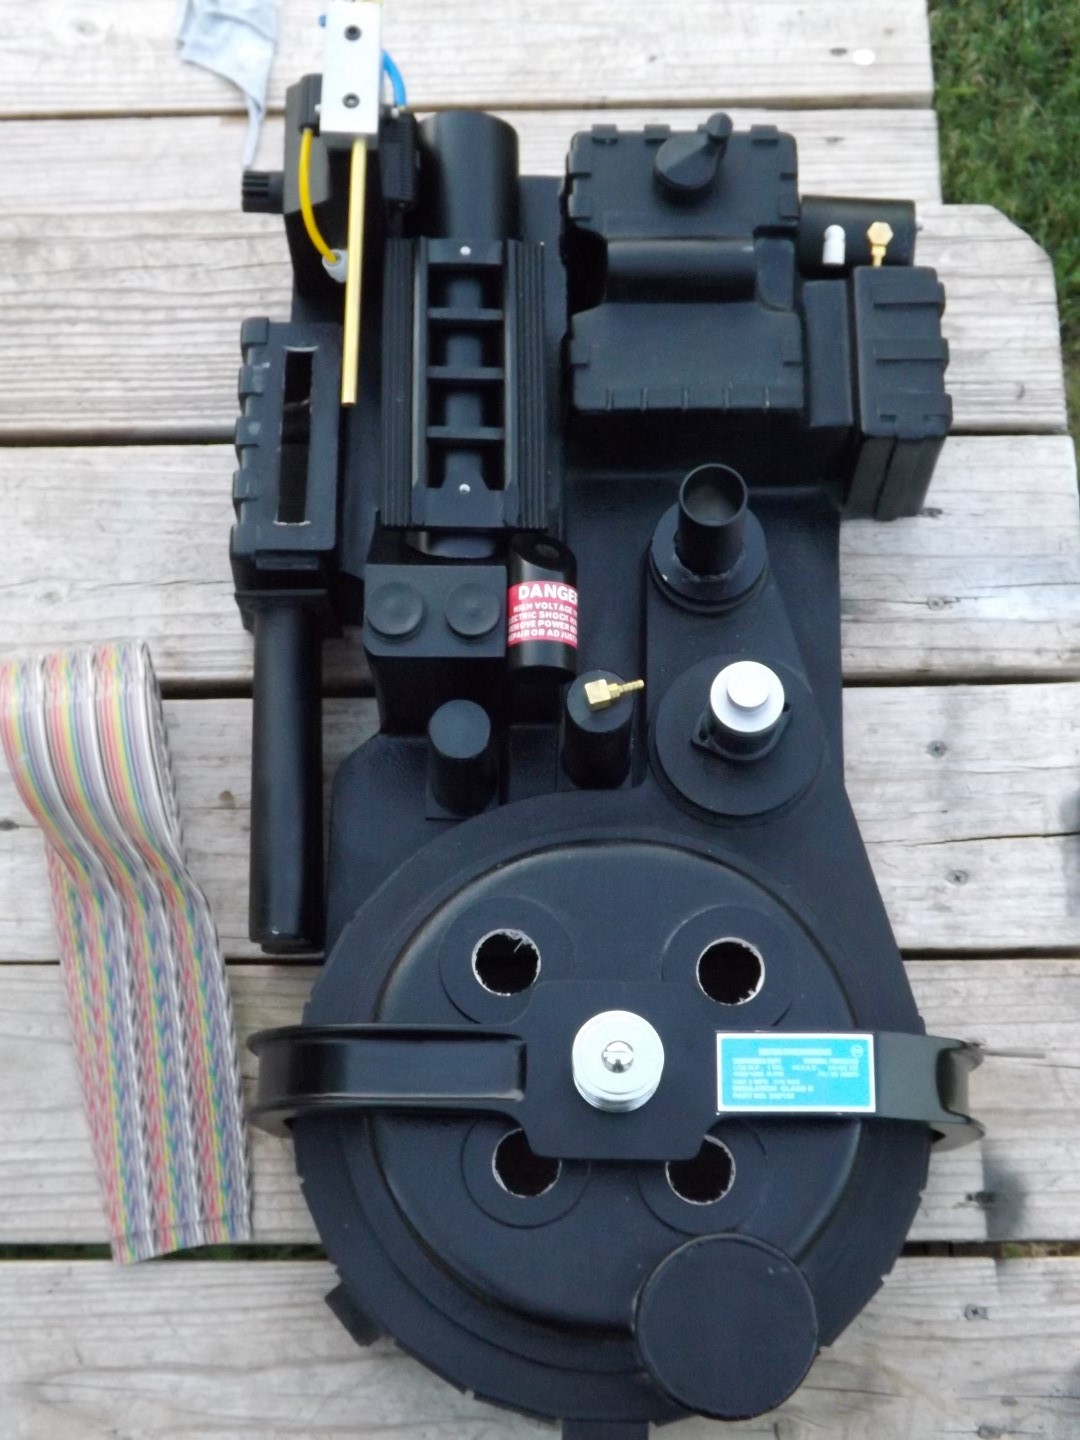
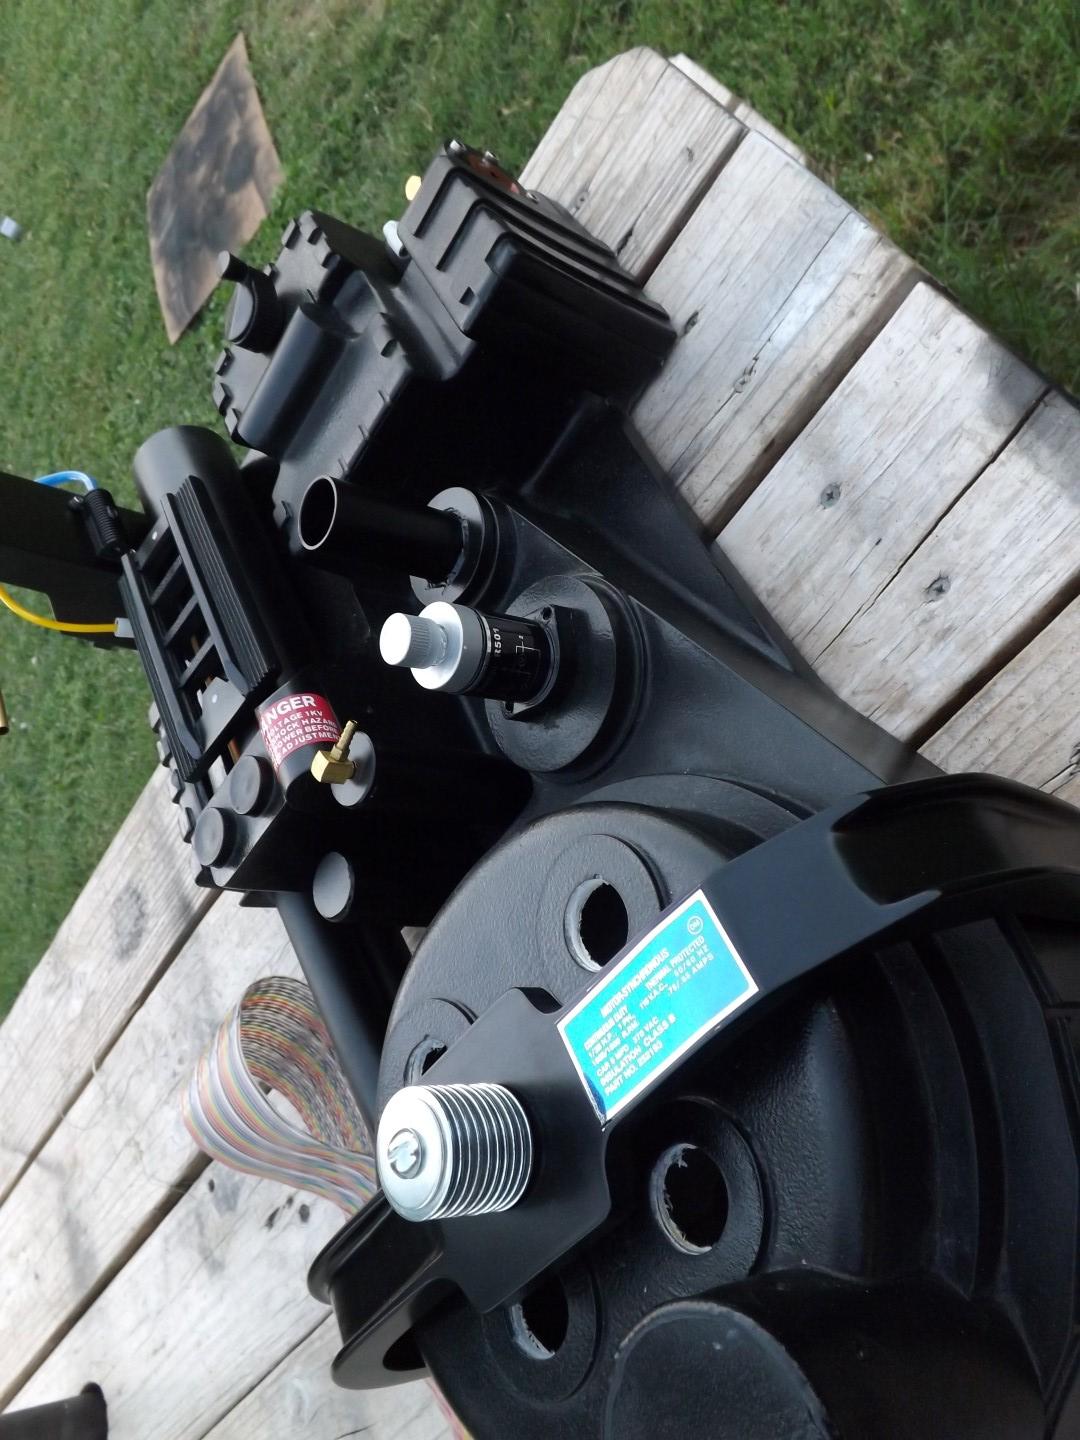
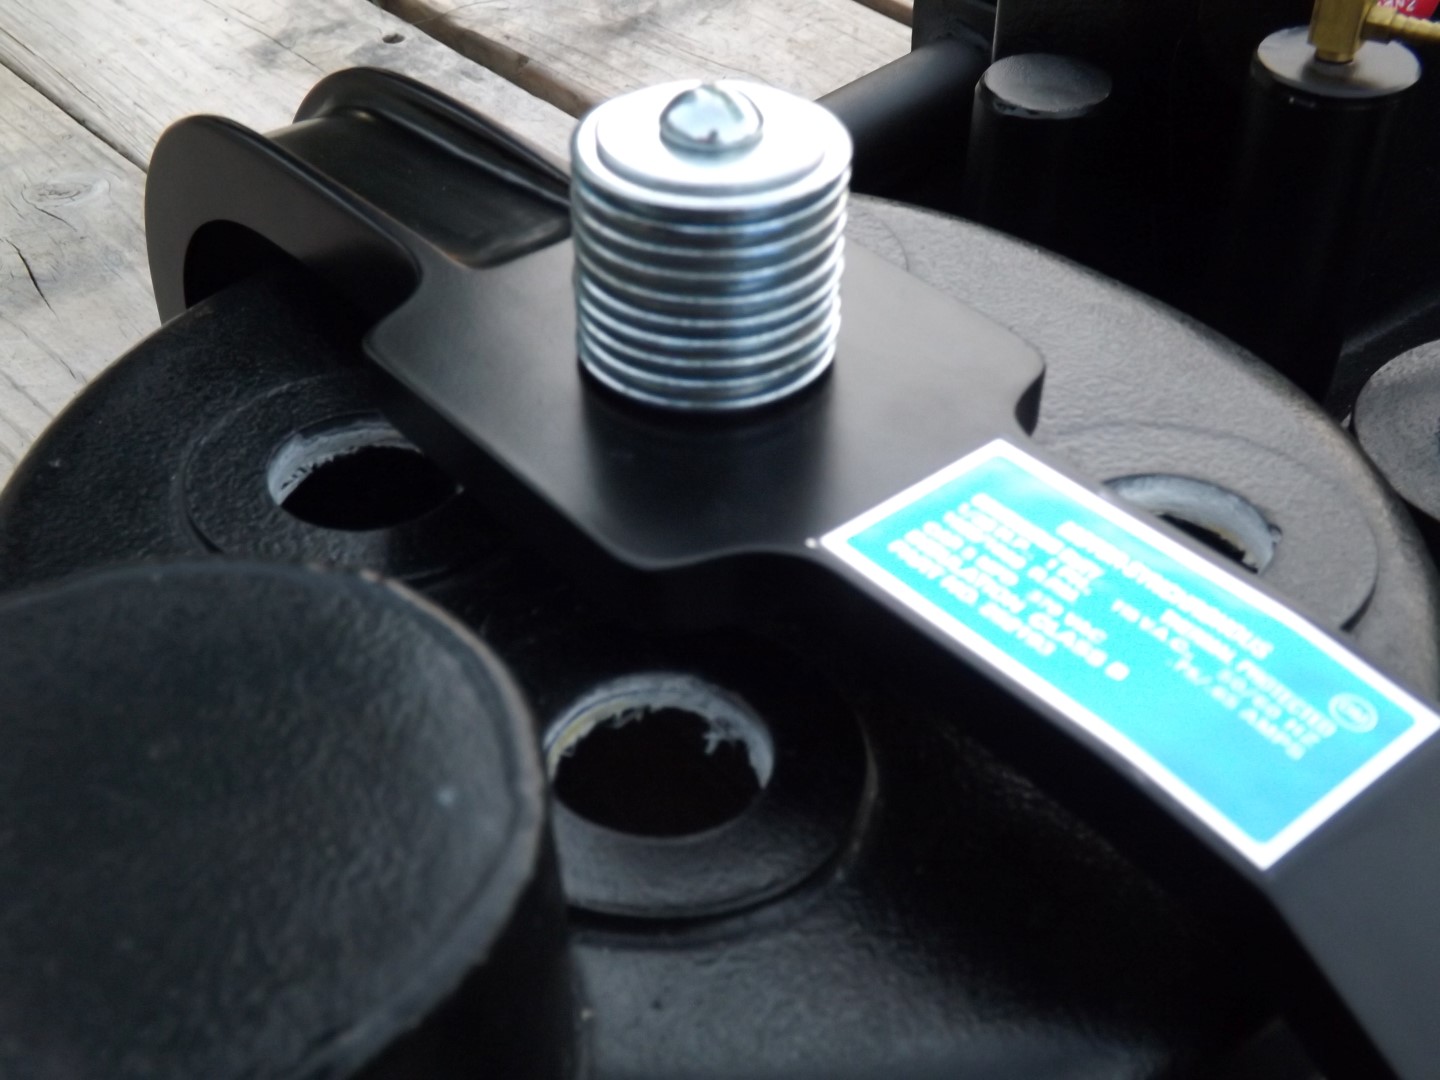
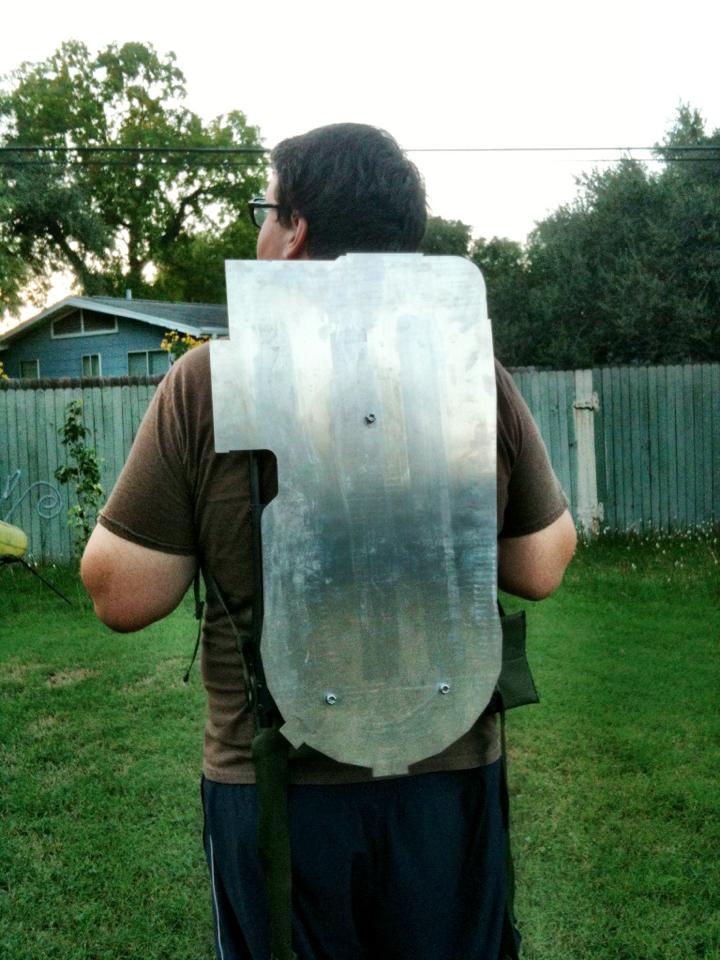
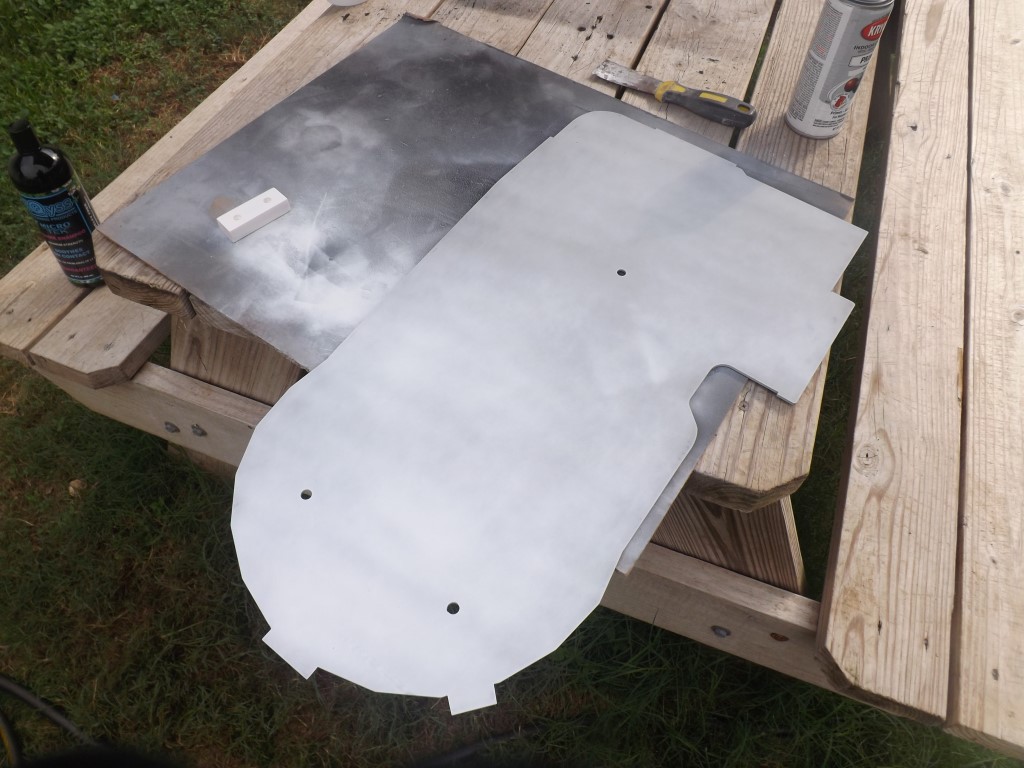
Got my aluminum motherboard and mounted it to an ALICE frame I picked up. Getting excited! Cant wait for my shell to get here!
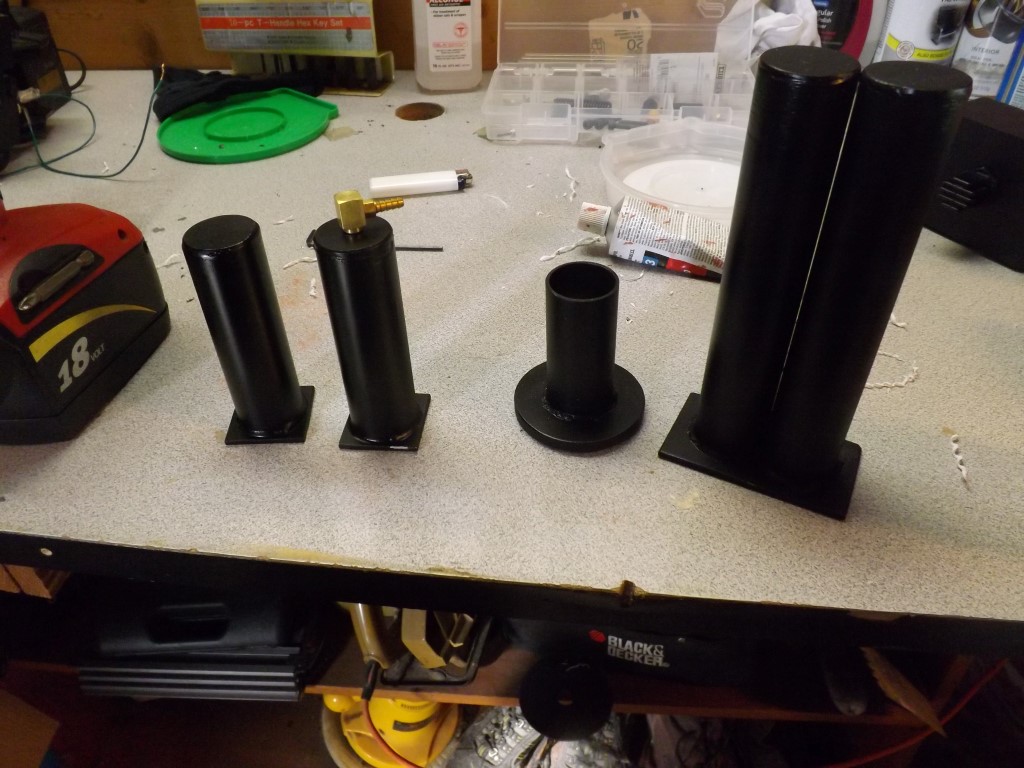
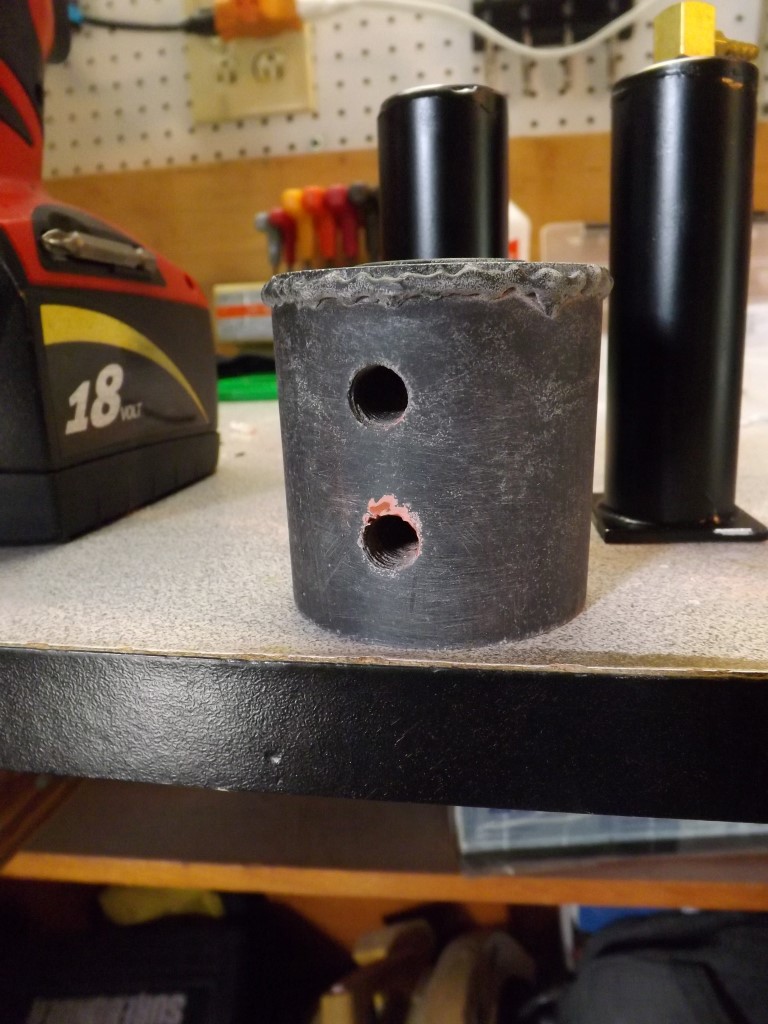
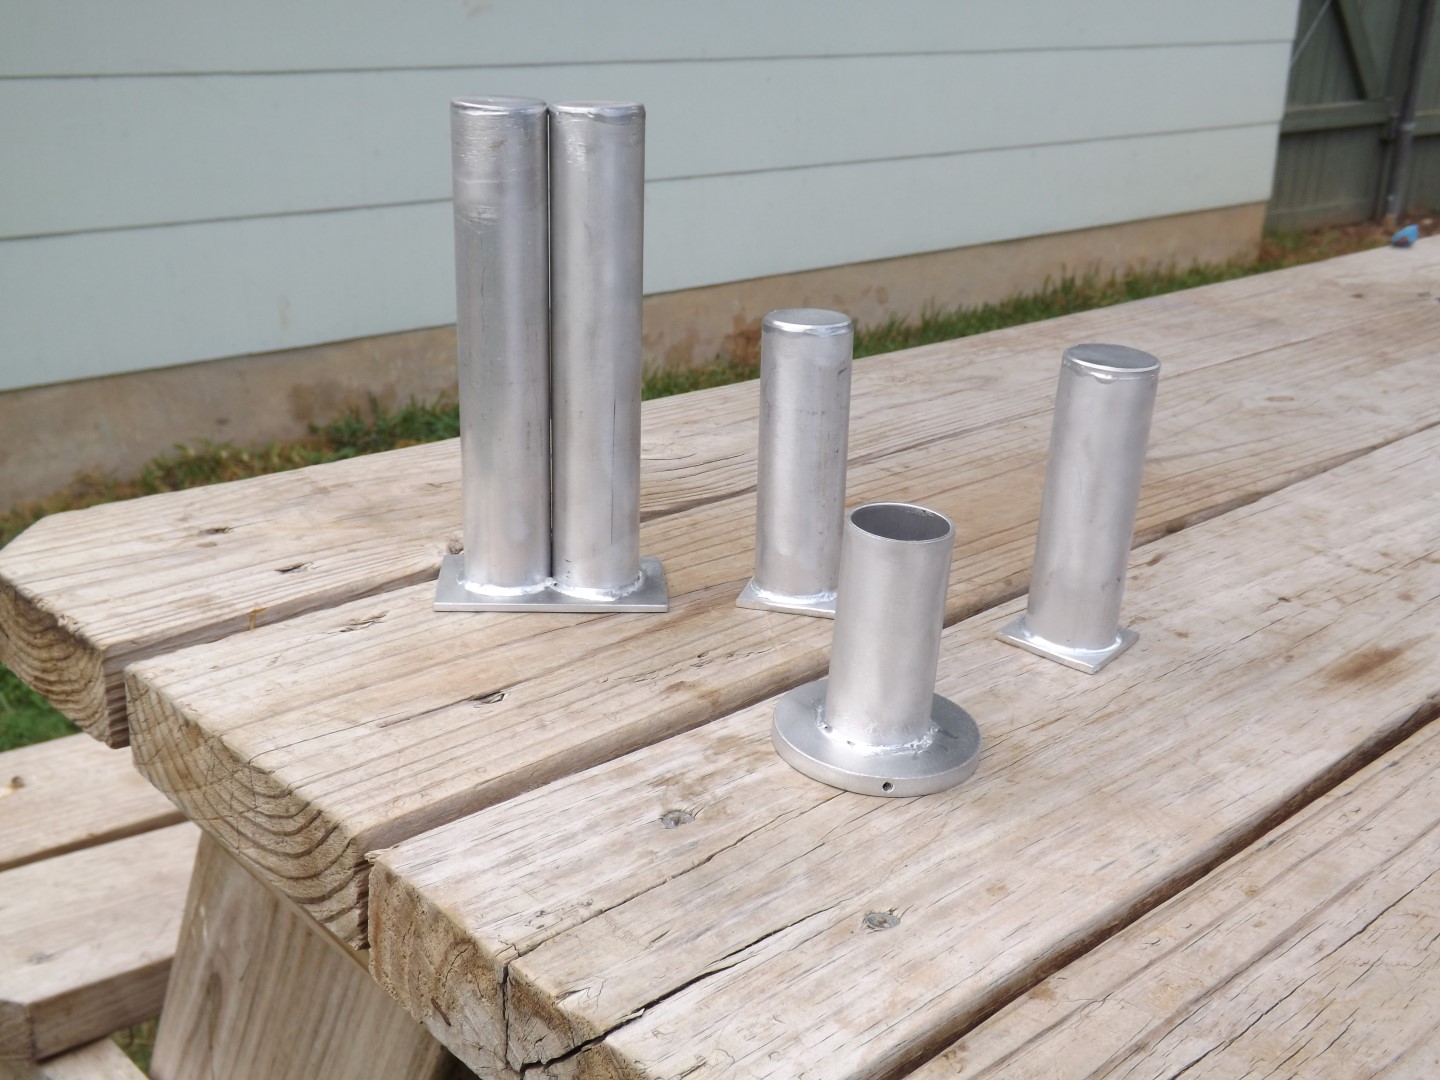
One last thing. When I placed my order with SpeedyMetals I also ordered pieces to create aluminum pack parts. Last night I was able to put them together. Cost me around $24 in materials and I think they look great! I had never braised/welded/soldered aluminum before..
Whelp, that’s my progress so far! While posting this I’ve realized that I’m not taking enough pictures!
Yes must take more pictures… The thrower looks excellent so far.

Also you’re shirt is the sign of indeed partying hard or was subject to a anime ■■■■■ shot…too close to call.

Keep up the good work

Looks great but your rear handle shouldnt be touching the instrument bar. It needs to be moved back a little so that theres a gap of about 3/4".

Oops! Thanks for pointing that out, I’ll reposition it tonight.

edit - repositioned it. Lookin’ good!

Ugh! Today I am having doubts about the paint I’m using.. I painted the thrower with rustoleum sandable auto primer then a few coats of Krylon satin black spray paint. I used these paints as I saw a thread somewhere on here where someone recommended them. Well, I dont know, maybe I’m just looking too much into it but the primer is kind of rough. Almost like I should’ve sanded it down a little before painting it with satin black. That’s the other thing, more often than not I’m seeing builds using Krylon BBQ paint and it looks nice. Krylon satin black ok but I find myself wishing I used Krylon BBQ. I was going to switch mid project and repaint everything with a layer of BBQ but I already glued a knob onto my neutrino wand and I’m afraid I’m going to mess it up if I repaint. Looks like I should follow through with the satin black…

It’s best to stick with the same brand of paint and primer, rather than mixing them up. This will prevent any issues with the primer and paint not getting along, which can cause giant headaches down the road. In my opinion, there is no need for something as ■■■■■■■■ as an automotive primer, especially on a resin thrower. Just a basic gray primer will do fine.

Maybe add another few minutes to your primer shake routine? I generally find all of my spray paint texture problems come from not shaking often enough or bad weather. I’m not a paint expert, just sharing experience.

As for repainting, you should be able to sand smooth (not down to resin, just get rid of the texture) and replace with whatever you want without major consequences. Another coat of primer will wipe out whatever color was there before and I don’t think the consequences will be major. Just a matter of if you can mask the knob cleanly or not.

I tried to mask off the knob but I didnt feel confidant in it. I’m just going to leave it as it is. Live and learn.

Today I primed (Krylon white primer) the motherboard. It’s raining on and off here so I’m going to let it dry really well before painting it black.

In addition, I sanded painted and attached most of the pieces of the ion arm kit I got from KCGhostbuster. Lookin’ good in my opinion. Screws probably are not accurate..

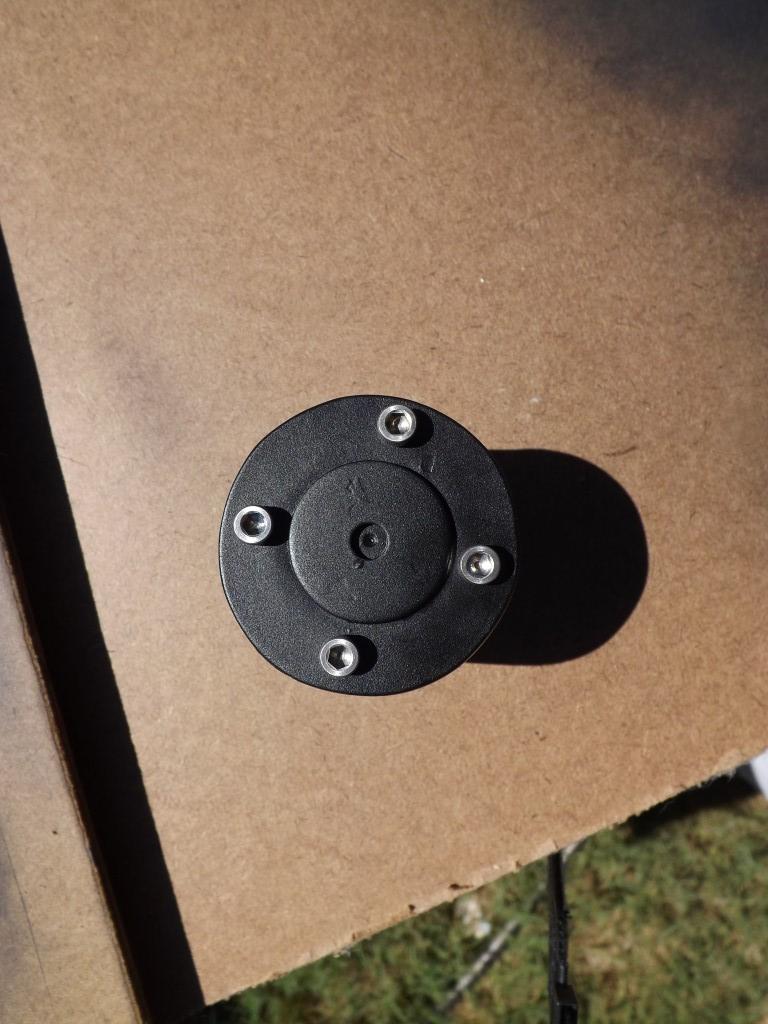
Painted aluminum parts! I realized one problem I’m probably going to have. The disk for the vacuum hose is 2.5" instead of 2.25", doh! Maybe it might still fit, although be inaccurate? My GBFans shell comes on Monday so I can test fit it.

Minor repairs on the HGA

I bought a decal set off of eBay from a vendor named Cullen something or another. The chrome stickers were decent but the paper ones were absolute garbage. The sticker was printed on some sort of thick cardboard stock that did not stick well and the ink chipped off with the slightest ding. I used an xacto knife and a straight edge to cut them out and it caused ink to come off and leave a white boarder along the edges. Contacted him and he is going to issue me a refund. Anyone have any tips about making labels or where to get them? I saw the shop has dry rub transfers but does it include all the decals?

Lastly, more parts came for my neutrino wand.. Lots of resin parts, but I’m pretty satisfied with it..

If you’re shooting for accuracy, you’ll want to use 4-40 socket head cap screws for your resistors on the ion arm.

Thanks for the info!

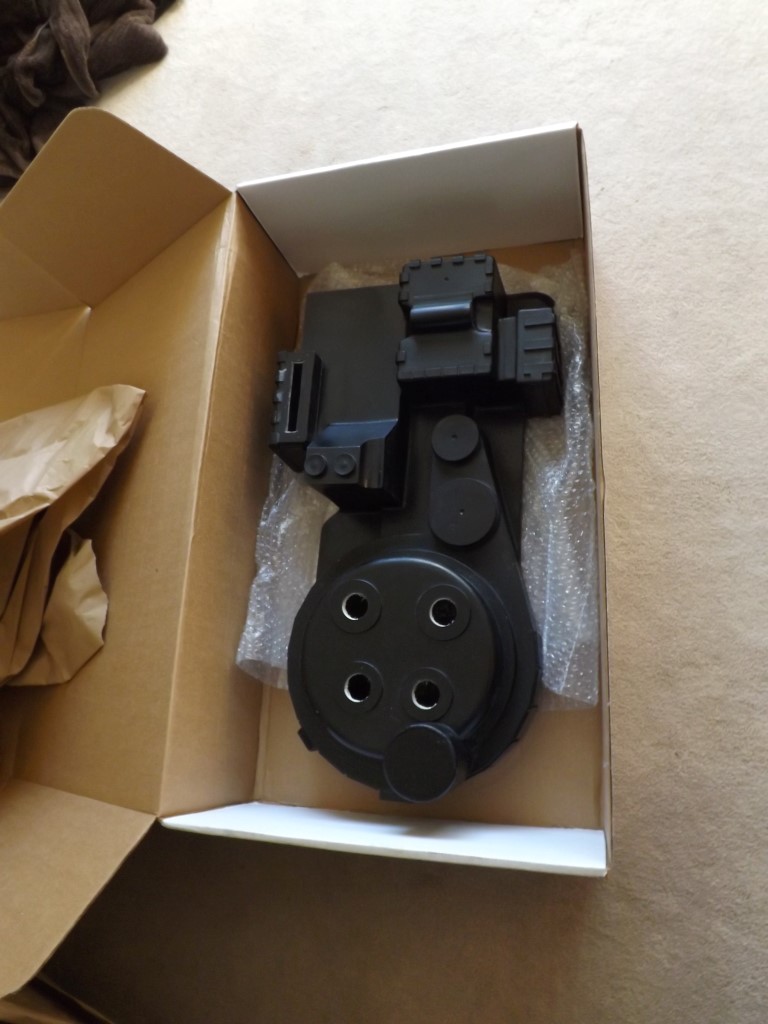
Look what came in the mail!

Overall I’m satisfied with the quality but I noticed a couple of things.

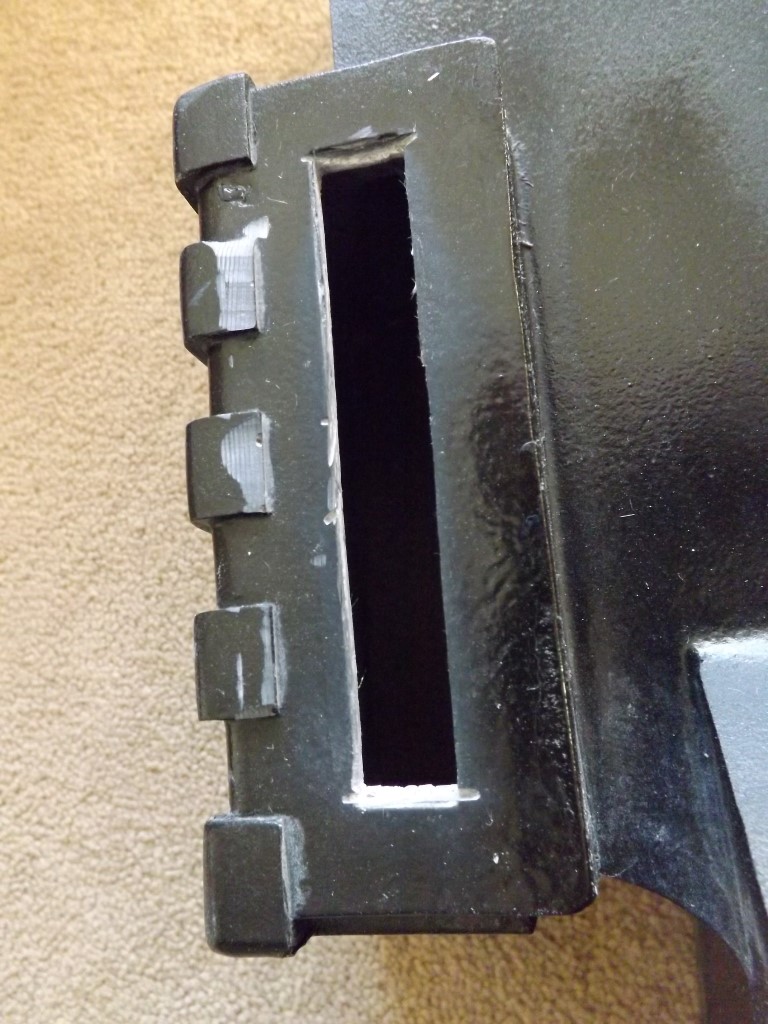
For example, whoever cut out the power cell window accidentally grinded down some of the ribs on the pack. Kind of a bummer but I’ll try to fix it with spot putty and careful sanding.

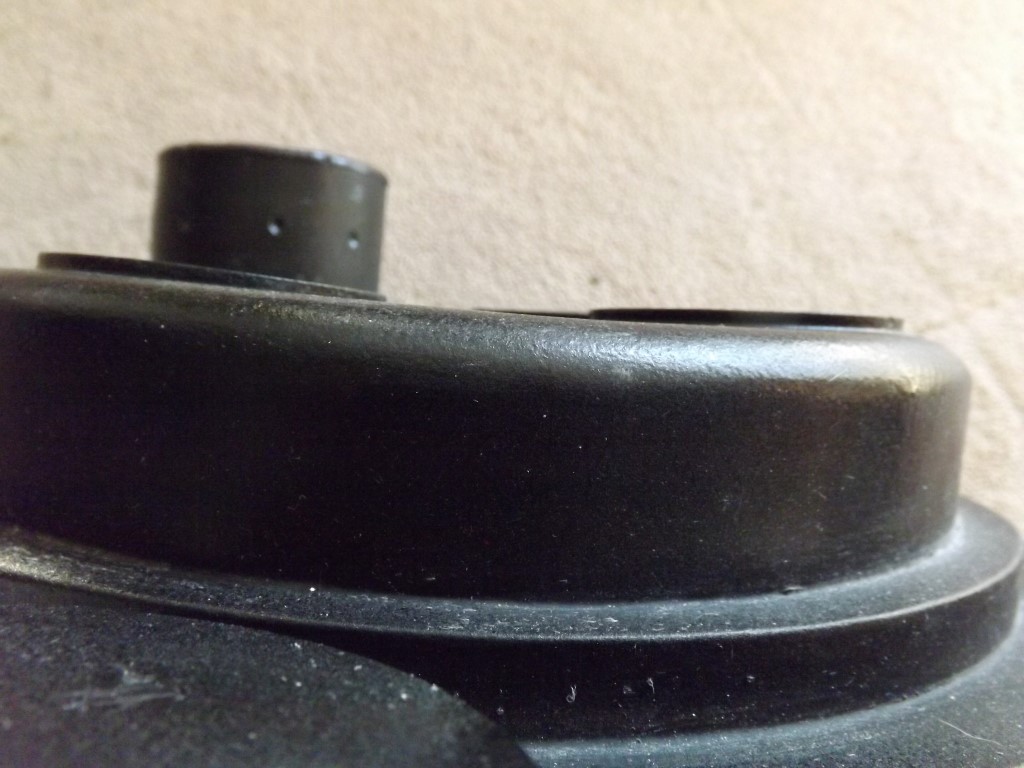
Also, one of the big complaints about VideoBob’s shells (all else aside) was that his casts have a warped cyclotron. Well, my GBFans one does too.. I was hoping for a shell with a little less warp, but It’ll do and I’m glad I supported the GB community.

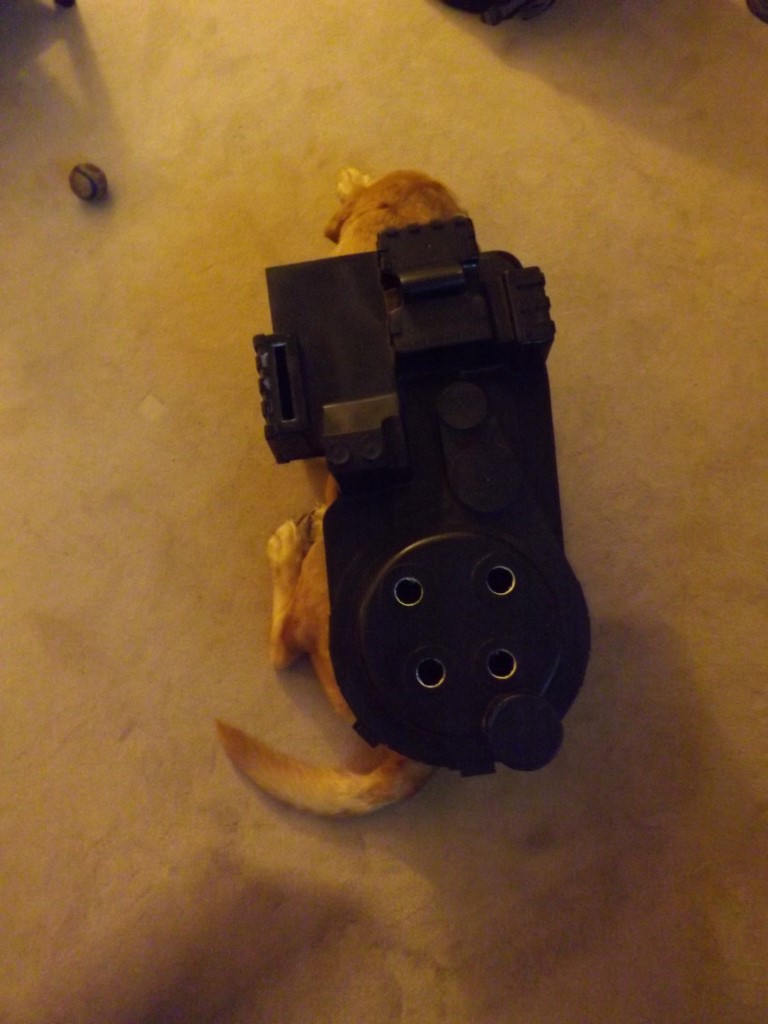
Here is my dog Sam putting up with my shenanagans

Lastly, painted the HGA and added silver hex bolts to add some schnazz…

Next update soon.. :slight_smile:

Just noticed that the shell isn’t square to the motherboard and there is about an 1/8" gap in the middle of the body.. Double bummer.. I almost feel heartbroken.. lol

Any suggestions on how to fix this?

Mine had a similar gap but less severe warping. Careful mounting mitigated most of the gap- will keep an eye out for any solutions you come up with for the rest!

This may end up being one of those “artists are their biggest critic” things.. Most people wouldn’t notice unless they really looked it over but its going to bug the shit out of me!

edit - If I added 2 more L brackets it wouldnt look too bad. If I had noticed this issue before drilling holes for the mounting brackets (based off of a GB2 pack) I could’ve avoided this without having 6 L brackets!

We cam definitely replace that shell for you.

I’ll send you a PM.

*Note some warping is intentional as it is found hero packs. There are a couple things on that shell that were very poorly done however, so I’d be happy to send you a replacement.

Still looks good buddy :slight_smile:

AJ, you’re awesome! I replied to your PM, thanks!

Hoot, I appreciate the kind words!

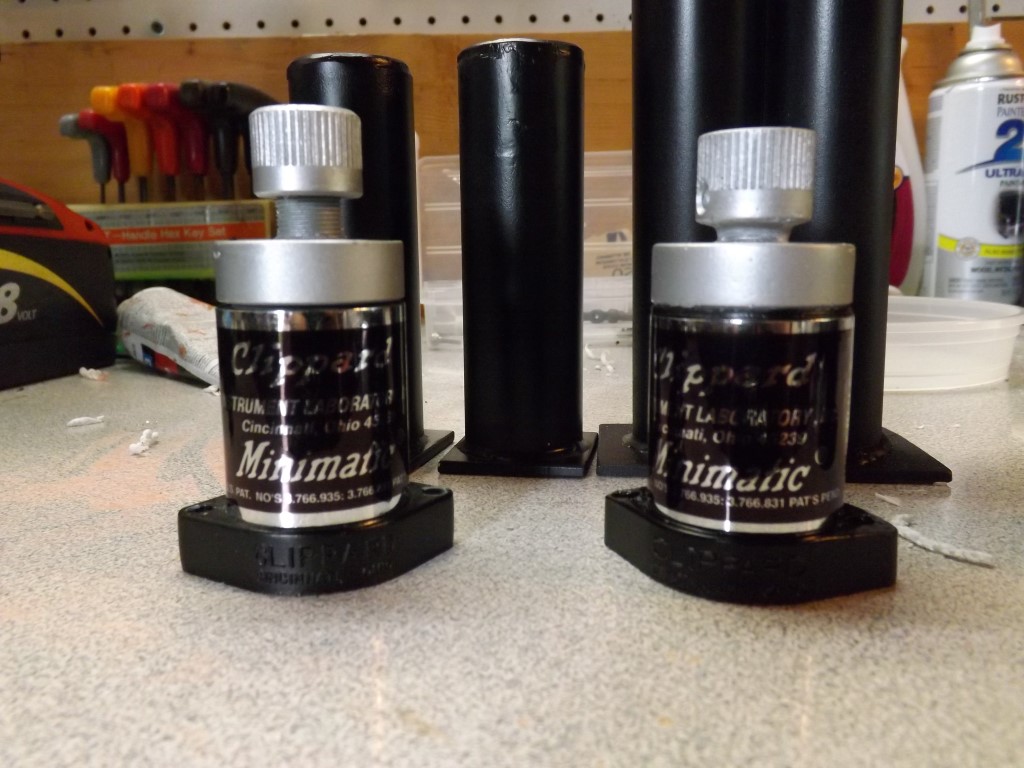
Some updates - I ordered and received WizGB-008’s bumper, it is absolutely fantastic! Great quality and price. Also placed an order for a cable clamp, some barbs and a shock mount from MMM, they arrived today and I have nothing but great things to say about them!

Still waiting on the new shell, there was a mix up but it’s all good and should be here sometime next week.

I was thinking about what kind of light set up I want and I’ve decided to go with the GBFans trio.. Unfortunatly I missed my chance to get my hands on a soundboard, DOH! Oh well, at least I was able to order the pack and wand lights.. Patience is a virtue, so I’m told.

Pictures!

Ok, I apologize because in retrospect I’m not taking enough pictures. I just get soo excited and before I know it 4 hours have passed without a single picture..

First off, I ordered the dry rub transfers from the GBFans shop. They look great! When I went to apply the transfers some of the fine lines didnt want to come off the backing and as a result some of them are slightly messed up.

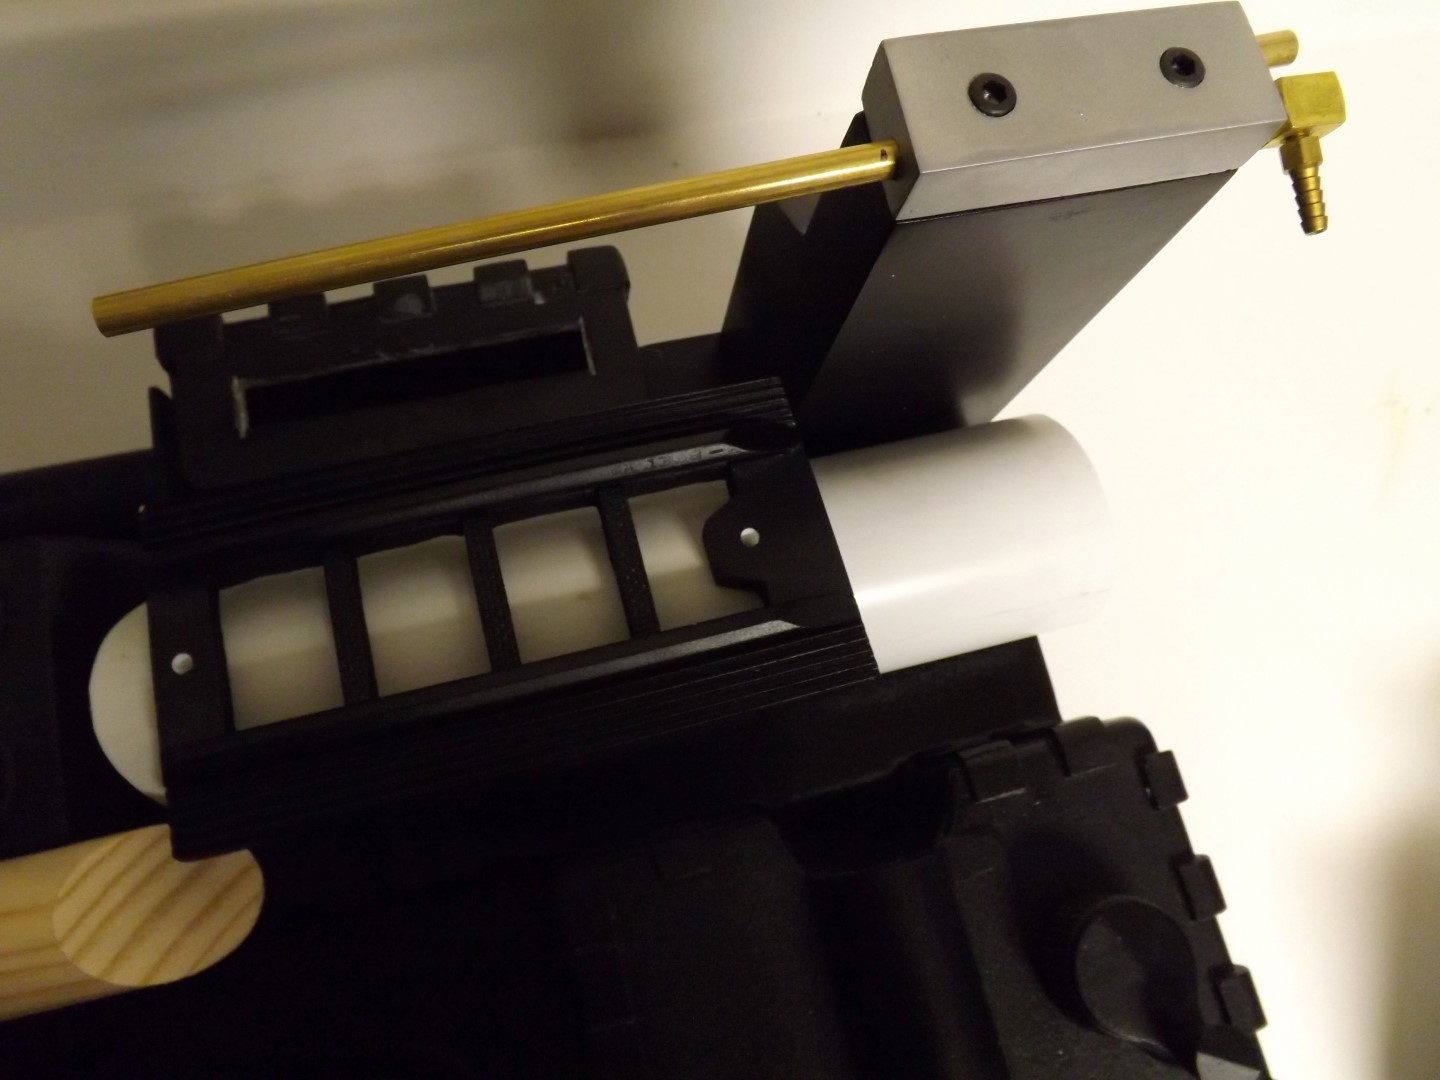
Second, I completed my booster tube and ion arm.

Test fit. You can see that the plate on the vacuum tube is too big. I made the PPD out of a wooden dowel, it looks ok.

Flash forward to today.. I took the vacuum tube to a shop with a lathe and was able to cut it down to 2.25" (and also perfectly center the tube on the plate as a result). As you can see I painted the booster tube, bumper (with MMM shock mount), PPD and finished the ion arm. I smacked myself in the forehead when I looked at how the MMM shock mount is made. Why didn’t I think of that!?

The chrome decals that you see I got from a vendor on eBay named Cullen something or another. They are pretty OK quality I imagine. Along with the chrome decals I had also ordered a full set it pack/wand decals. They looked alright but when I started cutting them out with an xacto knife the ink started chipping off and the decals were an overall pain in the ass to work with. Getting them off the backing was also a pain in the butt and if you bent a corner the ink chipped off and you were left with a white corner. Terrible quality. I contacted him and addressed the issue, luckily he worked with me and I sent them back for a partial refund since I kept the chrome stickers. One cool thing to note is that Cullen did include a chrome ecto goggle decal, which brings me to my last update..

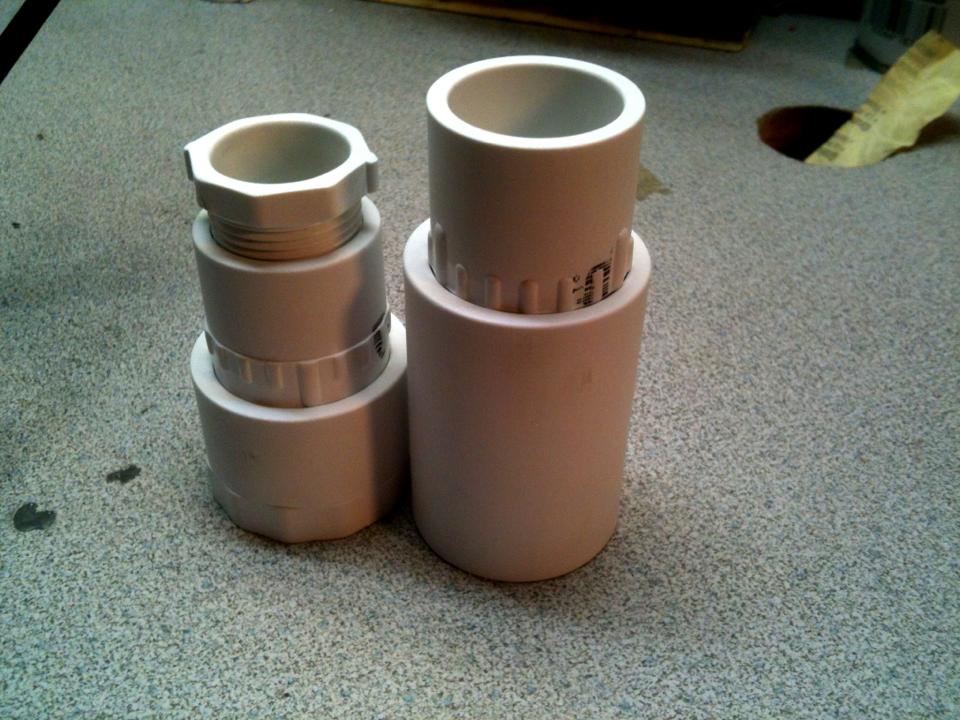
Seeing that I’m patiently waiting for my new shell to get here I decided that I should occupy myself by building a pair of ecto-goggles. The other day my friend and I paid Home Depot a visit and found some interesting pieces of PVC that I am going to use for the lenses..

Welding goggles are coming in the mail, I should have these finished in no time..

Whelp, that’s my update! More to come once I get my shell..

OK, sooo.. I finally got my new GBFans shell. It’s better but needed a lot of work. Every time I thought I was ready to paint I would wash it then find edges that crumbled. Apparently the fiberglass didnt get into the sharp edges, only the gel coat did. As a result the gel coat is chipping and revealing a lot of pretty big holes. It’s taken me 2 days of applying spotting putty, sanding, applying more, sanding, washing getting ready to paint, finding more holes and starting over. It’s so frustrating! Maybe I’m trying to be a perfectionist, but still. I’ll post pics up later..

Build a pair of ecto goggles and a belt gizmo. Both look pretty awesome..

Got my Truspec flight suit and belt, Dyed them both, both look very nice.

Currently waiting for more spotting putty to dry so I can hopefully prime and paint the shell today.

Take heart my friend. The real Heros had a slump in the cyclotron so that’s pretty accurate :wink:

Sadly things like random holes in the fibreglass where the glass meets the resin is quite common, or it has been in the shells I’ve had during my time here. Filling them is probably what I’d do as well.

The area on the pack where it’s pulling away from the motherboard can be fixed with a heat gun on the lowest setting slowly heating the area around that part if the shell then clamping the sucker to the motherboard and letting it cool. This is best done before you paint!

Good luck on the rest of your build, I look forward to seeing your progress!