If you want to really make the barbs sturdy drill a deeper smaller hole inside the hole you drill for the barb thread. Slip a small rod of metal that will fit inside the barb into the hole and then slip the barb over this pin. Here is a simple diagram of what i mean…
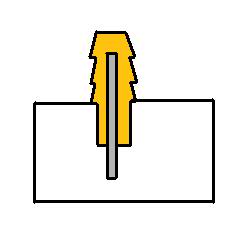
Thats not a bad idea. I just do not like how it feels on there. So i might just do that and maybe add some glue or something to really give it a sturdy feel. Thanks for the suggestion and the diagram.
no worries  If you use some epoxy glue on it too it will be super sturdy and resist the pull of the green hose when added.
Yeah that’s what I was thinking, cause that green hose really sticks to those barbs. I am taking my time on this project, well actually I started to hurry and thats why I had to refill the base plate holes and re-fit the barbs. I am learning that you can’t rush this.
one last tip for tha barbs, before slipping on the green hose dip the end into hot water or very carefully heat them with a lighter to soften them up a bit, will make pushing them onto the barbs alot easier.
I do not know why I did not think of that. I was thinking there had to be an easier way. Yeah I might do the hot water first and then maybe try the lighter. Hopefully I will get the barbs on tonight and the knobs.
Good idea Nick with the small rod inside the barb. The biggest problem with the barbs is the thread is really short, thats why I now include the 3/8" long brass threaded inserts. This way you have a more solid mounting point. I agree also to soften the tubing before you slip it onto the barbs so you dont put undo stress on the barb as you push it on.
Put a dab of WD-40 around the opening of the tube and it will slide over pretty easily. Its getting them out that is nearly impossible without cutting.
PS, I kinda don’t like that curved shadow on the 3rd image..
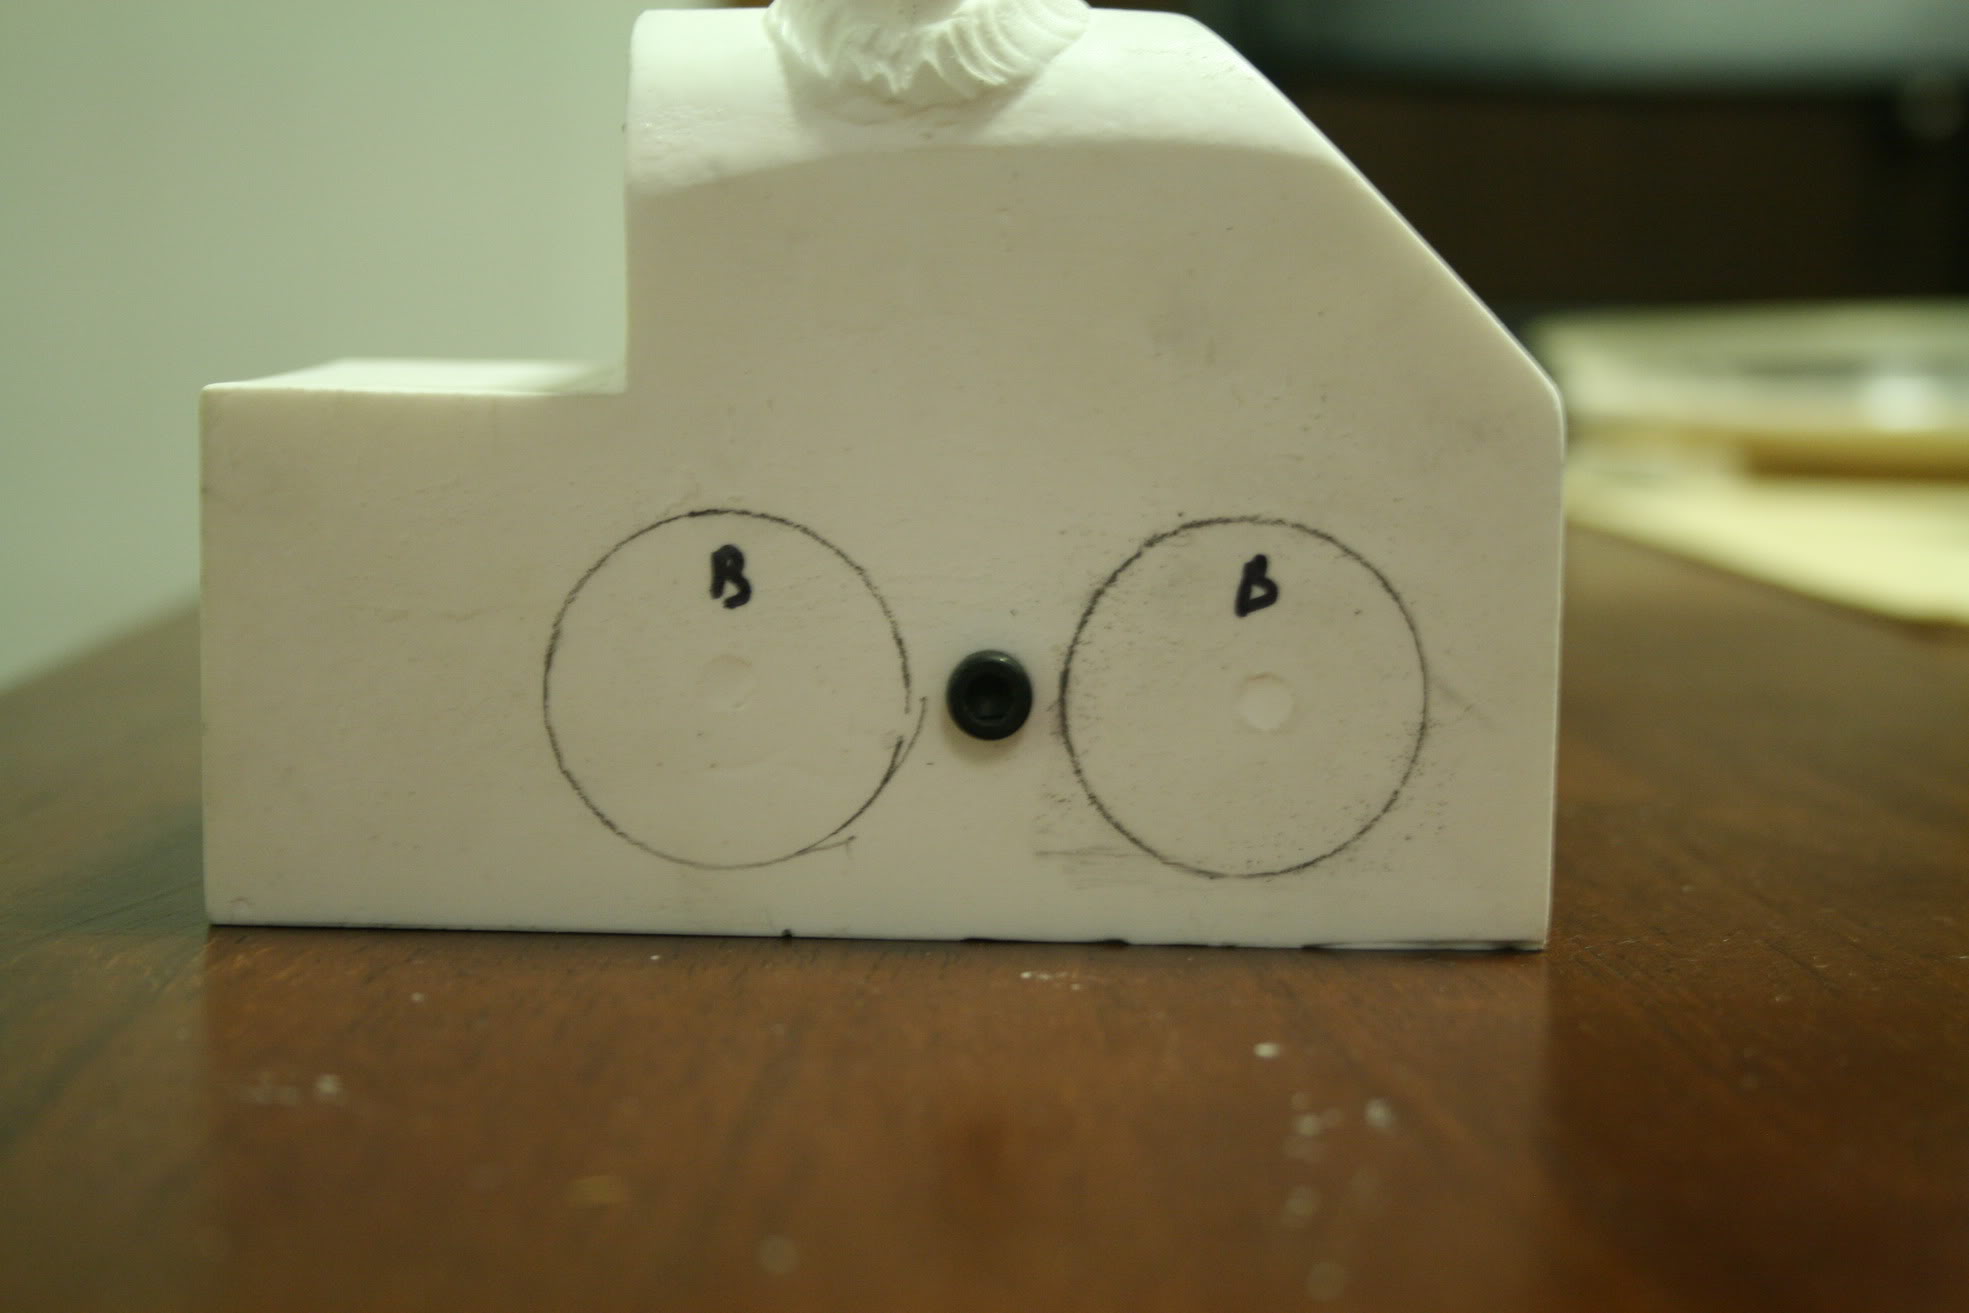
Are you talking about this pic? I think it was how the lighting was I took the picture. It is directly under my kitchen light. Yeah the WD-40 would work, I do not think I will be removing it a whole lot once I get it on the barbs. Thanks for the tip though. Always looking for advice.
Solved the clippard barb problem. Colin sent me some brass inserts for the barbs,slo-blo, and the clippard. That was really cool of him to help me out with this build. Excellent customer service. Hope to get this build going again.
Yes, that is the curve, and it doesn’t have much to do with the light. =3
Good deal on getting the barb problem resolved.
Gotcha. I guess I haven’t really looked at it. Yeah I think I am going to be happy with the inserts. They will be better and not strip the resin.
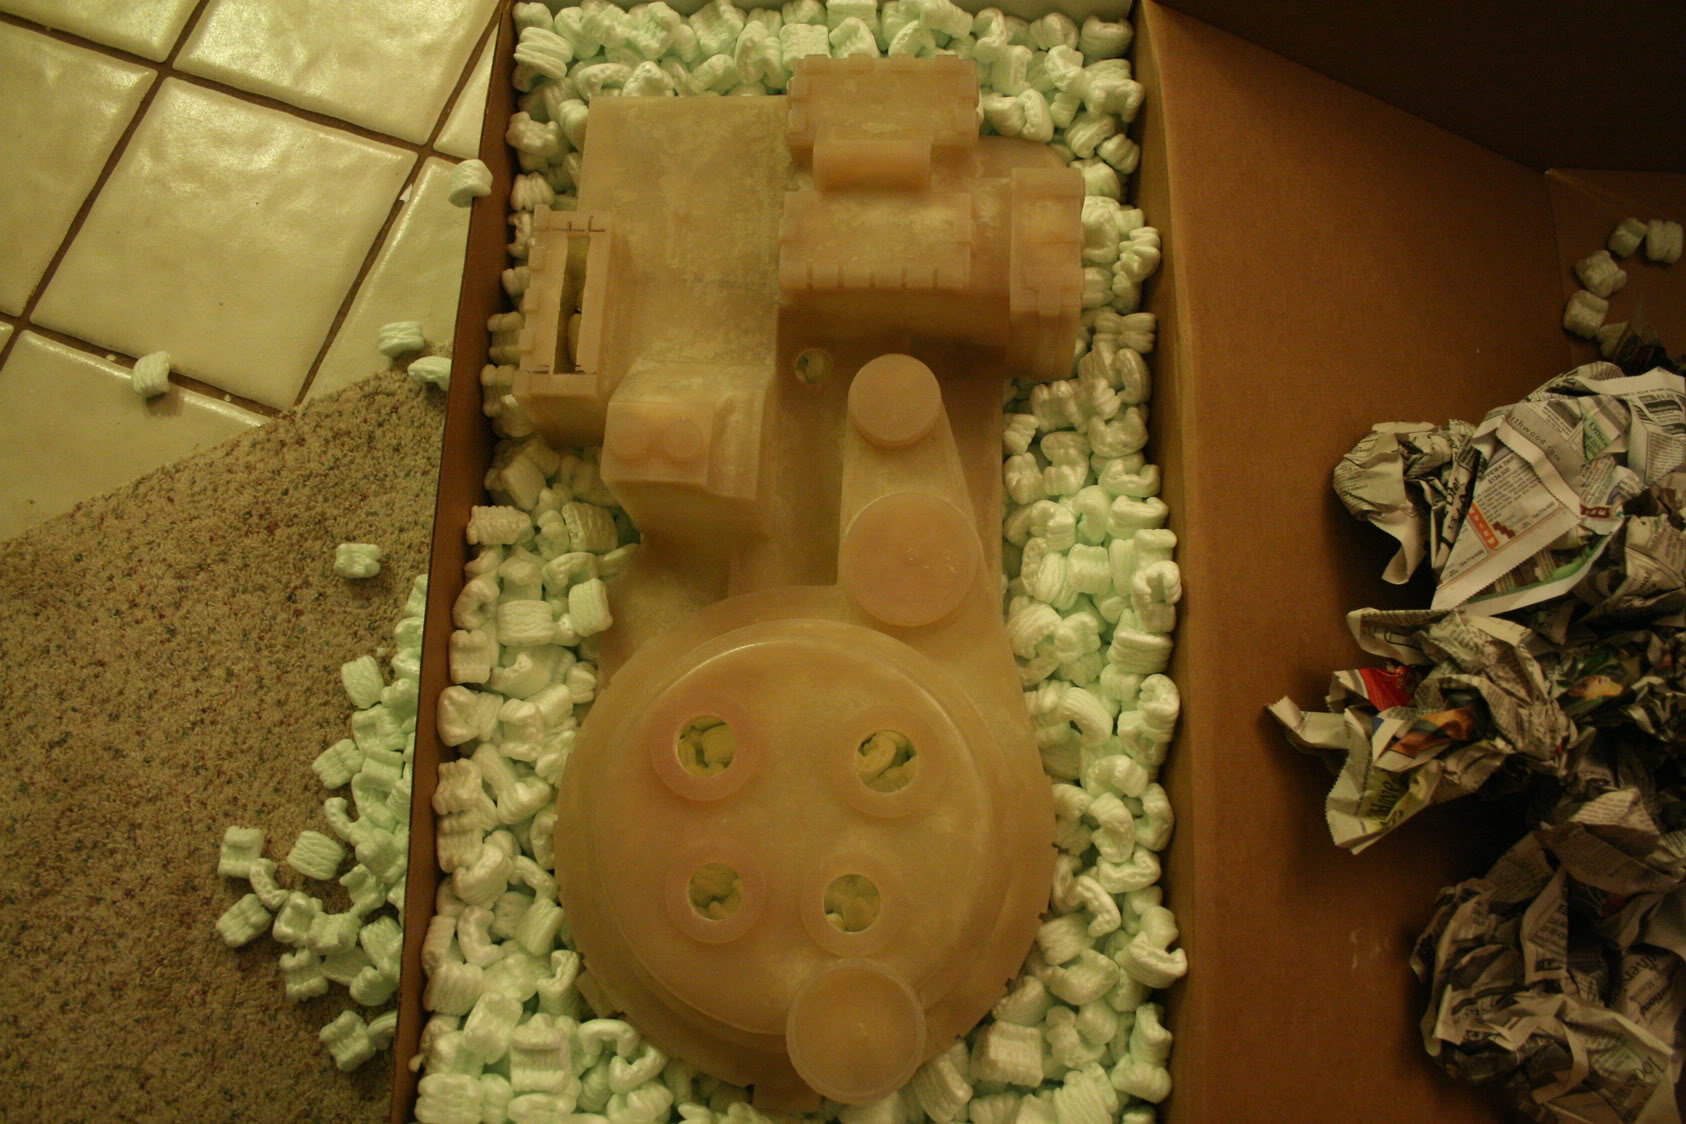
Well I started again on the gun since finals are over and now I have more time. I finished drilling out holes for the brass inserts and also drilled holes with for the trigger box, which was not as bad as I thought. I still need to drill a hole for wiring when I decide on a gun light kit. These past two days have been sanding, priming and painting.
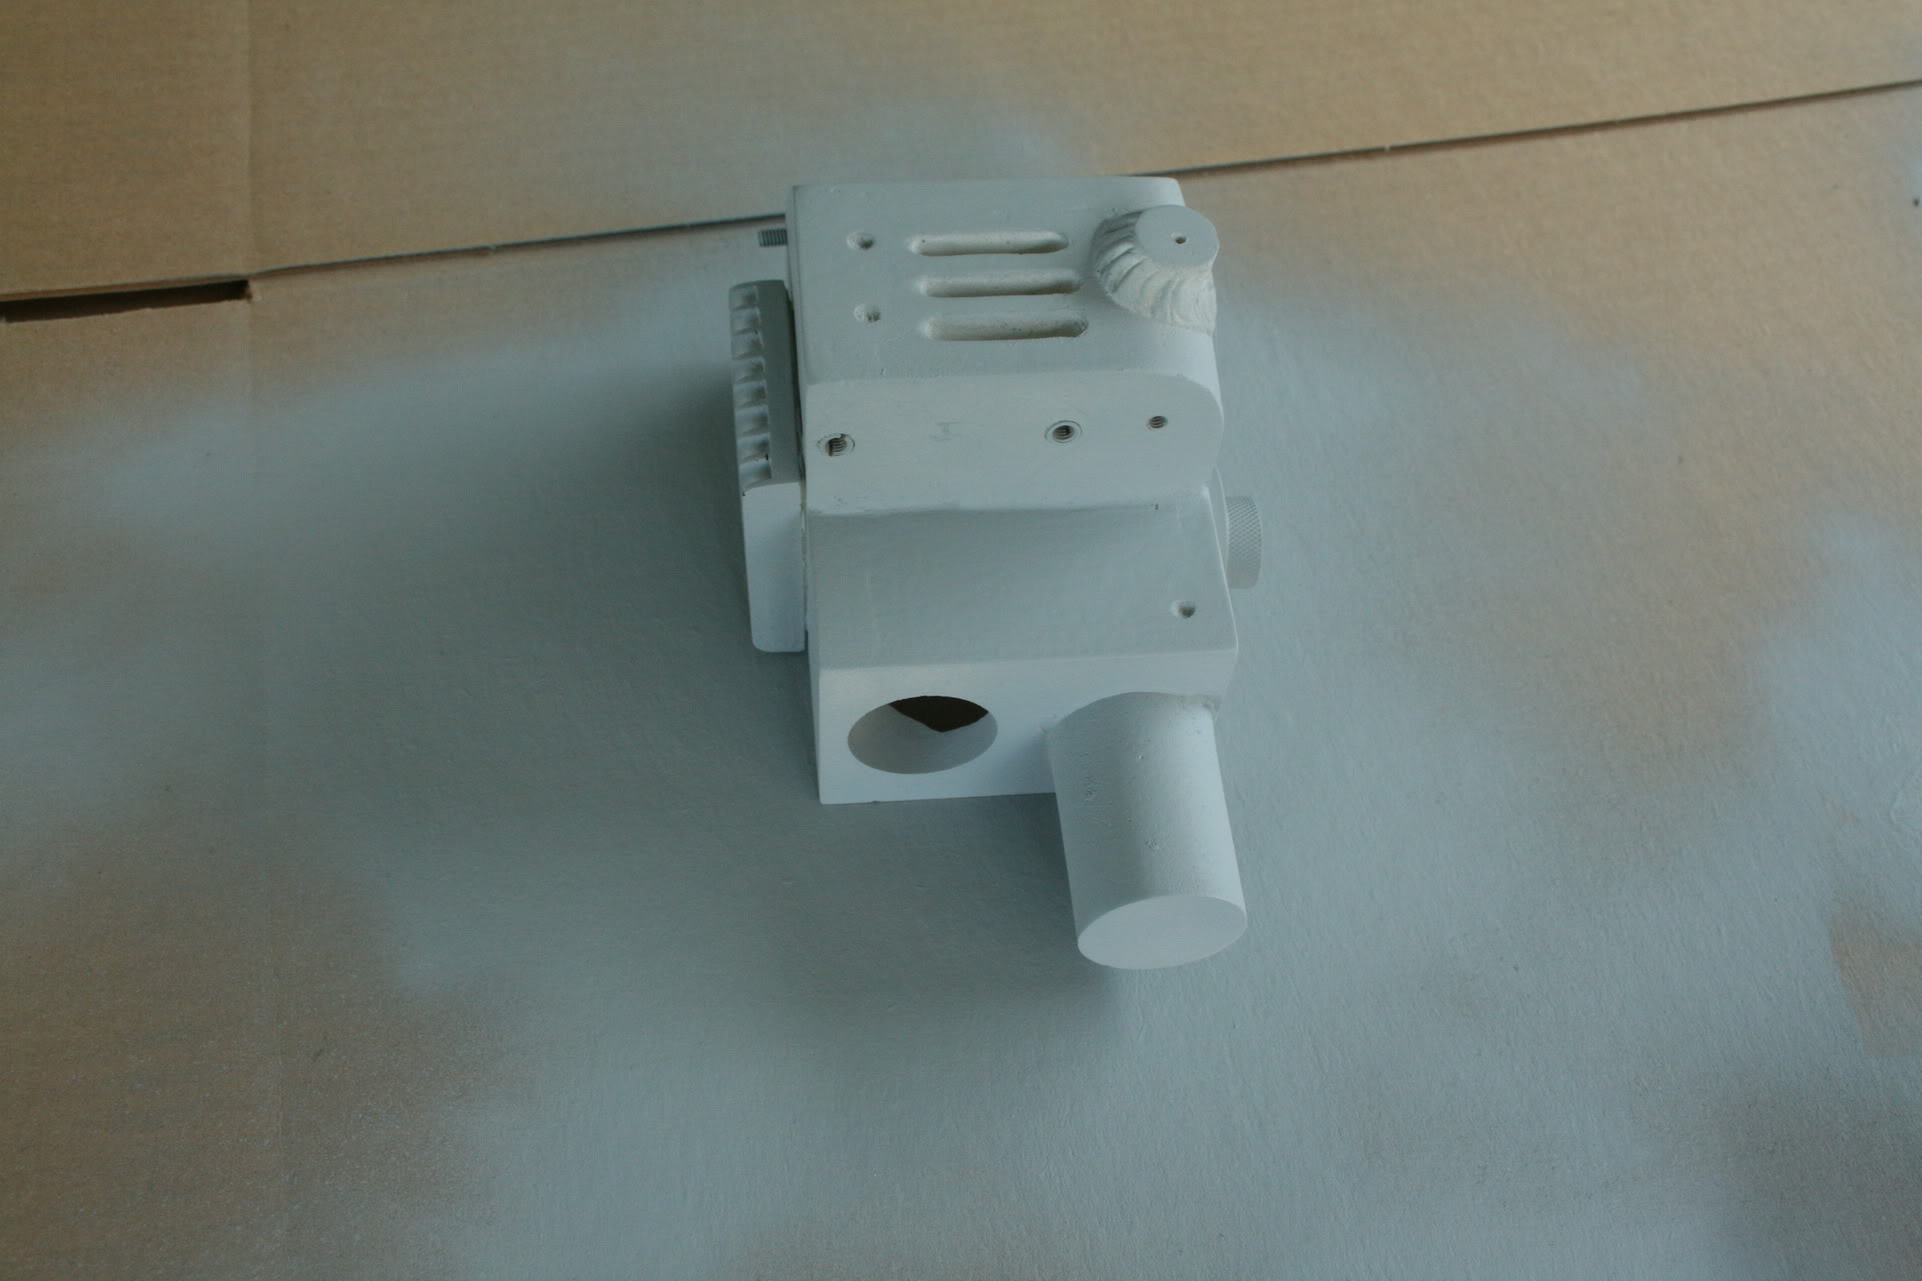
Gun box primed and had also attached the palm rest and drilled out holes for the knobs.
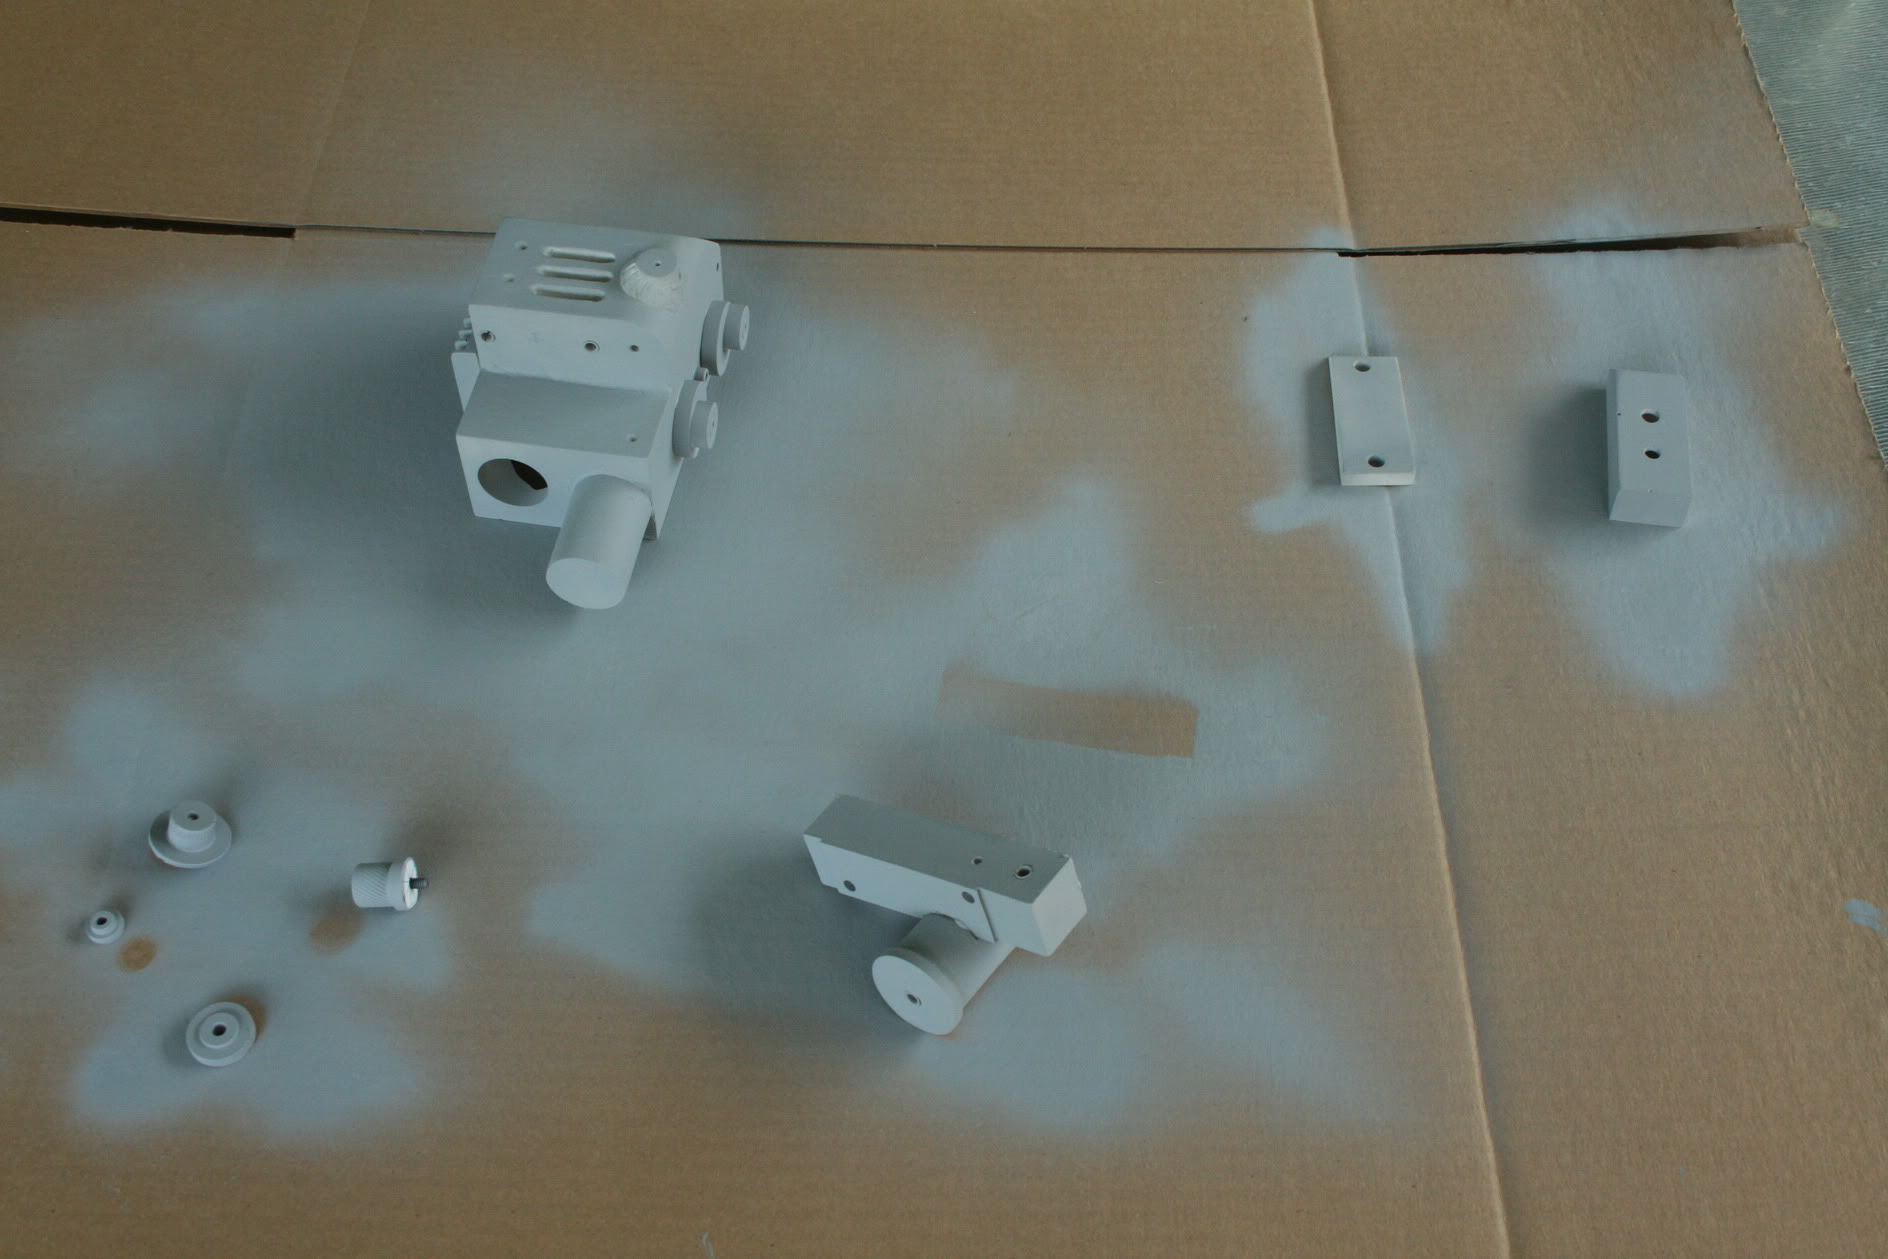
More primed parts.
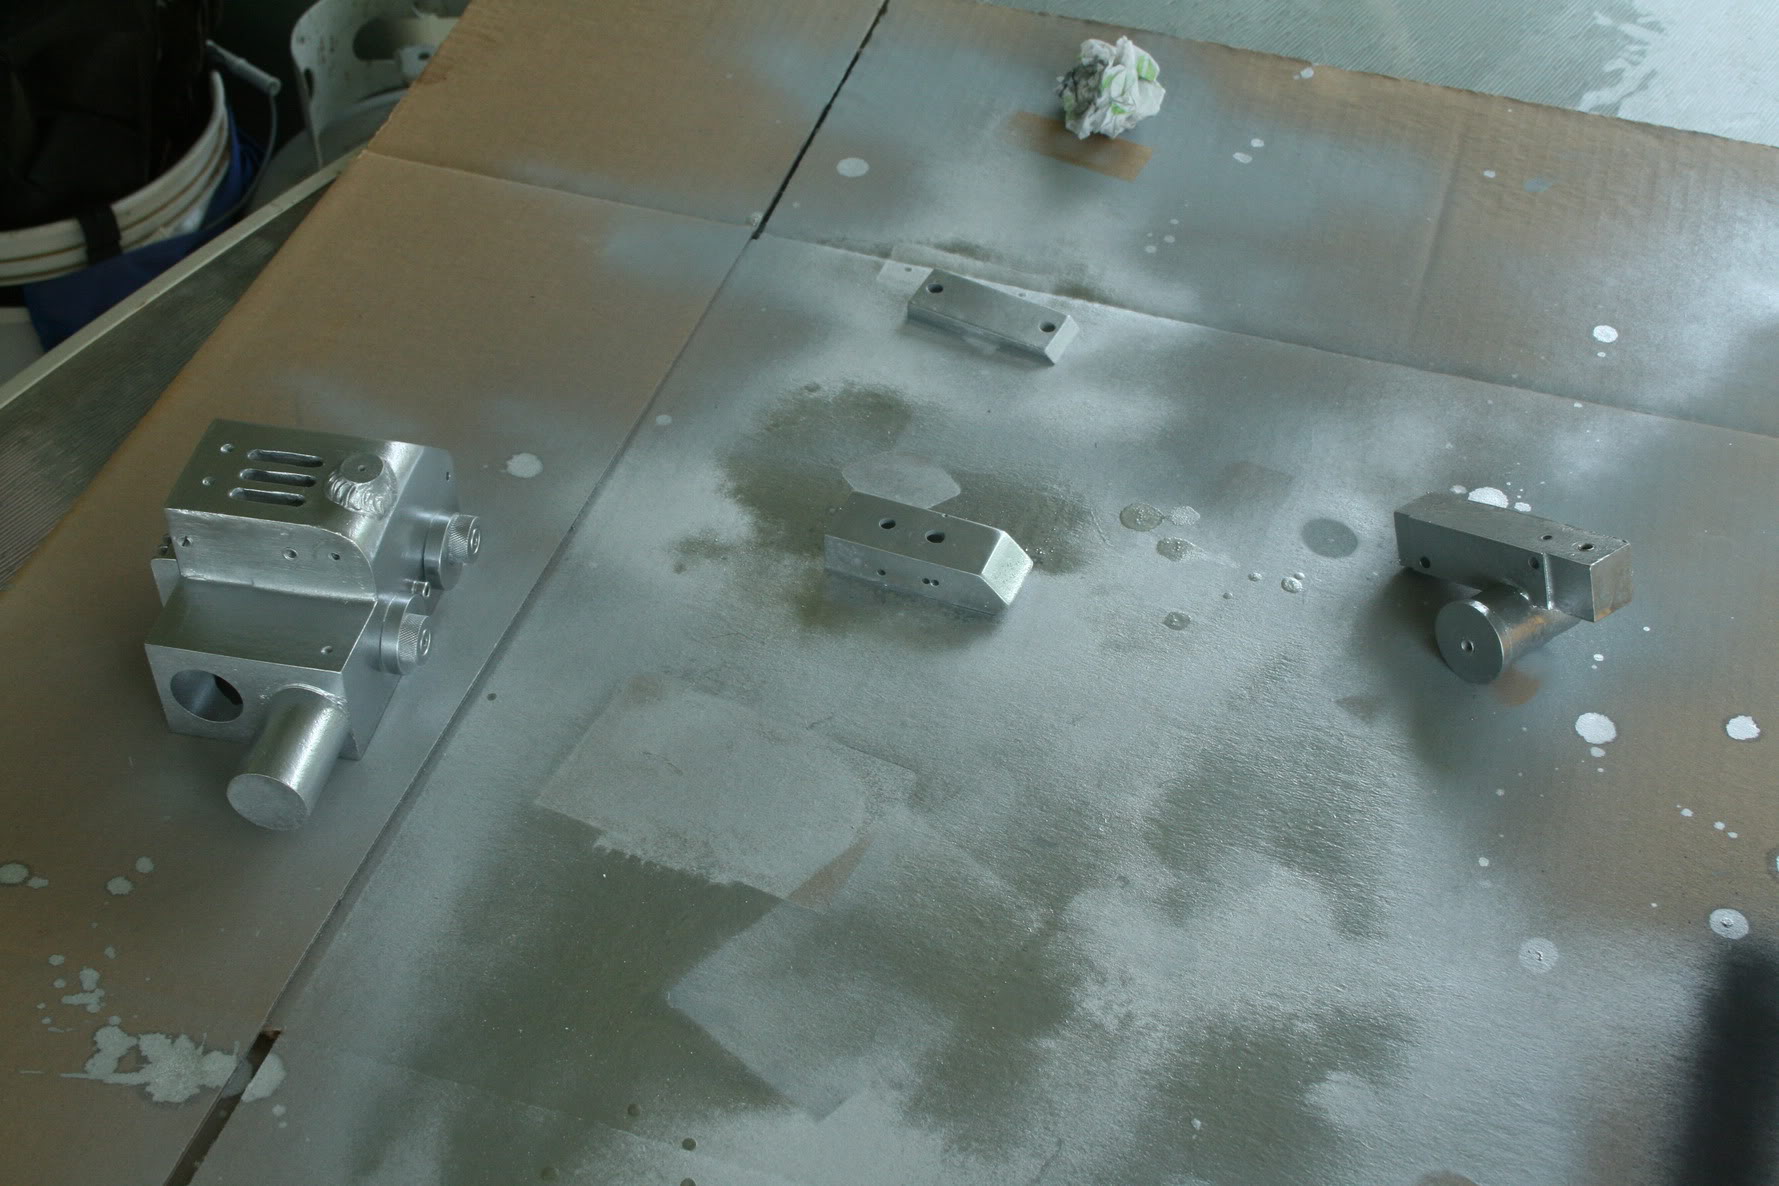
Put a couple coats of silver on

Then after the silver had dried, I put on a couple coats of black. I used a low gloss, its closer to satin. I like it with a little shine and want it to weather on its own.
That’s all I have had time for since, I have been working as well. Most of the time was taken up by paint drying. Barrel assembly and handles I will start tomorrow. So far it’s been fun building this and watching it come together.
Here is some more progress that I have so far. I got the trigger box on, and only messed up once on it, as I drilled a hole a little to high, but you cannot see it unless you take it off. I need to get the handles and barrel done, Would of gotten on those today, but certain things came up. Also I need to get a light kit, and have not drilled out the holes for the lights or the bar graph. Hope to be done with the handles this weekend. I am waiting on my shells from Alkaline and cannot wait to start on those. Will probably be getting another gun kit as this one is a learning experience and have appreciated the tips to make this build go smoothly.
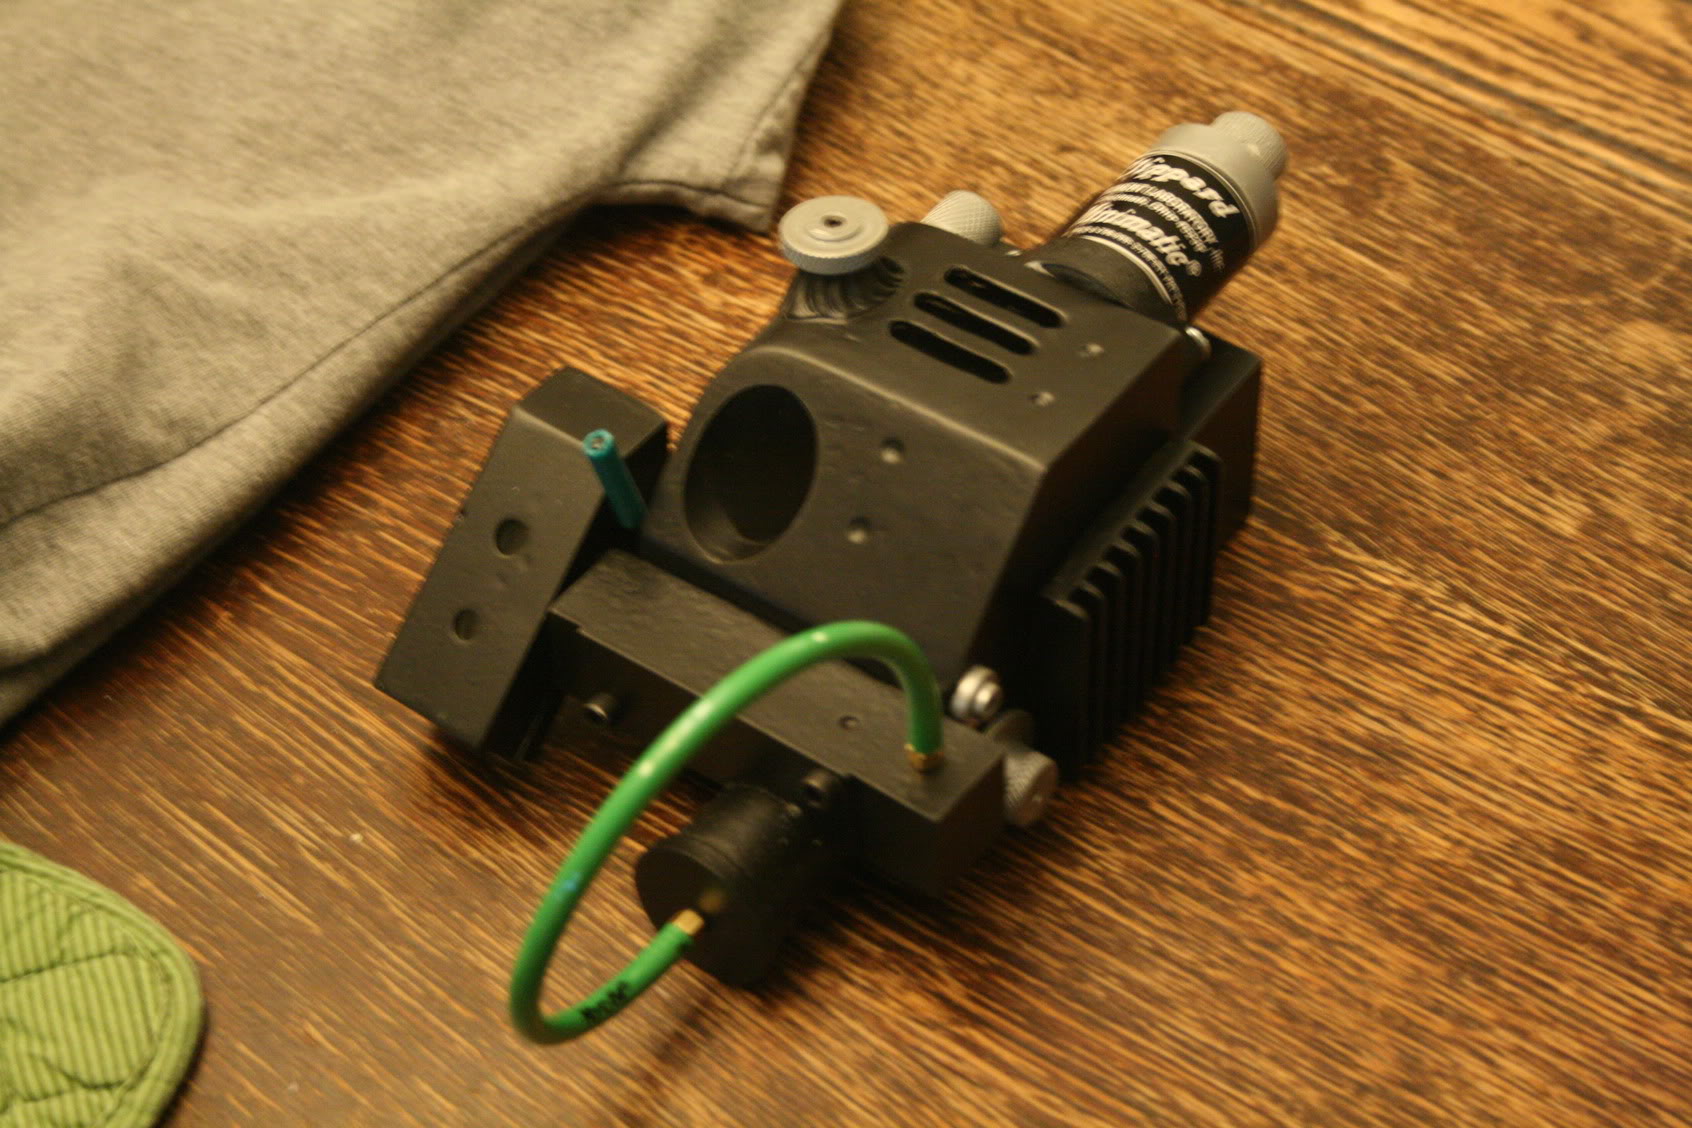
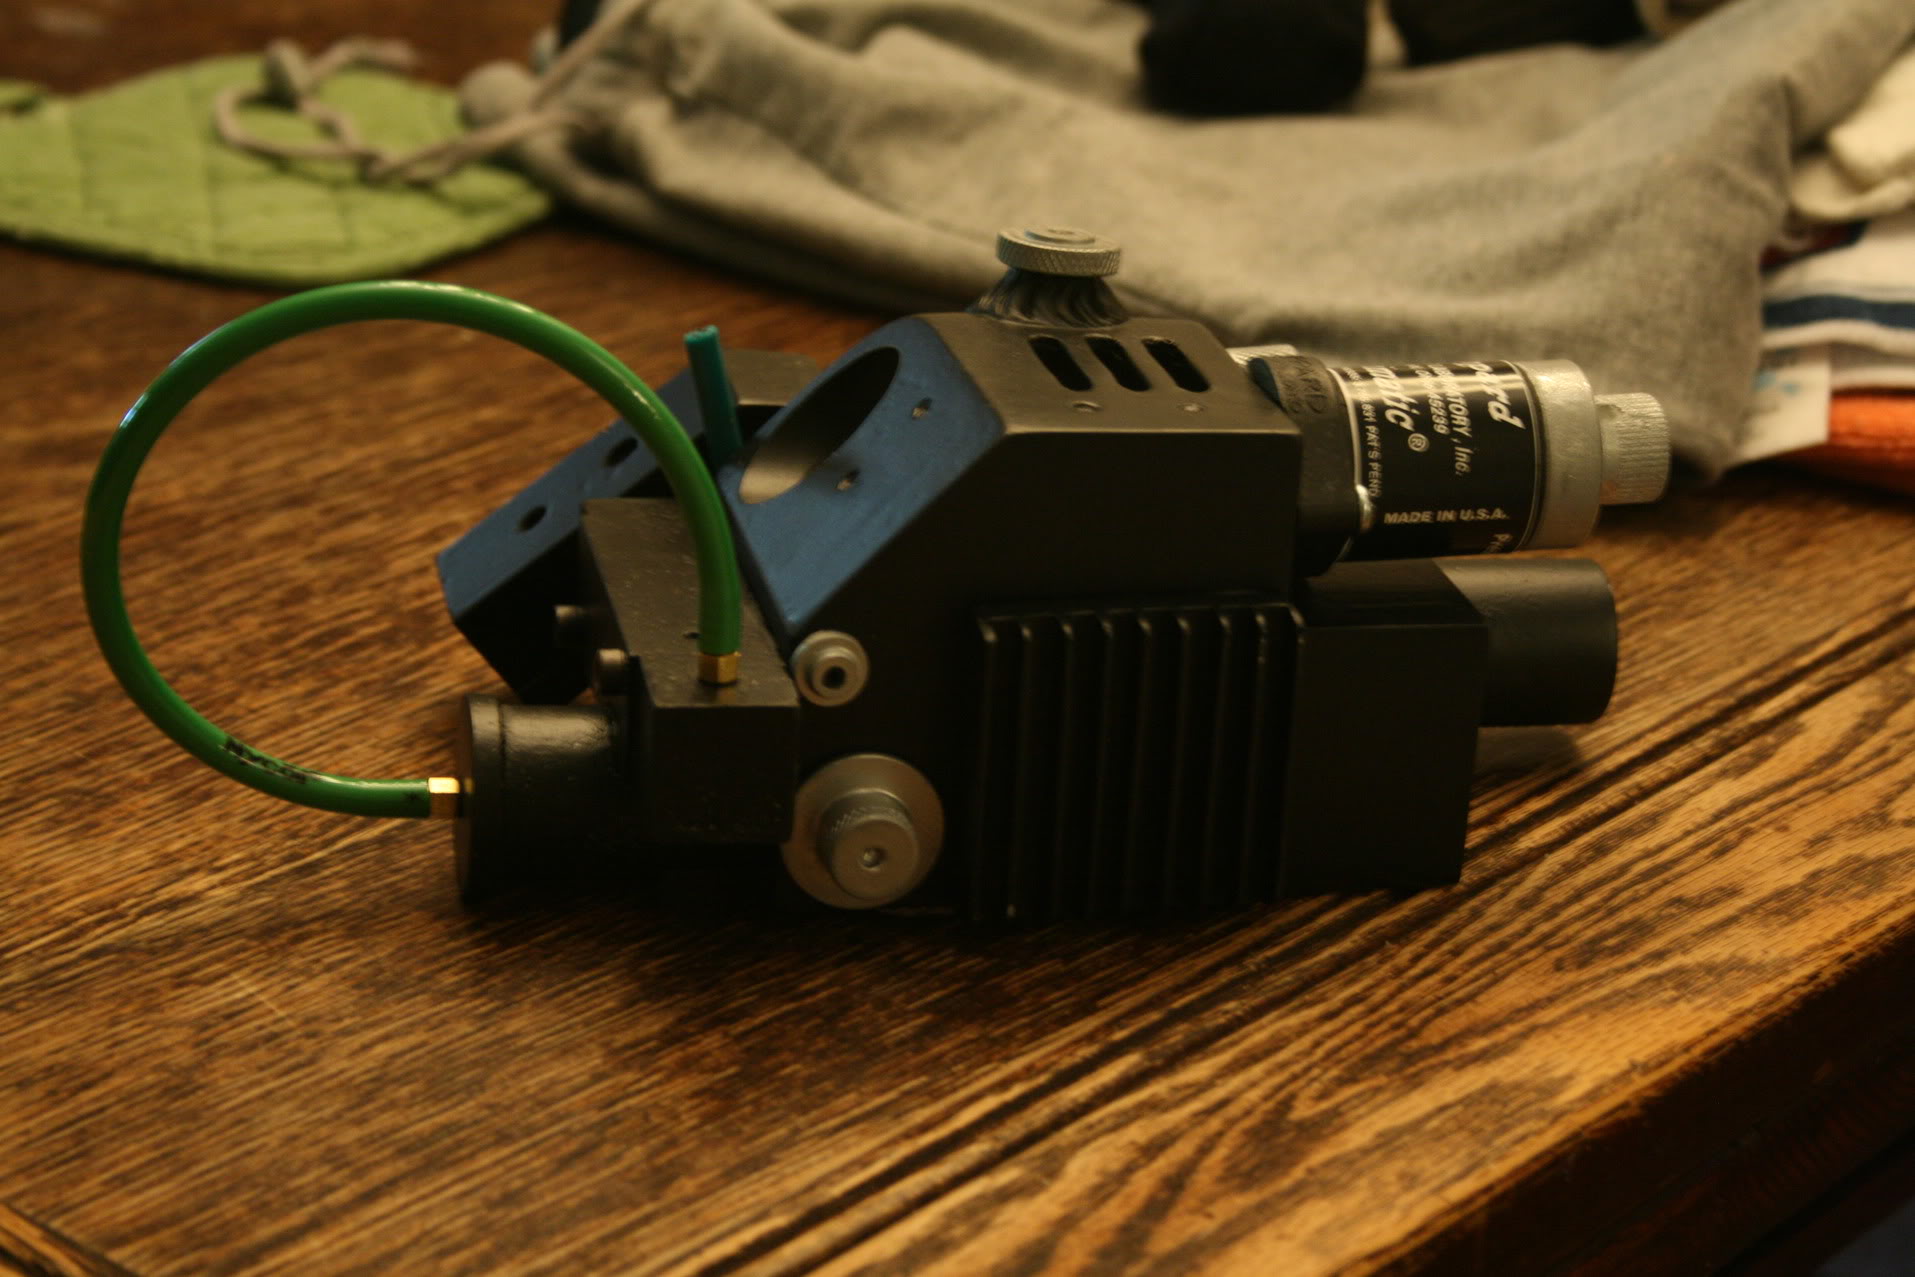
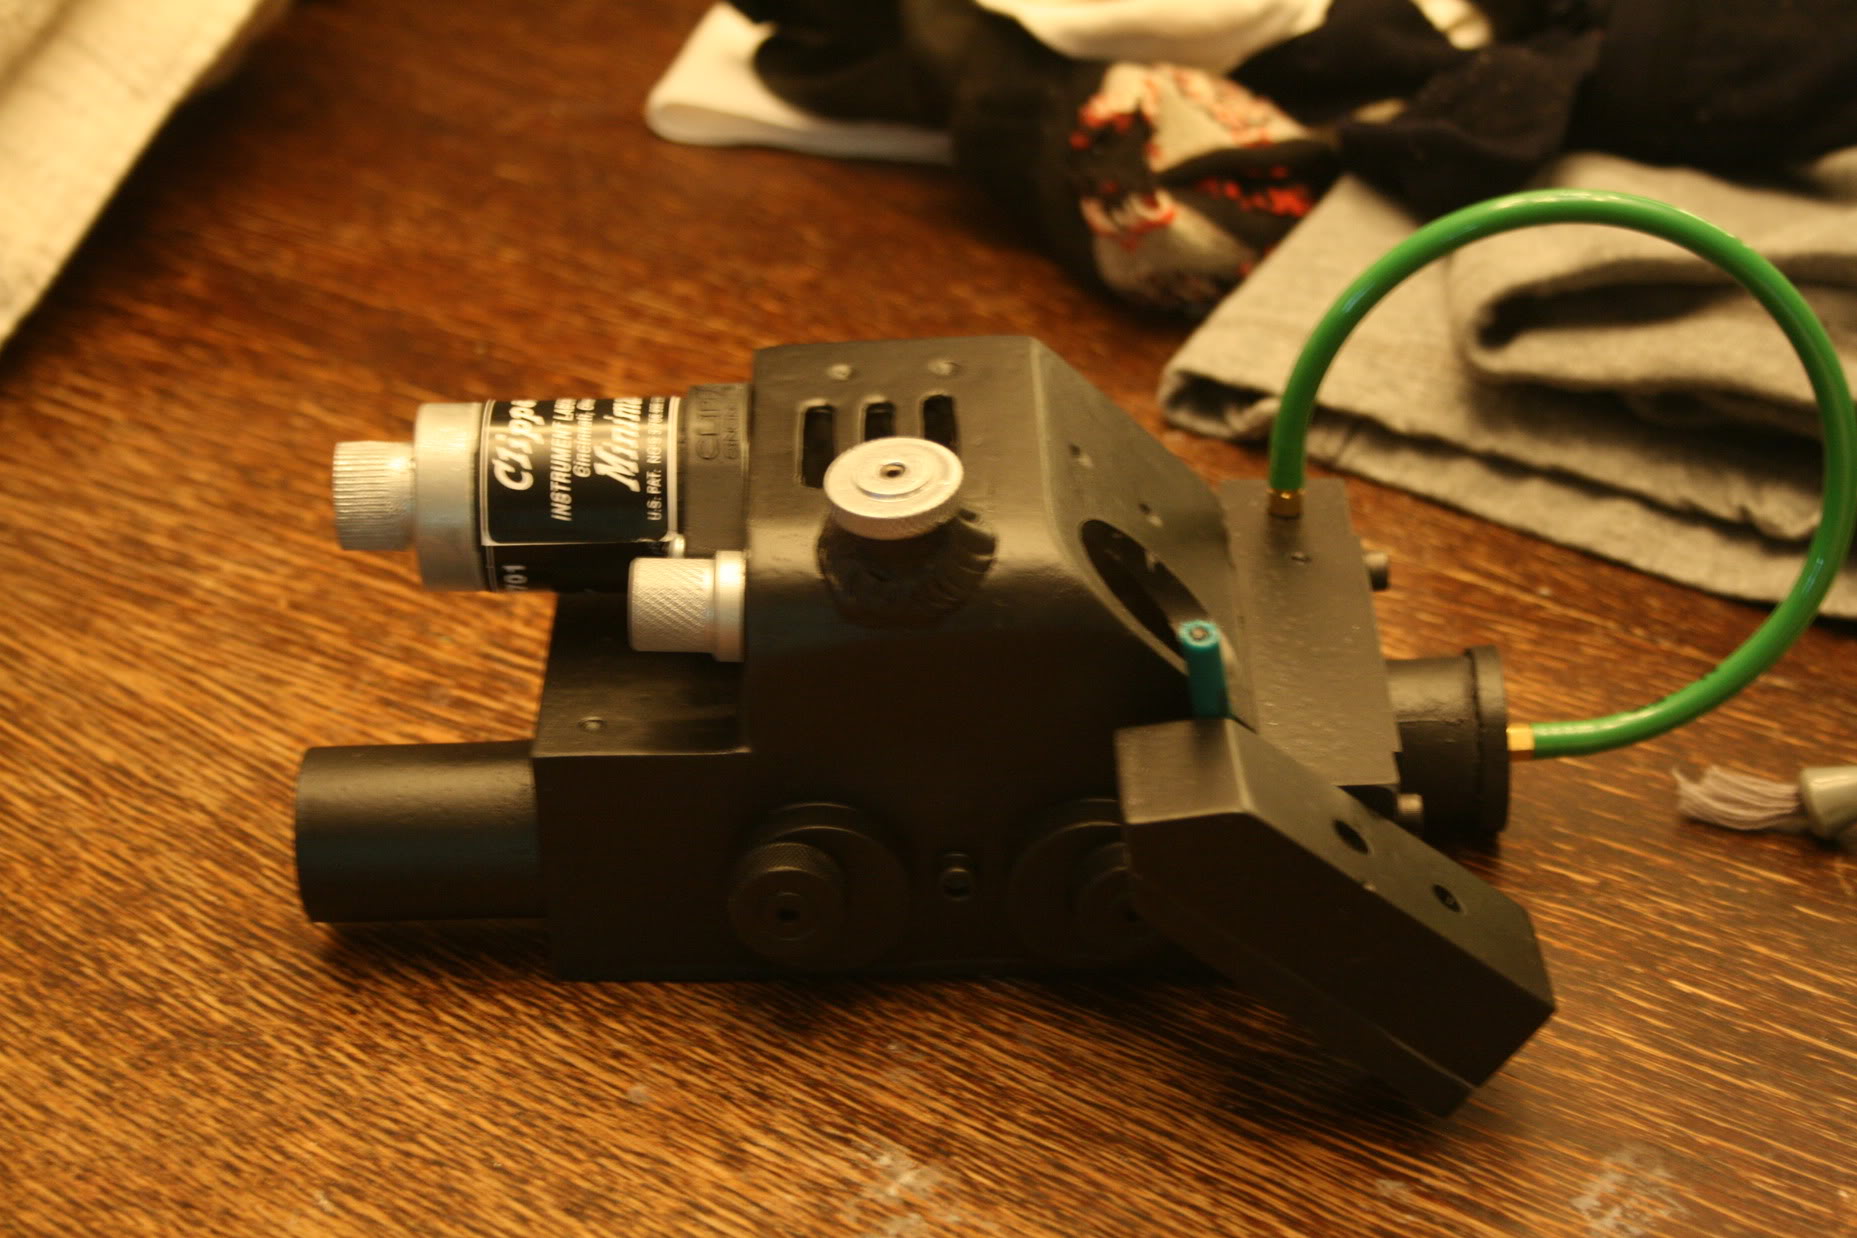
Well my build is almost complete on the gun. I did run into a problem with the base plate, and had to replace the baseplate. Then ran into the gun track not fitting in between the bolts. So I had to dremmel some groves on the side of the gun track to get it to fit. It was a lesson learned and when I do another one, I will know. So far it has been a fun build and cannot wait to start on my pack. Which should be coming in soon. Im down to painting the handles and getting the barrel assembled. I need to get a light kit for the gun and fully be done with this first one.
Got my light kit from proptronix today. Hope to get it installed and be finished with my gun and start working on my pack. It shipped today! Pretty stoked about that. Glad this build is coming together.
Looks great!
Getting there!!
I have run into a problem with the light kit. I think I may have a short. :walterpeck: Which is not good and I have contacted proptronix on the problem and just waiting for him to get back to me. I do not know if is something I have done, but the kit was top notch when it came in and proptronix put out a great product. The good news is that my packs should be coming in any time soon now. This has been definitely a learning experience. I am a total noob when it comes to the electronics. I am learning from this and will be prepared for my next build.