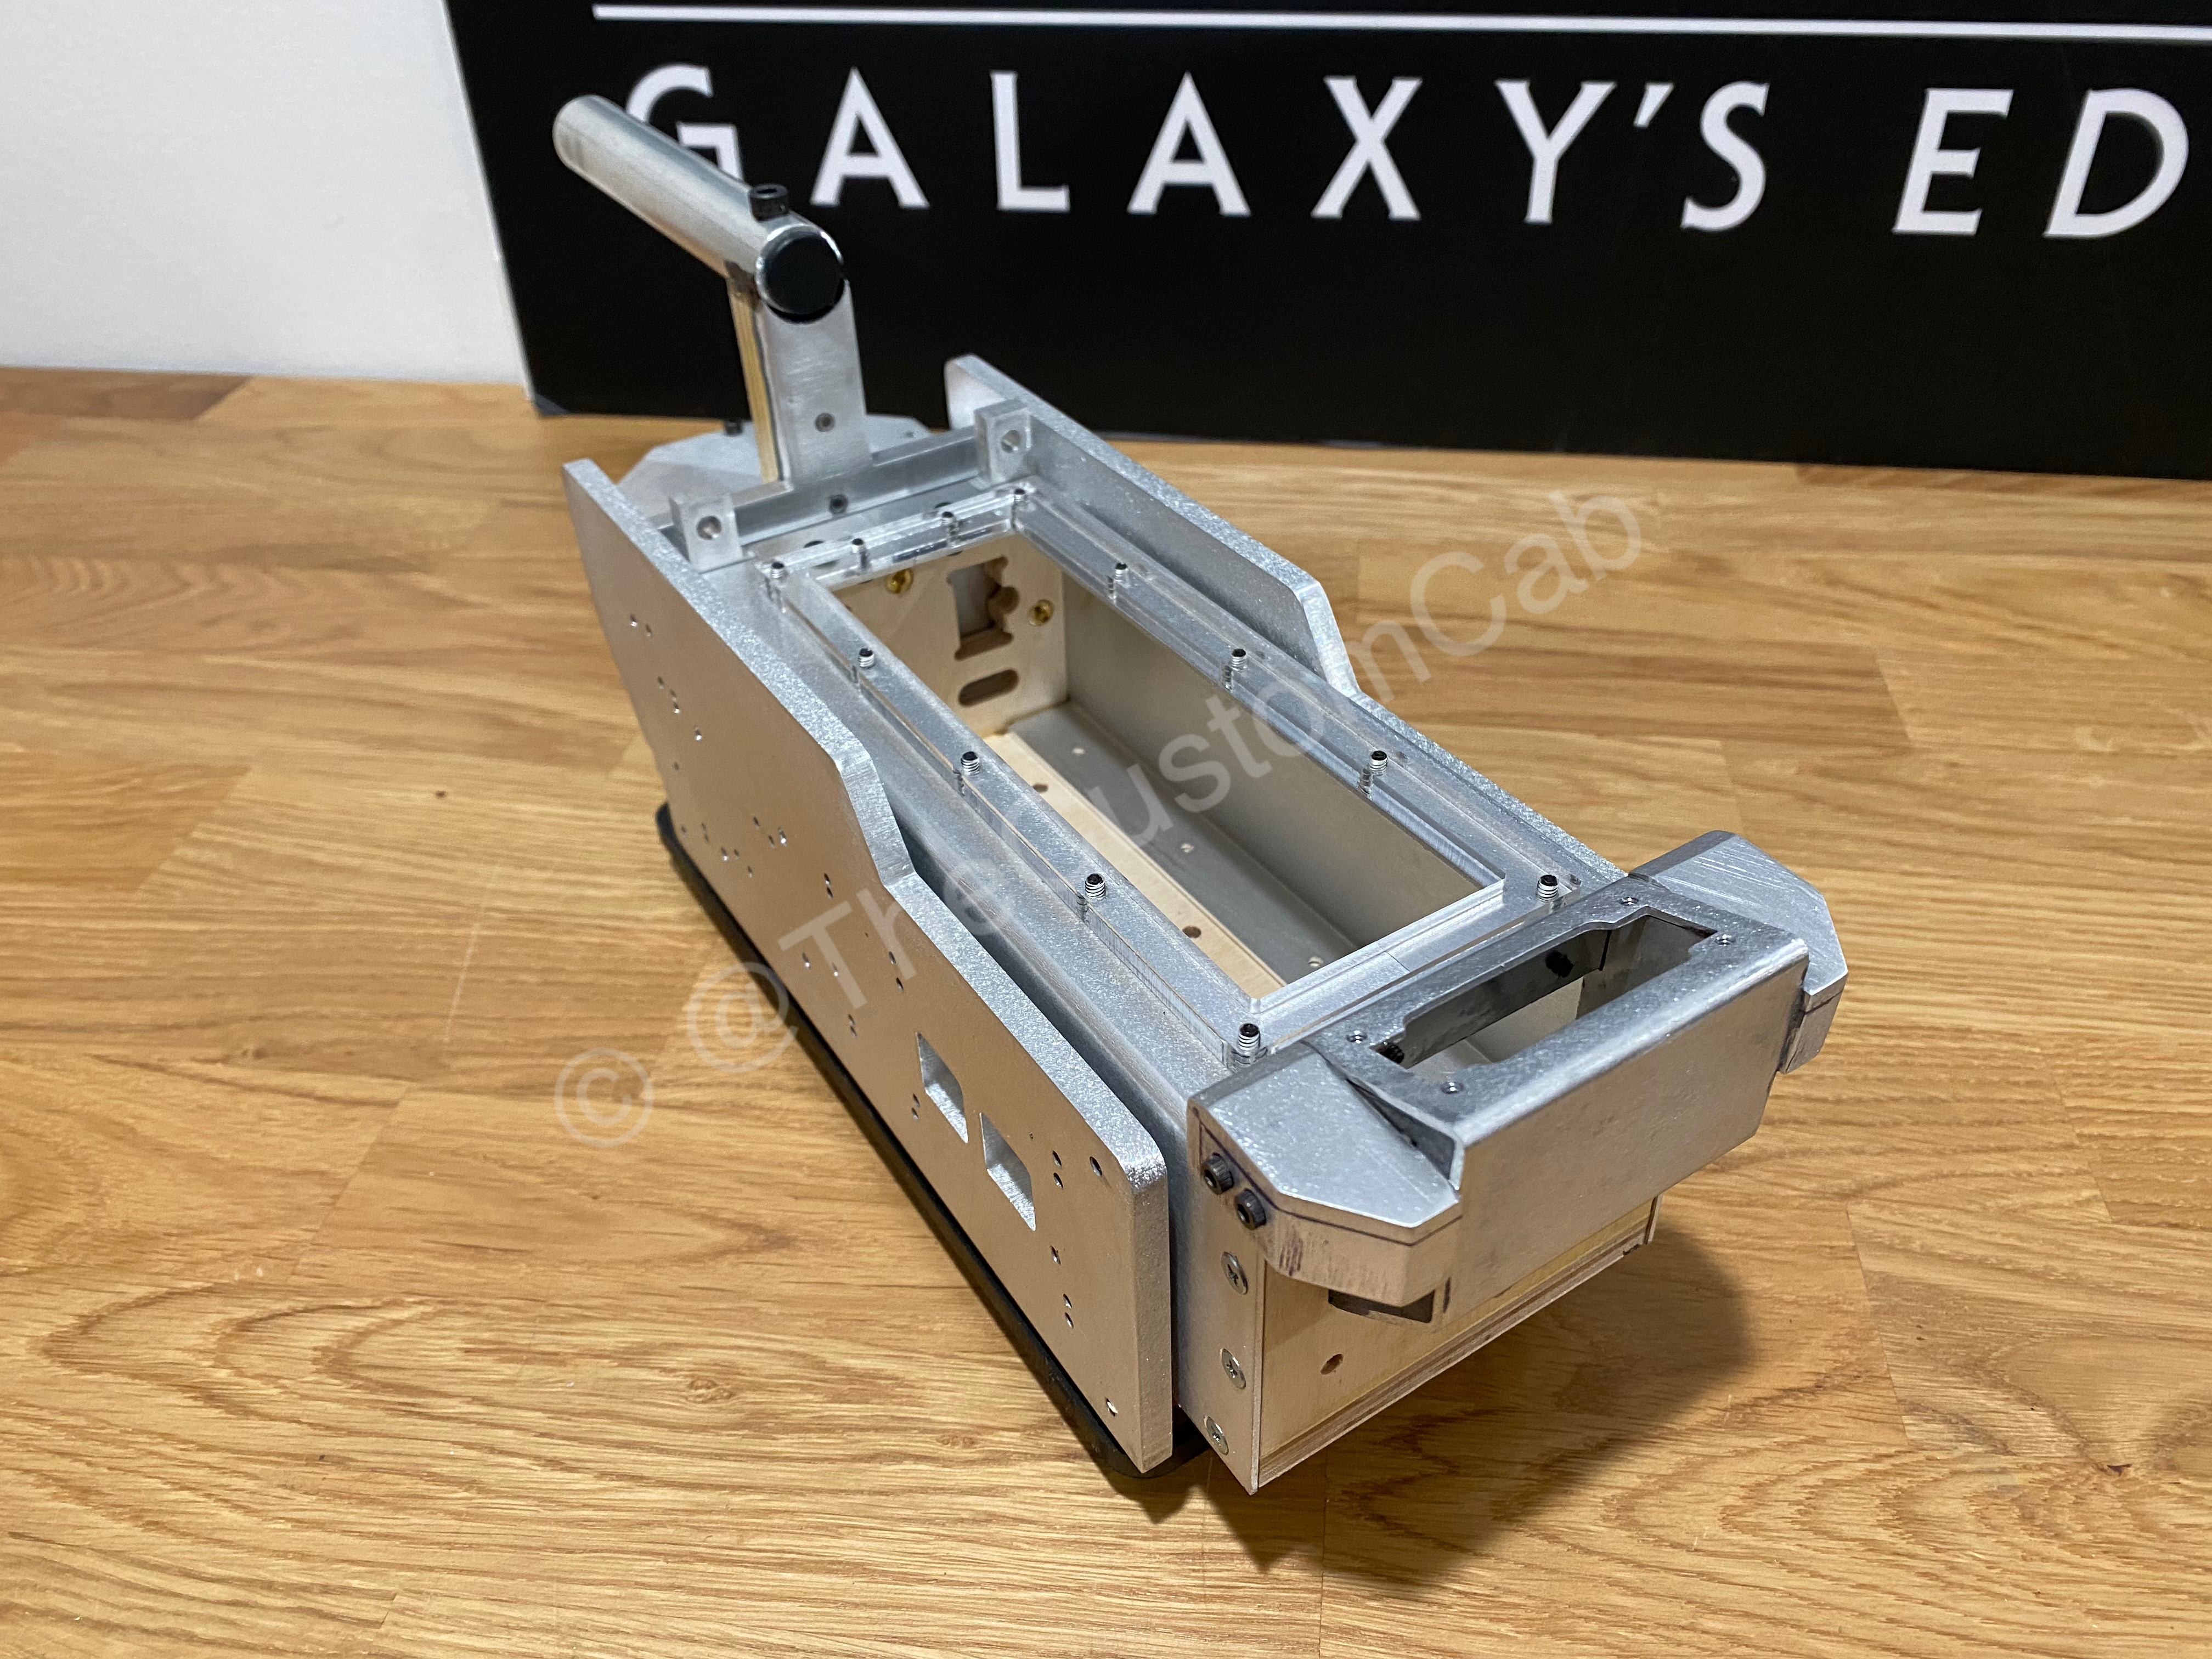
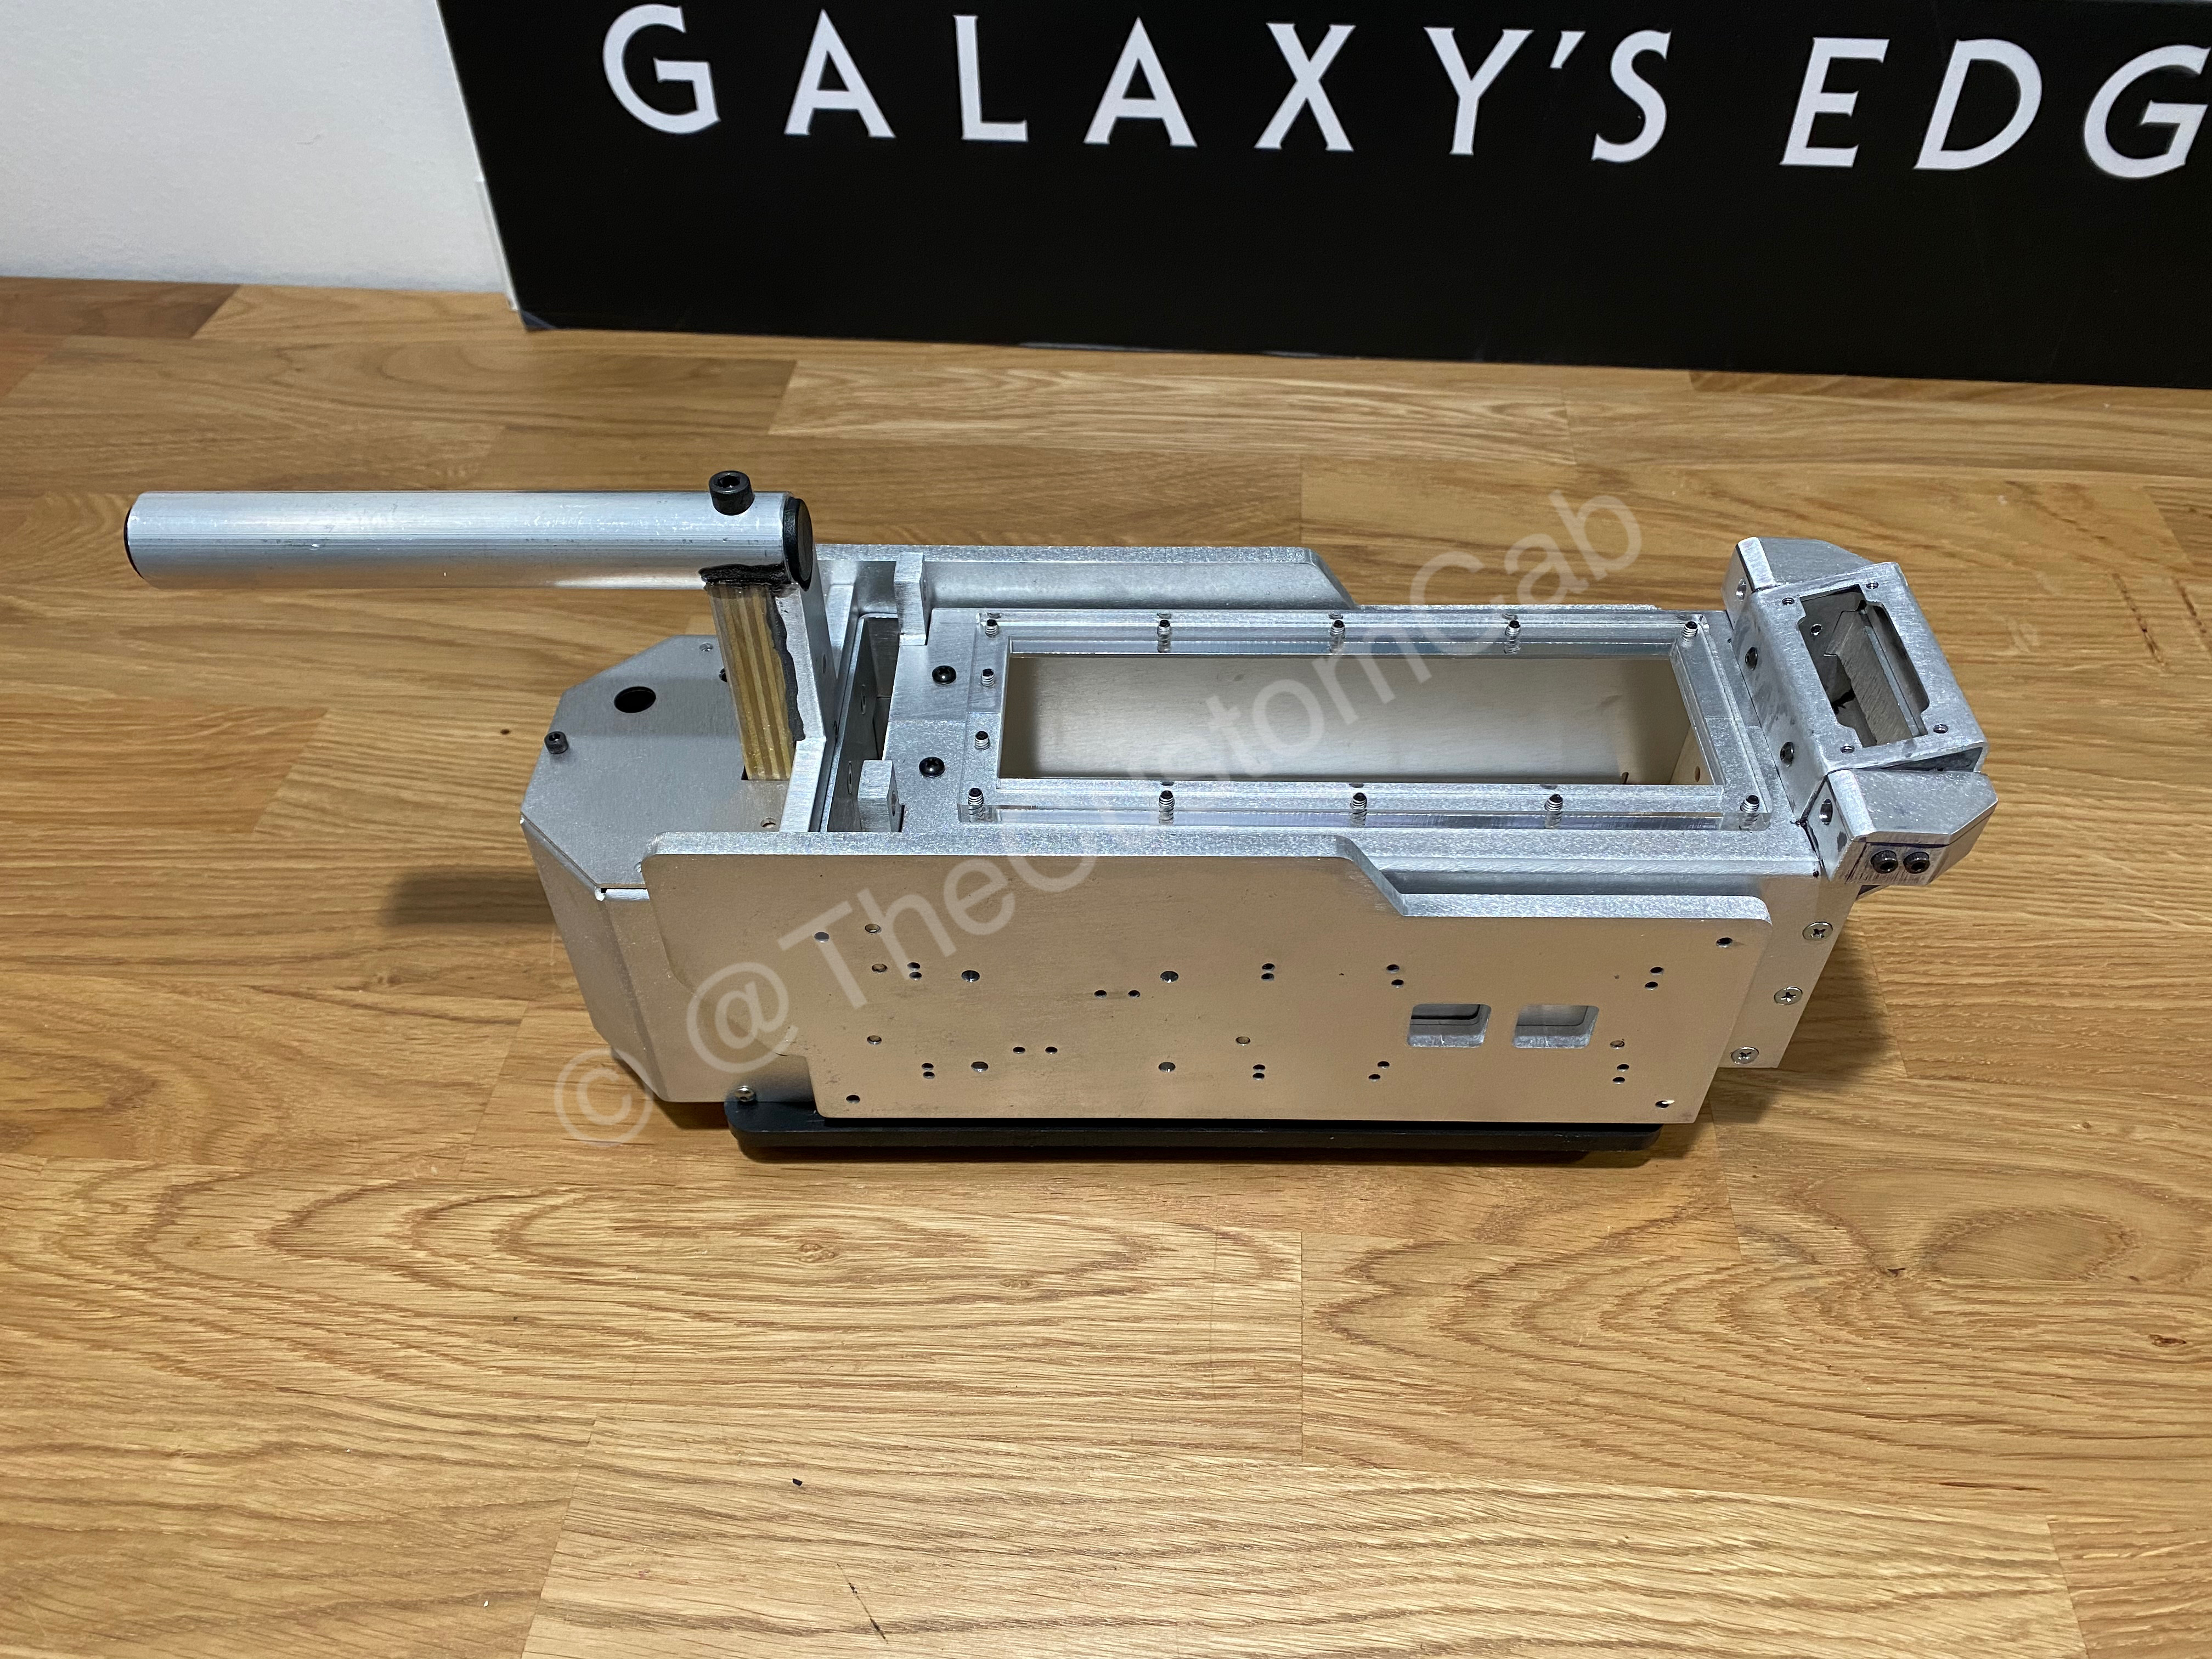
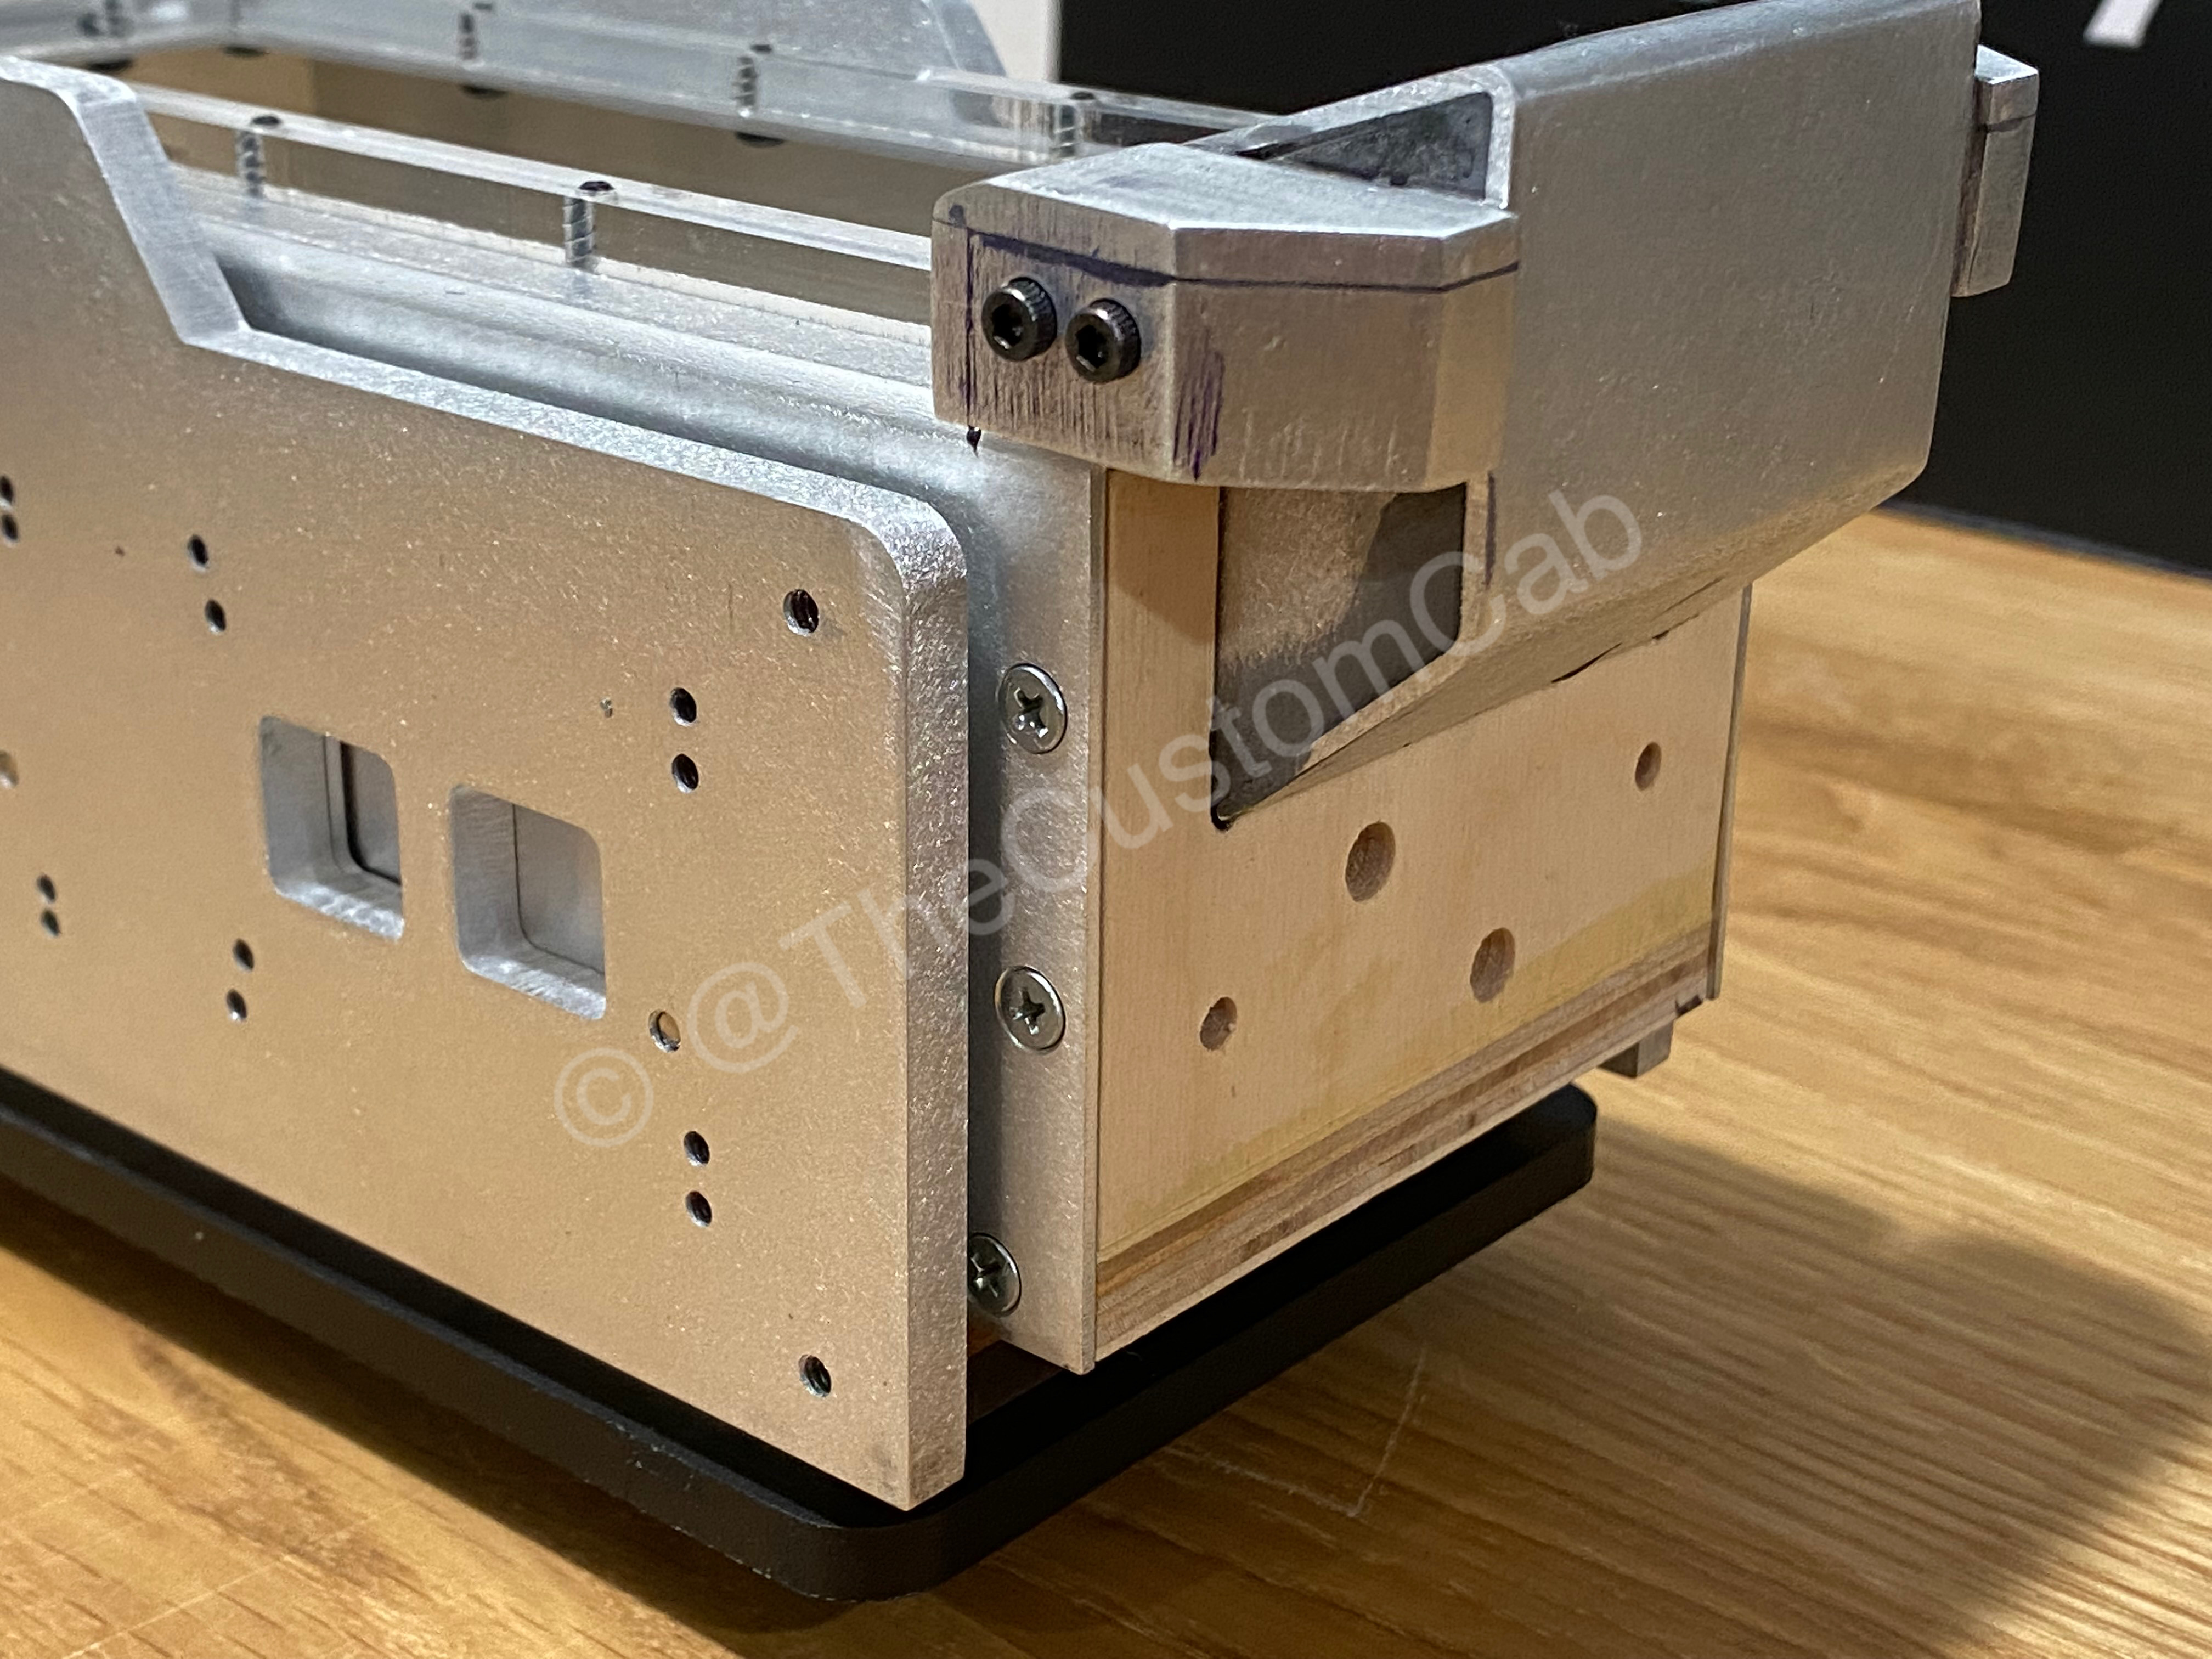
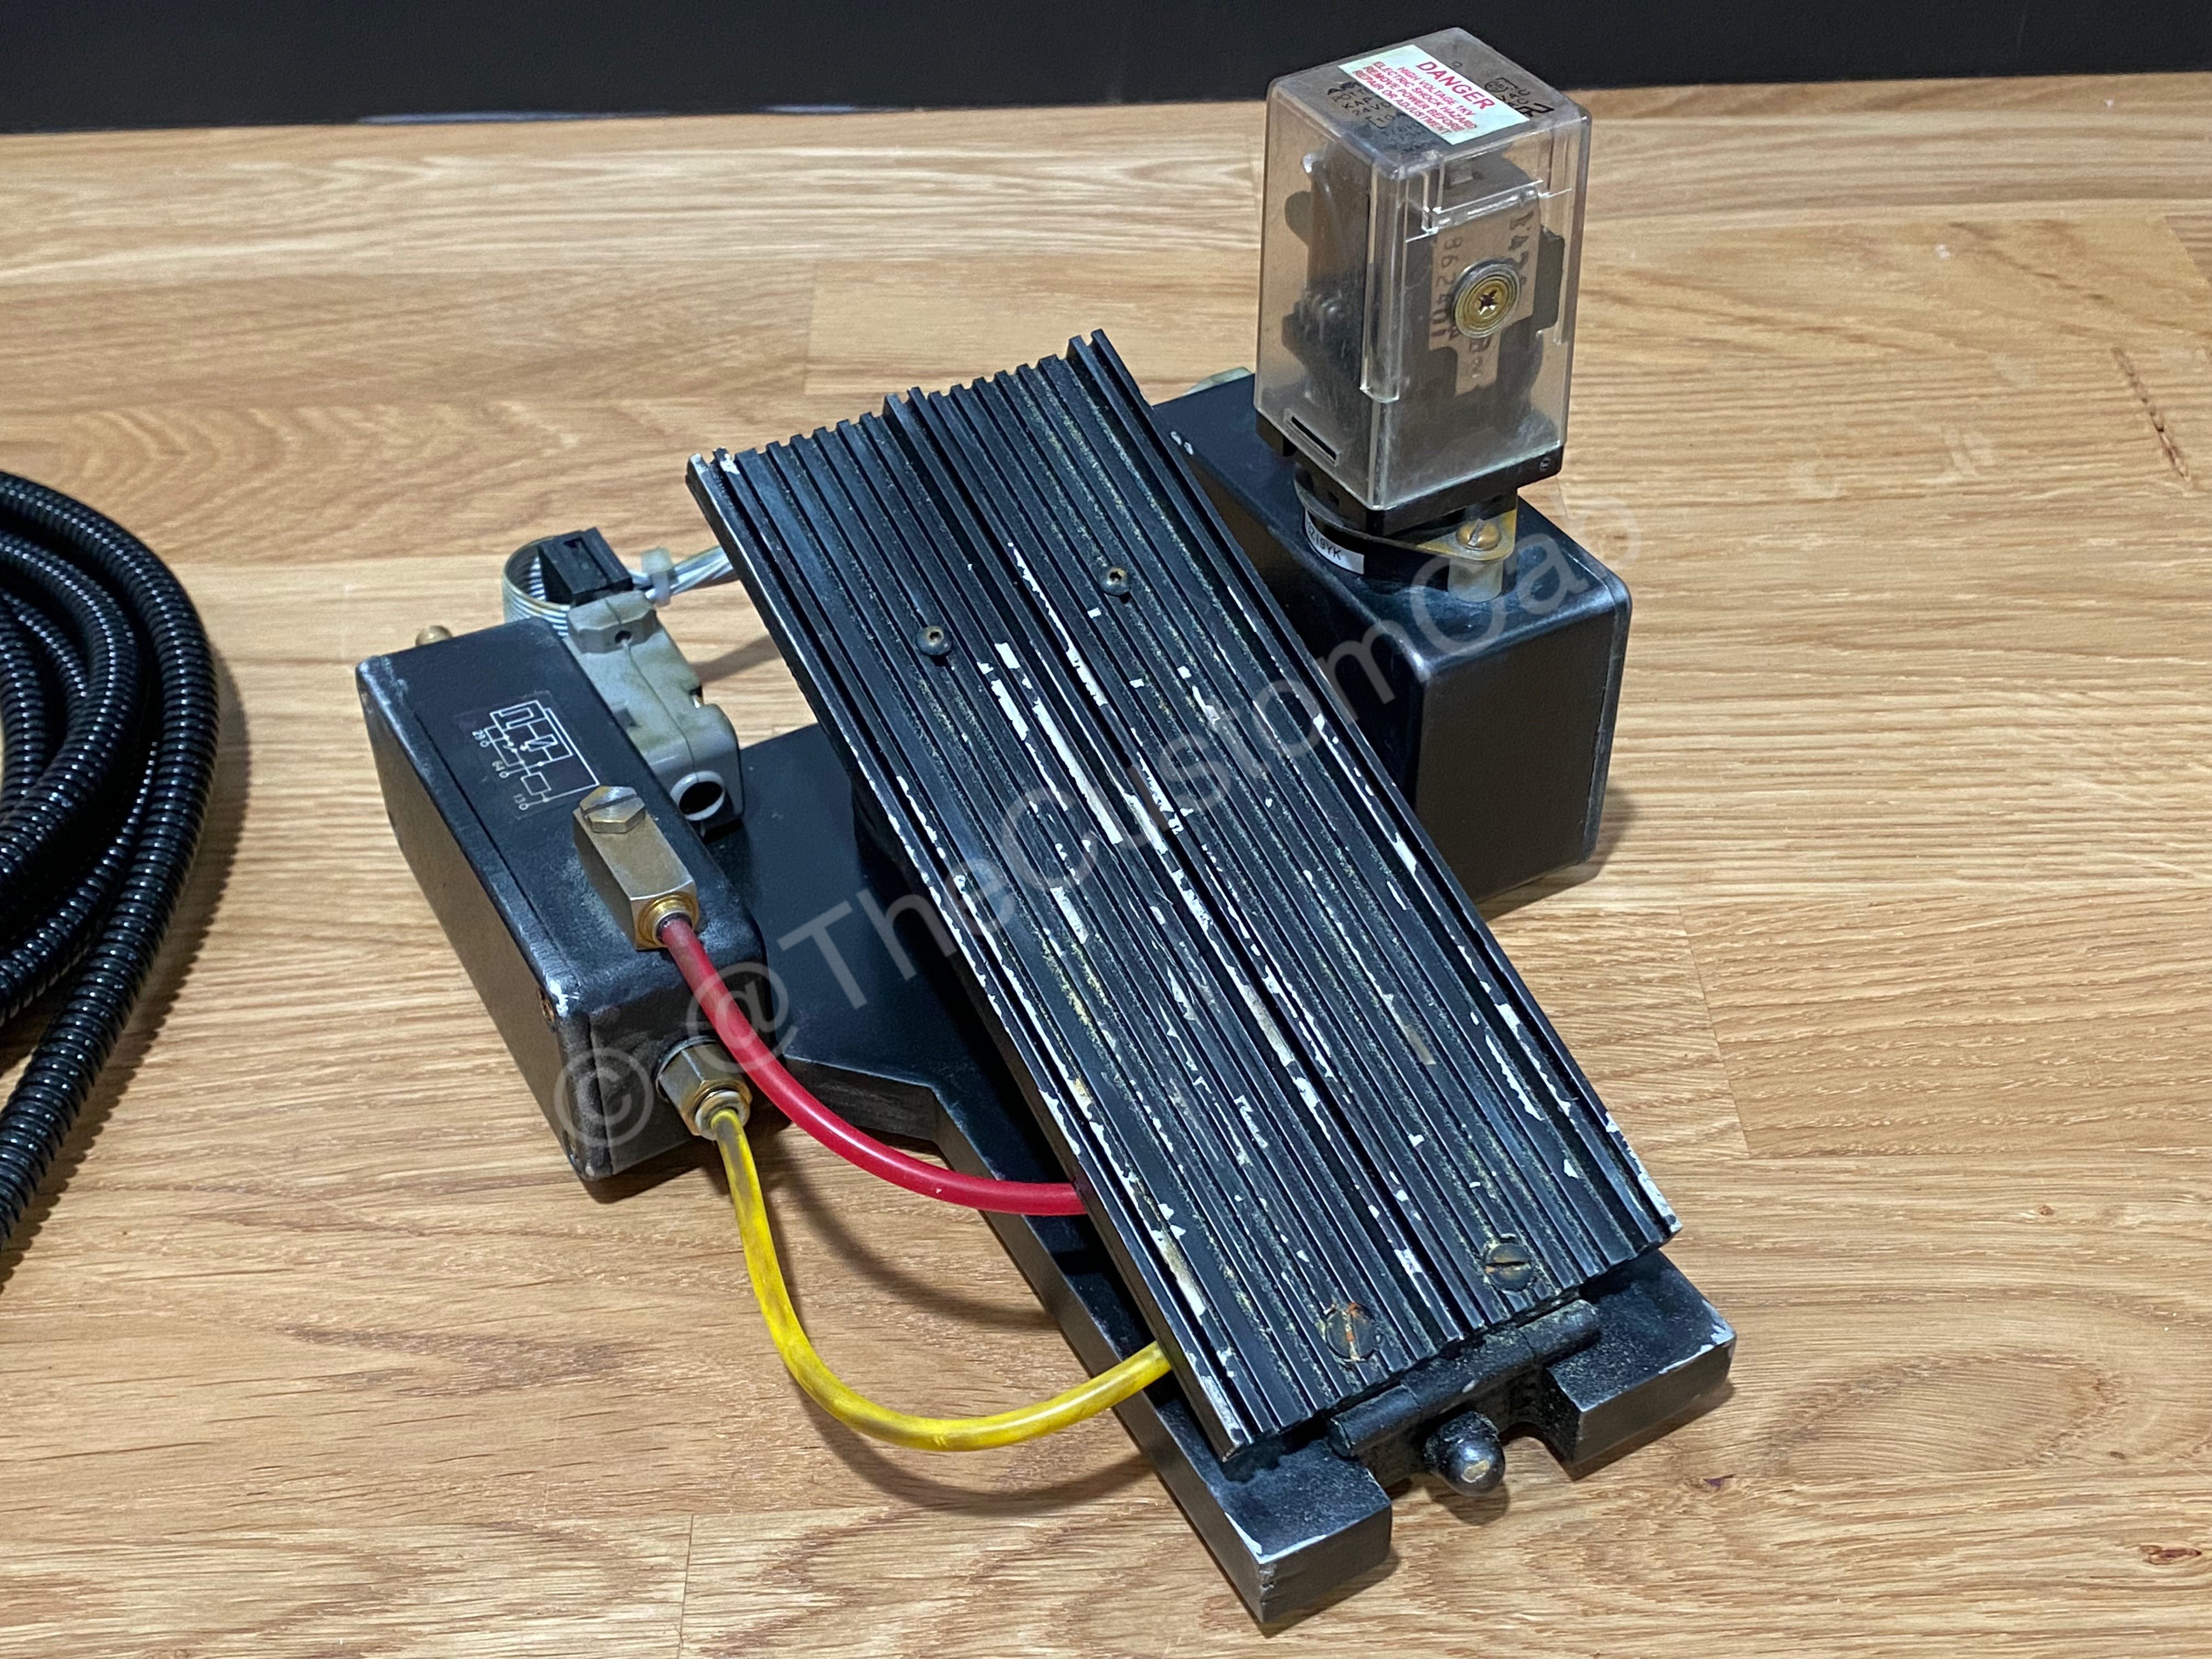
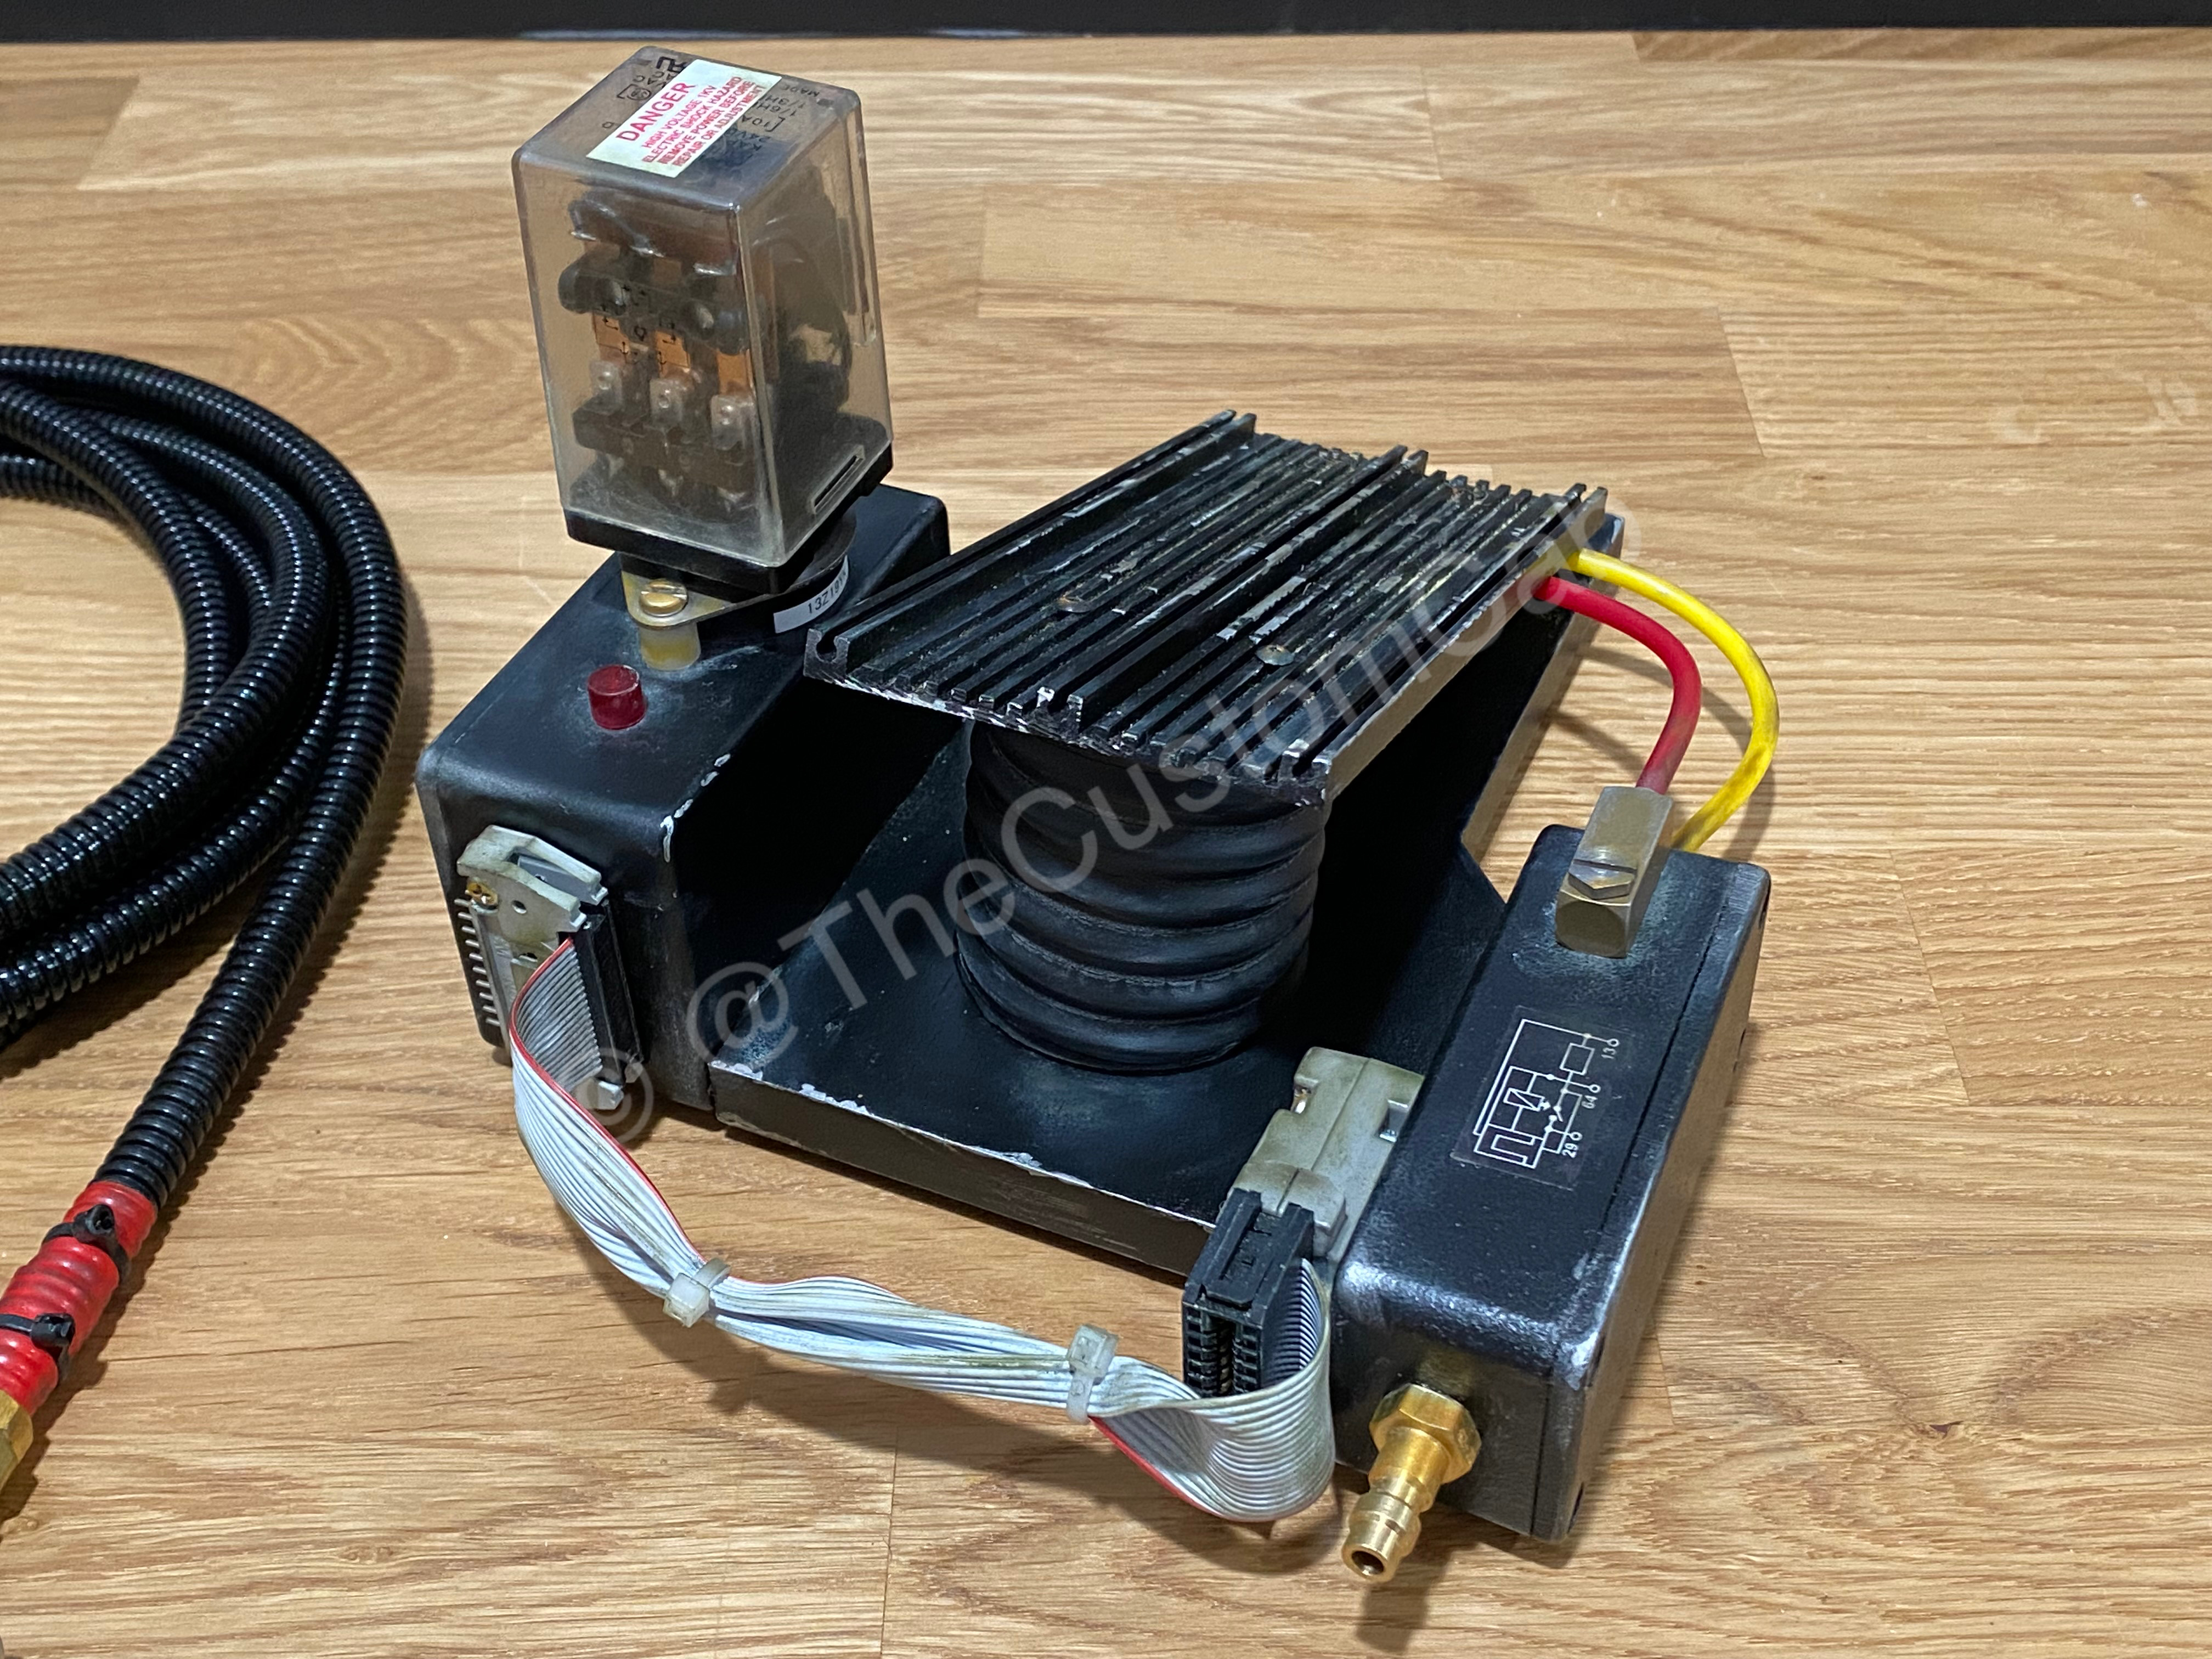
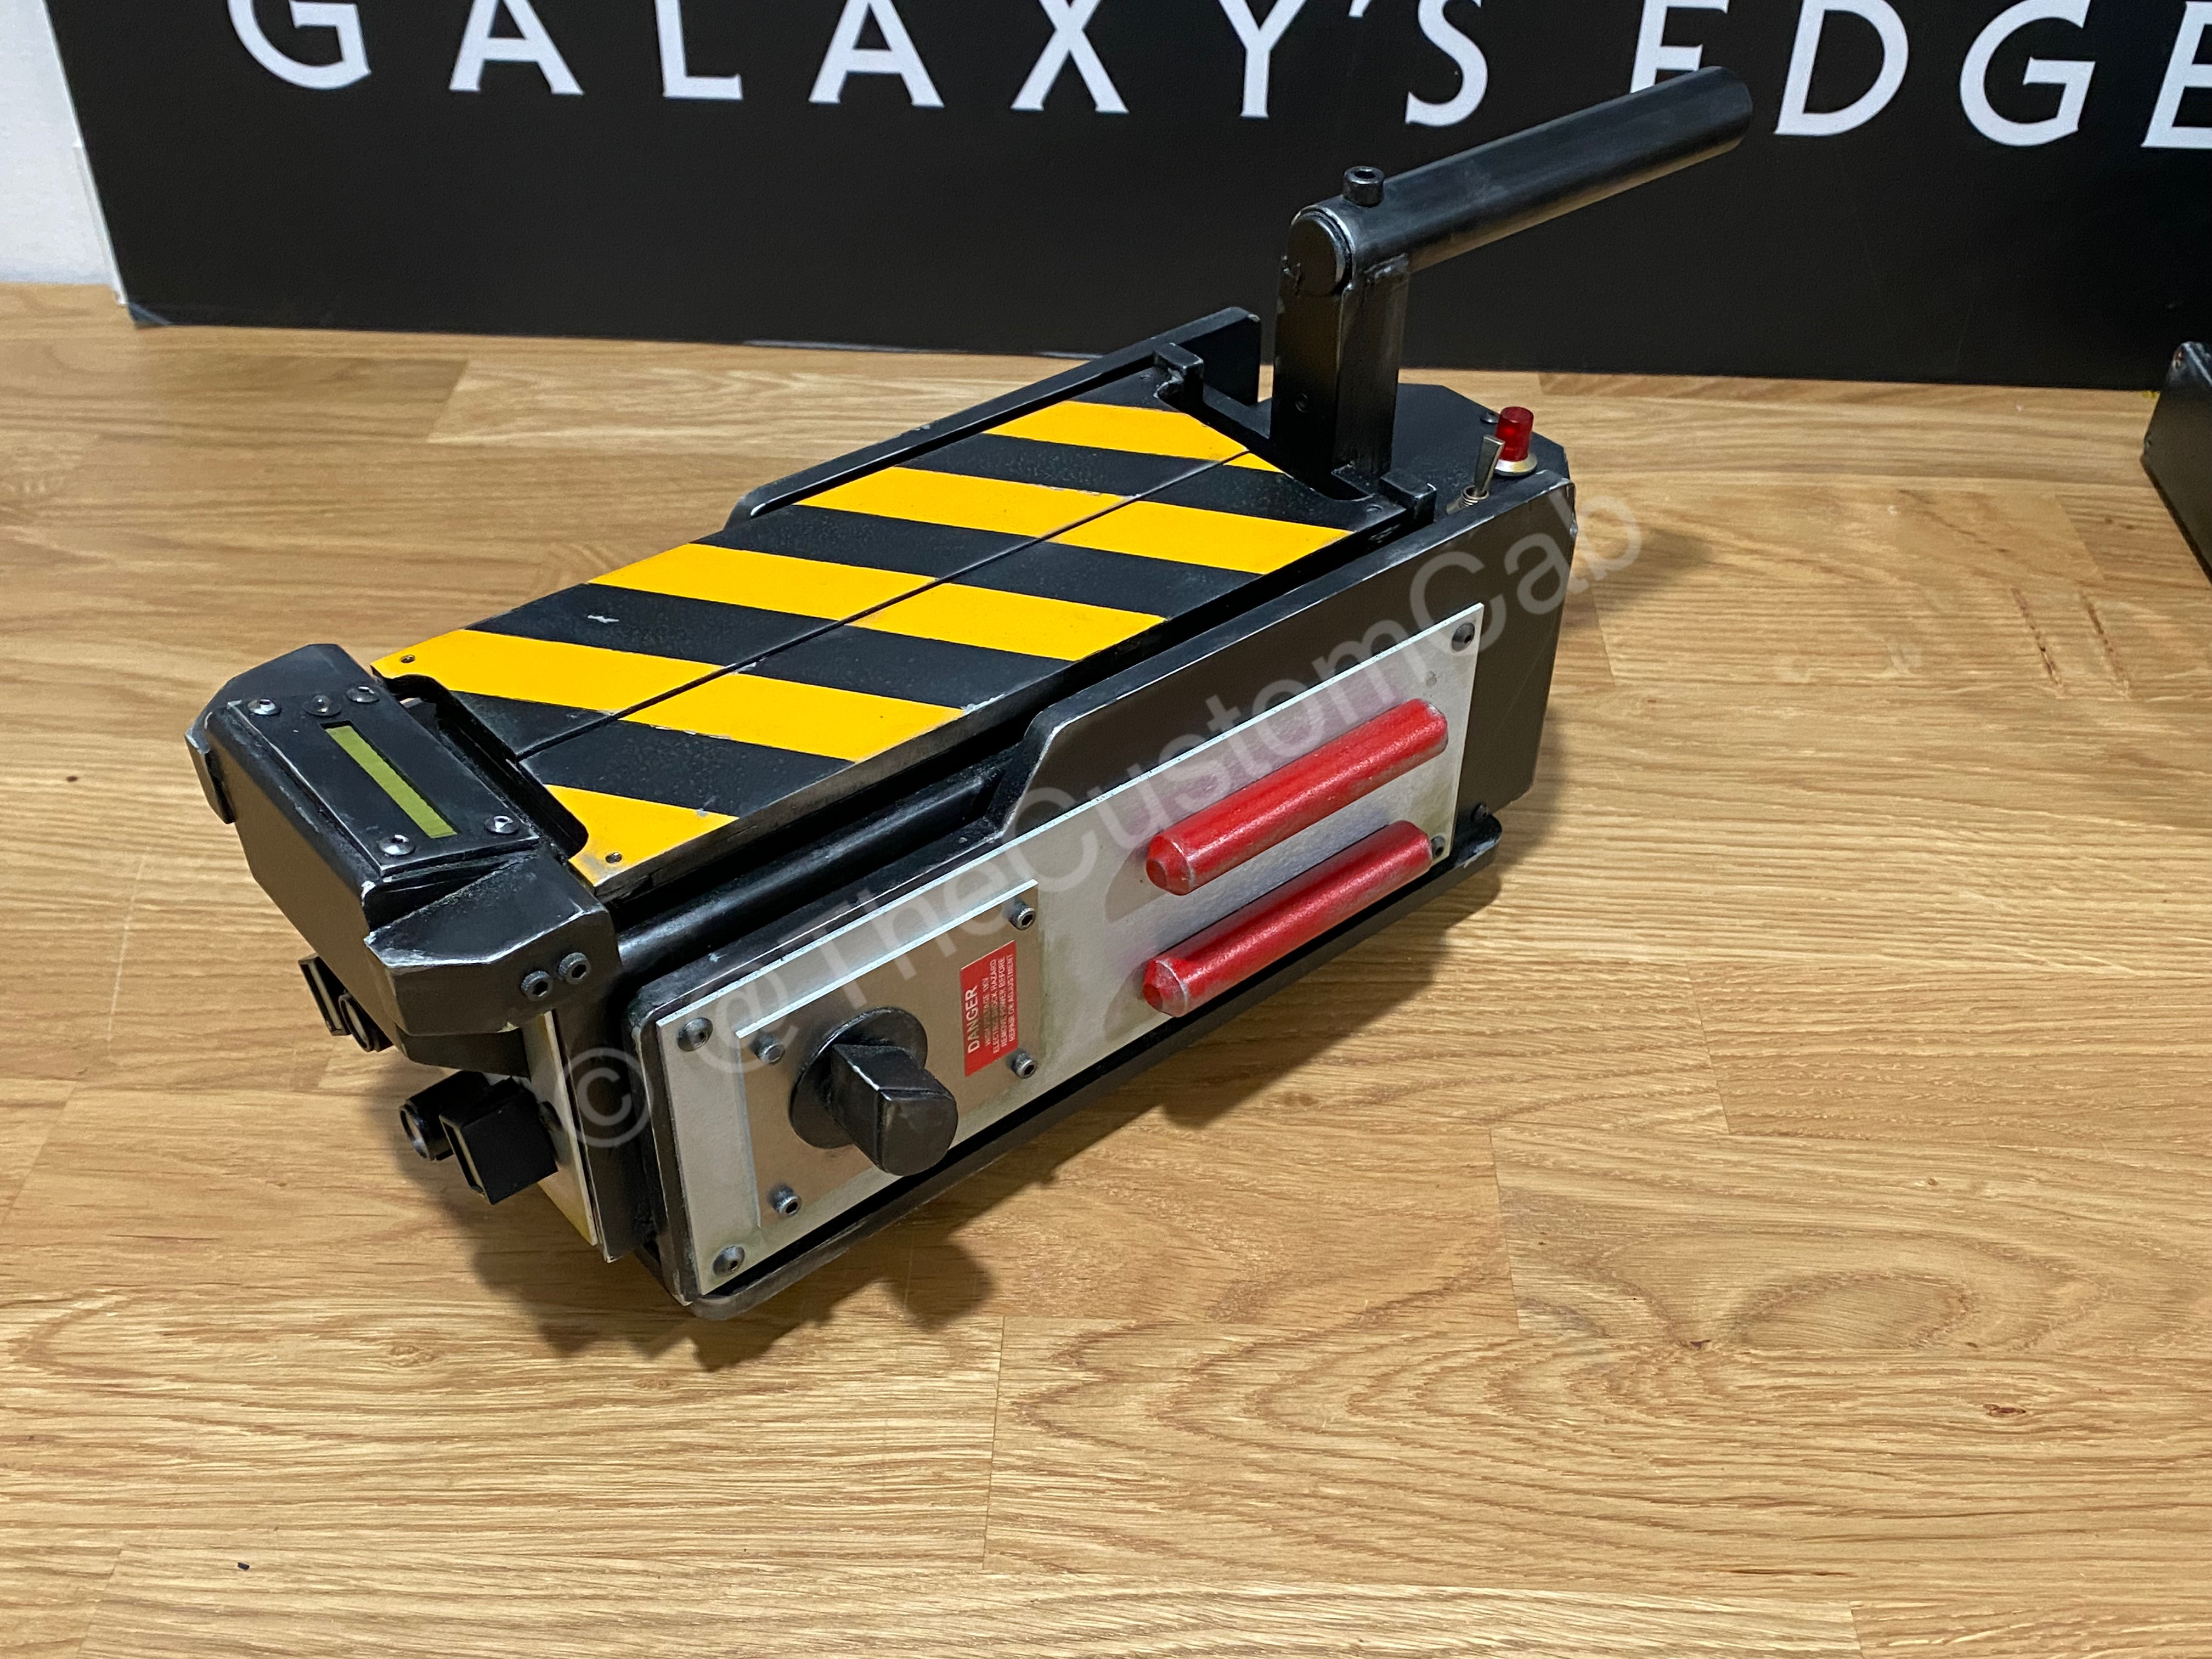
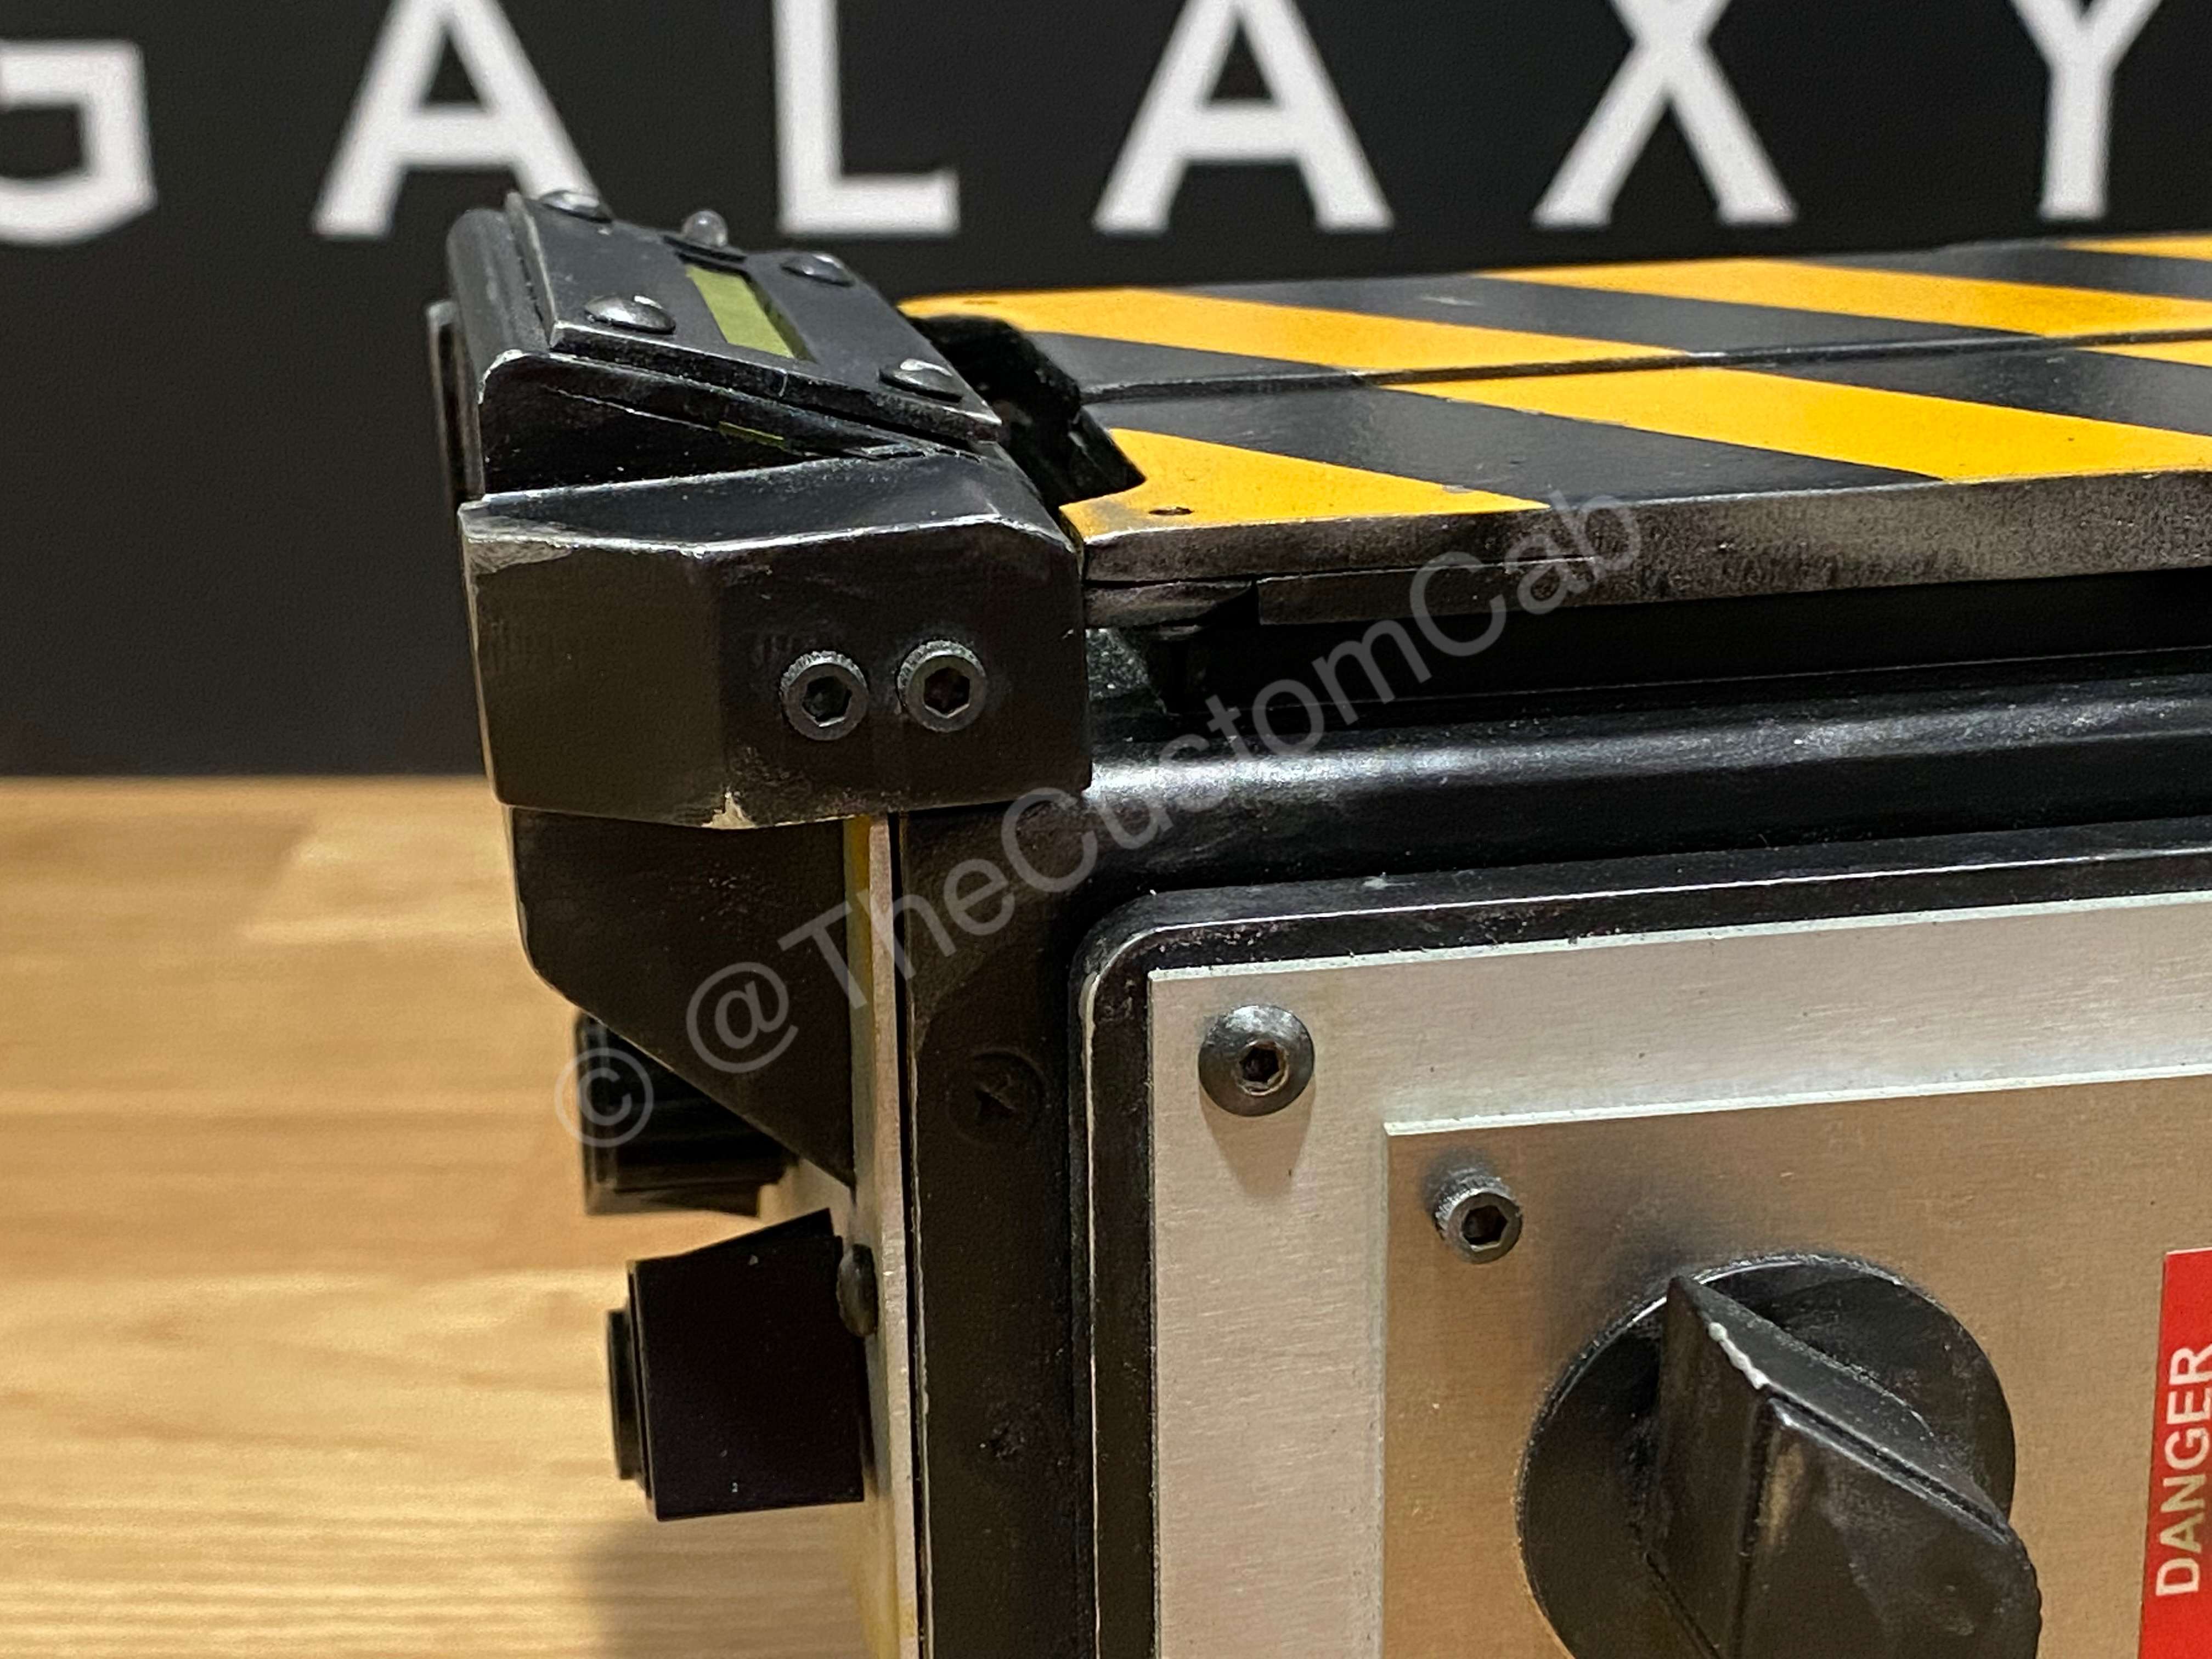
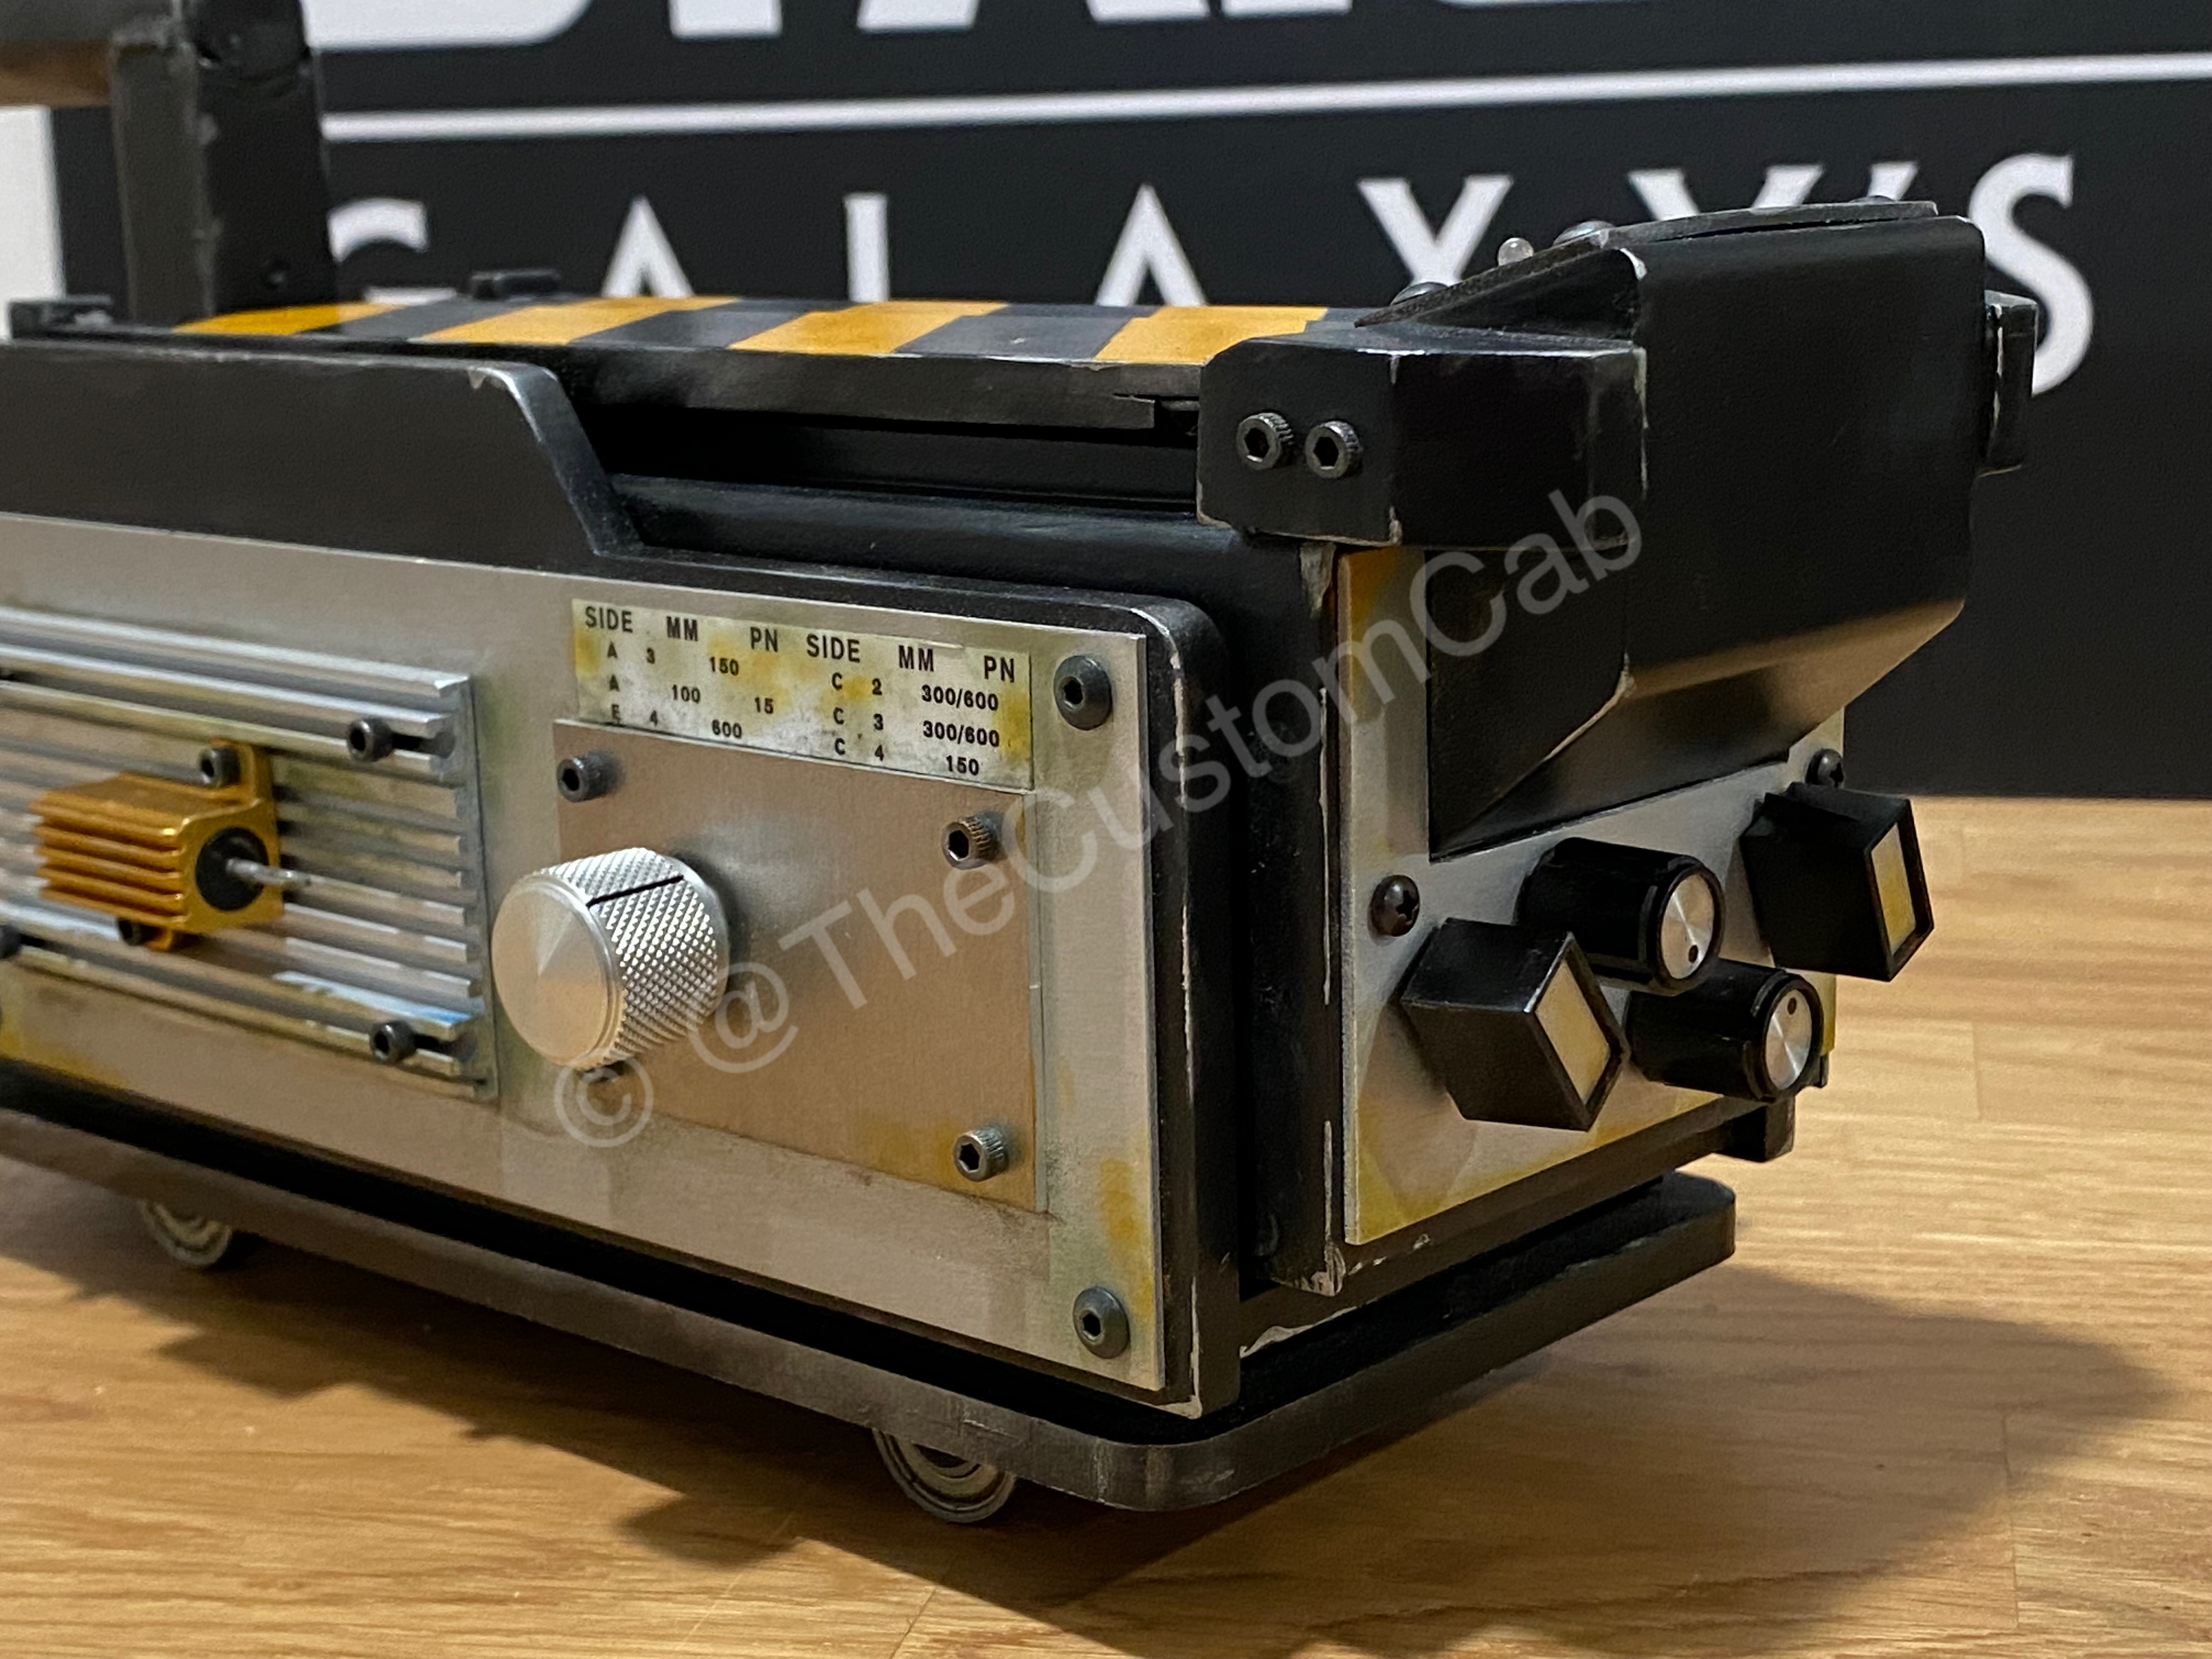
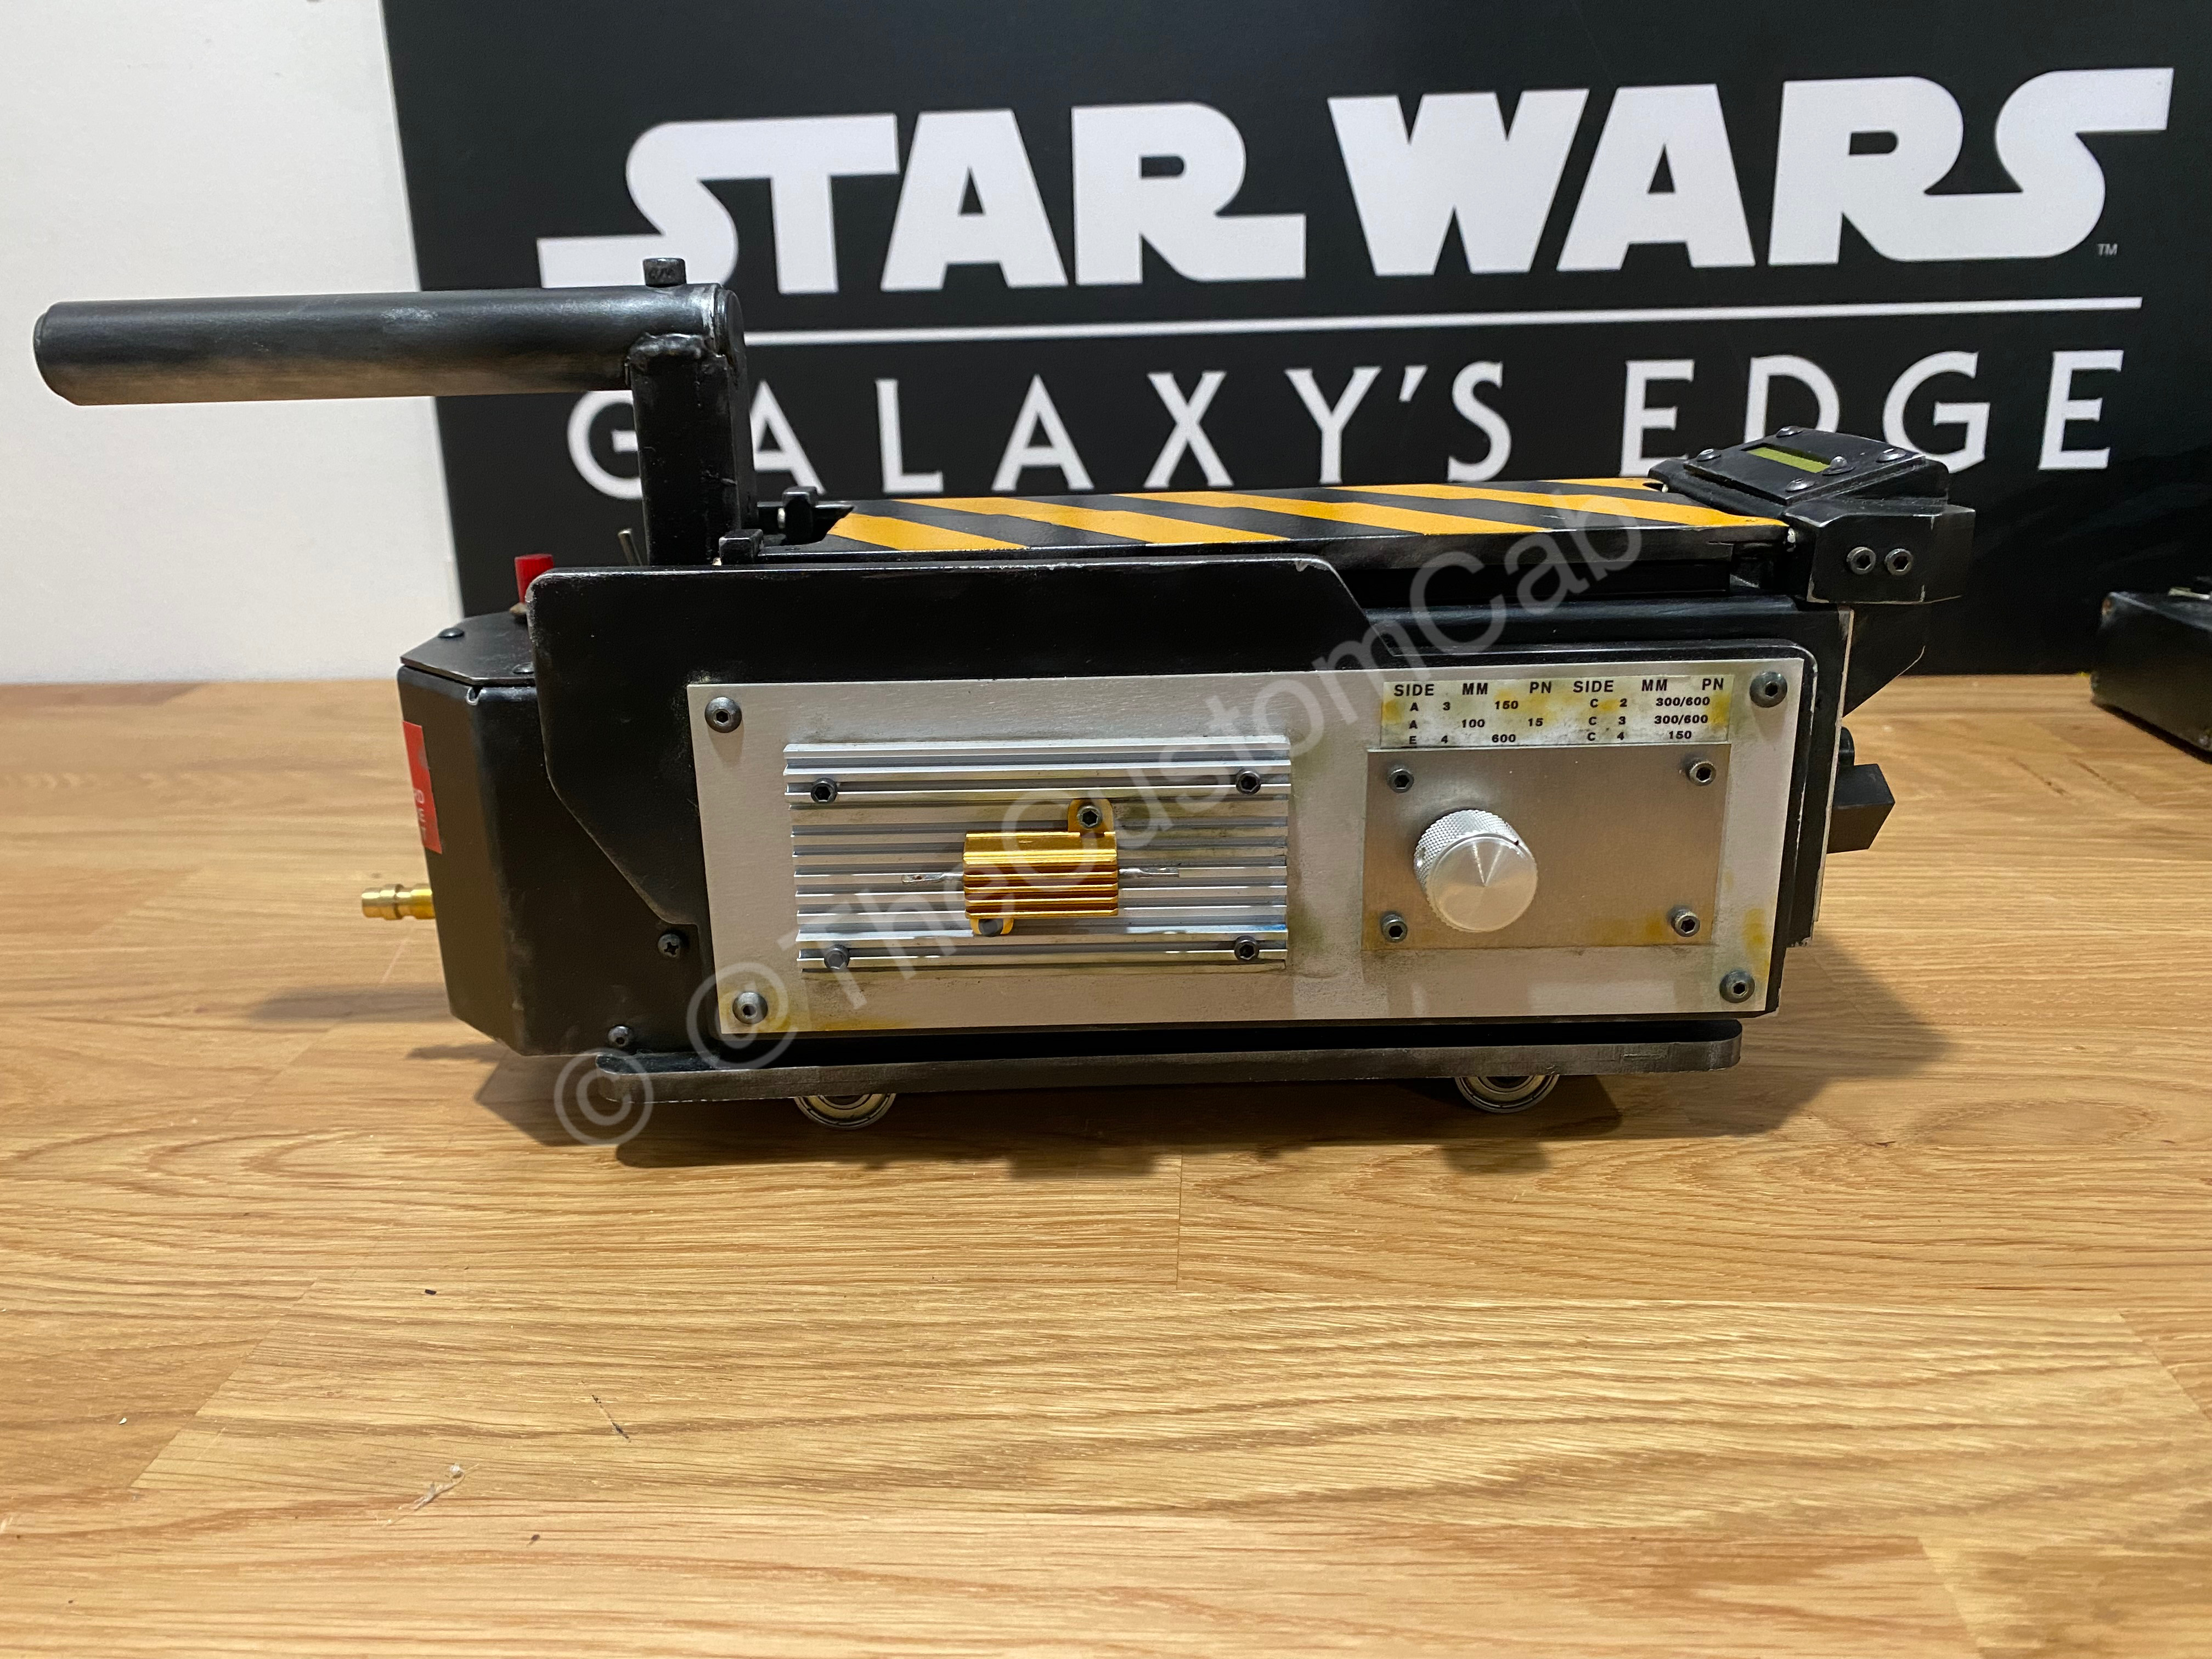
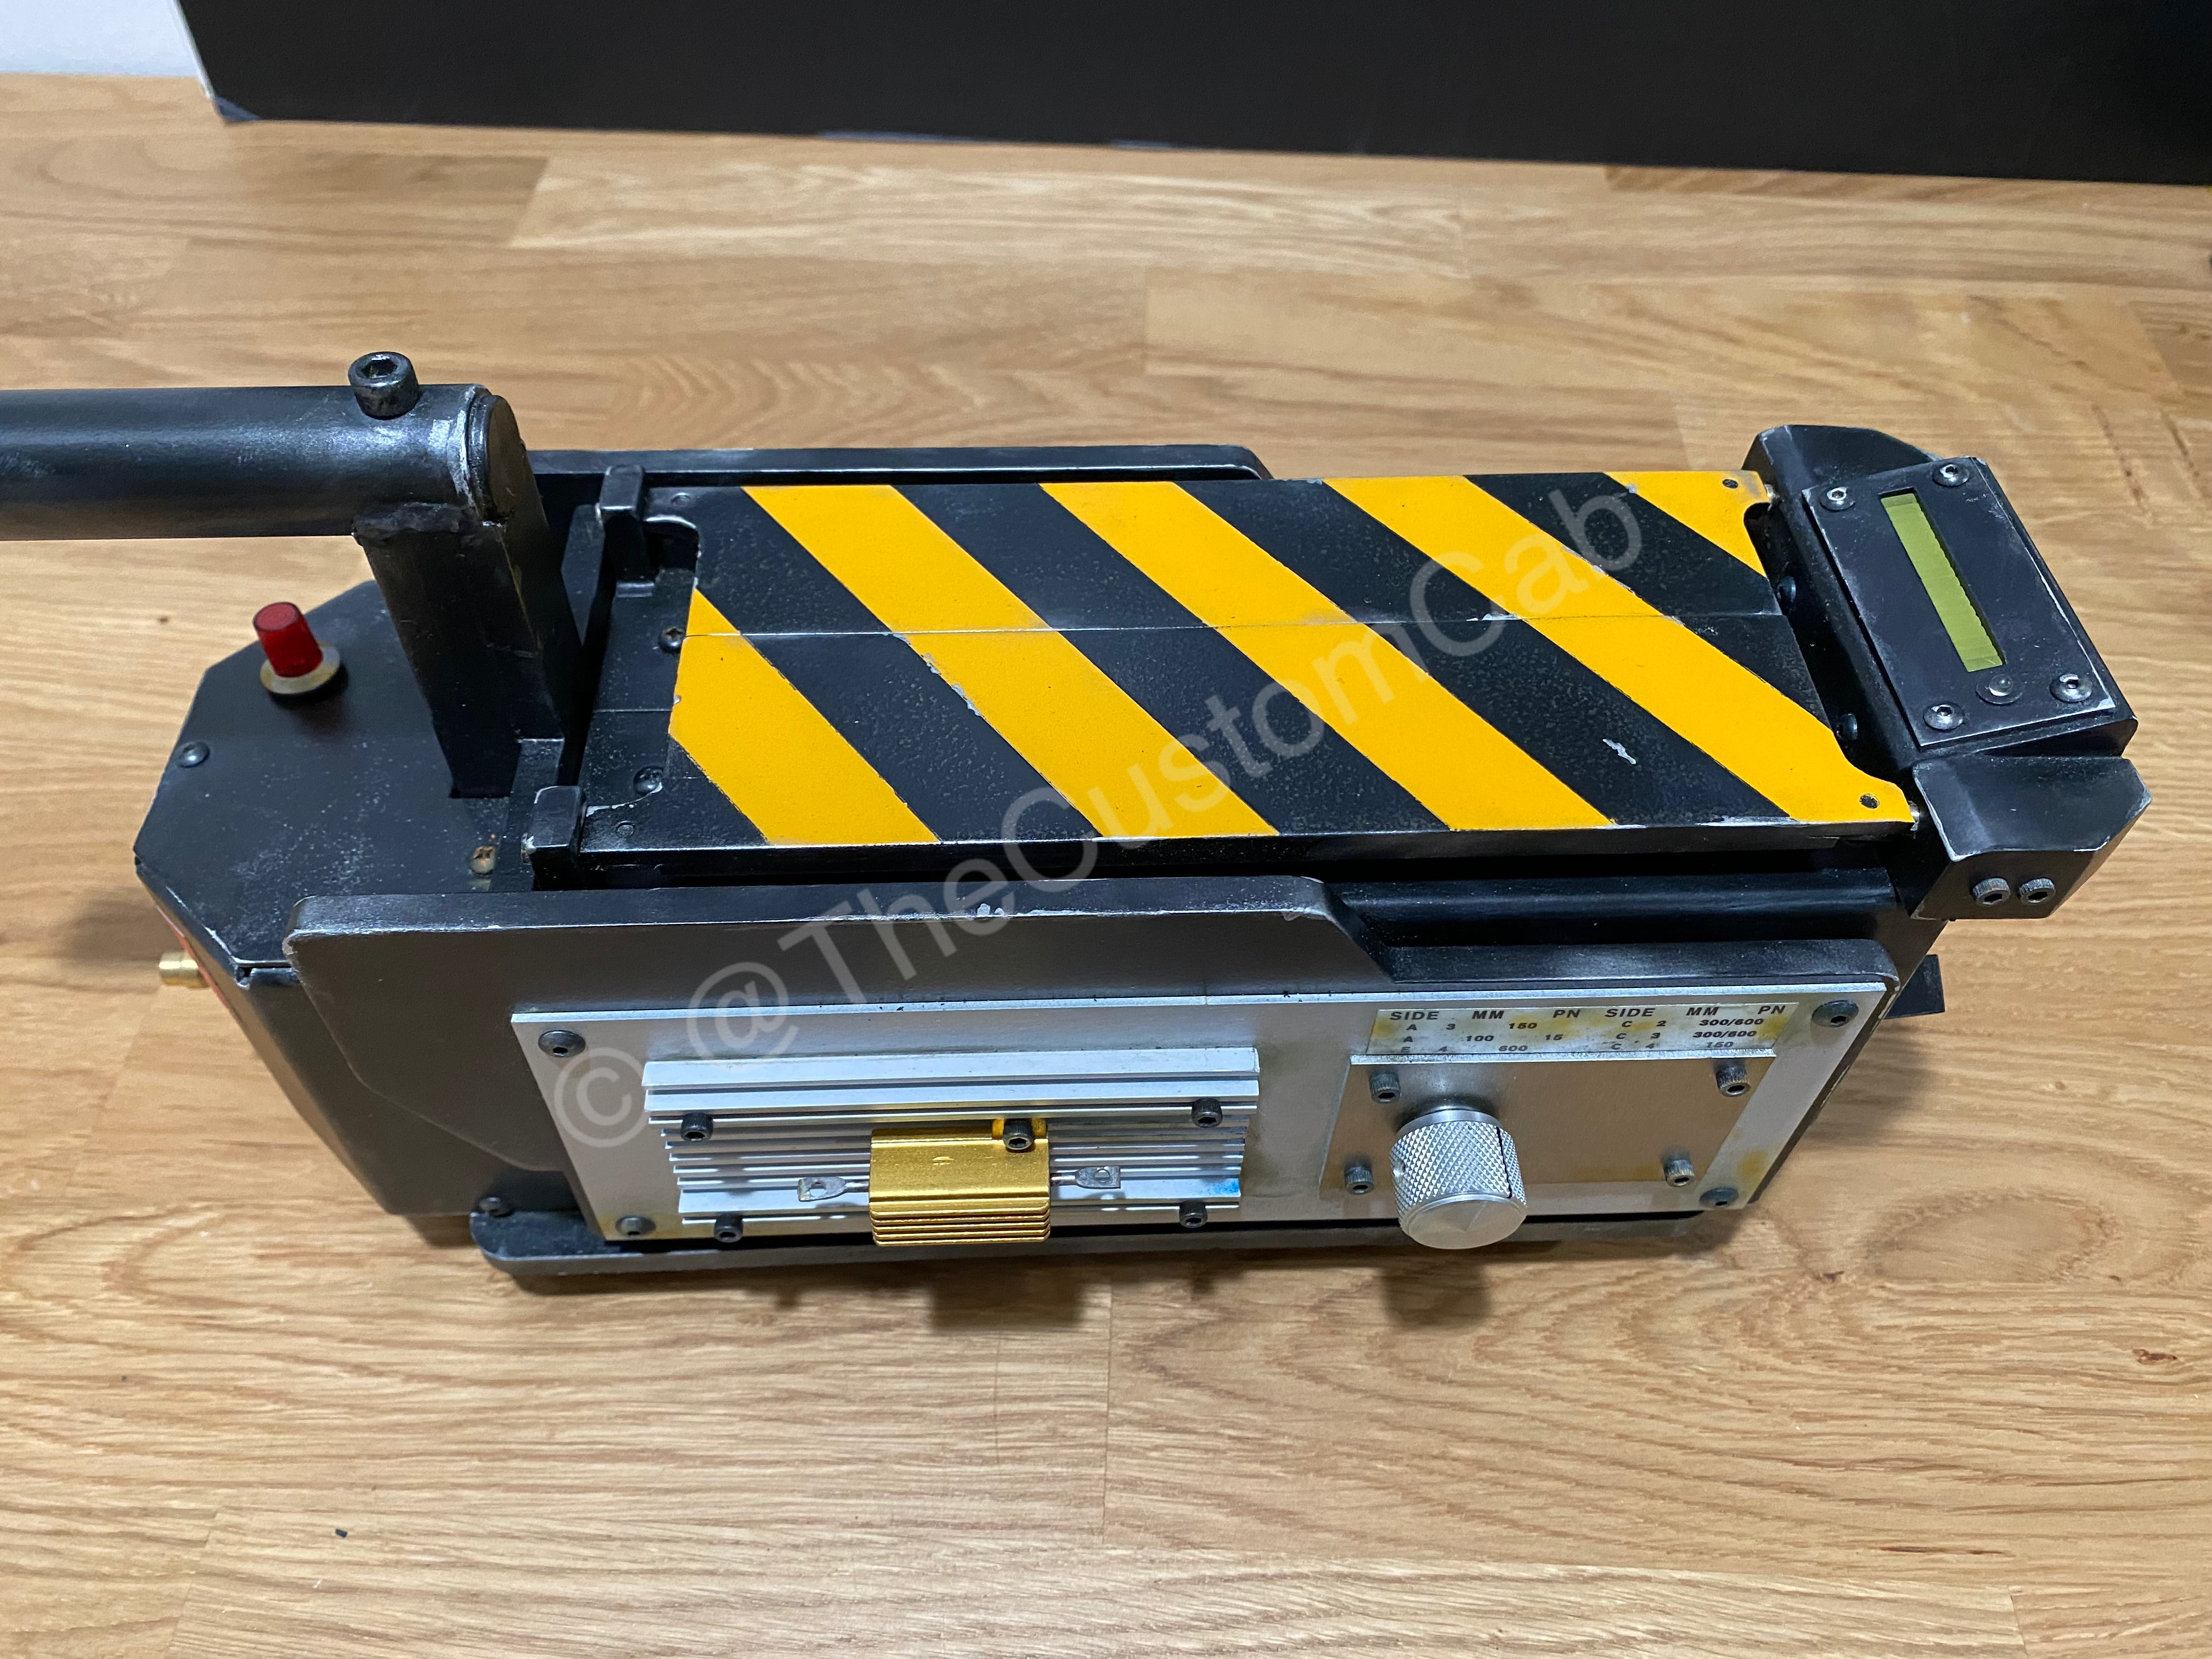
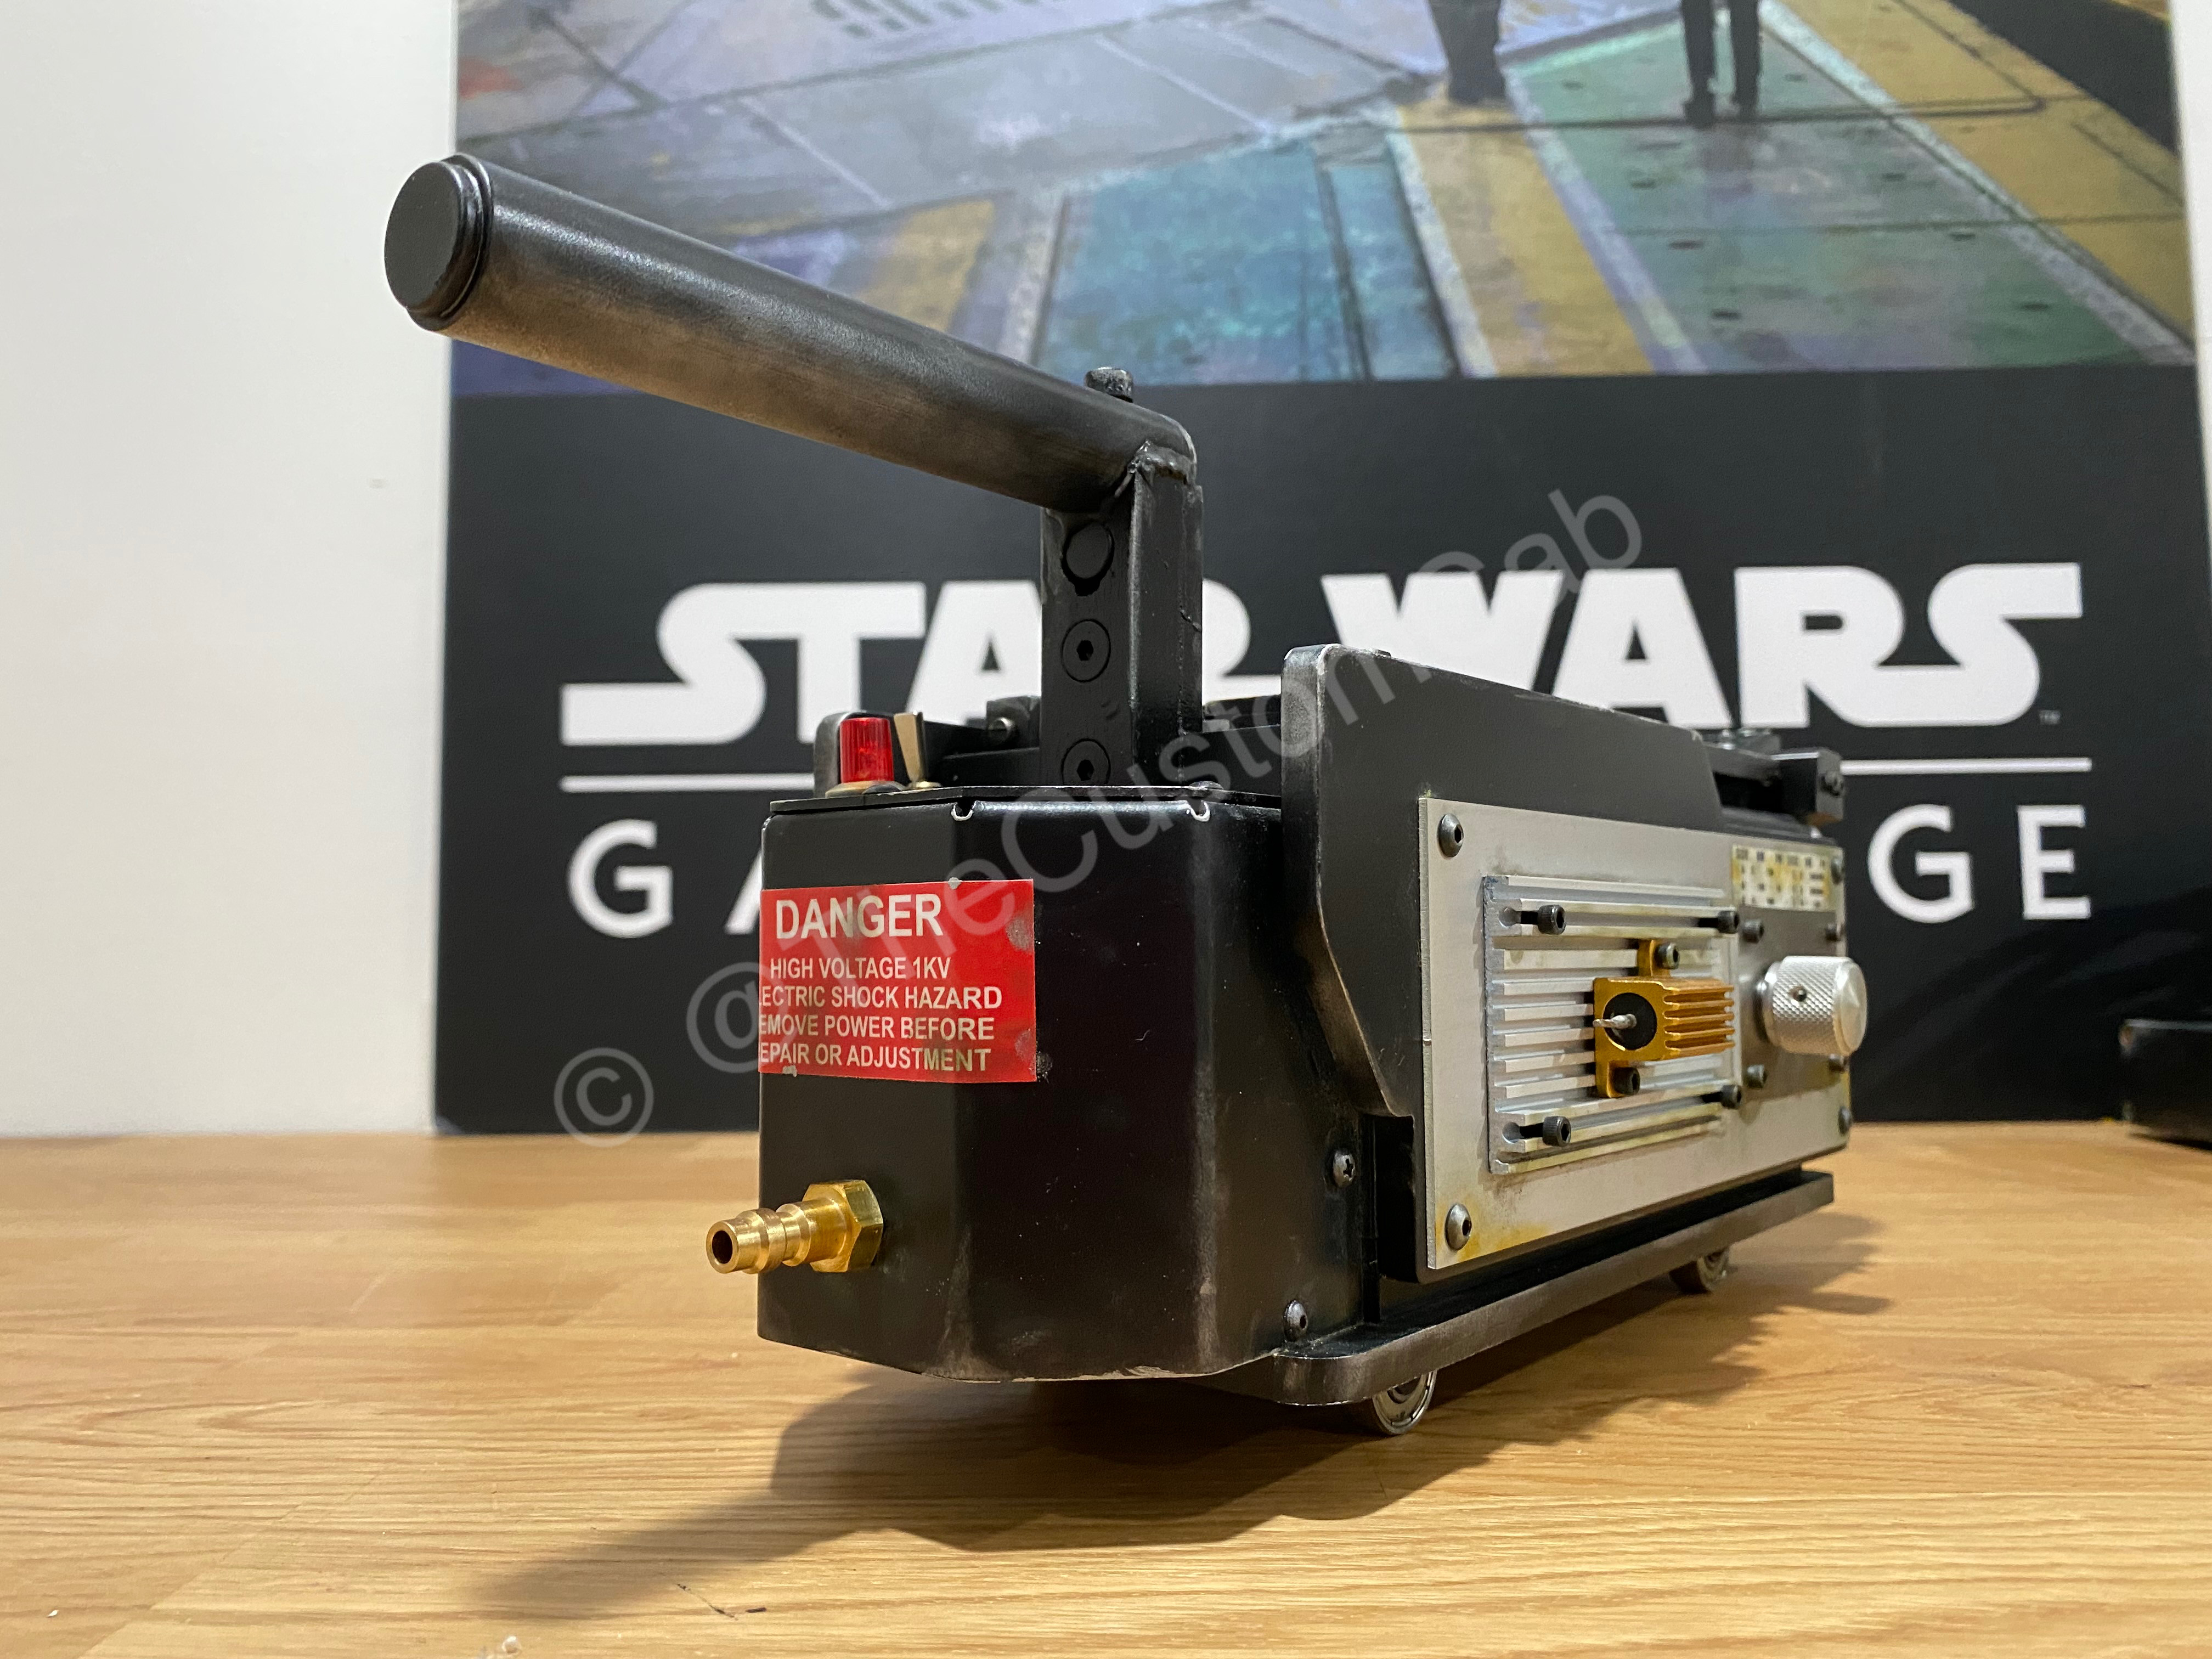
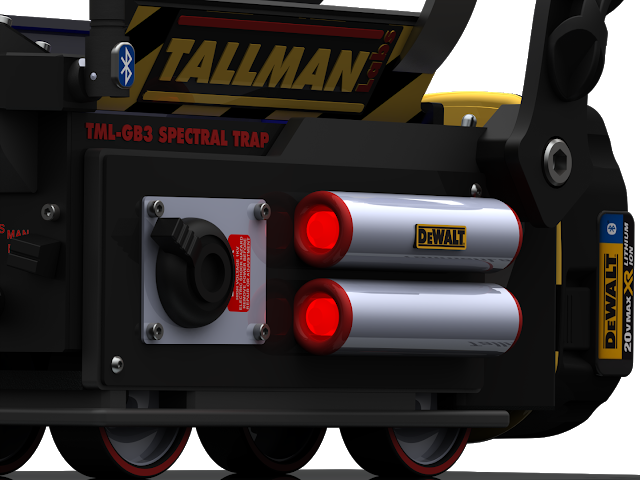
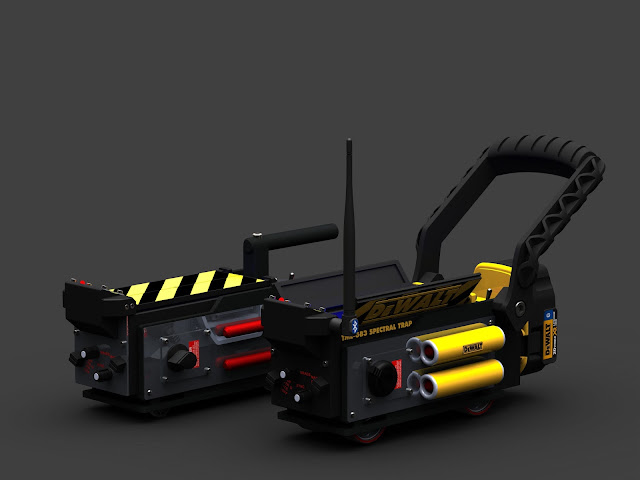
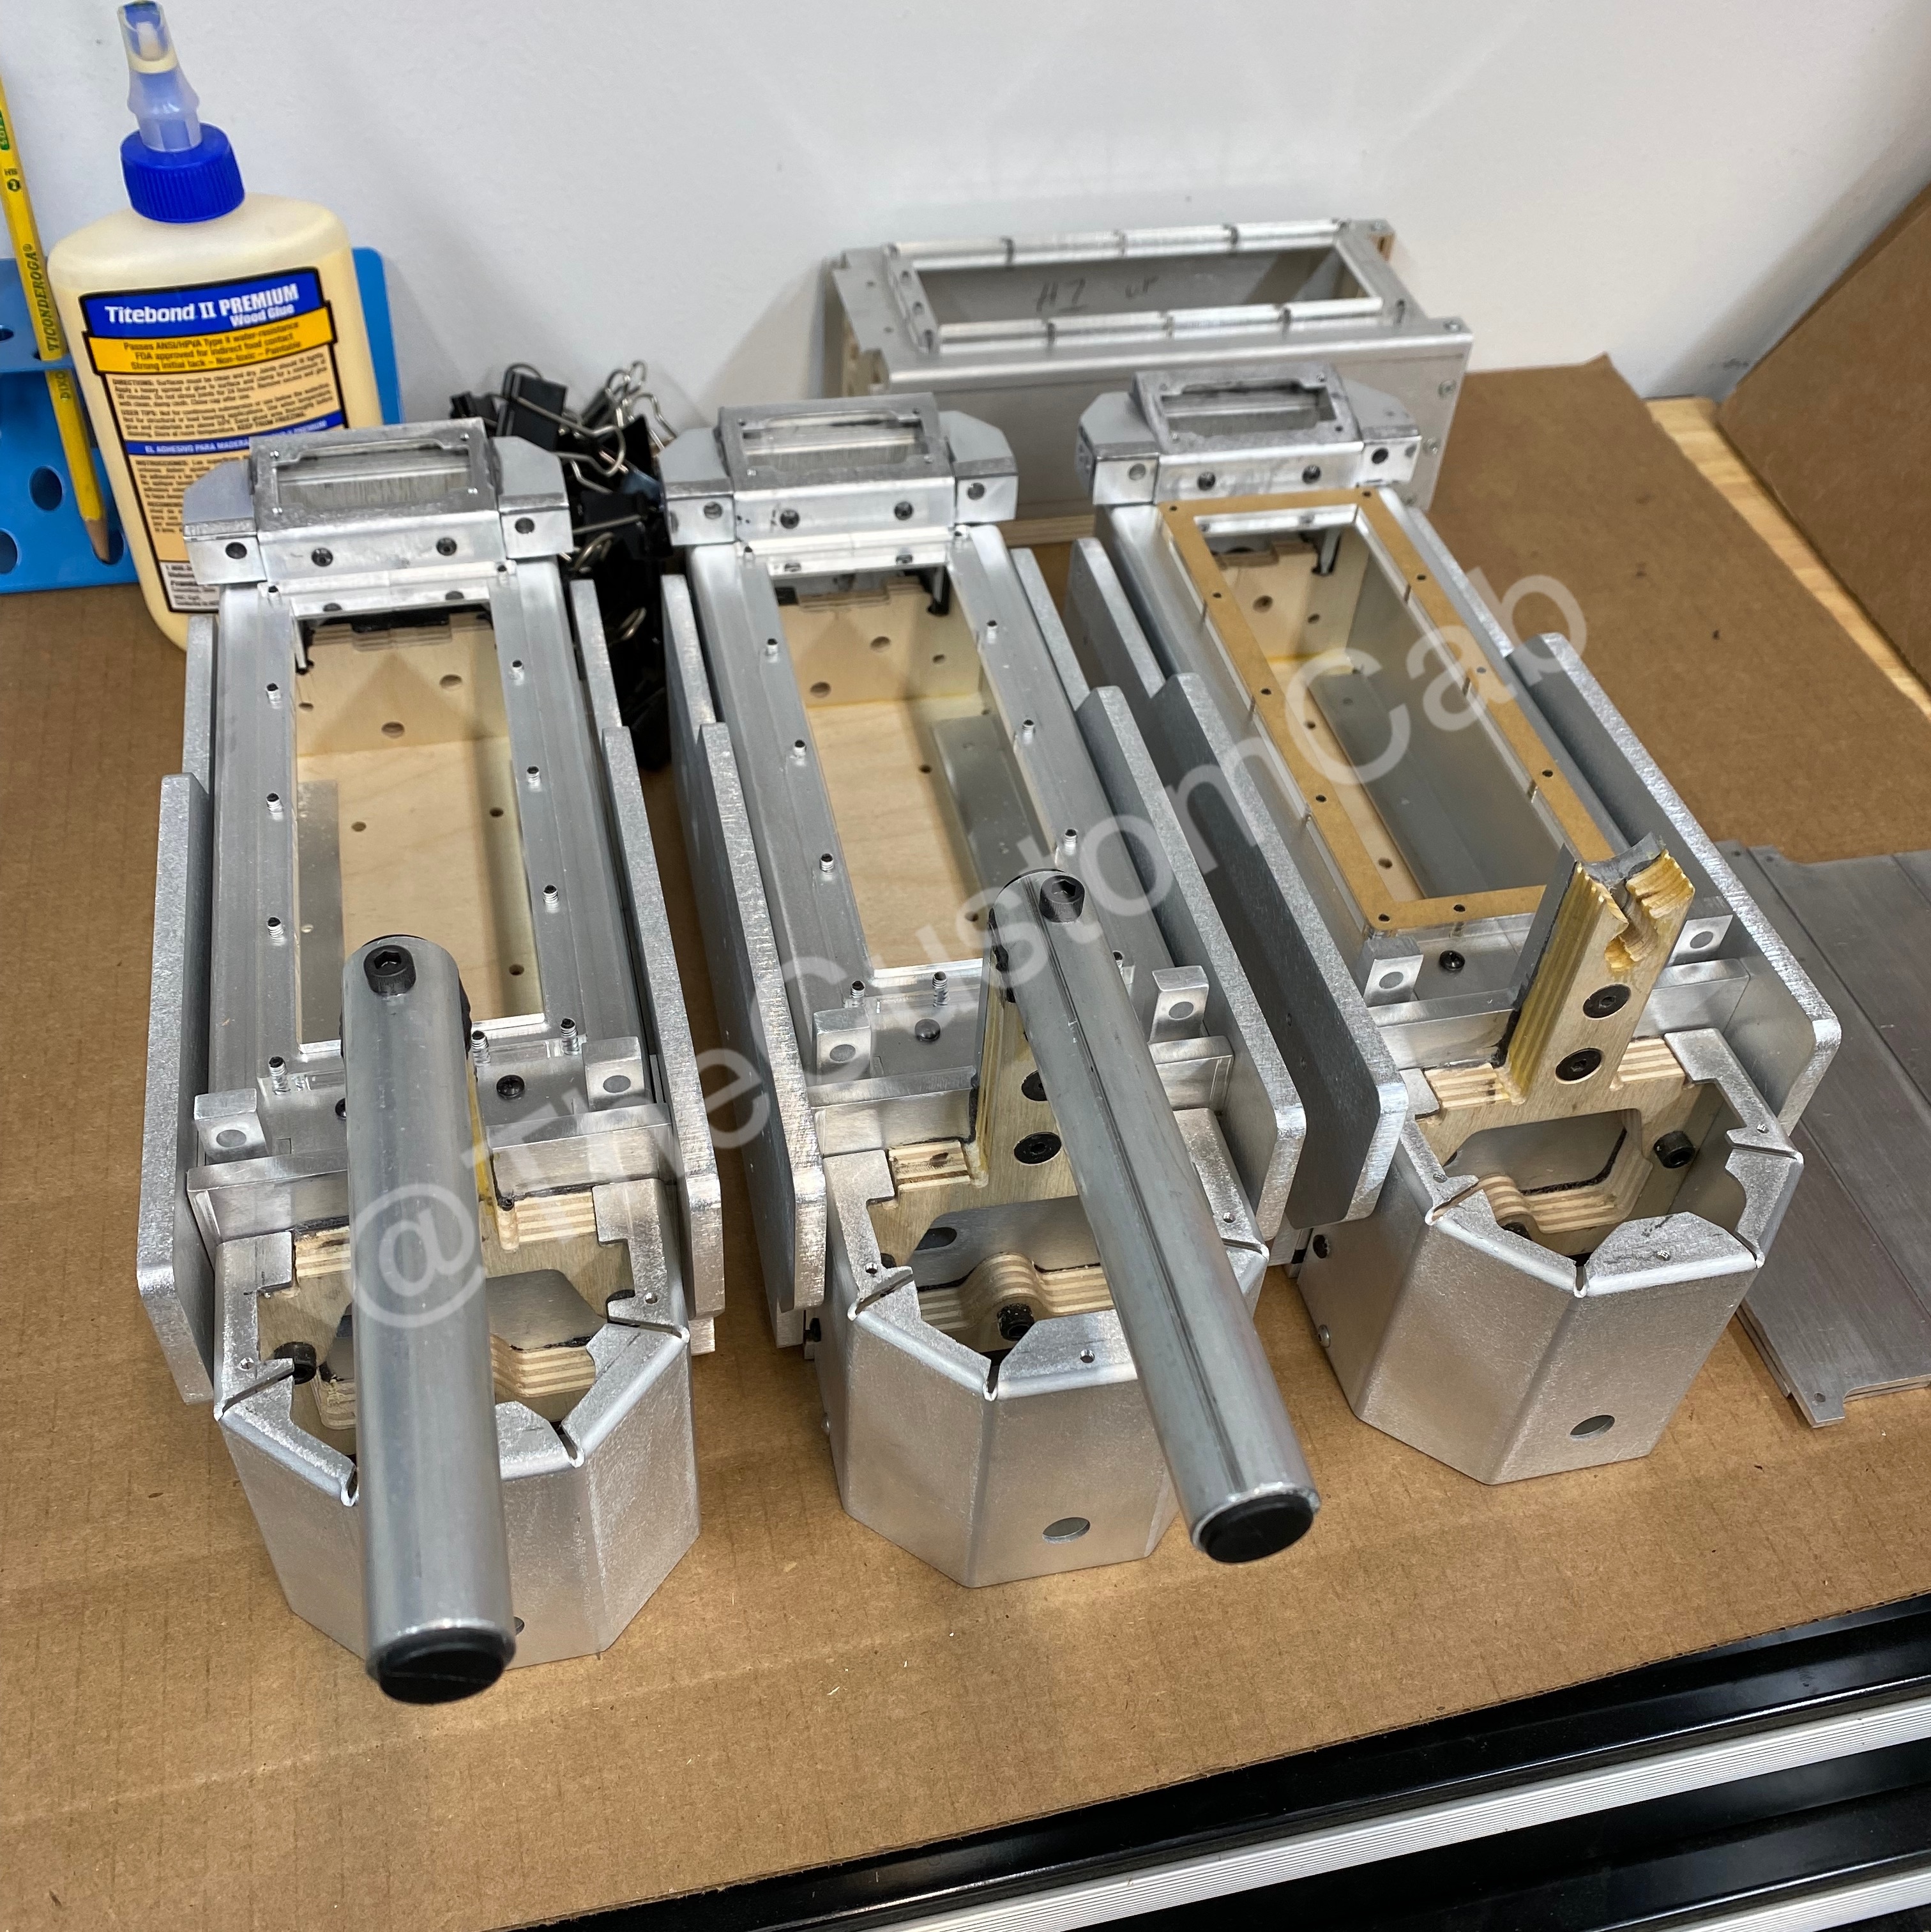
Some of you have seen pictures of my all (er mostly) aluminum ghost trap on social media and have reached out with questions. I figured I’d post a few shots here for you.
I will be posting the full Fusion360 file and BOM for anyone to use/modify. There’s a little cleanup to do, so expect that in a couple weeks.
This is pretty accurate, but not 100%. I took a little license to accommodate the method of manufacture. This project was done in concert with @SendCutSend to show off their capabilities, so I adjusted the design where needed for their design guidelines. That said, I also design checked along the way with a screen-used hero prop and it is pretty on the money.
If anyone has questions I’m happy to answer them here.
Thanks! Yes I tend to do a lot with sheet. Of course 3-4 axis CNC where needed, but bent sheet where possible first. Most classic (80s-90’s) movie props were mastered with the most readily accessible machining, which included a lot of sheet work, so it’s a natural fit.
I’ll add up some numbers and post them here. Bulk runs make a difference of course.
35 individual part files; 3 parts are duplicated in the assembly (left/right) for a total of 38 pieces to assemble, not including hardware or the handle.
To check cost on the metal/plastic/wood components I just put together a SCS cart for 6 units - it totals $1300.95, or $216.83 per unit. Add to that the hardware (mostly McMaster supplied) and the specialty components.
Full BOM for the hardware will post with the updated Fusion assembly and parts files.
All specialty parts were either procured here, from CharlesworthDynamics, or GBHQPartsDepot on Etsy. Graphic decals were from Moby Signs.
Paint is USC Spray Max 2k epoxy paint in RatRod Black with 2k black primer underneath. Detail colors were Tamiya Camel Yellow and Mica Red. Weathering was done using Tamiya powders and a touch of Testors Aluminum. Tamiya satin clear coat was used over the weathering.
Open source the files upcoming. In tidying up the files to post I realized I really ought to make some improvements to ease assembly. Those updates will make it into the upcoming run, and then those files will be posted under an MIT or CC license.
Thanks all for the interest in this project and for your patience!
If you plan to offer it via this forum you have to have purchased a supporting membership first, as a heads up. You’re not allowed to sell without one.