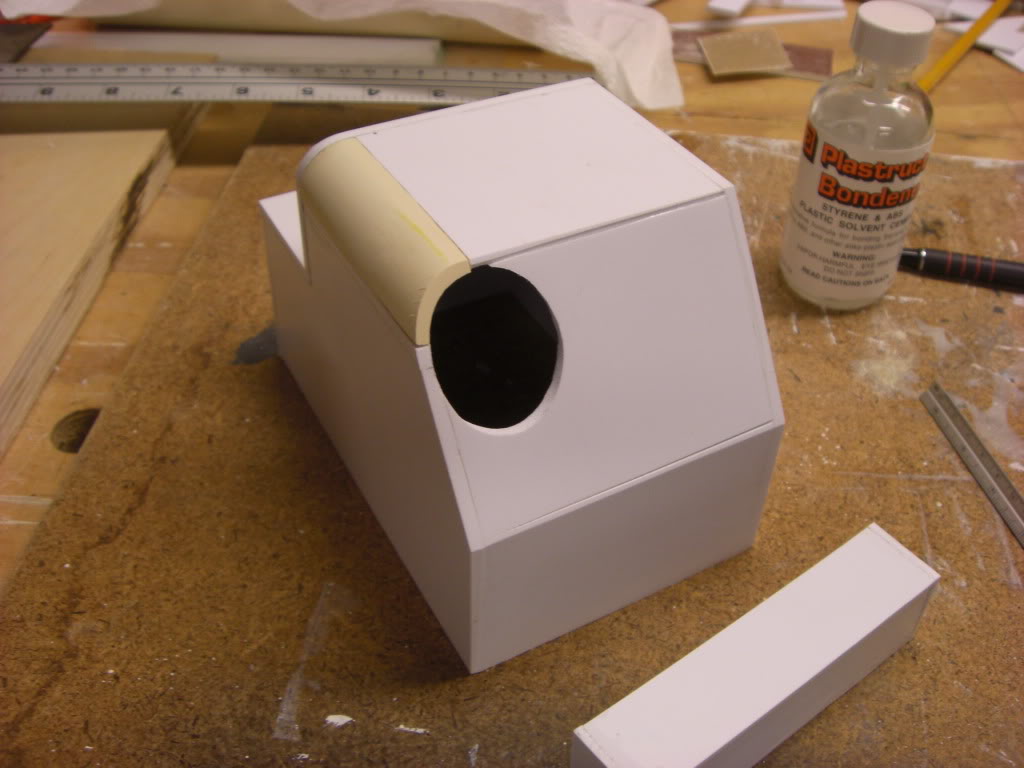
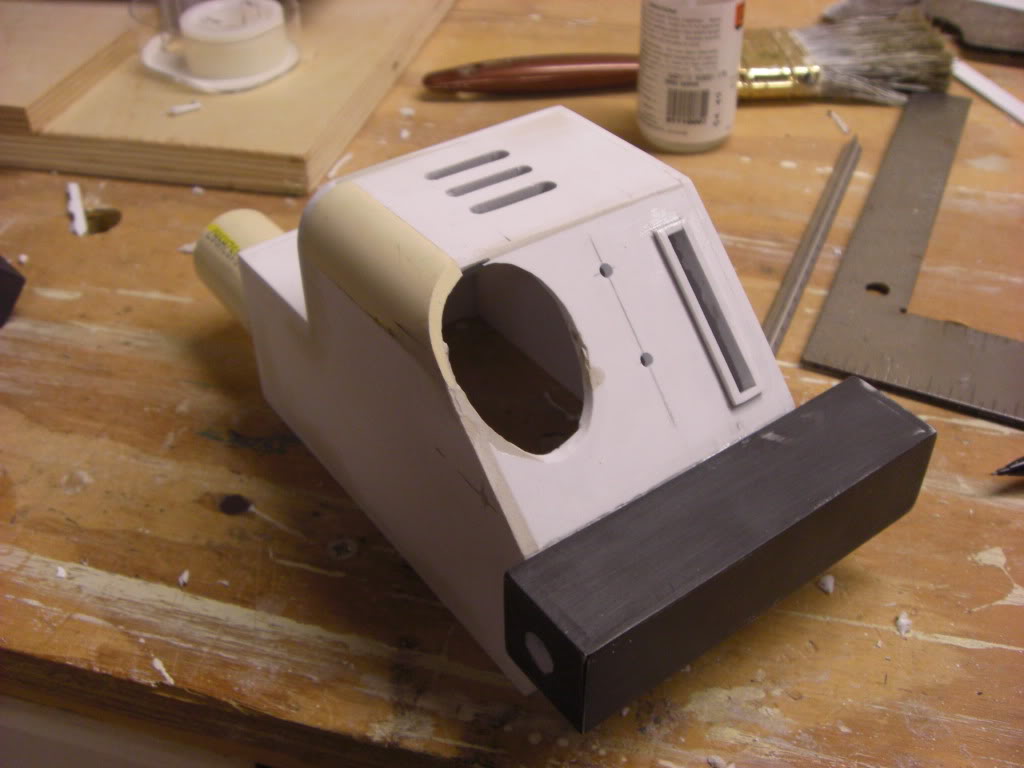
After a lot of reading on these forums and talking to some friends about materials I have started to build my pack. My ultimate goal is to use what I’m building to make a mold so I can cast a fiberglass pack. I felt that the fiberglass packs looked the best to me, and I the challenge of it seemed fun too. My master mold or plug ( the term escapes me right now) is going to be made of insulation foam and styrene. I figured that those materials would be the easiest to work with. But I had to find something to cut the foam with first. I ended up making a hot wire cutter and mounting it on a router table, which worked out really well.
I took these pictures with my phone but I’ll take some with a real camera soon. I’m also pretty bad at remembering to take pictures while I work. So let me know if there is anything I should take close ups of. If your wondering I’m painting the foam with gesso, that’s why some of the pieces are white.
Here are some more pictures. The pieces are still a bit ruff and I have a lot of priming and sanding to go. If I do make a silicon mold from these parts how smooth do I need to get them?
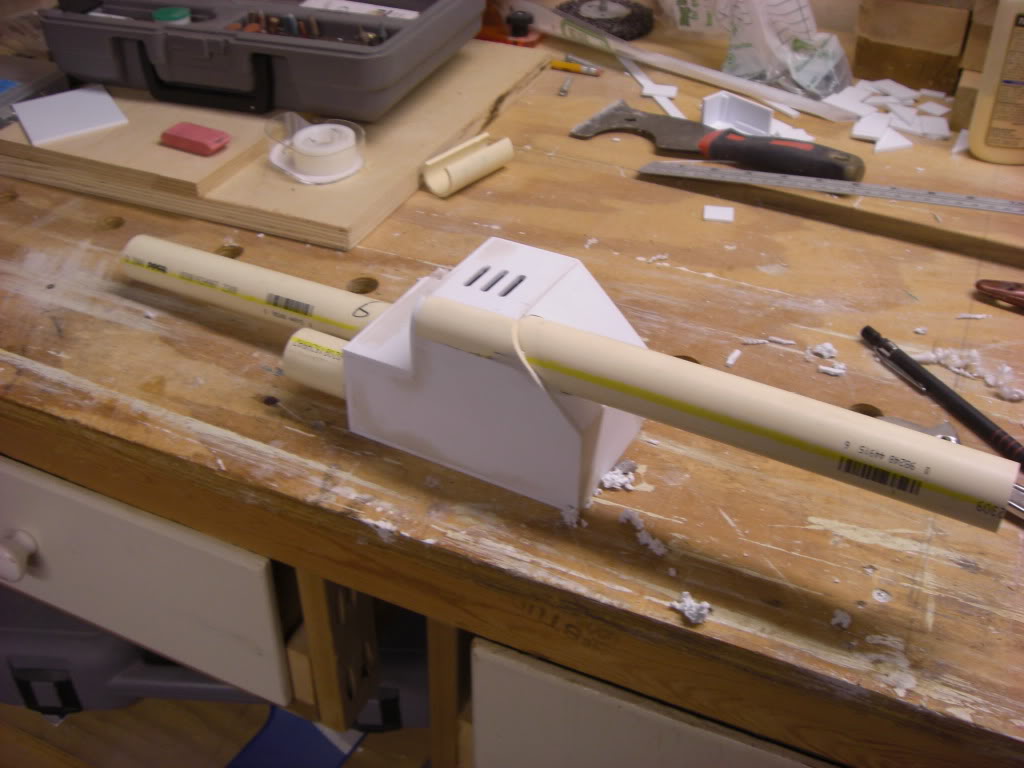
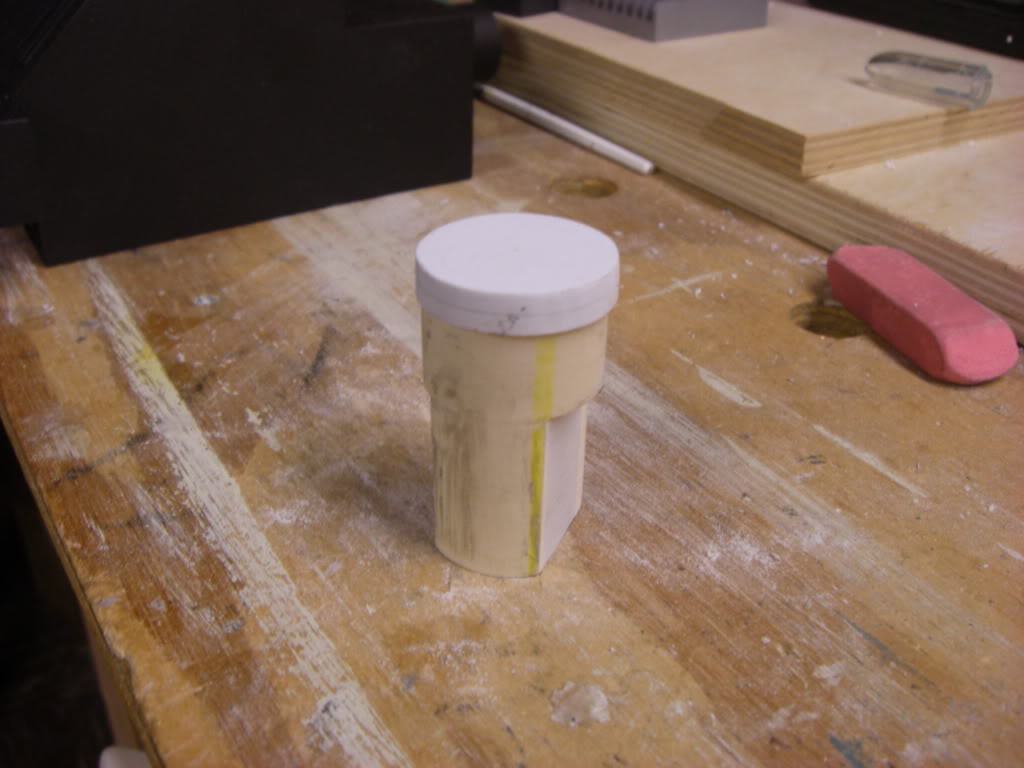
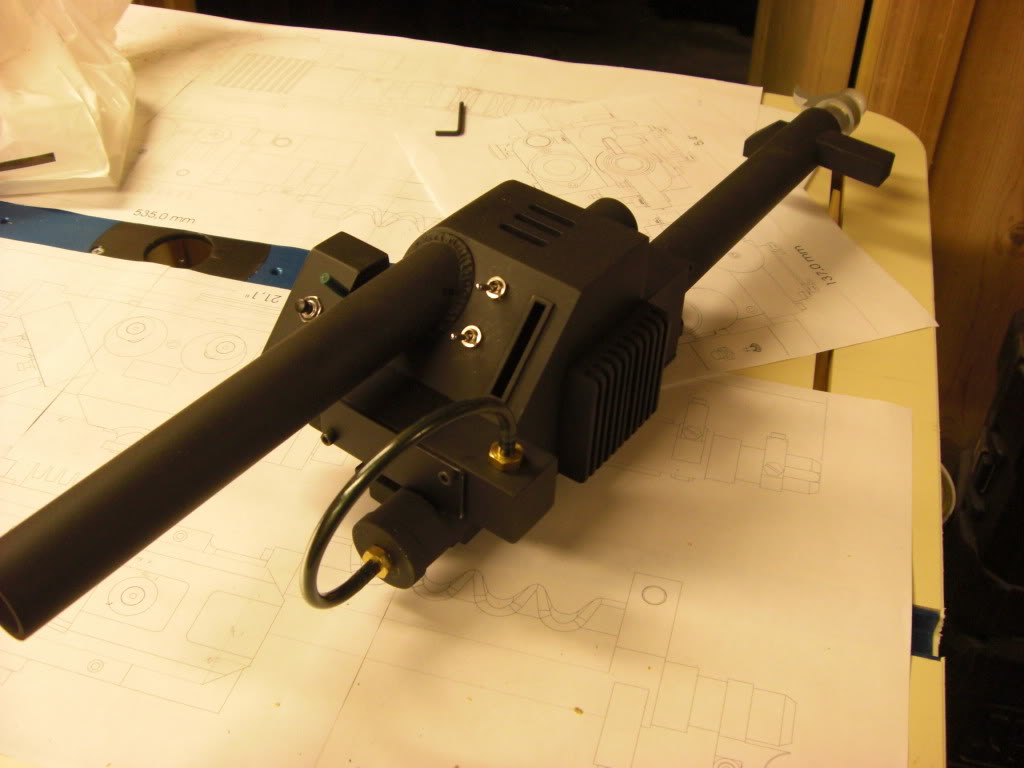
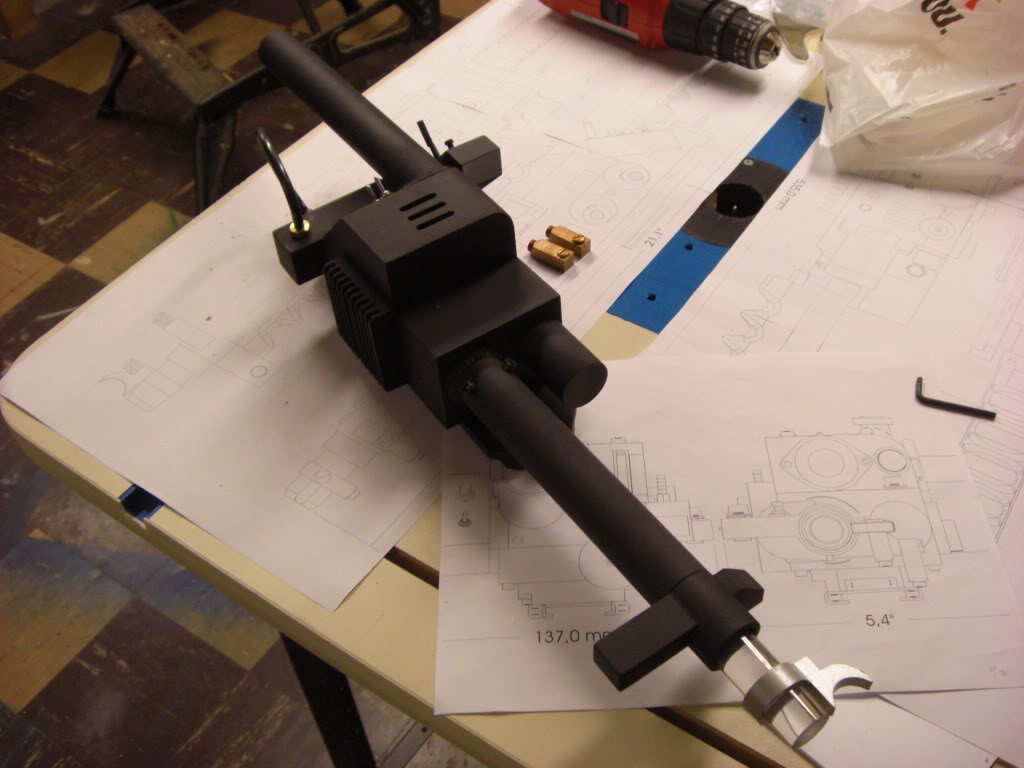
I really should have updated this sooner. But I didn’t have anything new for a while so I put it off. I decided that even though I put a ton of work into my foam pieces. I wasn’t happy with how the preparation for molding was going with them. I would prime, sand and fill blemishes only to find more blemishes from the process. The foam was just too soft. I don’t know if it was just me being to rough with it or what. I tried to be as careful as I could but more dents kept showing up. So I 'm now restarting the process with wood. I don’t have any pictures of that just yet but I have been hard at work on the neutrona wand, which I have lots of pictures of. It’s made of styrene and pvc pipe and I am very happy with how it’s turning out. Let me know what you think.
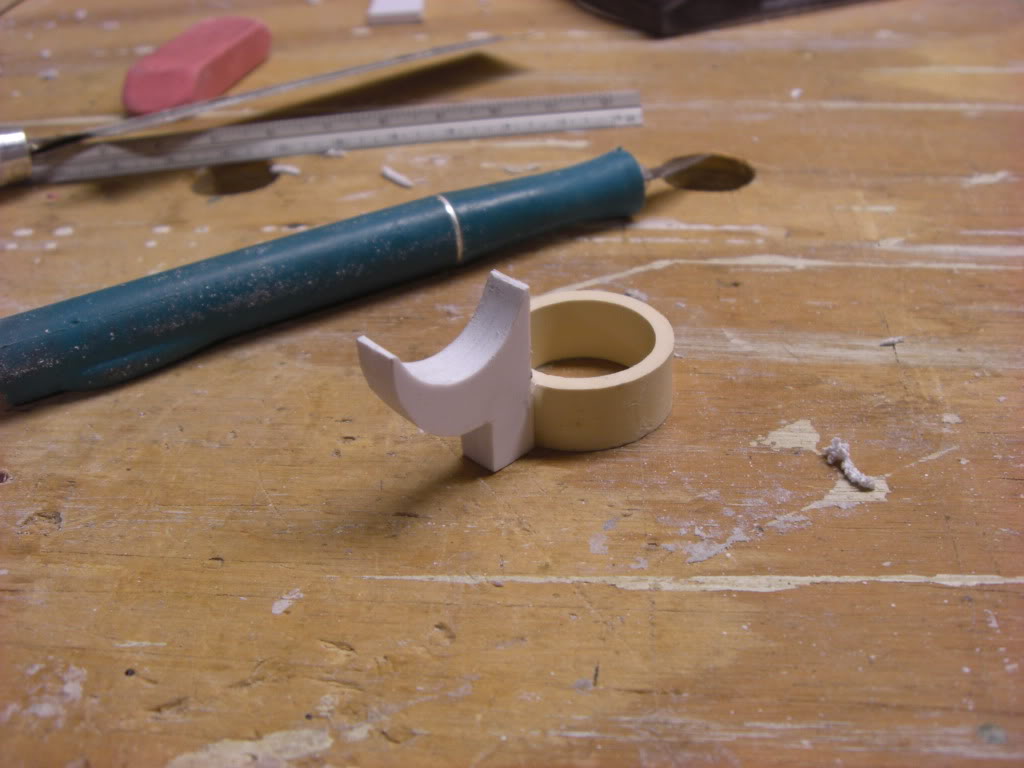
[spoiler]This is actually a scrapped piece as well (I hope this isn’t becoming a habit) I messed up the dimensions a bit. But the construction on the keeper is the same.
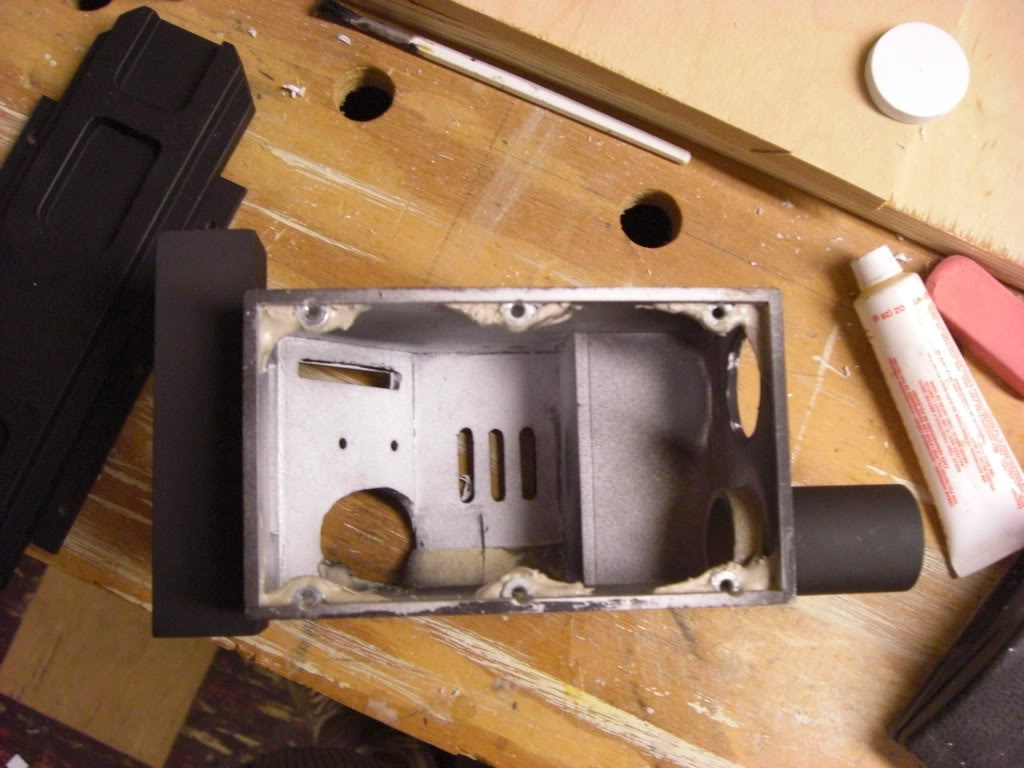
I thought I had a better picture of the bottom rail, but here is how I am fastening it to the gun body. I sunk some nuts into the side of the styrene and then encased them in bondo. I was worried that might be to brittle for a while however it seems to be holding nicely so far.
Skipping ahead a bit here is how it looks now. Just a couple notes on this. The green tube is temporary until I get one that is the right color. The heat sink has a couple extra ribs to get it to be the right length (another goof but I didn’t restart the piece this time). And the tip is a solid piece of acrylic, since I couldn’t find any acrylic tube around here. I might keep it that way though since it looks kinda cool, not sure though it all depends on how it looks with lights. Also I ordered some real aluminum knobs off ebay, when they get here I will post some pics more quickly this time.
I don’t know if you know this or took it into account, but most foams (including insulation foam) get eaten by any kind of aerosol spray.. I think it’s the xylene that’s in the paint/primer.. eats through foam like acid. If you’re going to use any sort of aerosol product on foam, you’ve got to seal it first.. a mixture of white glue and water works well for that.. a couple of layers should do the trick..
That thrower is awsome! I think if you were to use the correct style brass barbs on the green hose it will really bump your build up a notch. Also I have some resin R-701 casts with real 701 labels in stock right now along with accurate grips and guntracks etc. shoot me a PM if you’d like to order any of those [/shameless plug]
Your right about the foam gets eaten away by a lot of things not just paint. It doesn’t really like bondo either. But I was coating it in gesso first as a buffer to the finish coat of paint I was going to use.
I was wondering if people were going to catch the brass being a bit off. The hardware store I usually go to didn’t have the right ones. I thought these might be a decent substitute but I was wrong, I’ll be hunting down some better ones soon. As for the clippards I was just looking into ordering some. I’m thinking of getting the real thing when it comes to those. However I’ve been scratching my head over how to make accurate grips, so I might take you up on the offer for that.
Looks like your off to a great start. Please dont put in the plate for the injectors on the bottom of the power cell. many people sell injectors mounted on the plate so attaching them to a shell that has the plate already sculpted in leads to a hassle. Also contact member "mburkit " He has info on the correct shape of the powercell and the placement of the ribs. He posted pics in another thread but i couldnt find it. He seems like a real good guy and im sure he will help you out.
Since I’m redoing all of those parts I’ll make sure to omit the plate on the bottom of the power cell, thanks for the tip! And I’ll look around for the “mburkit” post. Does he have more accurate dimensions than the Stefan plans?
Just a quick update, I just got some real aluminum knobs for the gun but I have yet to secure them. I hope to have some more build pictures this weekend when I get a chance to really spend some time on the project. By the way thanks for all the kind words on my progress everyone!