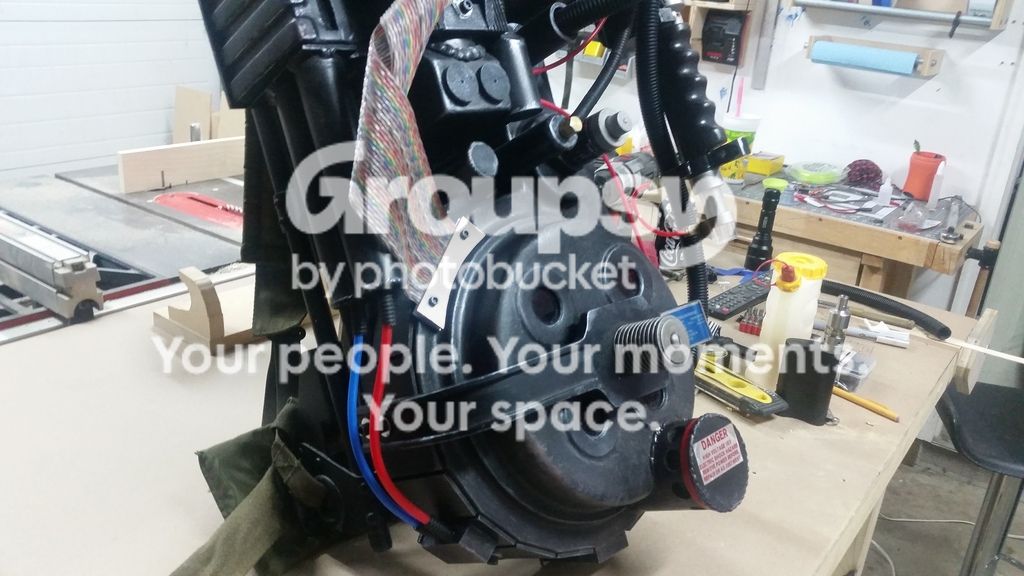
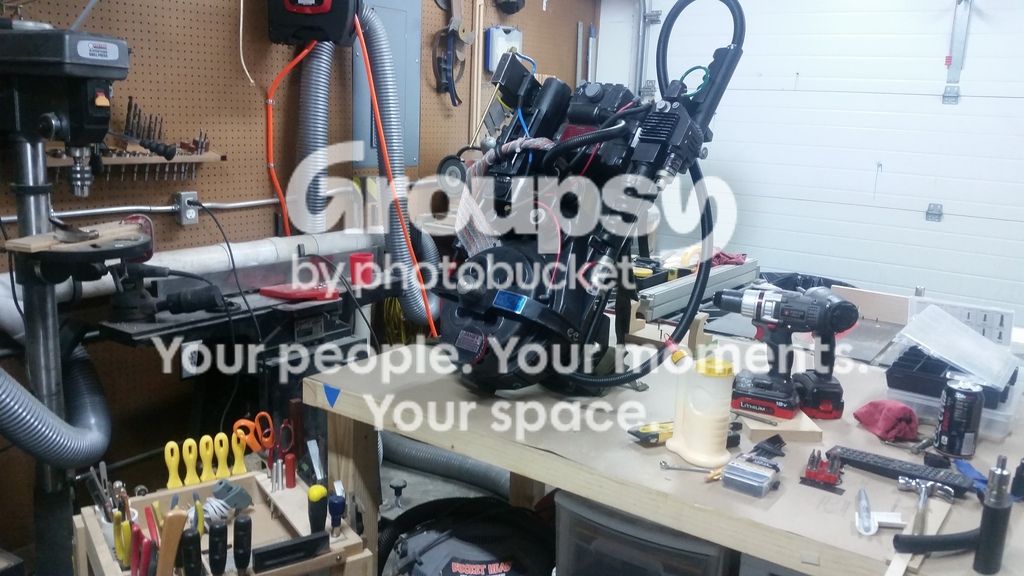
TonyM's first pack build

So, after three weeks of daily visits from the UPS guy, I finally have everything I need to start my pack build in earnest. I’m using a vacform shell from Jeff at Studio Creations, resin parts from Kris (Crix) and Eric (kcghostbuster), along with various bits and pieces from eBay user order_thru_the_phoenix. And, alas, my major uninformed purchase, a bumper from that one guy that everybody says I shouldn’t have ordered from. Live, learn, etc. Also have a light/sound kit on the way, also from Crix.

Anywho, couldn’t wait to get an idea of what the finished product was going to look like, so I laid everything out…
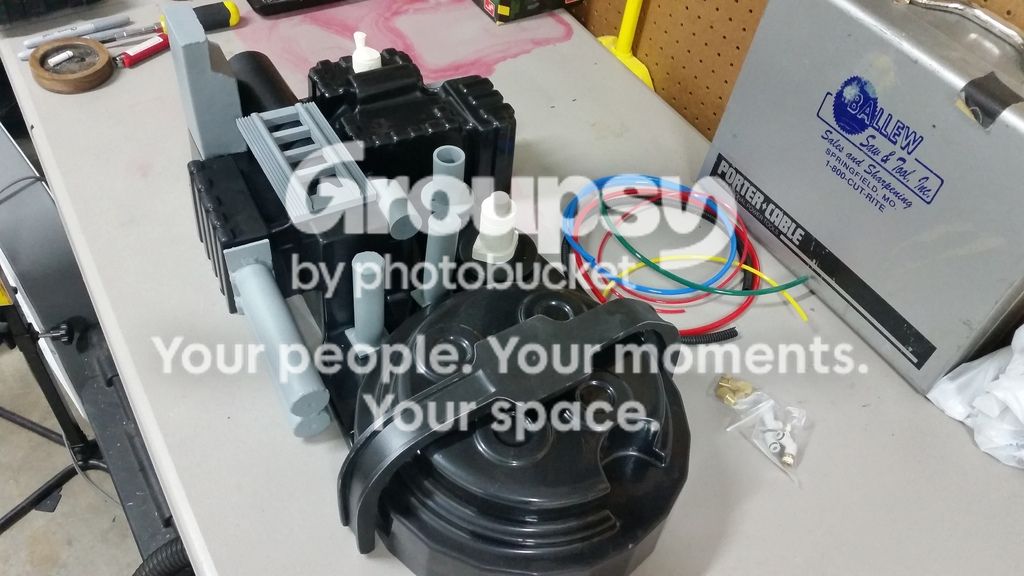
Man, that’s good motivation.

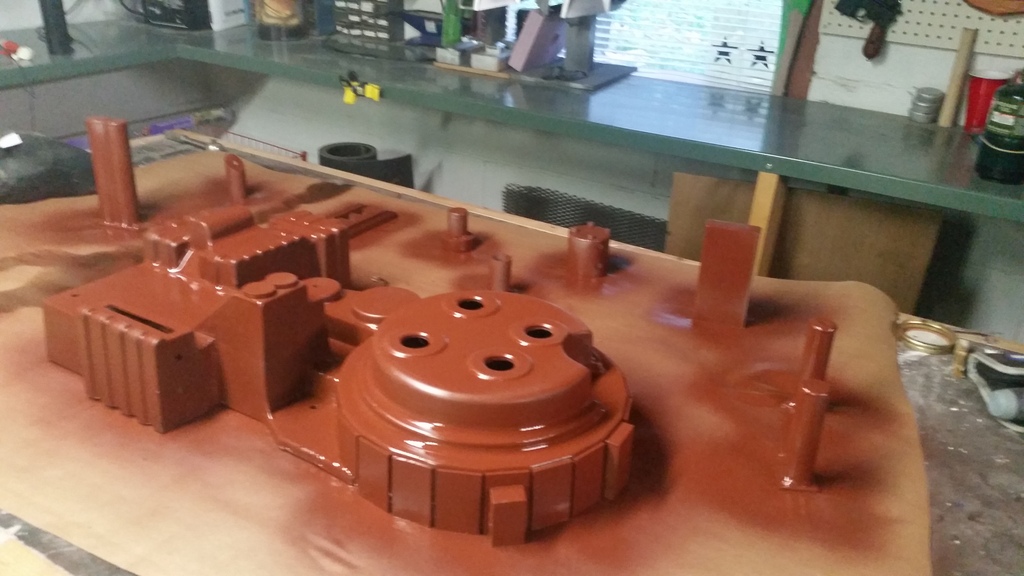
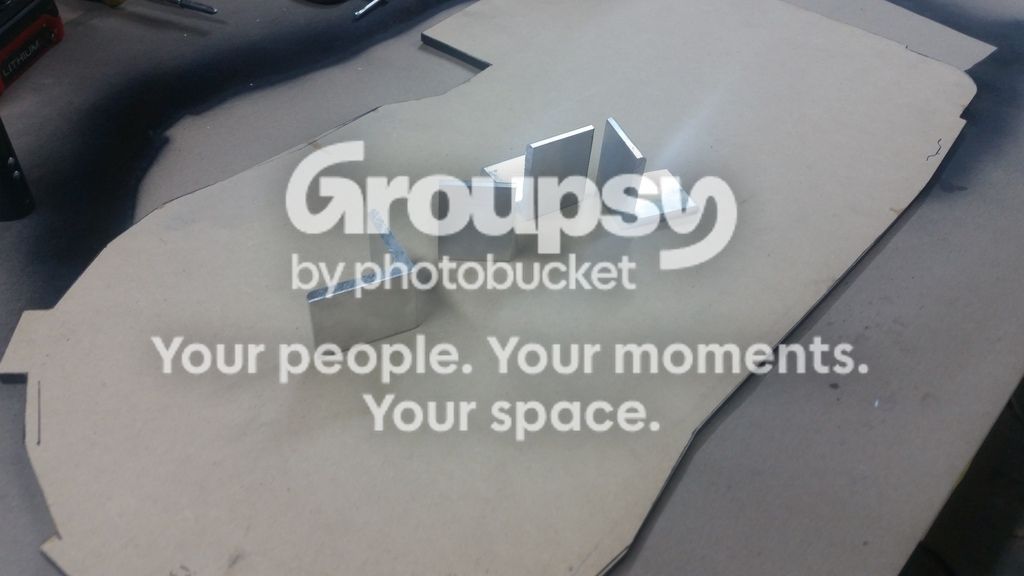
I bought resin casts for most of my parts, but I still have a few bits I need to fabricate myself: ion arm, n-filter, and shock mount. Tonight, I got my ion arm and my n-filter roughed out and ready for paint…

The n-filter is made out of a couple of 2" couplers, a pieces of styrene for the top, and a bead of hot glue to (sort of) simulate a weld. I think I’ll use the epoxy putty for that from here on out. The ion arm is a couple of lengths of 1/4" brass rod, a clippard fitting, and a block of UHMW plastic that I had kicking around the shop.

Next up, attach the halves of the shell together, Bondo the seam, and lay in some fiberglass. God, I’m itchy already.

Looking good. Your off to a great start. Looking forward to seeing more.

Great start!

Nice man! Looks like it will be a great build! I know you’ll probably figure this out yourself, but you’ll want to turn that resin ion arm so the flat side is facing the right and the angled part is facing the outside. You will have so much fun! Crix parts look great

You know that bunker is going to self combust on you right? :stuck_out_tongue: JK. Looking good so far!
Bumper… Stupid phone typing

Thanks everyone for the encouragement!

Good call. Yeah, I just dry-fit everything to be sure the spacing was right before I painted it. Good eye, though!

I was worried about that, but it appears inert. I’m pretty sure it stole some money off my dresser though. XD

Small update. I made a little progress over the last couple of days. Unfortunately I didn’t get many in-progress pictures, but here’s where I’m at now…

Dosn’t look like much, but I got quite a bit knocked out.

  • Bolted/epoxied the two halves of the shell together

  • Reinforced the shell with two layers of fiberglass

  • Removed most of the webbing from the vacuum forming process and bondo’d any resulting holes

  • Bondo’d the seam between the two halves of the shell

  • Cut out the cyclotron light hols and the power cell indicator window

  • Laser cut the two discs on the EDA box out of acrylic and epoxied them in place

  • Cut out all of the cosmetic plating out of aluminum and epoxied it in place (fun fact: cutting aluminum on the table saw makes a horrific mess…I’m still picking aluminum shards out of my beard)

  • Fashioned the bottom block and the ion injector block out of UHMW, attached with epoxy

  • Laid out and drilled most of my mounting holes

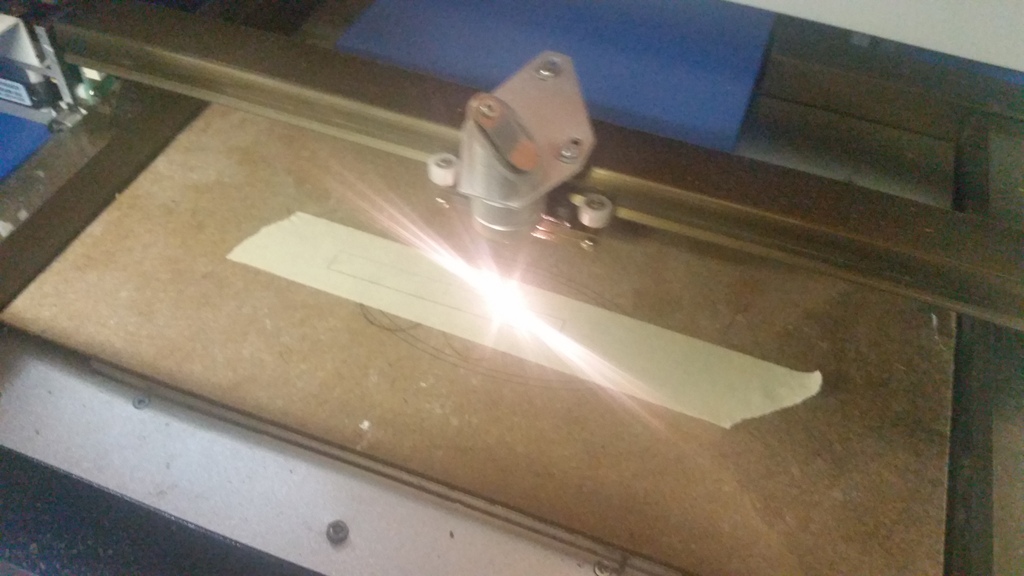
And to show off a bit of shop laziness…I used a piece of masking tape to make a cutting template for the power cell window. This could just as easily be done with an xacto knife and a ruler, but pfffffft…

Yep, my dumpy little laser cutter rarely gets used for its intended purpose, and usually just gets used as an exorbitantly expensive hobby knife. Laziness through science.

Anywho, I have to go be an adult for a few days…

You have the tools and you have the talent! Looking great! Theres always something about that red/brown primer that fills me with nostalgia :slight_smile:

Thanks, man! Yeah, I’m partial to the rusty red primer. It really makes your low spots and high spots stand out when you start sanding on it.

I’m sure most of us on this forum share a similar problem. We like to make things and have a dozen or so projects waiting patiently on the back burner. Then we wake up one day and go, “Oh yeah…I was going to be a Ghostbuster. I should get on that.” Adult stuff and working night shift has been making it difficult to get things finished. So I’ve decided to man up and just get it done, lol.

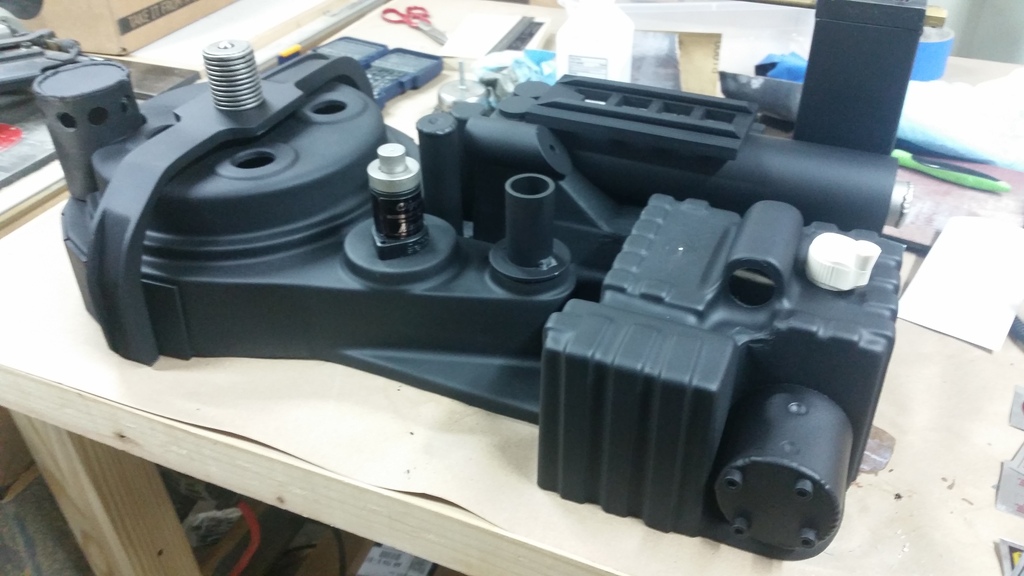
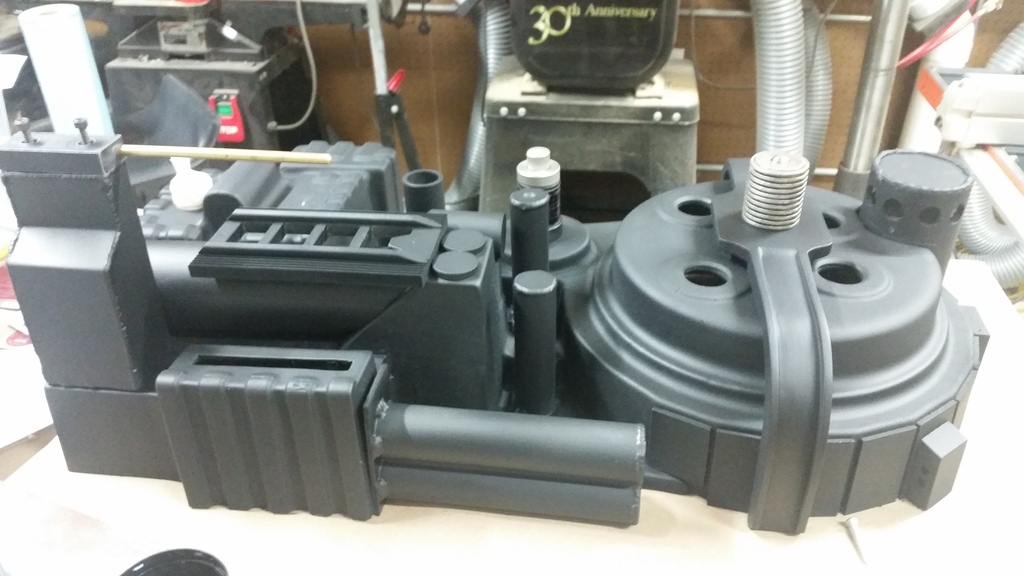
So, I’ve spent the last few days painting and sanding and painting and sanding et al. Hit the whole thing with light coat of truck bed liner for texture (not entirely sure if I like that or not, but I’m sick of sanding, so it’s staying). Followed that with several coats of metallic silver, then a couple coats of flat black. This process works well for “practical weathering,” which I’ve yet to start. Nothing’s attached to the shell yet, but all of the parts now have threaded inserts epoxied in to them that match up to holes drilled in the shell. Should make assembly/disassembly fairly simple…

I fabricated my shock mount, which turned out better than it had any right to, though it’s admittedly not super accurate. It started as a 3D printed part, sanded and smoothed out all the 3D printyness, painted and weathered it. Really, really happy with that part.

I’ve also decided my N-filter isn’t quite up to snuff, so I’ll work on re-fabricating that while I wait for my shiny new aluminum motherboard to show up. Anywho, back to it…

That thing looks awesome!!! You can never go wrong with a SC Shell. That’s what I used. Just finished mine this week.image

Thanks, Wade! I agree about the SC shells…they’re a great entry point for someone just getting into this. Your pack is looking great, btw.

I’ve been going at it since early this morning, and my pack’s finally starting to look like a pack! I really think I’ve been over-thinking this build and dragging it out longer than necessary. Since it’s built around a vac-formed shell and inherently not that accurate, I’m not gonna sweat the details and save all the head-scratching for when I inevitably build a hero pack. I need to be ok with this being a “two-feet-away” prop, aka looks great from two feet away.

Among other things, I finished fabricating my ribbon cable clamps, flattened out the mounting points for all the lenses, drilled all the various mounting holes in the shell, removed and shrunk the EDA disks, sprayed a fresh coat of satin paint, got most of my decals on (I’m missing a couple somehow), got all the various tubing sorted out (missing some of that too), attached all the hardware and fittings, and various other odds and ends.

Pretty pleased with it so far. Still needs lots of weathering, the red HGA hose and the red cyclotron hose, and a couple of decals. I also want to replace the big vacuum hose with a proper piece of loom. I thought that pond pump hose was gonna be great, but it’s too stiff and doesn’t look quite right. I’d also like to get a proper ribbon cable, as I’ve been aiming for a GB1 pack.

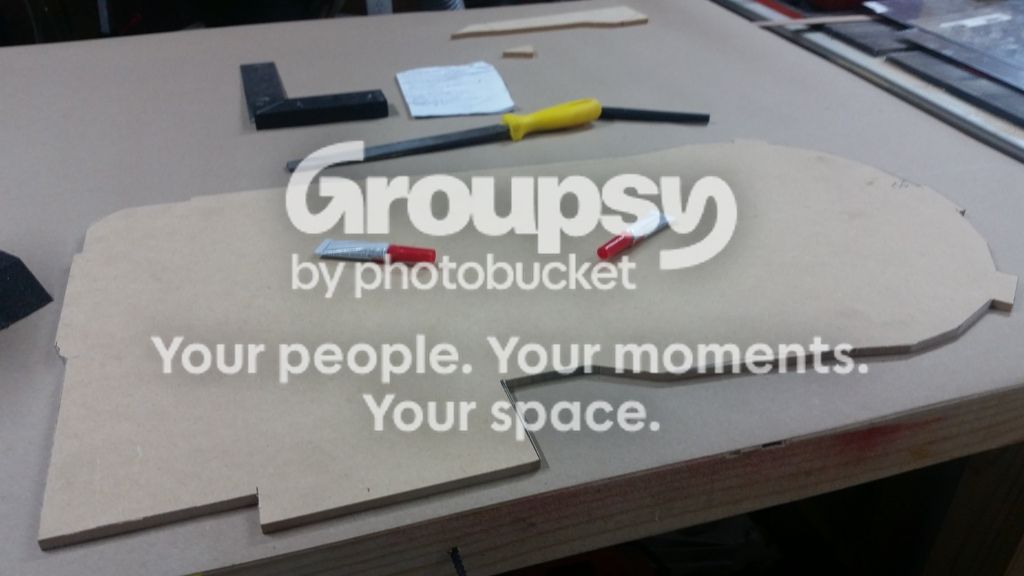
I’ve been waiting on a motherboard from the GBfans shop, and after a little (admittedly late) research, I’ve realized it won’t fit properly. I’ll toss it on a shelf when it arrives and save it for a future build, but in the meantime decided to go with MDF. I got everything laid out, cut it out, and spent quite a bit of time fine tuning the edges on the sander.

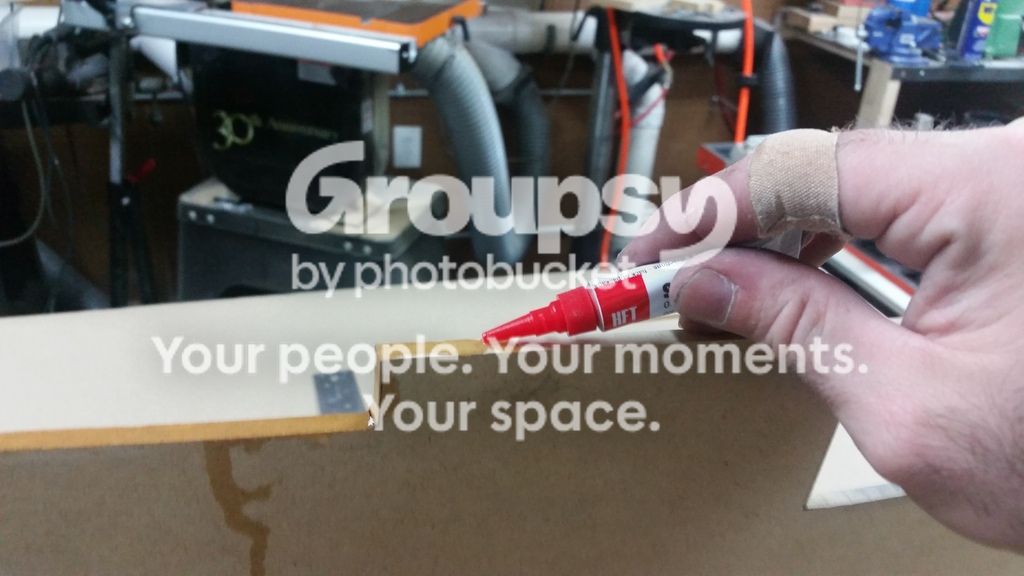
Here’s a handy tip for using MDF. The edges are super pourous and difficult to get a good paint finish on. If you use regular old super glue and saturate the edges, your painting will go much much easier and your edges will be much more resistant to damage and/or separating.

[Note the band-aid…was trying to sand a small part and ground off most of the skin on my knuckle. Disc sanders are a-holes.]

Here are the edges with one coat of paint and no sanding. Anyone whose tried to paint MDF will appreciate this…

So, all in all a respectable amount of progress for one day. Getting all of the hardware and decals on was exciting…seeing it start to really look like a proton pack gave me a serious kid-on-Christmas-morning feeling. Hopefully I can get a little more accomplished before heading back to work tomorrow night.

Not as productive as I would have like today, but still made some progress. I had originally bought one of the not-too-accurate dixie cup-type v-hooks off of ebay. While it would have worked, I decide to fabricate something a little more beefy. It’s the basic v-hook setup, a .25" base and a couple .125" bits for the hook, drilled and countersunk the mounting holes…

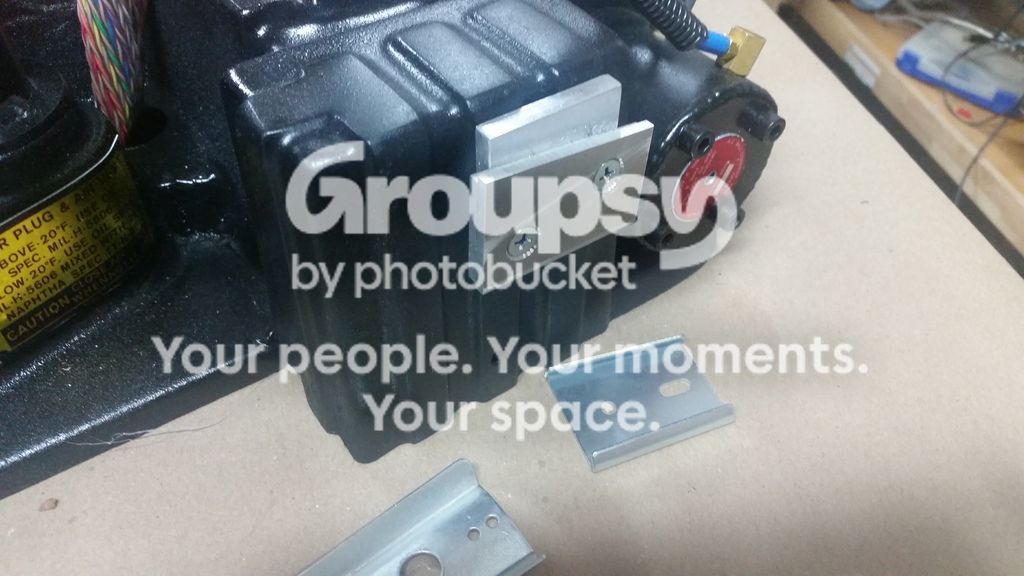
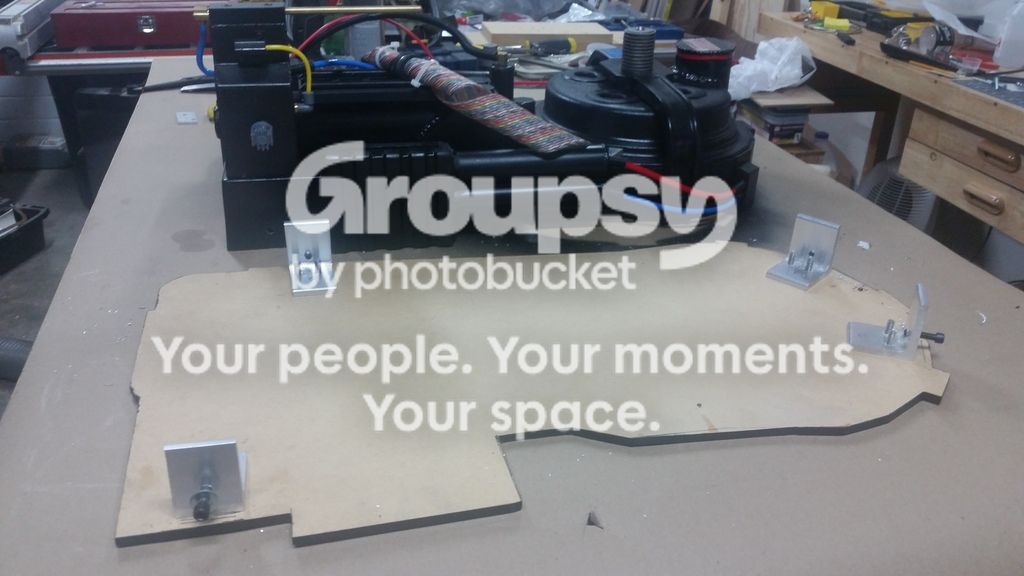
I also picked up a short length of 2" aluminum angle to cut my brackets out of. I just cut it into 1.5" lengths, drilled and tapped all of my holes, and got them positioned and mounted. I ended up attaching them to the motherboard with button head screws instead of rivets. I was afraid rivets wouldn’t hold up well with the MDF. Interesting fact: the duty cycle for a cheapo Harbor Freight tap is about 12 holes in aluminum. I guess you do get what you pay for.

Unfortunately, despite copious amounts of prep and planning, once I bolted the shell onto the motherboard, it was crooked. Sigh. I’ll probably drill out the holes that attach the brackets to the motherboard, widen them into slots, and attach them with lock nuts to give me some wiggle room.

Hopefully I can get my alice pack mounted in the next couple of days, then onto the thrower and electronics.

My pack is nearly done, so I’ve turned my attention to my electronicals. I’m using the Heavy Props light and sound kit, and while I’m generally pretty happy with it, it is giving me some trouble. I made a quick video breaking down my setup and the issue I’m having…

https://youtu.be/pbcbne7H6DA

I haven’t been doing a good job of documenting my progress, but my pack is coming along. I’ve hit a few snags the last couple of weeks, but the pack and wand are mostly complete, sans a few decals and electronics.

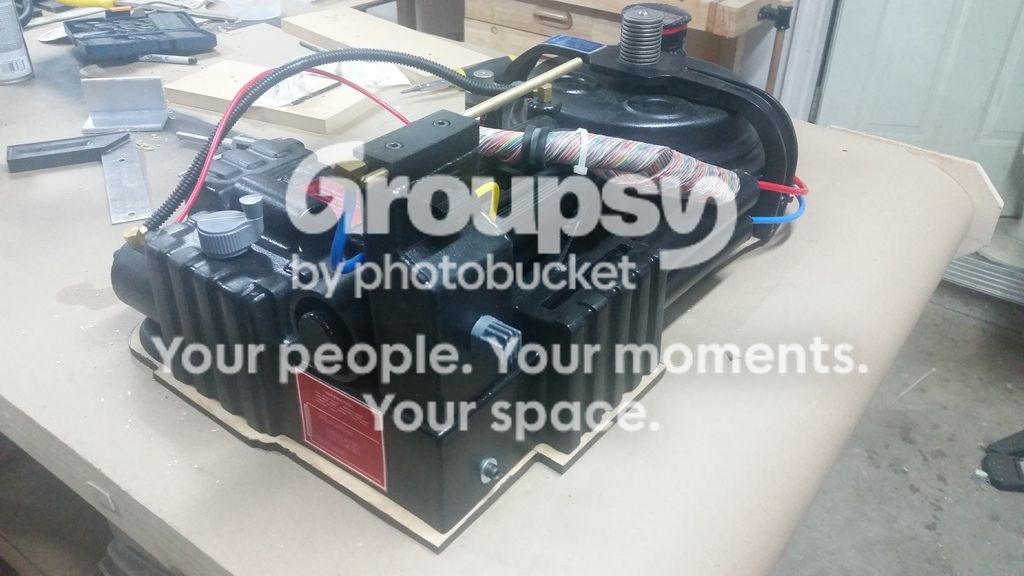
Before finishing everything up, I needed a way to attach my motherboard to my alice pack frame. I did decide to eschew my MDF motherboard for the aluminum one I purchased. Due to the SC shell’s smaller size, it required a little cutting and grinding, but I’m happier with it for sure.

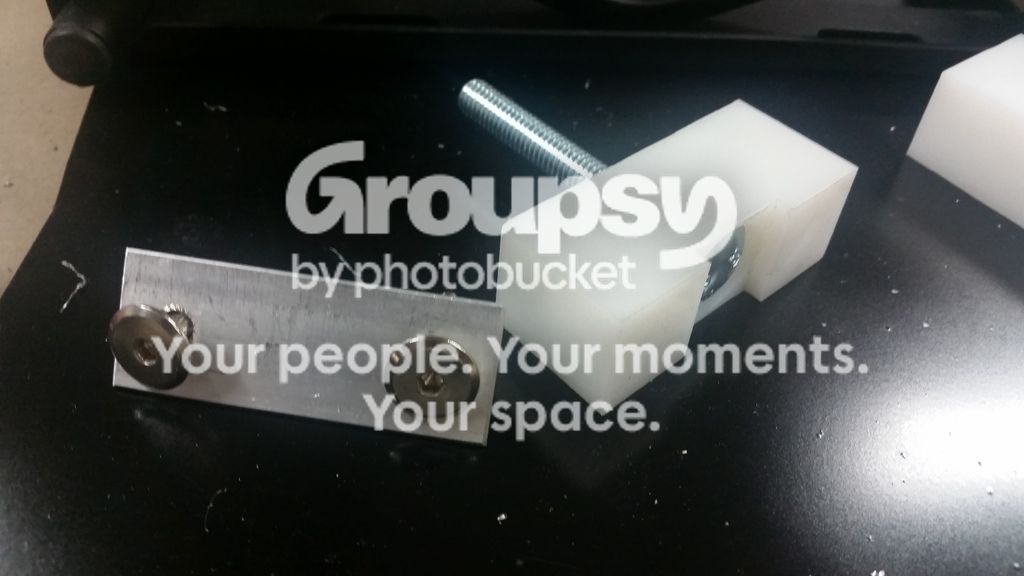
I liked the look of the big rubber spacers, but didn’t have any suitable rubber, so I cut them out of a big ol’ block of plastic I’ve been hiding in the shop…

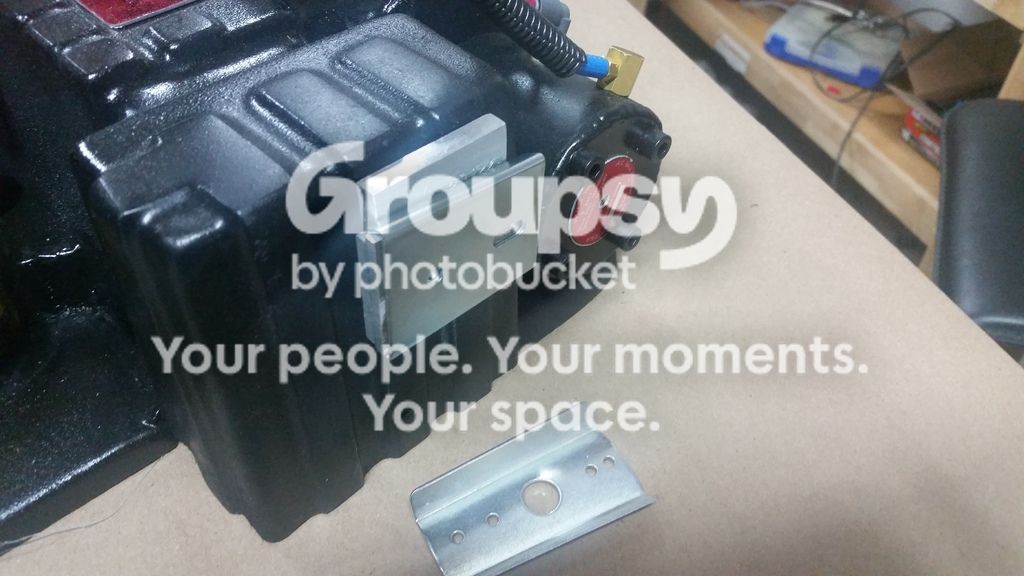
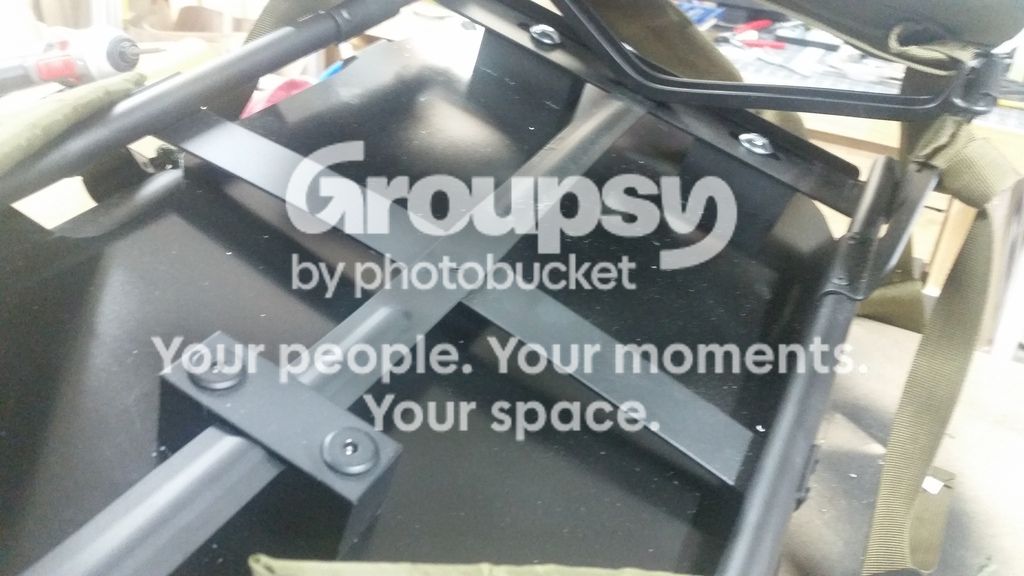
I wasn’t comfortable drilling a hole in my cheapo alice pack frame for the half-circle-style spacer, so I fabricated a mounting bracket that holds the frame captive. One bolt is recessed into the block that attaches to the motherboard, and there are two nuts epoxied into the sides of the block for the two flat head bolts that attach the aluminum strap. Not accurate to anything, but works really well…

And attached snugly…

Aaaaaand, skip ahead a few weeks…

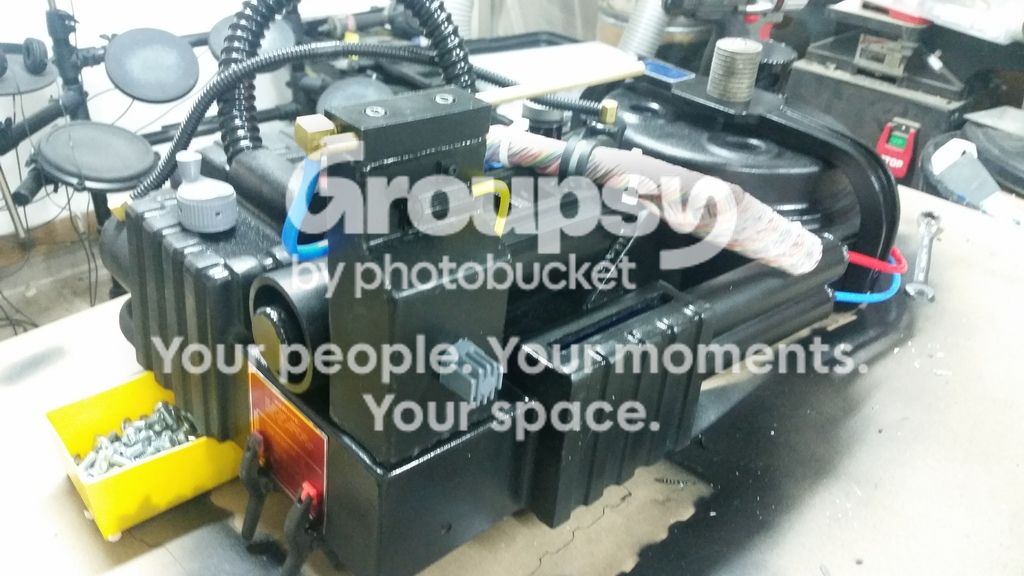
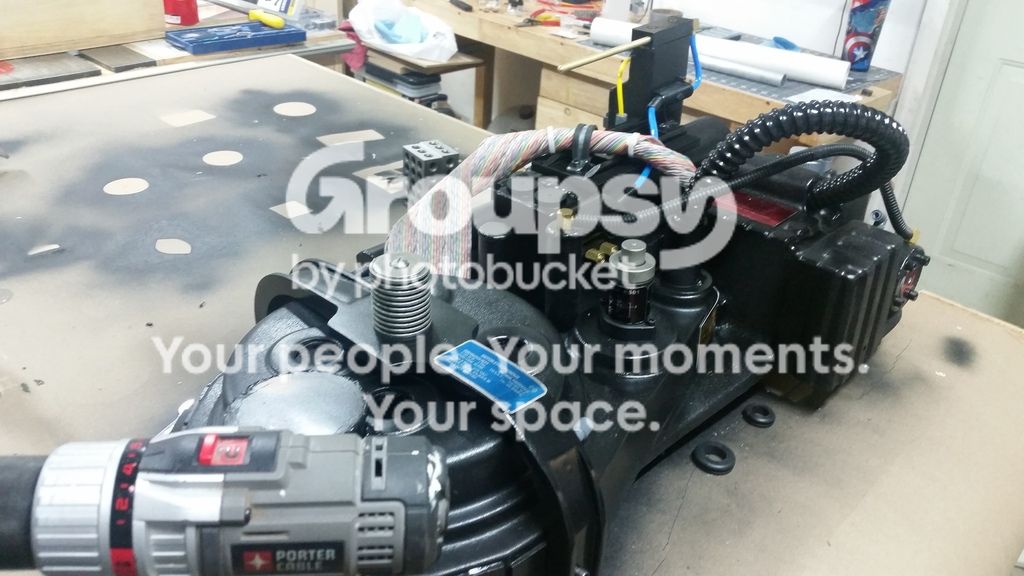
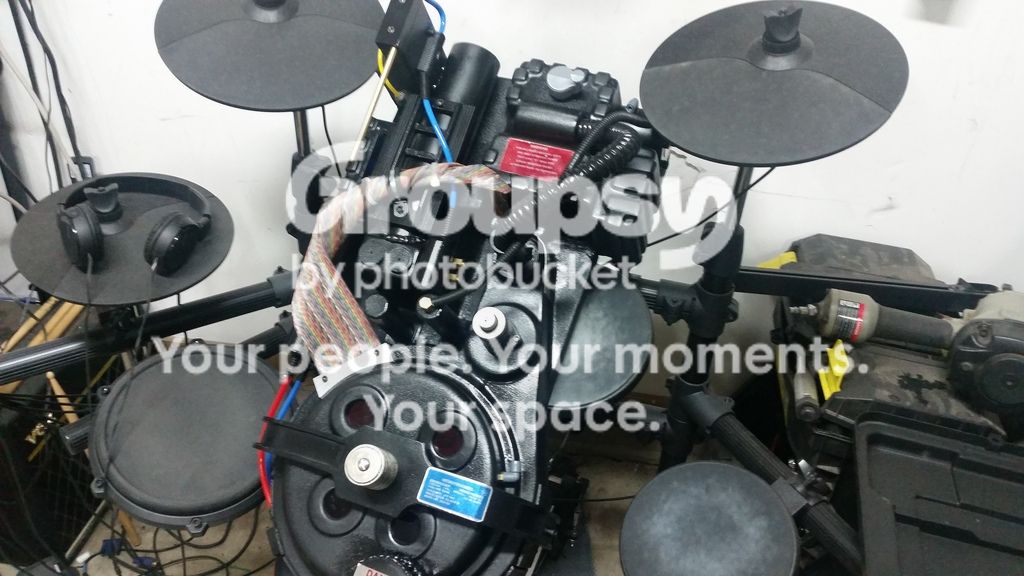
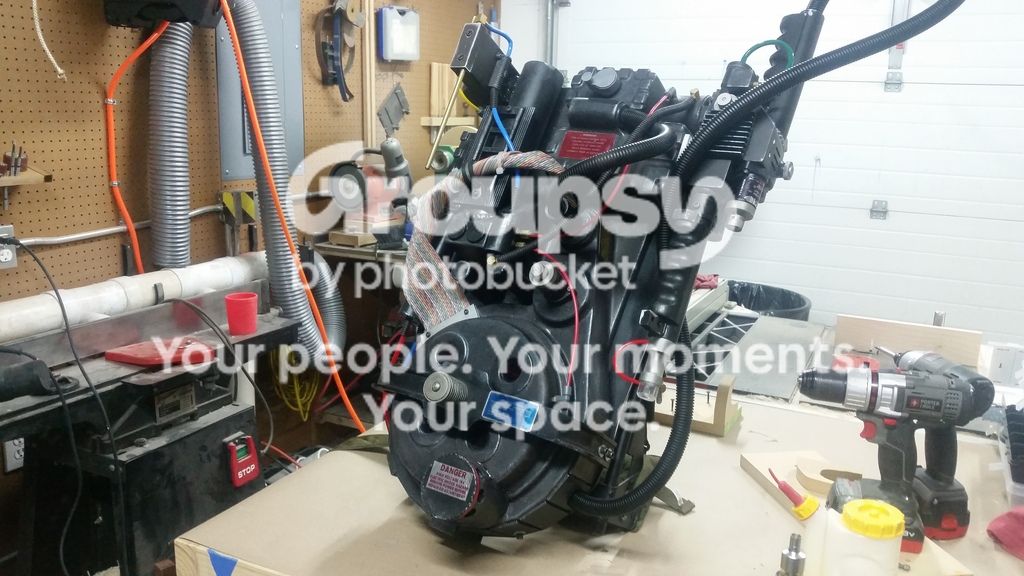
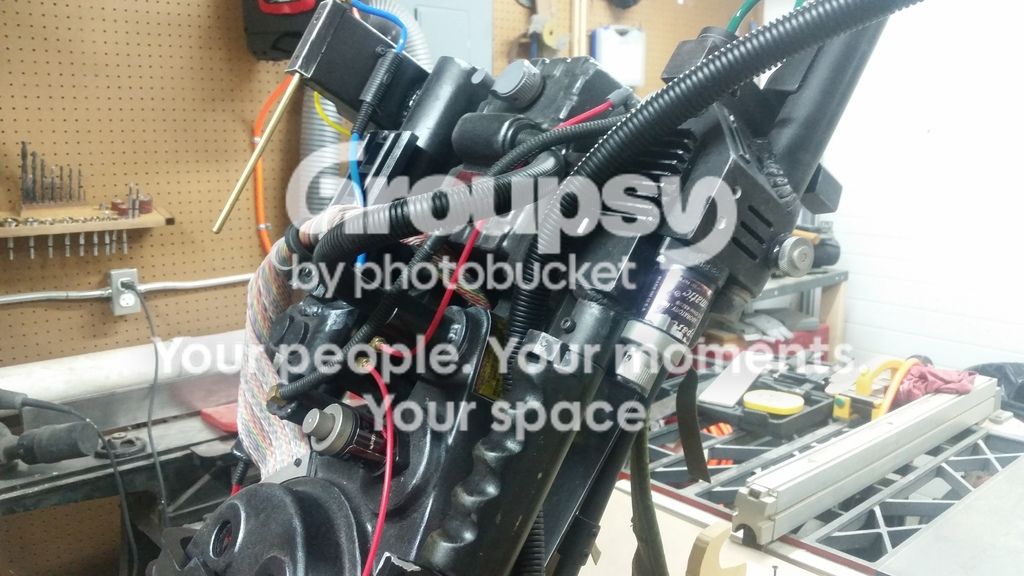
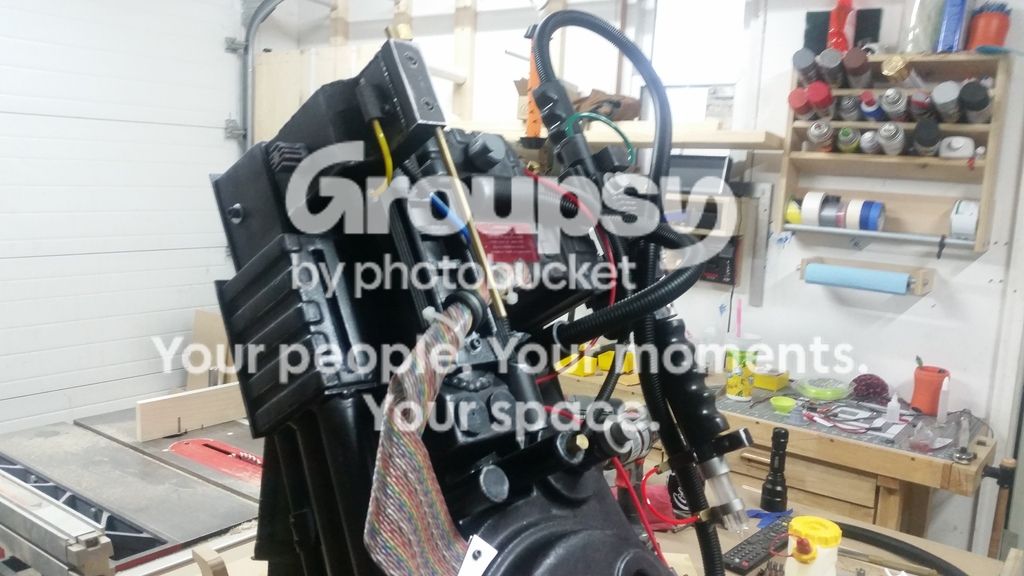
I unfortunately didn’t document the final assembly of the pack, the weathering, or the assembly of the wand, but here she is as of right now…

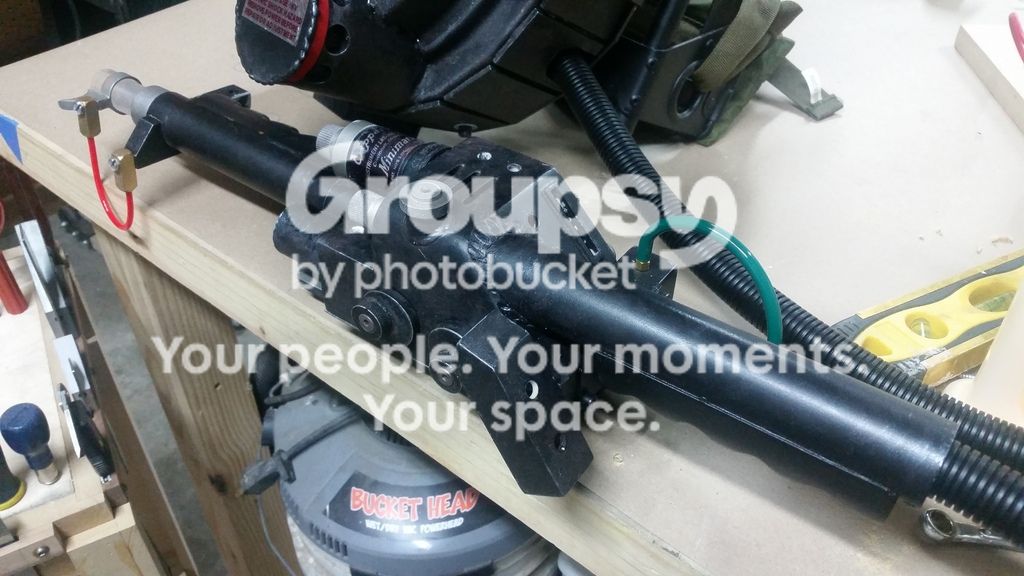
And lastly, my poor, poor thrower. She started life as an ebay kit from a blacklisted seller (it was one of my first purchases, I didn’t know, have mercy on me). I think it was a recast of what was at one time a decent kit, but some iffy castings made it a difficult build. Lots of bondo, epoxy putty, profanity and modification shined it up pretty good, though (well, before I dirtied it up again)…

So, what started as a fast-tracked, budget-oriented, GB1 pack build turned into a year-long, reasonably expensive, GB1/GB2 hybrid build. These things happen. Very few props that I’ve ever built have turned out like I originally intended them to. Creative liberties, we’ll say.

Lights & sound will be the last hurdle. Unfortunately, the light and sound kit that I had originally ordered has turned out to be a dud. I was optimistic that all of the bugs that I was experiencing could be worked through, but after a lot of troubleshooting and testing, I’ve finally conceded defeat. I finally threw some money at the shop and ordered the full GBfans setup. I think I’ll ultimately be happier with it anyway. At least the power cell/cyclotron part of the first kit works as it should, so it’ll get used in the kiddo’s pack (which will start soon).

So, pending a box of goodies from AJ and another sheet of labels, I’ve done all the damage I can do for now. Guess I need to get back to work on that trap…

One very minor thing that’s bugging me. Is it possible to re-position the ion arm as it’s not quite in the right place - should be flush with the edges. The brass rod could stand to be shortened a little, too. Other than that, WOW - what an amazing pack! It’s very hard to tell that you’re even using a SC shell. And whatever you do, don’t put the label on the ppd - the Sony Lobby hero doesn’t have the label there, either: http://www.gbfans.com/images/equipment/reference/33/318.jpg

That’s why I like posting this stuff on here, to get as many knowledgeable eyes on it as possible and get some good constructive feedback. I totally overlooked that. The ion arm would be kind of a chore to move, but since you brought it to my attention I probably won’t be able to ignore it, lol. Shortening the rod will be quick work though.

Thanks, man. I’ve worked hard to make it look convincing despite it’s simple beginnings. It’ll never be a hero pack, but I think it’s a respectable effort.

Now you tell me, lol. The set of labels I originally ordered was missing that one. I just ordered a whole new sheet of labels from a different source today just for that one label. The completionist in me may not be able to resist putting it on.