Absolutely beautiful. Your thrower inspired me to build mine that way.
oooooo yeah!! That’s beautiful!
Absolutely incredible. You’re the styrene MASTER.
Sweetness dude. Any chance you could use a vac formed cyclotron from someone for your build??
I could, but it’s been my goal to scratch build as much as is practical. I may regret it when it comes time to cutting the cyclotron holes in the aluminum but I thought this would be the simplest way to go about it.
Thanks for the kind words, gentlemen. I’m getting more and more psyched as it gets closer to done.
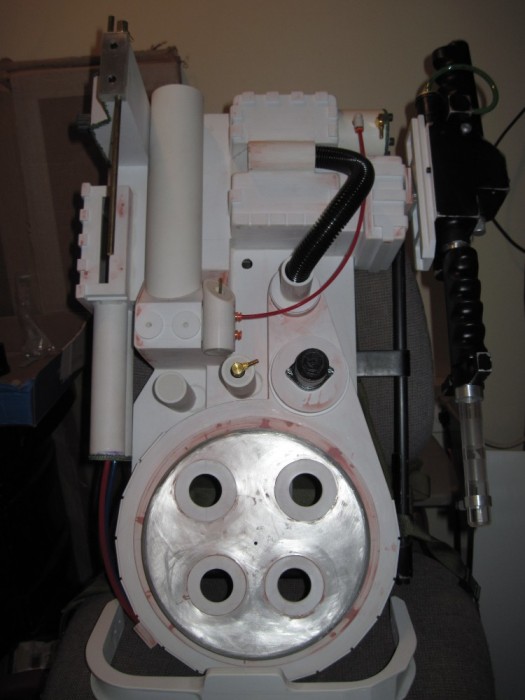
Almost there!
Things to do:
-
N-filter. Been trying to think of the best way of doing this. Will probably go the double-slip coupling route.
-
Build booster frame
-
Putty bad holes and cuts, remaining seam gaps
-
Paint!
-
Mount on frame
-
Electronics
I realized after I cemented it in place that my HGA was about 1/4" too short. I think I’ll live with it until it drives me nuts and I rip it off.
The bumper was a fun build. I started by cutting the two sides of the bumper body out of 1/8" styrene. Then I cut the center strips, bent them and glued them in place, front and back. The “wings” were cut out of stacks and then glued to the main bumper body.

And then, putty. Lots of putty.
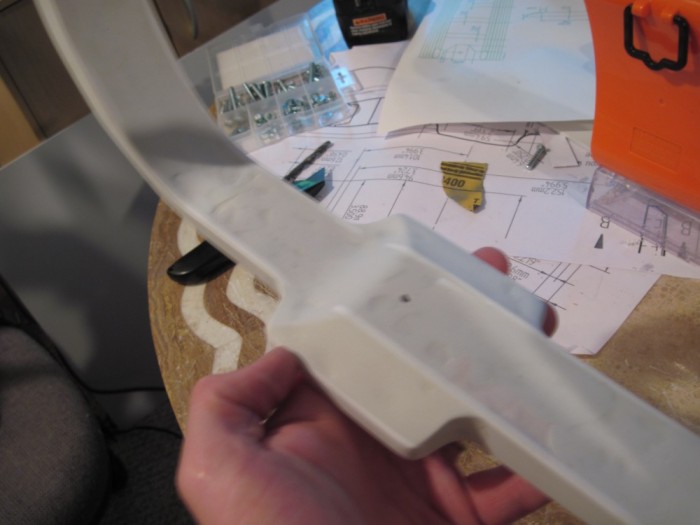
The back side is still a little rough in places, but as this side won’t be seen I don’t think I’ll drive myself crazy filling and sanding it flat.
The thrower is nearly done as well. Looking met’l:
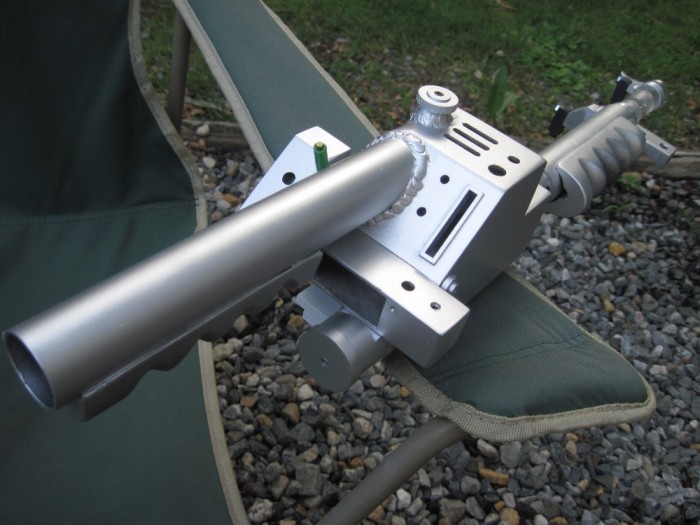
Scratchbuilt banjos:
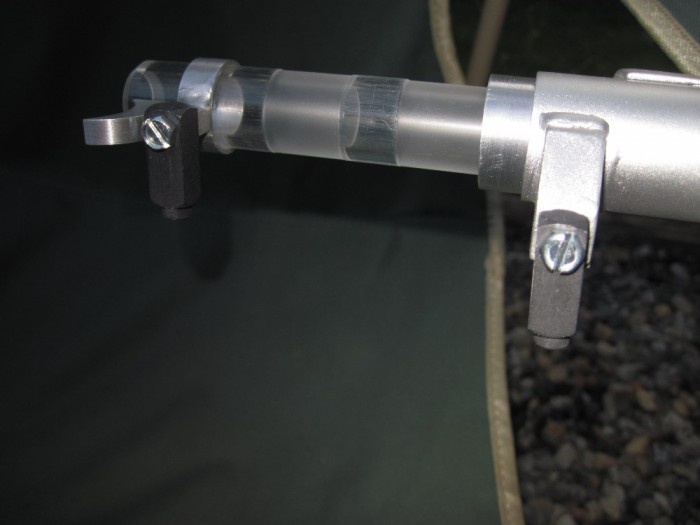
And guntrack:
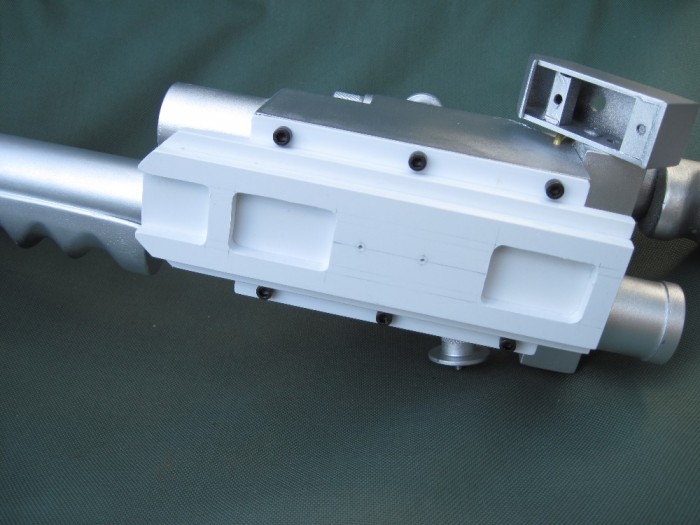
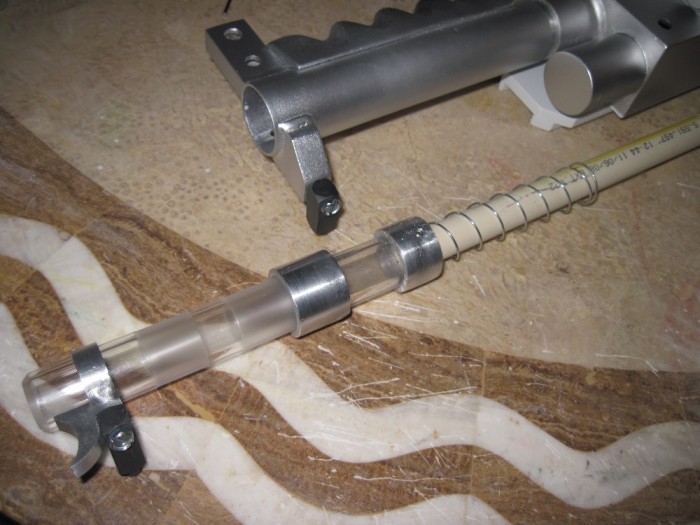
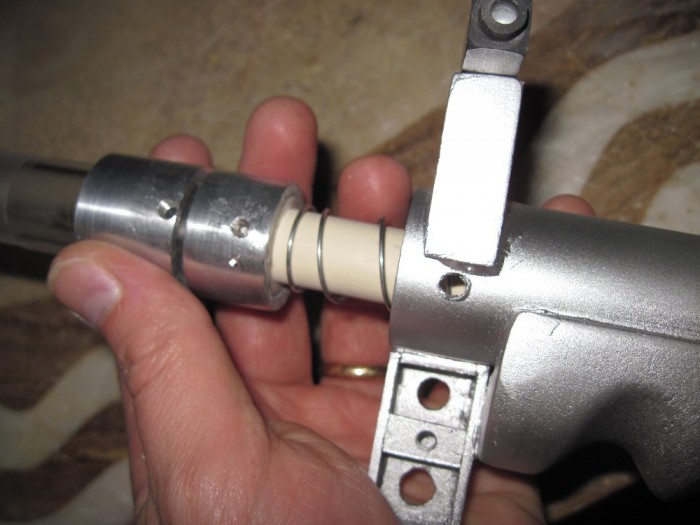
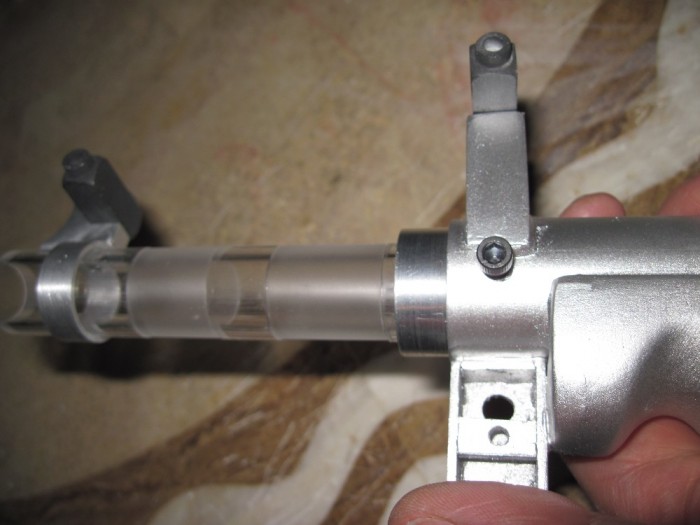
I plan to have a spring-loaded barrel. The spring is housed in the forward grip, with the shaft going back into the body where it will be latched by the green lever.
And here is what it looks like today. I used liquid latex to mask off the corners and edges for faux chipping prior to the black satin coat. In retrospect I may have gone a little overboard with the distressing, but it’s growing on me.
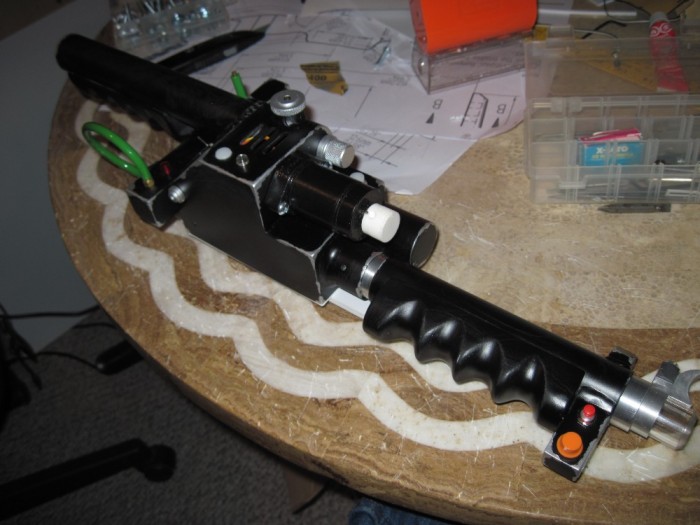
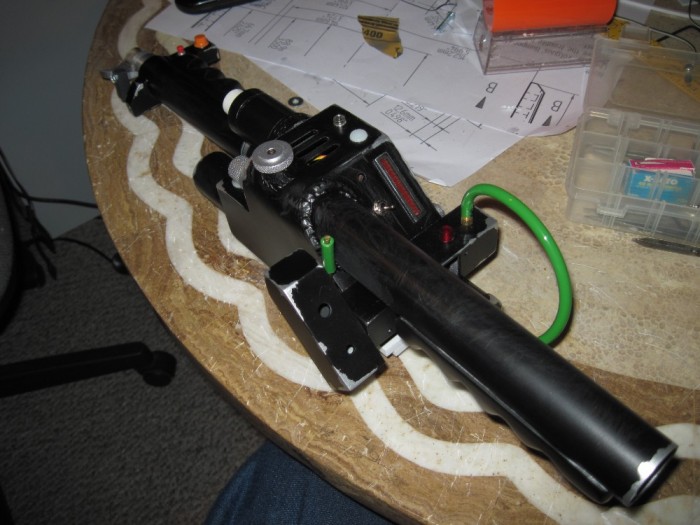
I need to build the latching mechanism, the heatsink and the side disks, add a little more paint, decals, and the thrower will be done.
Amazing scratchbuild really love how it’s turning out.
Love that weathering!
Awesome! wondering where you’ve been Hamish!
u gotta show people how to build the tube extender.
My wife is getting jealous of my time spent reading this thread!
Brilliant build. I also did a styrene build. Watching your progress brings back memories. Absolutely brilliant work here.
Ted.
That is some fine building right there. Excellent work!
So it’s been a while since I posted. Sometime between the last update and now, I hit the pack with a couple coats of Krylon Fusion Metallic Nickel Shimmer:
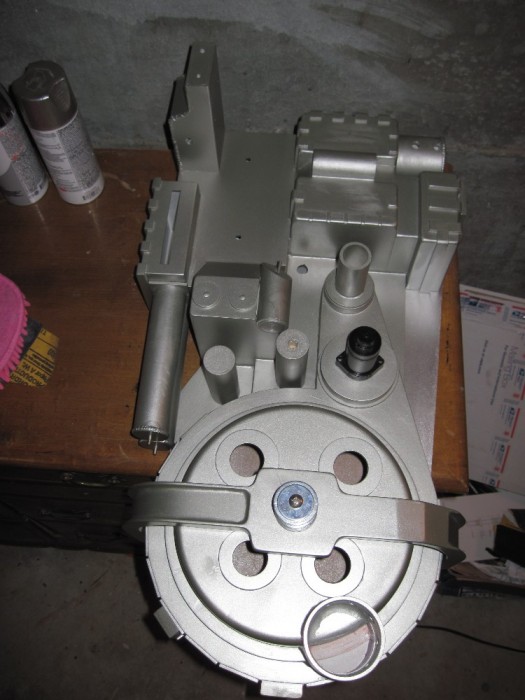
After letting it cure for a week, I masked off edges here and there once again with liquid latex prior to hitting it with a couple coats of Krylon Satin. After it dried, I peeled off the latex, and here is what it looks like today:
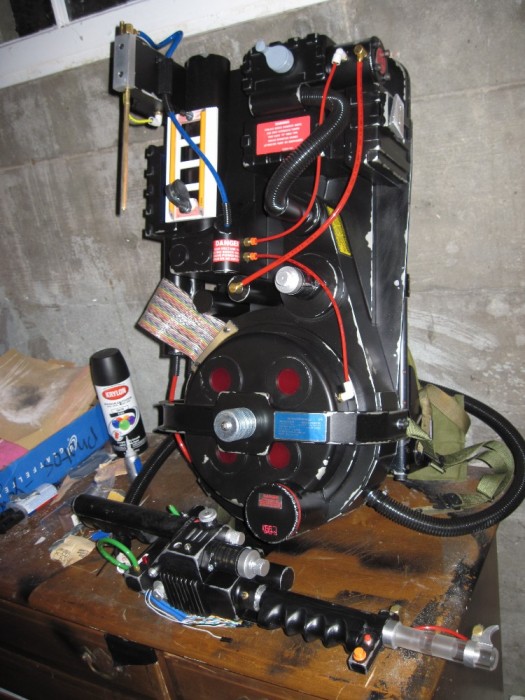
As you can see, I still need to hit the ion arm block with paint, and the booster frame is not quite complete. Need to get the barrel latch installed as well. I eventually want to replace the Spectra ribbon with a proper GB1 cable, but this will do for now. Cosmetically, the pack will be complete and wearable by the time Halloween rolls around.
but…
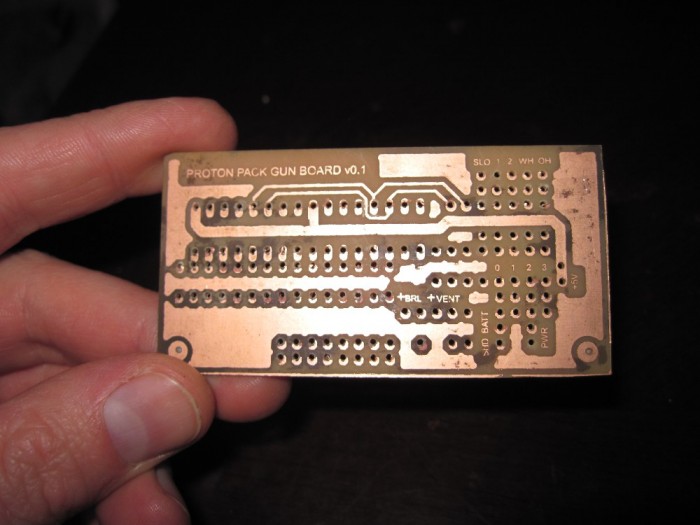
I recently edged the daughter board for my gun… it’s a little rough, but it’s my first time etching a circuit so it could be worse. The alignment of the top layer was a little off, and the drilling peeled some of the pads off, but nothing vital is affected.
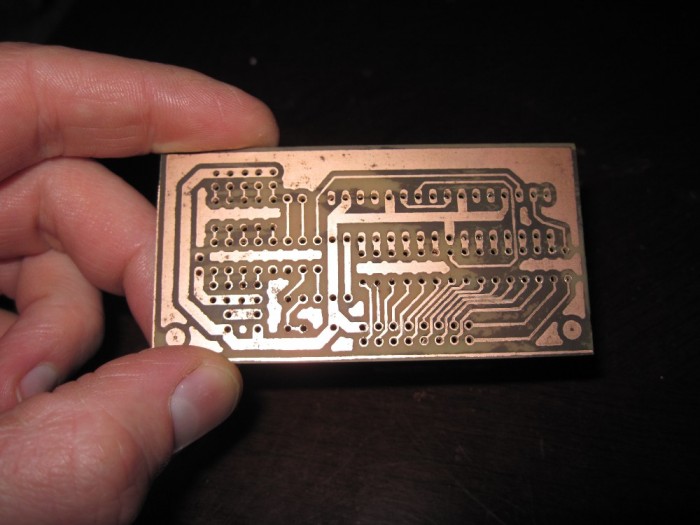
I’m kicking myself now for not using a single-row header for the bargraph, as the traces had to be awfully close to keep the board compact, but they’re not too bad and I should be able to separate any shorts with an X-acto. There’s a small break here and there but I ought to be able to bridge them with solder without too much trouble.
The plan is to eventually arrange the main board as an Arduino shield (about 90% done… just need to run a few more traces) but I will probably wind up just stuffing my breadboard prototype in there for now to make it through Halloween. Still, lots of soldering in the future.
Ok. So Halloween of 2011 came around (with much oohing and ahhing) and I thought Winona was complete. Nearly everything about her was scratchbuilt with the exception of all the real-world greeblies, including the light and sound controller, which I based on the Arduino platform with professionally-etched PCB shields (and which I will post pics of when I can figure out where they went.) She’s a hefty 20 lbs or so which isn’t bad for a pile of styrene and resin.
(Cue crappy iPod photos)
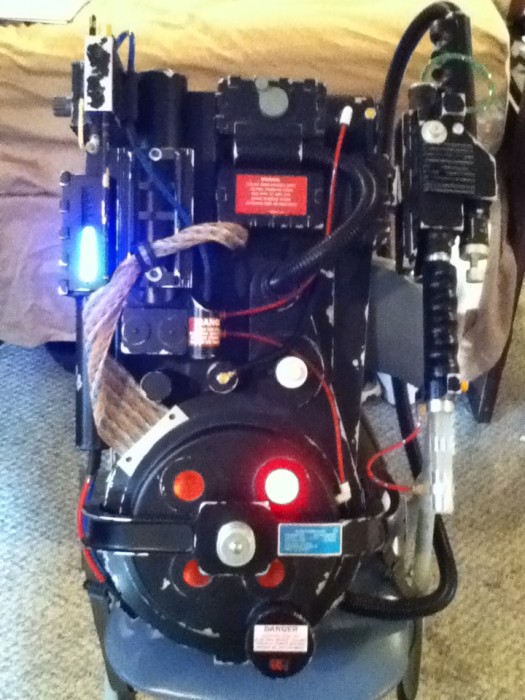
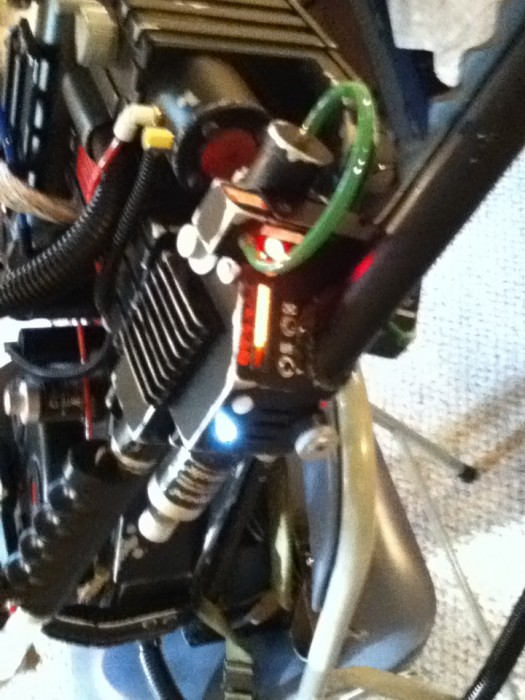
She plays 3 different thrower sounds at random. Because I like to “play” with my props, the bargraph scrolls to display the level of “charge” is currently stored and the cyclotron “spin” increases as the charge drains. The ear light illuminates a second or two after firing as the gun gets “hot” and starts to flash when it “overheats”, and the warning buzzer sounds while the light is flashing and the thrower is idle. The ear button activates the “venting” feature, of course.
The tip is spring loaded and extends when the green lever is released. I haven’t modded her to rotate the grip yet.
So I start seeing pics here on GBfans of textured packs and the techniques related to, and I think, “Damn you all!” because I like the effect and have to have it on Winona. So I stripped her naked. After cleaning up the label debris, I gave her a quick coat of primer, followed by the usual wall texture (I also took the opportunity to tweak her ■■■■■■■ a bit… lol.)
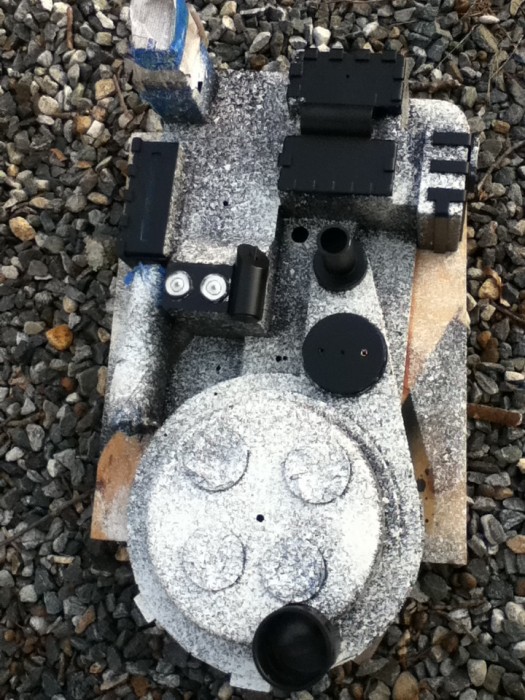
After a few good coats of laquer, I hit her again with some more primer…
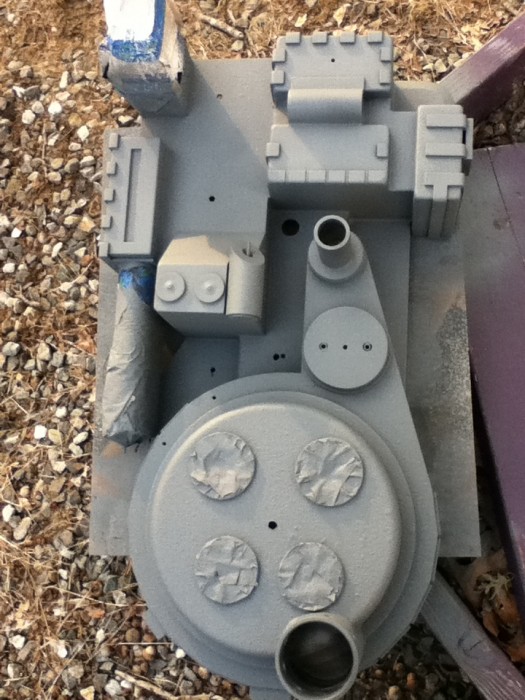
Followed by a few coats of black satin…
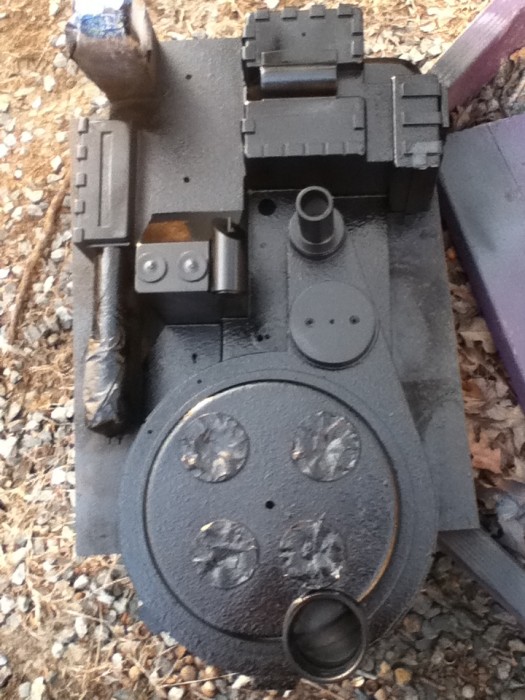
In retrospect, I was probably a little heavy-handed with the texturing, but I think I like it anyway.
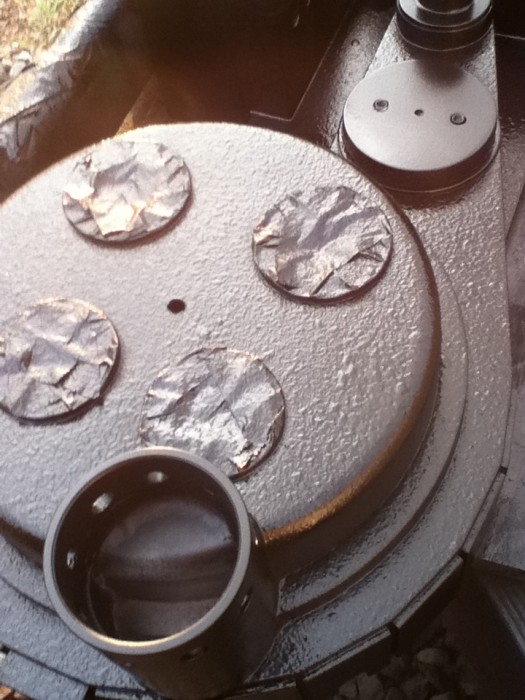
Currently her final coat is drying, and it will be followed by slightly more subtle weathering than I had before. After everything is bolted back on and new labels are applied, she’ll get a nice dusting of Fuller’s earth. I’ll post pics of her new look when she’s done.
Phenominal work, sir!
The re-texturing looks very nice and your dedication to scratch-building pretty much everything is inspiring.
Looking forward to seeing those arduino shields, your description of them is very interesting.
I felt like I was a little heavy with my texture as well.
Once you get those final coats of black on you’ll really notice that “cast iron” look.
The paint does knock it down a bit as well.
Soo.. I wouldn’t sweat it.
Yeah, now that the paint is dry and not quite so glossy and all of the greeblies are reattached, the texturing looks pretty good. Now I just need our color laser printer to get fixed so I can print up some new labels and Winona will be good as new. 
hey there
I am building a pack right now for my gf out of .125 styrene for the pack and .80 for the thrower. I am wondering what the putty is you used to fill in the gaps and to secure the gun handle. also did you have any problems with flimsiness?
It looks like games workshop green putty to me, It’s an epoxy putty that takes a little while to dry. I recommend milliput, you get more for your money. GW stuff is usually pretty pricey. My old thrower was made of .080 styrene and it was plenty strong enough, so .125 will be more than strong enough.