We will make it a GB1 Spengler pack. I have the ribbon cable, grey crank knob, and square, brass Clippard fitting (to mod the aluminum GB2 ion arm end cap). I pre wired up the battery box to run on 2x9v@ 9v= longer battery life (for the cyclotron and powercell lights. Spliced in wiring to accommodate an on/off switch with a quick connect solderless terminal on the switch wires crimped on the ends.
Tons of progress made!
Nick-a-tron N filter attached. Had to add some weld lines around it to work with the webbing. Looks great after paint.
Also made some of the bottom bits and attached them with bolts/epoxy
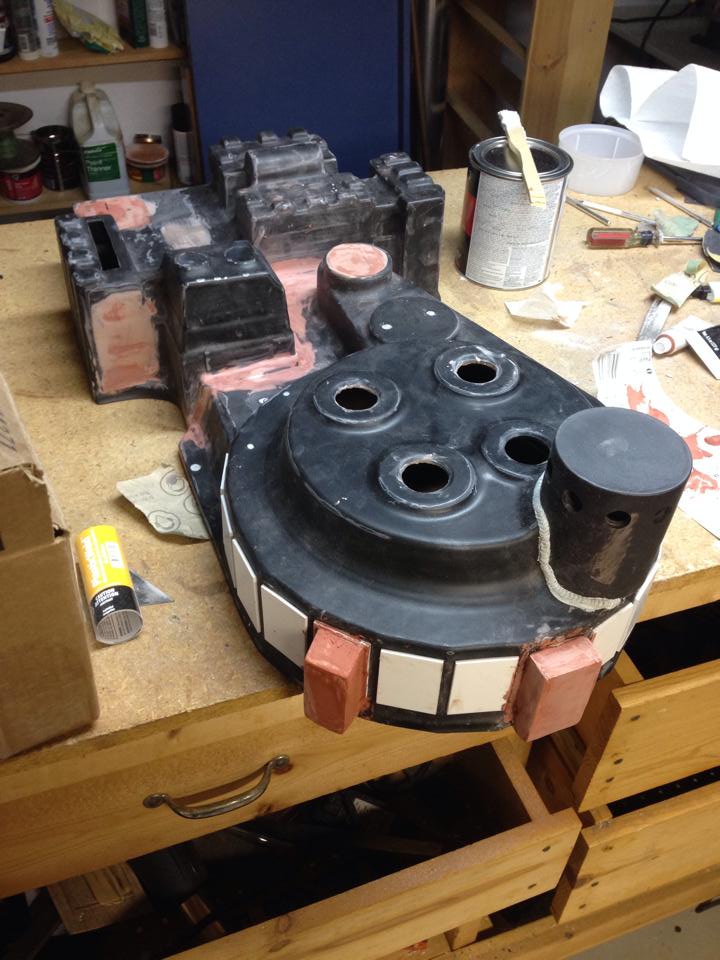
After final finish sanding it’s time for paint!
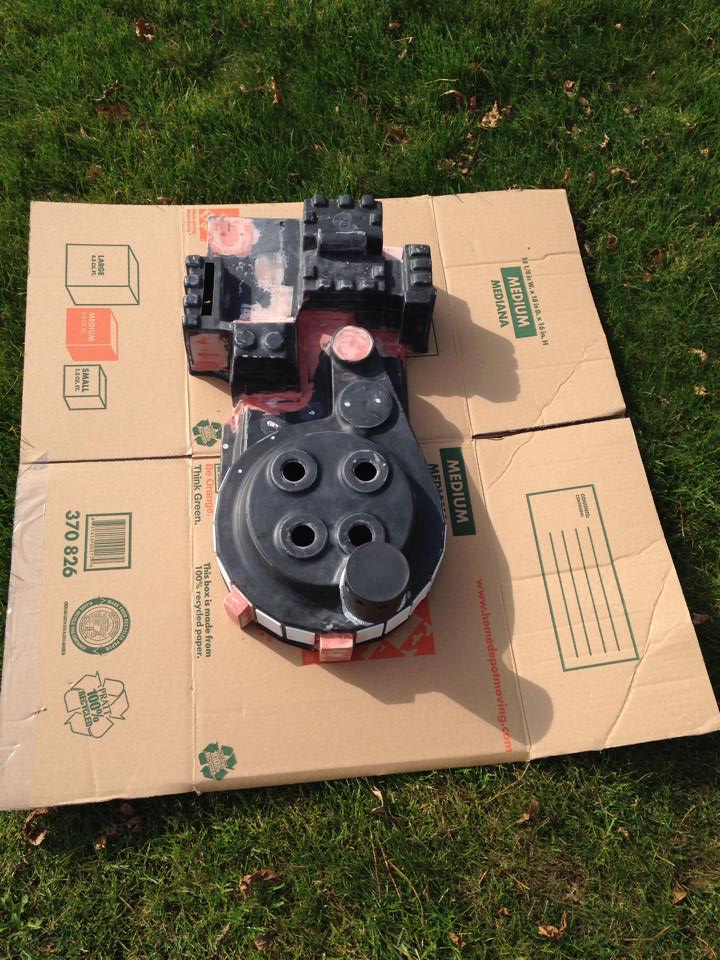
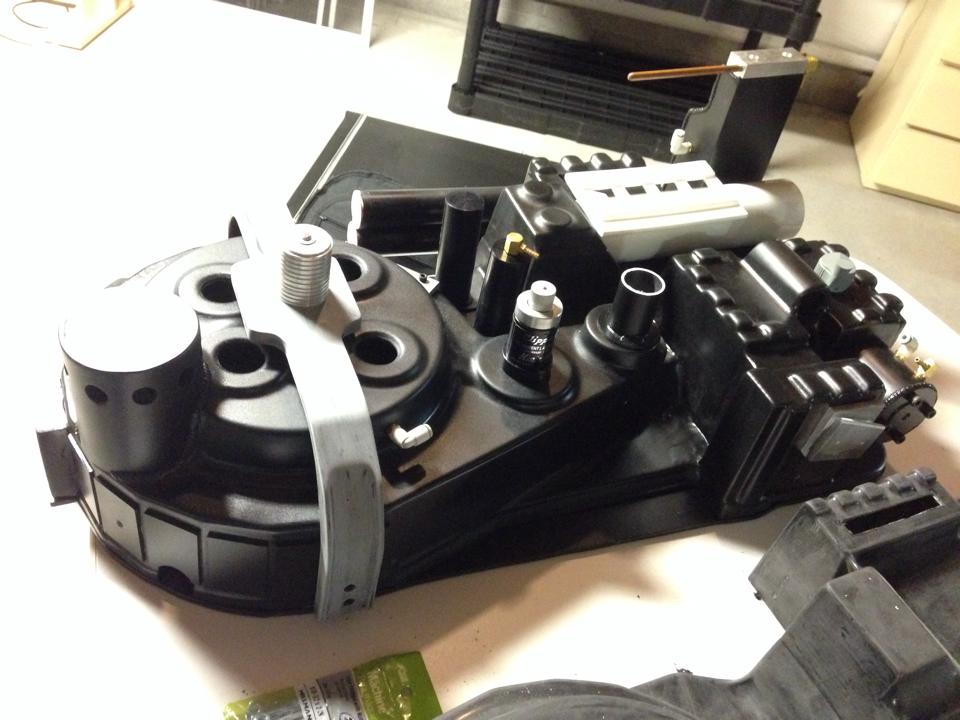
Used Rustoleum Satin. Came out super sexy. Looks 100000 times better now that all the body work is covered by paint. Can’t believe this is the same shell
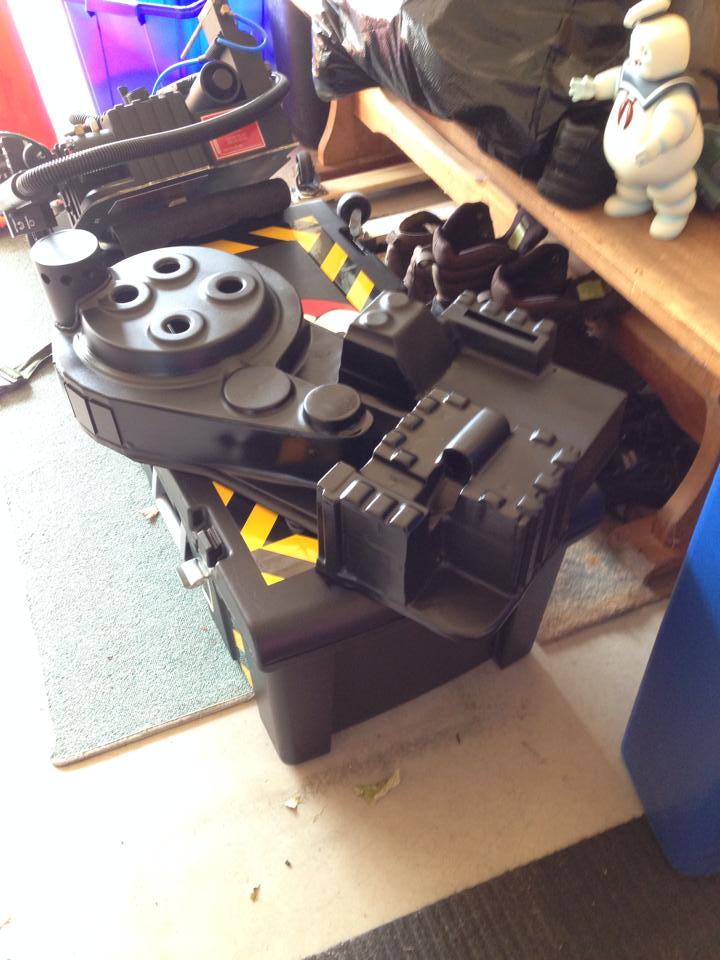
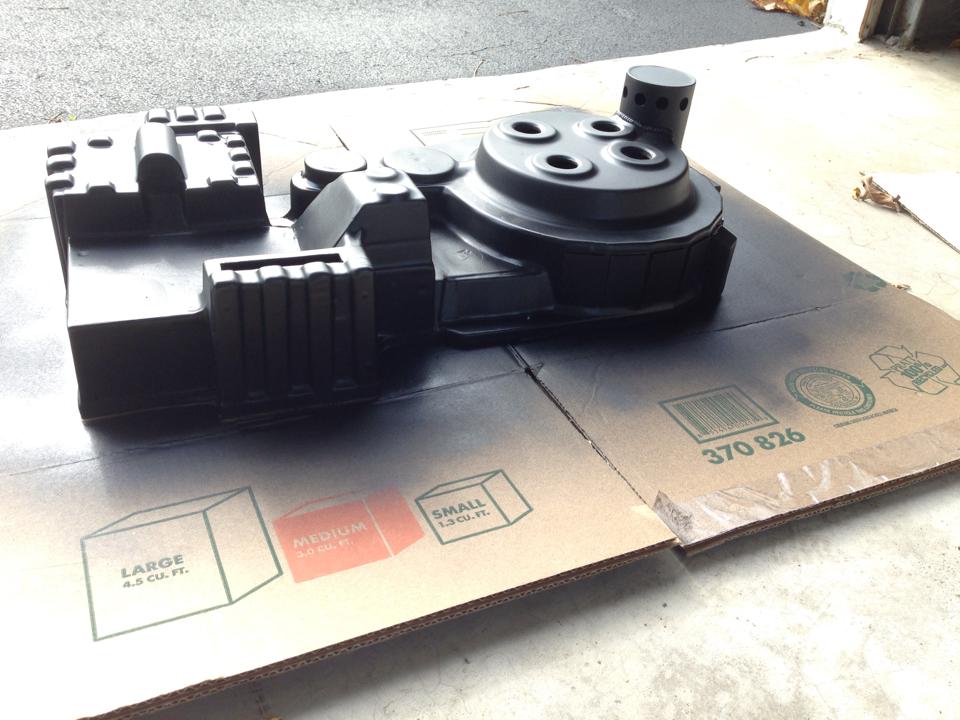
Motherboard was made out of MDF and Brackets riveted on.
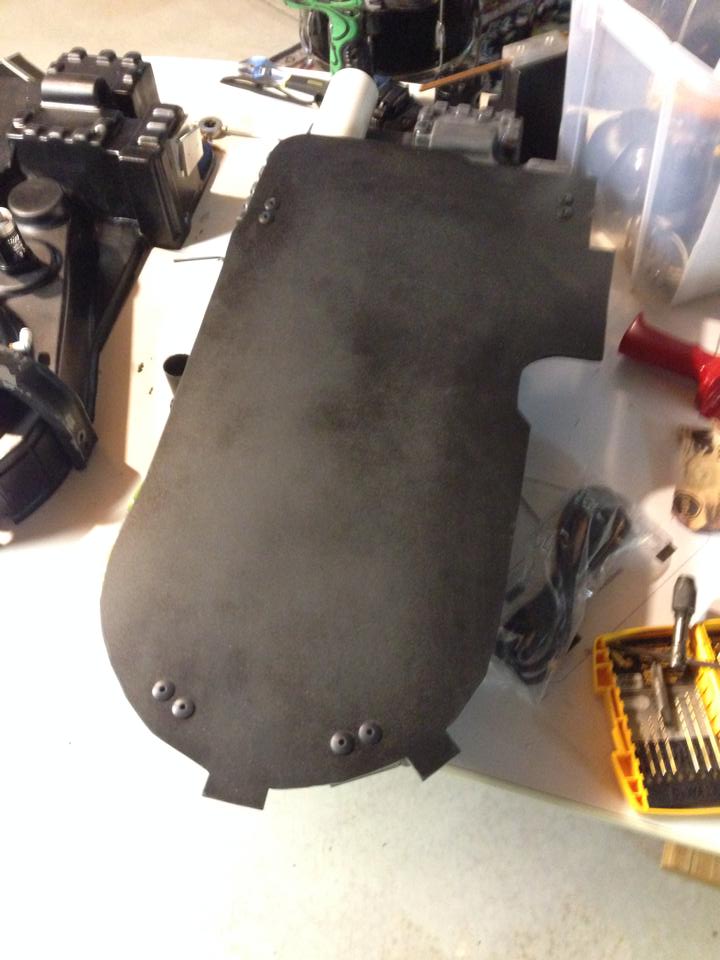
Motherboard is tapped for mounting and I’m starting to re-drill all the holes for the parts
So far I’ve drilled mounting holes for the V-hook, Ribbon Cable Clamp, Clippard Valve, Cyclotron Elbow, Injector tubes, and the fittings for the Ion arm and HGA. Everything else is sort of just sat on there for now.
This is turning into quite a decent looking pack, great job!
Is this the same pack? Great work. Looks infinity times better
This will be a nice pack. Good job!
My God, that looks amazing! Great job, man!
Glad to see you back on this man! Looking fantastic!
Trying to get her finished up for the weekend! Getting down to the wire!


Cool battery box/on switch Nick came up with

The original image links are broken so here’s a little collection of the “before” pics of how the shell was when we started


It’s come a long way!
Looks great man! How come the pack is mounted to the frame like that? Looks goofy 
I’ve actually seen a lot of scratch builds mounted that way… it may be goofy and not screen accurate, but it’s sturdy…
I seem to remember the shell being mounted that way originally. Yes?
Not my personal preference but my buddy who I’m building it for insisted on it so whatever! Lol
I know I’m busting your chops 
This is not a build to get nit-picky with. It’s a great thread for turning a not so good pack into something nice and clean. And you have done just that.
Indeed, I’m looking at this build from the beginning, and it’s very impressive…
This pack looks unbelievably good, especially in contrast to where it started from (when we had gotten our hands on it). Dr. Low here has completely retooled and rebuilt this “Turd” from the ground up. It is no longer a “Turd”, but in fact now worthy of shedding the name and being called a Proton Pack. So much hard work and effort and attention to detail has gone into this beast. I couldn’t be happier with the outcome or the luck of having such amazing friends like Dr. Low. So I know I’ve said this before outside of the forum, but allow me to say it here as well. THANK YOU Brotha!
“That wasn’t such a chore, now was it!?”- Dr. Raymond Stantz
More pictures plz…
Ditto!