Unfortunately there was very little I could do to save the wand and the body of the gun. The only parts I was able to reuse were the front and rear grips.
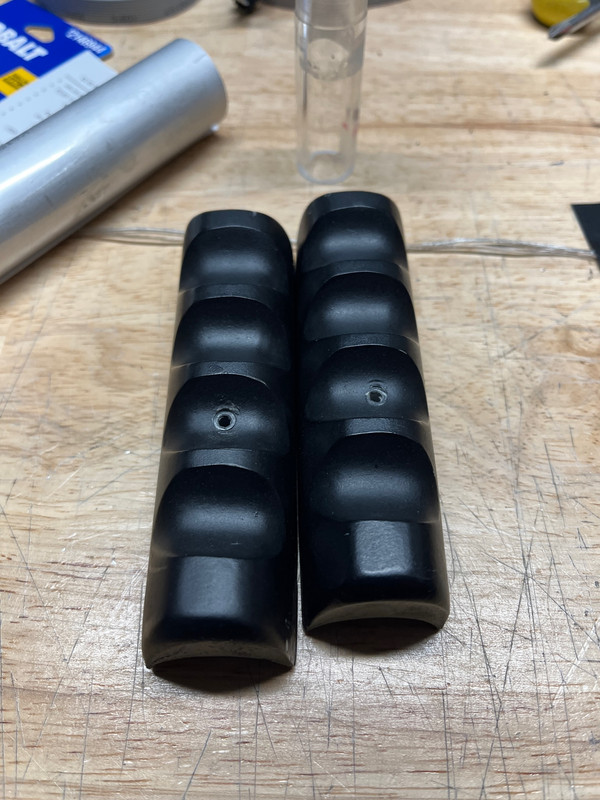
Fortunately my friend brought with him a Q-Pack 3D printed body he got a while back. Which is probably one of the easiest bodies I’ve worked with to date. And I’ve used TC and BOK before this using this one. My only feedback is I wish the front hat light hole was set a bit more back and bigger.
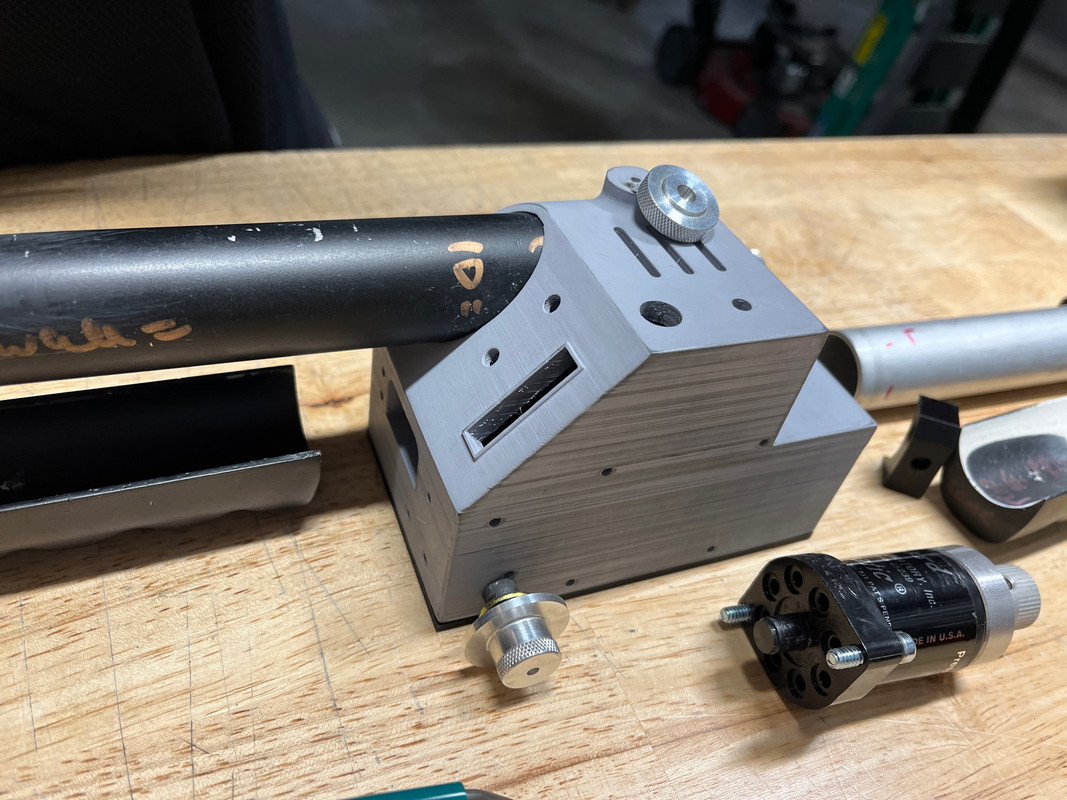
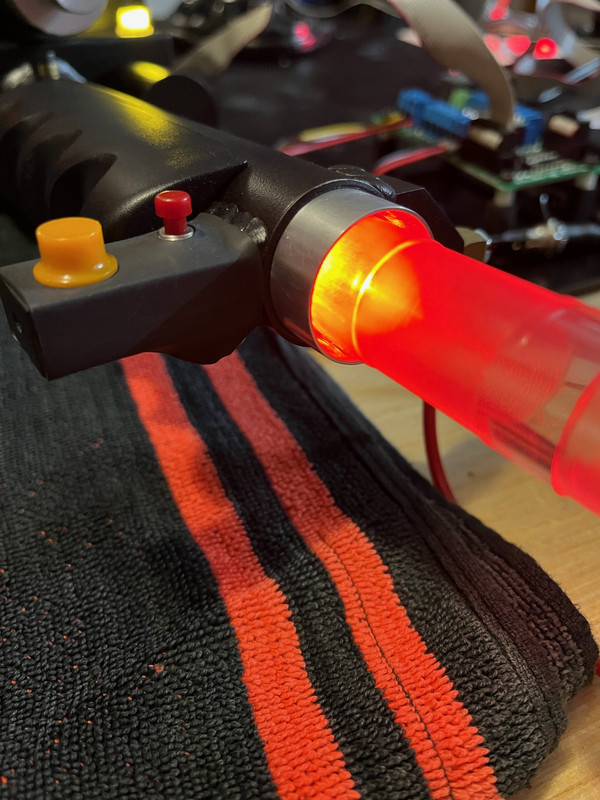
Final results of front grip:
All of the real parts from my friends old wand transferred over nicely to the Q-Pack body. I just had to print him the missing pieces to complete the thrower.
I cannot stress enough how 3D printed inserts, found on amazon, make a world of difference in securing 3D parts together. I used different inserts from metric to standard.
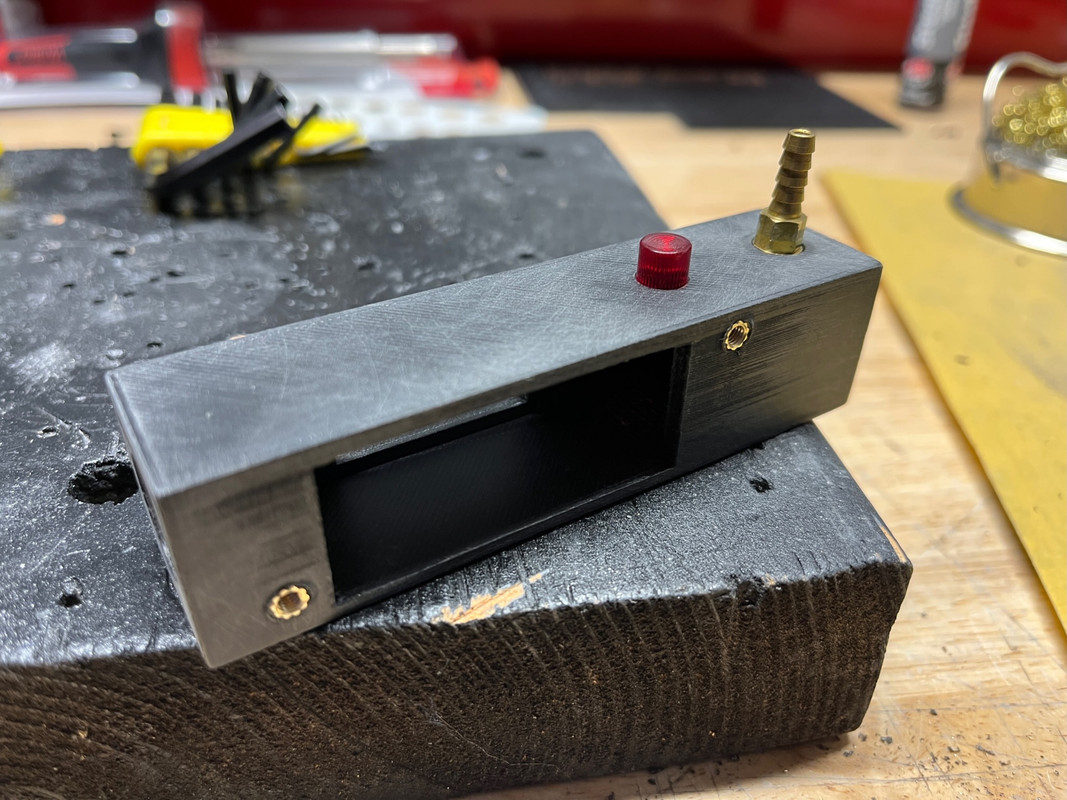

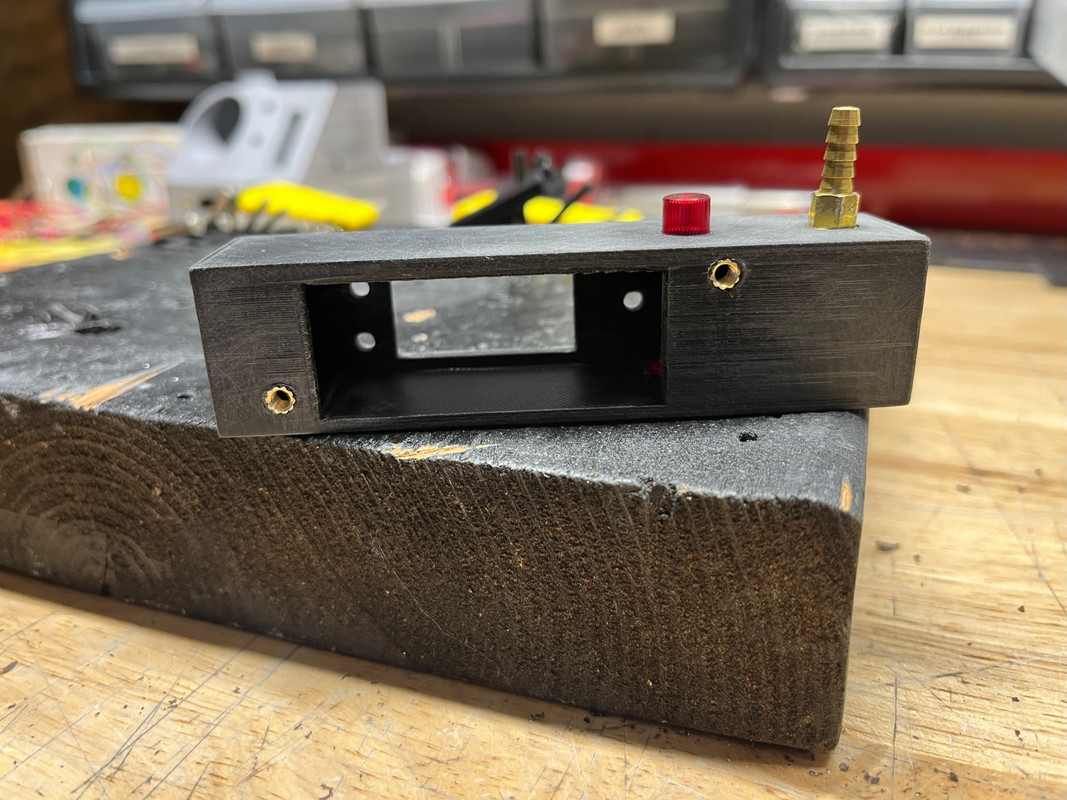
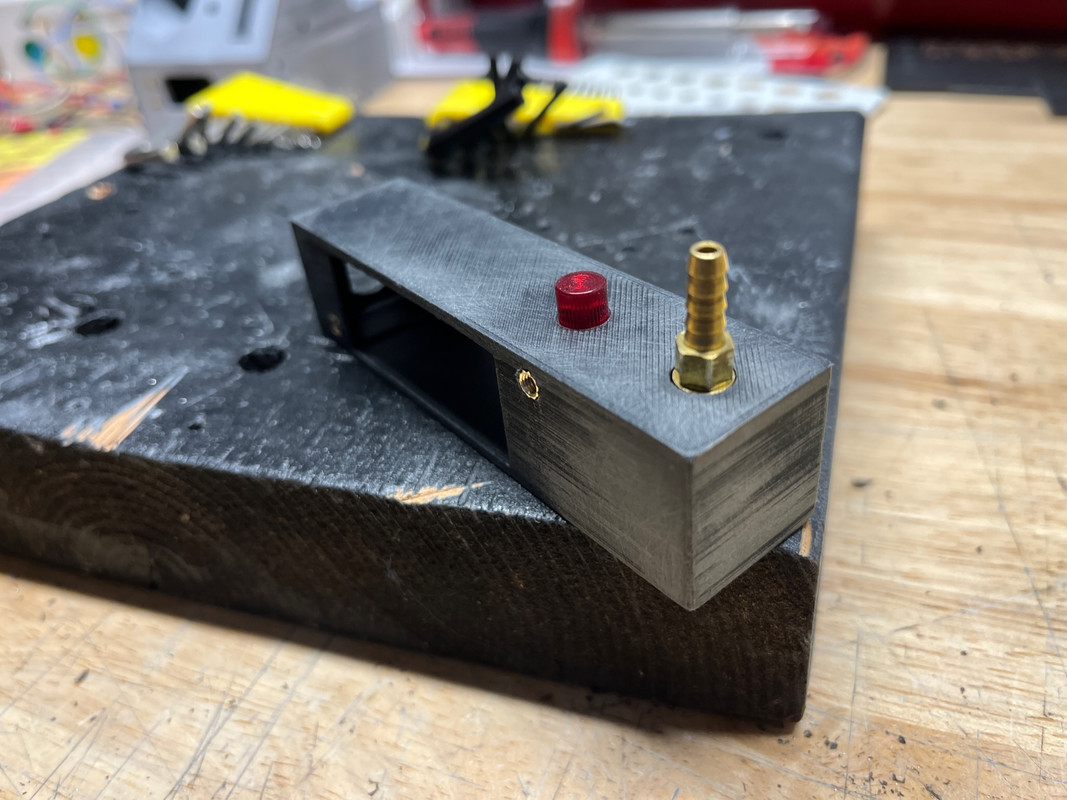
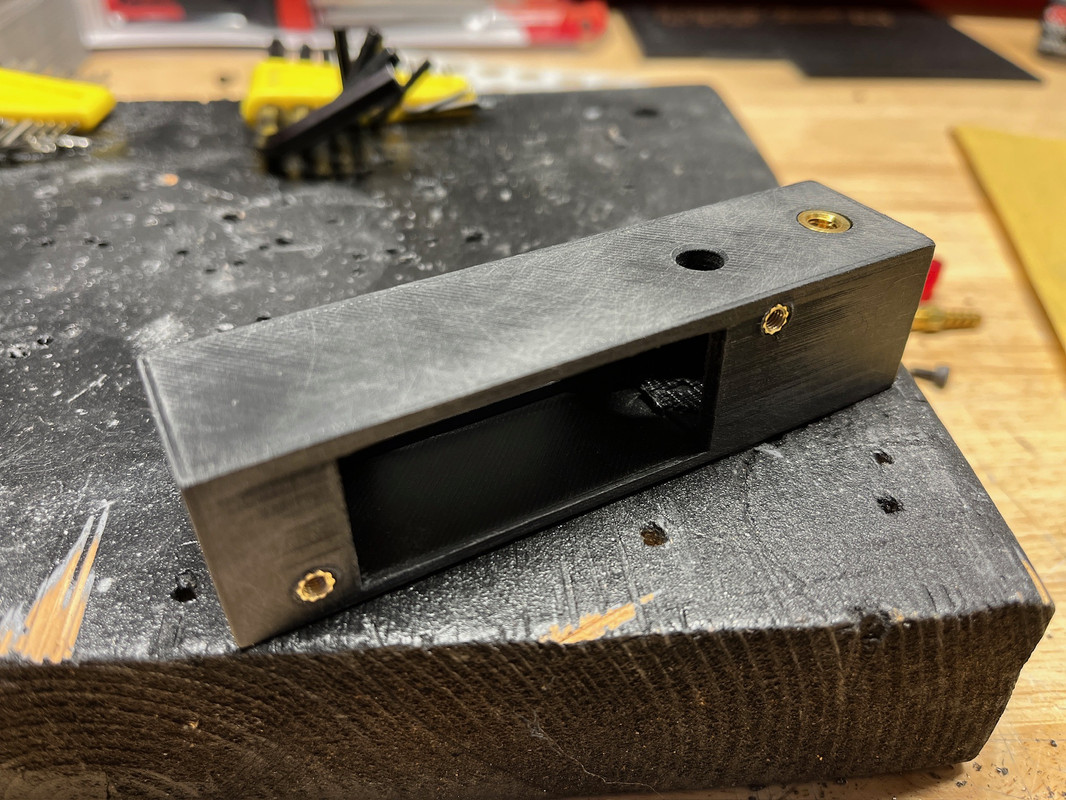
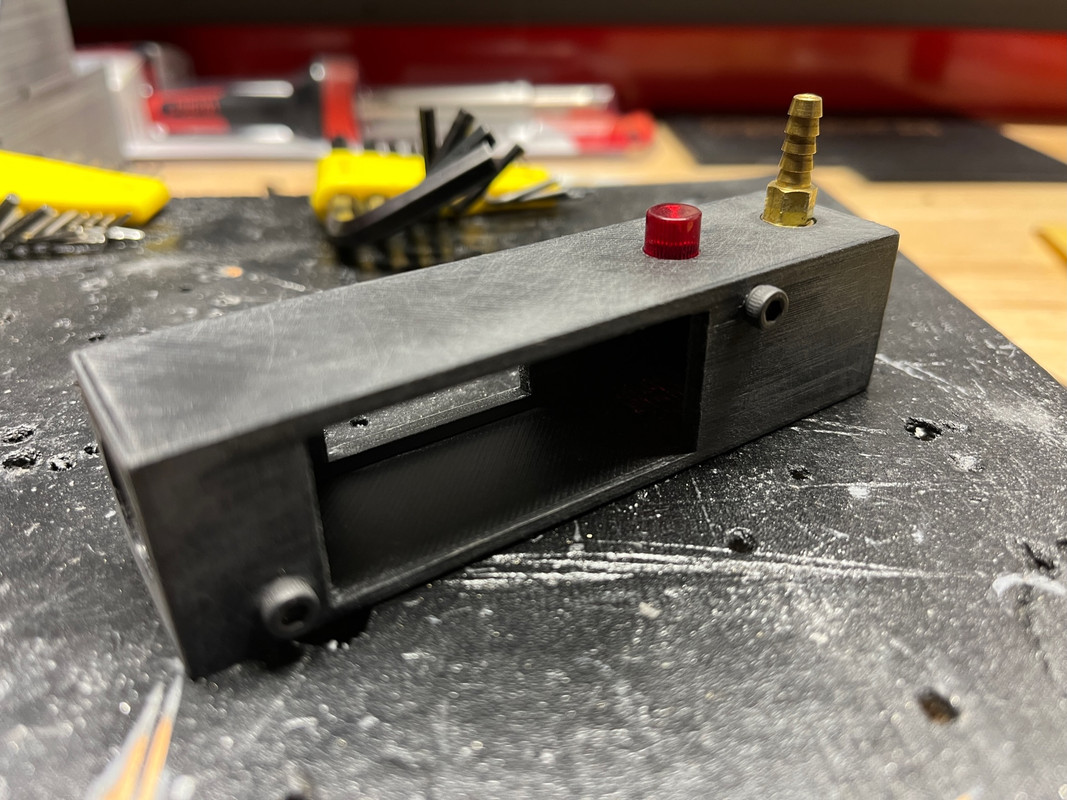
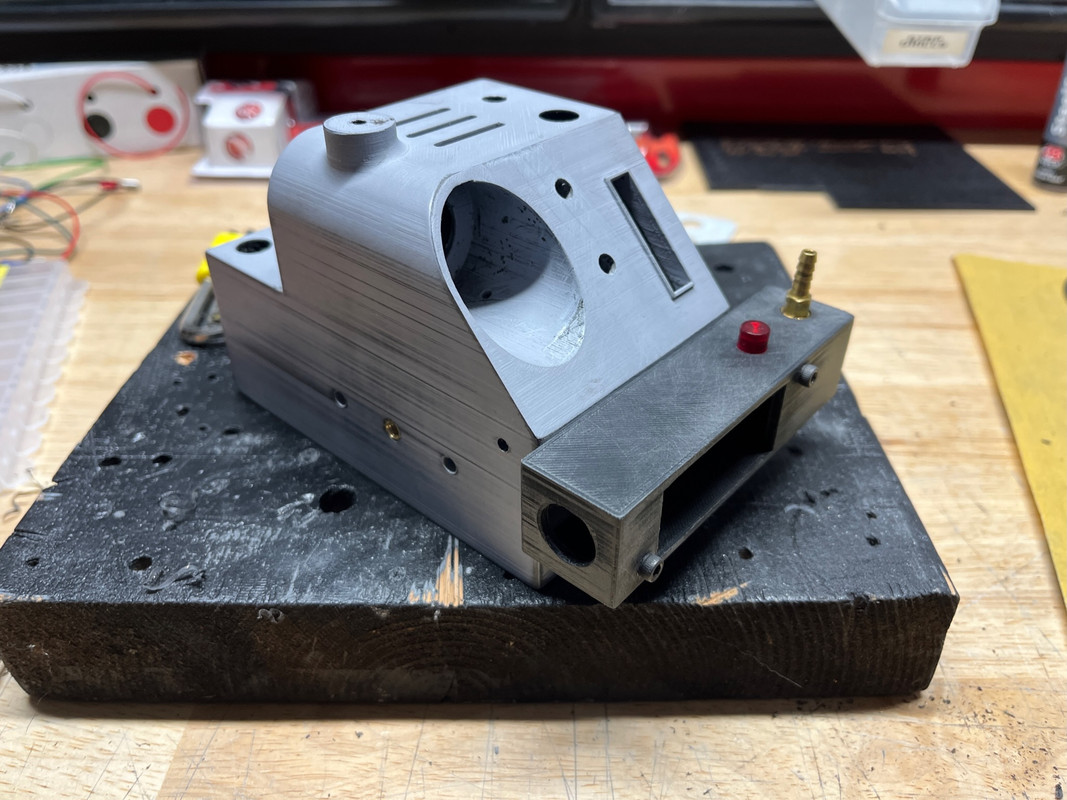
Once I got everything printed and fitted I needed to rework the front grip completely.
This was something I was/am planning to do for my Throwing Chicken rebuild anyways; so, why not help a friend out and give him a higher quality front grip than what he had.
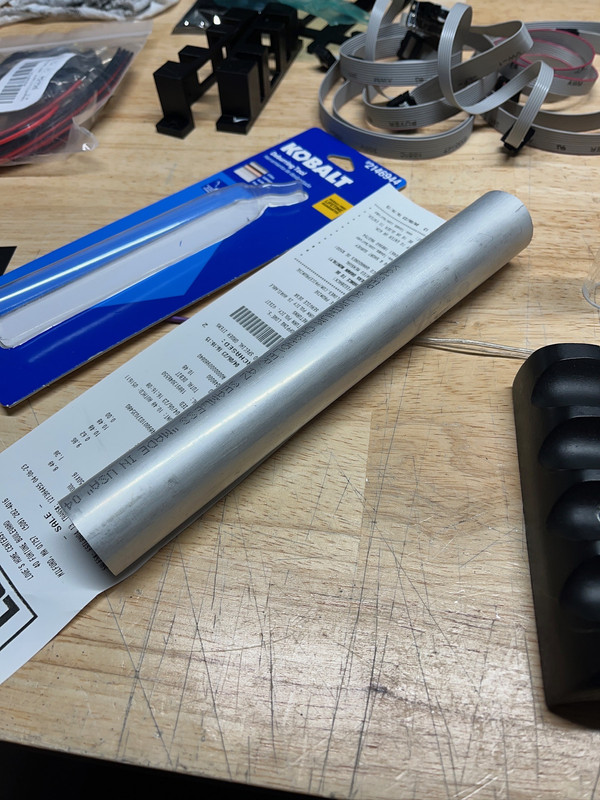
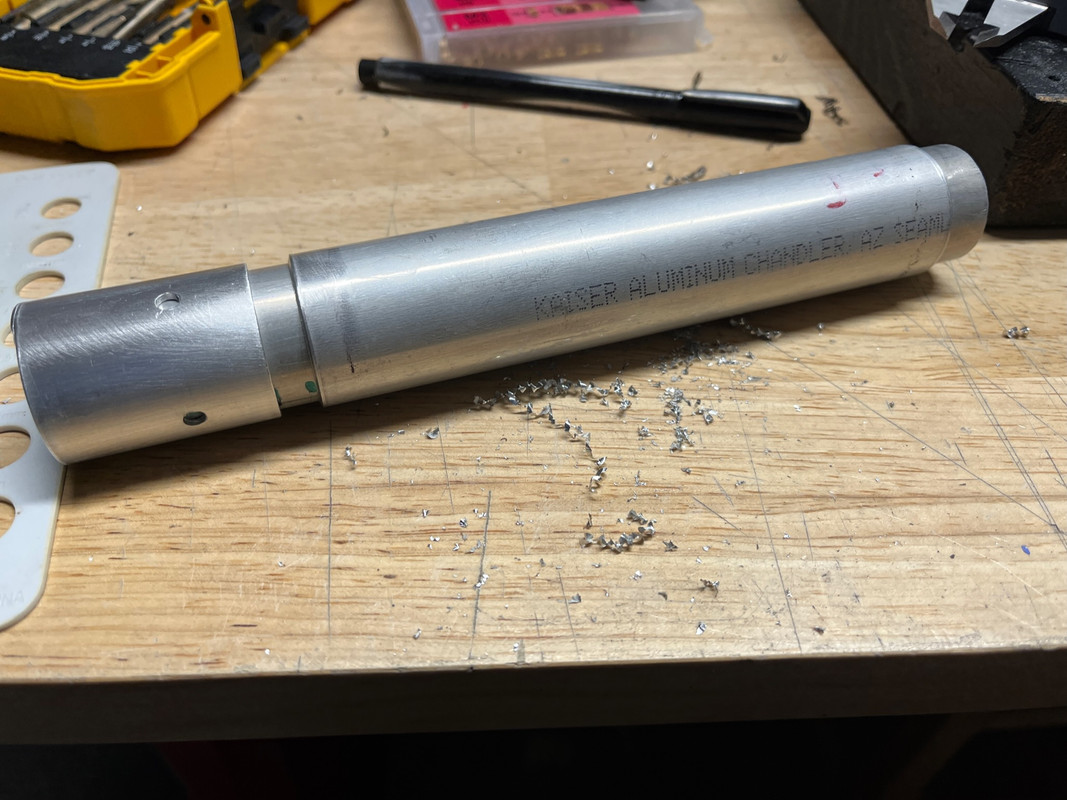
First part of the process was getting the aluminum tubing I needed. Thankfully Online Metals had exactly the dimensions of what I needed for the inner and outer tubing. And using the “Ultimate Thrower V.2” plans cut the tubes to the correct measurements.
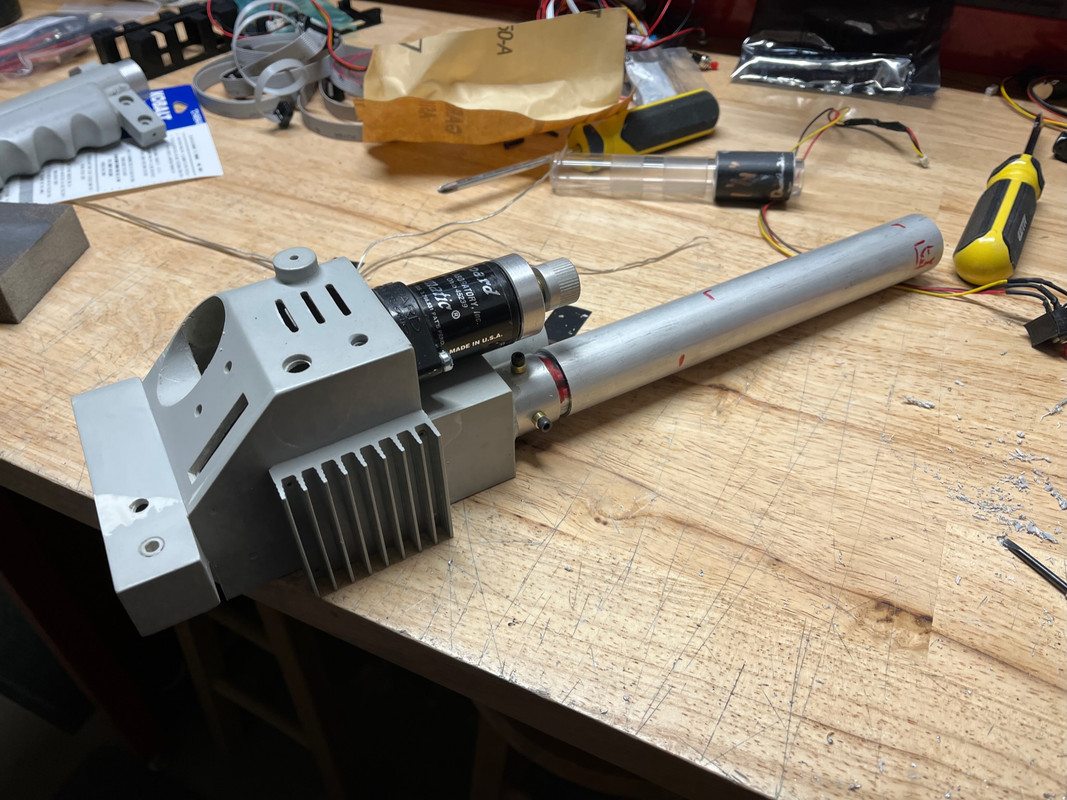
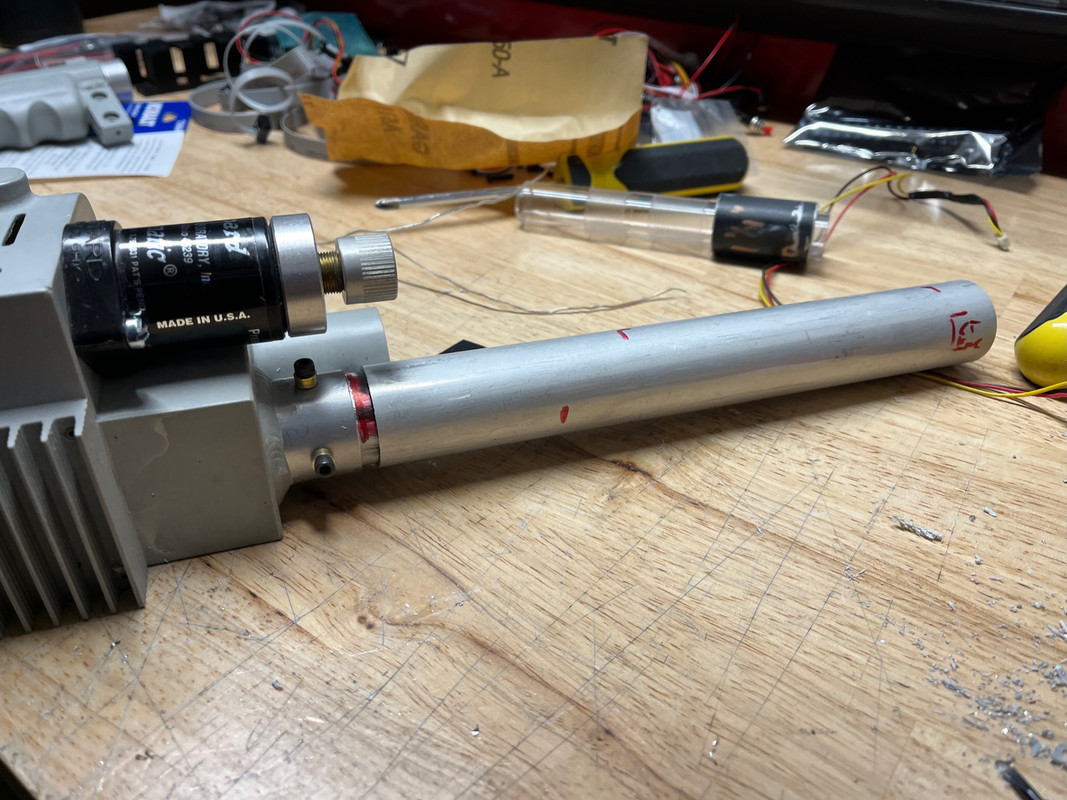
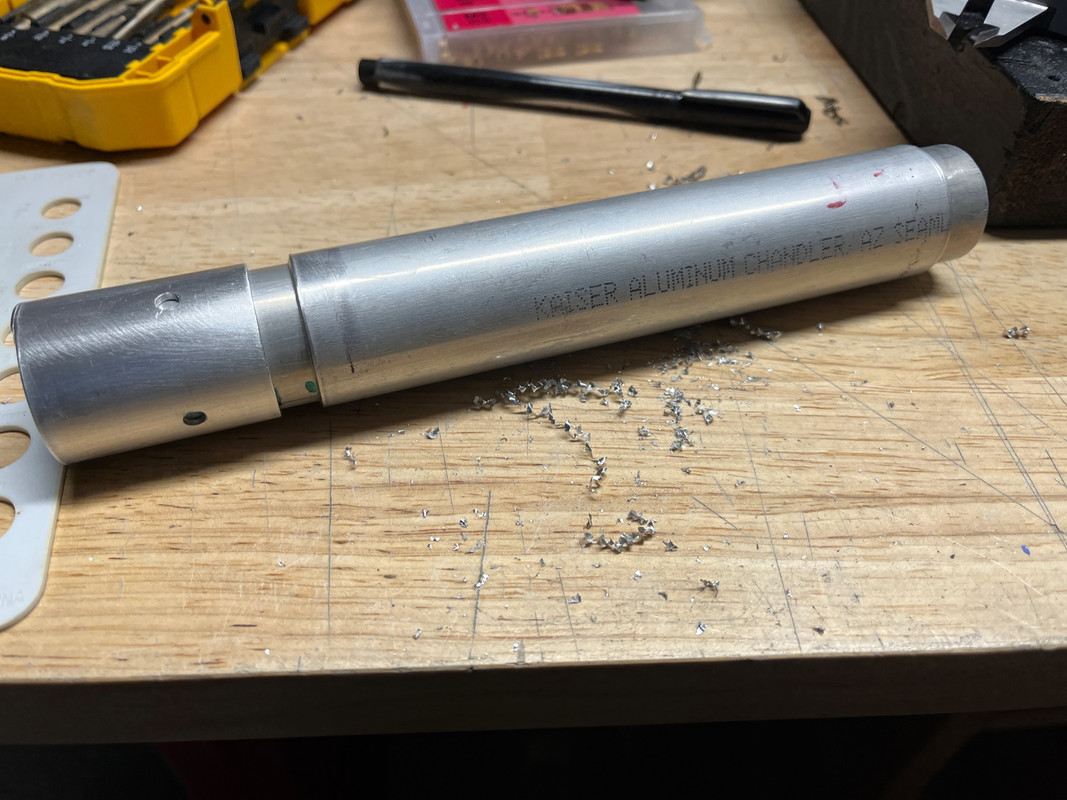
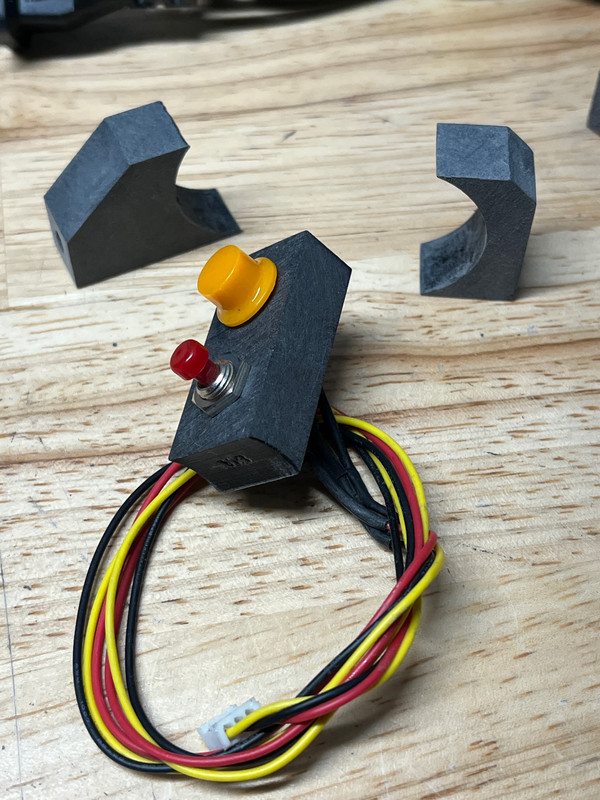
Now I did not have any of the ears or the barrel lock. Nor, at the time, loose parts were available and I do not own or know how to use a welder. So, what do I do? I make my own ears and use a Q-Pack barrel lock file (not pictured).
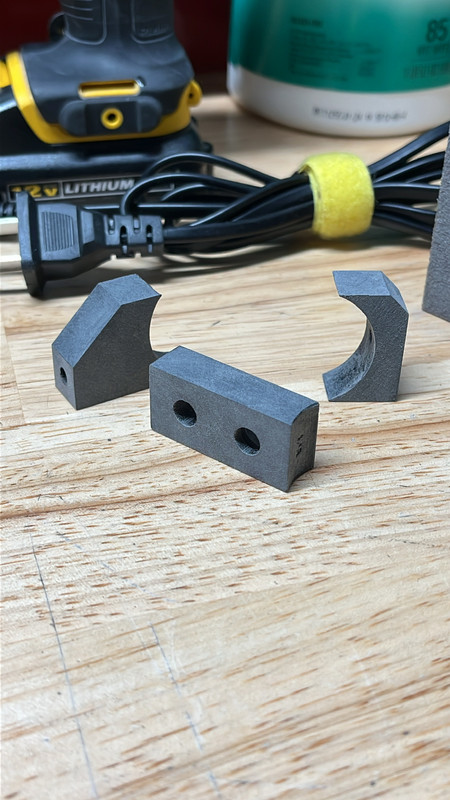
The ears of of my own design which I’m very proud of 
While I really dislike gluing parts onto packs in this case I had no choice. But to increase a secure bold I first attached the pieces with Gorilla glue, did a layer of Loctite epoxy around the edges, followed by Aves Epoxy sculpt for the fake welds.
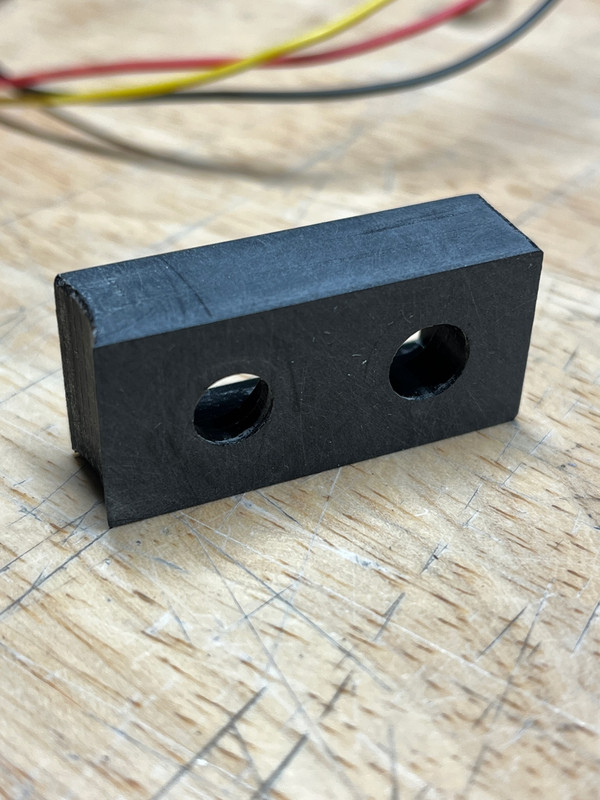
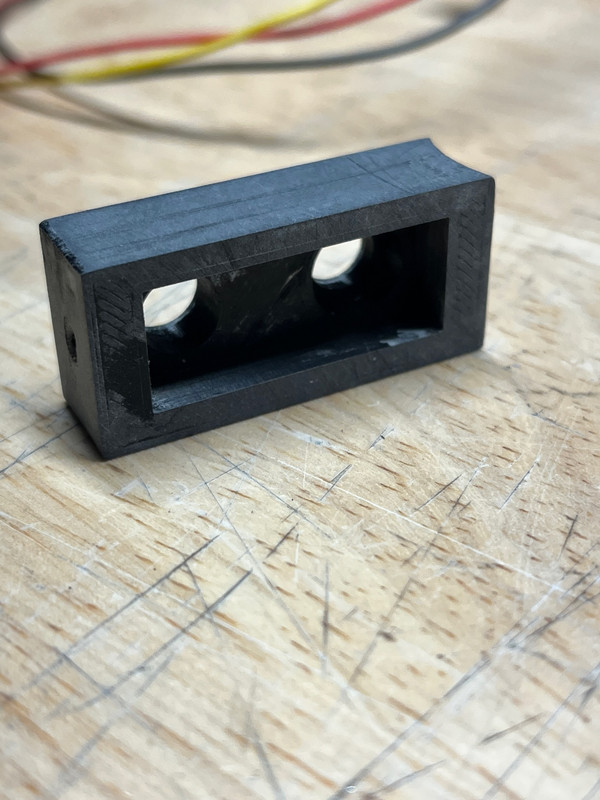
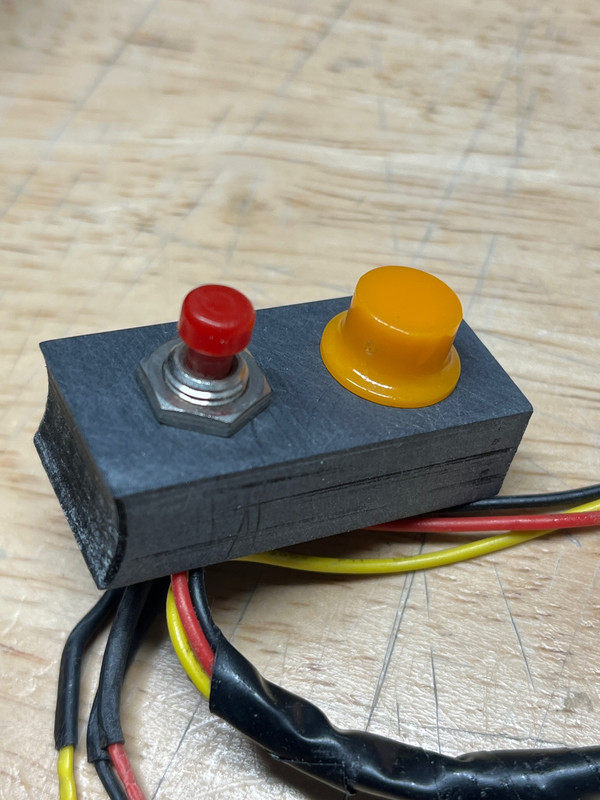
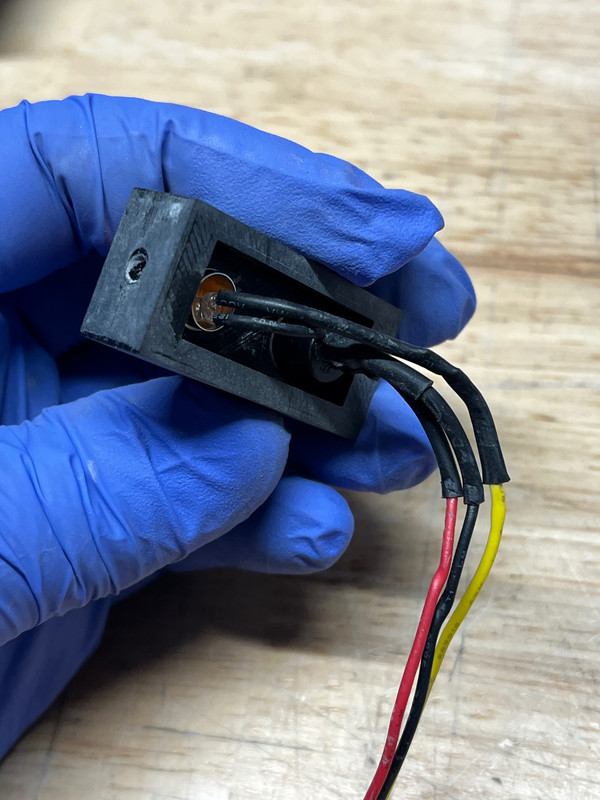
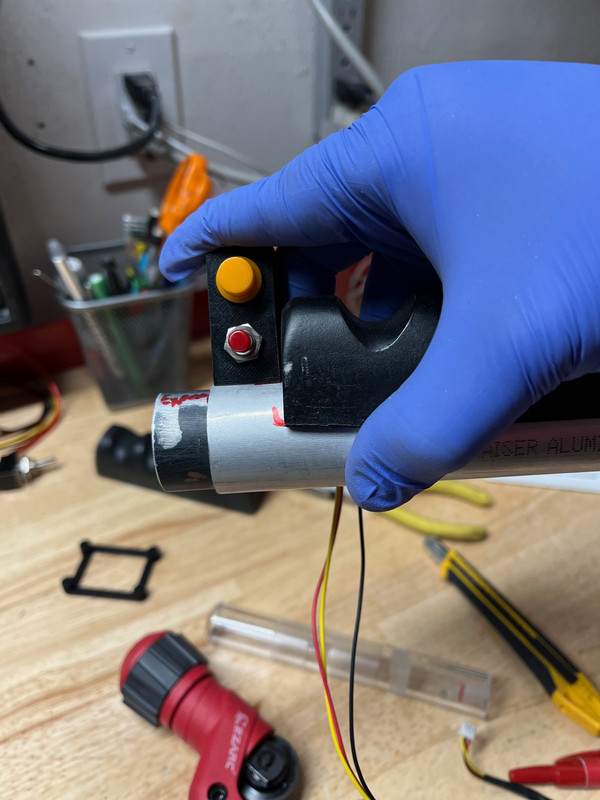
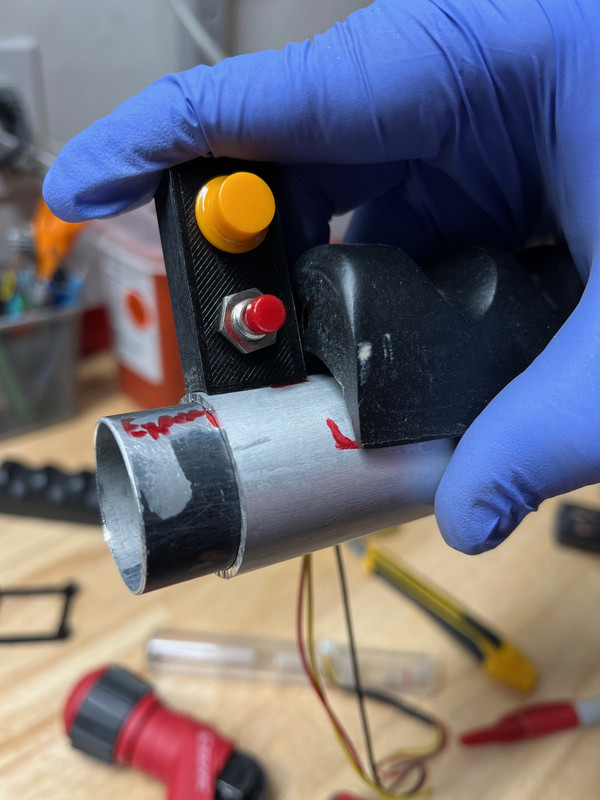
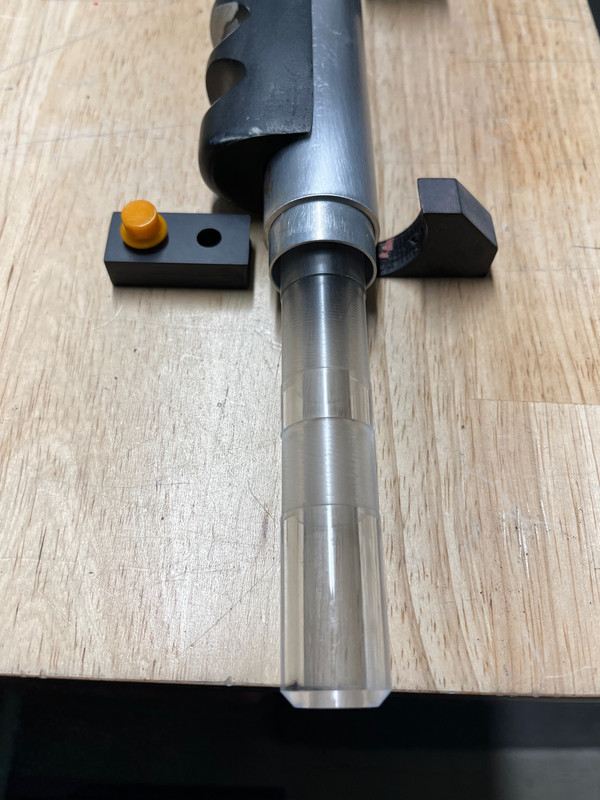
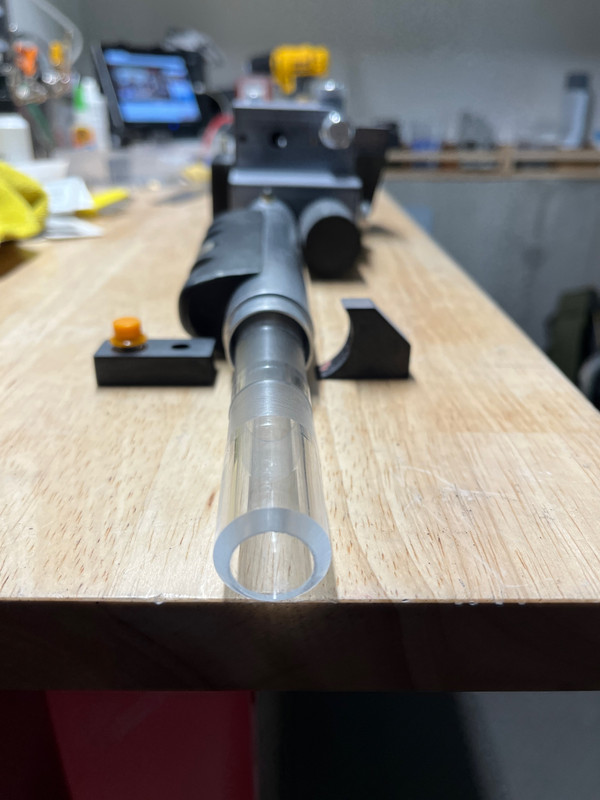
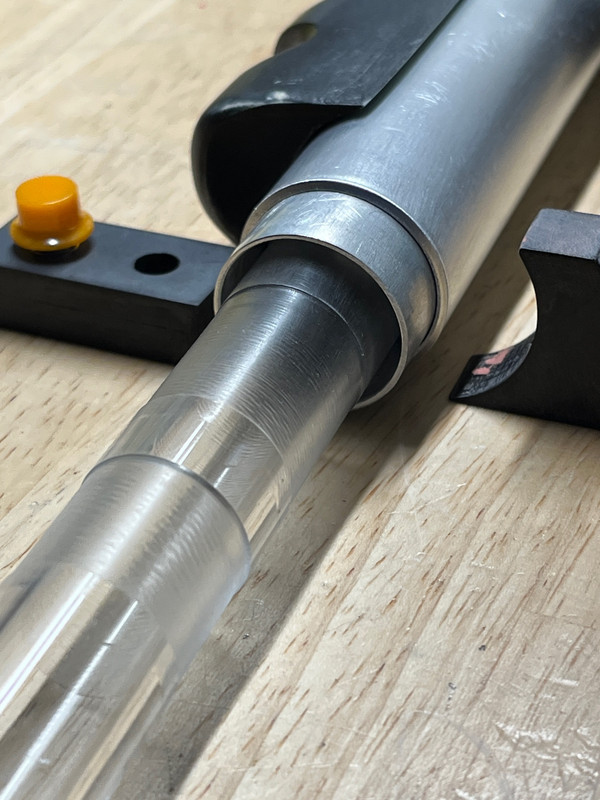
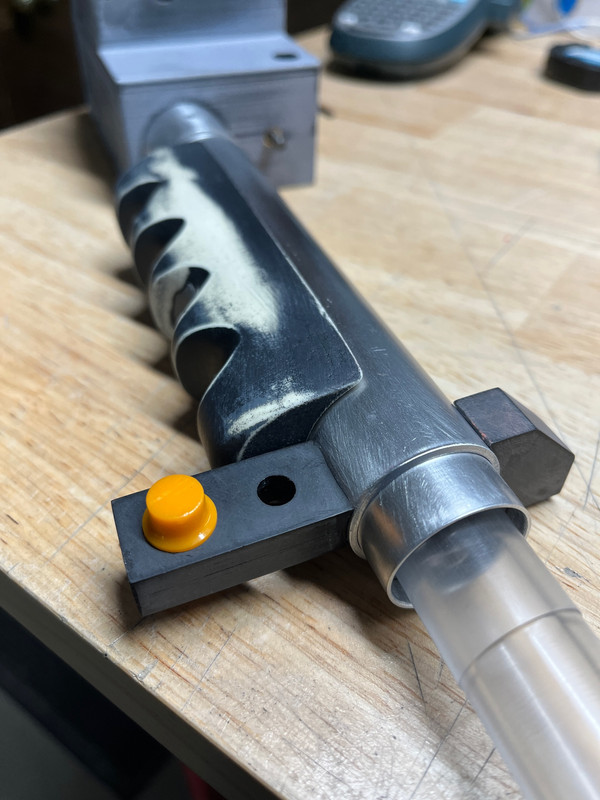
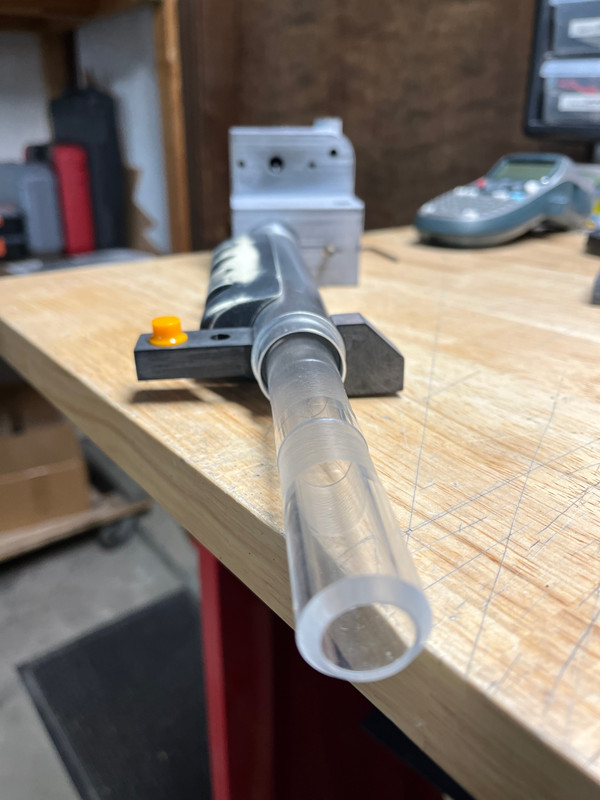
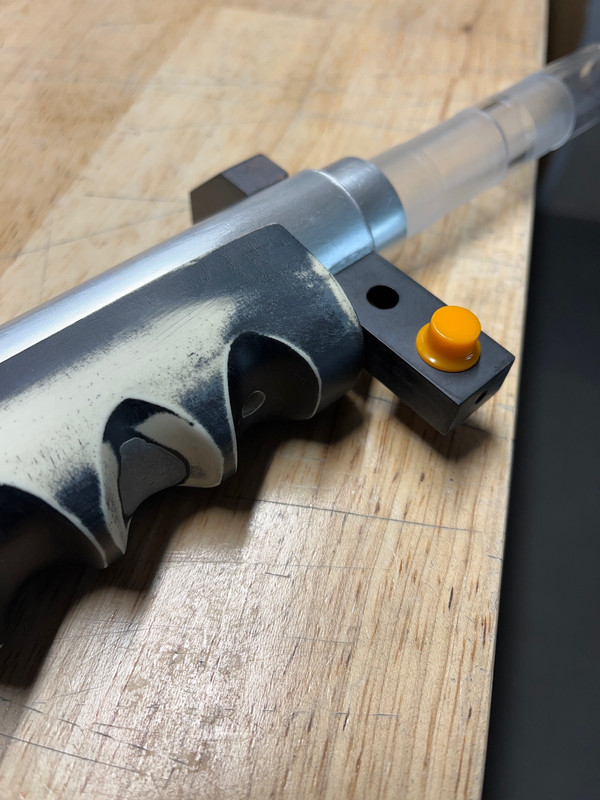
Final results of grip:
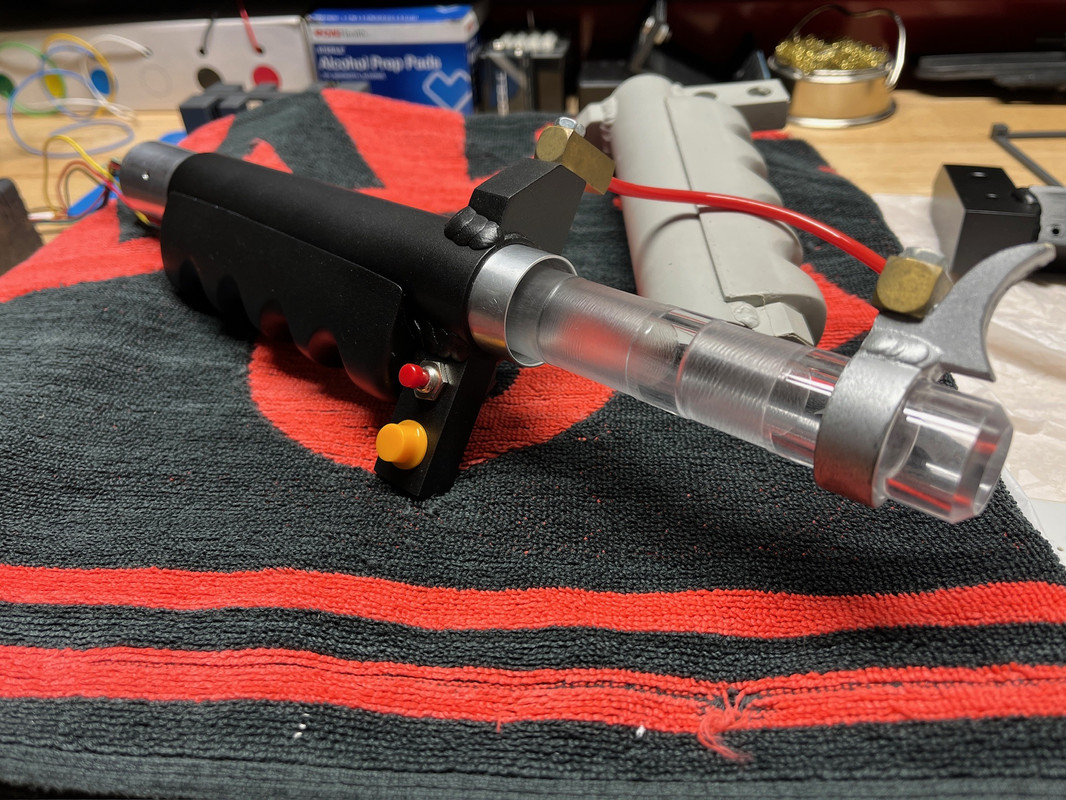
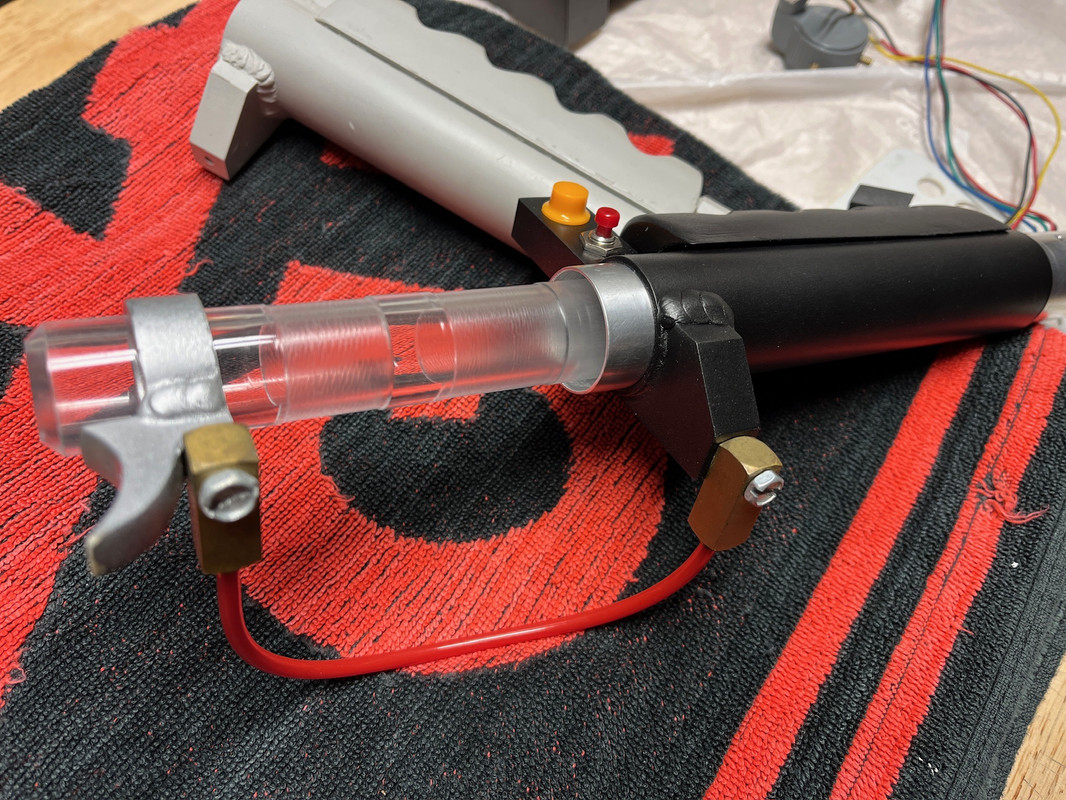
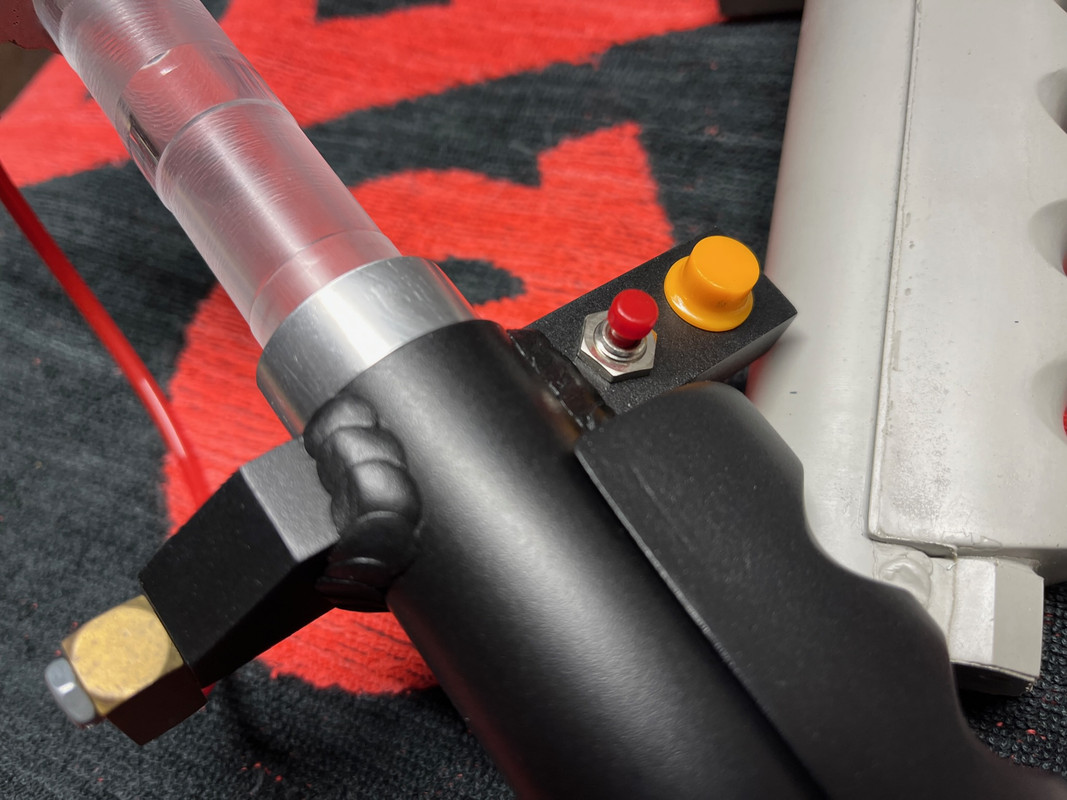
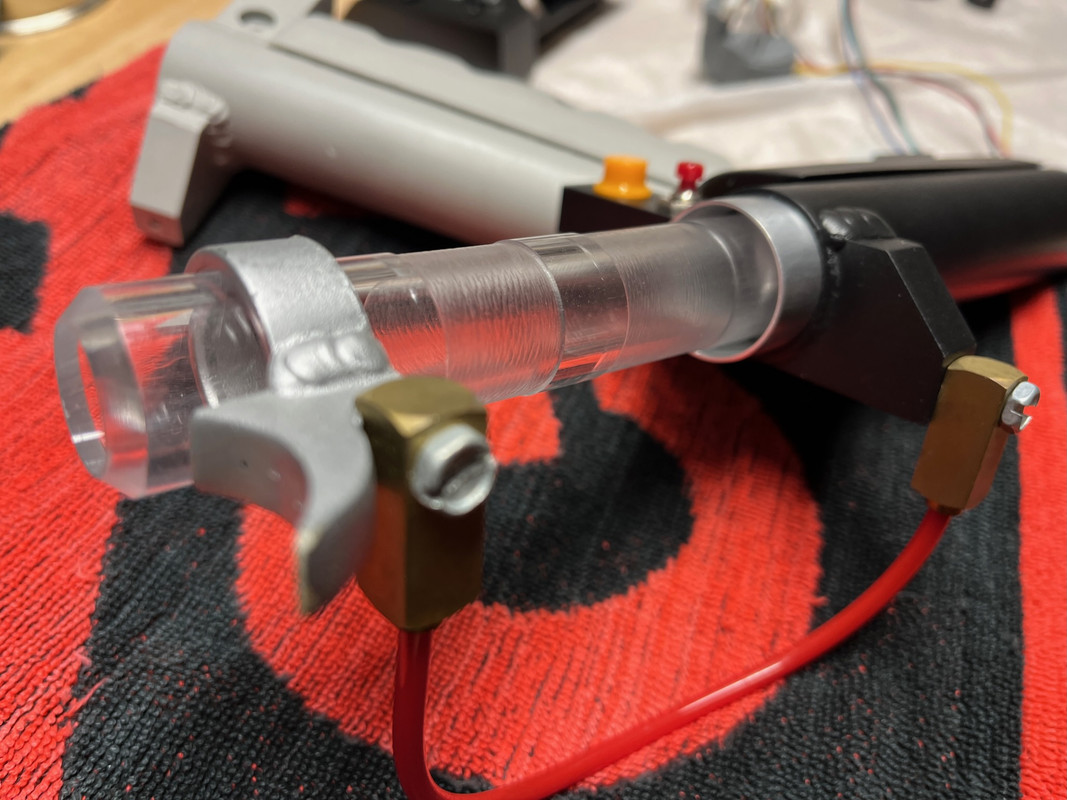
Next time I plan to go lighter on the welds. 
In my opinion there really isn’t anything like an aluminum grip, it feels so much stronger and better than resin. My favorite it when it gets to be colder out and you can feel the cool metal against your skin.
I had trouble finding a tube to fit inside the inner one so I ended up 3D printing a small one to fit inside it to hold the emitter tube in place. This was a little tricky but my method wasn’t too complicated in theory.
I did not want the emitter tube to move and stay in place. This build was not using a pop mech or turning grip so I kept things as basic as I could. I first started by measuring the ID of the emitter tube, then using a 3D printed piece I made inserted the LED for the lights making sure it had a hole for a bolt.
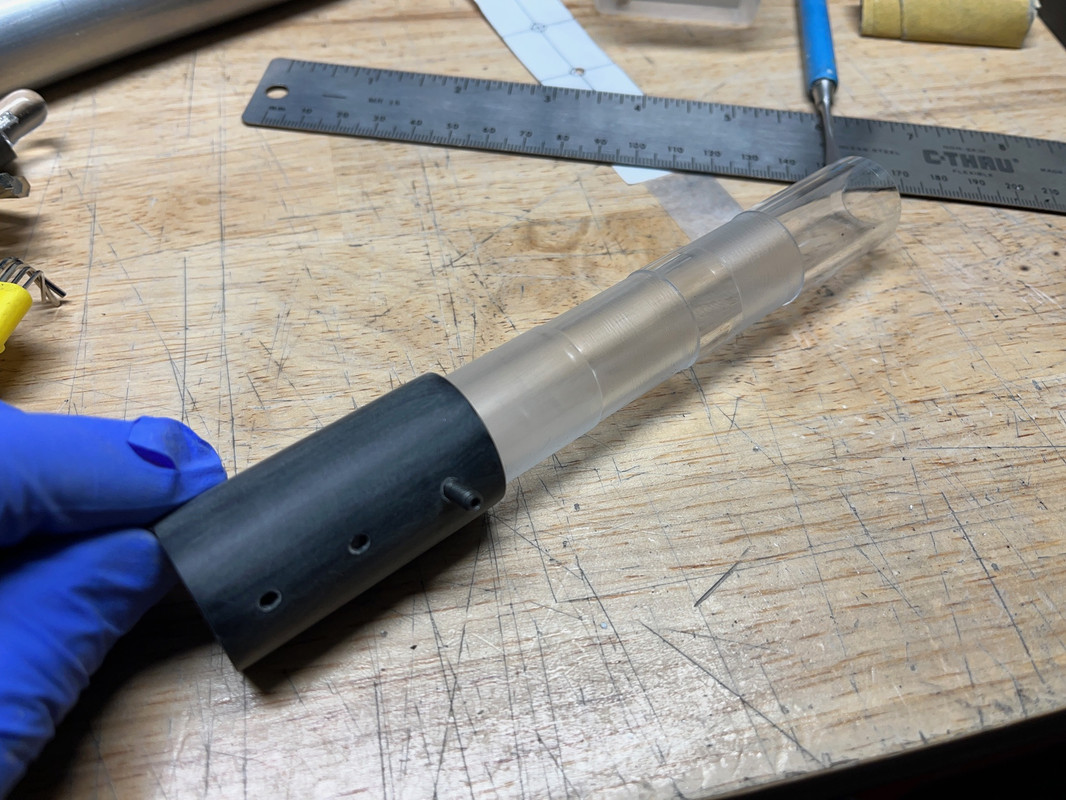
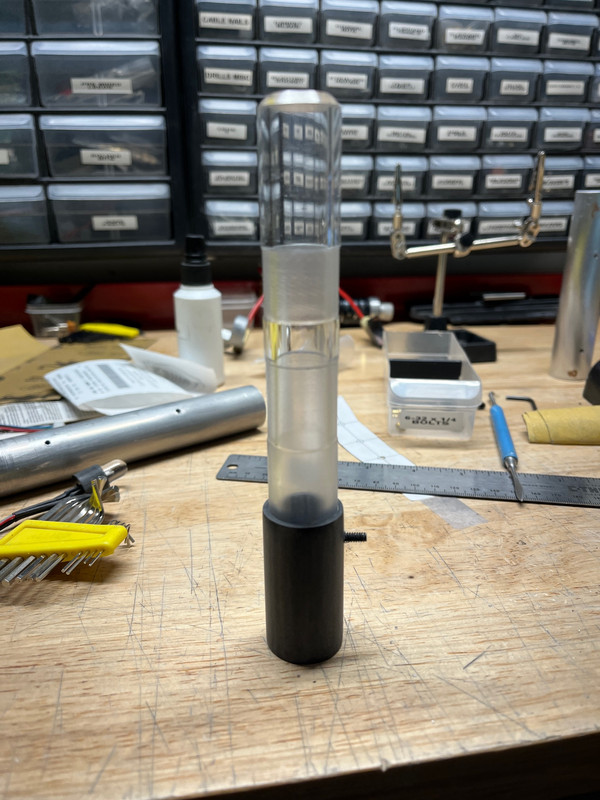
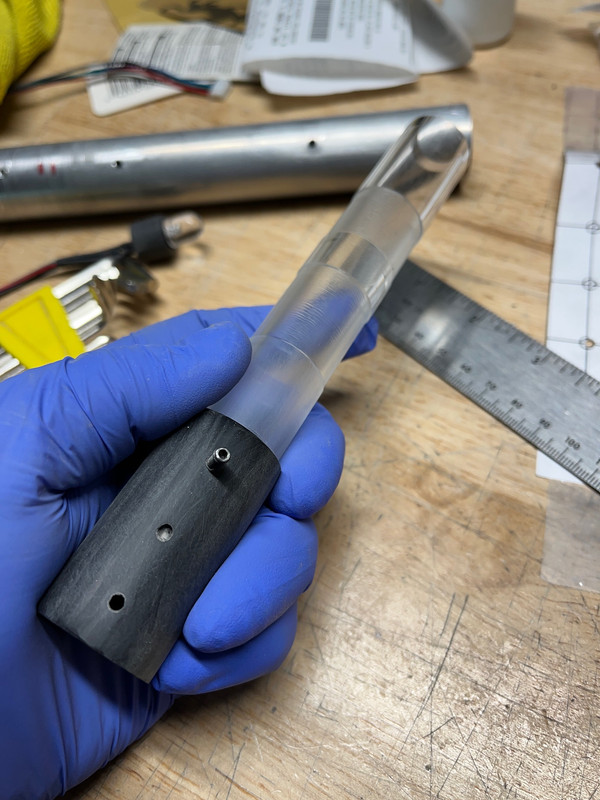
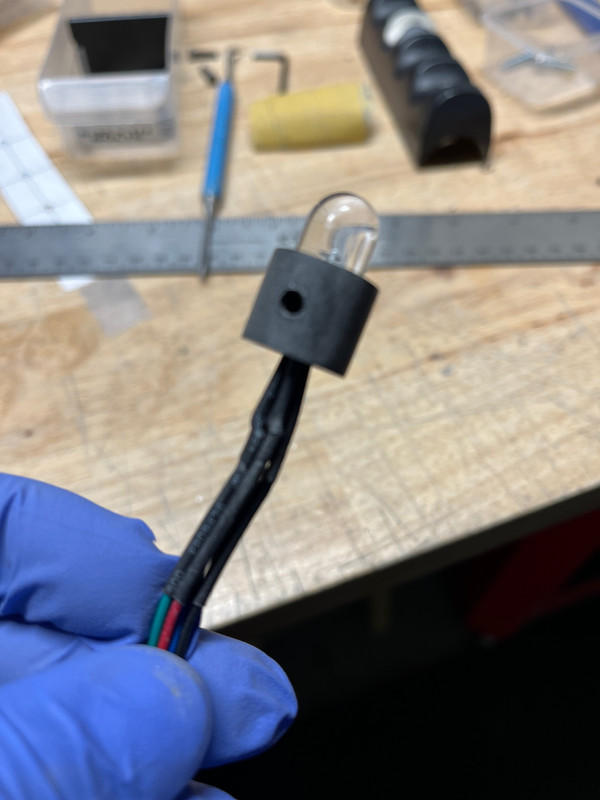
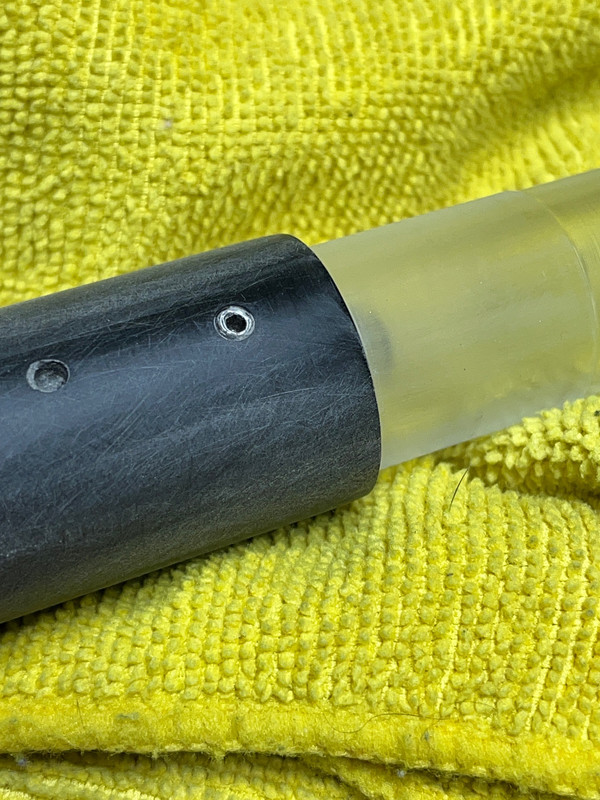
To get the whole thing to come together each layer of the front grip had to have holes drilled in a particular order. Since the nut I was using had to connect with the 3d printed piece inside the emitter tube needed to be threaded and tapped. The resin grip was a pass thought as well as the outer aluminum tube, the inside tube had to be threaded and the emitter itself need to be a pass though. In the end it all came together.  Not traditional but it worked for me.
Once everything was fitted it was time to reassemble the thrower making it better than before.
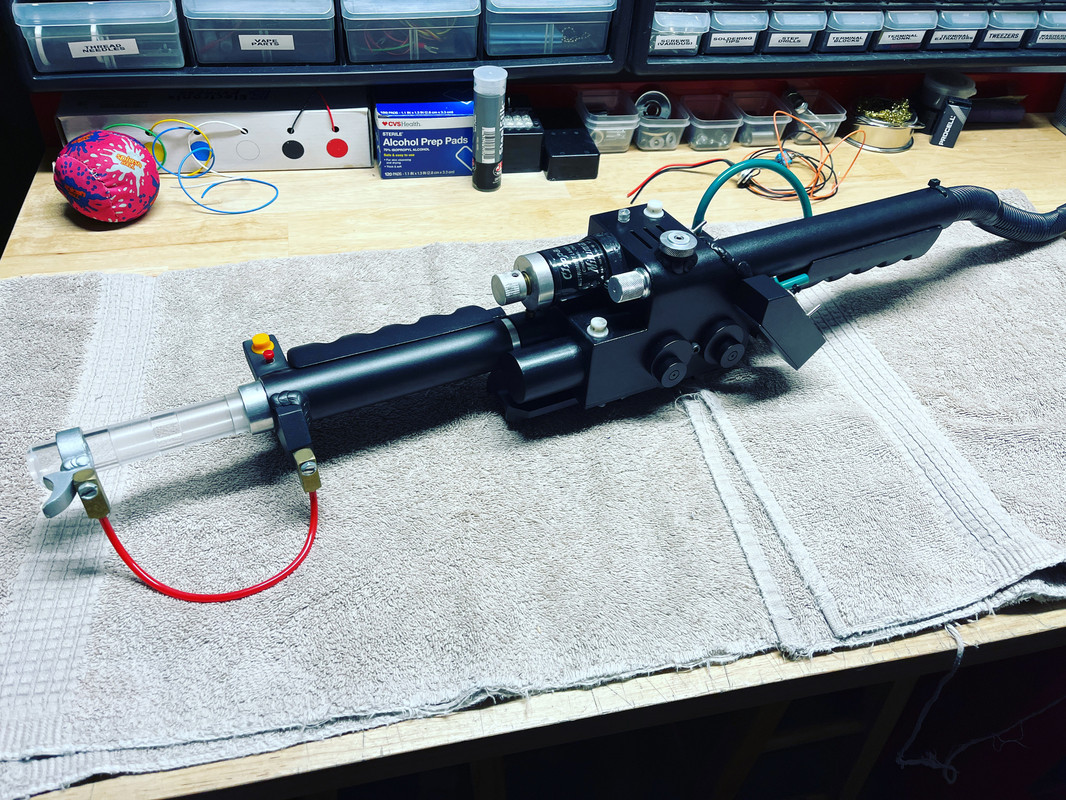
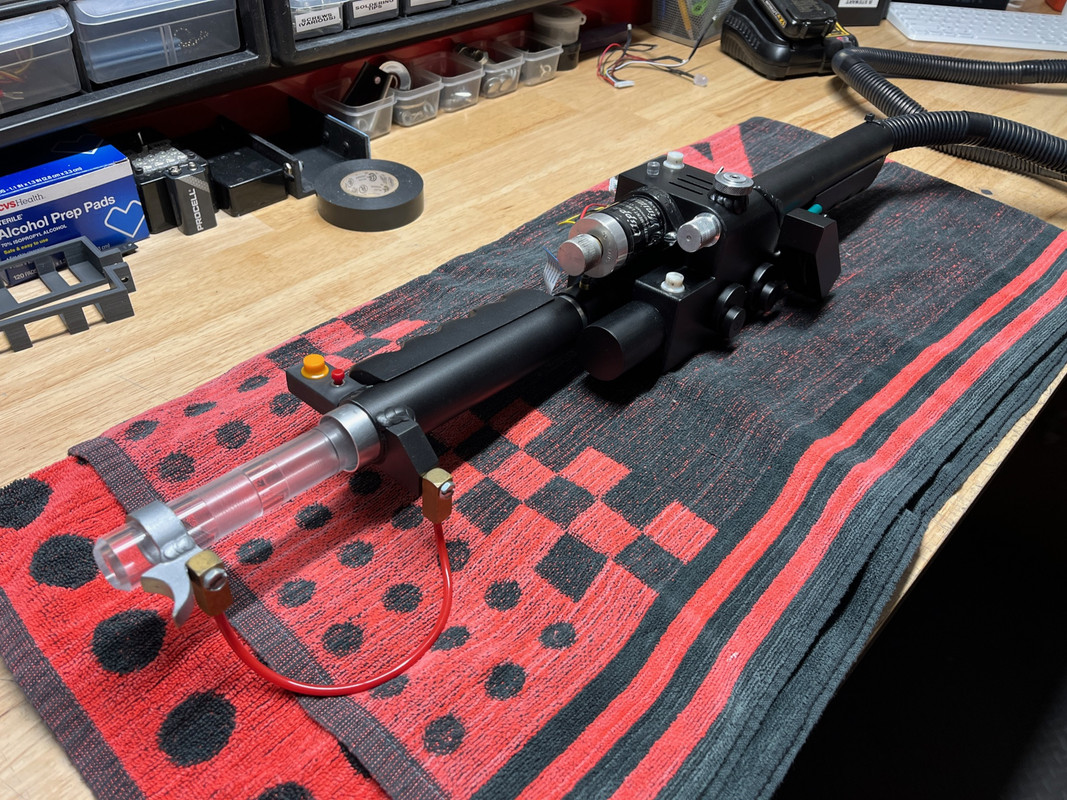
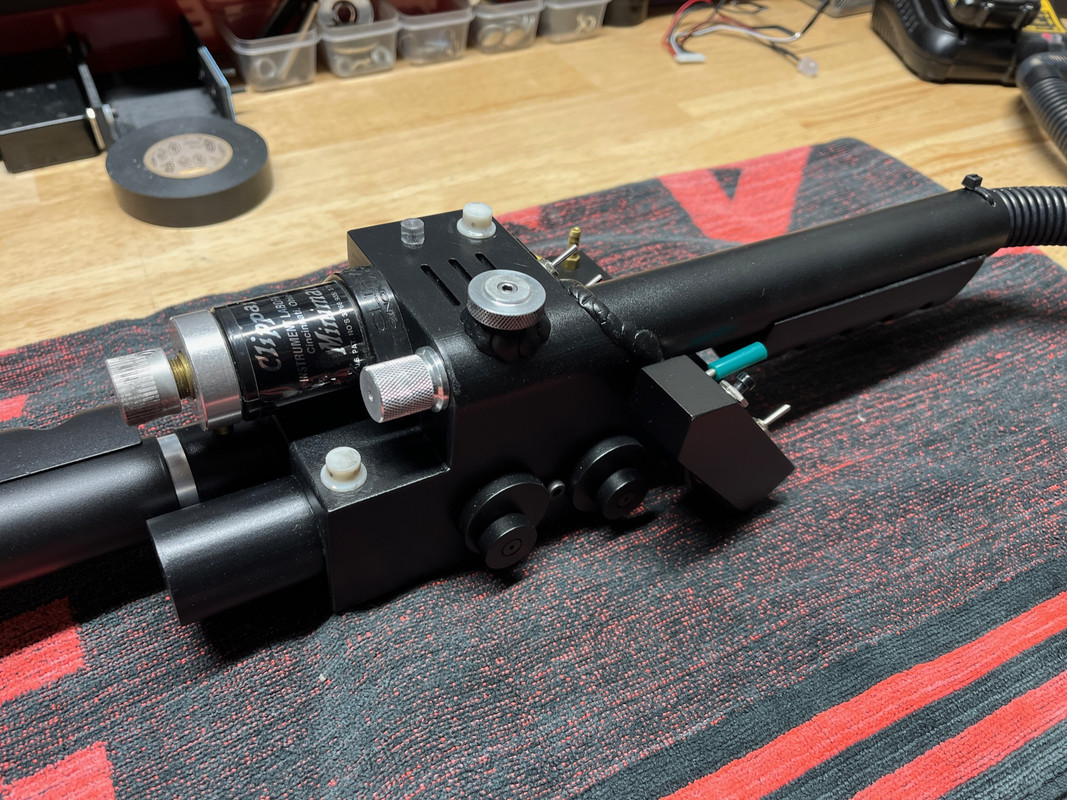


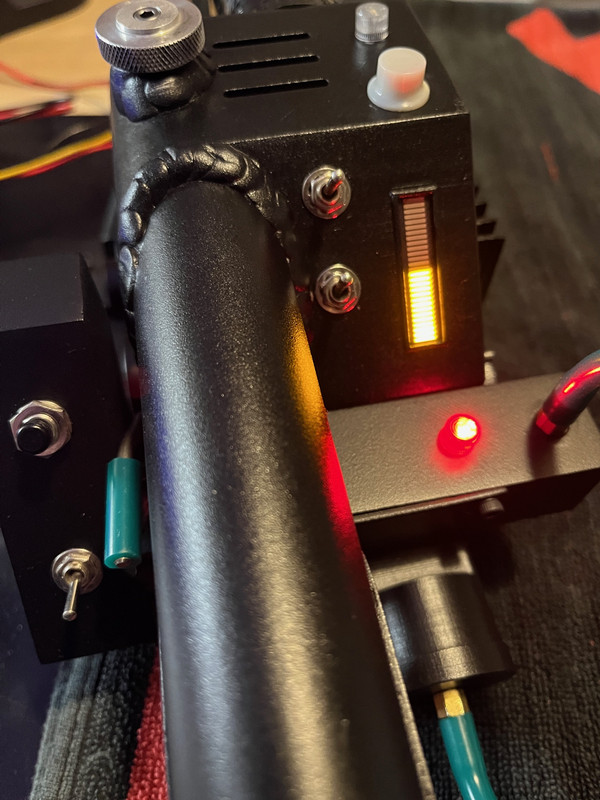
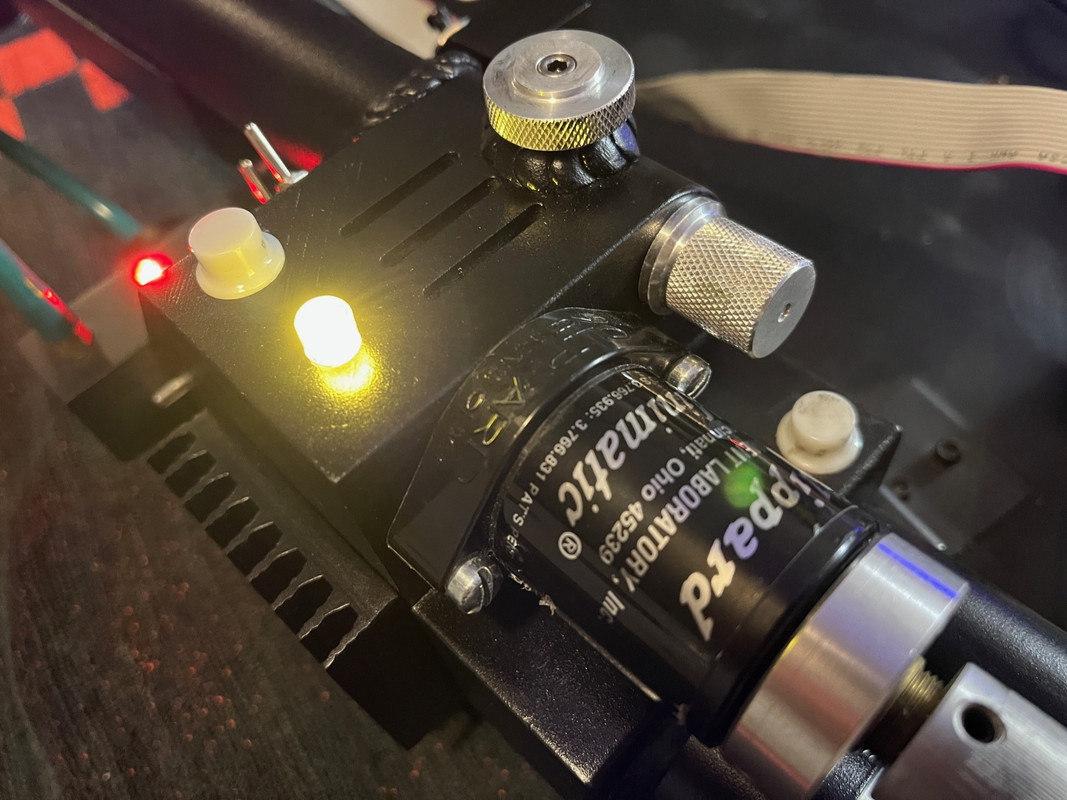
So in the end this is less of a Karnivorous Creations wand and more of a KC, Q-Pack, my own hybrid.


