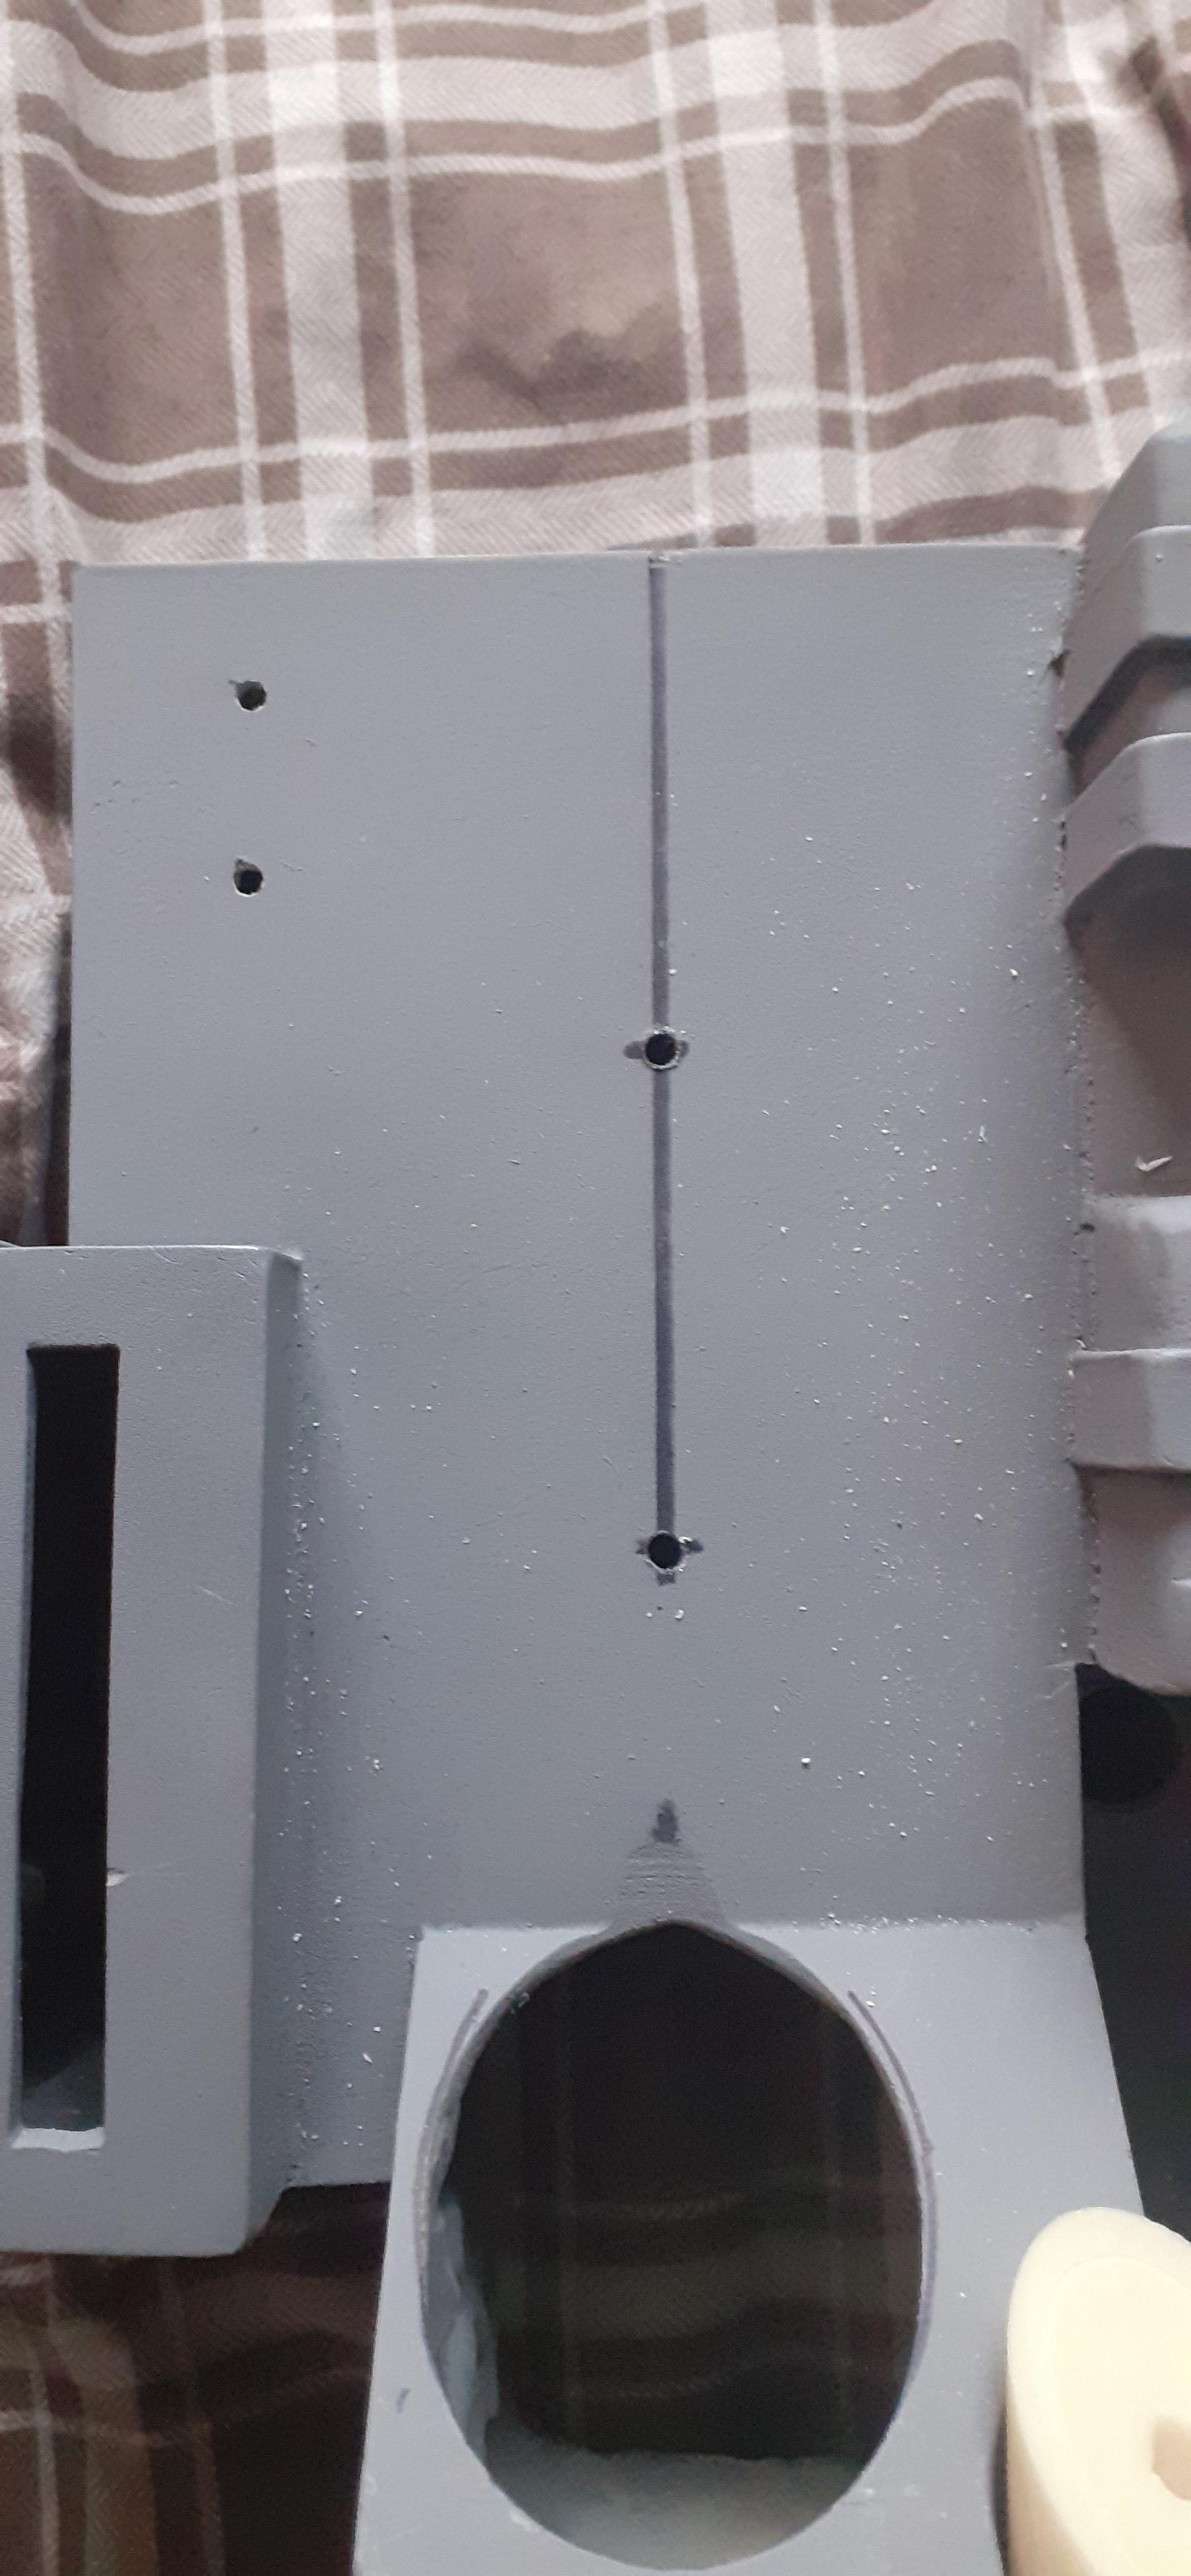
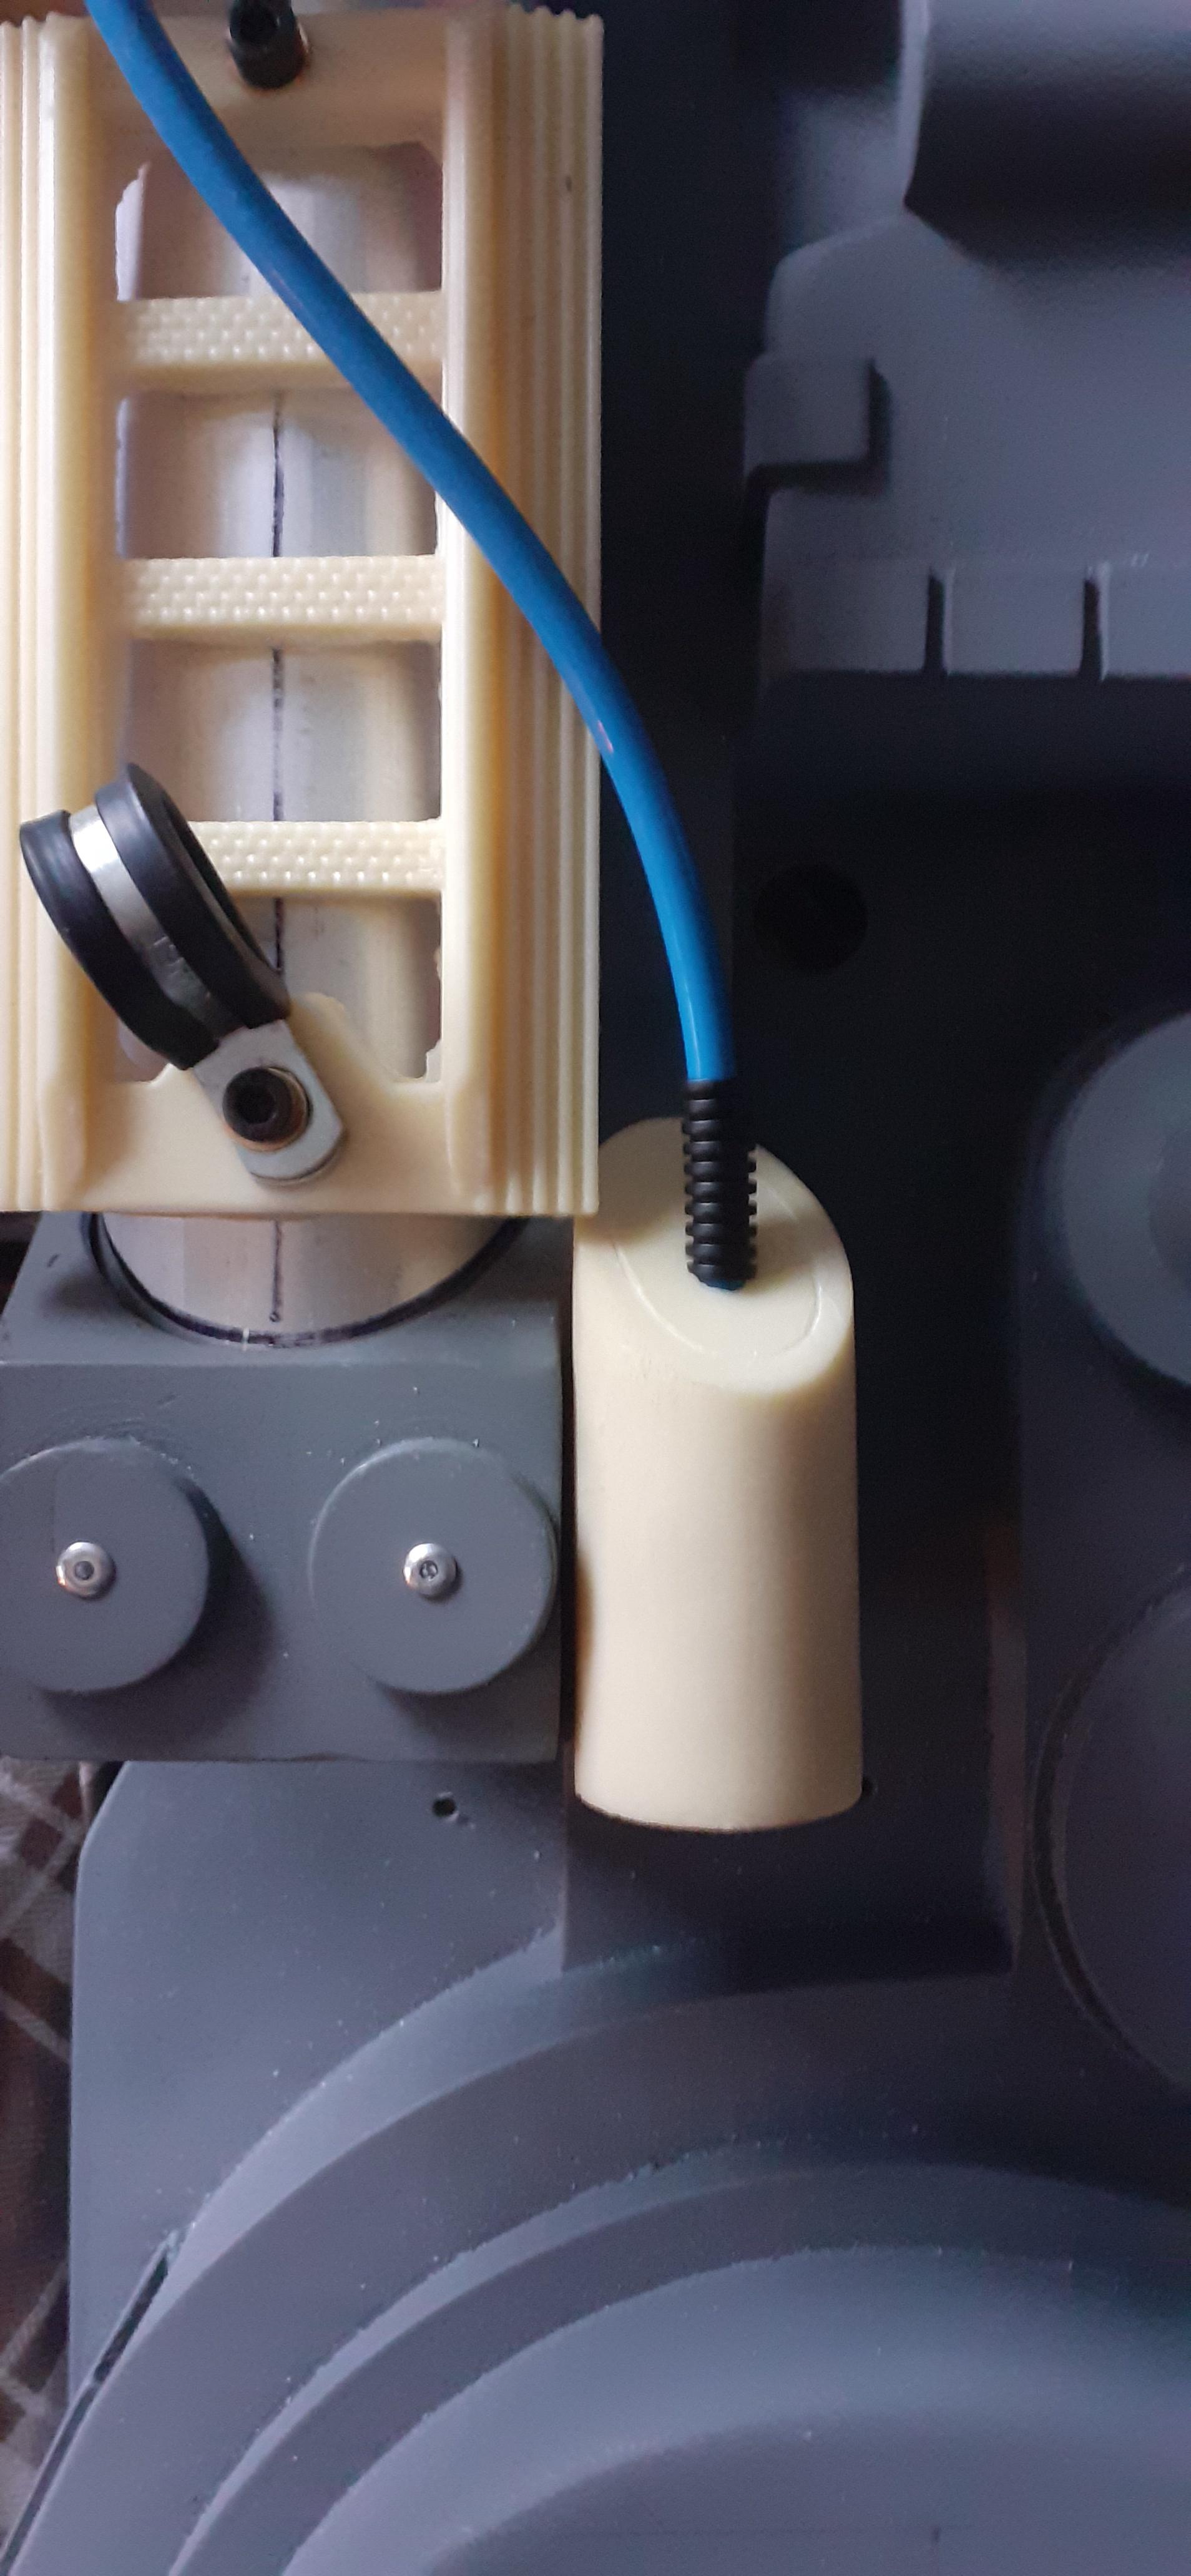
I’m thinking I’ll leave it until all the parts are painted to attach them, to make sure they have a solid threading.
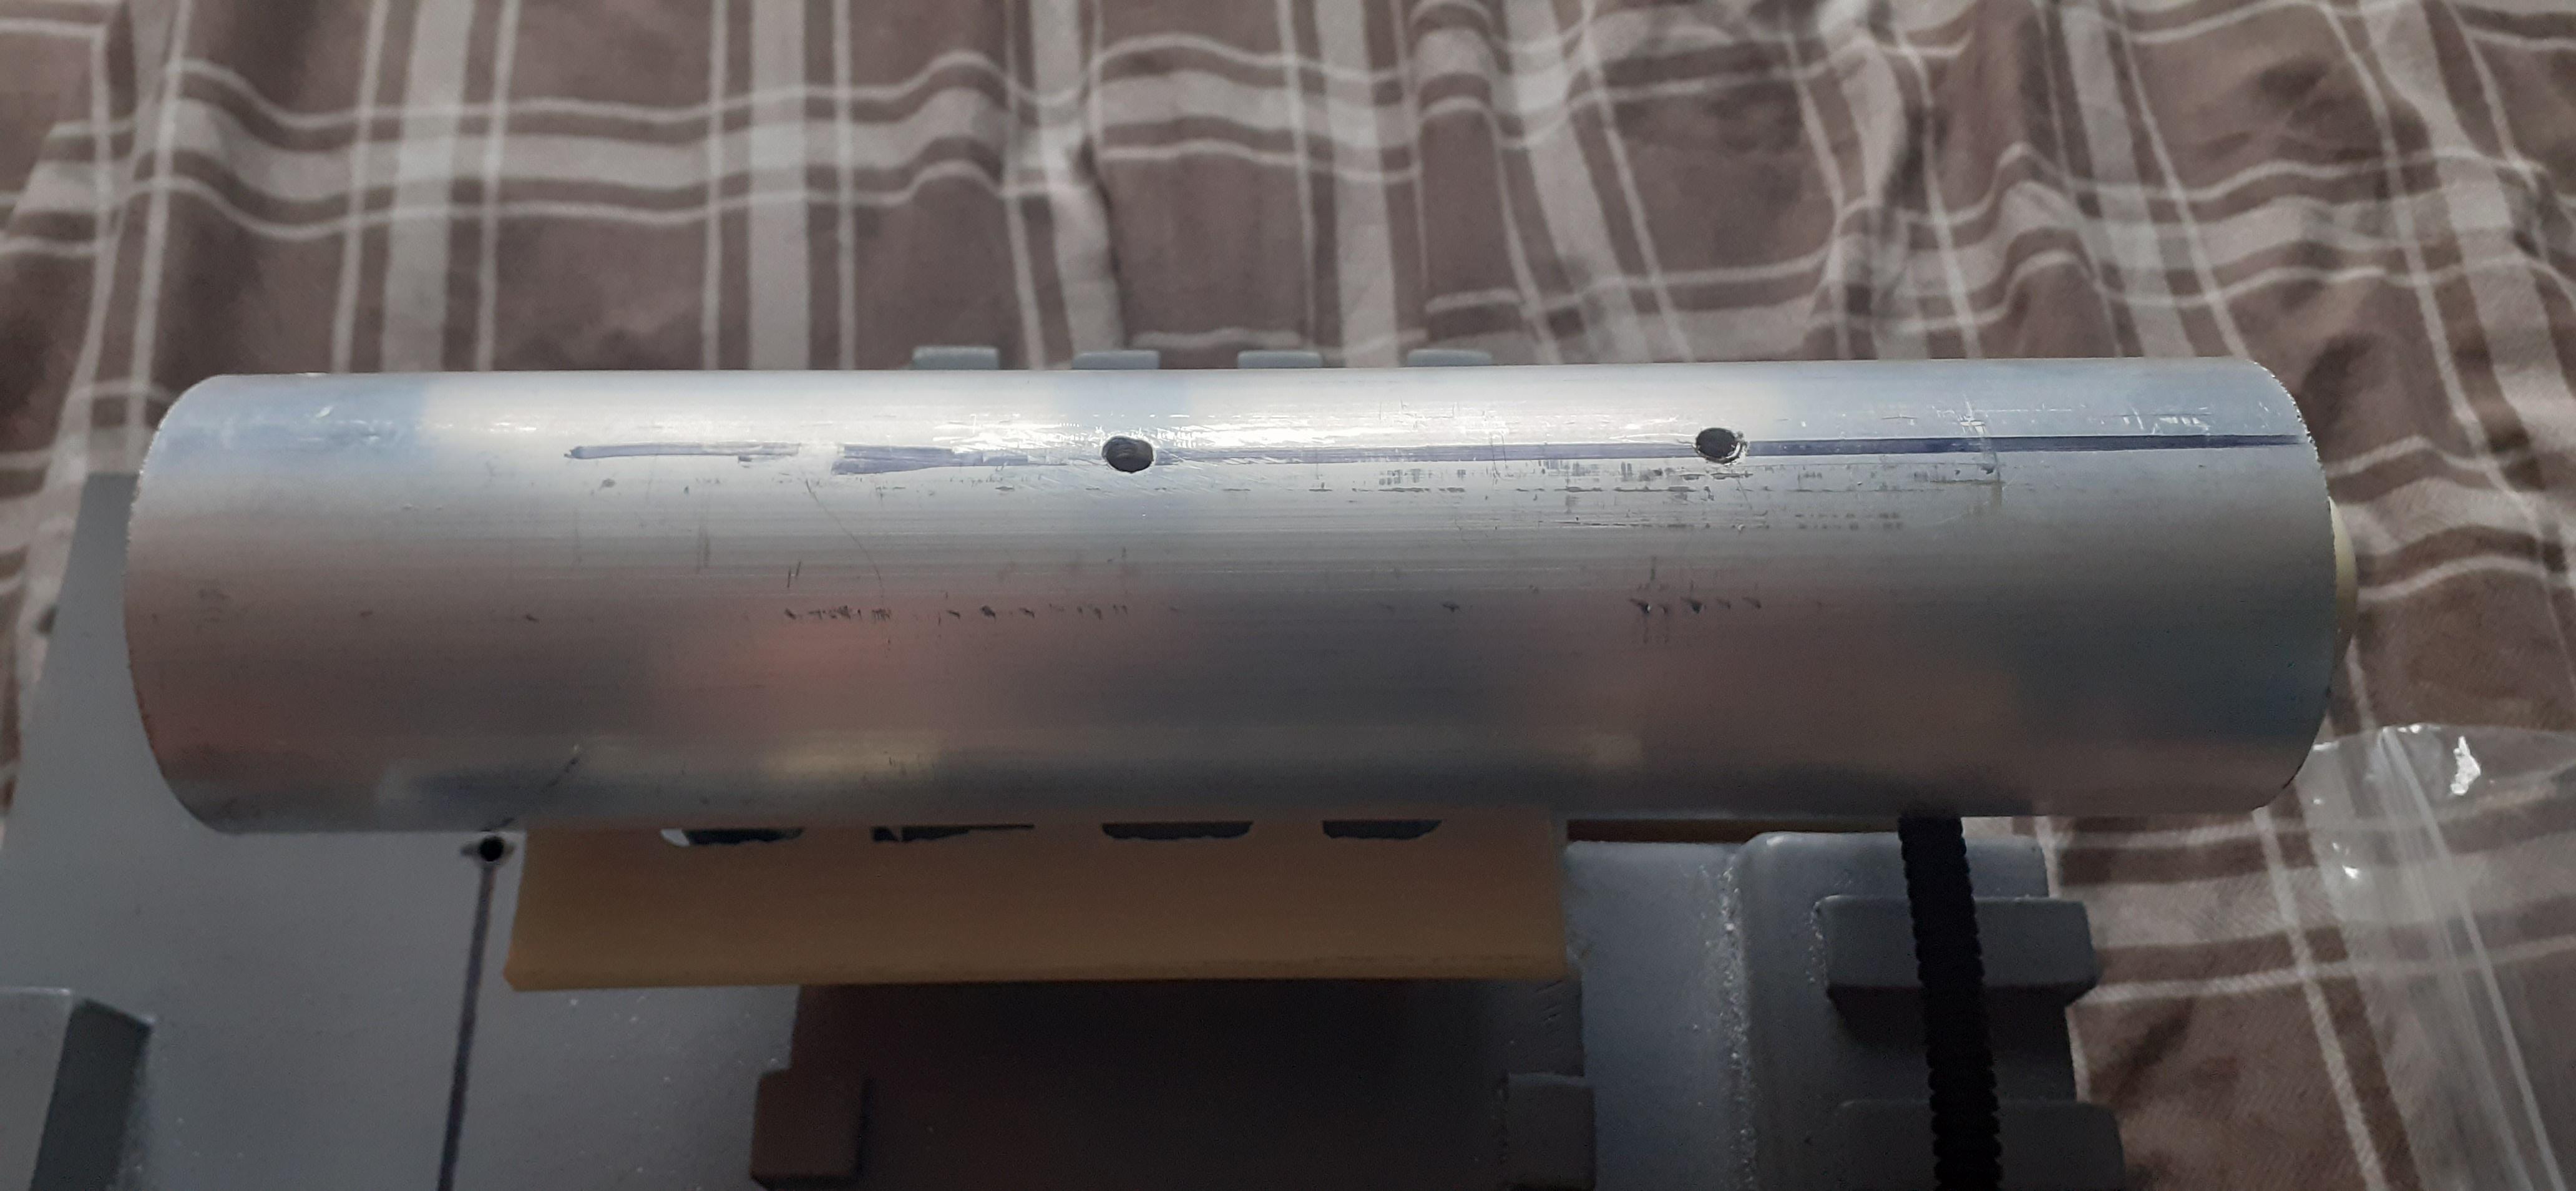
In the meantime I’ve marked and drilled the holes for mounting the booster tube to the shell on both and also tapped the tube side holes with a m5x0.8 tap, to make it easier when it comes to putting the epoxy putty weld around the base of the tube.
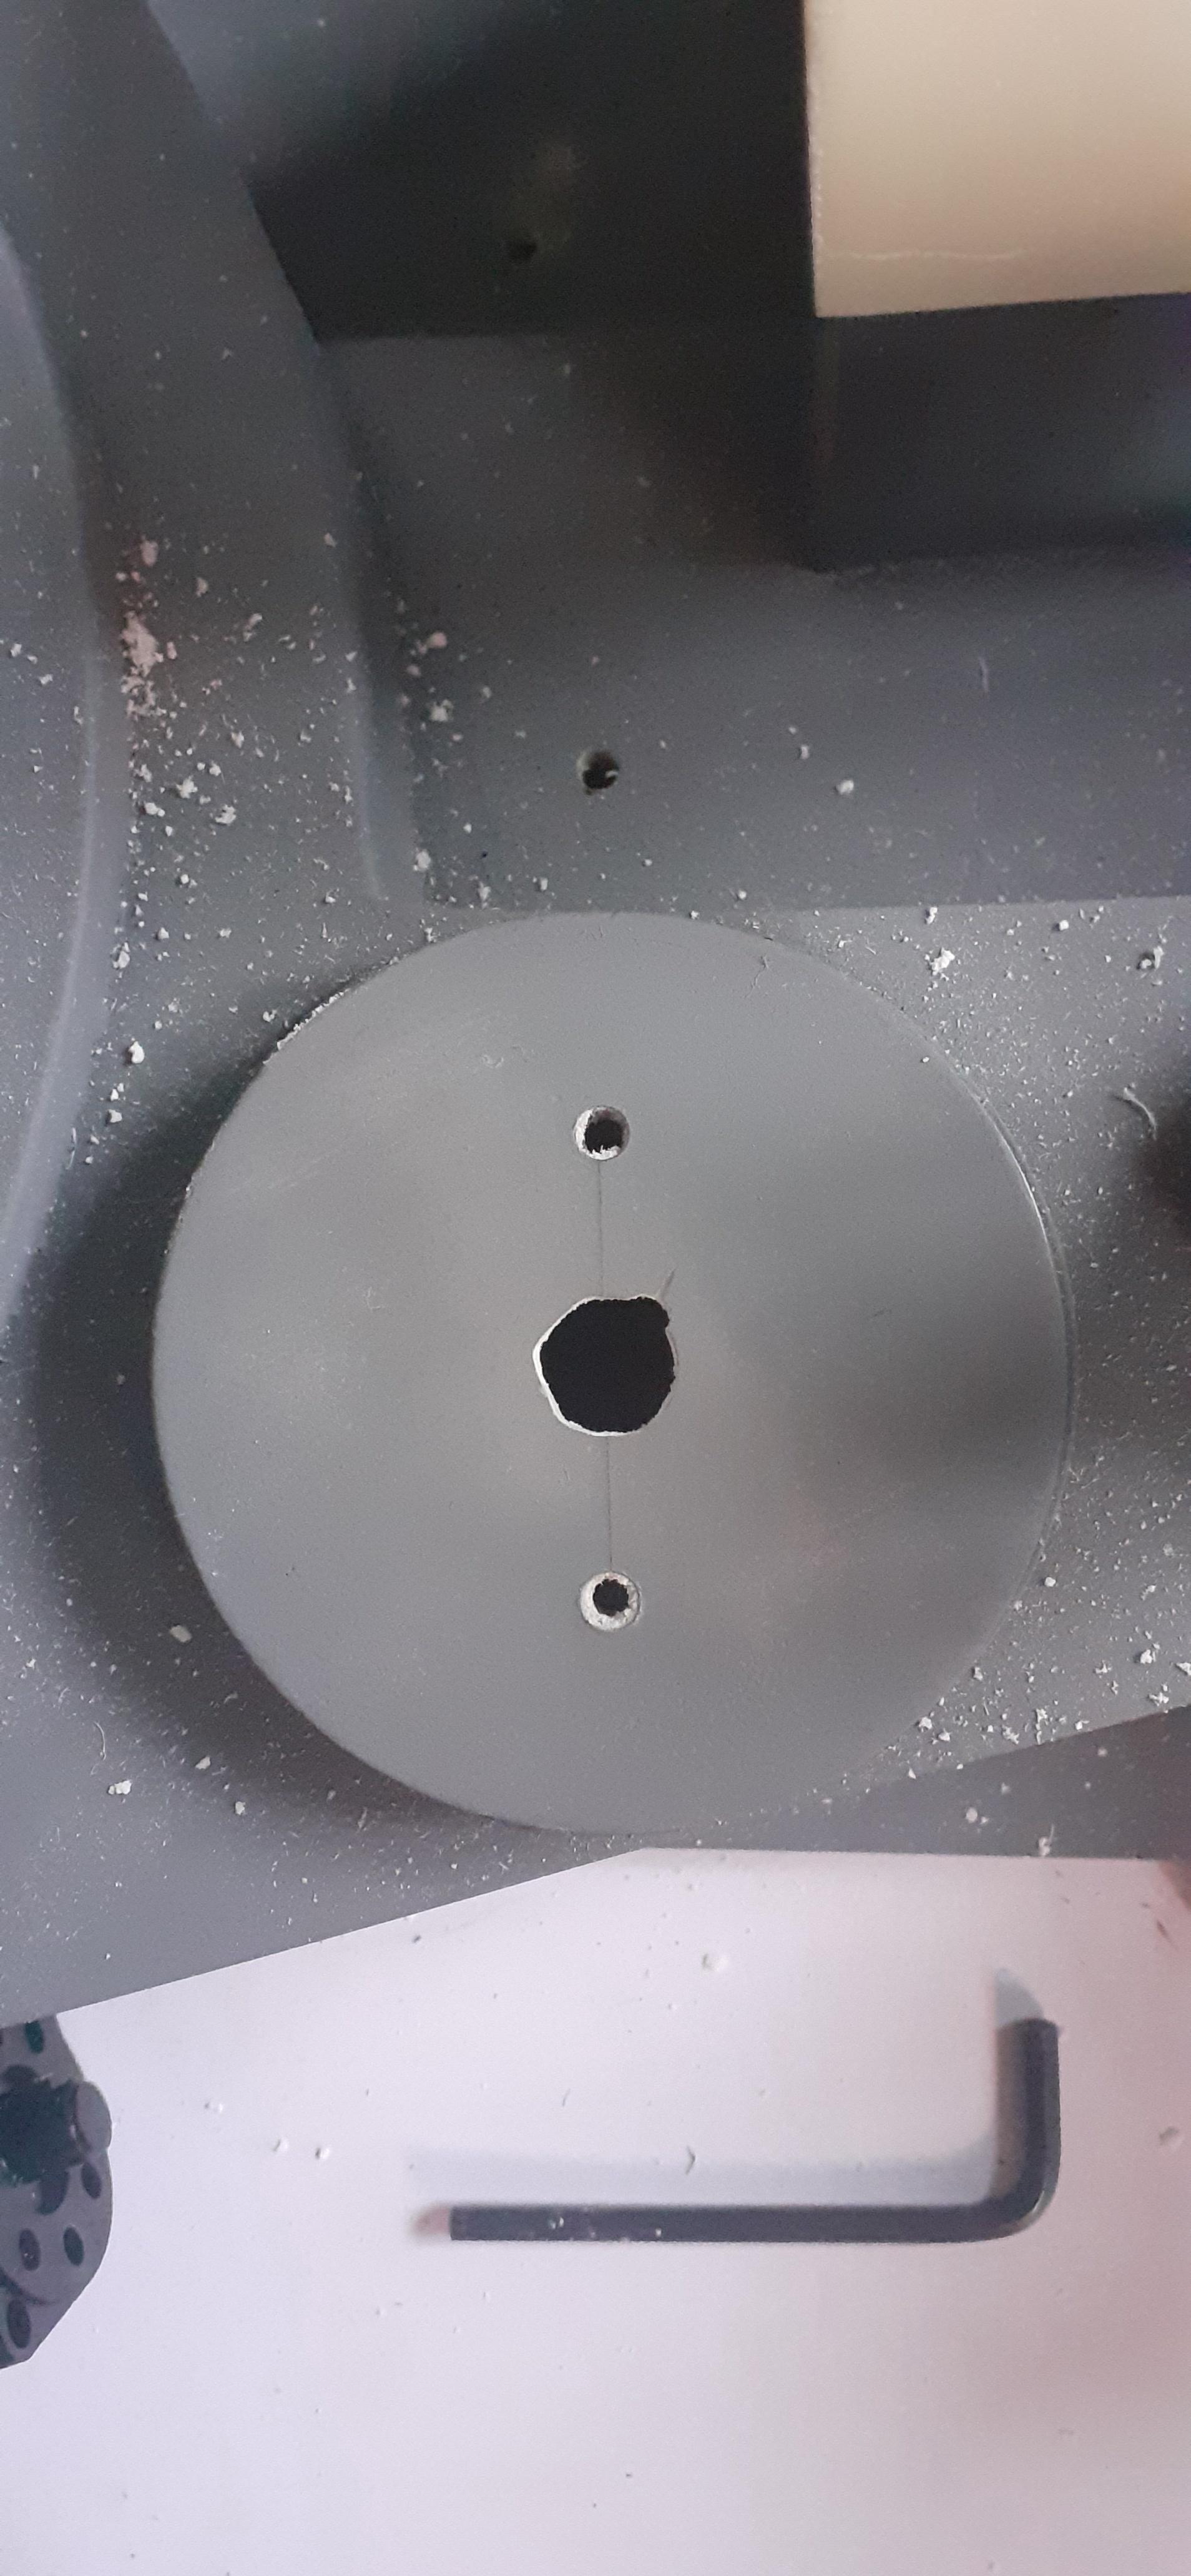
Then I sorted out fitting the PPD, I had already drilled 3mm holes on the shell and used those to mark and drill the holes on the PPD (I also forgot to take pictures of drilling the centre hole without a pillar drill, but our hands were full as I got my girlfriend to hold the PPD upside down and used a drill guide on the flat underside to drill in perpendicular which worked pretty well)
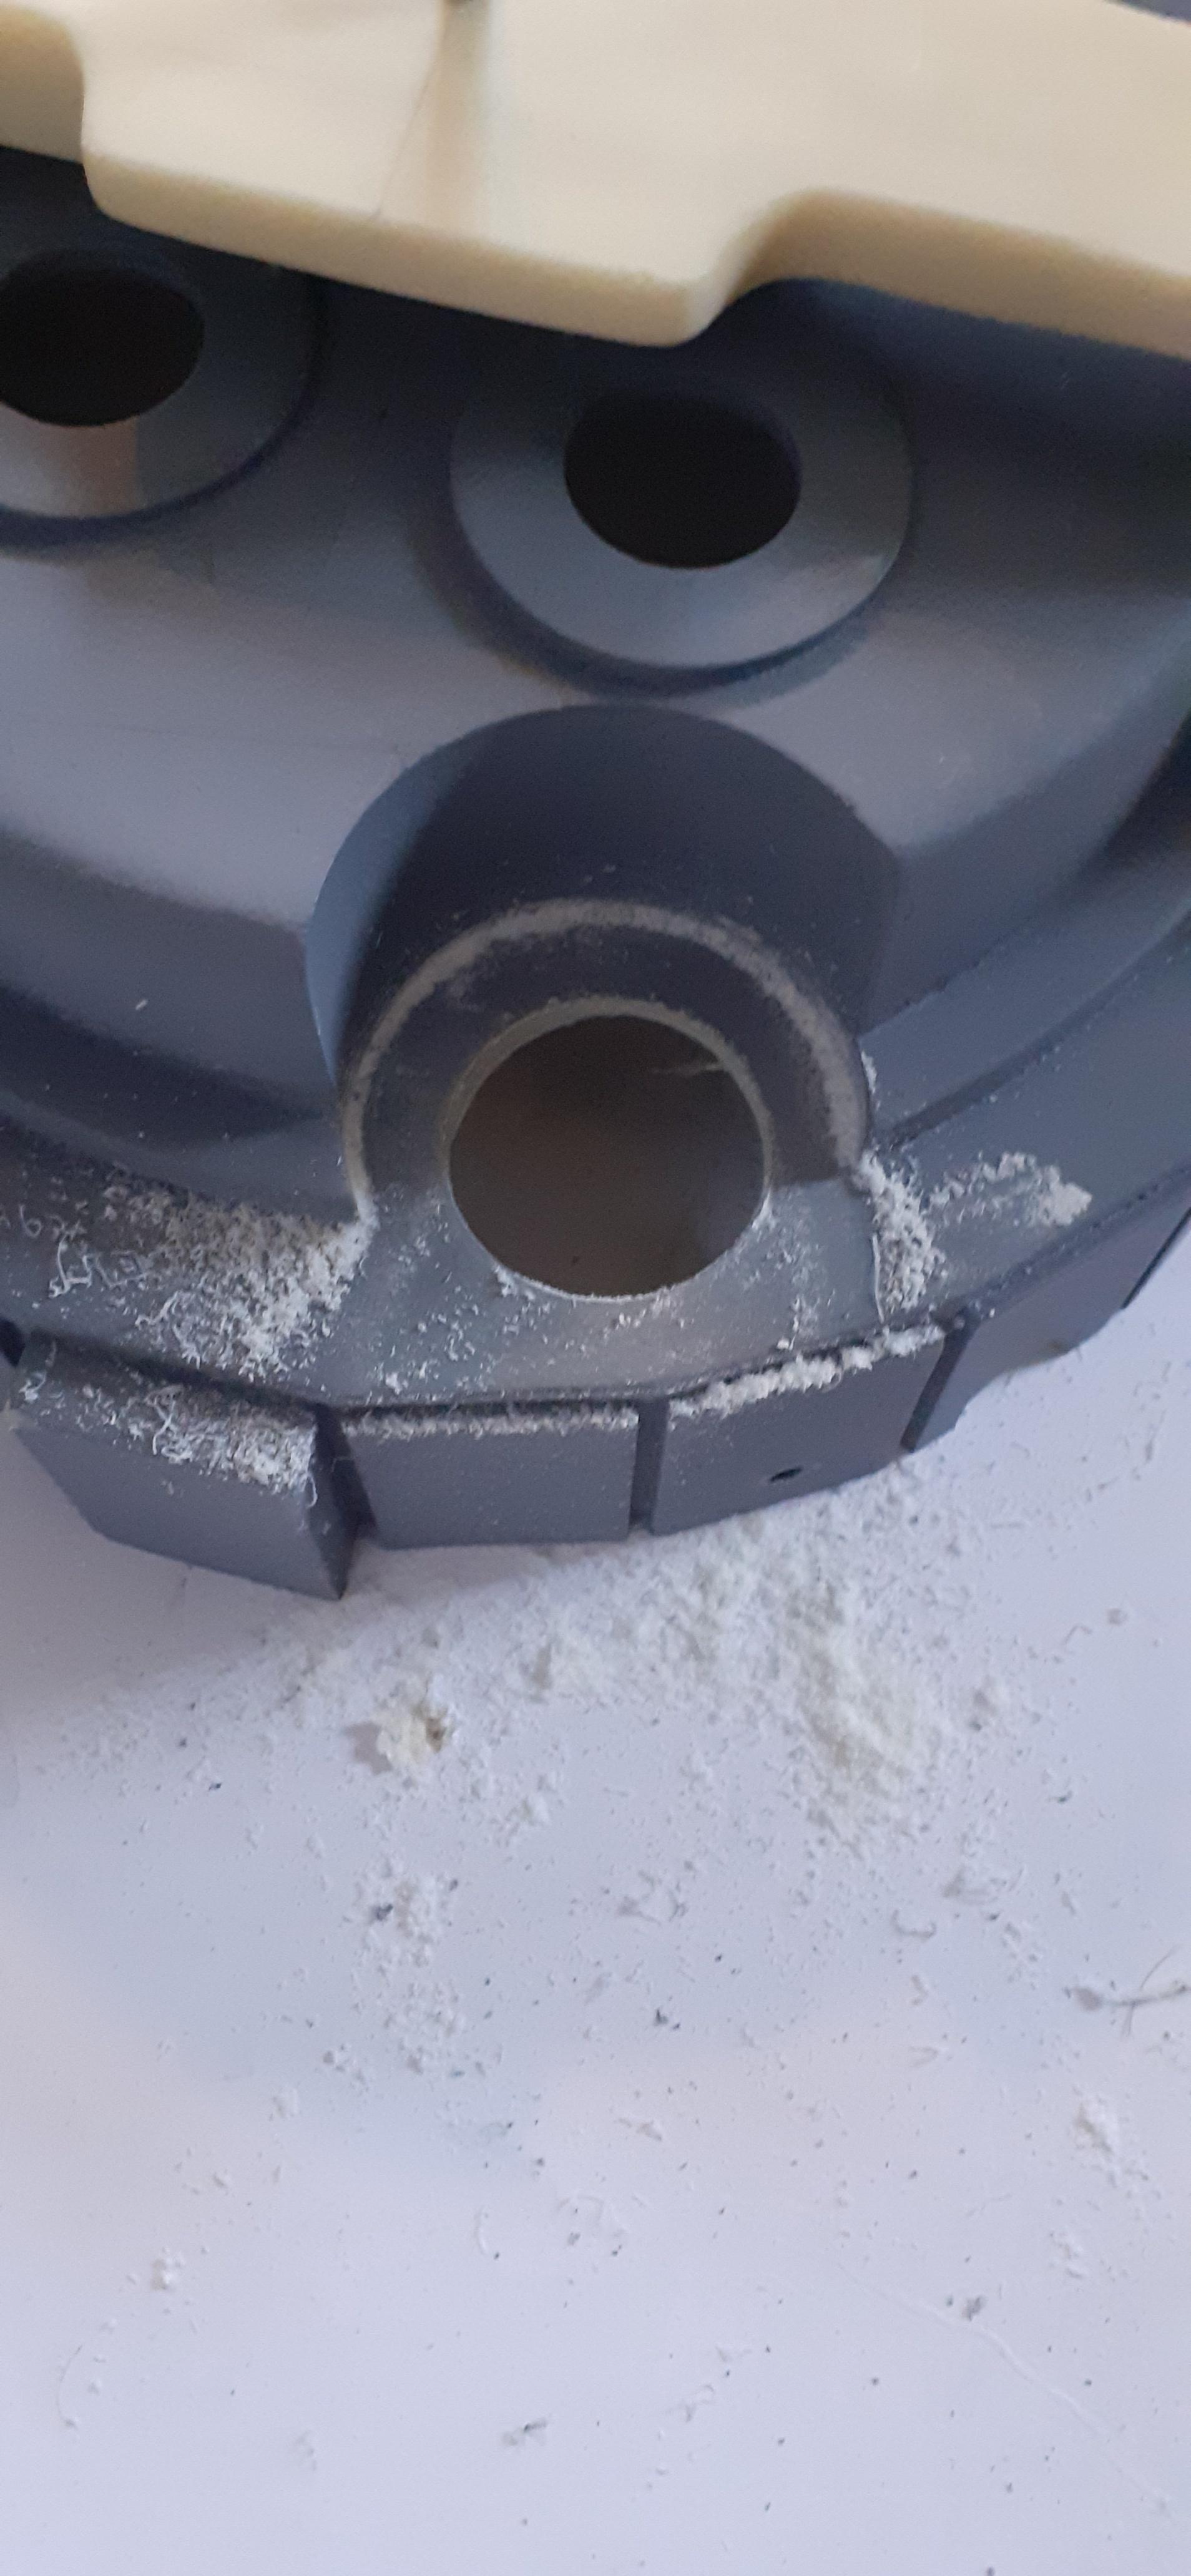
Next I cut the hole under the N filter. I found the centre of the N filter using a template 70mm in diameter with a box flush on the outside to find the centre lines. As I’m planning on using (depending on what the size of the vent led is on the Gbfans light kit) the same reflector cups I will be using for the cyclotron lights, I cut a 45mm diameter hole to accommodate the 40mm wide cup.
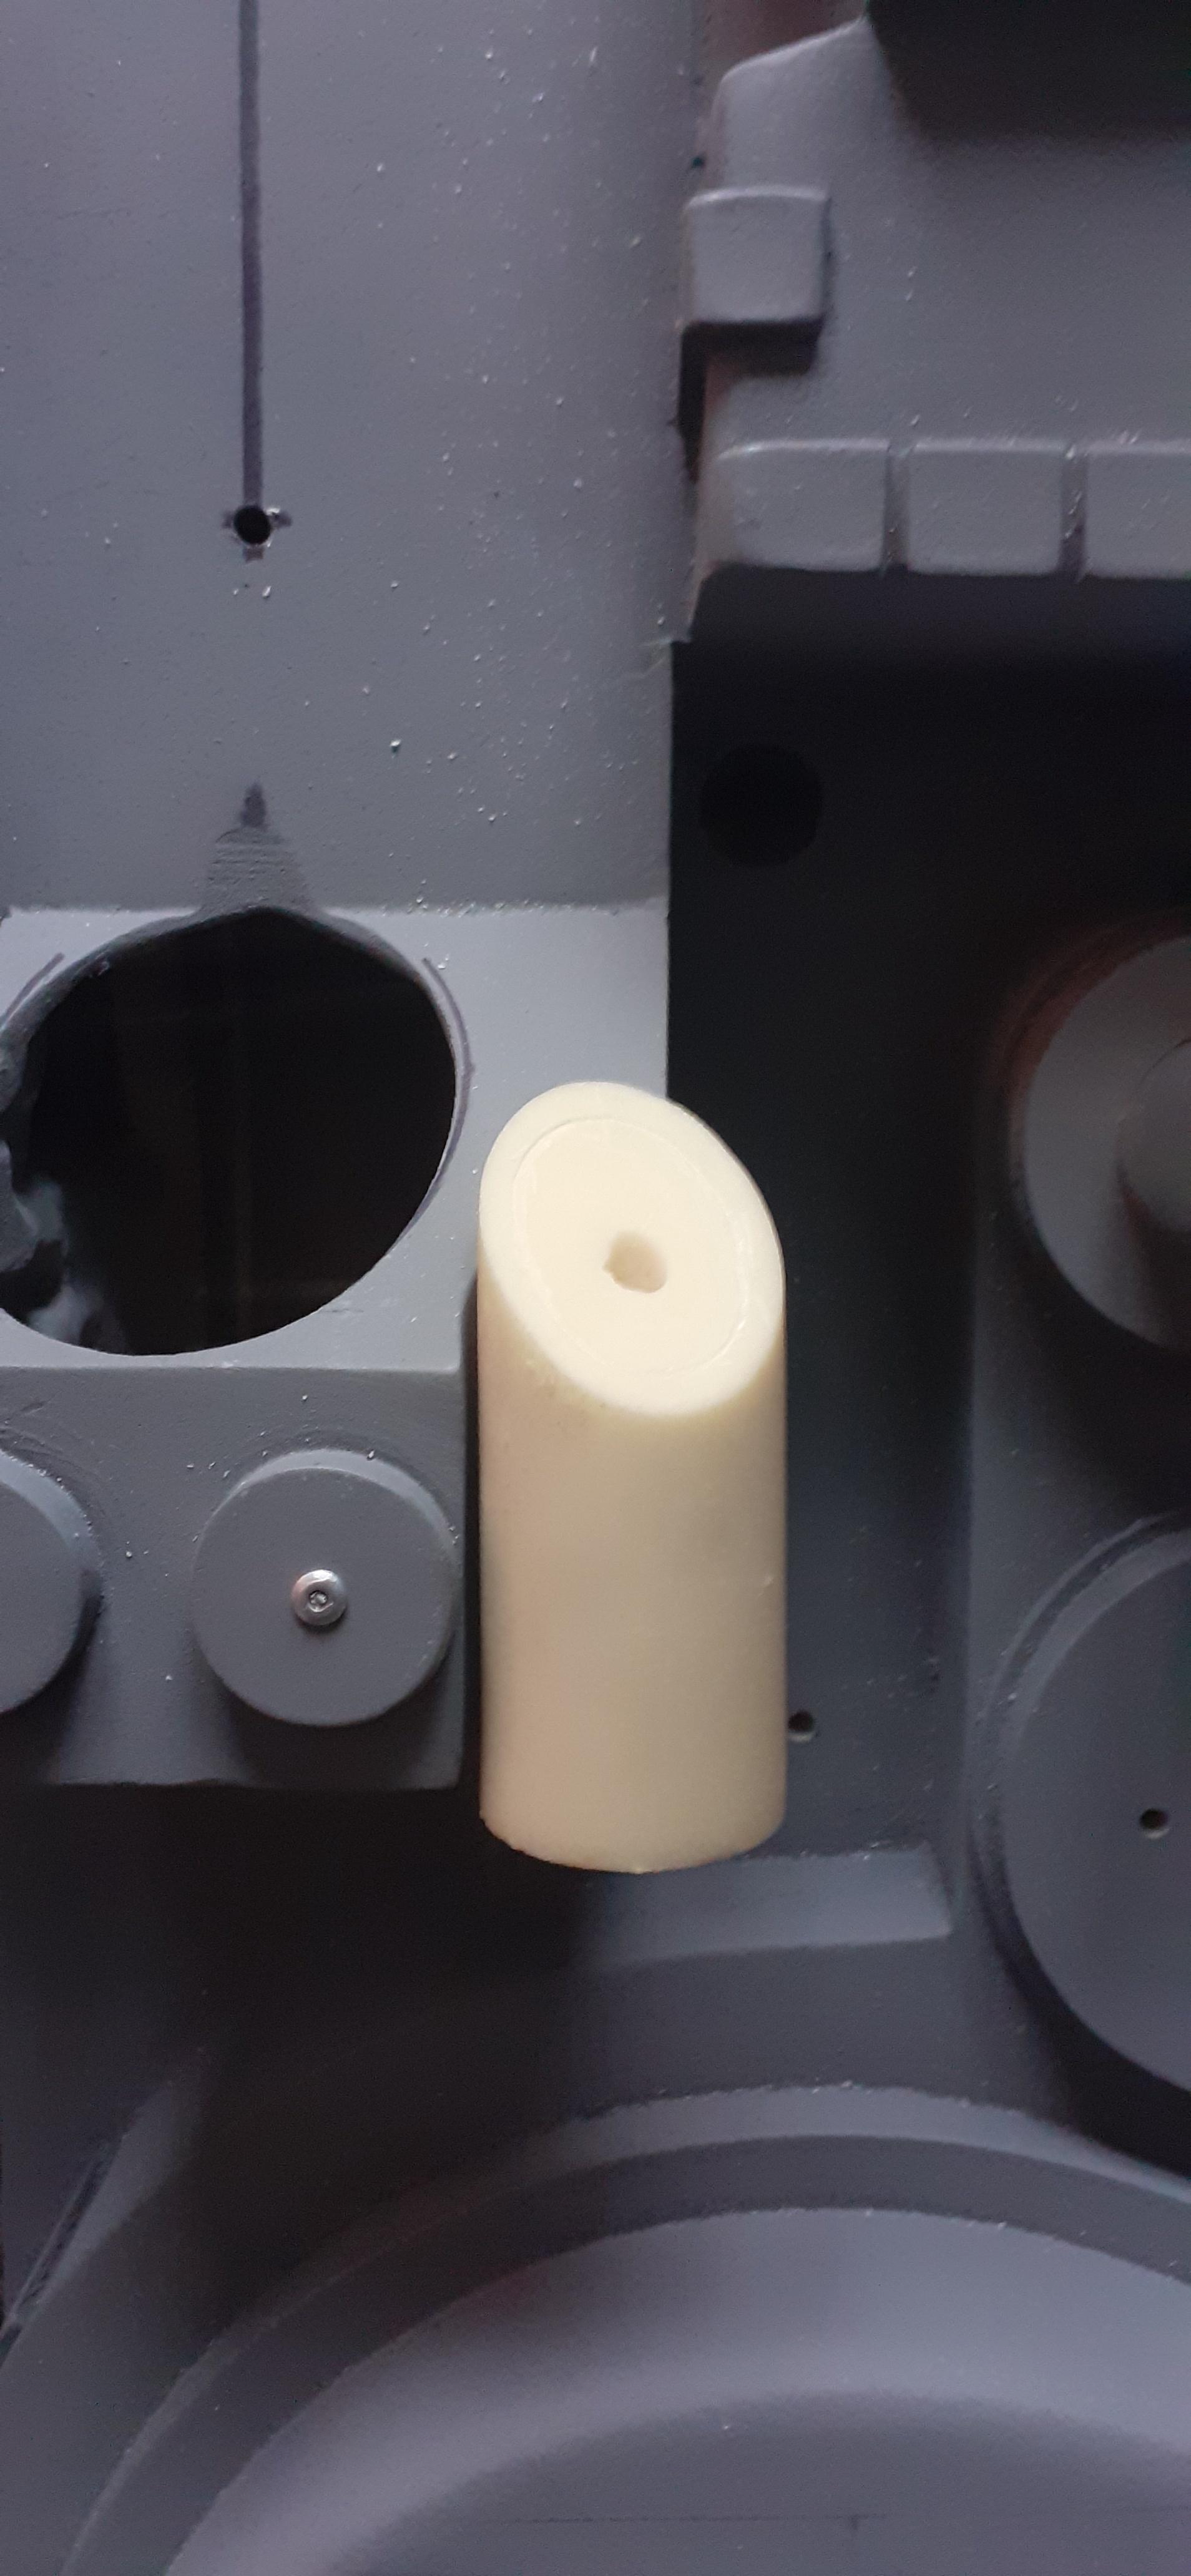
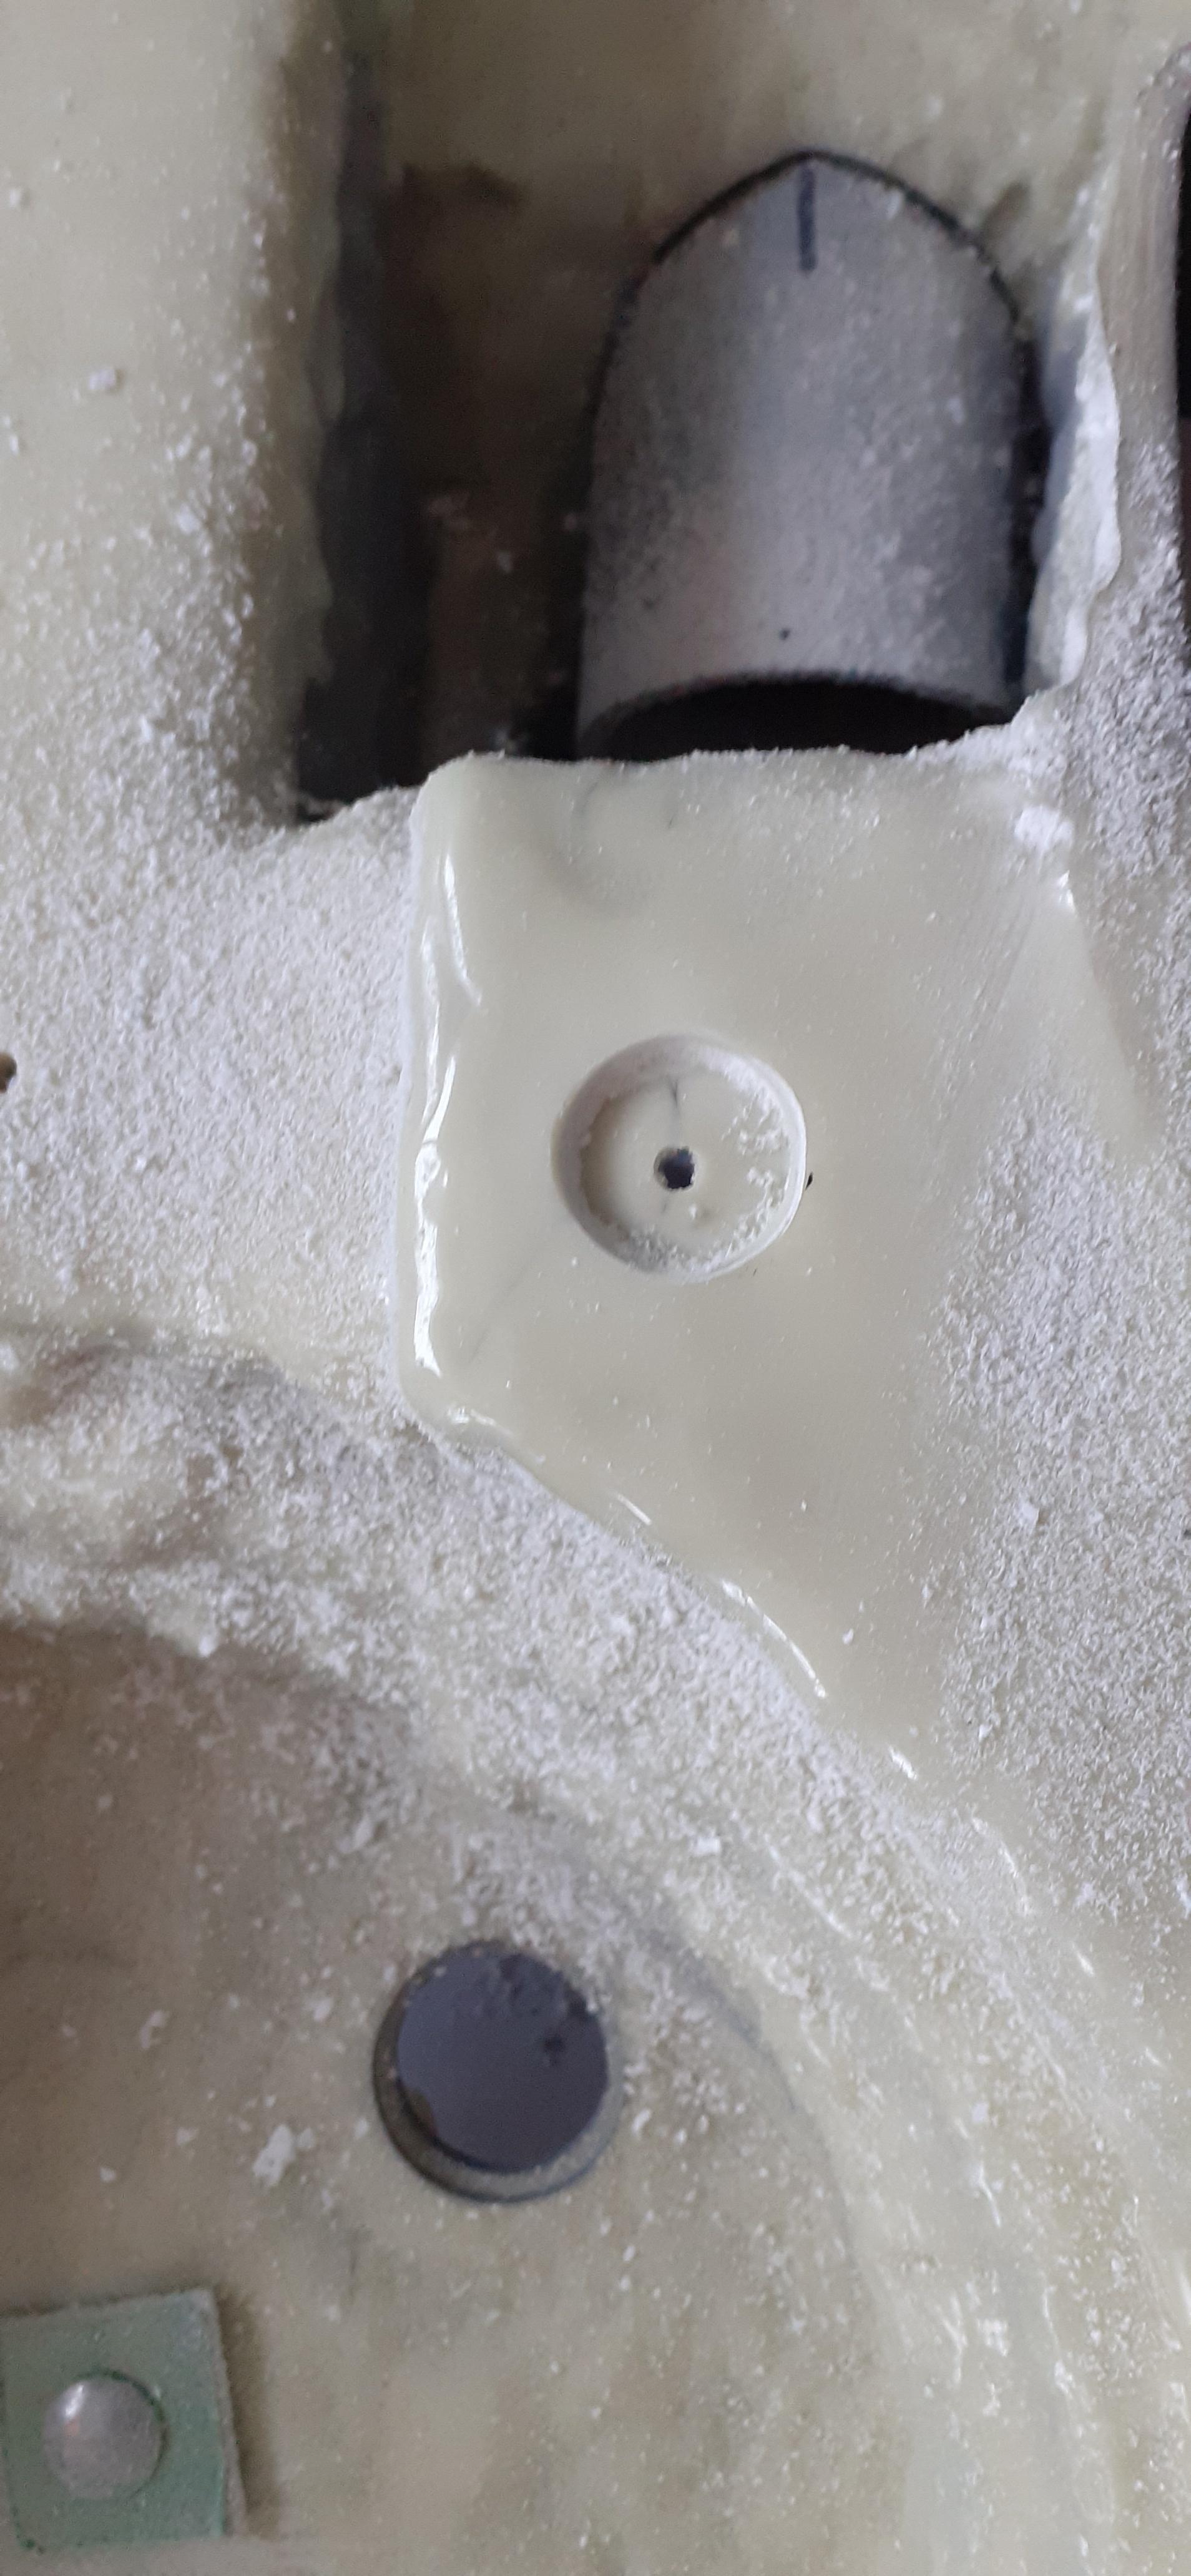
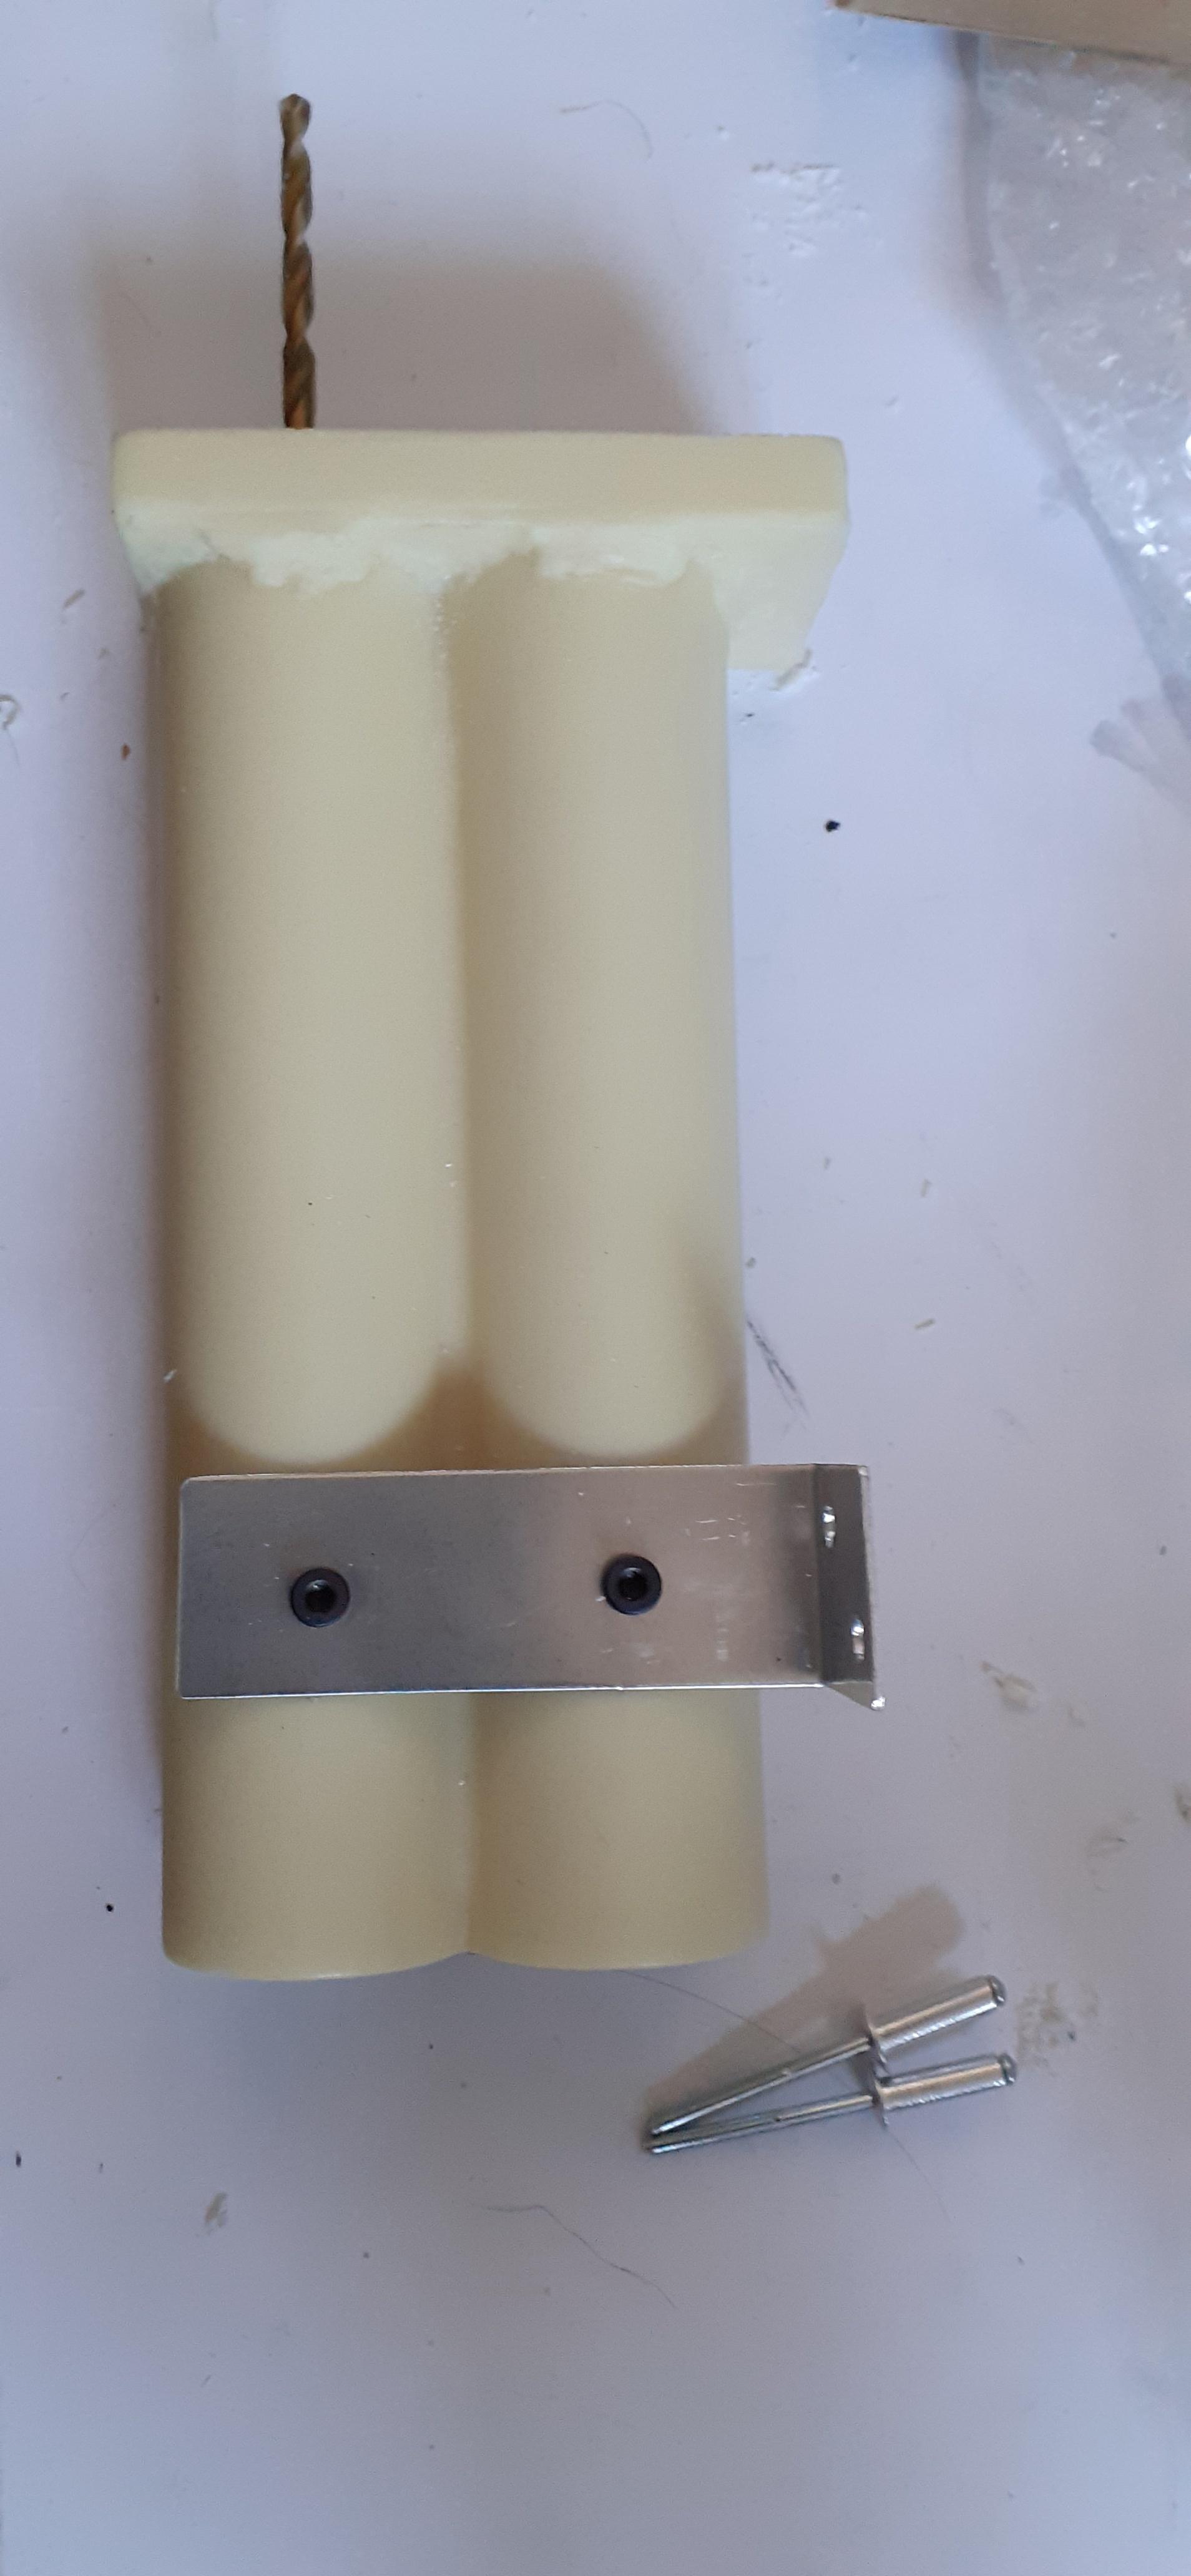
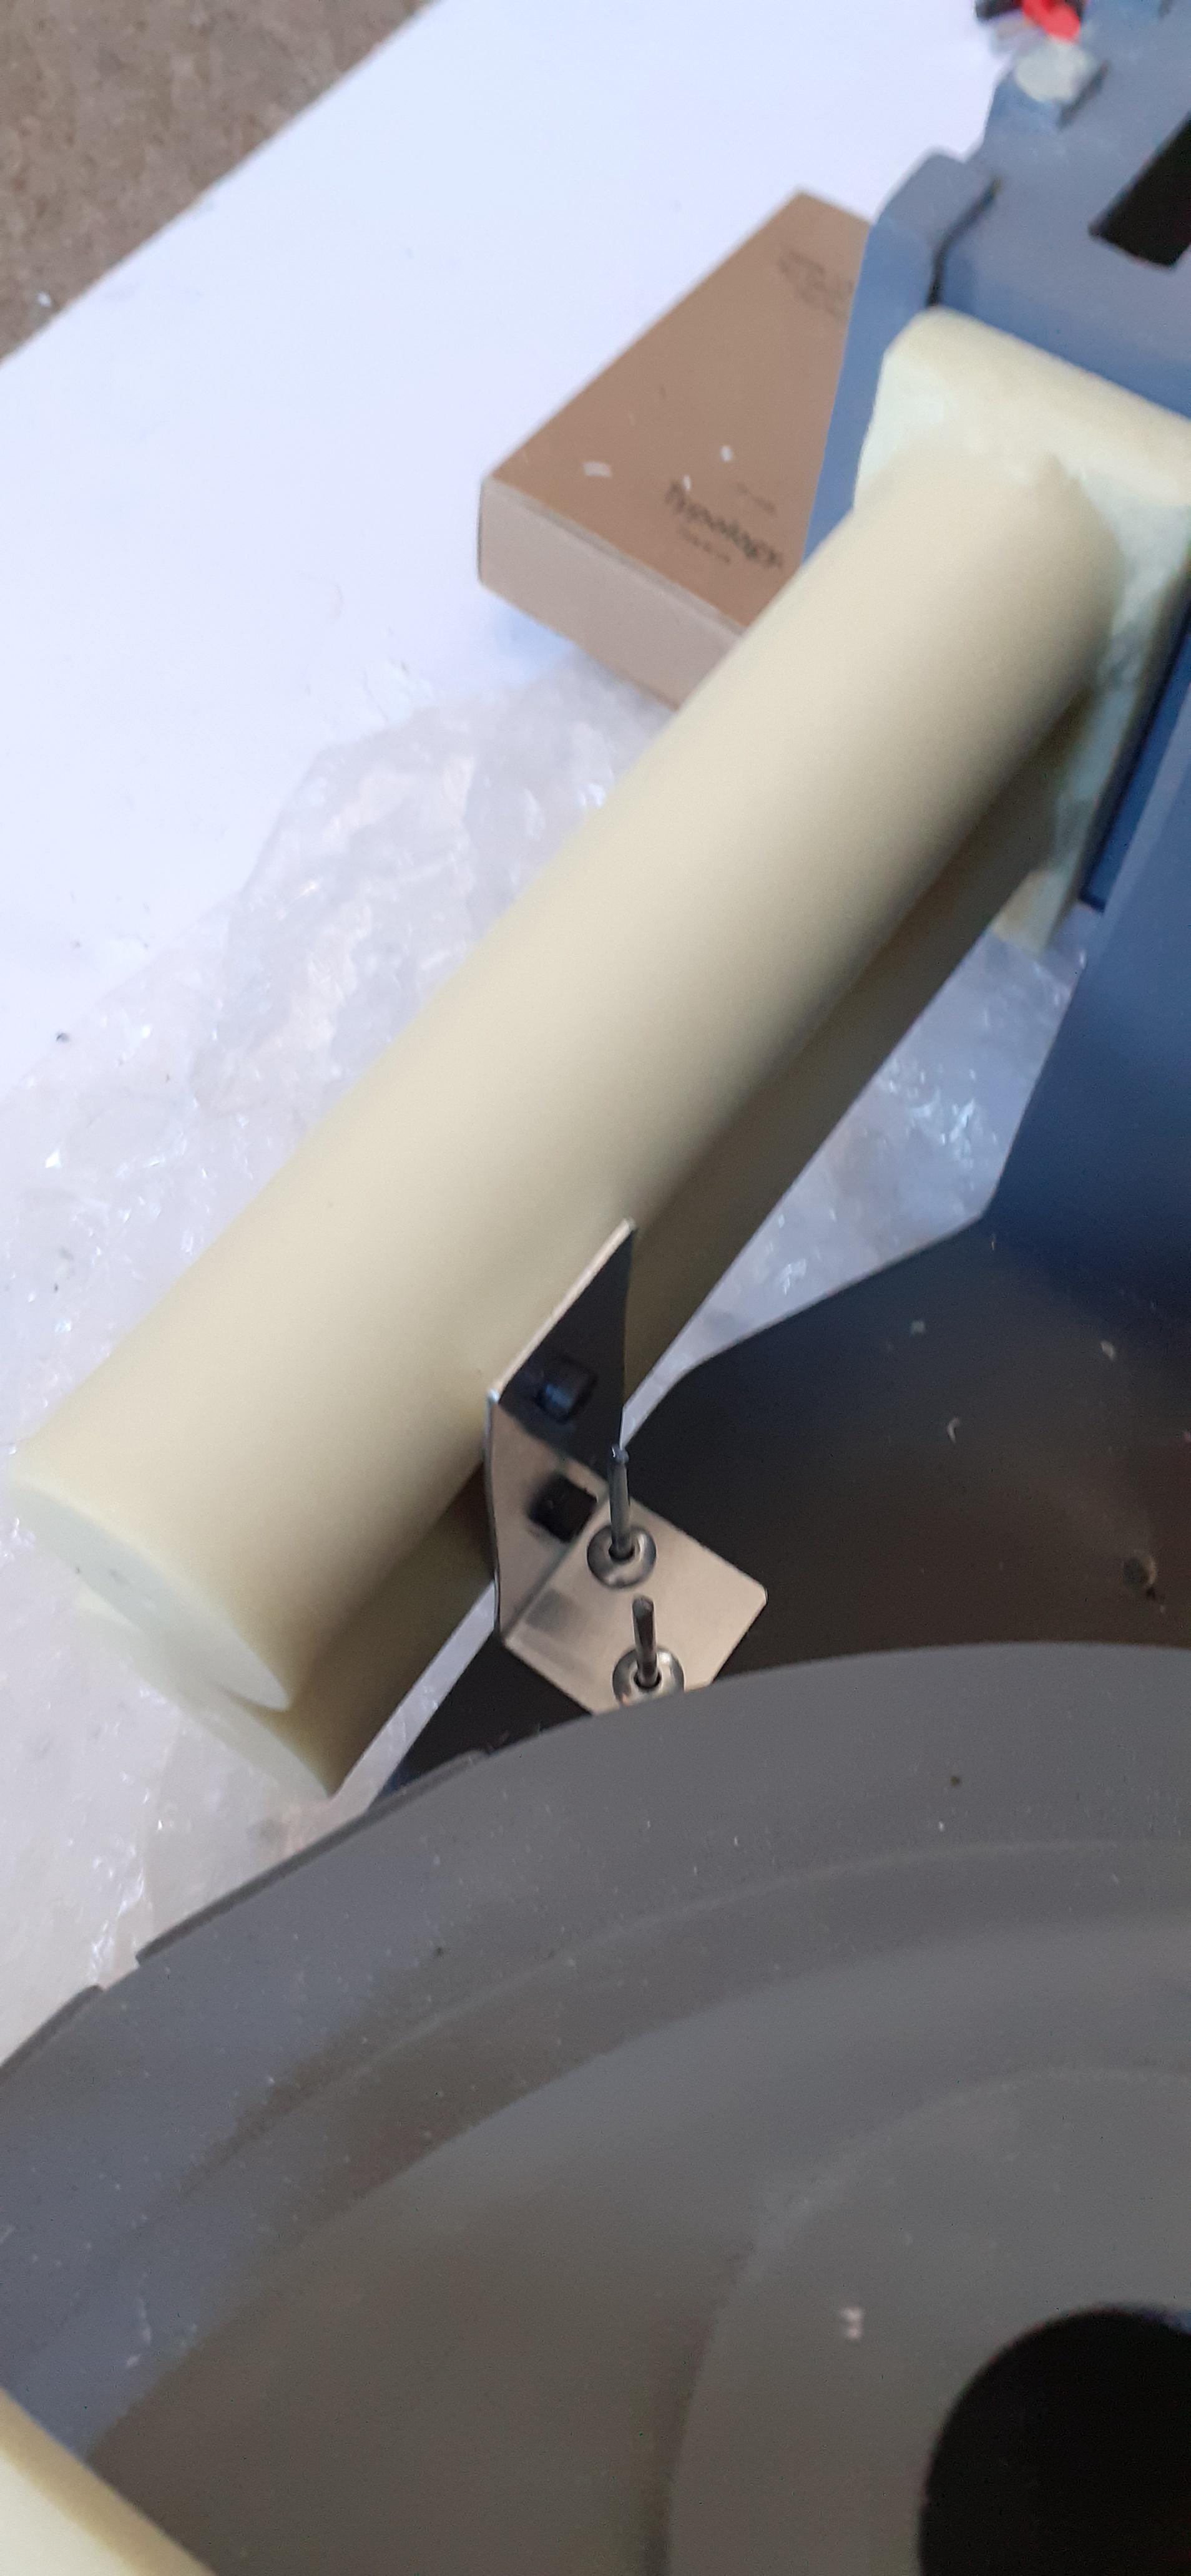
I managed to borrow a dremel off a friend so I could sort out the inside of the crank generator hole and attempt to make a little recessed hole for clearance of the self drilling roofing screw on the underside of the filler tube as the shell sits flush with the motherboard there. Let me know if there is anything I should keep in mind for stuff like this as I just eyeballed it. I also made a little recession where I’ll be attaching the injector L bracket; I’m thinking rivets through from the back of the shell like the screen used packs and then bolts into the injectors.
Are the powercell LEDs on the gbfans kit blue or white? As I’m going for the Stantz powercell look I would need them to be white to look right.
Thinking ahead to painting, I’m planning on using the Protex spray for the cyclotron texture and various other parts, as well as a metallic silver undercoat to give a more realistic look when I weather the pack…
So what would be the best plan of attack? I’m not sure if the texture should go on first but it might get lost under all the coats on top? And would the metallic undercoat need a clear coat before the satin black top coat?
The gbfans pack light kit for the power cell are white led’s. The lens is what makes them look blue so it will work with what your doing! I actually thought about sanding those two parts to replicate what we saw on Ray’s pack! Outstanding work!!!
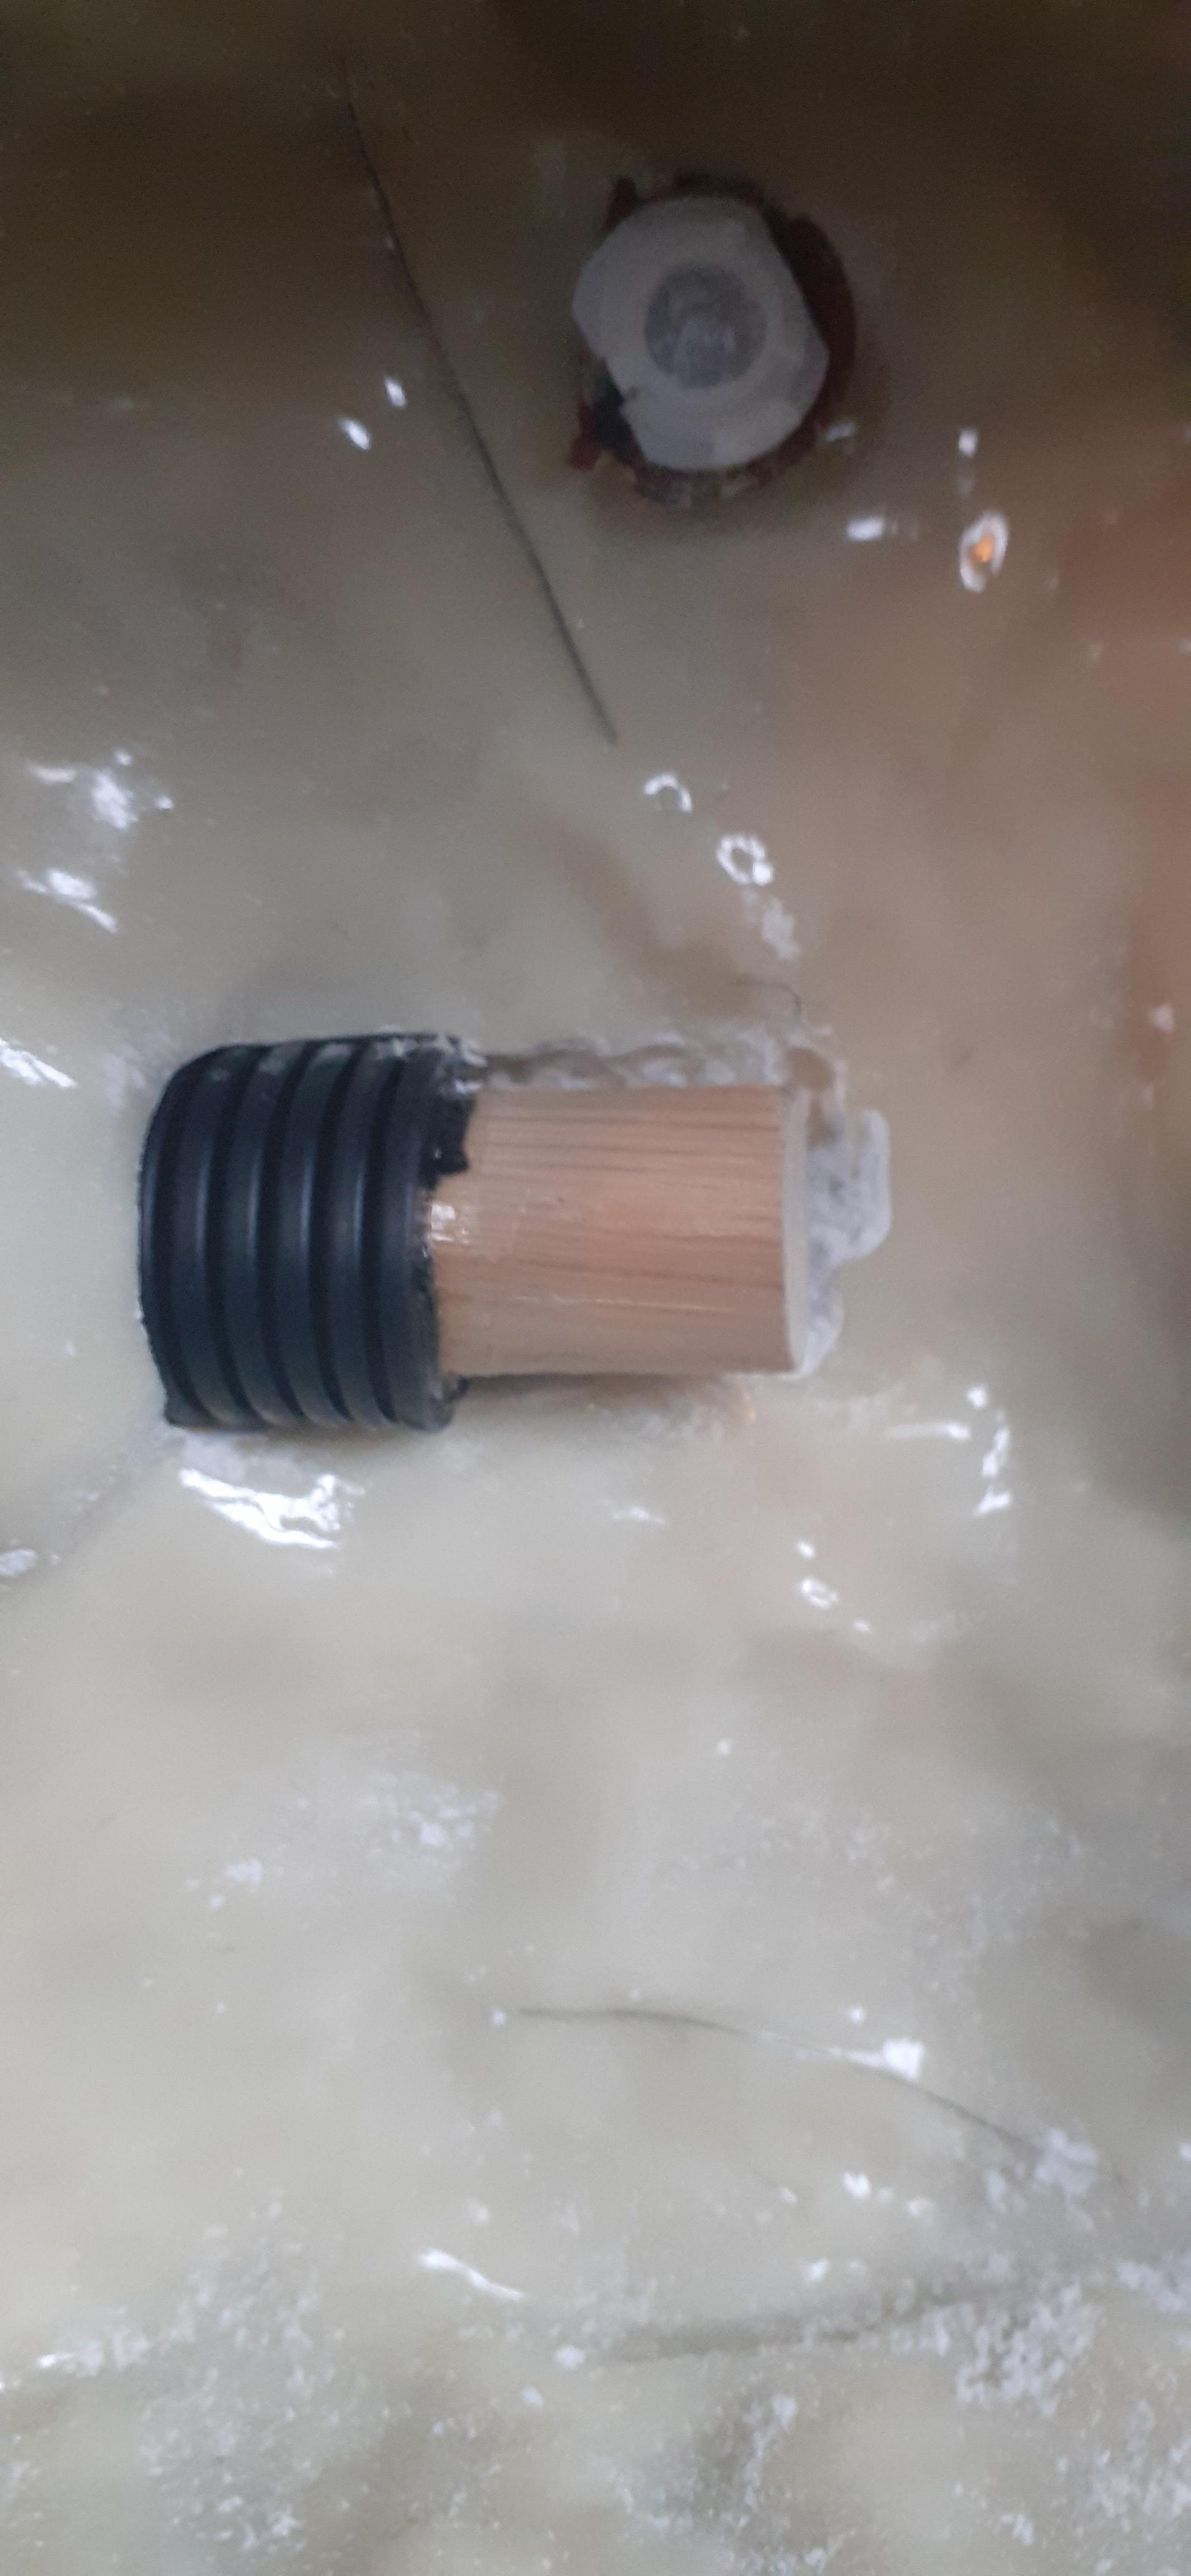
I (very) carefully dremeled out the rest of the crank generator hole so the loom and dowel could sit more flush the the shell WITHOUT accidentally dremeling a hole through the shell. I’m quite proud of myself for that!
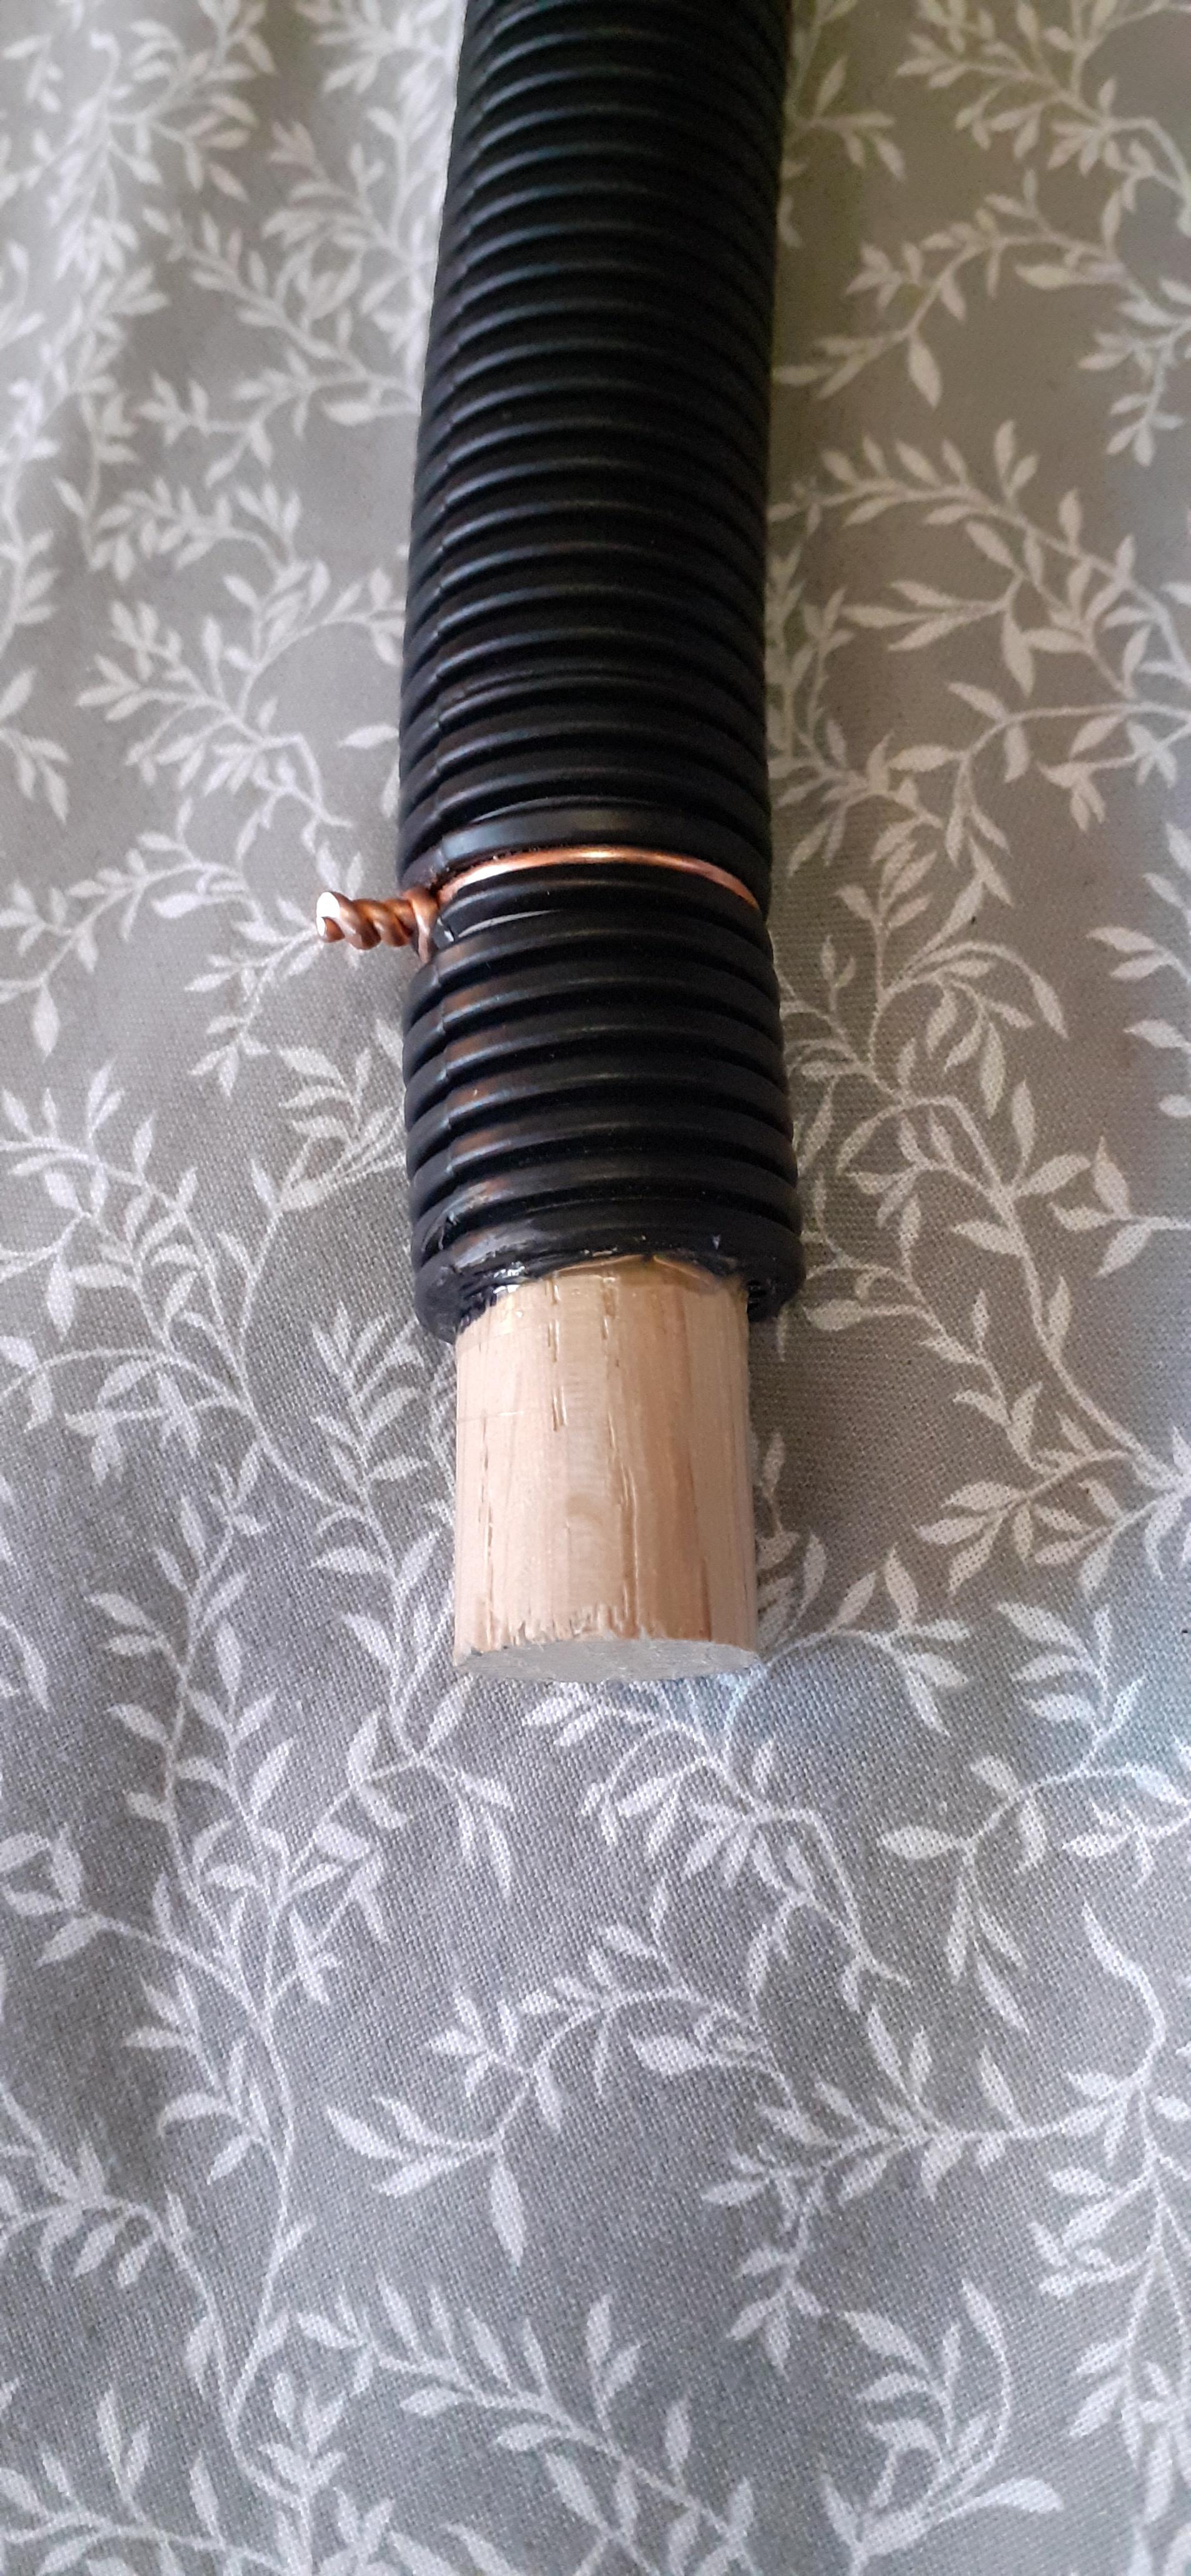
I also sorted out securing the dowel into the loom with liberal application of super glue and some 1mm copper wire wrapped tight as I’ve seen the screen used packs have some wire twist tightened around either end for I assume the same purpose. I know copper might not be the right wire but I’ll be weathering it to a darker tarnished colour so it wont stand out so much.
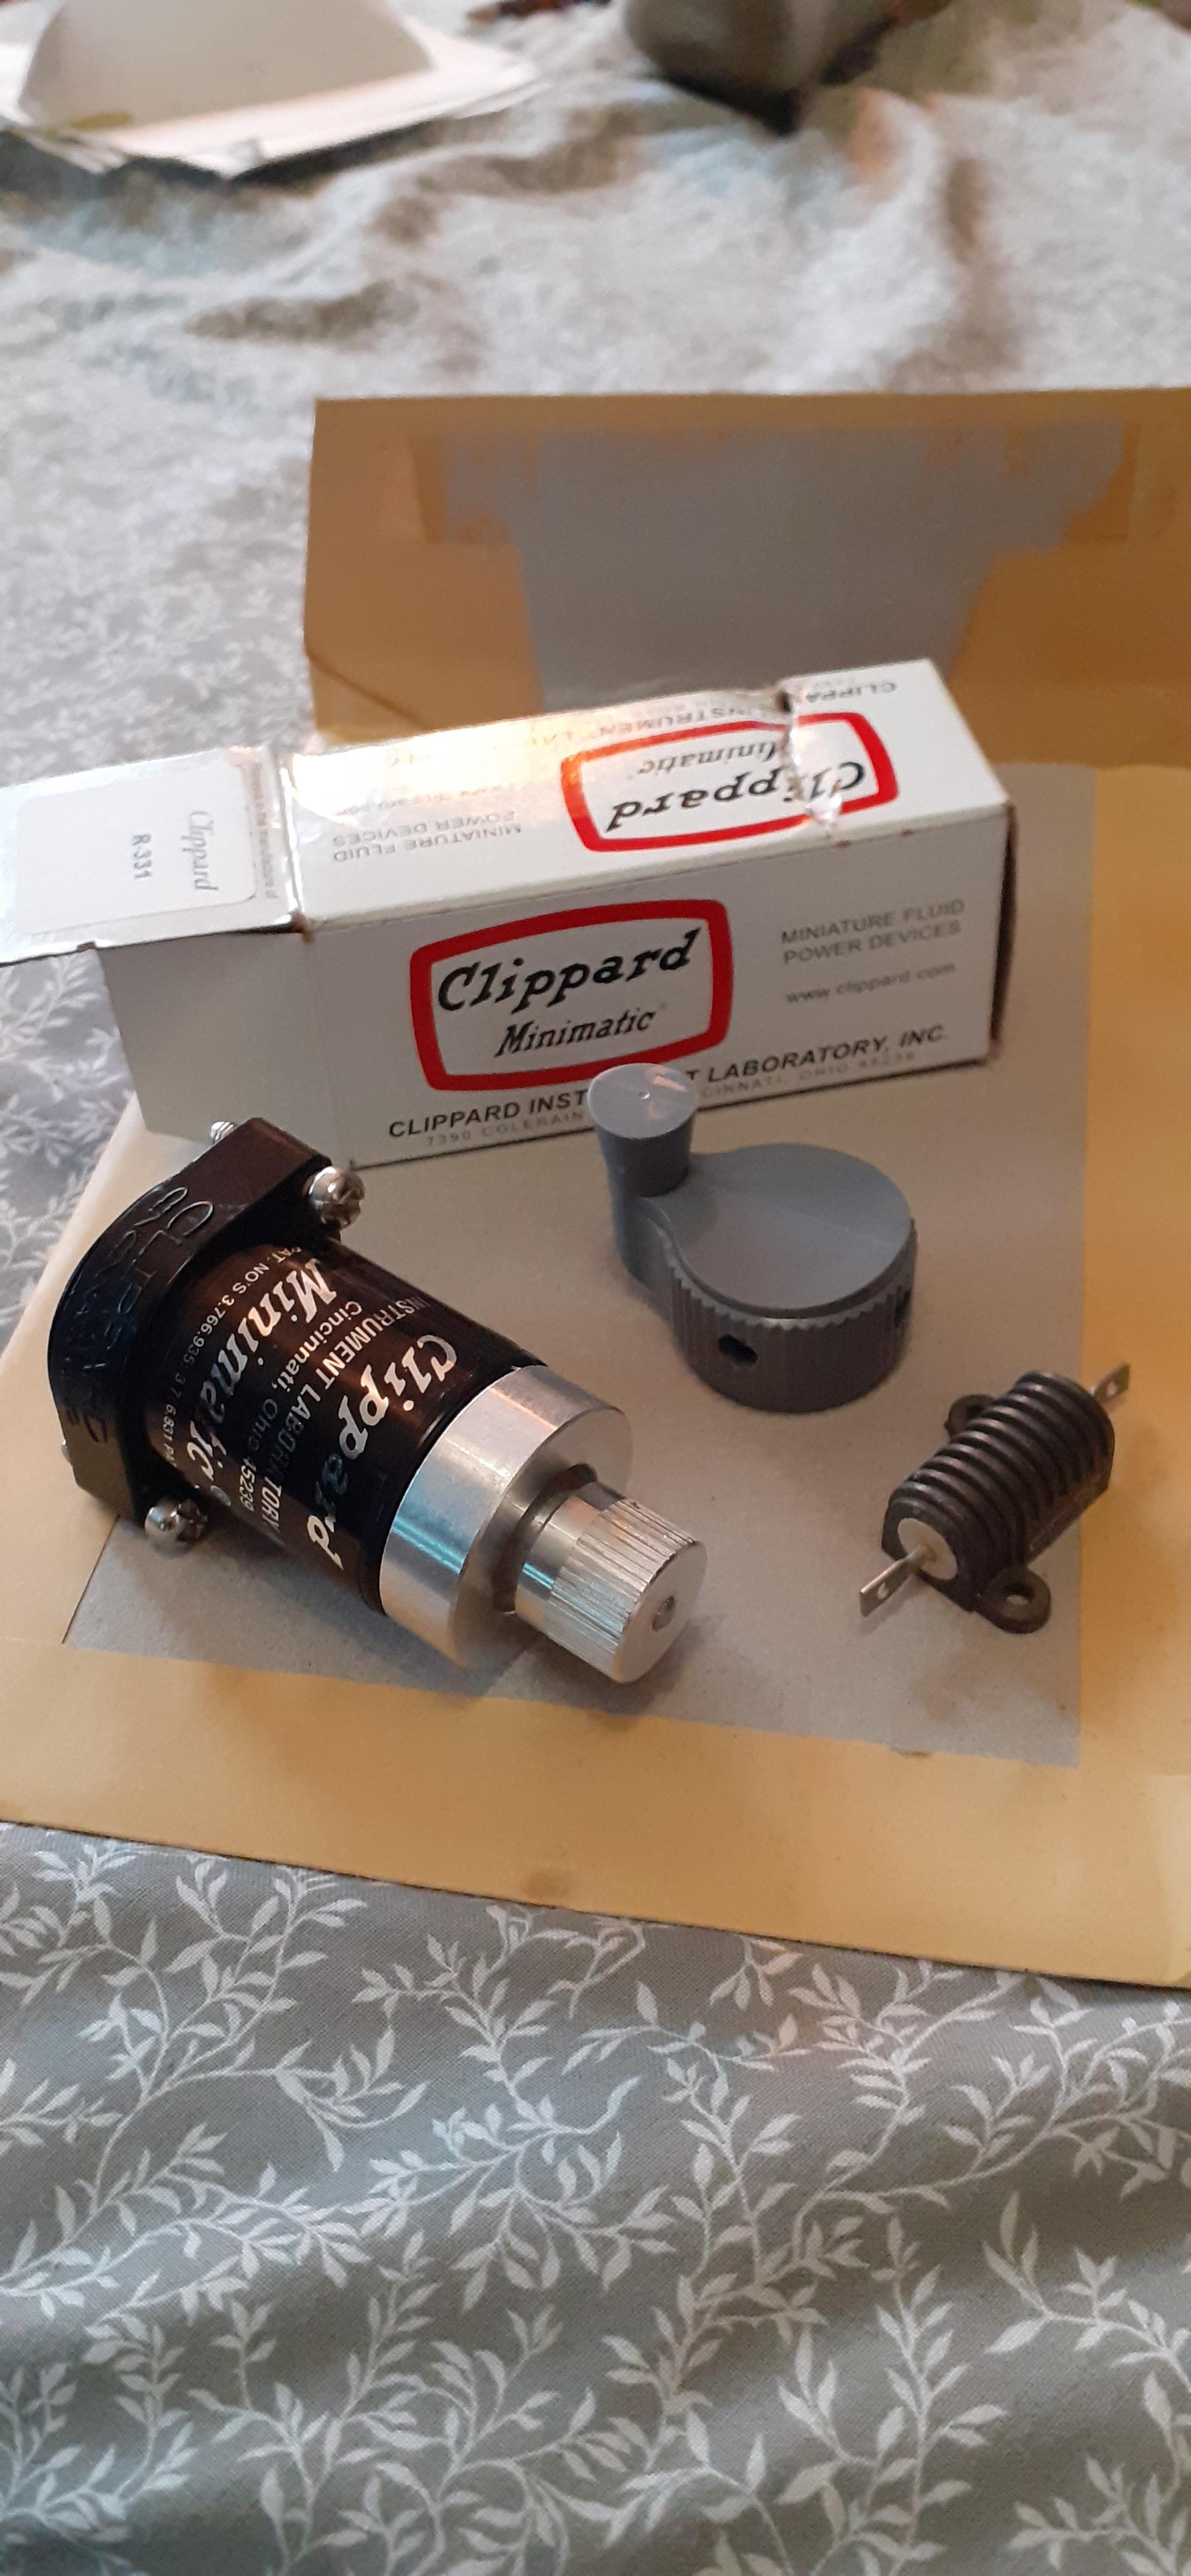
My order from GBfans finally made it’s way across the pond HUZZAH!
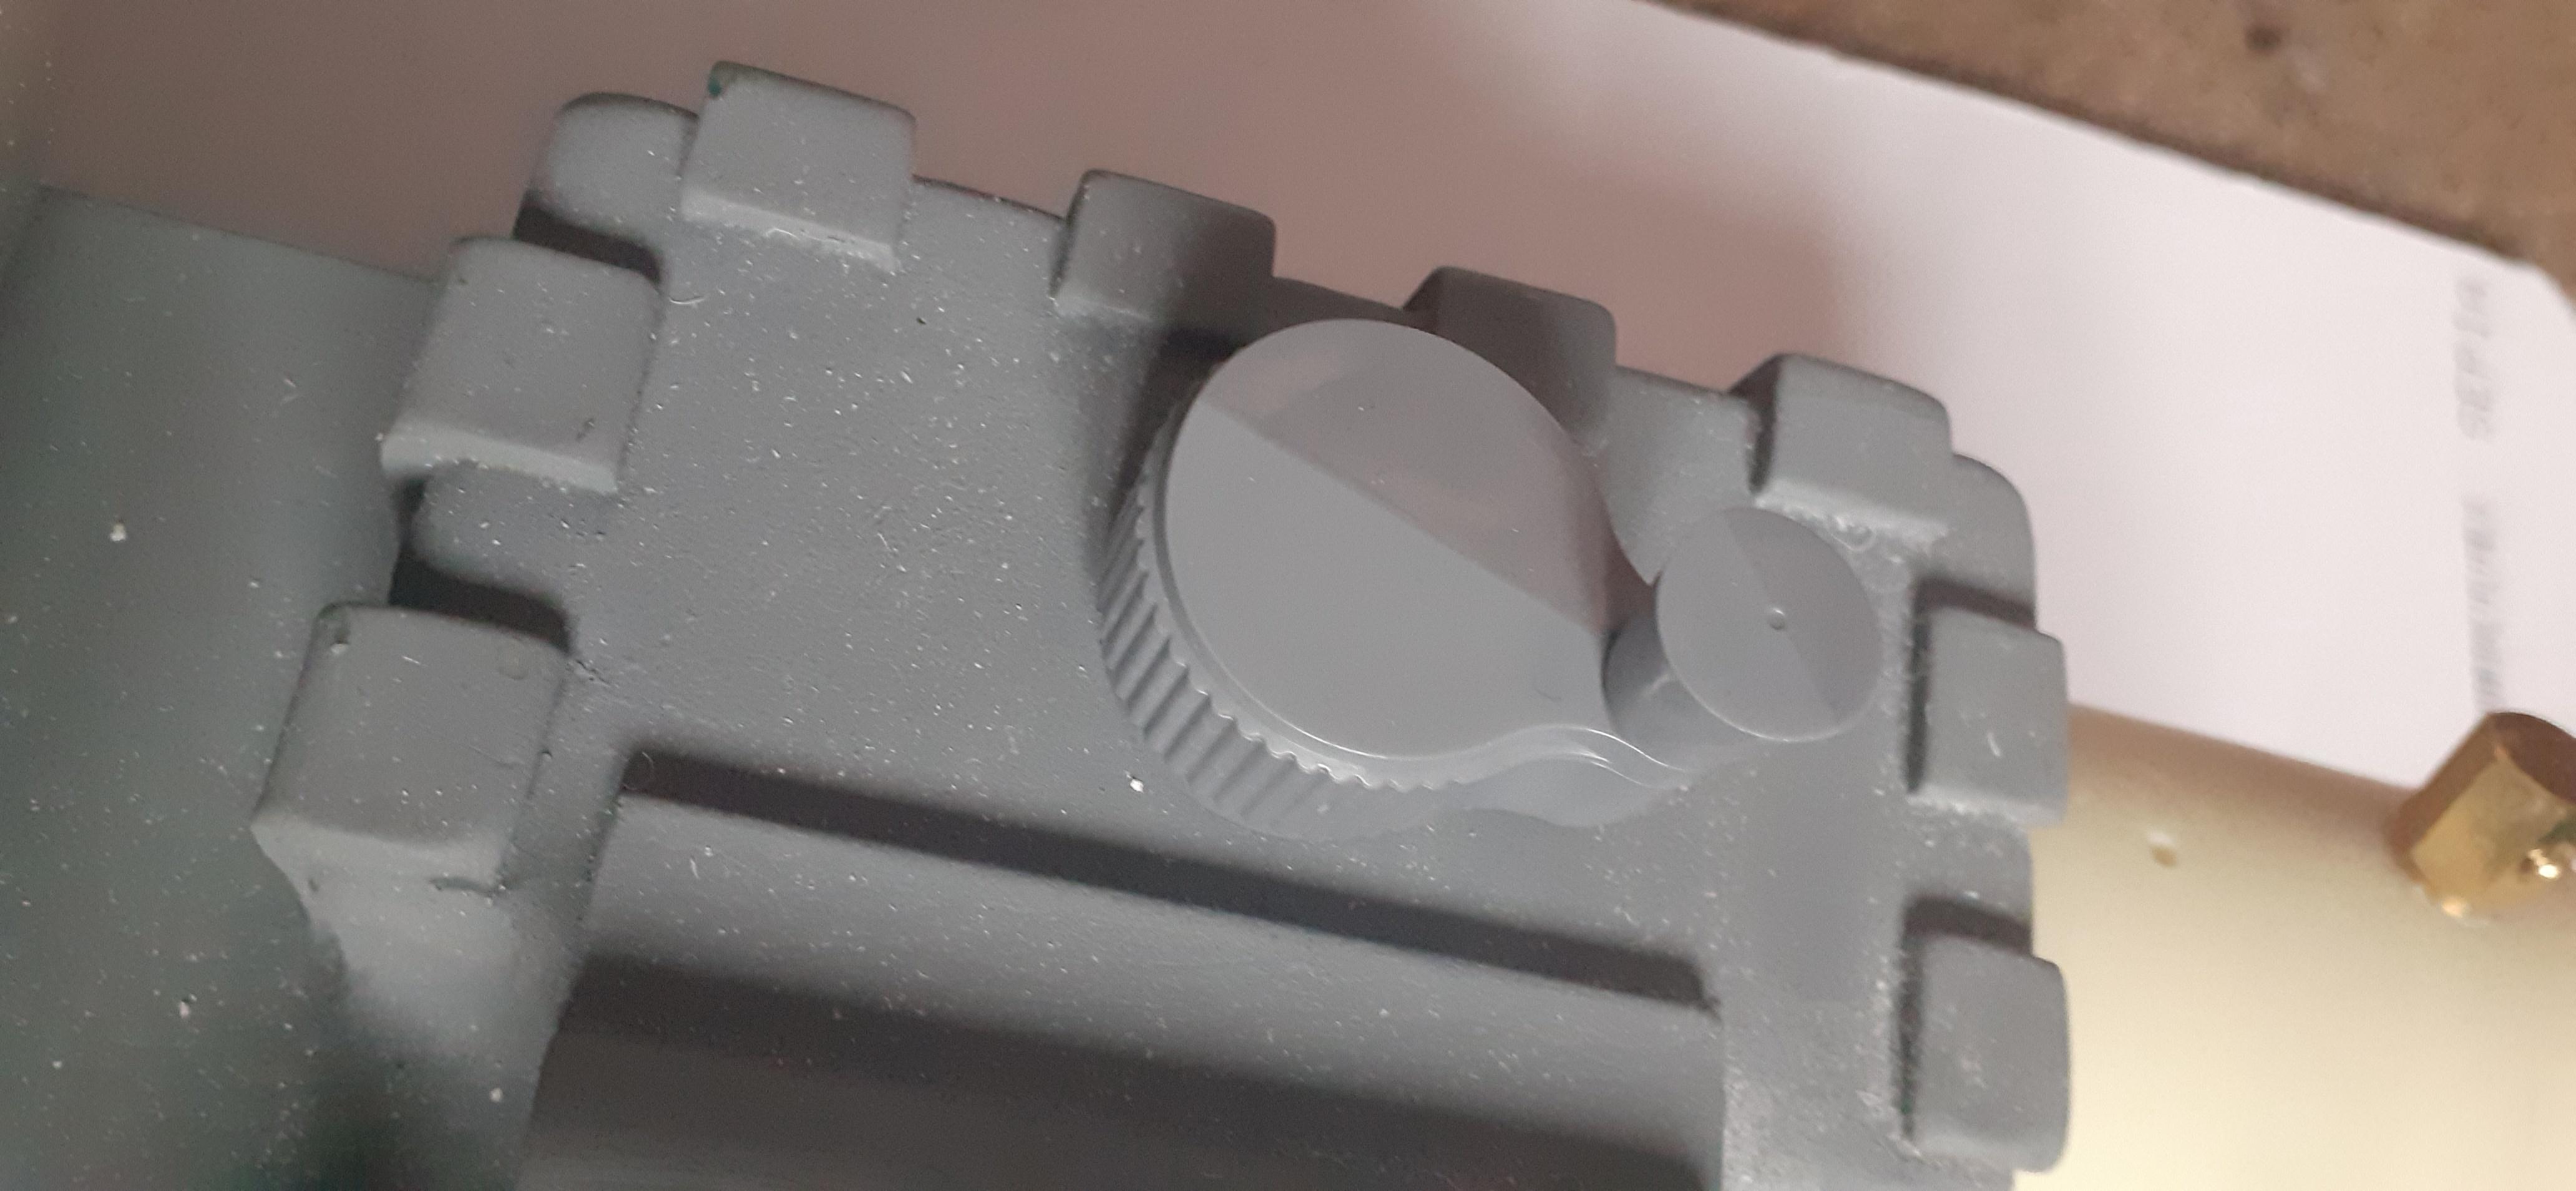
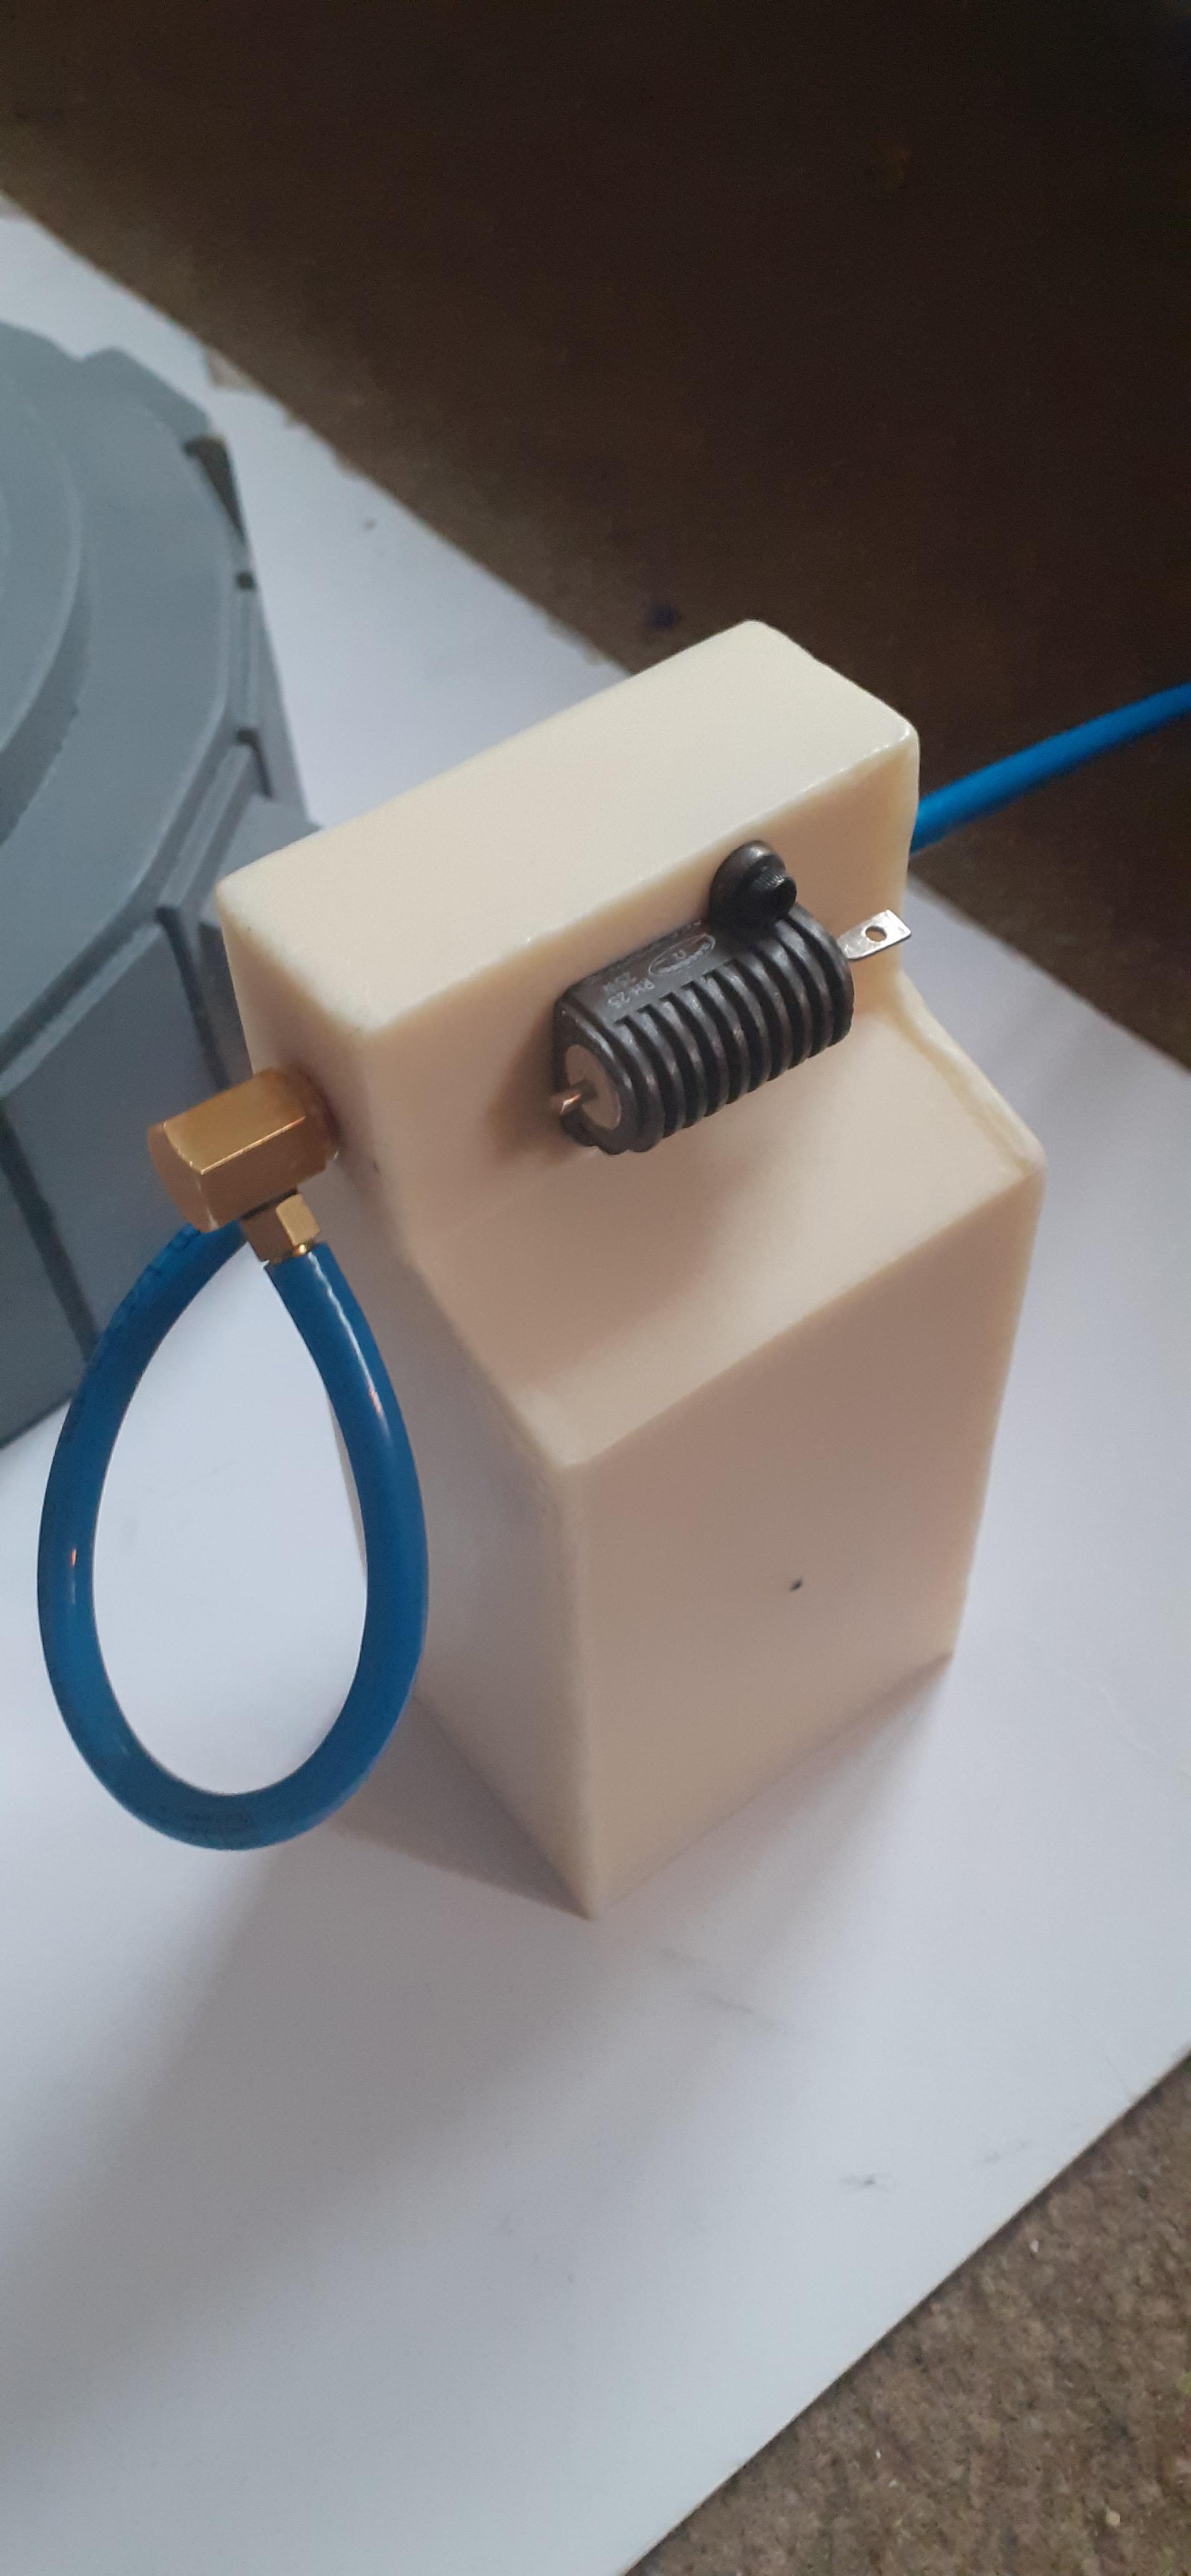
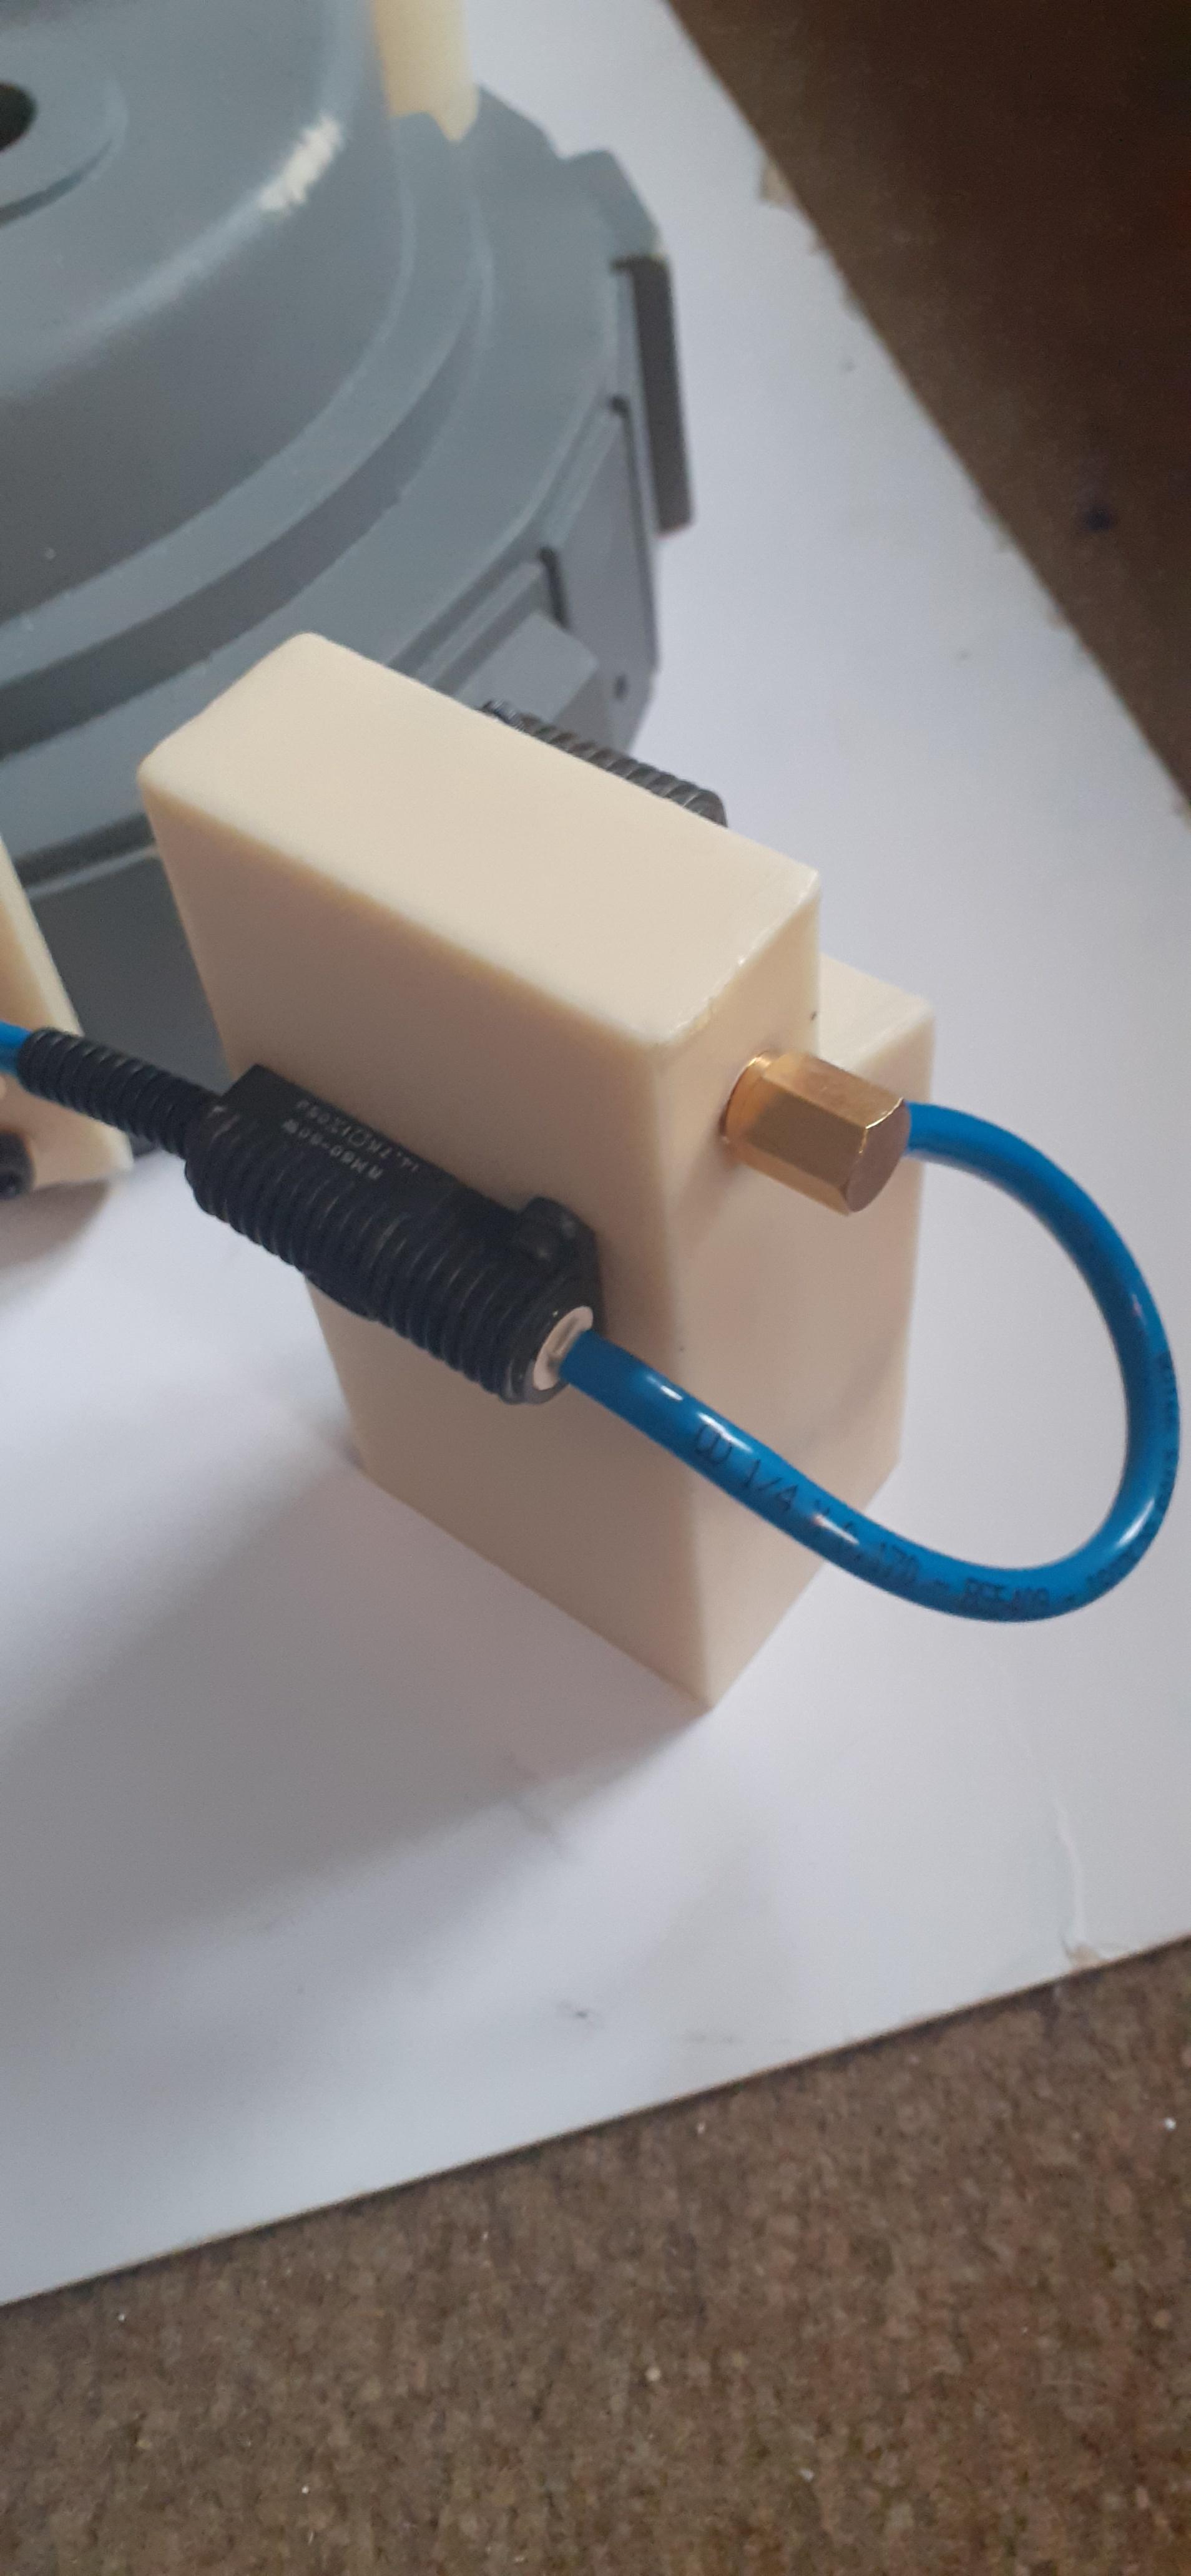
Just the few genuine parts I couldn’t source in the uk, a clippard r331, GBfans reproduction crank knob which is the next best thing apart from finding a genuine Raytheon, and a dalohm rh25 resistor.
Then I fit the rh25 to my WIP ion arm. I had already fit the rh50 which a got from Jupiter electronics along with the clippard hex elbows, top notch stuff.
I decided to clip off the top contact on the rh25. Also as the tube was super loose over the contacts on the resistor I solved that problem but wrapping masking tape around the contacts until the tube fit over snug.
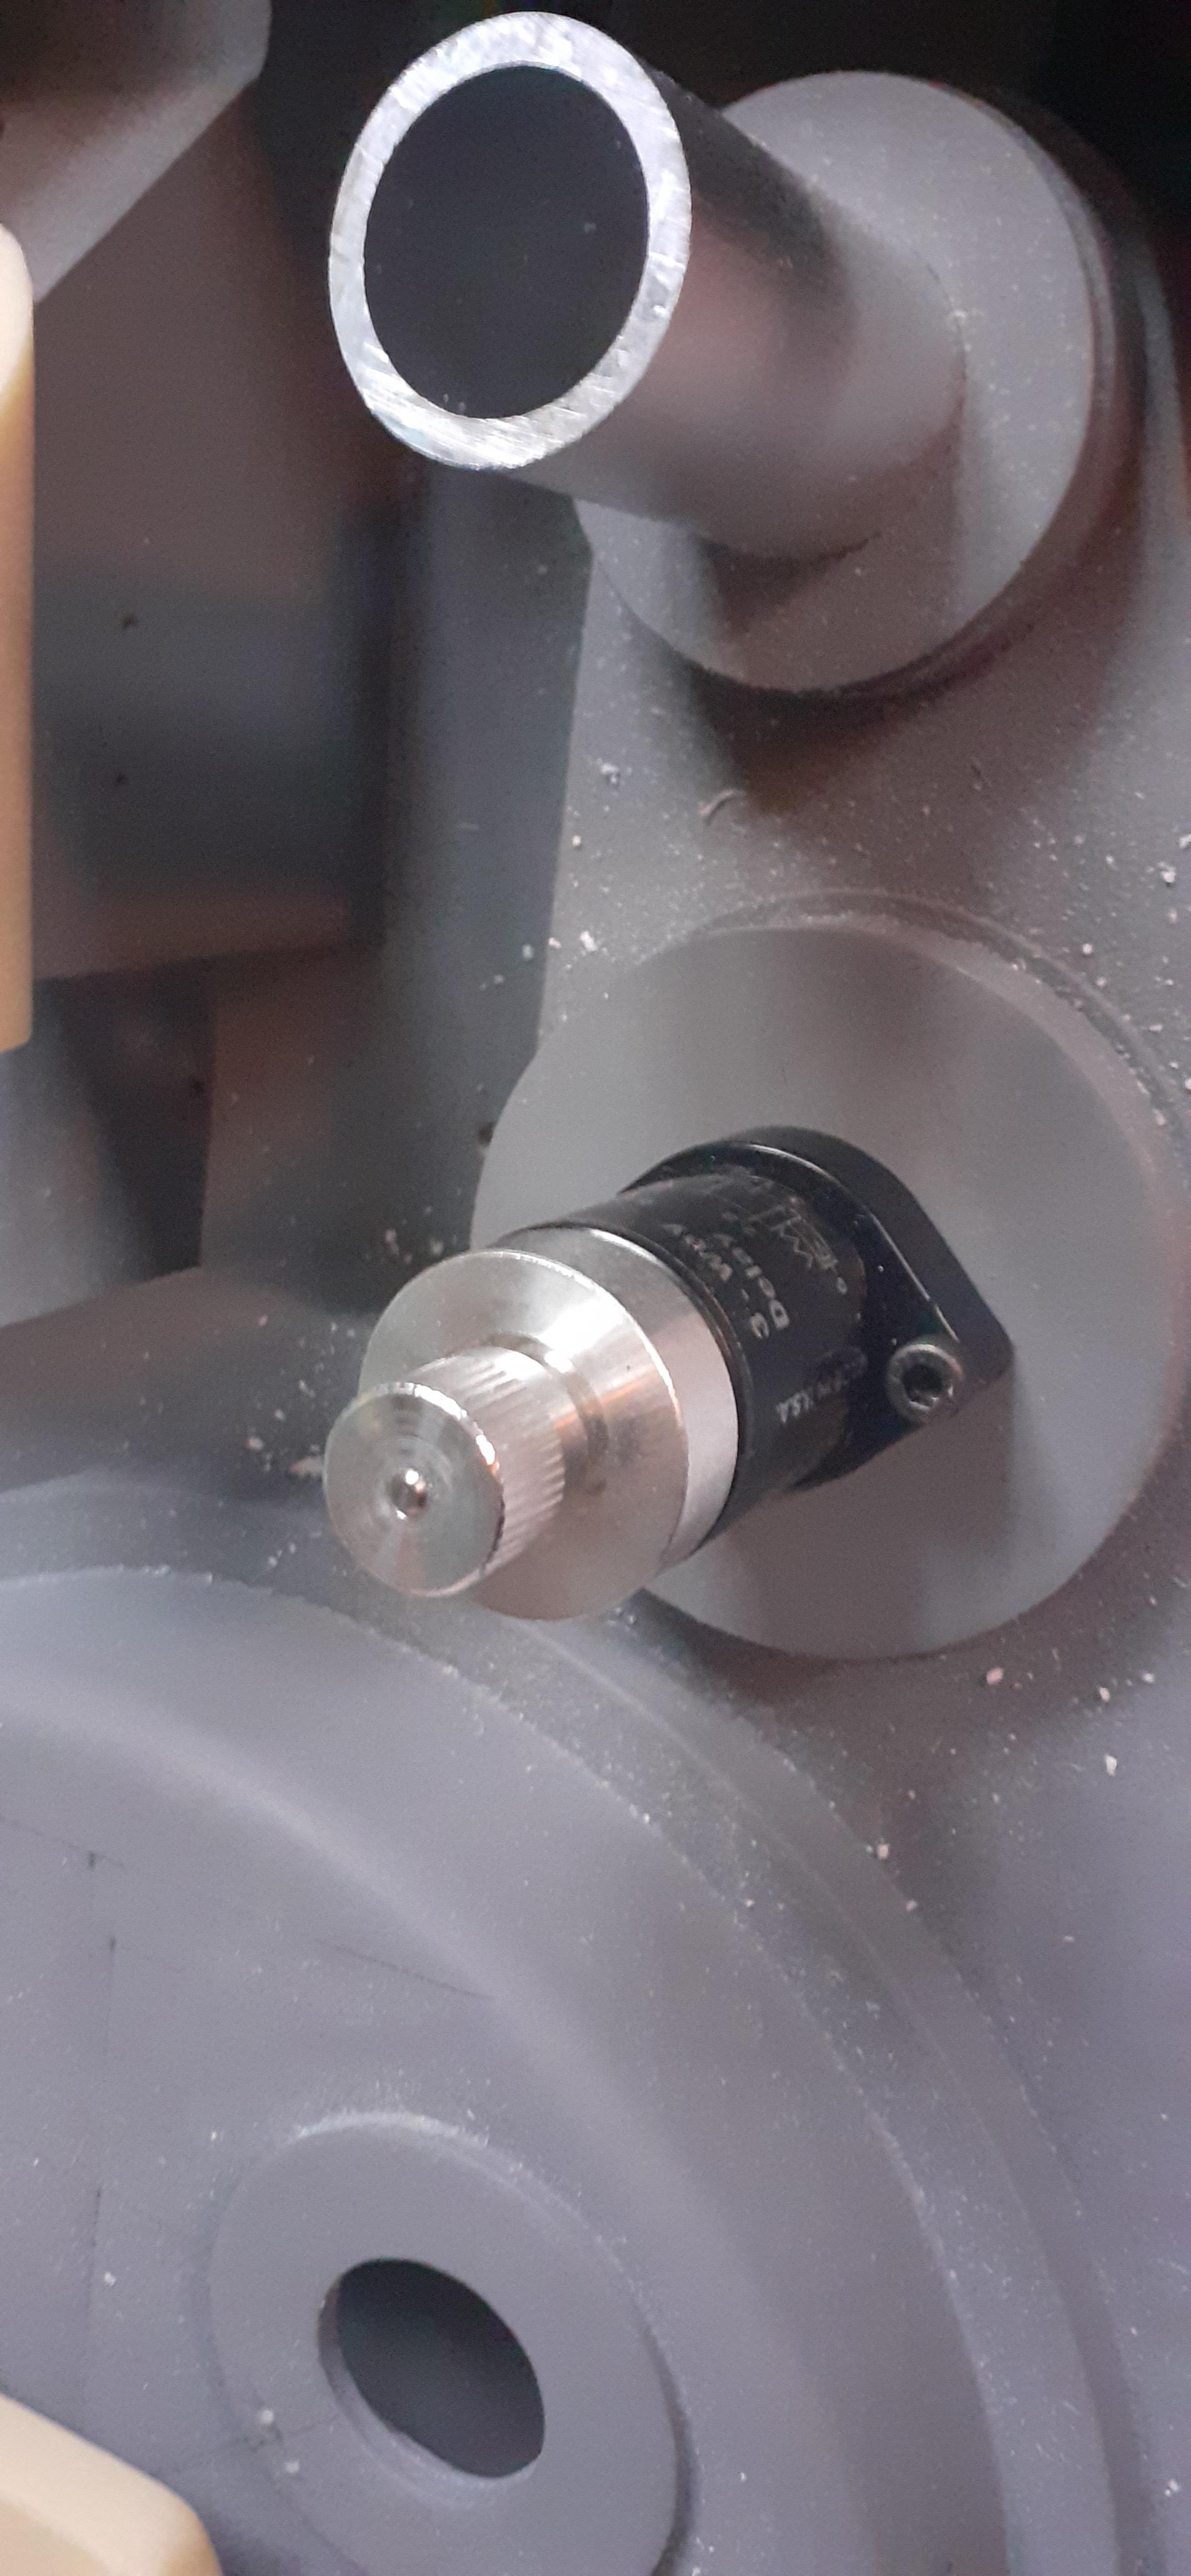
Then it was time to dry fit the clippard, I had already marked the loactions for the screw holes by using the resin version I got with Ben’s kit. I marked the halfway point but as I didnt have a 10mm drill bit for the centre I drilled it with the biggest bit I had and dremeled out the rest as well as the little notch.
Bit late now, but you can get clippard valves from Radwell.co.uk! They have a few bits of the pack hardware like the clippard valves, clippard elbows & hose barbs and Dale PH25 resistors
If you want real arcoelectric lights for the wand (red slo-blo and clear on top next to the hat light) then Farnell are the cheapest place in the UK, I think they’re about £3-4 each from memory.
Not sure if I want the proper incandescent bulbs as they pull a lot of power so might just stay with LEDs under the cliplites.
I’ve had a look at Radwell and they’ve got a few piece’s that will come in handy, just bummed trying to find nycoil tubing on there that isn’t in 100 meter spools for over £100
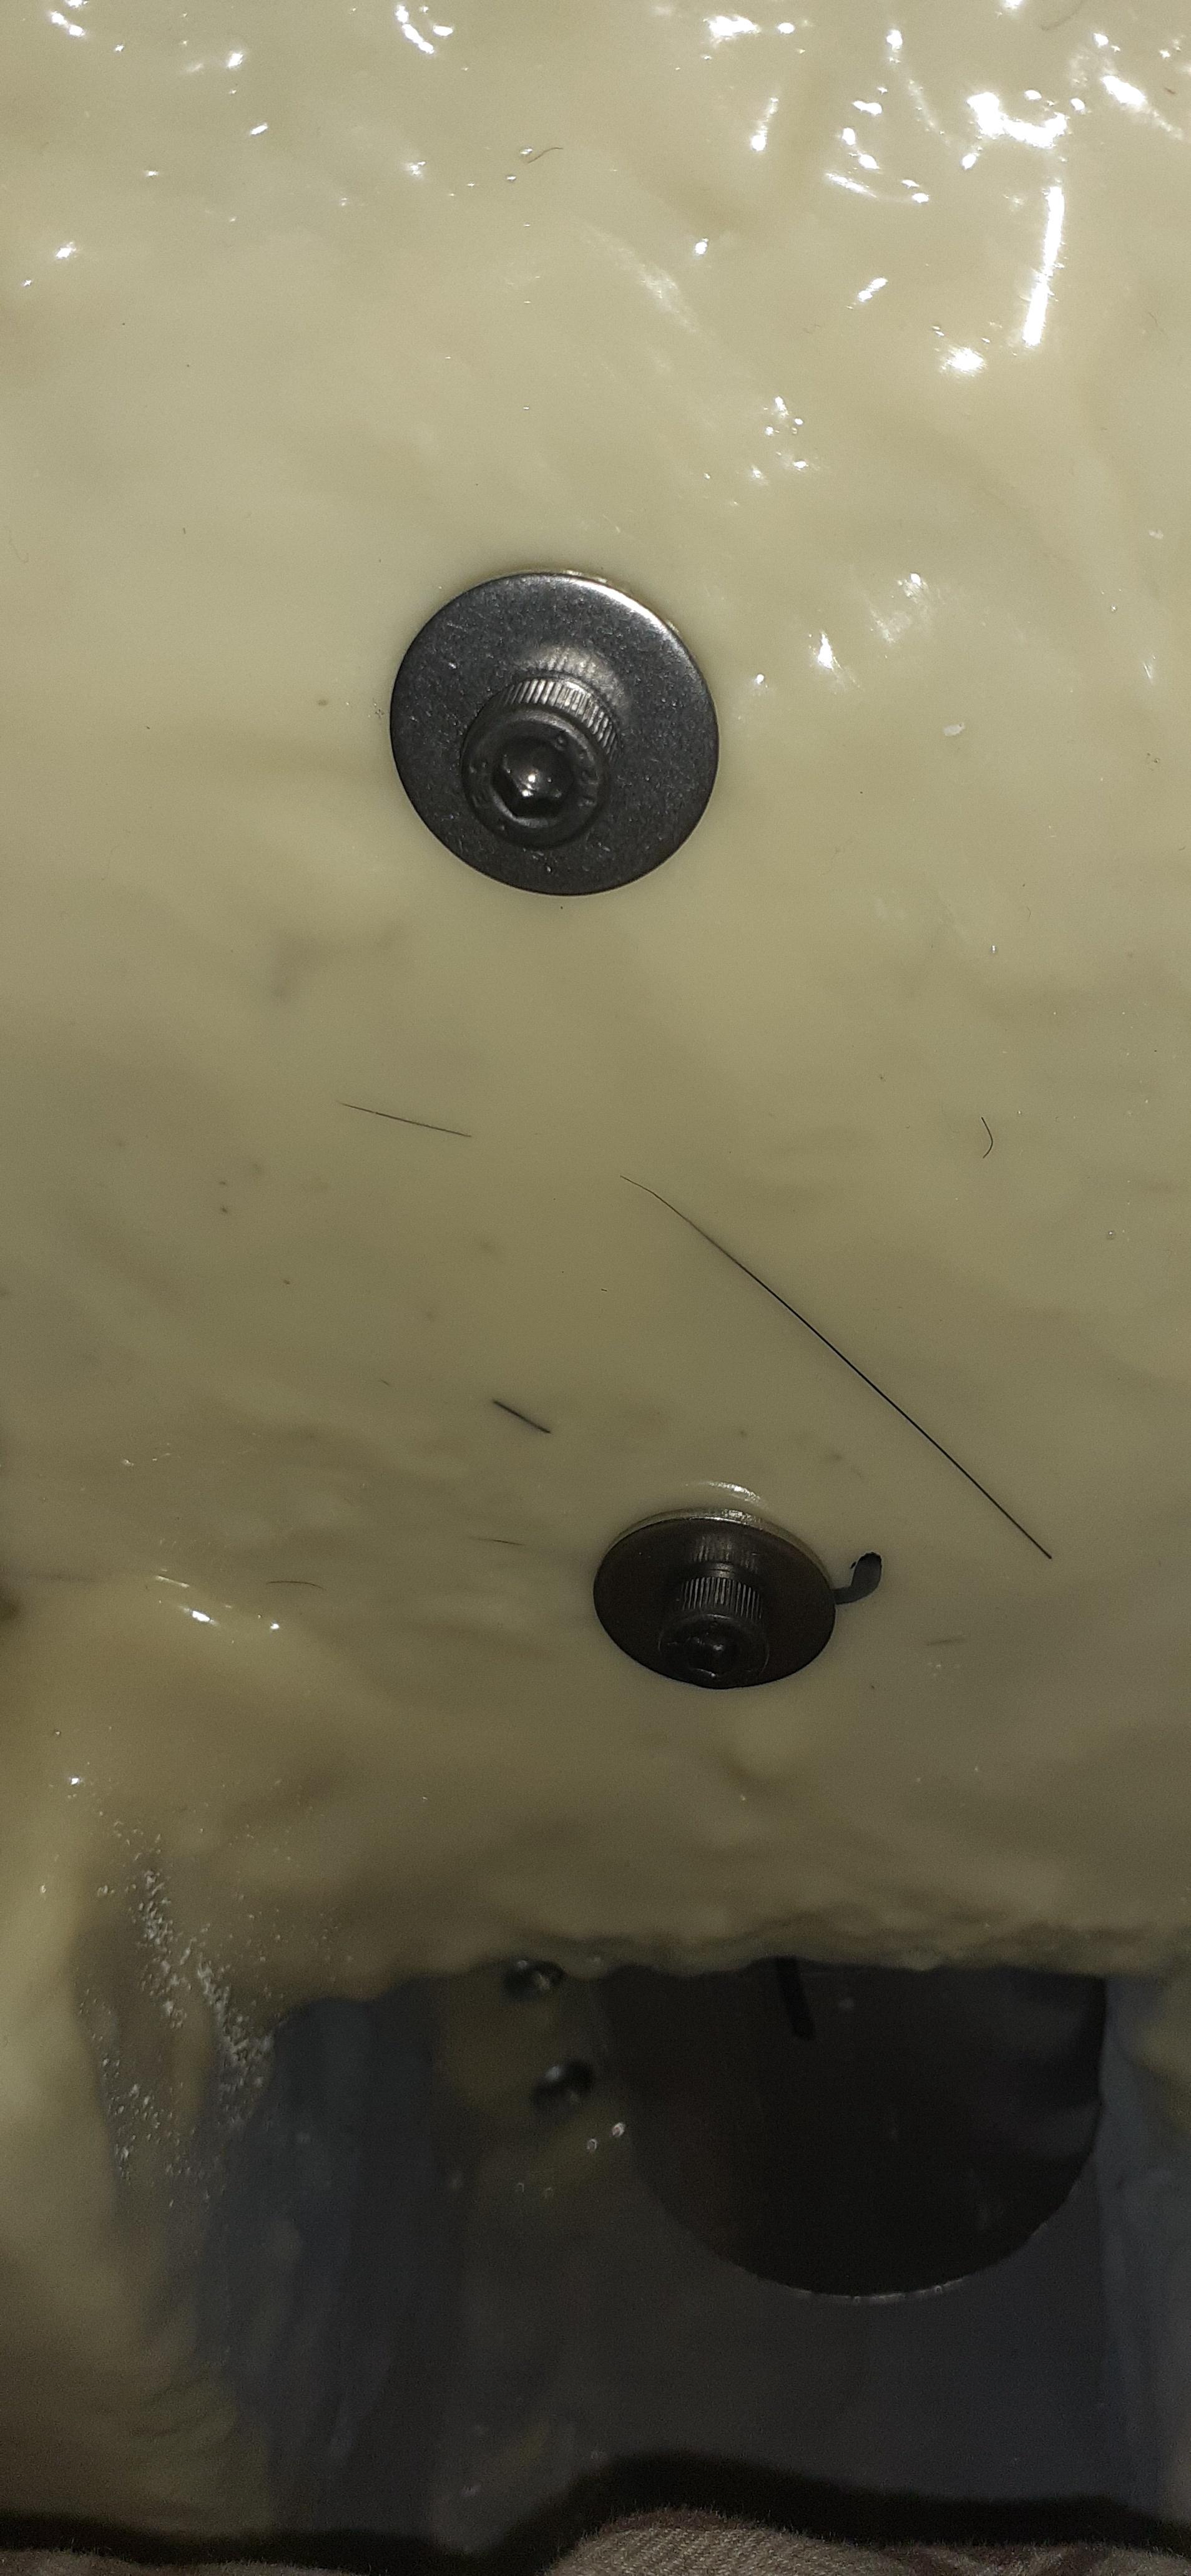
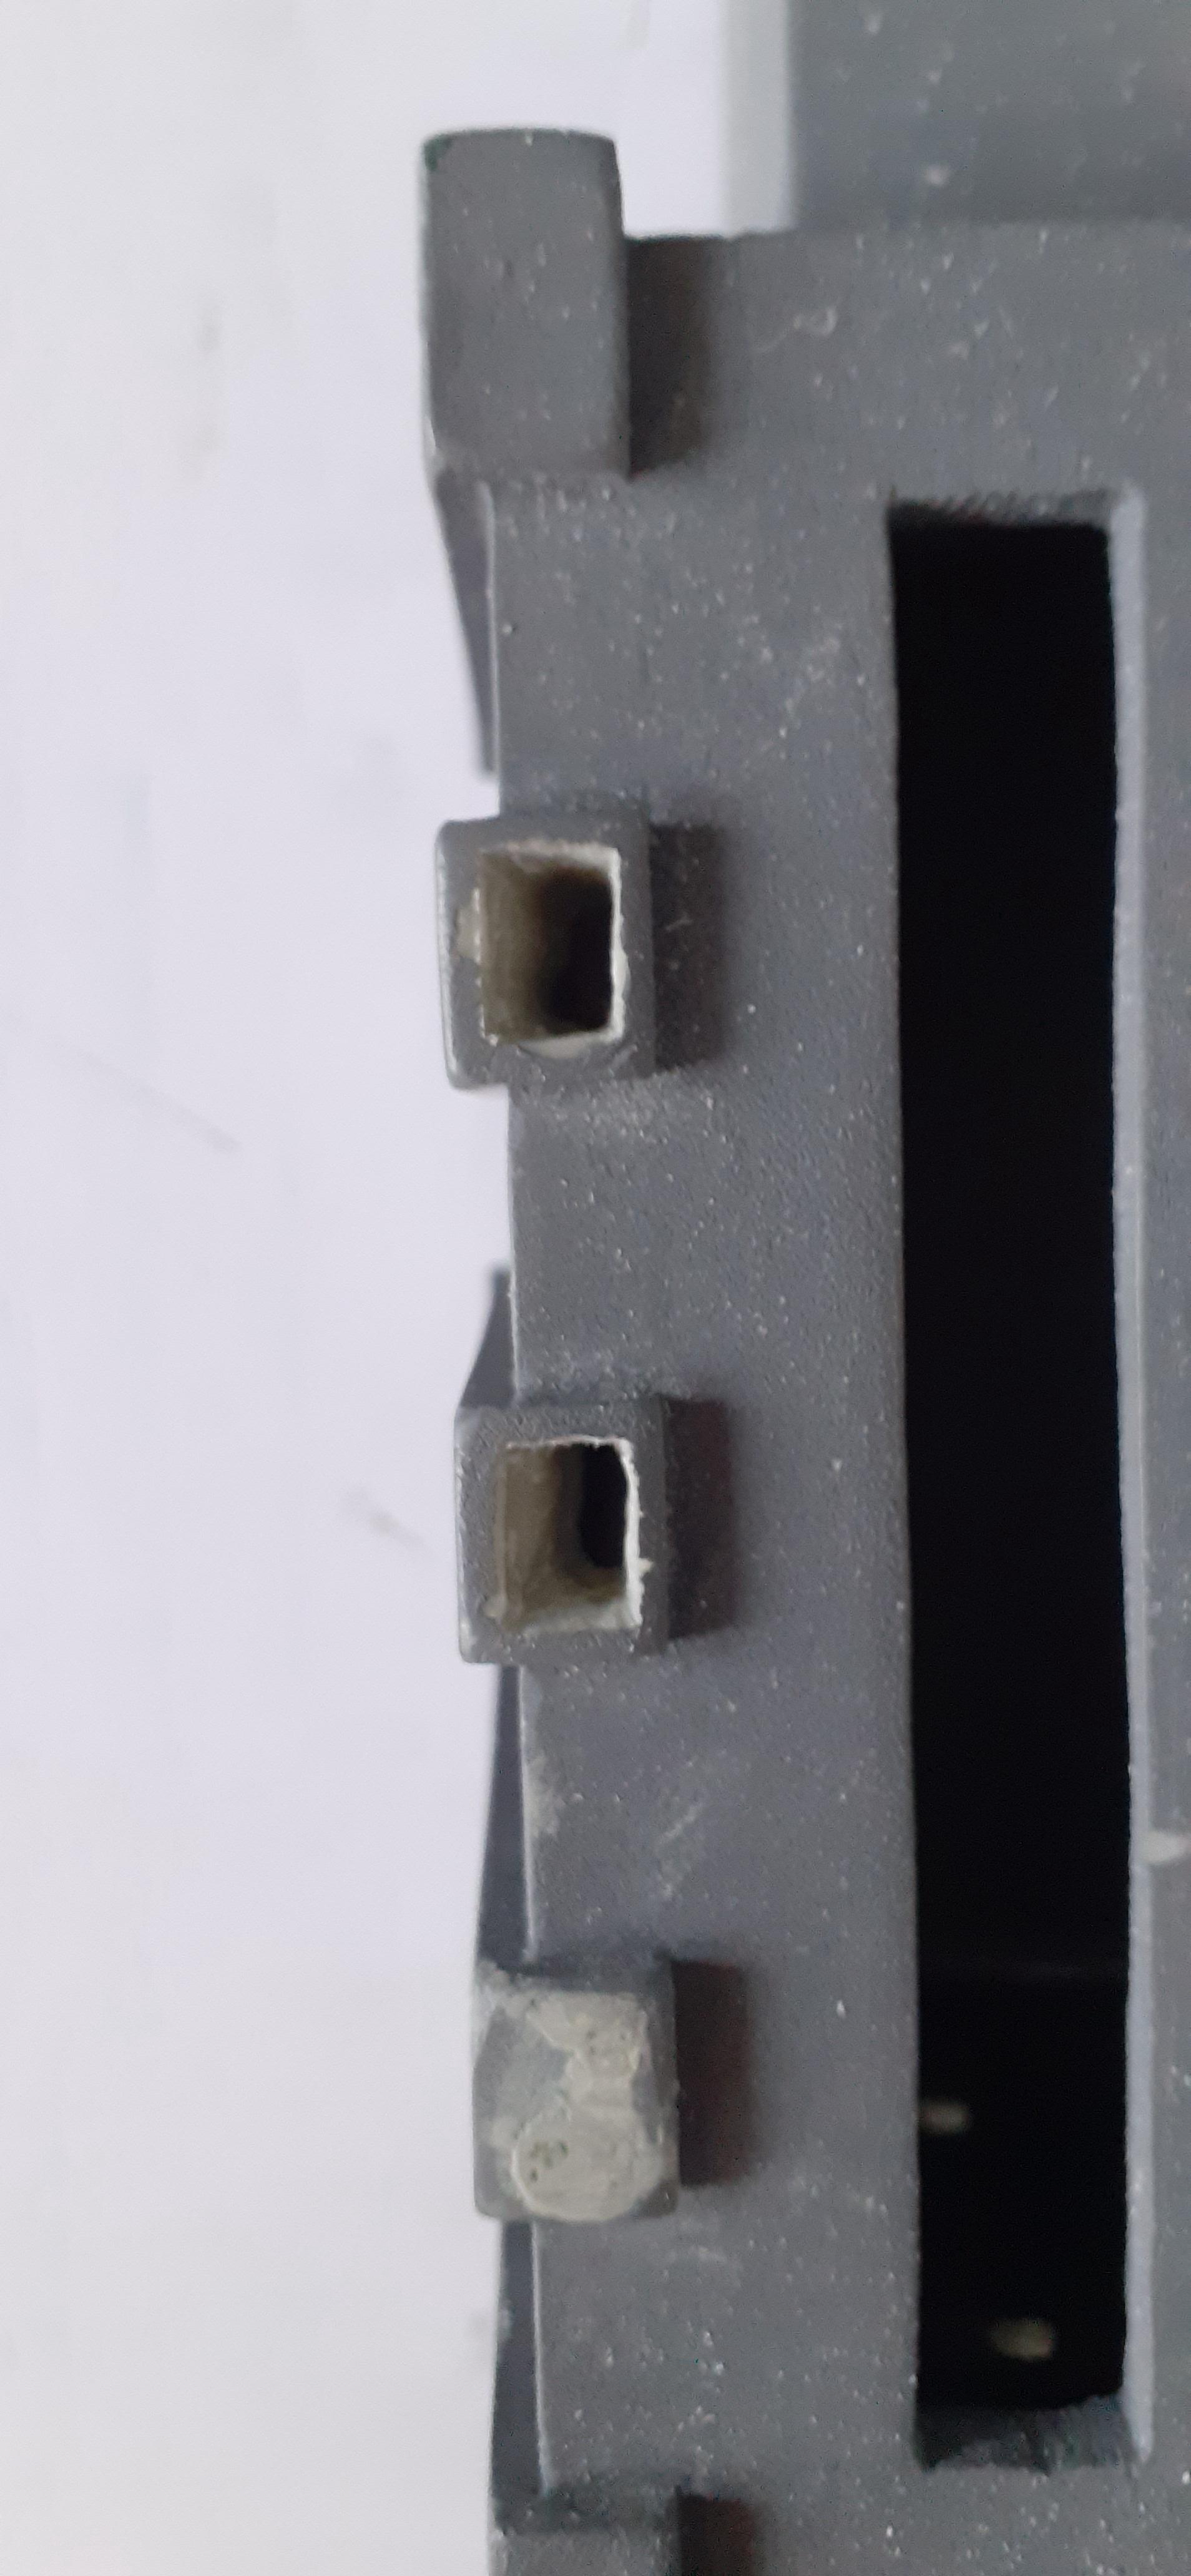
I was a bit worried of the rivets bursting the resin so I decided to do it that way round, plus it seems pretty sturdy as it is now.
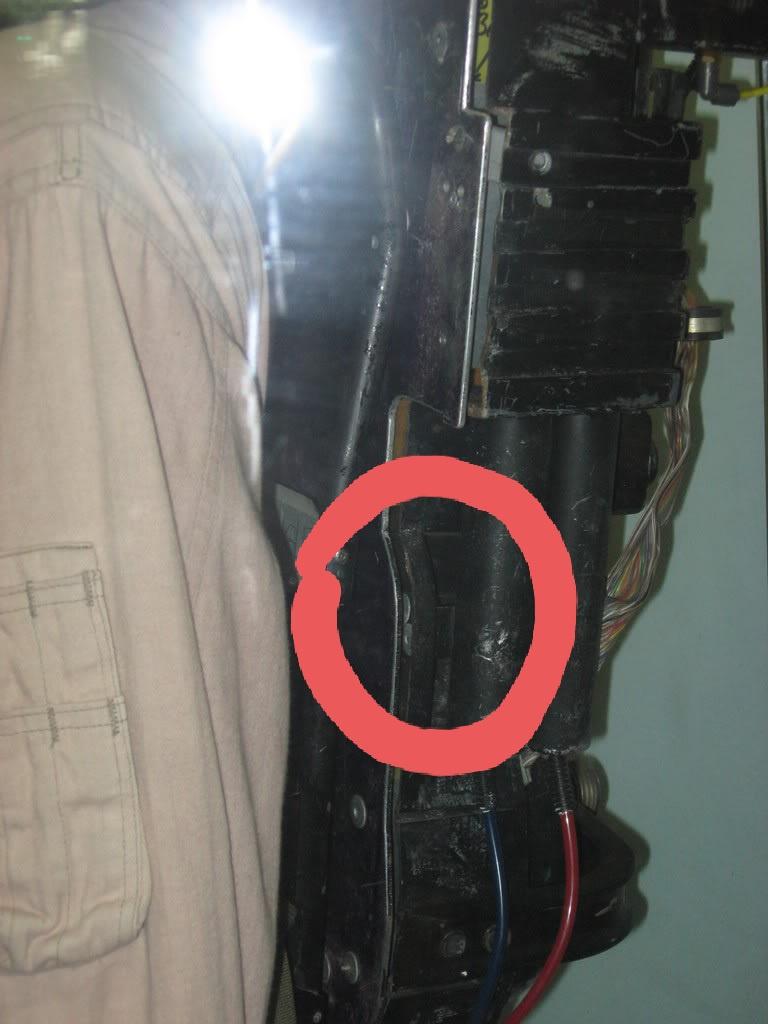
I’ll be putting the rivets through from the other side when I assemble it all properly as I know theres a picture of a screen used pack with rivet heads visible on the inside of the shell like so…
What I did is pop the stem from the rivets just hold them with pliers and hit it . I epoxied them in place so that way they wouldn’t crack the tubes. Looks like it’s riveted but not lol
I tried to mimic this detail without actually using rivets since I wanted to be able to easily remove the injectors and bracket should anything need repair. I used some smaller socket cap screws to imitate the little stem nubs on the back of a pulled rivet. Once it’s all painted black I think it came out looking close. Love the obscure details!