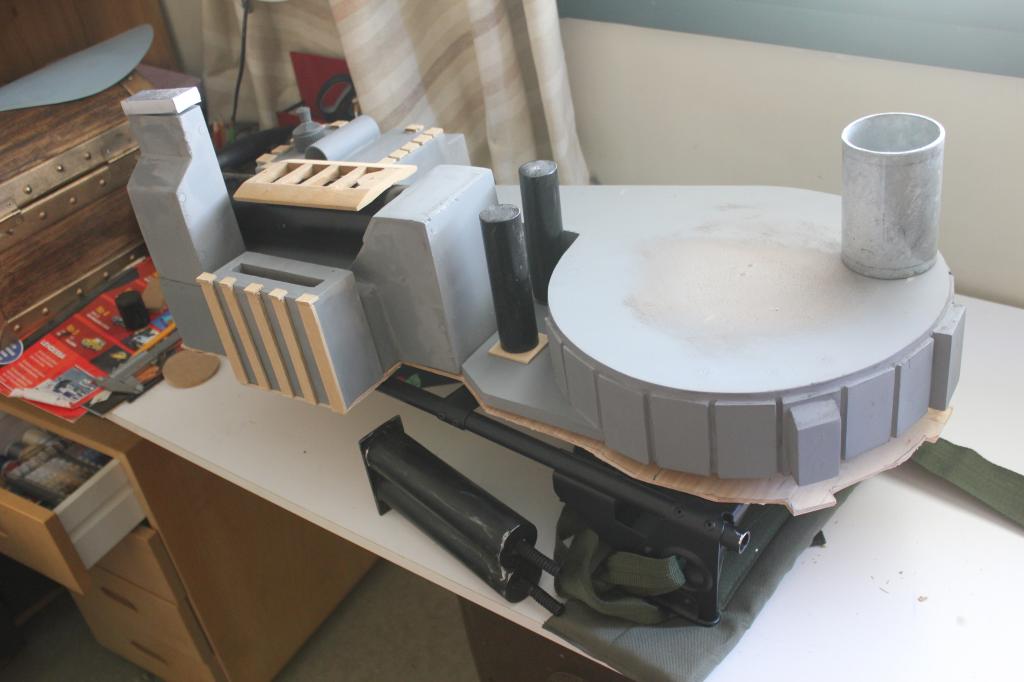
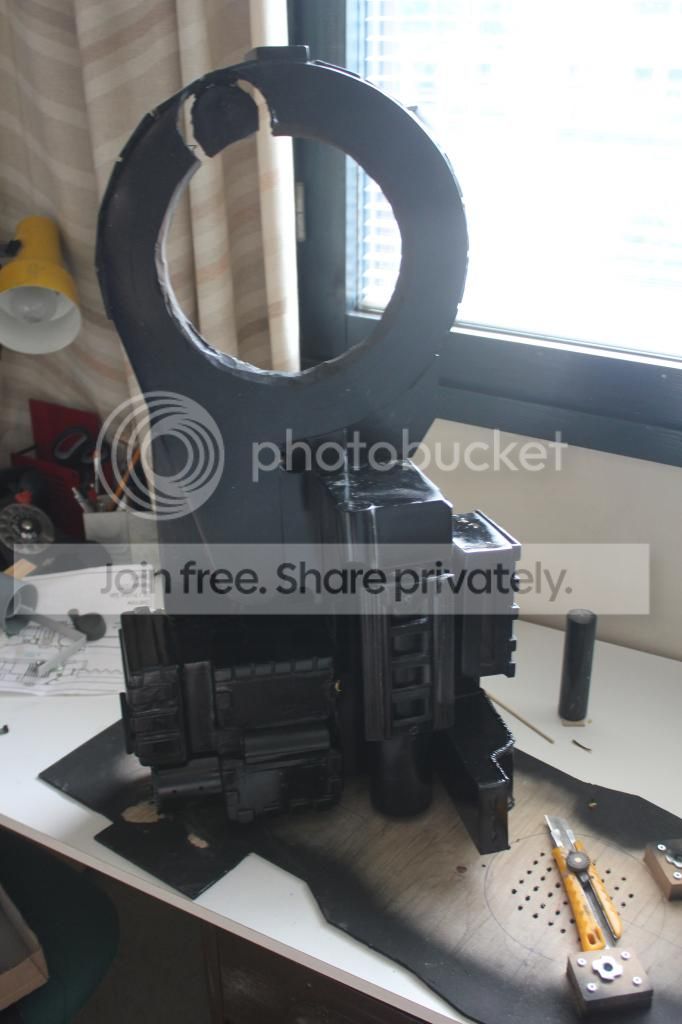
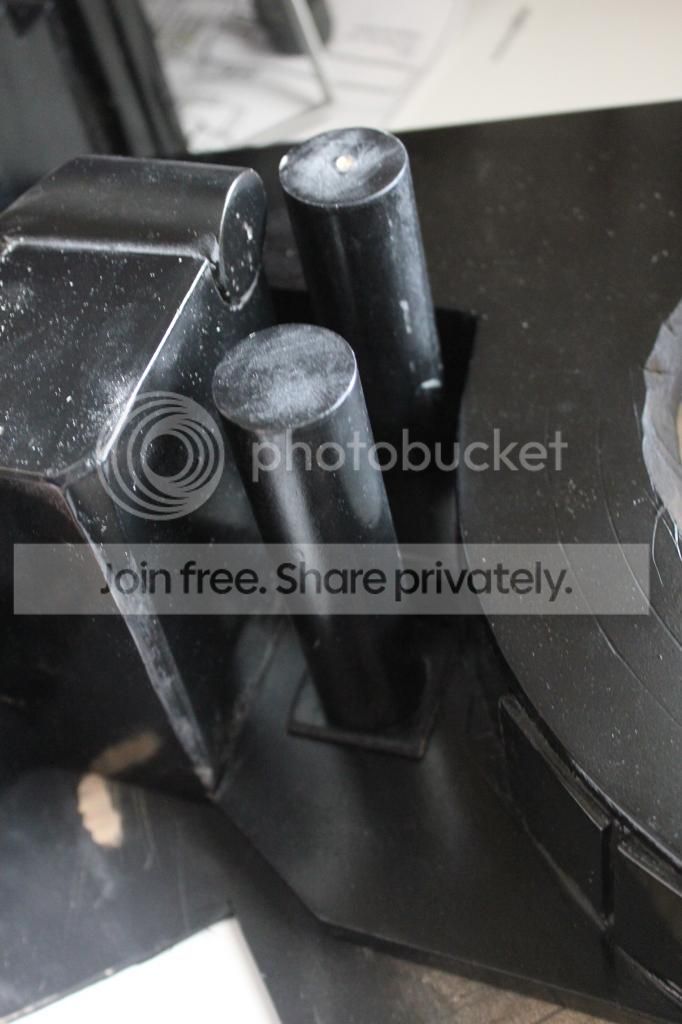
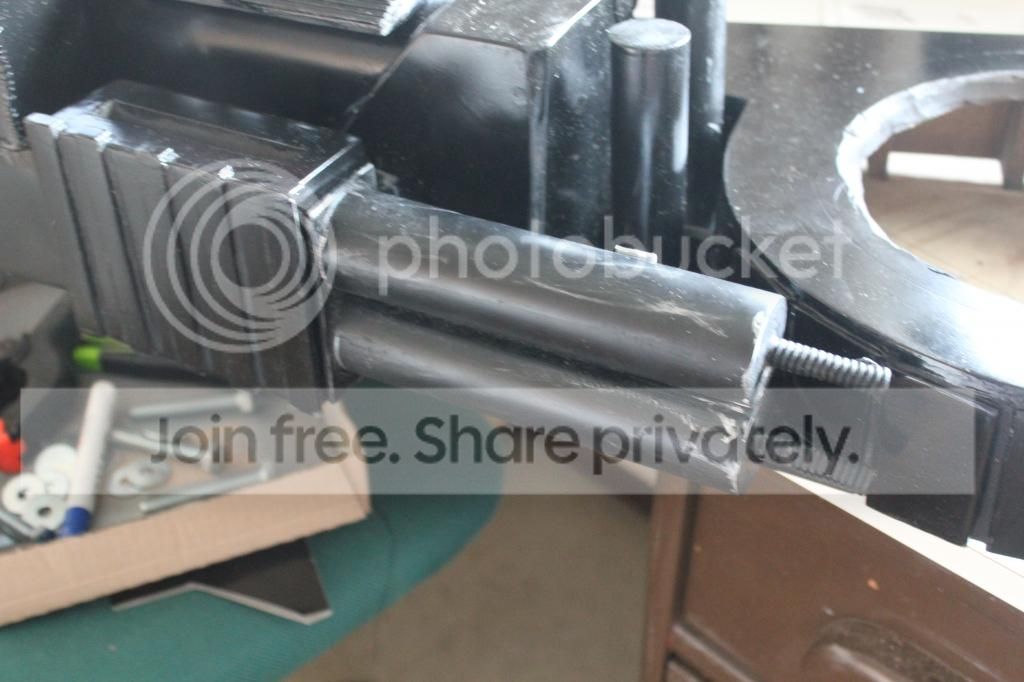
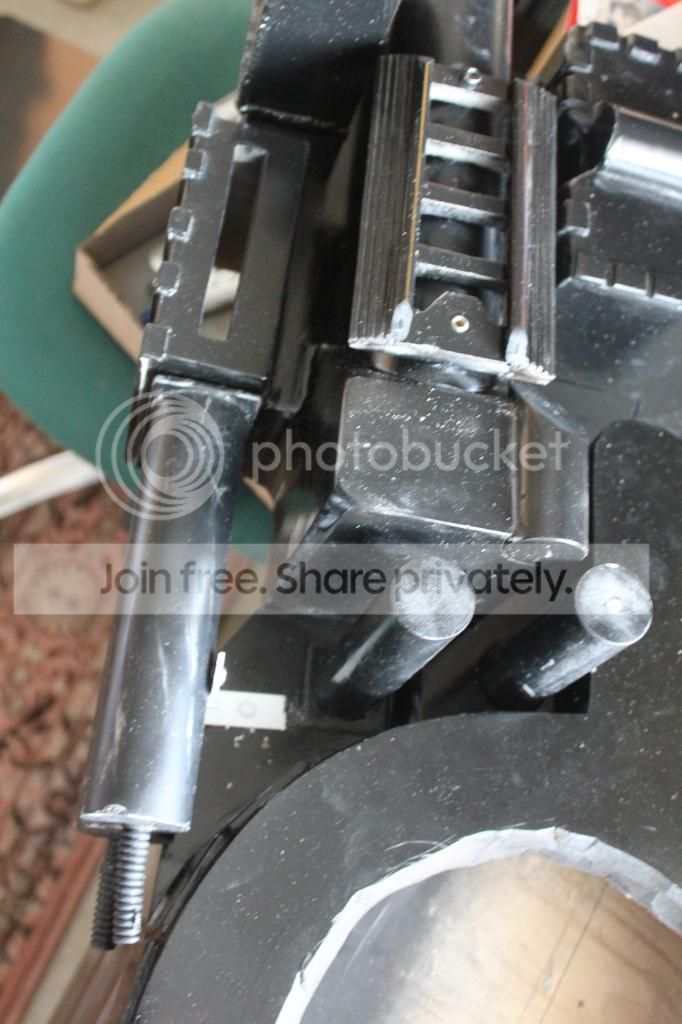
A scratch built Proton pack, in a week? 69 hours going on..

Sheesh… I thought that I would never do another Proton Pack, but it seems that I am wrong…

After few years of ghostbusting in Finland, I have read quite few blogs and net sites, and there has been some nice text of us here.. Quite a few have seen that we have new guys in our group, and after reading those words, I came across a nice 10mm thick MDF sheet, that was about to be thrown away from my work… That, and with some leftover parts from other pack projects, the idea came to mind…

We have a new rookie with us, and he needs a Pack… Thus, I asked if he would have anything against if we would be doing some works to correct this…

I sent him a list of parts that would be needed for this project, fron Nick-A-Tron, and also the GBFans PKE meter, and after five minutes, give or take few, he said that he has ordered everything I said. That means about 200 Euro’s worth, before shipping and taxes… NICE, and that means that I need to help him as much as I can. After he found an ALICE frame cheap, from Finnish shop, there was really nothing but go and do as much as I can…
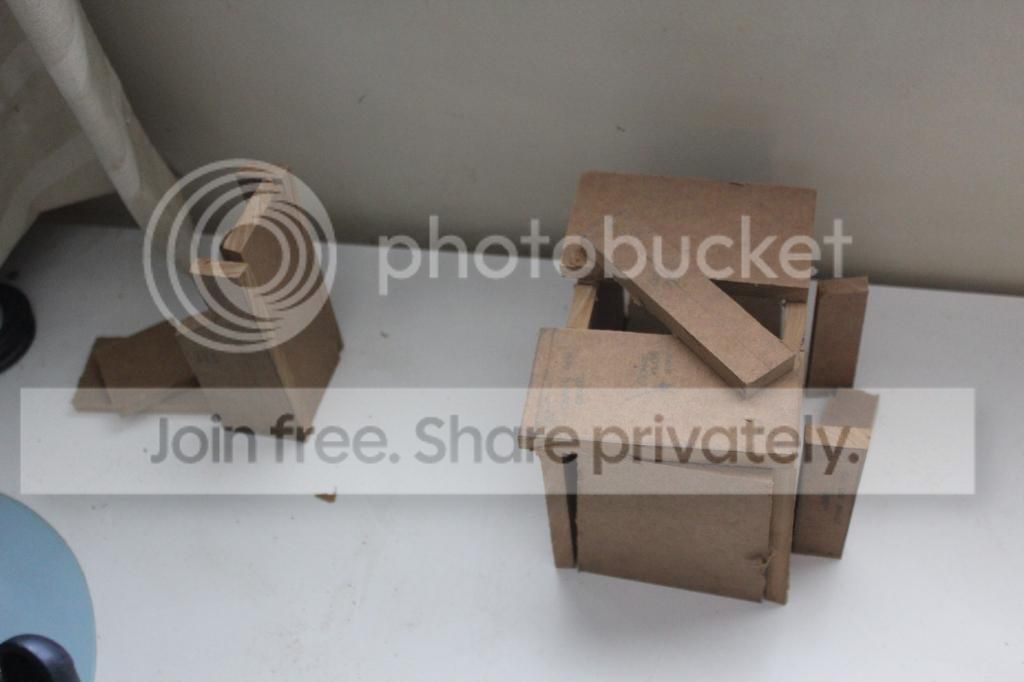
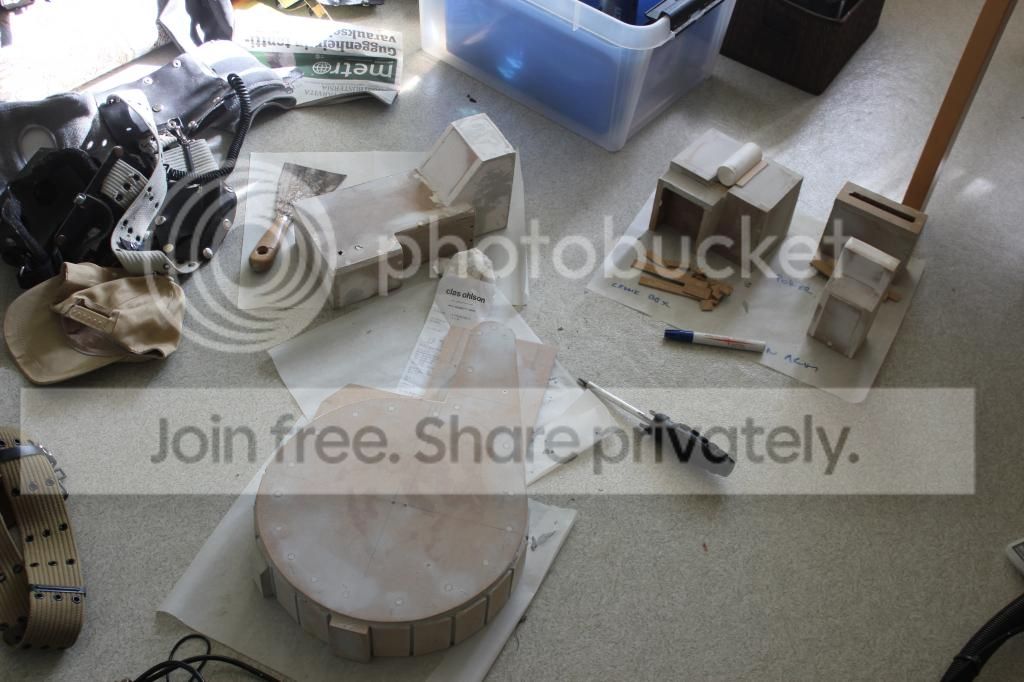
Without much problems, some parts were cut. Roughly…
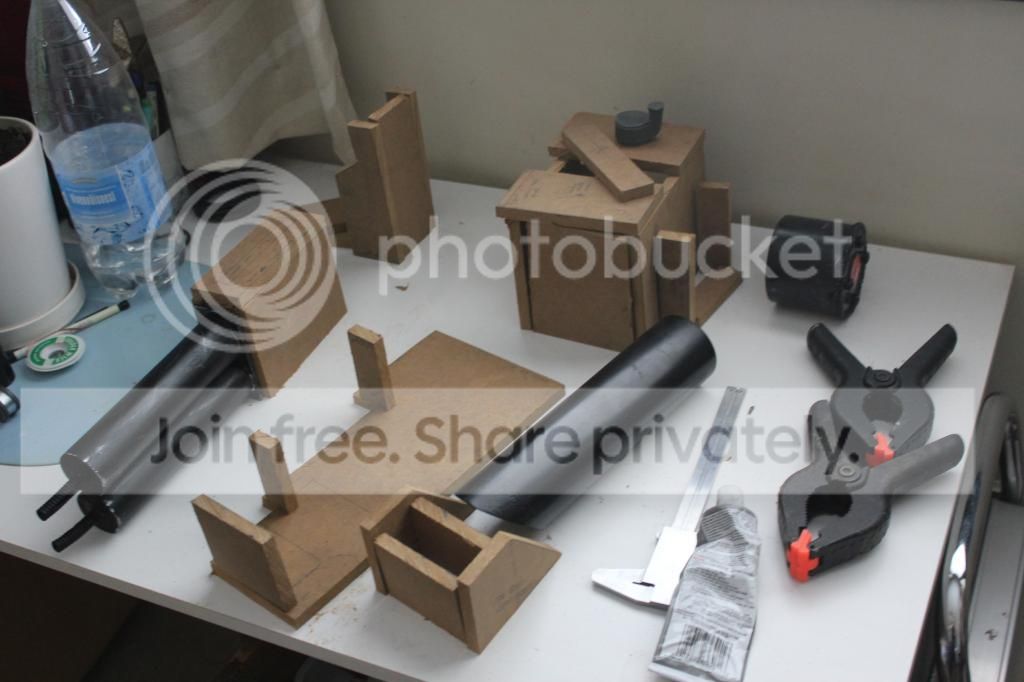
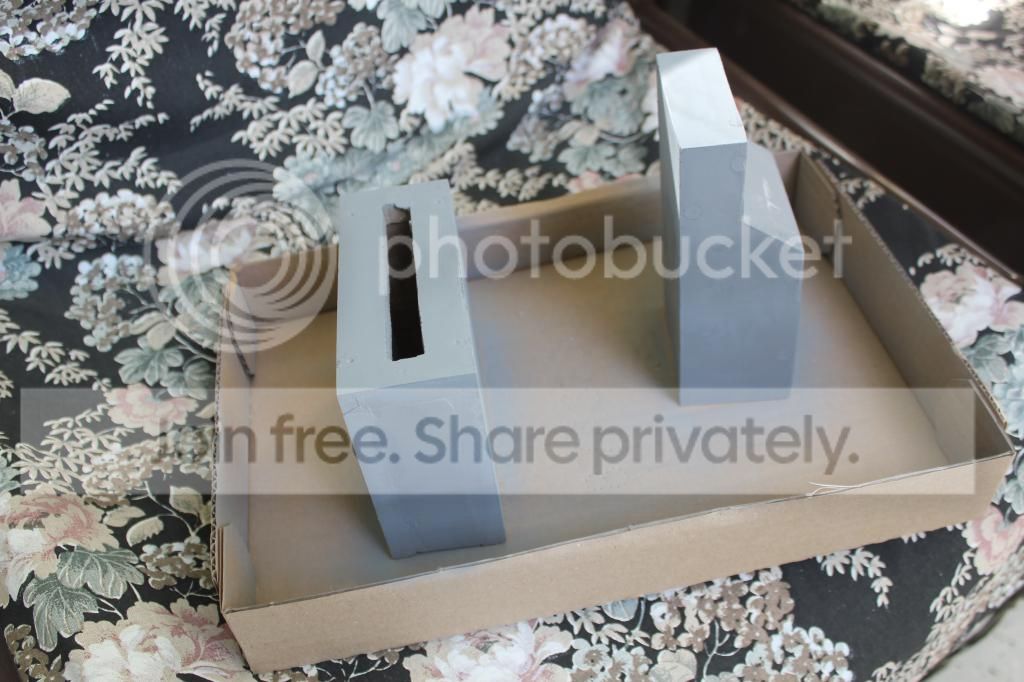
There were some leftover parts from last Stockholm Scifi Mässen, and they were used on this project…
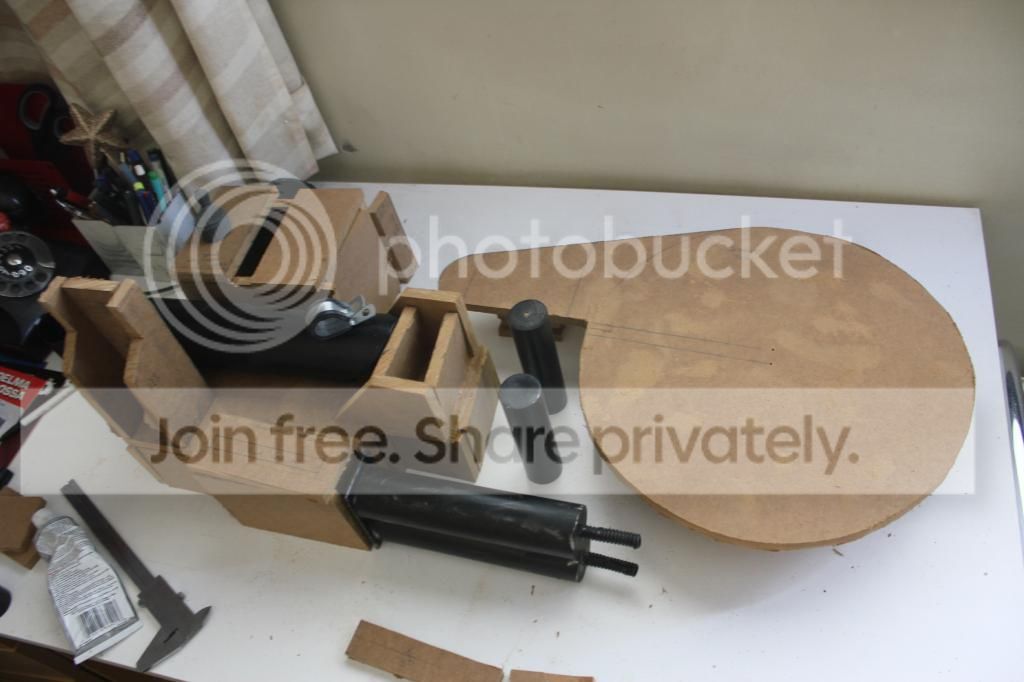
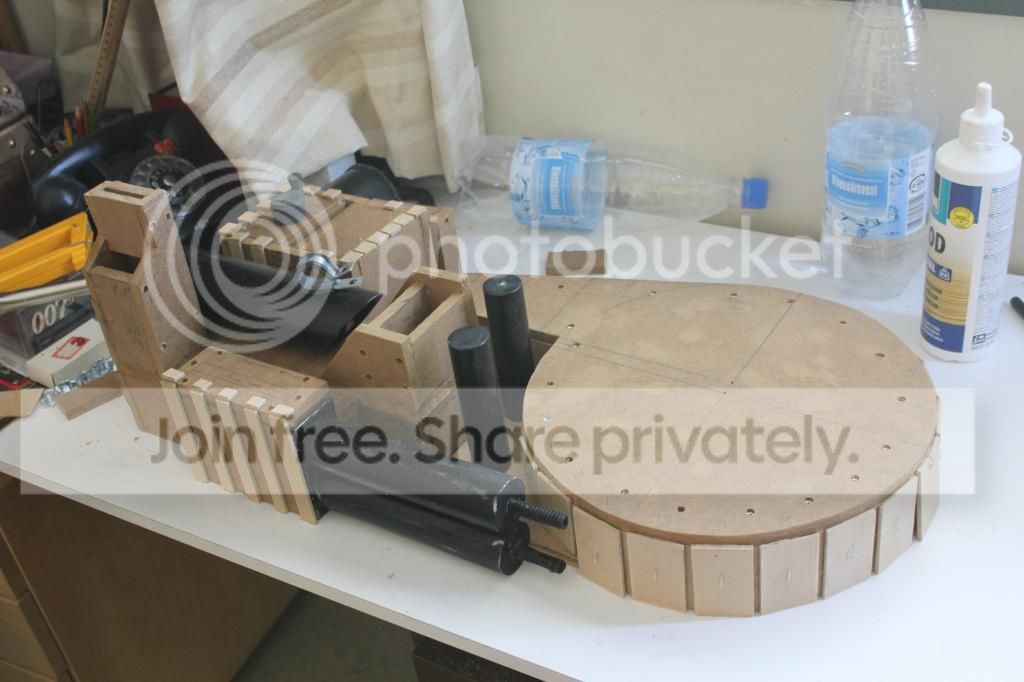
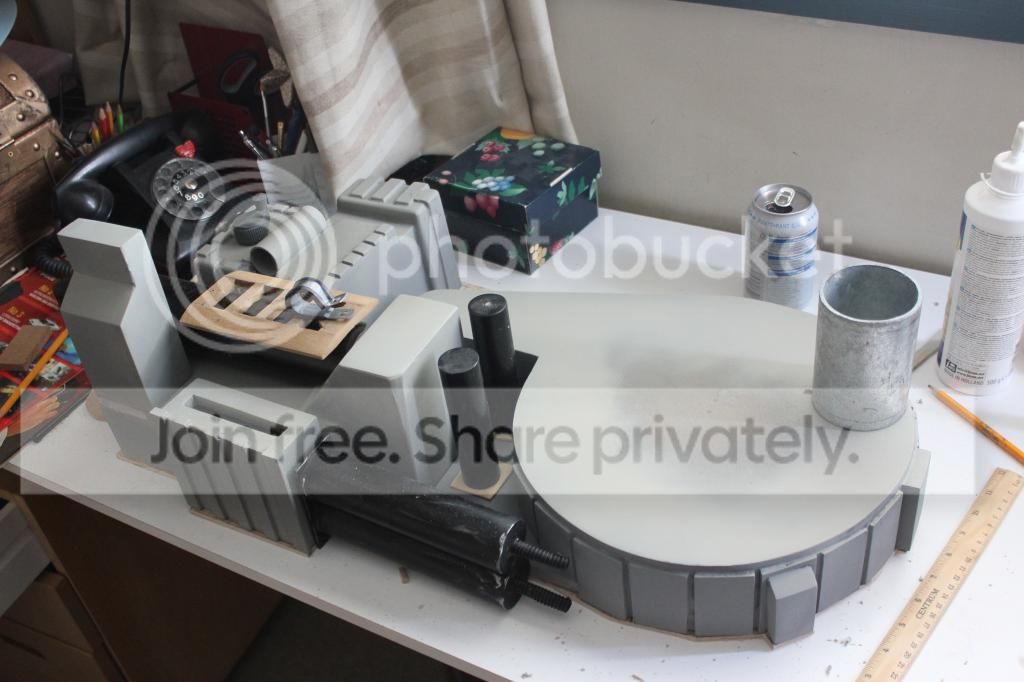
Starting to look like there is a Proton Pack here… Still all parts are roughly cut, and still need screws, glue and much sanding before they are ready…
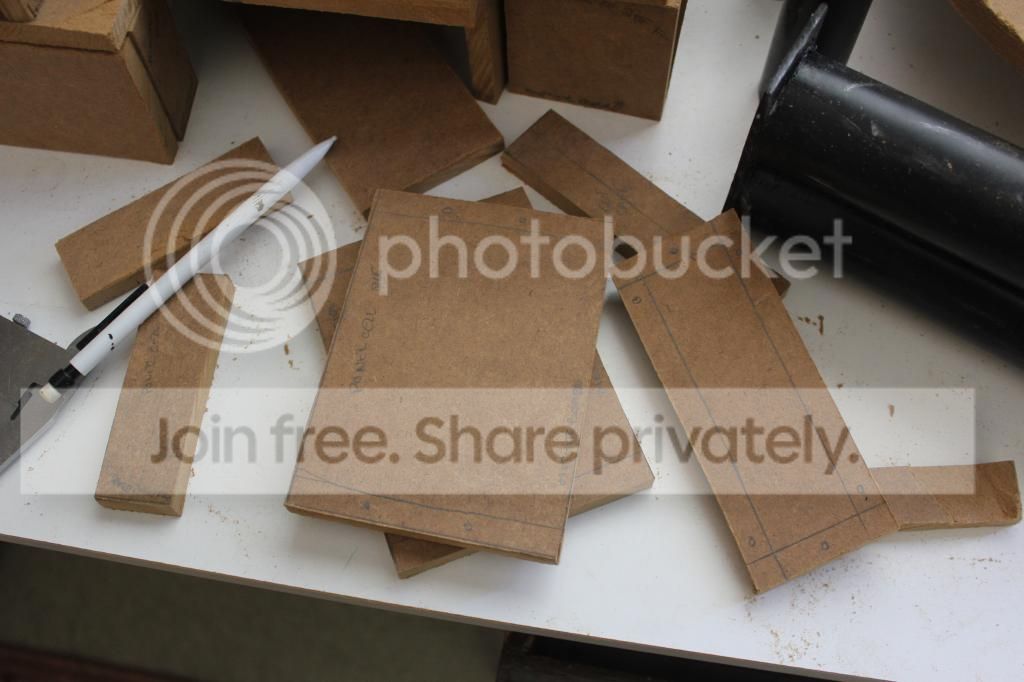
The parts were taken one by one, and the screw holes were placed in them. This helps to get a full idea of how to attach every part together, wihtout getting screws mixing or other problems..
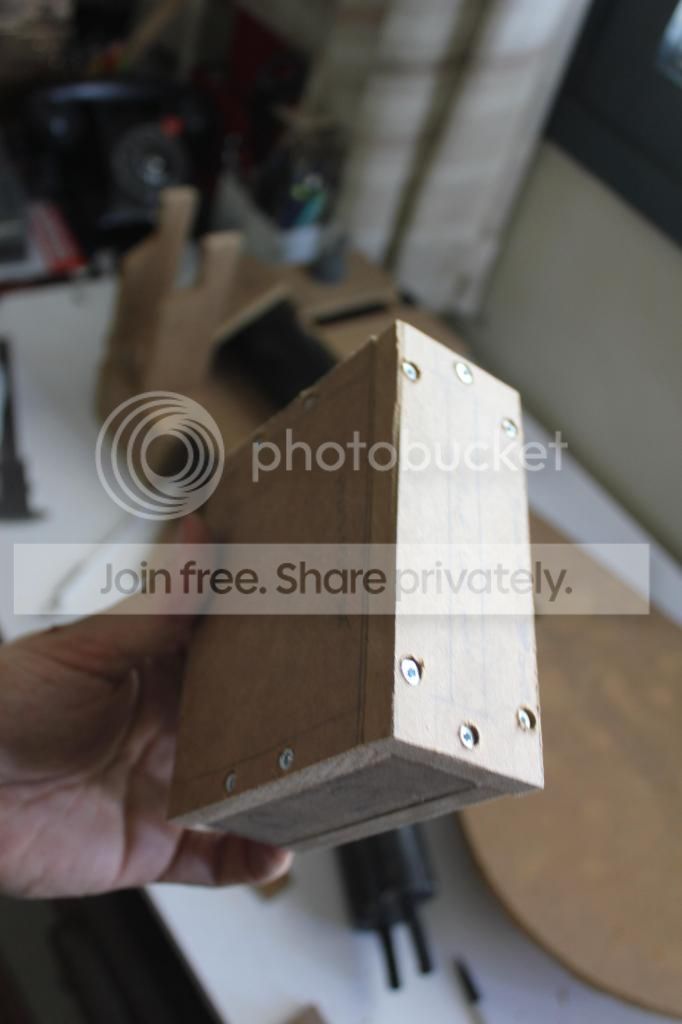
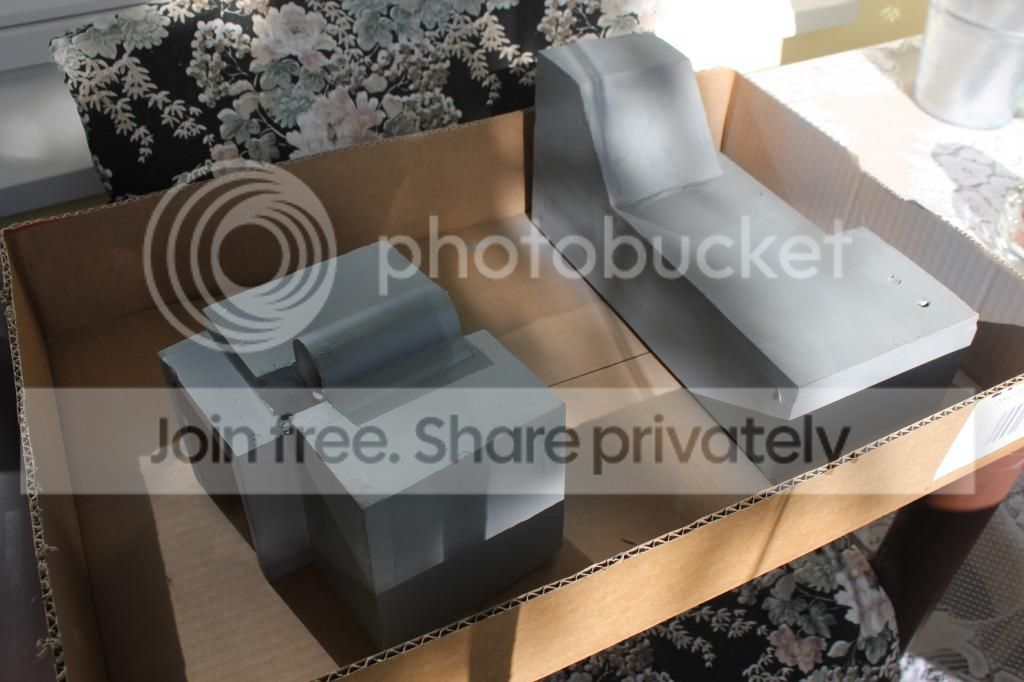
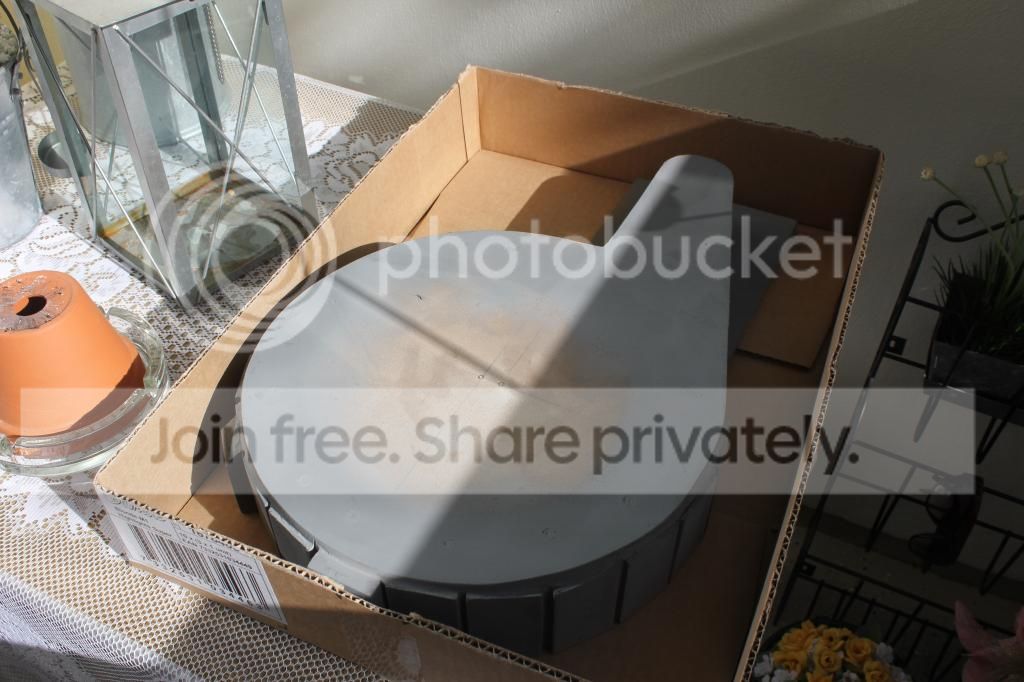
And, after some work, here is the Power Cell..
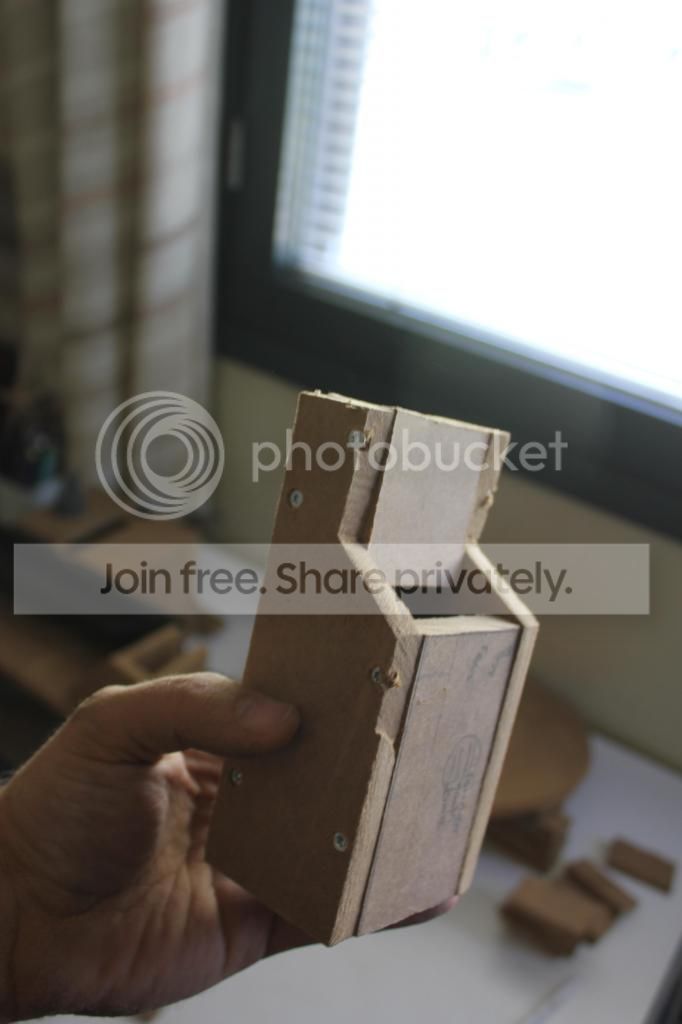
And very rough Ion Arm..
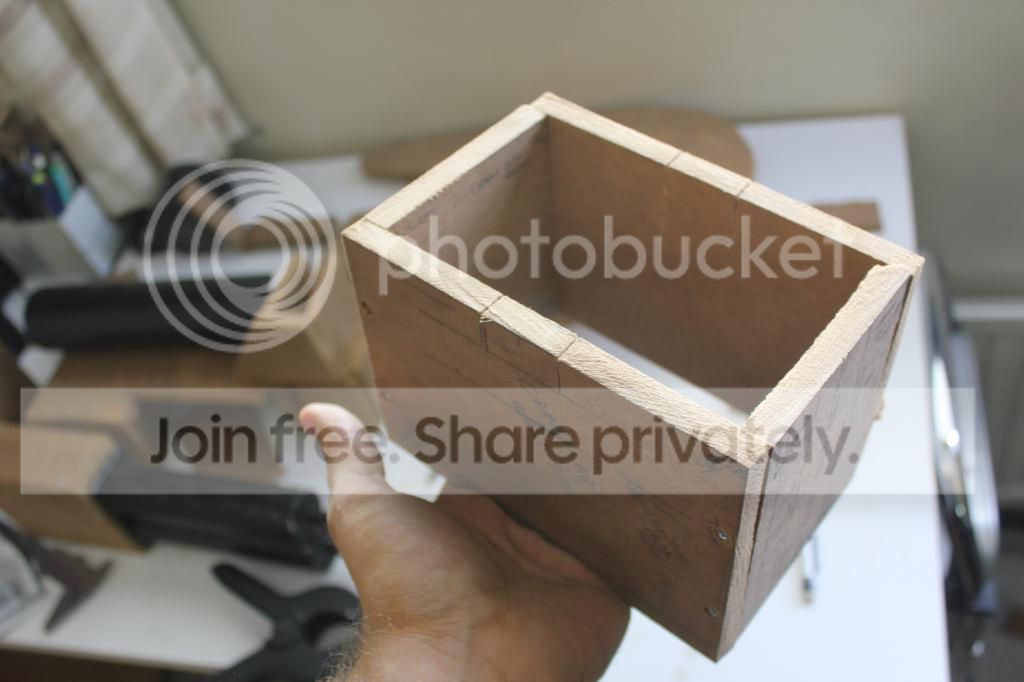
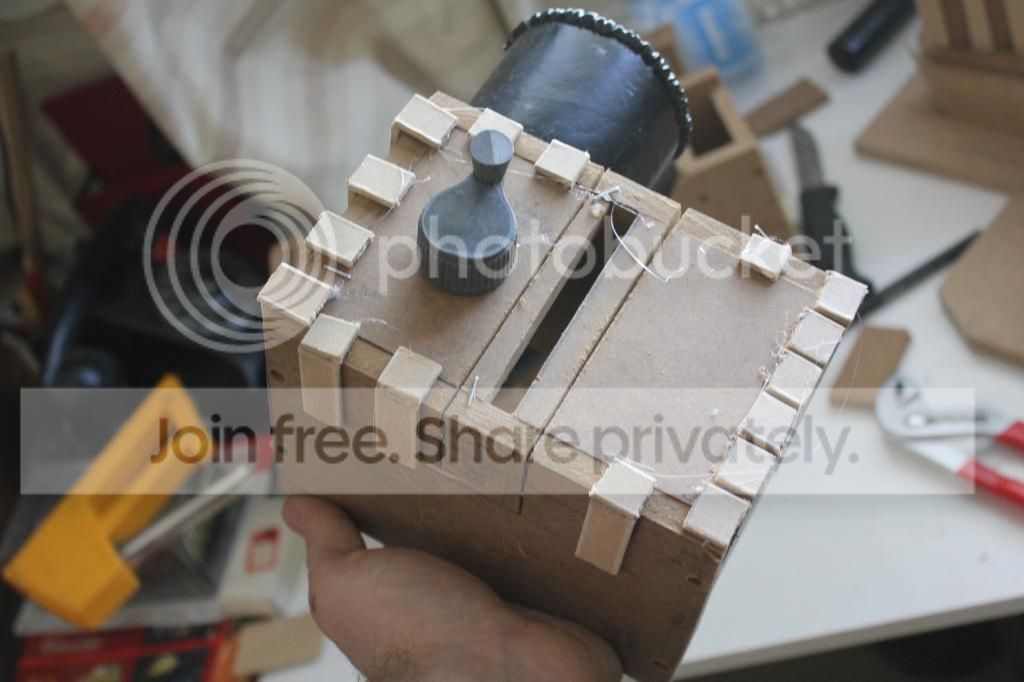
Followed by Crank Box.
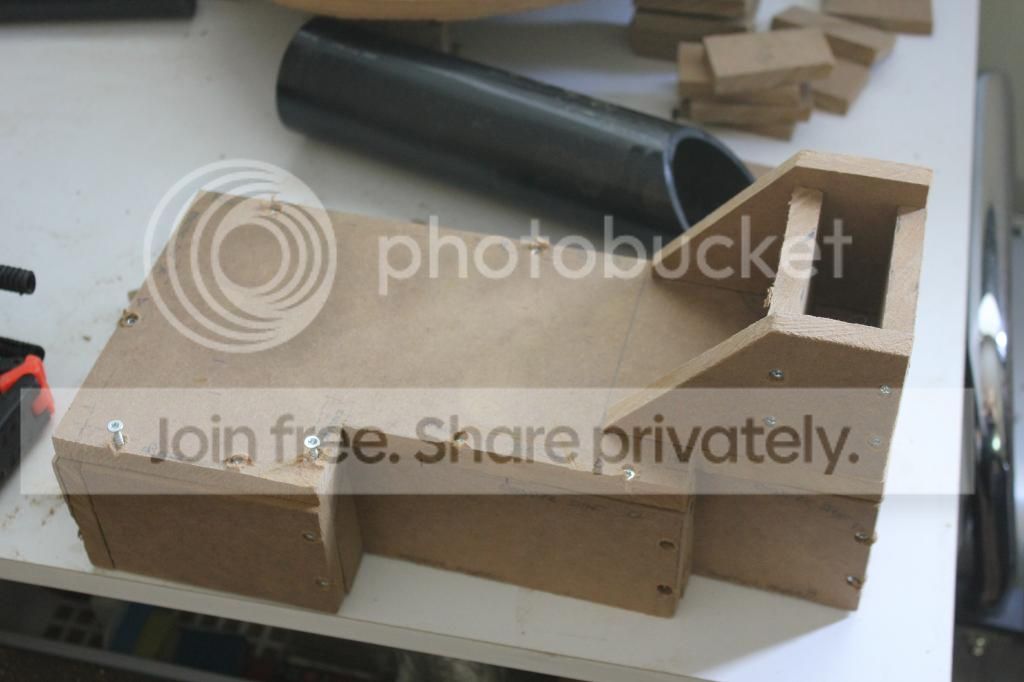
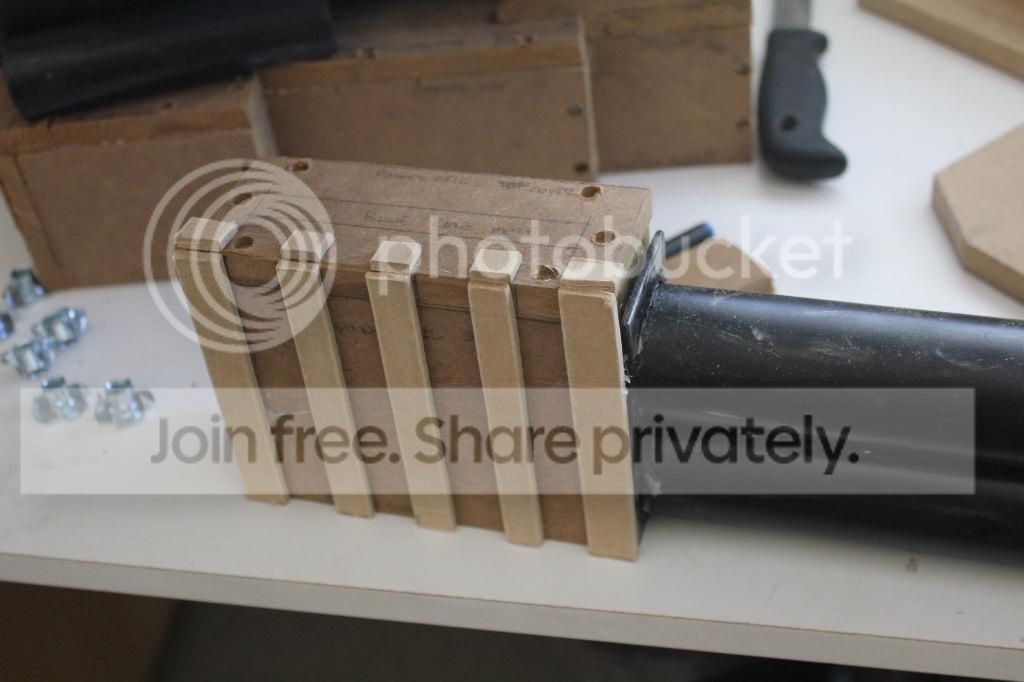
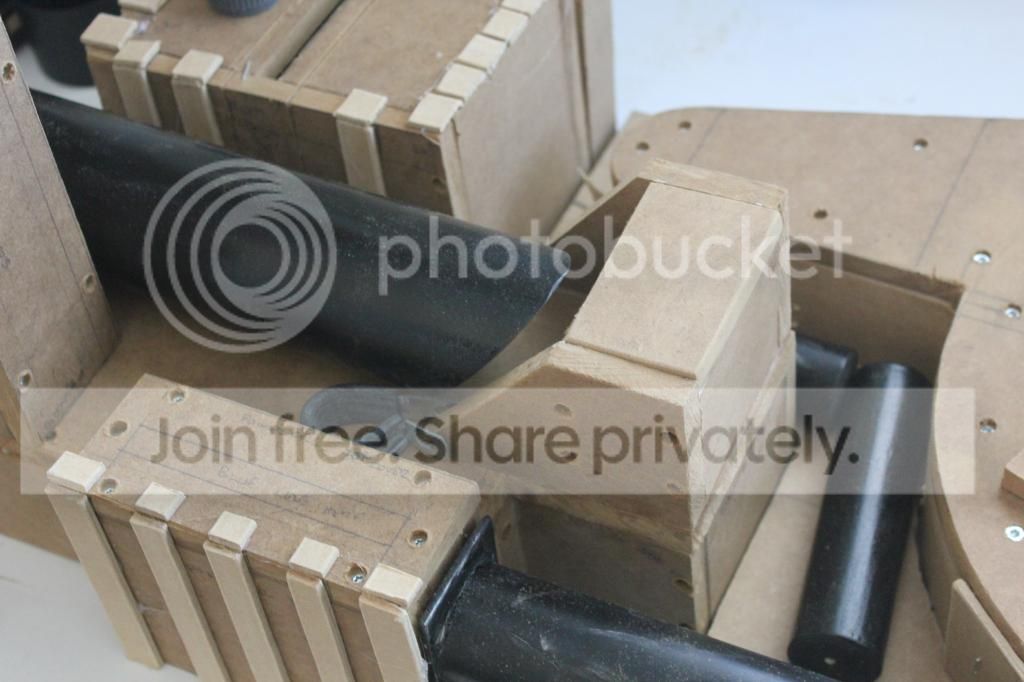
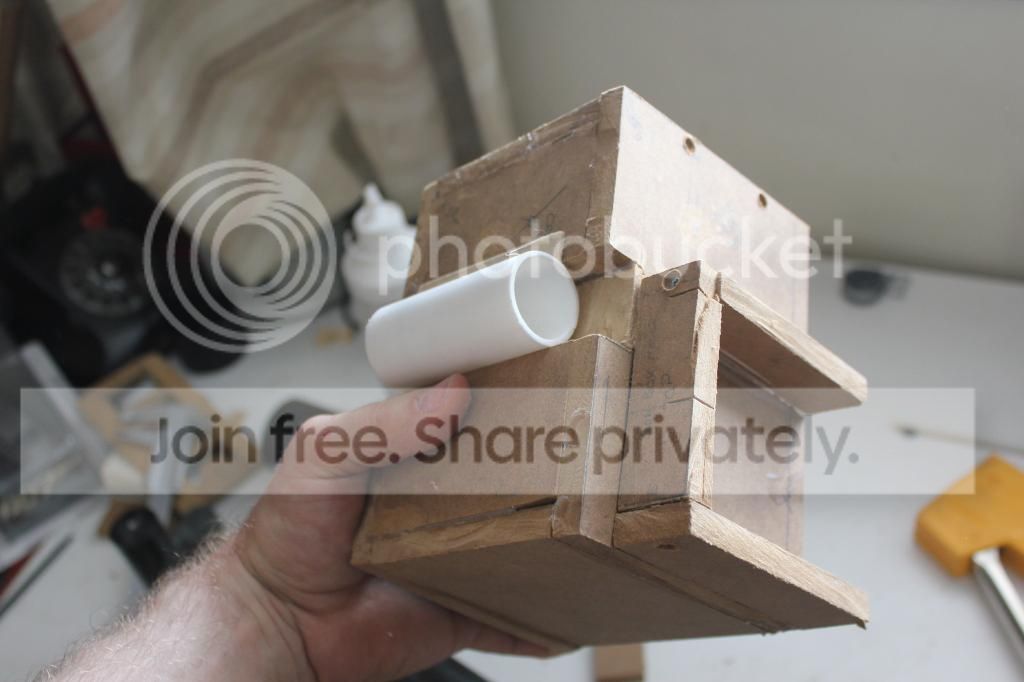
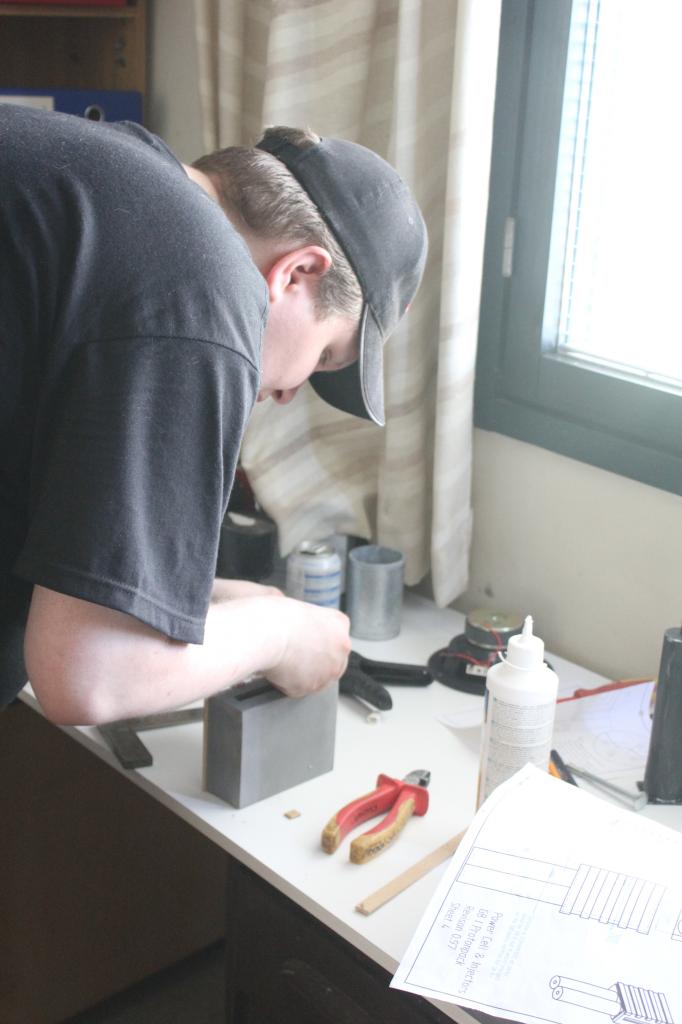
The Booster Box was a interesting project… Needed a bit thinking how to get the parts together, so that they are sturdy.
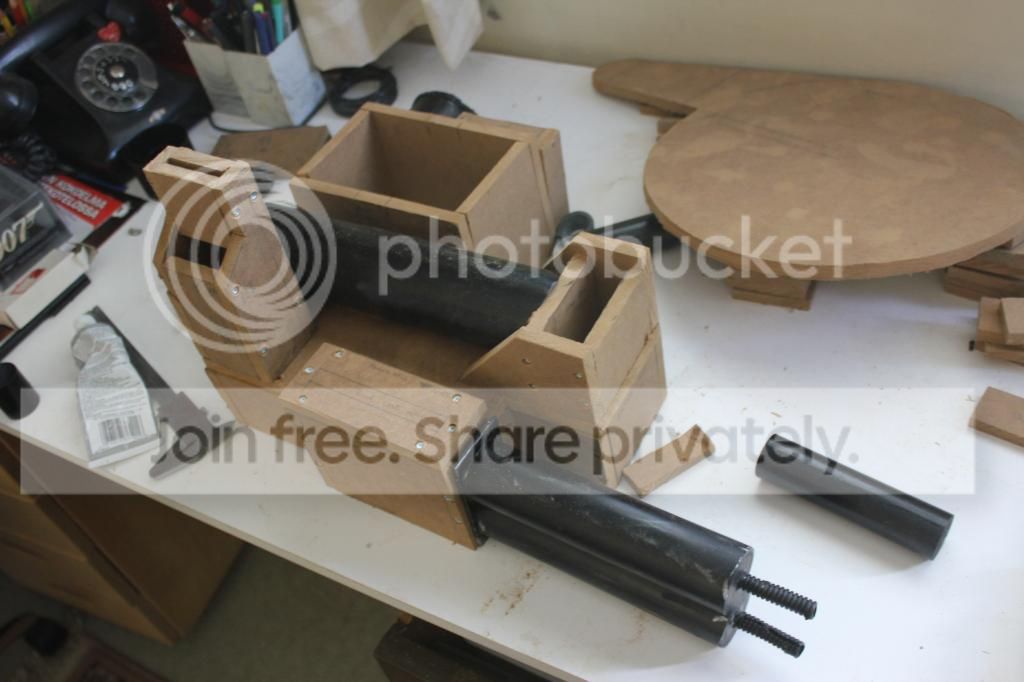
By putting the parts togehter, it shows the project some what going to good road…

After the screws were drilled, all parts were taken apart, one by one, and glue was set in between all parts.
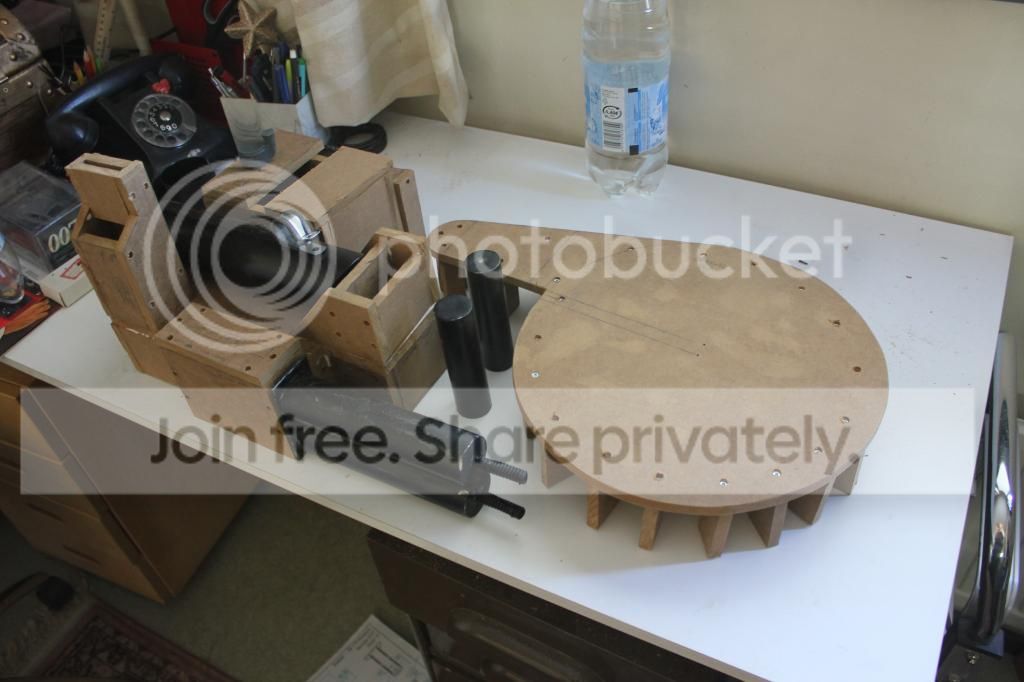
One day’s work, from MDF sheet, to cut, glued and screwn parts for a Proton Pack.

All screwholes are sunk at least few millimeters, so that there will not be any troubles on sanding the surfaces, after filling in the holes, of course…
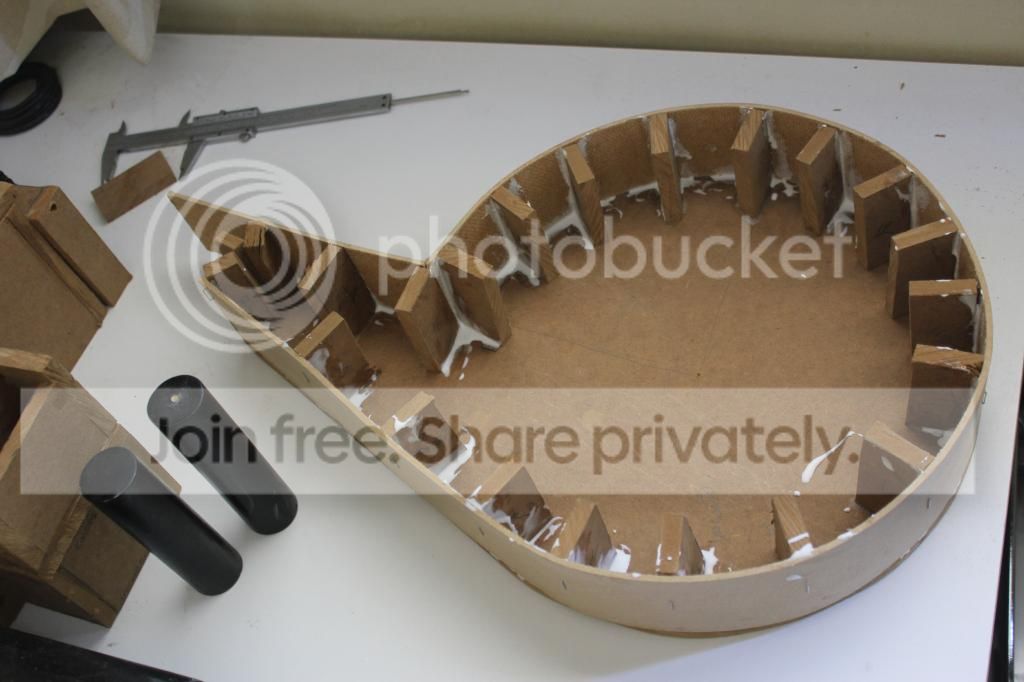
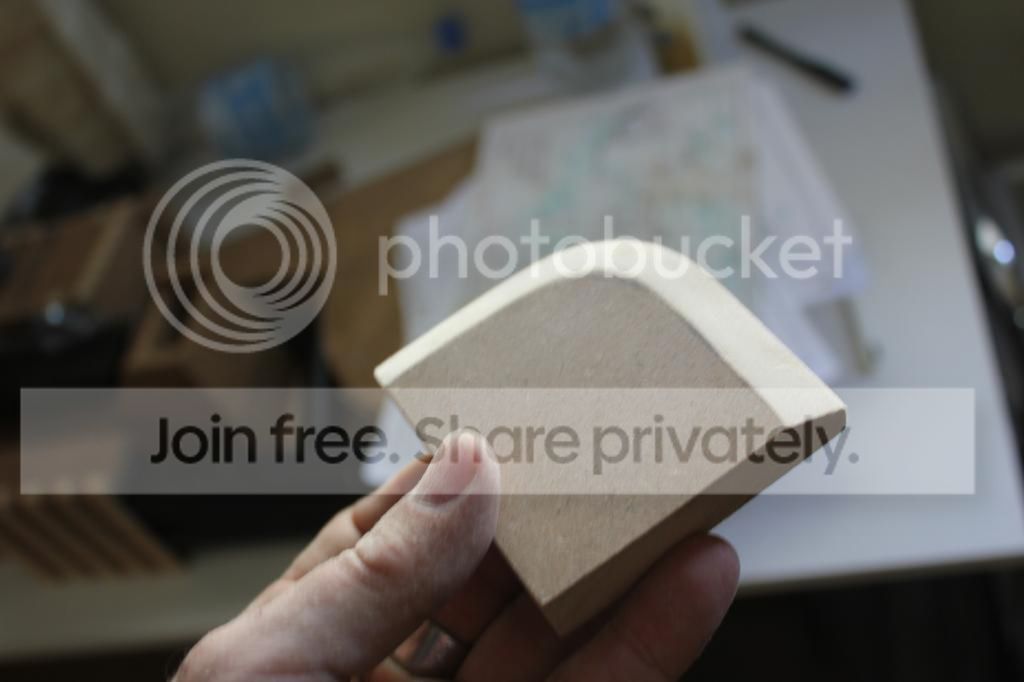
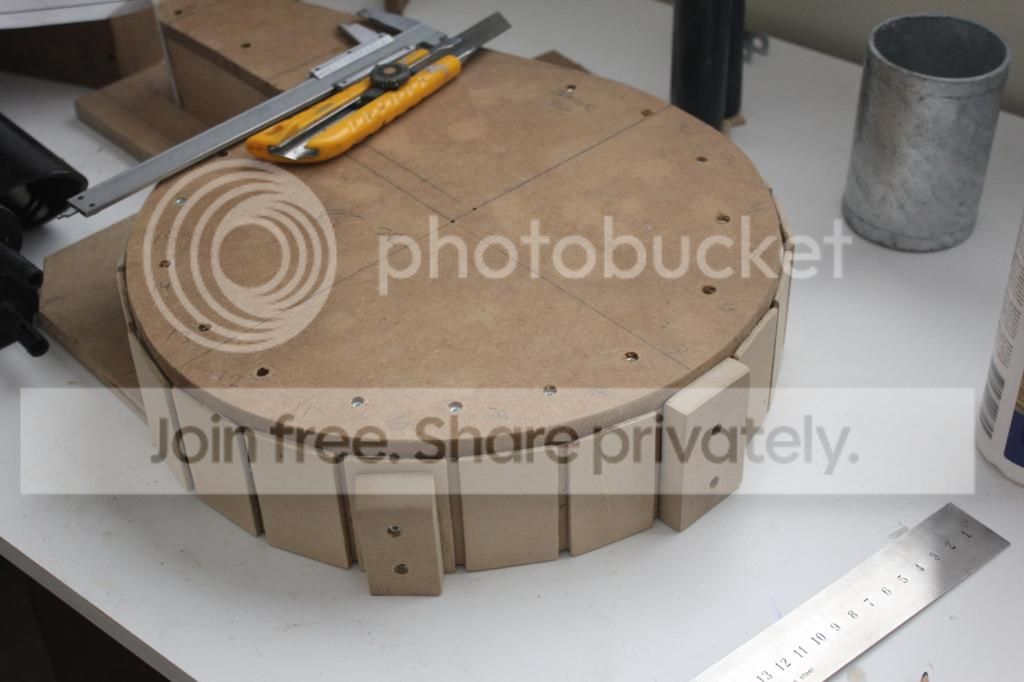
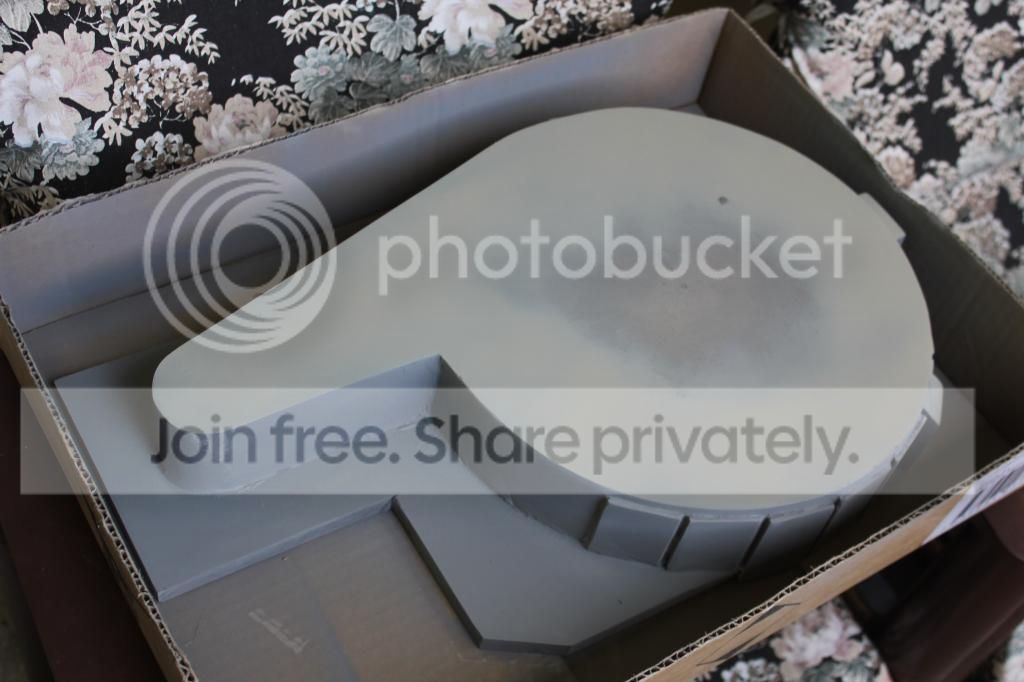
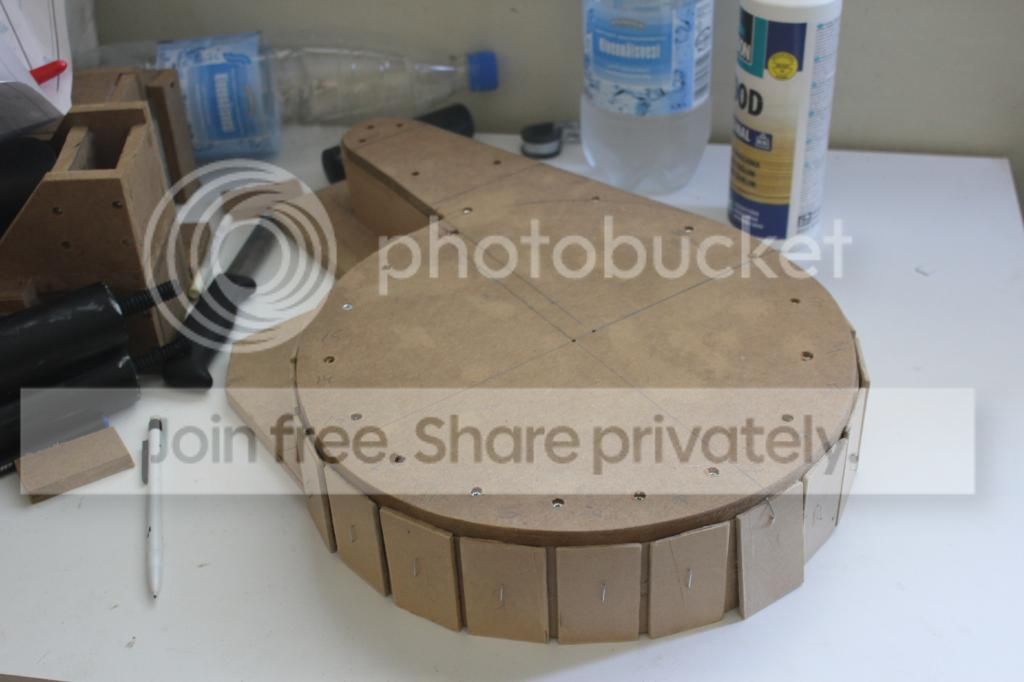
Spacer walls were cut from hardboard, and bent on the place. I know that the edges should not be round, but after works, this will be not seen anyhow…
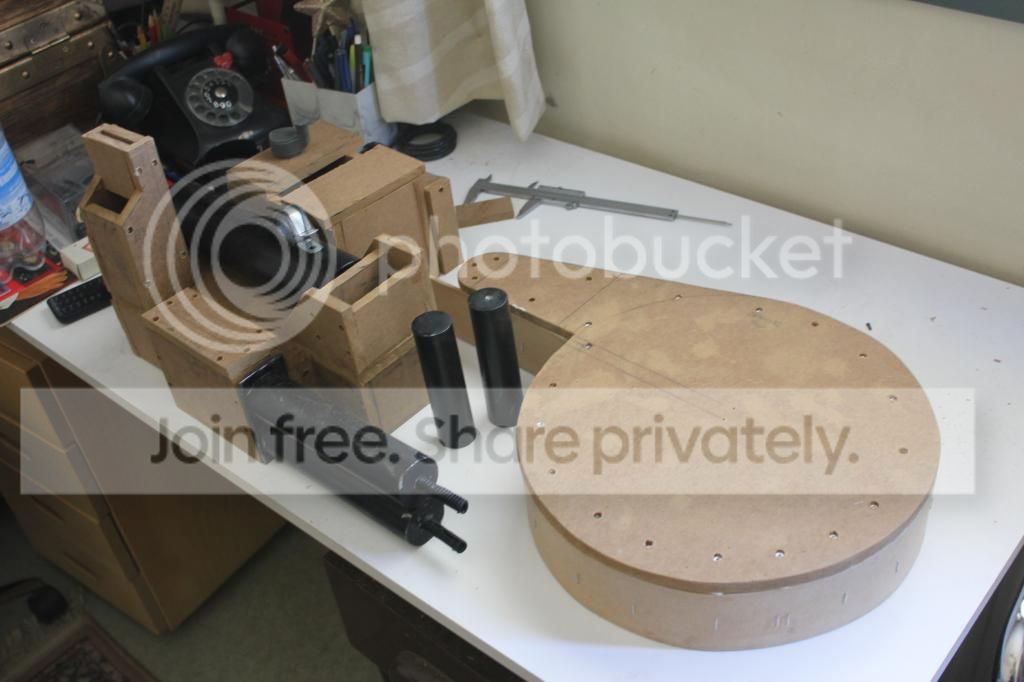
Adds up to the pack does it not…?
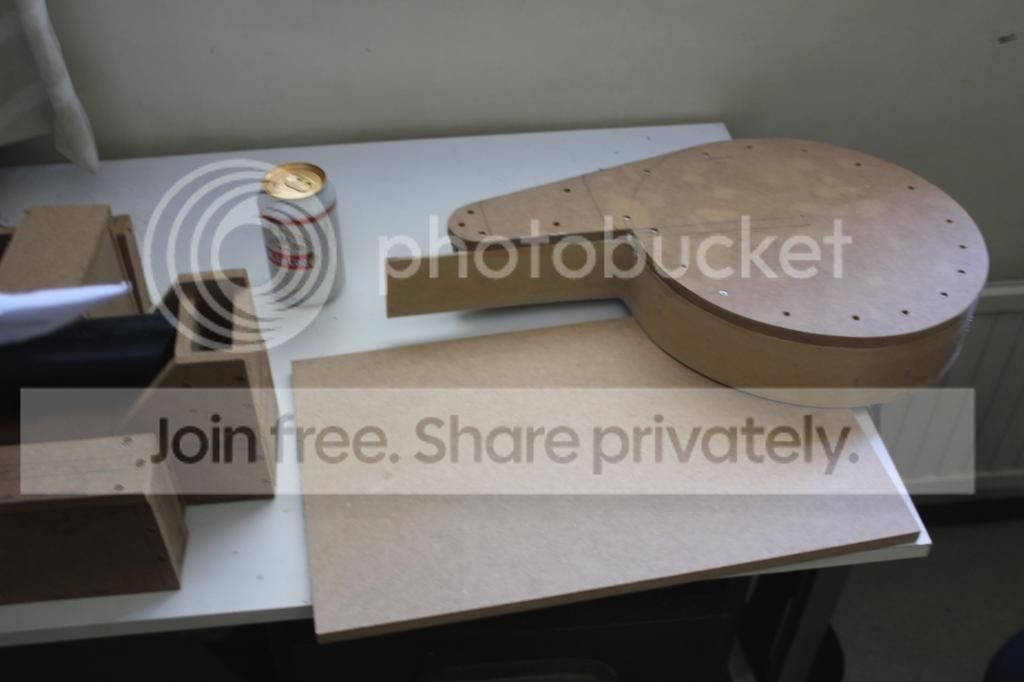
After the Spacer was done, some other parts could be done.
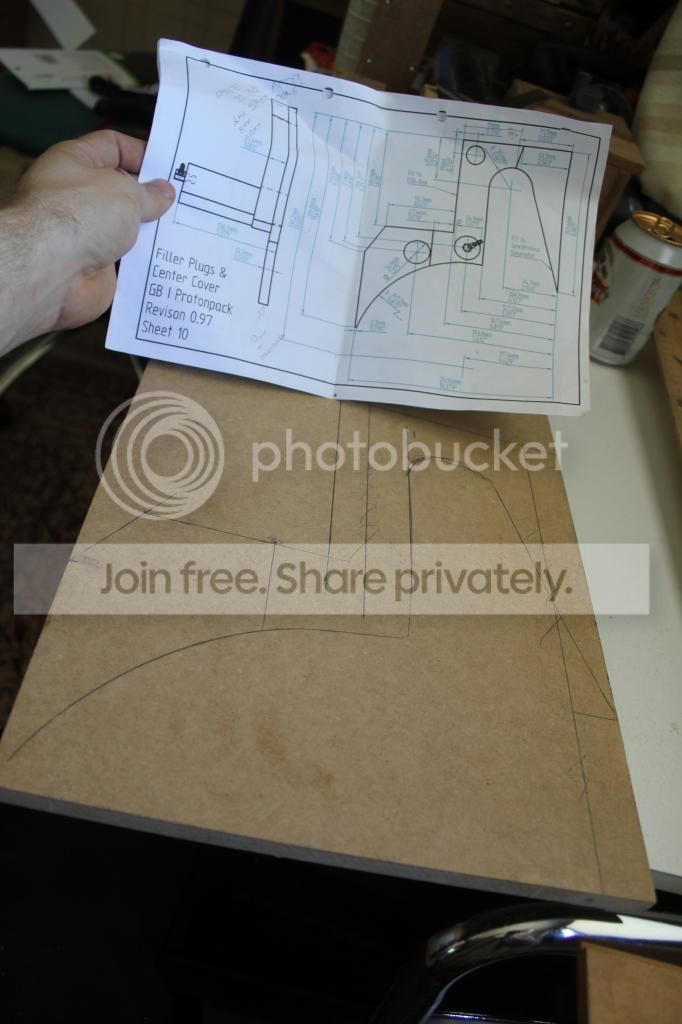
The Center Cover for the Filler Plugs need to go smooth on Spacer, so they need to wait untill the Spacer was done…
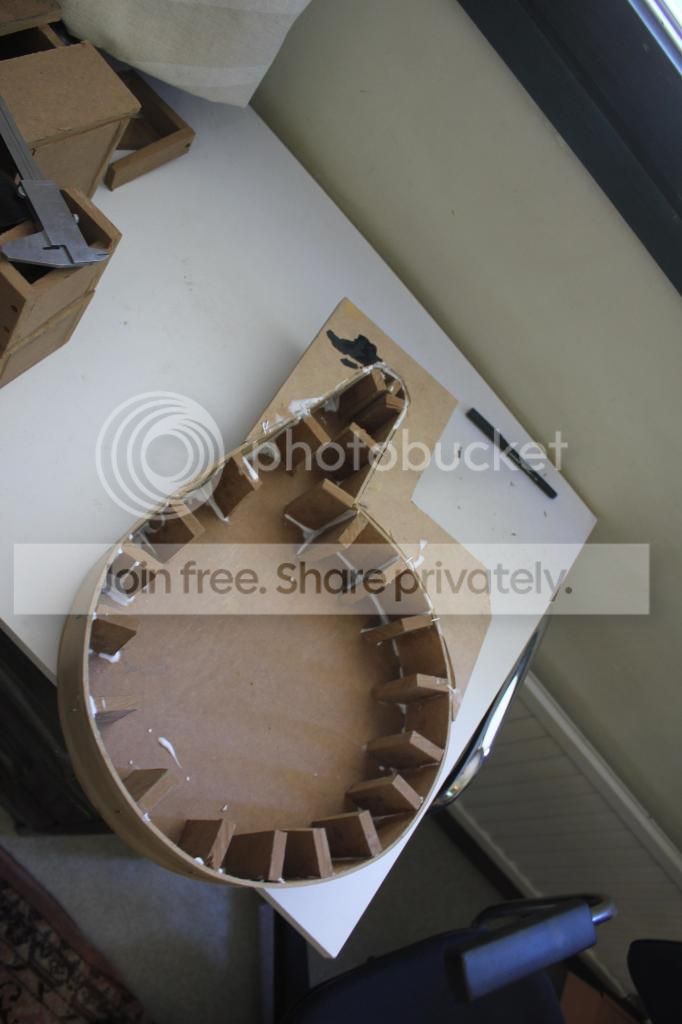
With little trouble, the MDF was glued in place. Staples helped us here…
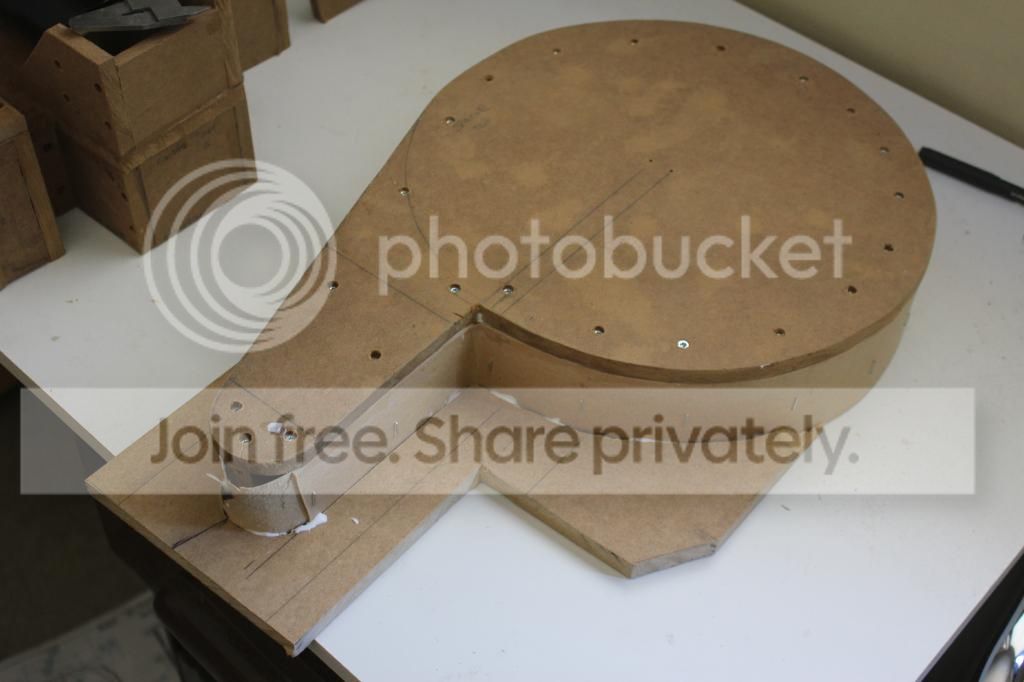
Still needs some smoothing out, and other things, but they will be done after this gluing is dry.
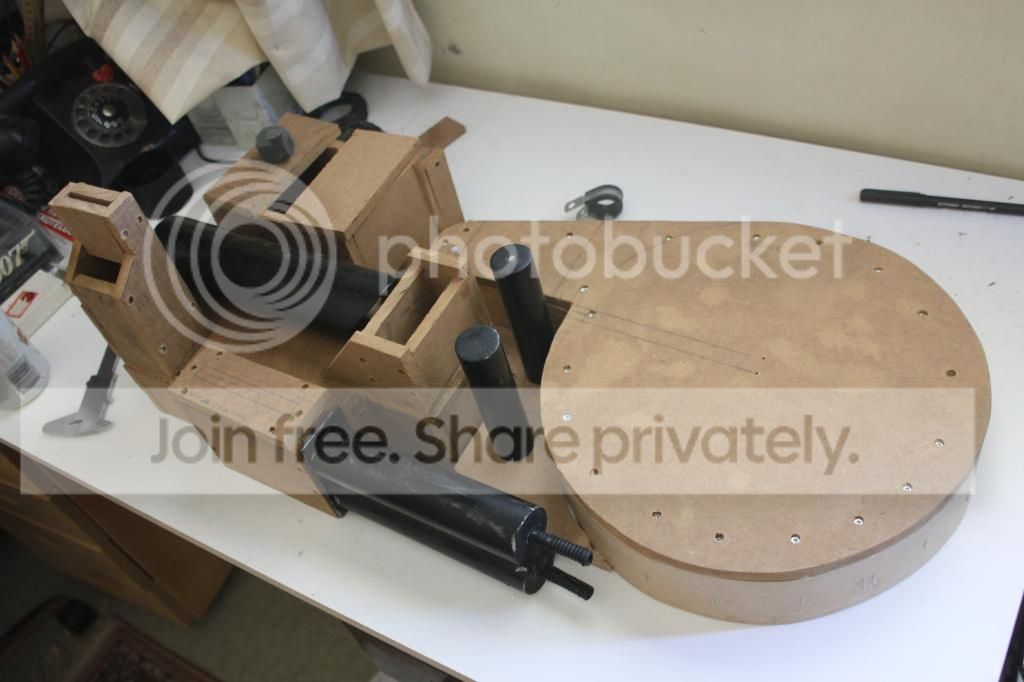
Looking smoking, every time new additions are done!
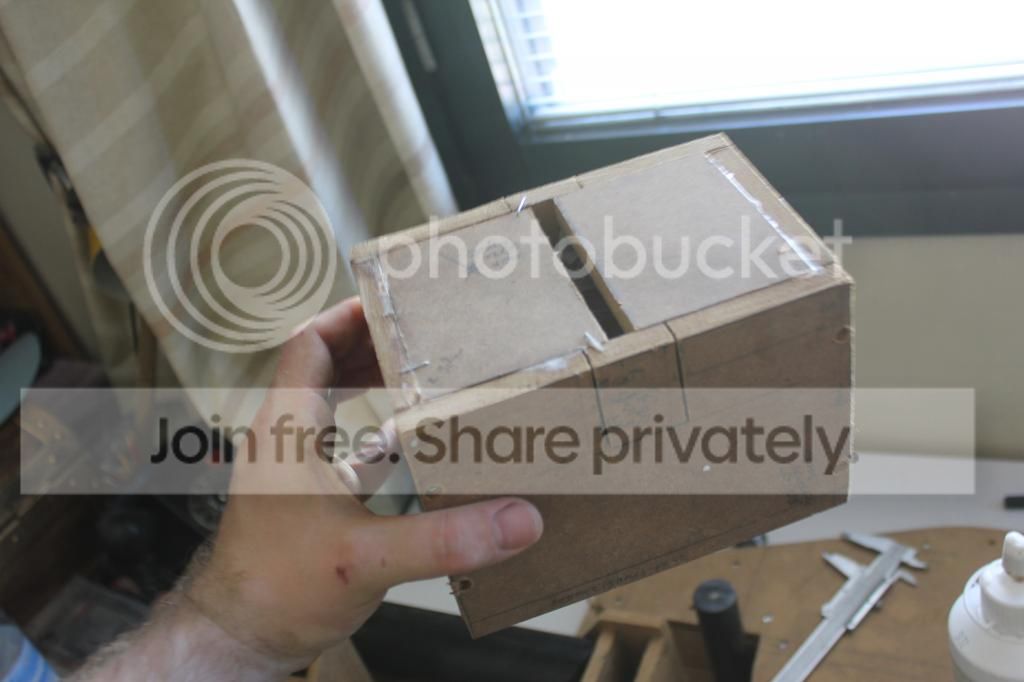
The Crank Box was a glued a bit wrong, but after putting the top bits in, the box is now nearly 90 dergrees all the way.
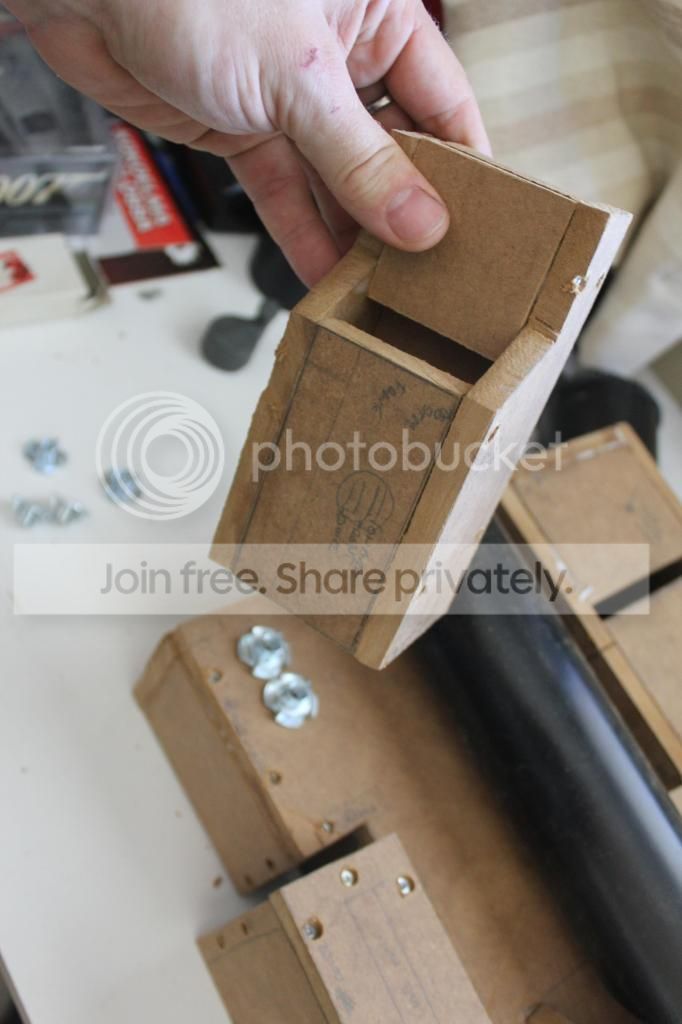
The Ion Arm is causing problems with nearly every Proton Pack. To counter this, and some transporting troubles, I did think out something…
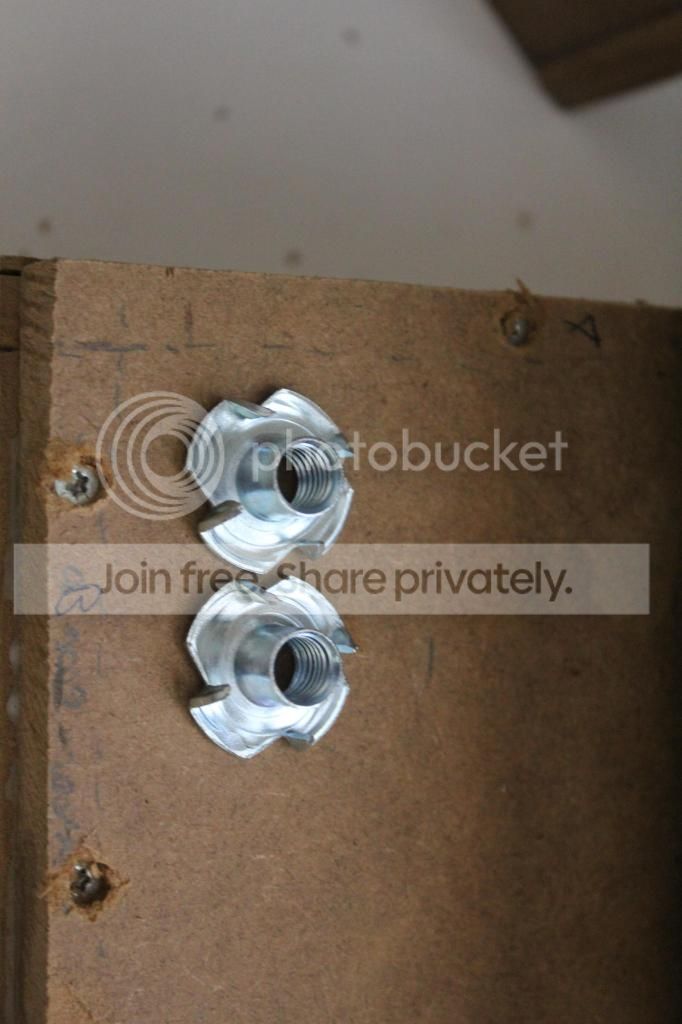
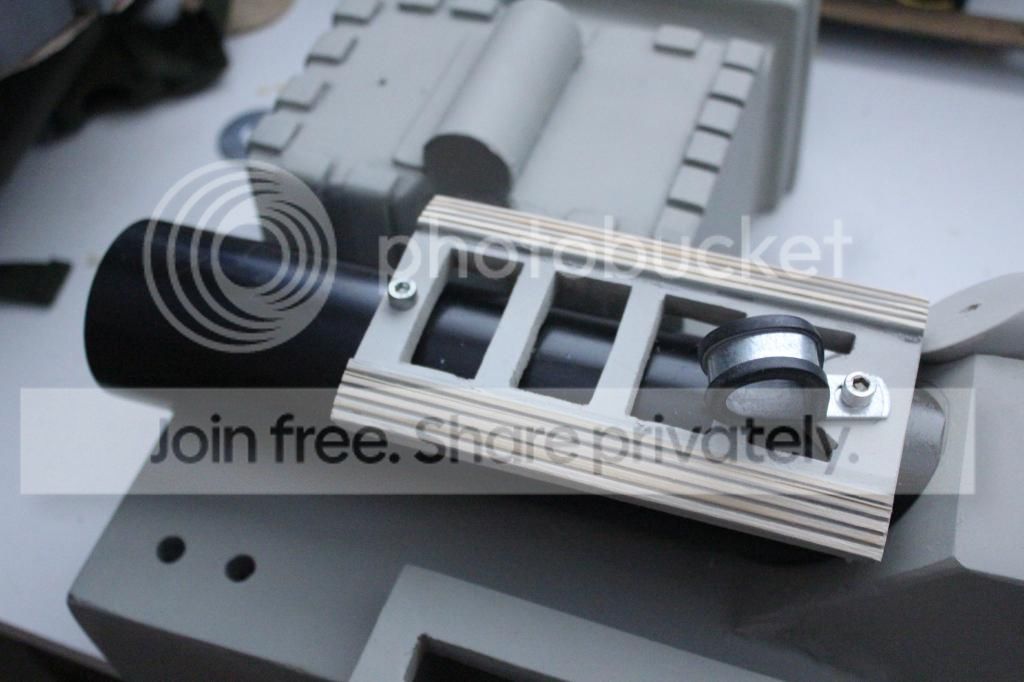
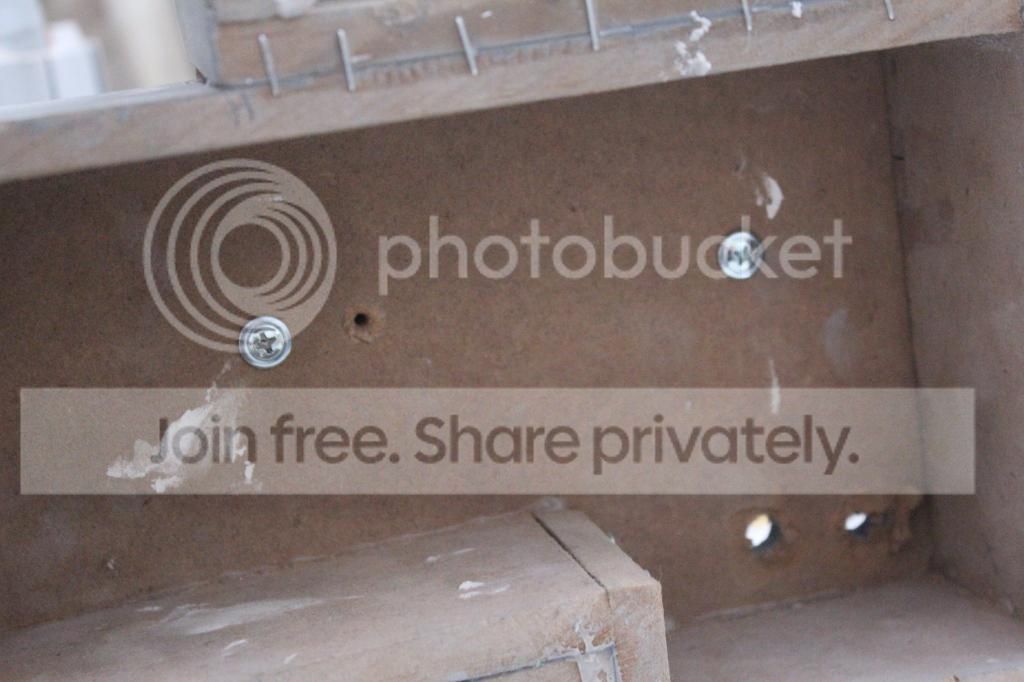
The Ion Arm will house these, and the whole Arm will be bolted in the place. This way it will not need to be glued, in, is strong, and can be taken out so that the pack will be a bit more smaller, and take a bit less space for a packaging… These are also used to attach the ALICE frame to the motherboard.

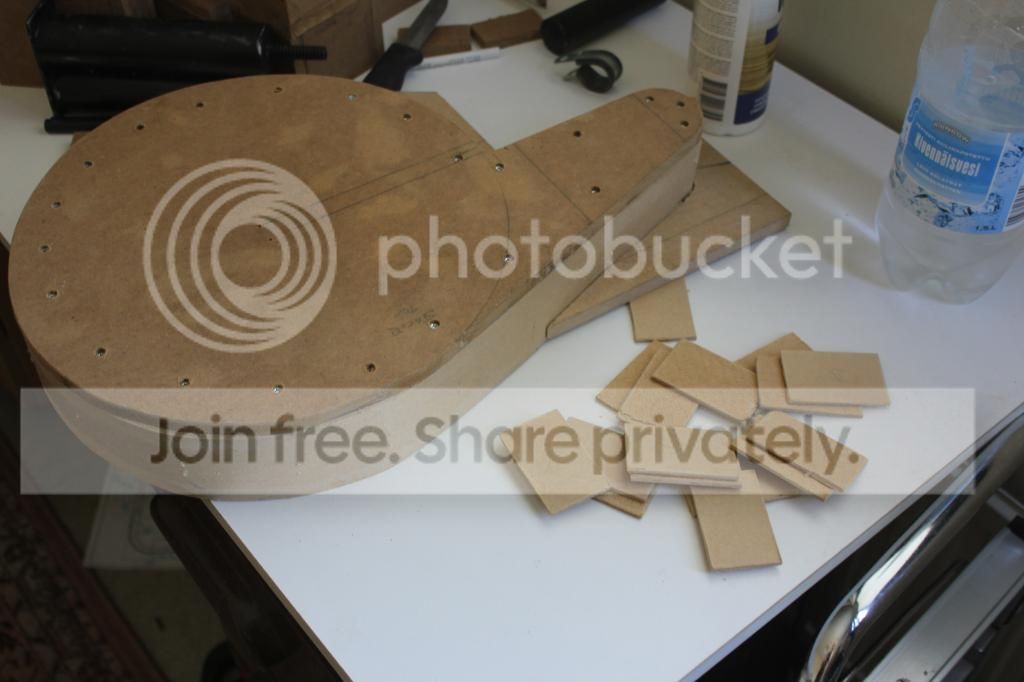
This is about after 12 hours of works for this pack, done with Stefan’s blueprints and our other packs as a reference. After posting this to UK Ghosbusters Facebook, I was misread that I would be doing a pack in one week… This was just something to kill some time, before our trip to London, for the Film and Comic convention…

Still the idea stuck… There is about 168 hours in one week… Correct me if I am wrong. This far, in 12 hours… Not counting driving to get parts, and other life stuff…

I am trying to see if I can actually finnish a pack, in 156 hours I have left…

Luckily I do not have to do EVERY part myself, our rookie bought about 100 Euro’s worth from Nick. so we are set here, for now…

I will be updating this both here, and in Facebook, when I get some more work done. This project HAS a deadline, though…

By the time my mother comes back from cottage from summer vacation, this must be done. I am doing it in her home…
Sweet! A tight deadline! Can’t wait to see the progress!!

While waiting for the trip to London, and the Filma and Comic convention, and of course, meeting the UK Ghostbusters there, another two hours was spent on this project today.

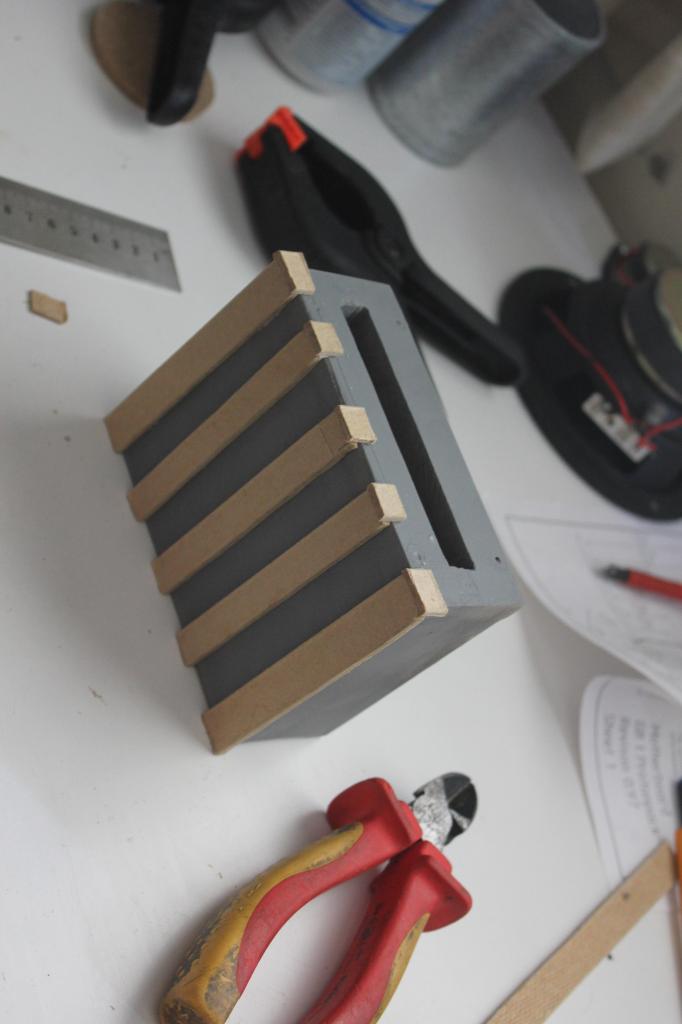
The hardboard I took out from wood seller’s trash was easy to cut wiht an Xcato knife, and soon enough, the cosmetic plating for the Spacer were done.

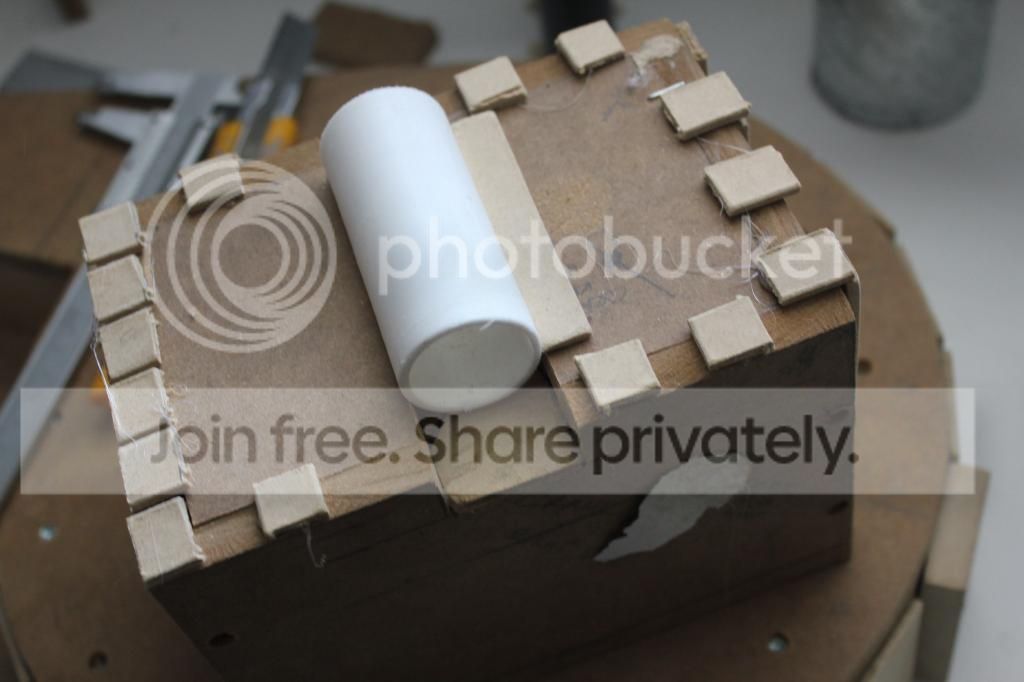
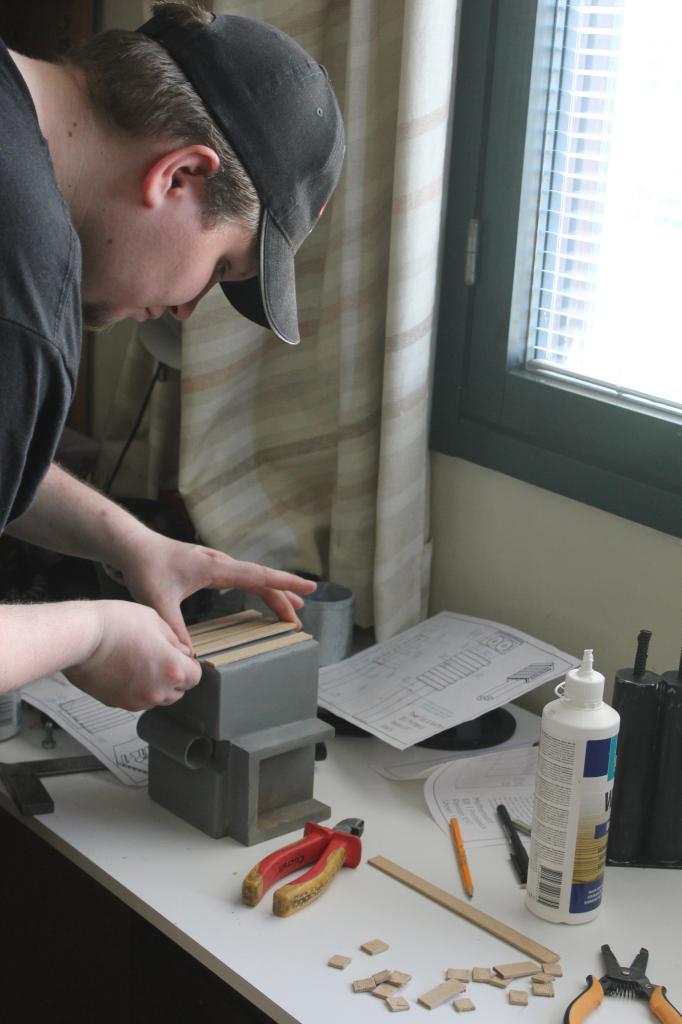
With glue, and staples, they were attaced to the Spacer. Couple larger plates are missing, but tehy can be added later on.

The details for the Power Cell were also cut from the same material.

But, as the Power Cell is not sanded, each bits were hotglued in place, just to keep them safe.

Same goes for the Crank Box, which also got the knob and HGA hotgueld in place.

Yep, it is going well…

A bit from the right top corner, the cosmetic plate was cut, and sanded to measure the plans.

Seems that we have some filling and sanding to do… Well, that remains to the time when we have time, and sander at home…

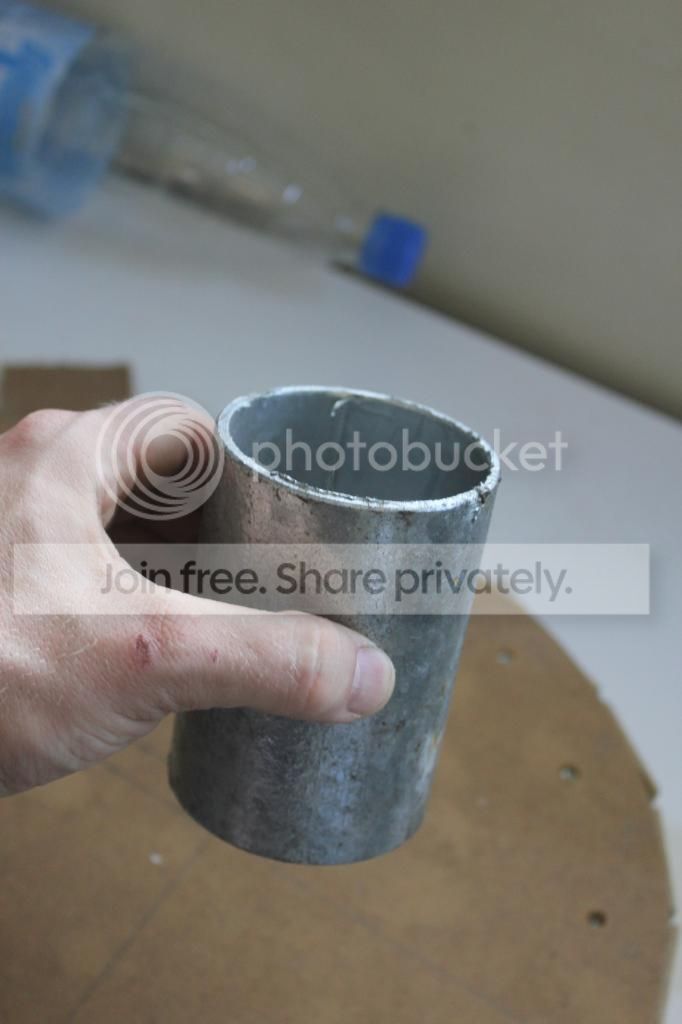
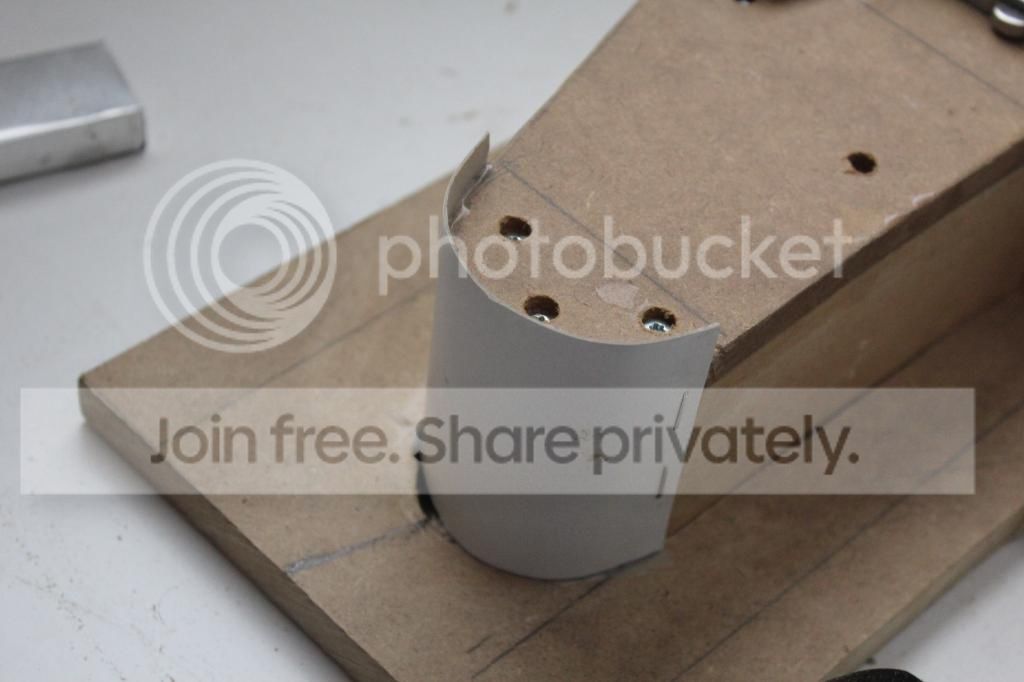
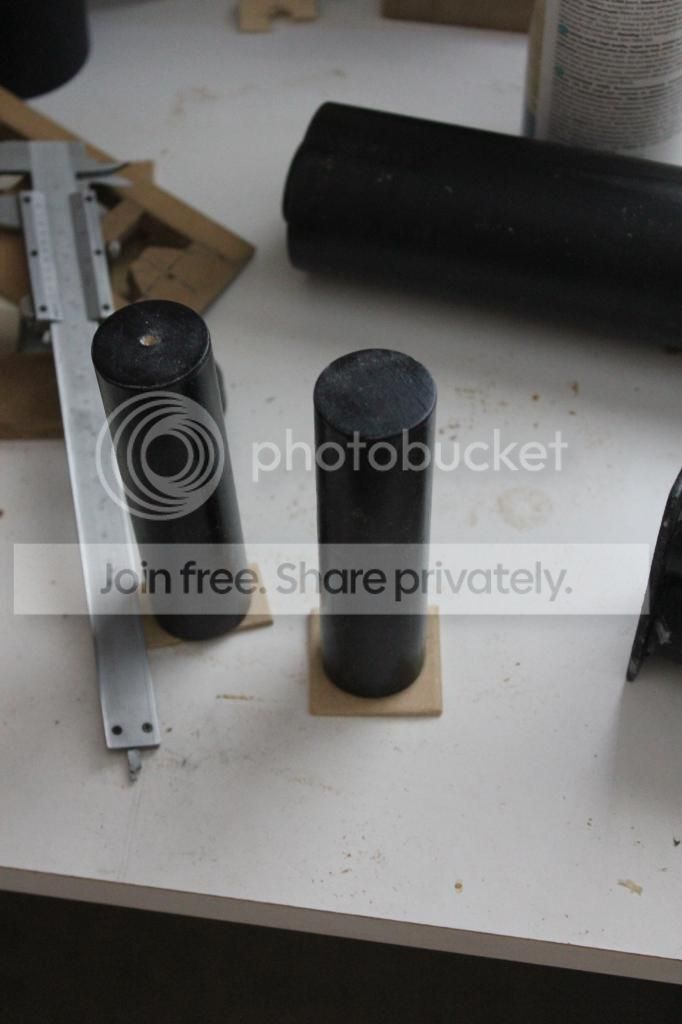
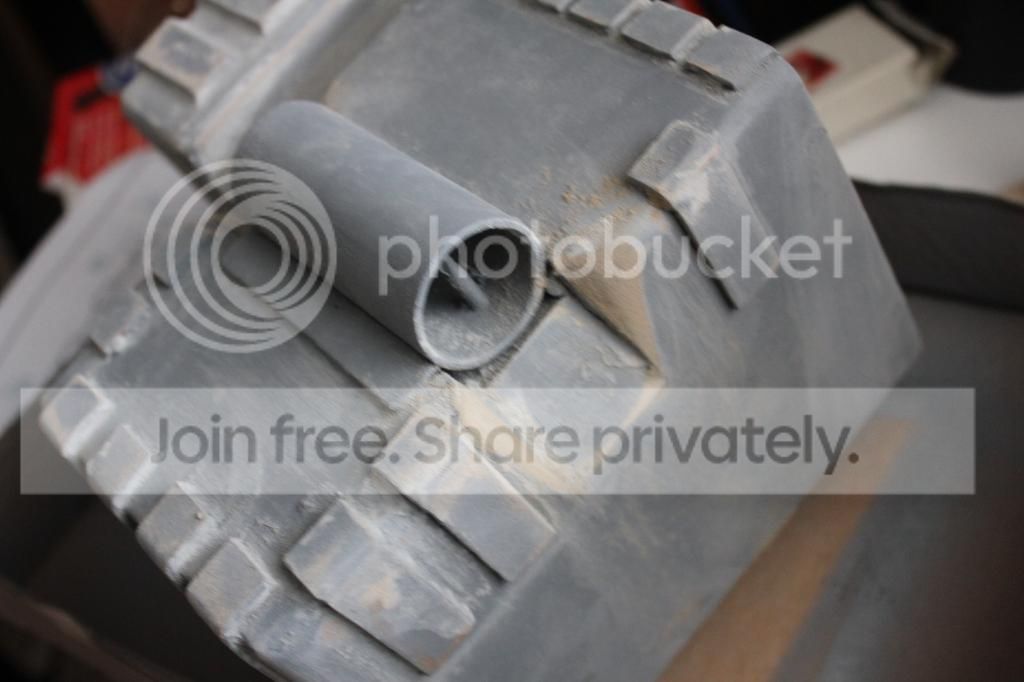
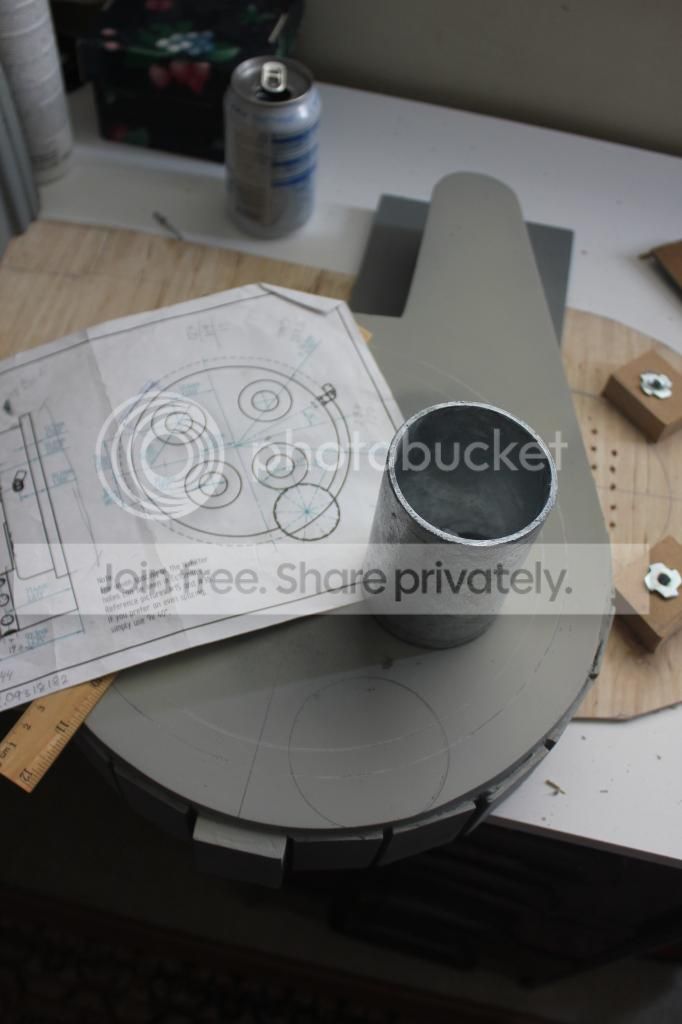
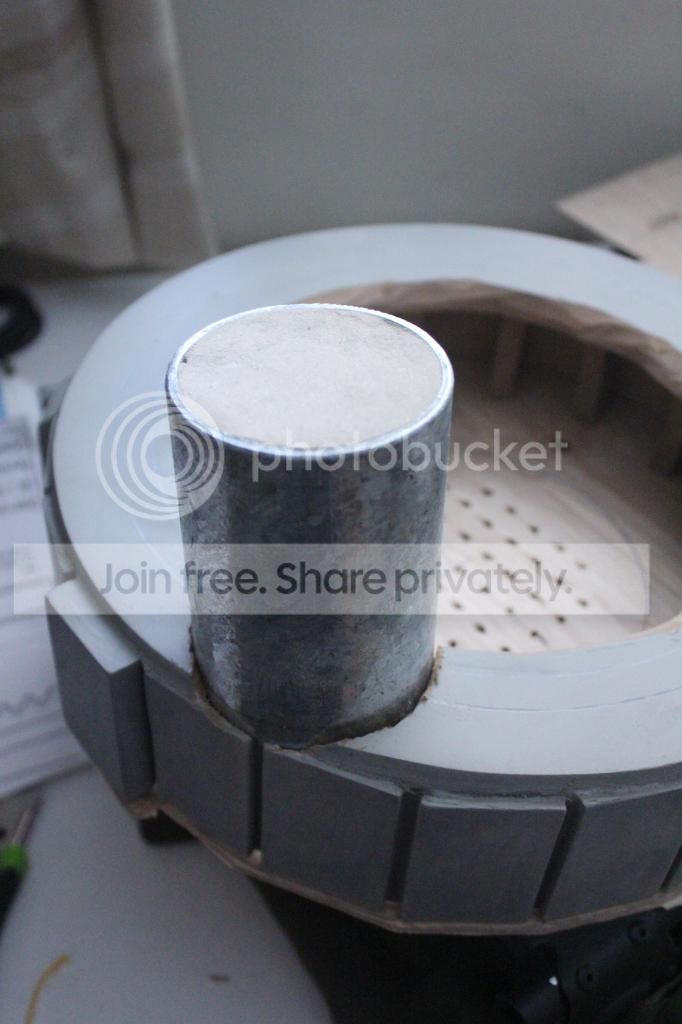
This piece of metal tubing was a lucky find from a trash. It measures about 98% excactly to Stefan’s plans for the N-Filter, if only a bit too tall.

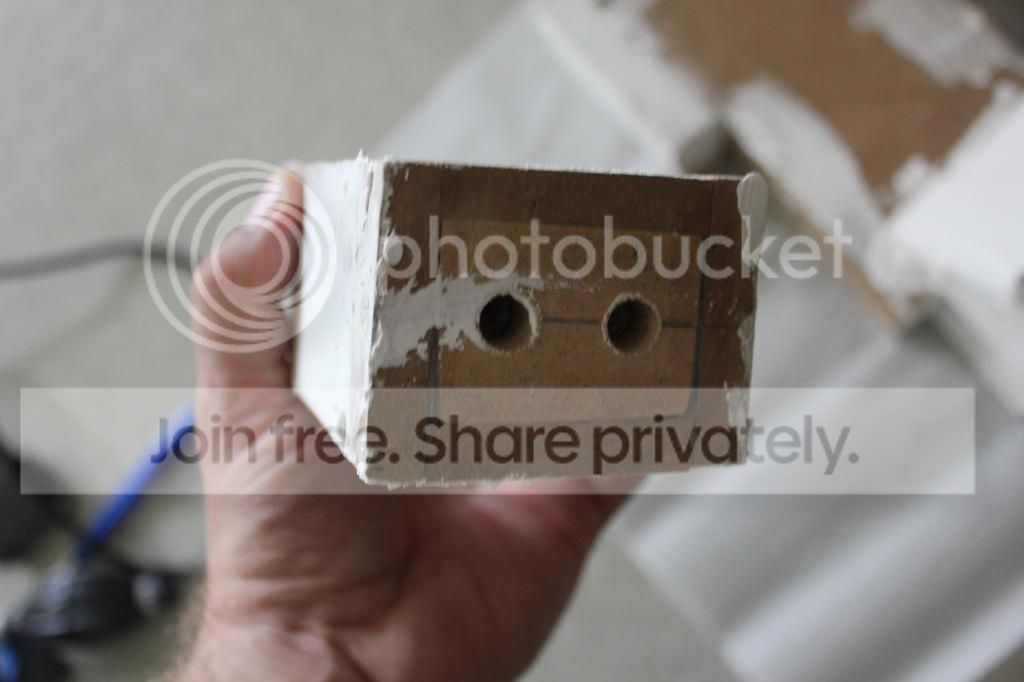
Now, it remains to be seen if the holes can be drilled with Dremel and bigger drill, but it seems to go without troubles, when a test hole was drilled wiht a Dremel.

We actually grabbed more than few of these metal parts, from that trash unit.. Now we have five others, for replacement on our other packs, and perhaps for some other use…

This N-Filter bit is nearly 98% screen accurate in size and texture, if Stefan’s plans on this are correct. With metal, it will be nice to have some of these to offer to other GBFans…

Total build time thus far, 14 thours. Not counting driving to places and food, or cleaning afterwards…

That is all for now, I will be now going to take my time, and get ready for the trip to London. And, we need to give time for the post to ship all Nick-A-Tron parts, and Alice frames that are ordered for this project.

Be back, in less than two weeks, if all goes well..

That pack is also going to be screen accurate HEAVY! :slight_smile: It is coming along real nicely.

Back from London Film and Comic Convention…

That was some trip and convention… Met up with Gozer and the Sedgewick Hotel manager, and back home, the London Airport Anti Terrorist Unit, searching the trains armed with loaded assault rifles and mood not to mess up with…

After reading the Daily Mail, someone brought a live hand grenade from Latin America in the plane, which kinda put the security on the edge… Our flight, back home to Finland was of course messed up, and we were back home well after midnight…

Still, curing the convention blues with this project. Althouhg initially named Finland’s new rookie pack project, I realized that this might cause misconseptions in regarding the Rookie Pack from the Game… No, this will be a Proton Pack from GB2 for our new rookie. But, due some mistakes, I have embarked on something.

A Proton Pack in a week. Would that be possible…

Counting only the hours working, not any for driving to get parts or anything. Work laid over weeks, and working when the time allows… With 168 hours in a week, this will be interesting…

Booster Frame cut from 10mm MDF. This needs some sanding to get it to less thick, but my sander is at loand as of the moment..

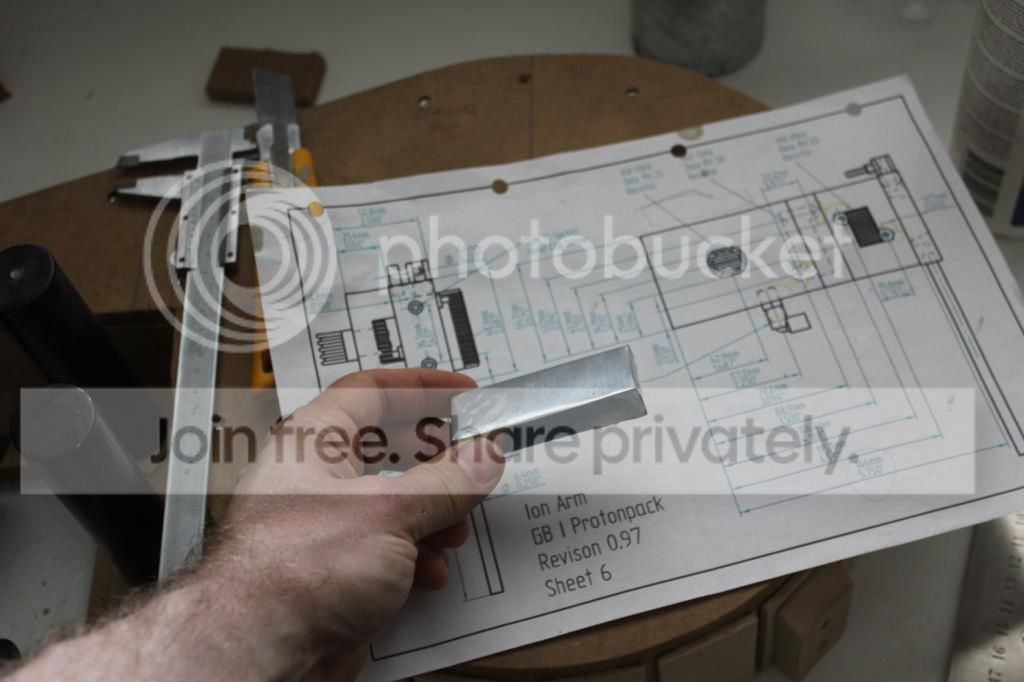
Ion Arm cap, from MDF, covered from aluminum, tip from here… And beer can, of course for the source of the aluminum..

Some cardboard to fix the round edge. Good thing that this part is well hidden and safe between other parts of the pack, so this needs not be as strong as possible..

The missing thicker Cosmetic Plating were added. Secure wiht glue and screws.

Some missing parts were cut from hardboard.

And used to fill in the gaps.

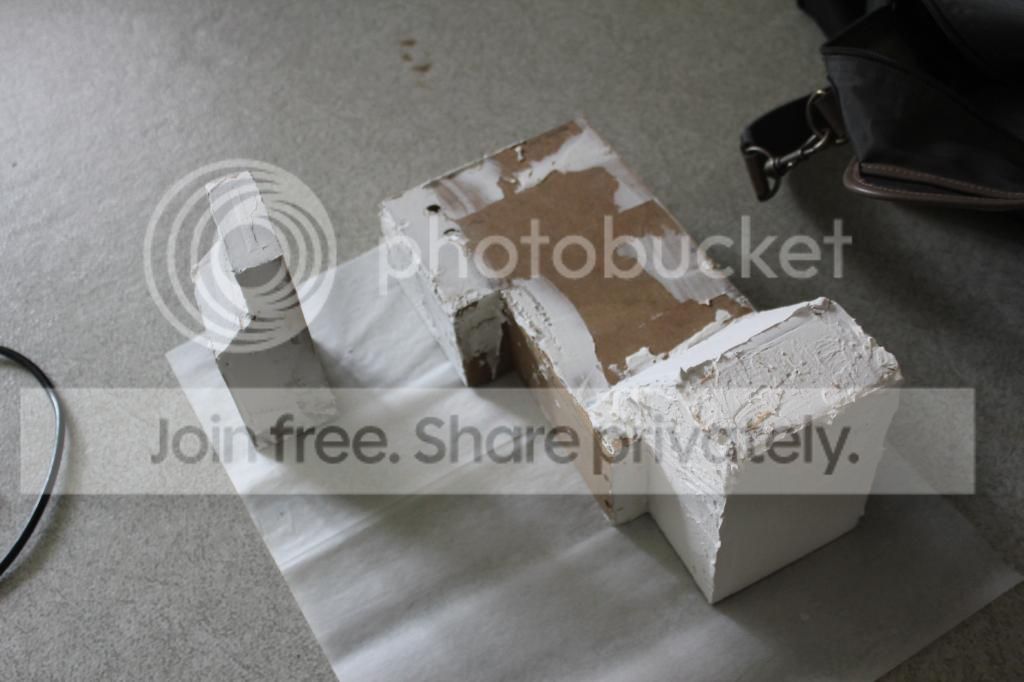
Some cake frosting then, for the parts that had no cosmetic plates in them. Old filler, bit dry… Clumps and all… Threw it away after this..

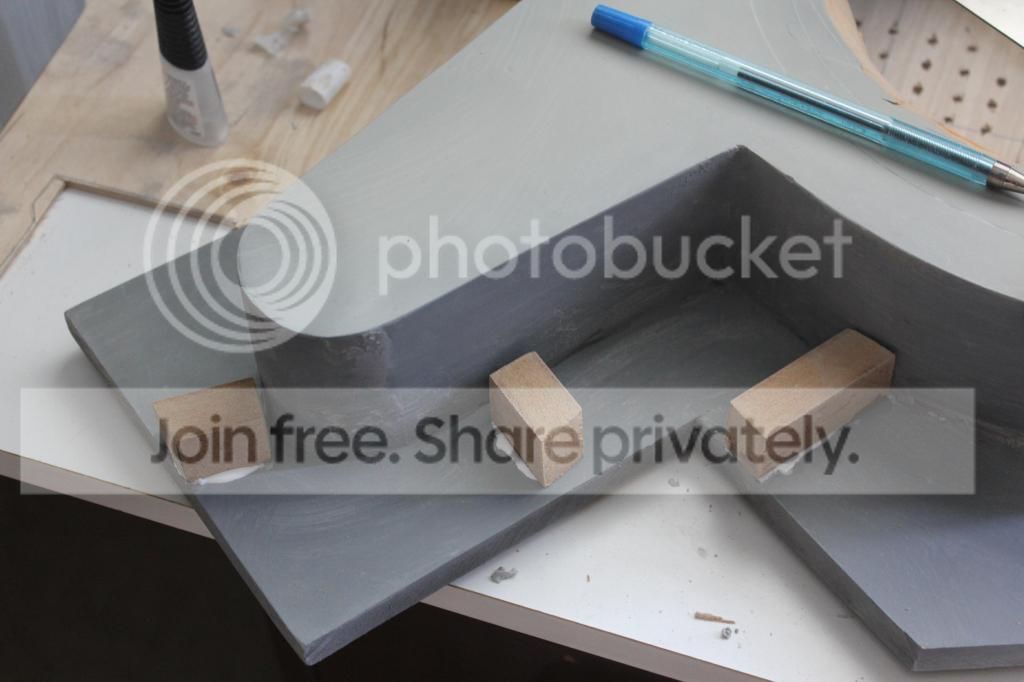
The bottom of the Ion Arm had some 20mm thick MDF attached, with bits for the bolts inside. The Arm can be taken off for transit.

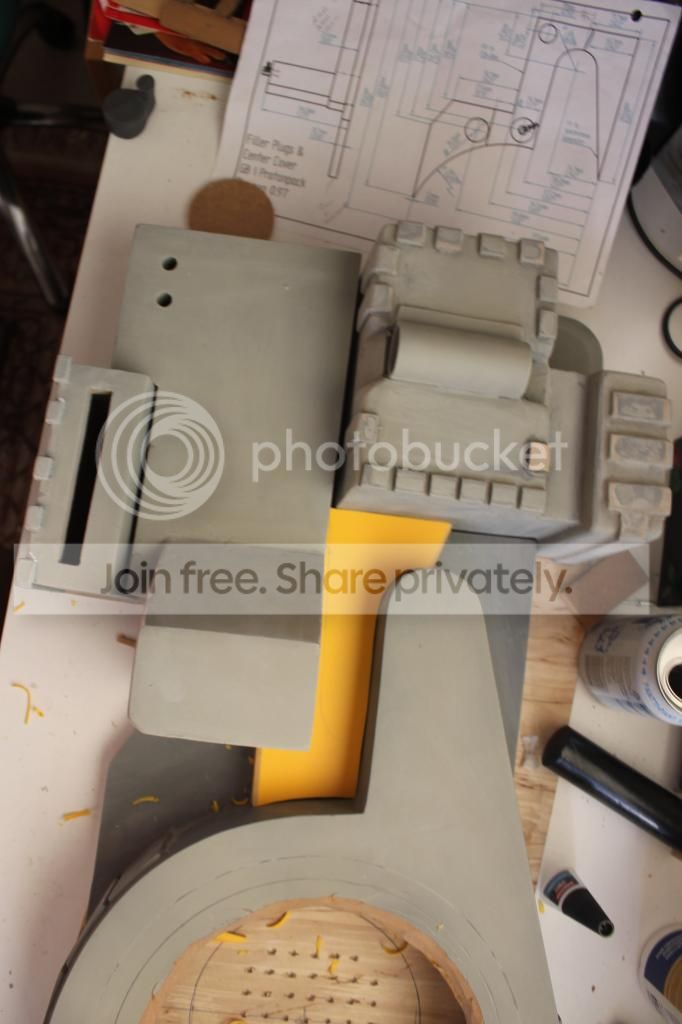
Still without the Gun Box, the part between it and the Crank Box was attached to the Crank Box.

Tubes got the plates under them. The one on the left has a smaller one just to keep the height of the parts the same. It will be hidden in the long run anyway…

With all parts frosted away, I am now only waiting for the filler to cure, and get the sander back. The lady who loaned it does not need it anymore, so I might be able to pick it up tomorrow or later in the week, and sand these parts away..

With the parts ordered from Nick-A-Tron in the way, and with ALICE Frame already in custody, the challenge has been accepted. A pack in a week…

Total build time now, not counting driving for parts, drying times, etc, just the hard work, is 19 hours.

Cheers, and stay tuned…

Nice build so far…

The very idea of a pack built in a week… A year seems like a tight schedual to me, never mind a week! This whole project takes some serious ■■■■■!

Thanks guys!

We built three packs few years ago, and I learned a LOT of what not to do, fom that time. This time the pack is done much faster, and will be a bit more accurate, than I can admit, that my own pack is… So many more reference has come up, that I can add the details to this pack.

And yeah, a pack in a week is a serious deadline. Might be impossible, if you add the drying times and the works that bring the food on the table.

The idea is to make a full pack, in 168 hours, that are the hours in one week, counting ONLY the hours worked on the pack.

The work is distributed over few days here and there, with most done on the weekends. Or in the mornings so as not to disturb folks with spraypaints in the garden, or street..

More to come, gonna pick up the sander today… Cheers, and stay tuned.

There is only one possible response…

Ok, got my sander back today, and a small update.

I got one hour more work done today.

After sanding myself white, the parts are smoother and nicer.

The screwholes are still showing, after a nearly one spray can of primer on them… Needs more bondo, and sanding I guess..

With help of some cardboard boxes, the painting was no trouble..

Power Cell and Ion Arm are not so rough anymore, still, more sanding and primer for these too…

The total time for this project is now 20 hours.

With some 148 hours left, it seems that I might be able to pull this through. Still, Cyclotron is completely missing, the Booster Ladder is not complete, etc… Oh well, we need to wait until teh parts from Nick-A-Tron arrive for more happiness.

More work on the weekend.

Cheers!

Loving this. Also dig how clean the wood pieces look. I’ve only been able to achieve that once. Can’t wait to see the end result!

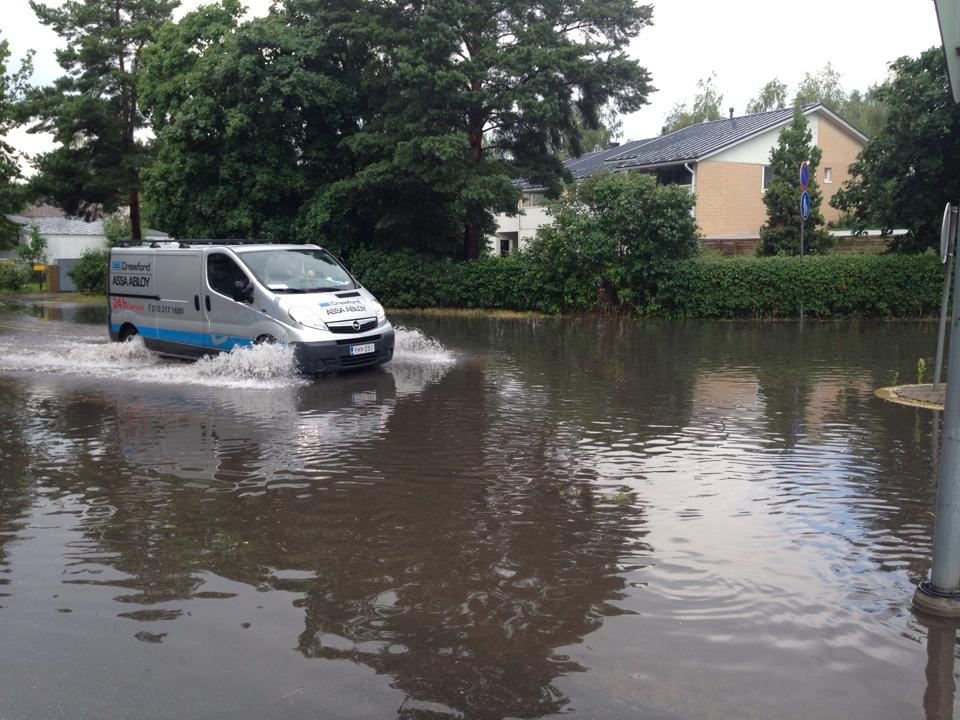
With the thunder god Thor looming over us, we set upon work with our Rookie. On our way to the workplace, rain and hailstorm hit Helsinki like no other… Imagine rain so thick you cannot see your fingers on an extended arm… This was something else…

With cars desperately grasping for asphalt..

The sink holes were doing over time. There must be at least 20cm of water on top of the road here…

Still, we hit the lul in the storm, and got inside, and even parked the car about half a kilometer away, and managed to get inside before the rain started anew… Now, safely in, we could get back to work.

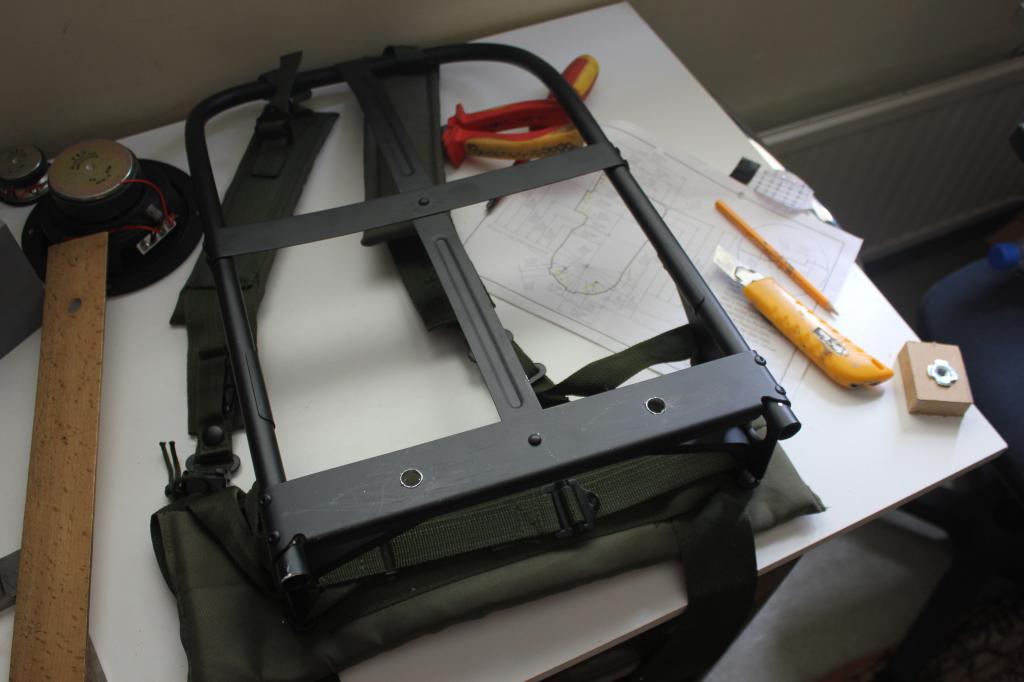
As our Rookie had his ALICE frame in, we set upon workign on the Motherboard and issues regarding that.

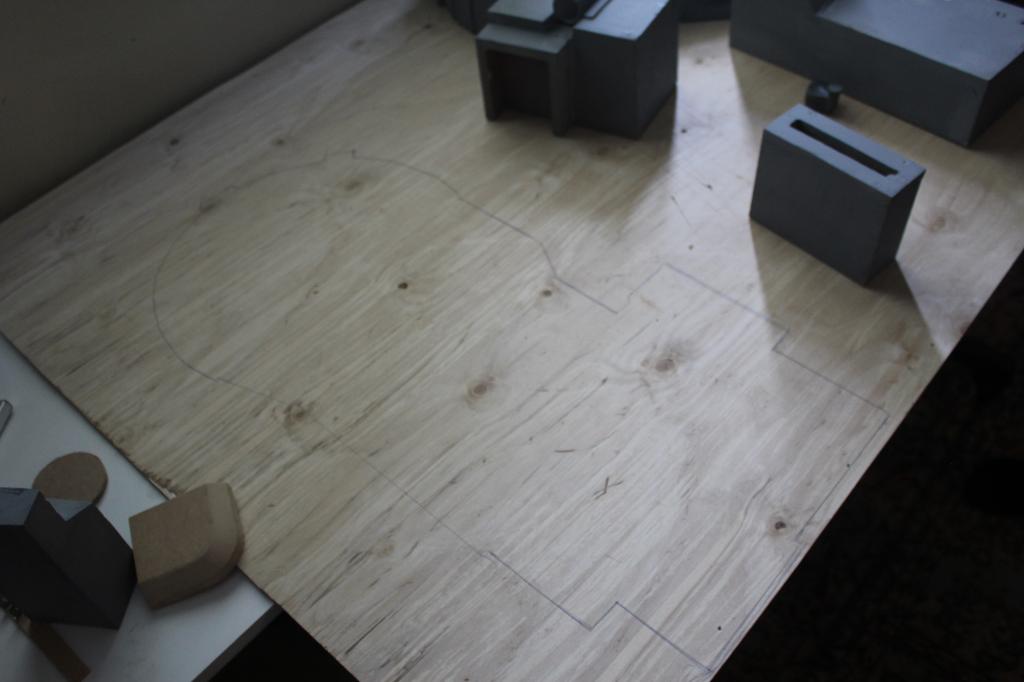
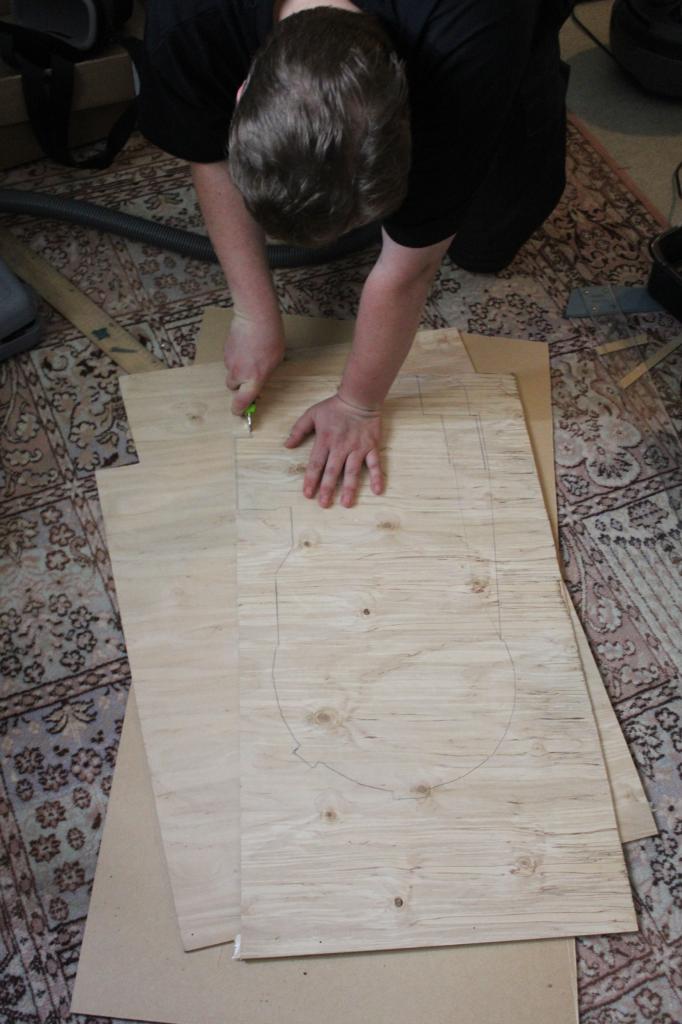
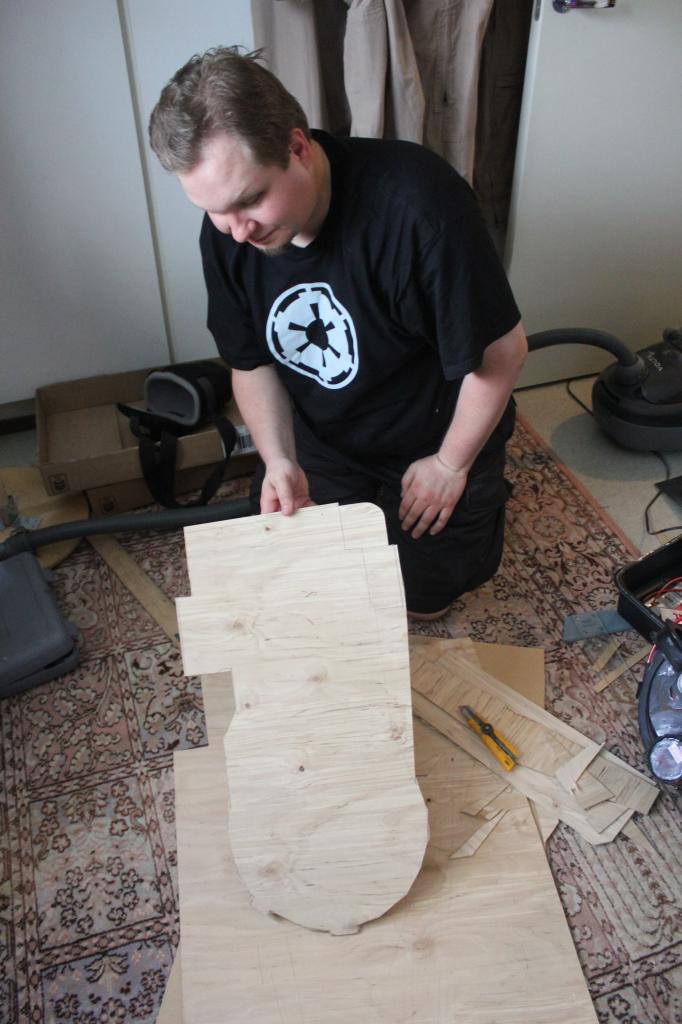
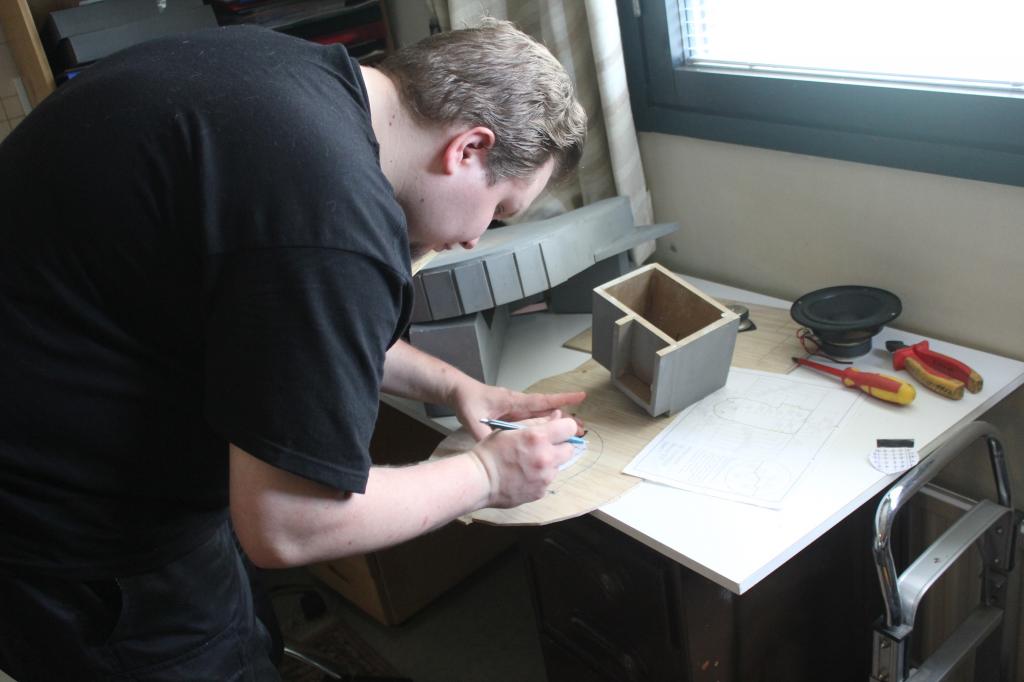
The MB was traced on a 4mm birch plywood I had left from some project. I must have sanded it a bit, as the other side was smooth..

It was then cut with an Xacto knife.. Something new to our rookie…

Still, with only little help, the Motherboard was cut. We left some room for the Gun Box that is still missing…

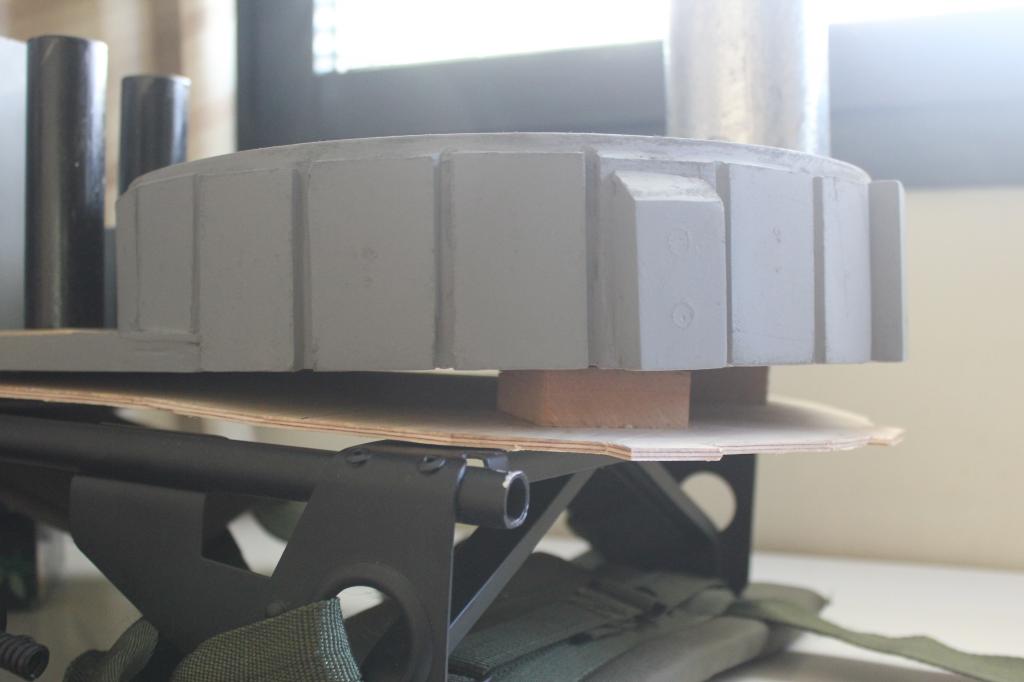
Fits neatly under the Proton Pack. Just like it would have been drawn under it…

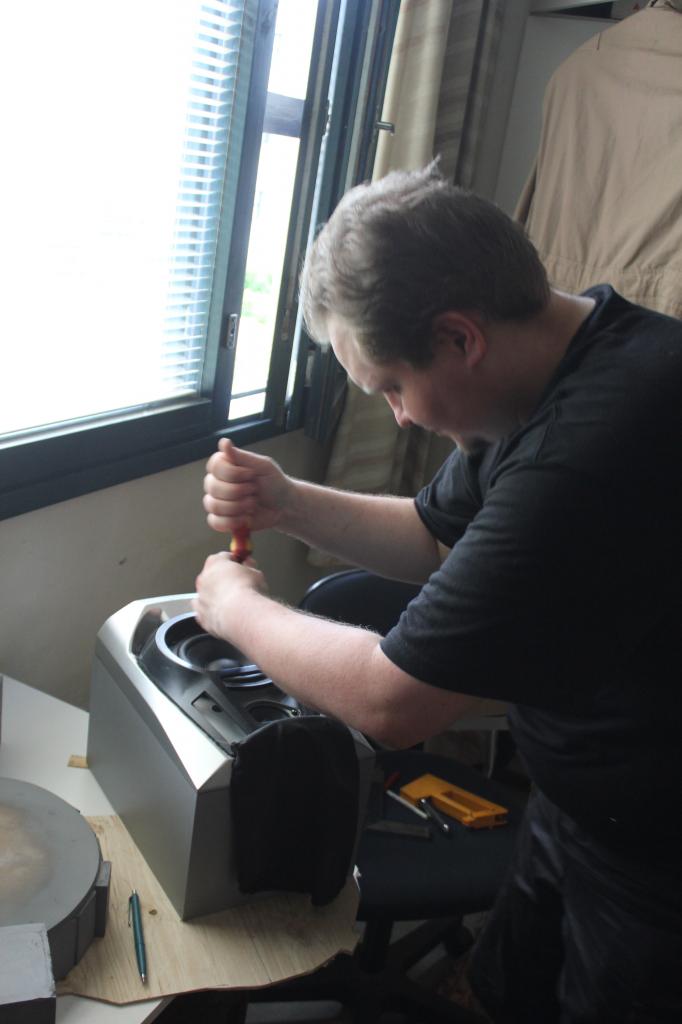
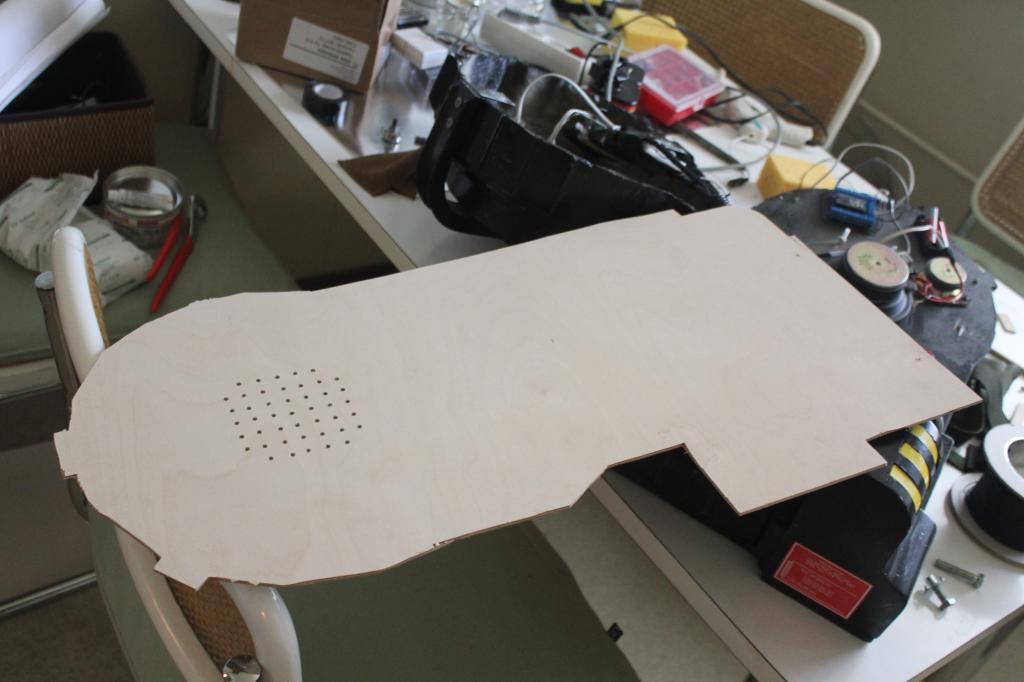
A speaker saved from trash was then taken apart for this Pack’s sounds. The soundboard is not here as of yet, but will be at some point.

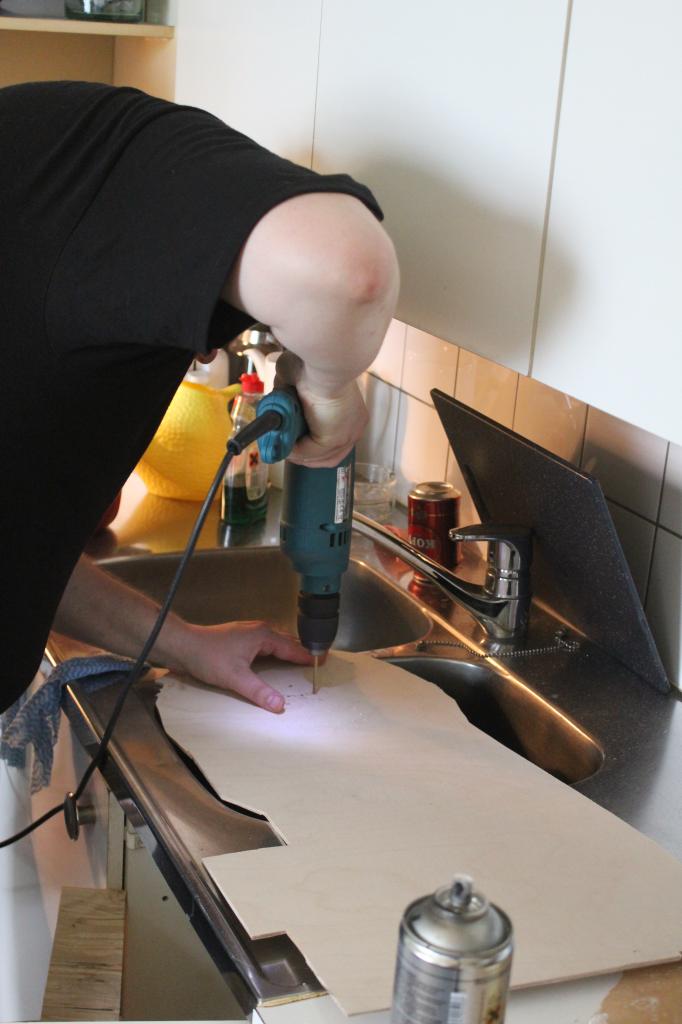
As we had just attached a speaker in the Hybrid Pack, we had a template lying around for this pack.

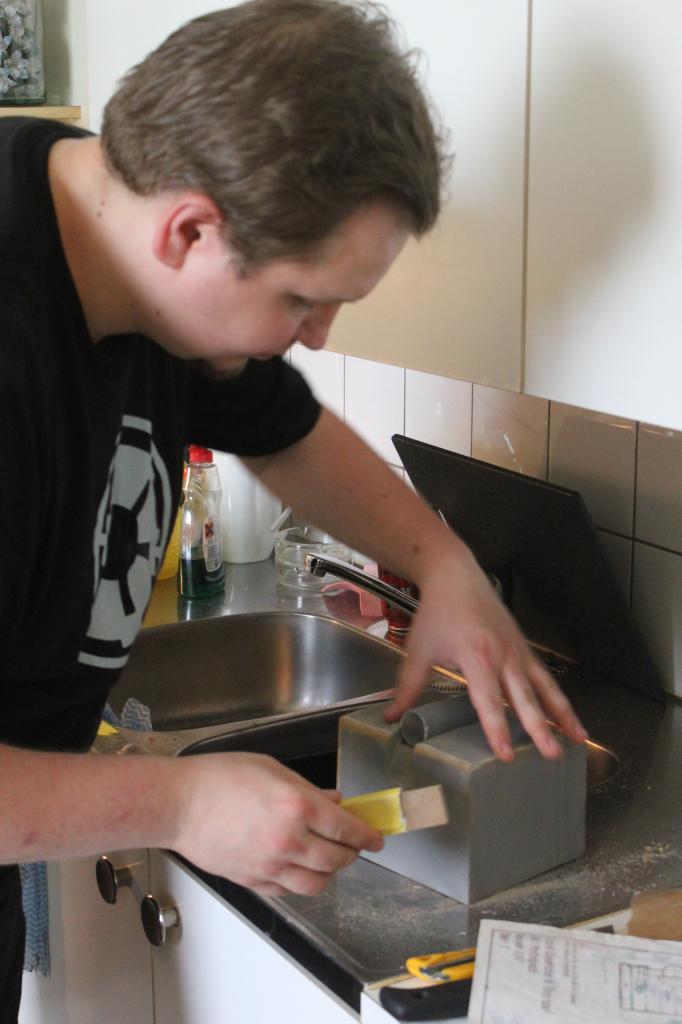
That, and with drill over kitchen sink, the Rookie got to work..

The other side, the one that will be seen outwards, was smooth, as if we had at some point sanded it. Plywood from other projects came handy here..

The Alice Frame had no lower holes in it, funny enough… Well, with measurements from Stephan’s plans, they were drilled with ease.

The Crank Box was not cranky any more. It has rounded edges and is happier now…

The cosmetic plating to the Power Cell was glued in, permanently this time..

One is just a tad ajar..

The Crank Box got some attention as well. The plating was added here as well..

All together, looking good, to me at least. Needs few hours of sanding with the sander, and more primer, but we are getting there…

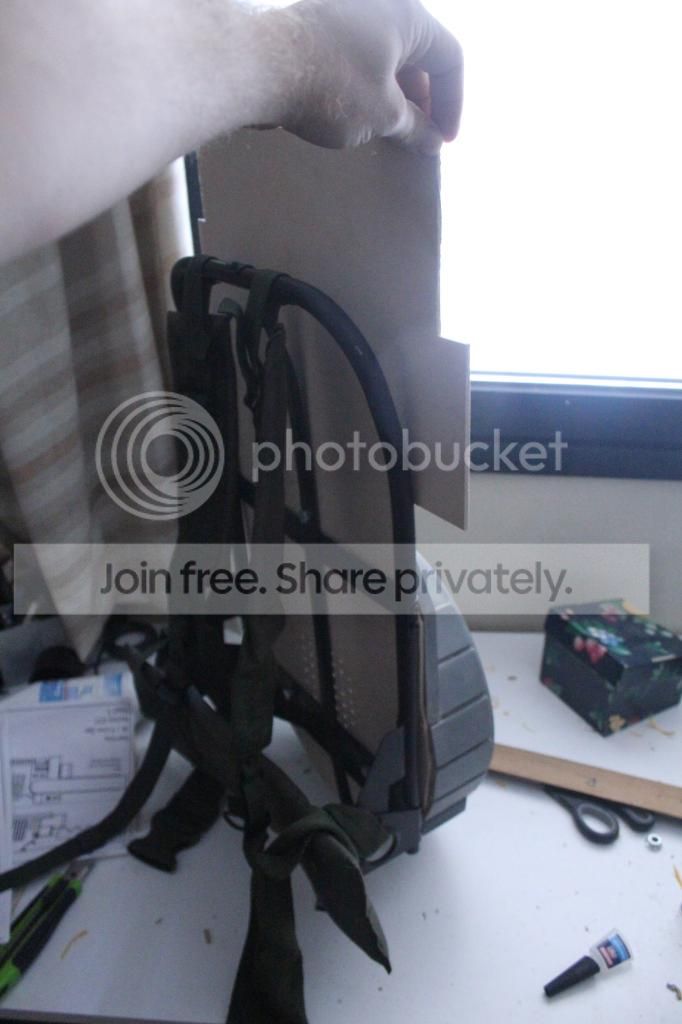
Everything laid on top of the Alice Frame. I have been waiting for this picture for some time…

Still a small issue arose… The MDF bits inside the spacer and the counter sunk bolt’s MDF were not happy together. They overlap just about 1 centimeter or so… Well, we need to cut them a bit after the glue has set… No worries here…

With Gun Box still missing, more details on the Booster Ladder, Cyclotron missing and so many other little things to do, here we are now.

Although we spent over five hours working today with our Rookie, I am only counting three towards this project. We did take some time to prepare and paint three E-11 Blaster Rifles for 501st Legion troopings..

It was first time for our Rookie to do this much prop work as well as spray painting with a can. All well, a learnign experience all around, both the blasters and pack got somewhere..

Total time for this is now at 23 hours. Two cans of primer used.

Cheers, and even thought in the mid-day it seemed that the world was flooding, now the evening is beautifull.

More updates later, I’ll take a walk now and enjoy the Sunday evening as I still can..

Just amazing. Keep up the great work!!

Seems to be something happening here…

With the biggest roleplay, card and figure play convention, Ropecon held this weekend in Finland, we are trying to get some Ghostbusters in there.. Few years ago, we went there for the first time, and stole the whole convention attention, and won the cosplay (hate the term) contest with a breeze…

We have been there every year, and still someone will wants to get a picture with us… And, with the lights, sounds and smoking traps, we have something new each year… I meant to have a Ghost Hunt Roleplay there this year, but unfortunately the GPS electronics arrived yesterday, and I have no time to attach them to the extra PKE meter for the hunt…

Well, for Stockholm Comic Con, perhaps…?

Today, progress is here;

Taking reference of Pchrisbosh1’s Pack build, the Crank Box got some sanding.

After a dab of bondo, and sanding the screw holes were gone… Nice, and a bit primer, and sheesh, I have been waiting for this…

Rest of the parts got primer as well.. Now, these seems to be 100% ready, but some little sanding here and there, is still needed…

Next, after the primer has dried, of course, the Pack is looking nice.. Time for the N-Filter..

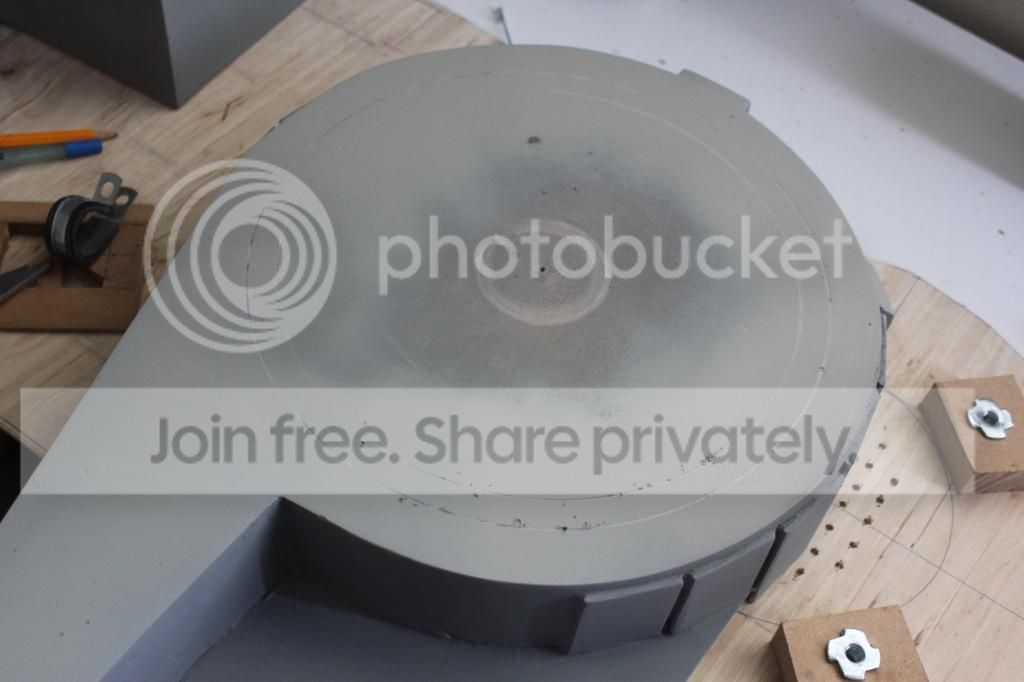
Using the center line drilled on the Spacer, the lines of the Cyclotron were drawn in.

The center hole was usefull for placement of the N-Filter as well..

The metal tubes I found on trash were cut nicely. They are about 10mm taller than the measurements on Stephan’s plans. And, the outer diameter is 0.5mm smaller than on the plans. A bit paint, and this is about 100% correct to the plans… Nice found, and I do have extras… Just need to drill the holes on them..
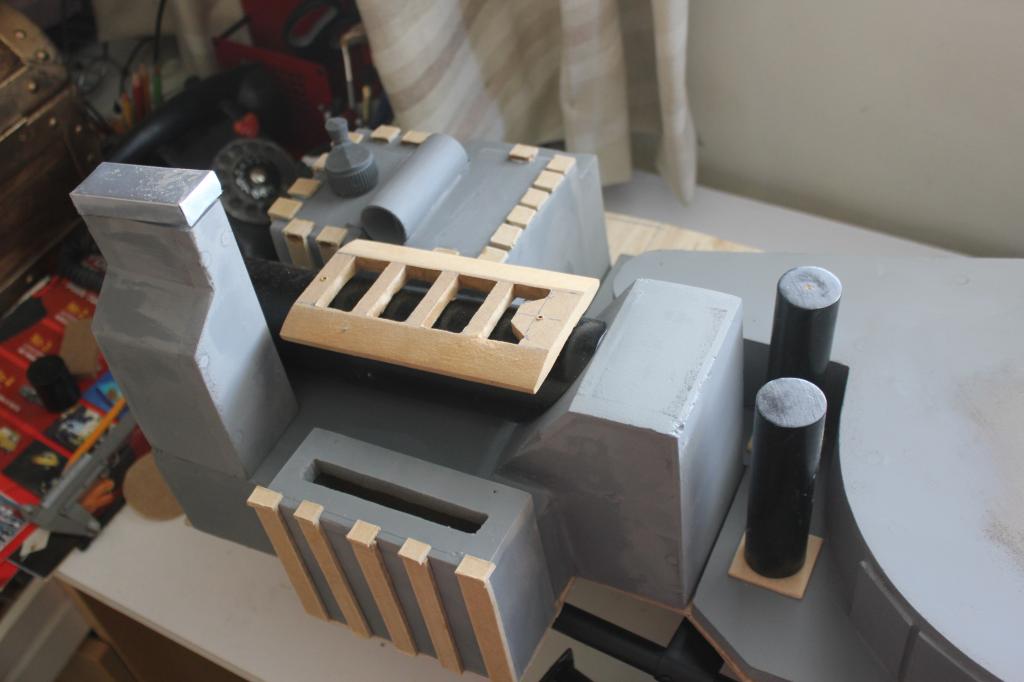
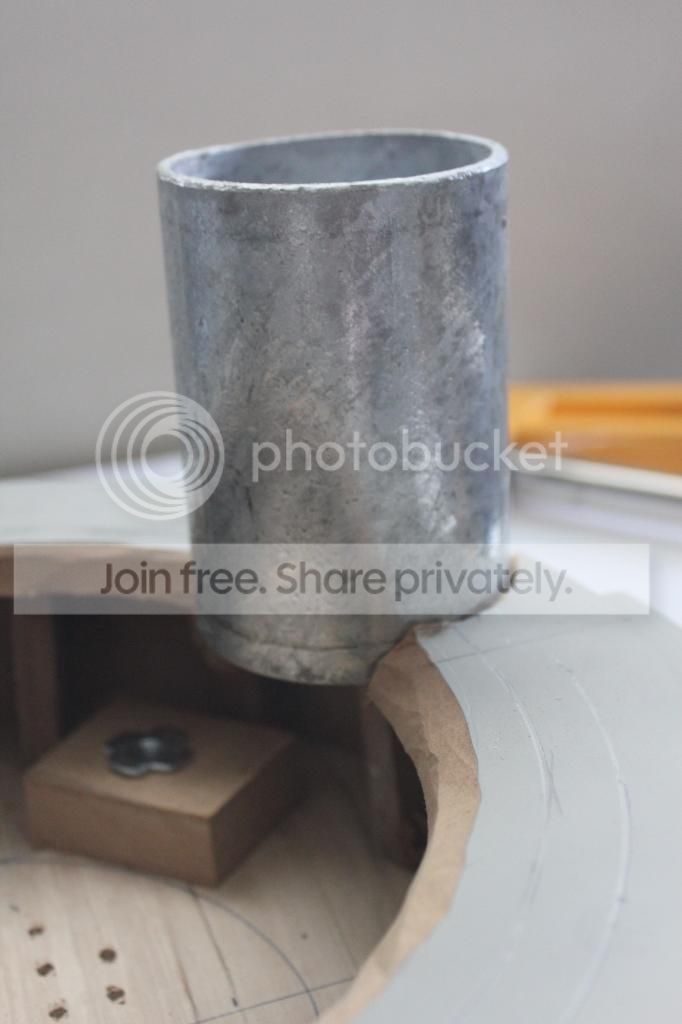
The MDF on top of the Spacer is 10mm thick, so if the N-Filter is 10mm too tall, the easy way to correct this is to dig in, an sink the N-Filter in… Helps to make it sturdy as well..

The Spacer was also opened somewhat, to make more room inside. The Cyclotron will sit on top of this, and provide more, but on our other builds I did see that there should be more room for all of the electronics…

Some spacers were cut from MDF, again saved from trash… These are 21mm tall, give or take a few micrometers…

With some For Sale plastic signs, the top was cut to measure. The plastic was little over 4mm thick. This means that we are 99% accurate for the Stephan’s plans here..

Needs few holes though…

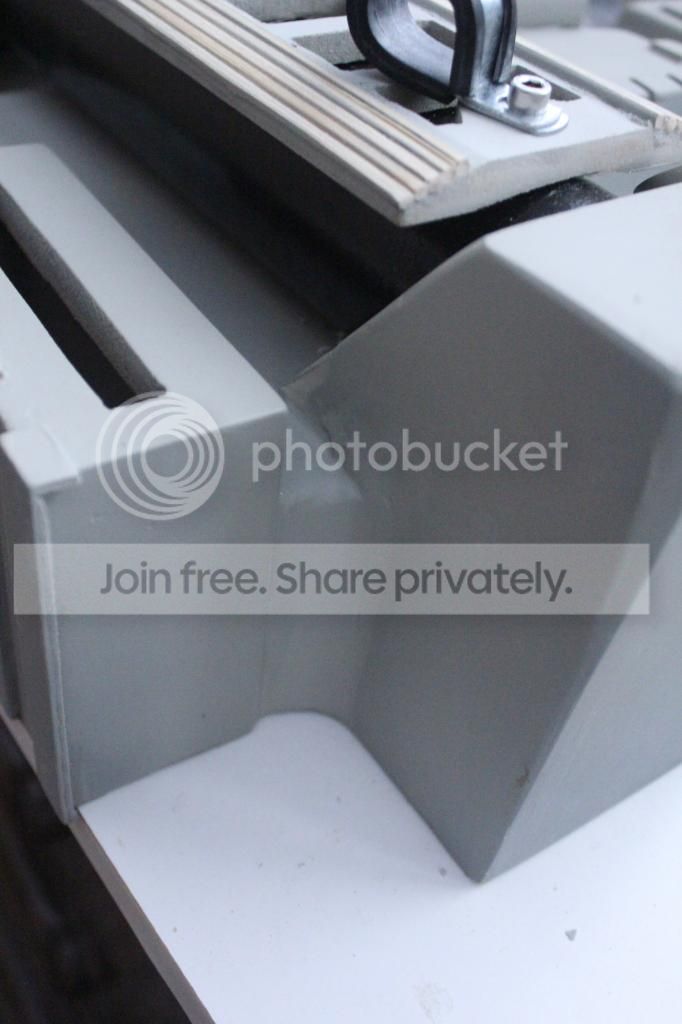
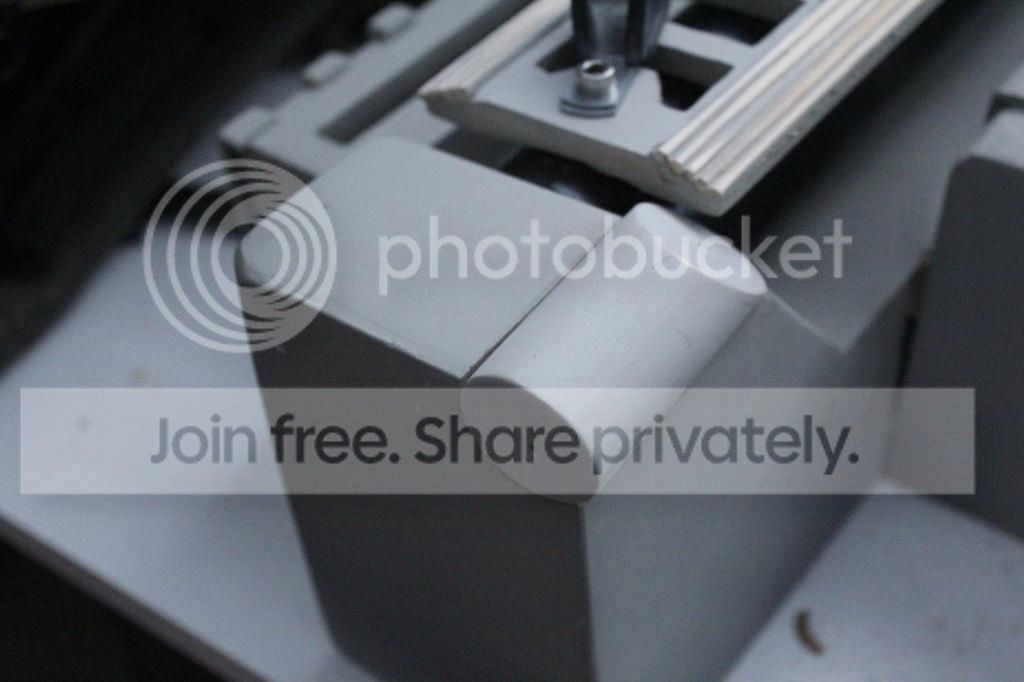
The Power Cell was attached to the Booster, needs some bondo here and there, and also the round edge between the parts..

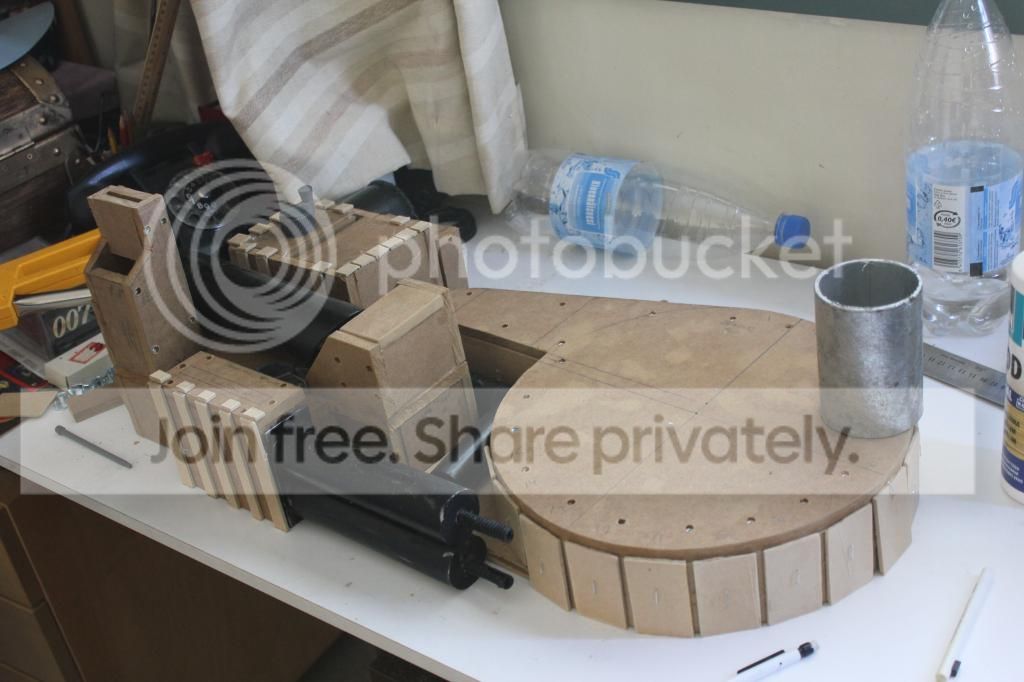
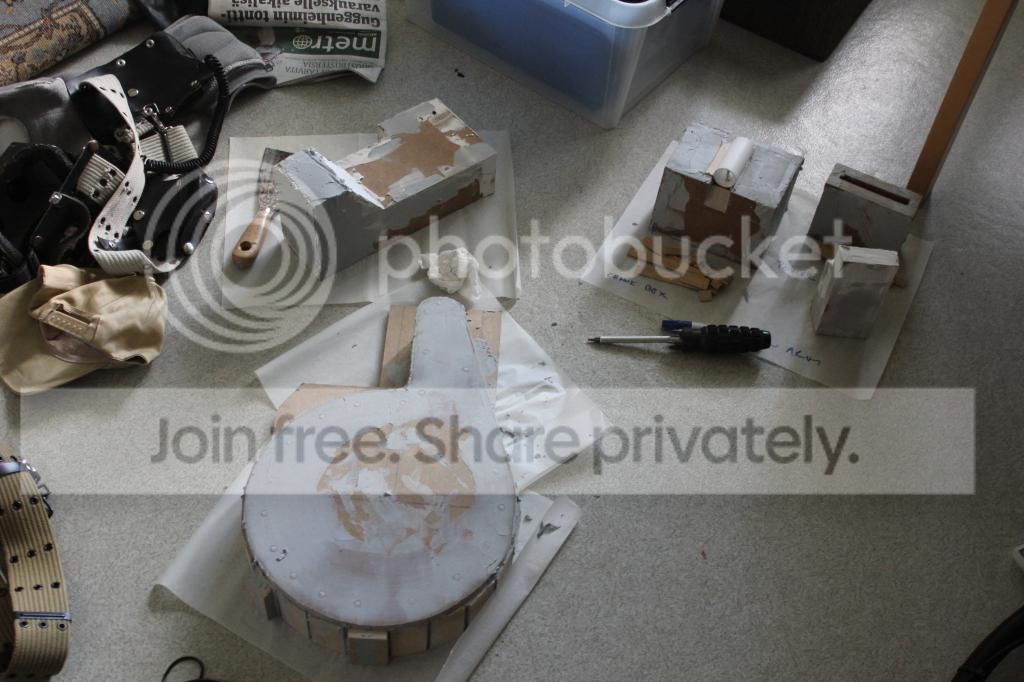
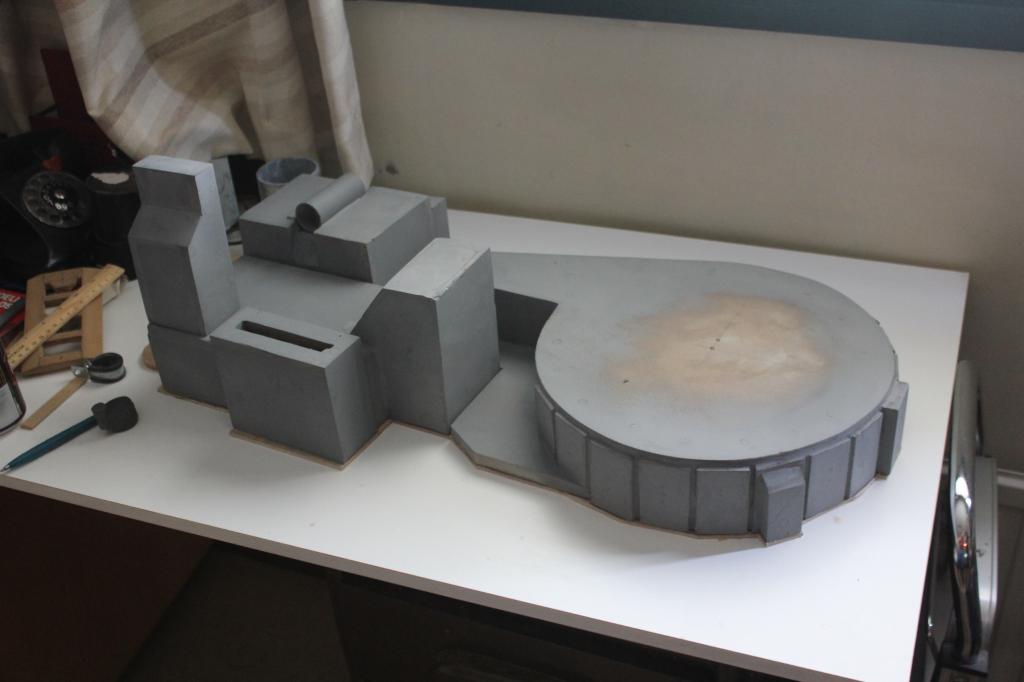
With some holes drilled, the Proton Pack is looking like this, at the moment. Please forgive me for laying the extra parts for this pack aside for the moment, I thought that this gives a more better view of the projet so far.

That is updates so far… Total works is now 27 hours done, skipped few minor one hour works and combined everything on this update. Still more to go, Cyclotron is completely missing, and we are waiting for Nick-A-Tron’s shipment of resin goodies to arrive before embarking on details…

The pack is sanded with fine grit sandpaper, and is ready for the black top paint. We will wait and give the primer throughly drying time, as the local paints have been changed somewhat, (and I hate them now…).

As I was doing the extra parts for our Swedish friend for last December, I hit upon a problem. Primer, on primer. no worries, you can sand the parts, and re prime them, no worries. But, add a top coat on them, next day, and the paint will crack! This was not the issue when the other packs were done, but now we need to wait until the primer is fully dry, before going on the top coat… Sheesh! That is the European Union for you!

Still, with the parts coming in, GBFans soundboard included, we can wait. And, we have a biggest gaming convention held in Finland starting in four hours or so… Might as well take a rest on this..

Thank you all for the complements! Everyone needs them from time to time.

Cheers, and stay tuned!

damn, why is everyone so much more talented then me? :smiley: awesome job, especially for 1 week!

I love watching scratch wood pack builds, they start out looking like lumpy square blocks and all of the sudden a cool

looking proton pack appears.

My first pack was MDF/Ply and I have good memories making it.

I never get tired of wood builds. This is coming together so nicely and I’m really impressed by the fact that the mobo was cut with an Xacto

Ok, I finally remembed to take my camera with me as I was going to work on the pack… Three more hours have been put on this pack, and some few other hours on Hybrid Pack’s Soundboards and Stormtrooper E-11 builds..

Still not to confuse anyone, continuing on the project at hand..

The N-Filter in place. Some MDF for the top. Still needs the fake welds, holes and some way for fixing the metal to the Spacer..

The top bolt for holding the ALICE Frame on the Motherboard was drilled, it will be hidden under the plate that goes on top of this. Still need to figure out if the Filler tubes can be fit there…

As said, the Frame is now bolted to the Motherboard. Still needs the spacers there..

The Booster Tube was screwed in place, as well as the Booster Ladder, which needs some pencils here and there..

The screws are easy access under here.. Makes the removal of the tube easy for the painting later..

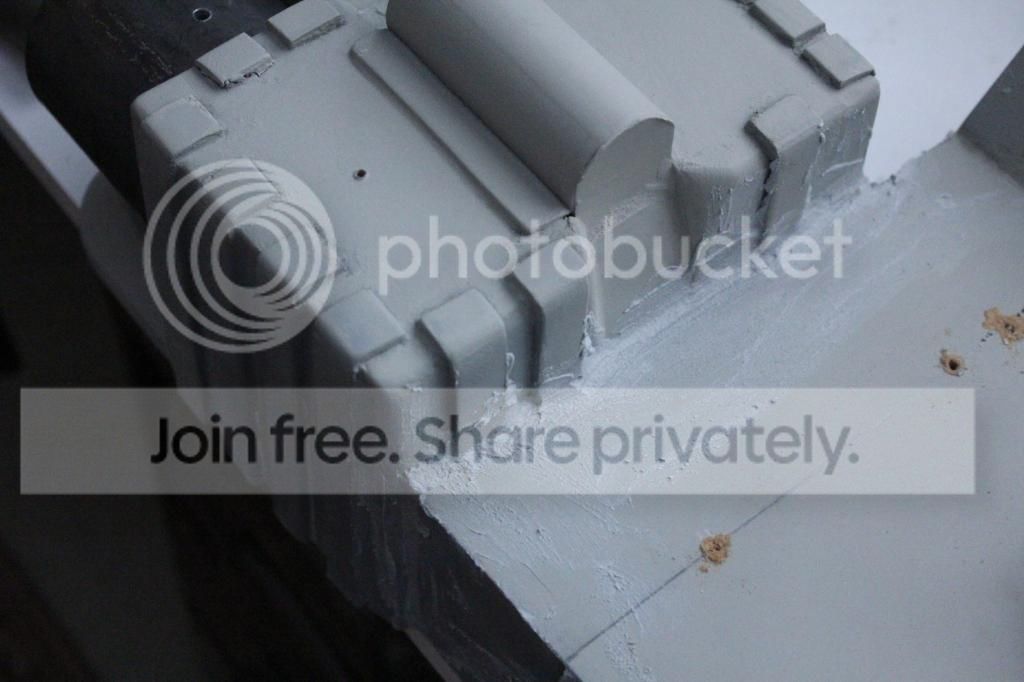
Rounded edge with filler…

PPD in place. Still need to figure out if this is the coorect place… Hope so, as this part is glued on…

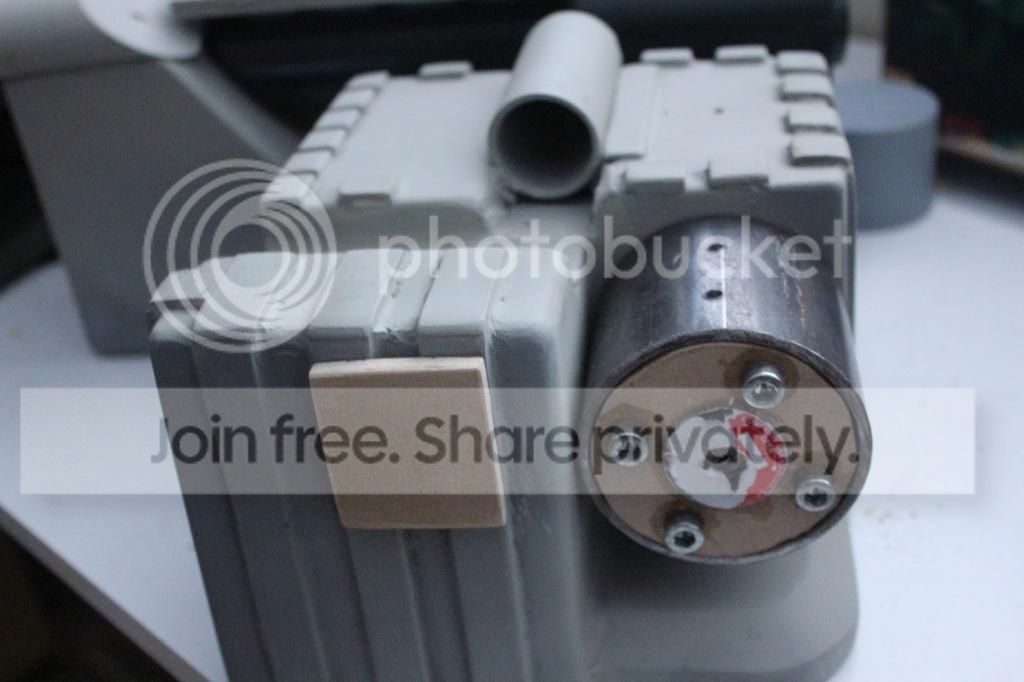
The HGA had the details needed, and was attached on the Crank Box. It still can be taken off, so the painting is no worries…

And, I was really happy to find out that the metal bit found from trash was correct size, and can be drilled…

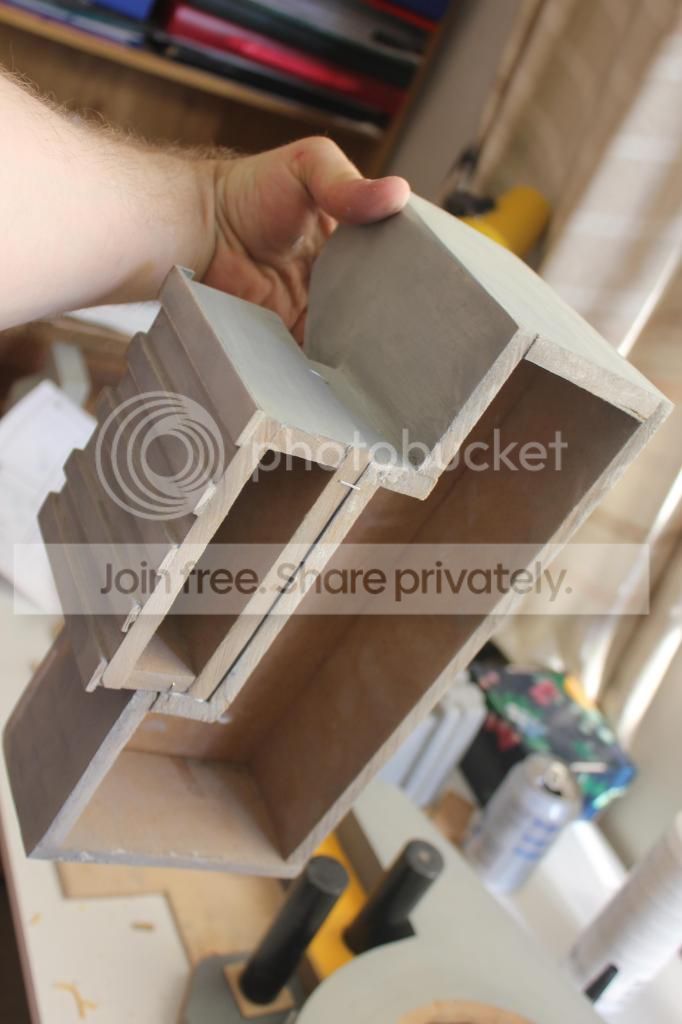
As the Crank Box and Booster can be painted without trouble via removal of the extra parts, I decided to secure them together.. Staples on the bottom, wood glue, and some hardwood parts to fill in, glue again and let it dry…

Evening out the edges with some filler..

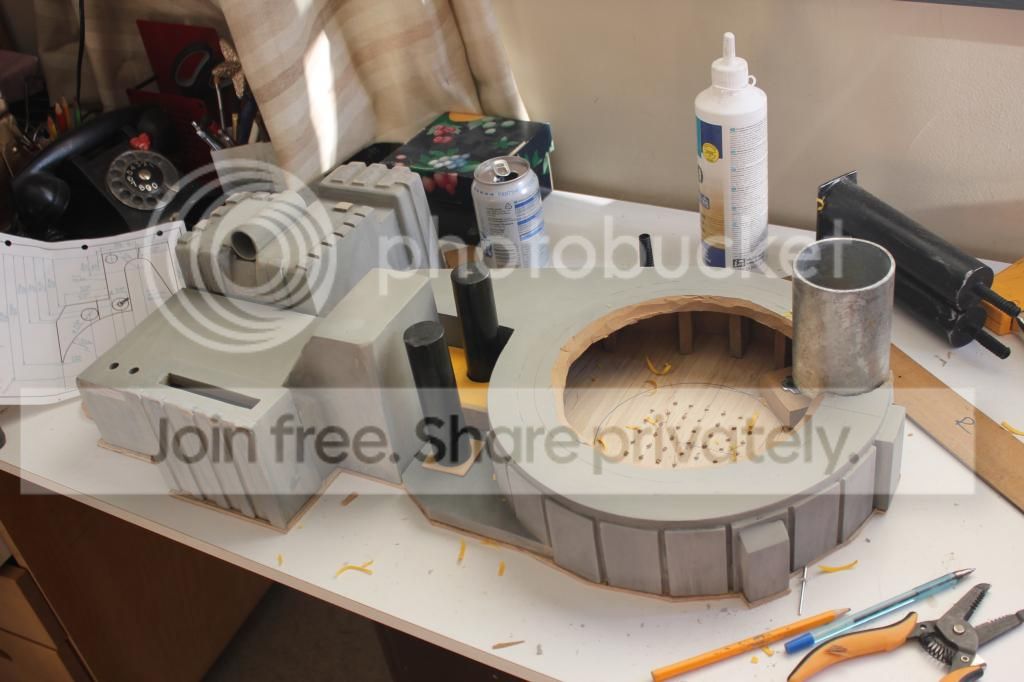
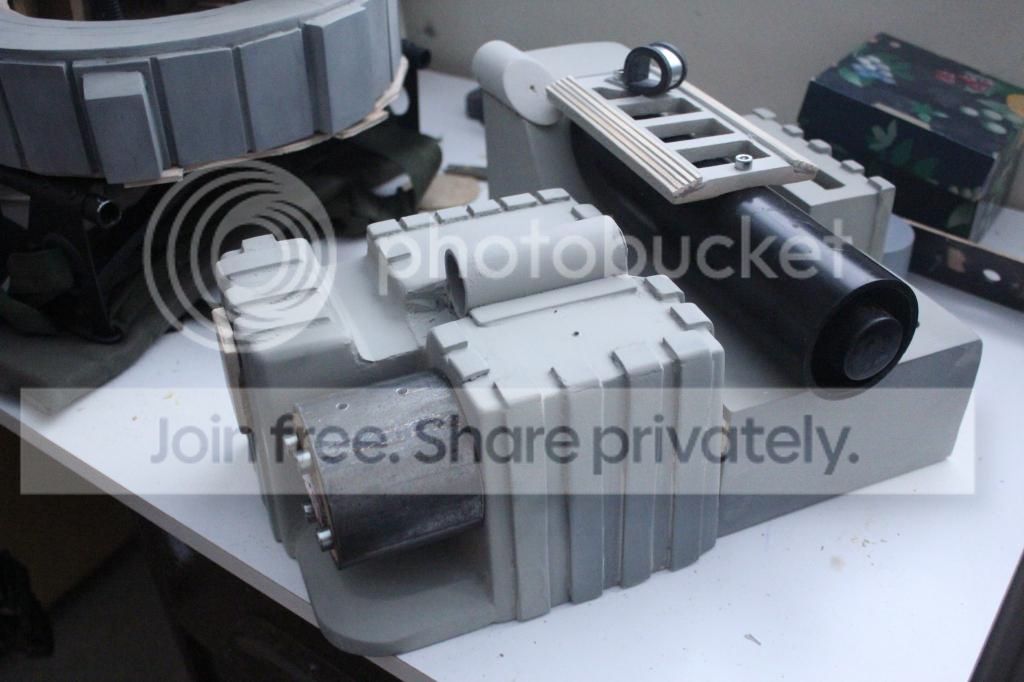
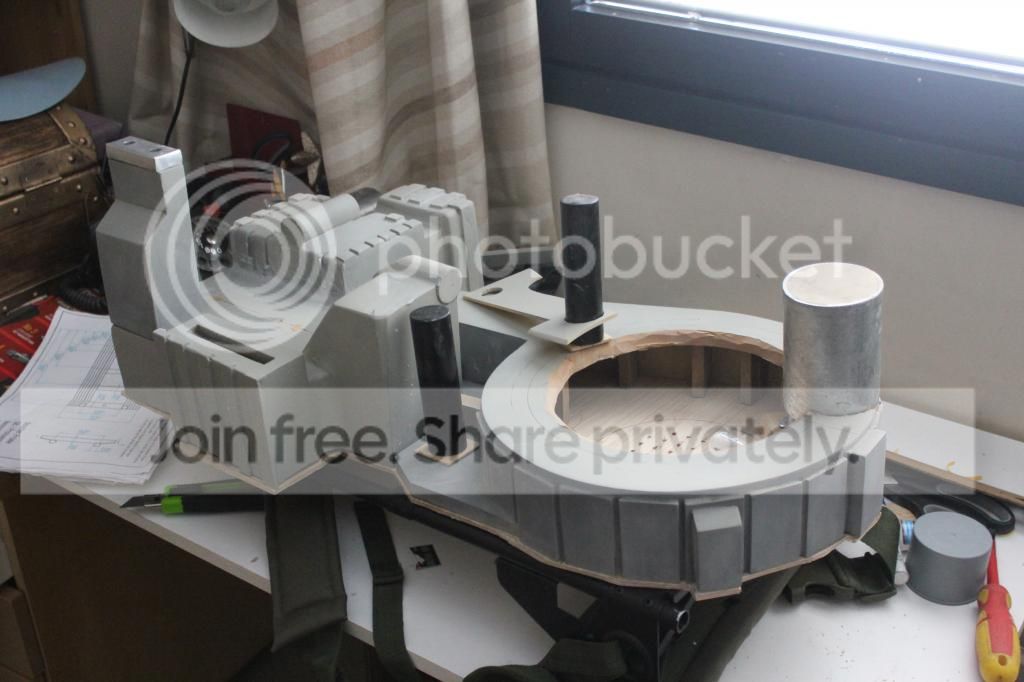
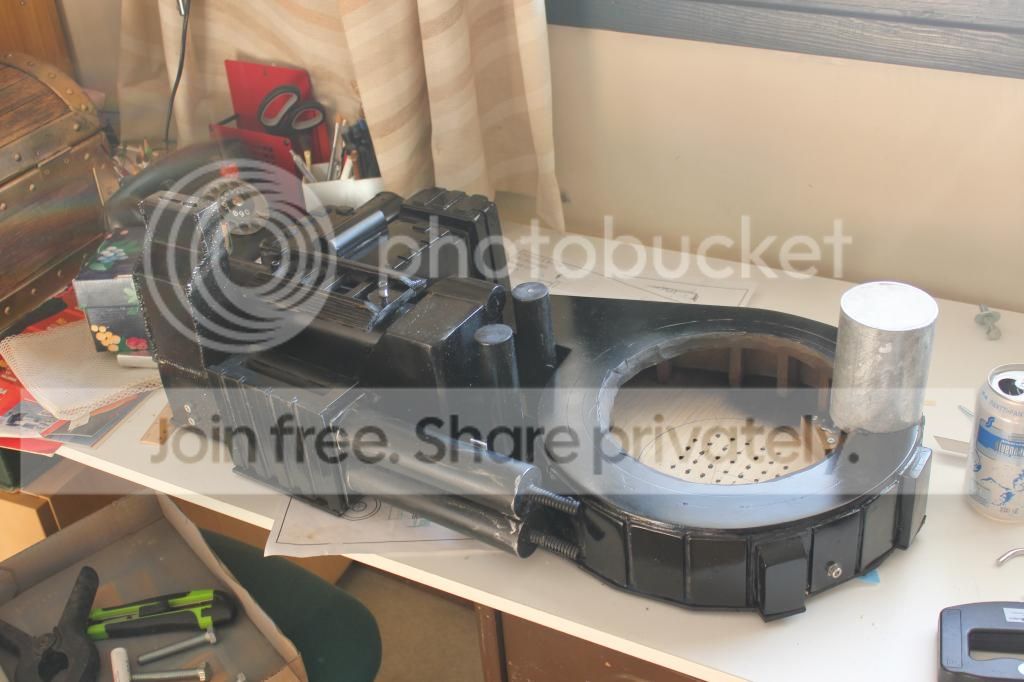
The obligatory ‘all together’ pic, missing some parts though…

The Ion Arm is not attached yet. Just showing off here.. The metal is taken from beer can, glued on top of some odd MDF bit… Seems a bit small, but let’s see when finished…

That is all, for now on this project. Although four days’s work, this is about three hours of work on this project..

That gives us a grand total of 30 hours put on this project..

With some parts still coming… This is going on FAST! More to follow in the weekend, hoping the weather is good enough for some paints… Que in Rolling Stone’s Paint it black…

Thanks for the complements!

And stay tuned!

Again combining two day’s works for one update…

Last Saturday we had a building day with our Rookie, and after about 4 hours, we had one flightsuit ready, as well as some Belt Gizmo parts glued, and the following;

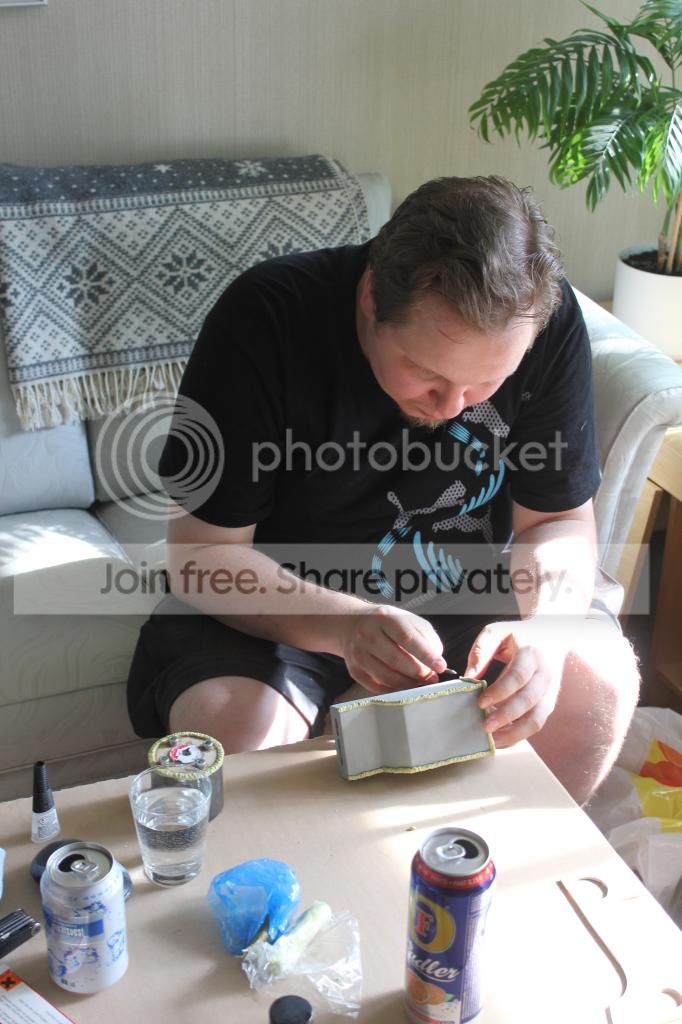
Our Rookie is adding the fake welds on the GHS and Ion Arm. Milliput here, as in our other packs…

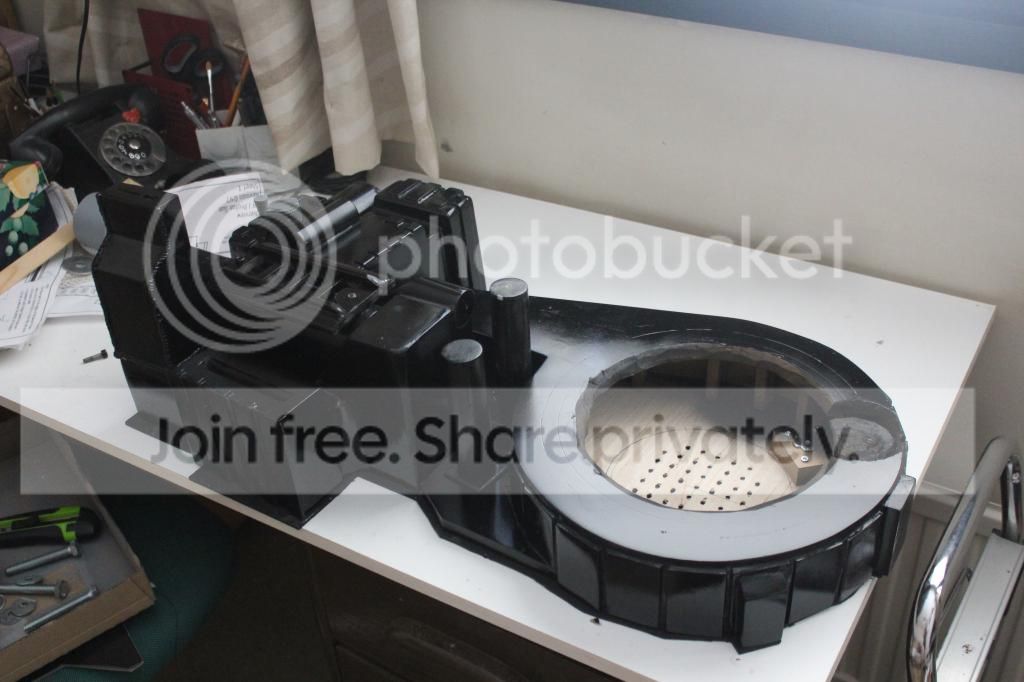
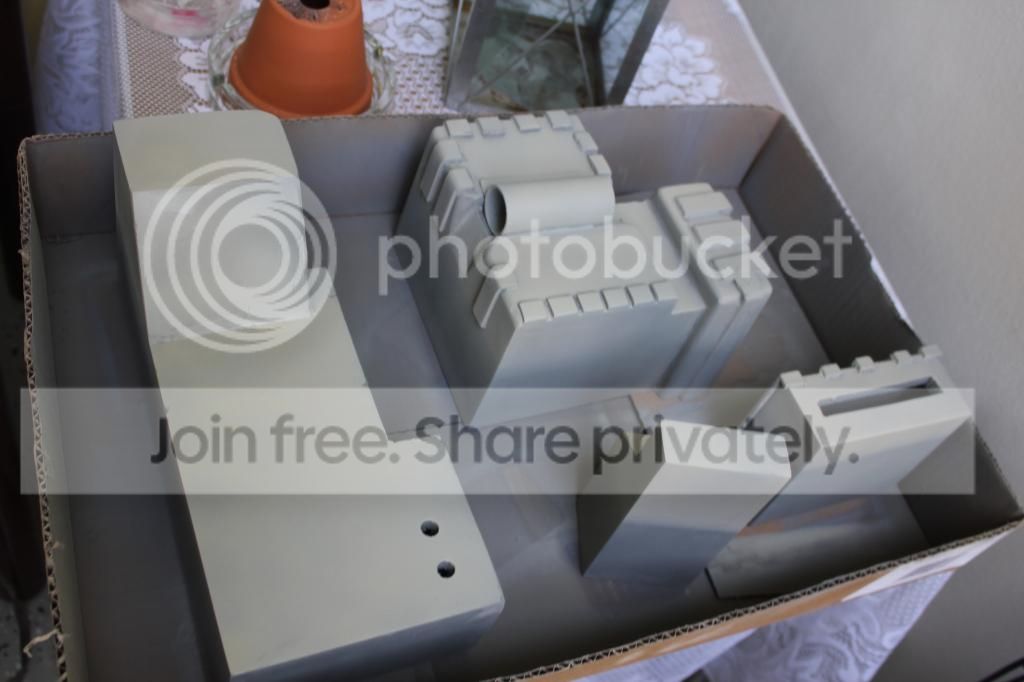
We then went over every square centimeter of the pack, and prepared the parts for painting. After half an hour under the sunny skies, this was the result… Nice, even coat of gloss black…

Might need another coat, but that is left for the next weekend…

We also cast a Cyclotron from fiberglass. No pictures here of that, because I took a cast of my own pack’s Cyclotron. I did take pics of the project, as well as the building of my own pack, where I used a teflon pan I found from my kitchen.

No recasting here, and I do not want to teach anyone how to do that…

I can tell you that it was painfull to clean up the pack, after so many year’s worth of dust accumulated on the pack… Looks so new now…

DAY TWO;

After the parts were dry, the Spacer and top parts of pack were screwed toghether, making a full shell of a pack…

Filler Tubes were drilled, and screwed in place. No glue in there…

Injectors had the same result. Still need to add some hot glue between the Injctors and Power Cell to further secure them together.

The aluminum part needs to be painted black…

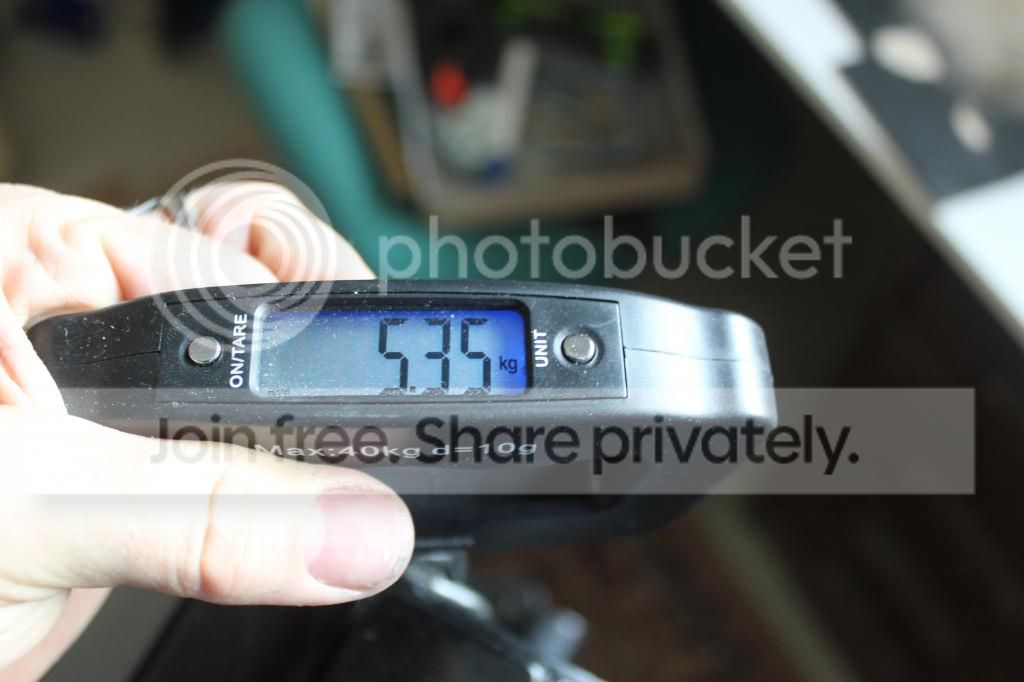
The weight of the pack, at this point… Not to worry, it will be more heavy after everything is added…

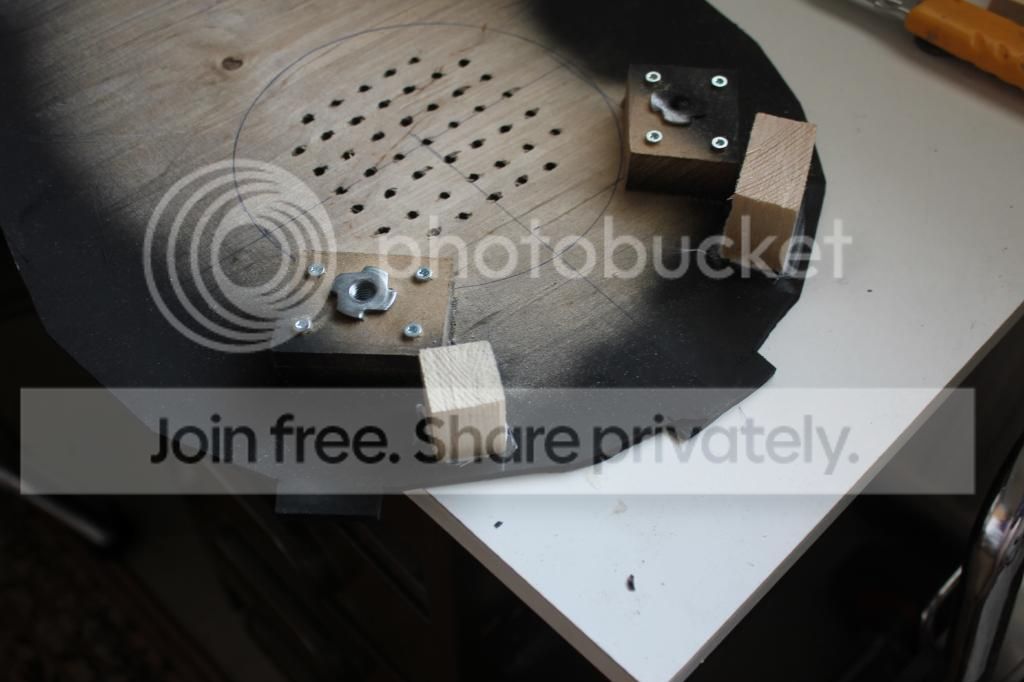
Some wood for the attachment for Motherboard and Pack..

Pack and Motherboard together.. Needs few screws to keep the MB straight against the pack… No worries there..

After this, and including the N-Filter, the pack is 6.4 kiloes heavy, not counting in the speakers and Alice Frame…

This concludes this update. We now are going on 36 hours works on this, in one month’s time. A record for me, as the first packs had some years behind them before finished…

More work on this during the week, as I get more done. Should have a pack and frame together in the next weekend.

Also, we are waiting for the Nick-A-Tron parts for this pack to arrive. They are in the mail as we speak, so more updates after they arrive.

We also got the GBFans soundboard for this, ready and waiting to assembly. nice to know that the electronics are also going along, even thought the pack is not ready for them yet…
Thanks for tuning in, cheers and more to come!

I love everything about this build. This is turning out beautifully.