I’m down for any information. Looking to try and be as accurate as possible
Sent from my iPhone using Tapatalk 2
I’m down for any information. Looking to try and be as accurate as possible
Sent from my iPhone using Tapatalk 2
If you’re looking to be as accurate as possible then have a look at this if you haven’t already seen it…

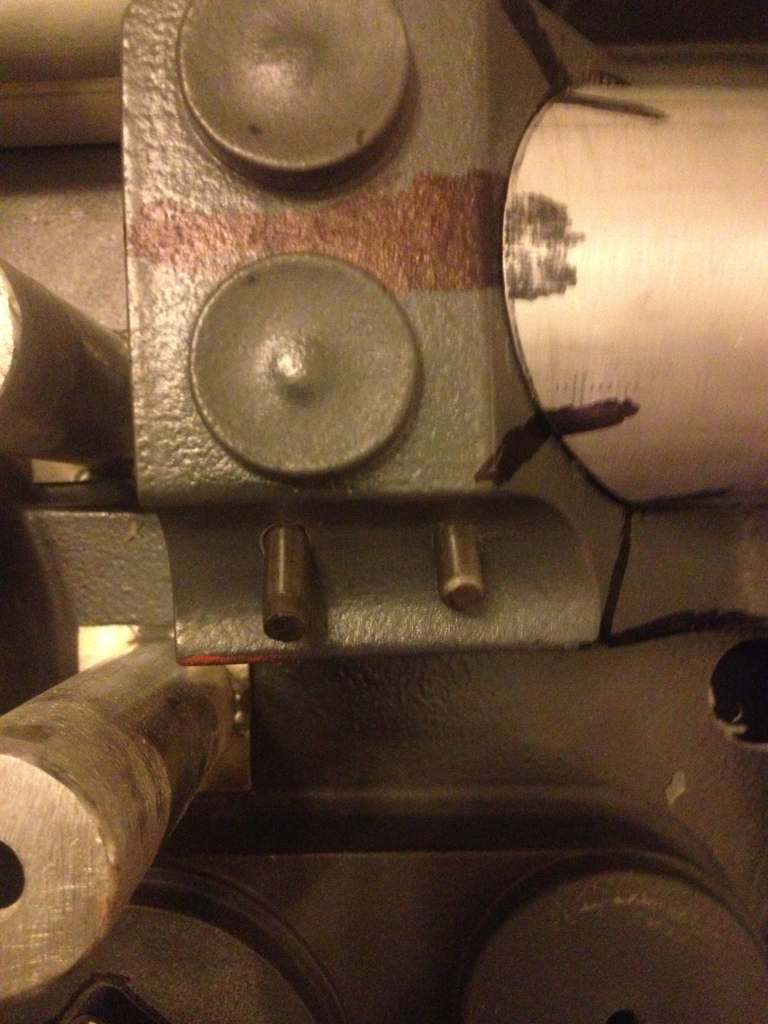
As far as I know the only bracket on the back of the original gb1 hero’s was the small right angle switchcraft connector shelf that they plugged recharge cords into and possibly turned the pack on i’m assuming. That powertec bracket and power supply came latter if i’m not much mistaken when the murrary pack was being displayed to the public
What I made in my picture was a custom bracket for my speaker to sort of replicate the structure of the original. I’m sort of going accurate with modern twists. I haven’t actually made any templates yet but I can when I finish my build. You can work it out with a ruler though. I sort of worked out that that area can support a 20 cm x 18 cm tall shelf. any wider and the edge of the cyc start hitting it.

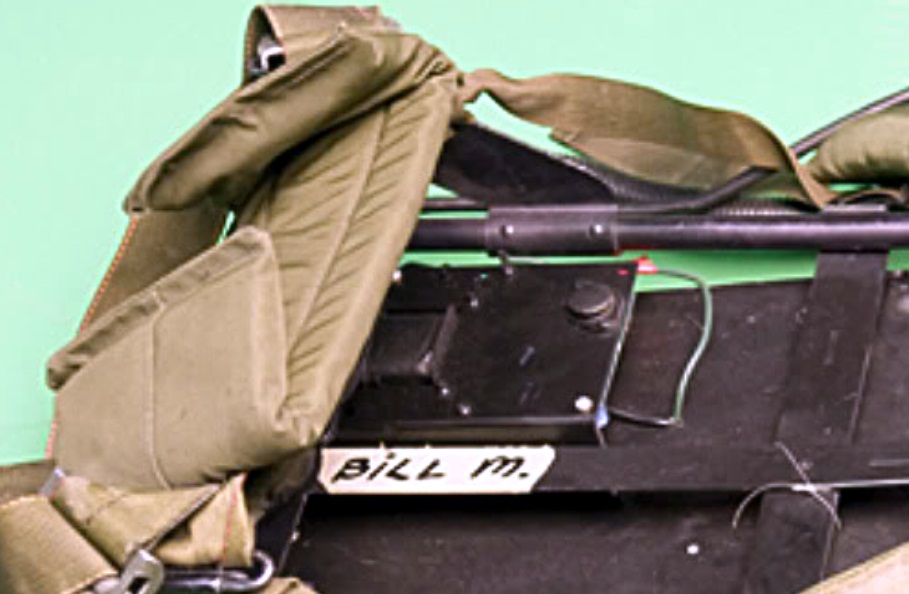

This picture you can still see the details from the powertec which is what makes me thing this bracket was in fact the switchcraft.
I’m not really sure if it did appear in the movies or was added for display, when I finish my hero, I plan on putting one of them on for looks as I think they look cool and techy!!
Man these are fantastic pictures and information guys. Thank you thank you
Sent from my iPhone using Tapatalk 2
Update time
Got my ion arm mounted
Then I closed the initial holes i drilled in the HGA as they were to close together. Waited for the epoxy to dry then sanded down.
Remounted the HGA and re plotted my holes
Bought myself a cheap but works drill press to help with drilling straight
Drilled and tapped the new holes
Sent from my iPhone using Tapatalk 2
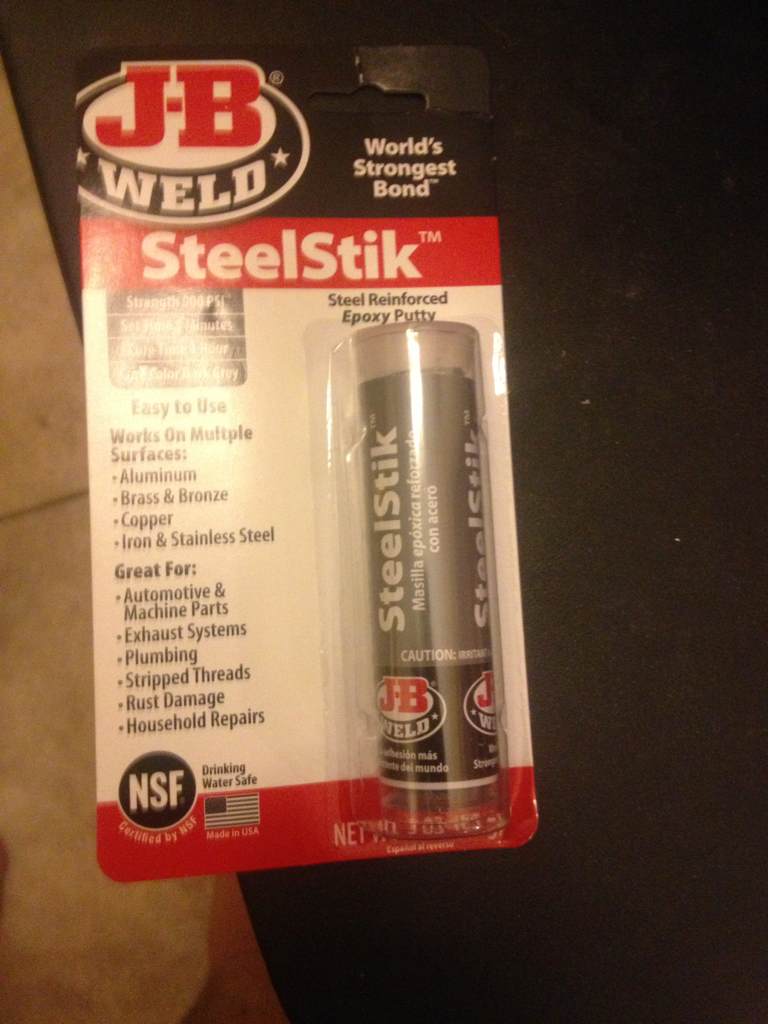
I then tackled getting the N-Filter attached to the shell. I first used two part quick set epoxy gel to spot hold the filter in place. Then I used steel epoxy to actually attach it to the shell.
Sent from my iPhone using Tapatalk 2
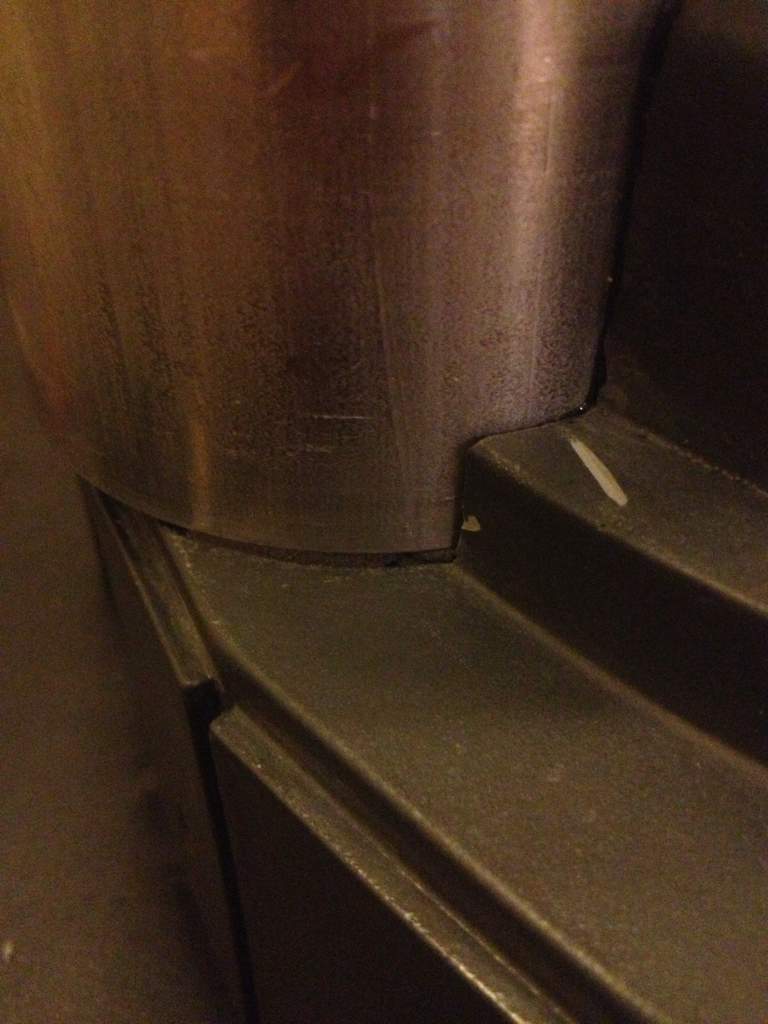
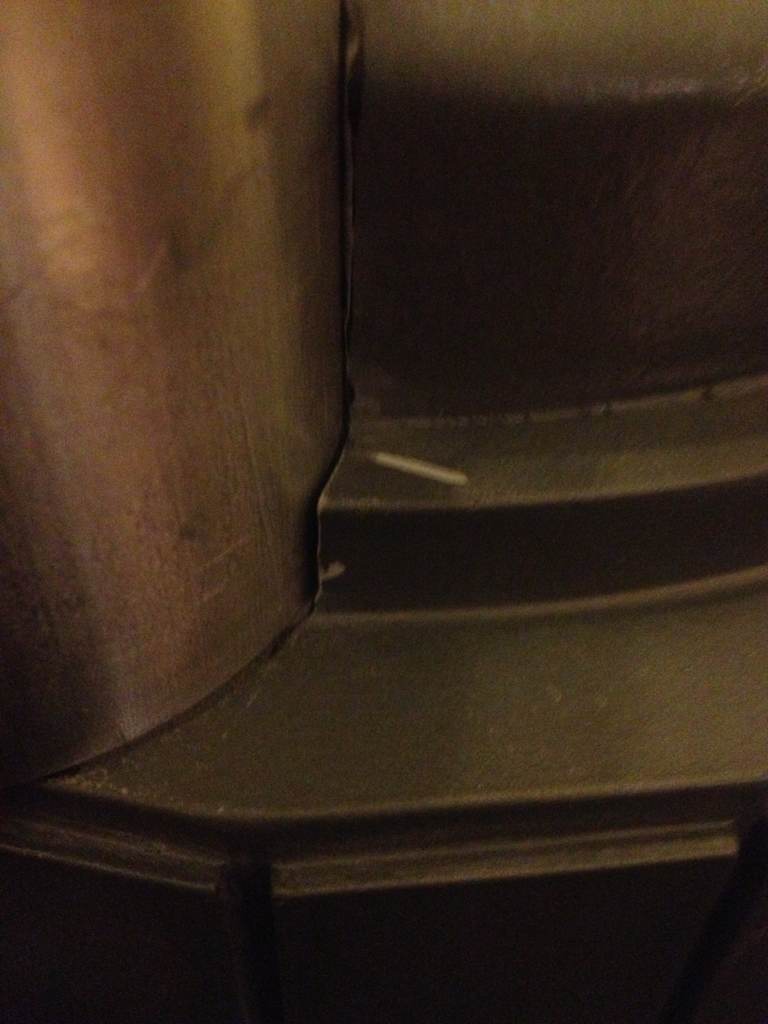
I used a small wooden Popsicle stick to stop the putty from oozing out from the bottom of the N-Filter.
As you can see in these pictures, I ended up sanding too much off the shell. So I’m using bondo to help seal the small cracks around the N-Filter to make it look less “hacked into the shell.”
Sent from my iPhone using Tapatalk 2


I used multiple layer sanding in between each layer with 400 grit sand paper. I then used a metal pick to help scrape away the excess bondo.
Sent from my iPhone using Tapatalk 2
Then I noticed when I put my legris straights in I stupidly cracked the first layer of the shell. So I pulled the straights out, pulled off the cracked layer and started doing some bondo work with the shell. Once again multiple small layers with slight sanding in between each layer with 400 grit.
What a stupid noob move. Ugh hurts so much to see.
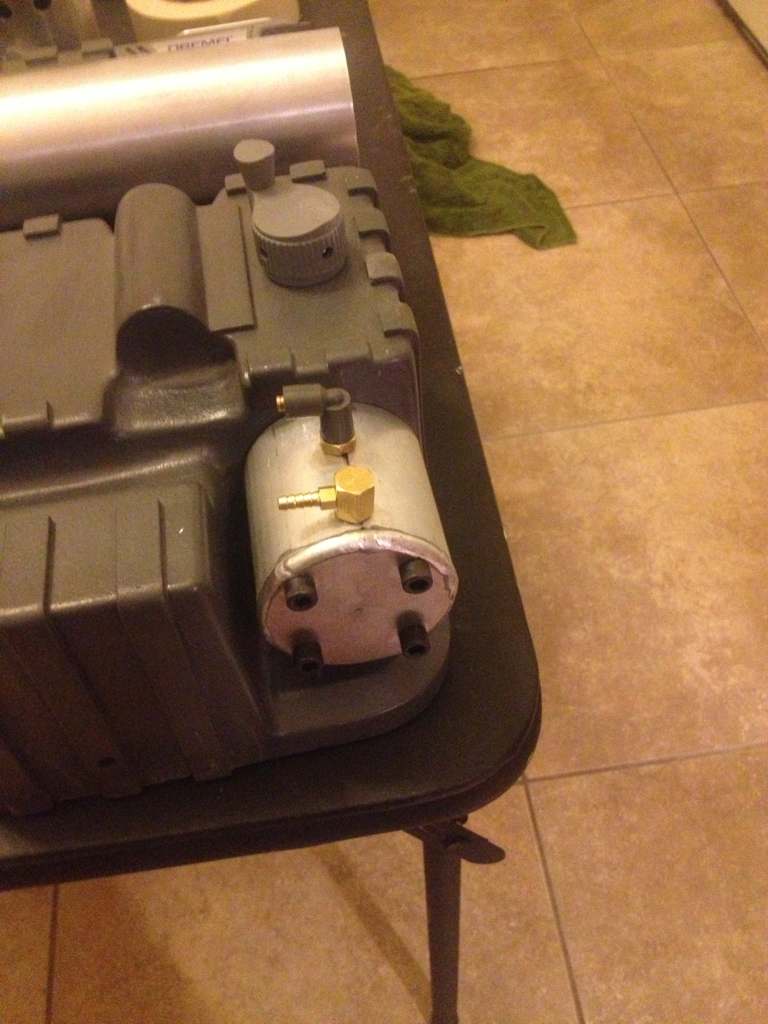
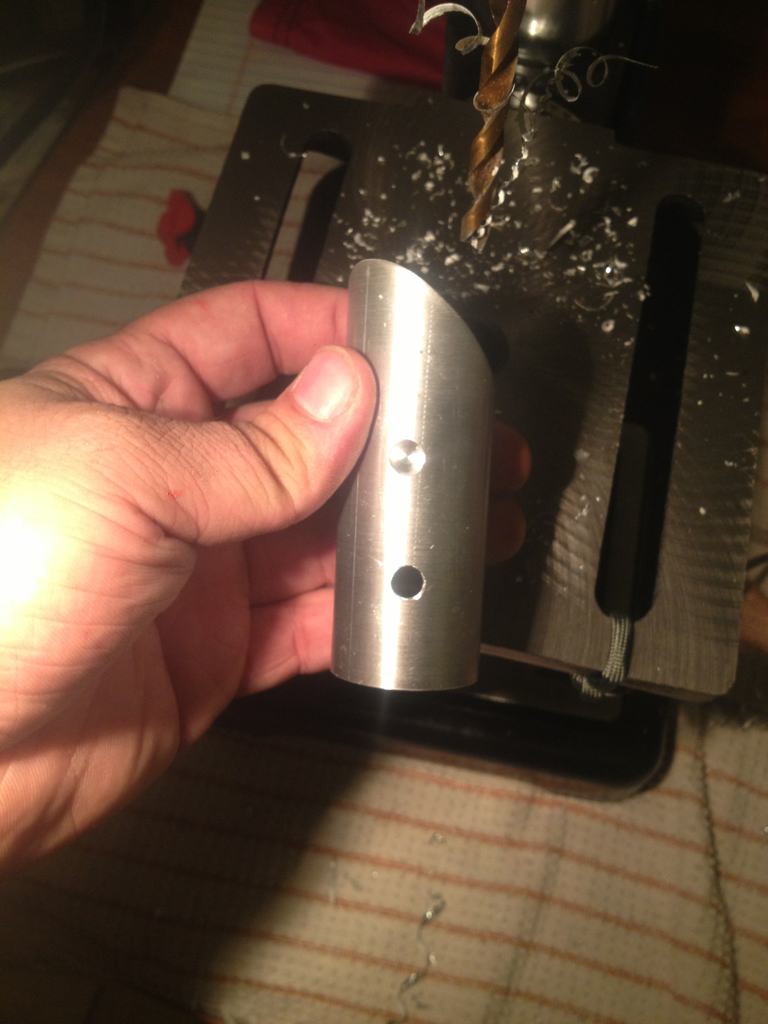
While I was doing the bondo work I drilled out the holes for my PPD.
Almost done with the bondo work. Just have to sand down and make sure its even.
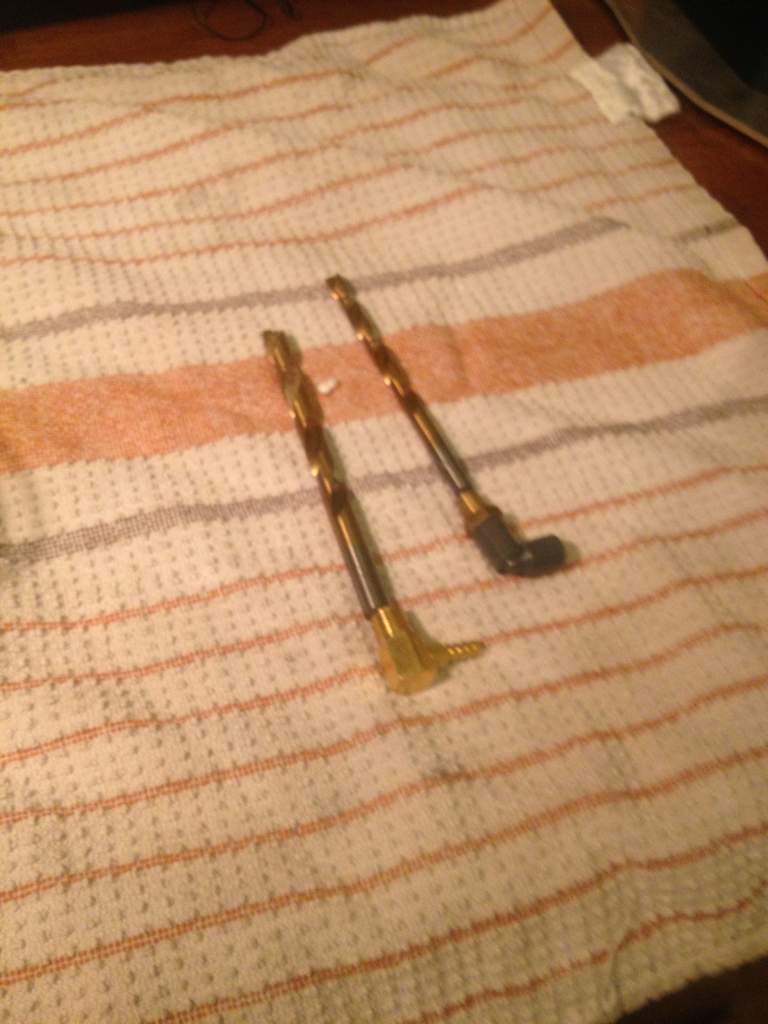
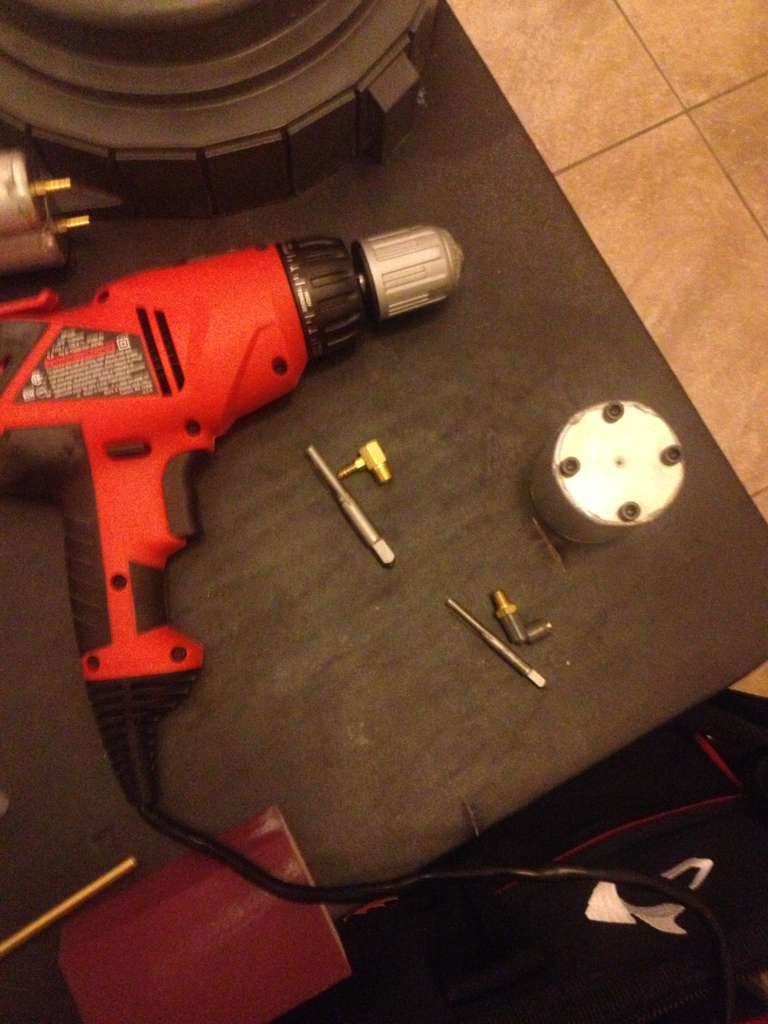
I used two metal dowels to put into the ppd to mount to the shell.
Sent from my iPhone using Tapatalk 2

Switched out the stock clippard screws for correct hex screws.

Then used wooden dowels to attach the split loom to the shell.


All comments are warmly welcomed as I’m still learning. I’m taking a lot of pictures so hopefully this build will help other new builders like my self to not make the mistakes I have.
Sent from my iPhone using Tapatalk 2
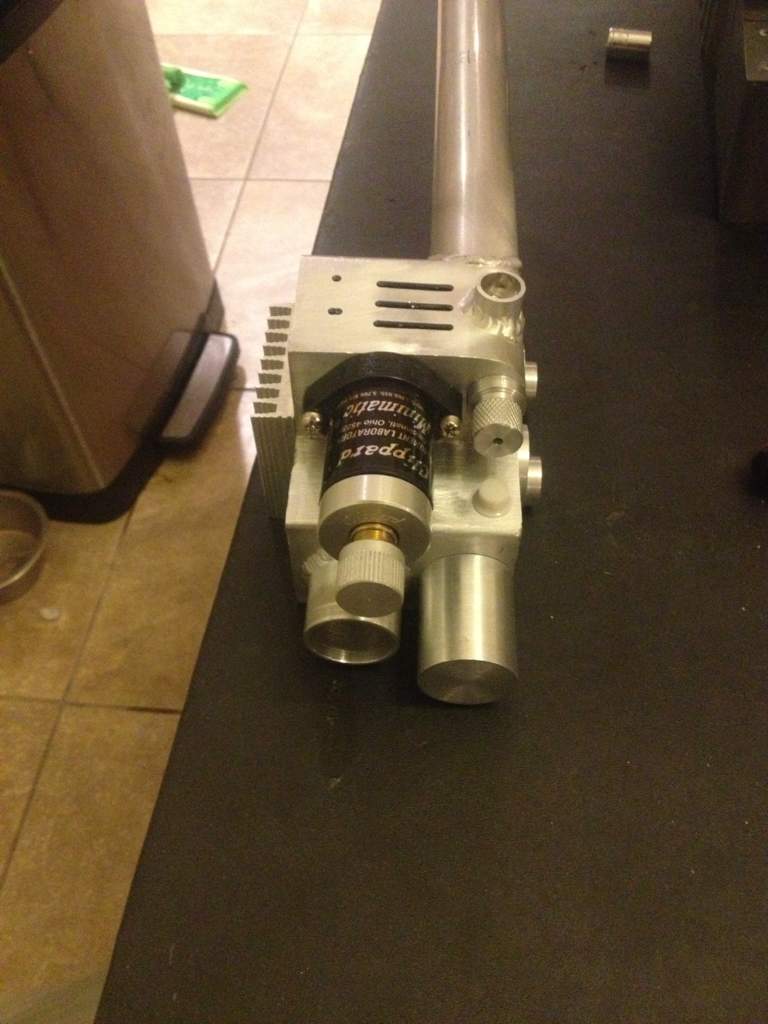
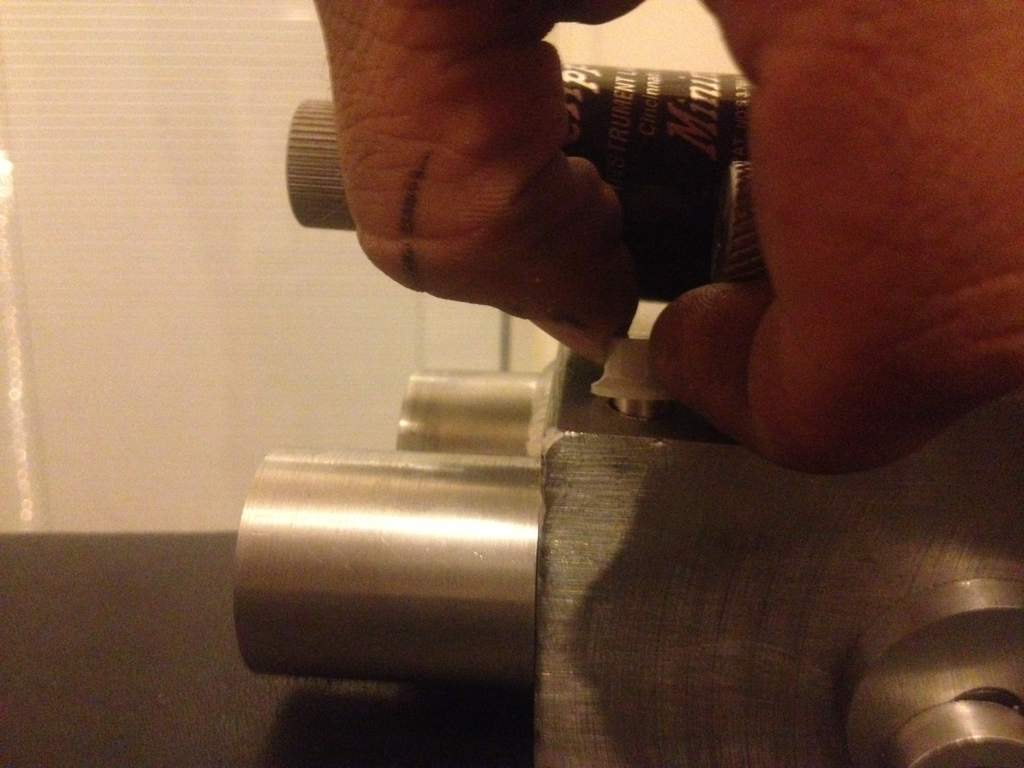
So I decided to leave the shell alone for a minute and start working on the thrower. All I’ve done so far was fit all the knobs and got the hat lights drilled. Still need to replace the standard clippard screws with hex screws.
Sent from my iPhone using Tapatalk 2


We are getting there. Btw does anyone have any extra materials to make the barrel extension rod? I can’t seem to find the black L bar anywhere?
Not bad for two nights of work. Granted it was 10 hours each but I’ve noticed when I start working on the pack time just seems to fly.
Sent from my iPhone using Tapatalk 2
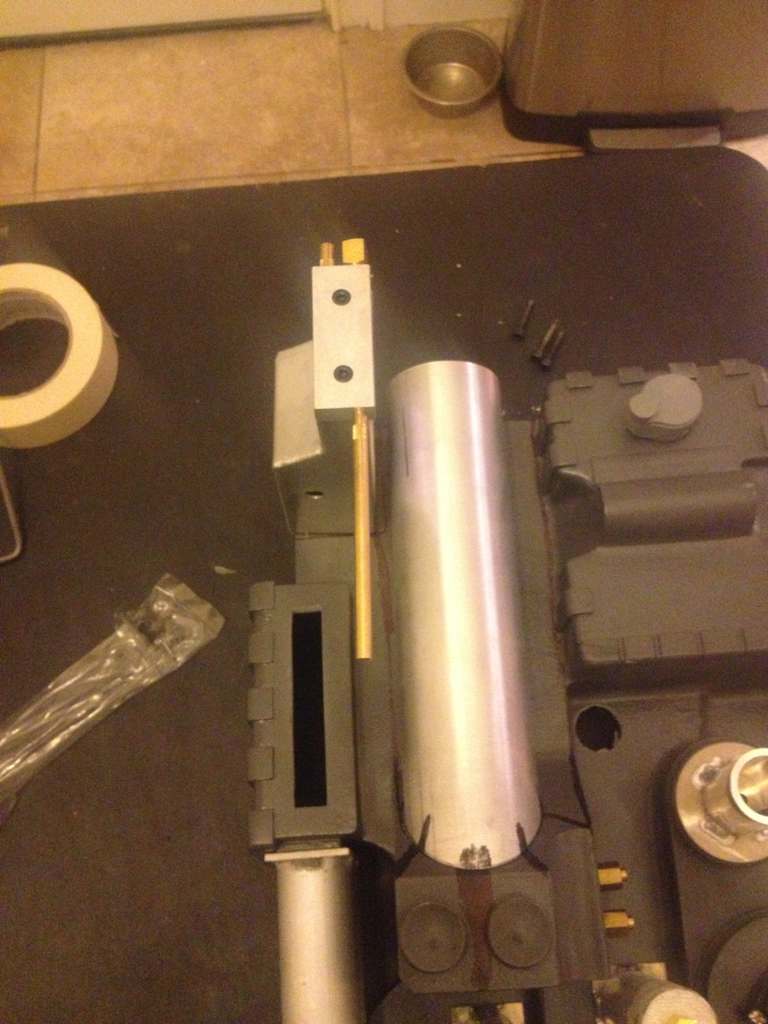
Did some more work on the thrower. Just waiting on some parts then it will be ready for paint. Love seeing an aluminum thrower bare.


Beautiful. 
Thank you kindly sir
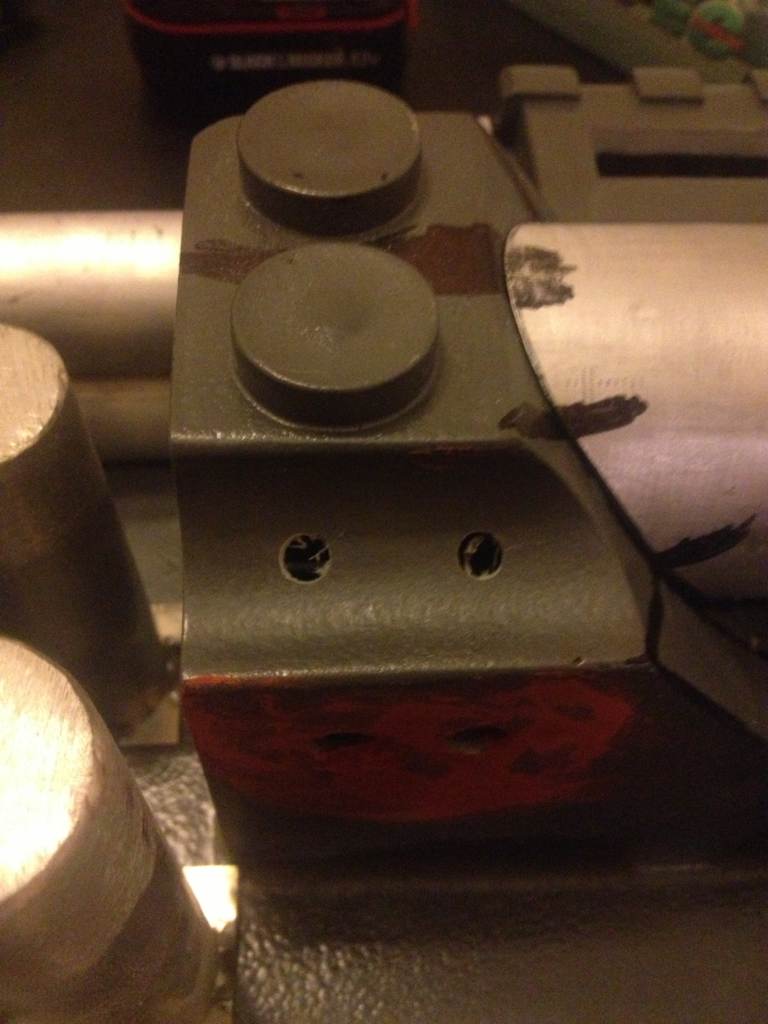
Did some more work on the shell. Don’t make dj of me, first time trying to replicate welds


Does anyone have any tips on how to get the switches in the trigger box without cutting into it? I’m at a loss
if you have an access hole between the two boxes, the easy way is to tape a length of wire to the switch toggle, then feed the wire through the access hole through the switch hole, and pull the switch into the mounting hole that way.
That weld looks top class, much like the entire build!!
Wharin that is a genius idea! Thank you so much!!!
Thanks abaka! You have been such a big motivator for this build! I was so worried about the weld. The last time I tried it in my first build it ended up a disaster. I taped masking tape on the back end of the putty that connects the booster tube to the ion arm so I can separate the pieces if need be without breaking off the epoxy. Ill show pictures soon.