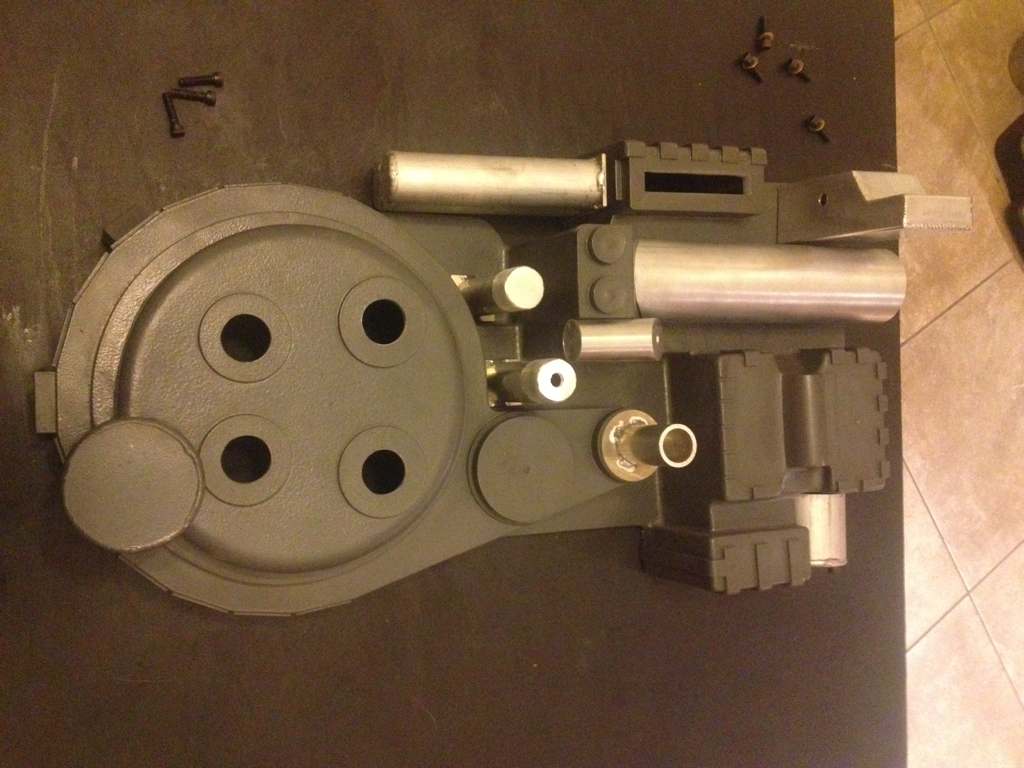
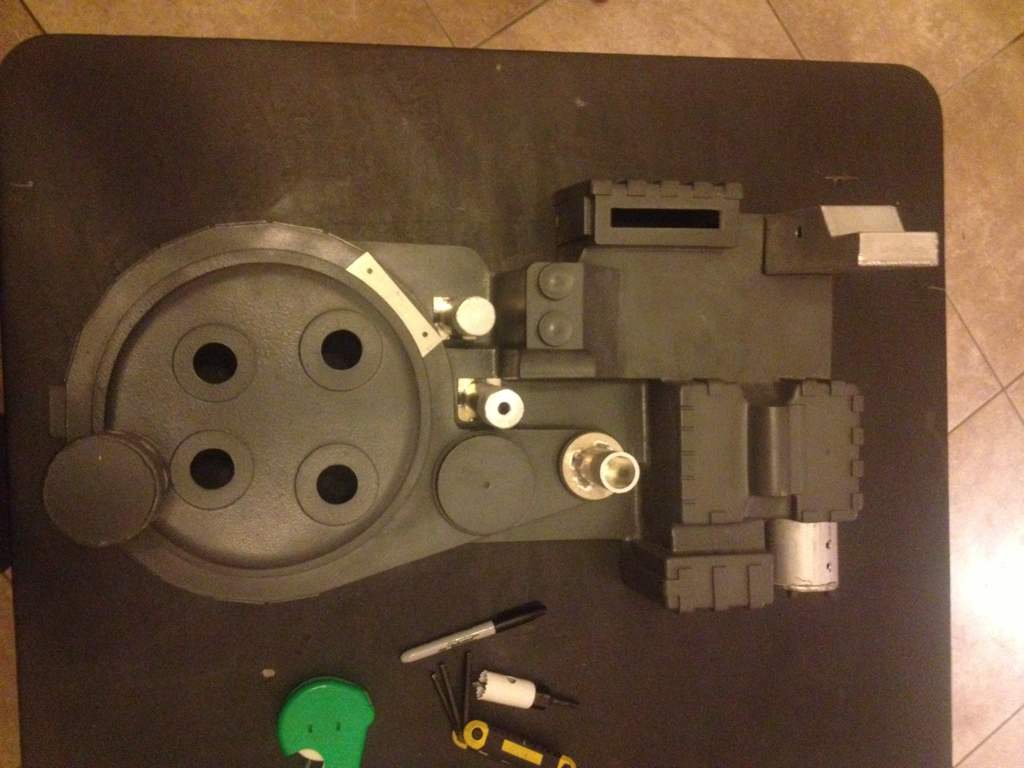
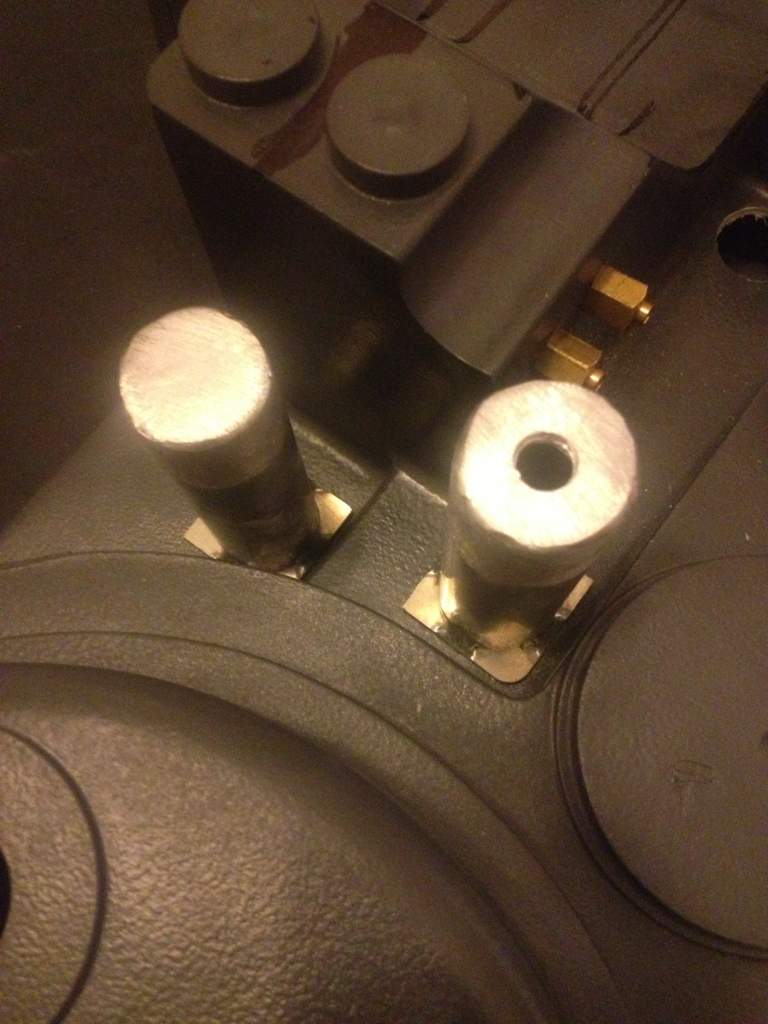
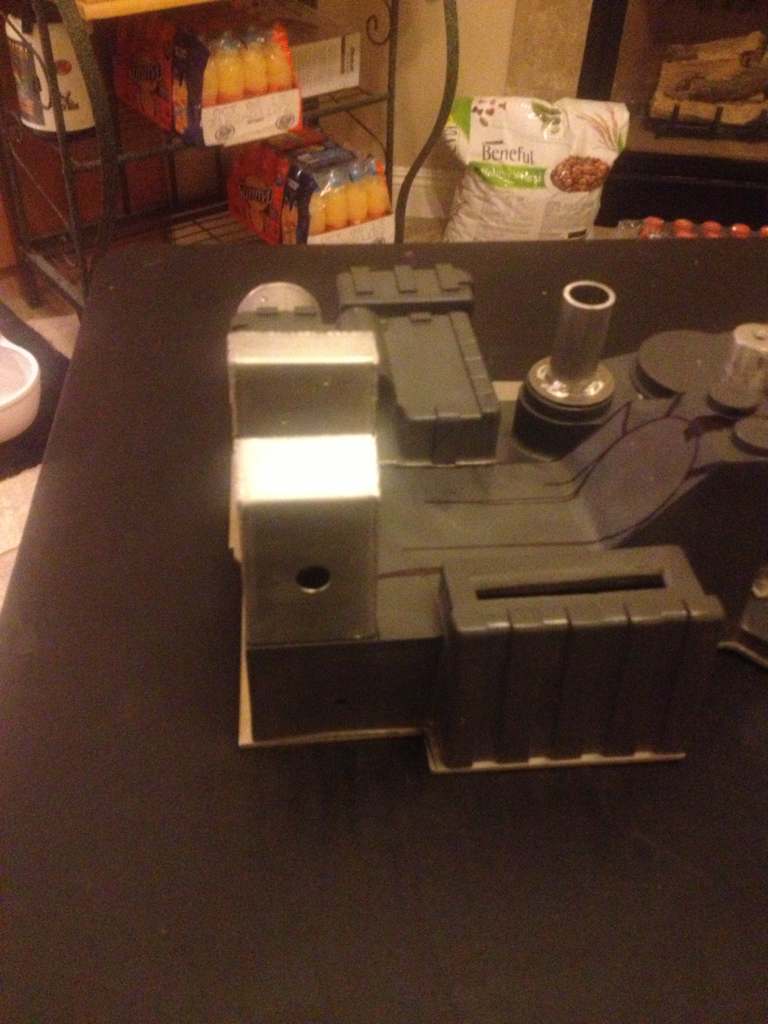
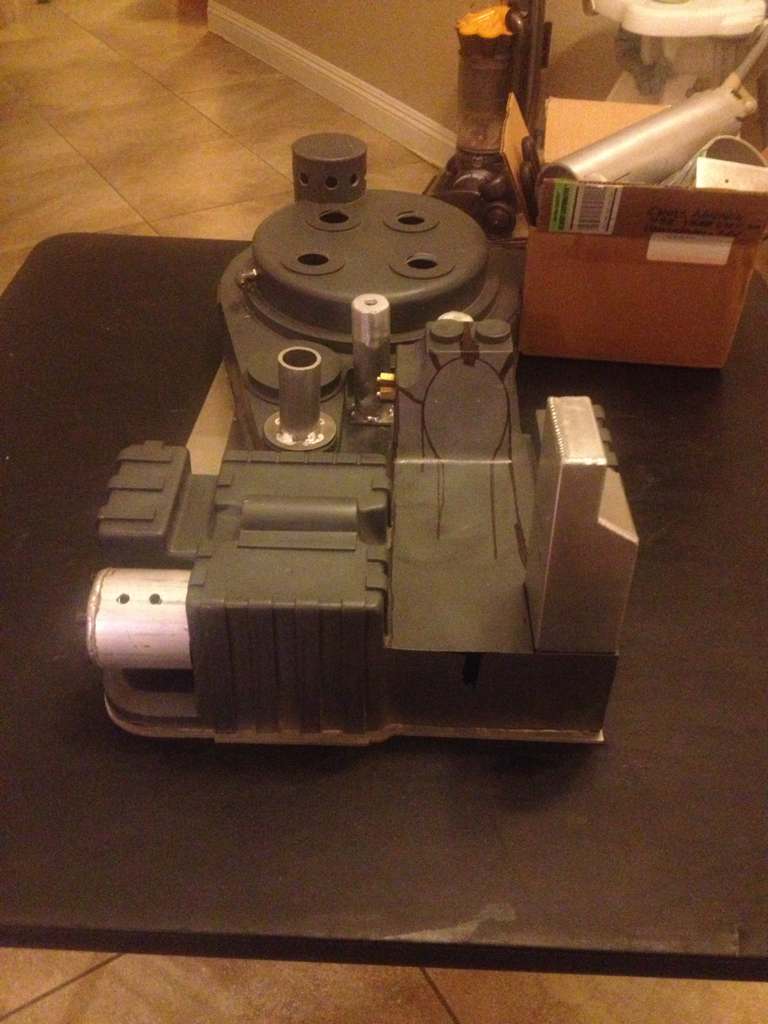
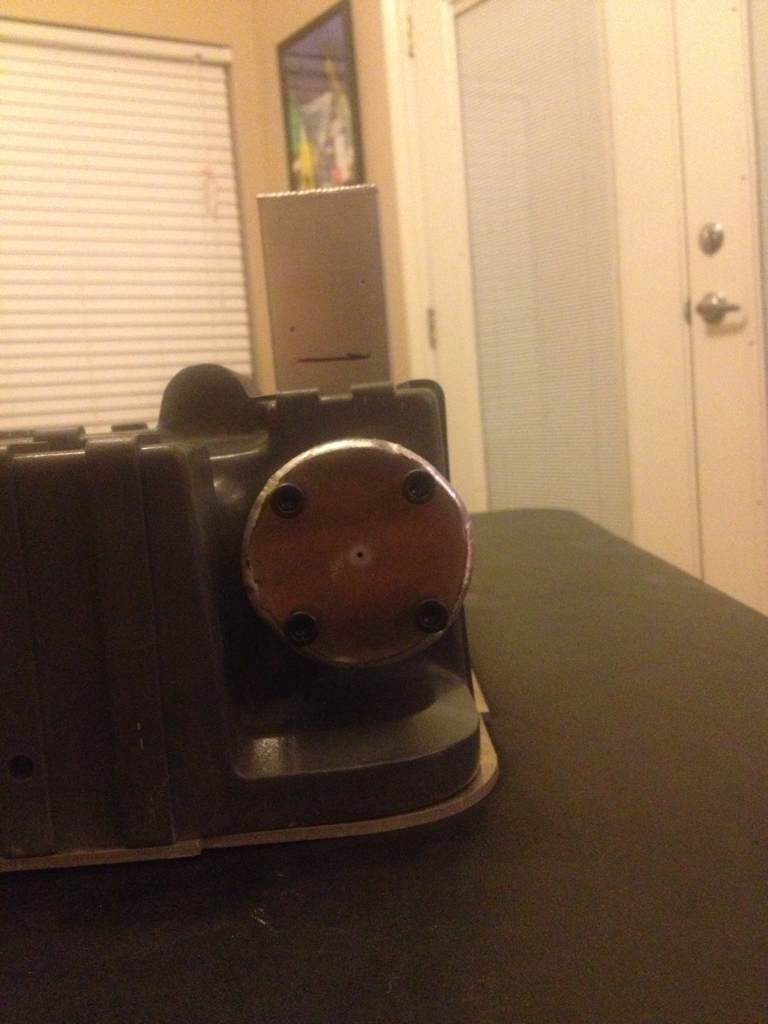
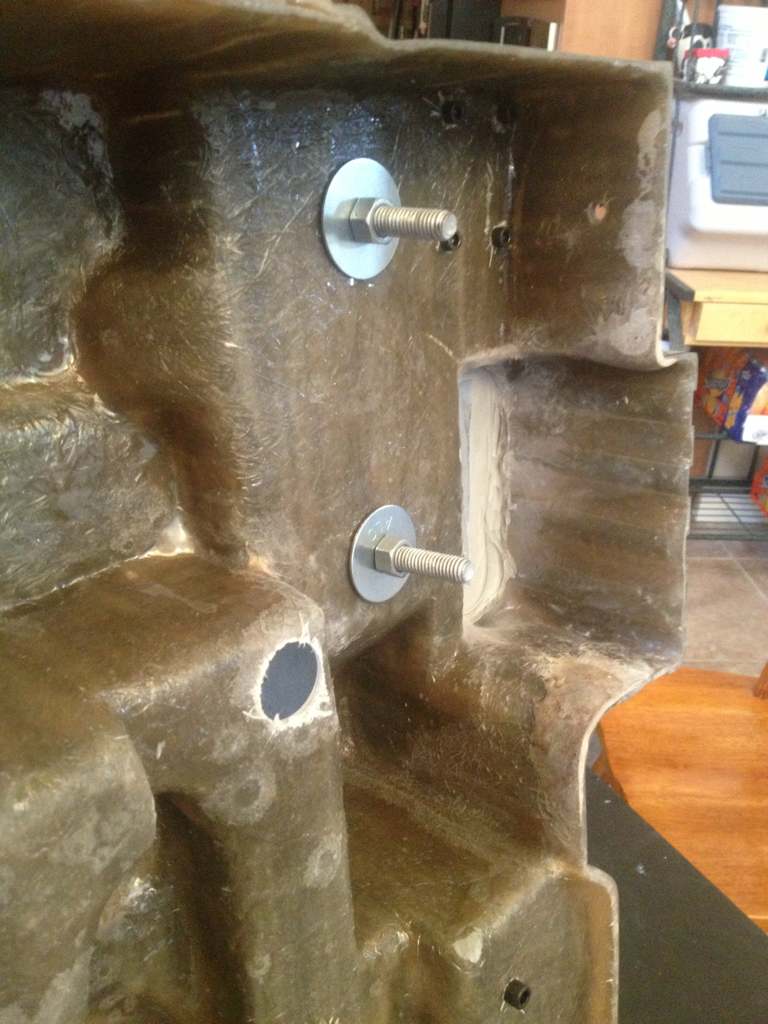
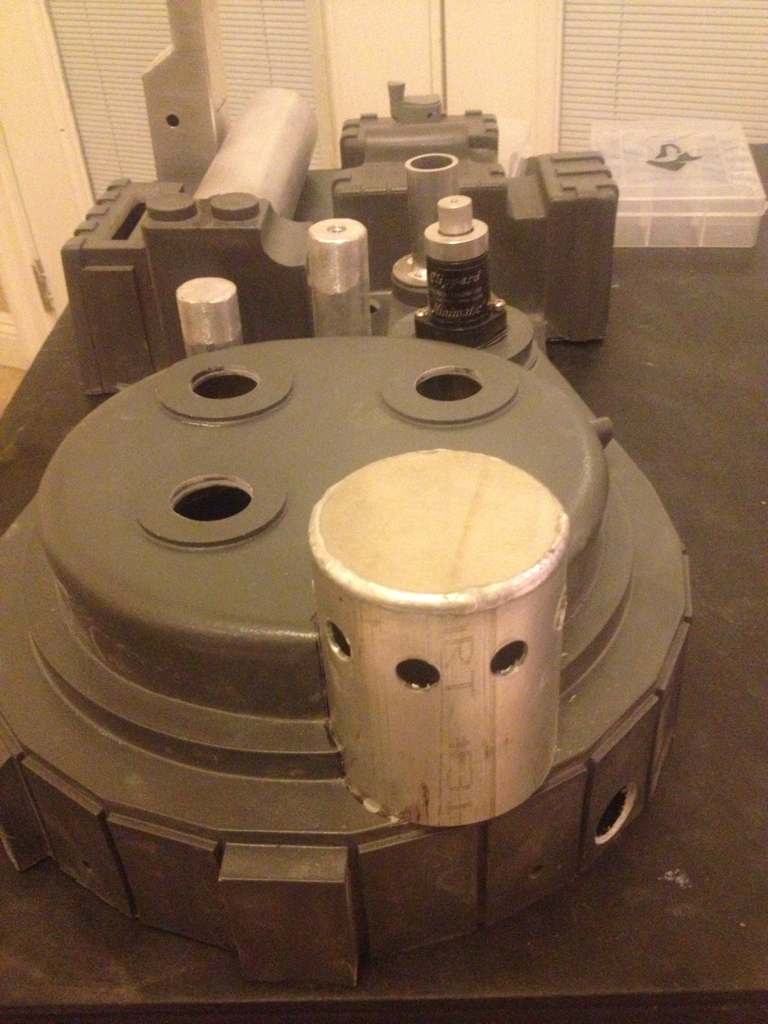
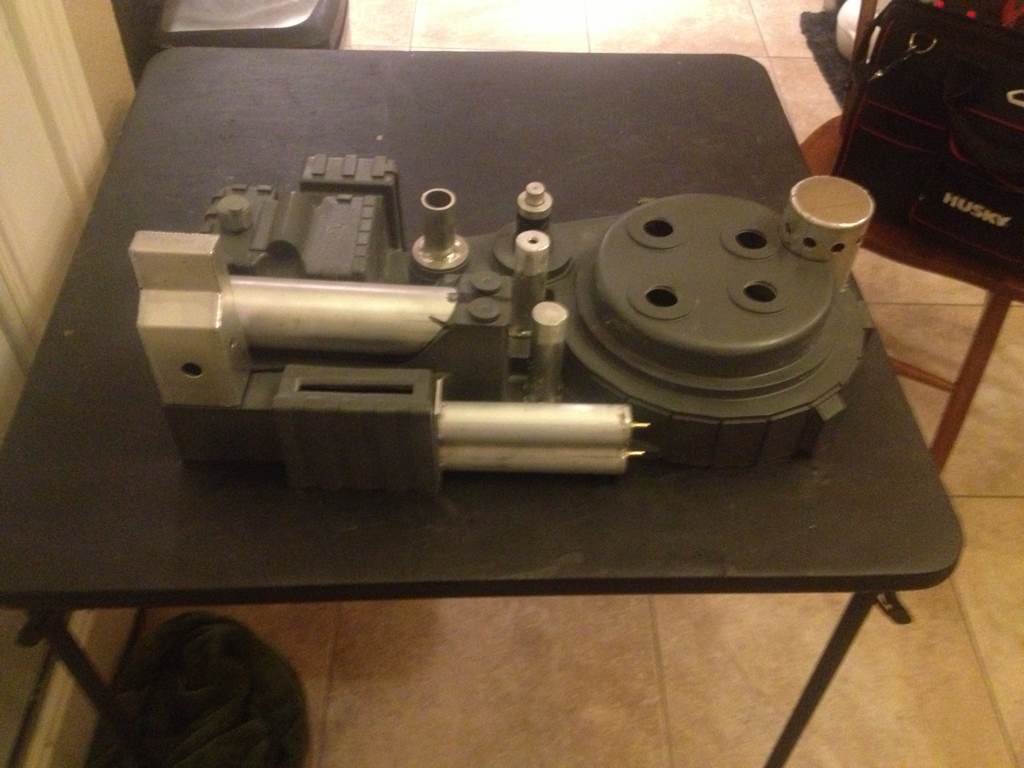
So here goes my second attempt at a pack. I was very happy with my first but being it was my first I hope there will be a lot of advances on this pack. So far I’ve been mounting my aluminum parts from Vinny to the shell and getting as much drilled out an mounted while I wait for my additional parts.
If anyone has any suggestions, please please please share as the eyes of the fan community will help me tremendously. So here we go.
Gonna tackle the nfilter after my work week and figure out how to mount the booster tube. So far working with Vinny’s she’ll and parts has been an absolute dream. Great quality and has significantly sped up this build compared to my first. This was all done within an hour.
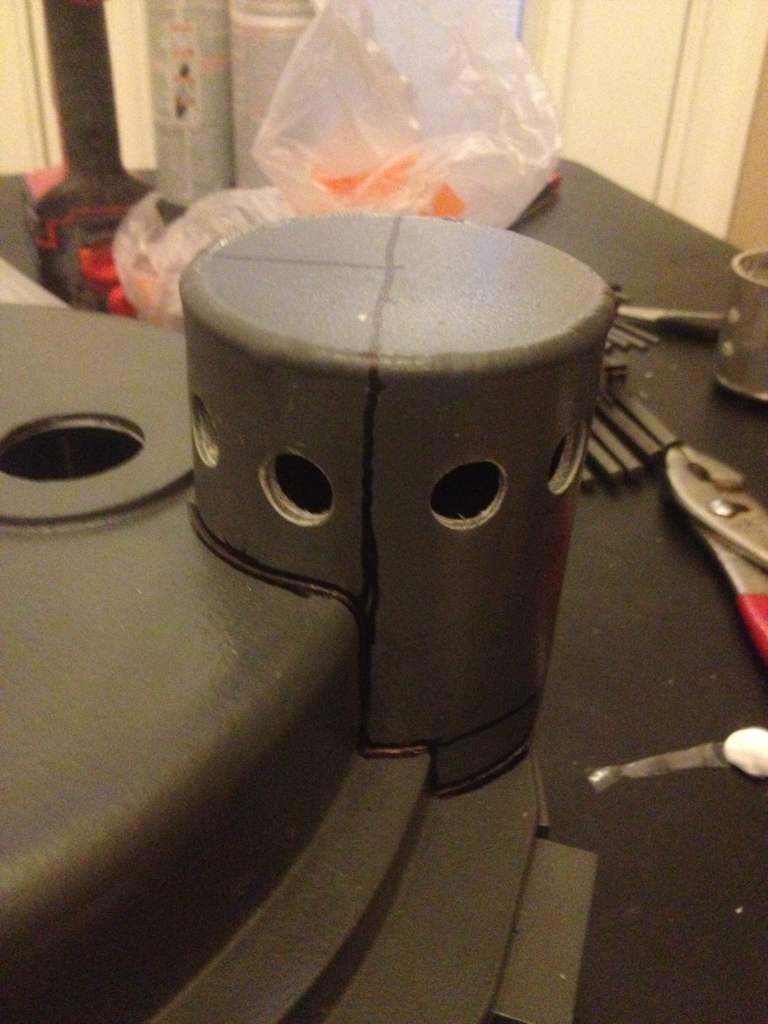
Easiest way that I’ve found for mounting the booster tube- drill the holes through your shell where you would like them. Hold the booster tube in place, and use a sharpie or spraypaint through the holes onto the booster tube to mark off where the holes are. Pop the booster tube into a vice grip (put cardboard or something to cushion the booster tube in the vice, or it’ll leave marks), make sure its level, and drill away!
Thanks Lundo! I got how to mount it, I should have specified, my biggest problem is finding the perfect spot on the shell to have it. Seems my eyes play tricks on me. It always looks cock eyed or not in the right spot. It’s pissing me off lol
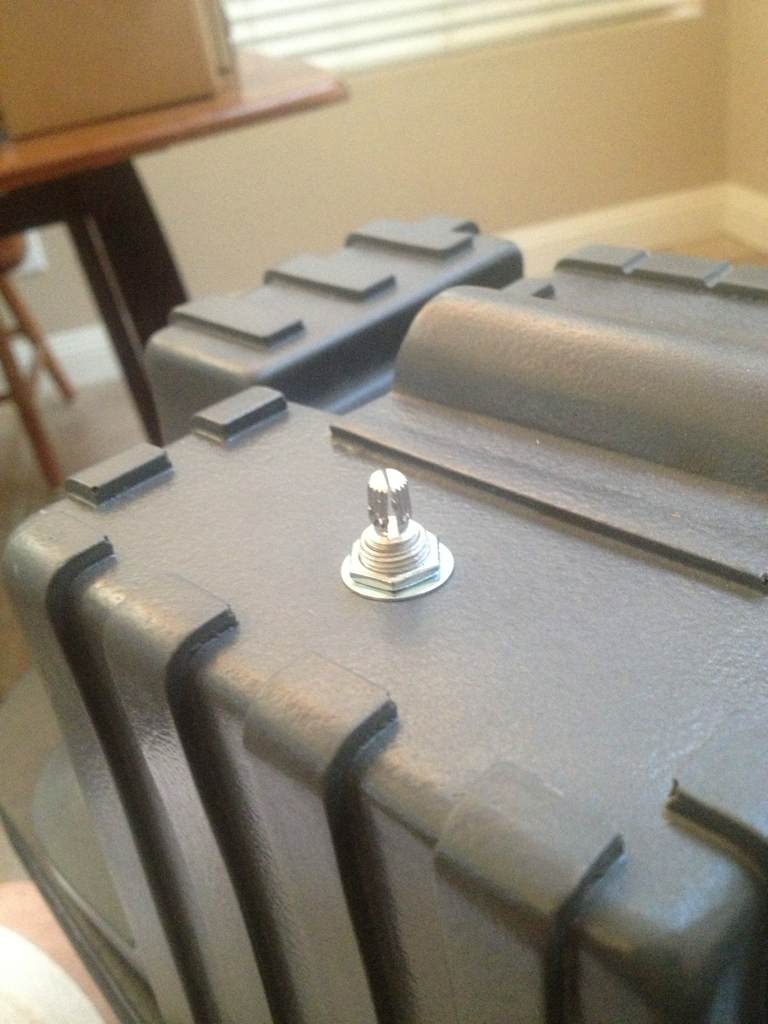
Then I got my crank knob mounted. I used a potentiometer so I can try to use it to control the volume of my sound board later. Have no clue how to do it but I’m gonna try.
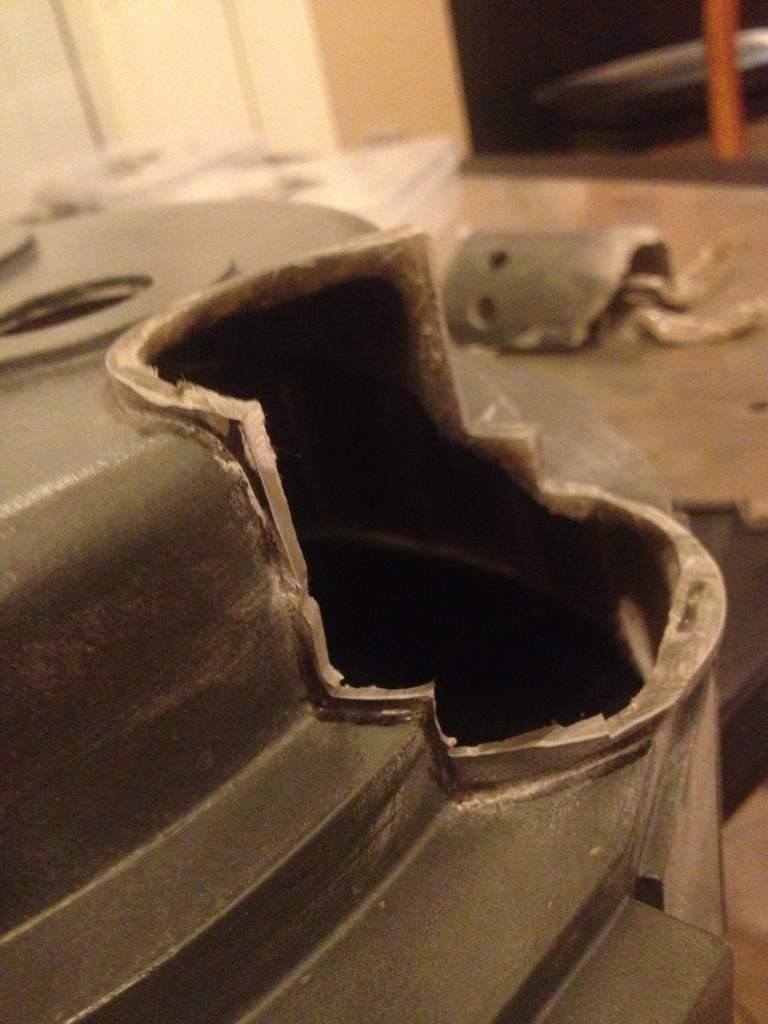
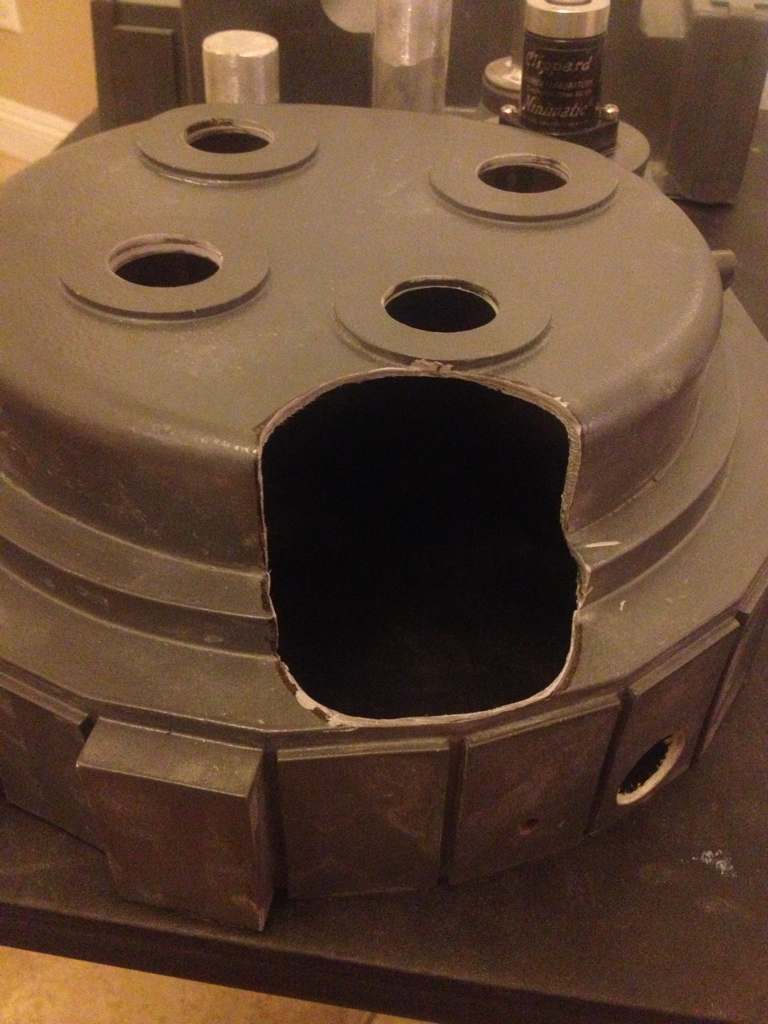
Then started the beautiful task of cutting off my n-filter. I first drew the lines for where I wanted to cut. I suggest cutting it off in stages to prevent cutting into the cyclotron.
Ya I was looking at that. Problem is to push it in more will require to trim off some of the bottom right cyclotron hole. Kinda at a loss trying to figure out how to fix it
Thanks for the kind words guys. Abaka the n filter wasn’t as bad as I thought it would be. I sanded off a bit to much so in trying to figure out a good solution to fill the gap. So far working with the aluminum parts has been so much easier compared to resin.
Just to show you 1.5 mm aluminium cuts like butter… as you can see I drilled pilot holes for my speaker shelf and then just wized round with the jigsaw. Just go nice and slow and be aware and ready that it could catch the metal occasionally so be ready to get your fingers clear…
Awesome. Do u have any templates for the bracket? I also need to find templates for the bracket that goes on the other side of the mobo that holds your battery as seen in the planet Hollywood packs
I don’t believe there was a bracket in that area, I believe that was just the OEM Powertec powersupply spray painted black, someone with more information may be able to confirm this, I’m at work atm so can’t dig up the pictures to support this claim, but I will explain why I feel this was the case when I can dig up the picture to support my theory.