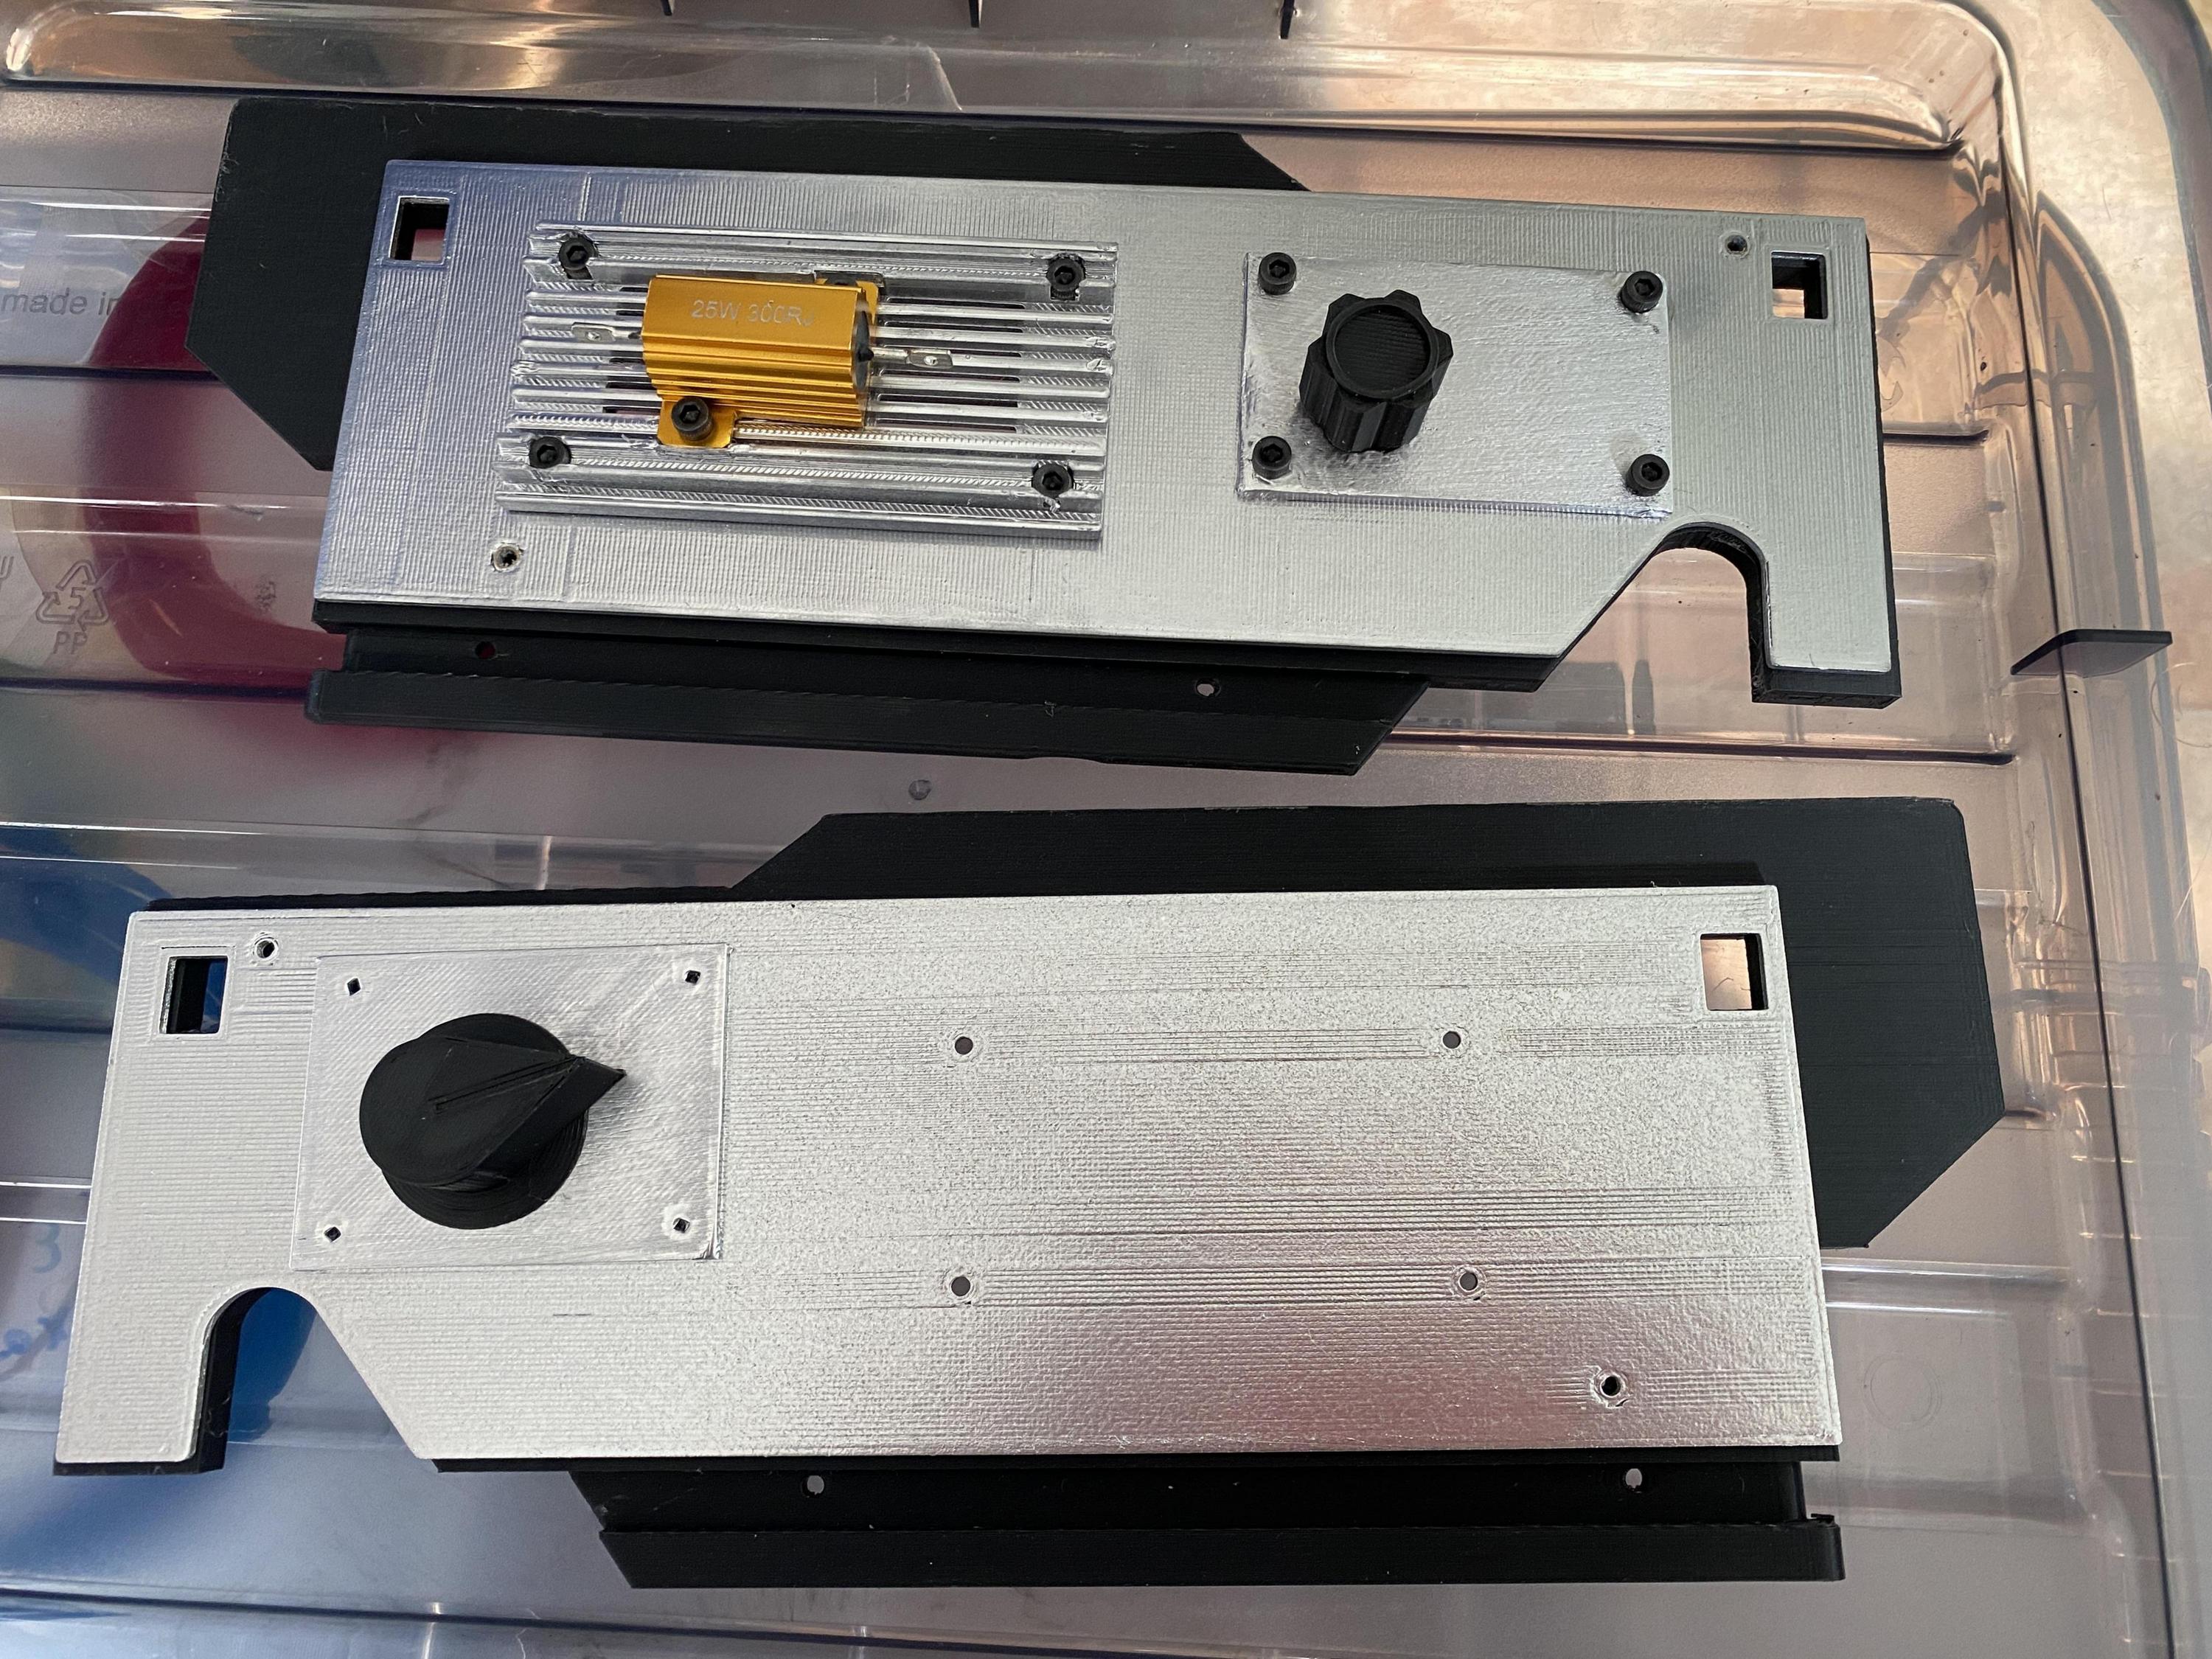
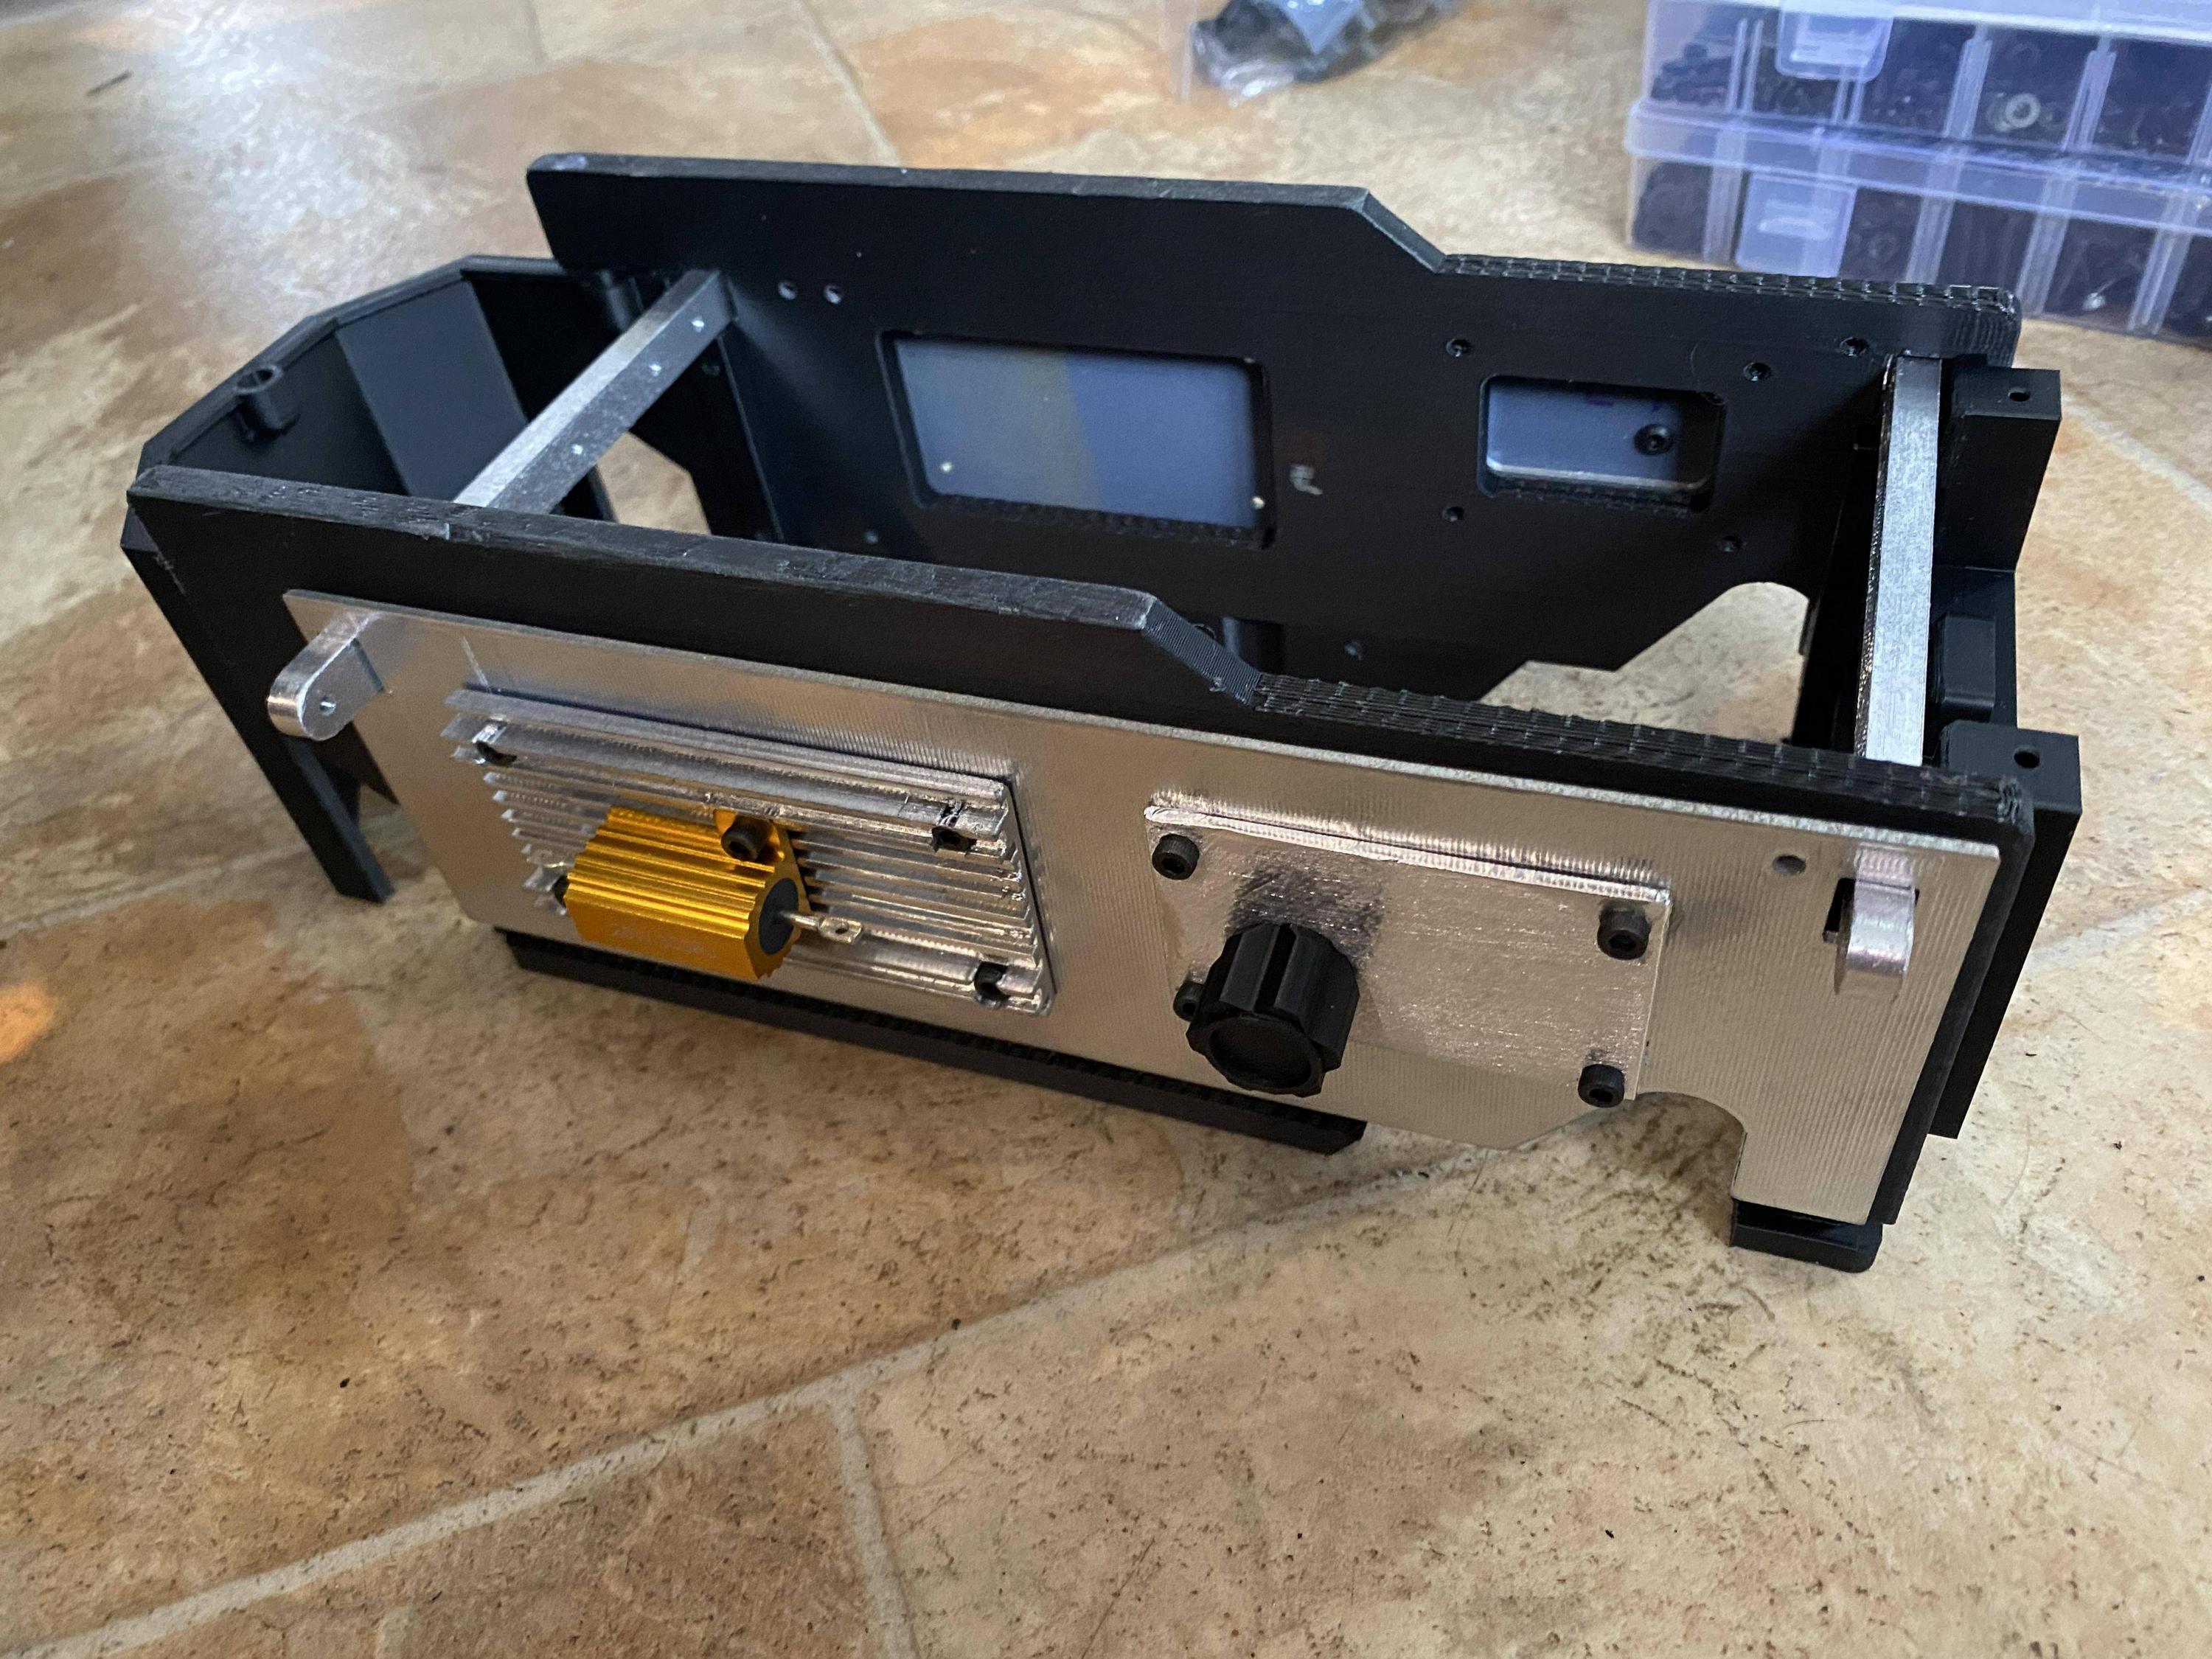
I reprinted the side panels in a different orientation this morning and they’ve both turned out much better. I decided against using aluminium tape on these two pieces due to their size and number of holes and cutouts etc.
I tapped the holes and test fit a few of the pieces together and it’s starting to come together.
The resistor I’m using is good enough for now but I ordered a real one (actually the last one) from Toby CJs Etsy store. When it arrives I’ll swap it out.
The only thing left to print are the two side rods. I don’t want to buy a full reel of red but I’m sure I have a small amount in a drawer somewhere. I’ll look later on.
I’ve started trying to work out how to dismantle the Stampede as well from watching YouTube videos. It doesn’t look too much of a pain to do but does need a lot of table space so it’s definitely a weekend job not something to quickly do over lunch. I’m also awaiting a replacement front shock mount as well as it’s out of stock everywhere.
Someone should really put the Traxxas part numbers somewhere to avoid silly mistakes like I did. I ordered some sets of suspension arms as the ones on my second-hand stampede were a bit battered (and blue!). I ordered part number TRX3631X however these are for the front arms of a Stampede 2WD and NOT the 4x4 which is part number TRX3655X. Lesson learned. :walterpeck:
I ran into a lot of that… I used a Traxxas Stampede 4x4, but didn’t realize until assembly that the shock towers are completely different shapes from the VXL 4x4, so my parts weren’t lining up correctly… Had to disassemble everything, and replace both shock towers.
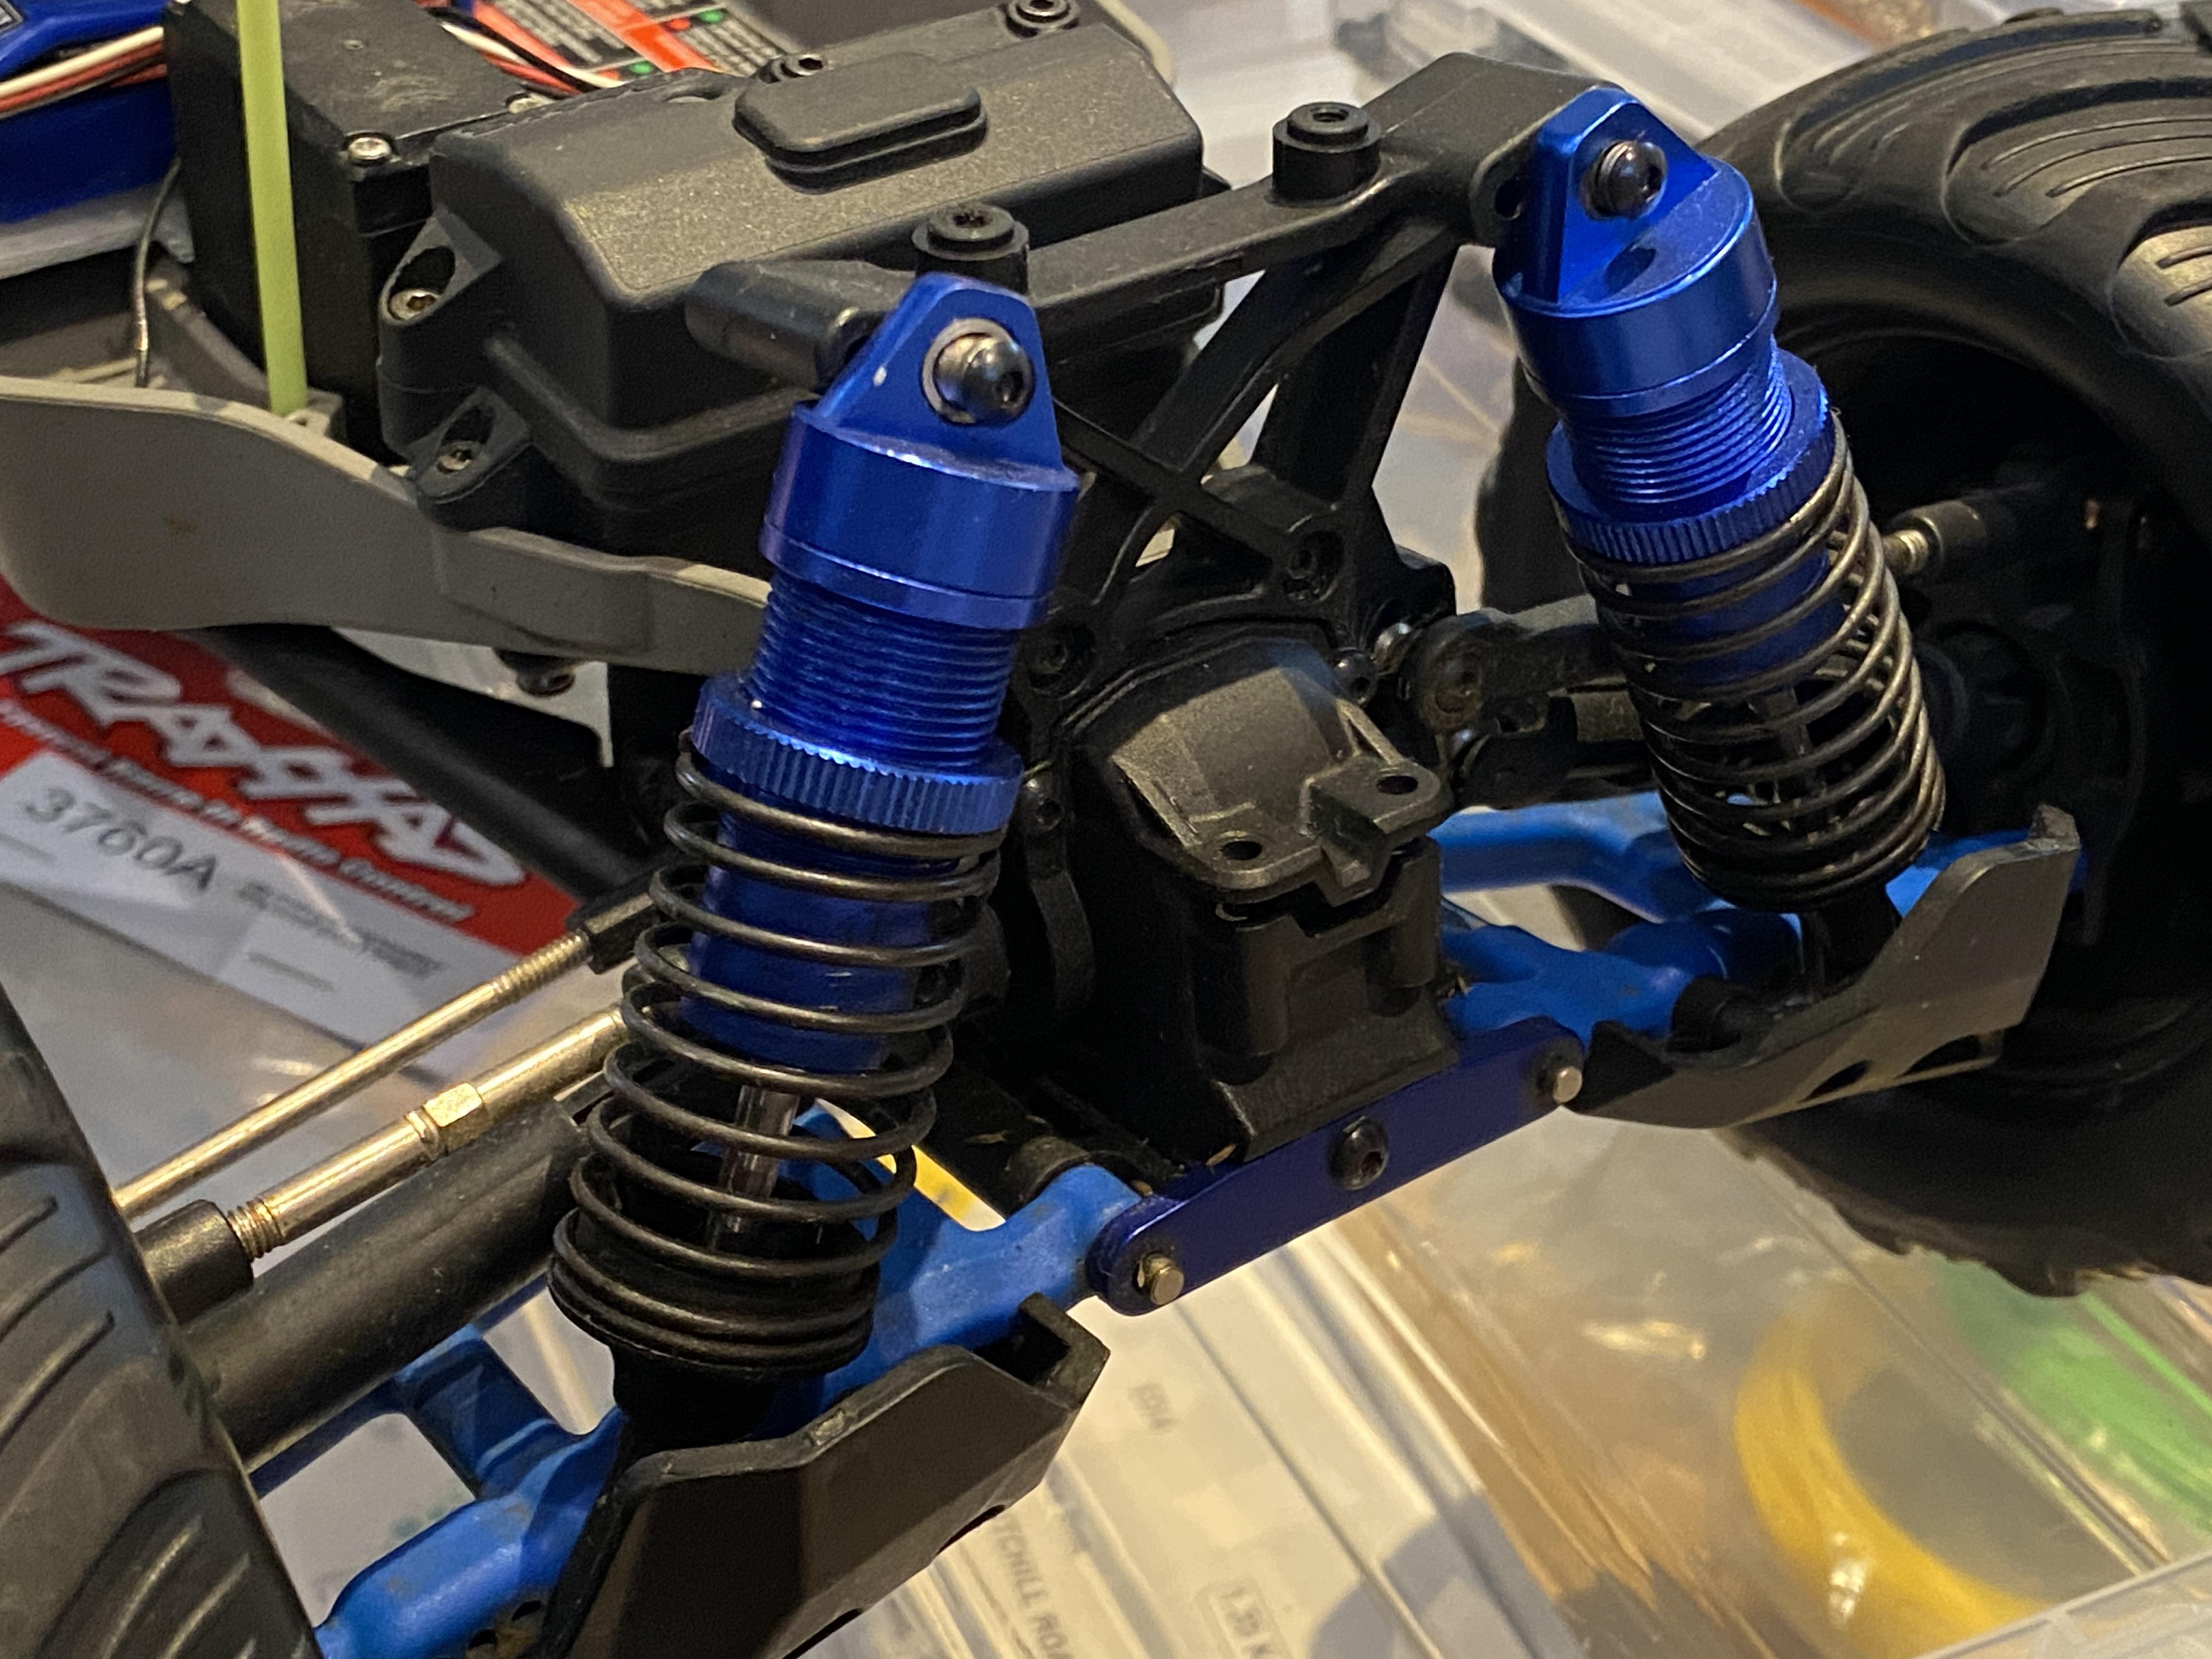
New shocks have arrived. The Stampede I’m using had already been “upgraded” by the previous owner so didn’t come with the original grey with white springs shocks. It meant I needed to get TWO new front (long) shocks instead of just one.
I believe in the film they were the white springs painted red but given that I needed to buy all new ones I figured I’d just order red ones anyway. They’re possibly a little darker than the screen ones but it saves me trying to carefully paint them or colour them in sharpie.
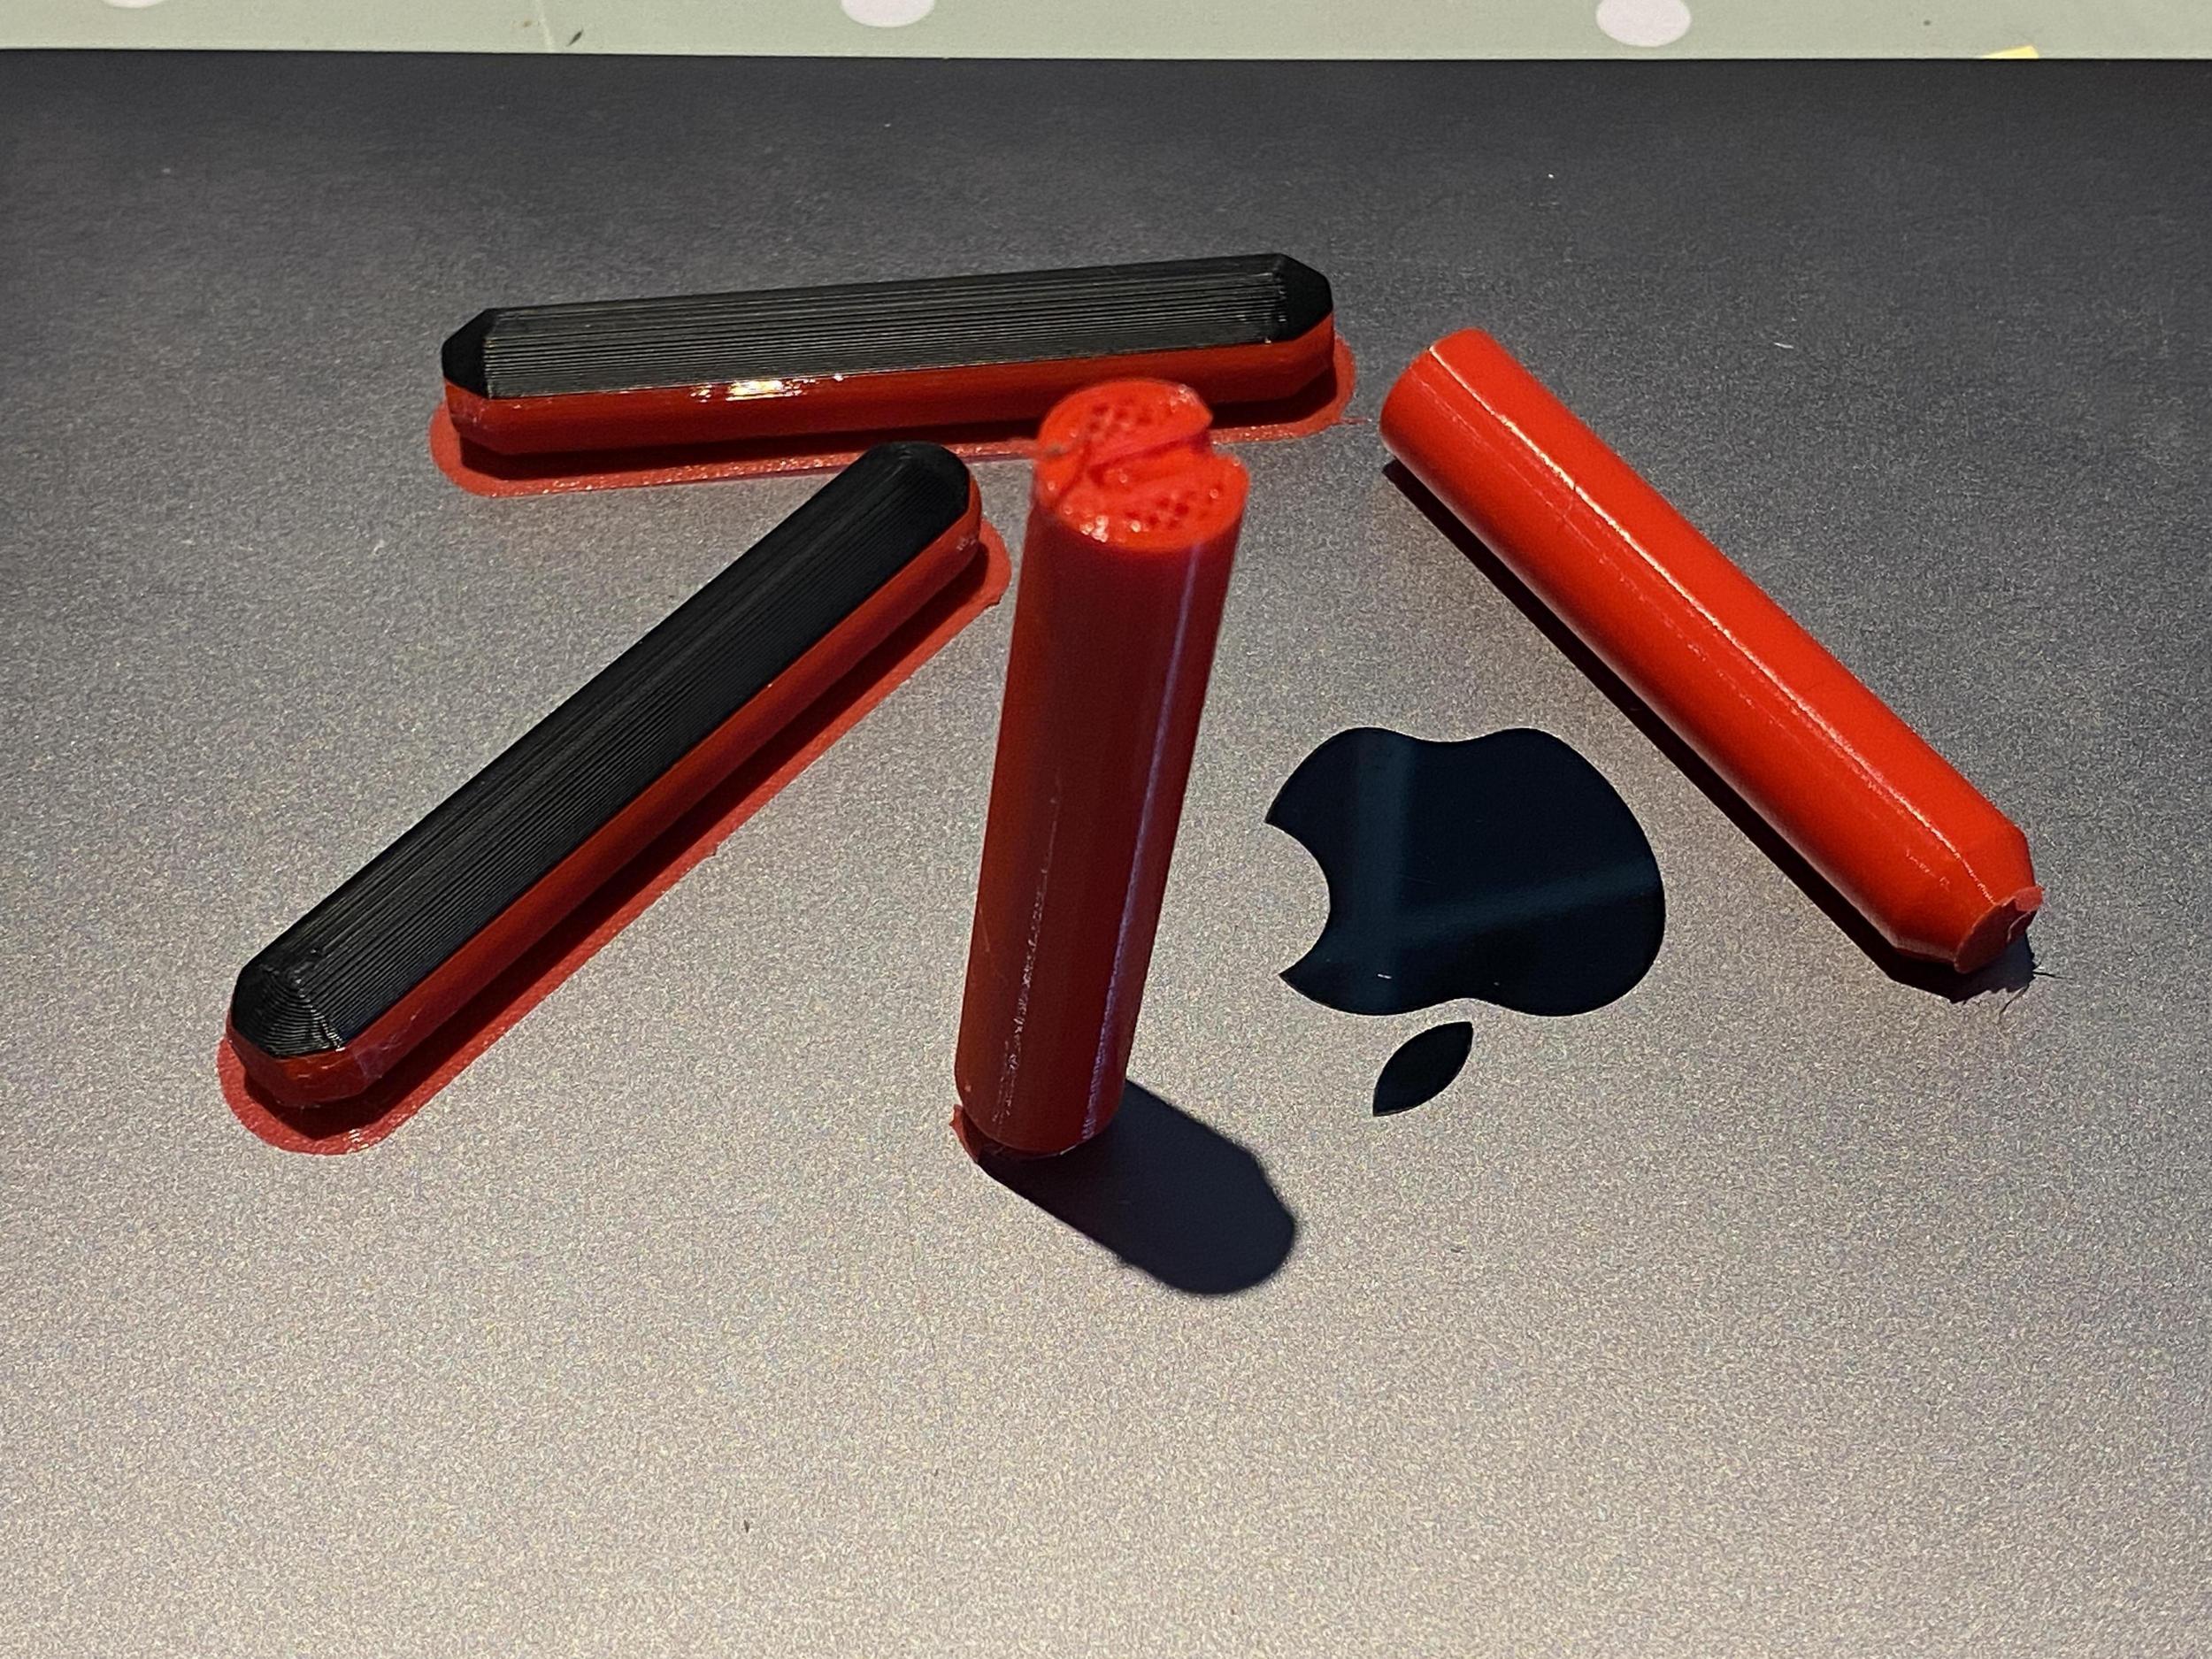
Disaster today. I was trying to be stingy about buying a reel of red and knew I had some leftover red coiled up somewhere. Well I found it and calculated that there should be enough for both of the side rods.
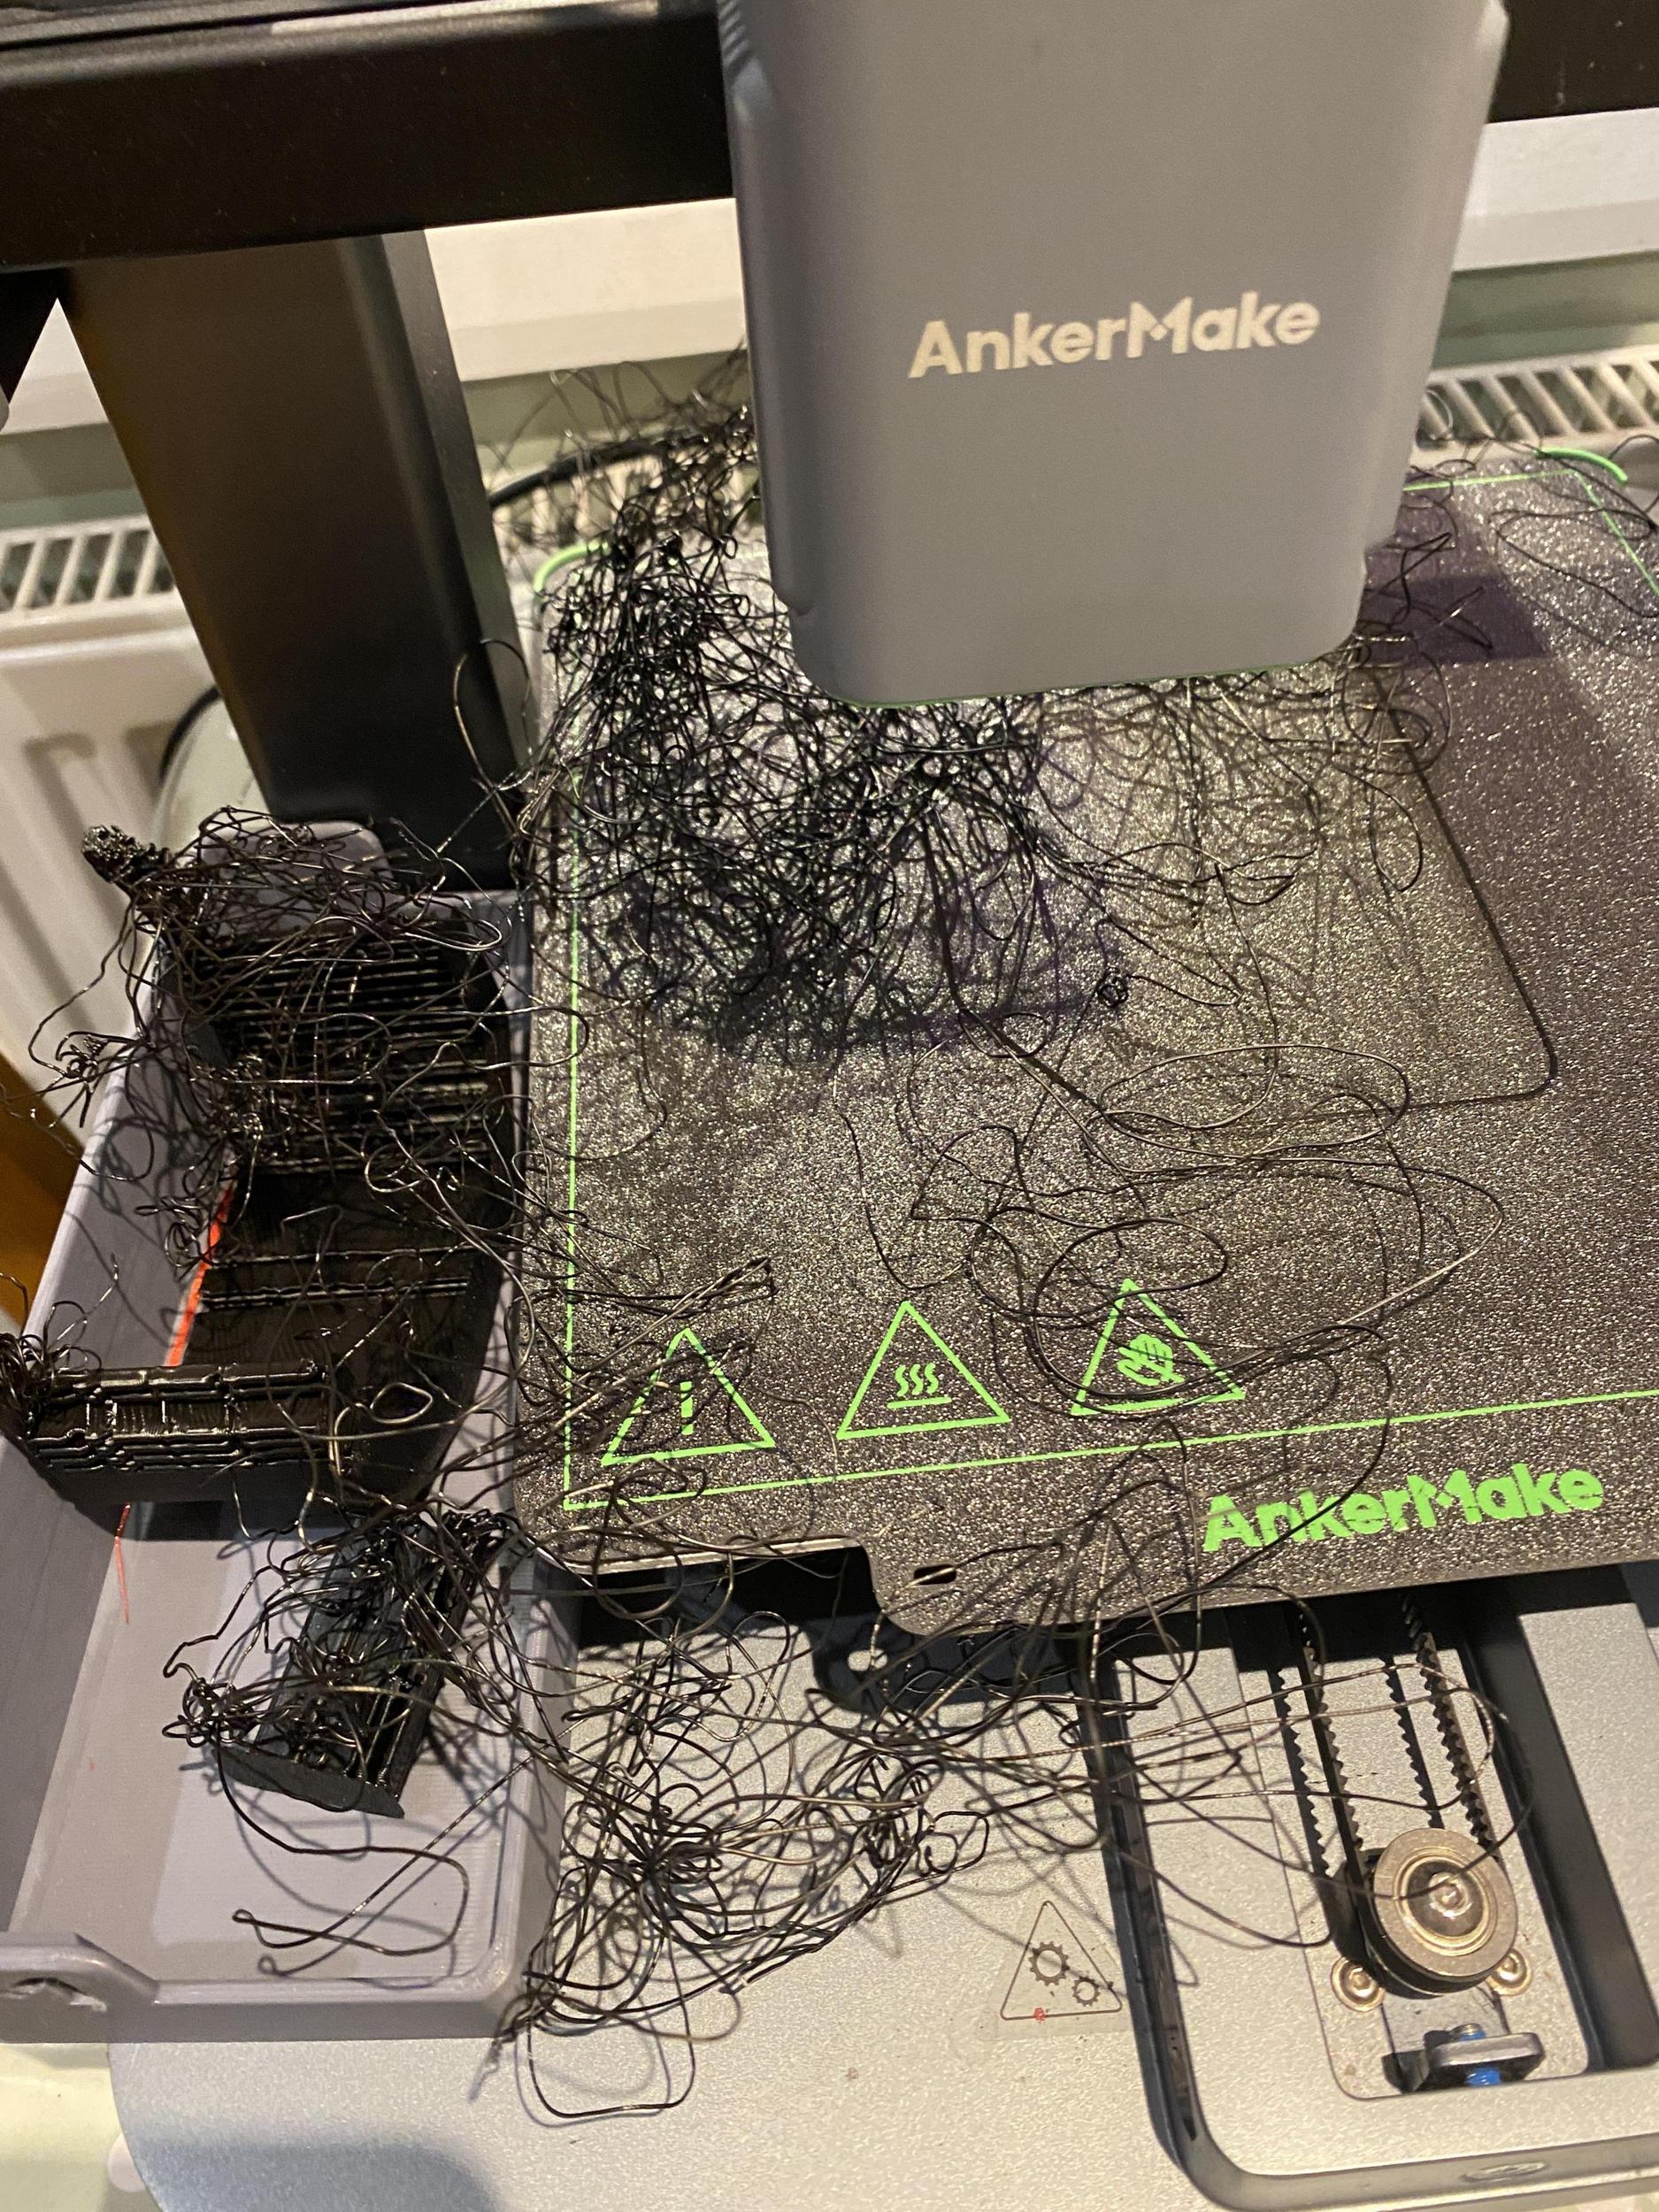
I started by printing them vertical because I thought the curve would be nicer. Unfortunately 5 minutes before the end of the hour long build they toppled over.
So I tried lying them flat instead. And then the old filament cracked and shattered inside the Bowden tube about 10 minutes in.
Because my printer has a direct feed print head I tried a third time by breaking off all the brittle bits and feeding the filament directly to the printer. Unfortunately because of my two prior failures I ran out of filament 6 minutes before the end. ffs. I finished the print in black and considered painting but in the end I bit the bullet and ordered some more red. Doh!
I had some trouble here, too. Sideways definitely didn’t have as nice of a sheen, so I added some raft layers and painted on some extra supports to help them stand vertically. Slowing down the print speed a little also helped with some of the vibrations that might have shaken them off the plate before.
Yeah I think I’ll try a raft next time as well. I was so annoyed I could see if starting to fail I ran to get some tape I thought i could salvage one of them but it was too late. Got a whole reel coming tomorrow now though so will try upright again haha.
I also need to reprint the back box, I think I only did it bout 30% and it cracked when I started doing some test fitting. So I’m reprinting at 100% the same as the sides.
A minor issue overnight I haven’t had an issue with bed adhesion before (apart from those long thing rods) but perhaps because it’s at 100% there’s a lot of weight maybe and it getting knocked over. I dunno. I’m reprinting it upside down instead now. Less supports needed so should be a bit faster too.
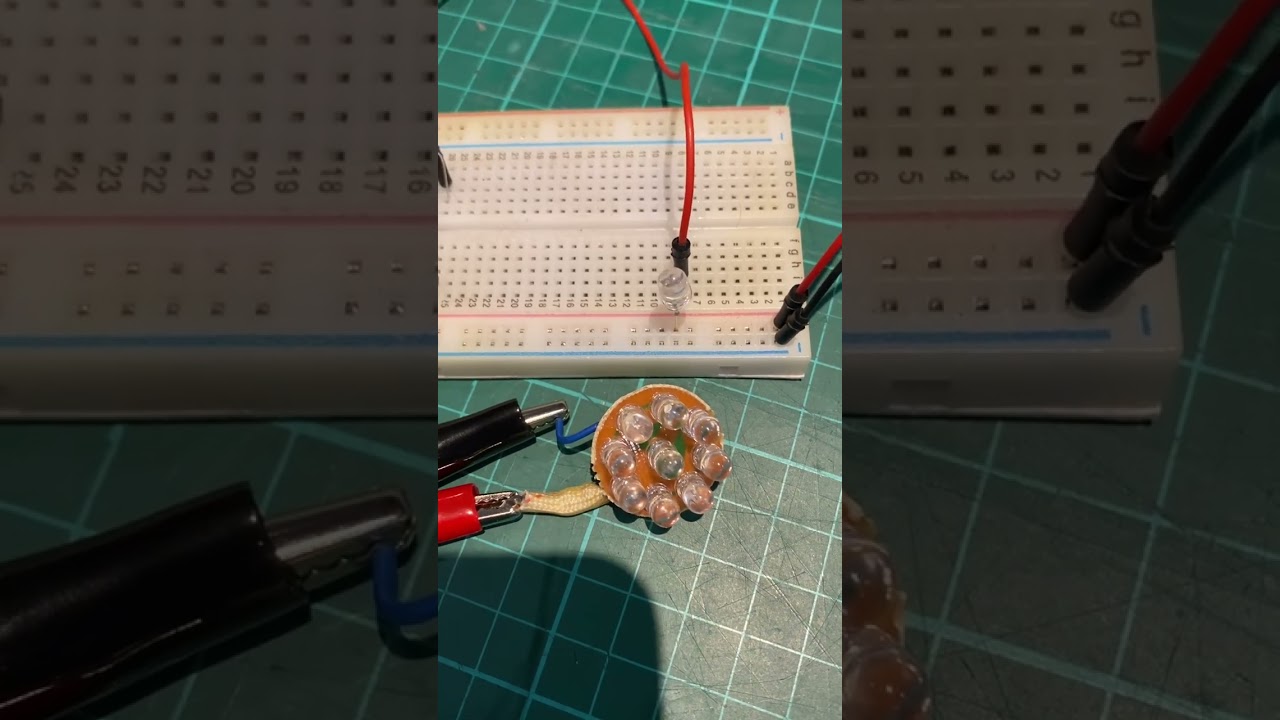
I found a 9 LED flashlight for dirt cheap in the discount store which runs off three AAAs at 4.5v its the perfect fit for the Taco Belli files. They are all wired in series but have no resistor. White LEDs usually have a forward voltage of 3.5v so eventually running 4.5v is gonna burn them out. Manufacturers probably don’t care they expect you to buy a new one when it dies it was only about £3. But running these off a LiPo at 7.2v is definitely going to kill them!
So in this experiment, I’ve wired up a single white LED (3.5Vf) in series with the 9-LED flashlight (which is already wired in parallel for another 3.5Vf) totalling 7 volts forward voltage. A led circuit calculator suggested a 10ohm resistor so I’ve added that into the mix too.
If anyone good at electronics sees this and identifies this as a stupid setup please let me know.
If this is an acceptable method, I will solder up those flashlights over the weekend while I await my nylon-printed chassis.
Opening/closing doors, bar graph and red LEDs are thoughts for another day as that requires turning 7.2v into 5v and then using the signal pin on the receiver to trigger everything, doors opening, red light flashing, bargraph animating etc etc.
Looking good! I saw your concern about the voltage, and what I found was that even though it’s a 7.2V battery, when I tested the output through the little remote switch connector with a multimeter, I was only getting 6V, so that’s why I think with the 4.5V multi-light run in series with the single LED light that usually drew 1.5V, everything’s been OK without blowing out the bulbs.
I am no electrician by any means, so I may just be running on luck at this point… Glad I bought a multi-pack of those flashlights!
My electronics knowledge is fairly rudimentary but it’s not like we’re going to be running these lights for long periods of time so they’ll probably last forever* even if the voltage isn’t ideal.
Not much to report today other than I built all new shocks for my RTV.
As standard a vxl 4x4 Stampede comes with two long ultra shocks for the front and two ■■-long shocks for the back with white springs. The RTV requires two sets of front/long shocks.
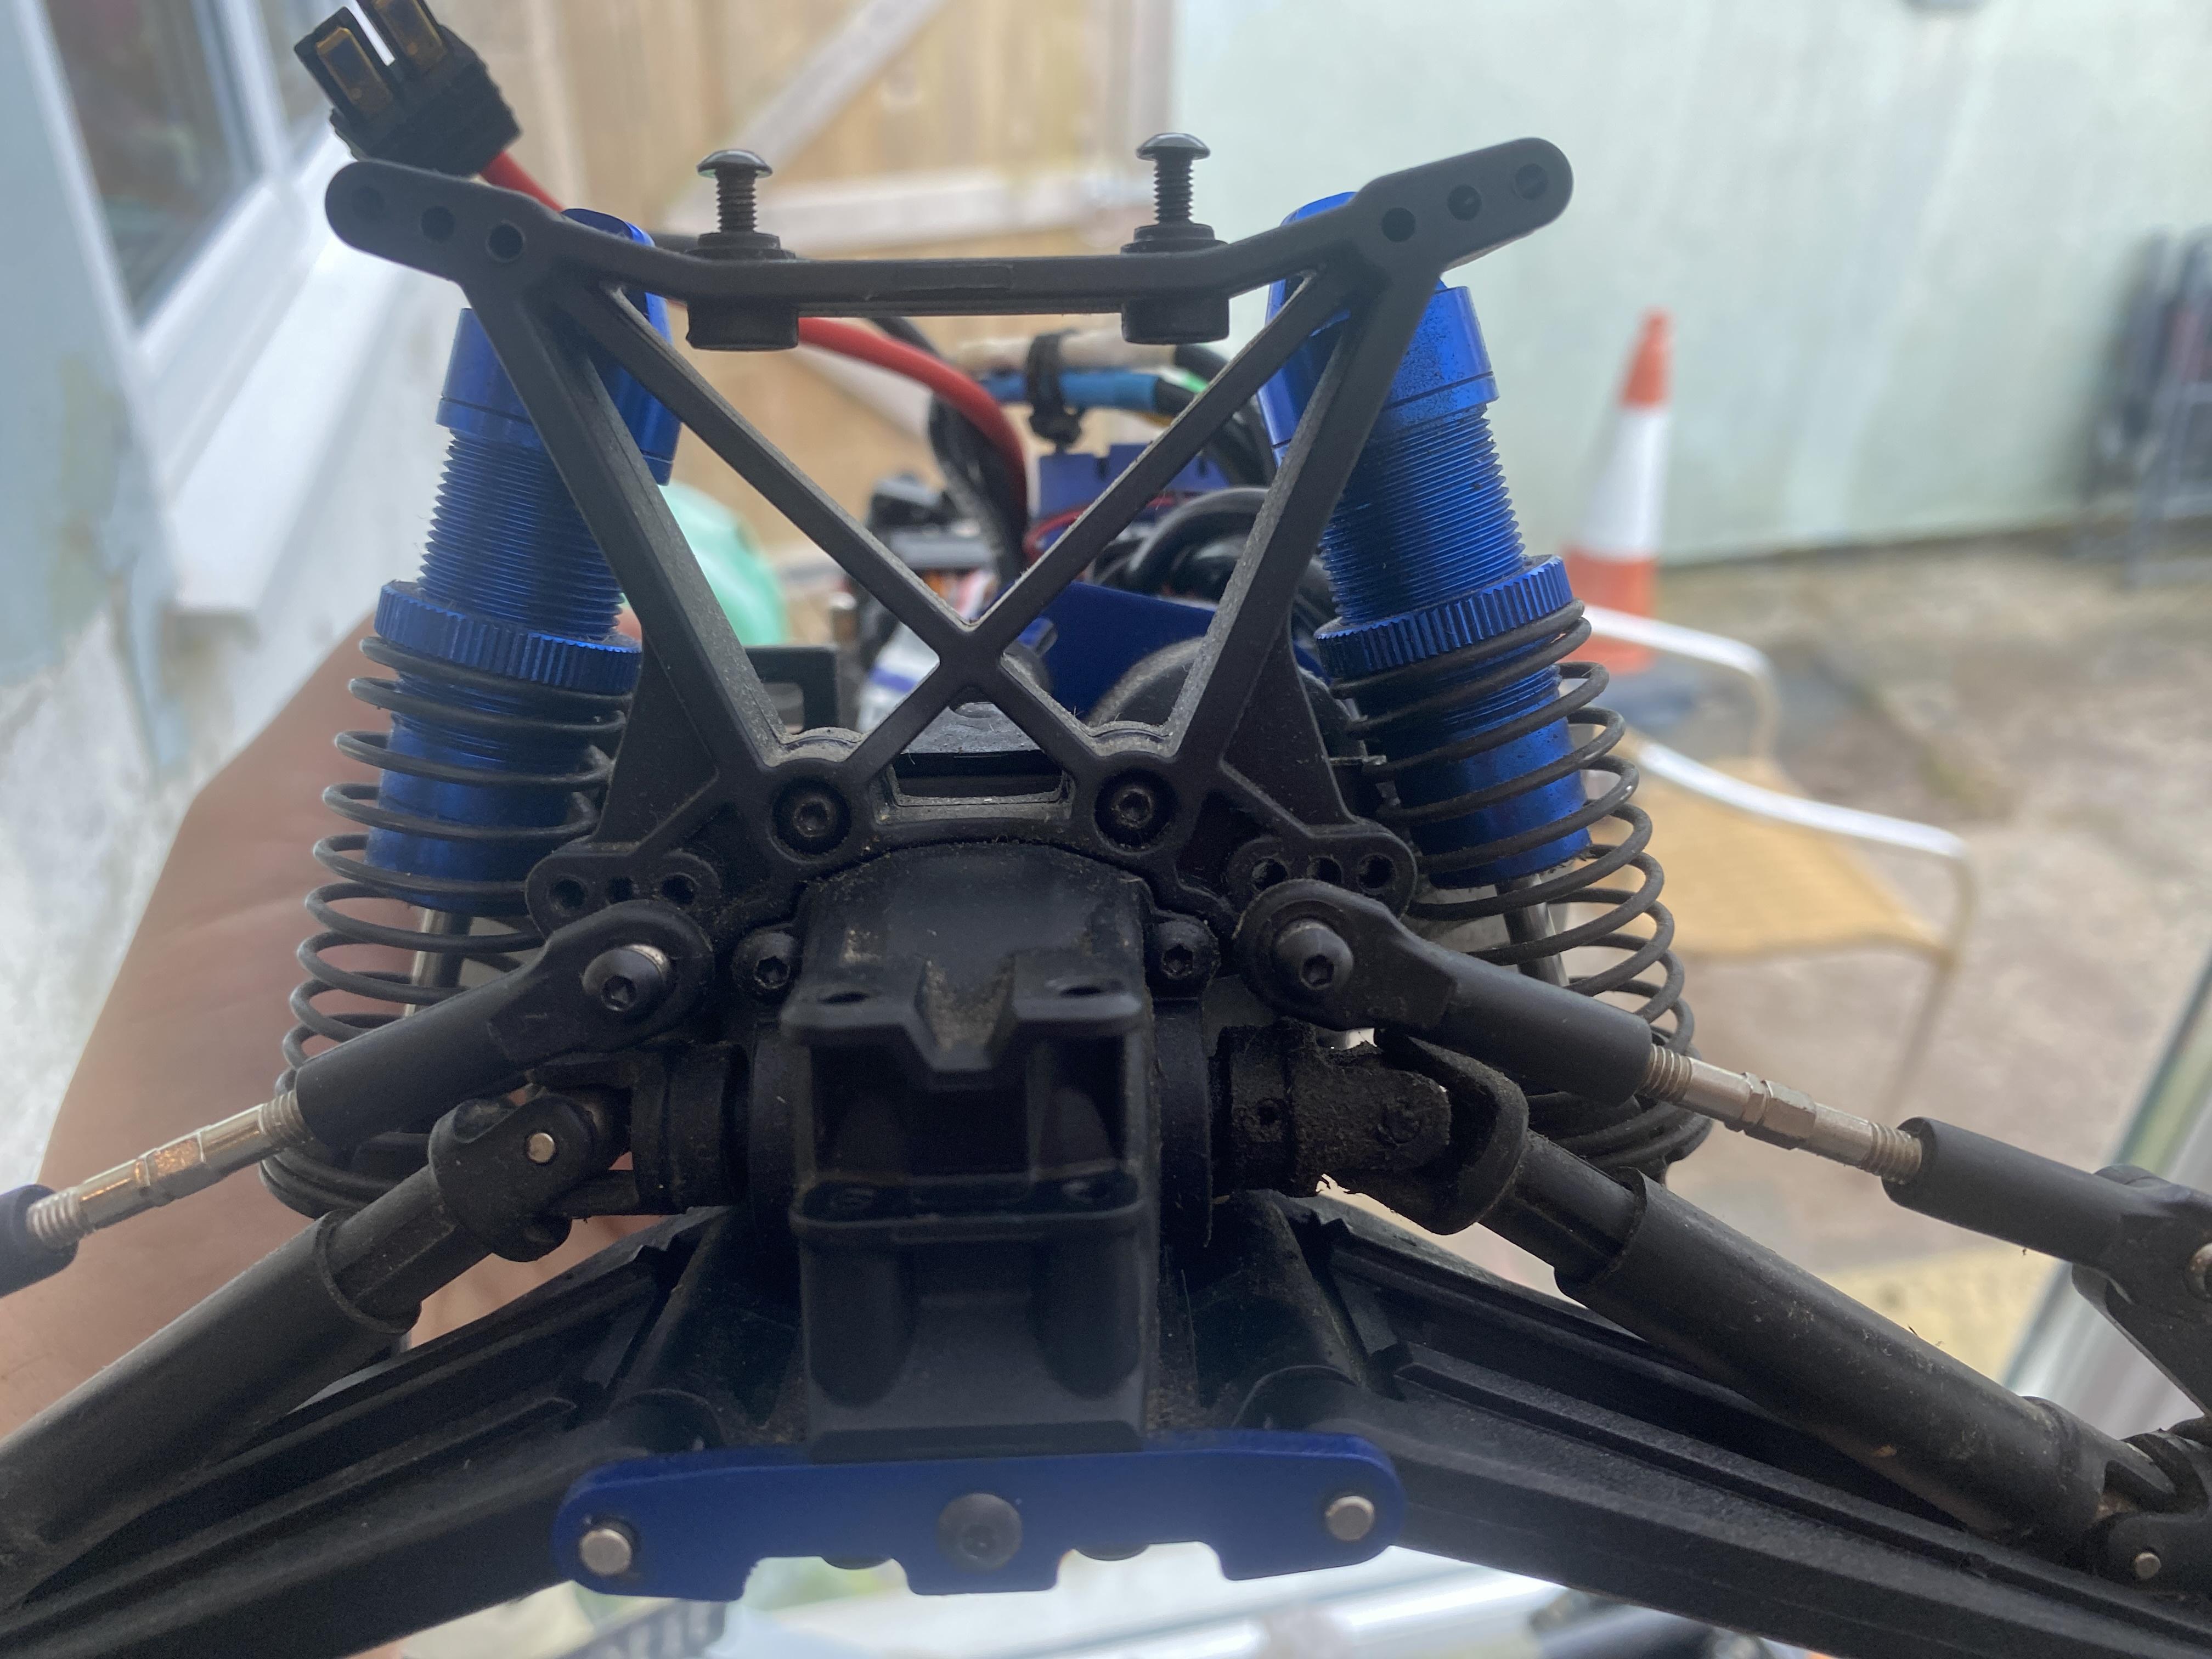
My second hand Stanpede came with anodised blue aluminium shocks, they look nice enough on a truck but completely inappropriate for the RTV.
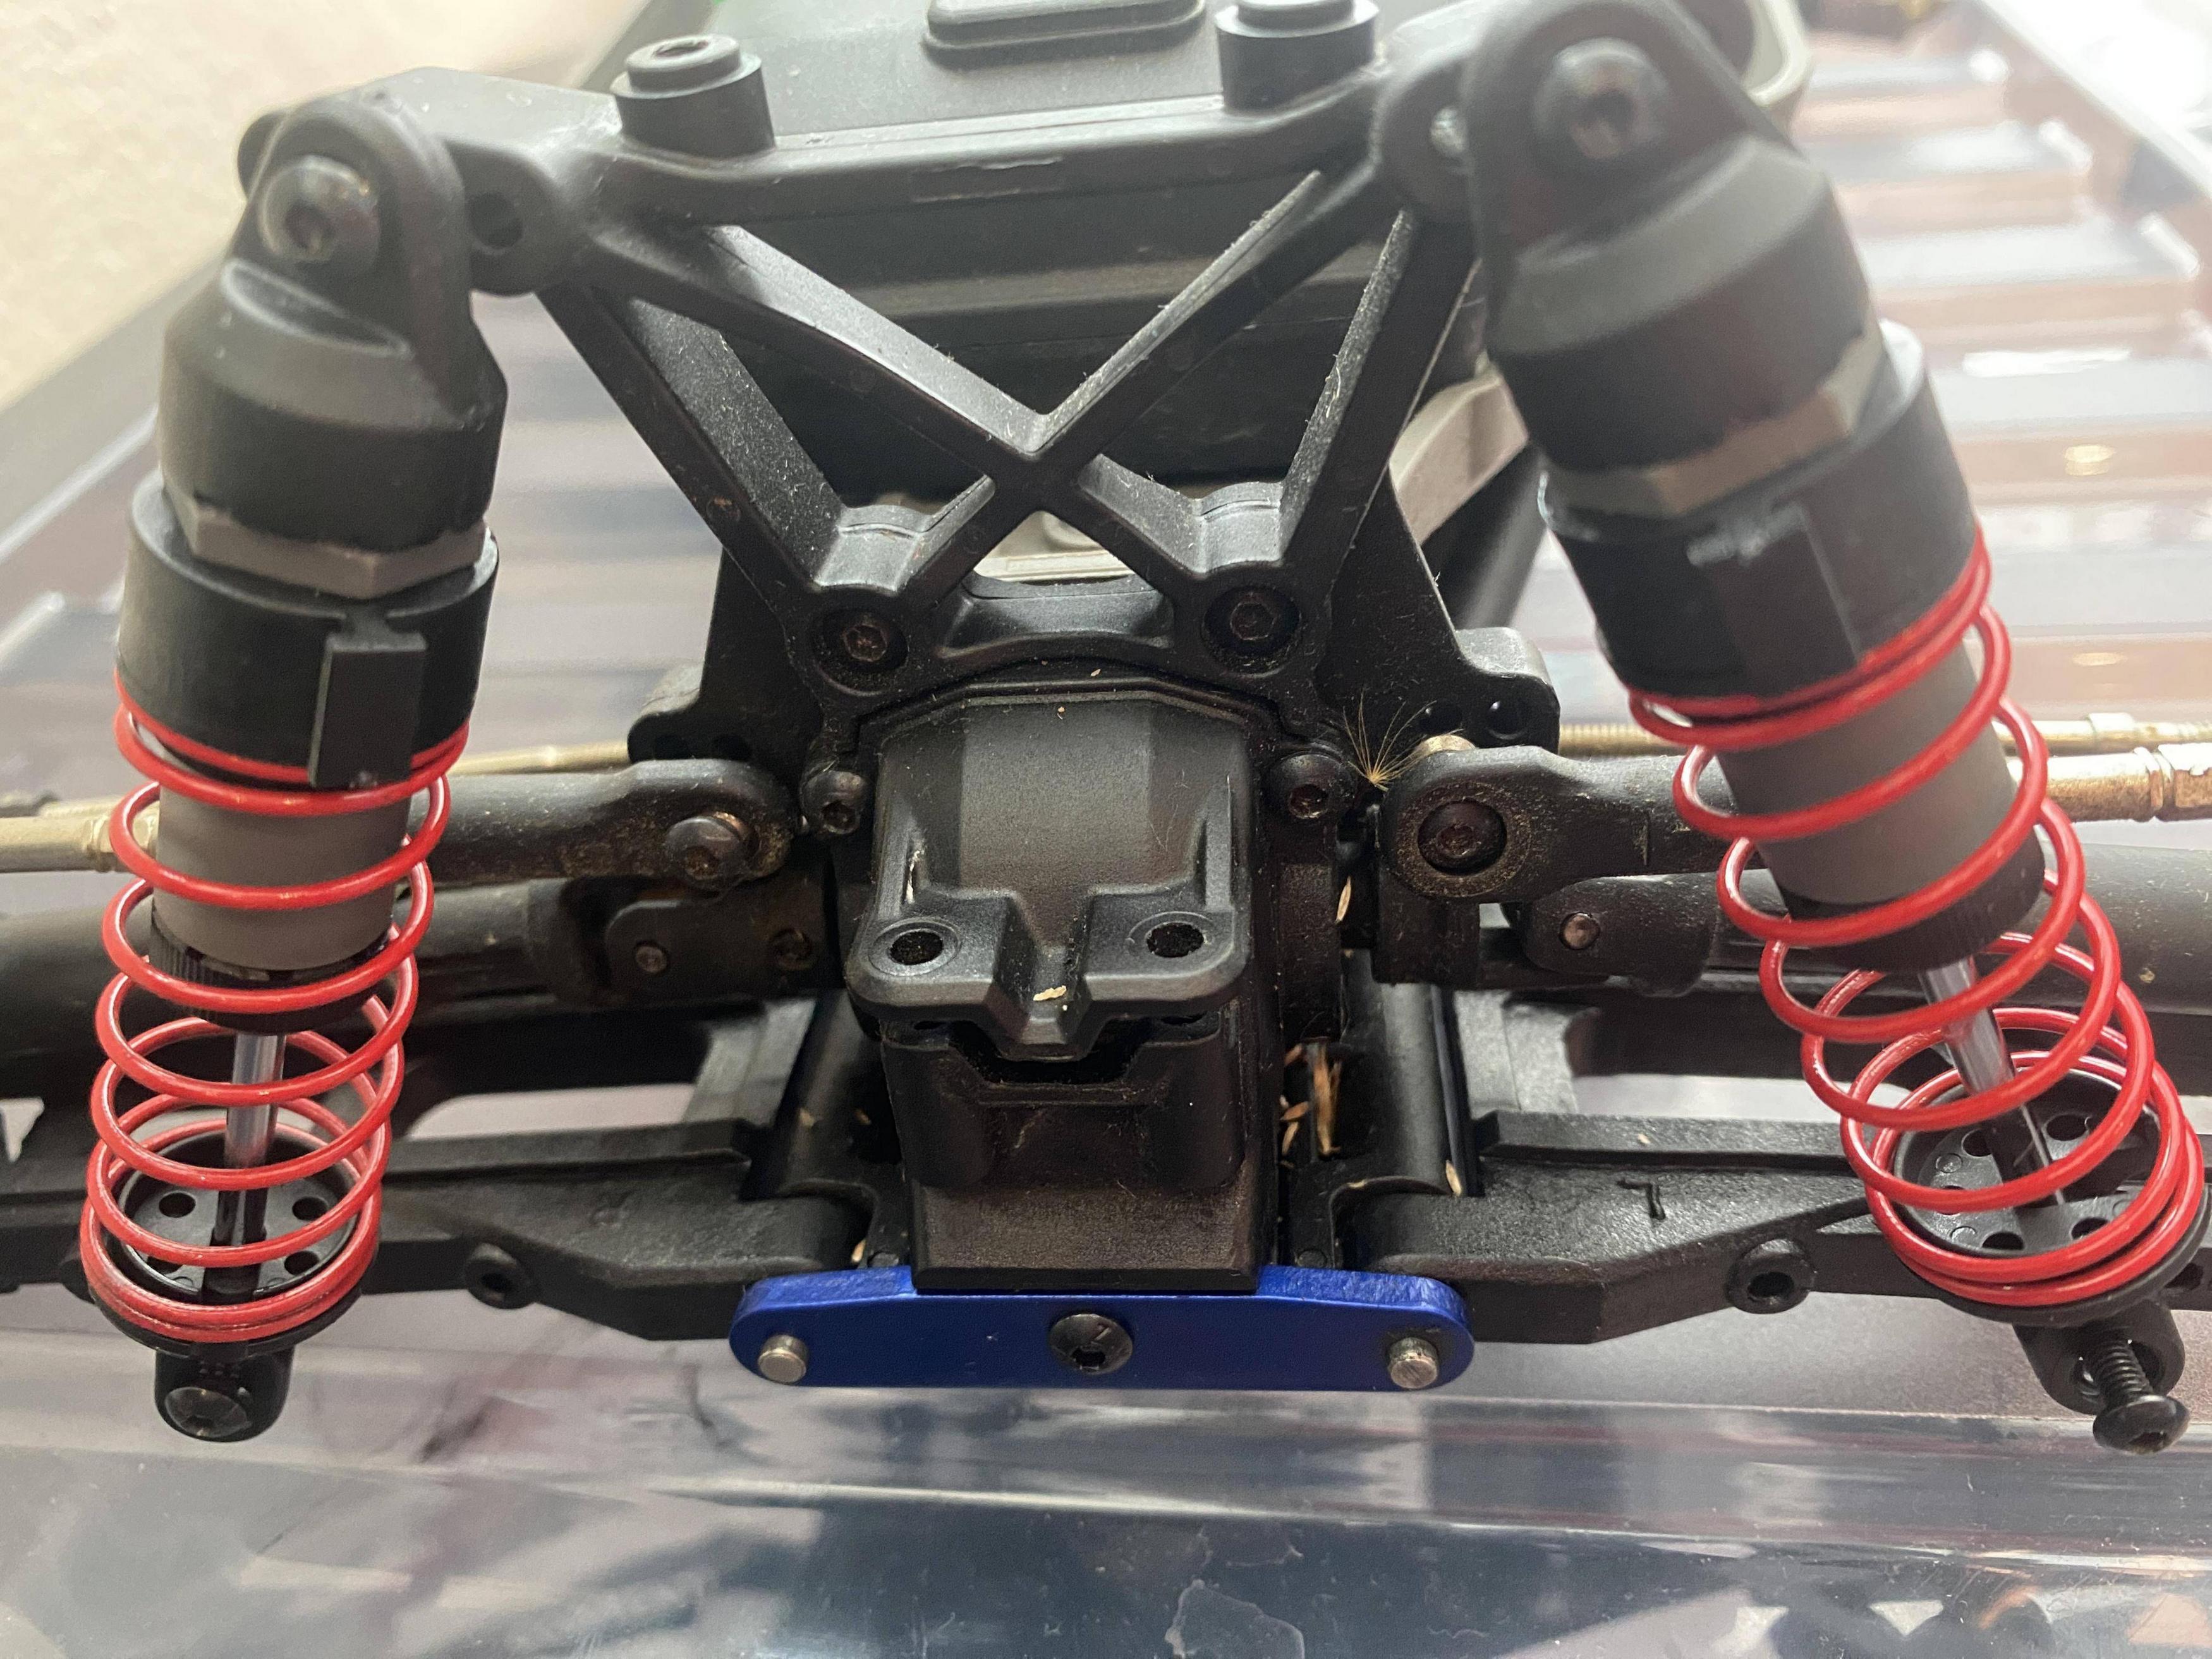
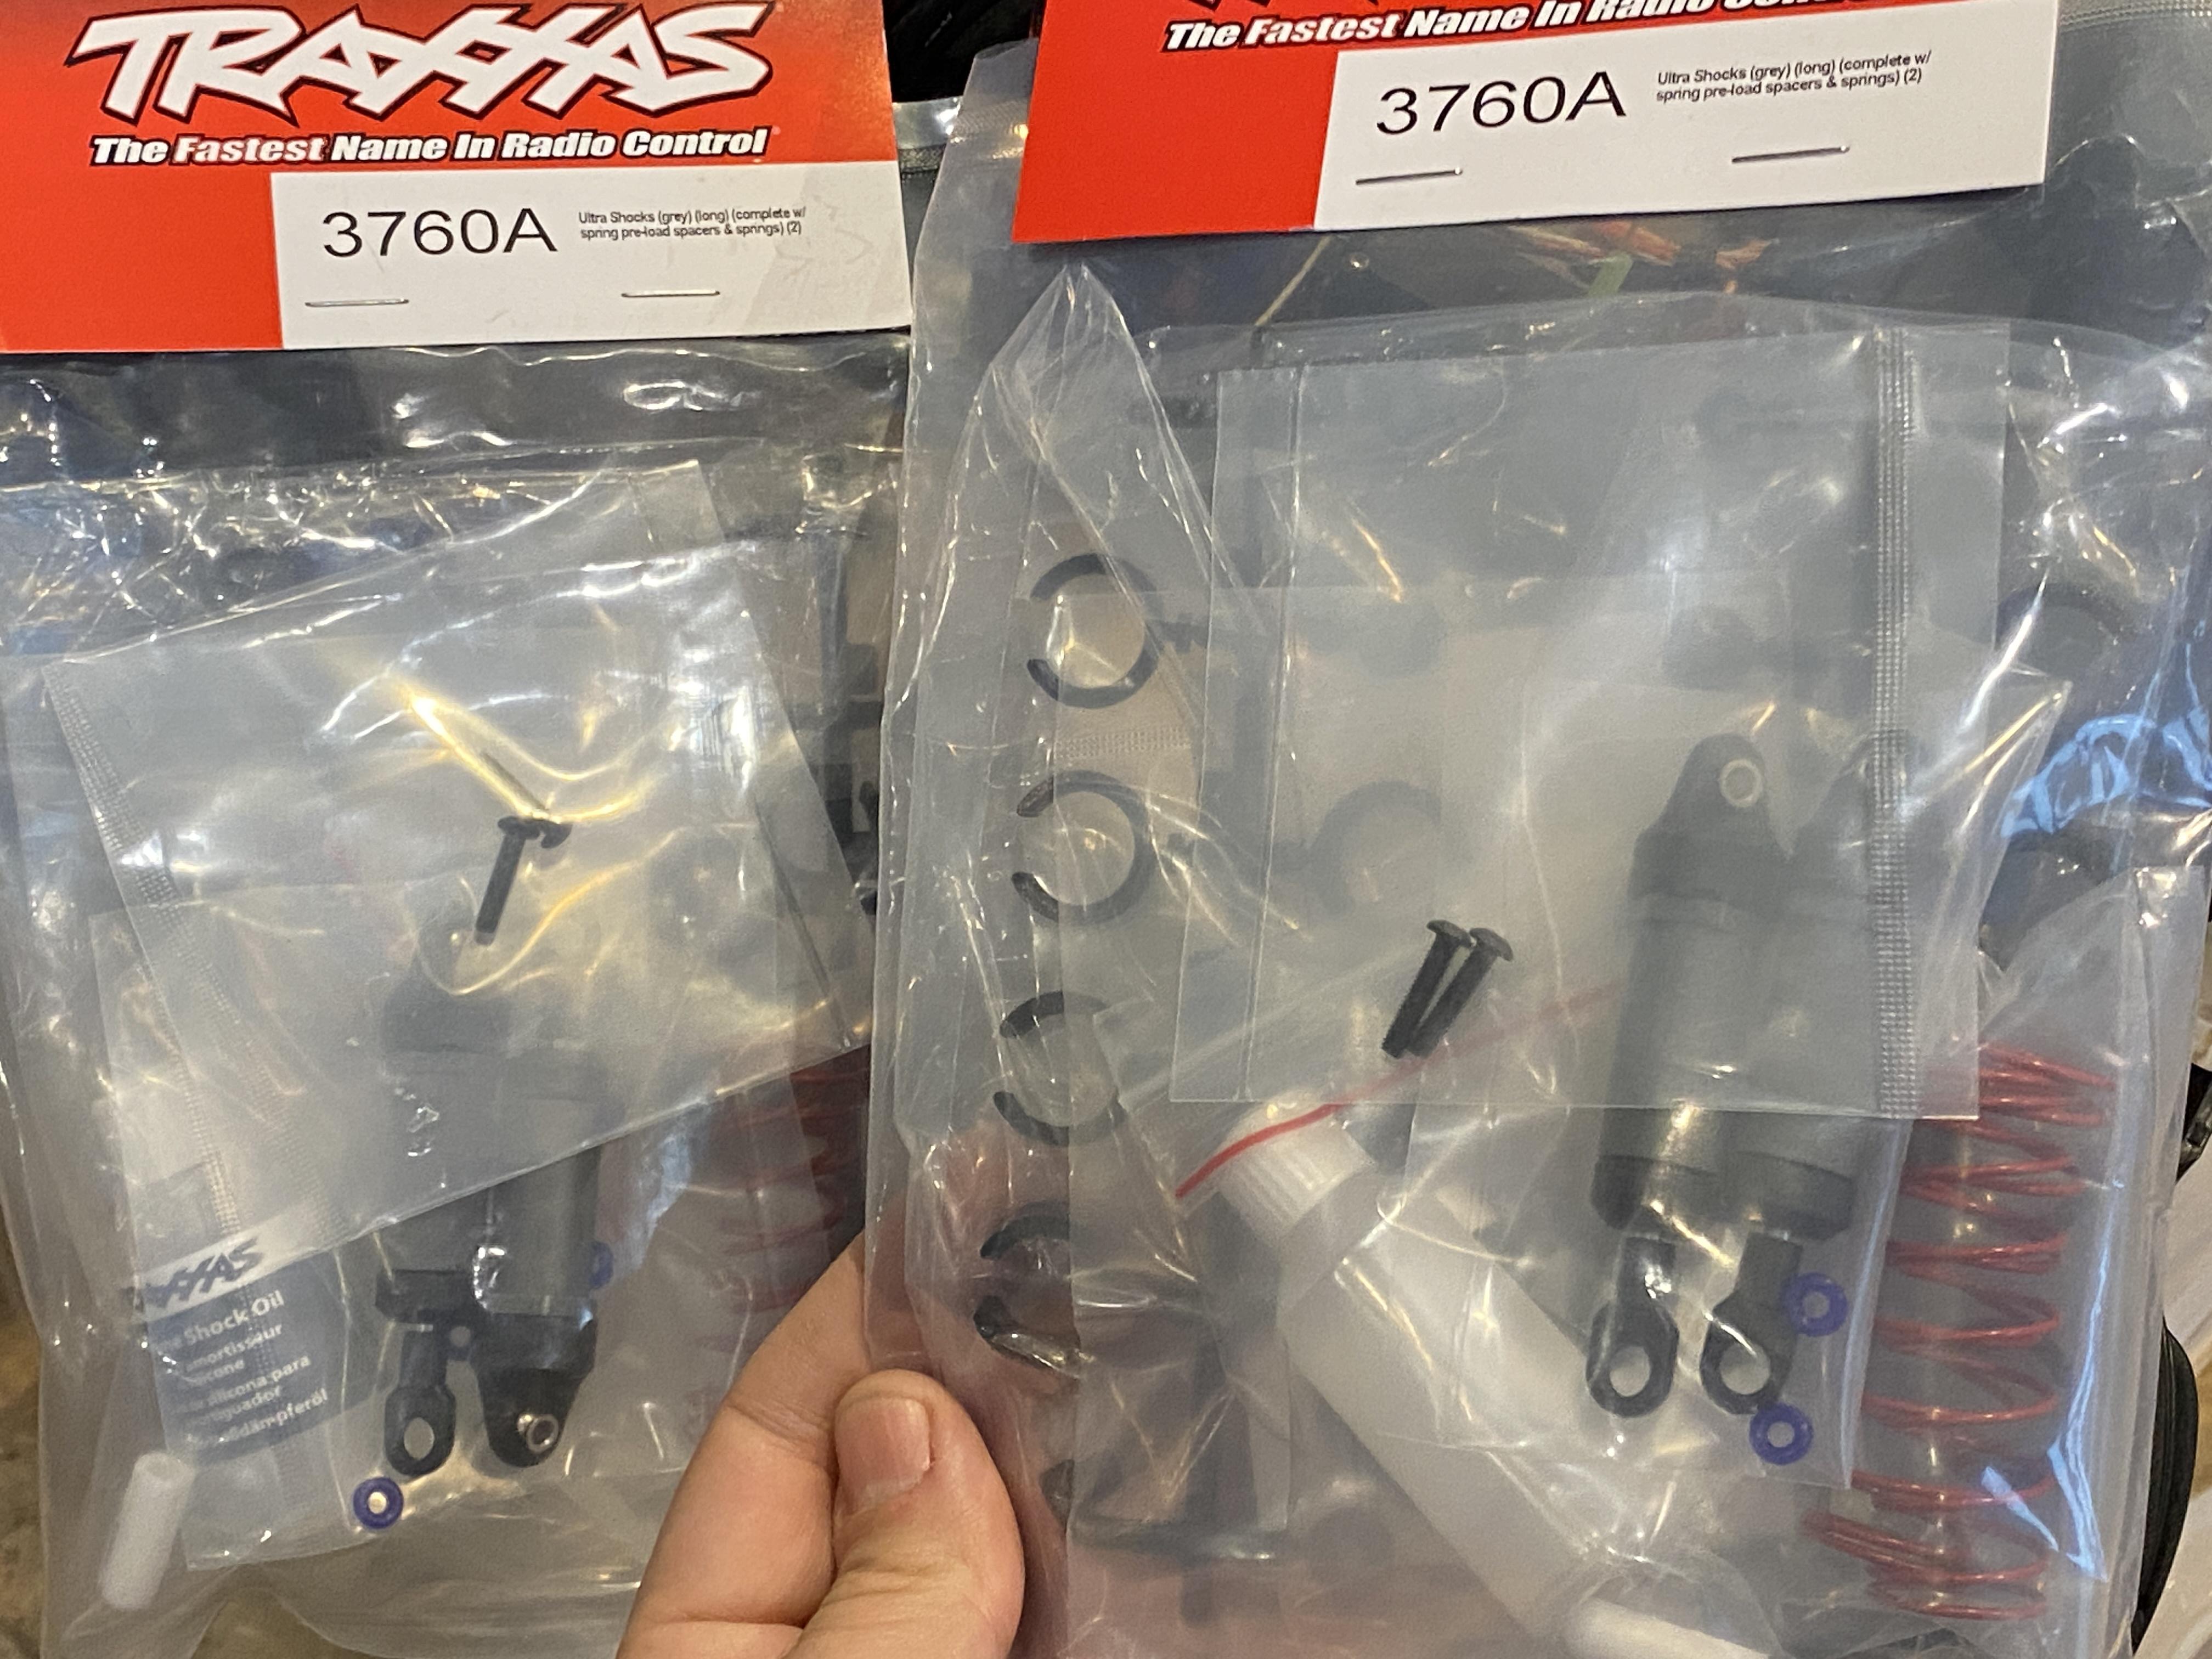
So I purchased two new sets of long grey/red Traxxas Ultra Shocks TRX3760A.
They do not come assembled to I used this video as a guide which was very helpful. I used a few drops of silicone shock oil on the rods and then filled the cylinder up. Added the cap ends and springs and all sorted. Installed to the front (of the original chassis) as a test and they already look so much better.
There’s a roadblock now with regards to my build. Well… sort of.
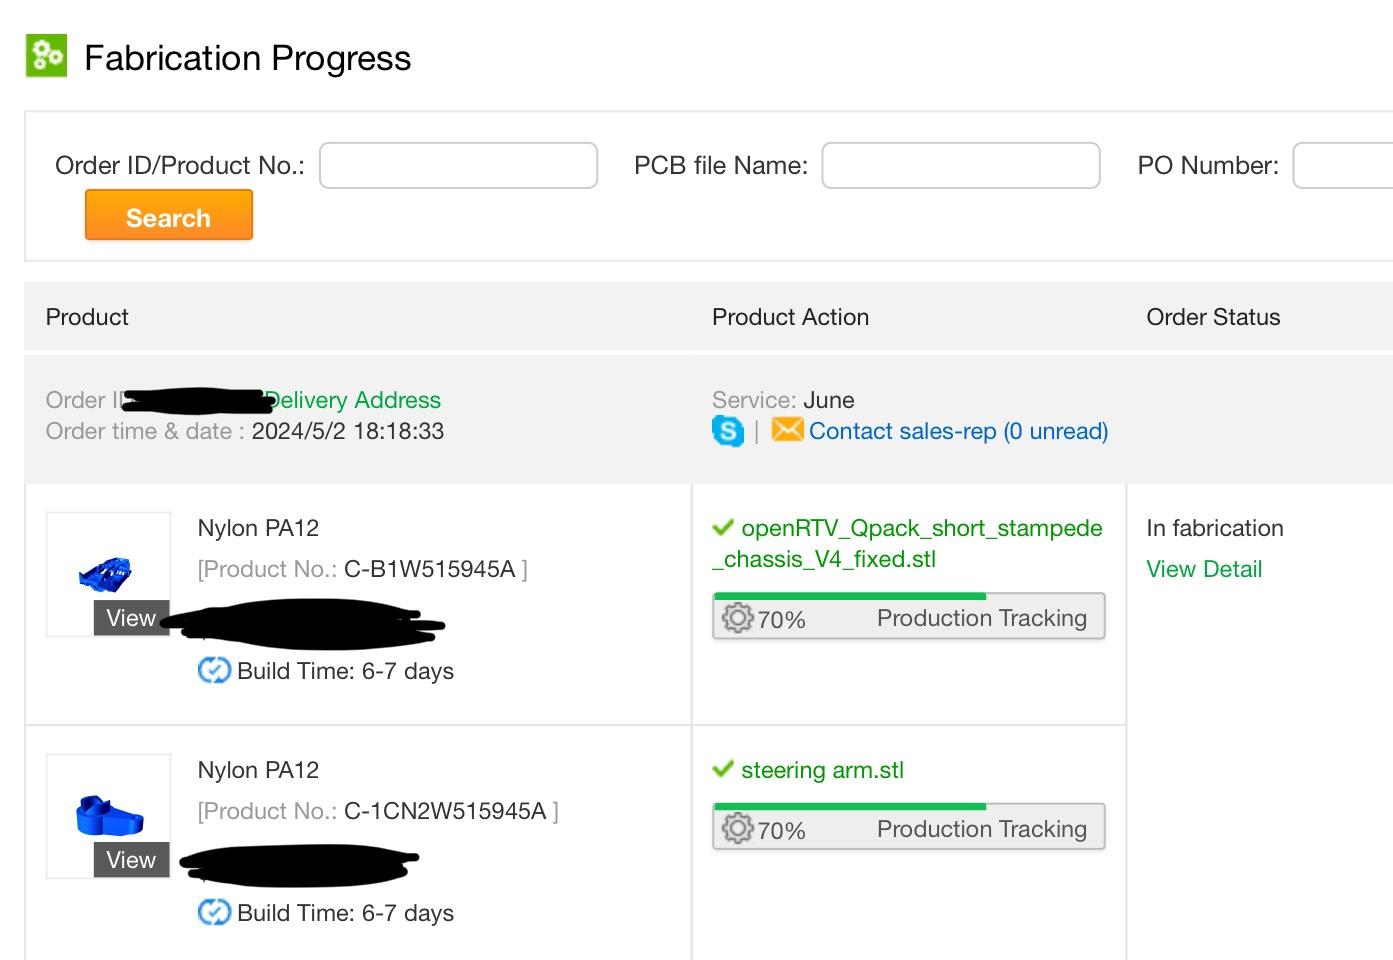
I ordered a nylon sls printed chassis in black from pcbway on recommendation by Ben Eadie (prob master in Afterlife) which was significantly cheaper than doing it locally. However… I just realised it’s not even being made until June and the it’ll take at least a couple of weeks to ship. Whoops.
I might do some testing of layouts with my fdm printed chassis in the meantime though and it also gives me time to also experiment with an arduino for doors, bargraph and red light.
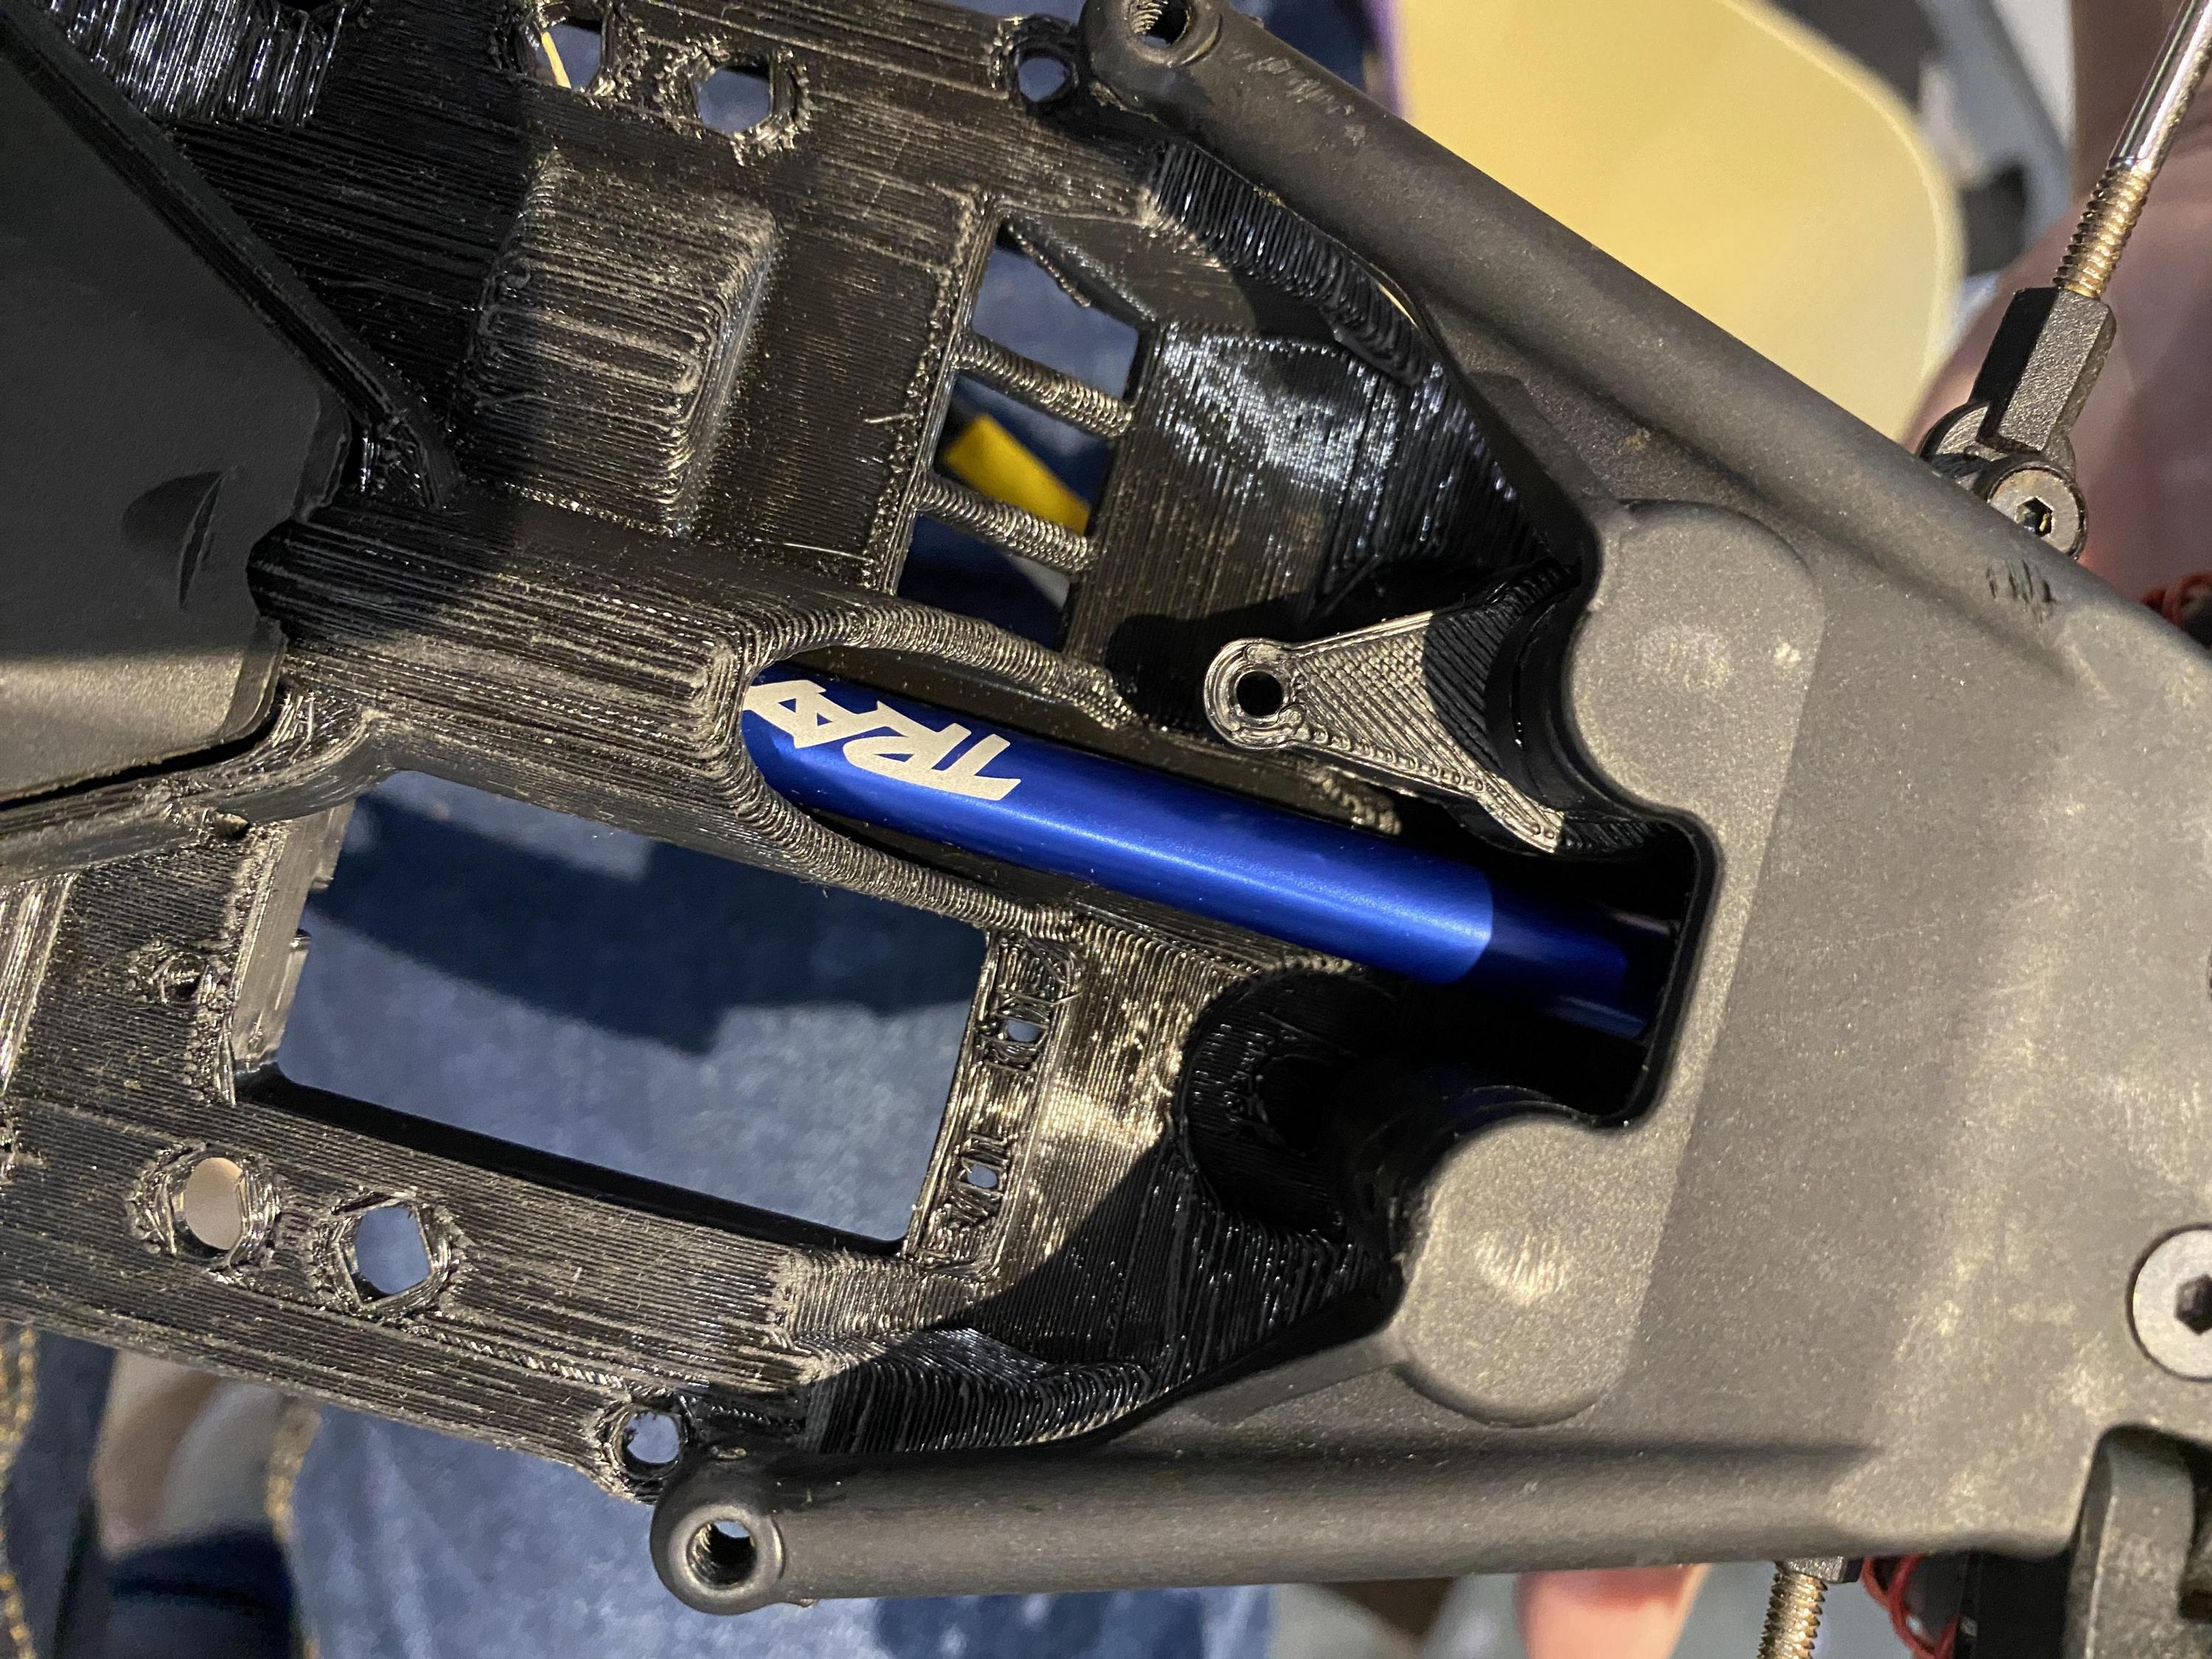
I did some test fitting of the Traxxas components in the fdm printed chassis and am struggling with getting the front and end pieces on with the drive shaft. I was under the impression the drive shaft needed cutting to 107mm but this feels at least half a cm too long to me as I can’t get the front to line up with the holes.
I definitely had to do my own measurement for the drive shaft as well. Mounted everything else on the frame, and then held the driveshaft in place and marked where it lined up with the end that needed cut.
Out of curiosity do you recall what your length was? I’m reluctant now to cut it further until my nylon chassis arrives just incase it’s a mm different or something weird.
Well, I did the v1 version of the chassis and print files, so mine’s going to end up being a bit longer, because you said you were doing the v2, correct?
Yeah you’re right, I’m using Taco belli’s V2. Maybe I’m best just waiting for the nylon chassis and then making my own decision. At least I didn’t cut it too short and have to buy another drive shaft.
Some good news today, looks like pcbway are making my chassis right now. Completion estimate is by 11th although it’ll be a few weeks probably until it actually arrives at my doorstep.
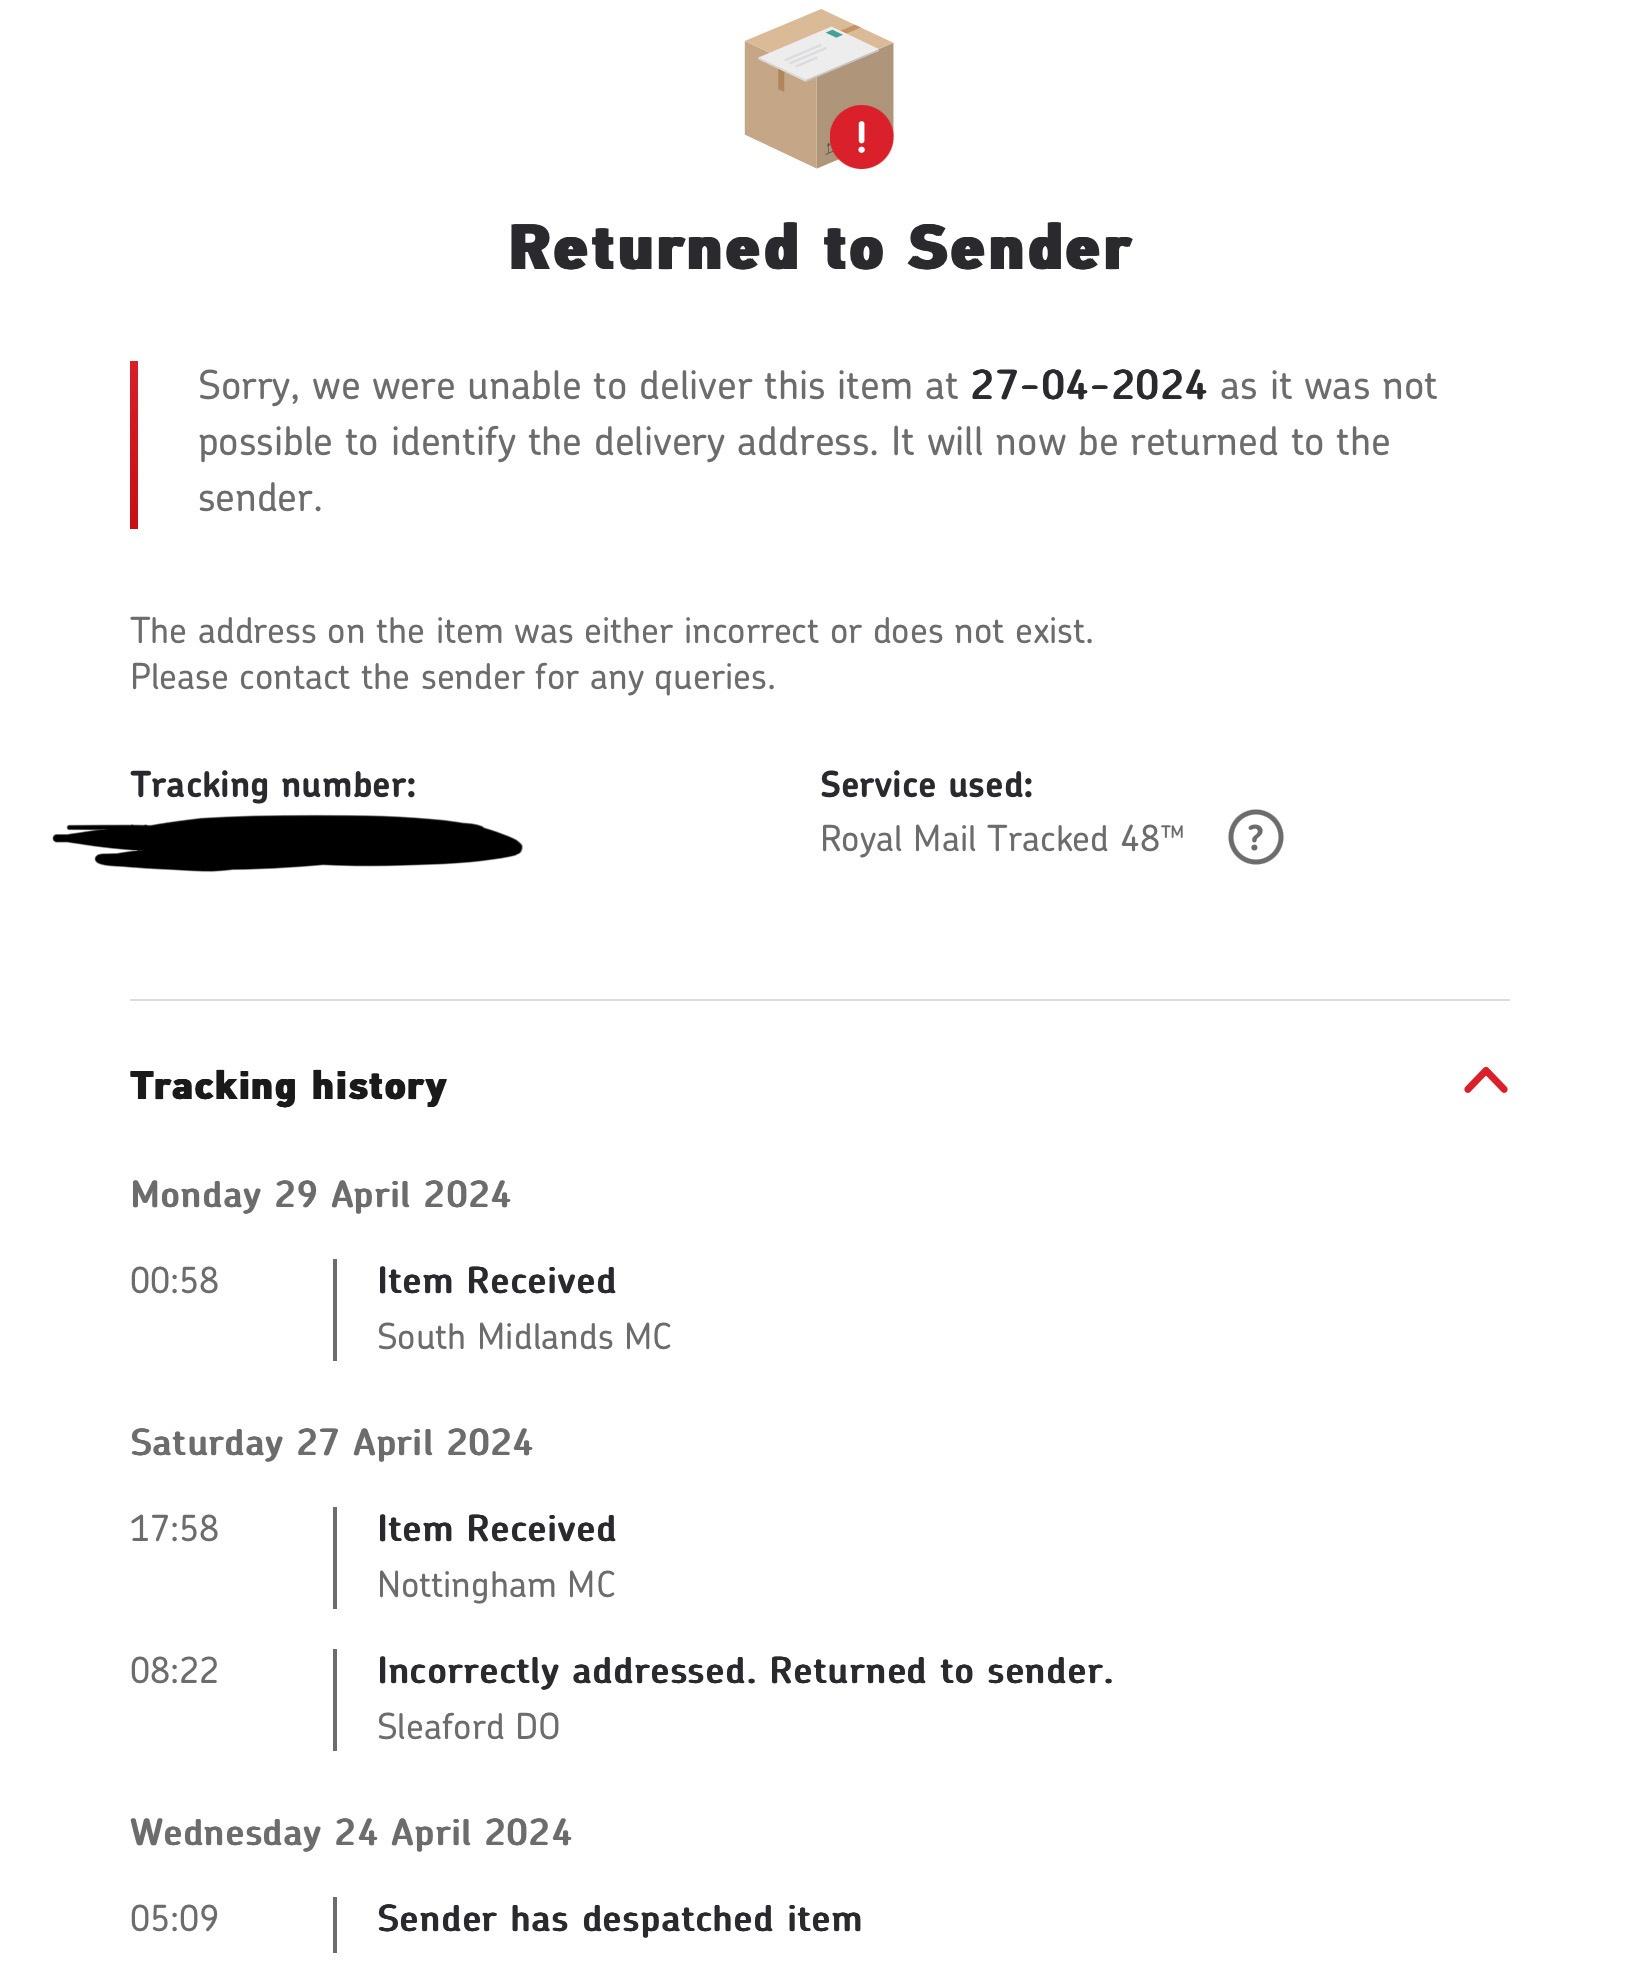
Some bad news as well though. The little connector I ordered from aliexpress appears to have lost its label. Tracking shows it going to the wrong hub a few times and now it’s showing as returning to sender. It’s a shame that I can’t contact Royal Mail and identify myself as the correct recipient. Now I’ll need to wait for it to be returned before it can be resent or refunded. Urghhh.
 I haven’t had an issue with bed adhesion before (apart from those long thing rods) but perhaps because it’s at 100% there’s a lot of weight maybe and it getting knocked over. I dunno. I’m reprinting it upside down instead now. Less supports needed so should be a bit faster too.