Britain's best Remote Trap Vehicle replica build

Hyperbole topic title because I can’t find anyone else in the UK that has made a proper replica RTV. If I’m wrong let me know!

Current photo:
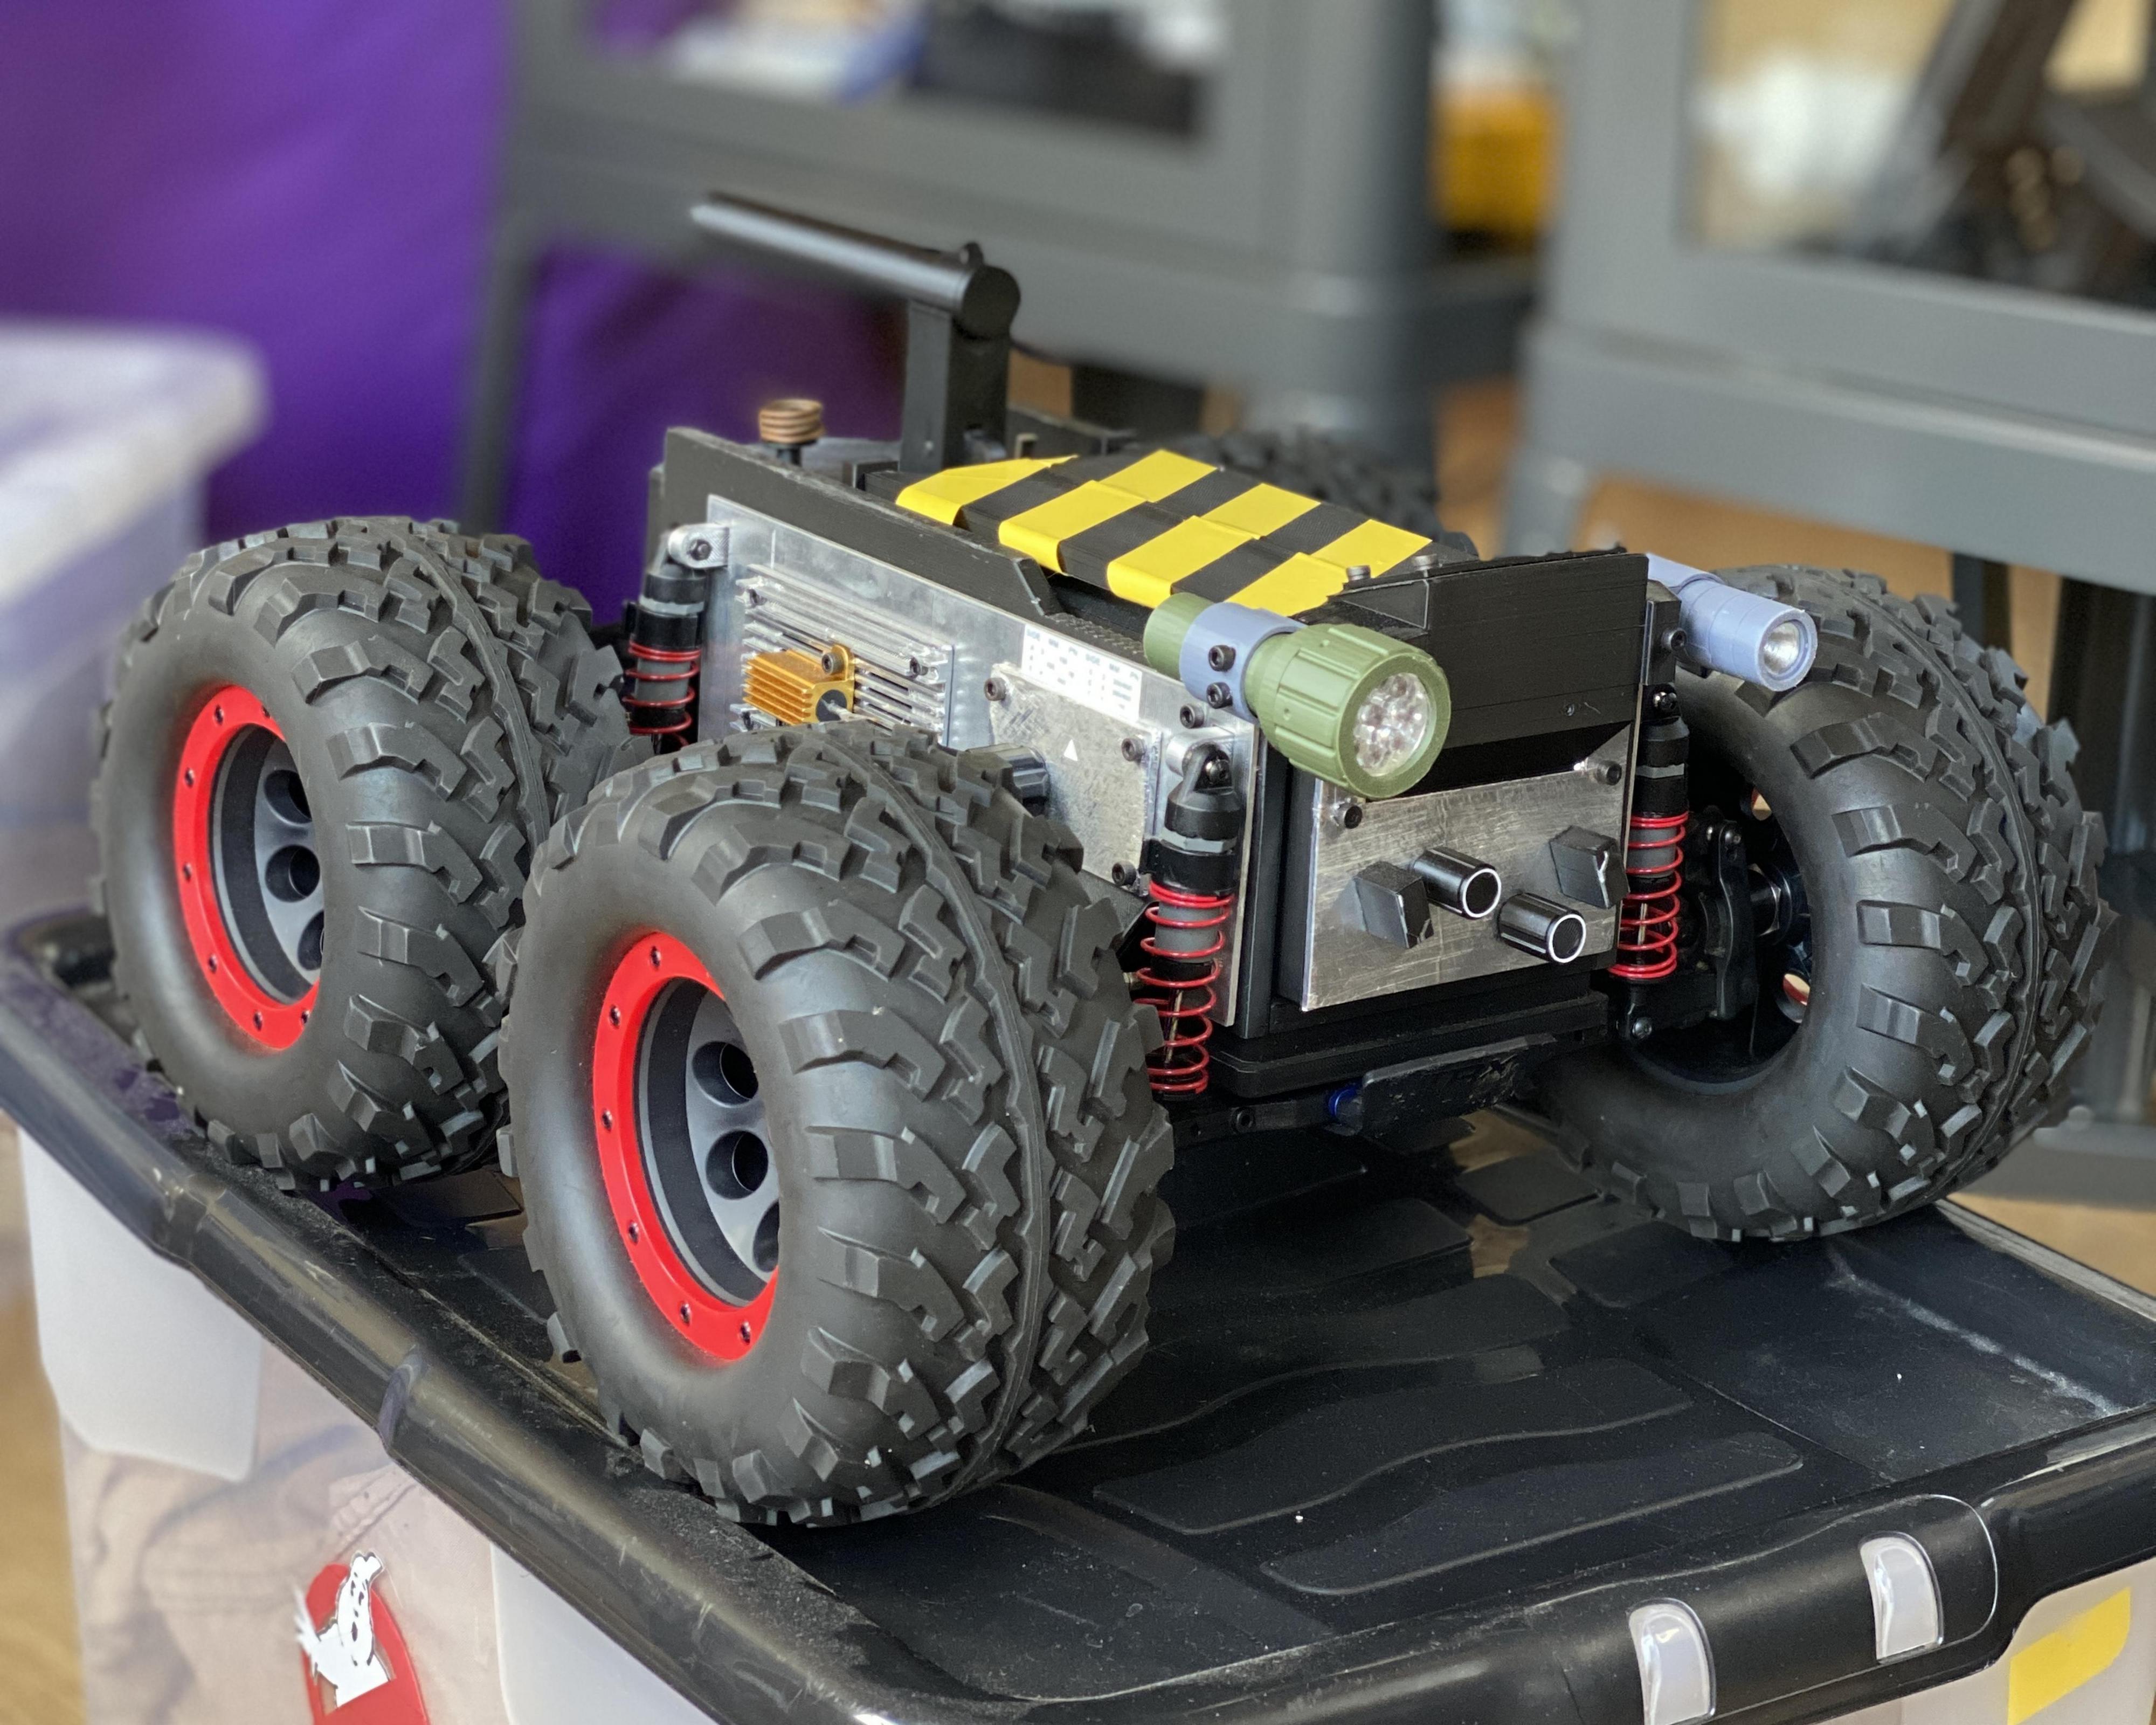
Build status:

  • Trap parts printed - All trap parts are now 3D printed. Some elements are painted but mostly raw filament colour to avoid hours of sanding, filling, sanding, filling, priming, painting, coating etc etc etc for hours and hours
  • Traxxas Stampede dismantled. - Front and back ends of Stampede removed from original chassis. Receiver unit, ESC, brushless motor and steering servo removed from chassis also.
  • Flashlights made - Flashlights built from off the shelf parts and connected to receiver via a rc switch
  • Assembly of Traxxas components to new chassis
  • Assembly of trap parts onto chassis
  • Stickers - printed and applied
  • Door controls - Not started
  • Additional lighting effects (bargraph, linrose etc) - I’ve obtained a simple animated circuit from Frutto but havent yet worked out how to install

Core parts:

Additional parts for Stampede:

  • 2 x Original Stampede 4x4 suspension arms. TRX3655X. You’ll only need these if your stampede doesn’t come with original parts. Equivalent aftermarket version RPM80702.
  • 2 x Set of front/long ultra shocks. TRX3760A. The VXL version comes with one set of Long ultra shocks as standard.
  • 1 x Second front shock tower to replace the one on the rear. Traxxas part TRX6839. Or equivalent aftermarket like RPM70392.
  • 2 x pairs of Austar 1/8 scale tyres. AX-3011.
  • 4 x 12mm to 17mm Wheel Extension Hex Drive Hub Adapter 15mm Offset.
  • If you want additional functionality to remotely control lights and doors you’ll also need a Traxxas TQi 4-channel transmitter as the standard one only have channels for Throttle and Steering. TRX6530.

Additional build parts:

  • 2 x EMAX ES08MA II 12g Mini Metal Gear Analog Servo for the doors.
  • 1 x Linrose B4611B1 12v pilot light indicator or equivalent for the red light.
  • Surface mount toggle switch
  • CAL-R MC250 Resistor
  • Selection of M3 and M4 socket head and panhead hex machine screws (and a hole tap)

Read posts below for full details.

OP:

I have this week commenced my most ambitious project yet. This thread will document the progress, challenges and images of my Remote Trap Vehicle replica build.

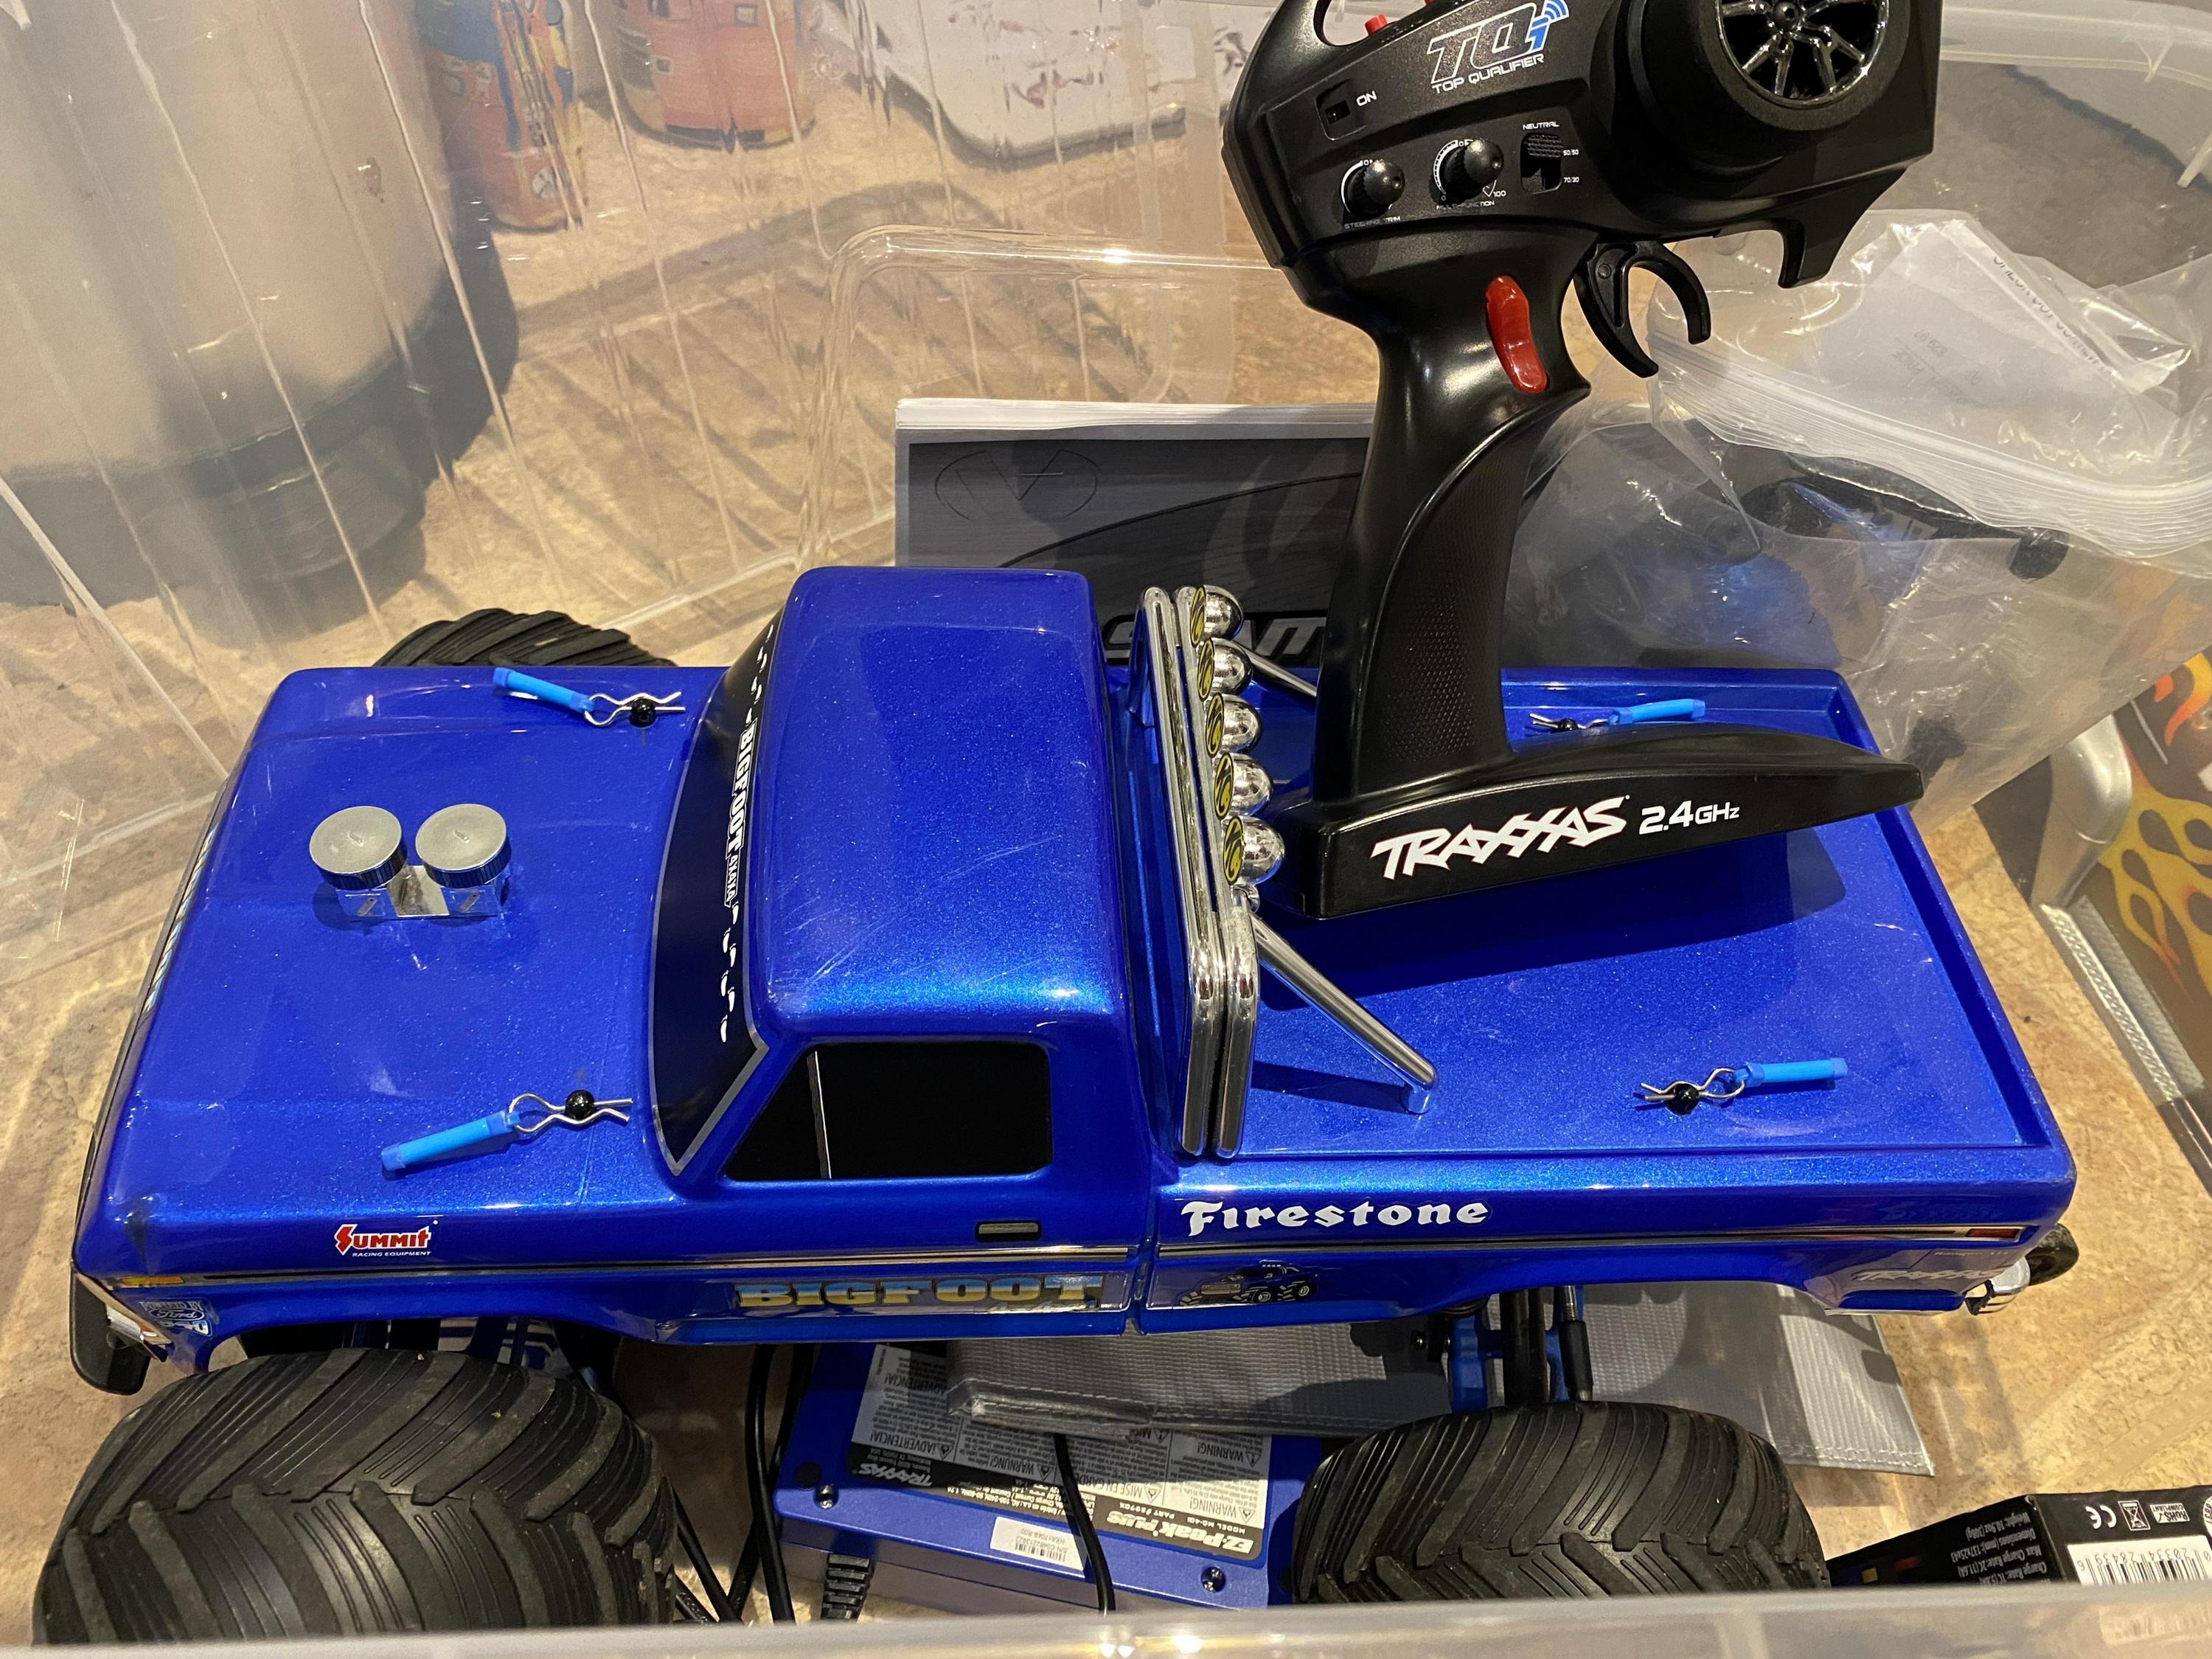
At the weekend I acquired another, second-hand, Traxxas Stampede 4x4 VXL. I was never comfortable chopping up my original one because I had it from new and I use it in the summer to bash around and didn’t want to be without one I could zoom around the park, pump track etc. But now I have a second one that’s a slightly older model, and more used, I am happier making the RTV now.

While I’ll be using the Traxxas Stampede 4x4 VXL as a base I plan on using Qs OpenRTV chassis rather than cutting it shorter and splicing it back together myself as I don’t have the right tools for that. I will retain the original suspension, shocks, motor, servo, axle (cut) etc.

I will control it with a Traxxas TQi 5-channel transmitter (they normally only come with 2 channels) this is so that I can control any additional functionality I plan to install such as doors opening/closing, lights, sounds, smoke kit etc, directly from the transmitter myself rather than having some sort of secondary device. I will not be attempting to squidge all the electronics into the Futaba replica transmitter I made, that’s just for show, those sorts of transmitters are meant for aircraft and have way too many channels and sticks than are necessary.

I opted to purchase the TacoBello RTV files and will be printing Version 2. I can print almost all of the files on my Ankermake M5C with the exception of the large side plates which should really be laser cut out of aluminium anyway. So far I’ve only printed out the flashlights and all the knobs, switches and greeblies.

I’ve been advised that I may wish to print some elements in TPU so they don’t immediately crack off like the handle and some of the main body elements. I’ve never printed in anything other than PLA/PLA+ so that may need a bit of experimenting with settings to get right.

I will attempt to keep it as direct filament printing in the right colour rather than sanding/filling/sanding/filling all the parts, there are just so many of them plus if there are aluminium plates on the side, front and top and the doors are painted then not really much else is going to be noticeably 3d printed anyway.

The aim is to complete this build by late August as I have been invited to cosplay as a Ghostbuster at CarFest UK, a summer festival orientated around cars and unique vehicles. The RTV sounds like the sort of thing that would fit right in.
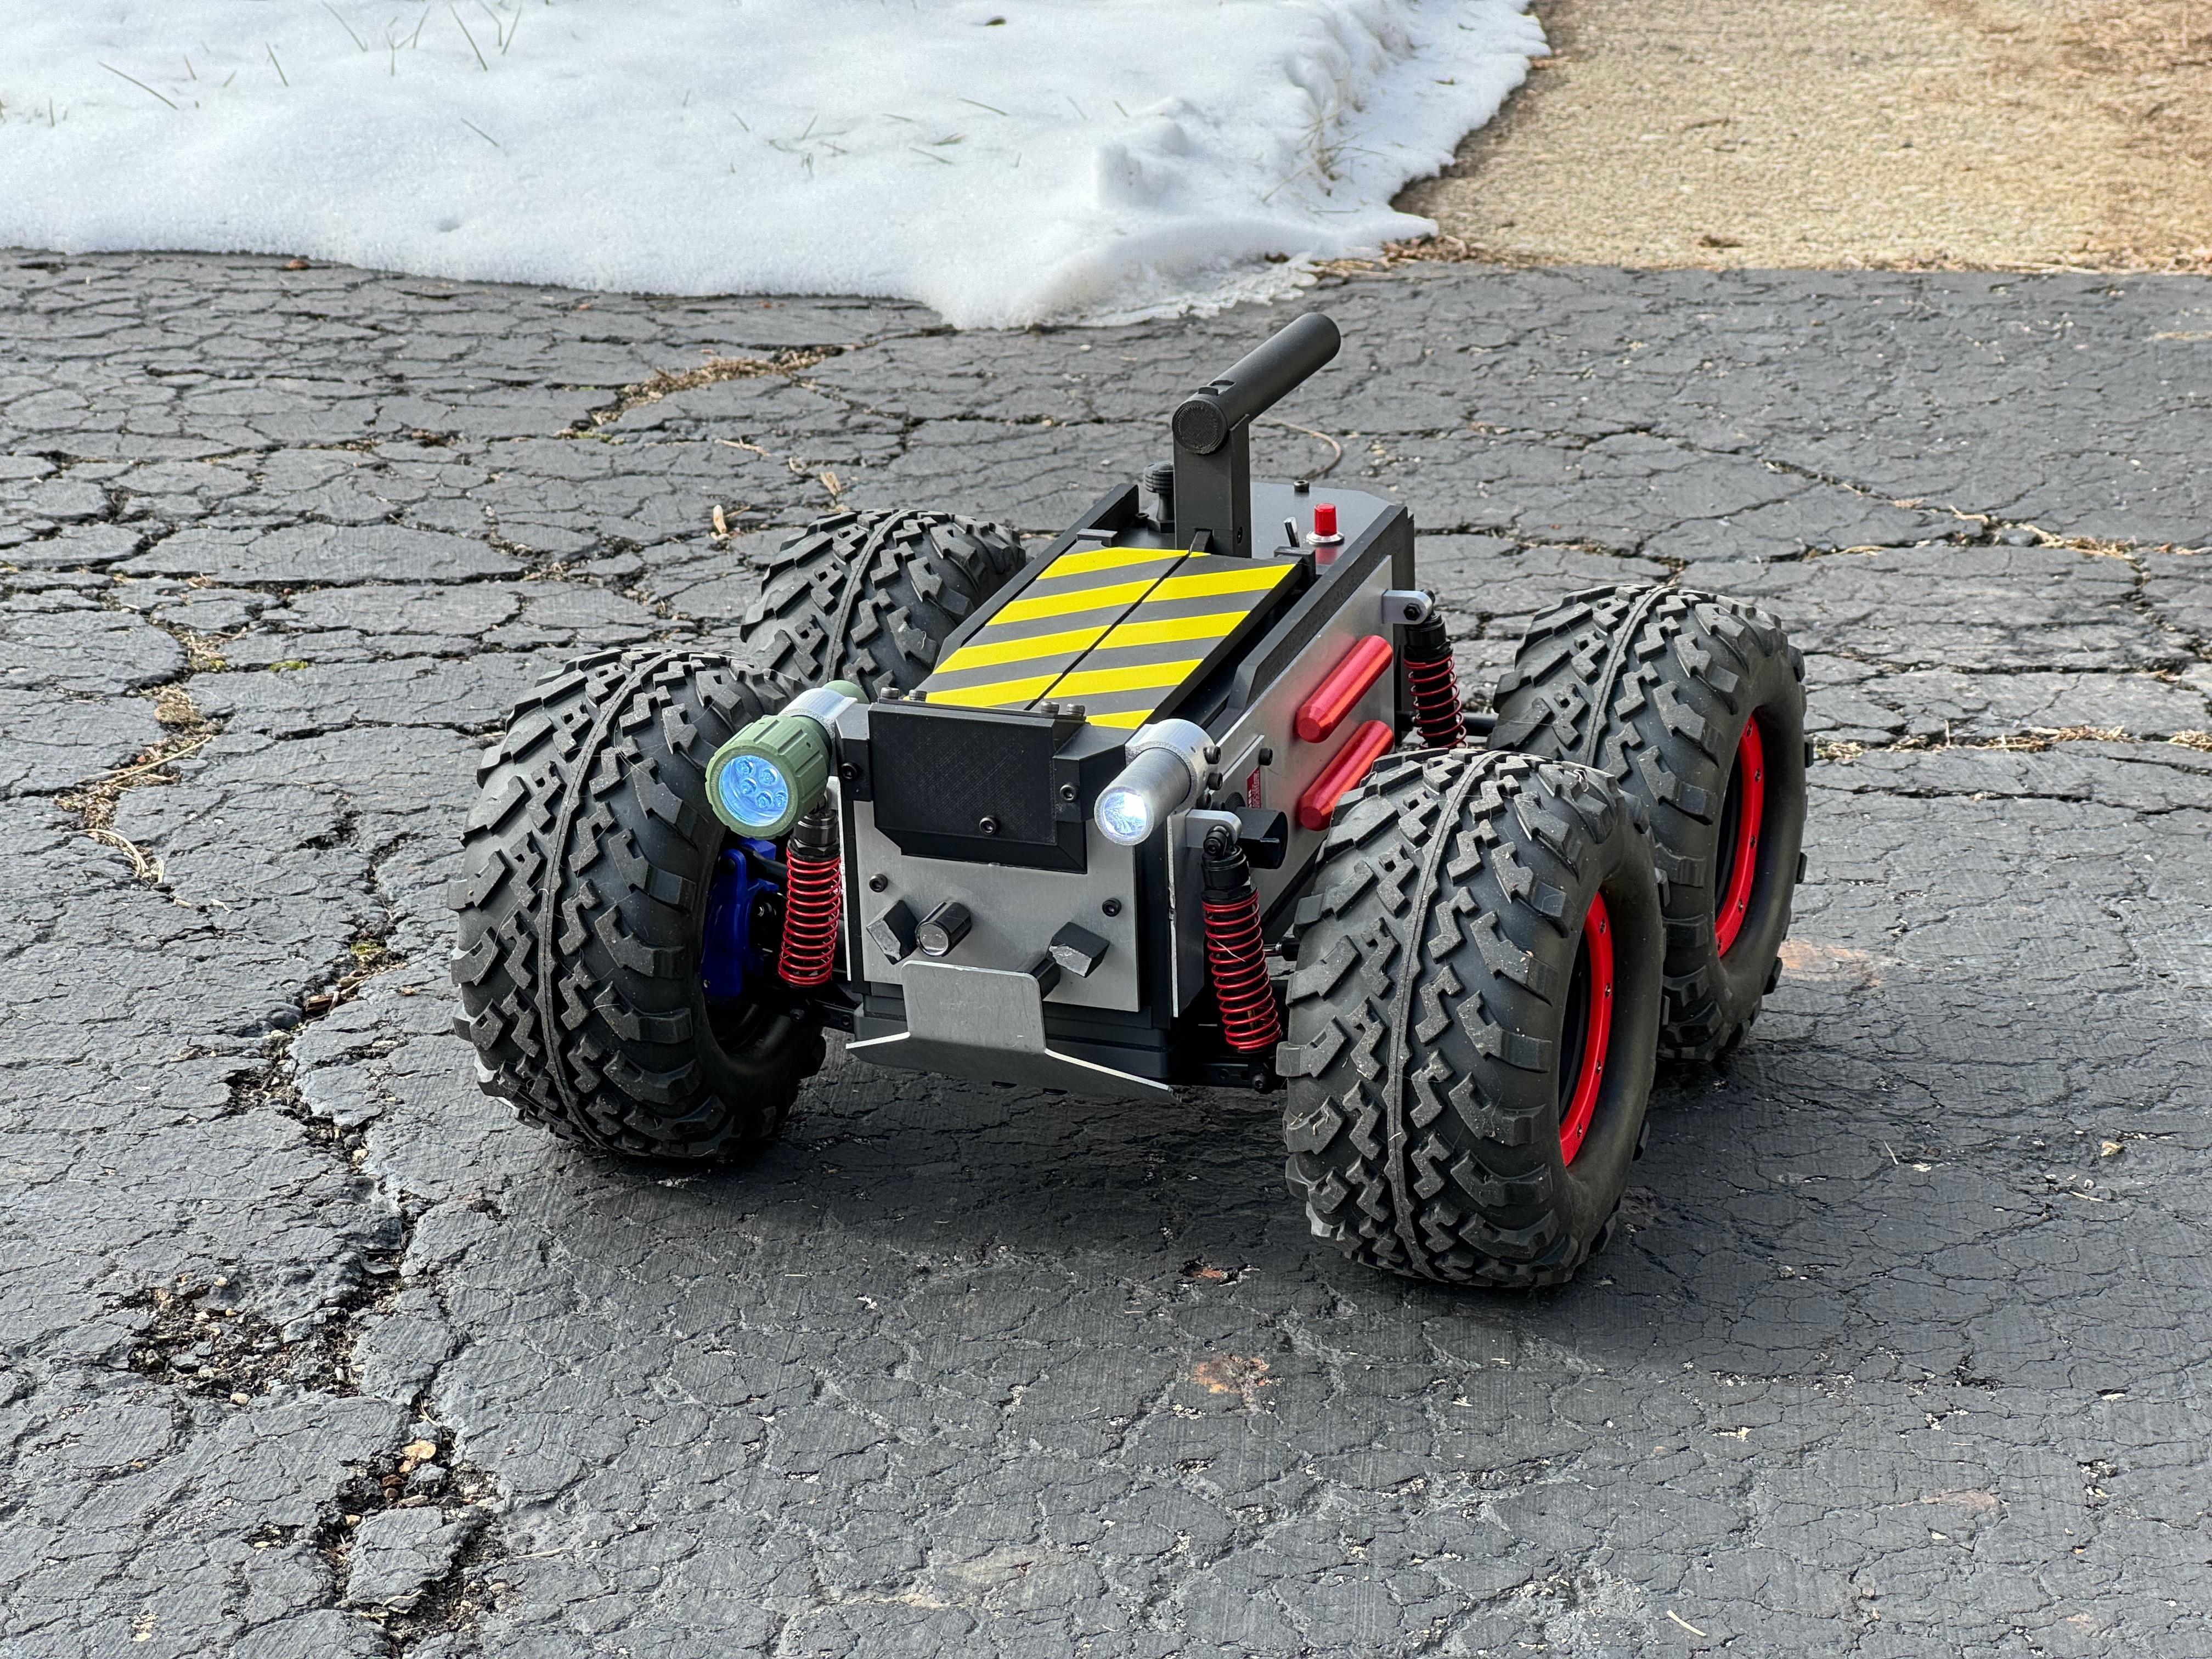
Awesome! It’s a complex but very fun build… Went through it earlier this year. Drop me a line if you run into any hiccups along the way… happy to answer any questions I can!

At the moment my interest would be what sorts fo fixings did you use? M2.5/3/4 lengths, socket head, pan head, self tapping etc etc. I was going to get some selection boxes perhaps but is there a particular type I should be looking to get more of than others?

What did you use for the smaller flashlight? Is it just a single led with reflector cone? How are you sending power to those lights, are you tapping into the LiPo or is it a separate supply?

I used entirely M3 socket heads throughout, from a variety box, and one M4 socket head to hold the handle top on. (Per the instructions for the V1 TacoBelli plans… It required less purchase of add on Traxxas parts, so I opted to go that route, even if it’s slightly longer than the screen-used RTV) I used the versions of the print files that had holes modeled for heat-pressed threaded inserts, which were just a total game-changer… It’s made maintenance and repairs so much easier, as I’m not stripping away more plastic every time I have to take something apart.

Screws used: Amazon.com

Threaded inserts: Amazon.com

I printed the Qpack OpenRTV chassis in ABS for strength, but the rest is all color-matched PLA. After a tumble at the FE premiere event my group went to, I reprinted the handle in PLA-CF for a little extra durability. Kind of wishing I’d done the whole thing in CF, as it’s so much lighter!

For the headlights, I used the guts from two separate flashlights and then wired them together in sequence, so they were distributing the right amount of voltage from the LiPo battery line from the 4-channel receiver. I’m using the printed reflector from the TB plans, as the one that came with the flashlight was too small for the diameter of the printed light barrel… This meant that the lenses were also too small, so I ordered some glass lenses online, and they were a perfect fit.

Large flashlight: Amazon.com

Small flashlight: Amazon.com

Remote switch control for lights: Amazon.com

I did use the included file in the plans to have the side plates ordered in aluminum from SendCutSend… Made a huge difference in appearance, and adds some strength without adding too much weight.

I highly recommend Sean Charlesworth’s YouTube video about his build as a reference point. A lot of helpful tips and links in there, and just disregard the parts specifically related to the Spirits Unleashed add-ons, if you’re going for the movie-accurate version. https://youtu.be/oPxqXW4zh2U

Also, when you get to swapping the steering cam from right to left, and you need to install the printed servo-saver arm, definitely make sure you print the “steering arm install tool” from Sean’s files: https://www.thingiverse.com/thing:5635113/files

I had not seen that in his files when I did mine, and lost days, and a fair amount of blood and knuckle skin to trying to mash that screw down while installing the plastic washer that holds the suspension together. Ooof.

Hope this stuff is helpful… Happy to answer any additional questions that come up.

Links in this post may be affiliate links. Purchases made through them help support this site at no additional cost to you.

Super helpful thanks. I will read properly when I’m on desktop rather than phone. Interesting choice to wire the lights in series though why wouldn’t you use one transmittable switch to an Arduino (which can take 7-12v input) and then power the lights each from 3 or 5v as well as servos?

Because of how tight everything is inside the body of the trap, I opted not to do any door servos, so I just tied the lights into the 6V the toggle switch on top of the remote transmitter was feeding out… Since one light ran on 3 AAA batteries (4.5V), and the other on 1 AAA (1.5) it was easy just to wire them up in sequence to make use of the 6V total. If I were also doing motorized doors, I would probably have tried a different approach with a separate battery.

I’d recommend modelfixings.co.uk for your screws, you can buy them in multiples of five, is cheap, and he has a huge range (including loads of imperial sizes), normally ships same day if you order early enough, and is in the UK too!

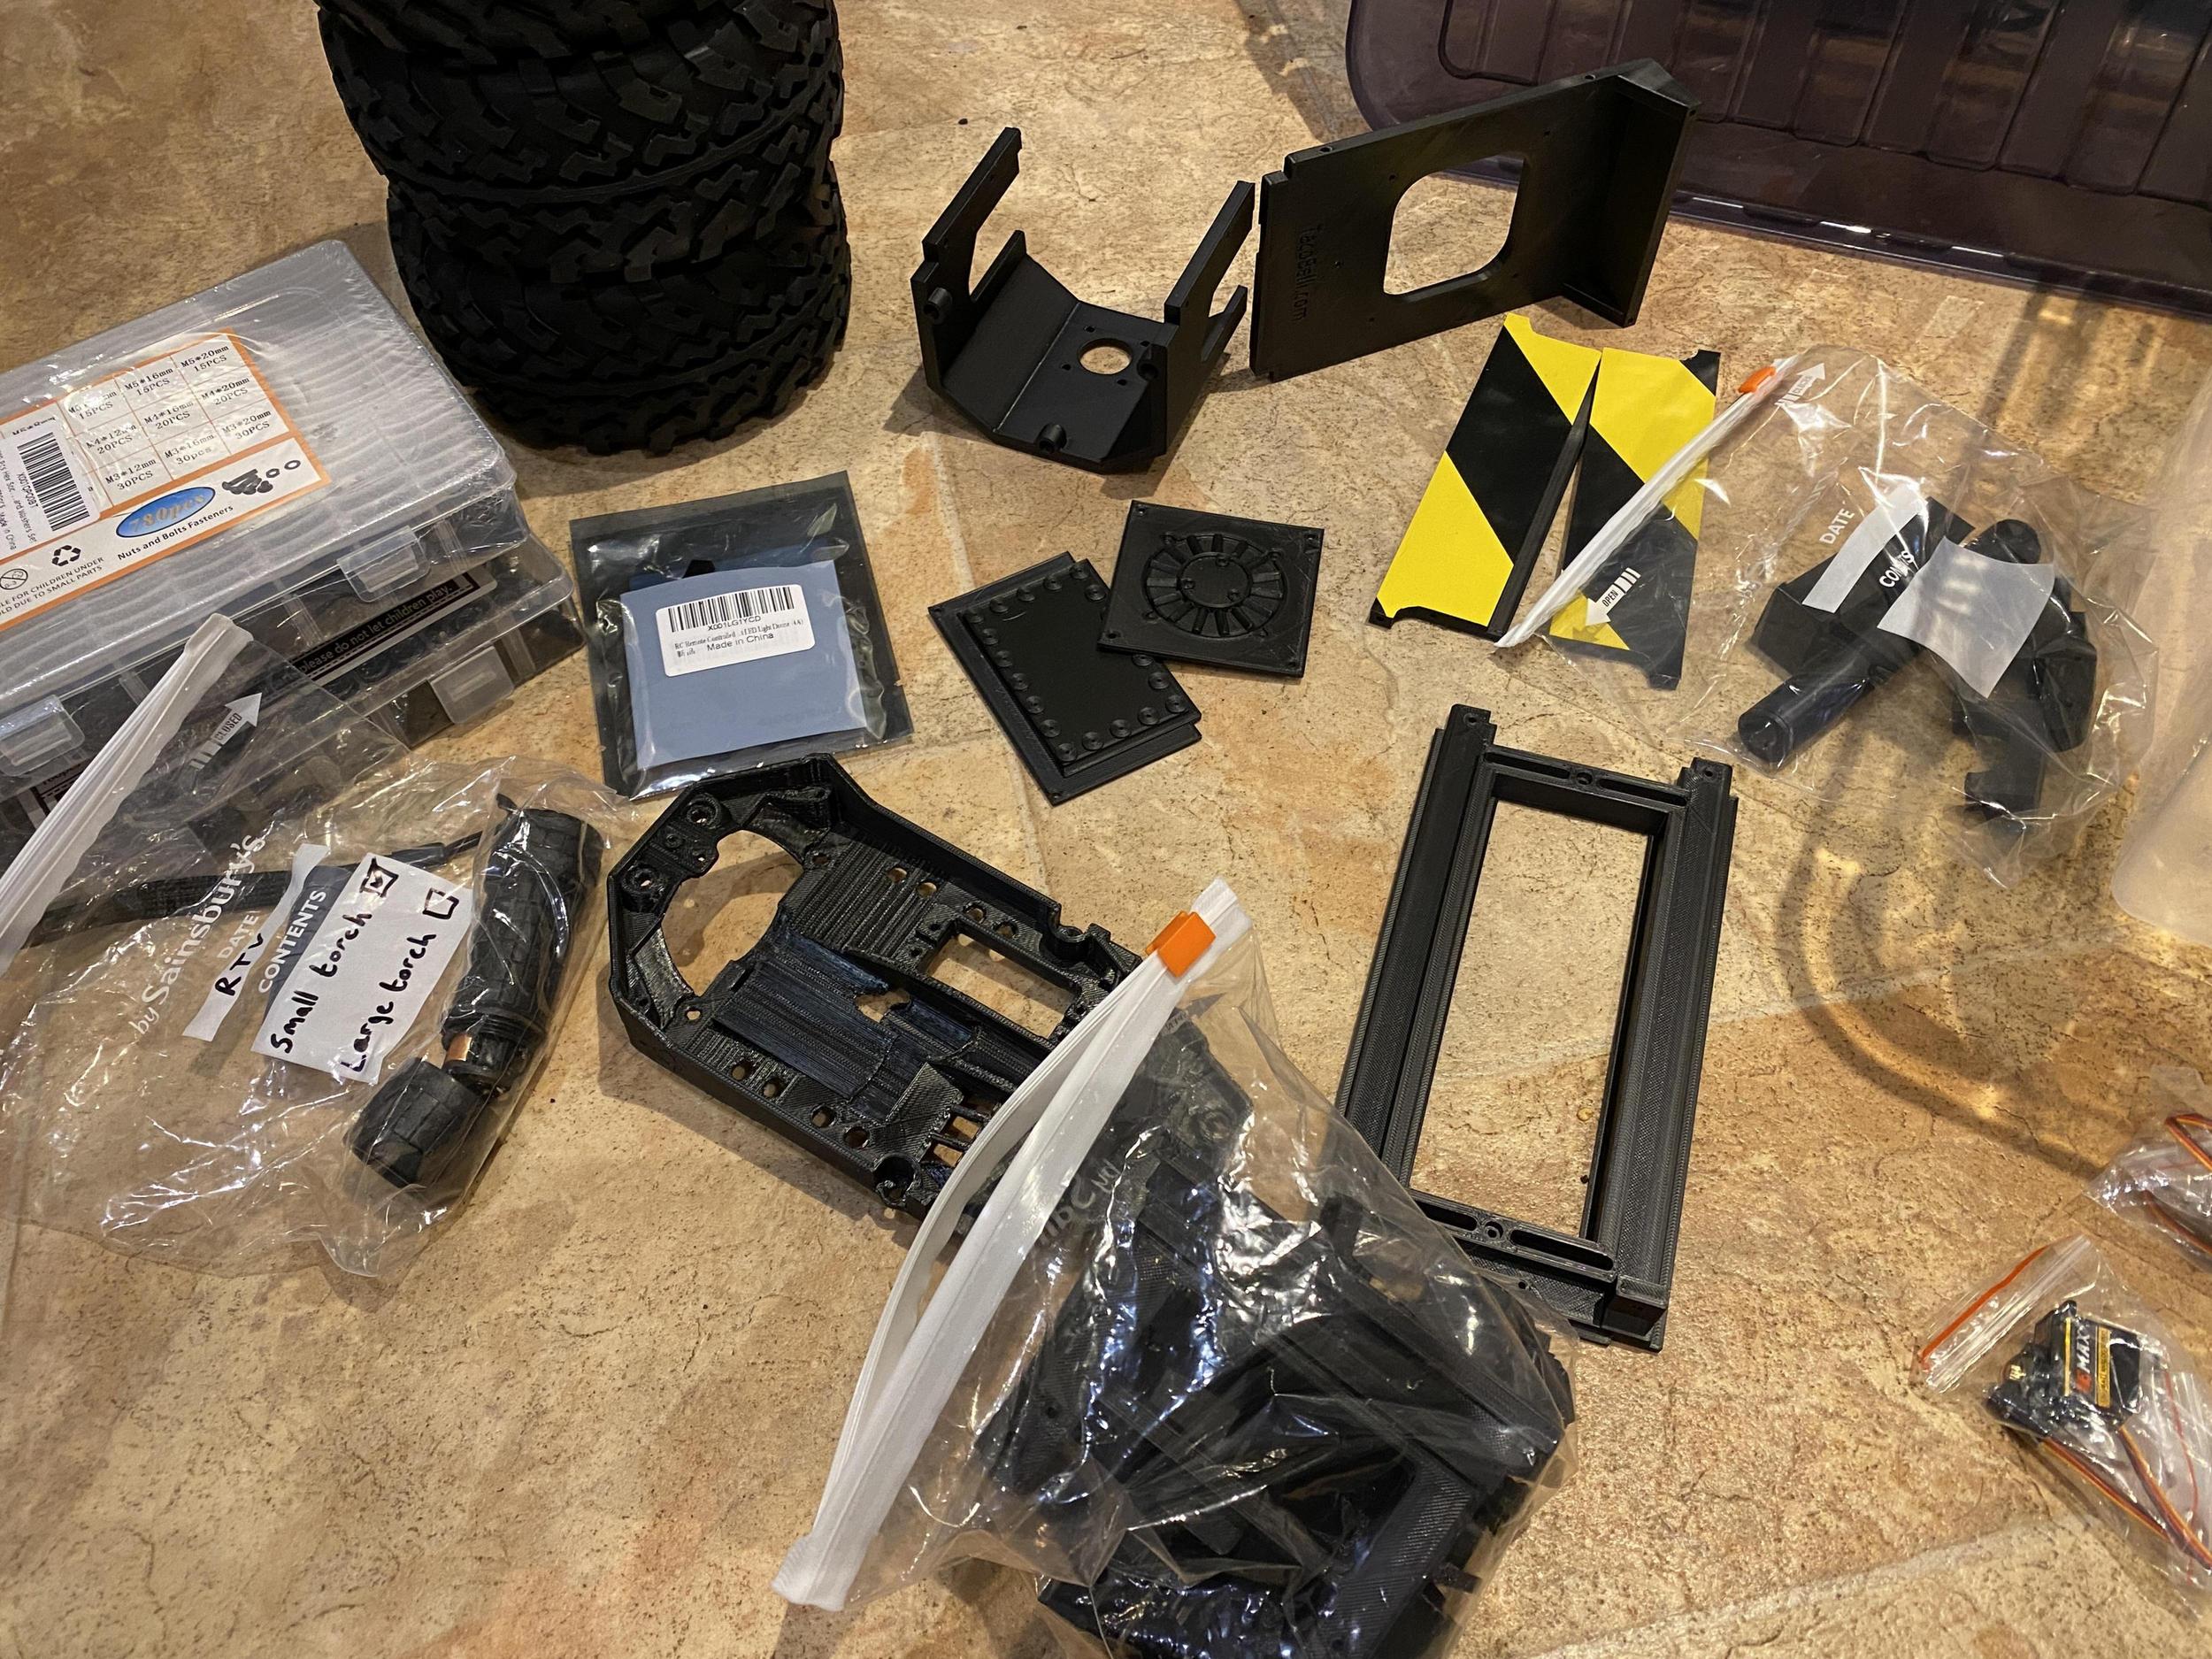
I have almost finished all of my 3d printed parts. For the time being I will also print in grey the side plates which will ultimately be made of aluminium. They should be relatively straightforward to replace when I get around to them. Over the weekend I will lay out all of the parts and share them here.

Some pictures as promised…

The donor vehicle is a Traxxas Stampede 4x4 vxl. It’s a slightly older model than my other Stampede (yes I have two… don’t judge me!) but more or less the same except the engine speed controller has the older gen1 TRX connector instead of the gen2 ID but thankfully newer Traxxas batteries are backwards compatible.

I feel like I’ve spend days with my printer running for hours and hours making components at varying infill densities but haven’t got everything yet. I still need to print the two side pieces and all the flat panelling as well. I contemplated getting laser cut aluminium but it’s a little out of my price bracket right now.

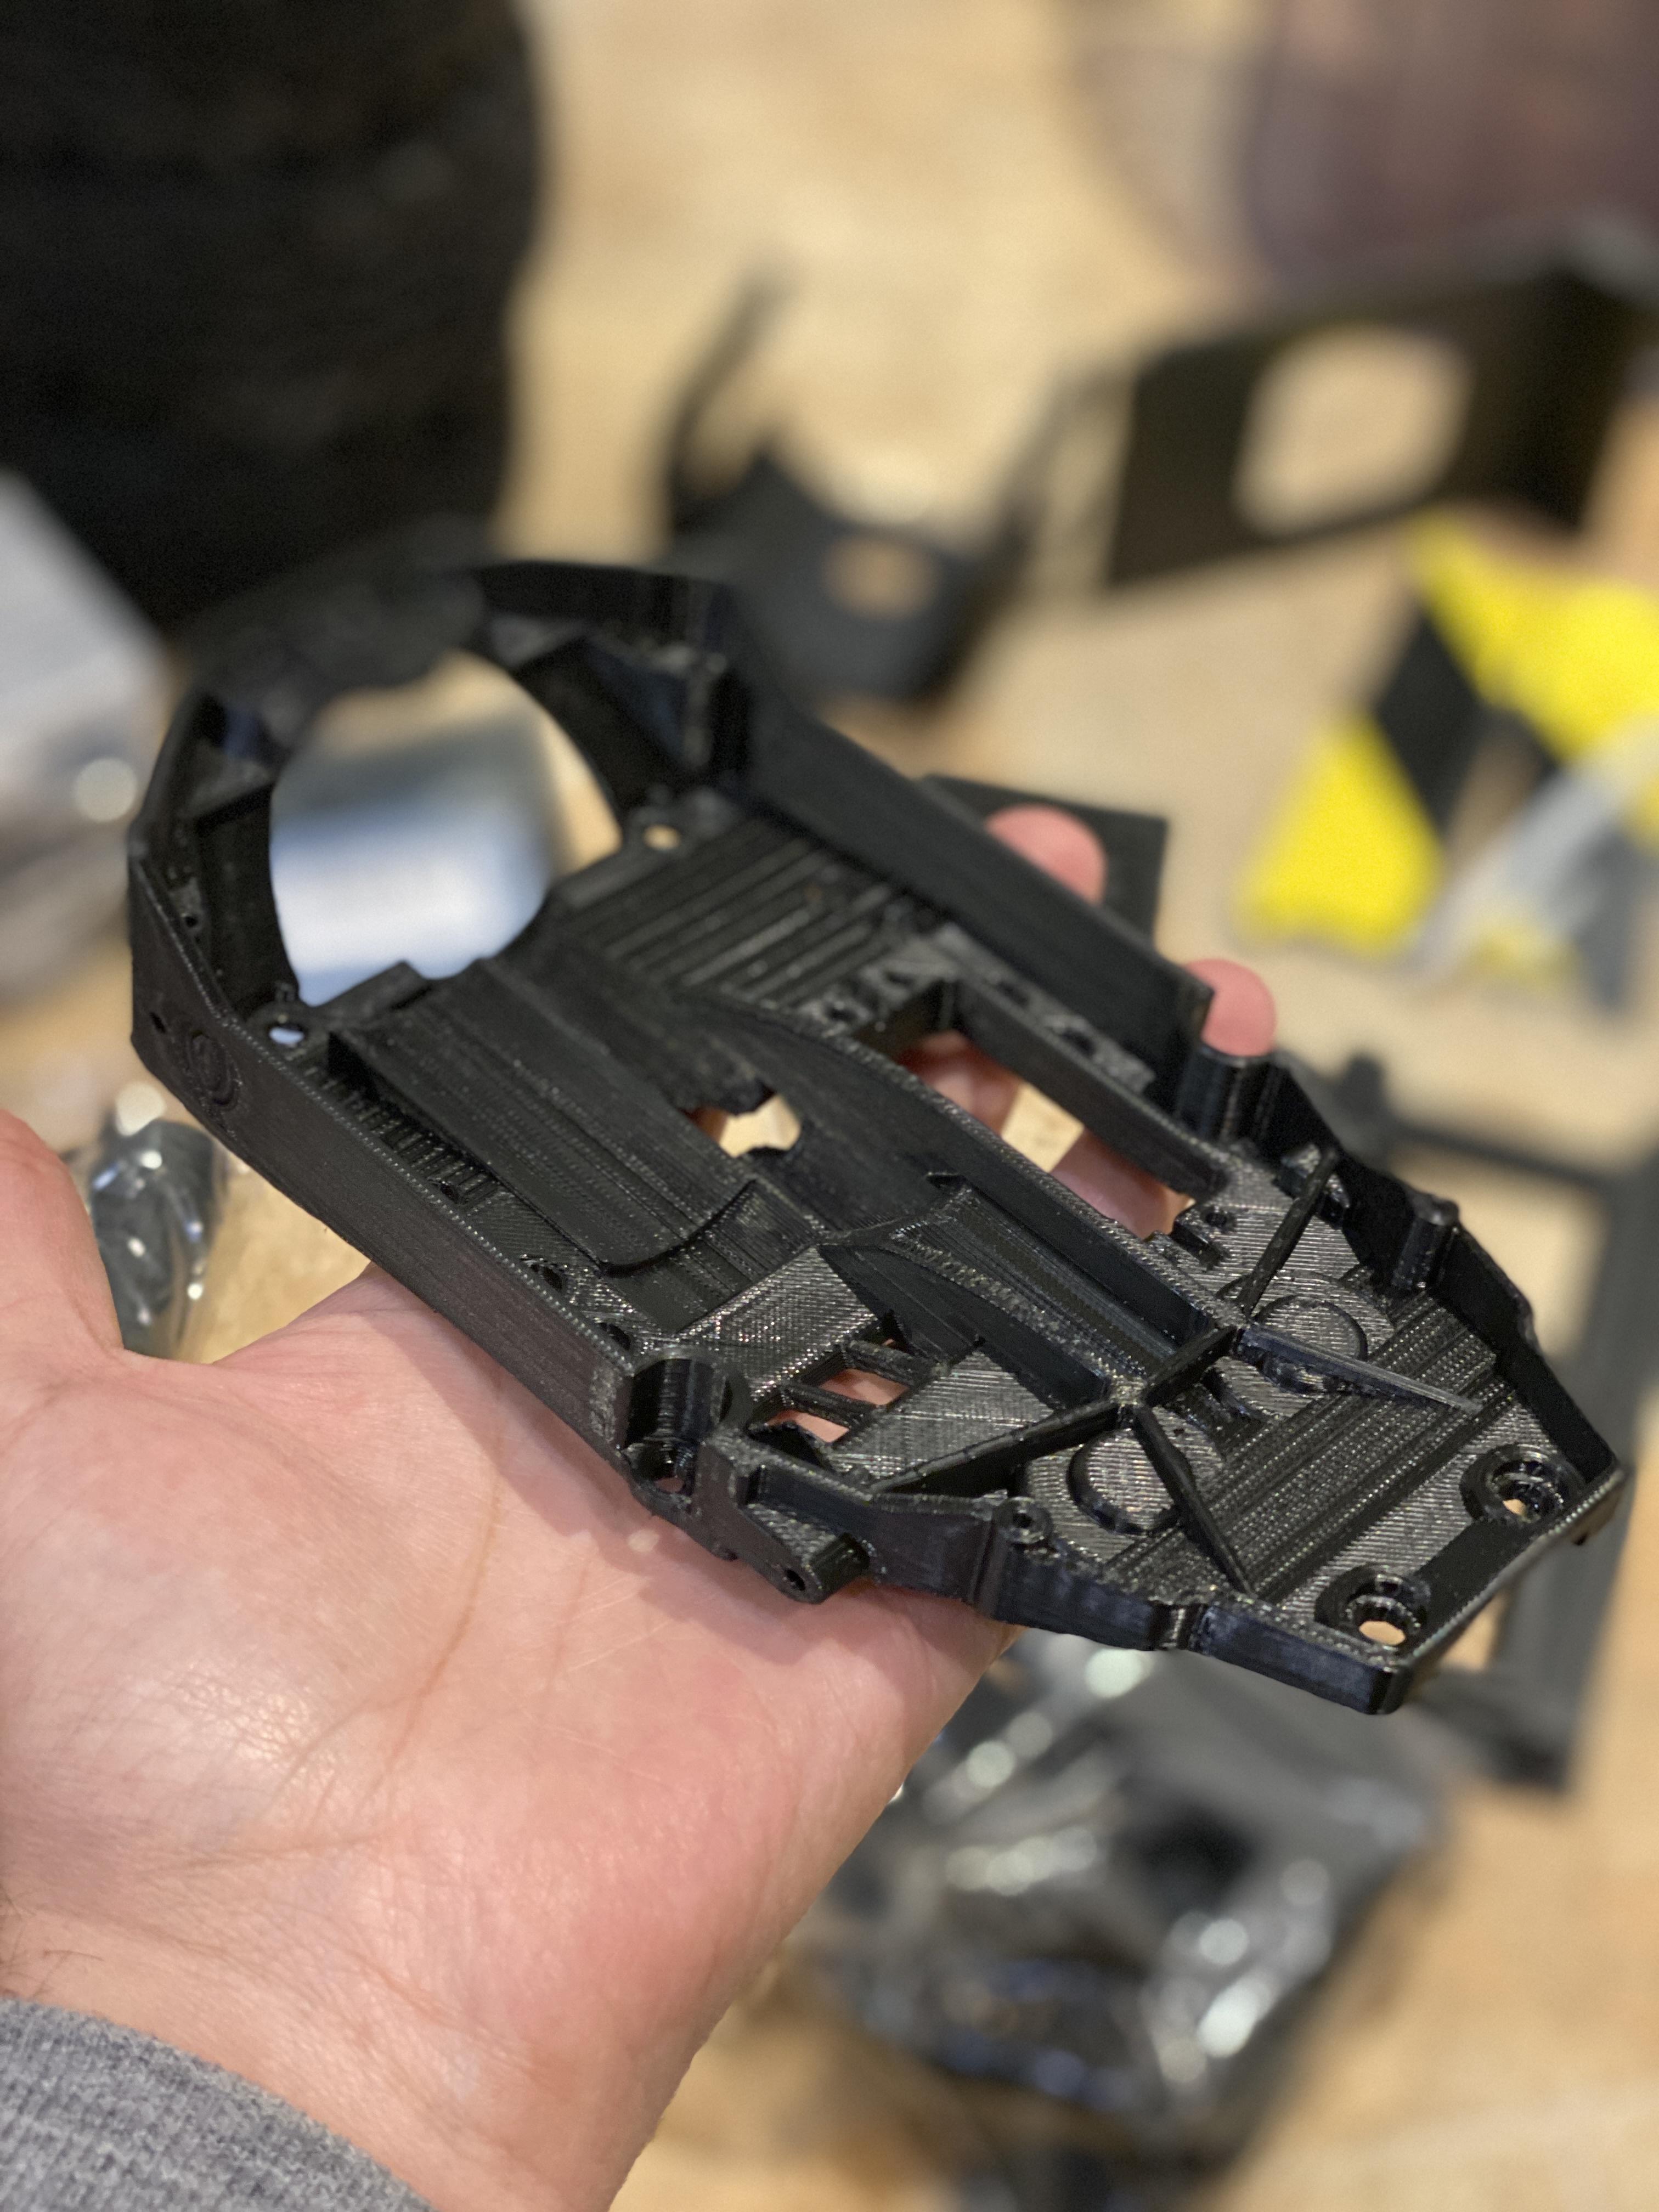
The chassis is printed with PLA at 100% infill. It seeks strong enough but looks a bit gnarly underneath. Maybe I’ll send off for it to be reprinted in nylon so it’s nicer looking in the future.

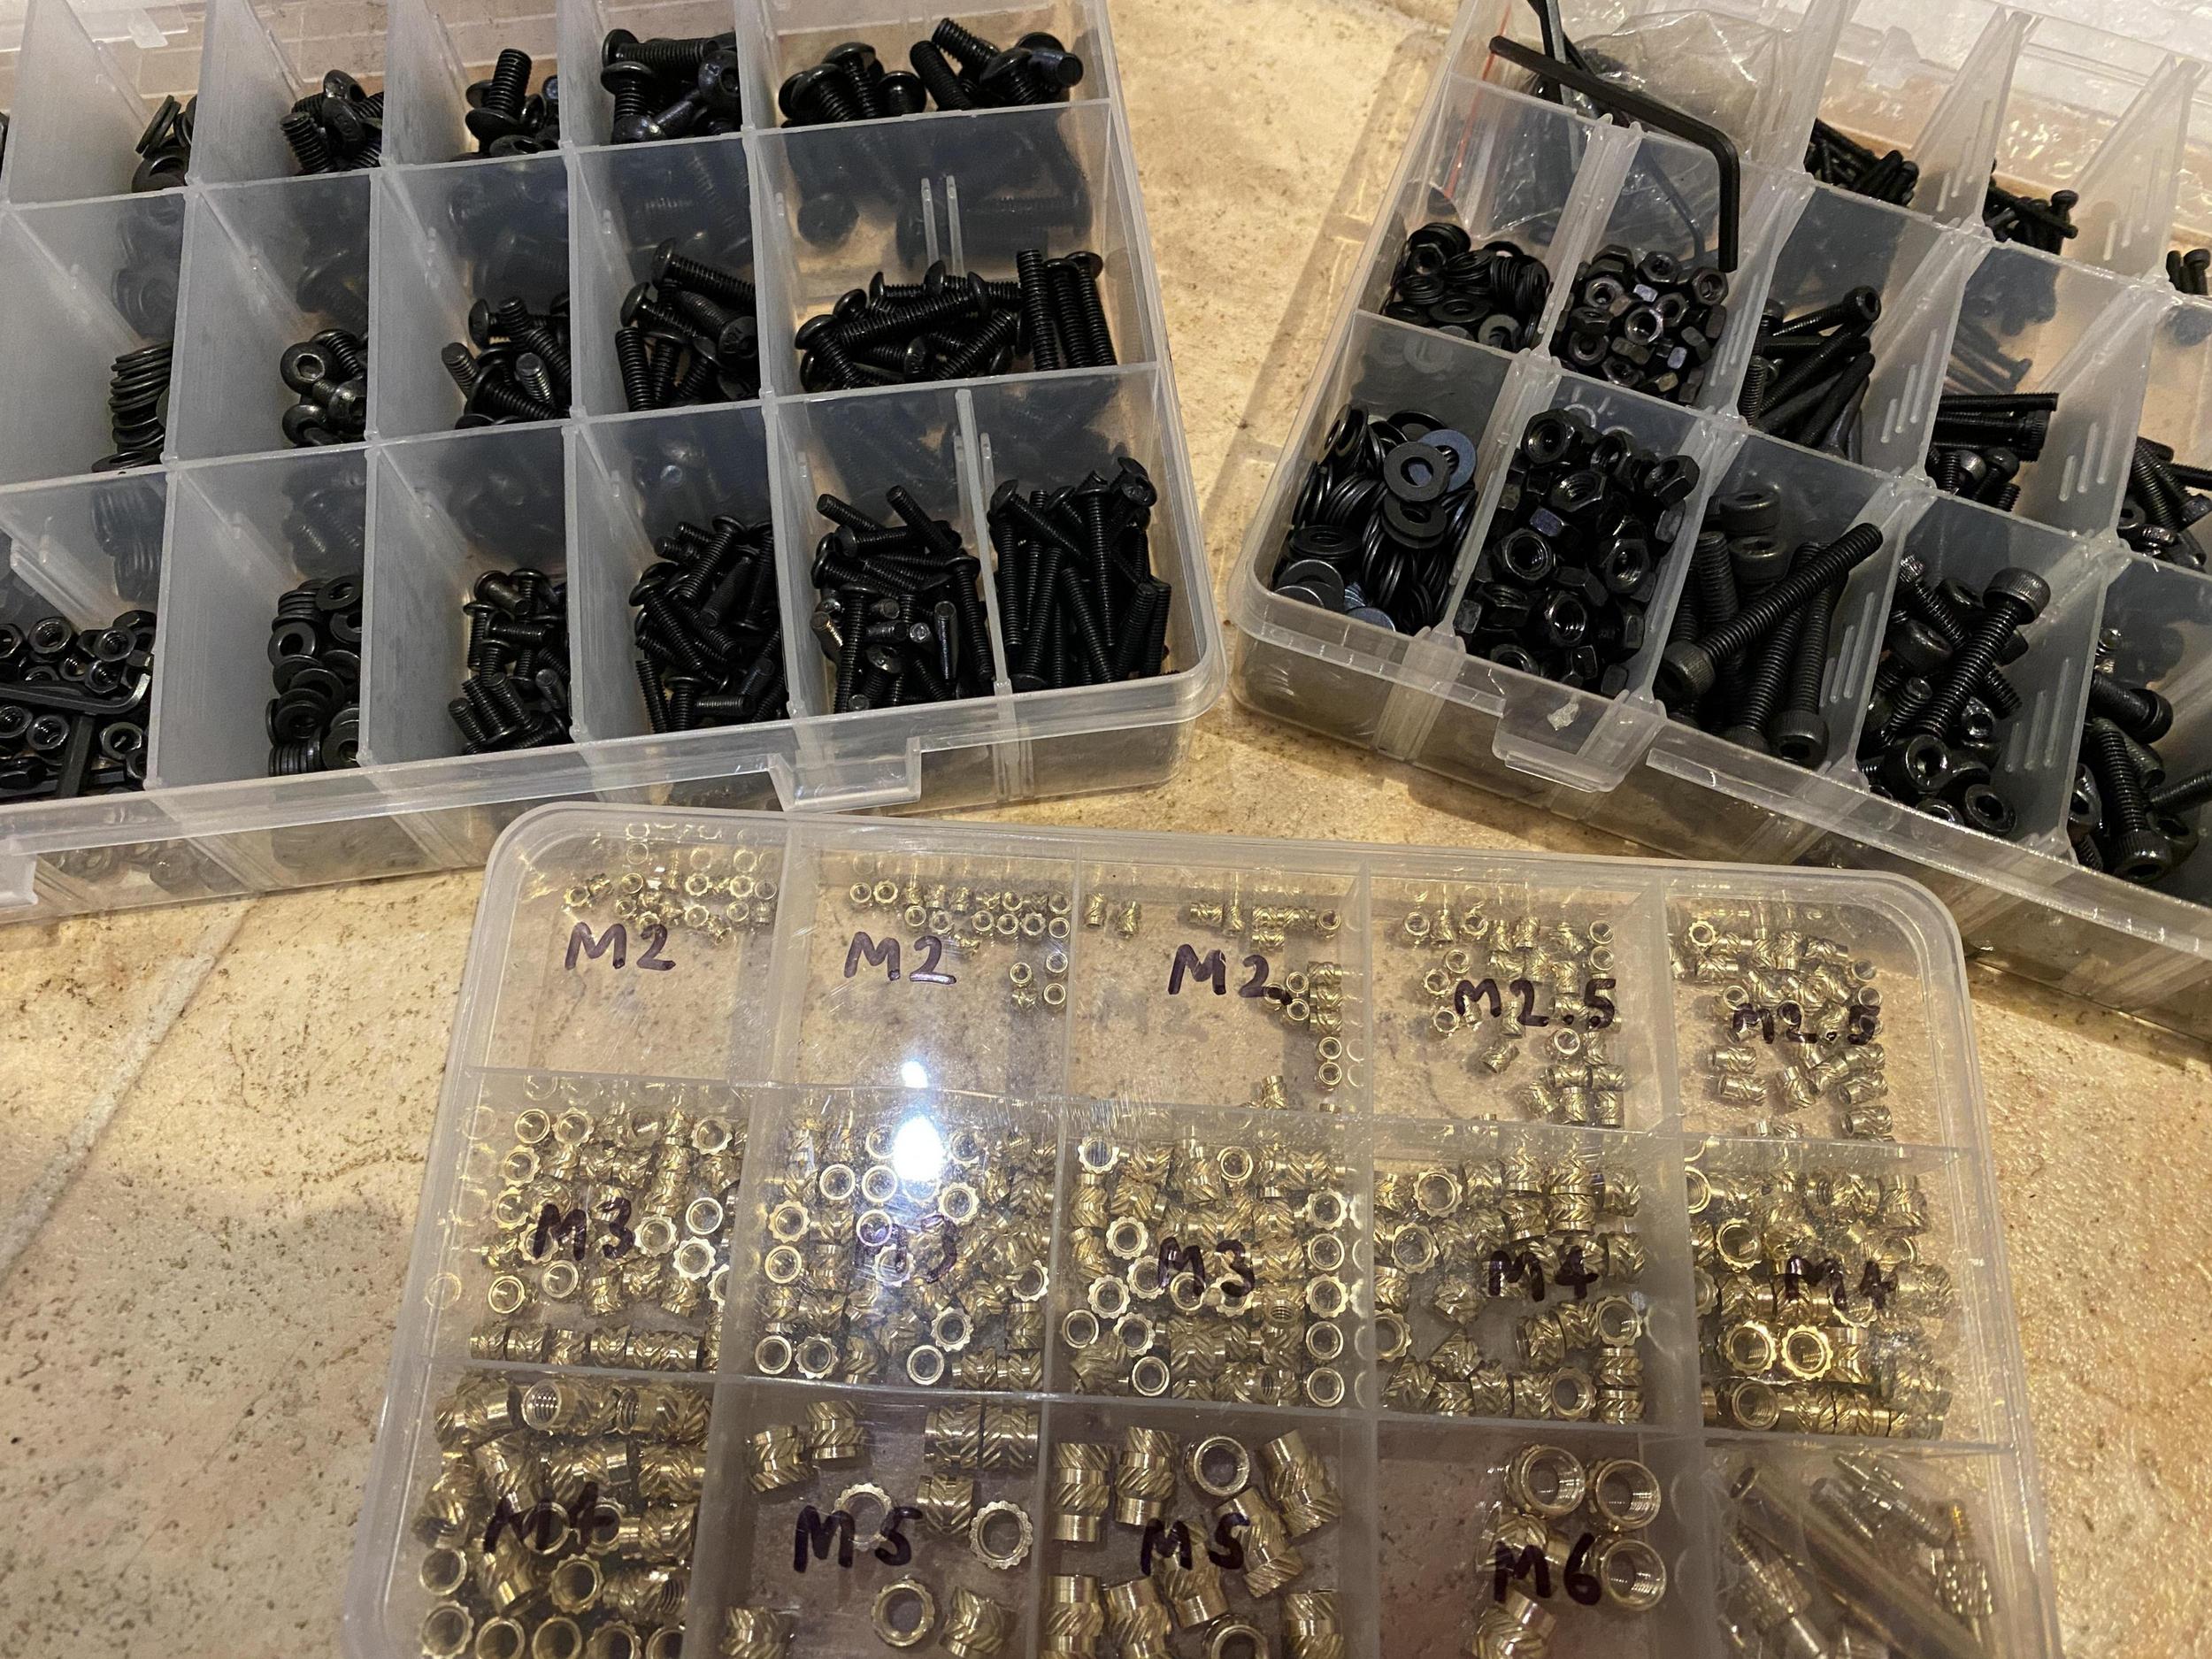
I have two selection boxes of socket head and pan head machine screws in black and a bunch of brass press fit thread thingies. I’ve been practicing using a solder iron to Meld them with the pieces.

As well as the 3D printed parts, which I should get finished by mid-week (I don’t like printing overnight because my kitchen gets too cold and corners start curling), I still need a few more Traxxas bits. I am awaiting a slightly smaller capacity battery so it fits better in the chassis as well as a second front shock tower which is sold out EVERYWHERE right now.

The benefit of having two Stampedes is that anything I don’t use from the donor vehicle will turn into spares/options for my other one and also I can always go back to it to see how the stock stampede is put together.

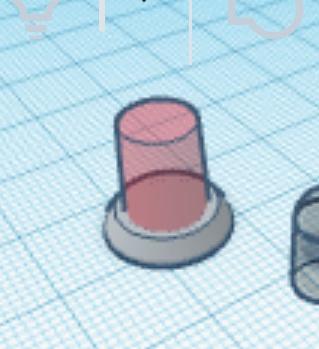
I’ve failed to find a suitable replacement for the Linrose pilot lamp for the back. Prices to the uk are just ridiculous for such a small item. Plus I’d rather have an LED than incandescent. So I’m experimenting with alternatives. I have designed a mold in tinkercad to make a lens out of red transparent resin. I hopefully can just glue that over the top of a 8mm panel mount led holder. We’ll see how it goes when I get around to trying it.

It’s looking great so far! I will recommend that you might want to reprint the chassis in something heftier than PLA. I had printed mine the same way, with 100% infill, and the first time I did a test drive with just the motor and wheels on the chassis, the engine torque ended up splitting the chassis.

My original plan was to send off to be nylon sis printed but in the Facebook group many other says the PLA was fine. Hmm. I’ll have another think about it.

[quote=Mercifull post_id=4997270 time=1714379319 user_id=49451]My original plan was to send off to be nylon sis printed but in the Facebook group many other says the PLA was fine. Hmm. I’ll have another think about it.
[/quote]

Hey, can’t hurt to try it… I might have just had mine oriented poorly on the plate, putting the layer lines in a weaker direction for it. The nice thing about 3D printing it, is that it’s relatively easy to reprint things and try again if parts fail.

I think I did originally print the chassis vertically to minimize the surface area that needed supports, but that did put the layer lines in an orientation that made it easy for the back end to sheer off when the motor torqued it.

I have a friend who has suggested a resin-flex mix might work as well. I’ll see if he can whip a chassis up for me to test.

A lot of sellers on eBay will cut to size for free (or a very nominal fee), so worth a look as there are loads of UK sellers of aluminium sheet.

Thanks for tip, I didn’t consider eBay. I contacted one place who told me it would cost £7 for the first set of parts, £9 for the second, £6 for the front bumper and £109 for setup and shipping fees lol.

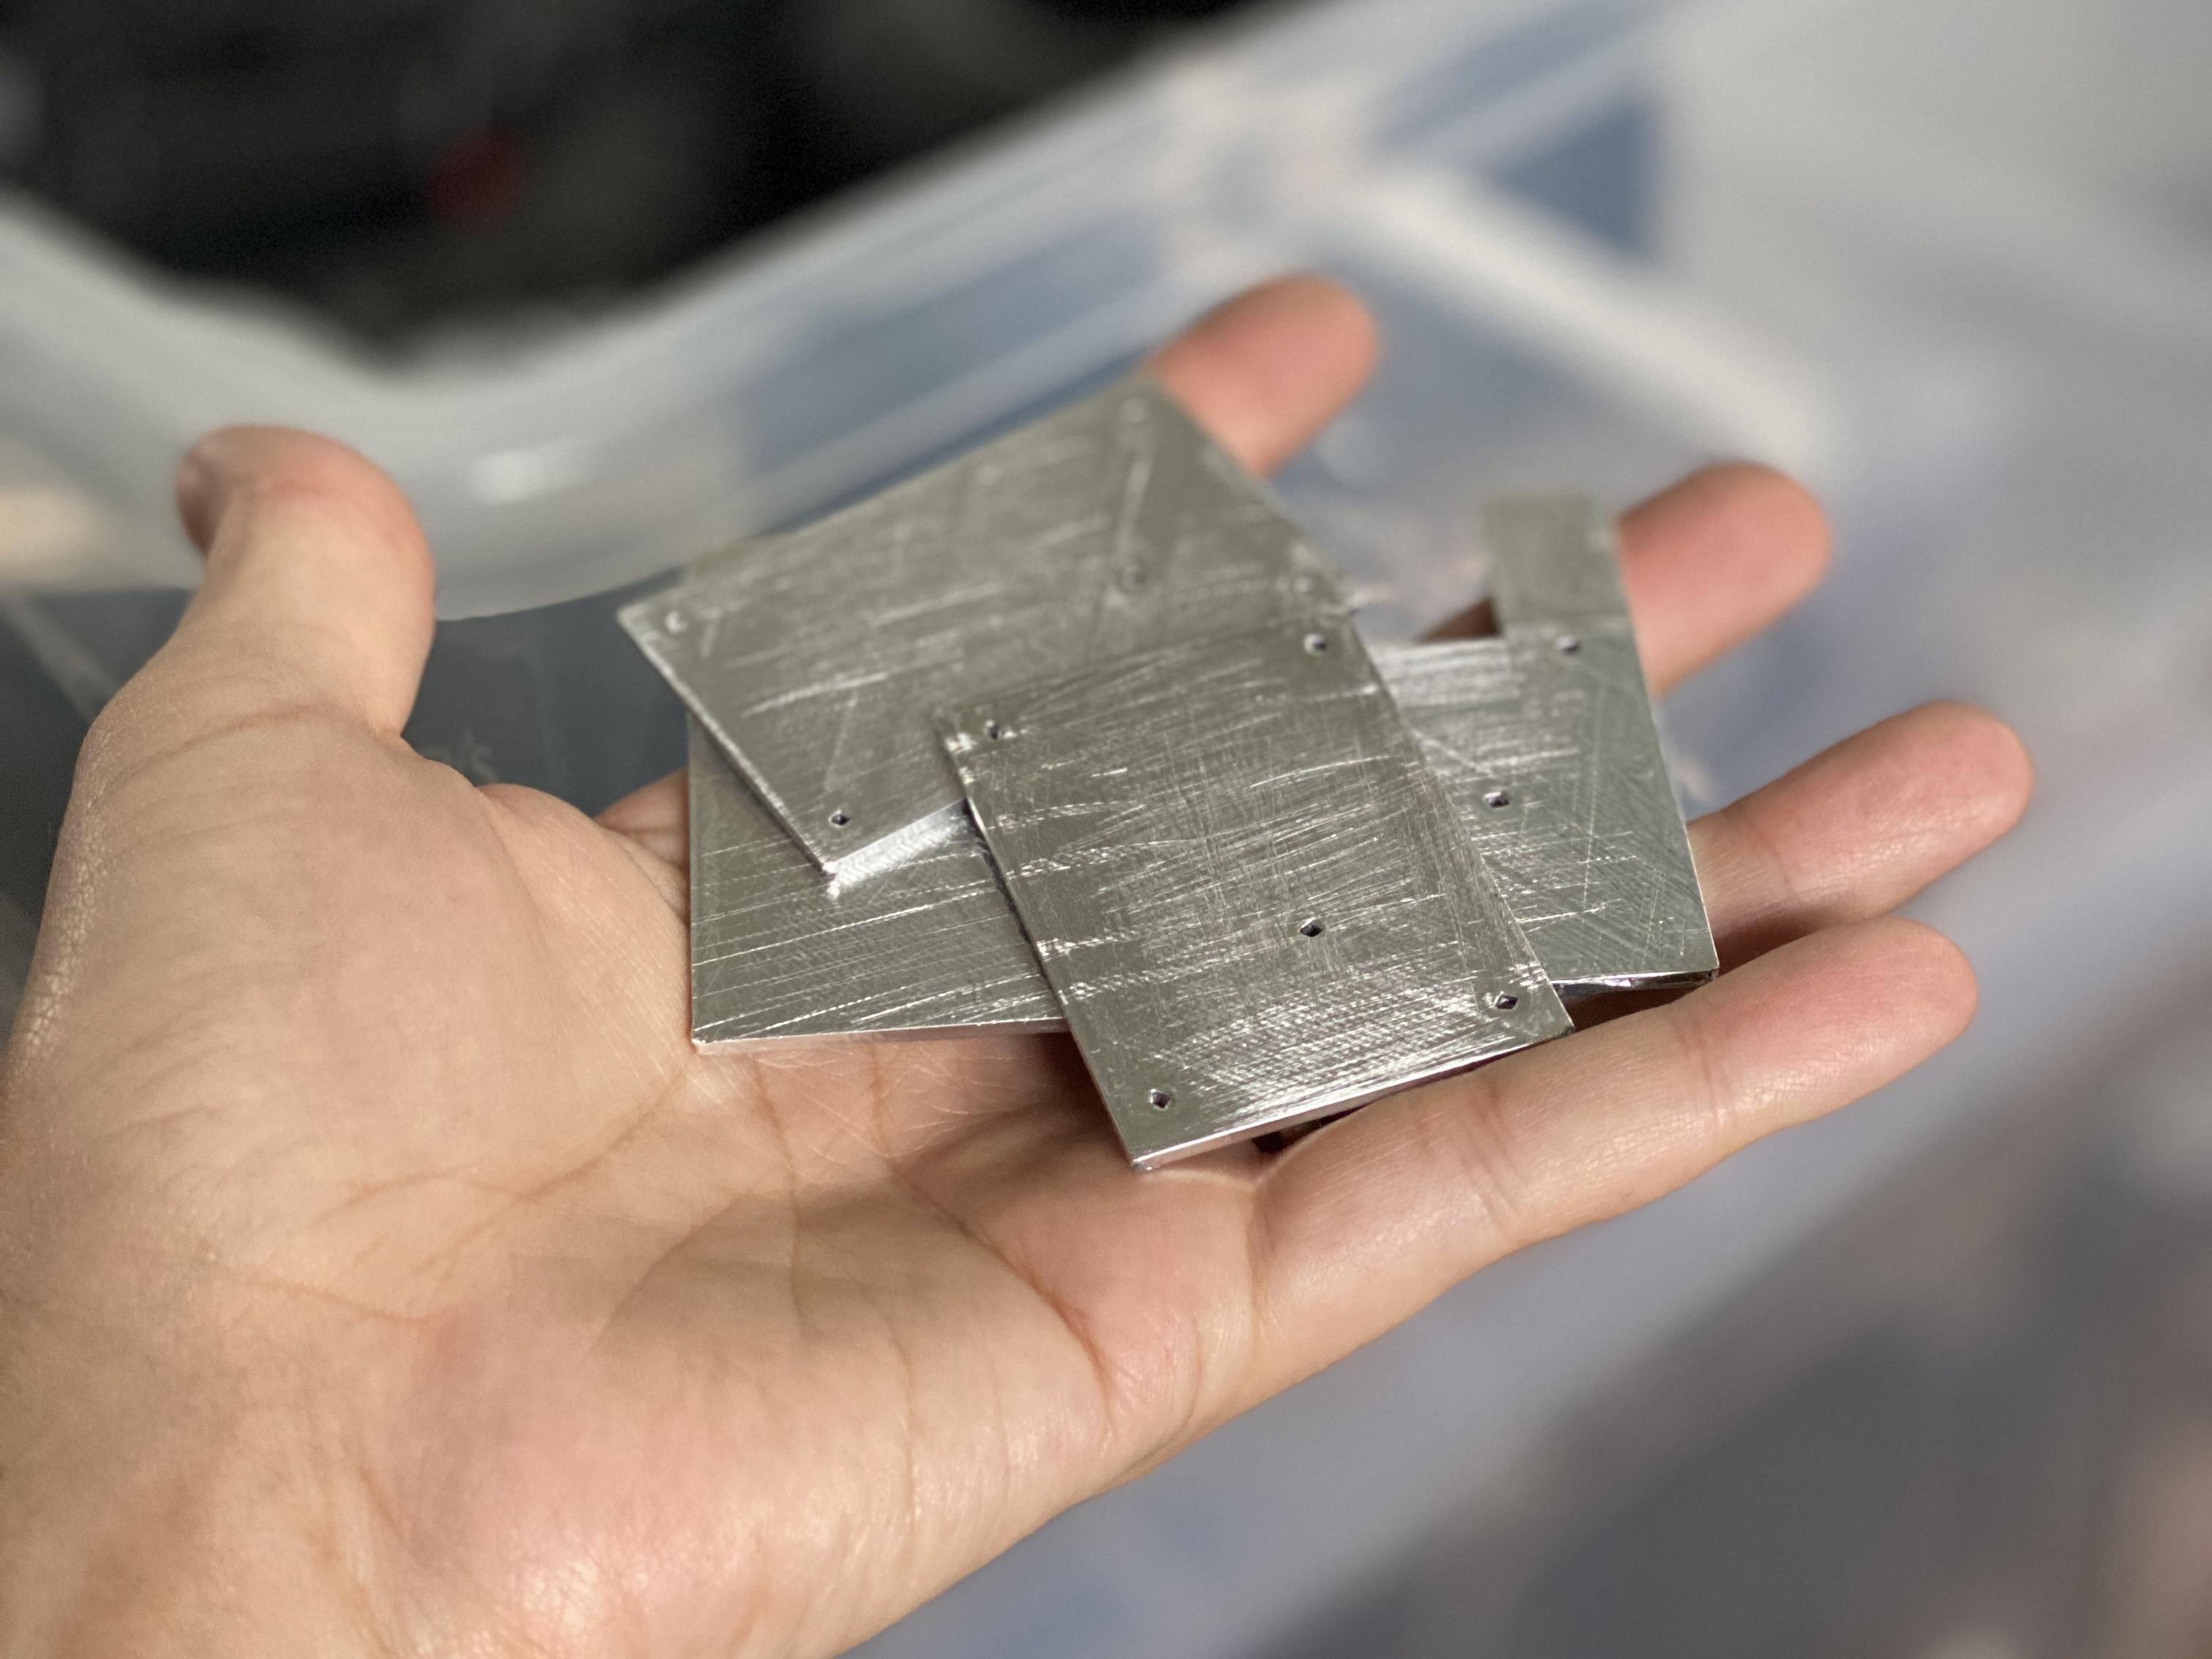
For now I’ve used a trick I’ve used in the past and that simply to print in PLA and the use aluminium sticky tape lightly sanded.

Yeah, that looks fantastic! I’ll say, using silk PLA gives a really good color match to real aluminum… The difference between the vector plate (PLA) and the aluminum sides on mine is barely noticeable unless you’re looking closely.

Oof! That’s taking the ■■■■. I used Clickmetal for my trap a few years ago, but having just checked their prices have more than trebled since then, so I’d revert to looking at eBay!

The large left and right side panels are now done. A friend printed them on their slightly larger print bed. 100% infill which is a bit overkill but I wasn’t about to ask him to print it again haha.

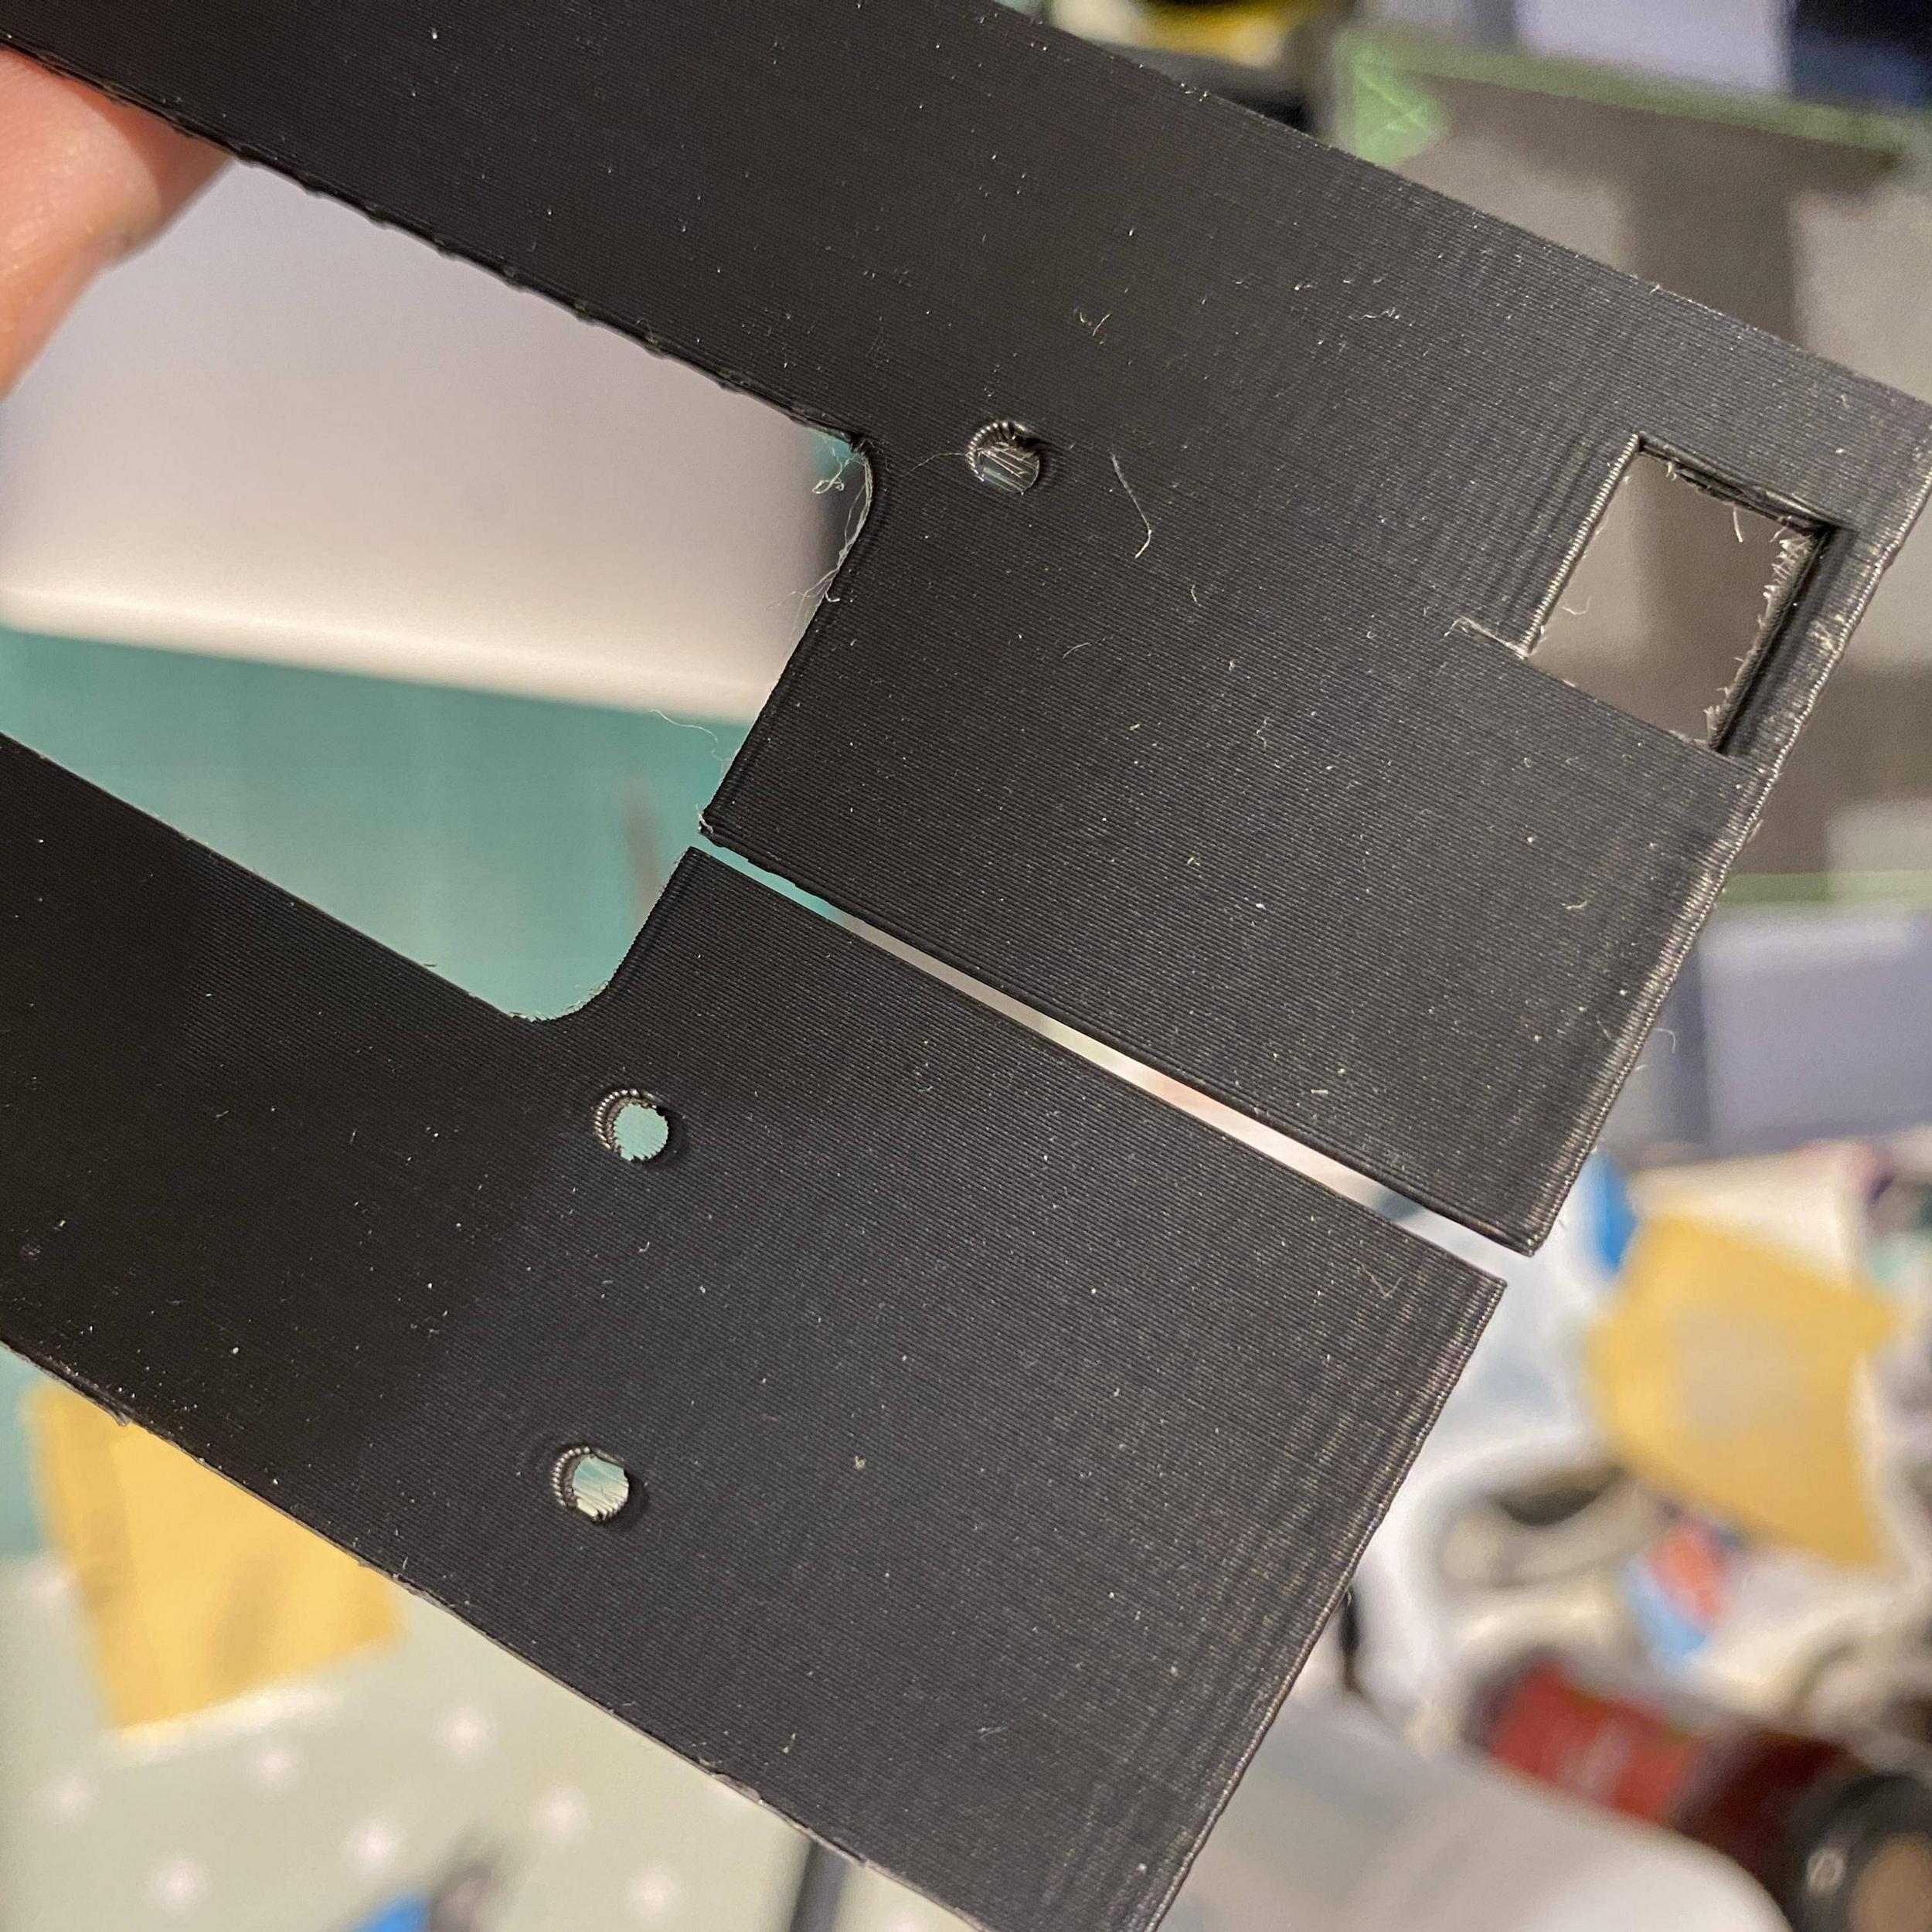
Unfortunately the flat panels split so tomorrow I’ll see if I can slice them in a different orientation or angle.

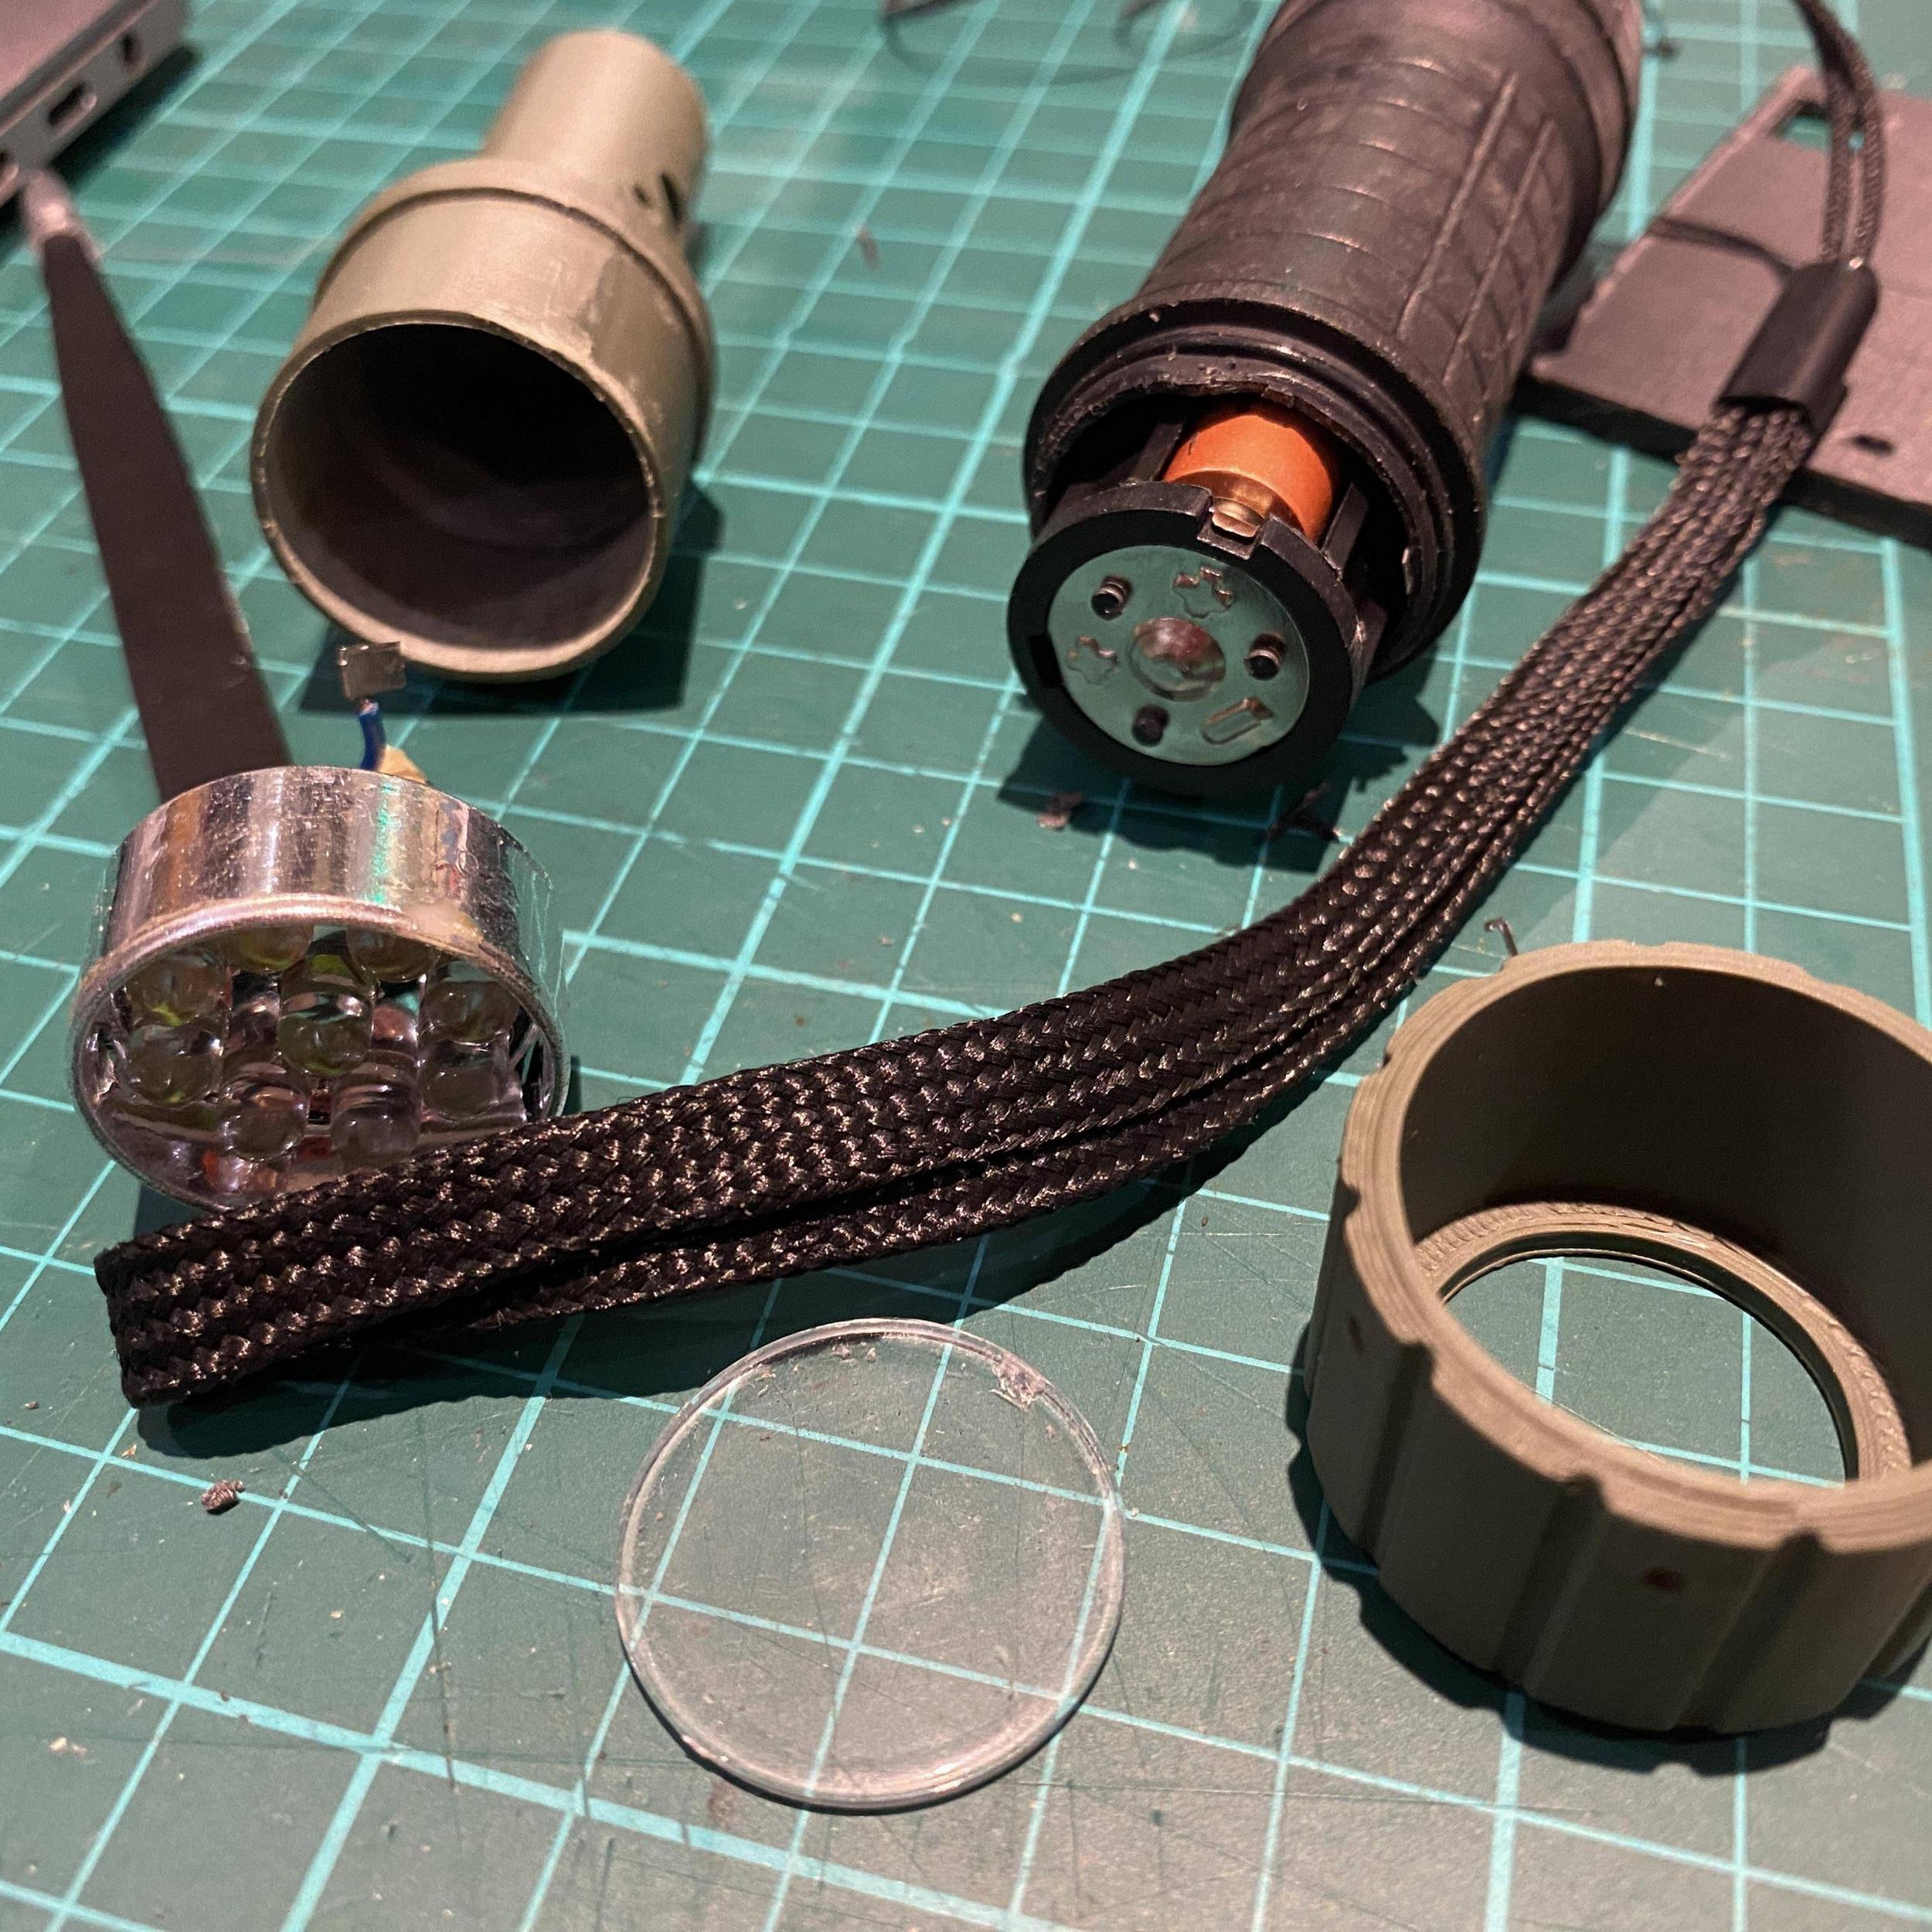
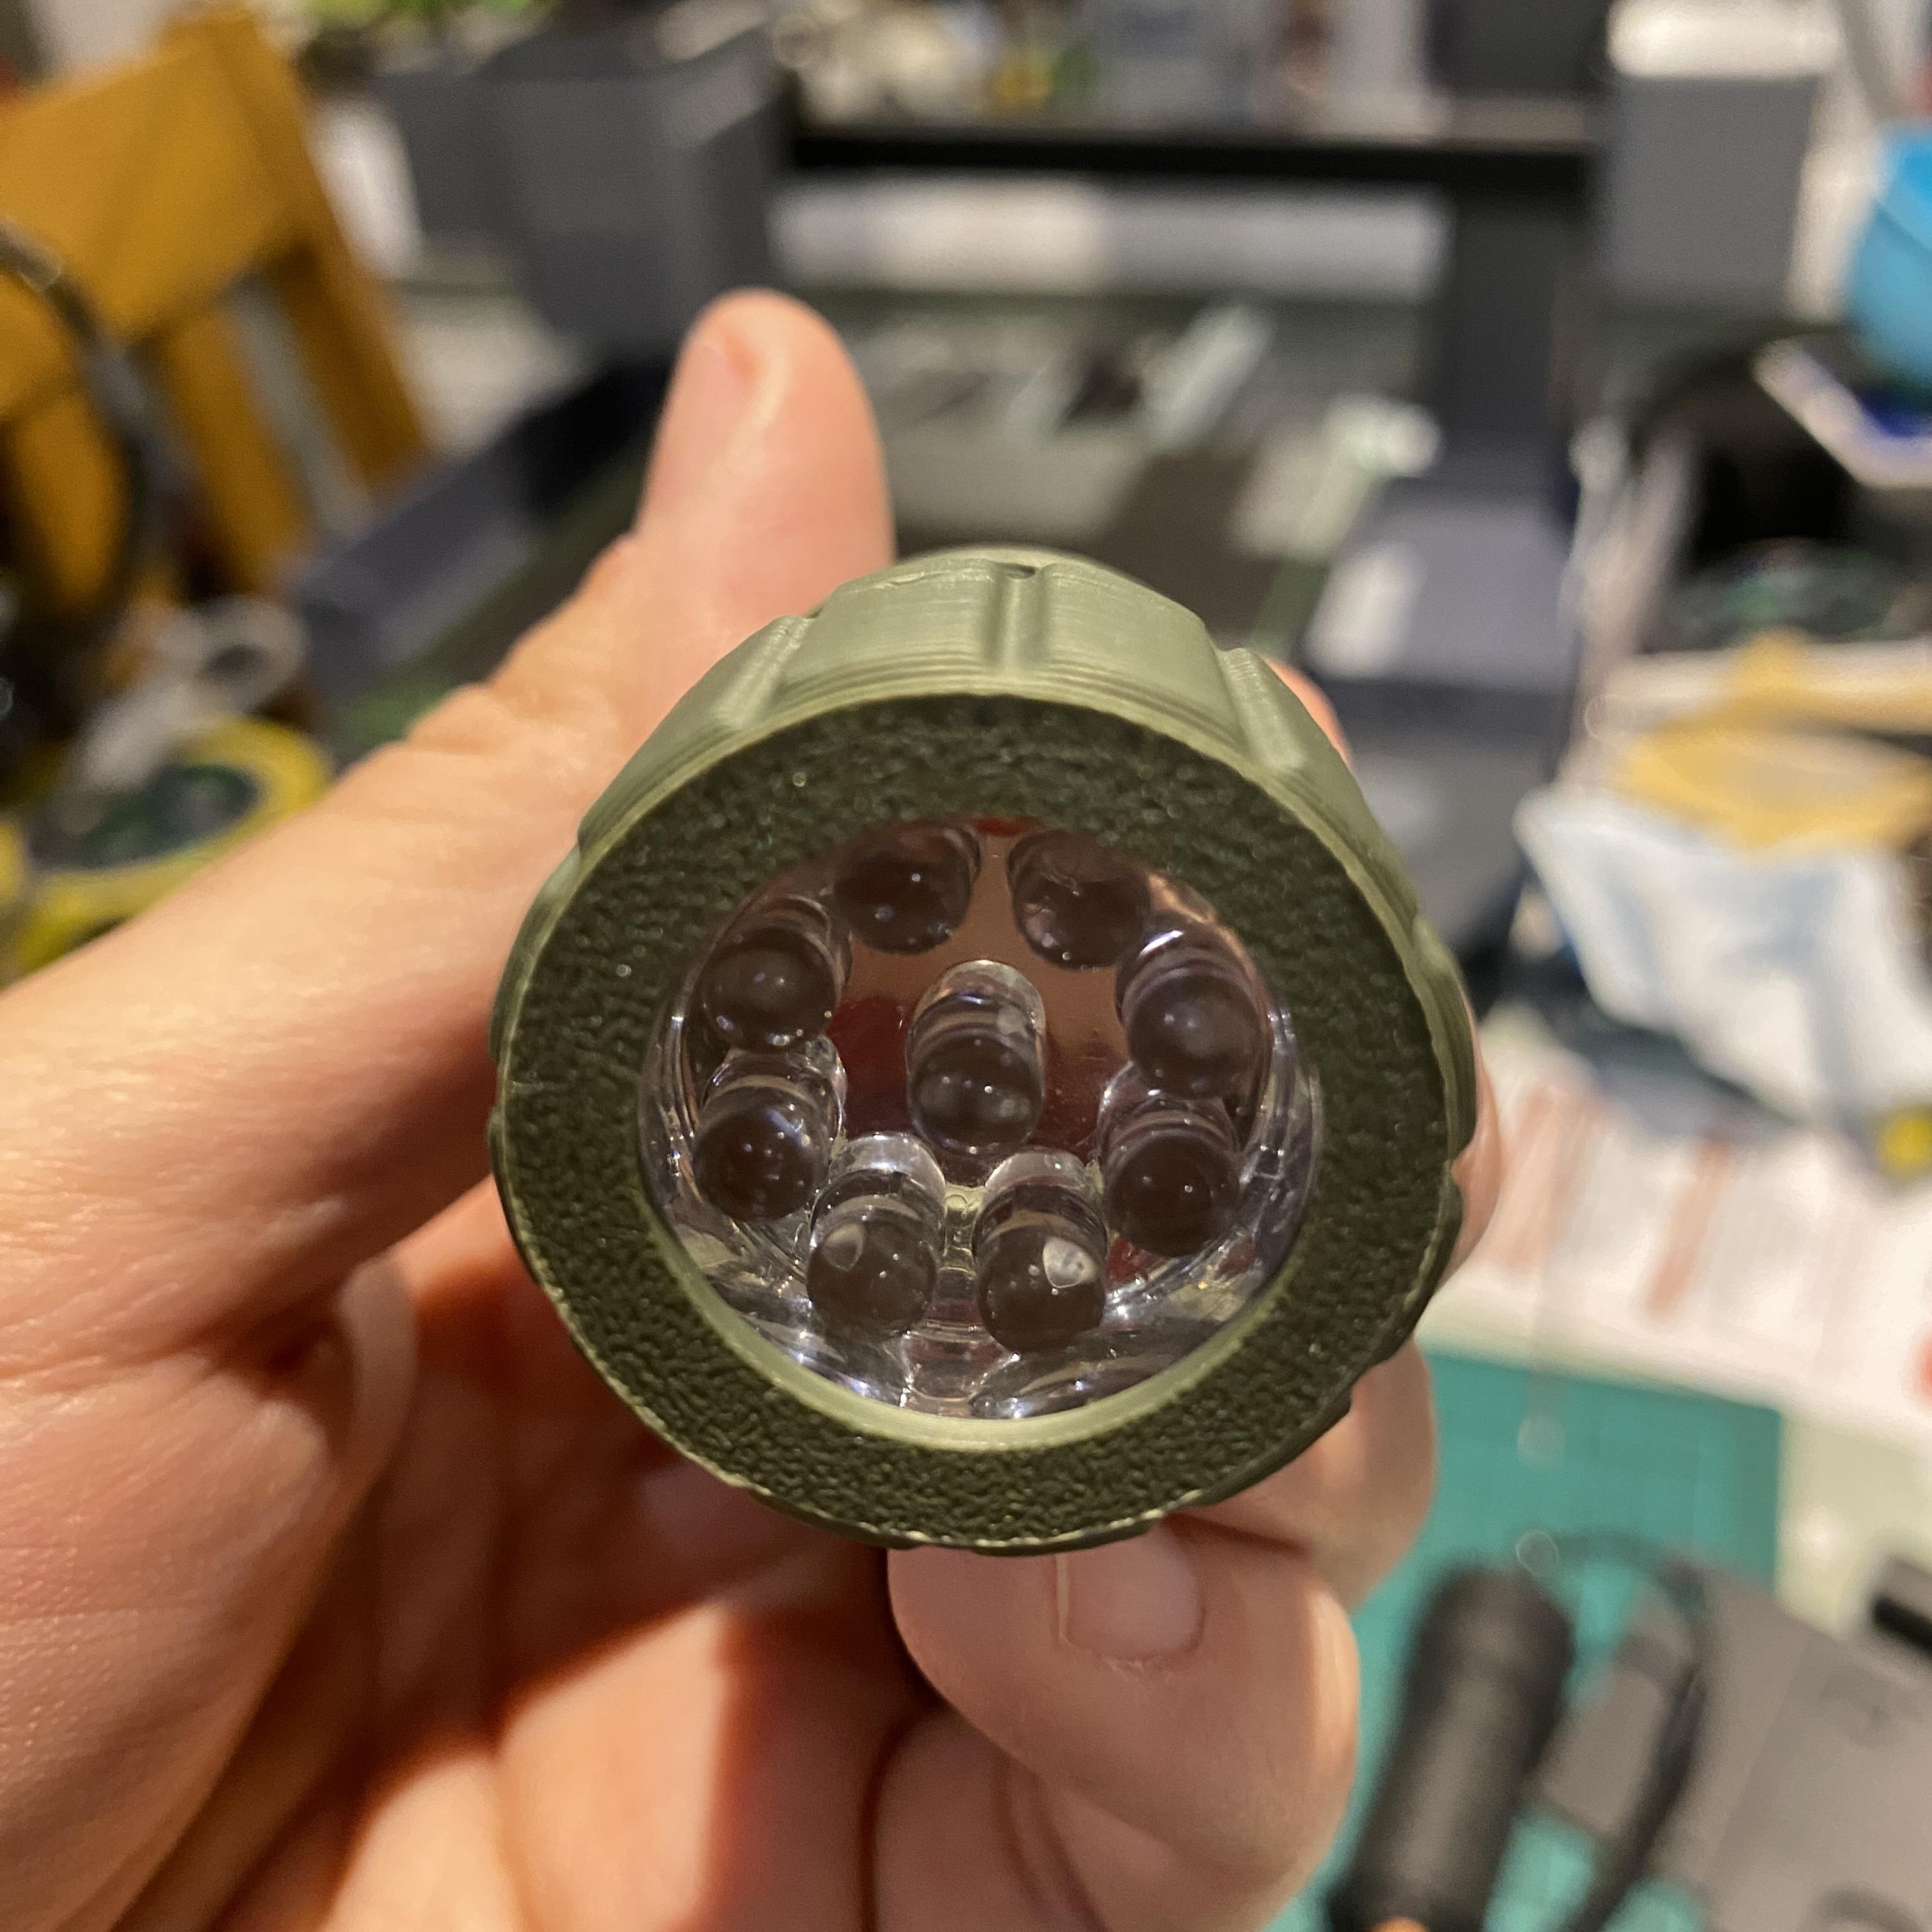
I printed the larger flashlight today as well. It was as cheap to get olive green filament as it was to get a rattle can of paint so I figured I’d just leave things raw wherever possible.

Amazingly I found a small light for which the innards fit snugly inside with no modifications!

I need to solder on a couple of wires to run through into the body of the RTV but this was a good find. It was powered by three AAA batteries so runs at 4.5v natively, this should mean I can run it off a Arduino pin very easily.

I Still need to find something suitable for the small flashlight although I’m taking a £1.95 punt off something I found on eBay which might fit the bill. Powered by four LR41 button cell batteries (6v) so again should be fine off an arduino.

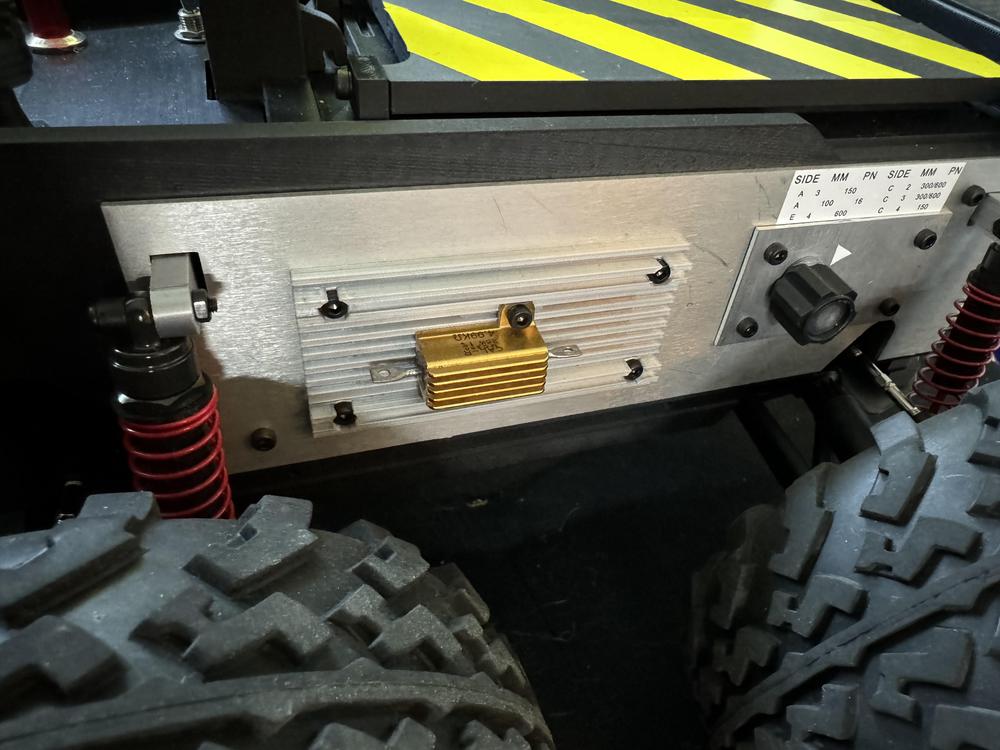
I also found in my box of random components a suitable resistor for the side heatsink. It was ever so slightly bigger than TacoBelli’s model file though so I modified the heatsink in tinkercad and did a little bit of filing and now it fits perfect. Going to spray the heatsink chrome silver when it’s not so cold and damp in the garage so it looks better against the metal (looking) side panels.