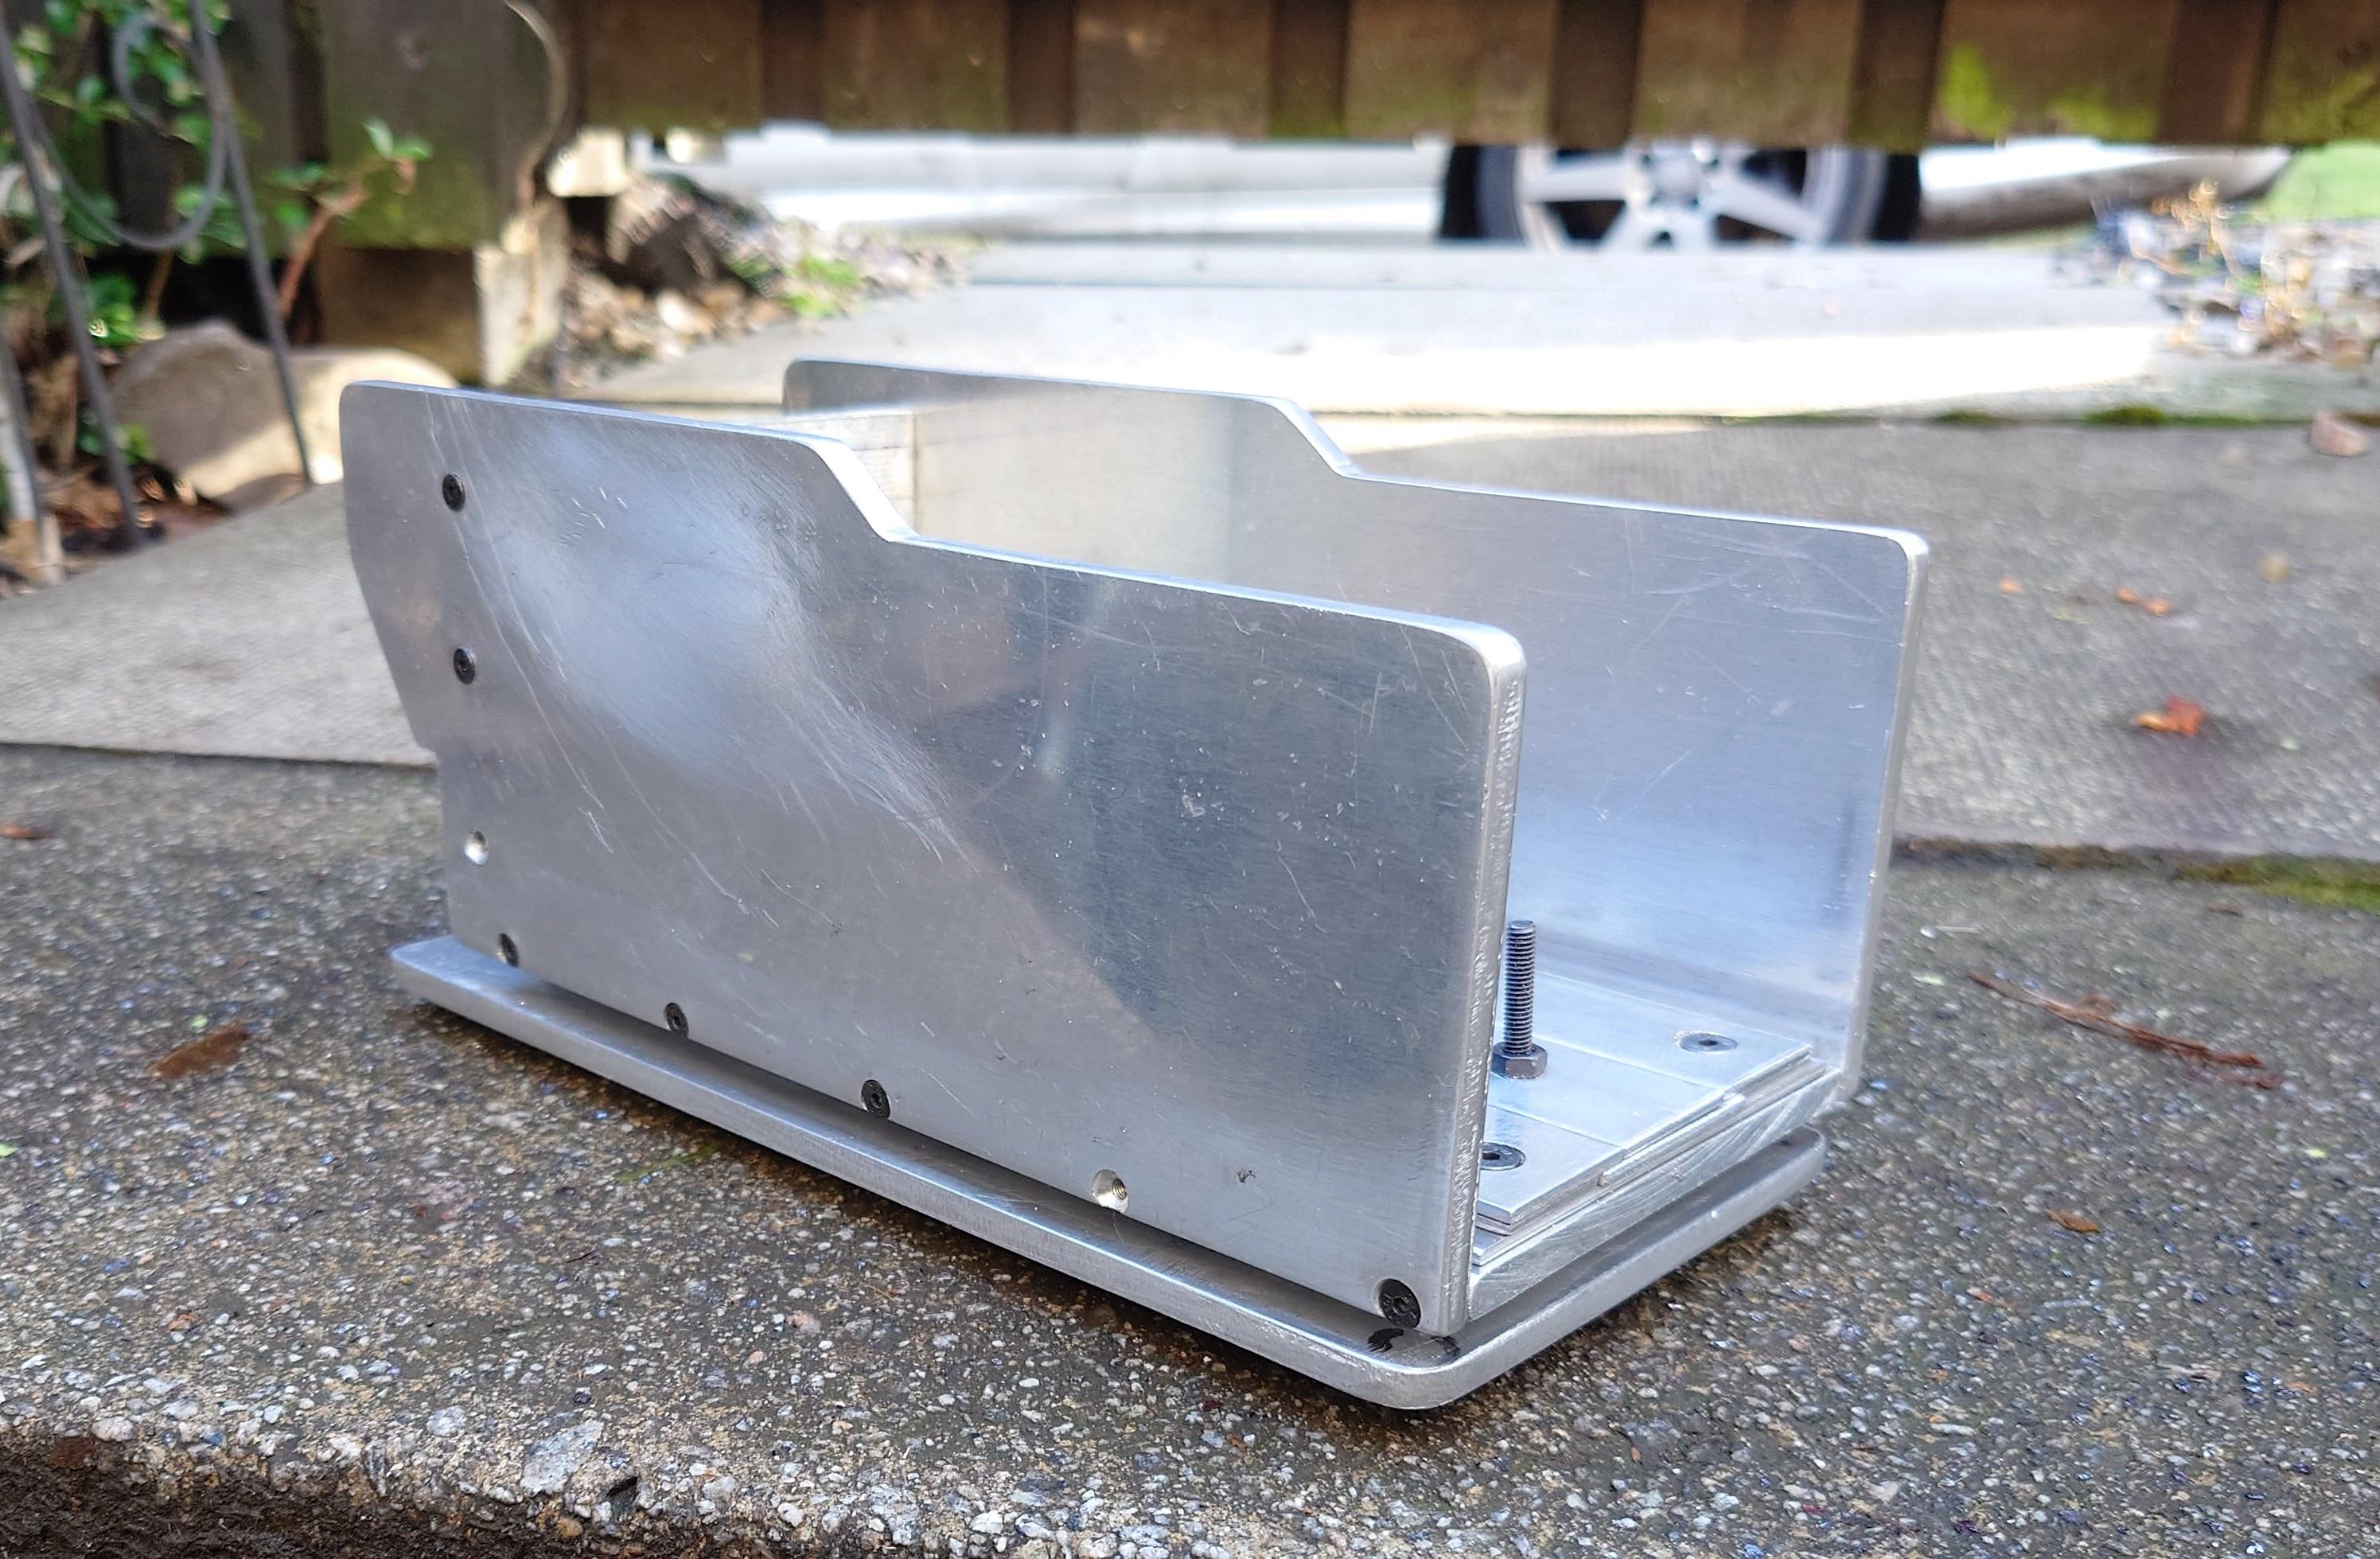
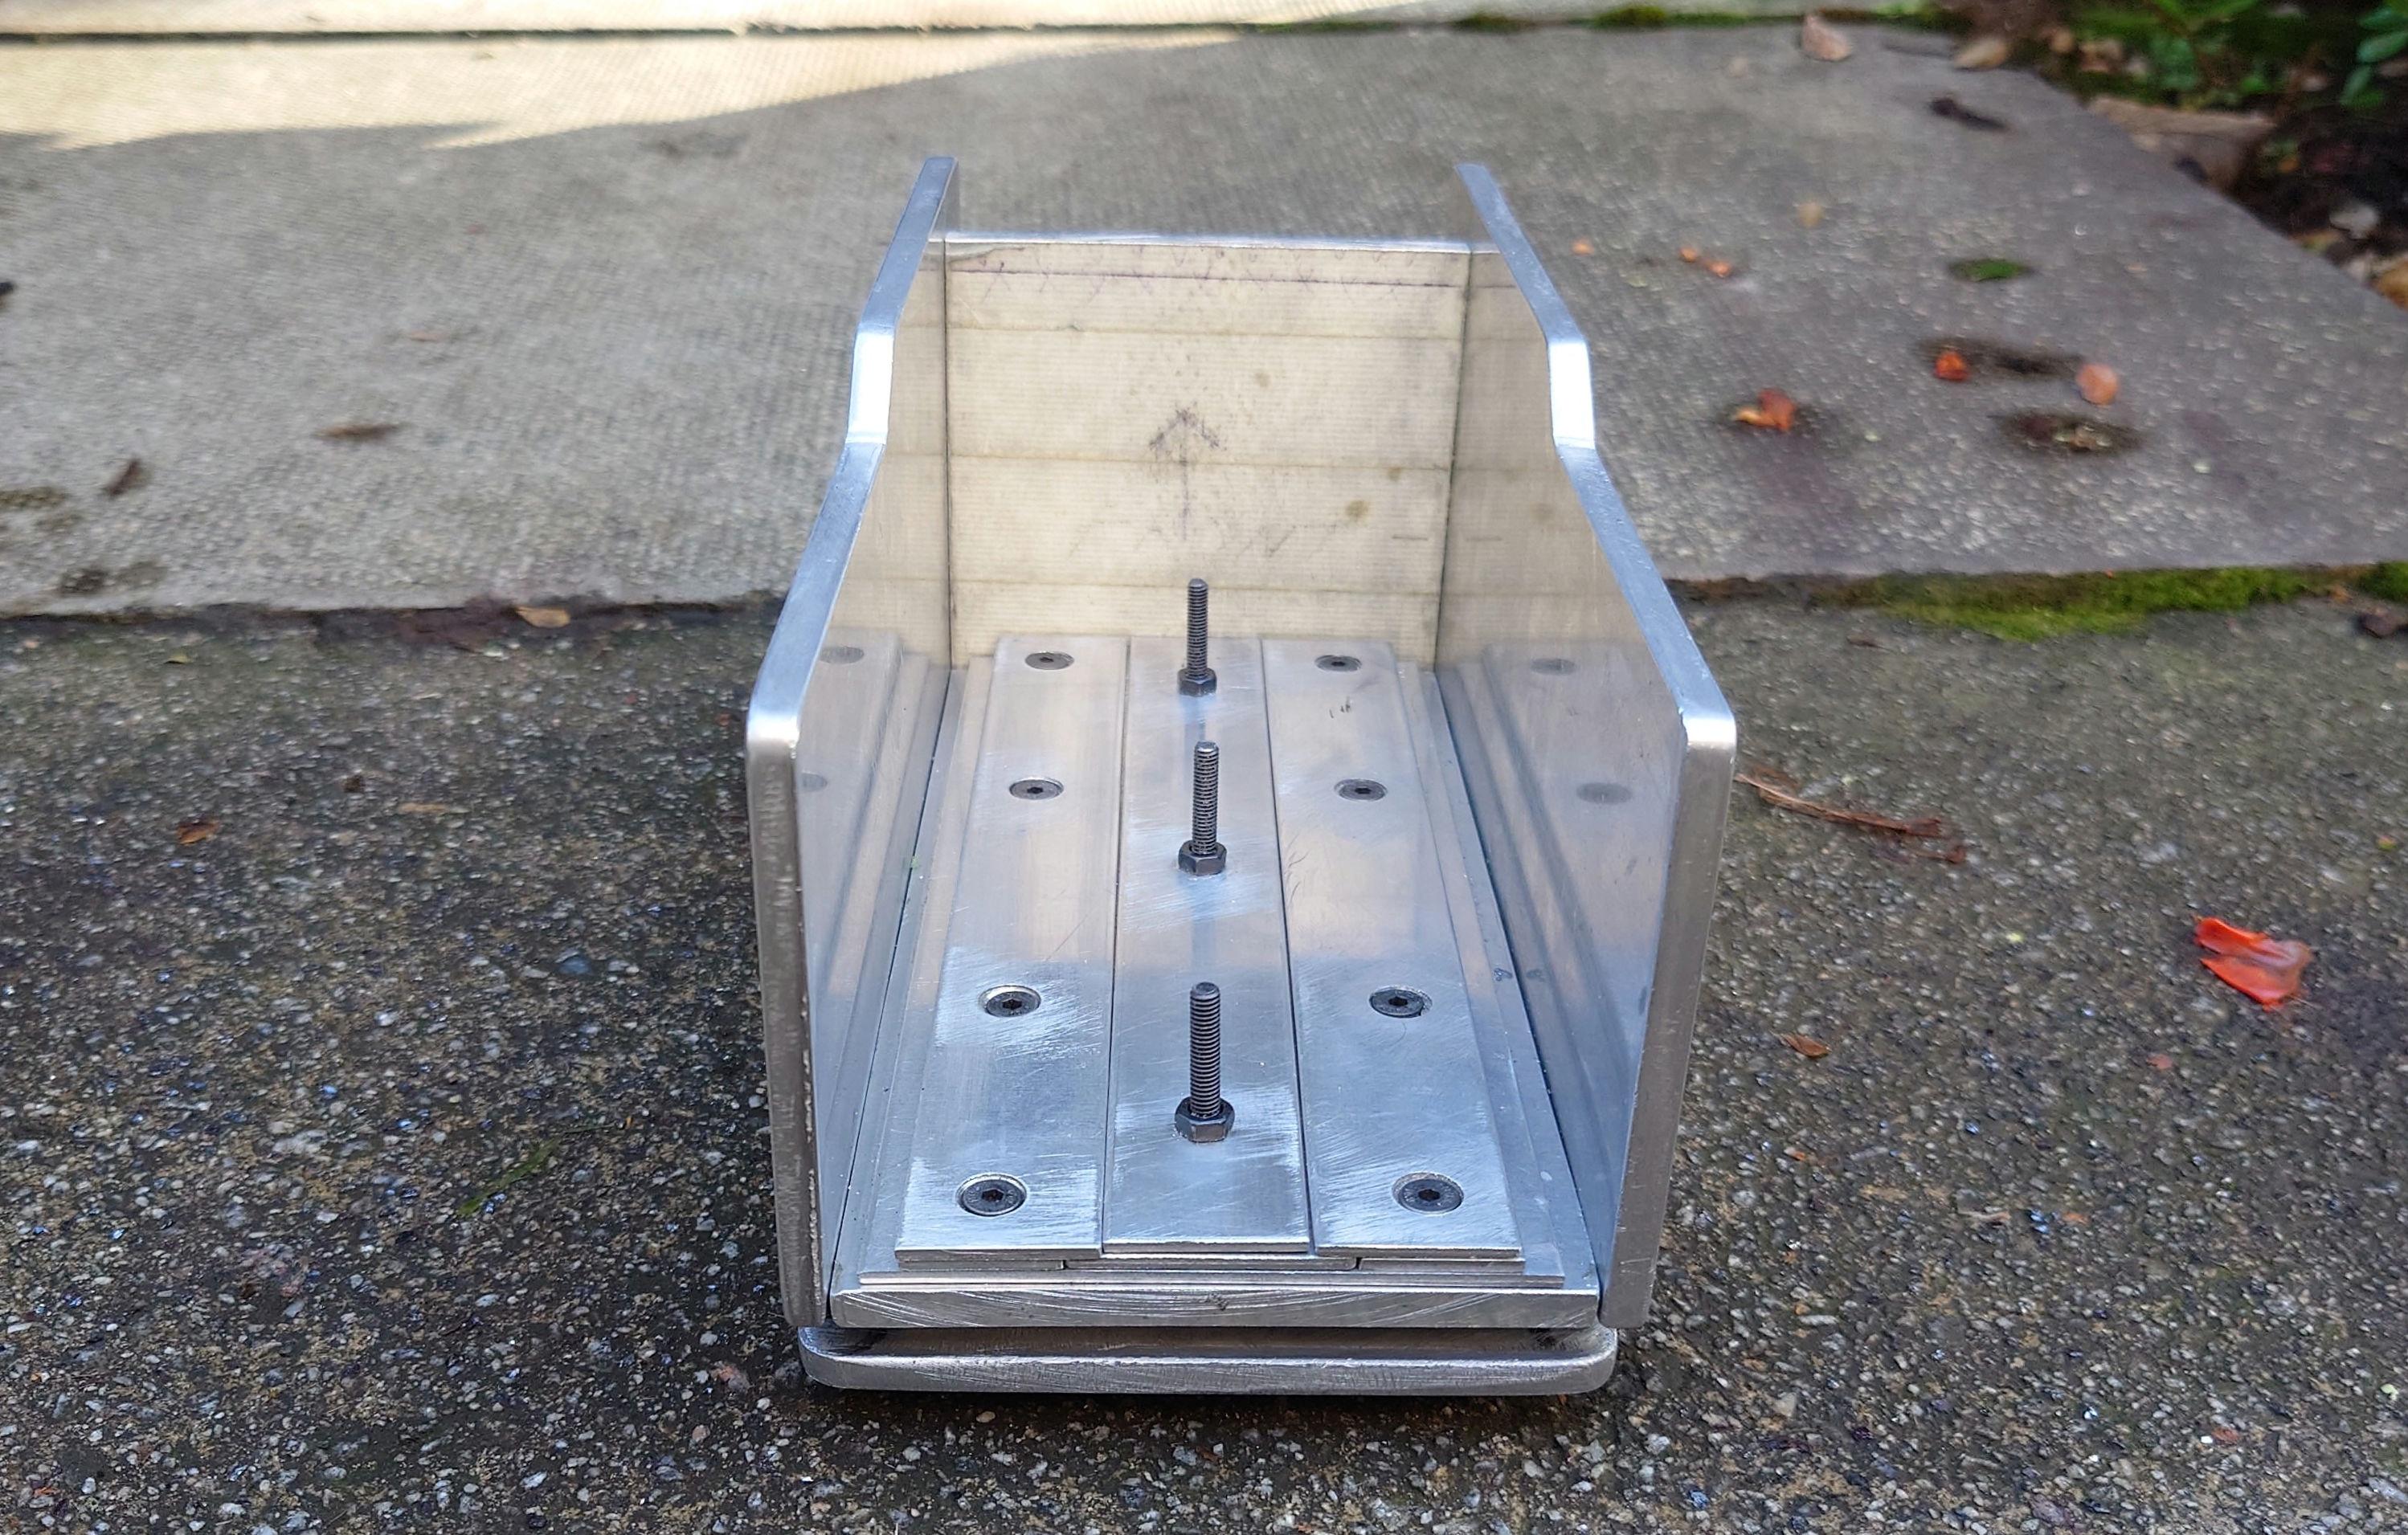
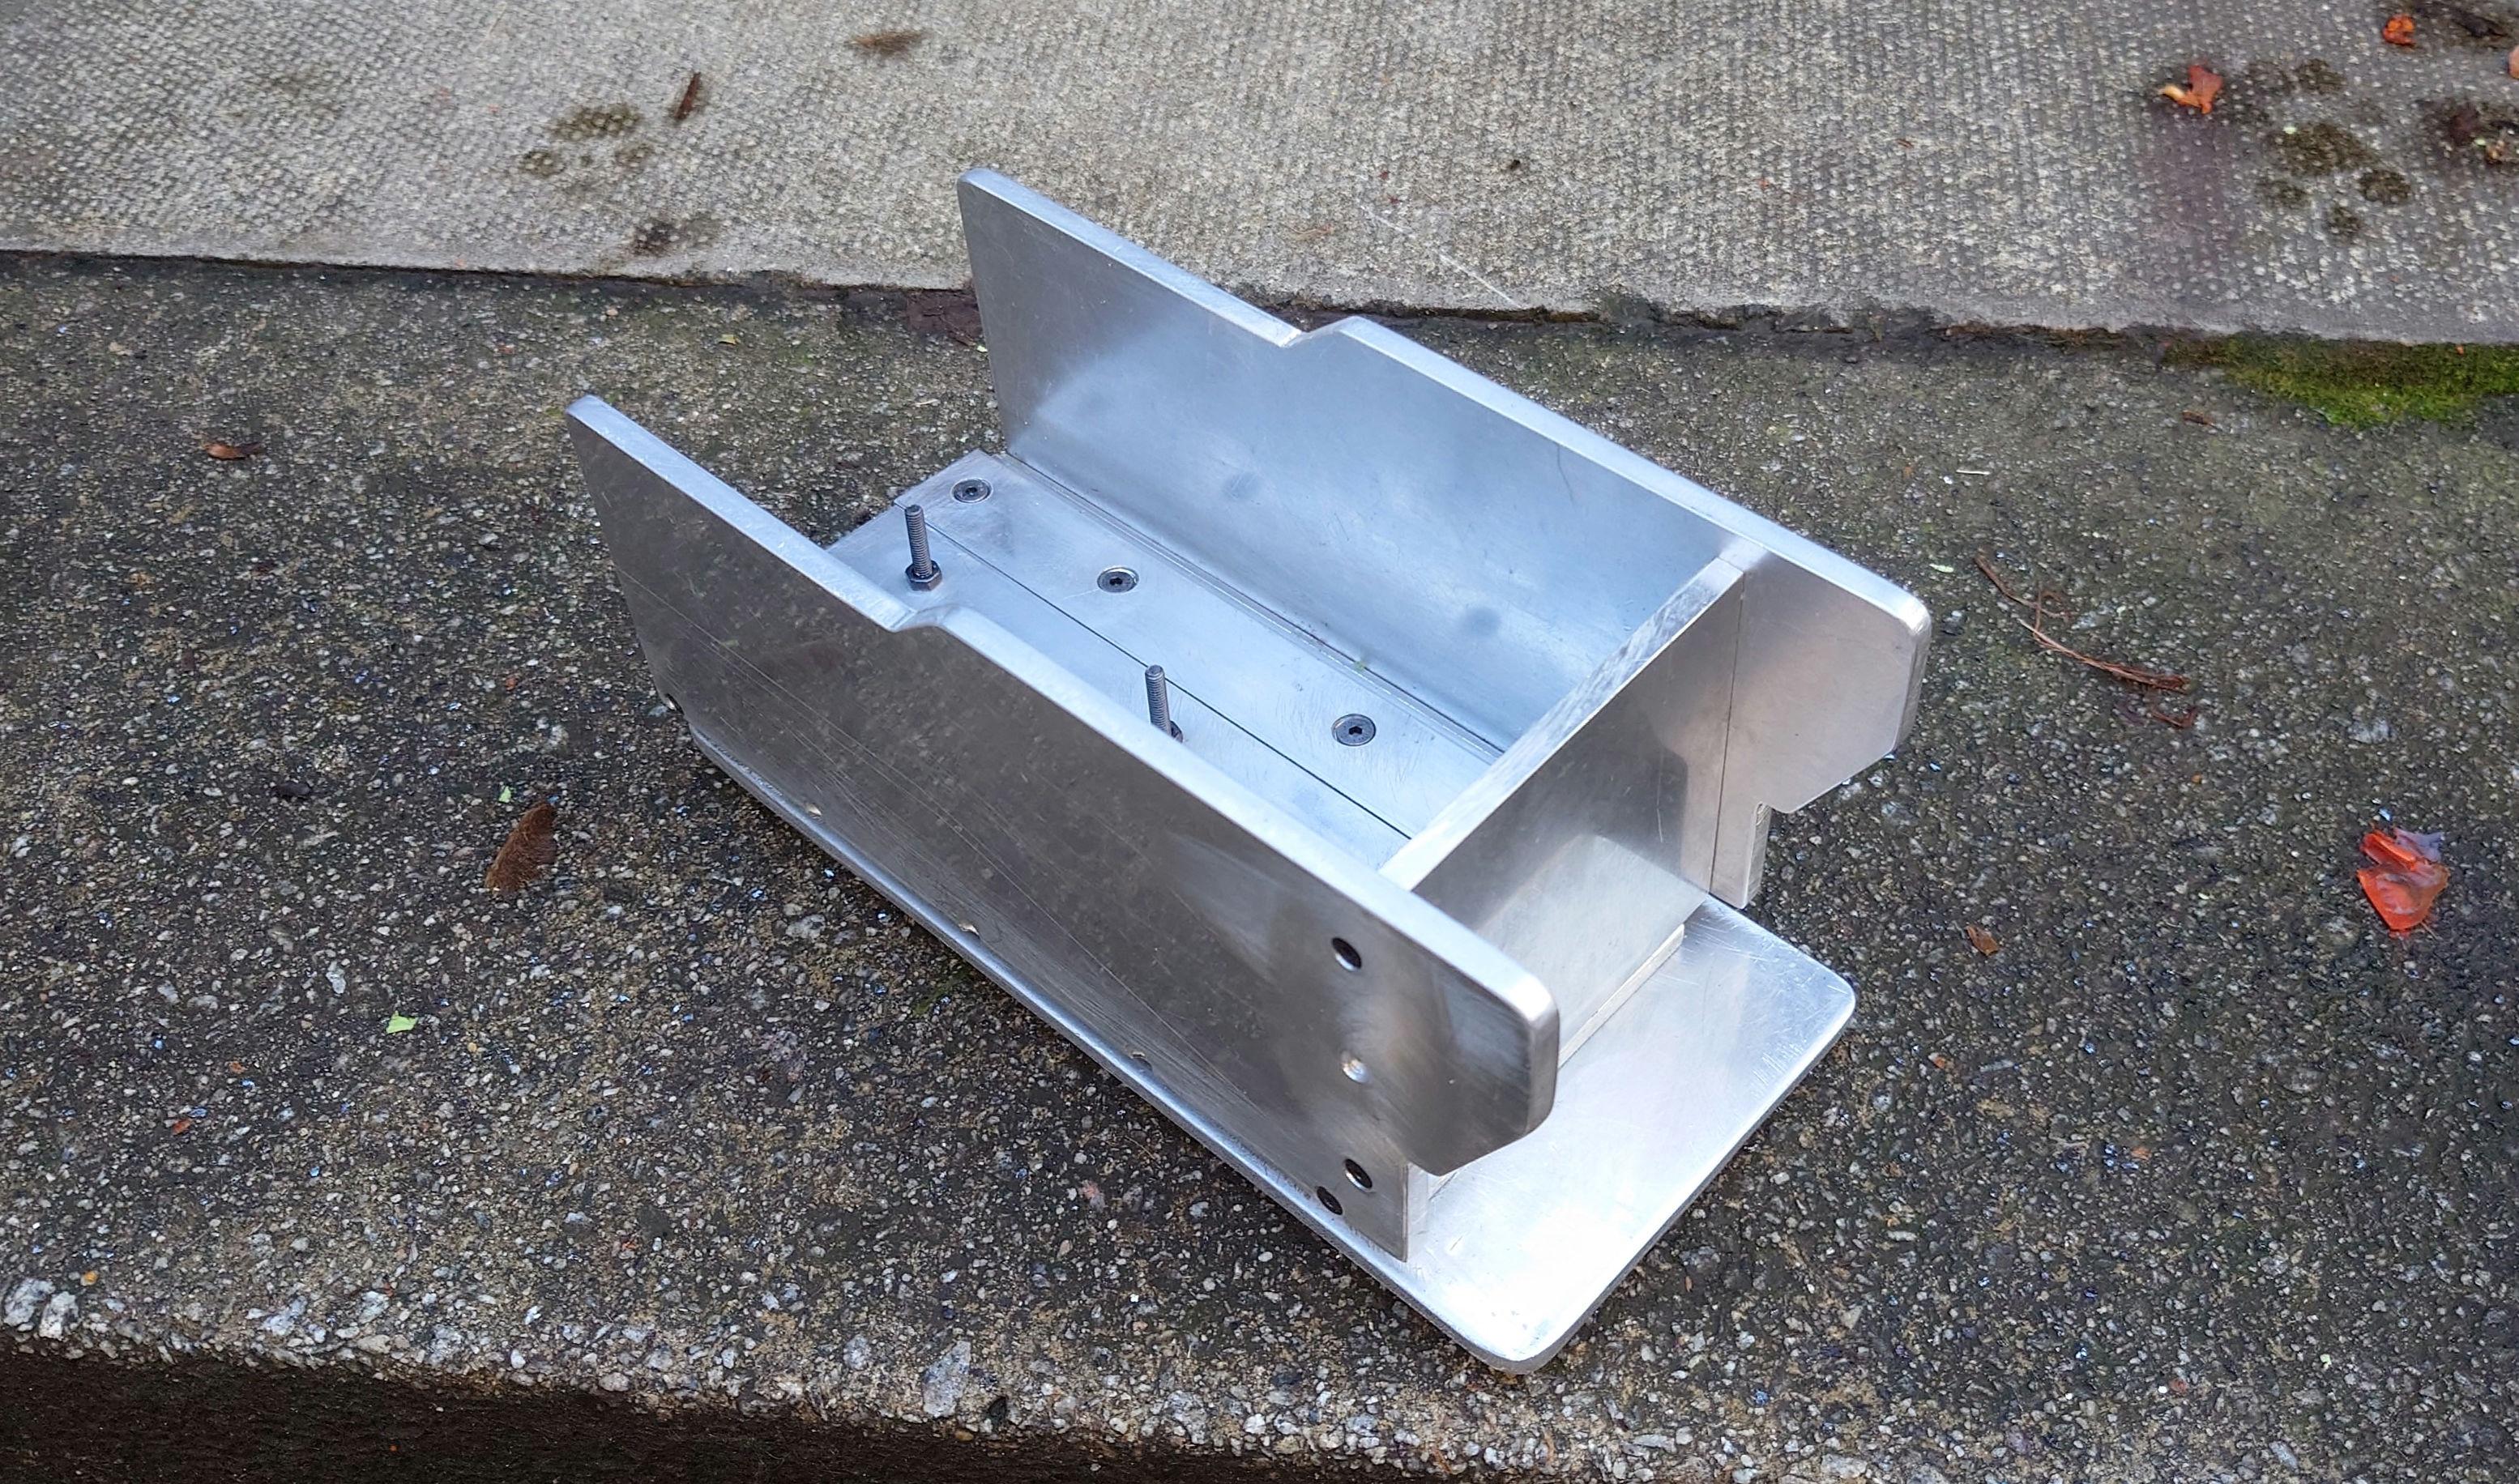
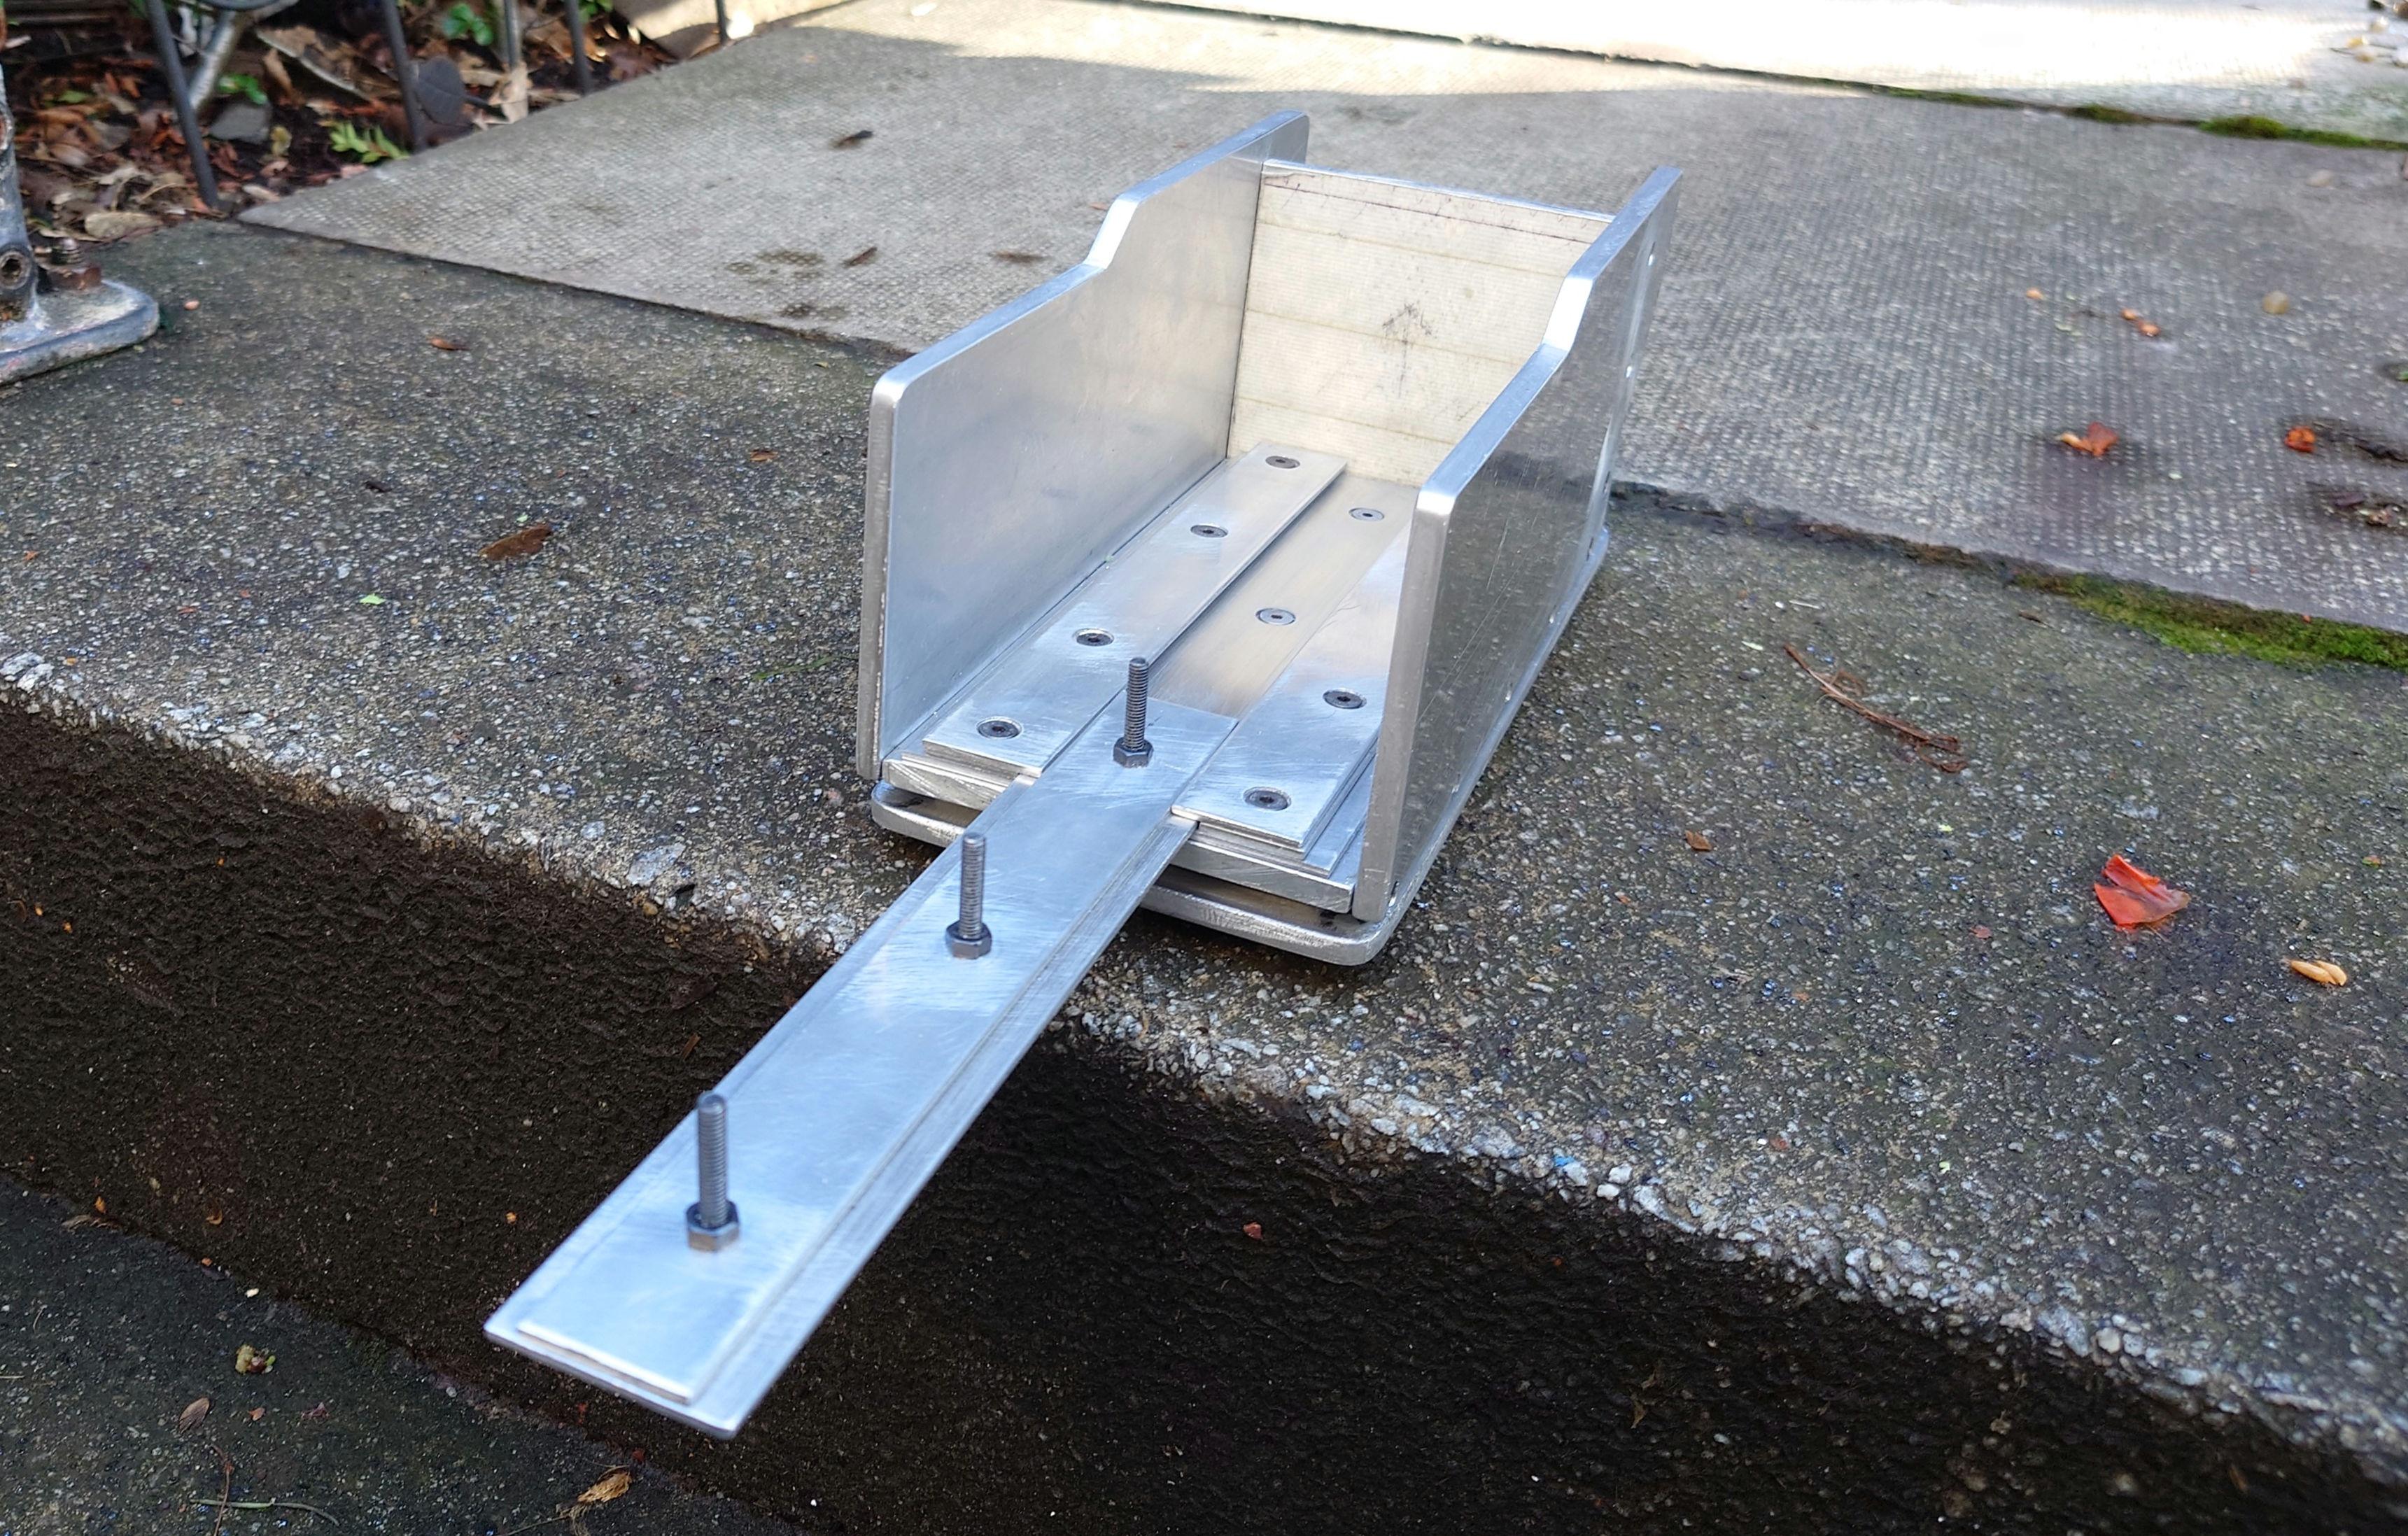
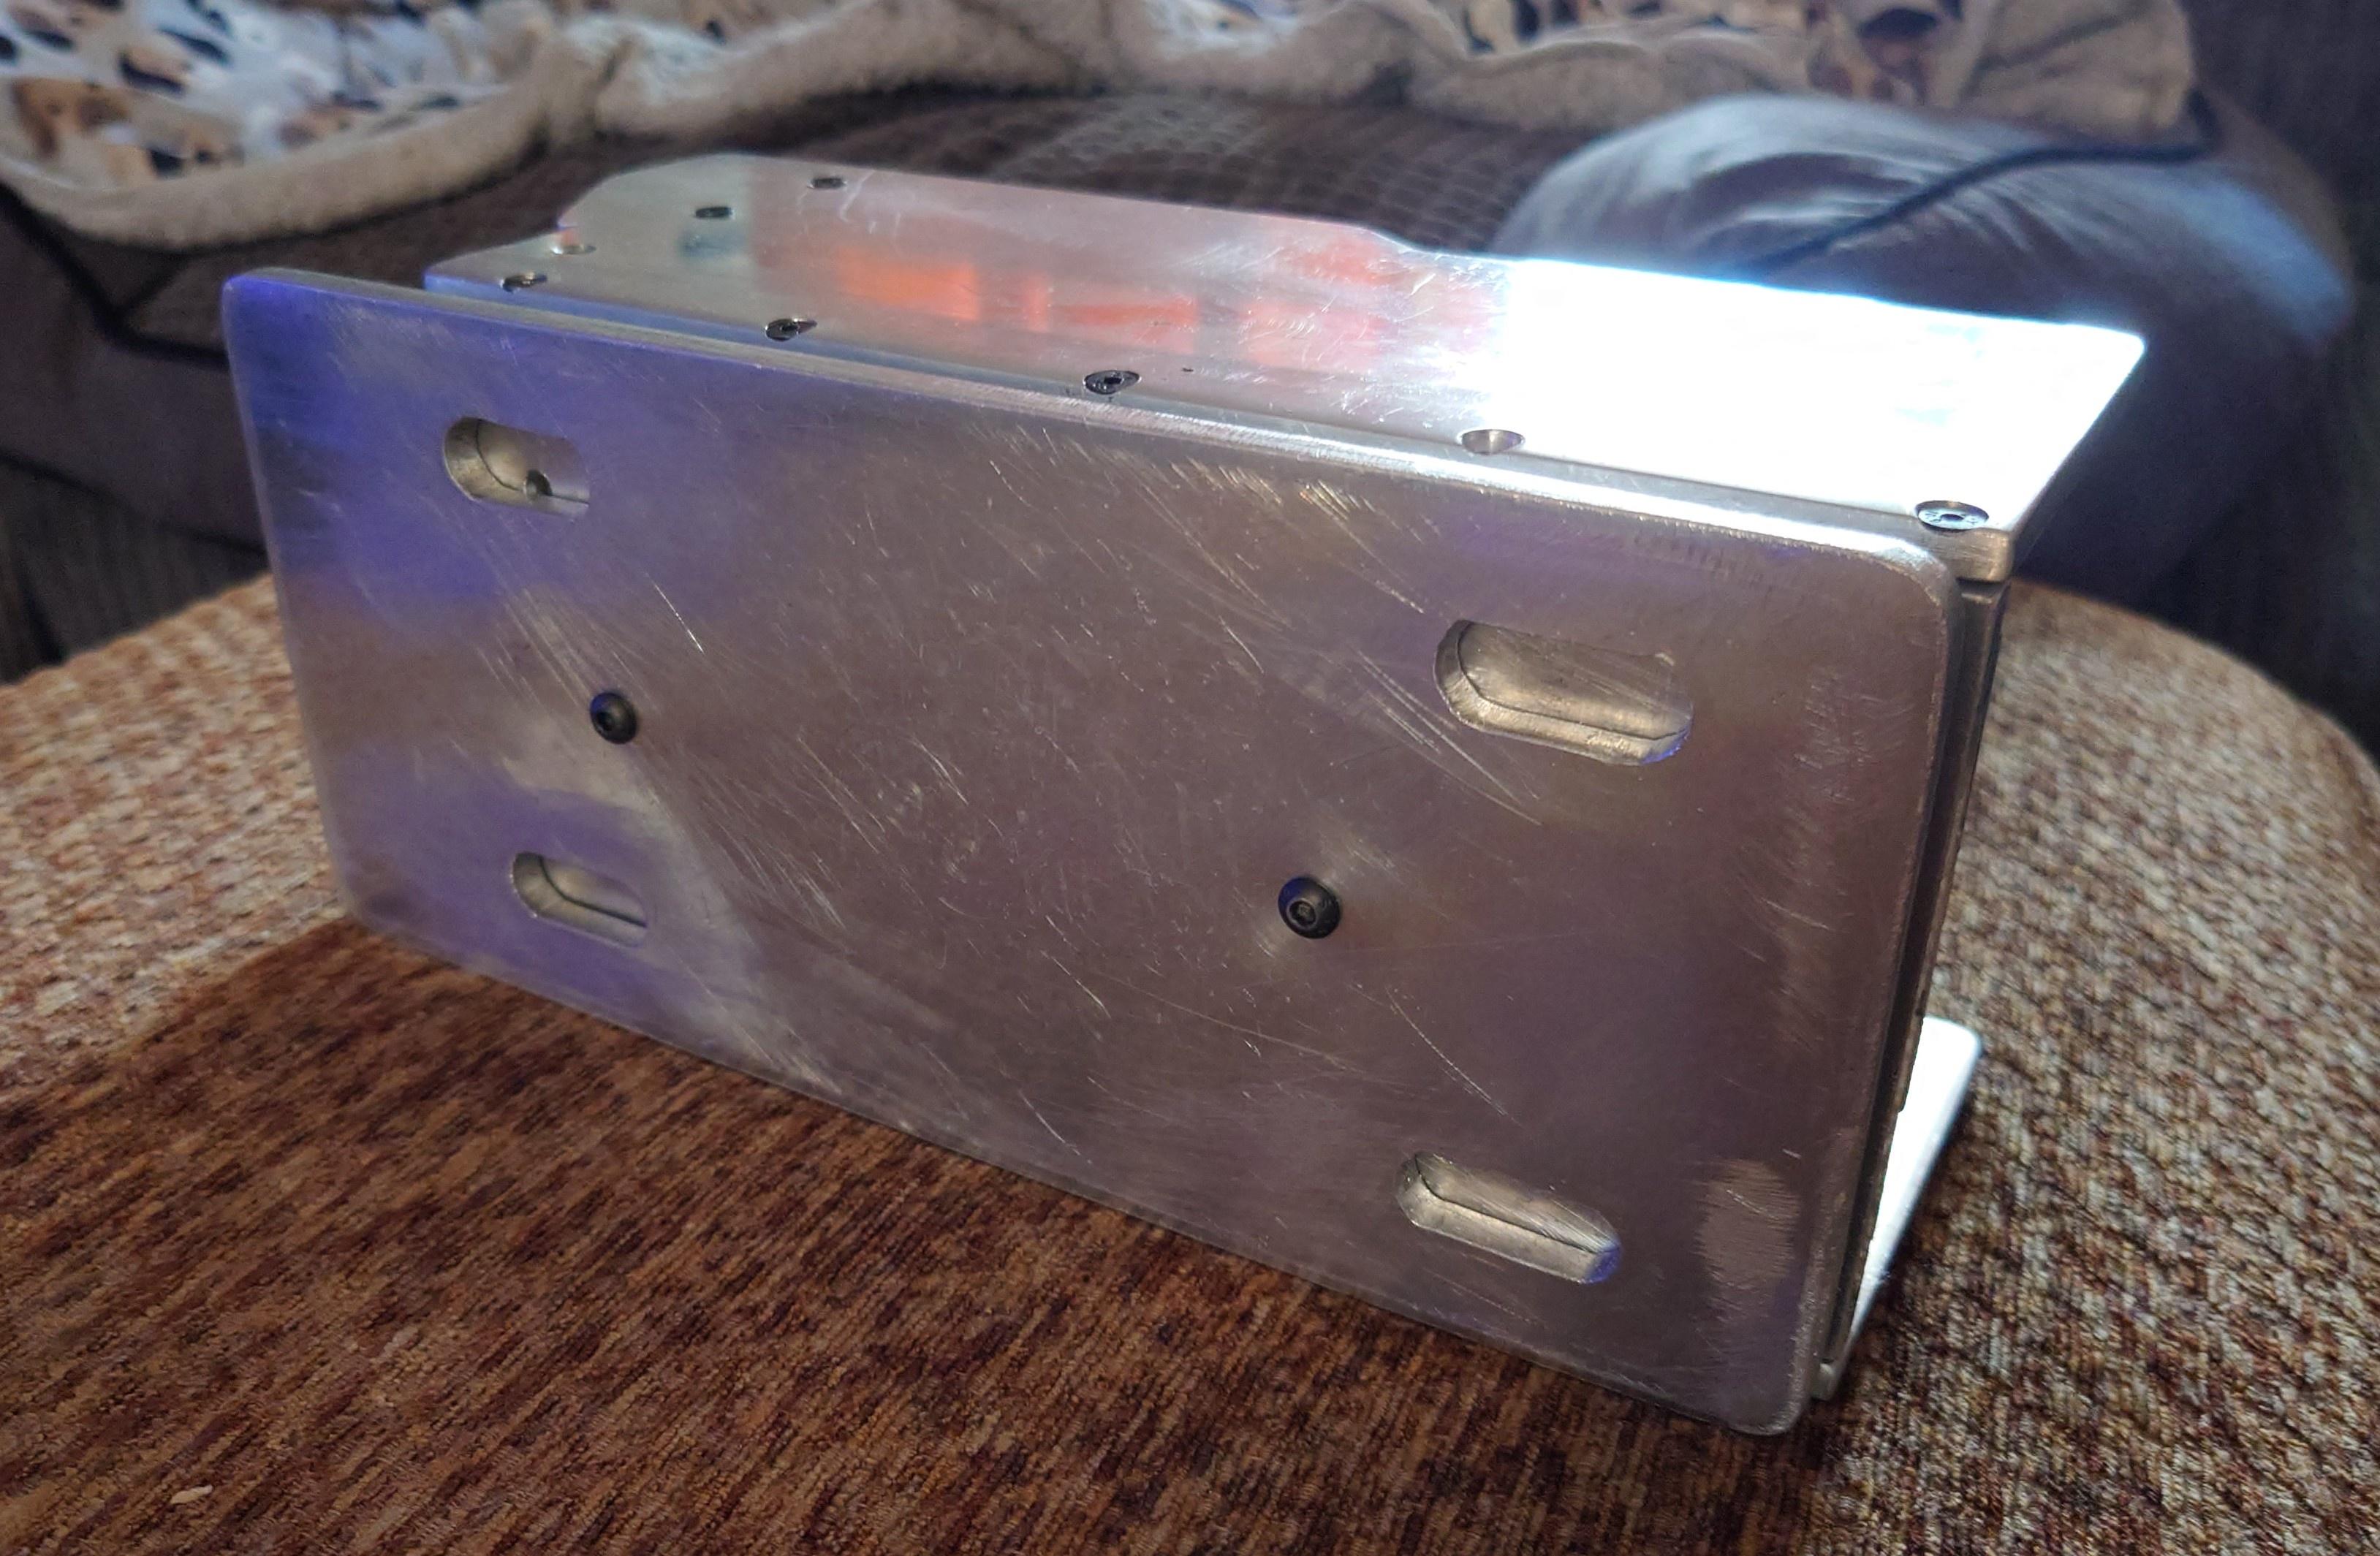
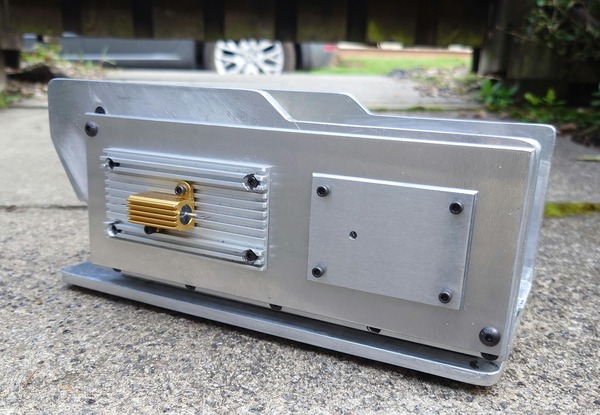
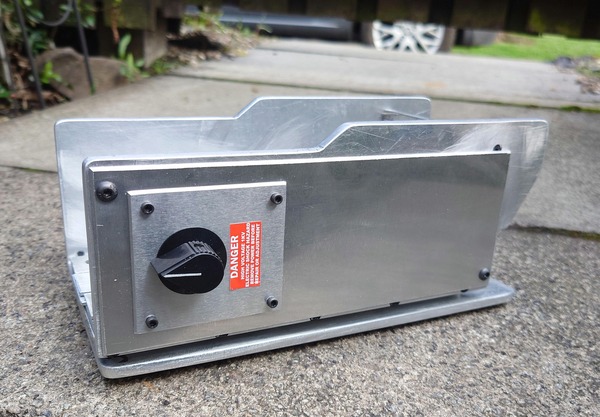
It’s been a while since I had a prop building project, so I decided that it was high time I got myself a couple of Ghost traps.
Much like my thrower and pack components, I’ll be hand building as much of these as possible.
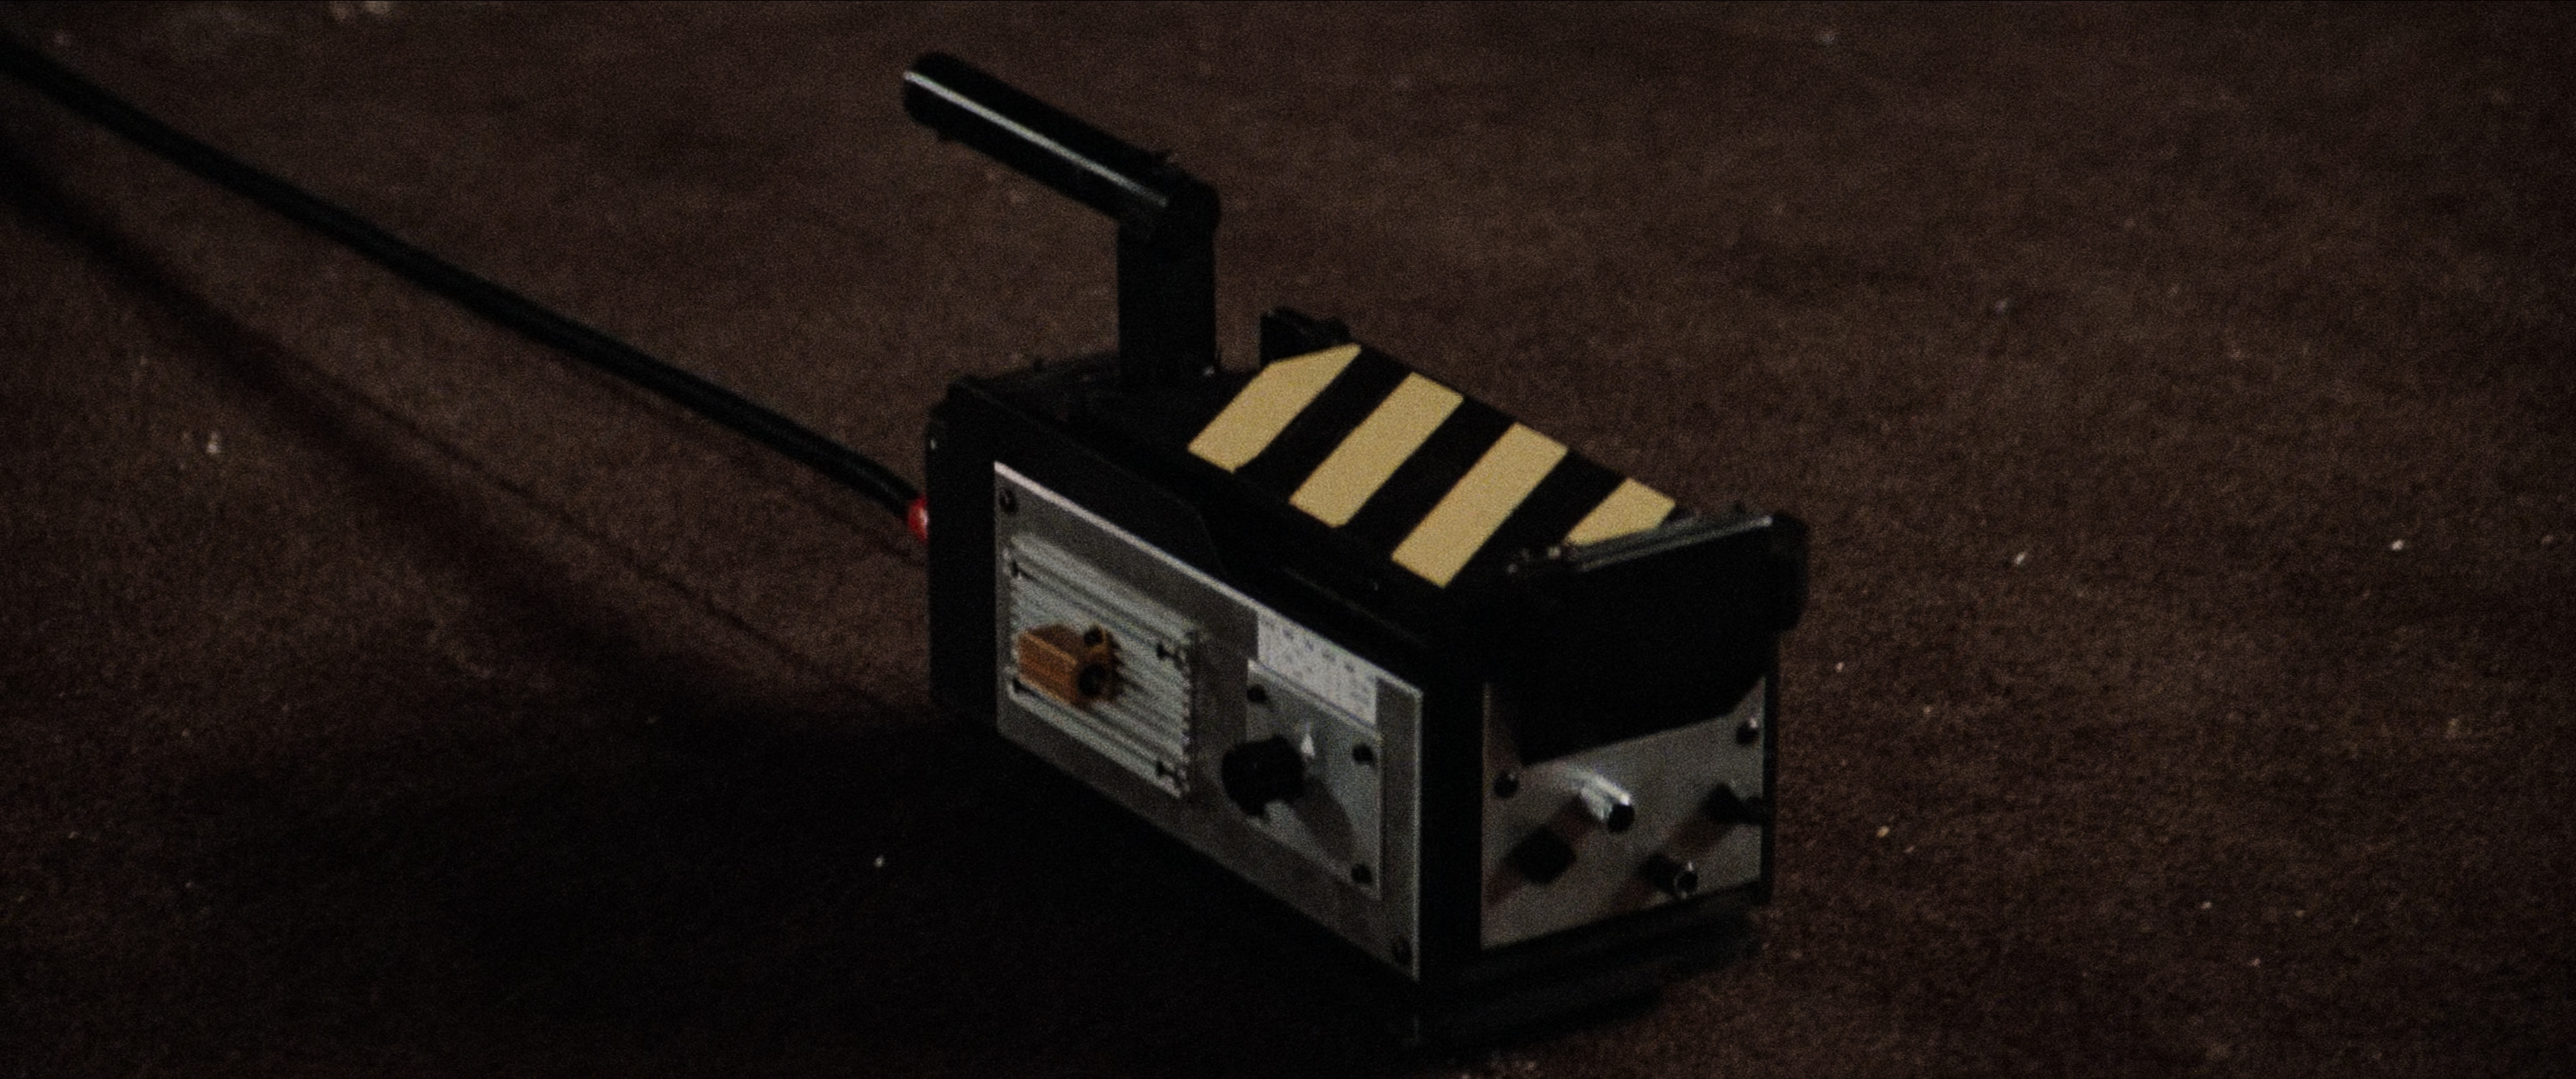
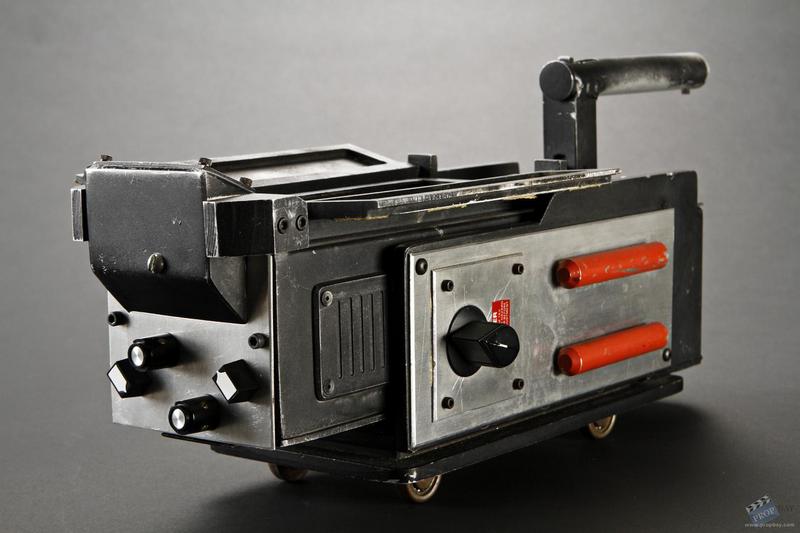
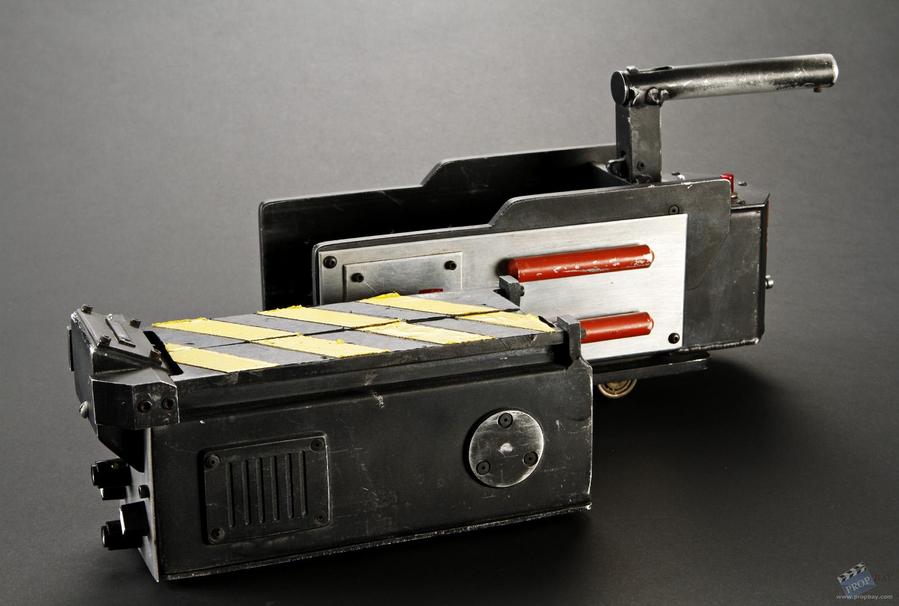
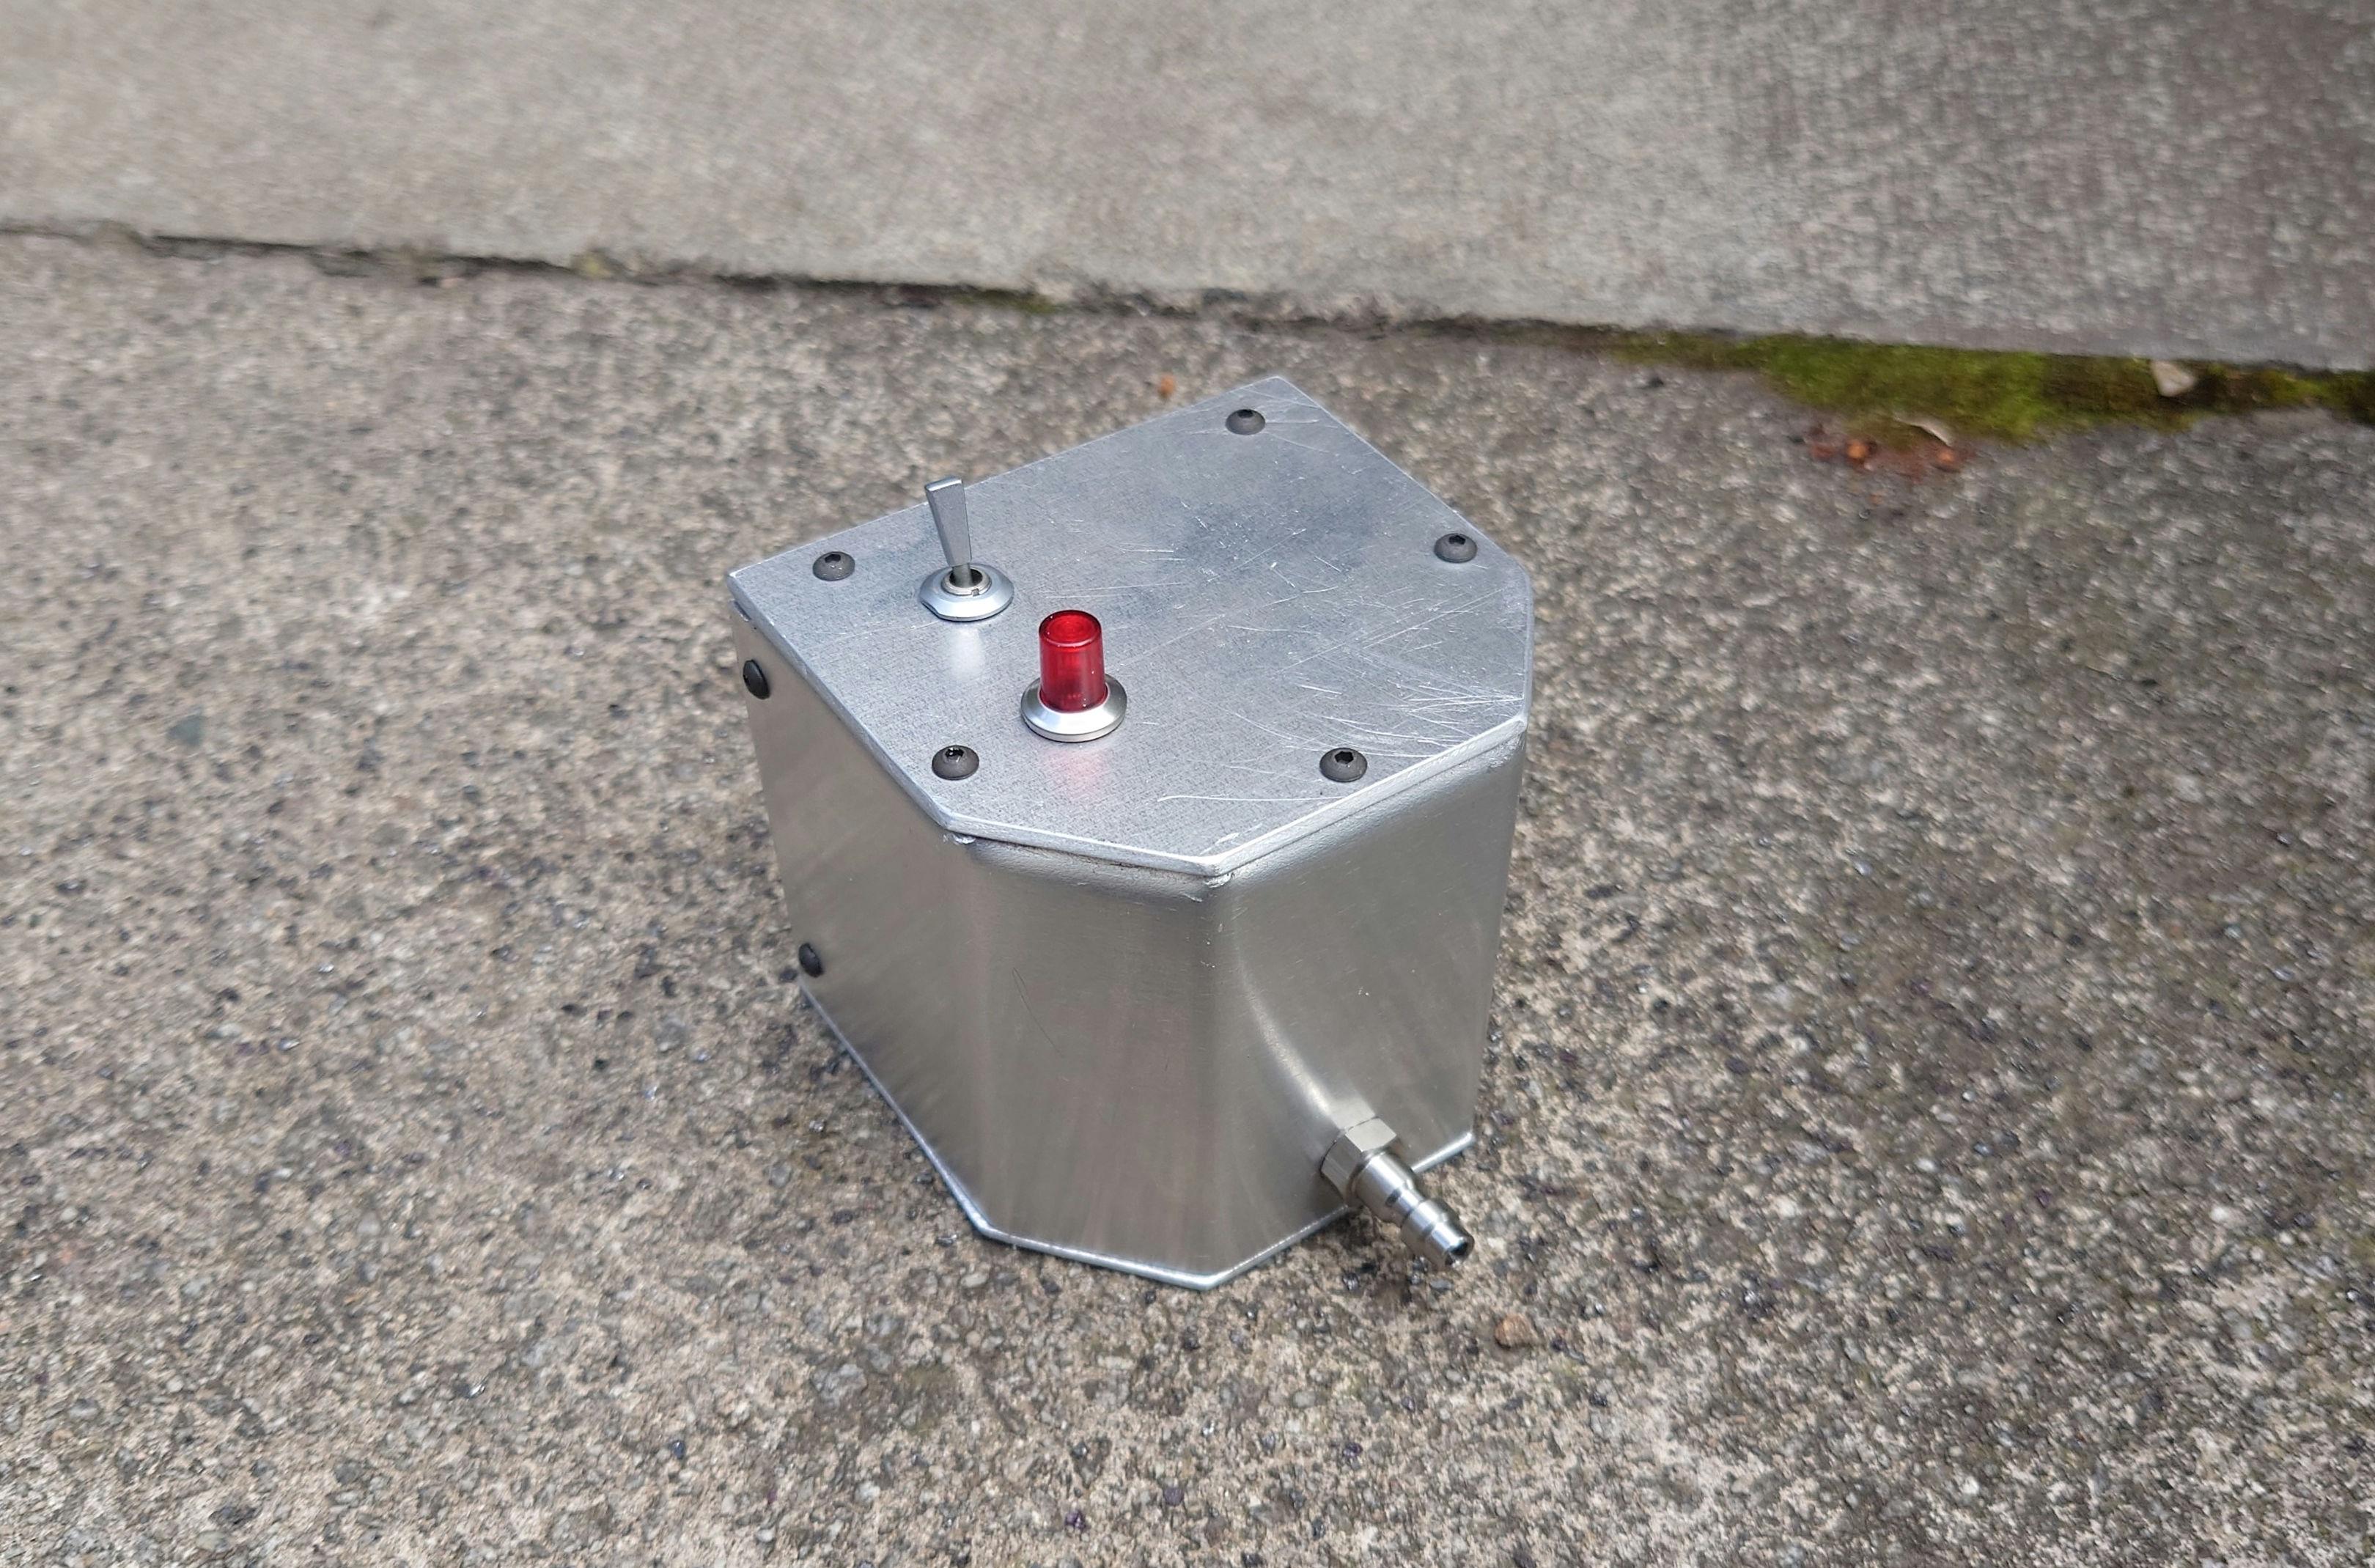
The Hero trap will be based on the ECU removable cartridge trap without the swapped out front knobs and button head bolt in the front of the bargraph box and with the addition (eventually) of servo controlled doors, a suite of lighting effects and maybe sound.
The belt hanger will be foamboard with minimal electronics.
It’s mostly going to be made for use as a smoking trap for local events.
So far there’s not much progress to show.
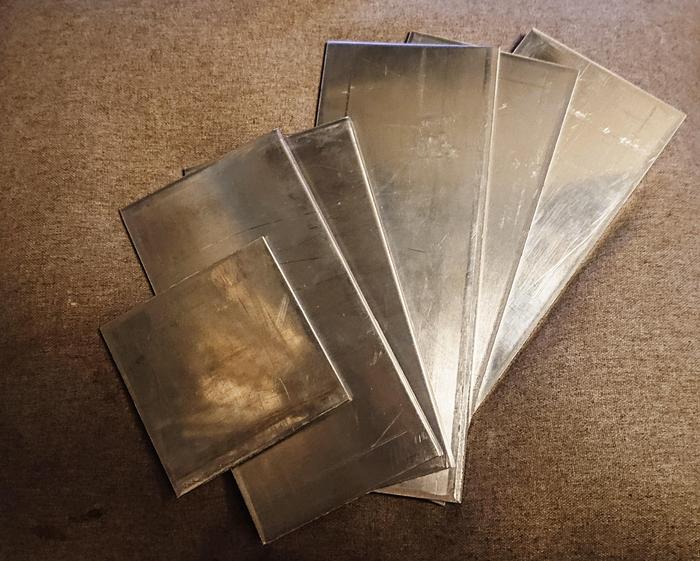
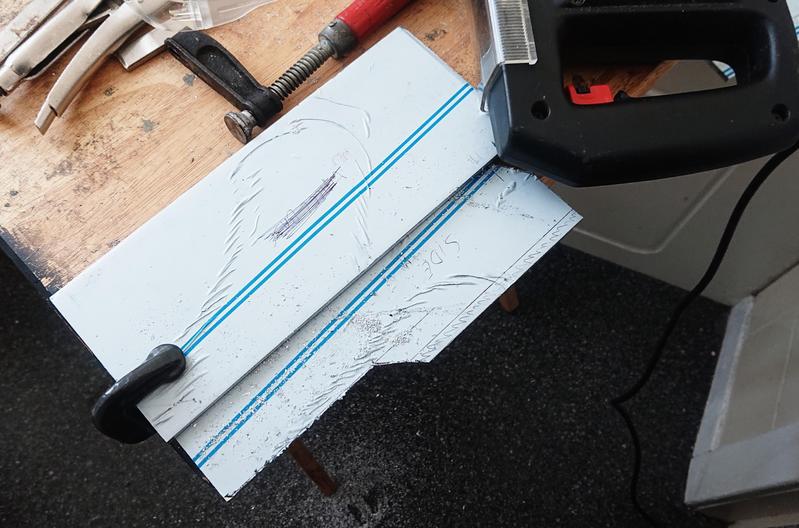
I’ve mostly just been marking out parts on aluminium stock but I’m hoping to make the majority of the cuts needed for the thicker stock tomorrow and have some recognisable parts to show.
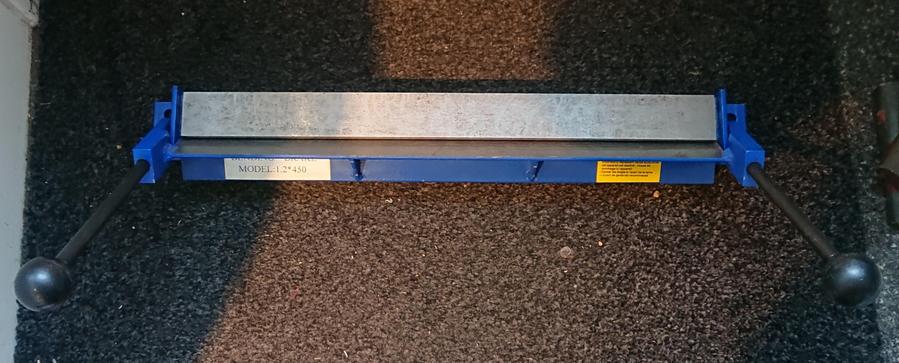
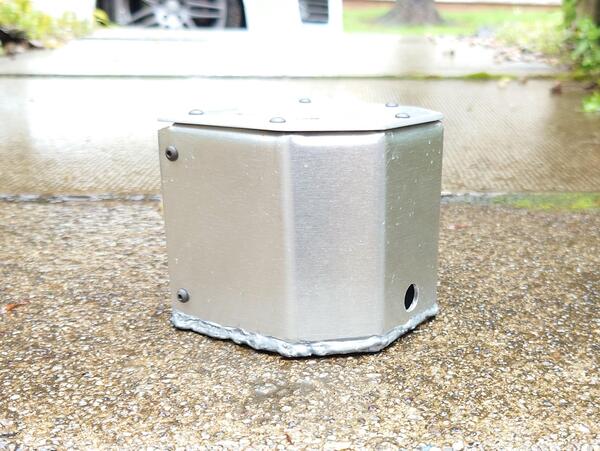
I did manage to pick up a small bending brake today, which is really going to help me to work much faster and get more accurate bends in the sheet stock without the need for adjustments after the fact when I’m forming the cartridge, battery box and bargraph box as well as help to avoid some of the challenges I ran into when I was forming parts for the thrower.
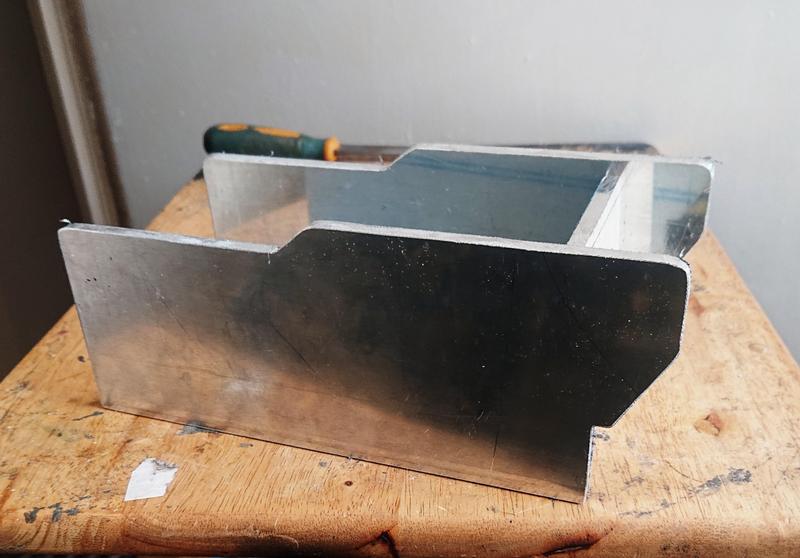
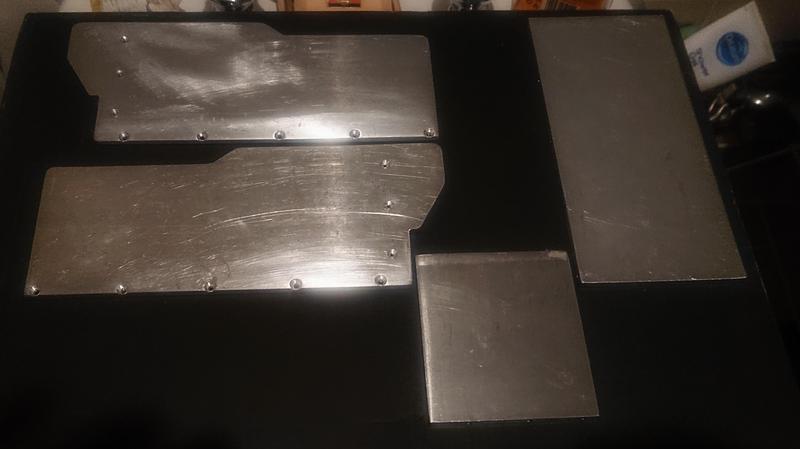
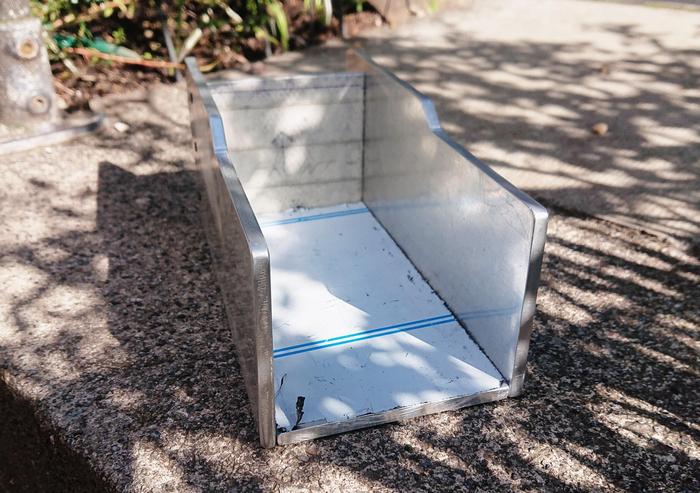
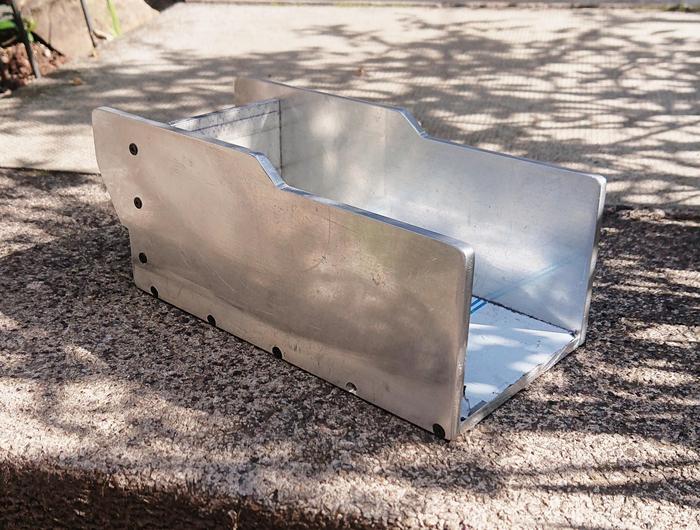
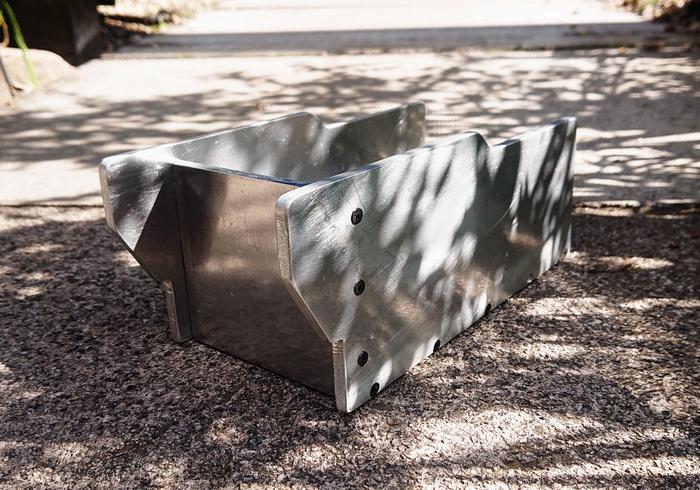
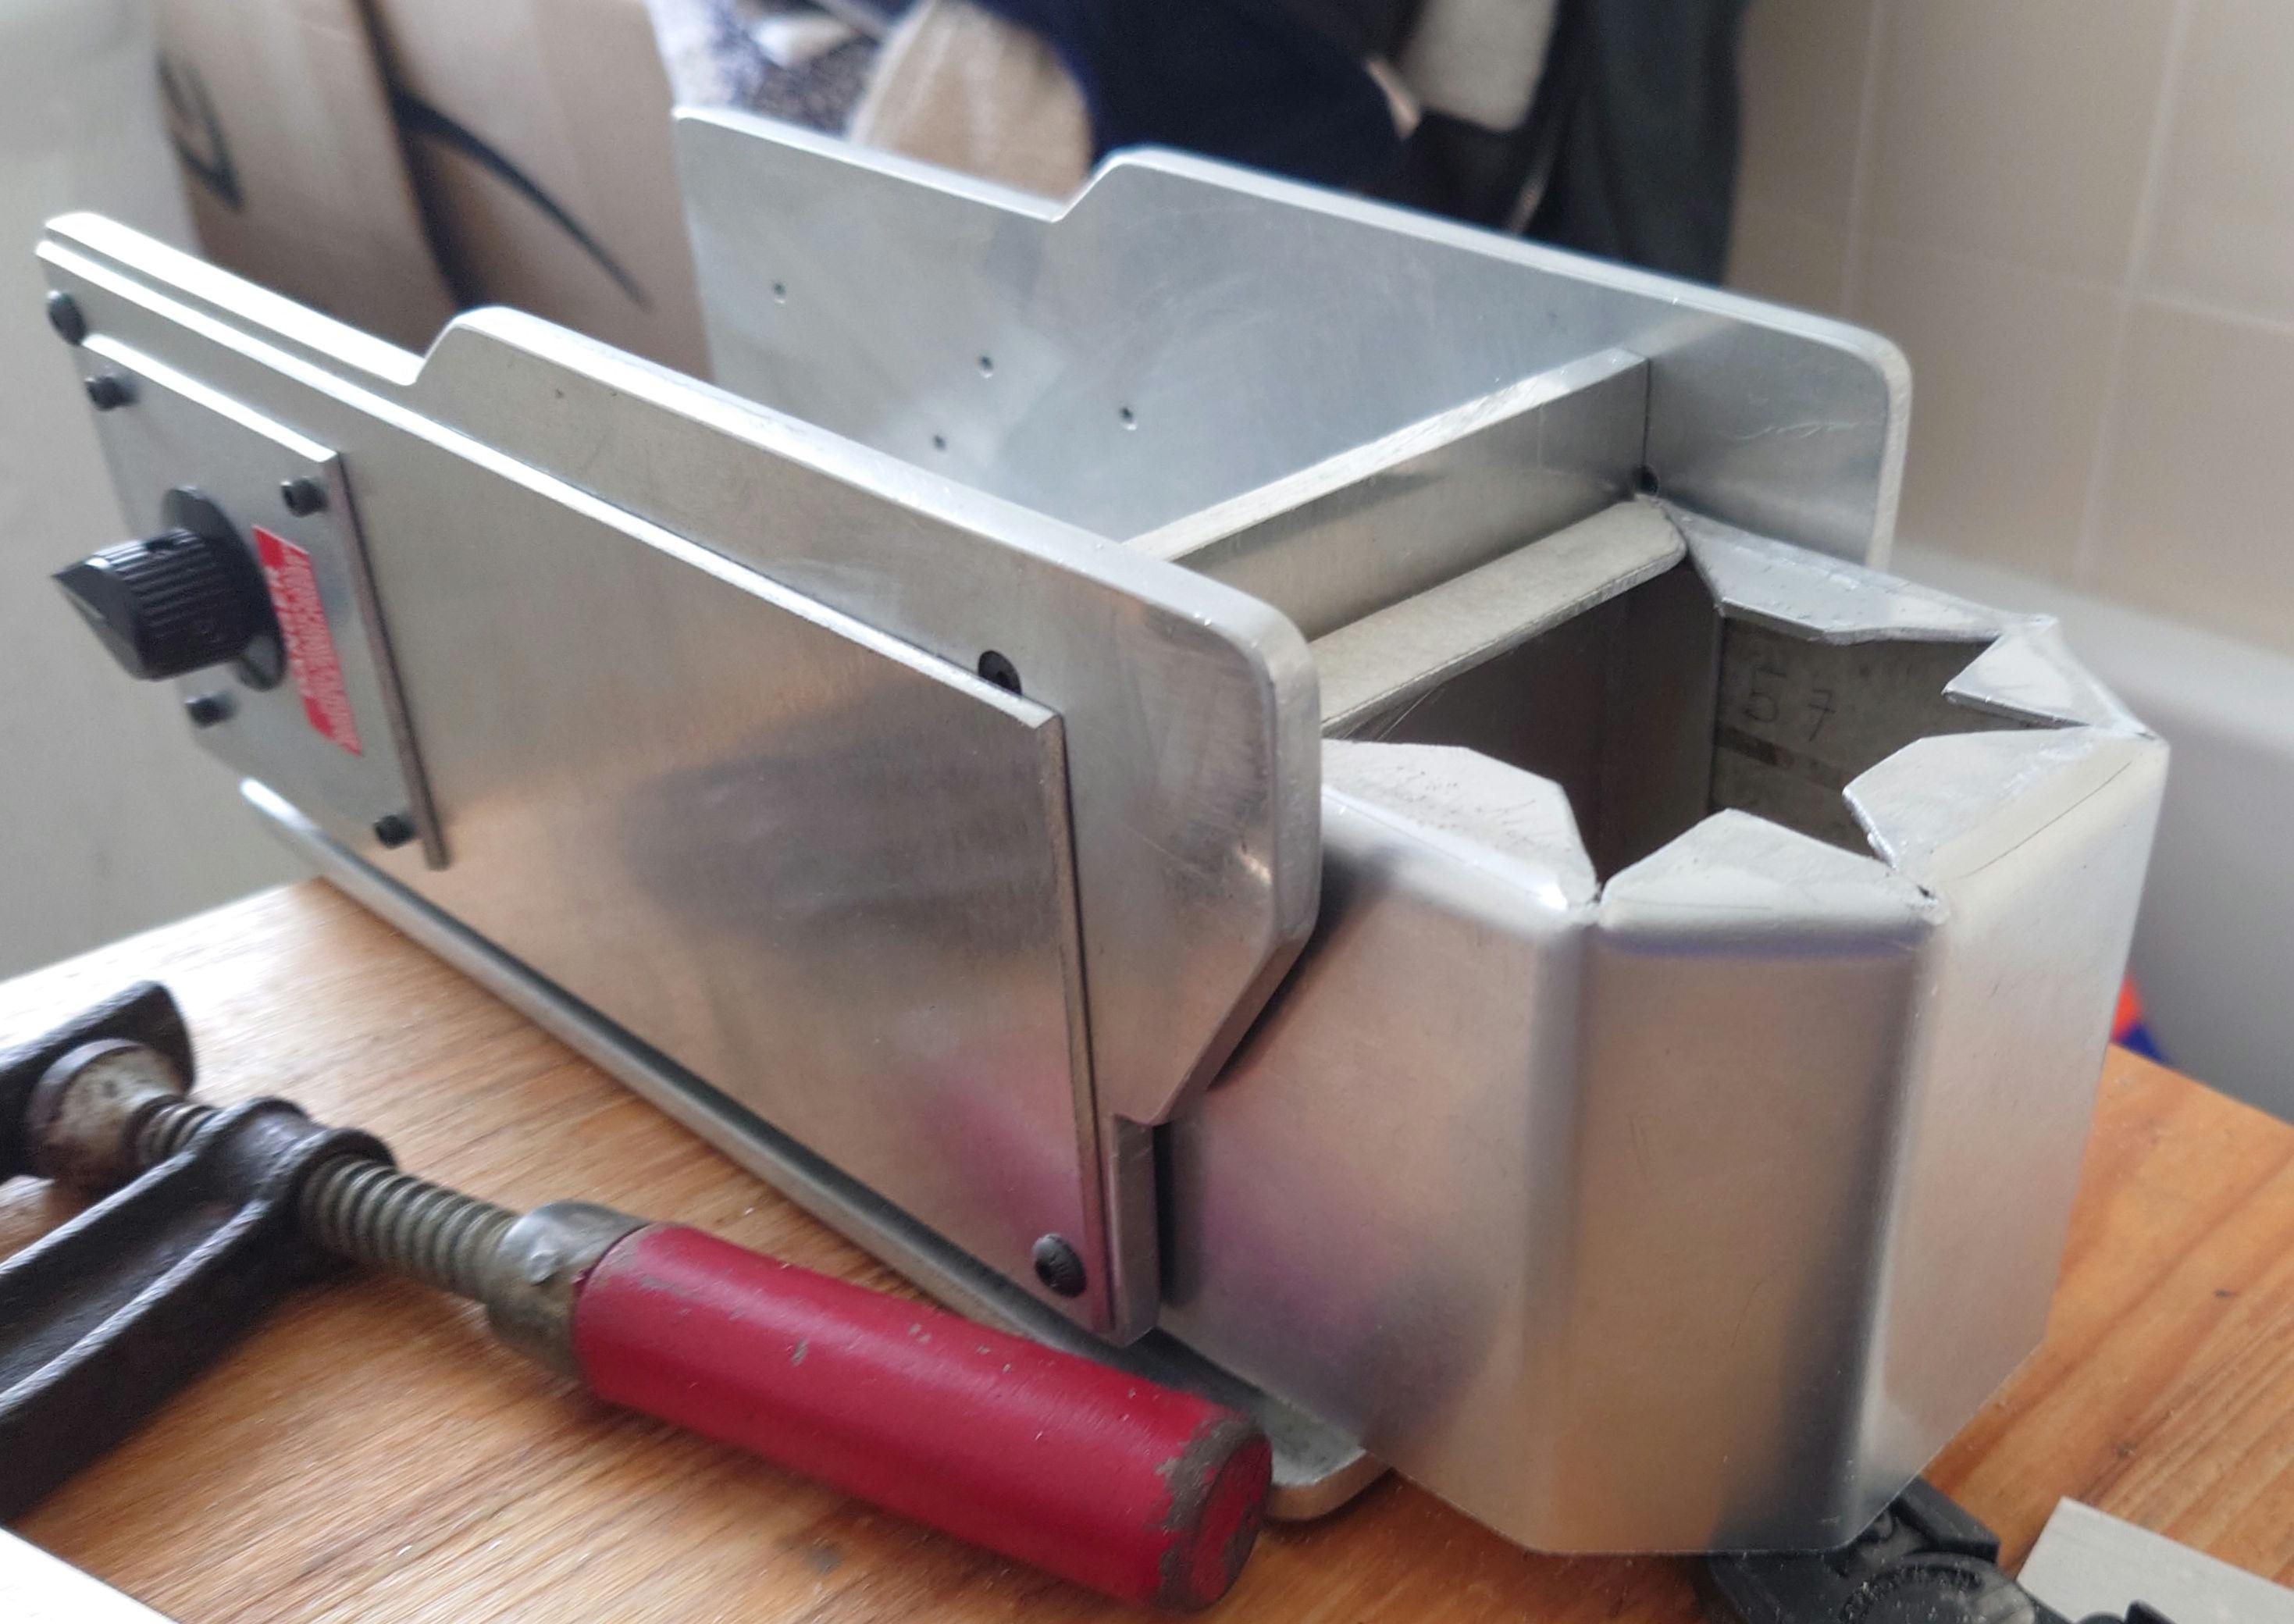
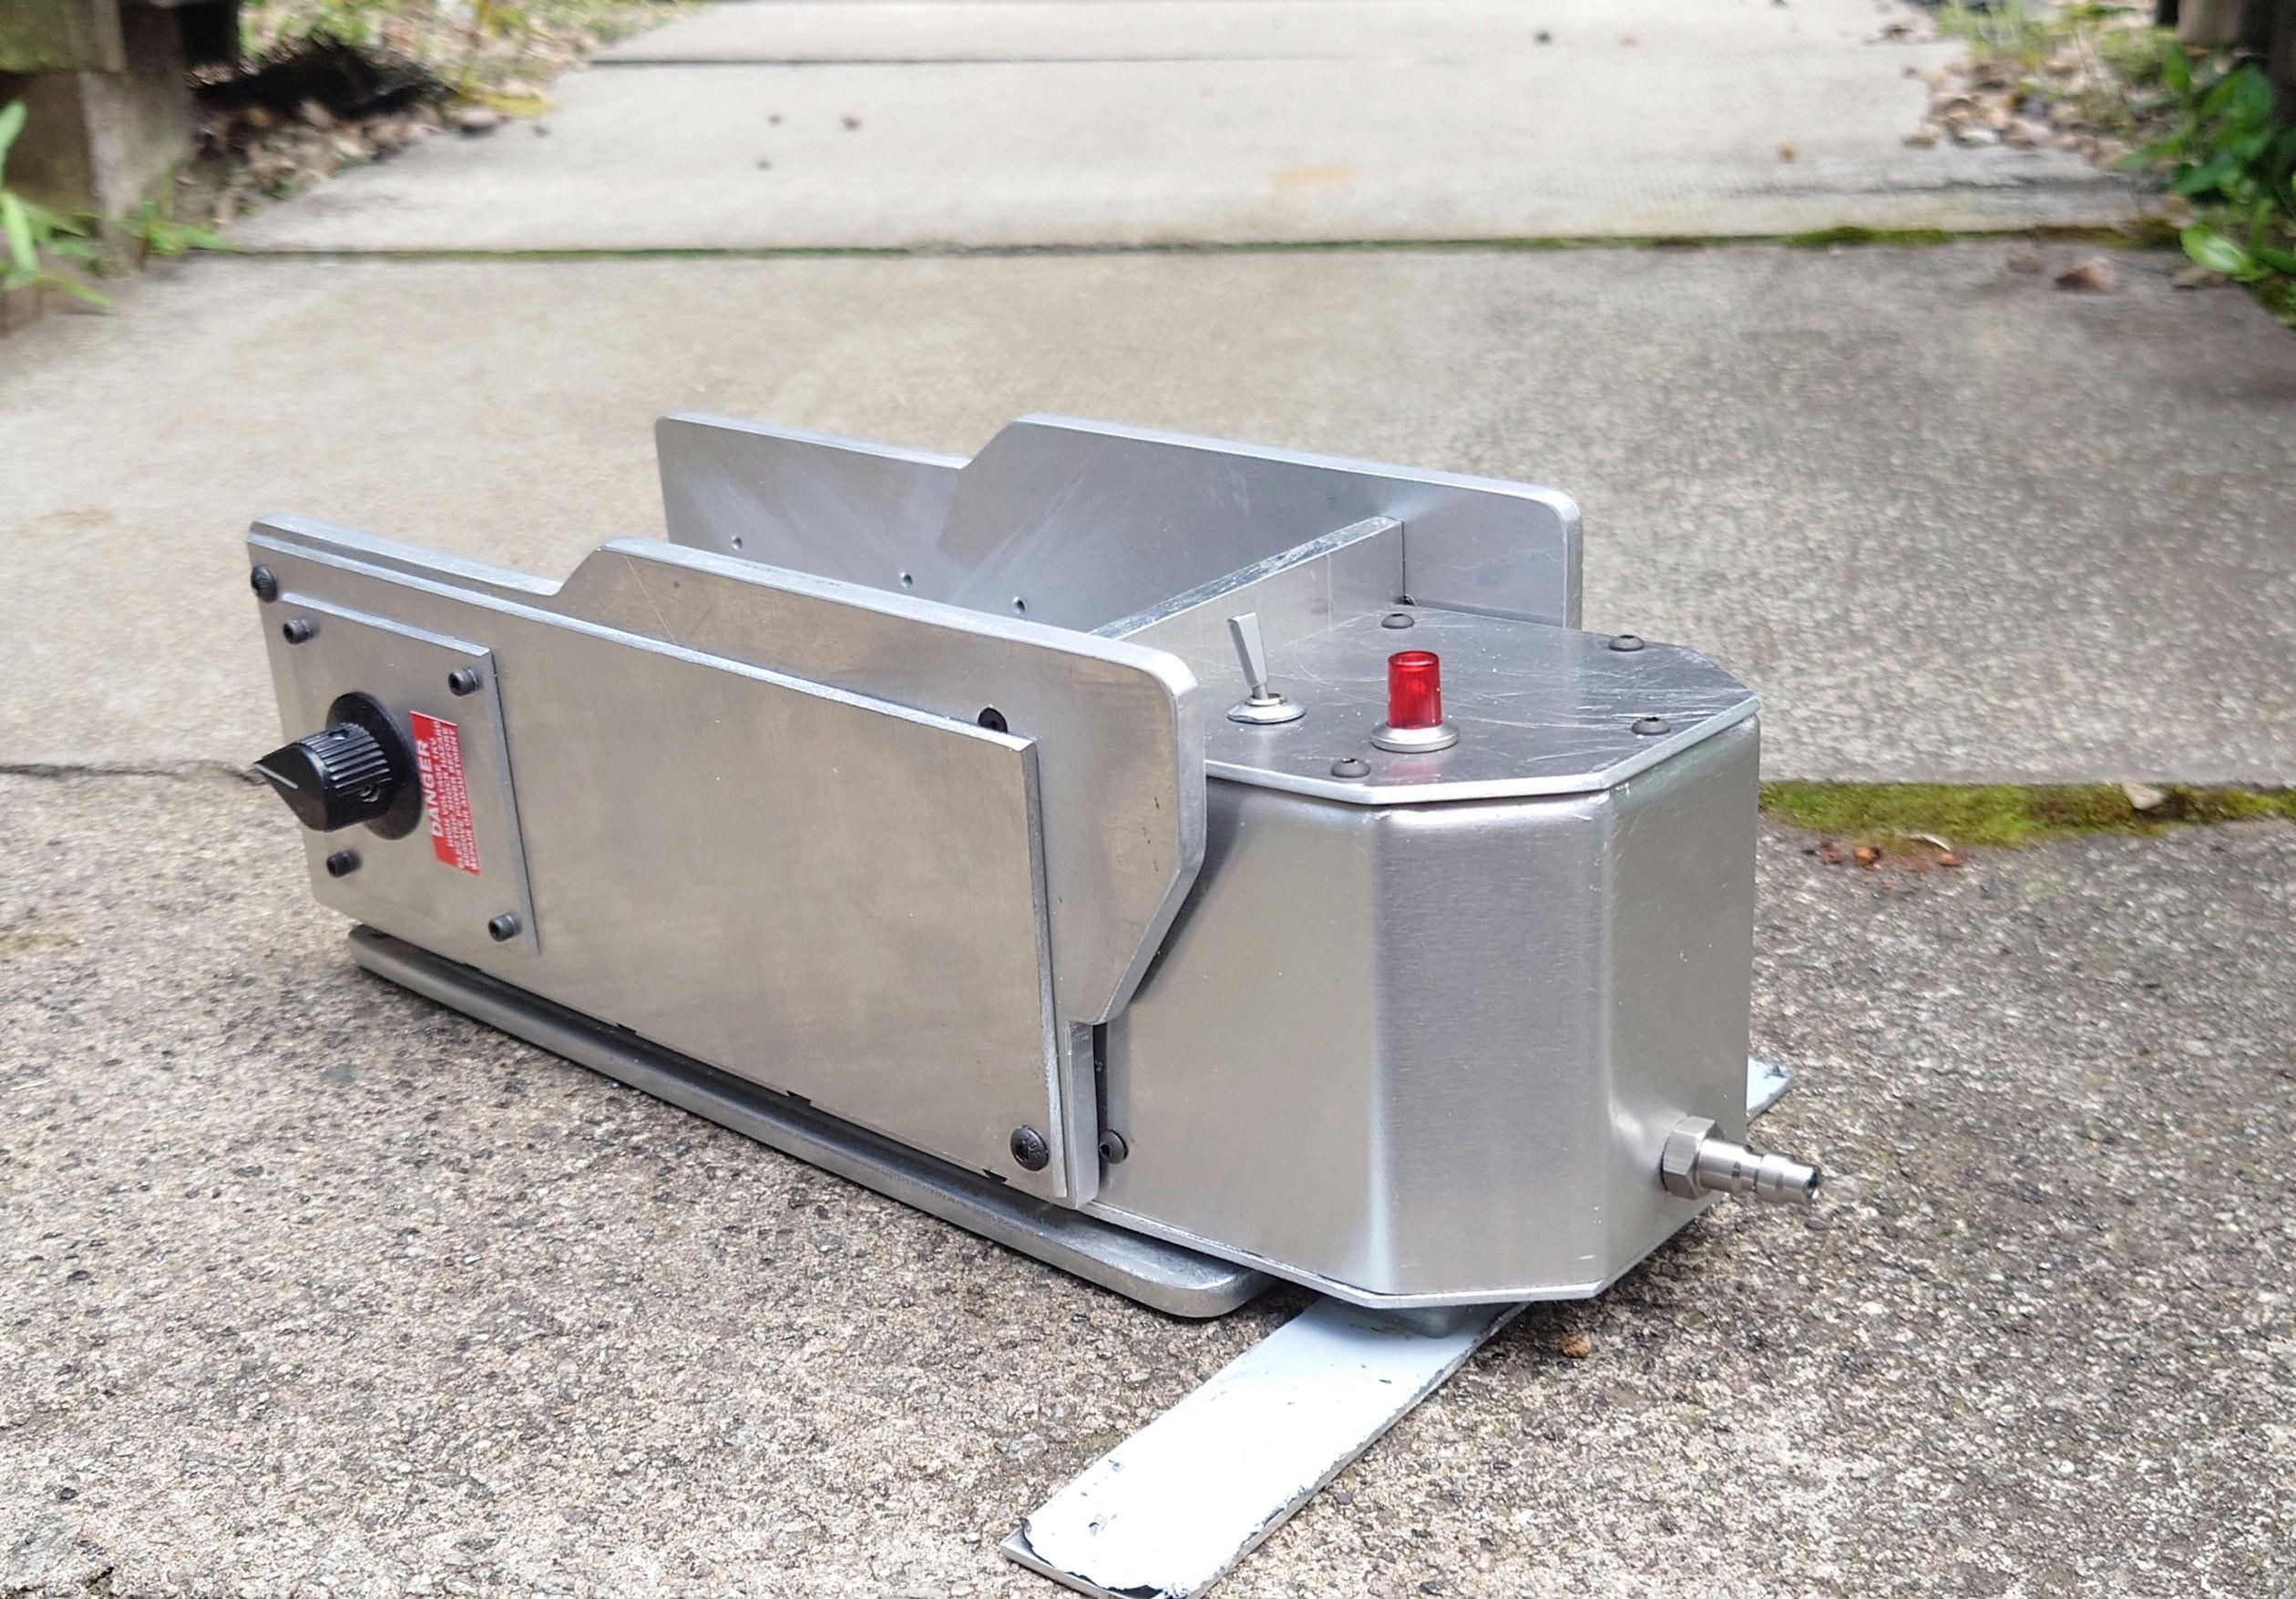
I didn’t have as much time as I’d have liked today but after much cutting and filing, I managed to churn out some recognisable parts to the point where its starting to look like a thing.
These parts still need a bit of fettling and I have a couple of other bits to finish which they attach to, but they’re almost ready for the next step.
I don’t have anything particularly exiting to share at the moment as I’m still waiting on some back ordered supplies, but I’ve been smoothing the edges on the bits that I’ve already made, started drilling various mounting holes and dry fitting parts of the outer frame.
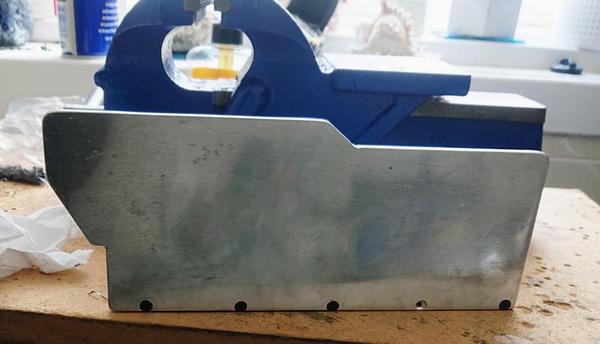
All holes drilled and tapped for attaching the sides, base and back plates of the outer frame of the Ghost trap.
Loads of drilling and tapping still needed on those components to attach various other bits to them but I’ll do that as I go, once I have those parts made or sourced.
Next I’ll be working on the wheel base and spacer plate.
One thing I hadn’t considered is the aluminium not being completely true.
You’d expect it to be perfectly straight but some pieces have a very slight bow or tiny variations in thickness.
This isn’t a cause of any major issues but it does mean even perfectly placed and drilled holes can be off enough on some parts not to align correctly or cause some edges not to be completely flush with other parts at every point along an otherwise perfectly straight edge, which can be time consuming to address.
It’s all a learning experience though, so I know what to look out for going forward.
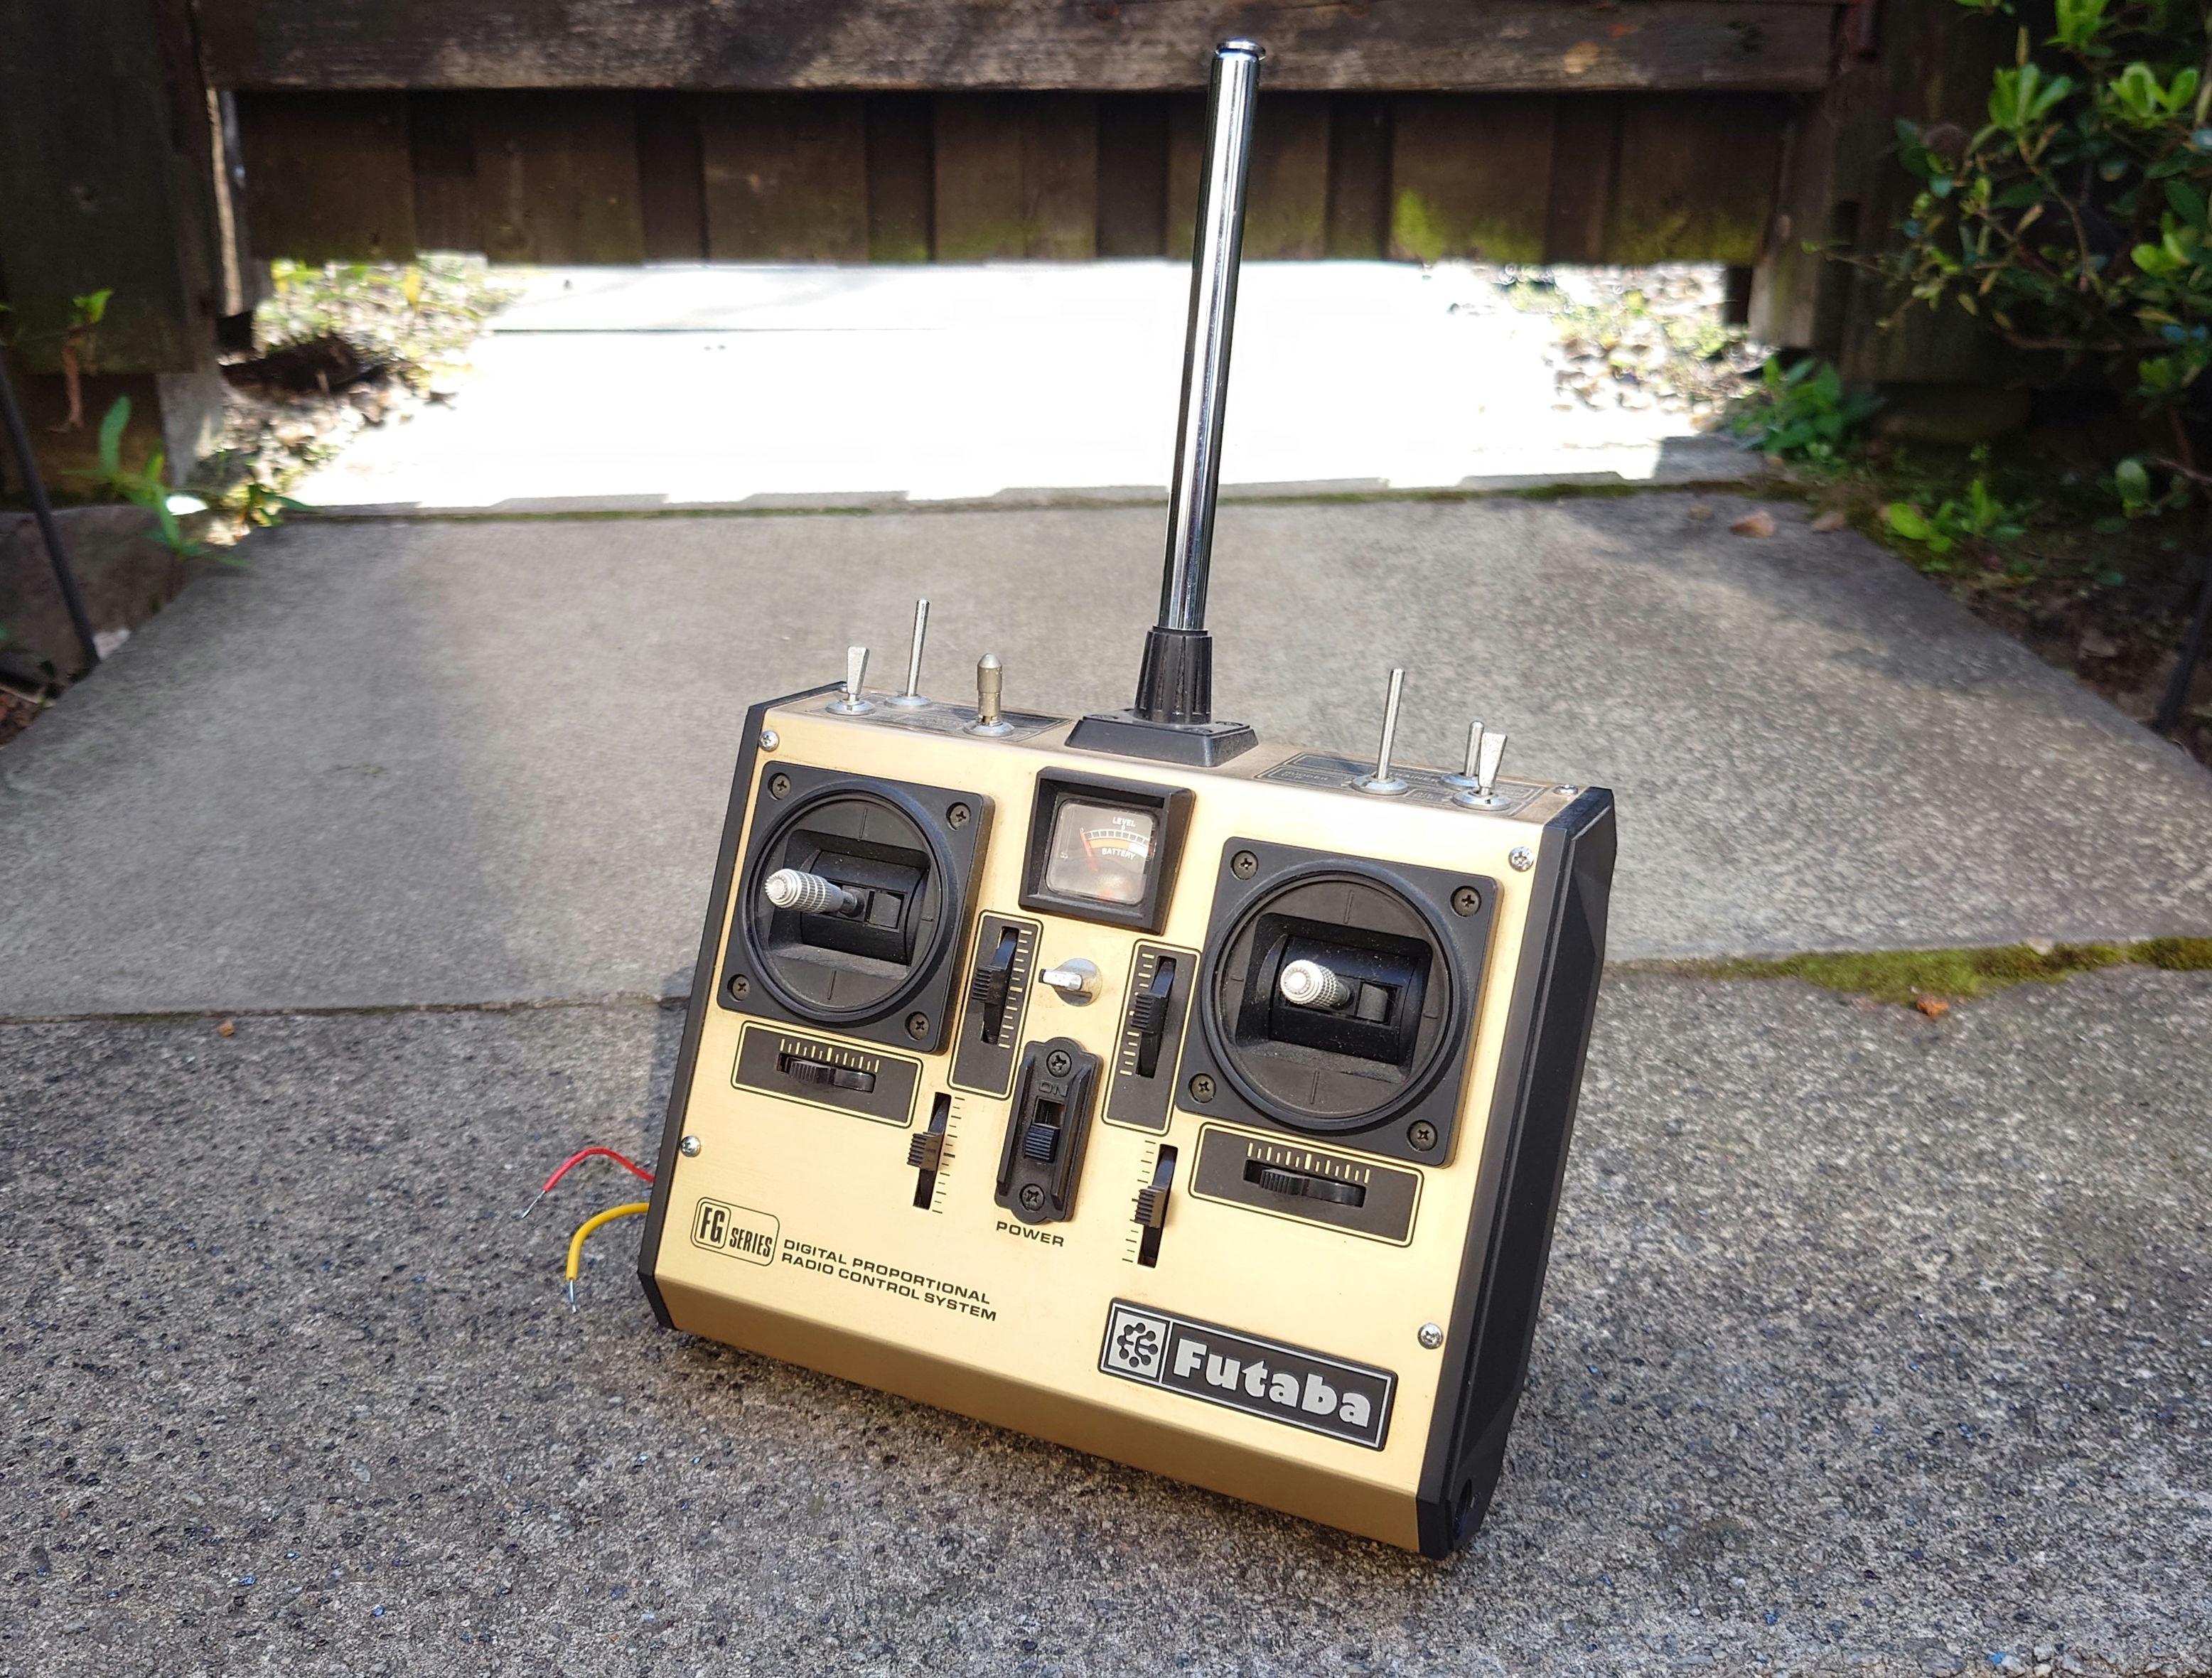
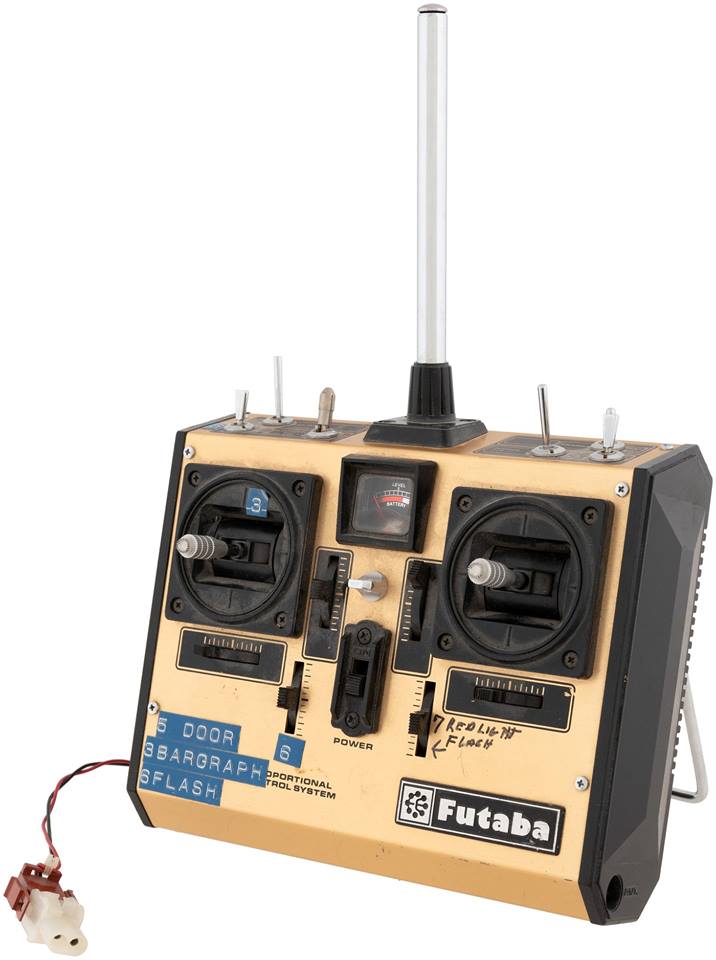
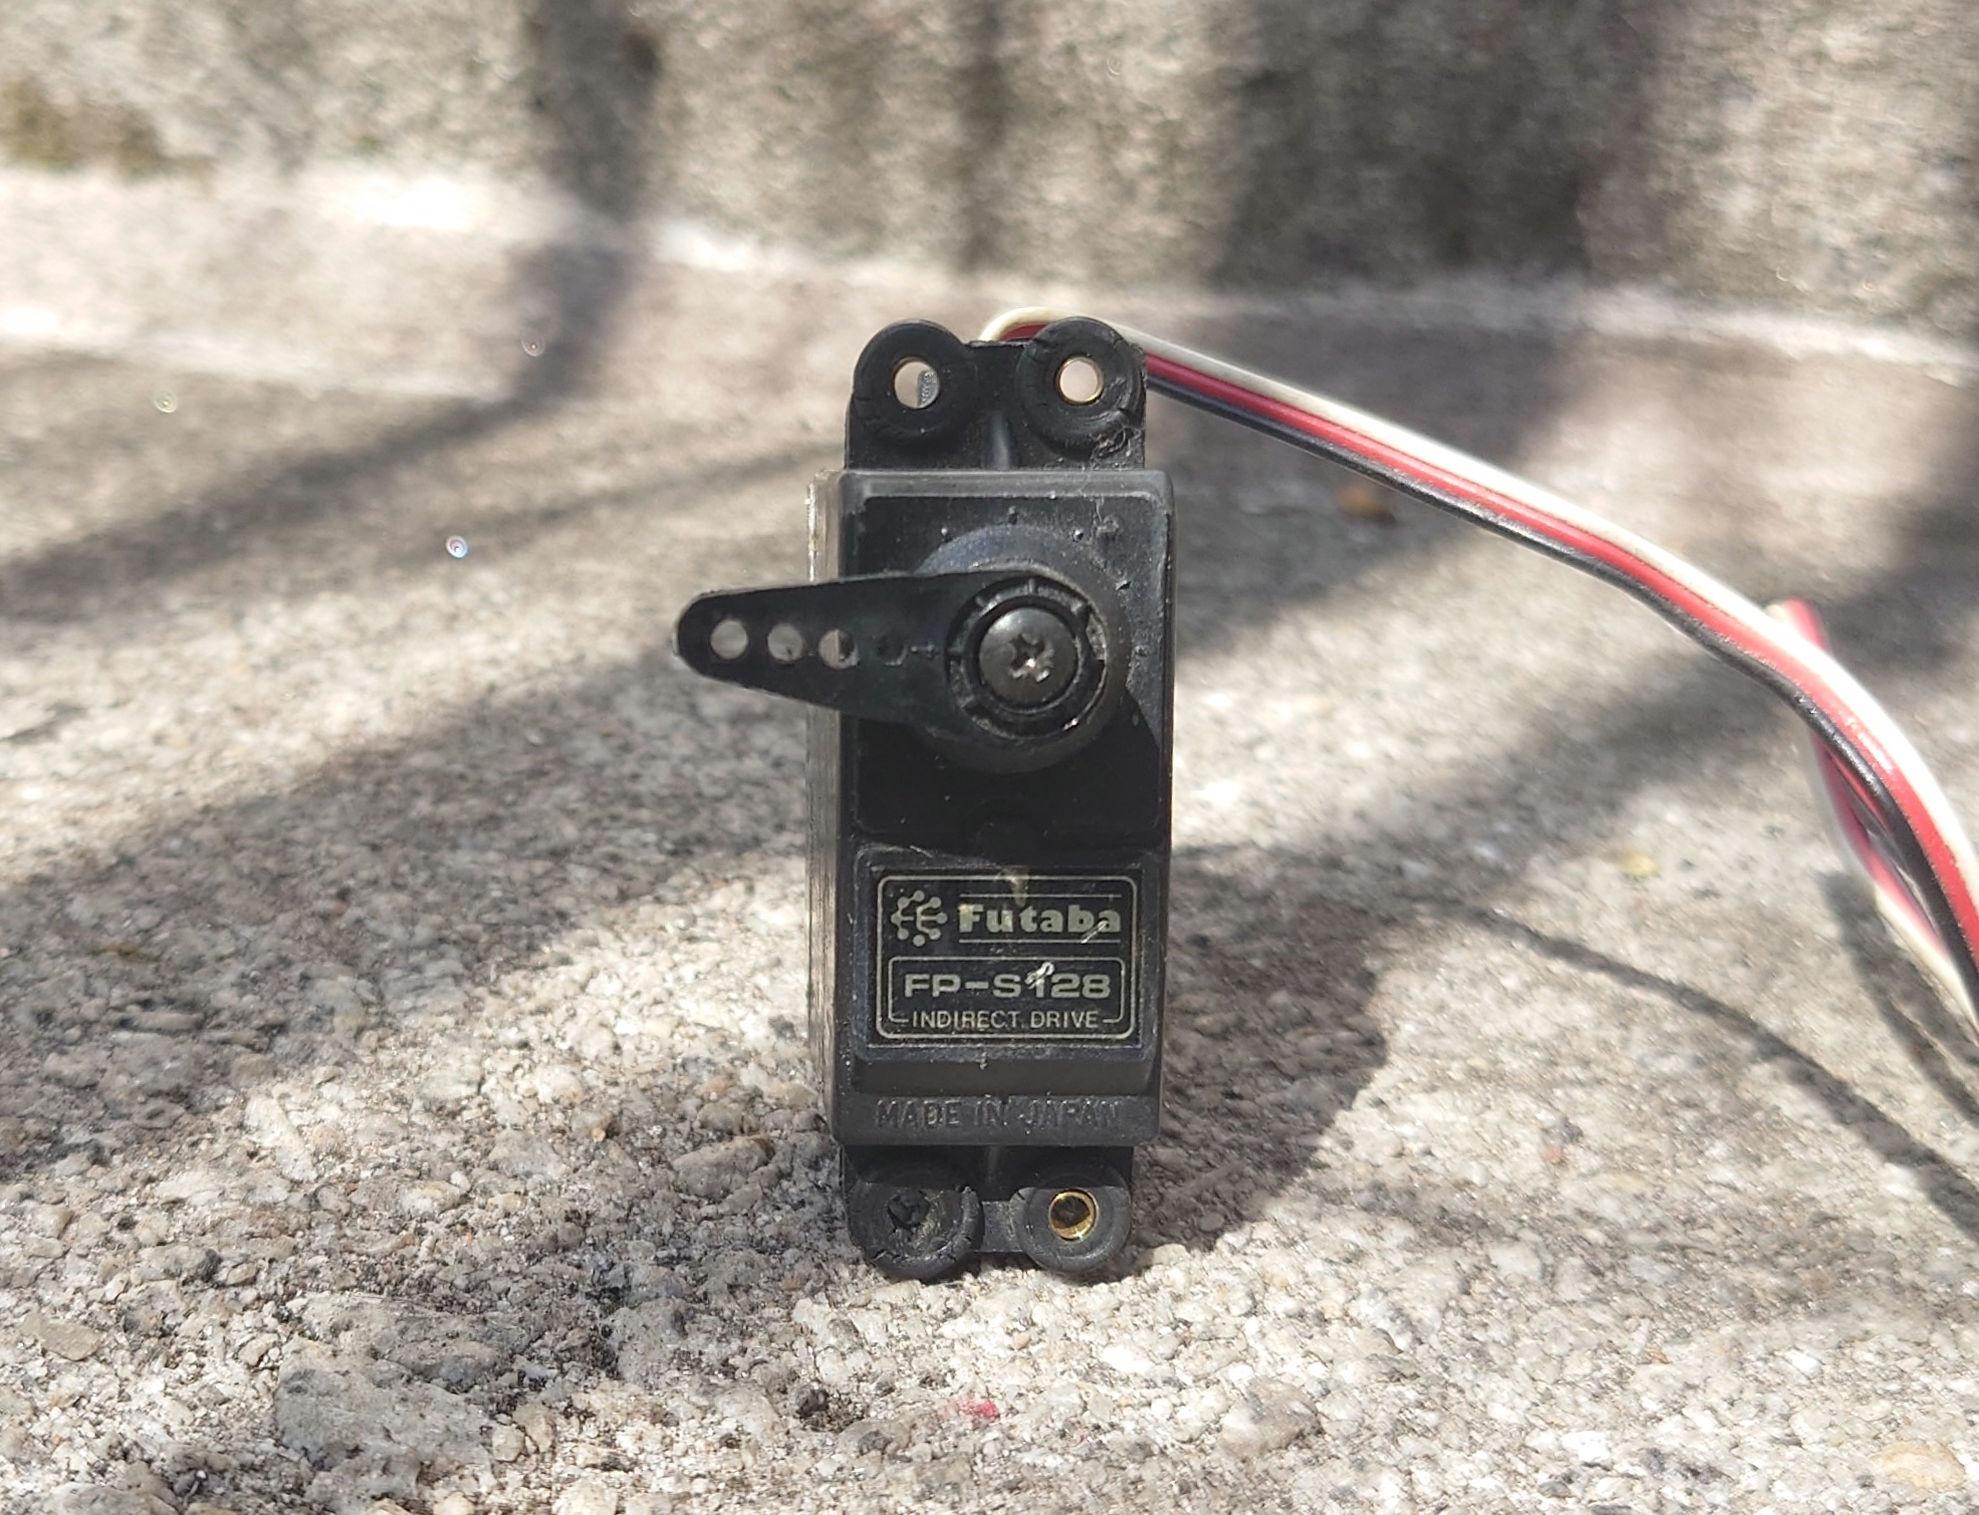
I was lucky enough to find the same model of vintage Futaba transmitter that was used to control the RC hero trap that was reused in GB2 and possibly the same type used on the Dailies and ballroom trap.
So my plan is to go all out and use the same setup as the original traps had in terms of the servo and receiver, etc.
Once I’ve sourced the rest of it.
This transmitter has already been modified by a previous owner to run on an external battery as the production used one was ,so that’s one less thing for me to do.
The one area that I’ll be changing is the lighting setup as I’ll be using LED’s instead of incandescent bulbs.
It’s slow going at the moment as I’ve been busy with other things.
Although I did manage to get some more components for the Futaba transmitter.
Namely, a couple more receivers, including a miniature 5 channel, the charger and the frequency module for the back of the unit.
Which I’ll show in a future post once I have the rest of the components needed to get it all working.
In the meantime, Another small piece of the puzzle for the ghost trap has arrived.
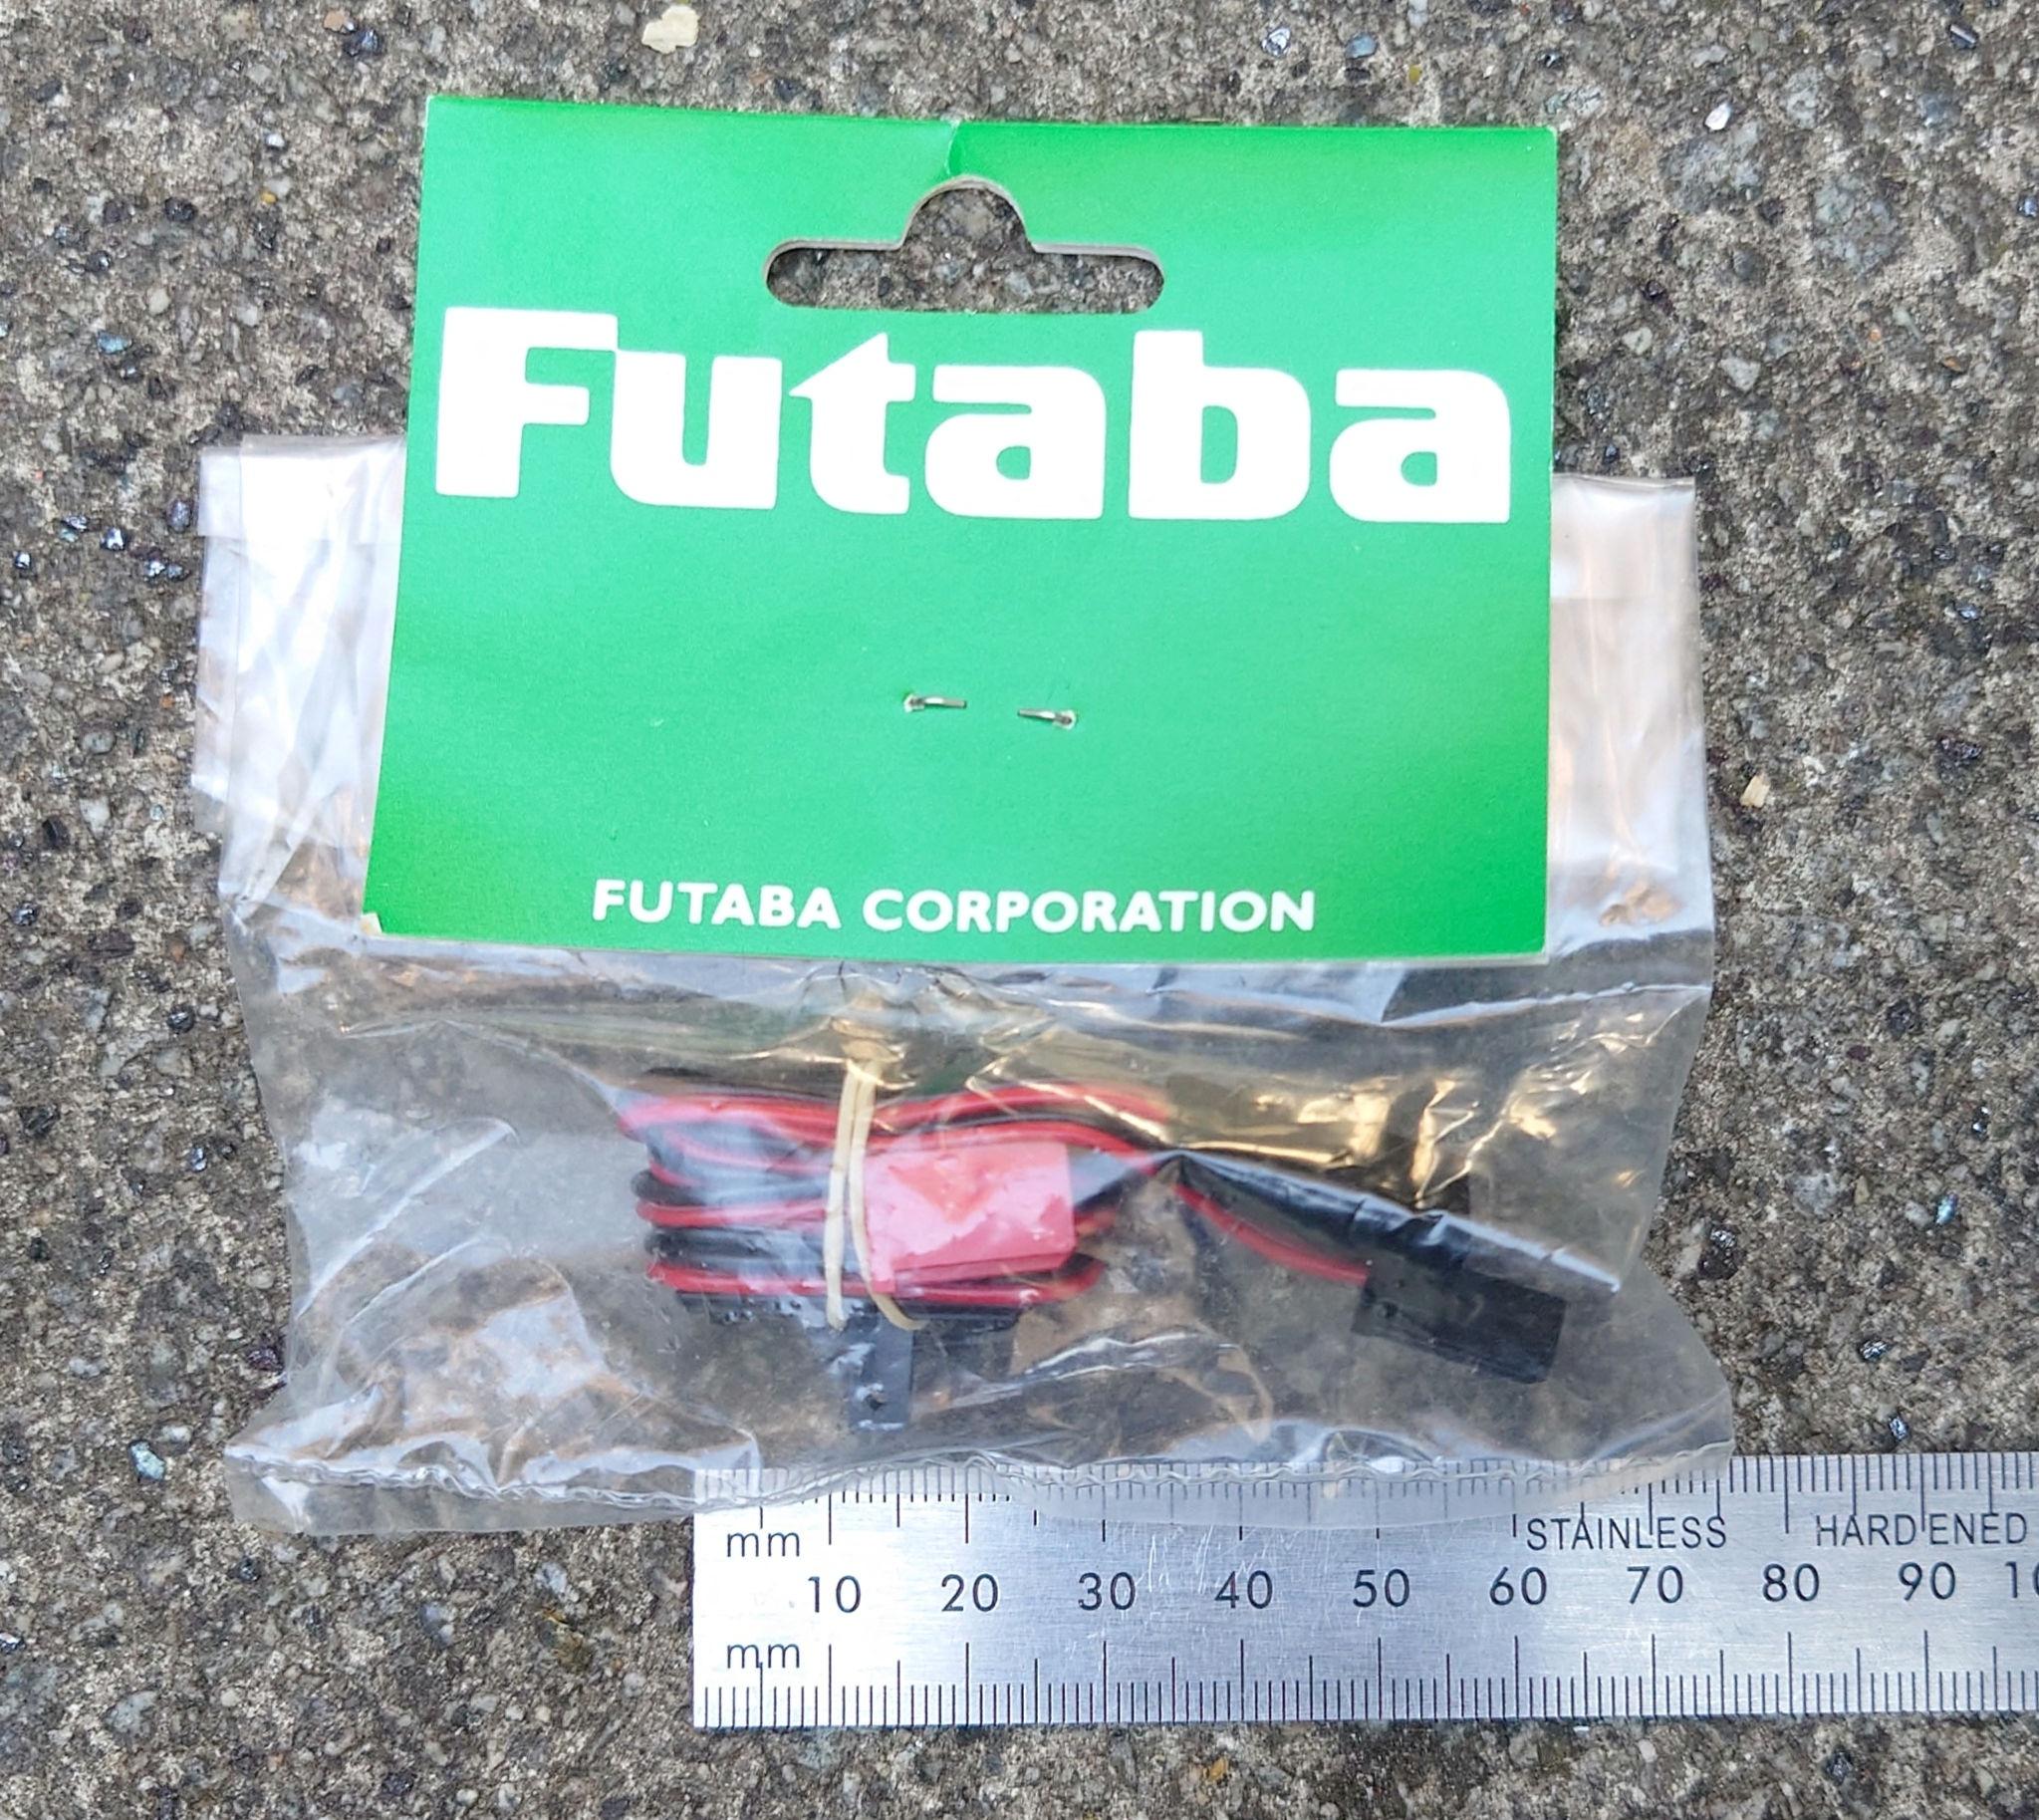
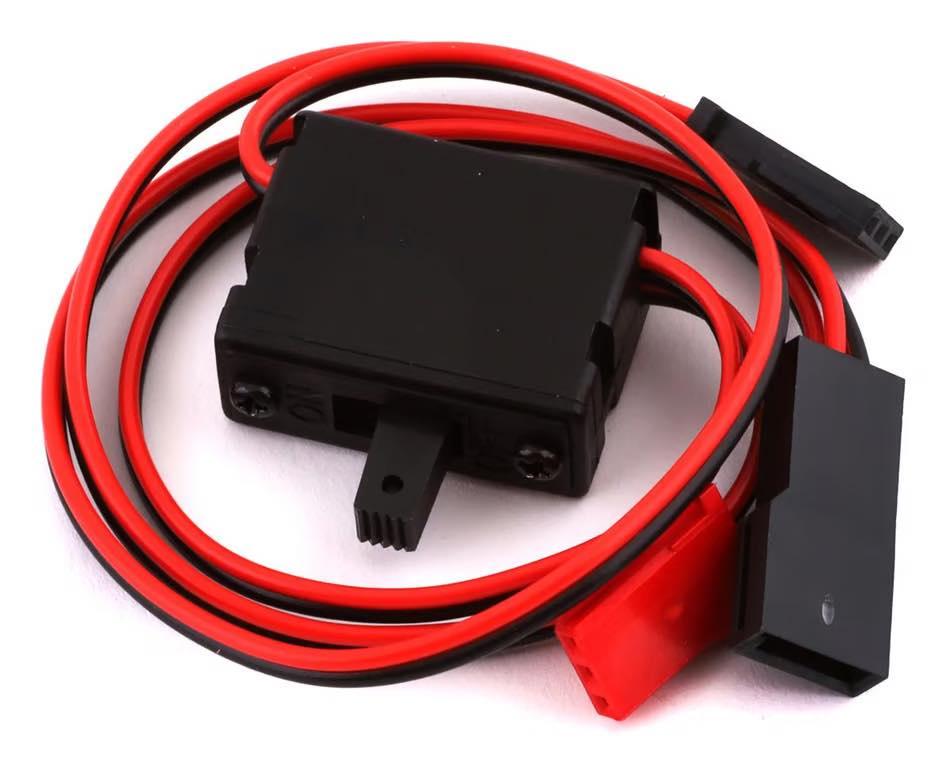
A Futaba switch and charging harness for the RC receiver and it’s battery which was recently identified by Cole Funseth.
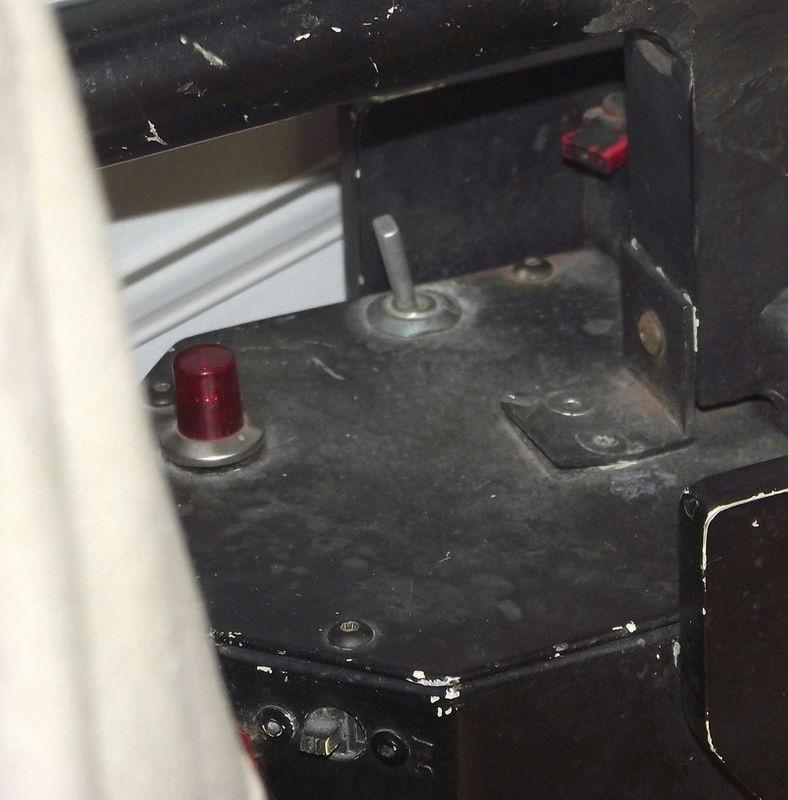
This particular switch and charge harness ( the red plastic part next to the trap handle in the following pic)can be seen on the battery box of the RC trap which was reused in GB2.
It’s not seen on the one which I’m replicating as that trap didn’t feature a full electronic setup ( although it appears it may have been intended to)
So instead of using it in that capacity, It’ll be housed inside the cartridge of my trap which will maintain the accuracy of the build and still allow for the RC functionality.