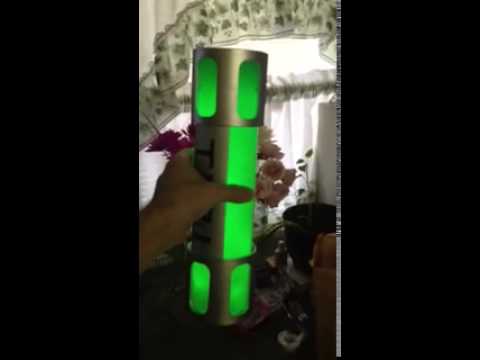
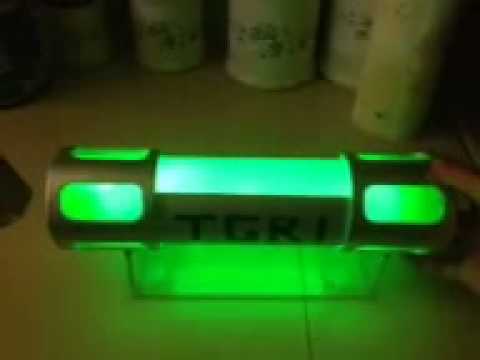
Anyhow here is where I’ve been so far with my friend…
I first decided what to use and thought about using PVC pipe and PVC couplings however I wanted it to be translucent so I found acrylic pipe 3’’ OD and a foot long. This was a great sized piece as well as for my budget at only 8.00 on ebay. I then bought PVC couplings for the caps, acrylic 8x10 sheets to cut and cap off the top of the caps and the top of the acrylic pipe because I was actually putting ooze inside that I didn’t want to leak out or dry up. I bought some water tight amazing goop for sealing and adhesive. I’m using a cricut to get the logo just right and more acrylic sheeting for the plates.
For the ooze I bought color slime from the dollar tree (15 cans) to be exact and it’s just like the ecto plazm and ooze of the 80’s that we all grew up with. I had to get one of every other color for nostalgia’s sake.
I wanted it to light up at night so I tried several methods and settled on putting 48 green LED’s on a string and put a smaller tube inside of the middle of the slime so it will glow at night but be diffused in the center of the ooze itself.
I’ll show you where it started at and testing and where it’s at now. It’s about 50% done at this point…
tried this configuration at first it wasn’t enough
as you can see didn’t light it up all the way.
then tried this
that didn’t work so I went with this
running all of them on 2 AA
that caused small circles to show so I tried this and it was the winner
bent them in and it works great.
Here is the canister filled with ooze
lights on lit up
lights off lit up
now gotta start cutting the windows in the caps and creating the plates
this is all so far I will update more as we get further.
I test fitted the caps after sanding the inside down with a dremel (there is a lip on the inside of the couplings) I sanded it down to where it would fit snug so one side I can glue and the other side I can slip off to get to the batteries. As Ace Ventura would say “Like a glove!”
Now that I test fitted those I measured out the plexiglass for the TGRI plates and got the measurements to have the cricut cut out the logo.
The windows have been cut and the plexiglass is drying to the top to seal them. Once that’s dried then I will be sanding the windows and cleaning them all up so it’s nice and clean before hitting them with primer.
just a mock up, the caps have the primer on them but they still have to be painted, as you can see though this is what it will look like. I am also going to make a display stand for it.
built a stand for it- I still have to paint the caps as they just have primer ( not sure why the picture made everything look white the caps are grey and the plate is metallic silver like you see in other pictures) and I am going to etch this into the stand itself.