Building an Aluminum RGB Belt Gizmo - Photos and Progress

This is a project I’ve been working on with Lewis Tully, who suggested a build thread. I thought that sounded like a good idea, and I don’t believe I’ve actually ever done a build thread, so here goes!

Now, to start, I have a token amount of experience working with sheet metal. I’ve done some welding, aluminum duct work, metal salvage, things of that sort. I’m by no mans a master machinist, but I like to think I know enough to be dangerous.

With that in mind, this will be a look at aluminum prop construction with limited tools/equipment/access to a machine shop.

It all started with the design sketch:
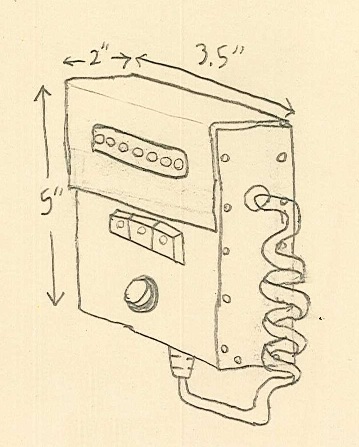
I had drawn this a while back by averaging the dimensions in RGB cartoon screen-caps and scaling them against an assumed human height of about 5’10". Of course, the gizmo changed from episode to episode and even scene to scene, but this looks to me like a decent representation in spirit.

The plan of attack is a riveted aluminum construction, with a hinged top, electronics/lights, and built-in storage space on the inside. In the next post, I’ll detail the materials.
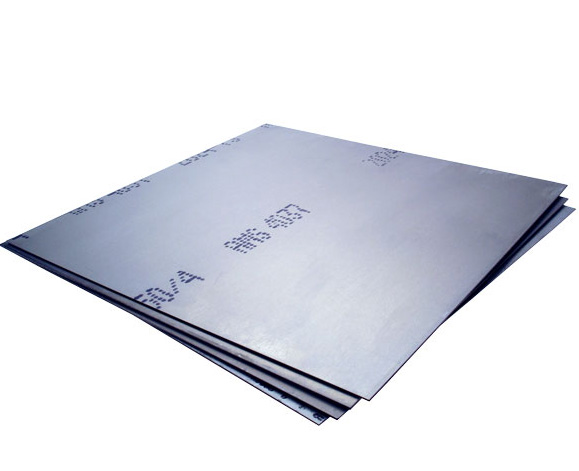
On to materials!

This is what I have for the main body construction:

.025 sheet aluminum (About 2’x2’, cost about $25)

Cabinet hinges (usually $2-4)

Wiss aviation snips (a set of 3 can be found for about $30)

Rivet tool (usually about $10 or so)

Aluminum blind rivets (cheaper than dirt, usually come with the rivet tool)

Dremel tool (I hope you already have one of these)

Dremel cut off wheels (Go for Dremel brand; don’t use Harbor Freight’s if you want to keep your eyes)

Small piece of Lexan or plexiglass (4" square or so)

Pair of wide jaw pliers (Smooth jaw work best; you can wrap the jaws in cloth tape in a pinch)

Carpenter’s squares (Nice heavy duty metal ones)

Clamps of choice

Hard surface for bending

Drill with bits appropriate for the rivets

Washers appropriate for the rivets

Let’s get started!

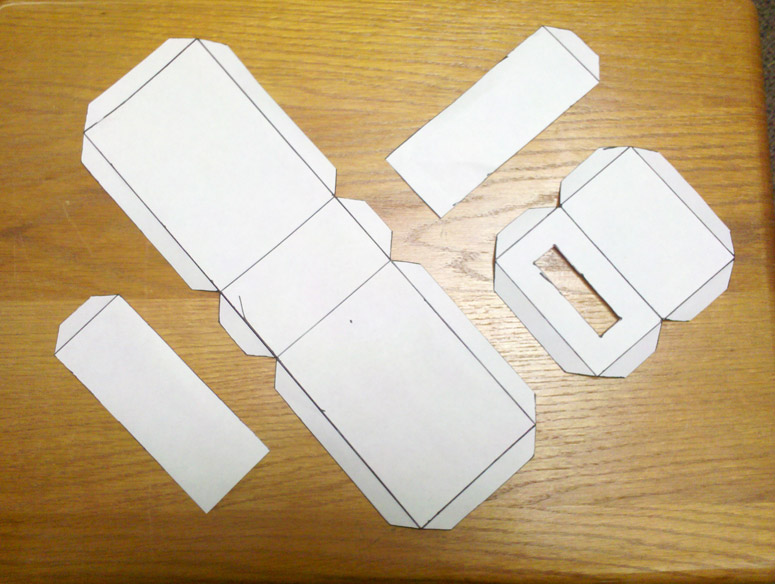
I drew a pattern from the measurements given in the sketch above, leaving tabs along the edges:

The tabs along the sides will give something for the side panels to rivet to, and the tabs at the tops/edges of the main body and lid will fold all the way over to reinforce the edges and give a nice rolled finish rather than sharp edges.

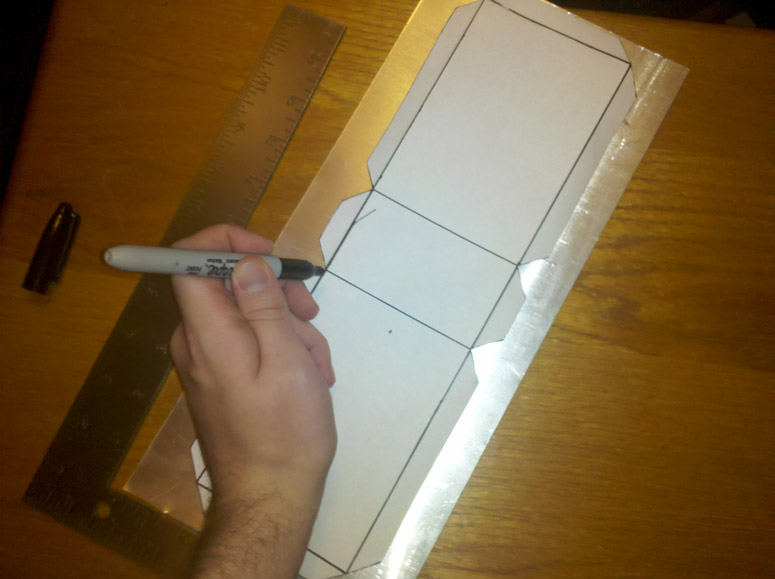
At this point, I transferred the patterns to the sheet aluminum; just tape and Sharpie:

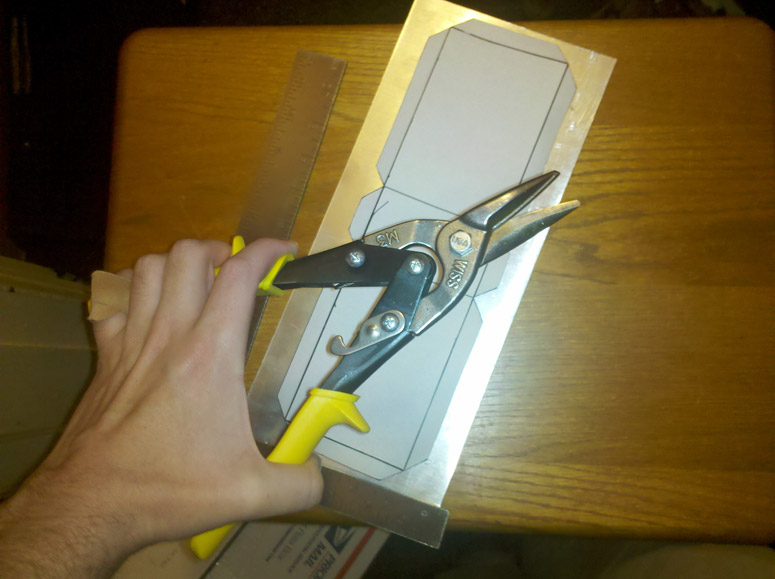
Then to the cutting!

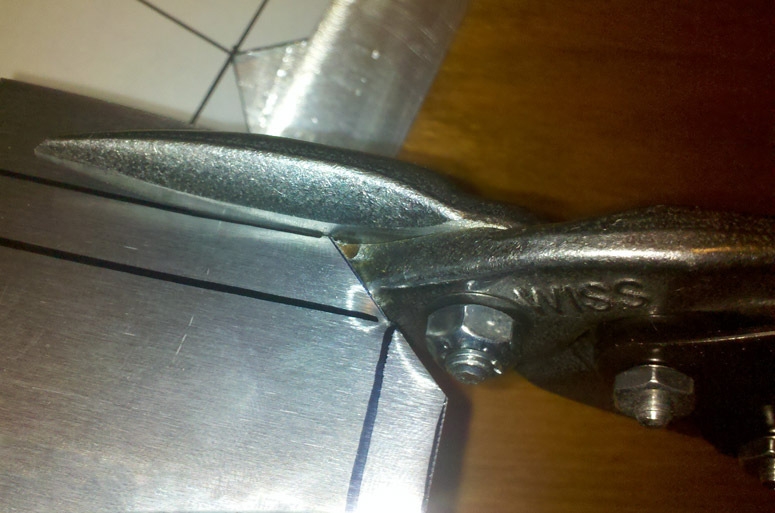
The aviation snips cut through this sheet metal like butter:

BUT it can be a pain on the long edges; it’s not like paper, where the cut edges simply roll away from each other. You end up with two straight pieces of aluminum having a territorial dispute with your hands. Overall though, it’s not too bad.

I forgot to get a photo of all the cut pieces before I bent them; apologies. :blush:

Anyway, next it’s on to bending!

Holy smokes. You have my attention for sure. Can’t wait to see how this turns out!

Like most things in life, prop building is just a degenerate form of bending.

The method I like to use is:

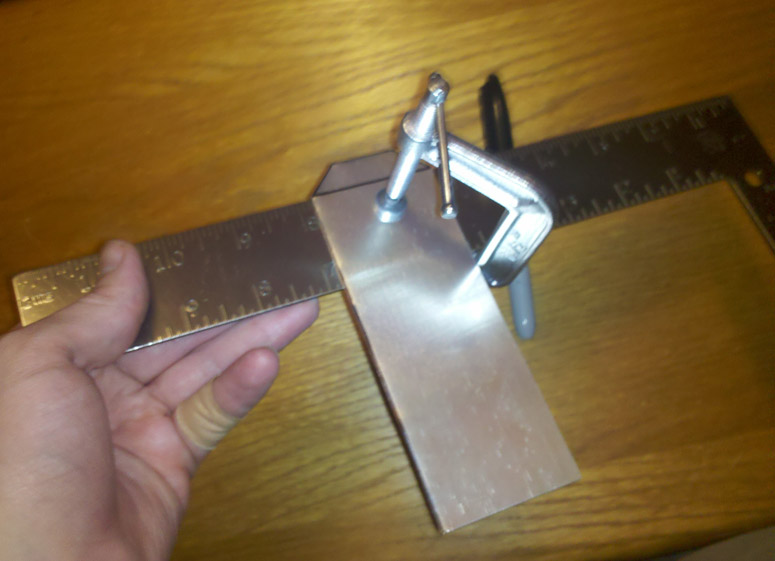
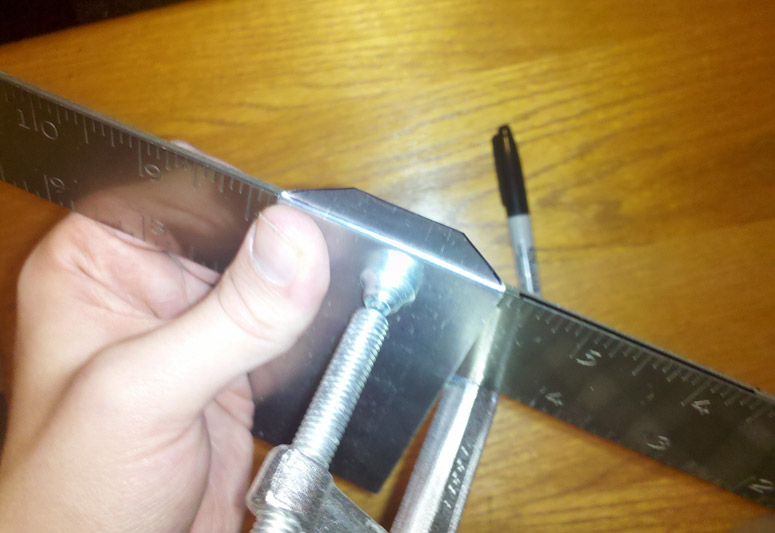
I clamp the pieces of sheet aluminum to the carpenter’s square, using two clamps at each end (or more in between) if it’s longer. For this piece, though, one should be sufficient. I made sure to clamp the square not directly on the line, but slightly behind it, allowing for the curve of the metal as it bends.

Then, flip your piece over (sorry I didn’t get photos of this; takes 2 hands), press the unclamped portion into the hard surface for bending, apply even pressure, and just bend it!

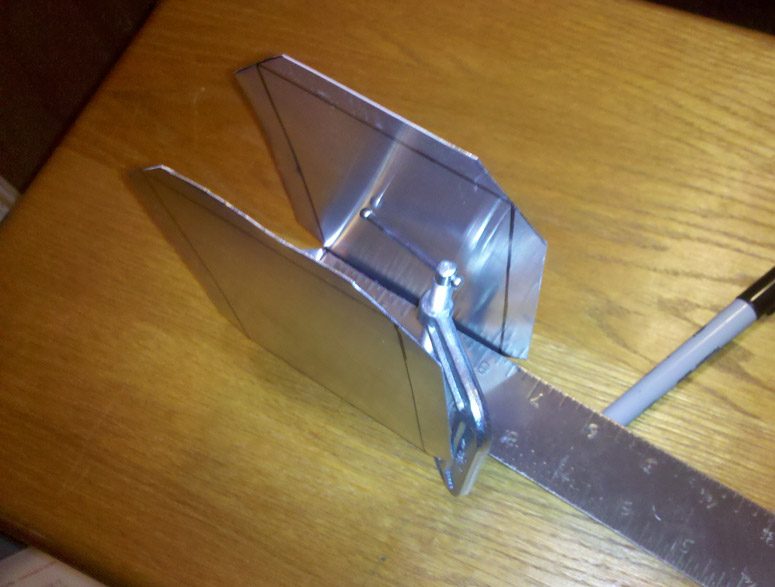
This worked for most of the major body bends:

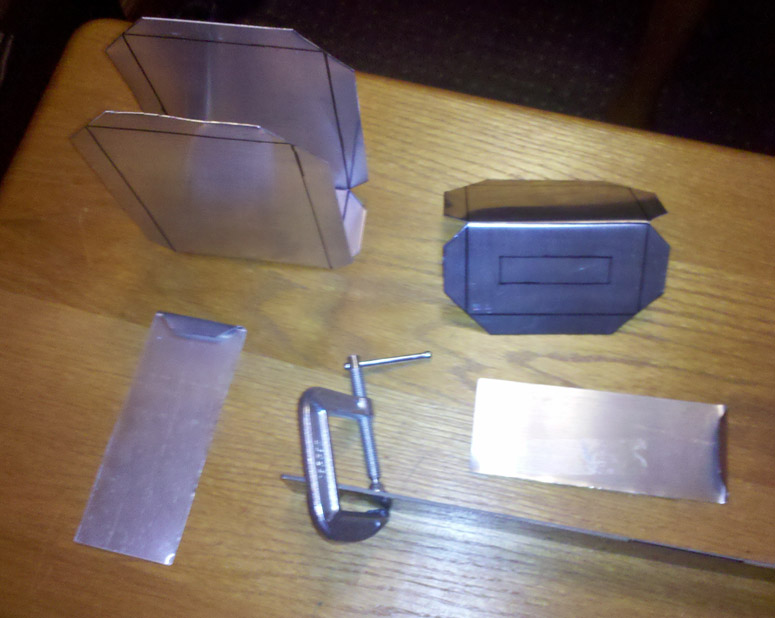
And here you can see most of the parts somewhat bent into shape:

Actually starting to look like something now!

Now, however, it got a little trickier. This is where the pliers come in handy; I just clamped the straight portion, gripped the tab, and bent. Here you can see it starting to bend:

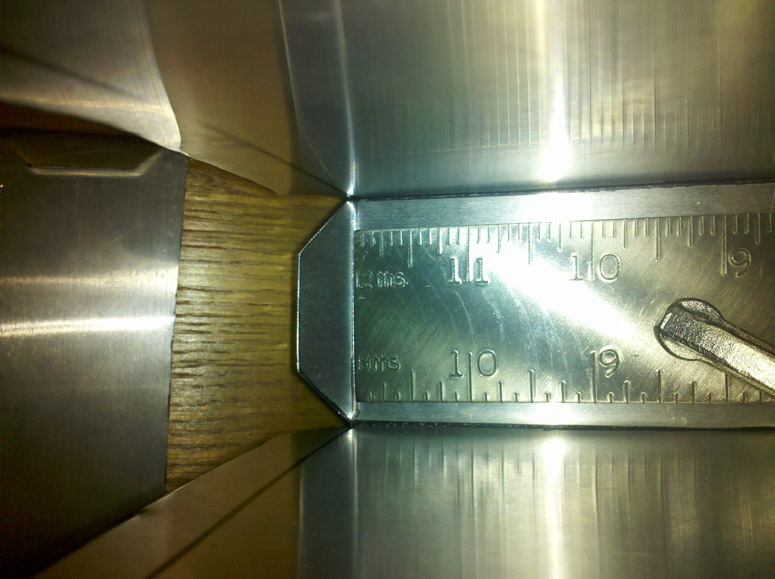
Eventually, the carpenter’s square got a bit too cumbersome to fit in around all the tabs, so I saved bending the smaller tabs in for last. All the tabs on the side and bottom of the U-shaped main body will be bent in at a 90-degree angle, while the tabs on the tops of the body, side panels, and top cover get bent in all the way (but not until the piece of plexi has been fitted behind the window, but that comes later). For now, though, 90 degrees all the way around will do.

I’ll be back next time with the drilling and riveting process!

Oooooo, a fellow sheet metal worker.

You may want to get one of these:

It will help on your longer bends. It’s a tool of choice for sheet metal workers. Oh and if you used offset aviation snips, you probably would’ve had an easier time cutting the metal, it “rolls away” (as you put it) the metal as you cut it.

Nice! I can’t wait to see this coming together! Wahoo! :smiley:

This is awesome. While I prefer the pouch look, this idea is pretty sweet. :cool:

Any update on this???

Yes, actually! Thank you for the reminder!

I keep forgetting to format and post the next update. More build progress will be forthcoming when I get home from class.

Updates please :slight_smile:

Hellooooooo???

Any new updates?