Containment Unit Discussion & Build

My group Southland Ghostbusters have been invited to have a fan table at an upcoming convention later in the year. This will be a first time for us and we would like to get started off on the right foot. We have a few ideas in mind for our booth, but one that we’re absolutely committed to is building a 1:1 working containment unit w/ custom sounds. The goal is to get the prop as close to screen accurate as we possibly can. However, we also have a deadline to make as our event is in September. Regardless, we’re going to have to get something together by then and hopefully working. Sadly, it seems inevitable that corners are going to have to be cut in order to meet our deadline. We want to find all of the right parts, but that’s probably not going to happen in just 4 months. The unit may not be close to accurate by then but our build will continue beyond that much like a proton pack.

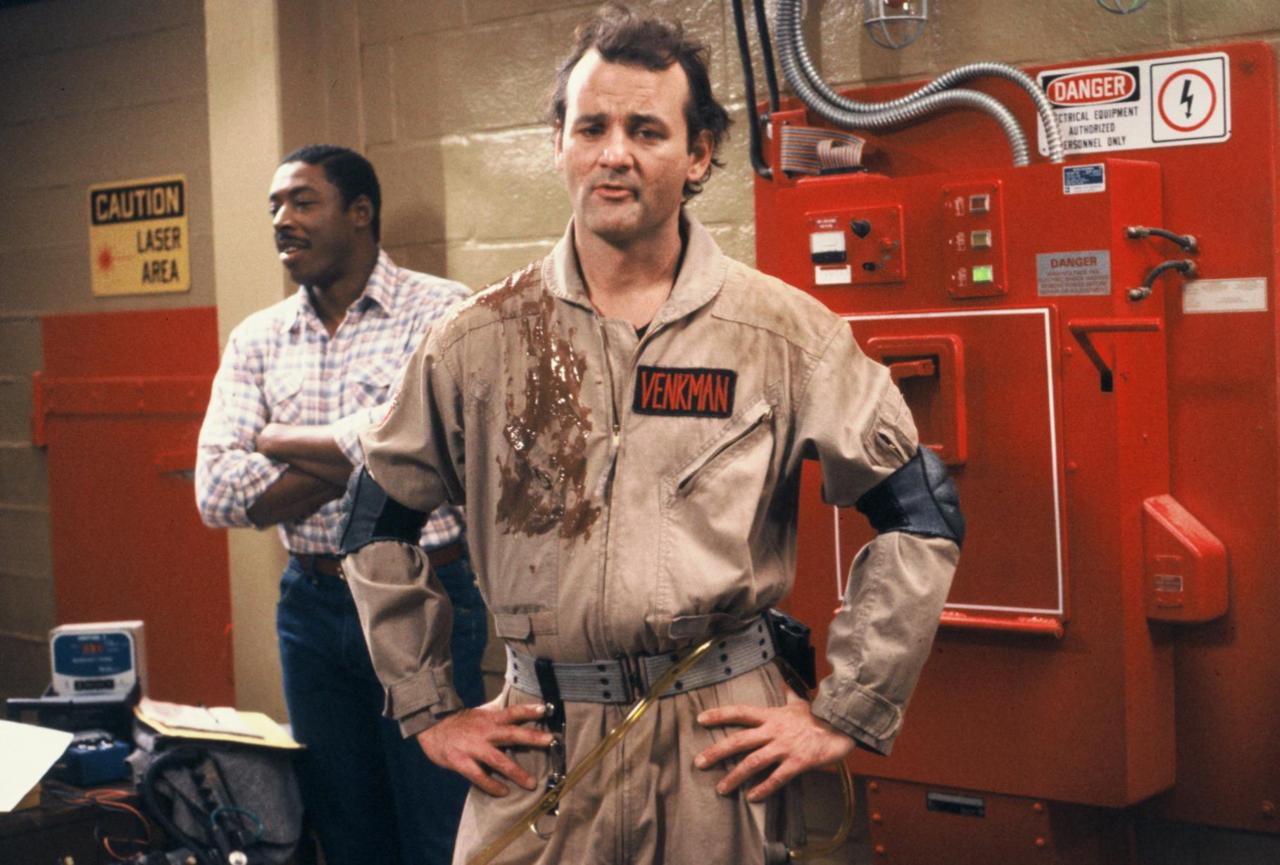
First, here is a small gallery of containment unit screenshots I took from the 4k blu-ray. Just to show you guys what we’re working with. Some of the parts are a little easier to see, but still offer challenges in figuring out what they are.

http://imgur.com/a/mULe5/embed

We know what the tubing is and the brackets that go next to the ribbon cable. The tube brackets that we can’t i.d. are the ones to the right of the rectangular relay push buttons. The ends are at a very fierce 90 degree angle and are giving us a very hard time locating something similar. They almost look like the end of a tire pressure gauge with a threaded coupling around it attached to a screwable cable clamp. Well, the parts search continues…

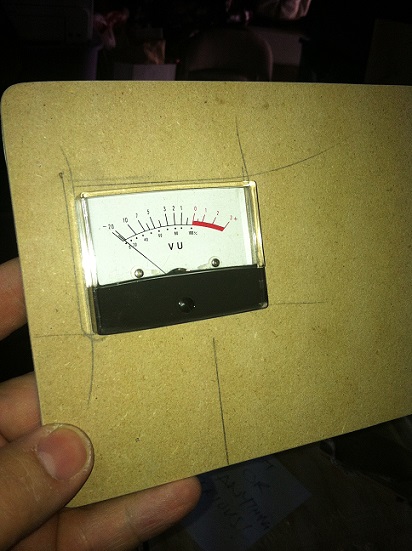
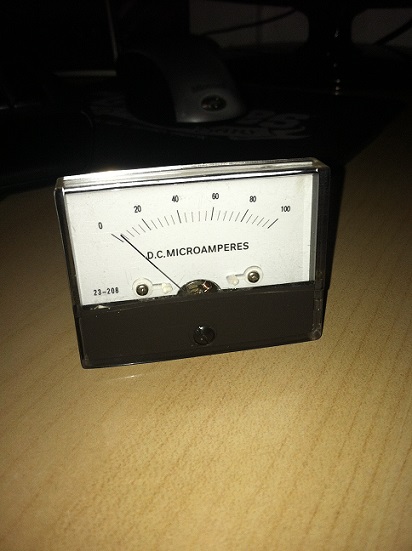
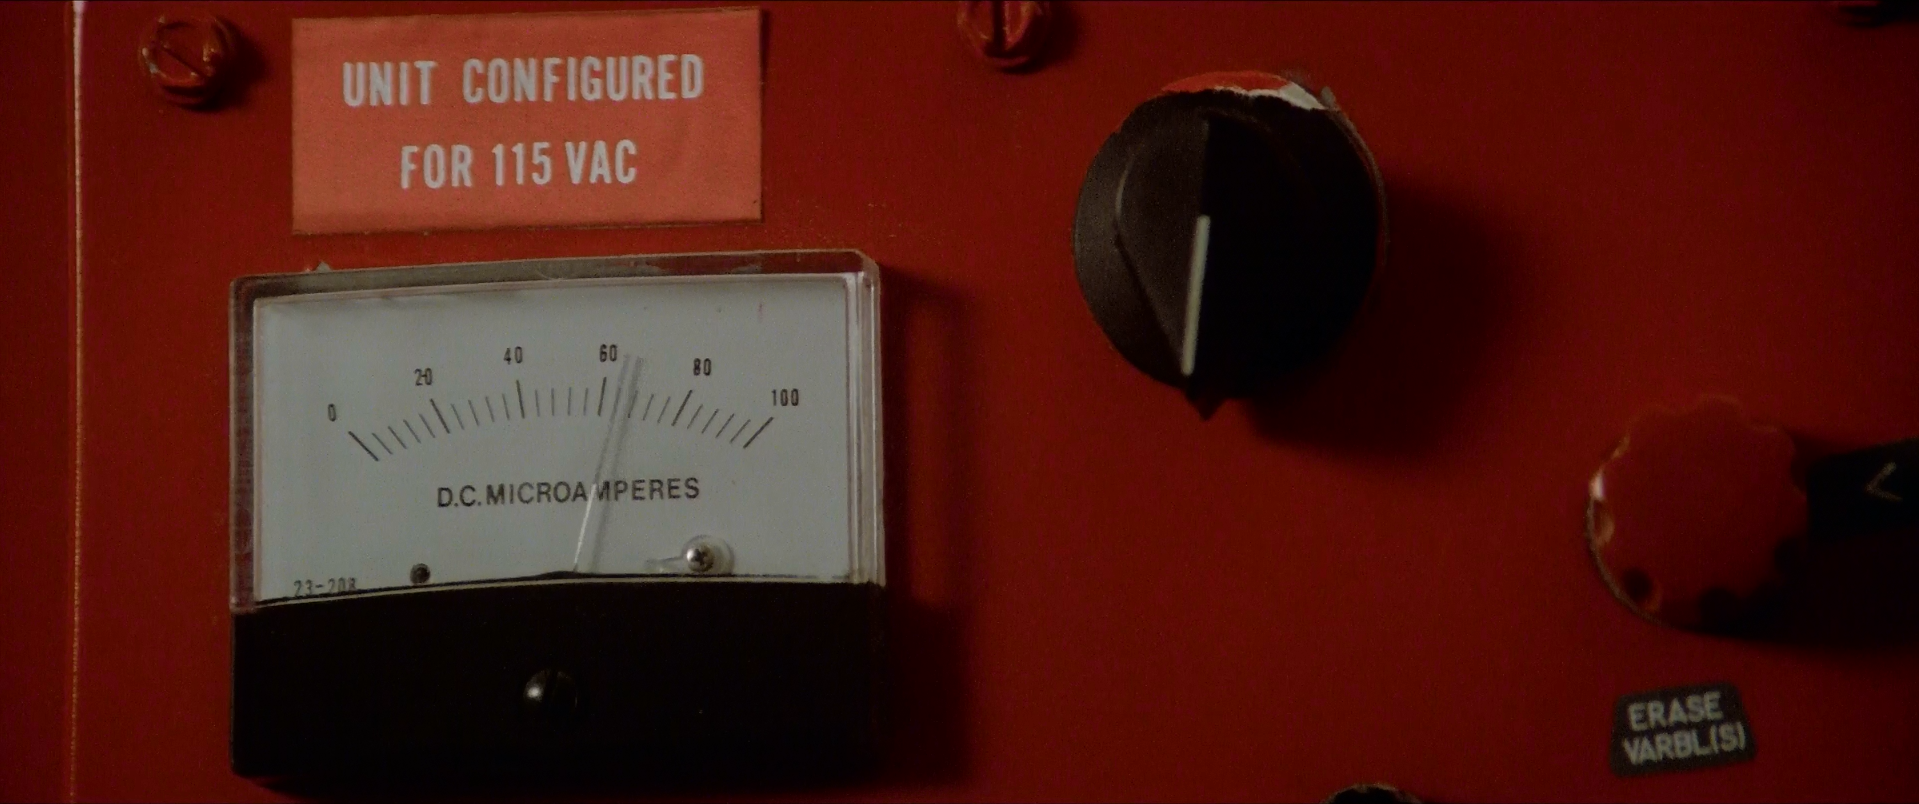
One thing that we have been able to do is ID the microamperes meter. It’s made by Midland and is model #23-208. The same manufacturer as the CB radio located in the Ecto-1. However, the part seems to be very rare and we cannot locate one or find a device it was commonly used in. So, we’ve taken an alternate route. We purchased a similar model and are photoshopping the correct design into it.

Here is what we purchased:
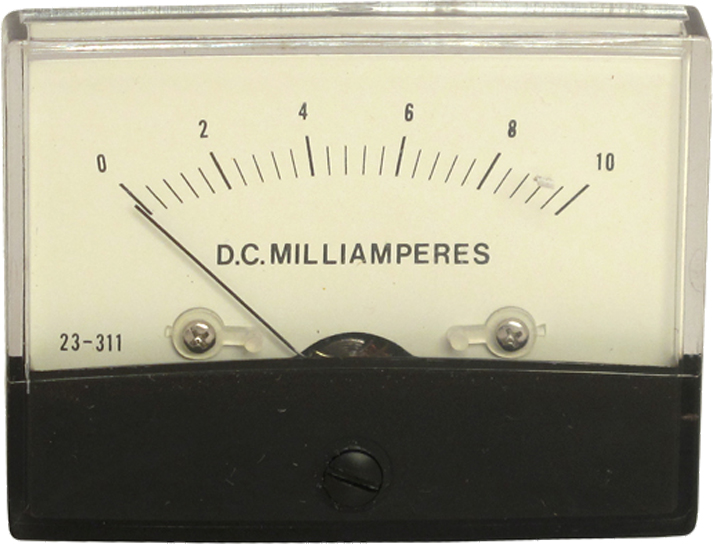
It’s the same size and shape as the 23-208. Here is what we created that will go into the meter.

Not completely exact but it’s pretty close?

While we were watching the containment unit scenes, we noticed that when the containment door opens, the brackets holding the door in place weren’t hydraulic closers (like what you see on the trunks of cars). The metal rods are actually part of a guide rail setup. We took a step back and wondered if the frame of the containment unit was a found part where prop makers just added the electrical components to? We asked ourselves, “What does the containment unit look like?” Well, we came to realize that it might be an industrial size laundry chute possibly used in prisons or hospitals. Doing a Google image search yields some possible clues but nothing perfectly matching. What do you guys think? It would be cool to find if it actually was and we found one! However, we will be doing ours out of wood to start.

As far as the custom sounds go for the unit, here’s a sample of what i’ve been working on so far.

https://soundcloud.com/ojf/southland-ghostbusters-containment-unit-shutdownfailure/s-mmIKJ

Tomorrow will be our first build day, but it won’t be anything exciting. Purchasing some of the wood materials and measuring everything out. We will update this build thread regularly and there will be pictures to follow in the upcoming days.
Sounds awesome, looking forward to seeing what you all come up with!

Heading in a good direction! Cant wait to see the progress! Was thinking about one day making a C.U. also..

Really dig that containment shutdown!

Our first build day was a successful one! There were a few hiccups, but we we’re able to complete what we had set out to accomplish. Let’s recap our Cinco De Mayo, shall we?

First, we took a trip to Home Depot to look for the wood we were going to need. Our plans were to have the wood successfully cut to size of the frame and to have it assembled. We wanted a depth of the containment unit frame to be 6", but the wood they had labeled as such was in fact shorter at 5 1/2". We came to the conclusion that all brick and mortar hardware stores are all out to get you. The wood is either way too small for a “home” project or way too big. It’s either clever marketing to screw the consumer out of more money or its simply all a conspiracy. Haha! Anyways… We ended up purchasing larger pieces of wood which we had to cut to size.

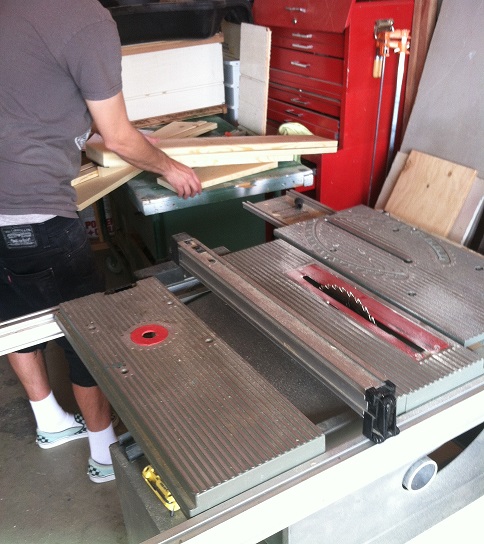
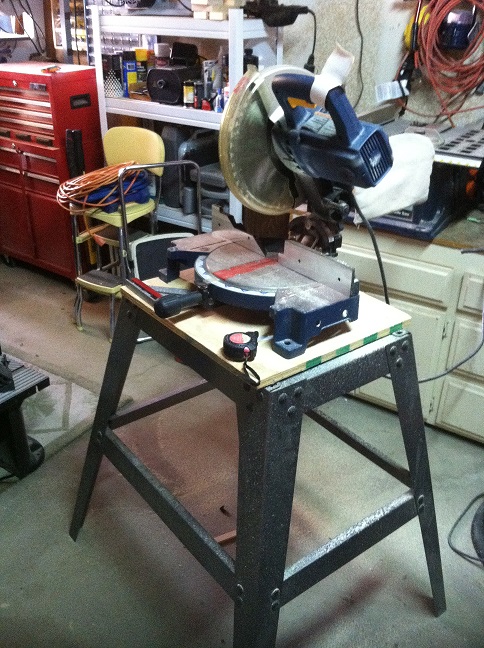
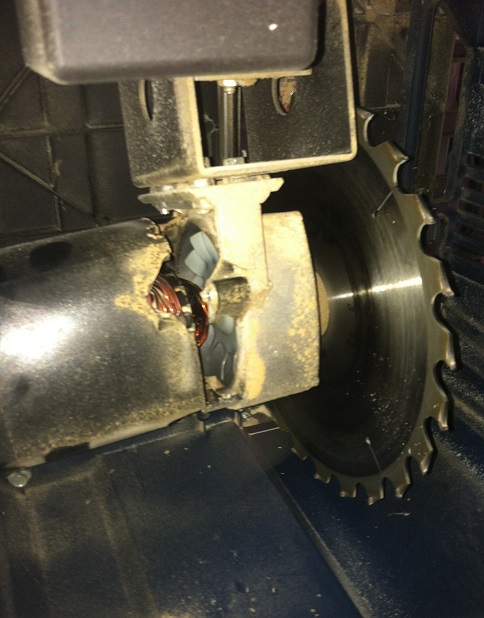
We began by cutting the boards to the lengths that we needed. We also had to take off the excess from the sides using my table saw. About three fourths of the way through, I noticed that the saw was making an odd noise and got worried. We cut through two more pieces of wood before it started to smoke. Upon further inspection we noticed that this had happened:

Whoa! That could’ve ended badly. Thankfully we caught this before it could’ve got worse. I’m guessing the housing must have broke halfway through us using it because we did inspect the saw before use. Despite this hiccup we still wanted to continue with our build. I called up my neighbor who then let us use his table saw.

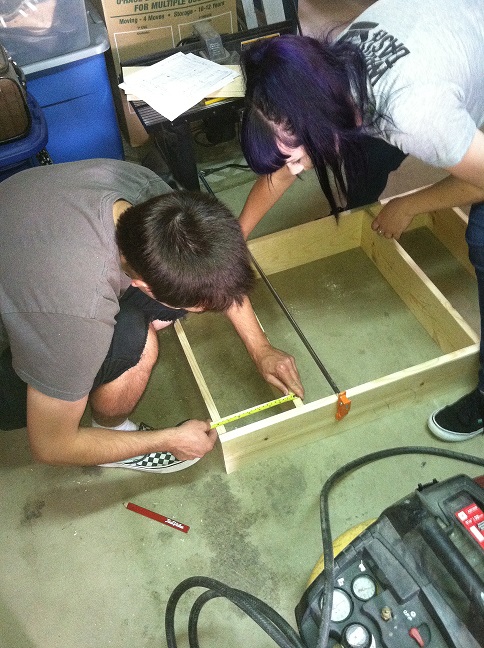
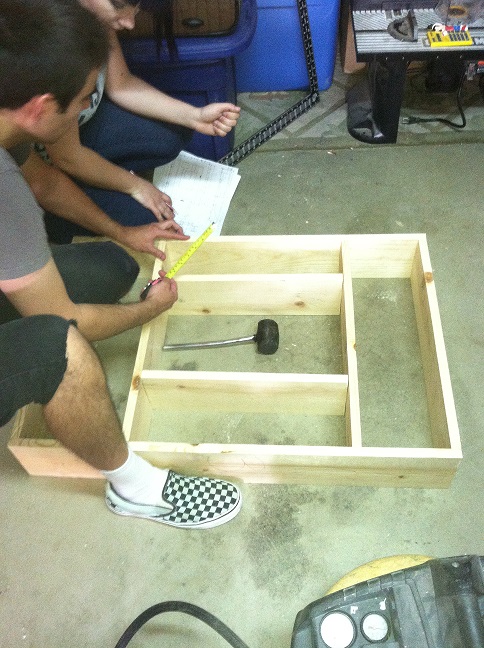
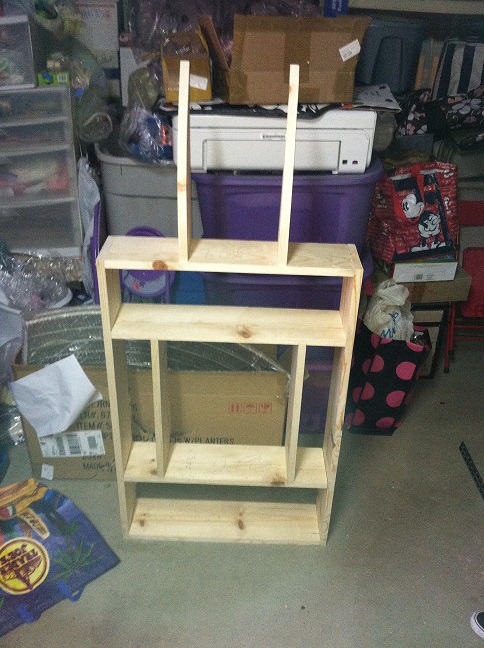
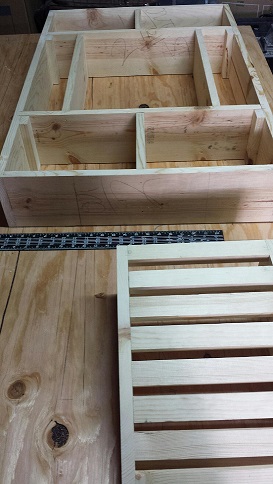
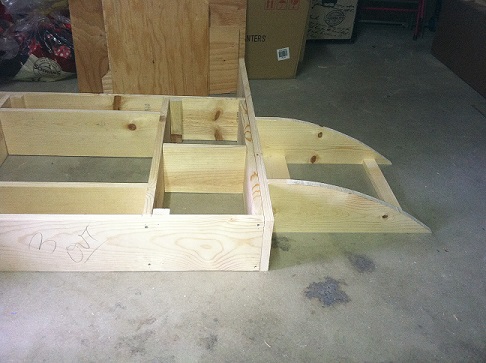
We were able to get our cutting done which enabled us to start assembling the frame and spacing the support beams.

The spacing of the beams is slightly different from each other. There’s more room at the bottom of the door then there is from the top. The plans we’re using are a little off so we had to make our own changes to them.

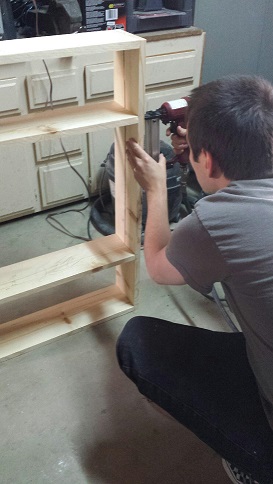
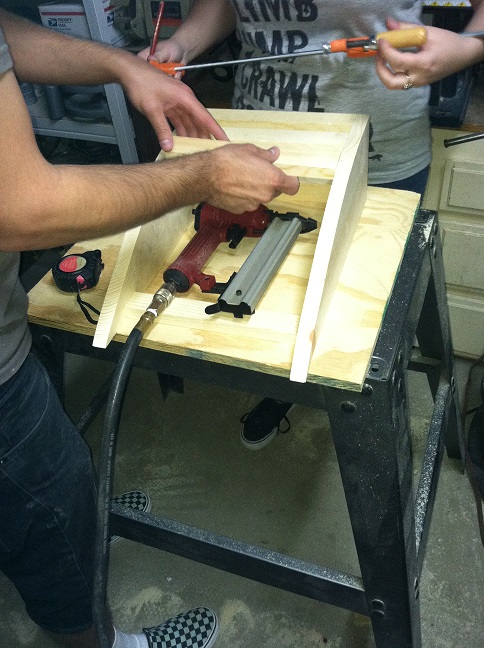
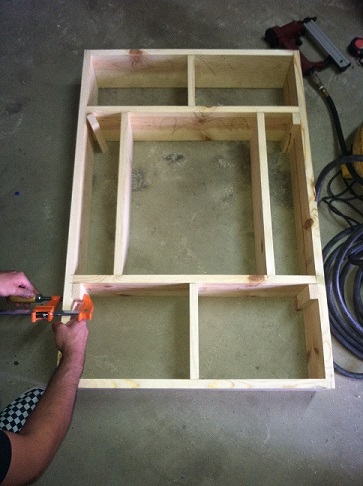
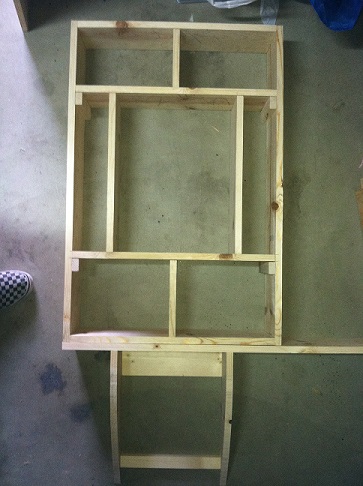
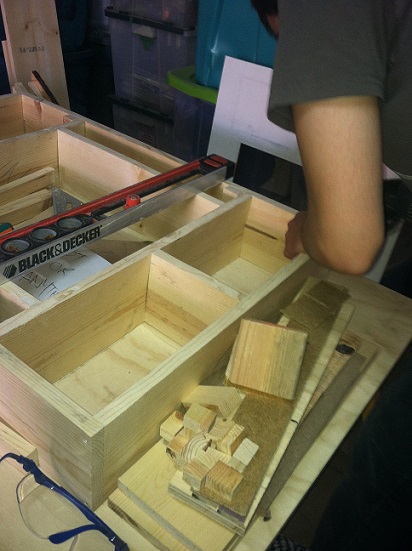
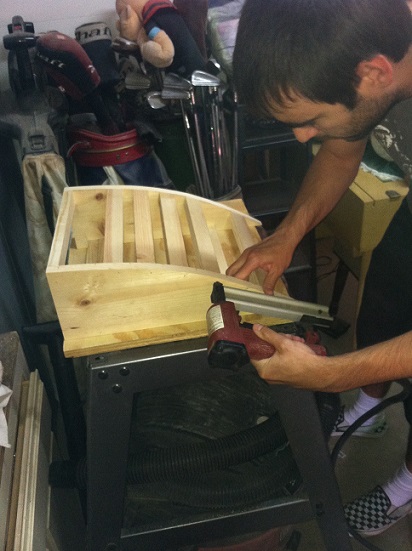
Once we were satisfied with the spacing of the support beams, it was time to tack it together.

We seemed to have found a few more discrepancies with the plans and we had to play around with some measurements.

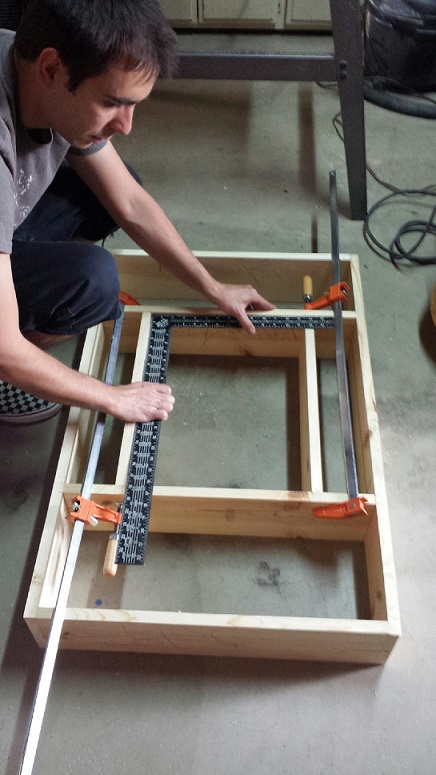
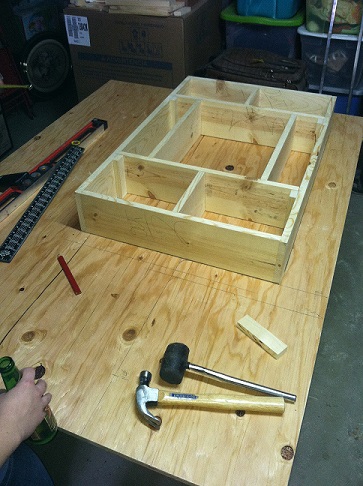
After making sure that the inner box beams were straight and where we wanted them, we tacked those up as well.

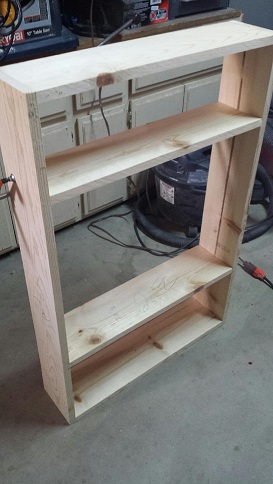
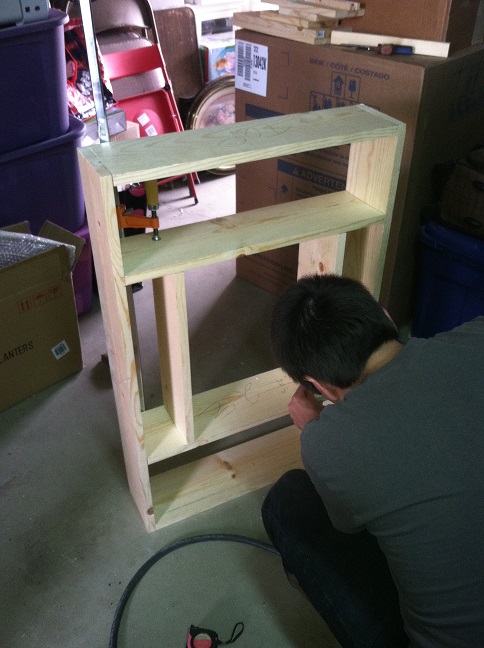
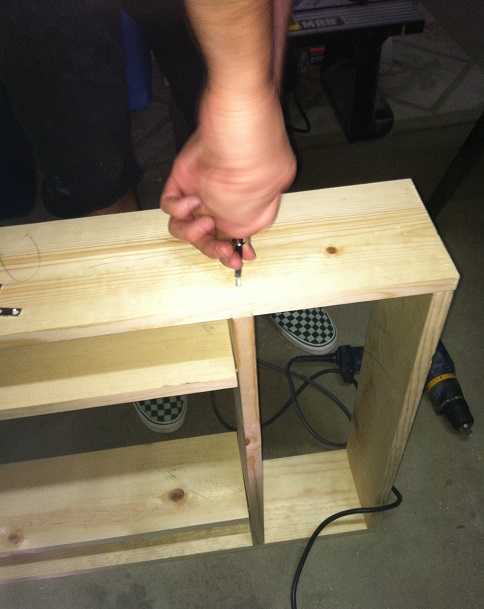
Now that the basic frame was built, it was time to strengthen everything up. We pulled out the drill and added screws and brackets to it. We still need to add some more support to the frame, which we held off for the next day.

Now, that we had the basic frame out of the way, we decided to move onto the next part of our plan which was to cut out the angled bottom pieces.

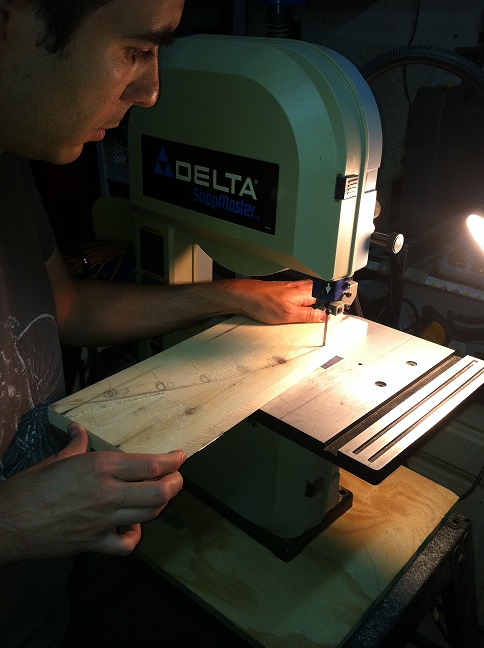
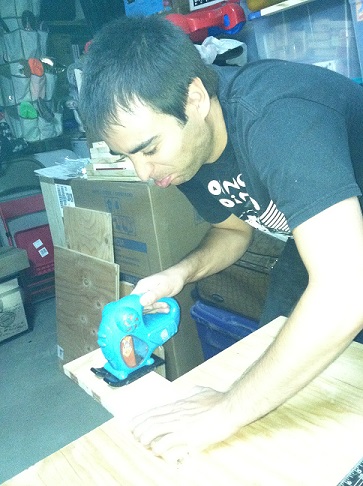
Yes, we know that this type of saw is not the ideal tool to use for that job. The blade on our jigsaw was screwy and the hardware stores were closed at this point in the build. Basically we improvised and the results were decent. We just need to do some sanding to the pieces.

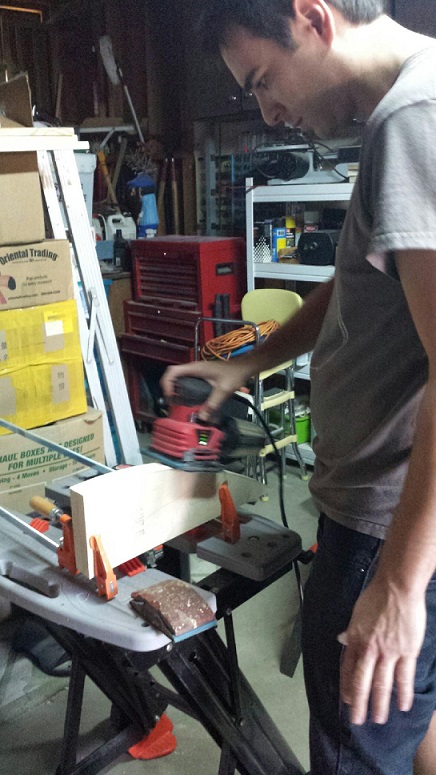
…and some more sanding…

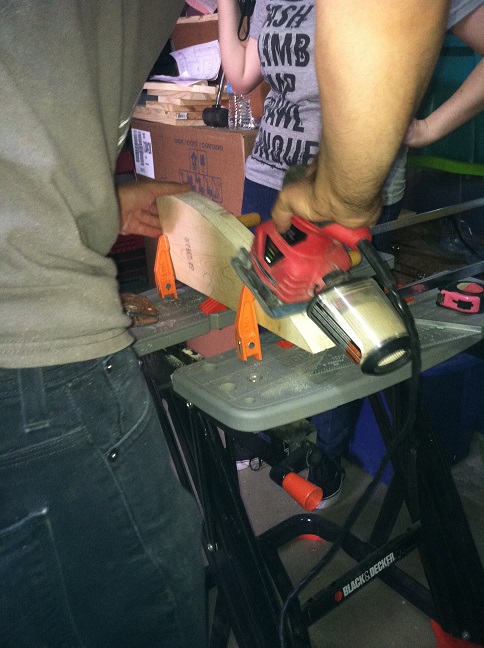
…then a lot more hand sanding…

…and we finally got the pieces to the shape we wanted them in. Now we had to figure out the spacing as the plans were way off. Something like 14" which was way too big. We ended up going with 11" for the width of the piece (Yeah, I know that the placement in this picture is crooked. It was just a quick pic taken to show our progress).

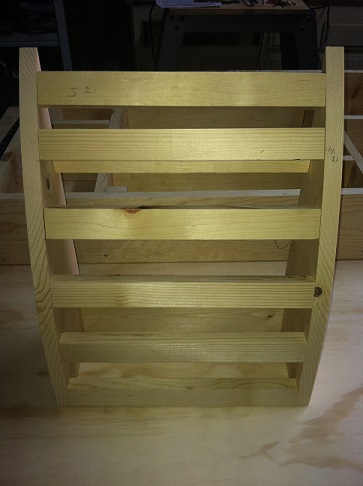
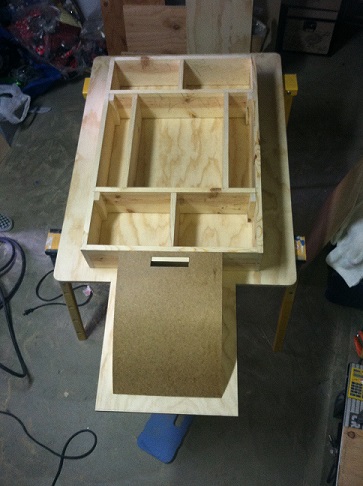
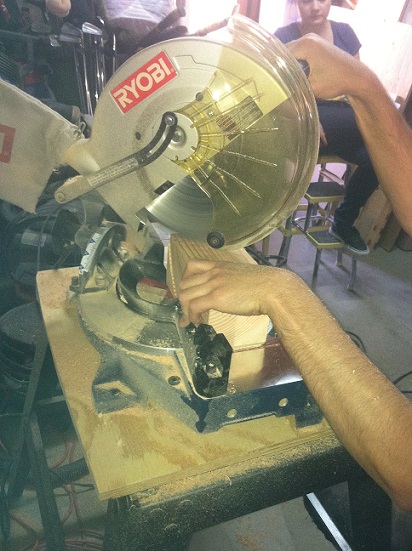
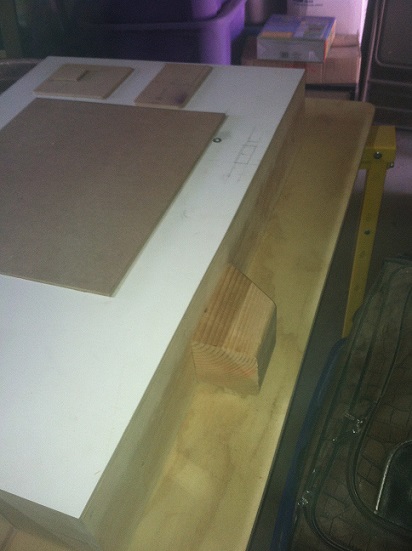
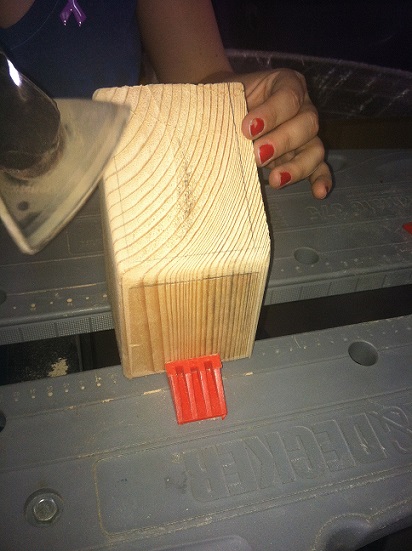
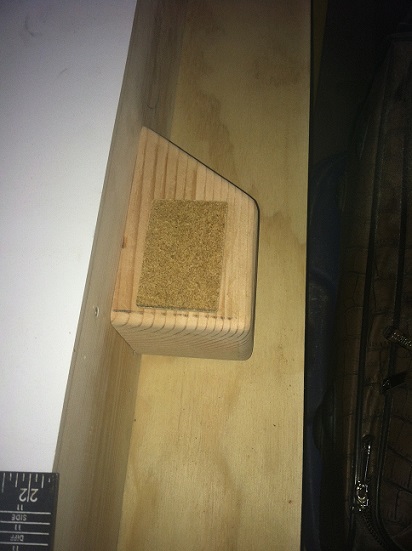
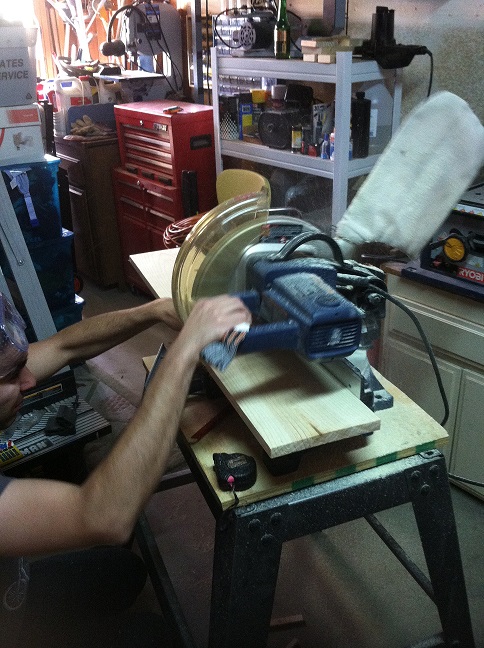
Now we needed to add the supports for the frame and to accommodate for the bolts we’re going to need to add to it. We busted out this saw again to cut the excess wood we had earlier into 9 1/2" pieces.

We strayed from the plans and did things differently. We cut out the ten pieces we needed and began figuring out our own spacing for them.

Comfortable with where things were rested, it was time to tack it all together.

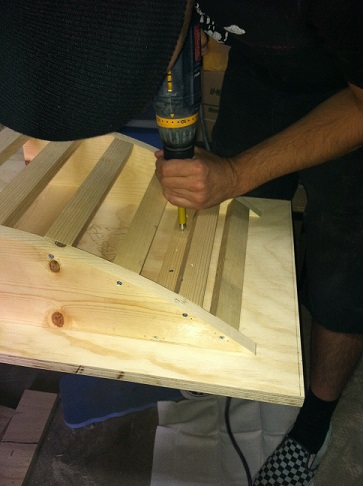
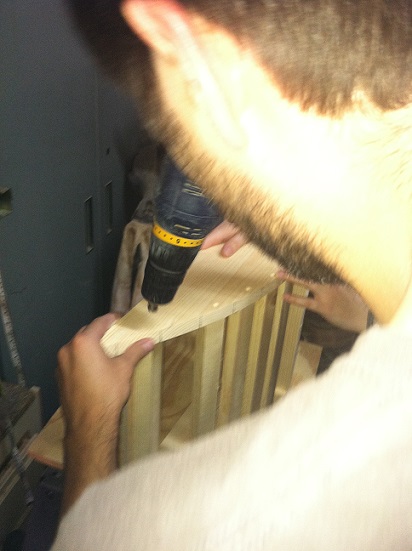
Once everything was spaced, flush and tacked to where we wanted it, we then did some drilling and adding more screws to solidify and strengthen it.

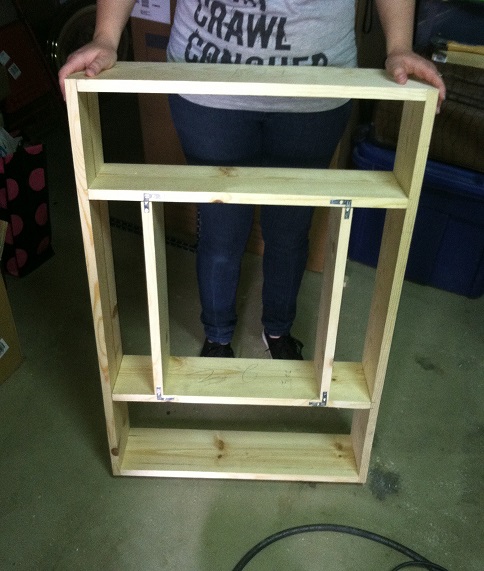
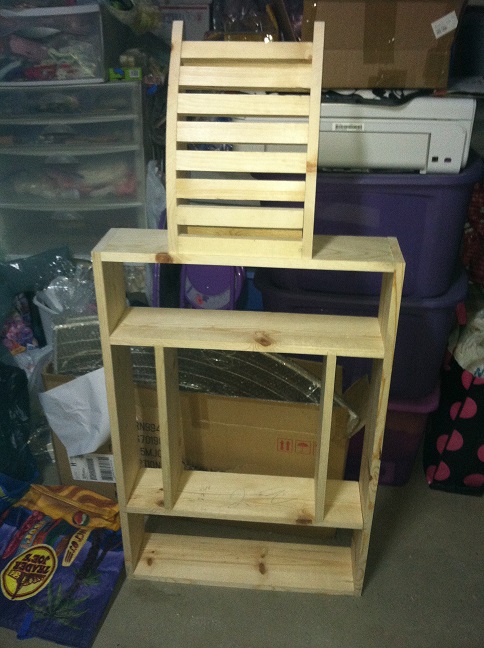
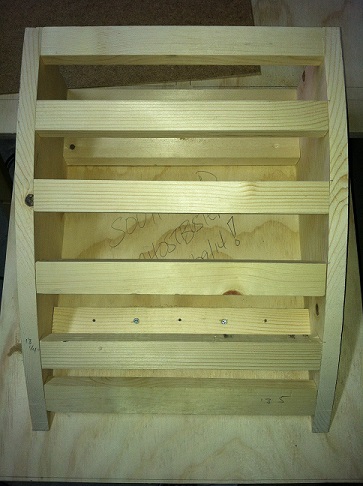
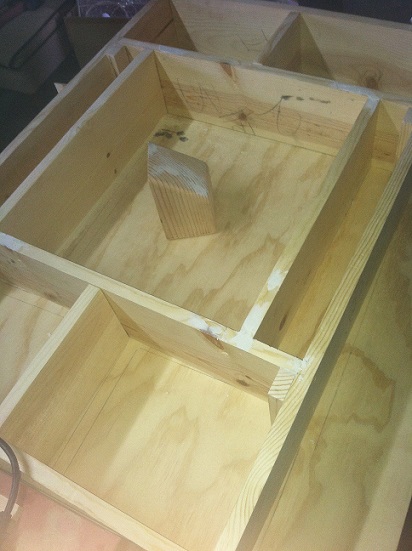
We were where we wanted to be and we reached our goal. Here’s an upside down picture of what we ended up with (Yeah, it’s still crooked. So what. Big deal! Want to fight about it? It’s not attached yet…).

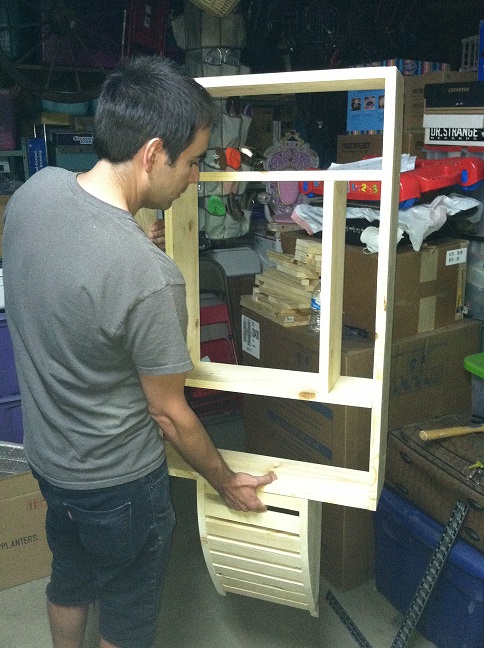
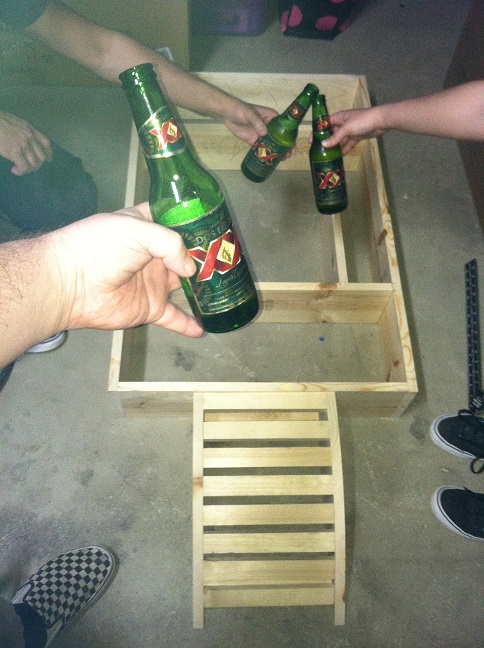
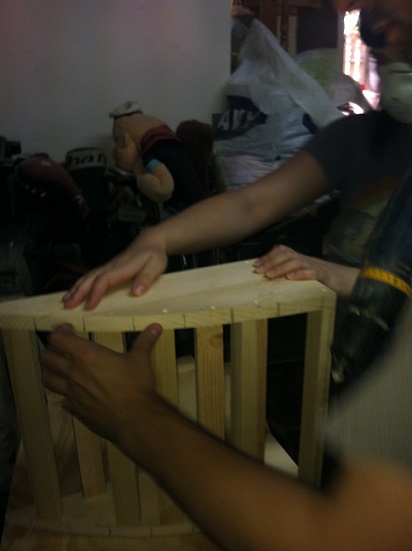
The frame was very light which is what we were going for. Here’s Onlyalad19 holding it up, which gave us a better idea of scale.

Now, that we successfully reached our build goal for the day, it was time to celebrate! It’s Miller time!

Well, maybe not Miller time, but since it was Cinco De Mayo it was close enough.

Stay thirsty, my friends! (More to come…)

Diggin it!

I love it, but I just got a crazy idea.

Have a certificate next to it saying it has been inspected and up to code by “Nuclear Regulatory Commission” or something similar. Also keep a copy of all the paperwork from the EPA.

You don’t mention wood glue. If your looking to attach the wood together, use wood glue and tack it. It is very strong. Maybe you already are, but if not, I wouldn’t overlook it.

I’m anxious to watch this progress. You keep mentioning plans. I’ve never looked online, are they plans floating around somewhere?

The plans are posted here new Containment Unit plans - Other Props - GBFans.com. Keep in mind that since the real ECU has never been available to measure, the plans are not 100% accurate, however mikenelson1982 has done a pretty good job with them. Once we have this thing finished we will be posting some of the updated measurements that we have come up with based on our own research… so stay tuned.

Ooooo! Excellent! I’ve already got this one subscribed!

For some ass reason I imagine the one from the game as it’s my favorite design, but this is much more portable. Can’t wait to see more work on it.

An update is soon on its way. There are close to about 60 pictures that i’ve got to go through and slim down. I thought I was going to have the time to do it this afternoon. Unfortunately, i’ve got to head out the door for band practice, so I won’t be able to get it posted until either later tonight or tomorrow morning. The build is looking great so far and I can’t wait to share our progress with you guys.
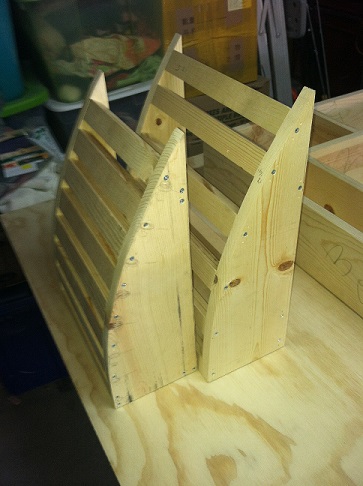
This build has been a challenge!! But I’m so proud of our group! More pictures to come!

Big update! Brace yourselves…

Build day 2 was full of many problems, but we got a lot done. First, we wanted to add some more support to the frame and then sand down any imperfections.
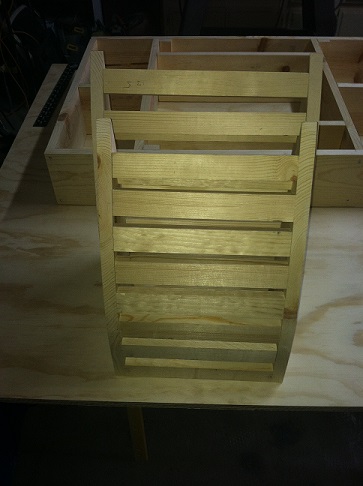
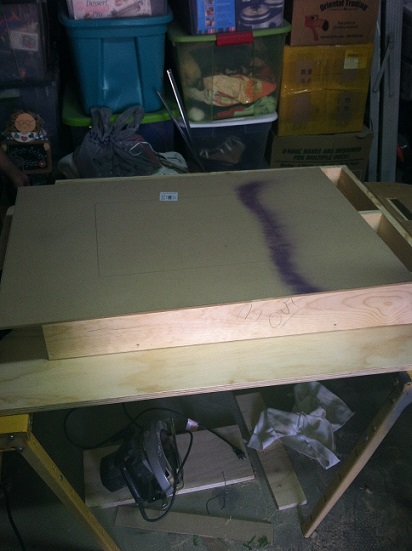
Next we needed to measure out the backboard and prep it for cutting.
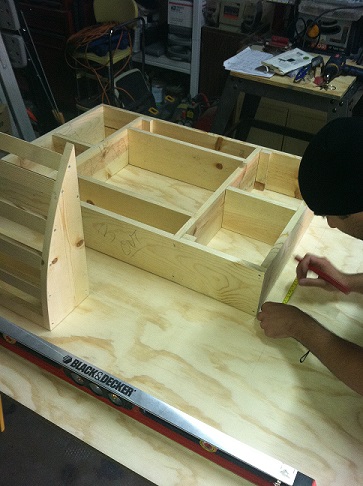
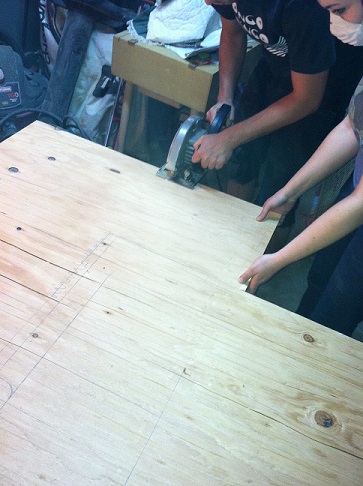
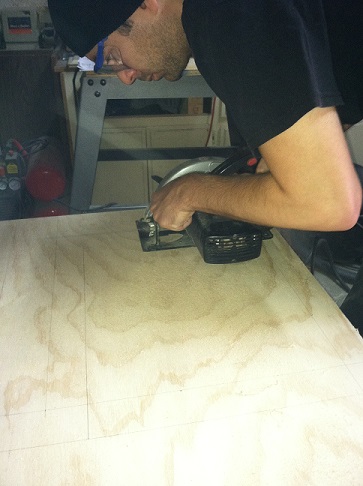
This is where we ran into our first problem. My circular saw was last used to cut concrete and wasn’t cleaned off. Plus, the blade on there wasn’t meant for cutting plywood. While changing out the blade we discovered that the blade we had was too dull to use.

Our backup saw was also not working.

Frustrating? Ab-SAW-lutely!

We took a quick trip to the store and bought a new blade. Went to Home Depot and they had a terrible selection. They seriously didn’t carry any of the name brand replacements for the brand saws they carried. It was stupid. Seriously, F that place. Plus, they only had two different sized blades and my old blade was in-between them. The closest next stop was Wal-Mart, which they only had the two sizes as well. We went with the larger size because the small just looked undersized to us. We bought a two pack and got out of there. Came back and discovered that the blade was too damn big. HAHA! However, it fit in Onlyalad19’s circular saw, so we were now back in business!

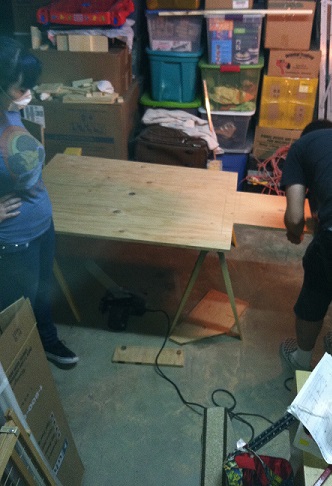
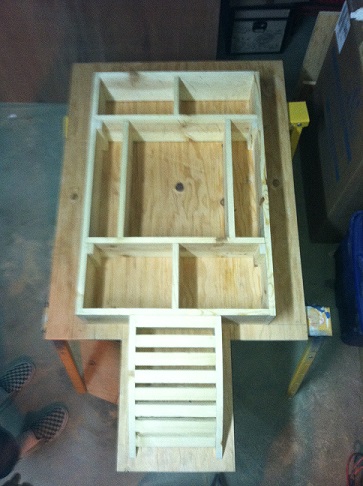
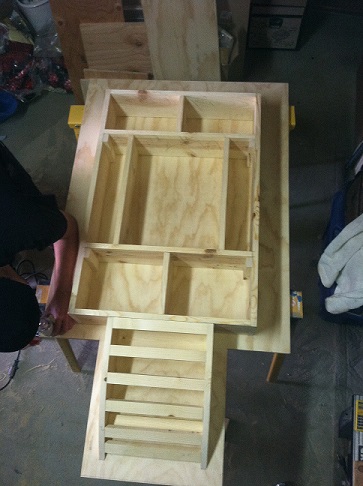
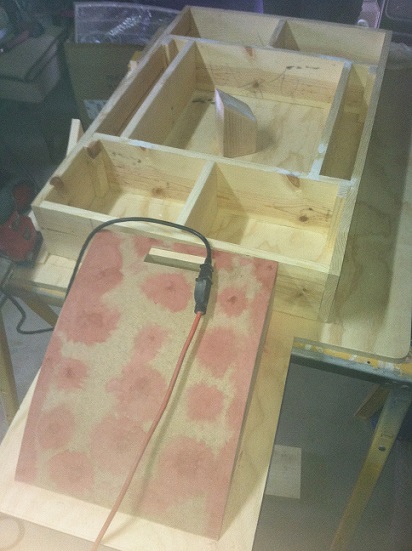
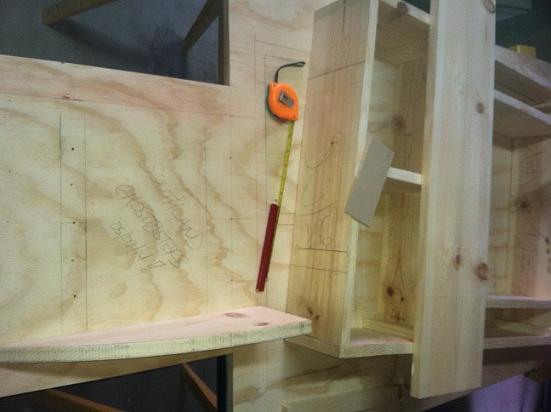
Got the backboard cut out and put the frame on it to look at our progress.

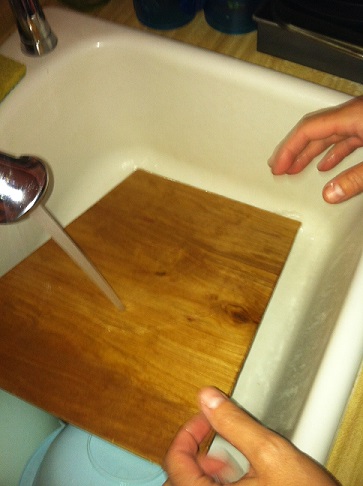
After test fitting everything, a deep hatred for it started to grow in us. Something wasn’t looking the way it should. It was a sense of it looking only good and far from it looking spectacular. Ignoring the voices in our heads, we decided to press on. We wanted to cut the front cover board for the angled bottom. Once it was cut, we were having some trouble getting it to bend to the frame. We figured that water was our solution to loosen things up.

This is when disaster struck! Dampening the wood led to the discovery that it had a thin veneer on each side. Which made the so-called wood bubble up, making our frustrations and anger bubble up as well. There was no way we were going to use this stuff. At this point, it was time to quit for the day and come back to it fresh the next day. This was how we left things that night.

We didn’t work on anything the next day. Remember those voices we ignored? Well, they got louder and convinced us that we needed to revise our work. We came to the conclusion that the scale of the bottom angled piece was wrong and that we needed to redo all of the previous days work. That meant buying more wood and a new backboard piece. Comparing the plans to what is seen on screen made us go back and revise scale. We found a good reference of scale and made our corrections based on that. We picked up the new wood and had plans to work the next day.

Build day 3 wasn’t very productive. We got a late start and we were short on time to work, but we got the new angled piece cut out and assembled.

Comparing scale and fine tuning…

Satisfied, we pieced it altogether and compared the two.

Yesterday was build day 4. We got a lot done!

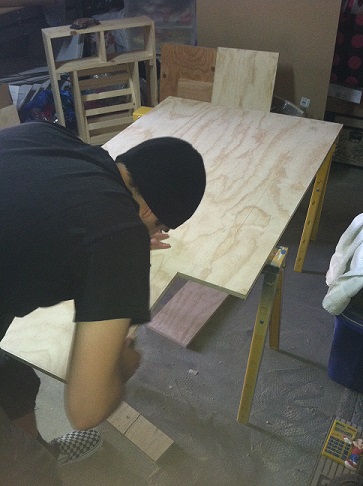
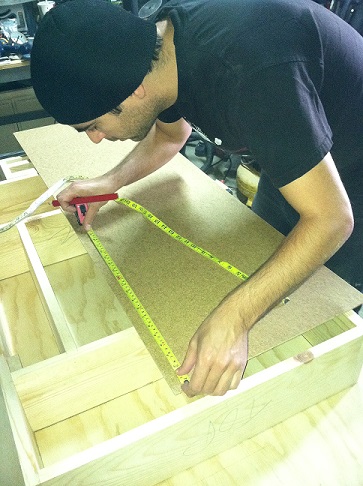
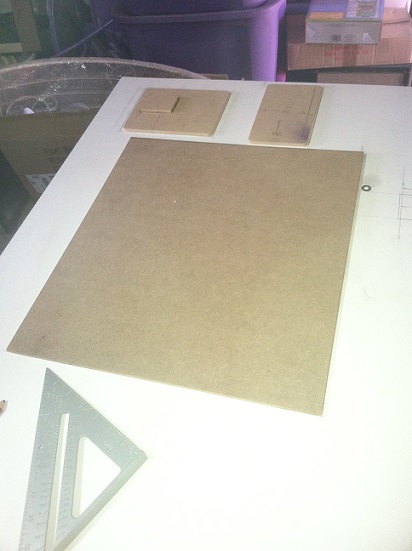
Basically we had to redo everything we did in build day 2. While, we were taking two steps back, we planned on taking three steps forward. We bought a better piece of wood this time. It was either between plywood or MDF. We chose the plywood only because it was much lighter than MDF. Remember, we have to transport this sucker to a convention and back. Anyways, we started with measuring out the cuts we needed to make to the backboard and began our cuts.

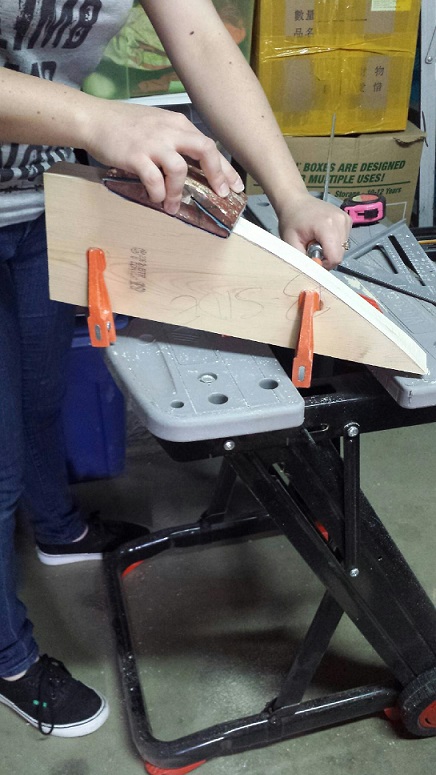
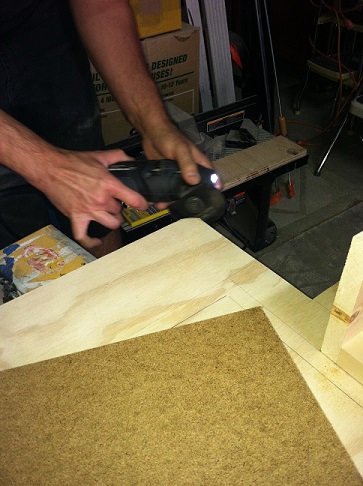
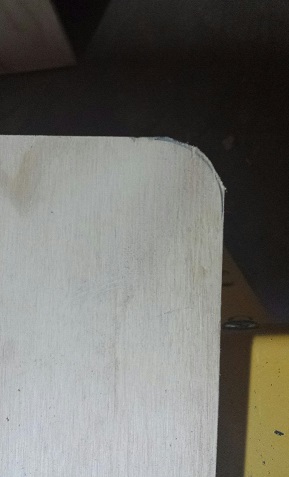
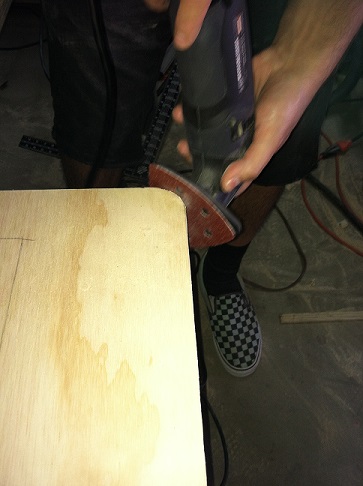
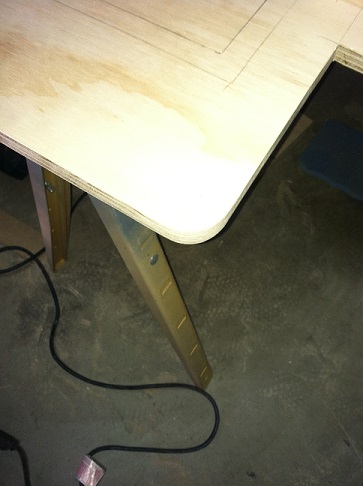
Once the backboard was all cut, we sanded the edges and began to prep the edges to round them out.

Cut. Rounded. Sanded.

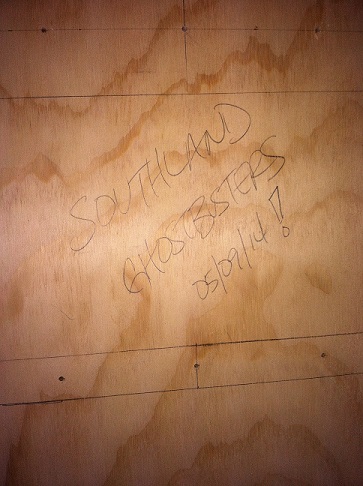
Added a little easter egg, which was going to be covered up after we mounted the bottom frame.

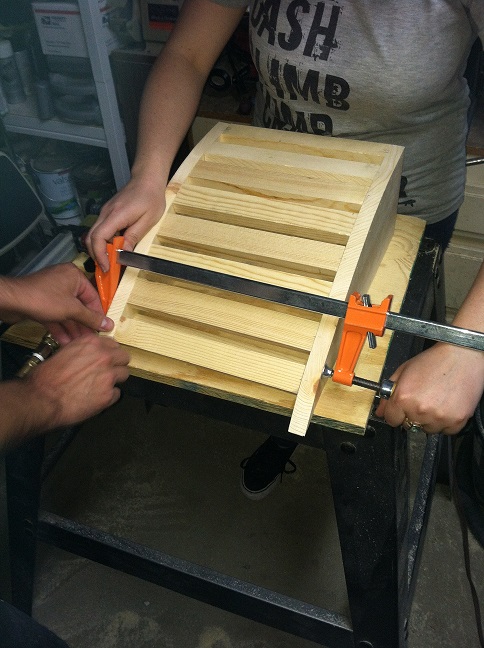
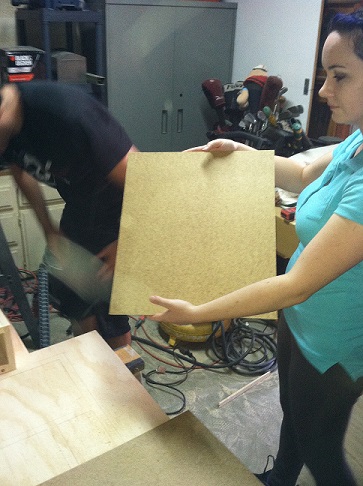
Here is ZuulTheGatekeeper with the right wood for the front of the angled frame.

Measure twice, cut once.

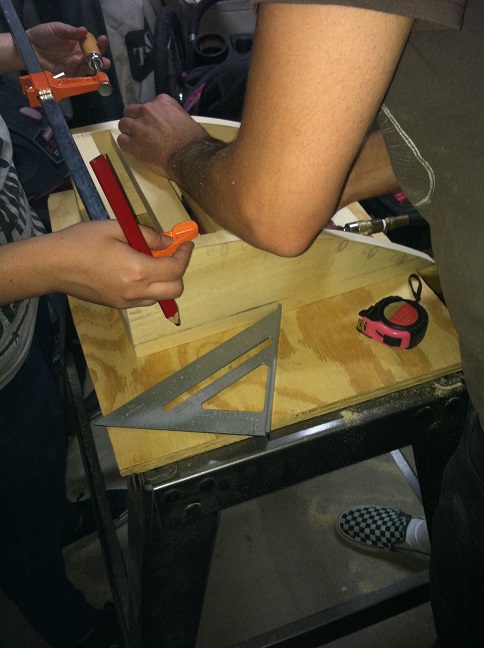
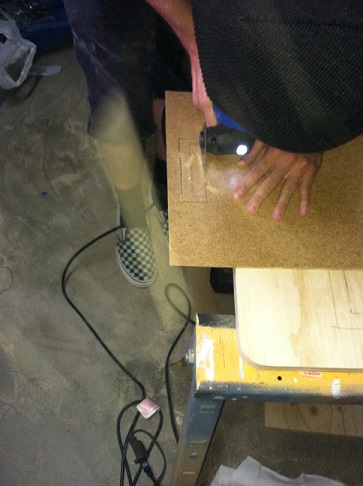
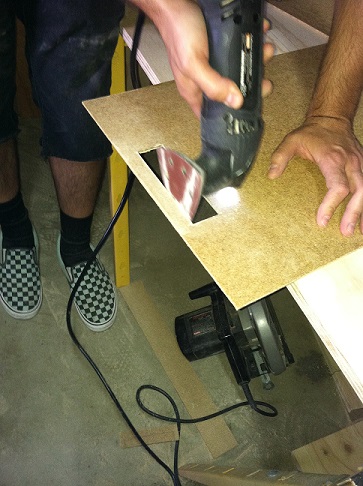
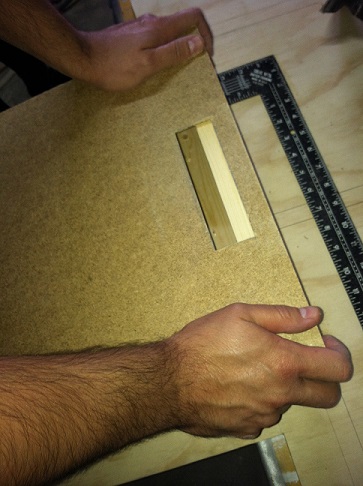
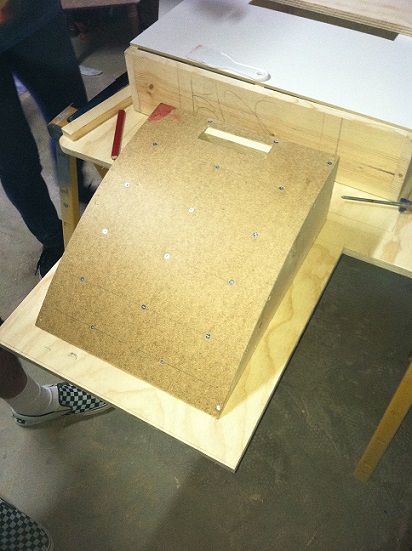
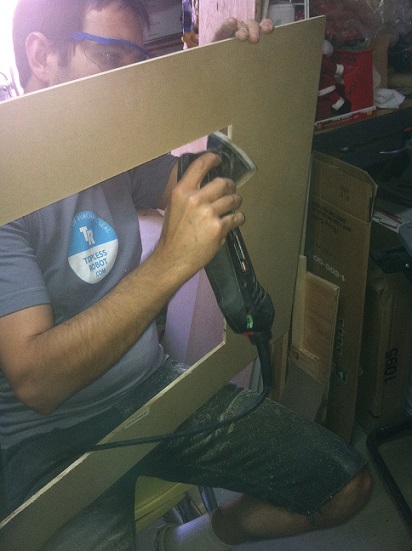
Before we mounted and tacked on this piece, we needed to cut out the little handle in it and sand it.

Luckily, one of the support beams acts as the latch to the handle. We noticed this tiny detail from the scene in the movie just after the containment unit is shutdown and smoke begins to burst from the bricks in the wall. It’s also the only time in the movie where you see the bottom half of the containment unit.

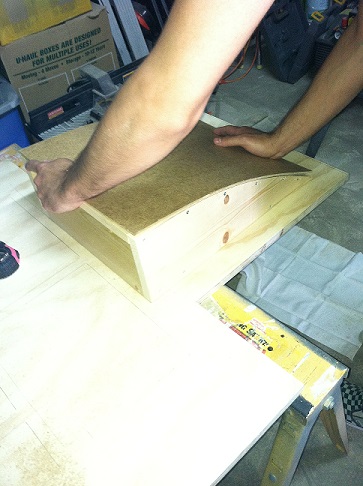
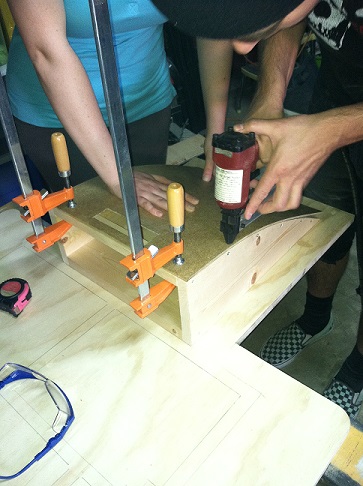
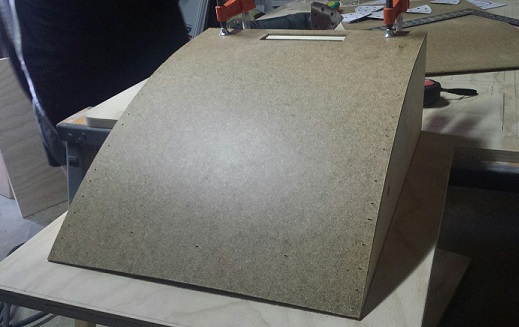
The build day was coming to an end, but before it did we tacked the front to the frame.

Here it is looking all pretty.

Build day 5 wont take place today since Southland Ghostbusters have an event to go to tonight. In fact, i’ve got to get suited up… Anyways, we need to add some more screws to the front of the angled bottom. Need to make sure it sits flat against the frame. Then we’re going to cut out the piece for the front of the upper frame. We’re also going cut out some access holes in the backboard to get to the electronics. This will also take some weight off of the backboard. We look forward to the next build day as well as the next update. Until then, i’ll leave you guys with this.

dude this is awesome as i have been wondering and wanting to make one myself! I might use these photos to help guide me along!

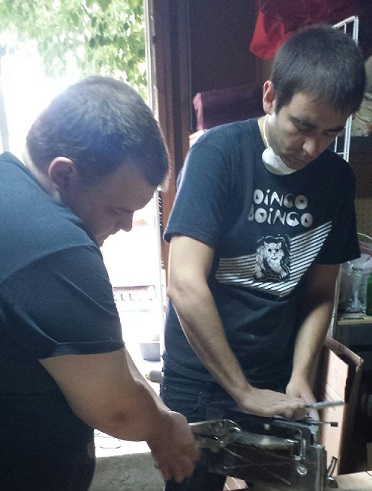
:cool: Cool Oingo Boingo shirt!
I wonder how many people here actually know what Oingo Boingo is… I could be wrong and everybody knows… =P

Glad you guys like Oingo Boingo. One of our favorite bands! Southern California’s favorite party band since 1979!

Anyways, time for an update…

Build Day Five:

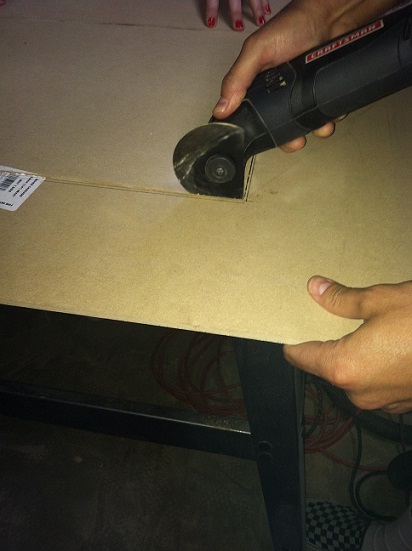
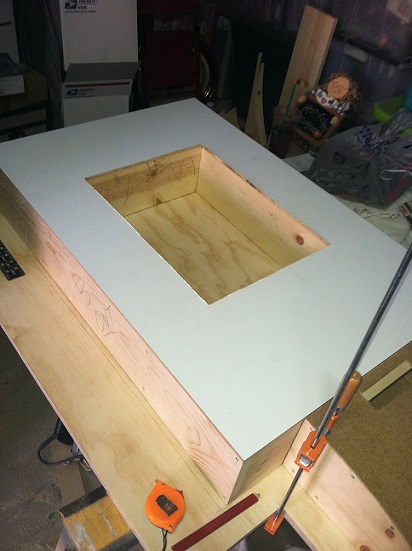
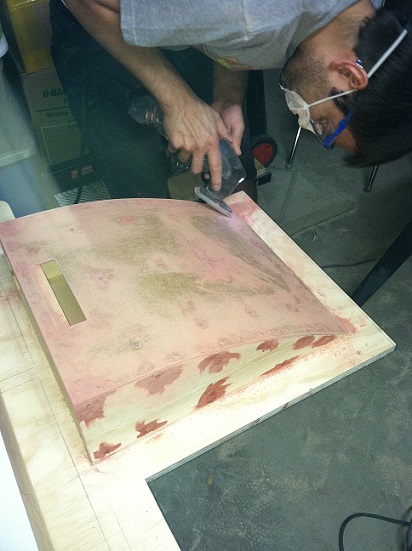
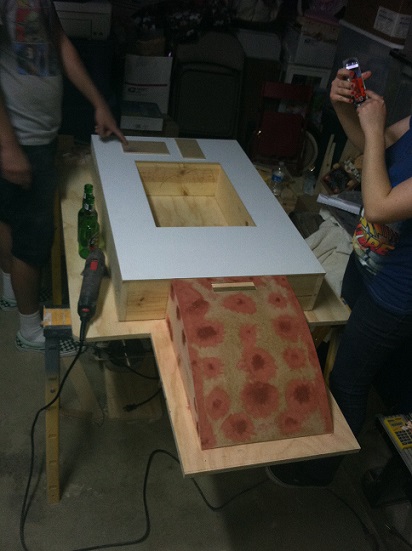
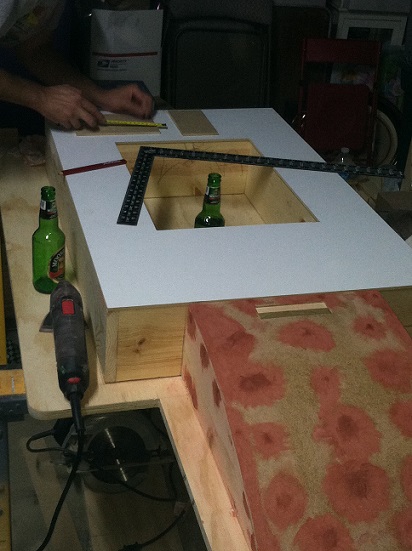
First we wanted to get the face of the frame cut out and sanded down, which is what we did.

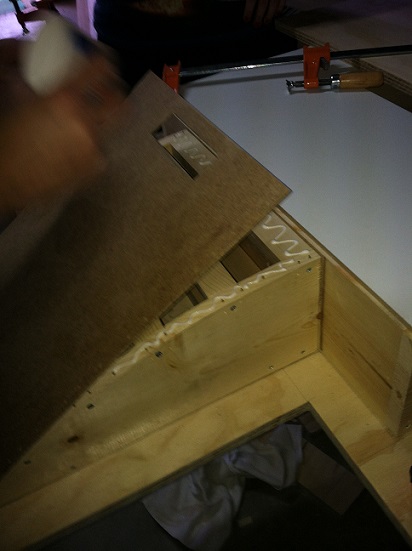
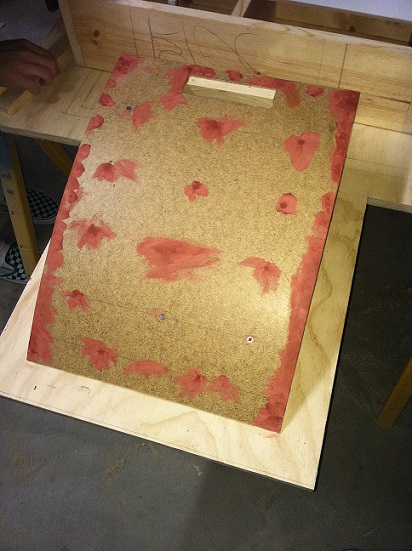
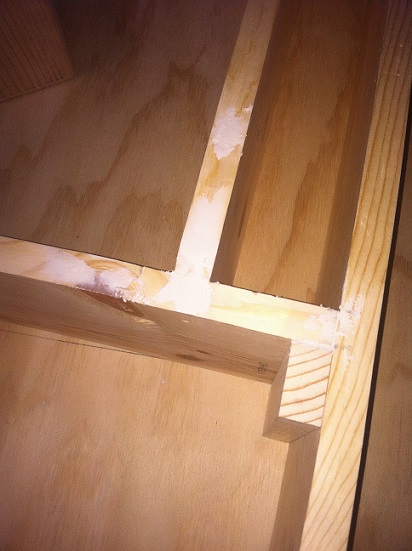
While we were sanding, we had a malfunction happen. The nails we used to tack down the front of the bottom half gave. So, we needed to reinforce it with glue and screws. We also began to bondo over the holes.

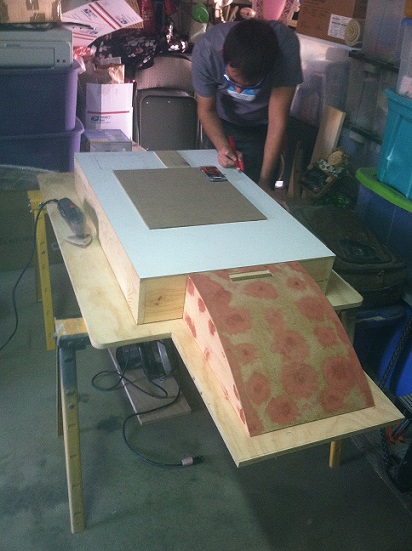
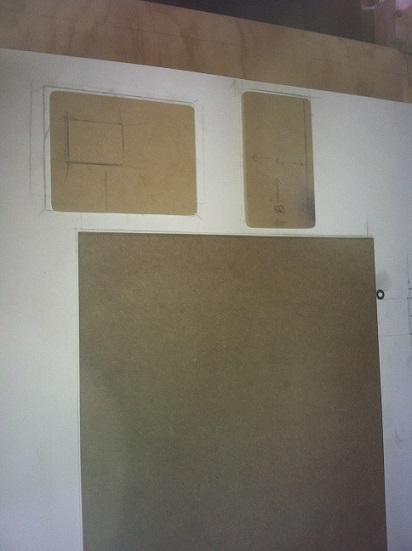
We put on the second coat of bondo and began figuring out the placement of the instrument panel plates.

That’s about how far we got with the build for this day.

Build Day Six:

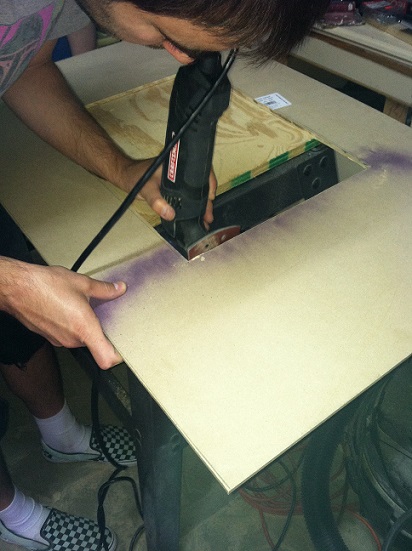
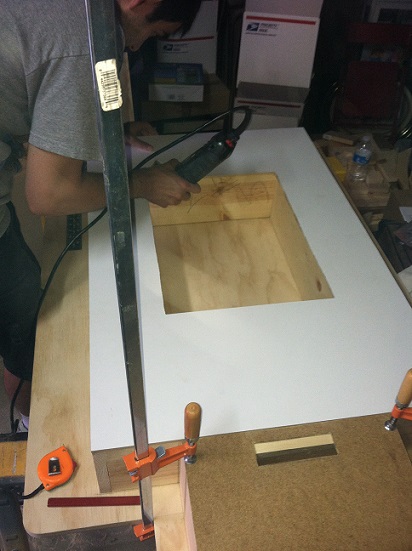
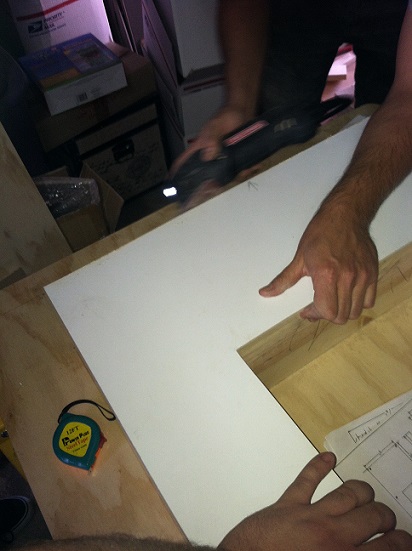
We spent this first half getting placement of the panels right and then moved on to getting the door cut out.

Then we moved onto the side piece, which we needed to cut out and sand.

At this point we hit a speed bump. While messing with the scale of the door, we realized we made the inner door opening too small. Therefore, we needed to remove the support beams and reattach them farther away from each other. That also required us to make the frame cover more wide.

Then we started to use this wood filler/sealer that was really terrible to use. It was supposed to dry 24-48 hours, which to this day hasn’t. We immediately stopped using this ■■■■.

At this point parts had started to arrive!

Used the rest of the time we had left to play around with the placement of some of the parts to the panel pieces.

Build Day Seven:

Oh, boy! The night before this build day took place, I discovered a few more details about the containment unit that I wish I hadn’t. Particularly in this picture:

Take a look at the bottom handle… errr, I mean sticker! Damn, it’s a stupid sticker!

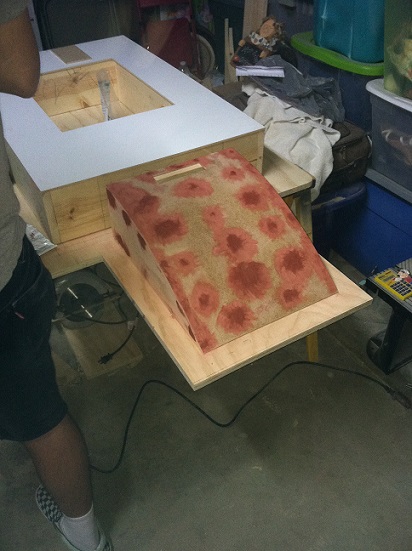
Day 7 had us fabricating a new bottom piece and sanding down the frame. Pretty boring, really.

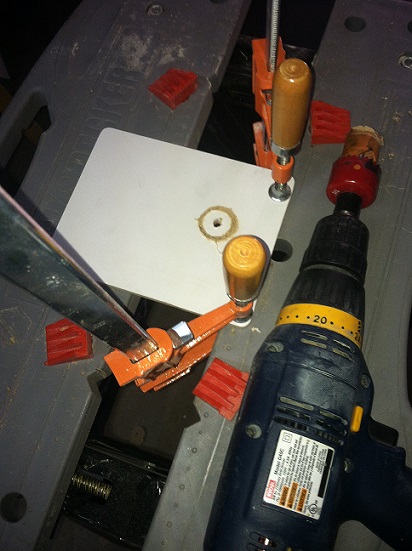
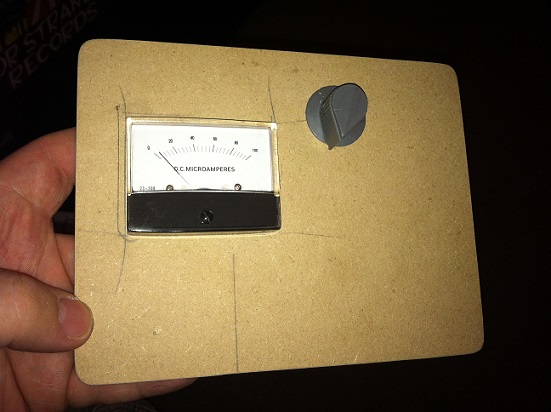
Let’s make things a little different and exciting! While those tasks were being done, I started cutting into the main instrument panel and fitting one of the parts.

Remember the first post where I created a file in photoshop? Well, it turned out great!
Pretty!
Build Day Eight:

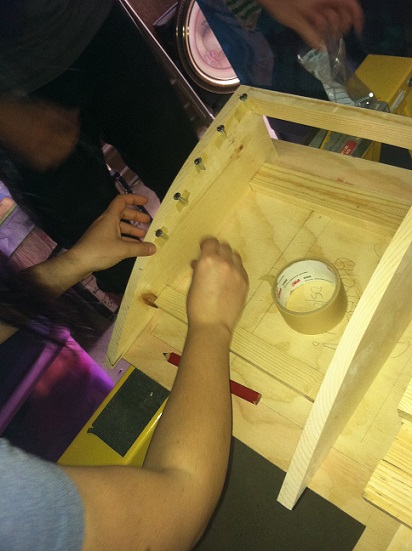
This leads us up to today, which we only had an hour to work. Figured out the placement of the bottom frame bolts then got the frame assembled and screwed together.

Third times a charm, right? Tomorrow’s build will get us back to where we should be without the setbacks. Scale is really no longer an issue anymore. We have a few more tweaks to make, but we wont dwell on them in the thread. We’ll have to revisit scale when we get to the inner working of the trap housing. Anyways, more parts have arrived but you won’t be seeing any of that until later. We’re at a point now to where there shouldn’t be anymore surprises (hopefully).

I’ll try and make the updates happen more frequently and I will update tomorrow with our progress.

Stay tuned.

Looking good!

Looks awesome and damnit you leave us with the same thing as last time ahhhh lol