Hell's Inc. Ghostbusters Finland Containment Unit.

I am building a containment unit for our group to act as a backdrop for pictures. I have the Matty Peck Containment Unit, and as it is 1/12 scale, it is reasonably easy to make out the 1:1 dimensions of the whole thing.

There is though some differences on the unit that I’d like to know which is more to the screen used.

This custom unit for the 12" figures is ABSOLUTELY brilliant, and I will use this in detail works on my life size version.

Then there is the 6" version, which gives me the dimensions for parts.

Now, my biggest trouble is with the door. On the 12" model, the door is alligned to the left side of the unit, and this is common on many Containment Units that I have found pictures of. But, the Matty one has the door centered. And from what I can tell from the clip where Ray shows the ropes to Winston, it seems to be centered there too, although it is a bit difficult to tell from the angle of the shot.

I know that in the end, it is my call, but I’d like to know if there are any better images and/or knowledge on this. I have searched, but no definitive answer comes to mind.

I’d like to know which is accurate?

Thanks!

THAT’S A TOY???

HOLY COW!!!

It is a custom Containment unit. If you like it, you are gonna love the rest of the thread;

That’s amazing man. AWESOME work.

The door appears to be centrally located, the distance between the side of the door and the side of the Unit looks pretty much the same on both sides:

Thanks Kingpin! There is so much other details that I really need to check the movie again, again and again… It seems also that the bolts on the ‘Set entry grid’ ‘Stabilize field’ shield are socket cap screws rather than normal bolts… I have to see if the HD reference shows more on this prop..

Ok, I’ve studied the HD screen graps for end to end, and I got some work done as I wait for the weather to clear and I can paint my 1/12 Ecto - 1 white (been raining snow for two weeks here, I guess the winter finally came..).

There has been talks of joined chartity funtion with the the local 501 Nordic Garrison, and for that, and other photo projects that we are planning, we need a decent backdorp and a prop in it. So here goes;

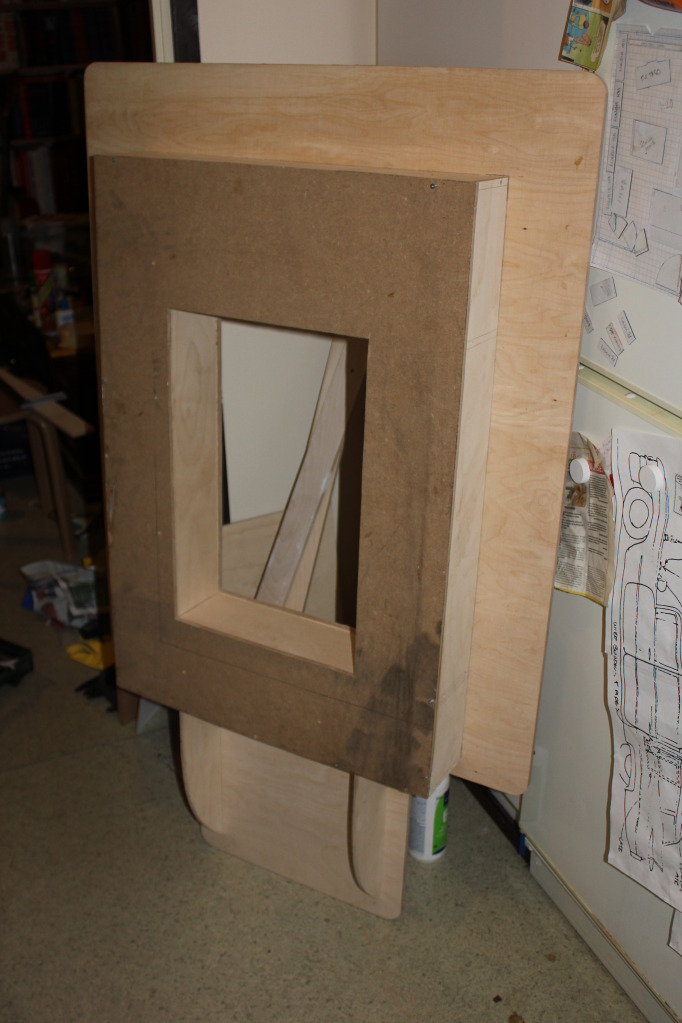
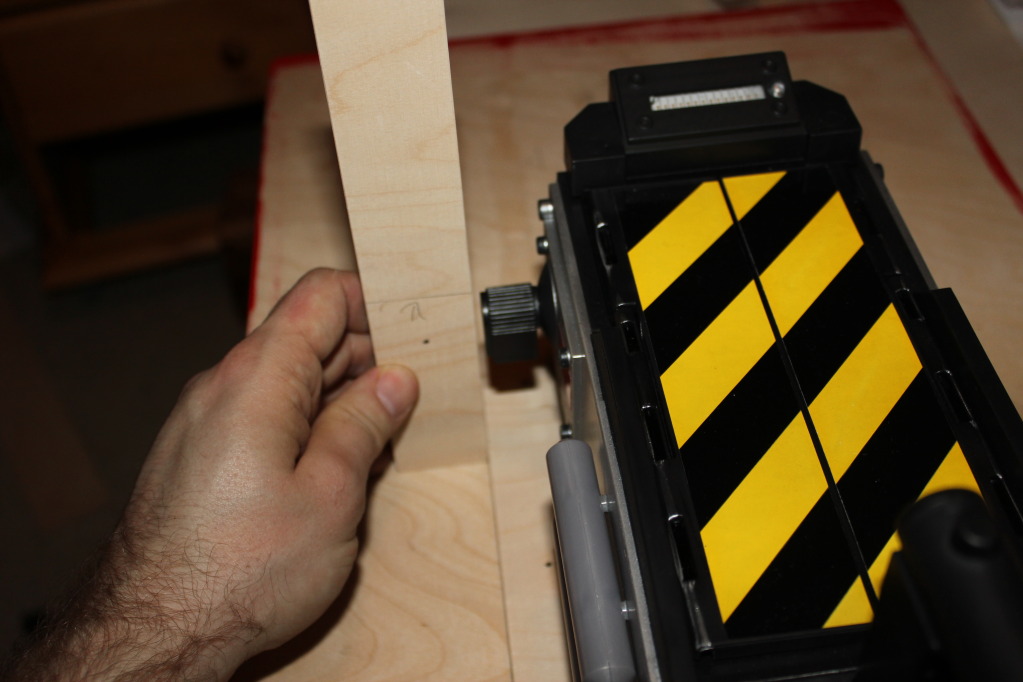
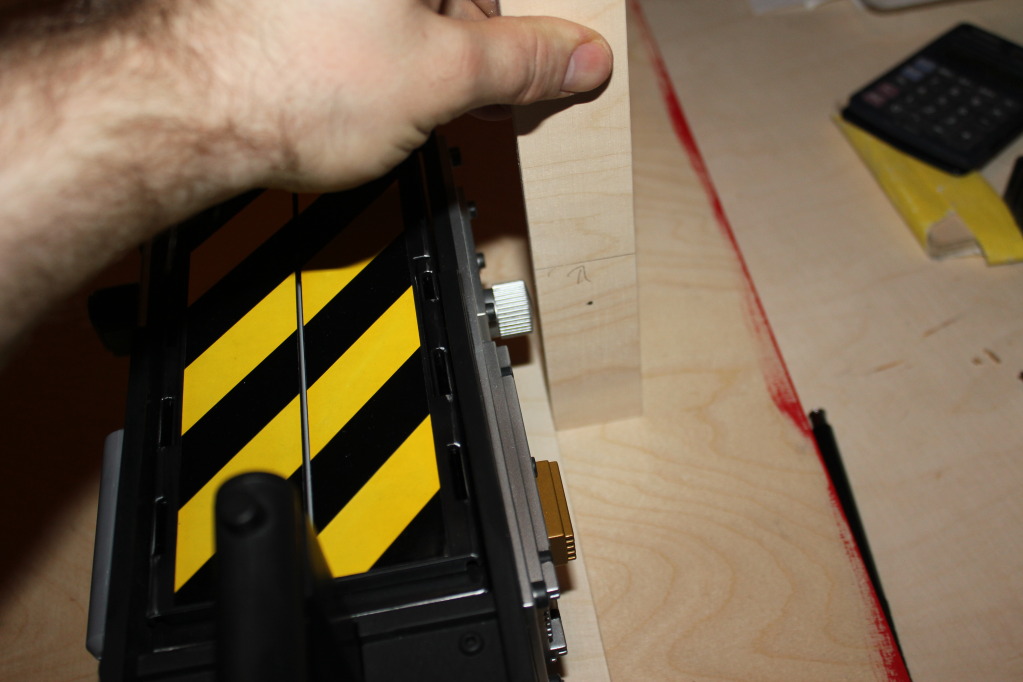
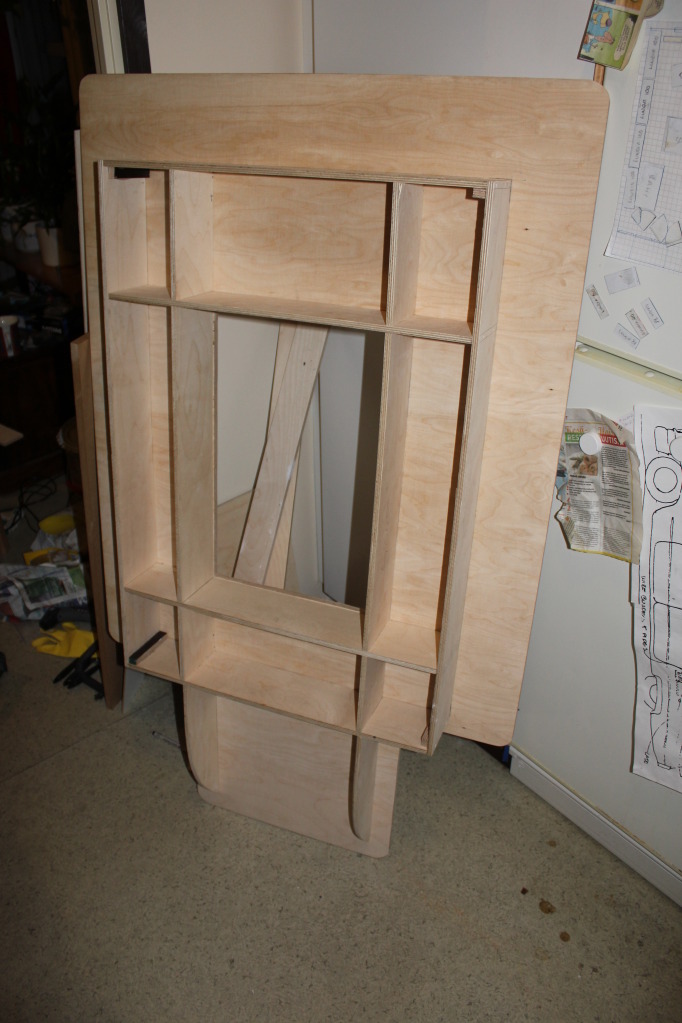
I took measurements of the Matty CU, and multipled them 12 times, to get the proper measures. I then went to a store and has the plywood cut to size. I did some sawing and other strenghtening work at home.

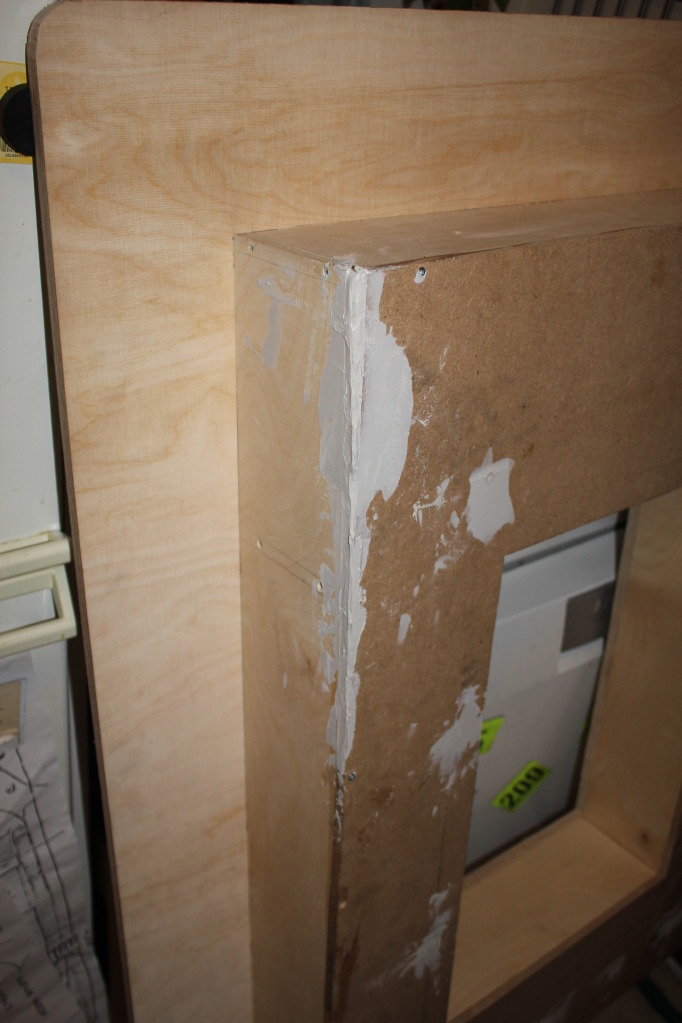
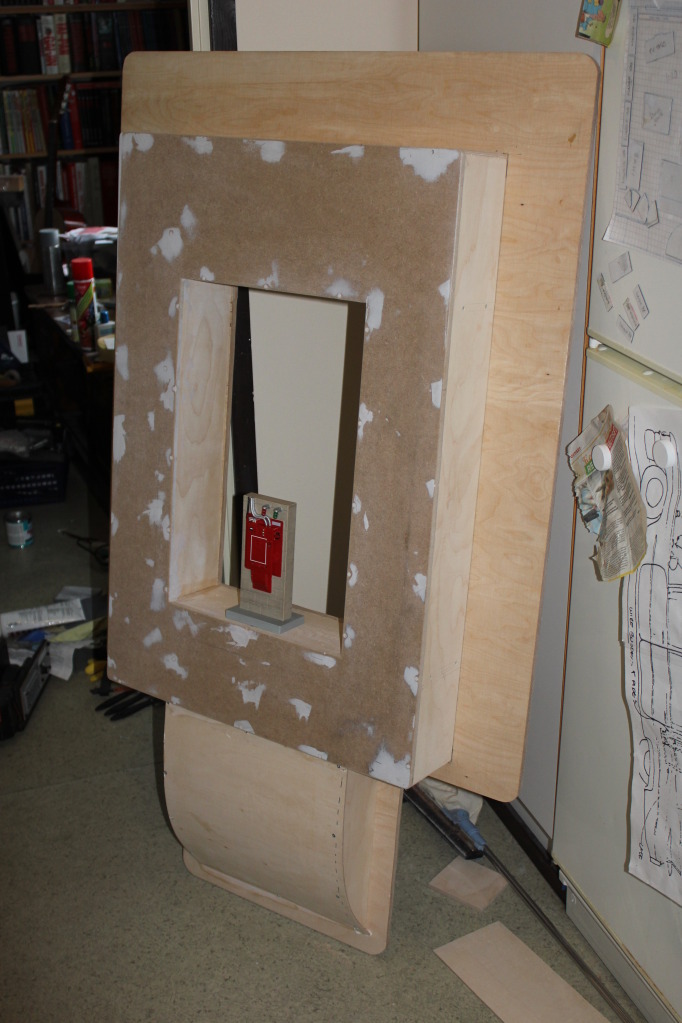
I found a scrap piece of MDF and cut the opening, and attached it to the plywood.

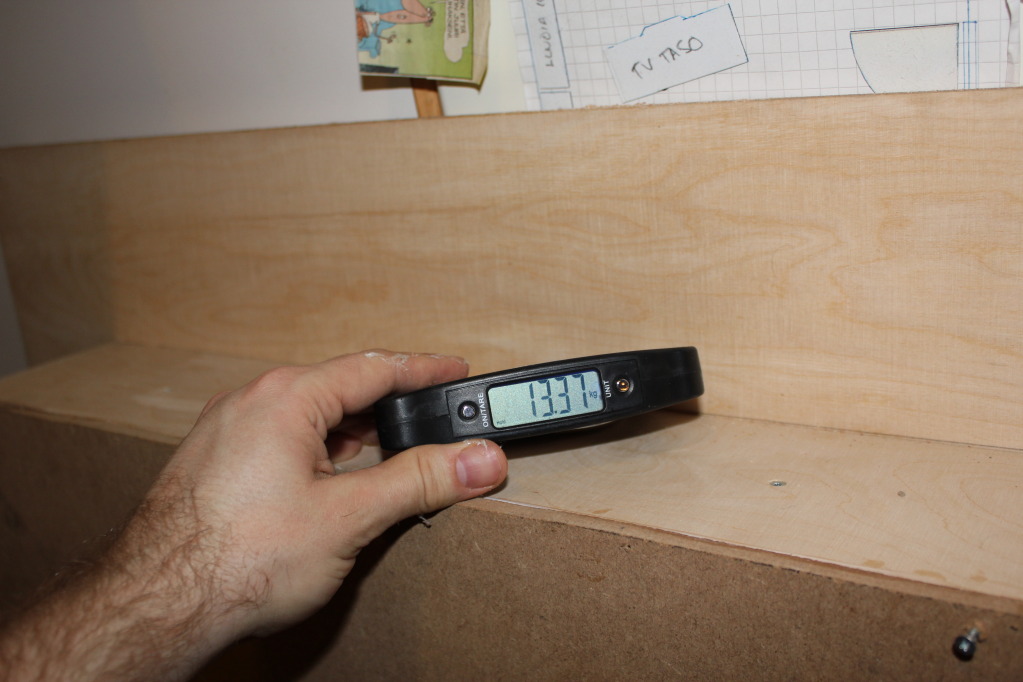
I then took a luggage measurement tool, a little toy that I bought so I can tell how much our Proton Packs weight if someone asks (11 kilograms, without electronics, if you must know). This, is the current weight of the CU in kilograms.

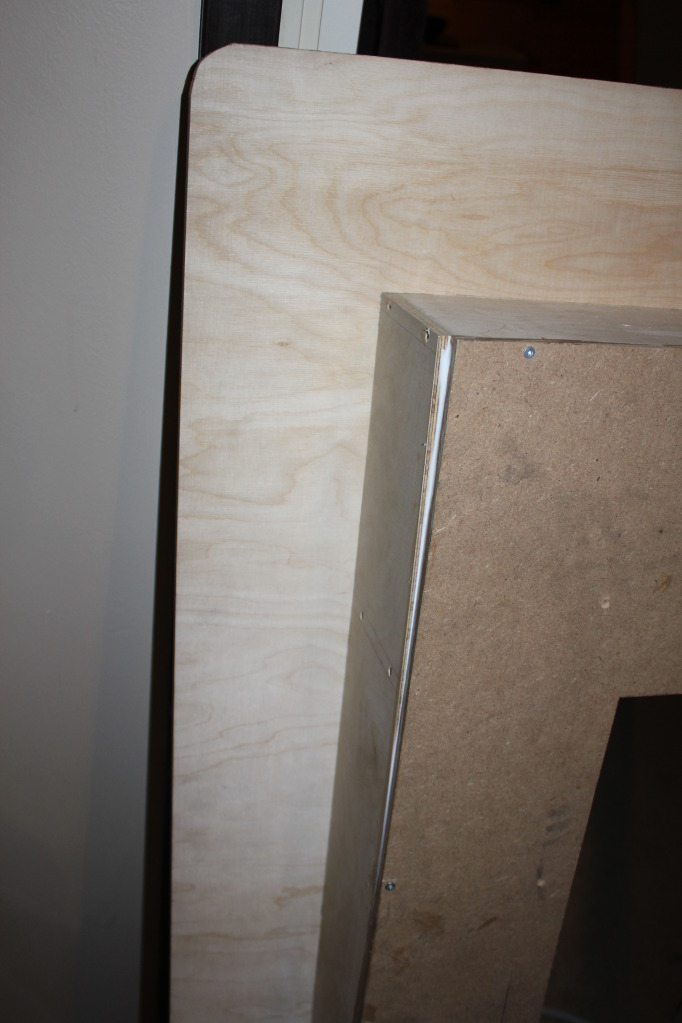
As the MDF was scrap piece, I had to allign the hole cut for the UC door, and not worry about the outer sides. As it stands, there were some gaps..

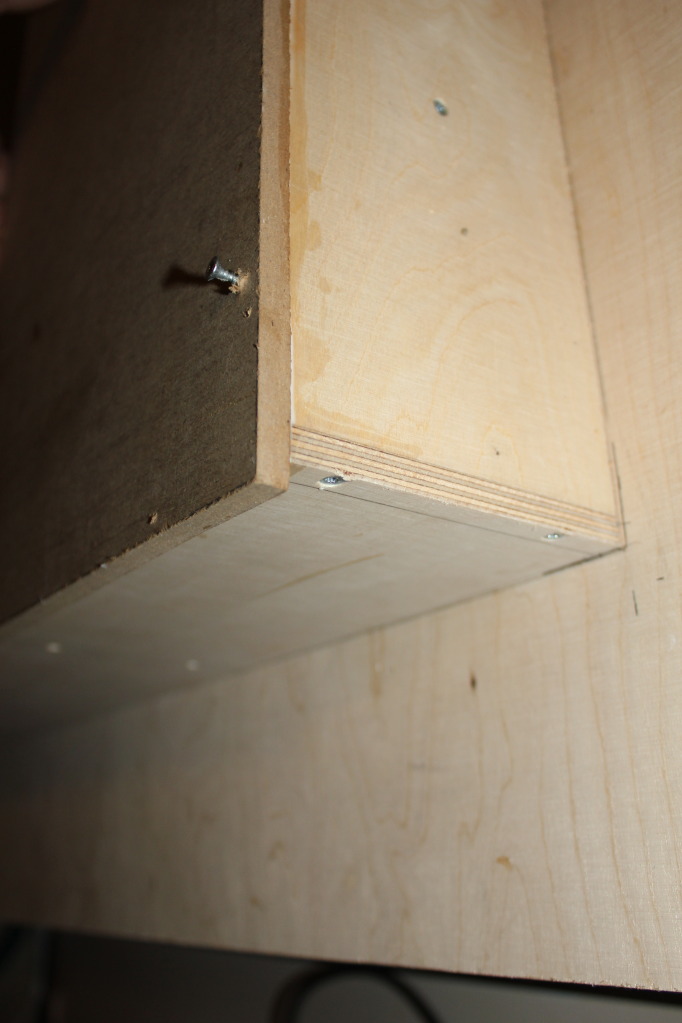
As well as overlaps…

A little Bondo and a sandpaper does the trick…

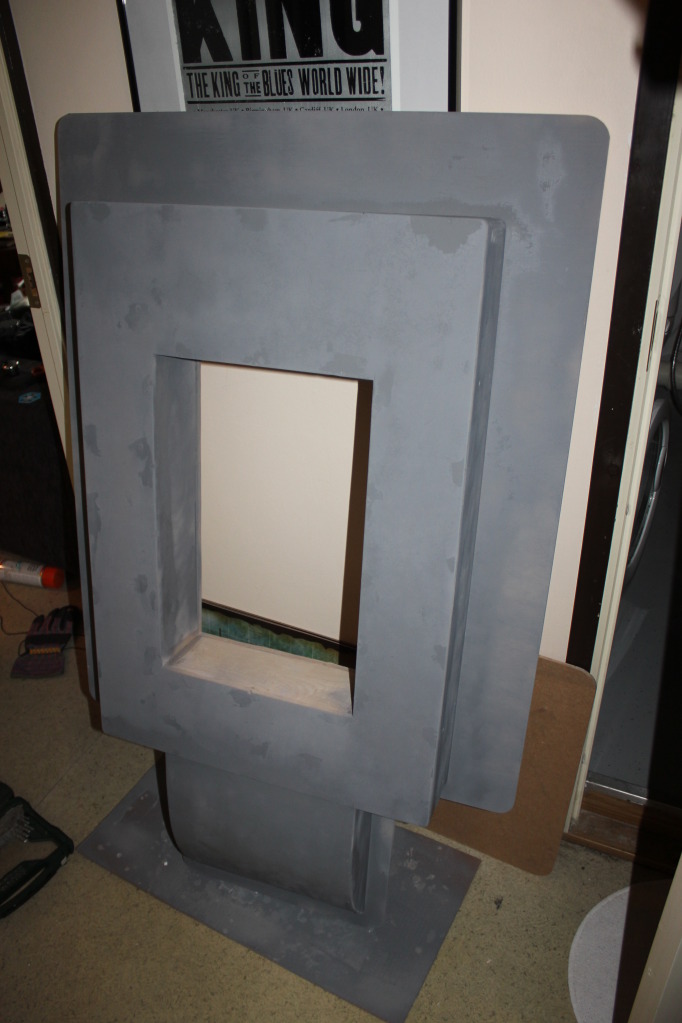
All ready for a primer..

A layer of grey primer laid.

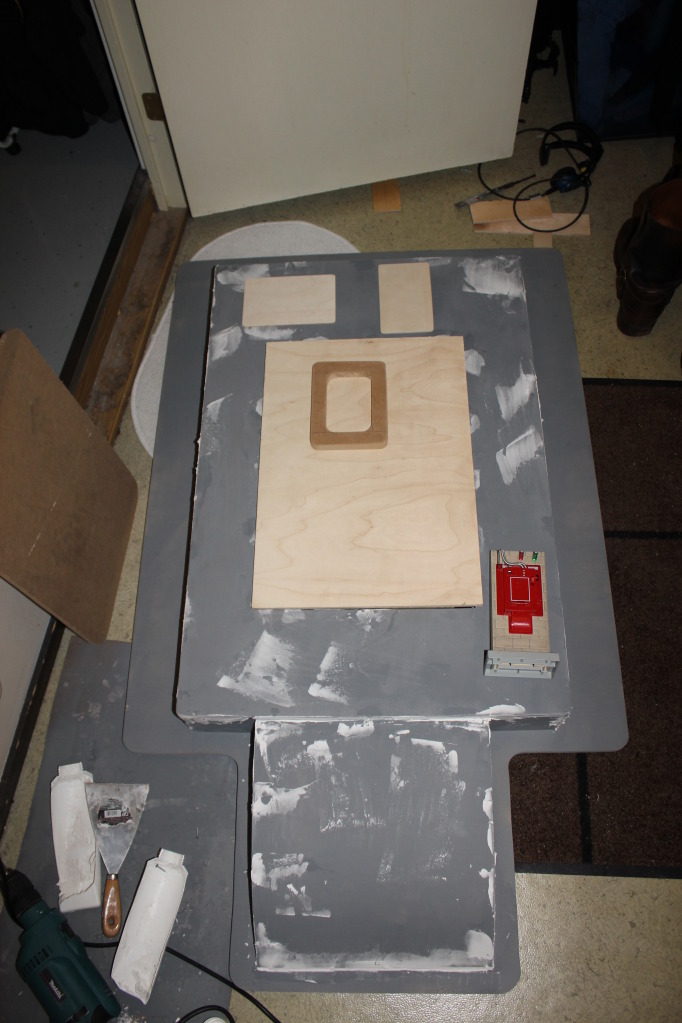
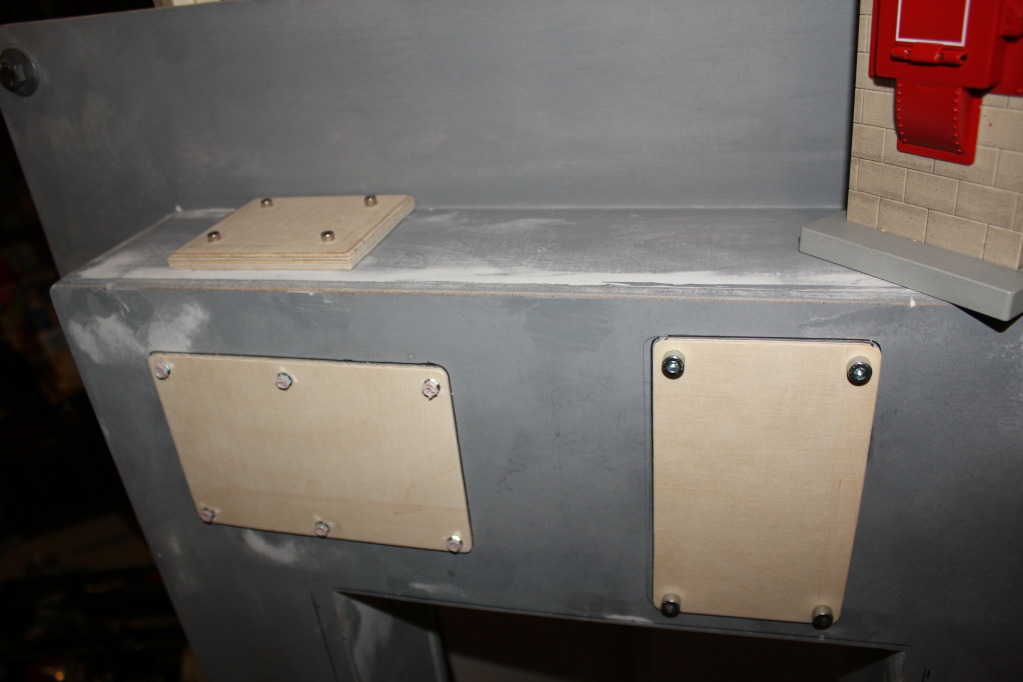
And some holes and other bits were filled. The instrument panels and the frond door were cut to size, as well as the door latch housing.

The instrument panels screwed in. I did some serious thinking to get the bolts and screws correct on these.

I think I got close.

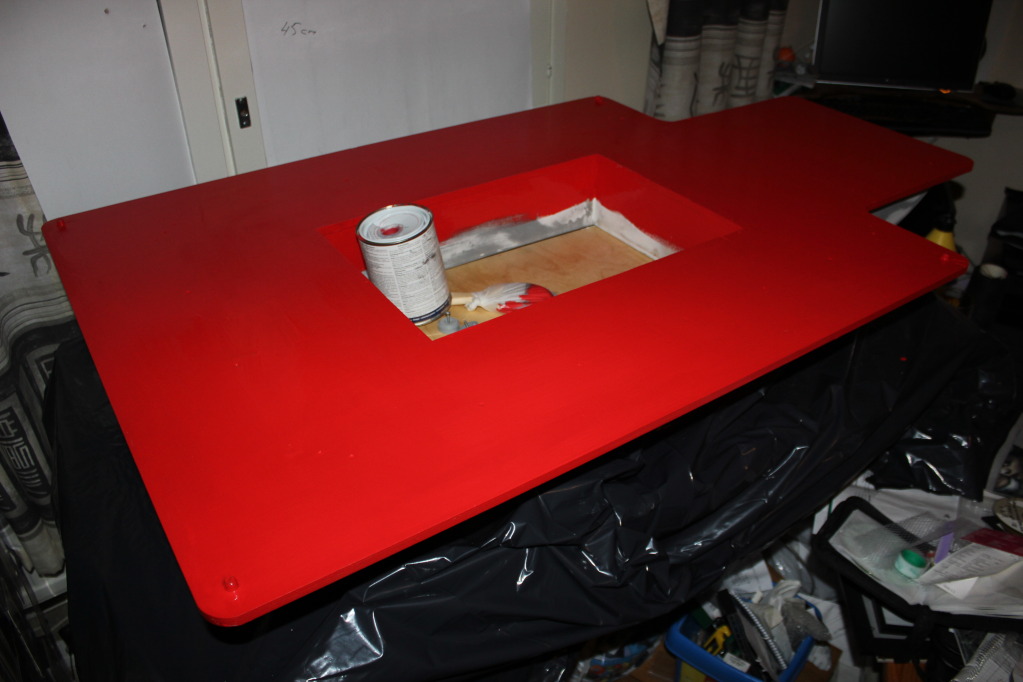
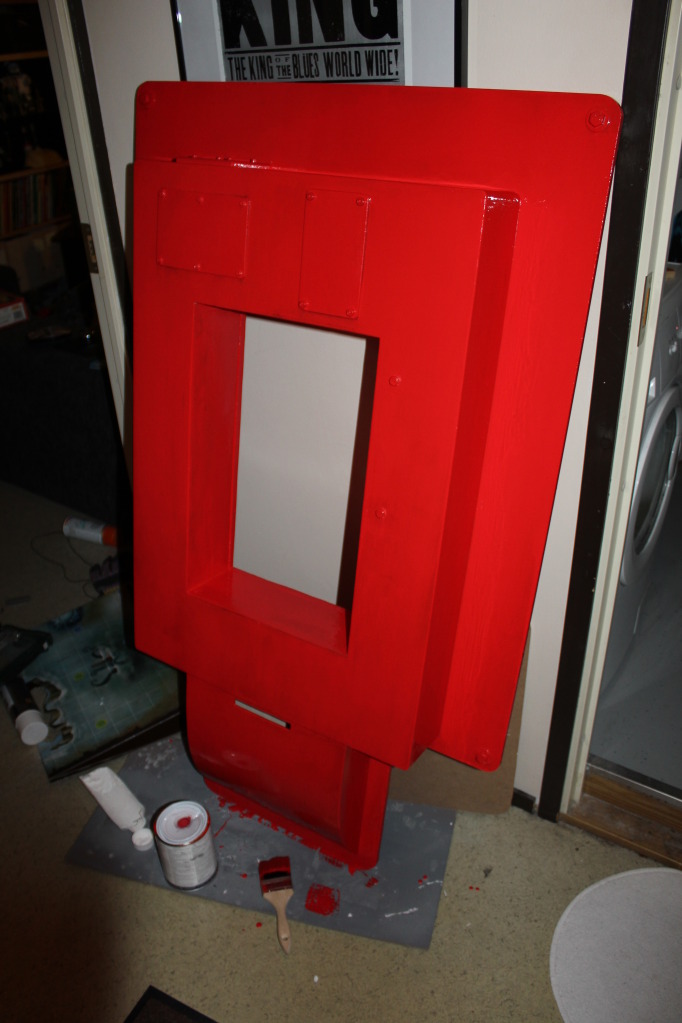
The back of the Unit was then painted happy red. I used brush on this rather than a spray, to get more durable paint. I do not mind the brushmarks on the finished surface, I think that the CU should have brushmarks on it, rather than a smooth surface.

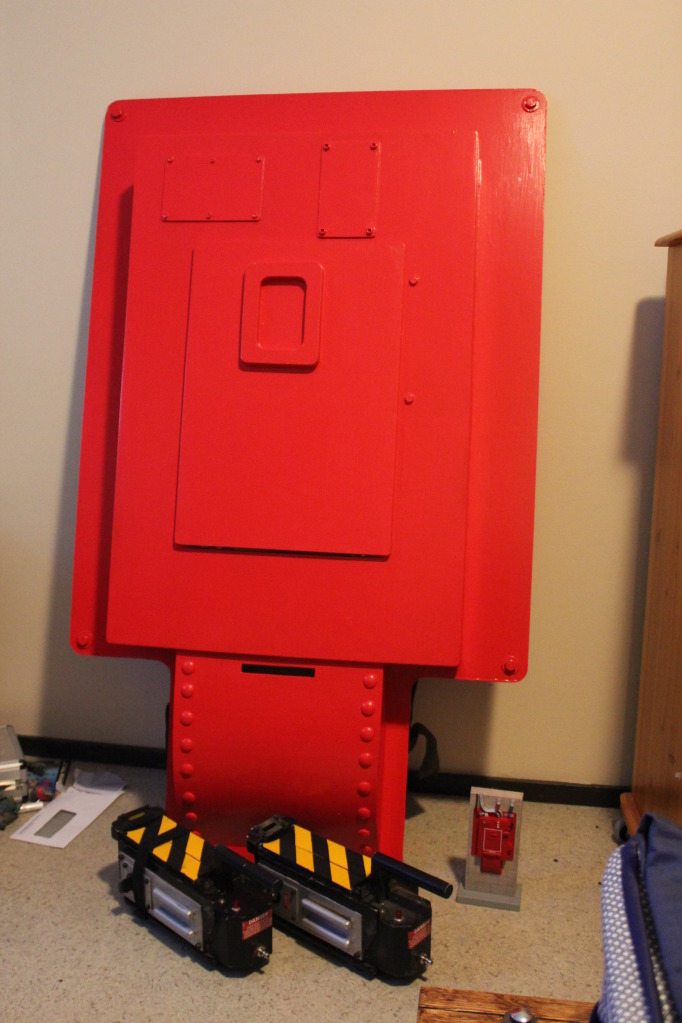
The front was also painted, NOW, this begins to look like it should, don’t you agree..?

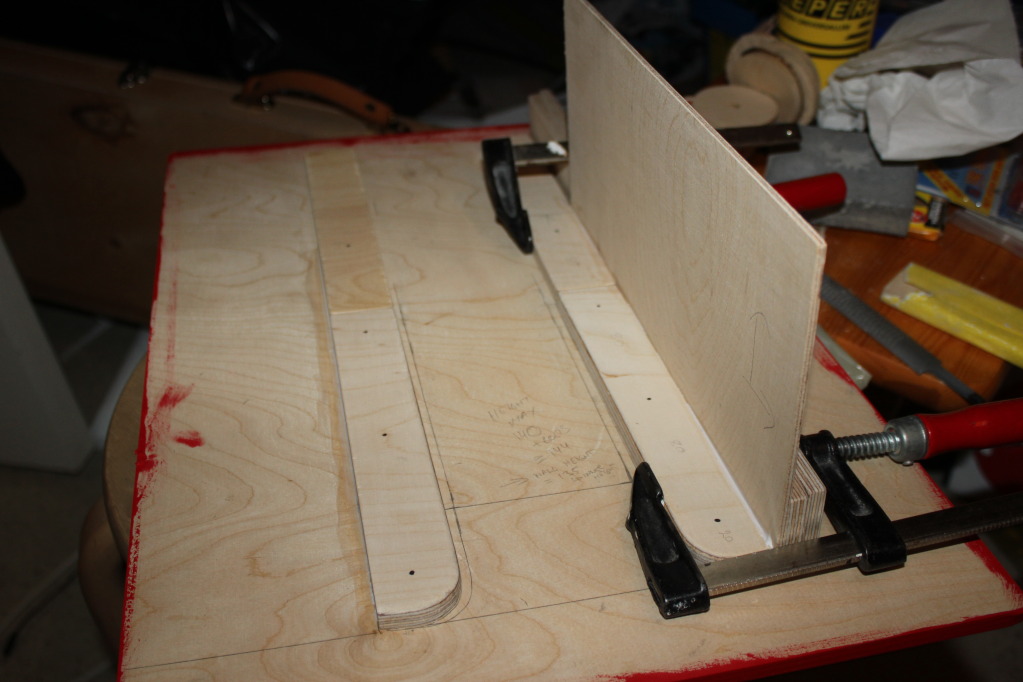
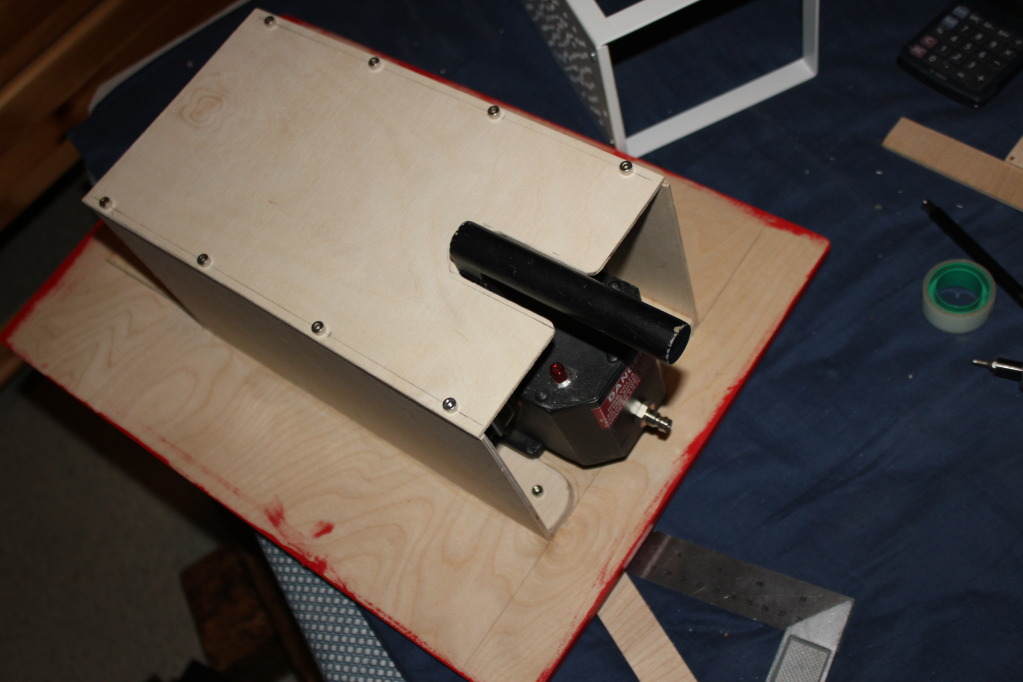
I then began the work on the inside details, and the trap enclosure. The guide rails were cut and glued in place.

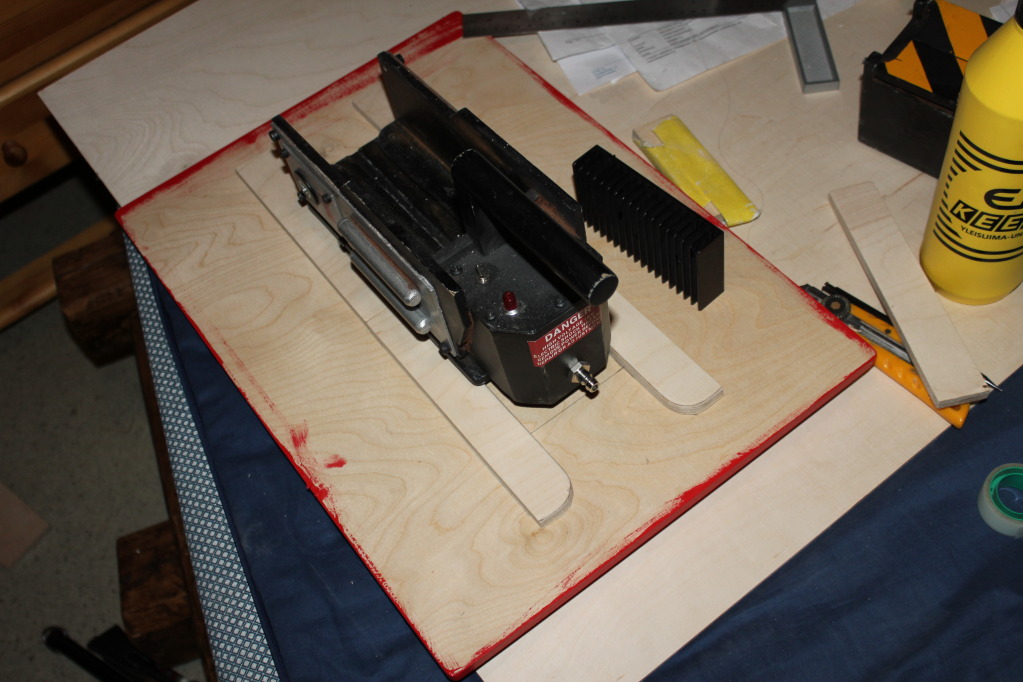
Yep, that IS one of our scratch built traps, sans the cassette.

I took care to see that the traps can fit inside, even with the knobs on.

There is just enough room for the traps on both sides. And yes, that is the Matty trap…

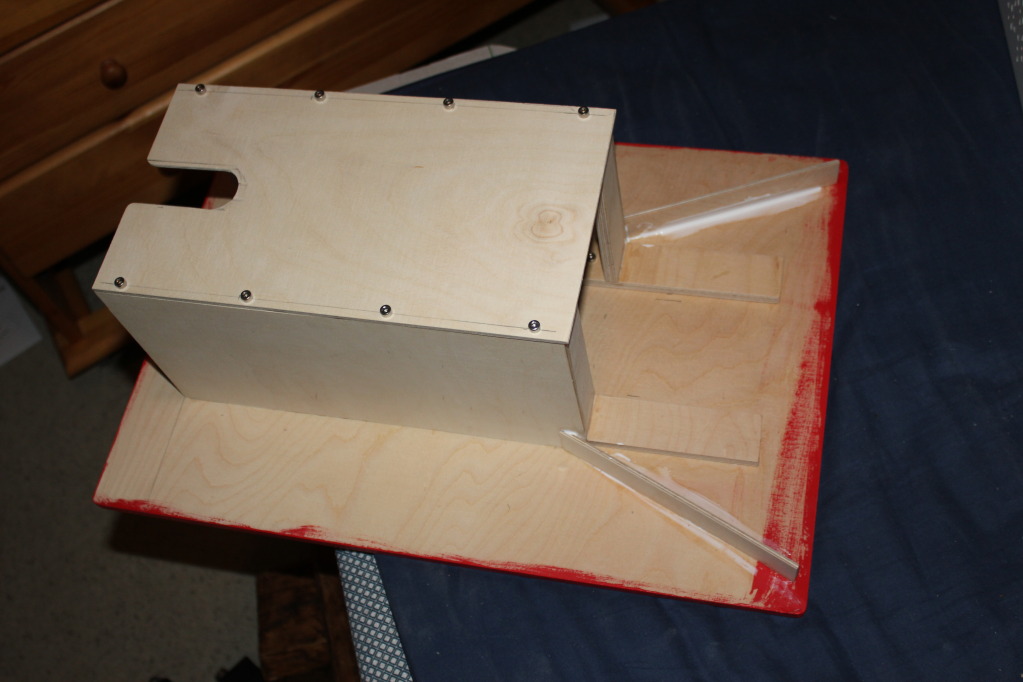
The side walls were cut, and glued in place.

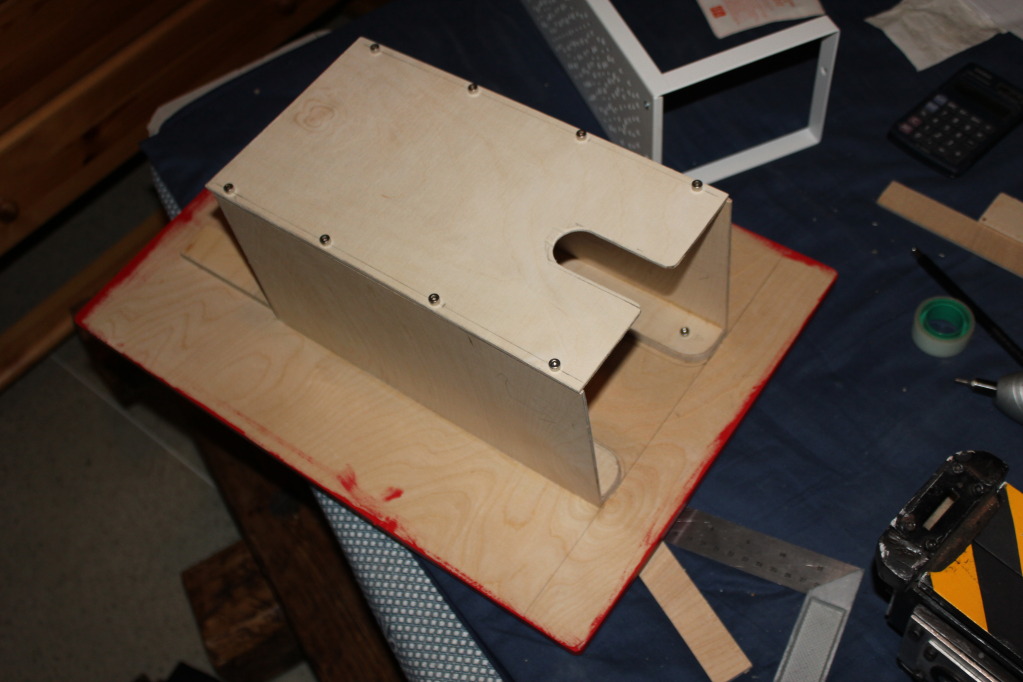
Along with the top of the enclosure.

The little slot on top of the enclosure was cut to allow for the trap handle to fit in. This is not a feature that is on the movie CU, but is on the Matty CU. I did this so that the enclosure could be as low as it can be. On the movie, the CU was built to wall with a hole on the opening. That is why it could be a tad larger. Our CU needs to be able to be hooked to a wall with a temporary attachment, and not into a basement where no-one can see it. So compromise was needed..

In the rear of the enclosure there was small side walls just before the rubber housing. I had some strips left from the enclosure walls, and I used those on this. Simple, easy, nothing fancy..

The Door, although unfinished, was screwed to hinges and attached to the CU chassis. There is still much work to be done, I need to order some Trap knobs from Nick a Tron for the left instrument panel, and add cable, labels and such, but this is how it is now…

Happy sunday everyone, and if someone need measurements on this, just shoot me a PM.

Cheers!
Absolutly awesome ! Top notch work

+1 (really nice work)

Amazing. Simply amazing.

That is looking great!

In love.

and I cannot wait to toy around with that next weekend i guess that we will hav some work still to do on it :smiley: :cool:

this is all kinds of awesome.

very cool, that looks great!

WOW! amazing…

A small update, and a big thanks for the compliments!I was really surprised pleasantly to see this project promoted on the GBFans Facebook site, it really means a lot to me.

There has been several of you who have interest on the plans for this, and as soon as I get the little details done, I will start making the plans for you. I do not want to rush things, but do them properly. This community has given me and my fellow GBs here in Finland so much, I am only too happy to contribute and give something back to the community.

Now, I know that the Matty Collector Containment Unit is most likely not 100% accurate next to the original movie prop, but as I see the Unit next to me, it is REALLY close, size wise at least. I will, however, use every reference that I can find on the details, so that they can be made as accurate as possible.

Here are somethings that I have made out as of now.

The left instrument panel, mostly seen on the shot where the CU blows up after a certain Peckerhead. From those images I deducted that the knobs next to the ampere meter are nothing but Ghost Trap Knobs, as seen here;

I scavenged them from one of our traps. The tear drop dial dropped some time ago, and I have not yet attached it back. I thought that as I need to get some bits from Nick a Tron anyway, I might as well use them on the CU. This time, they are set on thight, and will NOT drop out.

The Micro Amopere panel was cut out from a plastic box that came with some screwdriver bits. It just happened to be proper size, and although I am not happy on the fact that it is not as clear as I would like, it will do for until I find a replacement that won’t cost millions. It is held in place with the trusty E6000 glue…

..And yes, I know that the printed measurement panel on the Ampere meter is not accurate, is is just taped on, and will be replaced soon enough..

I have some boxes drying up that need little sanding, and some other detail work, so stay tuned for updates.

Thanks for watching!

-Ville

Absouletly Amazing!

I really can’t wait to see the finished product

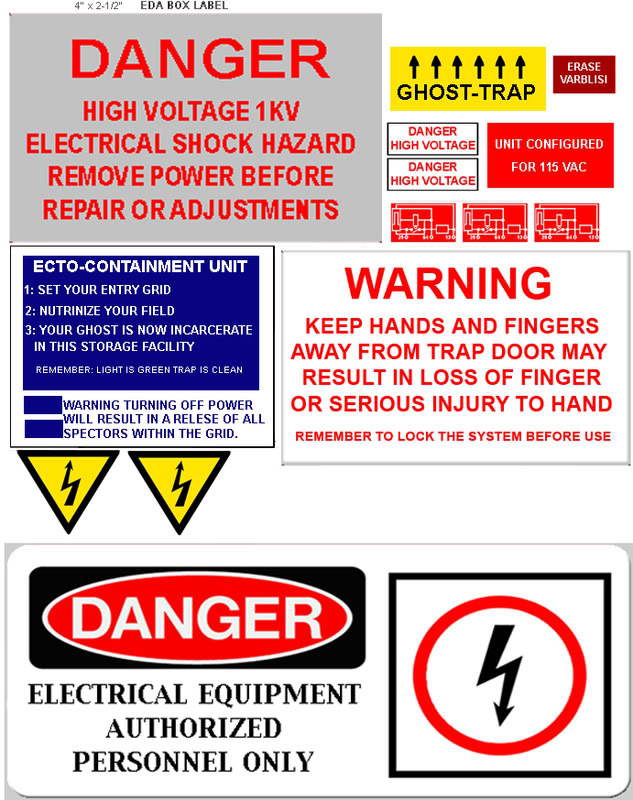
here is an older thread with ECU labels… they are not accurate, but a good start

Thanks, those are good, and you might see similarities on the Ampere Meter print and that one…

I actually have used some of those labels already on my CU, the ‘Erase Varbls’ is spot on in size and colour. By the way, I think is is short for ‘Erase Variables’. And the yellow Ghost Trap and arrows that goes to the inside of the trap enclosure is in place. For me, it seemed to be accurate enough.

The 'Unit Configured for 115 VAC is a tad too big to fit on top of the AM (Ampere Meter), and as I am hooking this to our local current, I need to change that label a bit. Our current being 230 VAC.

There is this one too, and I’ve used the danger label from this. It was just the proper size when printed out.

The two yeallow triangle labes are a bit too small, as you can see on the pics on my unit;

The ‘Erase Varbl(s)’ label is not on straight, neither was the one on the film..

The Trap Enclosure, in colour. As you see, the lillte triangle labels seem to be tad small. Iet’s just see what they look like after they Enclosure gets the reat of the details..

Here is the unfortunate trap that had dontated it’s knobs for the Containment Unit.. I was thinking of the lever on the CU, and it hit me. The lever is exactly the same size as is the handle on the trap! With a little longer stem, though.. Well, it is easy to get the lever dons after this…

…But, it has led me to do a little thinking in regard to the CU… In the original script, the guys had a storage facility out of NY, and drove there to empty their traps. As this idea was scrapped, the producers went with the idea of malking the storage unit in the basement of the firehouse, and thus, the Containment Unit was born…

I wonder if some poor trap was scrapped for parts on the CU building..