I know… Sorry about that. I wish we were further in the build, but it seems we keep finding something we can reference scale from which results in us having to take a step back and revise. Don’t worry though, this build will start getting good real soon. We just need to get all of the boring stuff, like sanding, out of the way first before we get to the meat of the pie.
It hasnt been dull at all sir. Very exciting watching this come together. Iv thought about doing a small scale version for my kids room. But sourcing some of the parts would be difficult. Mostley the containment handle. But never the less, awesome progress
Build Day Nine:
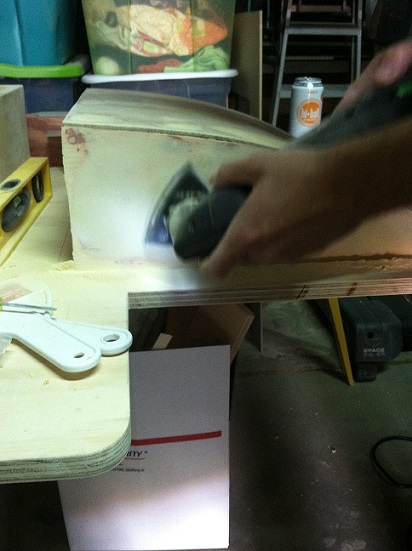
We did a good amount of work that day, but I forgot to take more photos than just the three. Therefore, i’ll make this day short and just go over what is in the pictures. Anyways, the day was mostly filled with more sanding and adding bondo to the right angled piece.
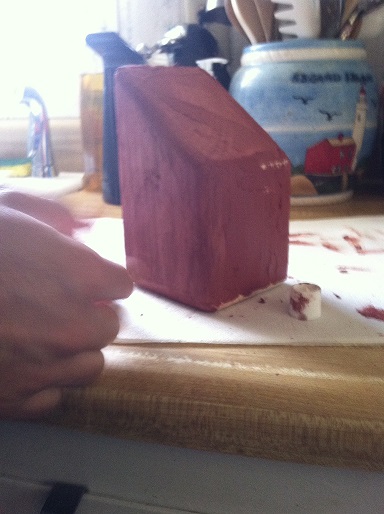
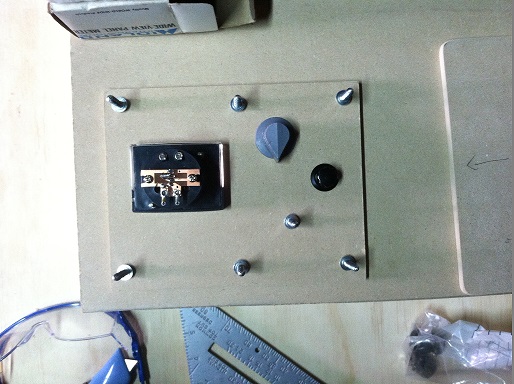
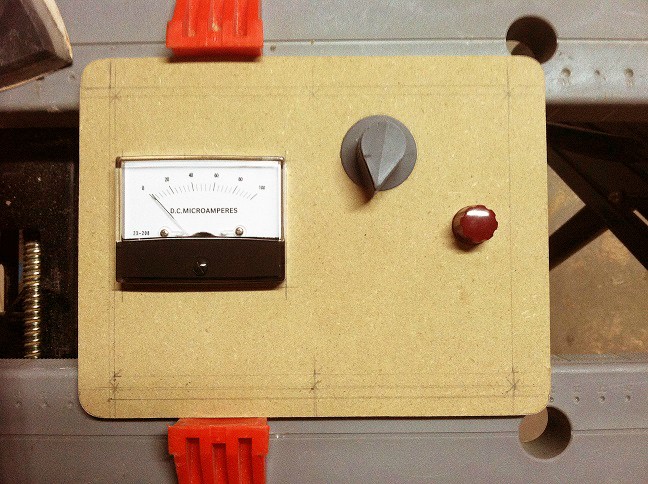
While that was put aside to cure, we measured out a new piece for the instrument panel. The meter was higher then it was supposed to be in the previous attempt, plus I wasn’t too thrilled with the cut I made. Once we figured out where everything went, we put it aside.
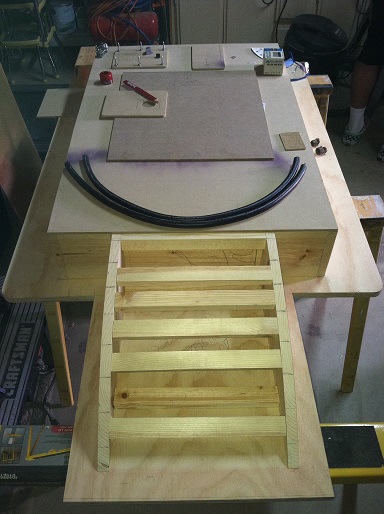
We spent a good amount of time cutting out the smaller wooden pieces that attach to the frame and trying to get scale worked out. At the end of the day I realized that I really hadn’t taken many pictures, so I snapped this to show what progress we made.
Build Day Ten:
We got a lot of work done today! First we wanted to revisit the angled right piece now that the bondo was dry. What did we end up doing? Sanding…
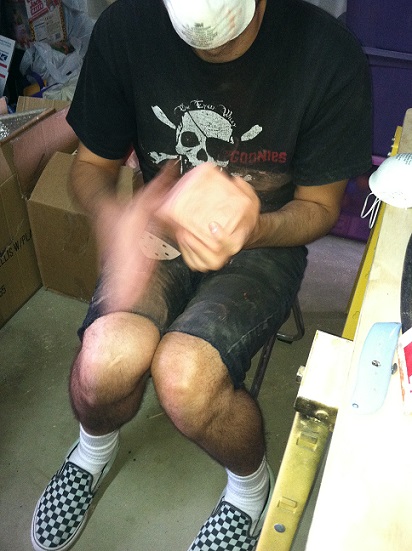
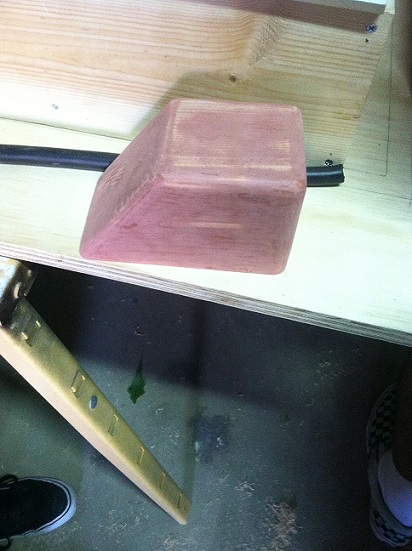
Once that was sanded we simply moved onto the next step; mounting the lower frame piece and getting the cover bolted down.
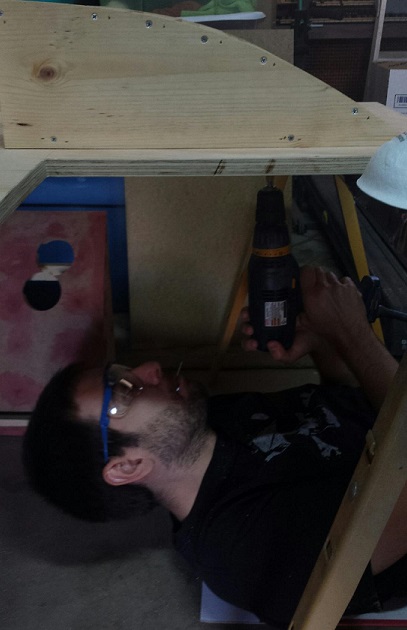
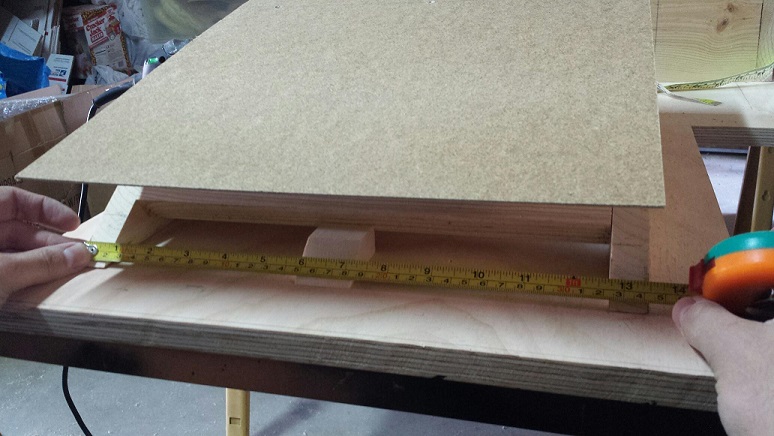
Finally, a day when things actually go smooth with no problems arising! Got the front bolted perfectly and it sits much more flush then our previous two attempts. Once that was finally done we sanded the sides and took a picture of our progress.
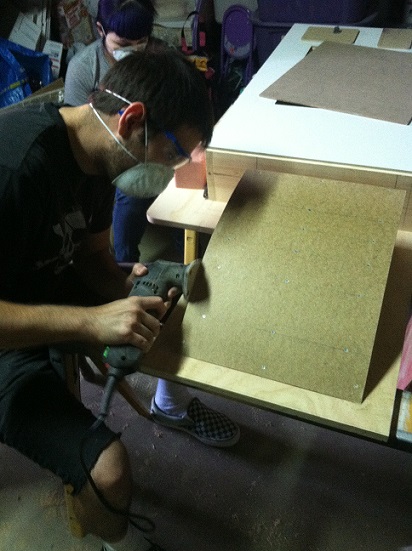
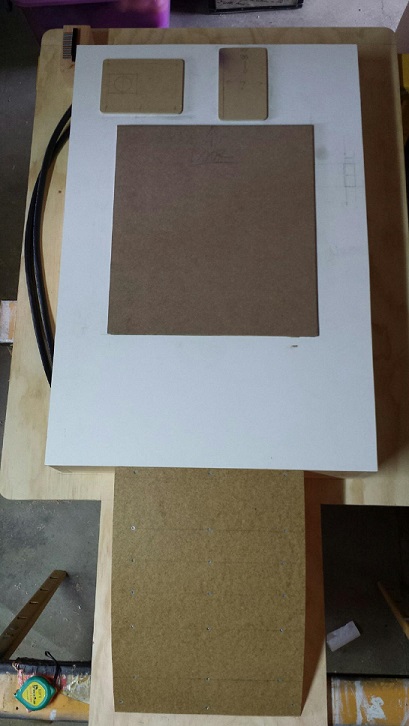
Then we used bondo to cover up the screws. We are now officially satisfied with the bottom piece. Third time is a charm! No more going back.
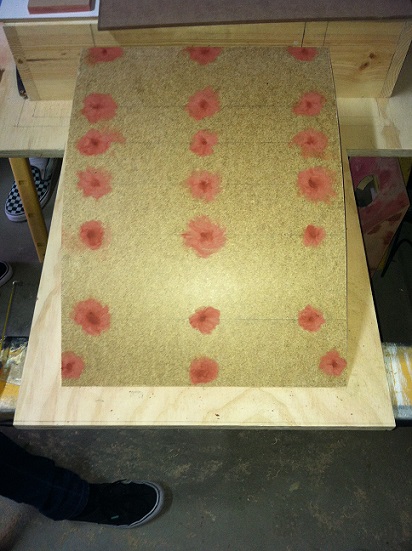
While that was being done, I took the opportunity to re-cut the hole in the instrument panel for the microamperes meter. I was much more satisfied with my cut this time and I think we nailed the placement. Just waiting on one more knob at this point before we move forward on this piece.
Now that the bottom piece was done, we revisited the small wooden pieces to get the aluminum pieces cut out.
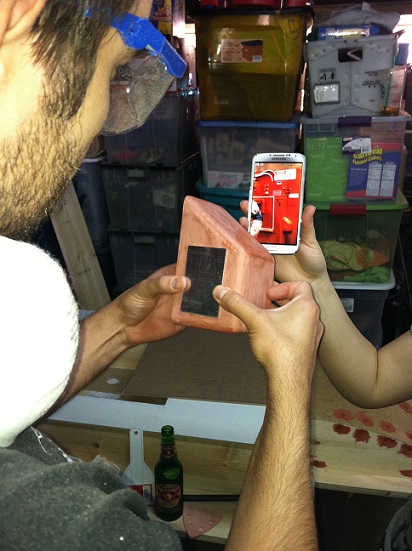
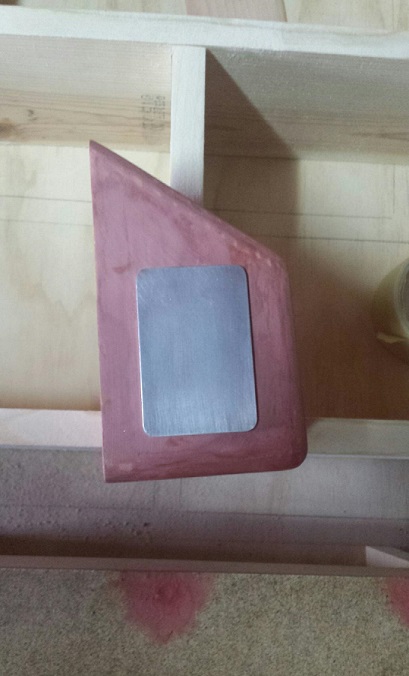
This piece needed a little TLC and sanding before we got to the aluminum.
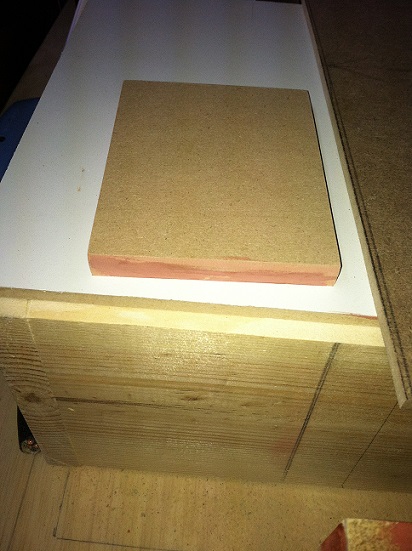
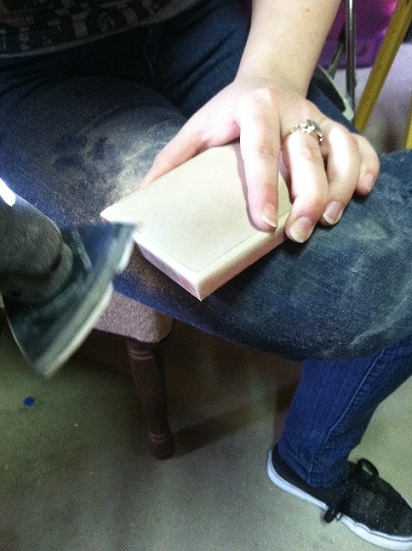
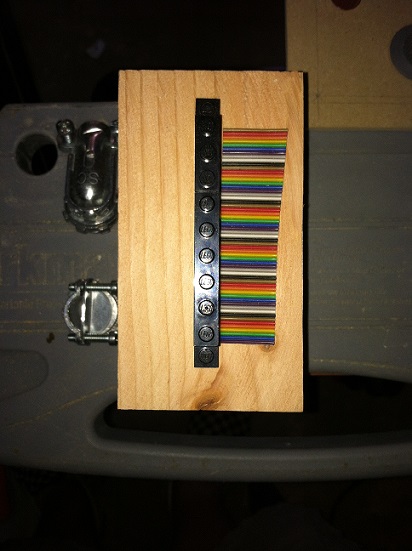
Now here’s the aluminum cut out and comparing our reference piece for scale. If you notice the ‘ribbon connector’ is just some Lego’s. This isn’t what we’re going to use. I put the Lego piece together in the same length as the real part. Since those are on the way, the Lego’s were just a stand in for visual scale.

We then moved on to the top box that connects the ribbon cable with the two electrical cables. Matched up the scale with the wood we cut out but realized it was a quarter of an inch too short. We ended up just using wood glue to attach a small piece to it.
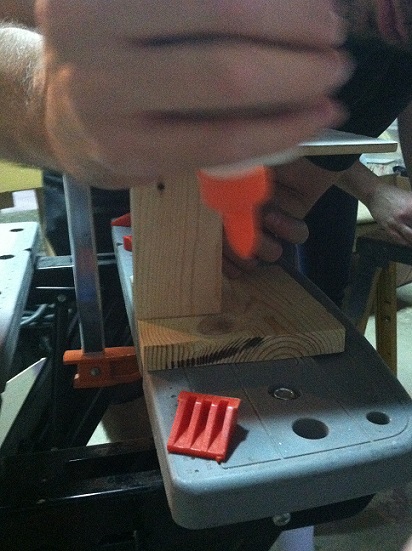
Getting closer to the end of the day, we began to round out the corners on the main frame. We cut out a 45 degree cut on the ends and then sanded them.

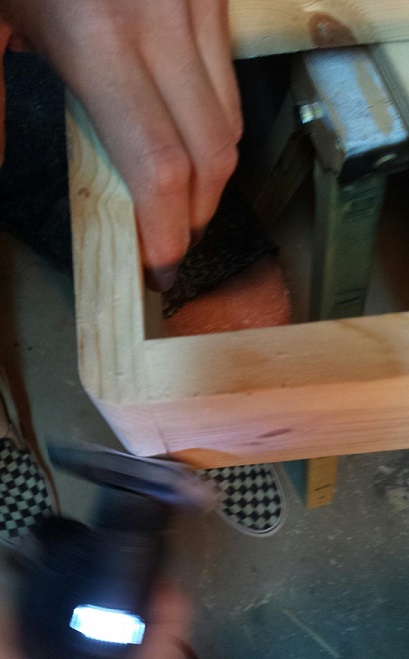
From there we used wood filler to fill up the holes and imperfections on the sides. We want to make sure that nobody that can tell the containment unit is made from wood.
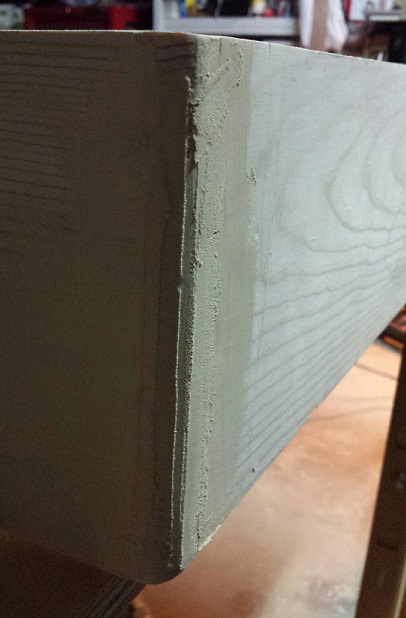
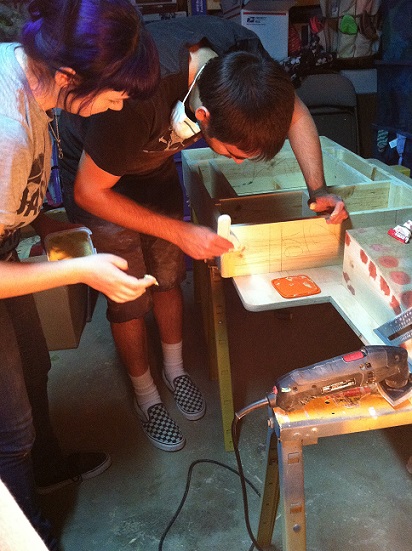
Then once everything was dry, we sanded the ■■■■ out of that thing. Cleaning up was a bitch.
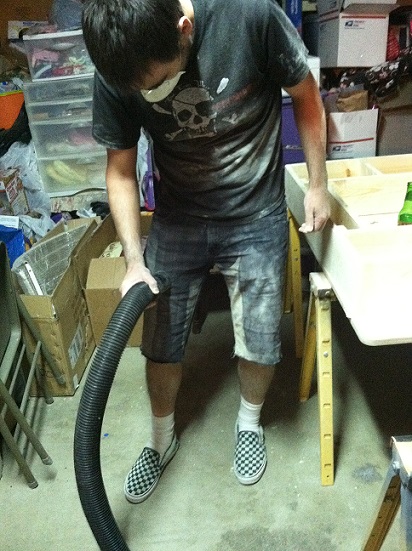
More to come, stay tuned…
heh, oen thing I decided is that if I ever have a basement, an ECS is going in it, maybe a game based one.
Build Day Eleven:
Mostly we’ve been slowing things down to concentrate on sanding the visible outer parts of the unit. We started with the sides by adding wood filler to any holes and giving it a smooth finish.
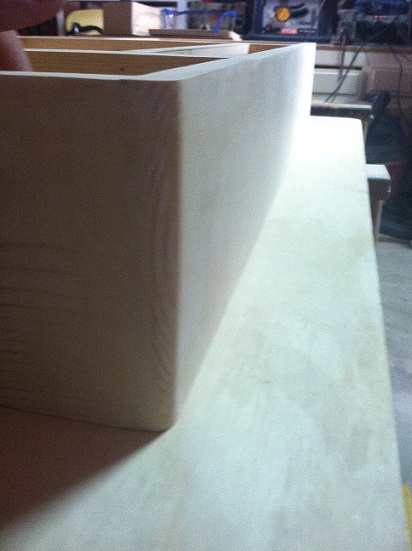
Basically just spackling it on the sides.
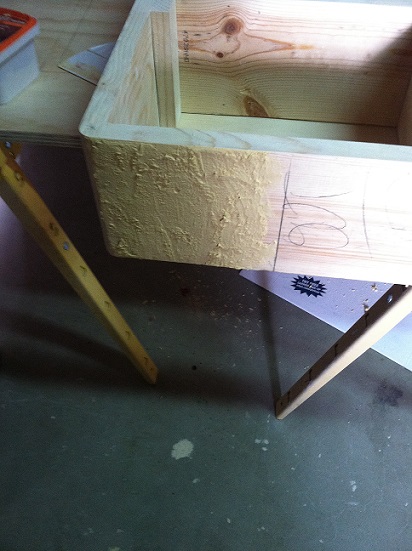
Then just sanding the ■■■■ out of it.
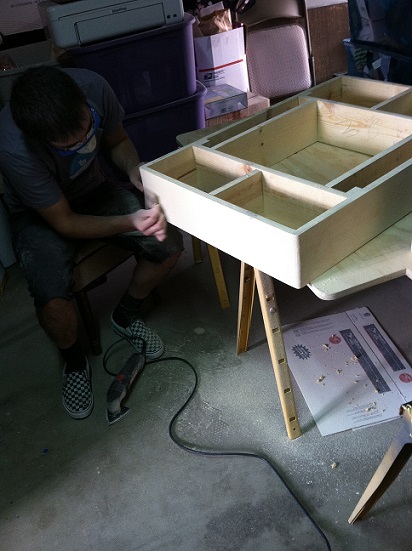
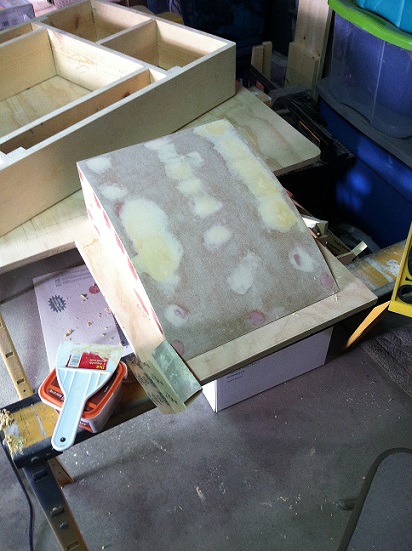
Then moved to the lower portion.
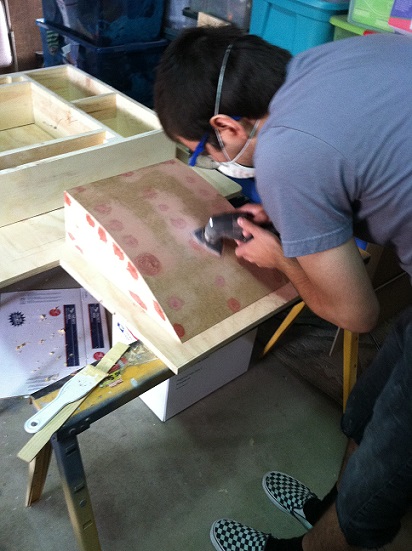
This piece is just about ready for primer.
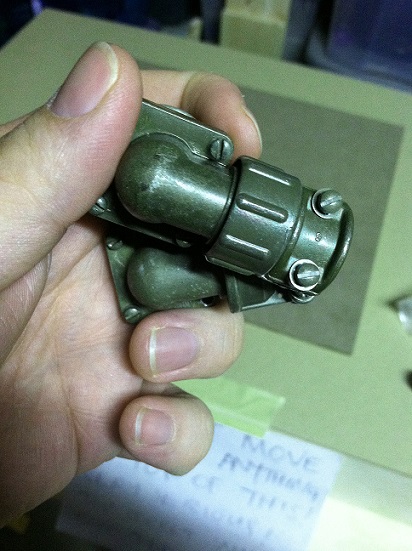
Some more parts arrived today. Here’s a little sneak peak just to show how accurate we’re going with this build.
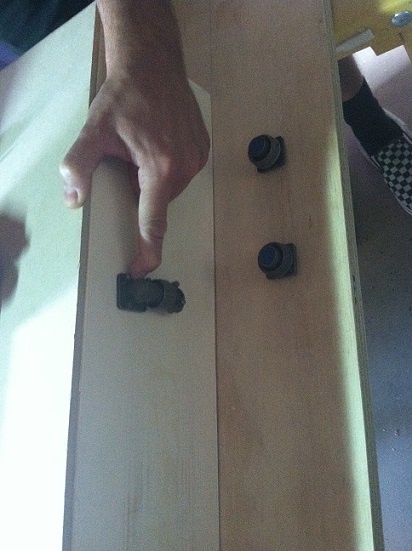
Almost getting to the good stuff…
Build Day 12:
This update wasn’t progress made all in one day, but really just a summary of all the build days since the last update. Not much has changed as far as exciting progress goes. Just a lot more sanding and fine tuning to the frame and backboard. It’s taking a lot of time to get the surface to where we want it. Right now, every surface feels like glass with very little imperfections left to correct. We’re almost at the priming process! Seriously, we’re so over having bondo boogers.
Right now, we’re still looking for the right parts for the door mechanism. We know what the parts are, but the problem we’re having is either finding the right size or the right price. We have a few pieces in hand, but that’s really what we want to tackle next in the build before we prime.
While I talk of having to prime, we’ve done just that with the frame block piece.
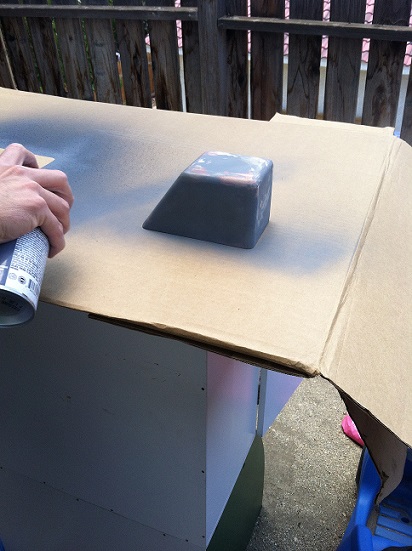
We really got this piece to look amazing!
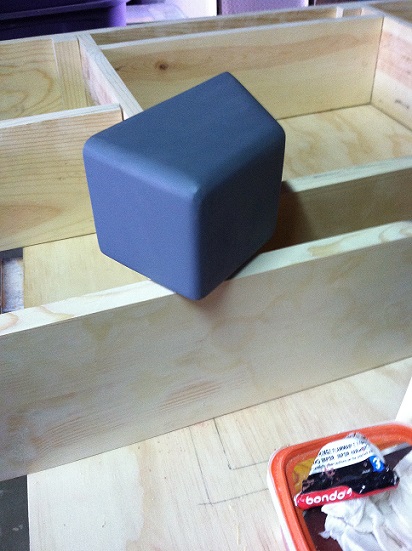
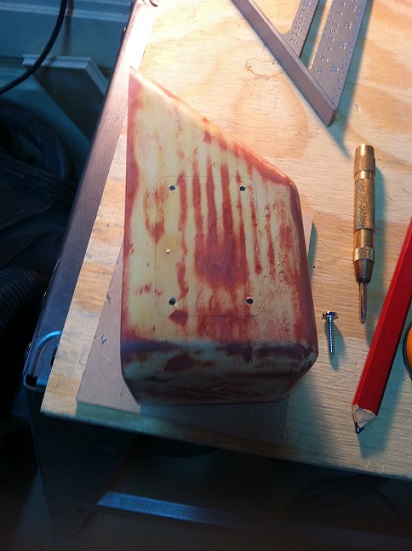
The piece was ready to be installed onto the frame and that’s exactly what we tried to do. I mean, look how great we we’re able to get it. Keep in mind, this was a crappy piece of wood.
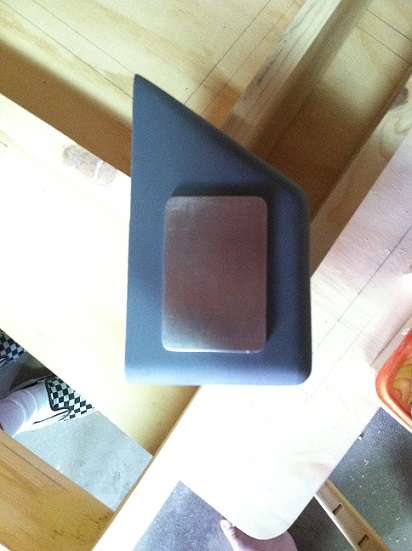
Crappy piece of wood is correct. Tragedy struck while we were preparing this piece for mounting. We drilled four holes into the back to add these special wood nuts. They’re threaded on both the outside and inside which allow a threaded bolt to go into the wood. Well, these didn’t work so great. When we screwed these into the wood, the whole f#@&ng thing split in half. Seriously, there’s no better excuse than this to just go wild with anger and to just punch or break something. However, while the urge was great, we were able to contain and suppress our rage. While the piece could’ve been fixed and salvaged, the scale was slightly off which bothered us. So, we took a deep breath, let out a soft and gentle sigh (because at this point we were defeated) and succumbed to the fact that we needed to make a new one.
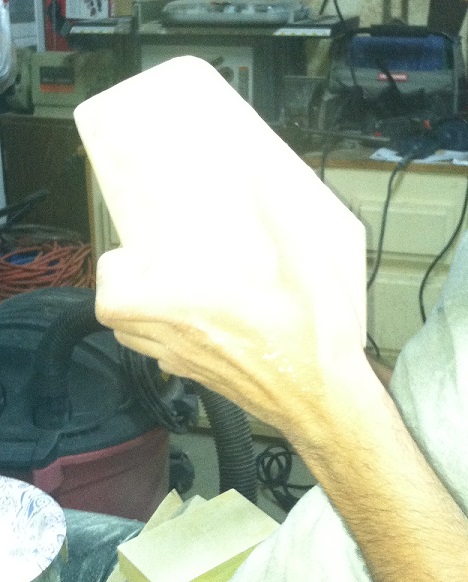
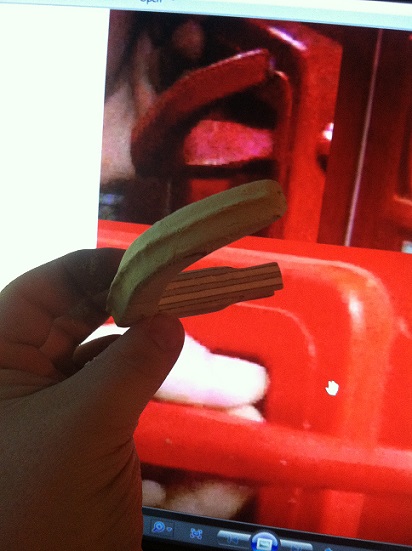
Moving forward, we cut the door handle out of wood. If the handle on the containment unit is real (not fabricated by the prop makers) then it is real elusive. Found a couple close matches but no dead ringers. Until a match can be found, wood will have to do. Here’s a picture of comparing scale.
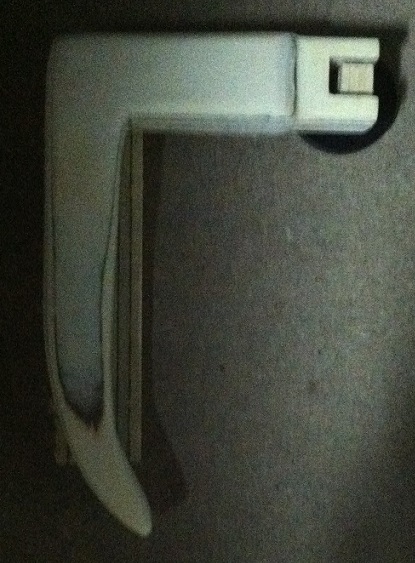
After it was cut and some wood filler was added, some adjustments were made to get it to look the part.
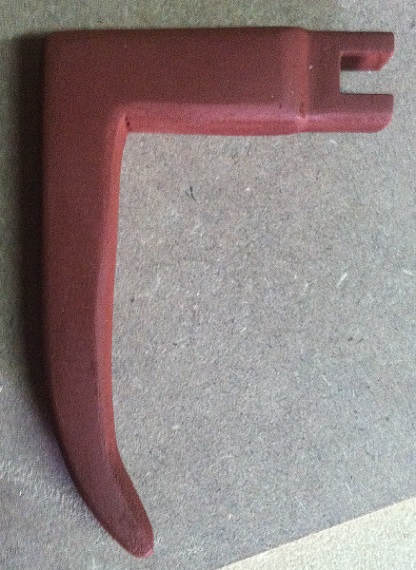
Once it looked the part, we hit it with a brown primer to see where we need to make corrections and find tune the piece.
We also received the right push buttons today! They are missing a small outer piece that will either be a miracle to find or we’re going to have to make it out of acrylic. I took the time to practice cutting out the opening needed and mounting one. Turned out pretty good.
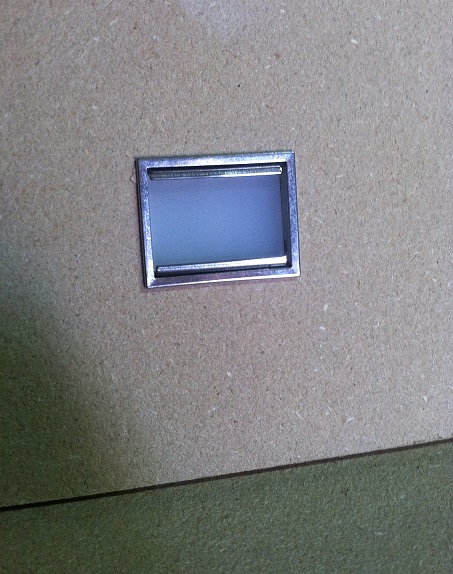
The right ribbon connectors also arrived and luckily the pieces we pre-cut were to scale. These will be painted black and mounted once the part is sanded and mounted.

Last but not least, we just may have found what the black “knob” on the meter panel is. It looks right and fits the scale. If you look closely you will be able to notice that’s the top is also recessed.
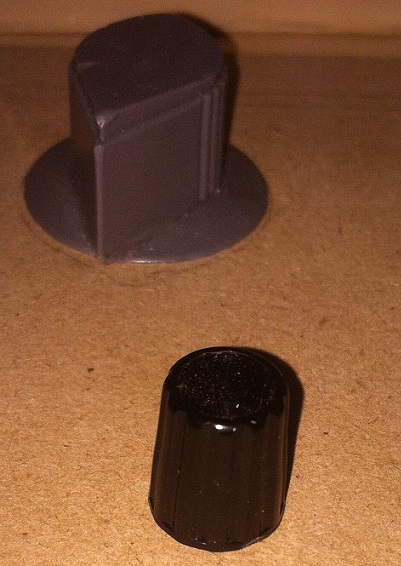
Playing around with the screen shots revealed this detail.
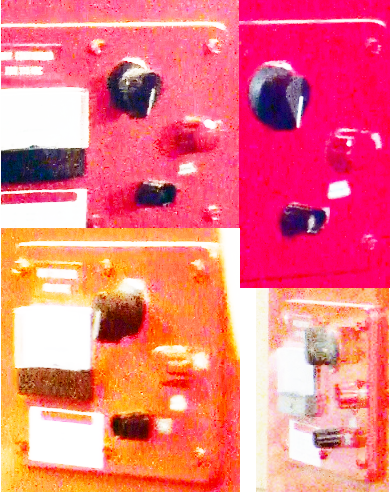
We also noticed that our red knob is correct but it was too small. A replacement for it will be here shortly and we can get the meter panel squared away. Now that all of the parts for the panels are in hand (minus the red knob) we can get all of that knocked out soon.
Well, that’s all that we’ve got to report for now. Stay tuned…
Great build so far, can’t wait for the next update.
I thought everyone knew what Oingo Boingo is. 
Joie de vivre, mon amie
That sounds effin’ fantastic! Another one of my favorites is from LOST…
The Swan Station count-down timer going through that last 10 seconds and entering system failure.
There’s something magical about a mysterious and powerful system making failure sounds… I dig it!
Build Day 13 is another summary of the last few days of work, but most of that work was done yesterday.
The next few things we wanted to tackle was getting the rivets put onto the lower portion of the frame. We drilled out holes for the bolts that we bought.
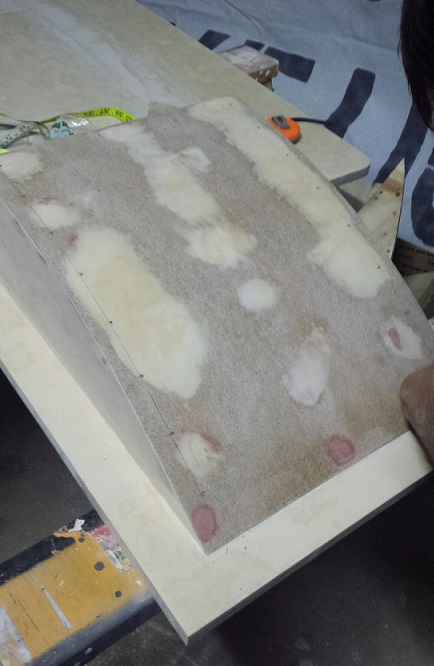
Unfortunately, after comparing screen shots we realized the bolts that we bought ended up being too small. Before we could go back out and buy larger bolts, we decided to prep the backboard to mount the top half of the frame.
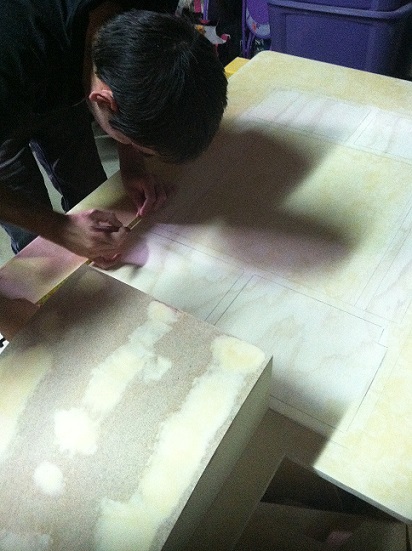
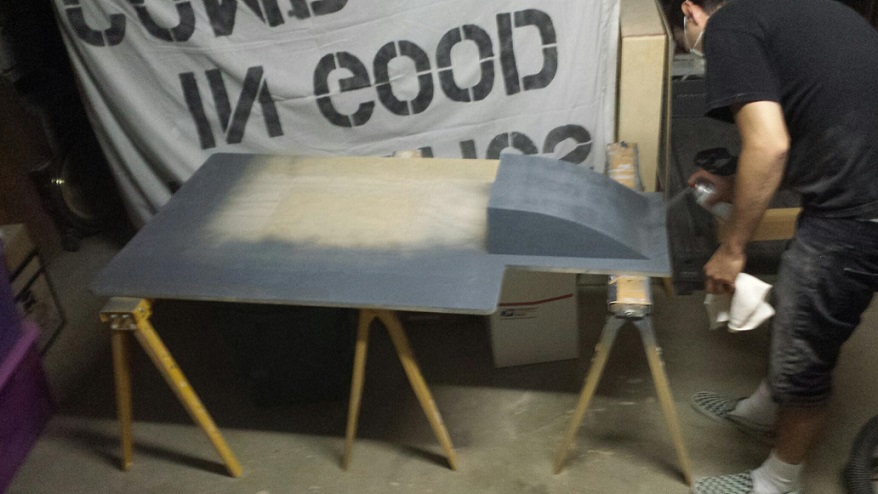
After careful measurements were made and holes were drilled, we wanted to prime the backboard to look for any imperfections.
The imperfections were few or so we thought. We came back to work on it the next day and discovered the wood expanded due to the heat and left a lot of nasty surface cracks. Damnit! I didn’t want to take a picture of them, but I did spend the majority of that morning going back over it with some heavy duty crack filler. Then came a lot more sanding, but i’ll spare any of that. We moved on to finishing up the replacement right frame piece.
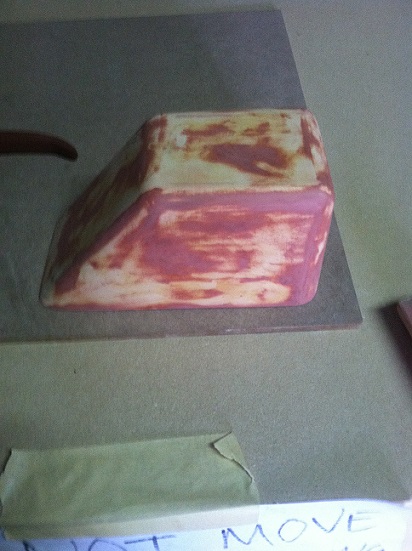
This piece has also given us trouble. Not only did this piece of wood expand from the heat, but sap also started to come out of the cracks. At this point, we’re all frustrated with the build since it seems like it hasn’t been going right ever since we started. To add disappointment on top of that, we received the new “red” knob. However, it was just a tad too big.
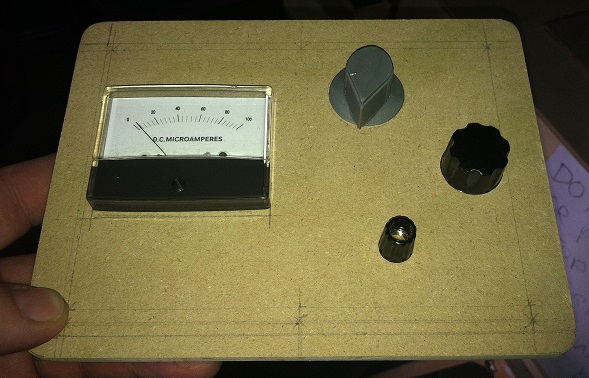
Sunday we all took a break and our group made an appearance at the 2014 Long Beach Comic-Con Expo. It was small compared to the normal one they put on, but fun nonetheless. My only gripe is that I missed out on the Tim Burton Batmobile which only appeared on Saturday. At some point we took a break and I snapped this picture.
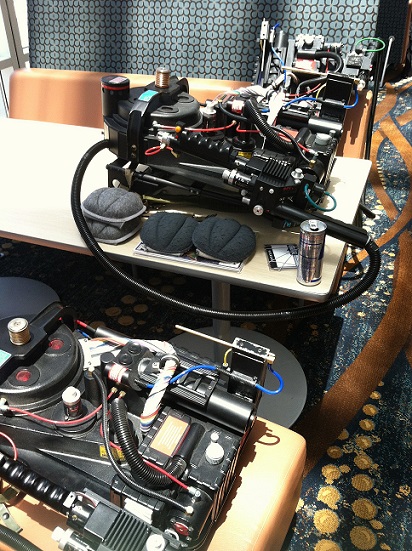
Now, back to the garage. We made a visit to the hardware store and came to the conclusion that we didn’t want to use real bolts on the bottom frame. We decided to go with wood that we would just glue onto the frame. It would just be easier, lighter and less expensive. We’re seriously getting tired of throwing money at this thing, especially after all of the setbacks. We ended up having to fill the holes that we drilled and sand it back down again. Once that was out of the way, we measured carefully to make sure the pieces would line up perfectly.
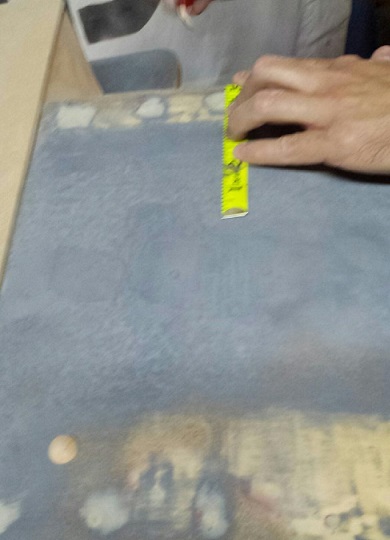
At this point I was done with sanding the backboard and Onlyalad19 went over a few spots that I may have missed.
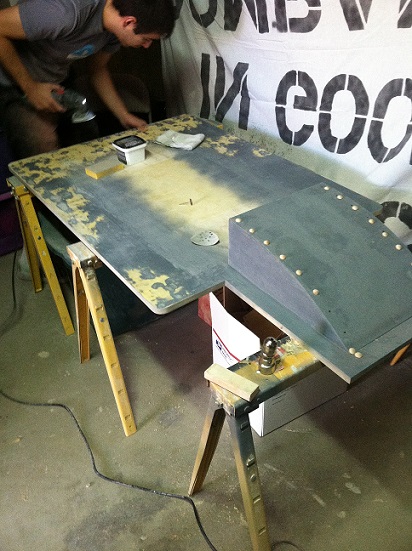
Next we glued the wooden domes to the bottom frame.
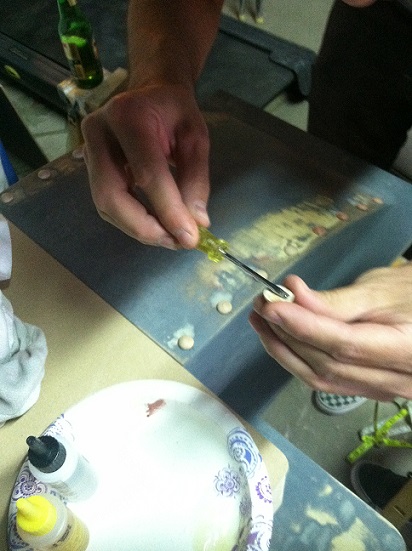
Then we moved onto the ribbon boxes and had the holes drilled onto those.
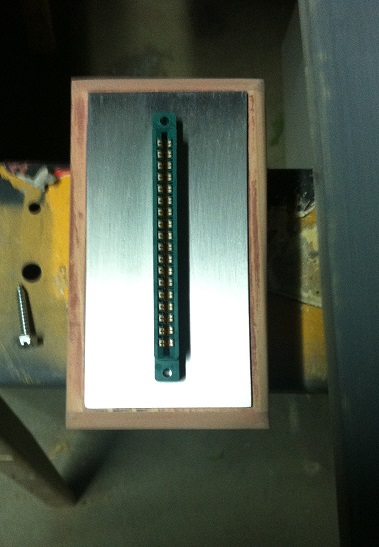
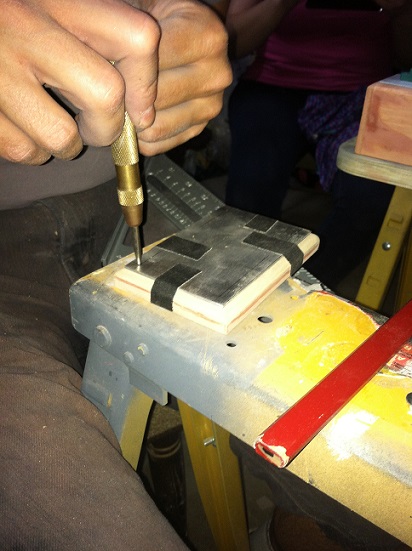
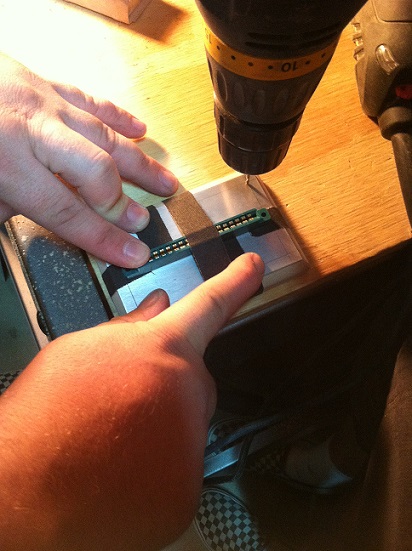
If this picture doesn’t show that we’re within scale, I don’t know what does.
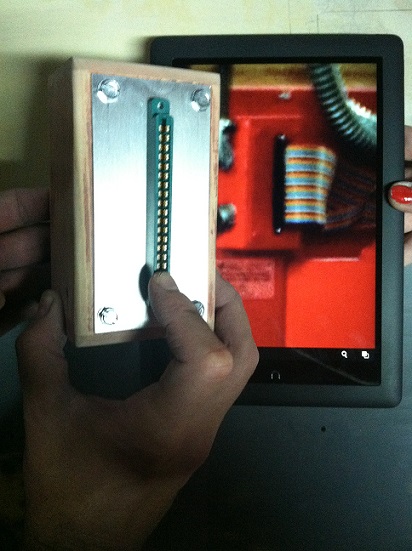
Now, we’re at the end of the day (which was yesterday) and we’re making last minute adjustments. Dusting off the backboard because we’re getting ready to prime again. Hopefully, the backboard and bottom frame will no longer need any fixes.
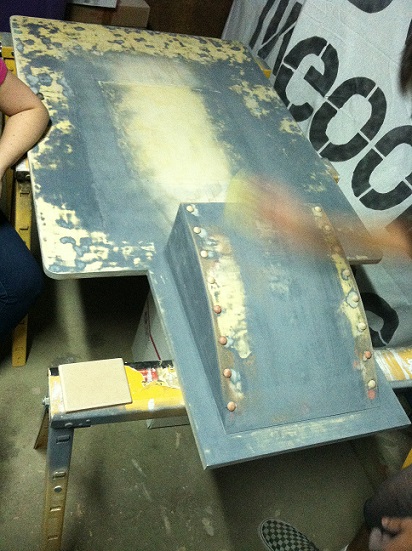
With the exception of a few tiny spots that I missed, we were content with moving forward after this. Seriously, we should have been way past this point by now, so this was a huge relief for all of us. We’re very happy with the results this time. We’re finally getting closer to the good stuff.
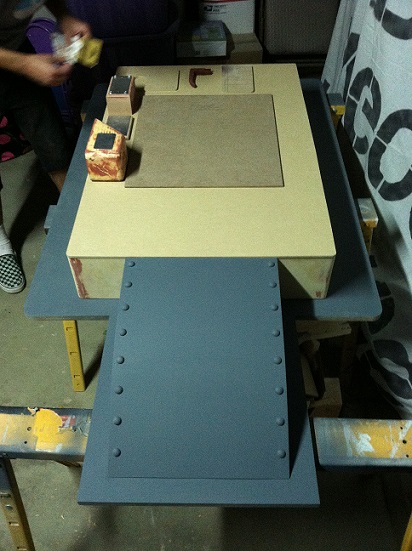
Thank you, sir! Hopefully you enjoy the latest update.
“Sipping cognac like a french king. Plenty of room, I own the whole thing!”
Thanks! Not sure that I have heard that one, but I will try and find it. Unfortunately, I only ever watched the first episode of the show.
Ahhh! Don’t get me started! There was a time, now seems a lifetime ago, when I had the lyrics to every Boingo song in my head. I listened to some for hours trying to decipher each song. Good times.
Yeah, I agree. We would probably be able to go back and forth and i’d have to rename the thread from Containment Build to Boingo lyric quotes. Haha. Hell, I even know all of the lyrics to the rare and unreleased stuff too so it would literally be a never ending thread.
Build Day 14:
Here’s a short but sweet update to where we are out in the build. This was all done a few hours ago so it’s all still fresh.
First we used gaffers tape to temporarily secure the front to the frame to get all of the panels measured out and in the right spots. We made a mock handle frame to the scale we think its in to help us get everything lined up. Would you believe me if I told you that the frame around the handle is a found part?
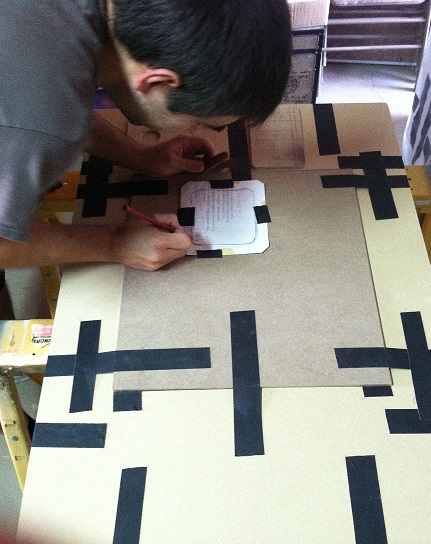
Once we had them where we wanted them, we traced them out and prepped them to be cut out.
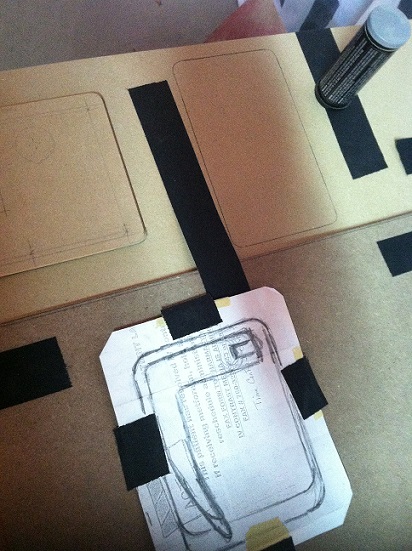
Then Onlyalad19 took the time to figure out the measurements for the flush handle.
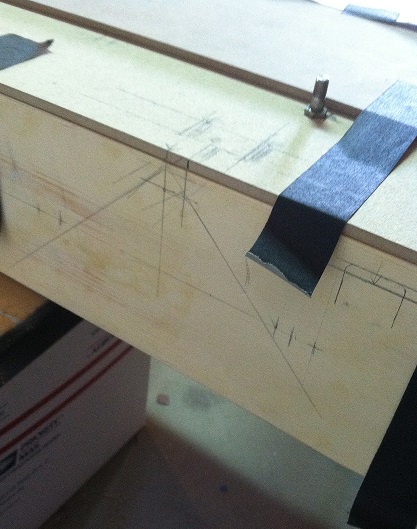
Also the opening for the handle.
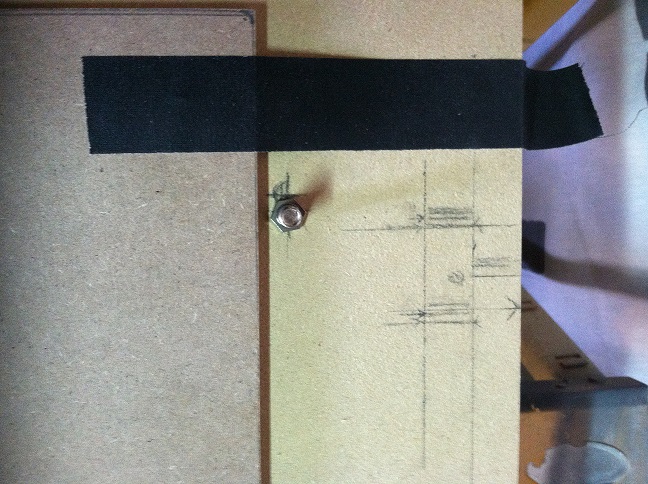
While he was doing that, I was cutting out the holes for the push button panel. The good stuff is starting and I can’t be happier with the results.
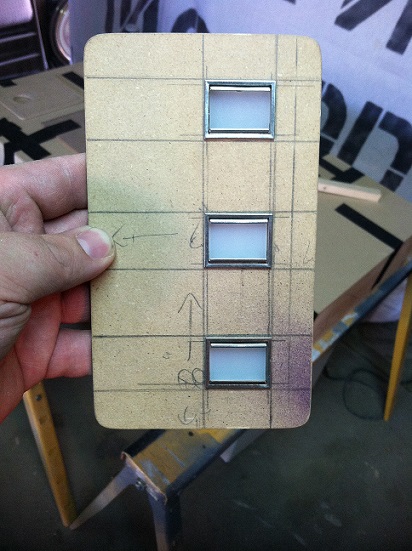
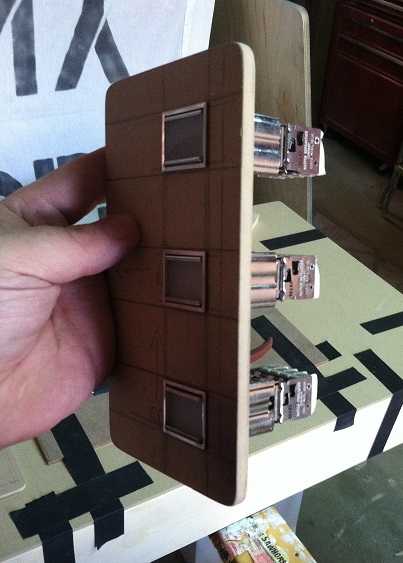
My biggest worry was having to mount these. One is heavy enough and three is triple that. However, they hold up on their own and i’m confident that these will work well. I am dreading the final step of having to wire everything up. I understand electronics to a certain point and this may be beyond the extent of my knowledge. Hopefully there are people in the community that can lend us a hand and their knowledge to get everything to light up? One thing that’s missing from the buttons that I mentioned earlier are little colored lenses (red, yellow, green) that slide onto the ends. We’re going to have to make these out of acrylic. I may start that process tomorrow.
Lastly, the right frame piece is done and the aluminum plate is going to be mounted tomorrow when we get the right screws for it.
On a side note, i’ve started designing some of the labels that are on the unit. Some i’ve been able to figure out just by watching screen shots. Others will need a little imagination to get them to emulate what can be seen on screen. As far as tomorrow’s work is concerned, I believe our plan of attack is to have our cuts done to the front and have the panels mounted. Until then…
Looking great. Two thoughts:
-
What are your thoughts for electronics?? Are you thinking a micro processor?? Are you planning a master shutdown switch with fog and backlighting?? Are you wanting sound??
-
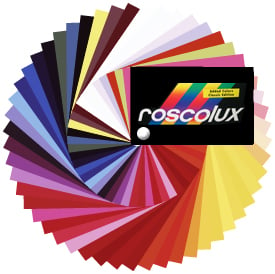
For the colored cover for the switches, I would look into theater gels. They are thin pieces of plastic that are used in stage theater to give red or whatever color of light. Just google “theater gels”. Or if you know someone that works at the local theater, they might be able to help you out.
Check out a proper camera store (not like a best buy) and see if them have a Rosco or Lee sample swatch book. Sometimes you can get one for free sometimes they are $5 but they have a sample of every gel colour that you can get. They may be big enough to fit in there.
Yes, the plan is to incorporate working lights and sounds. The idea is to replicate what the containment unit does on screen. We would also like to have a shutdown switch and to have our foam walls blast fog out of them. This has definitely been discussed in the very beginning. We’re just going to have to wait until we get to that point and decide if its something that we want to spend the extra money on. Right now we’re scaling our goal down which is to have the prop visually completed. It’s a much more realistic goal and it helps relieve some of the frustration we’ve experienced with the build so far. We’re putting a lot of time and effort into this build and we don’t want to rush a cheap and crappy electronics setup. However, we may have the unit constructed a month early and will have the time to do the electronics. Who knows?
We also don’t have a plan when it comes to how we’re going to approach the setup. I was going to contact others in the community who have built units and hopefully get some guidance as to how they did theirs. It seems like it could be an easy setup, but those may be the famous last words.
Thanks for the heads up on the gels. This has certainly been discussed to save some money. We’ve also talked about using acrylic dye on the lenses. However, the third option would be the most ideal and could possibly be exactly how they would’ve done it in the film. Each push button uses four tiny bulbs inside of them to illuminate the lenses. The manufacturer also made tiny plastic caps that came in different colors that would be used to cover the bulbs individually. These color caps are impossible to find and may no longer even exist (as they wore down and the manufacturer stopped producing them years ago). The modern day solution to this is to simply buy colored bulbs. Luckily these push buttons are mil-spec so the bulbs weren’t proprietary. They are commonly used in many other applications and are still manufactured to this day.
We also haven’t purchased these bulbs for a few reasons. First, they are pricey little suckers which makes the alternative of using gels that much more appealing. The price of one bulb doesn’t sound so bad, but when you need twelve of them it starts to add up fast. Secondly, the bulbs come in different volts. We don’t have the sconce/explosion proof lights yet so we don’t know the voltage that’s going to be required. The push buttons can be wired to accommodate different voltages so its best if we wait. Who knows when that will be either because the correct lights are super rare (i’m willing to bet very expensive as well). Honestly, i’ve had a much easier time locating correct Ecto-1 parts then I have had with these. Nightly internet searches and e-mails turn up zero results. They just seem to be that rare.
Could you use LEDs instead?
If they are the kind of bulb I am thinking of, be warned that once they are pushed in to the socket, they can be a real pain to replace. I’ve had to do this a few times on equipment at work, and the best way to pull the bulbs out without crushing them in to glass dust is to use a short length of rubber tube, such as heat shrink. Gently fit it over the bulb (it needs to be pretty tight) then pull the tube without applying pressure to the bulb itself.
Love this project, by the way. Can’t wait to see the end result!