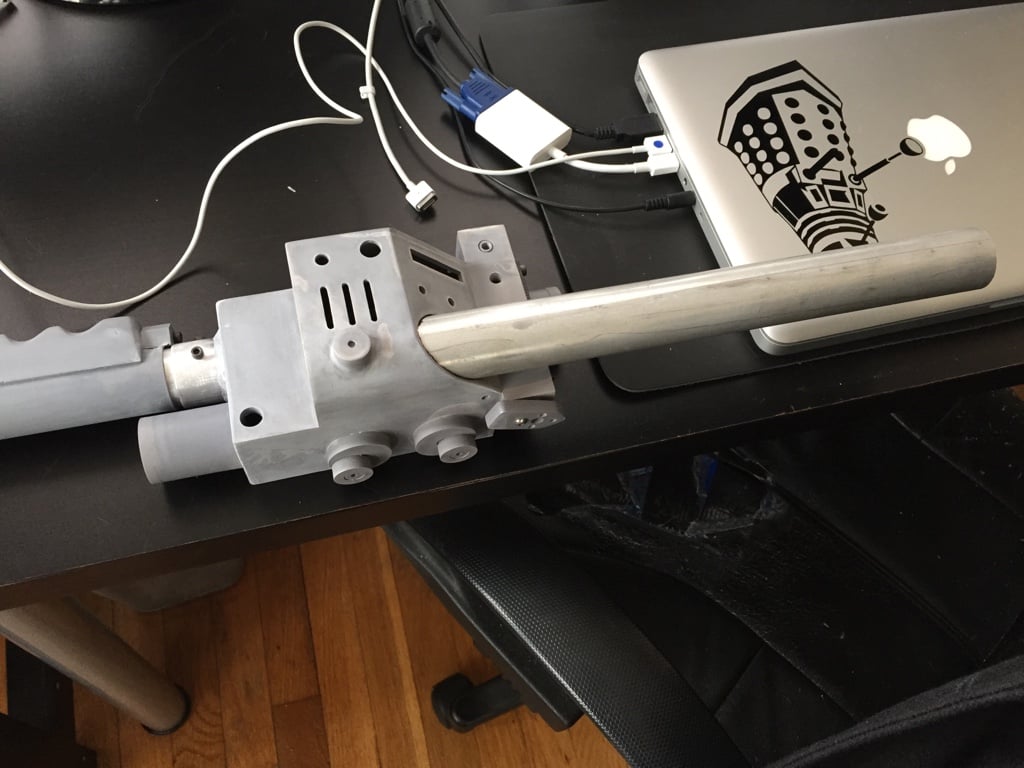
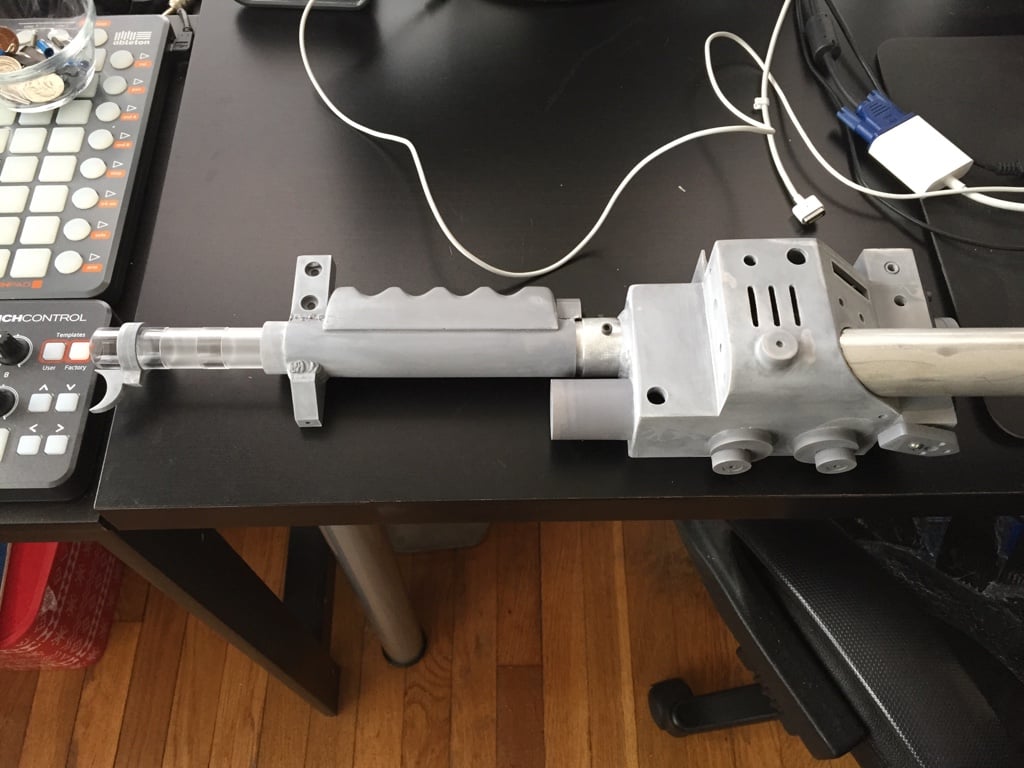
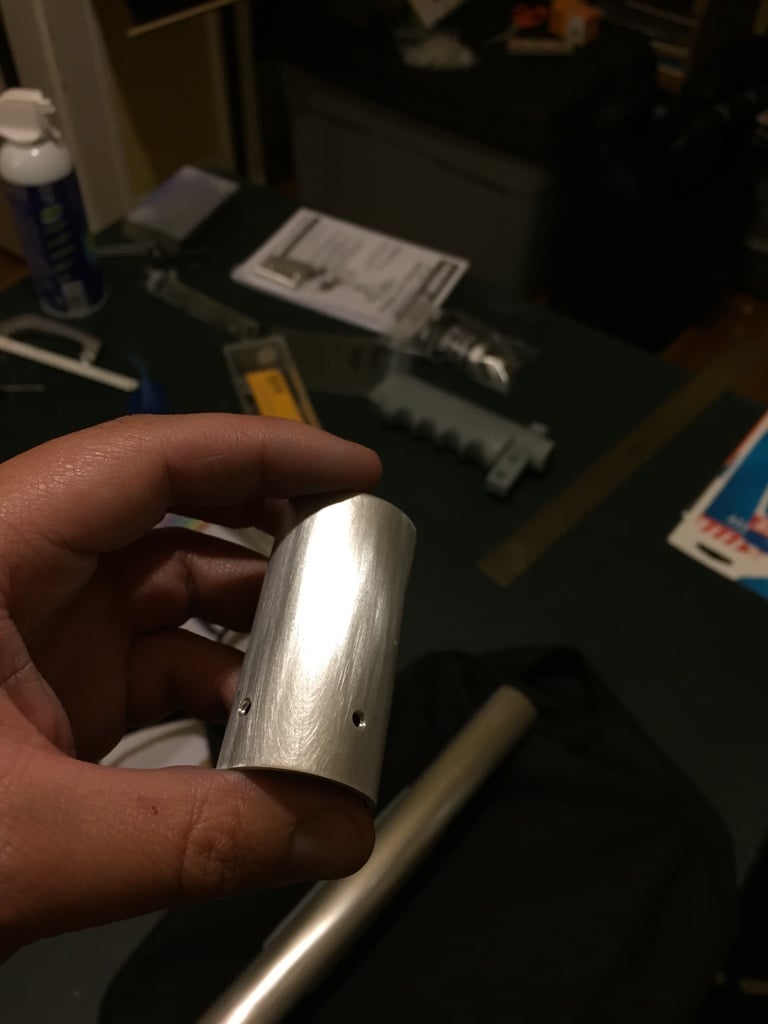
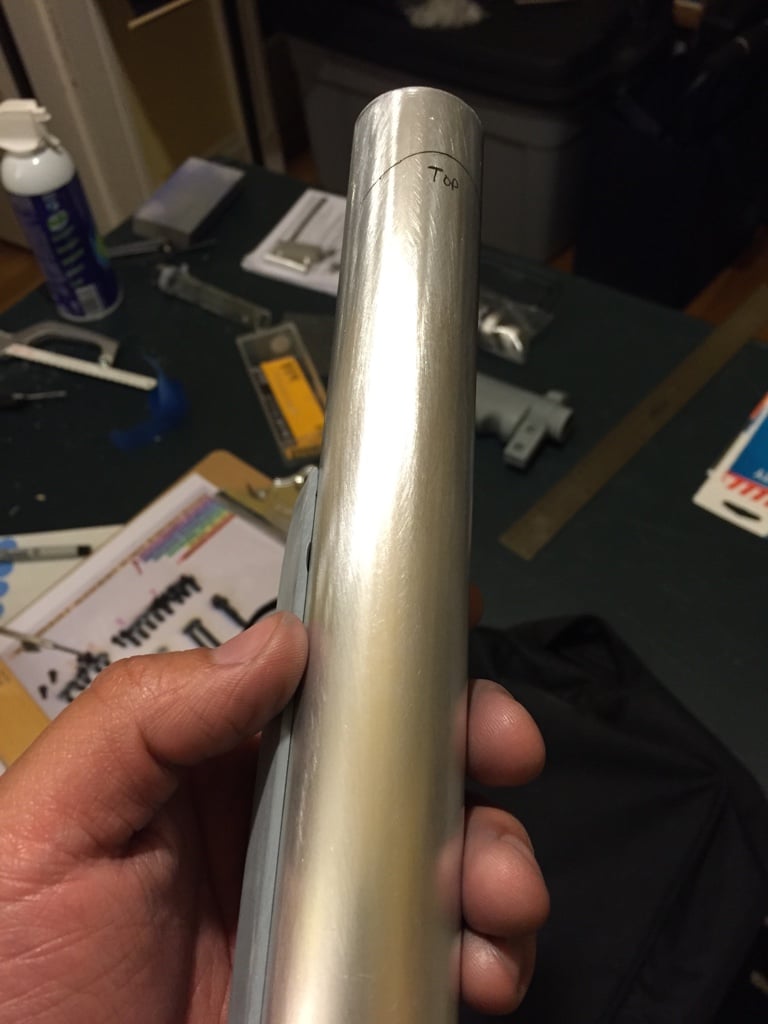
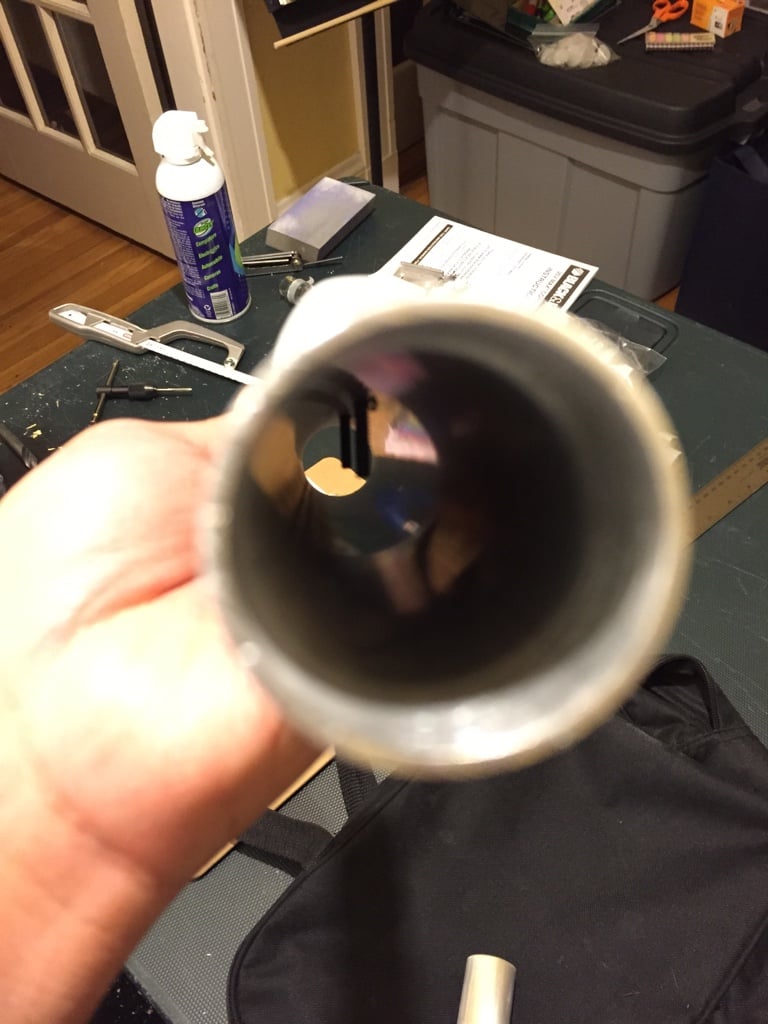
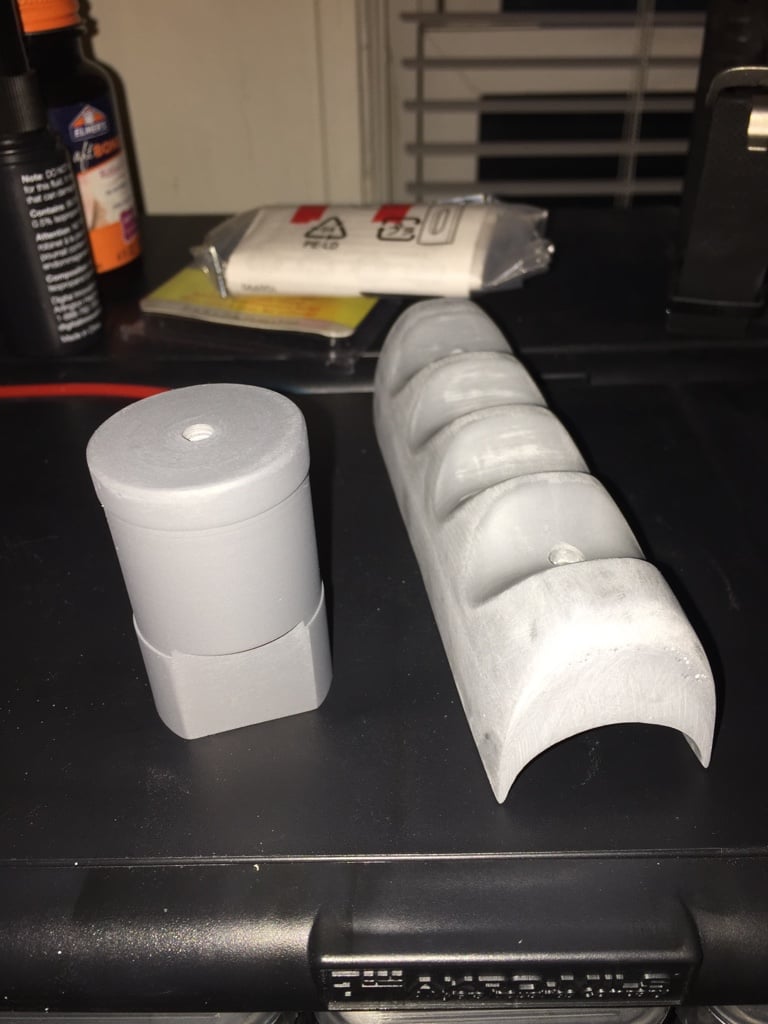
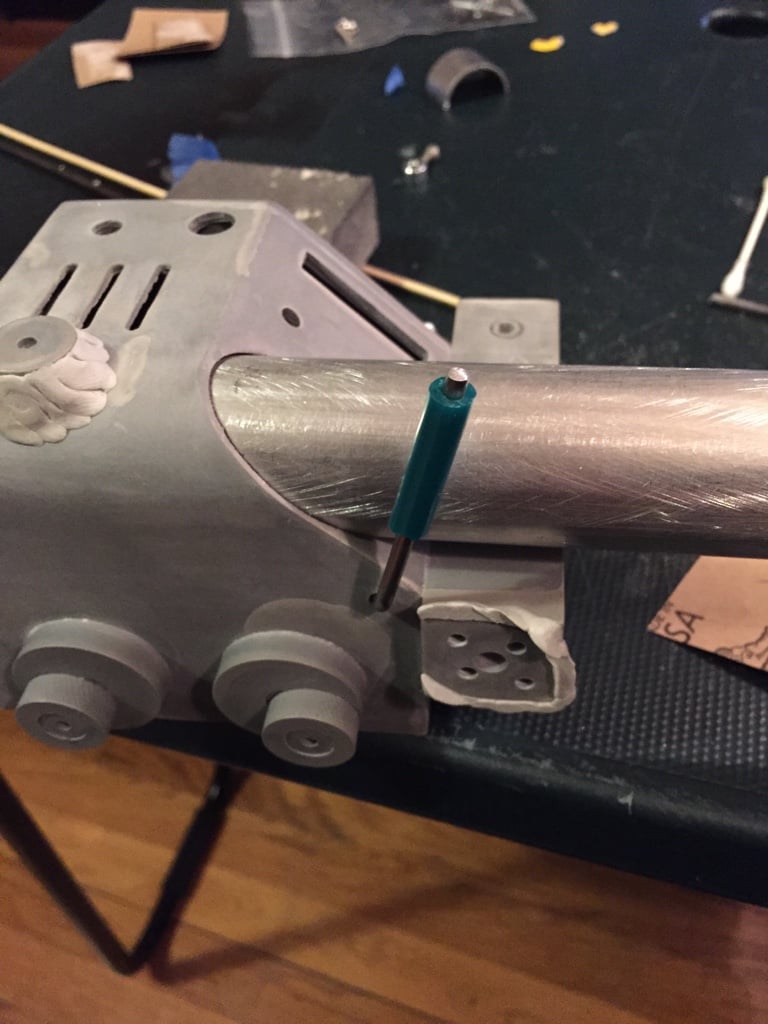
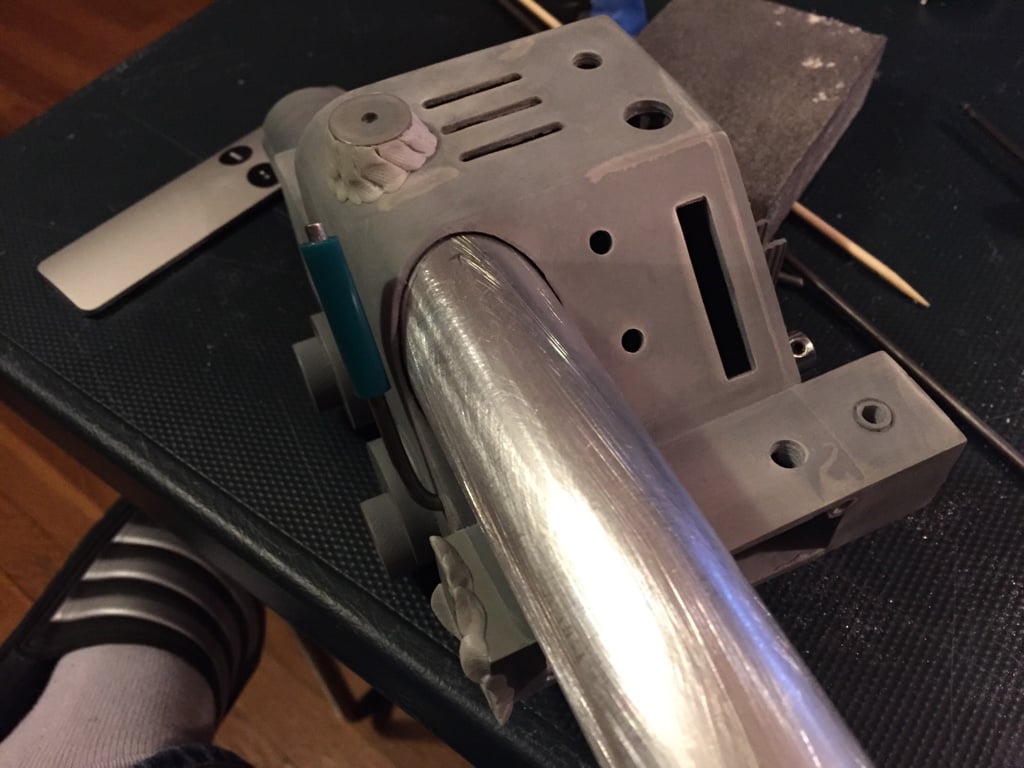
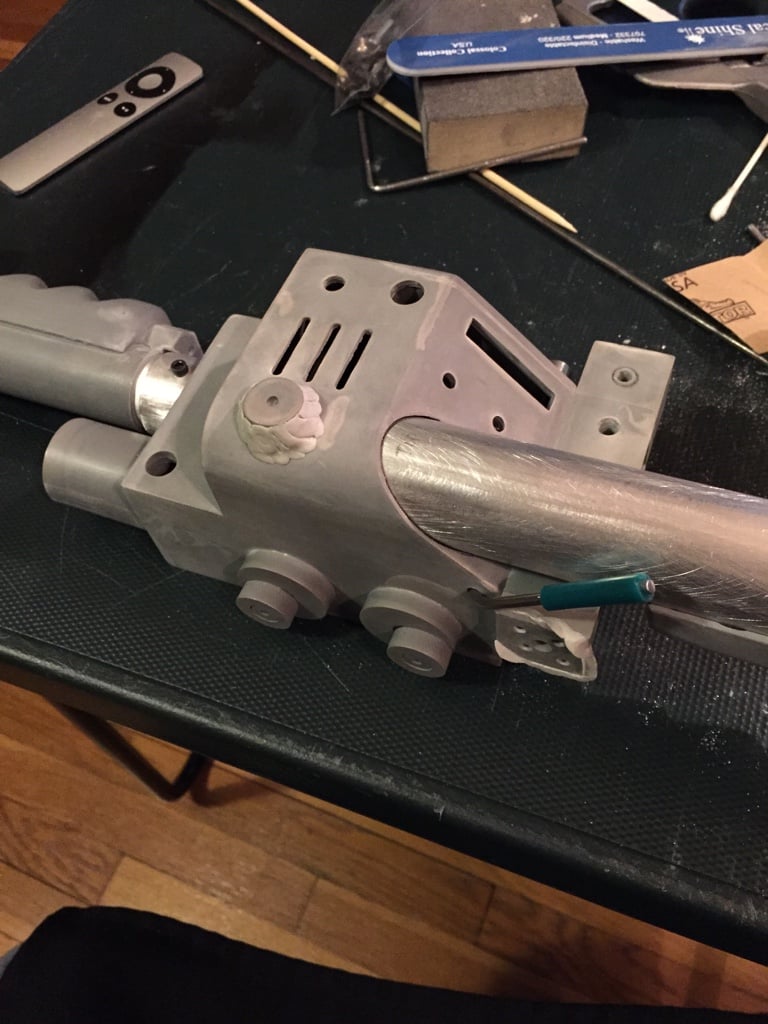
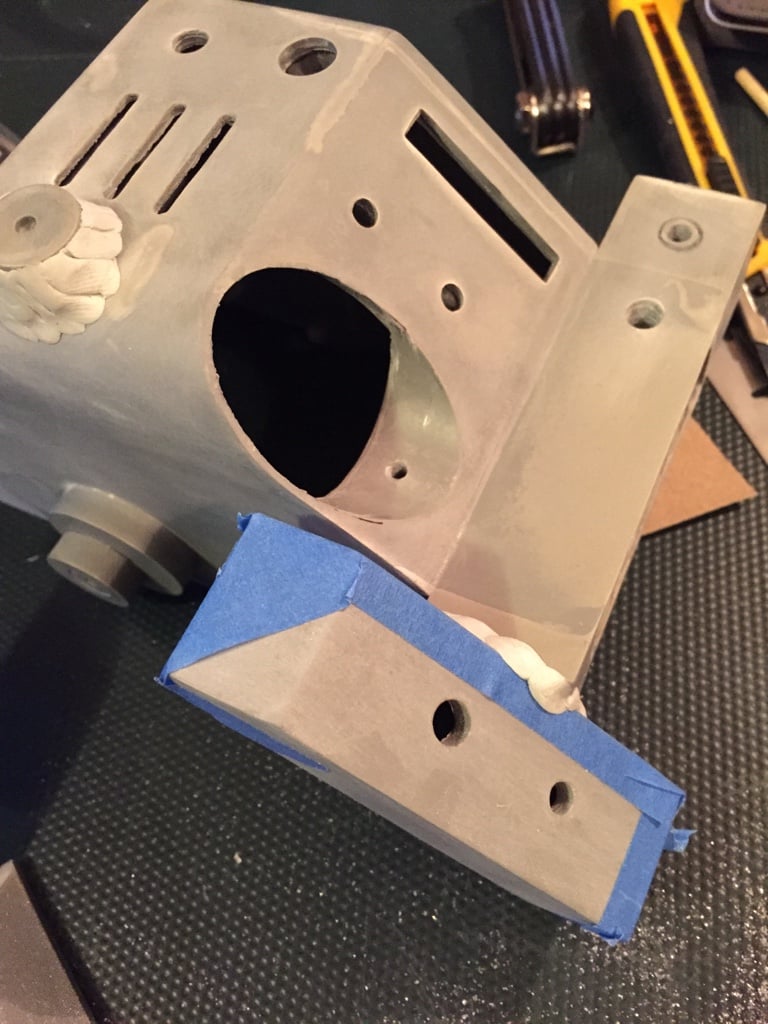
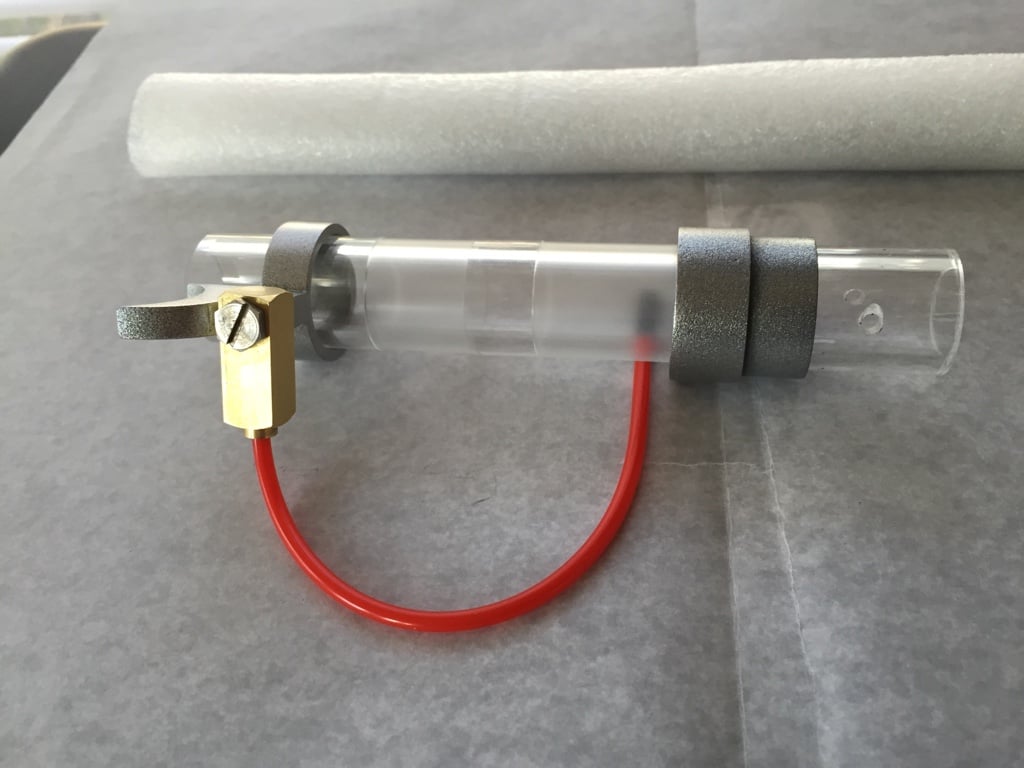
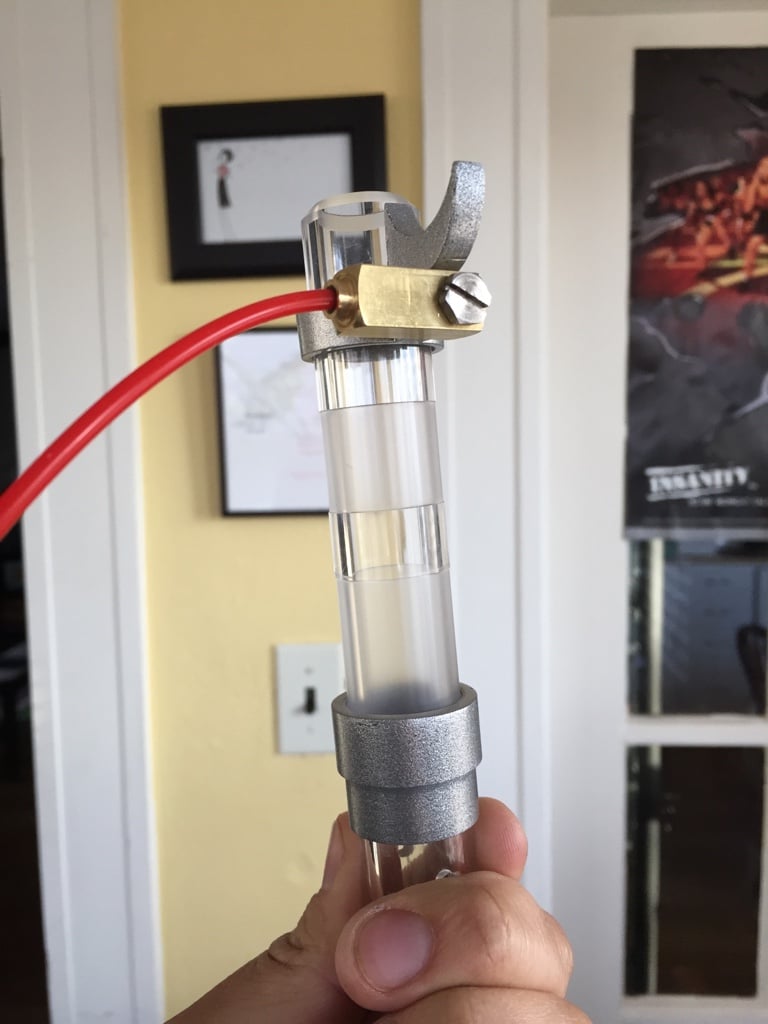
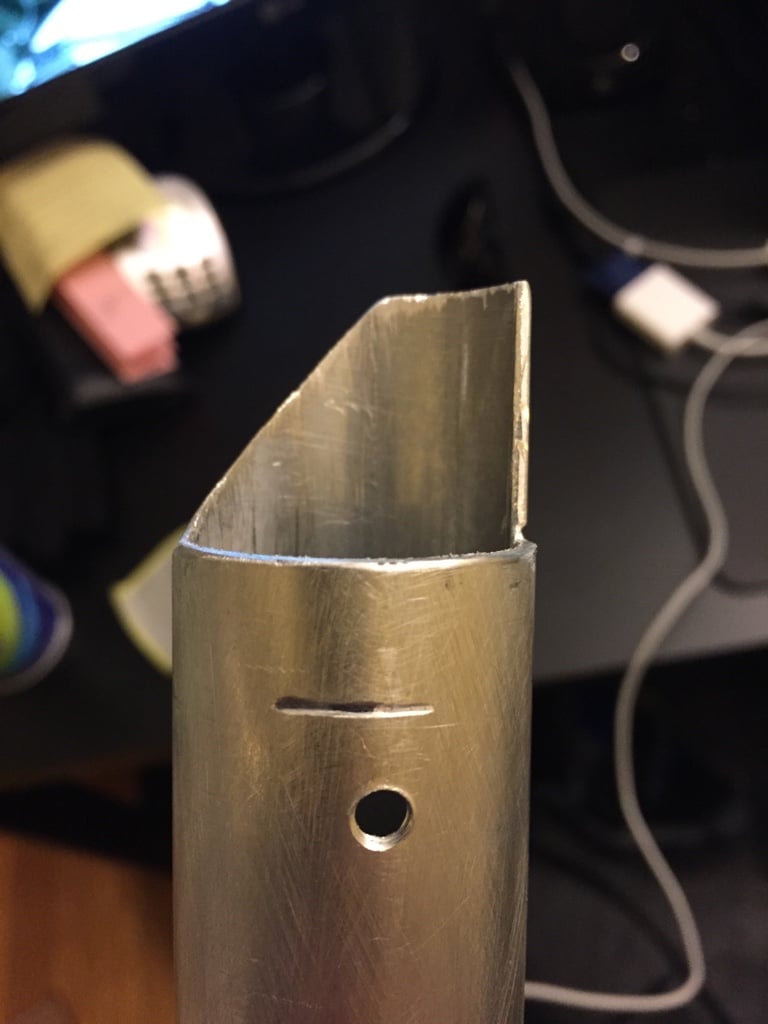
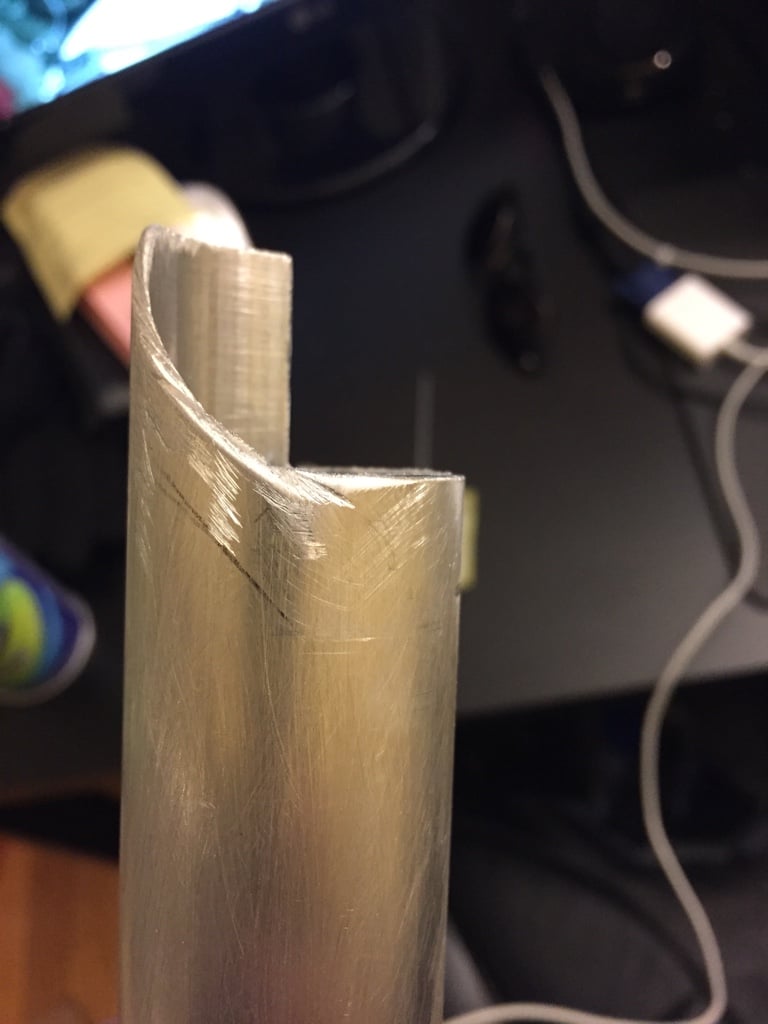
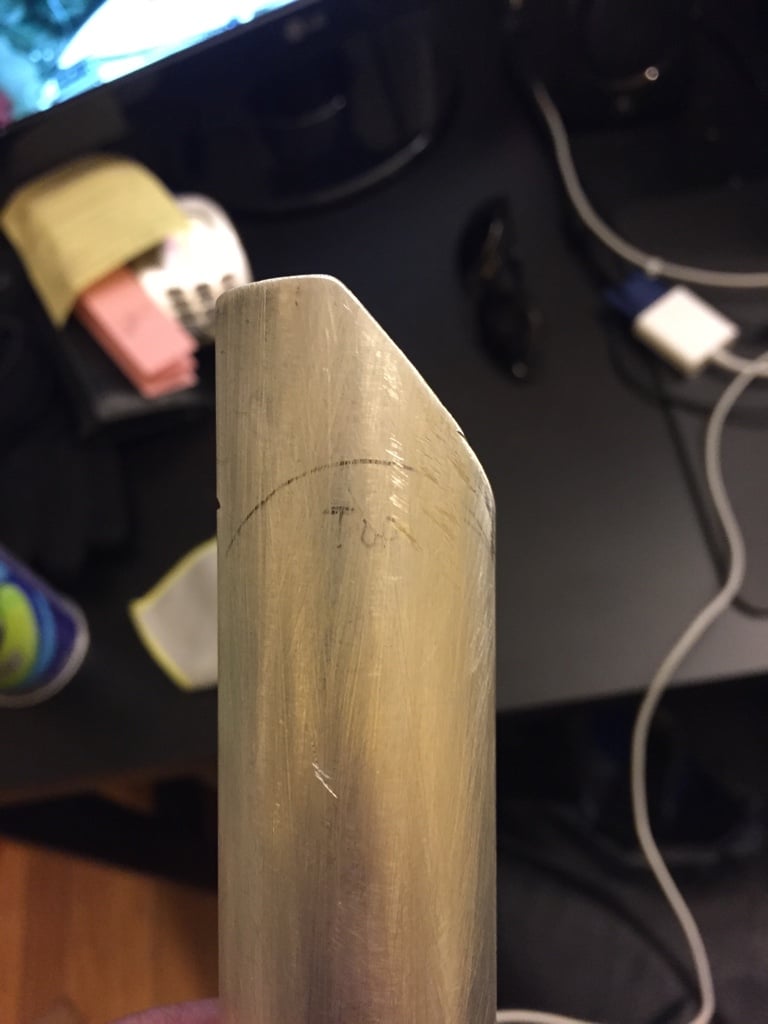
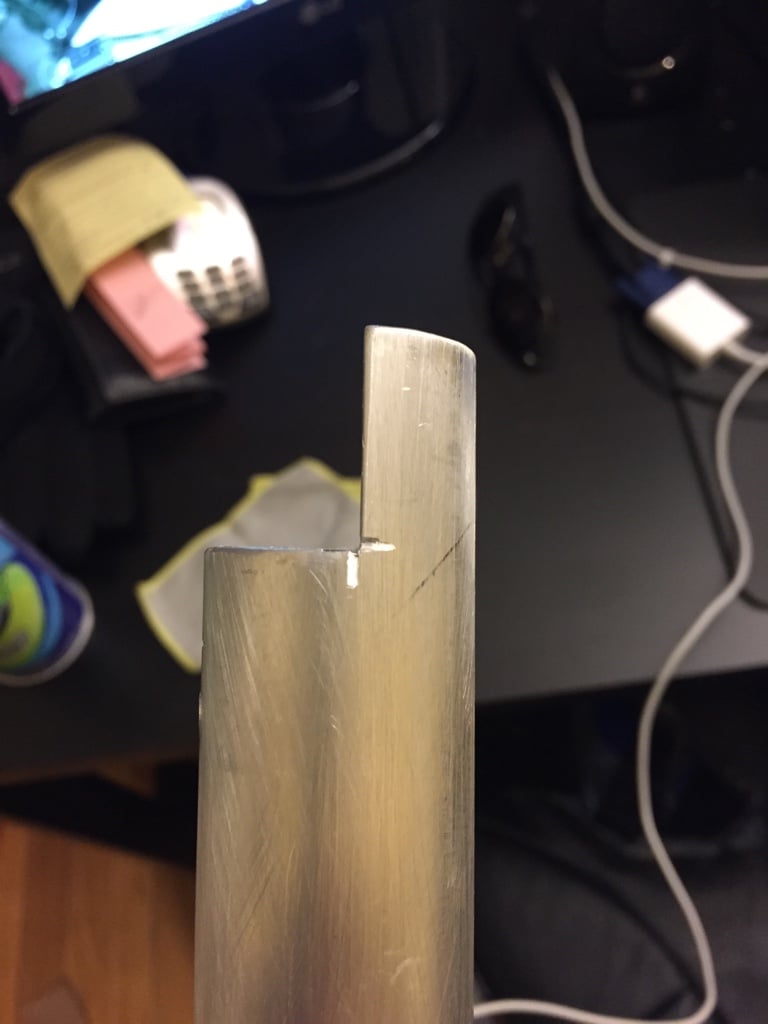
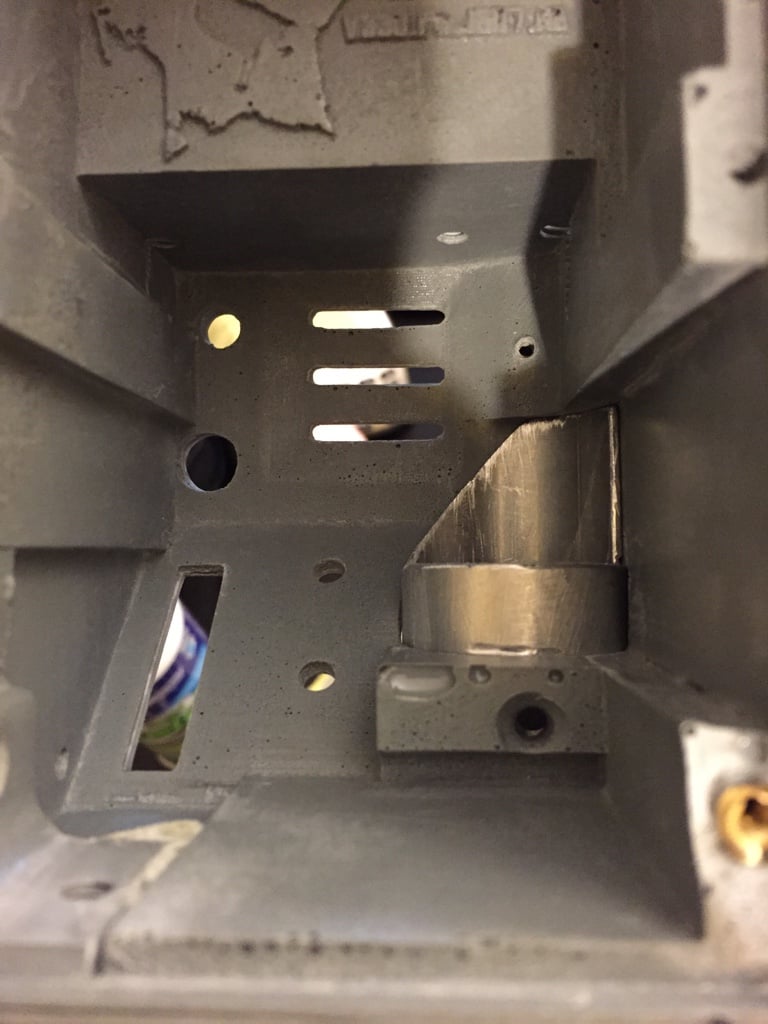
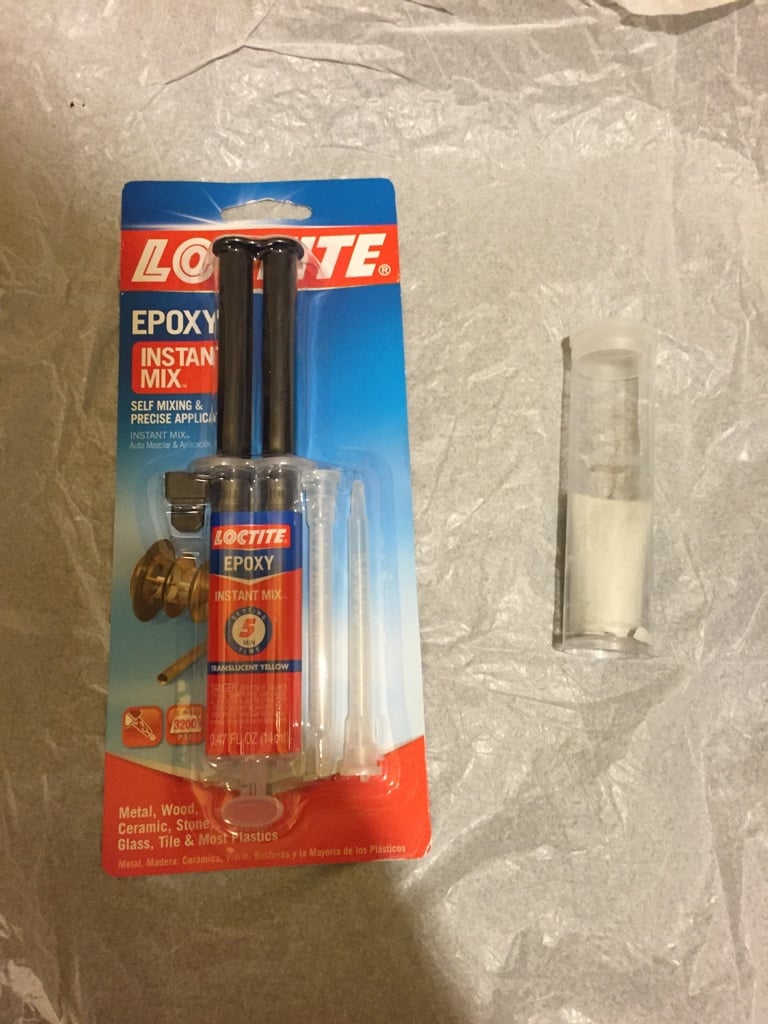
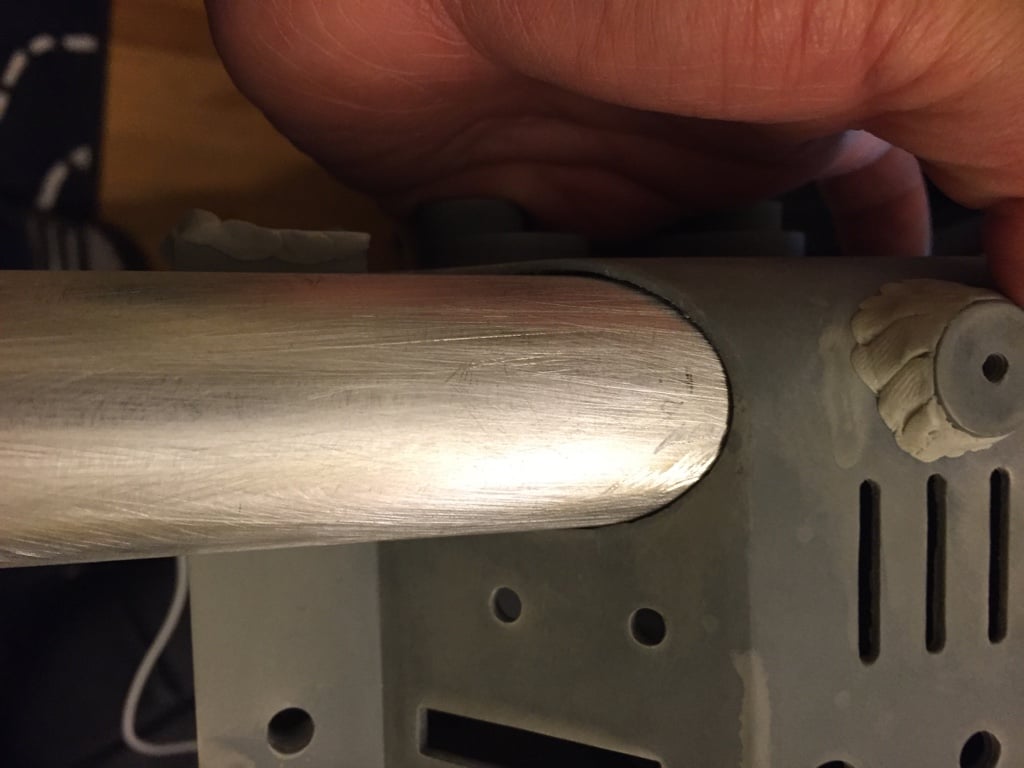
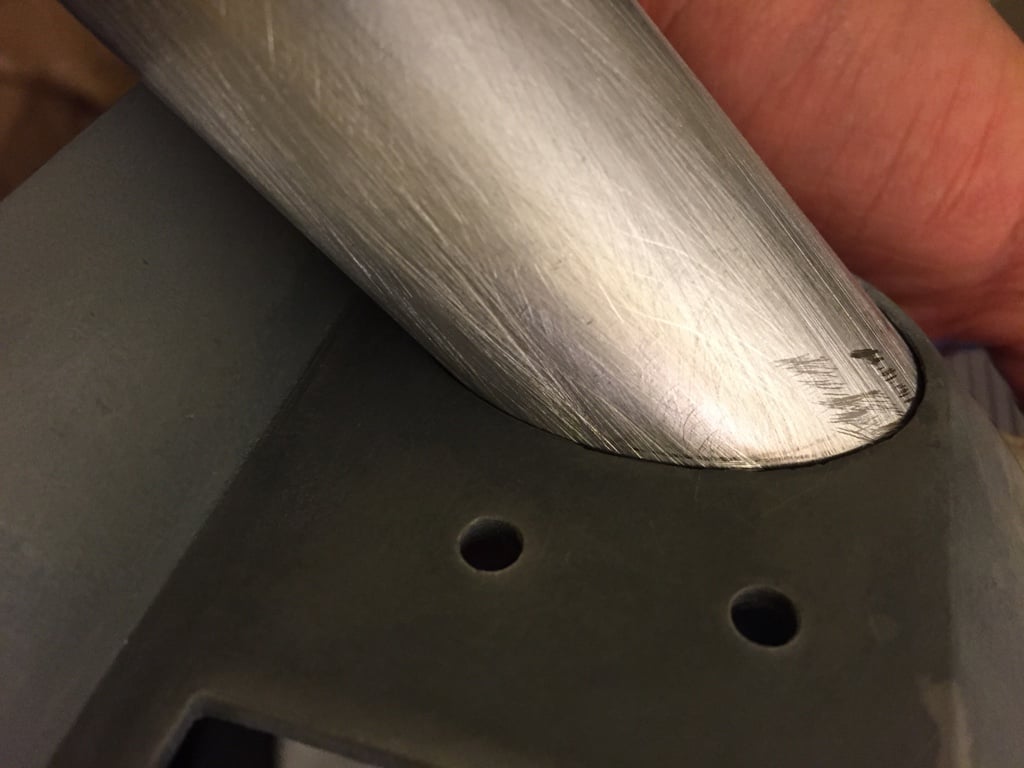
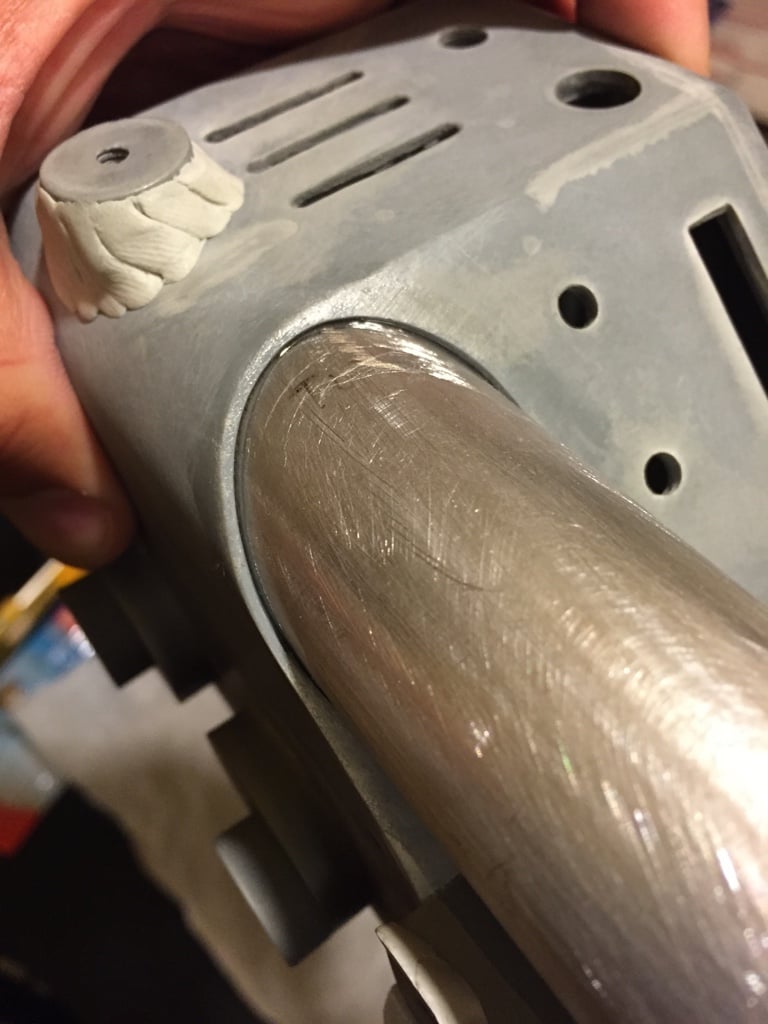
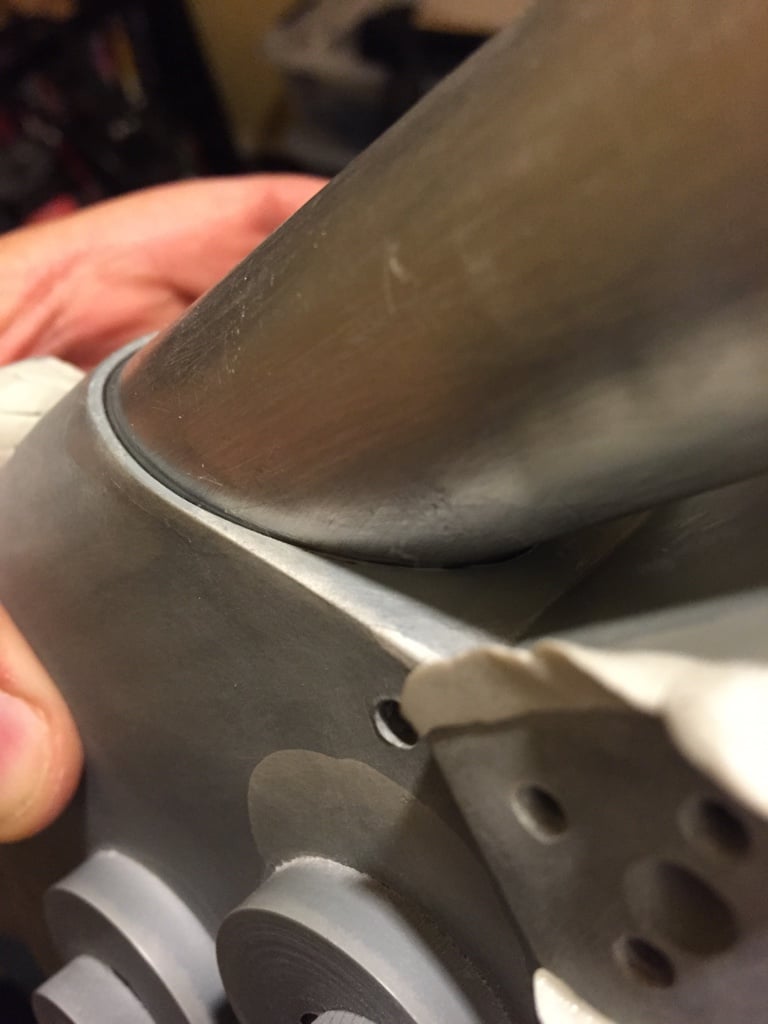
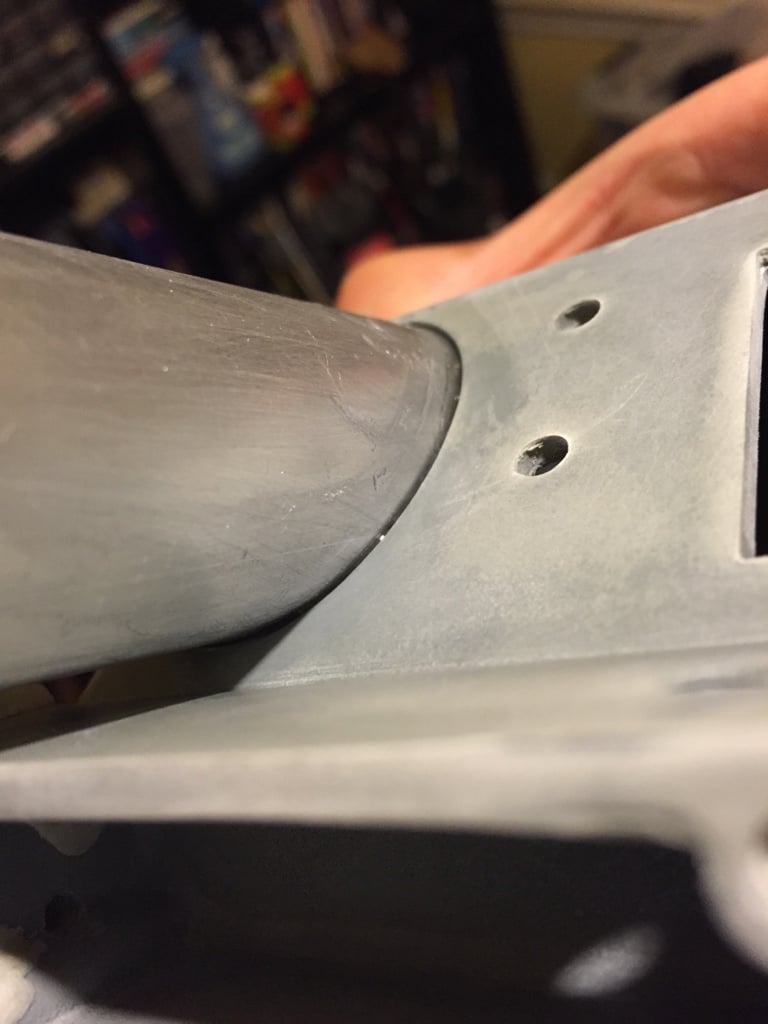
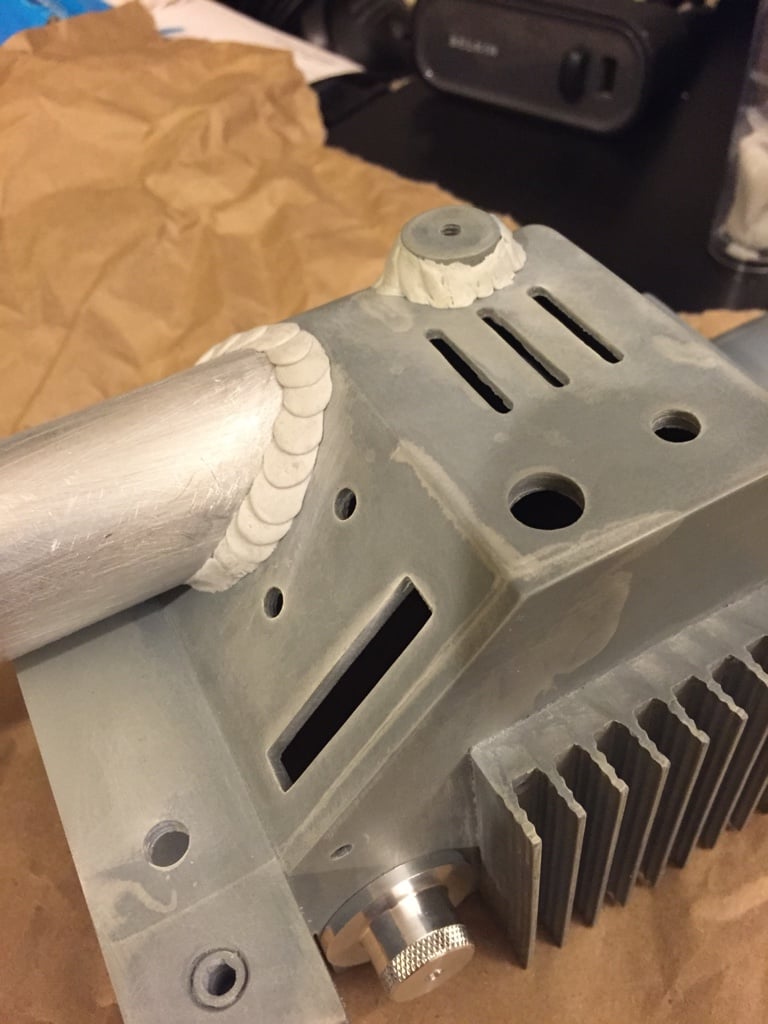
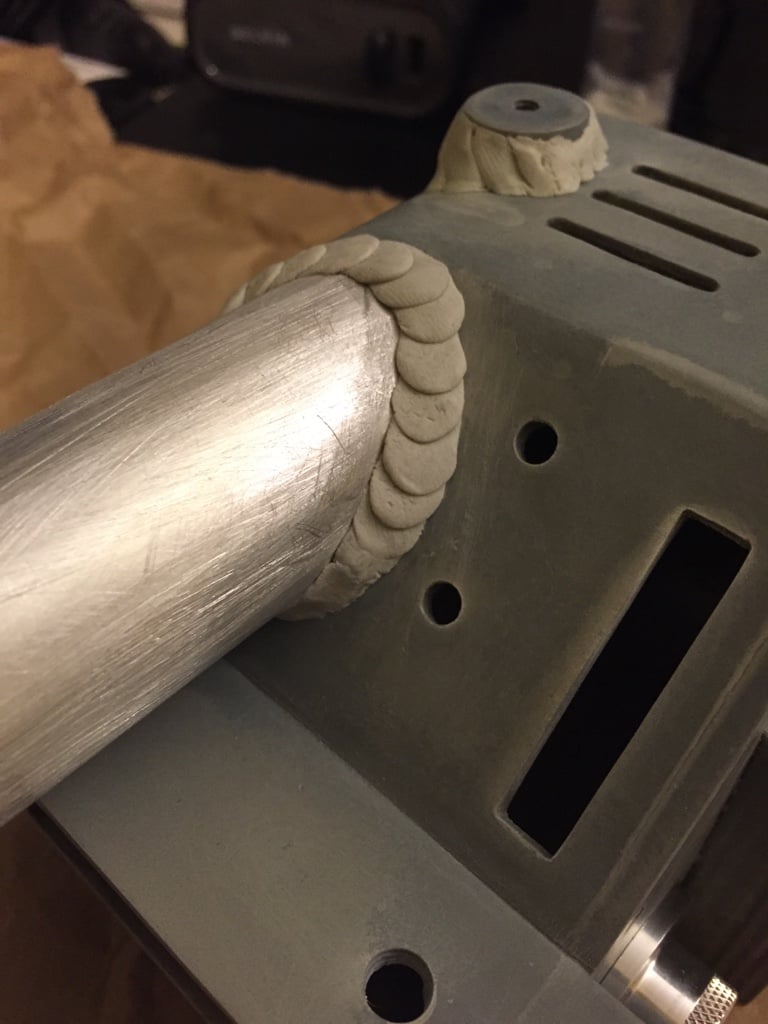
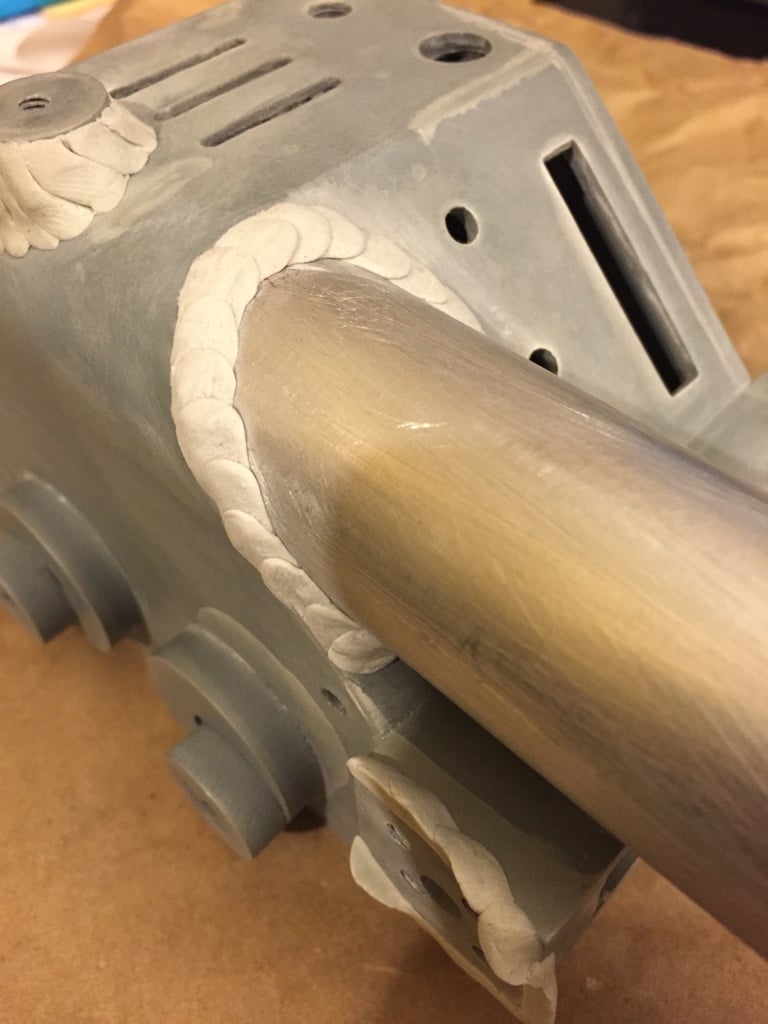
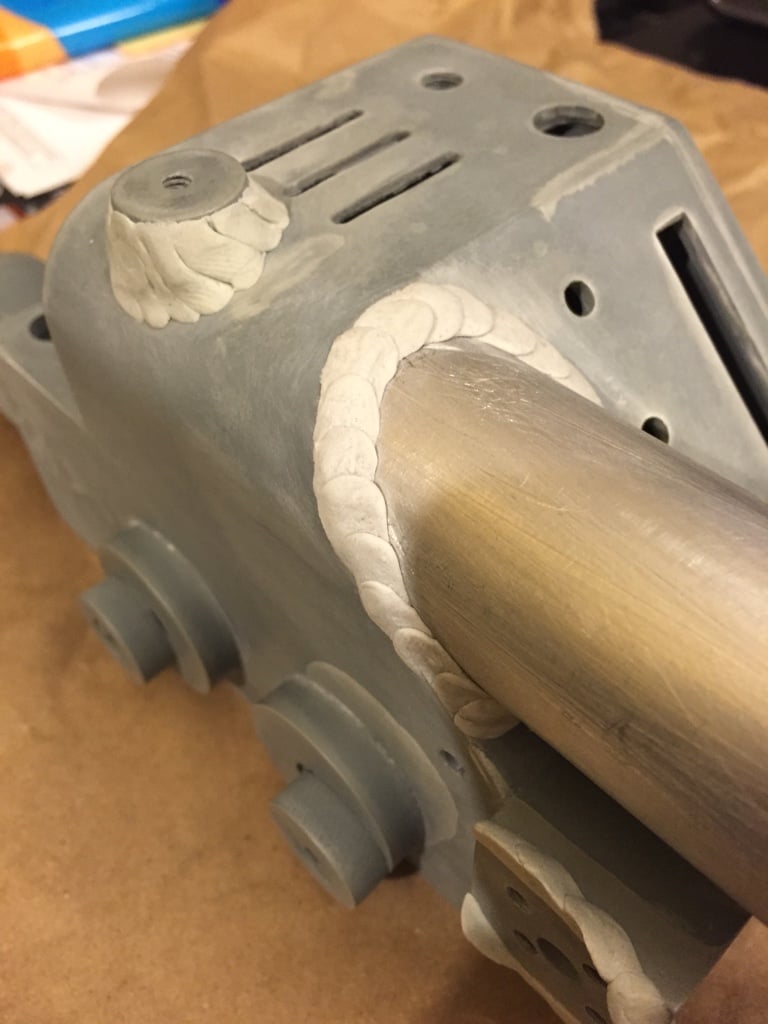
Aluminum tube arrived in the mail today. I’ll start measuring, drilling holes and cutting to proper length this weekend but will hold off on epoxying it until I get my light kit.
It’s looking more like a thrower with each passing day.
Aluminum tube arrived in the mail today. I’ll start measuring, drilling holes and cutting to proper length this weekend but will hold off on epoxying it until I get my light kit.
It’s looking more like a thrower with each passing day.
Started to make a bit more progress tonight on the TC kit.
I went to town on all the aluminum that came with it and the tube I got in today’s mail. With an extra fine sanding block I shined up the outside. Looks sweet!
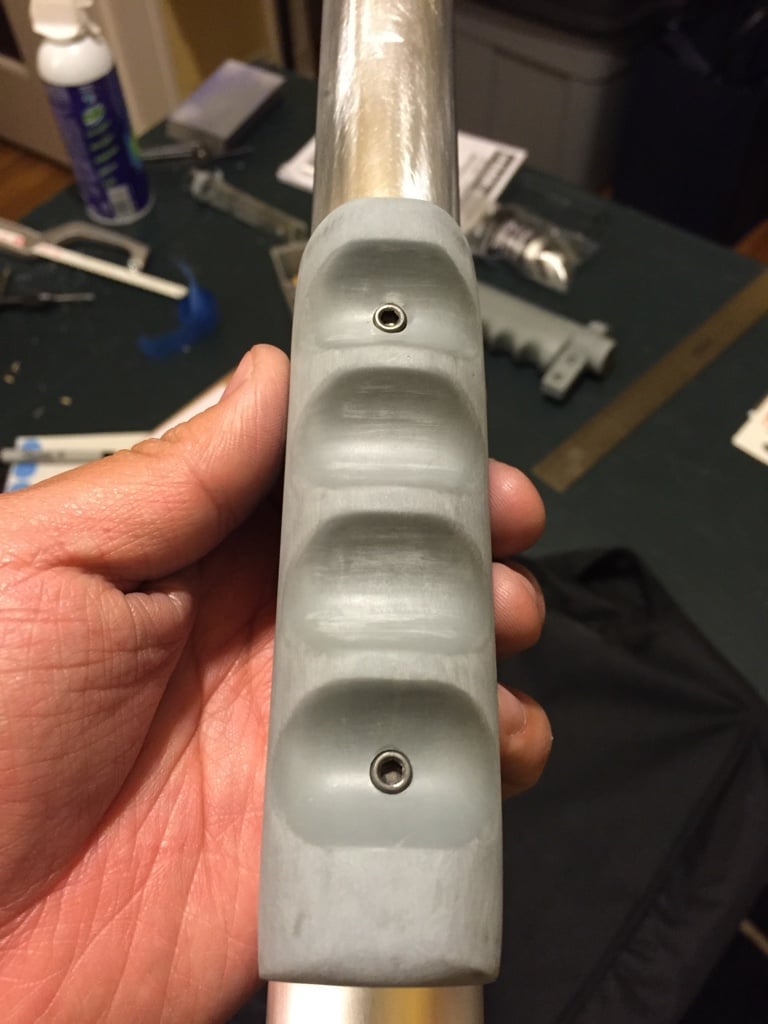
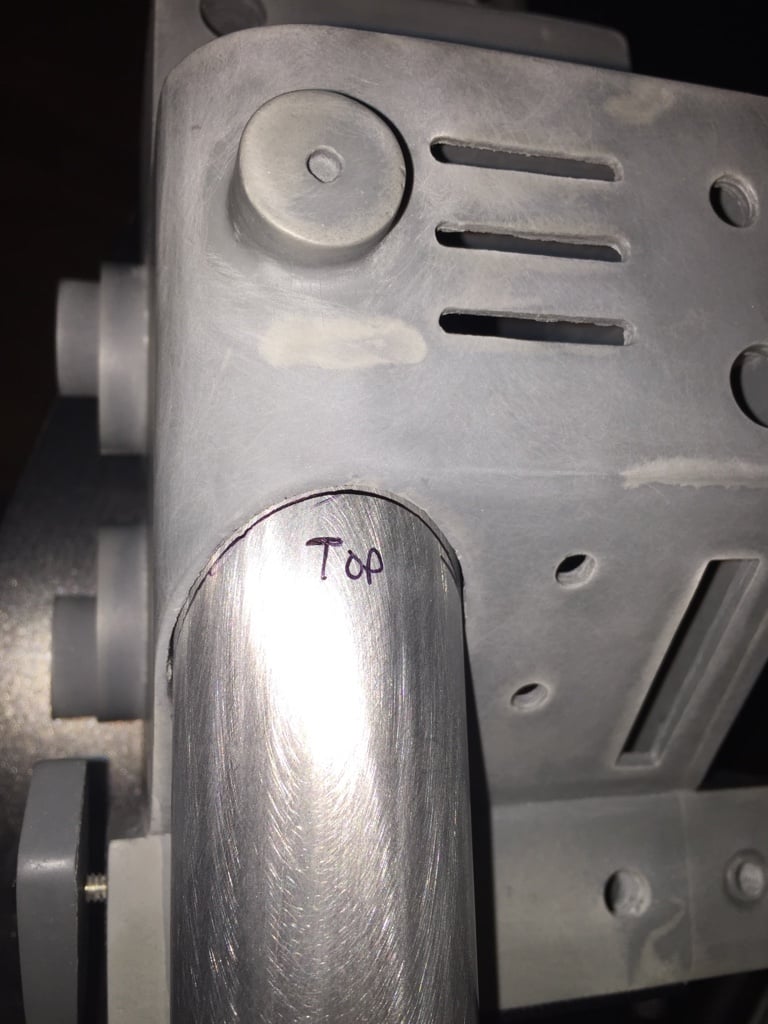
Placing it in the gun box I lines it up and made markings where I’ll later cut. One thing that buyers of the TC kit might want to consider is getting longer #6-32 bolts for the rear grip. The kit comes with bolts 3/8" but they don’t reach the tube. So I am going to get some that are 3/4" or 1" long. That way they can screw directly onto the loom.
I also decided to hit the rear cylinder with grey primer and will later paint it this weekend. That way I can get a good idea of what that paint will look like.
Though I want to ware the proton gun I think I’m going with a new, clean look. When I brought my pack out in public I kept getting told to rough it up. But I like the brand new look and will let it ware naturally.
I’ve decided to call my pack “The Assembly Line Pack”.
“Assembly Line Pack”… brilliant!
Careful with over-polishing the aluminum. You’ll want some bite to give the primer something to stick to.
Consider giving the grips a good dose of “glove brown” undercoat with a clear topcoat. When you cover it in black, hopefully you’ll get some wear and the brown will show through.
Ah! Didn’t think of that, thanks!
I could always rough it with some rough sandpaper.
Nothing better than having a half day of work and coming home to an empty how then working on my pack for hours.
I’ve taken a step back and realizes that I’m overthinking the whole barre extension and wasting my time trying to figure it out. After taking to a few other local guys they helped me realized that somethings aren’t working freaking out about and gave me a few simple solutions.
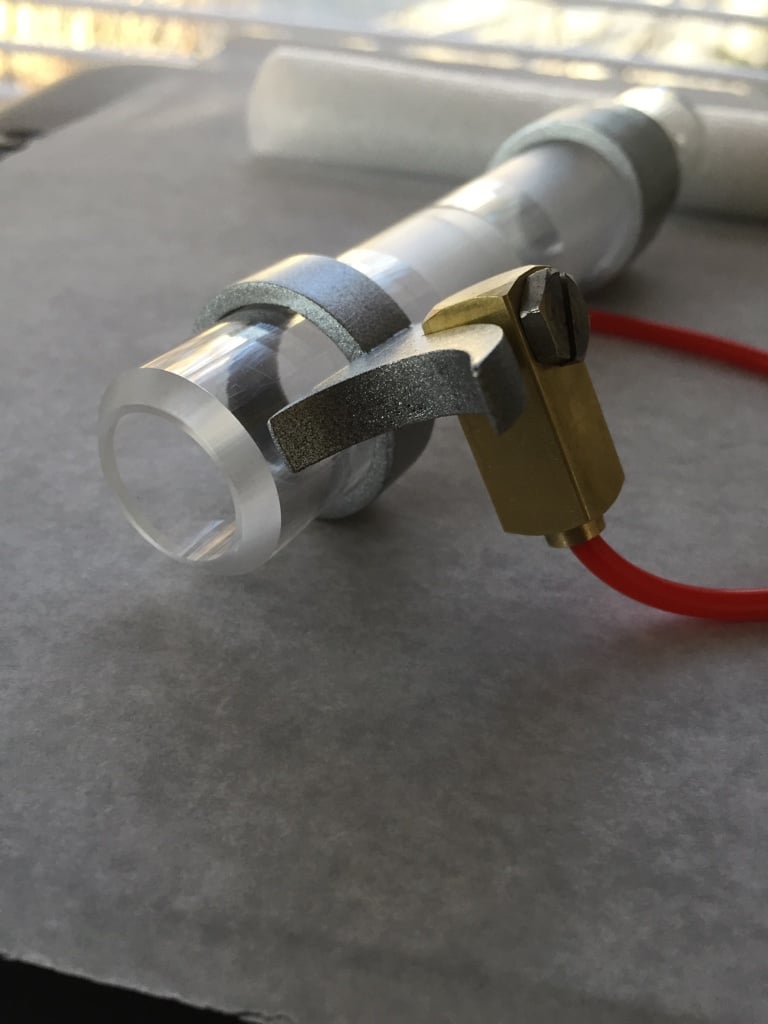
One was to wrap the end of the clear tube in tape to prevent it from sliding in and out of the front grip. Awesome! And it worked well.
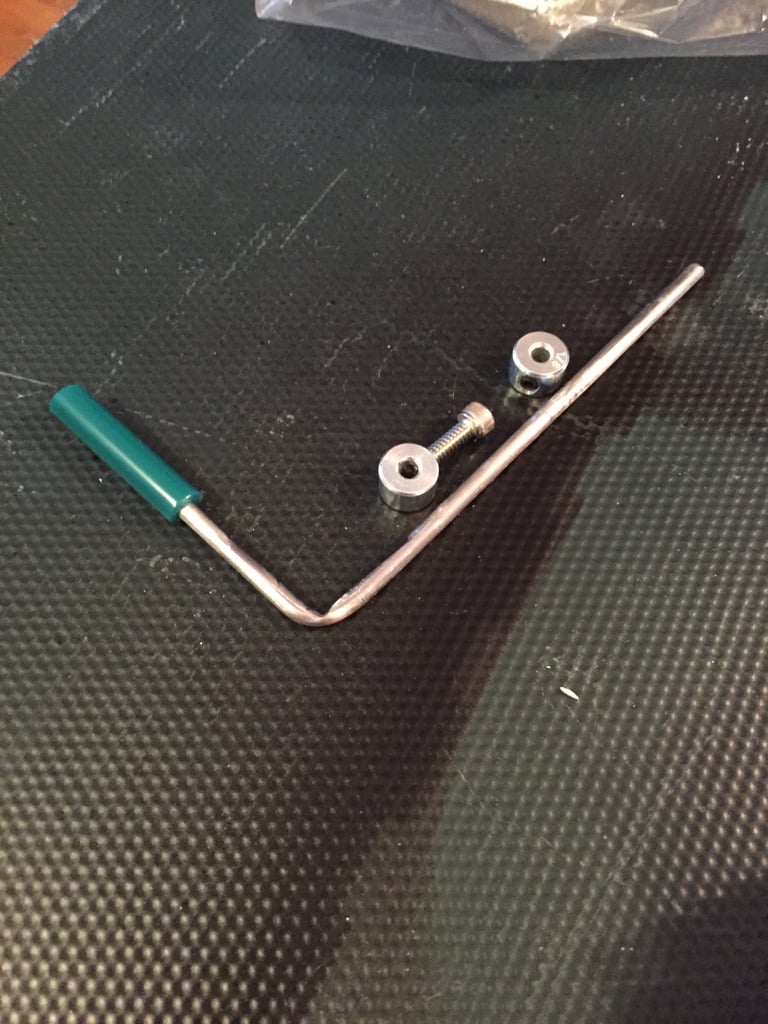
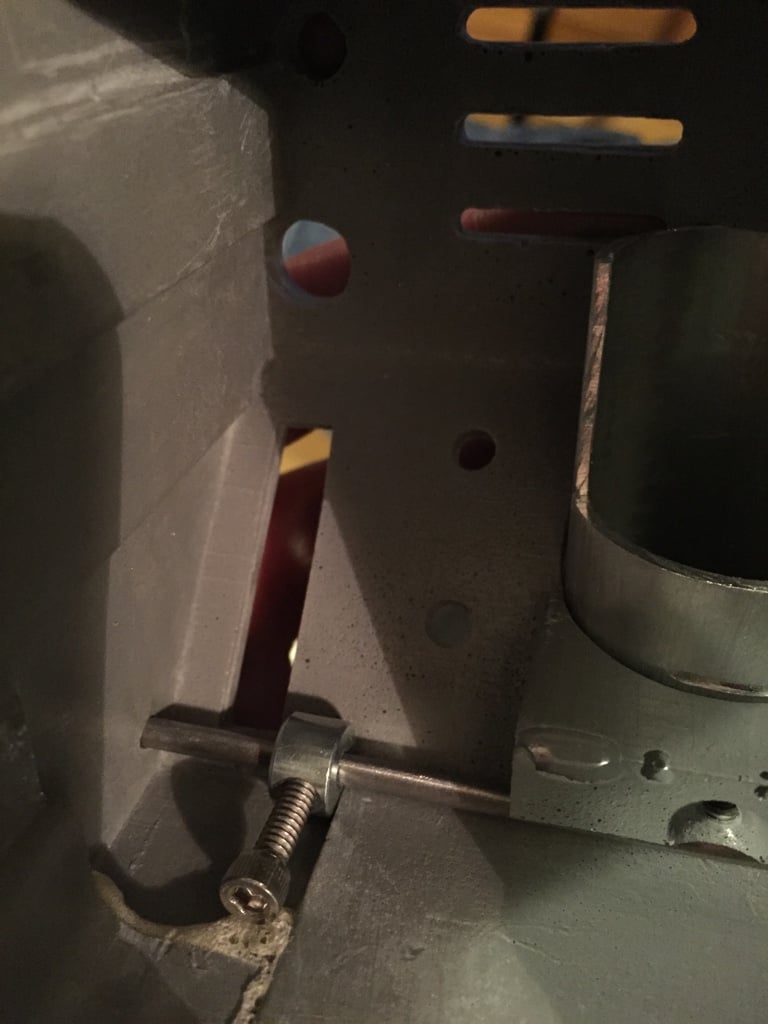
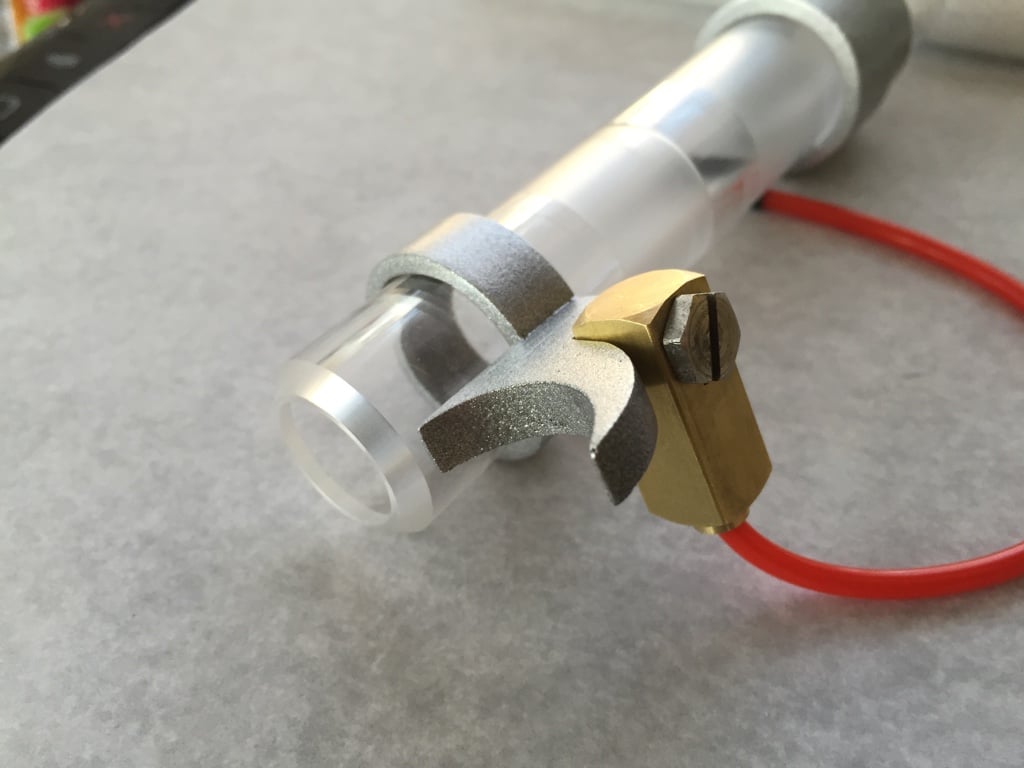
For the barrel extension arm I made my own for until $7. I went to my local Home Depot and picked up a 1/8" steel rod and bent it to where it looked just right and cut it to fit in my kit.
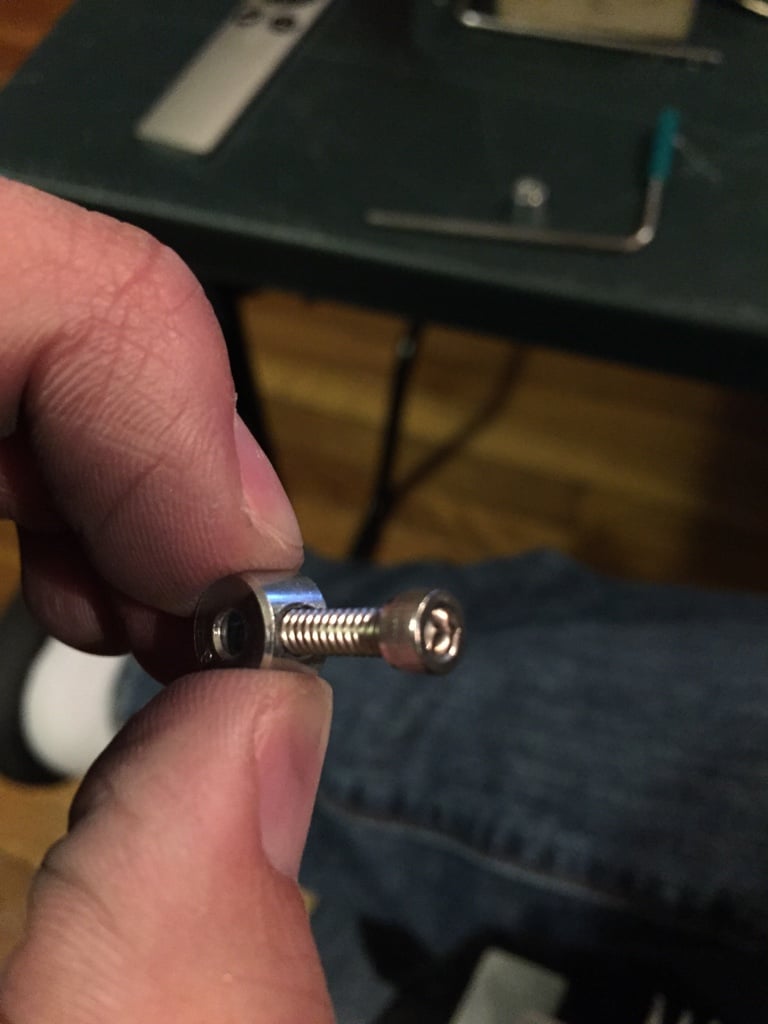
Then from my local Ace Hardware I picked up a couple solid shaft collars at $2.20/each. Using one as the small knob (passable) and the other to lock the rod in place inside the kit.
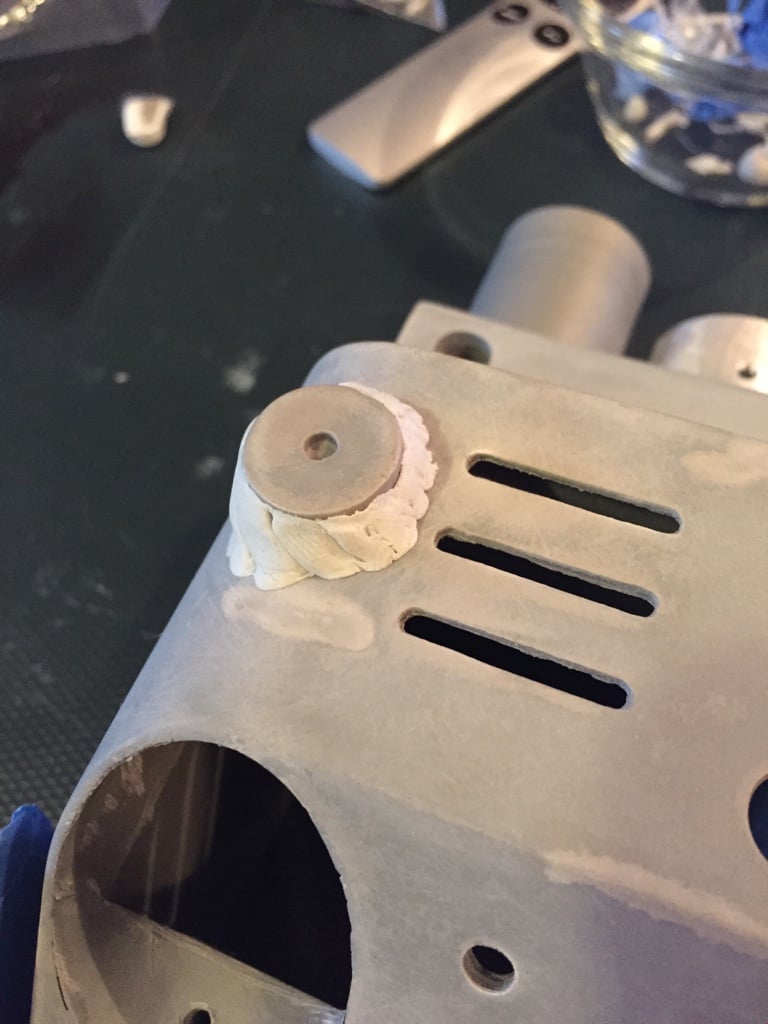
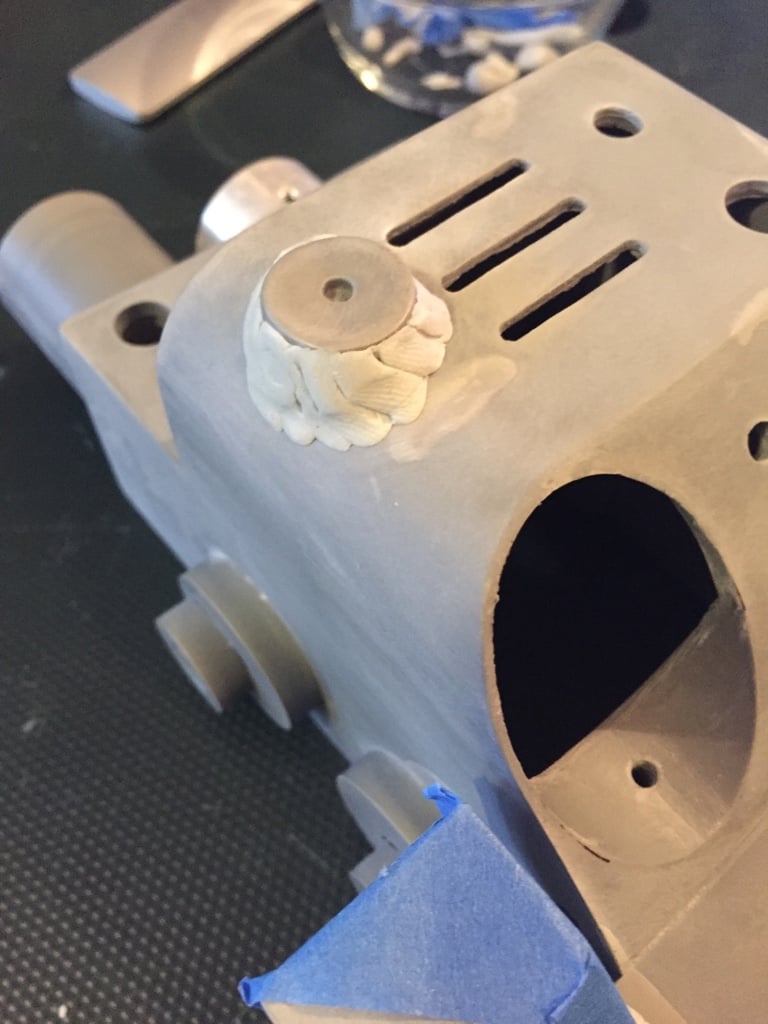
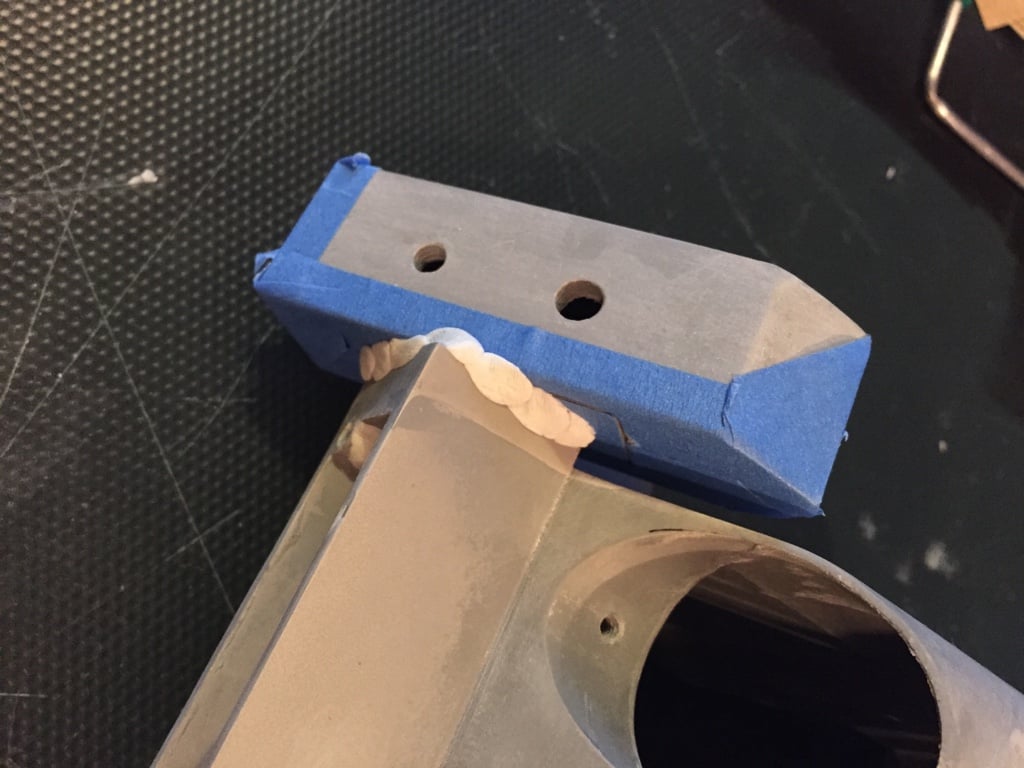
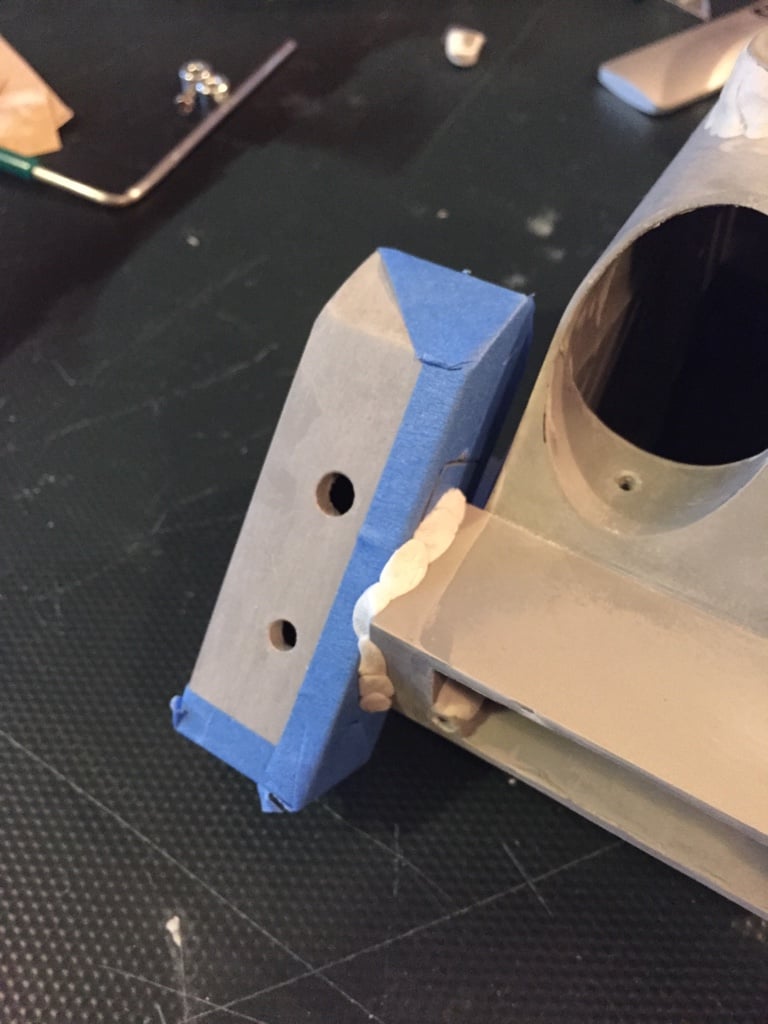
I worked on some fake welds for the instrument box and top knob. Though they are not perfect they aren’t too bad either.
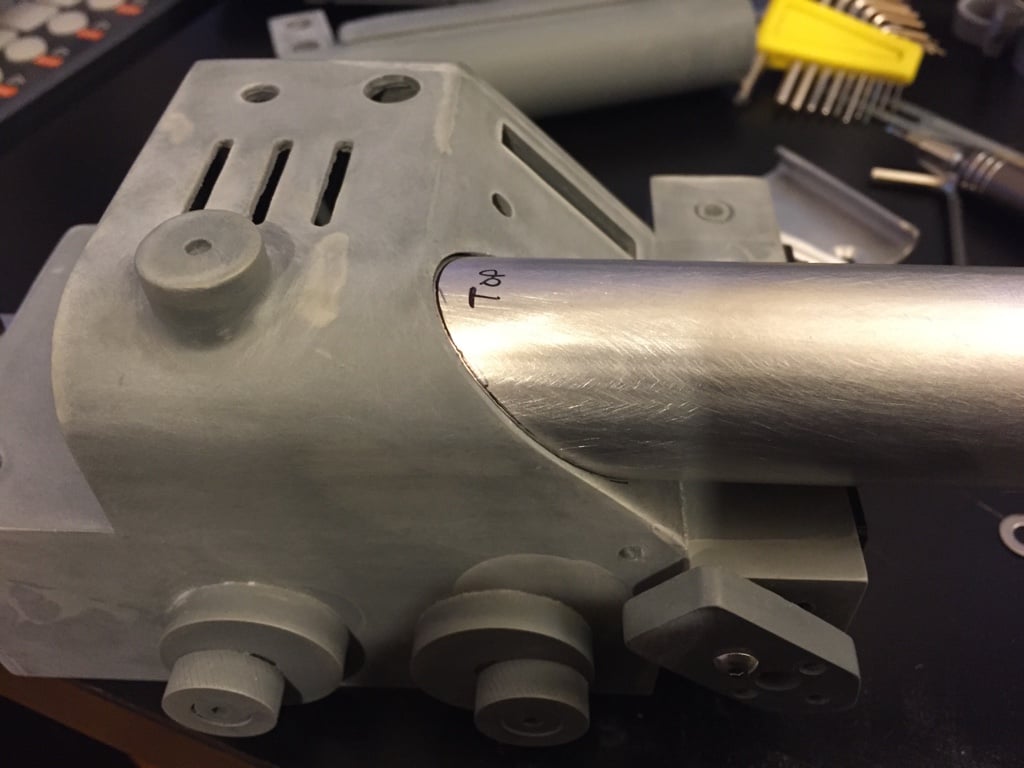
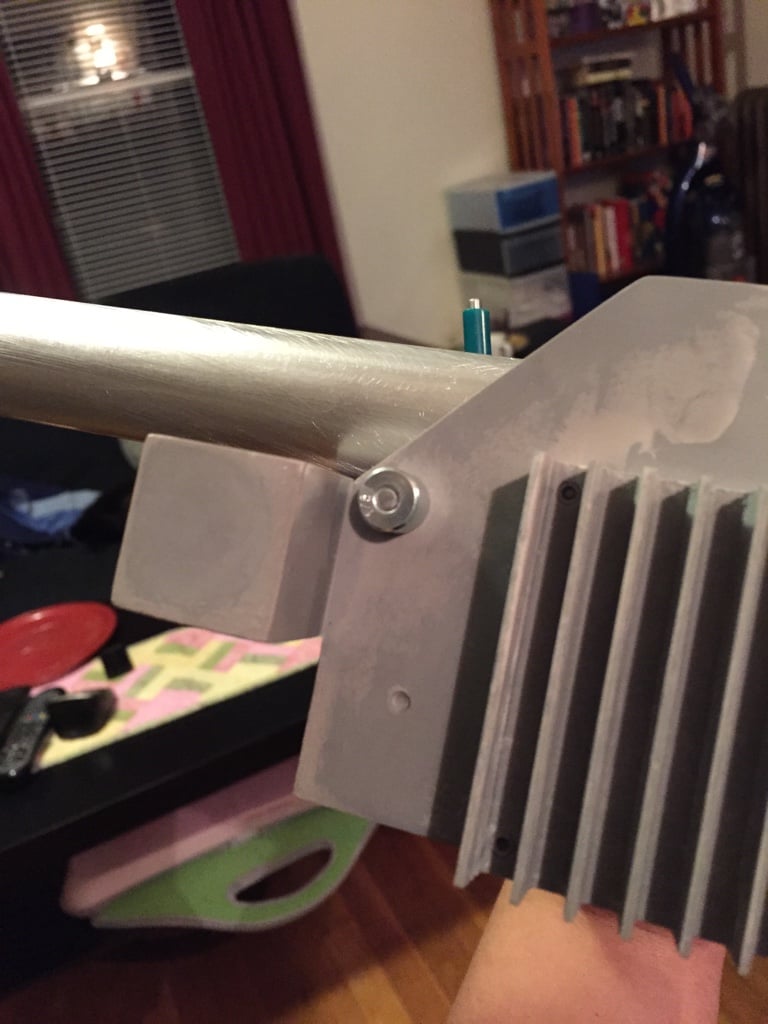
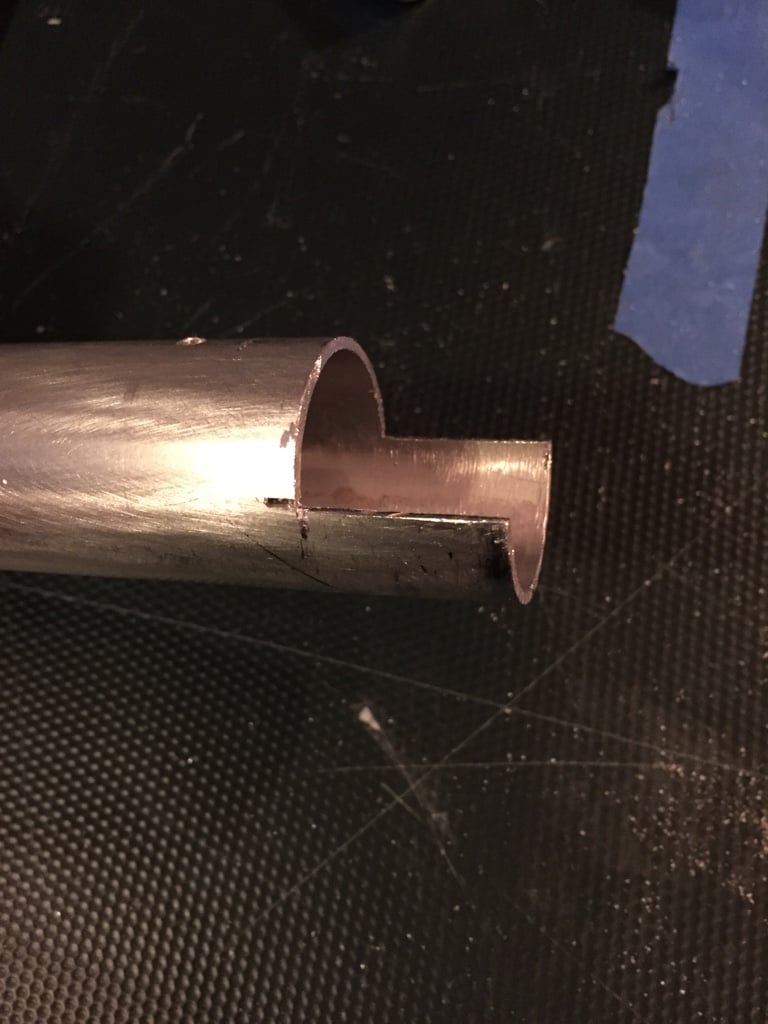
And lastly cut my aluminum tube that will be inside the kit.
I might have to trim a little more when my light kit comes to fit in the top vent but for now I feel I’m making process.
Looking good! Definitely recommend that you trim the tube a little more as you mentioned. Also, be sure to utilize the set screw inside the thrower body for the tube. Even though you will be gluing it, the physical connection will provide good reinforcement.
For your handles, try Button Socket Cap Screws instead, they look more like rivets…
that I’ll do, I like that idea.
As I am building this TC kit I’m starting to see some flaws with the kit but it doesn’t make it a bad one.
I bought some of the real hat lights from the GB store and I’m a bit baffled by how they work. It looks like I’ll need to buy some bulbs to fit in the socket but not sure which ones. But also I’m stumped on how they connect to a power source. I got a GB wand light kit coming but even looking at the image of it I’m still stumped.
Next were the decal rubs. I wanted to give them a try on the top knob to see how well they came off and stick on. Not too well. The first one only went half on but the “3” was a pain. While gently handing one of the other graphics it came half off in my hand. Ayi! Thankfully there are two sets but I feel i need to treat them with great care. I just wish instructions came with the decals.
Last I bought some real aluminum knobs for the kit. Top and side no problem. Front knob…uh oh. The head of the bolt come against a wall on the inside. So I am going to have to find a threaded screw to put on its place since the holes have been tapped.
One good thing is that the real banjos from the GB store do work with the enclosed resin trigger tip included in the TC kit. But you have to have to patience of a saint. It’s a very small area you are forced to work with. One screw up and it’s a total. By the miracle of god I was able to fit the banjos to the tip without error. Phew!
This kit is a challenge but I’m sure when I’m finished I’ll really appreciate the work like my pack.
The bottoms of the hat light sockets can be popped of pretty easily, allowing you to feed an LED from a light kit directly into the hat light.
I did that with mine. You won’t regret it 
Loving the way this is all panning out, Chris!
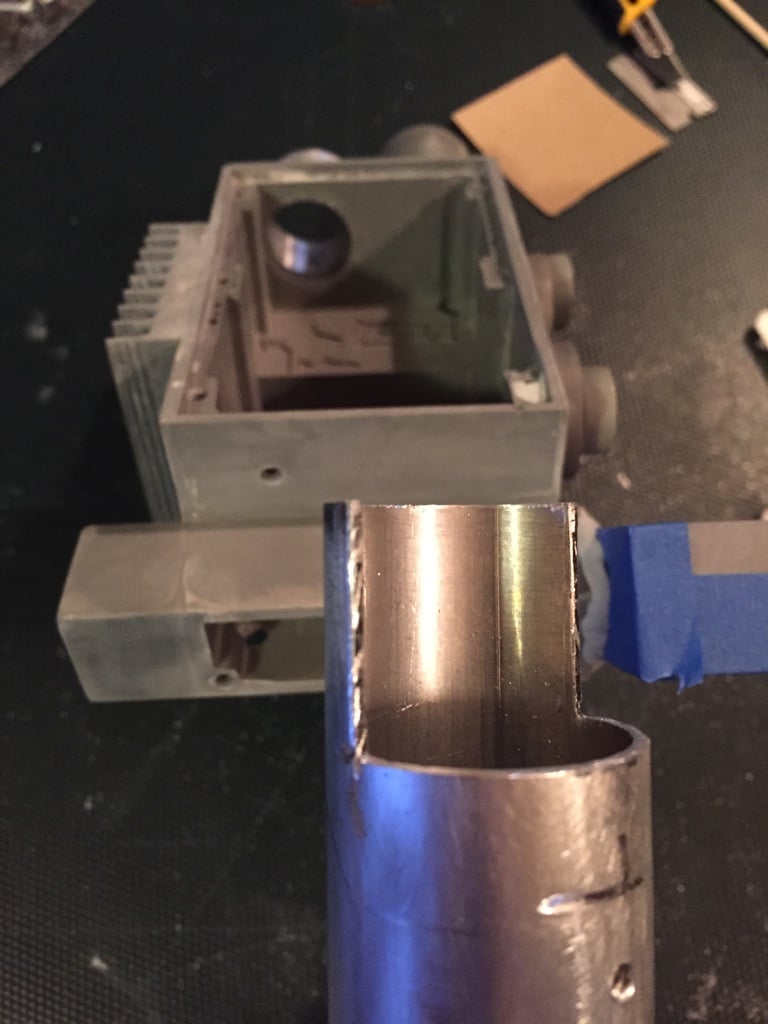
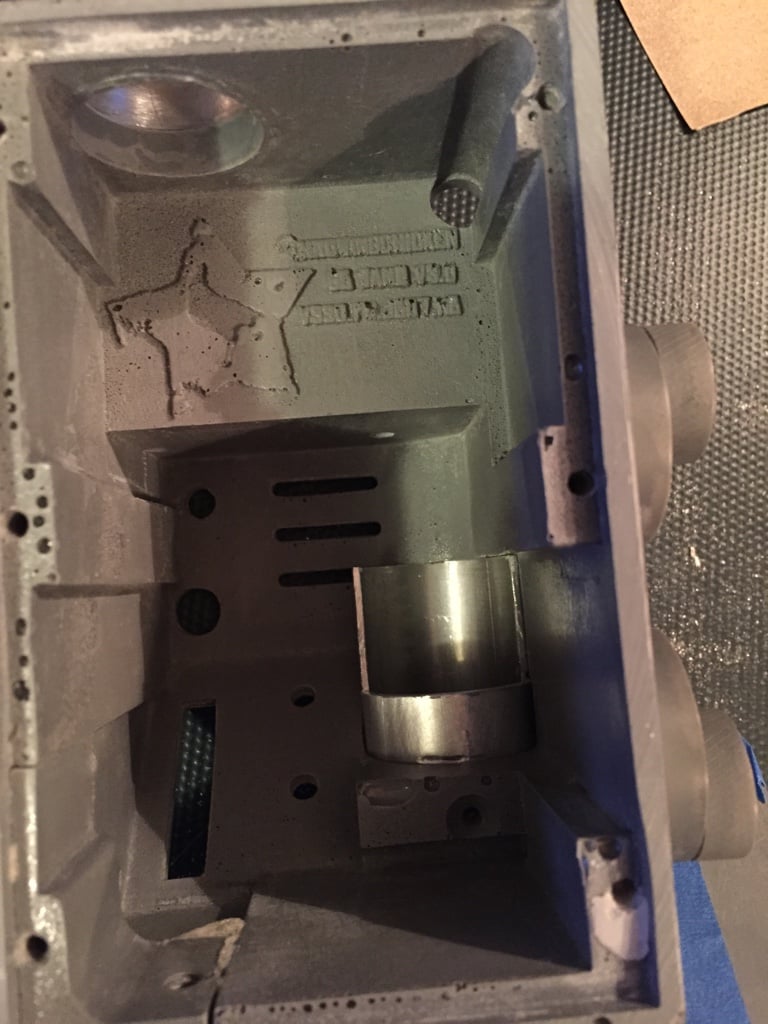
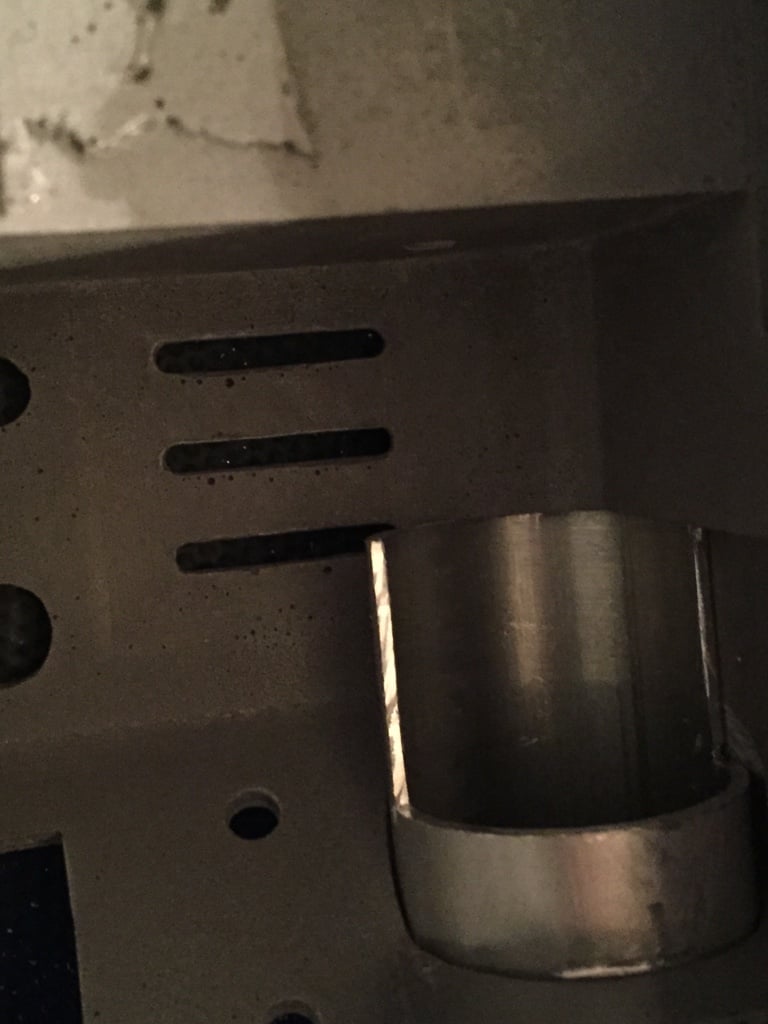
More updates. Cut a bit more of the aluminum tube to fit better inside the gun box.
I’m satisfied with the cut so it was time to epoxy it in place.
And lastly I anticipate that I’ll be using heat shrink when it comes time to install the lights to the front ear. So with a small hand hack saw I cut into the top just enough to slide on the heat shrink.
Looking good. Cutting a channel between the grip and front ear is a brilliant mod. Should make installing that heat shrink much easier.
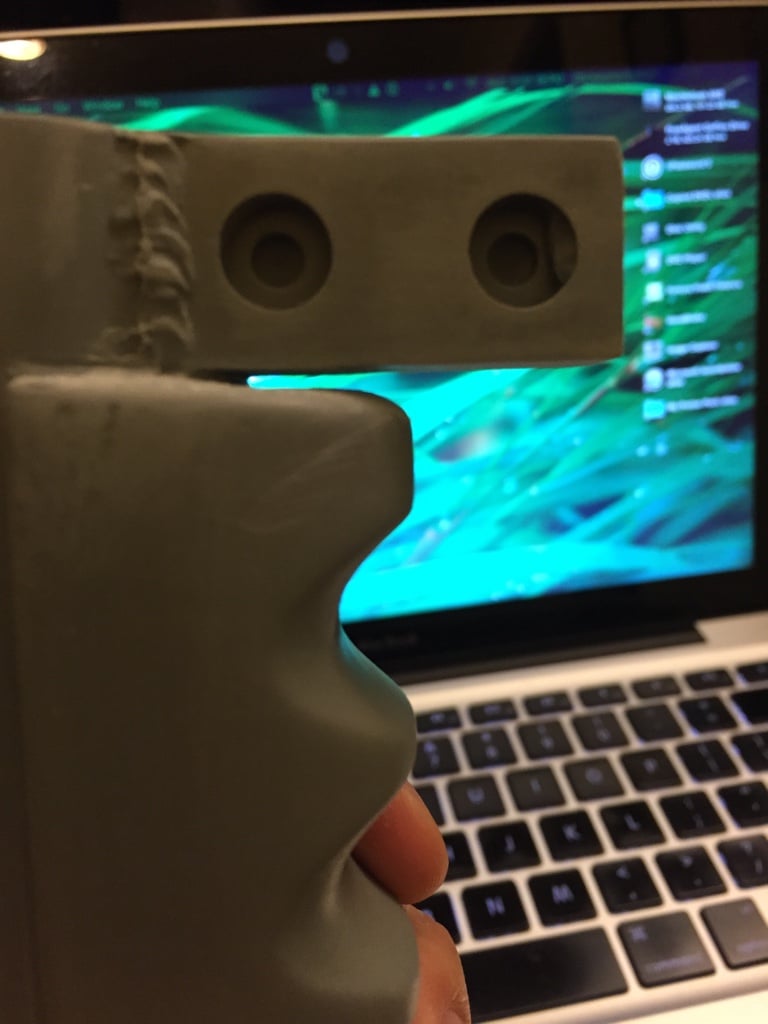
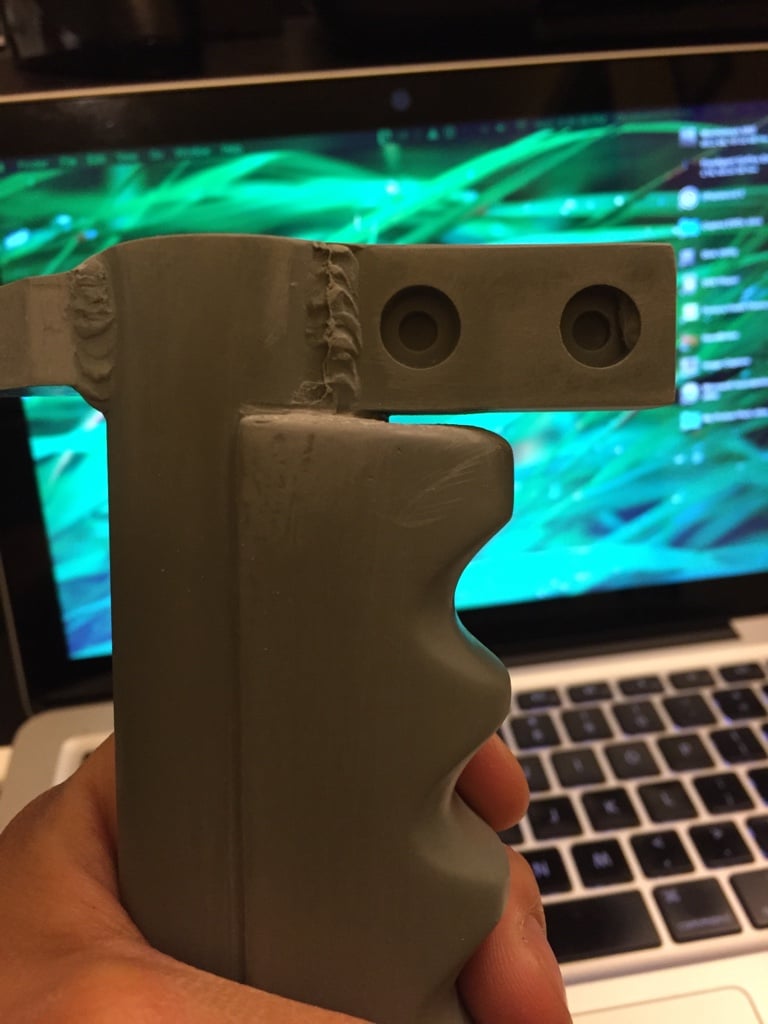
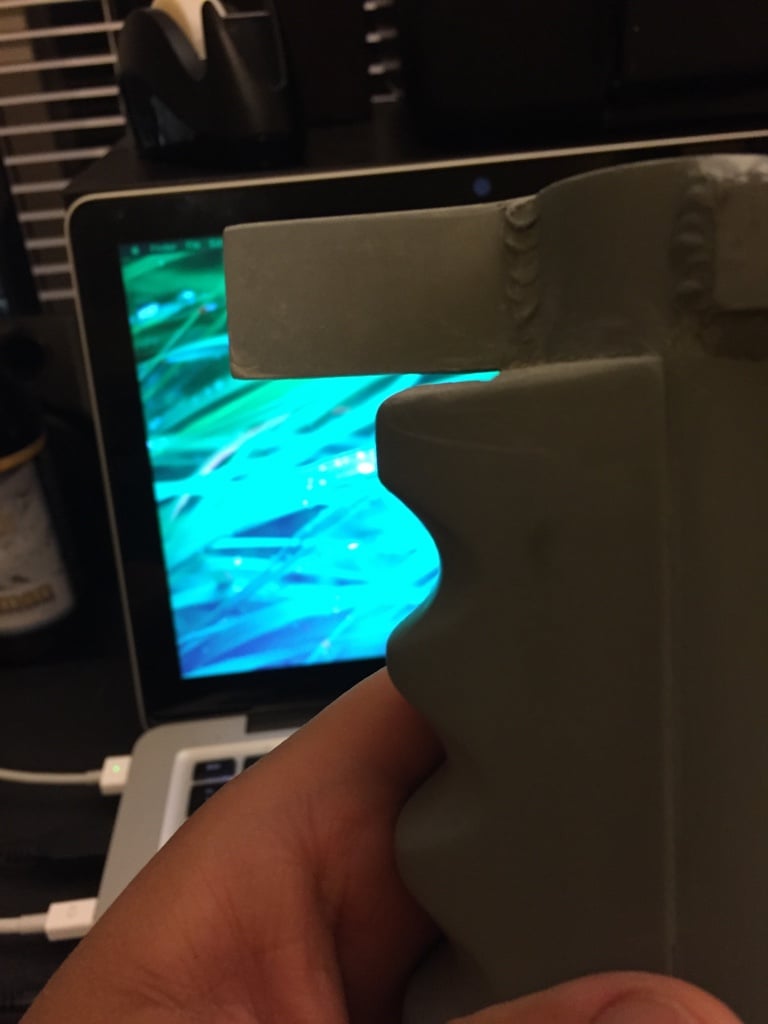
Not much to do tonight, but now that the epoxy has had a chance to fully cure in the handle it was time to make the fake welds as per TC tutorial.
I like how it came out better than my fake weld for the top knob and trigger box.
Looks great, man! Thanks for all the detailed pictures. That’s one thing I wish I would have done with my build is take more pictures. Now I’m having to refer to other builds like yours to remember how to do things.
Geeze, I hadn’t even considered carving a groove like that for the heat shrink. Trying to get that sucker to fit right was a ■■■■■■. I’ll have try your idea on my next build.
Thanks!
I’m a very visual person and I wanted my thread to have as many pictures as possible to help other like me.
Sometimes you just need to see things to understand them better.
Nice build!!! I hope you have such great details when you get to the lights! Im at that point, and im a bit lost on how to install and do all that! Cant wait to see the final product!
I’m hopefully about 2-3 weeks out from lights but yup I do plan to document that as specially as I can.
This one is for you.
So I drilled into the side holes that lead into the instrument box. If you have not done it already make sure the center hole is drilled carefully and gradually.
I bought the switch upgrade from the gbfans store before I purchased the light kit that way I could get right to work.
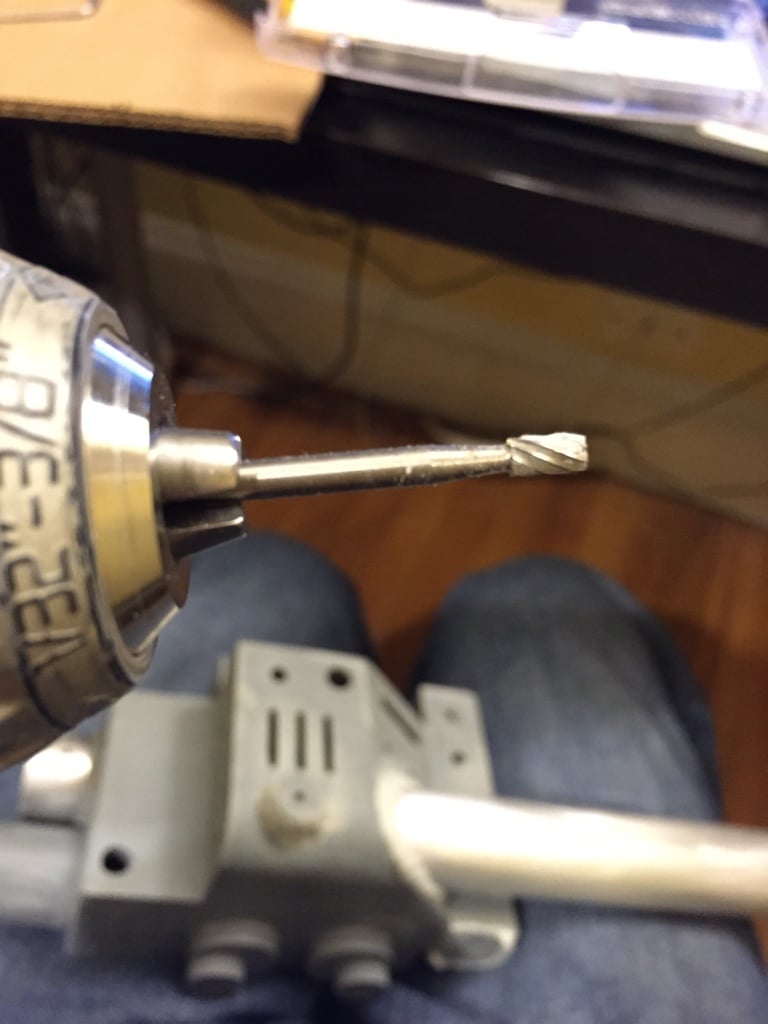
As you can see it’s not a perfect fit so with a dremel bit
i gradually and slowly opened the big hole. I didn’t want to do it with a big drill bit for fear it would crack the surrounding 4 holes.