Travis' Proton Pack Build Log - TC3.0 Thrower/GBFans Shell

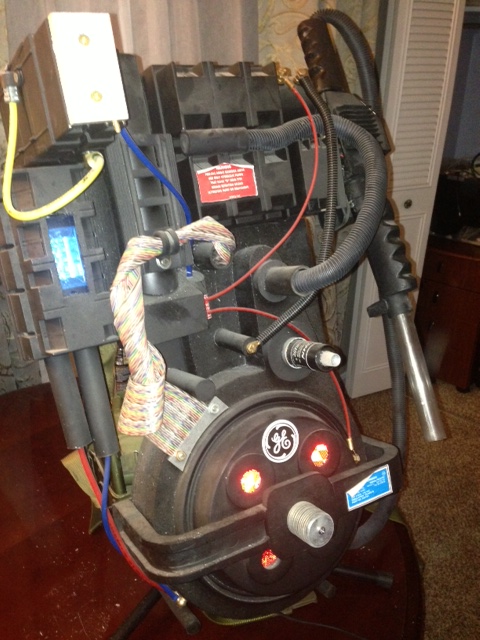
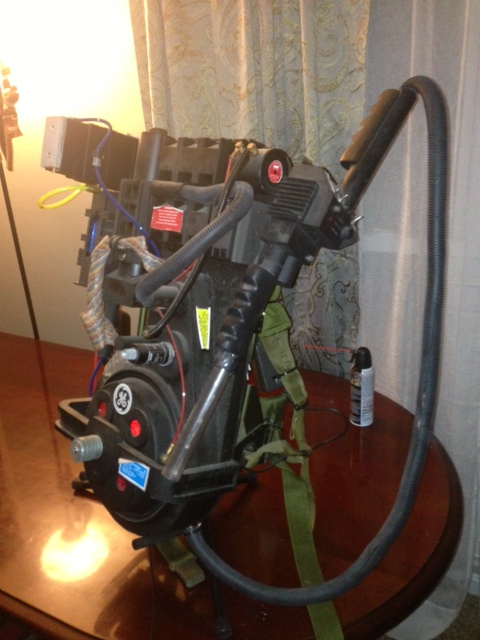
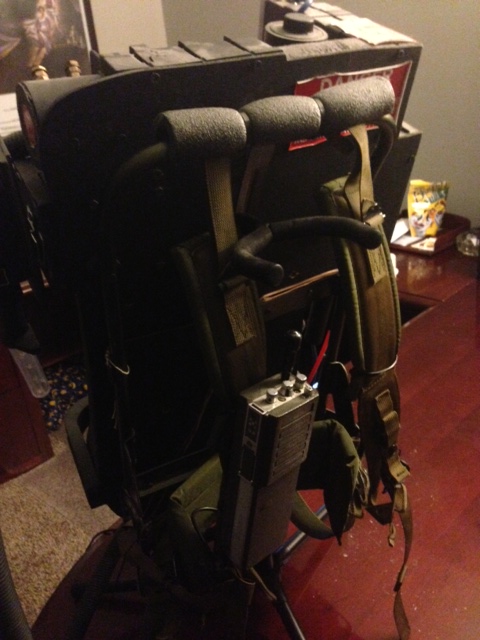
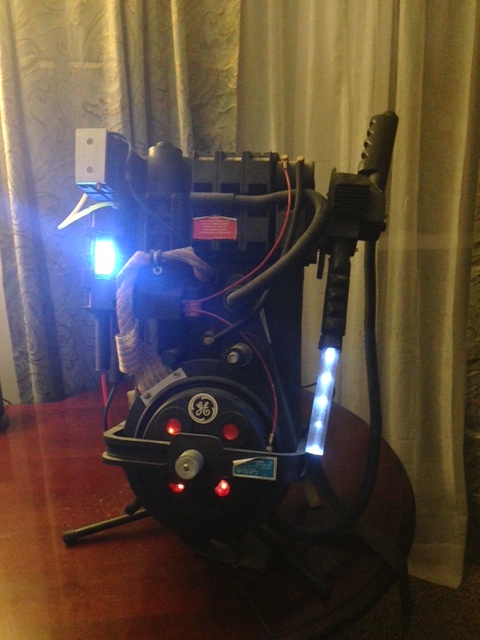
It’s been four years since I built my pack from a few dozen trips to thrift stores, lowes, and many great ideas from Garee & the community http://www.gbfans.com/community/viewtopic.php?f=2&t=13353. It was built out of necessity and whim on a broke college student budget, but with love! It’s had a rough life since then with some bits lost to eternity and others caked with glue from constant re-attachment. It’s lasted much longer than it’s parts and assembly probably should have - but it’s time to modernize it!

The plan is to start with the thrower - I’ve got the disposable income to rebuild it, and it’s the bit of the pack in the worst shape. It was a last-minute shipment from GBRob a few weeks before my first halloween and never properly built in the first time. I took the kit and added whatever random electronics I had at the time to make it look ghost-bustery :). Many of my switches have failed, half the doodads added are gone, and it’s ready to move on to the dixie cup bracket in the sky. (Pics of my existing pack/thrower will follow tonight as a ‘Start Point’ to this build thread) The only modifications to the pack will be some basic repairs, a few attempts to make the labels look a little better, and the best implantation of the Mighty light system as I can muster with very limited space and many parts not designed to come back off :blush: . Once I’ve saved up enough to get a good shell (and wade through the offerings! So many shells with good reviews, hard to determine which to build around), we’ll move on to the pack later this year if I’m not sidetracked by one of those sexy belt gizmo kits…

The point of this thread is to A) Log the build for my own musings in a few years (looking back through the 2009 thread has been quite fun!), B) Hopefully provide another resource for builders who may be using my combination of parts and approaches, and C) Garner input from you smart-like folks while I build this thing! Could never have done the first one without helping hands from across the web.

The core of the build will (hopefully) be a ThrowingChicken 3.0 kit - I haven’t got the order in yet, but hopefully they are still available tomorrow when the paypal deposit clears :P. I’ll be using one of GhostGuy’s impressive Mighty light and sound kits - this was an absolute must for me, as my original intent was to build up an Arduino solution so I could mod and extend it if desired at some undetermined point in the future. His microcontroller appears to fit the bill without giving me the headaches of building from scratch! A few bits will be coming off the old thrower or are in a bag that never got put onto it, everything else I’ll be buying up from the community over the next bit. I’m not fully decided on rotating barrel or not, but leaning towards not. I definitely intend on doing an extending barrel, but method has yet to be fully determined. Currently leaning towards mburkit’s implementation (http://www.gbfans.com/community/viewtopic.php?f=2&t=17644&start=0), but still searching the packs section for ideas.

I created a rough checklist using the Master Parts List (http://www.gbfans.com/community/viewtopic.php?f=2&t=16866) as a guide. I may replace some bits from the kit with aluminum at some point, but I saw no reason not to try the resin first before springing for more aluminum than I already have. Also likely to switch out with a real R-701 at some point :). Advice/comments on parts are appreciated and welcomed!

Build Checklist

Gun Body - TC 3.0

Front Handle Pipe - TC 3.0

Rear Instrument Bar - TC 3.0

Front & Rear Cylinder - TC 3.0

Heatsink - TC 3.0

Nycoil Banjo - TC 3.0

Knob next to Clippard - TC 3.0

Right-side behind heatsink small - TC 3.0

Right-side behind heatsink large - TC 3.0

Stream Adjuster (top) - Salvage (from JJS8801)/TC 3.0

Drift Velocity Knobs (Left) - Salvage (from JJS8801)/TC 3.0

Clear Light Cap - Salvage (from GBFans Shop)

Red Light Cover (slo-blo) - Salvage (from GBFans Shop)

Green Tubing - Salvage (from MMM/Irricanian)

Red Tubing - Salvage (from MMM/Irricanian)

Regular Labels - Salvage (from Dr. Sparky)

Trigger Tip - Nick-a-tron, Resin

Clippard R-701 - Nick-a-tron, Resin

Orange Hat Light - Nick-a-tron

White Hat Lights (x2) - Nick-a-tron

Switches - GhostGuy, Mighty Kit

LED’s - GhostGuy, Mighty Kit

3/4" Loom - GBFans Shop

Clippard #11752 Hose Barb - GBFans Shop

Rear Handle Pipe -

Thrower Tube -

Gun Rub-Ons -

Extension Mechanism -

Metallic R-701 Label -

Bracket/Pack Attachment Method -

Misc build-related purchases:

4mm HXT Connectors, Battery Side - HobbyKing

4mm HXT Connectors, ESC Side - HobbyKing

Turnigy Accucel-6 50W 6A Balancer/Charger - HobbyKing

Turnigy 5000mAh 3S 20C Lipo Battery Pack - HobbyKing
Woohoo, Throwing Chicken order in. Party!

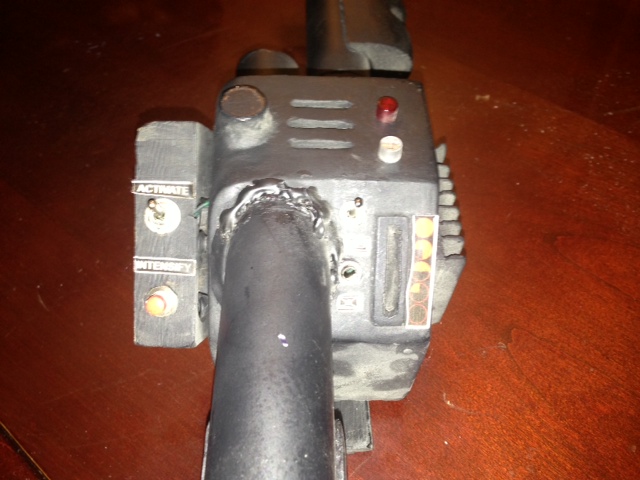
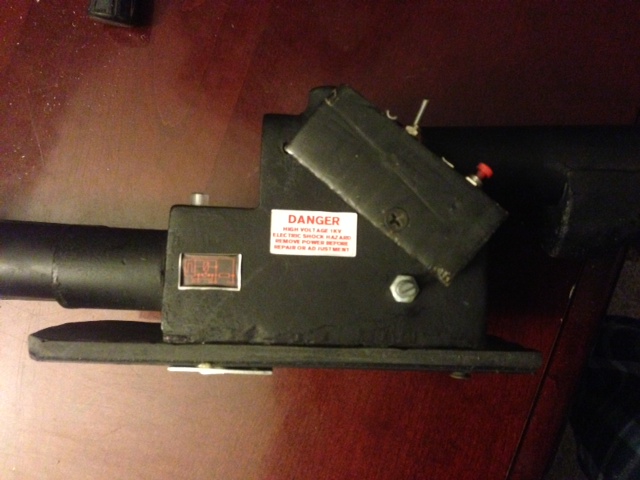
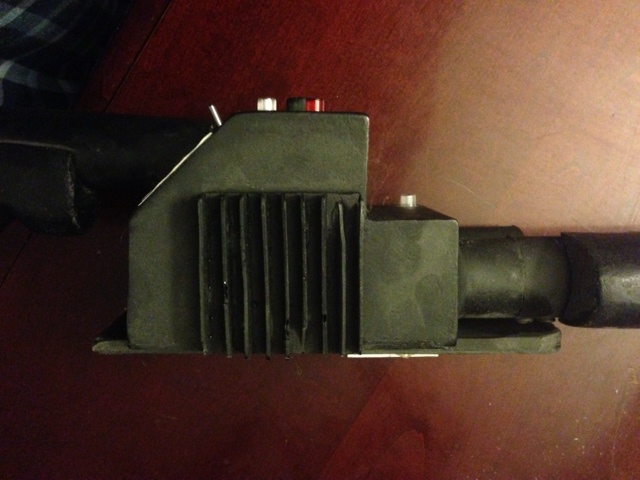
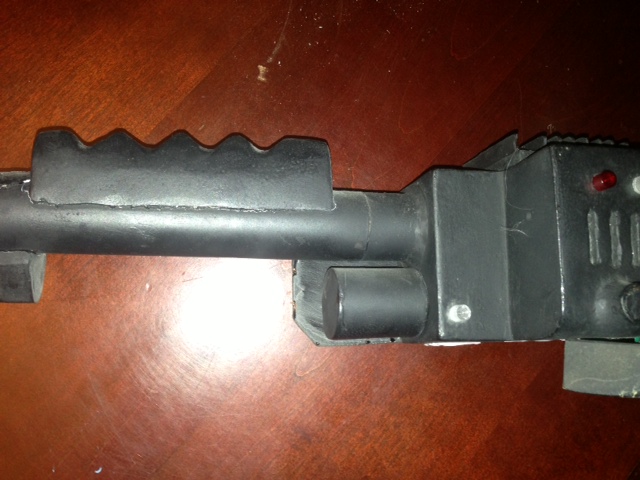
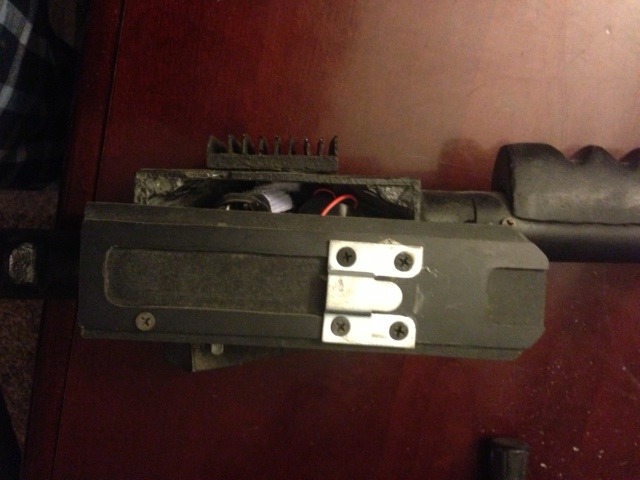
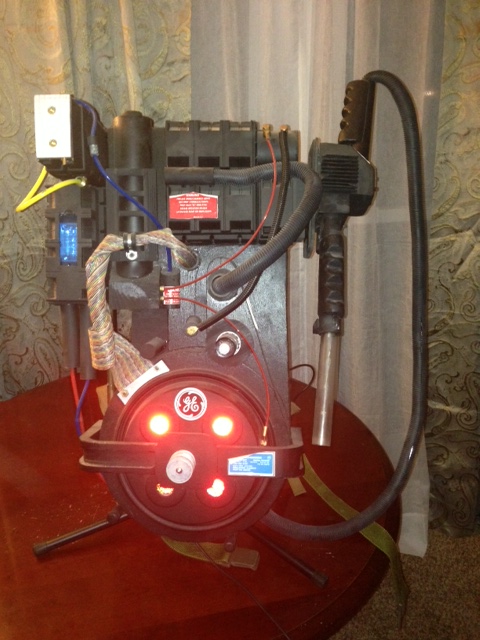
Aanyhow, here’s the starting point of this project, with more detail shots given to the thrower. Poor old girl’s been through the ringer. Lower ion arms were the victim of an adorably kitty visiting my home, the one on top a bad doorframe placement. The rest went from there :P.

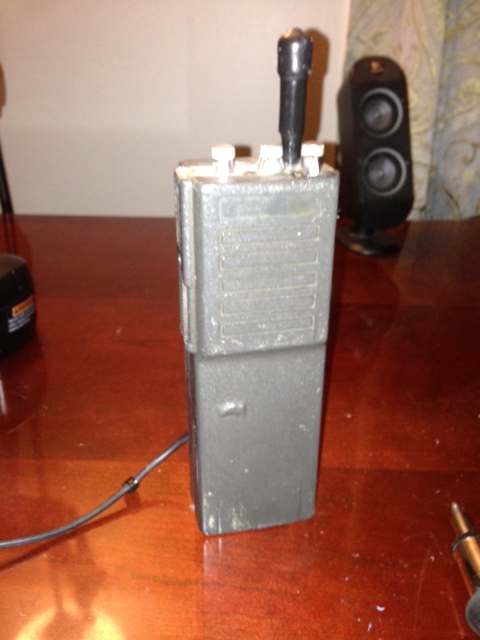
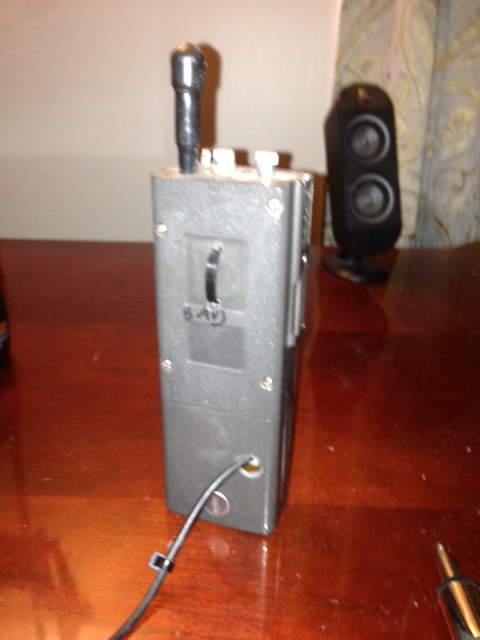
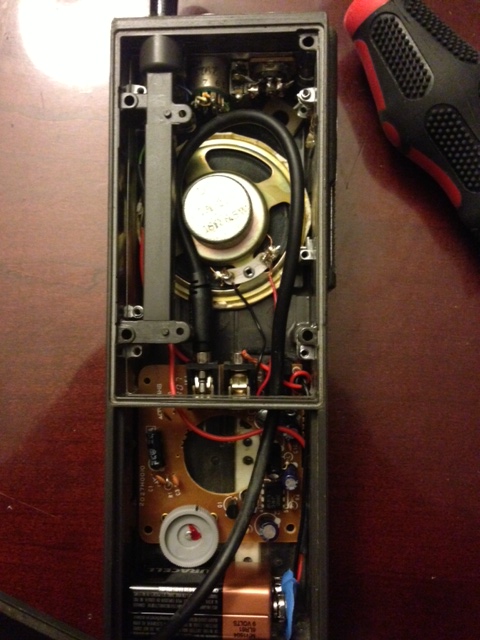
The only sound I have in my pack is a little hack via an MT500 in which I put a small speaker and amplifier combo ran off a 9V with a 3.5mm routed around the back and into my pocket where an mp3 player awaits. I’ll probably run the Mighty kit to this until I rebuild the pack unless I come up with something more intelligent :).

And finally, the salvage pile:

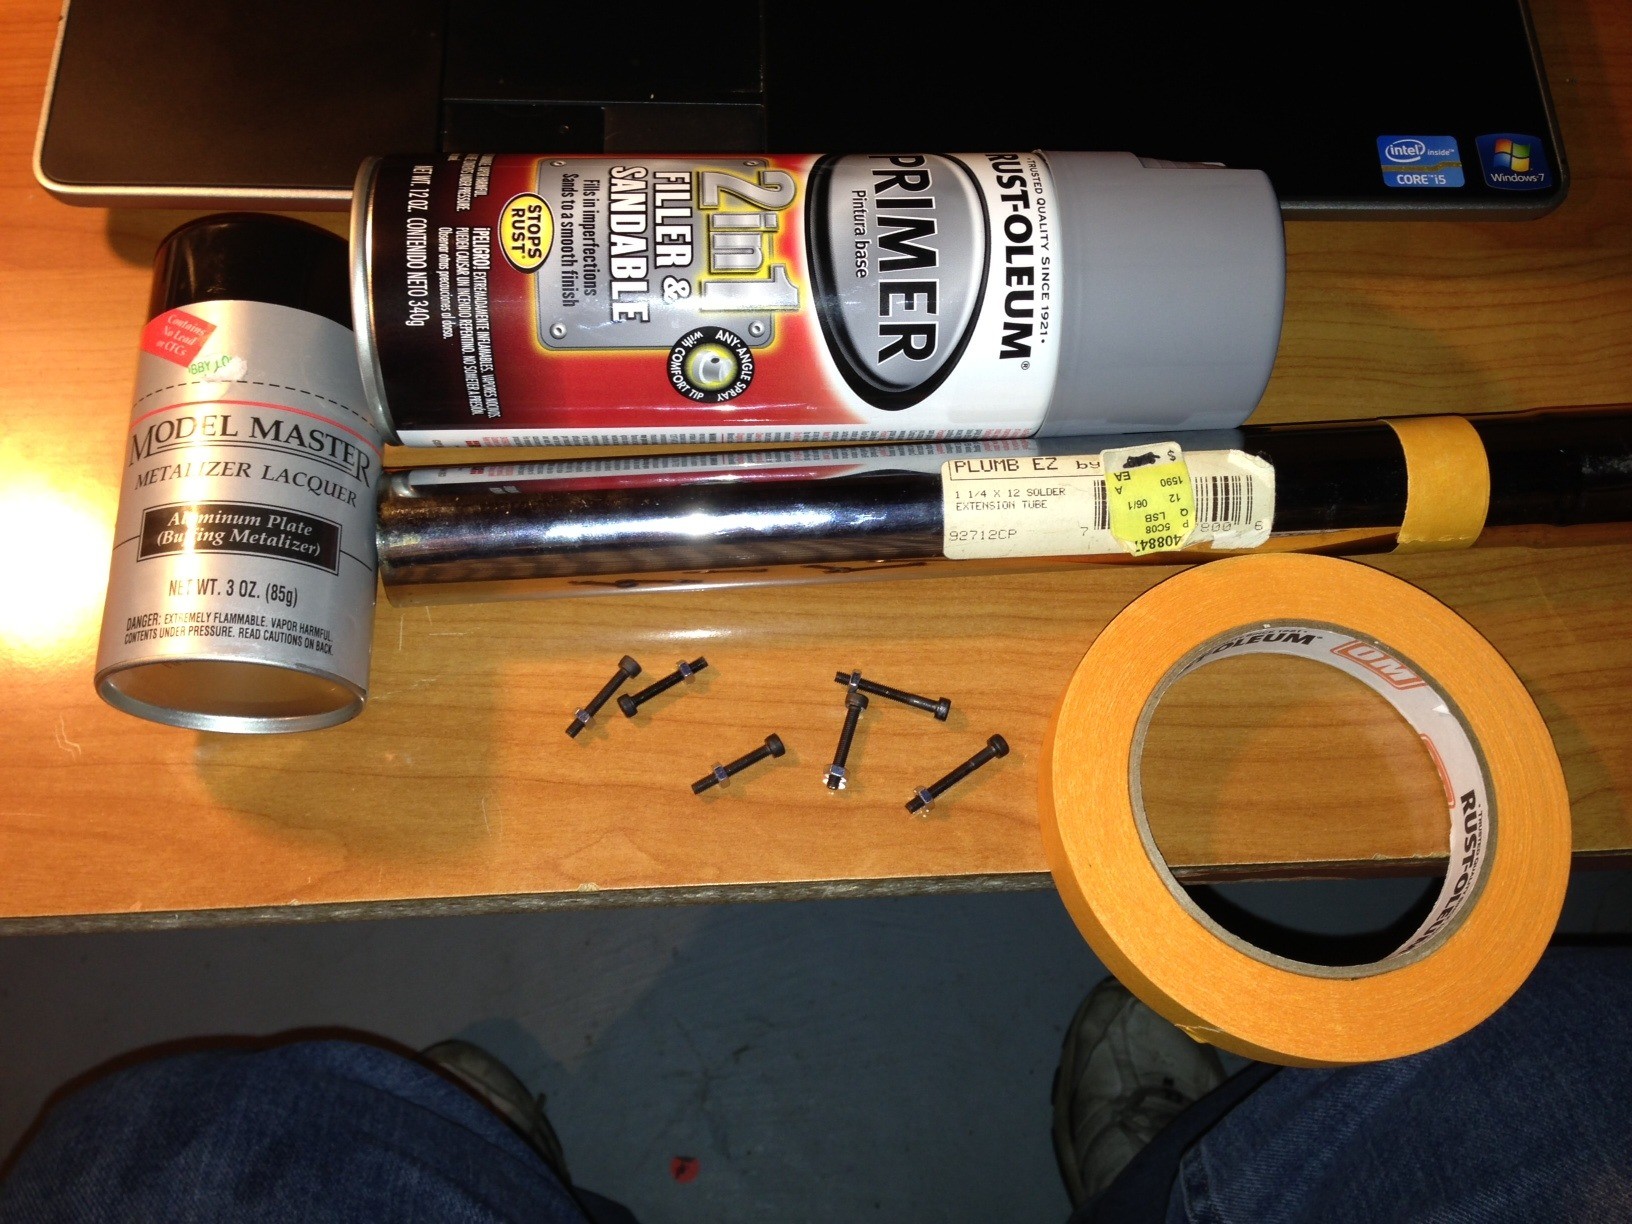
Hit up all the hardware stores I identified on the first go-round as useful today. Didn’t quite get everything - slotted fillister heads and flat socket cap screws in a robust array of sizes are hard to come by apparently. Also didn’t nab any aluminum tubing for the rear thrower handle - I got some PVC, but it seems like most of the recent threads are using metal for this piece. Why is that? I can get some from speedymetals but the almost $20 shipping just makes me sad. If I’m unhappy with how the PVC looks or there’s a particularly good reason to use metal on this part I’ll bite the bullet :).

Also could not find proper square brass tubing to do the extension, but I grabbed some stock flat brass and I’ll see what I can do with it.

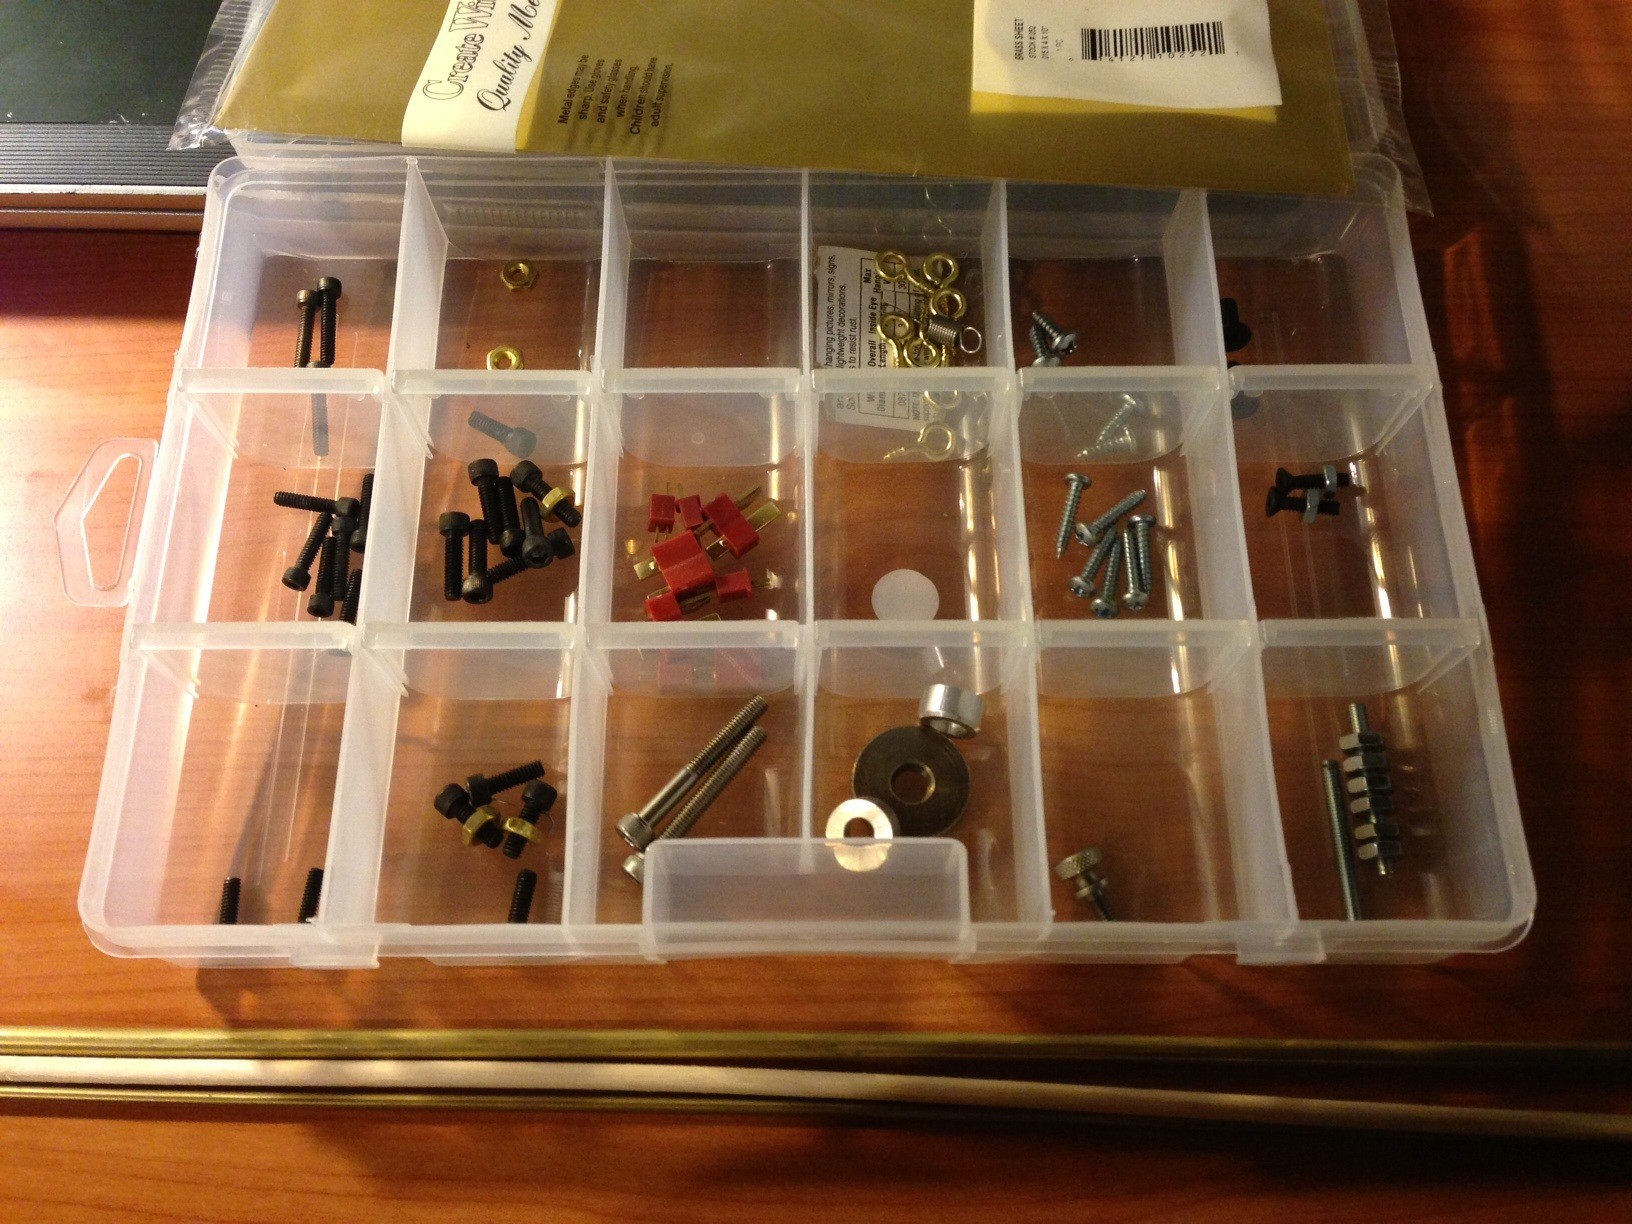
Obligatory-but-useless log photo of my tackle-box-o-plunder

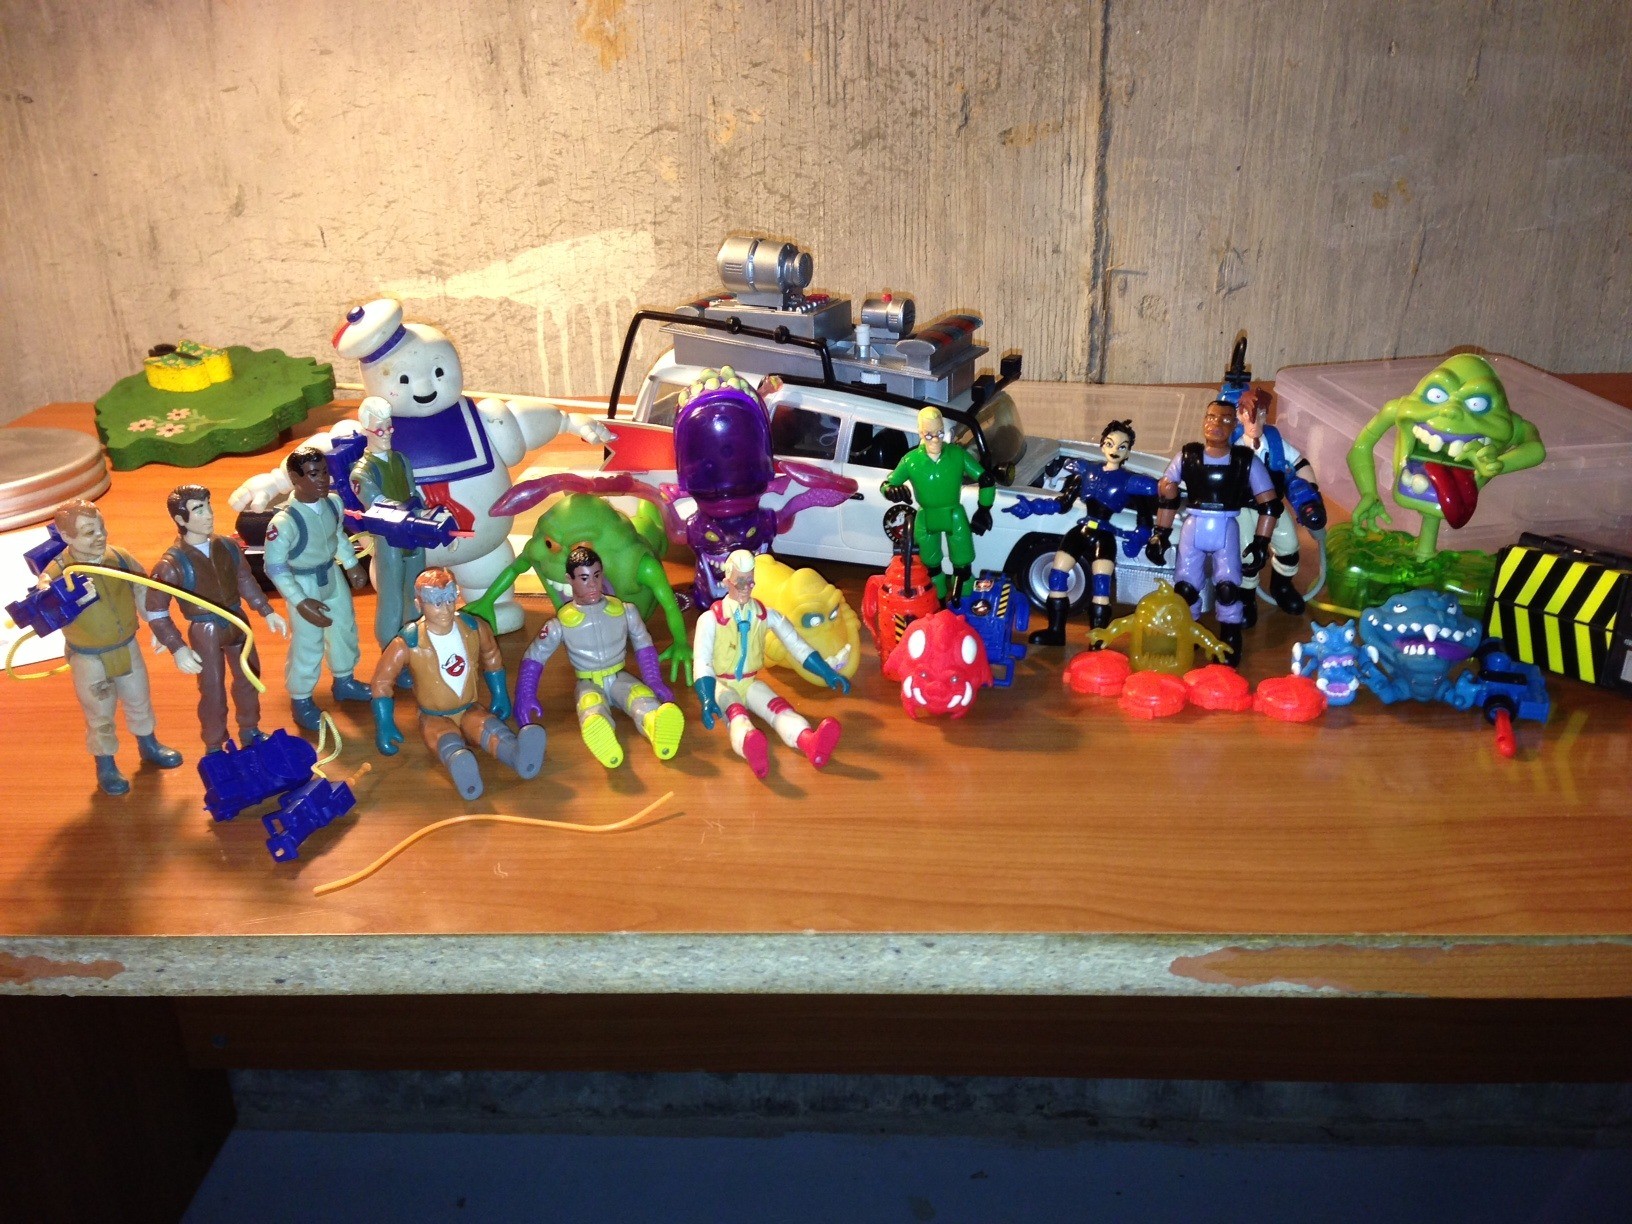
I was also brought a box from my dear parents (who are slowly removing all of my stuff from the house now that I’m a homeowner myself) full of toys. The ghostbusters toys of my youth which I had thought lost to the ages have been recovered! They are in pretty messy shape - I put the boys through more than any sequel. Will have to post over on the collectibles section to garner tips on how to clean the older stuff up! I’m not a big fan of the extreme ghostbusters stuff - it was more readily available as a kid (the RGB stuff came from flea markets), but I always played with the RGB guys in the extreme ecto :).

Another day of second-tier hardware stores, got -just- about everything. Still no accurate clippard screws, but I got a few alternatives. I’ll go with what looks good until a clippard/screw combo comes up for sale again ;).

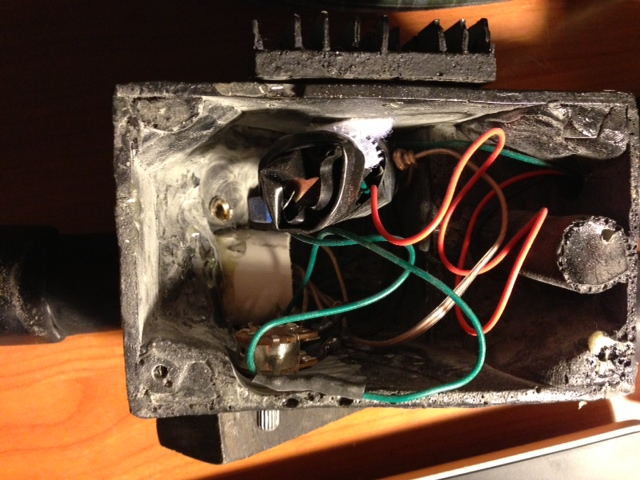
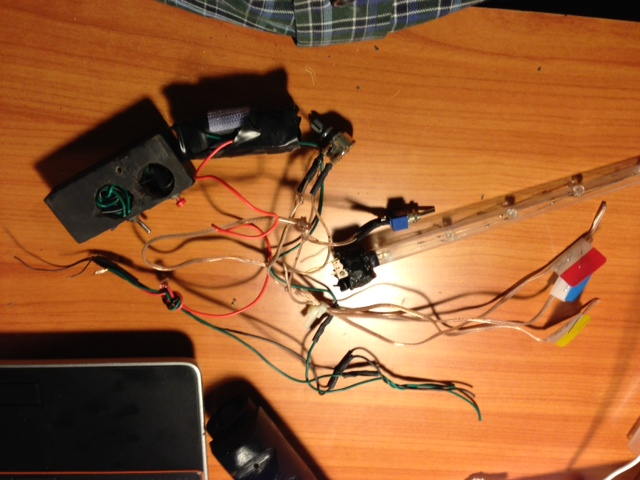
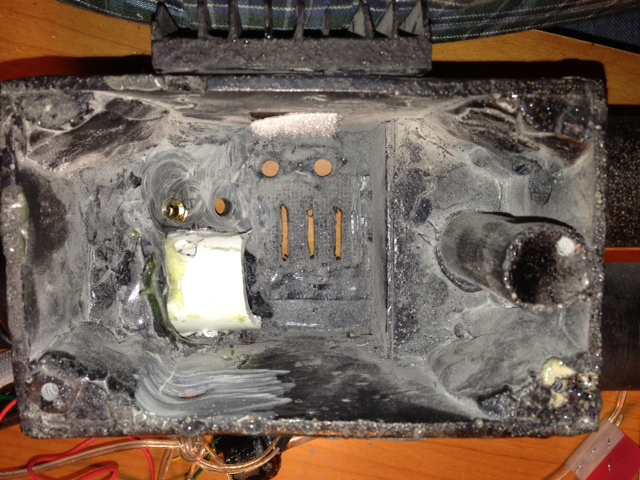
Spent some time this evening finally cutting into the old pack a bit. No turning back (easily) now! Part of the day’s plunder was some brass square tube from a hobby shop, so I wanted to see if I could figure out mburkit’s extension mechanism and get it implemented. First I nuked out the old wiring and switches. Even though I won’t be re-using any of this stuff, I figured I’d use the gunbody for experimentation :sigh:.

Out with the old…

in with whatever I decide to put in here!

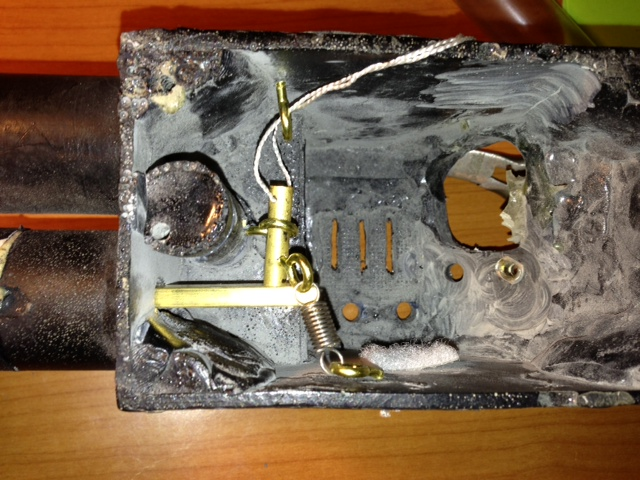
Here’s my quick-and-dirty try of mburkit’s method. The way this thrower body is laid out is not terribly condusive to it - the resin support pillar is just a tad in the way. I originally started to remove it (note the dremel marks) but could not find the saw to finish the job readily so just made due and got a feel for what was important. The main rod eye hook will need to be moved carefully so the rod doesen’t twist so much - that or use two eye’s. Not sure what the solution there is, more experimenting! Also need to pay very careful attention to the string-pull hook lining up with the rod. I think I’ll be able to make the method work, and it’s not that space consuming!

So I’m just about out of tinkering to do until parts get here, but found some more plunder today:

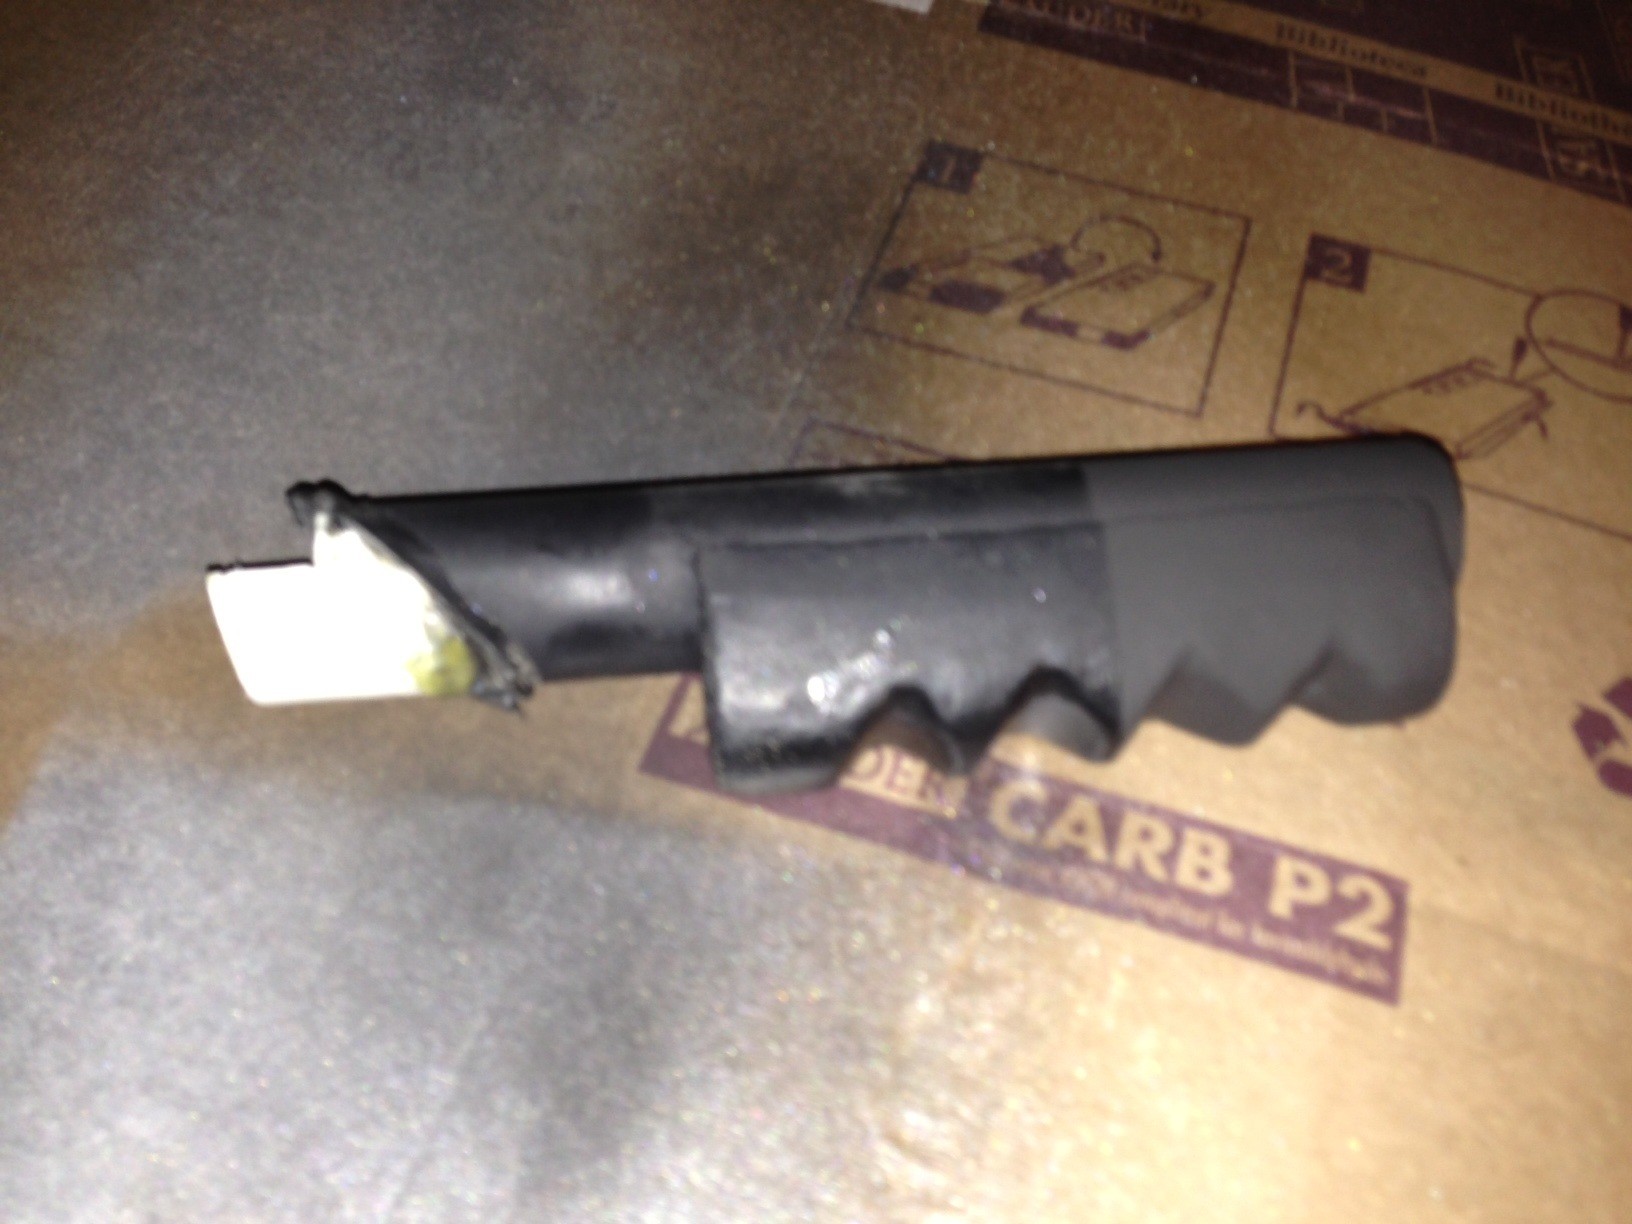
The pipe I found covered in dust in the back of a hardware store. Just had to cut about 2 inches off, but I think it’ll work fine. I reckon I’ve got the right screws now across the board (I think I may have some knurled where they should be smooth and vice versa, but i’ll live with that in the meantime. None of these will be epoxied in until I find the perfect screw) except for the clippards.

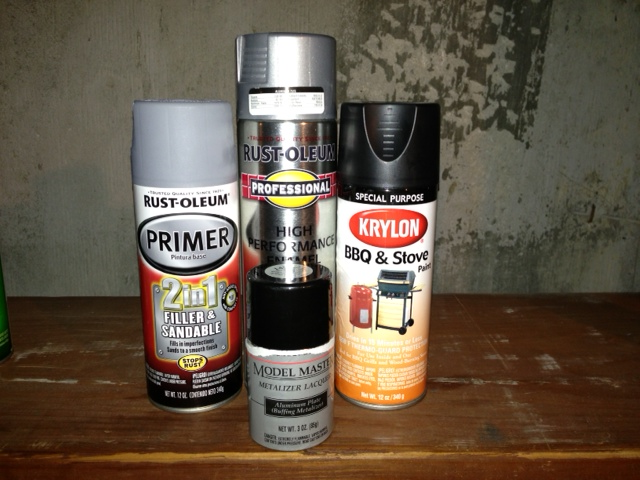
I spent the afternoon trying different paint combinations. I’ve heard folks sing the praises of BBQ paint so I tried a can of rustoleum I had already and, well, i’m not a big fan of the result. Looking back through the threads, it looks like folks were specifically talking about Krylon BBQ Black. It’s either a brand issue or i’m just doing something funky. I tried it ontop of the old black, ontop of primer, and ontop of metallic paint and it looked the same across the board - very very grey. Too grey for my tastes, but maybe that’s the accurate color? I’ll probably pick up some krylon bbq paint unless someone tells me otherwise and see what happens, along with some satin black fallback paint :).

A few pictures of paint - not terribly helpful given the basement lighting and iPhone camera, I know.

Left is the old paint job - satin or flat black, I don’t remember what I used. Right is Rustoleum BBQ without primer.

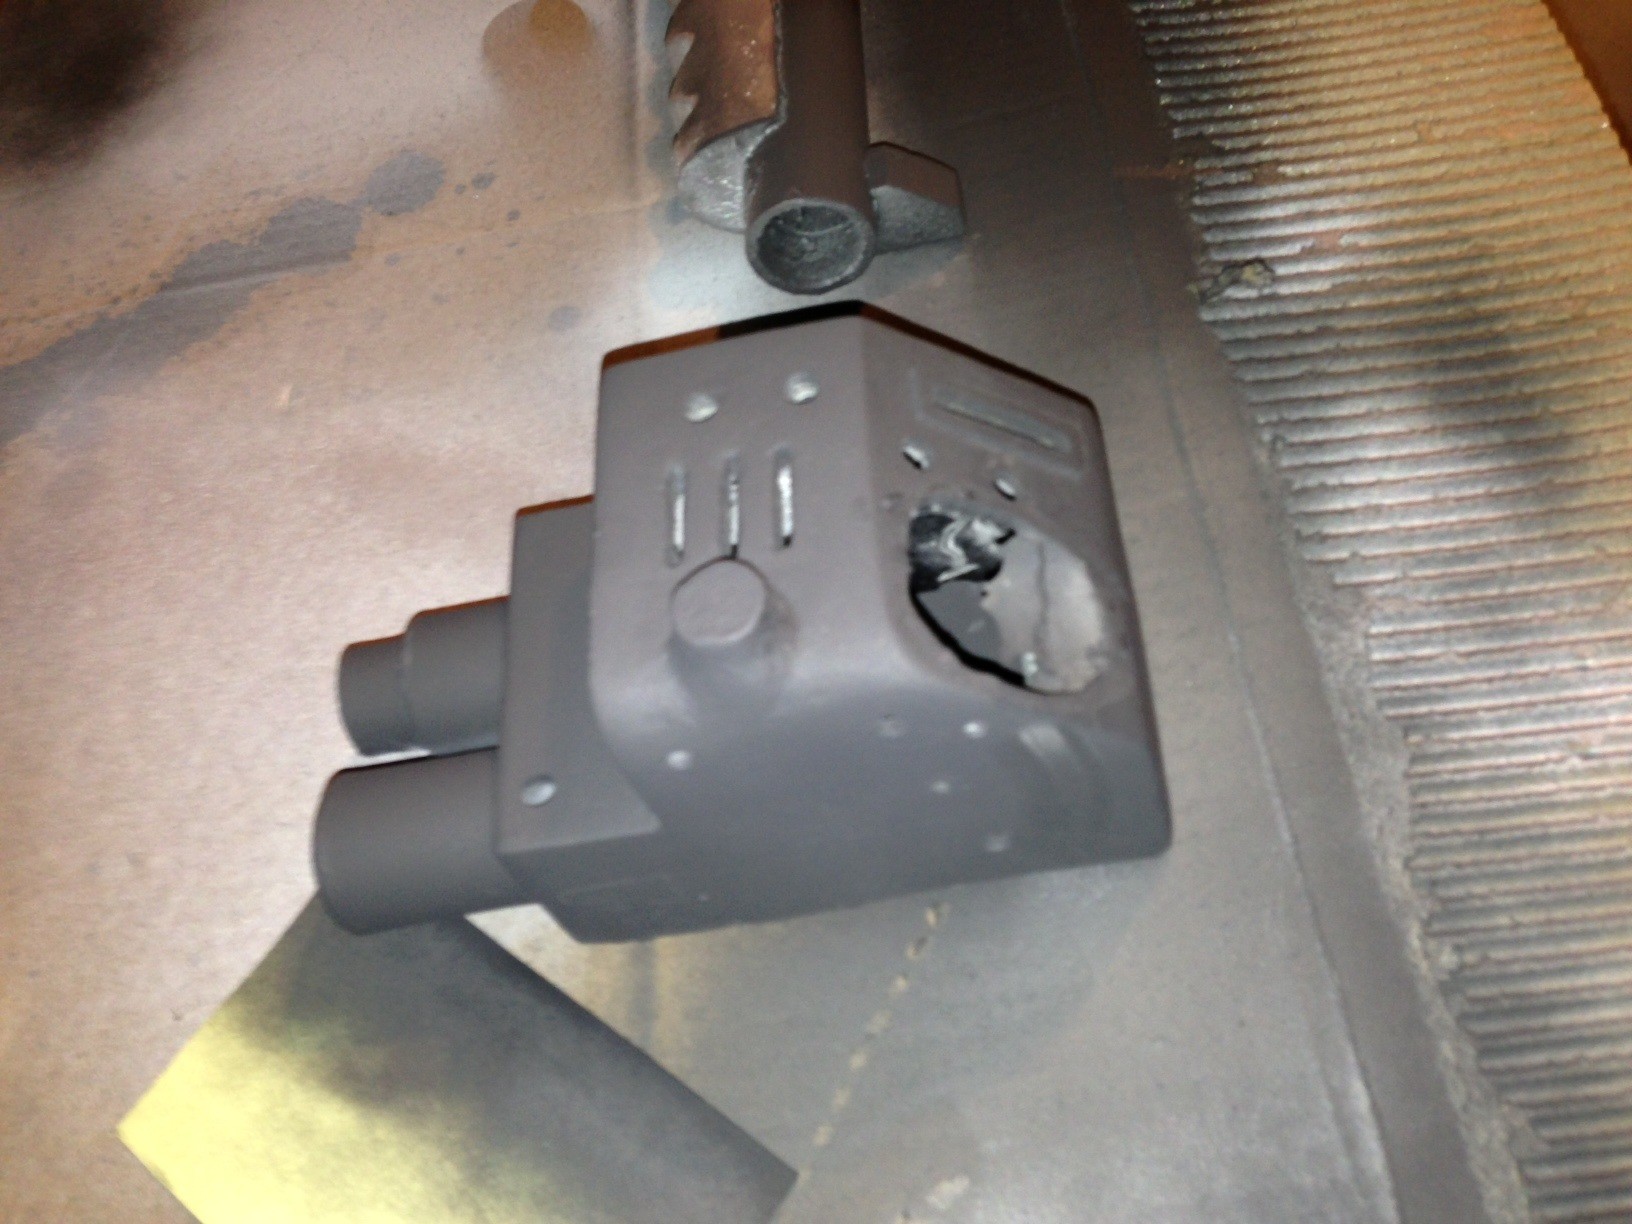
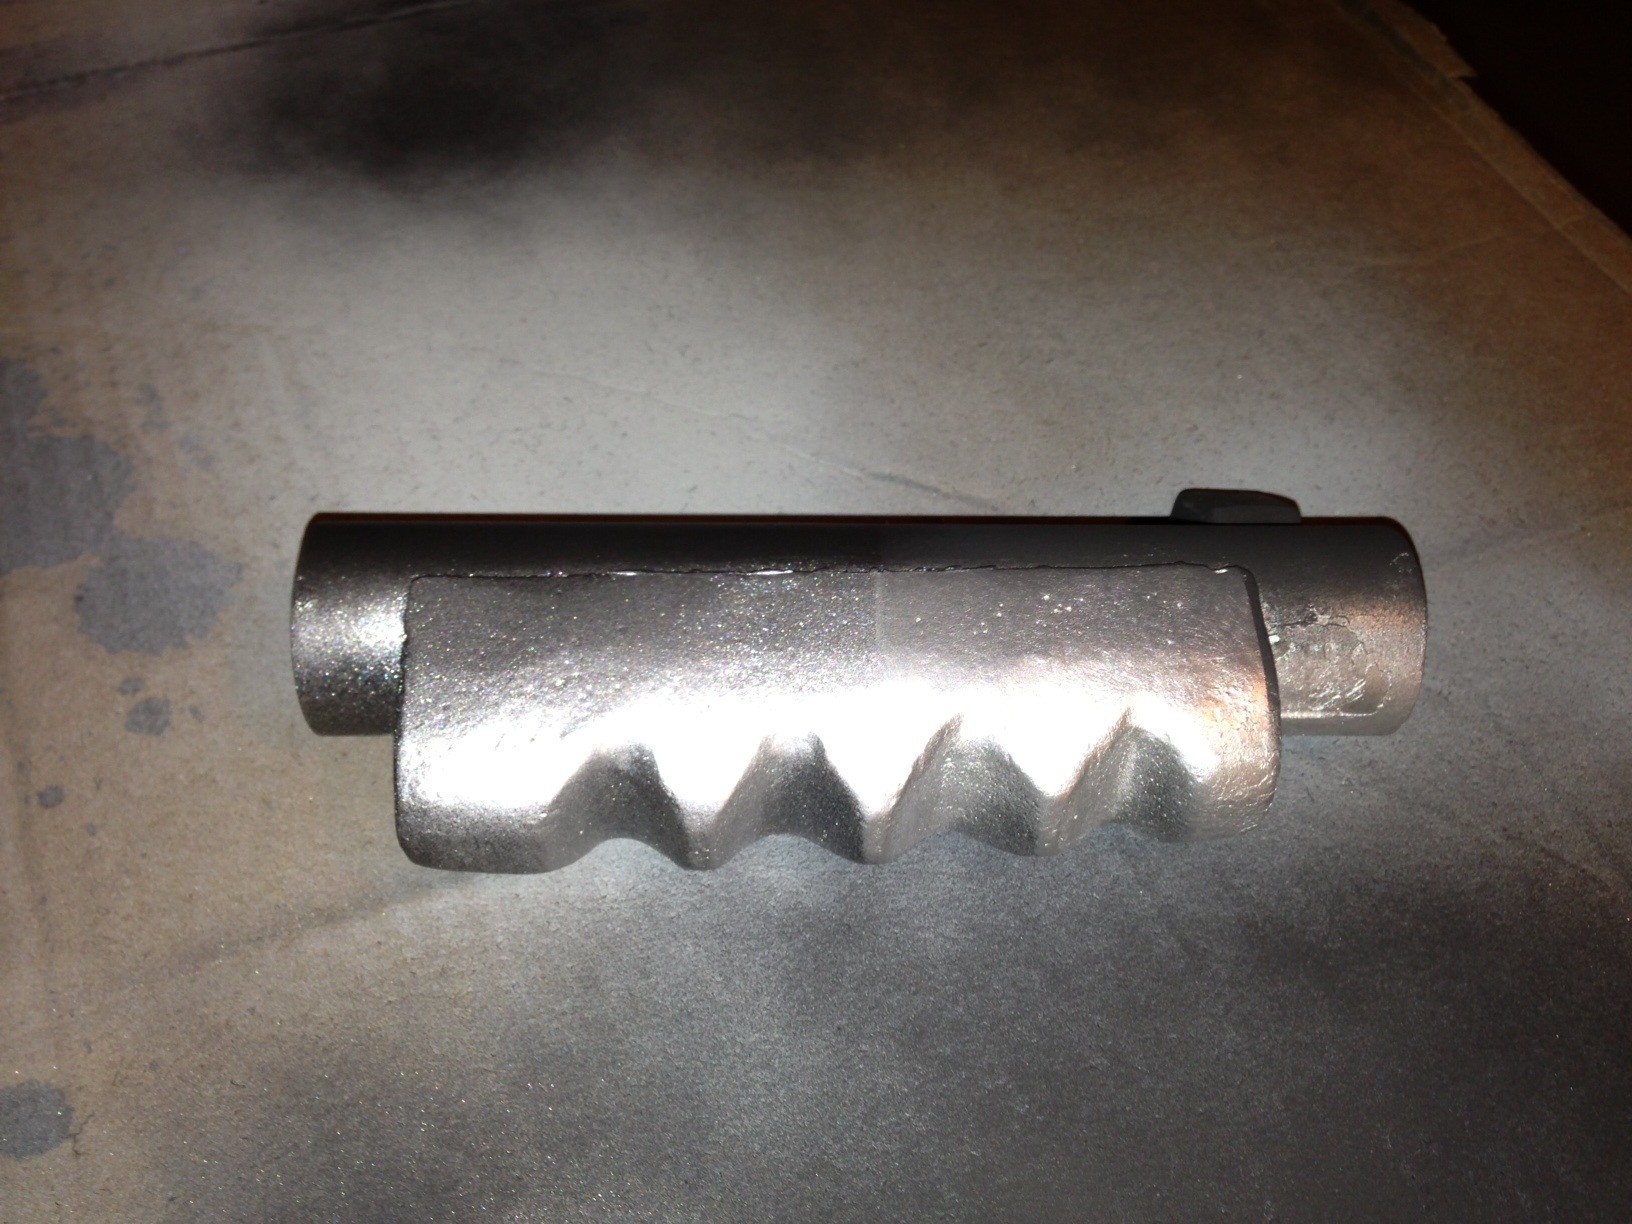
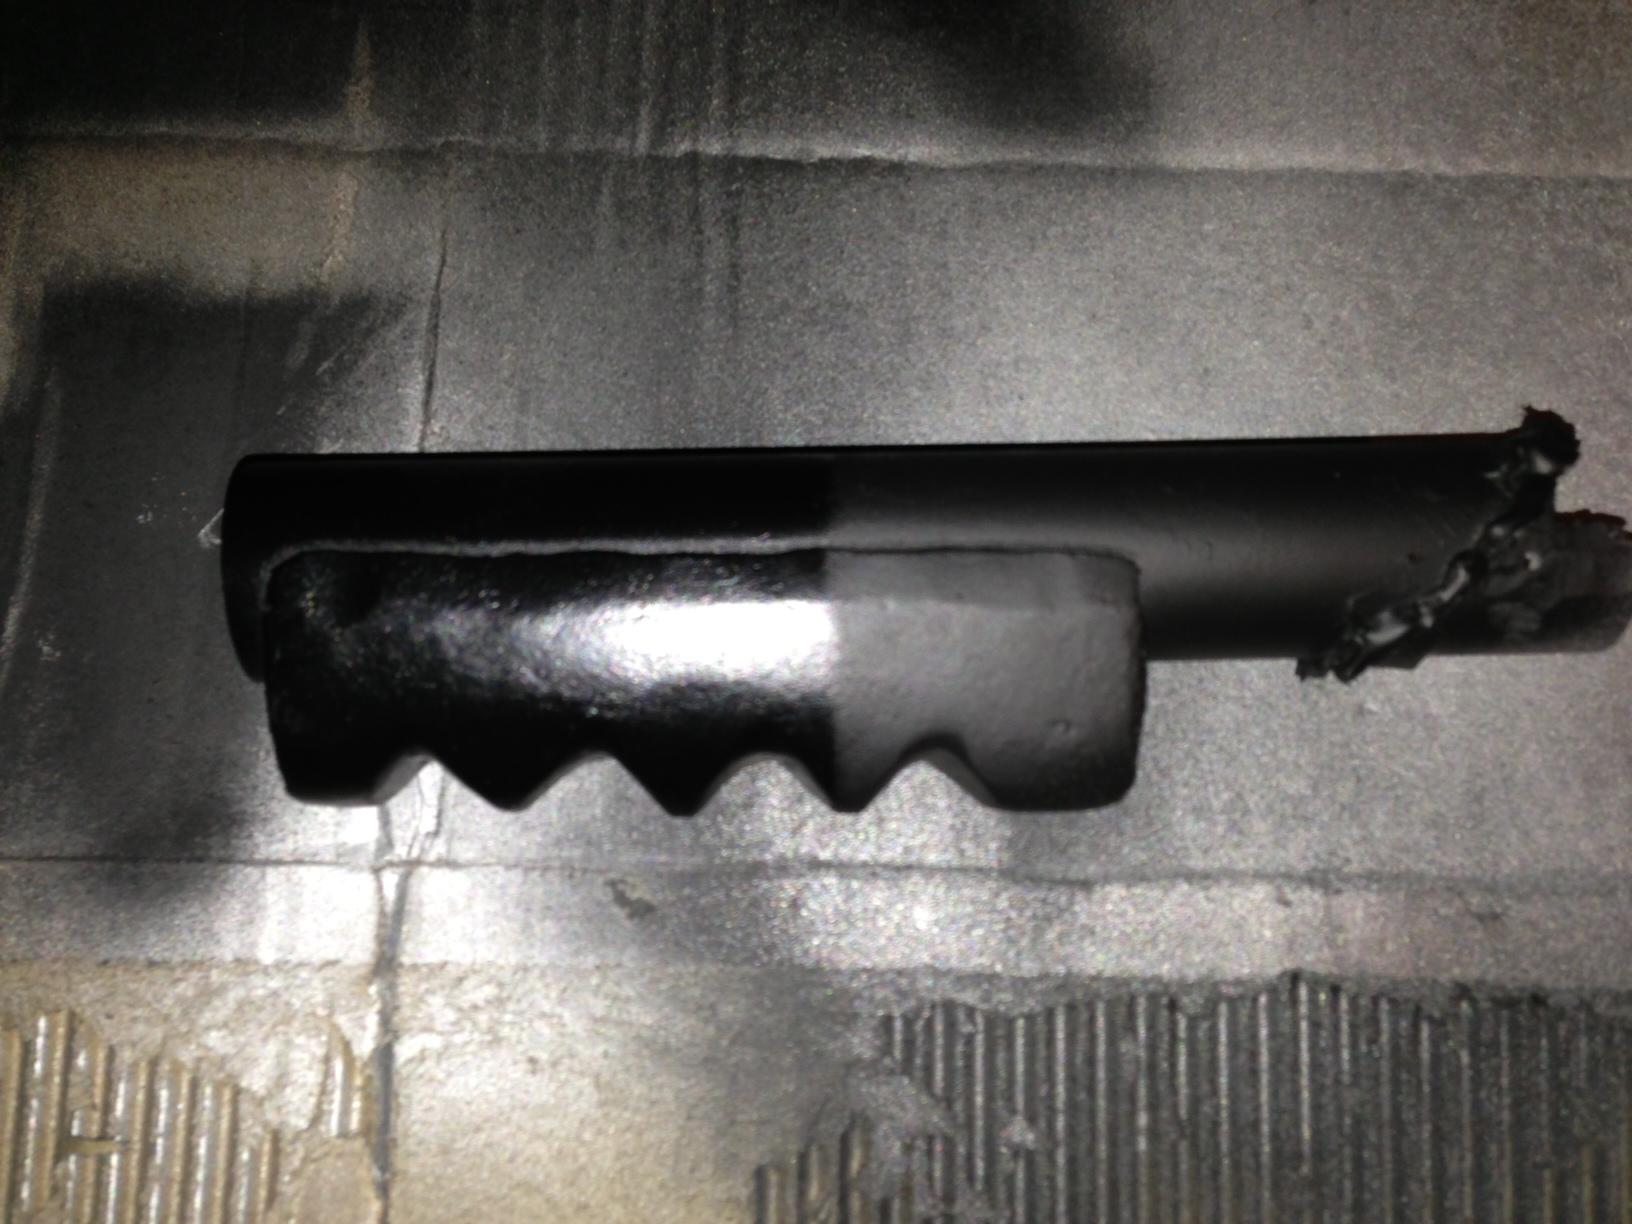
The gunbody done in full primer/rustoleum bbq black ontop. Various facing edges have either aluminum metalizer or metallic spray paint under them to see what it looked like. I’ll give it a little bit of a beating to see how each type/combination looks weathering-wise! No major changes in how the topcoat looks with the types I tried. I was smart enough not to use the sparkle stuff that usually shines through :). I don’t think the metalizer is a wise thing to use for a weathering ‘undercoat’ but I tried it anyway. It’s too expensive to coat much in unless it SIGNIFICANTLY looks better than plain ol’ aluminum spray paint, but man that stuff is awesome. Look forward to trying it on knobs/visible fake-aluminum parts.

A side-by-side of the the ‘old’ metallic paint I used for my last build and the aluminum metalizer lightly buffed. The old stuff’s “sparkle” likes to shine through the black, but a long enough cure time might solve that. Either way, the metalizer looks less shiny and popping but much more like real aluminum.

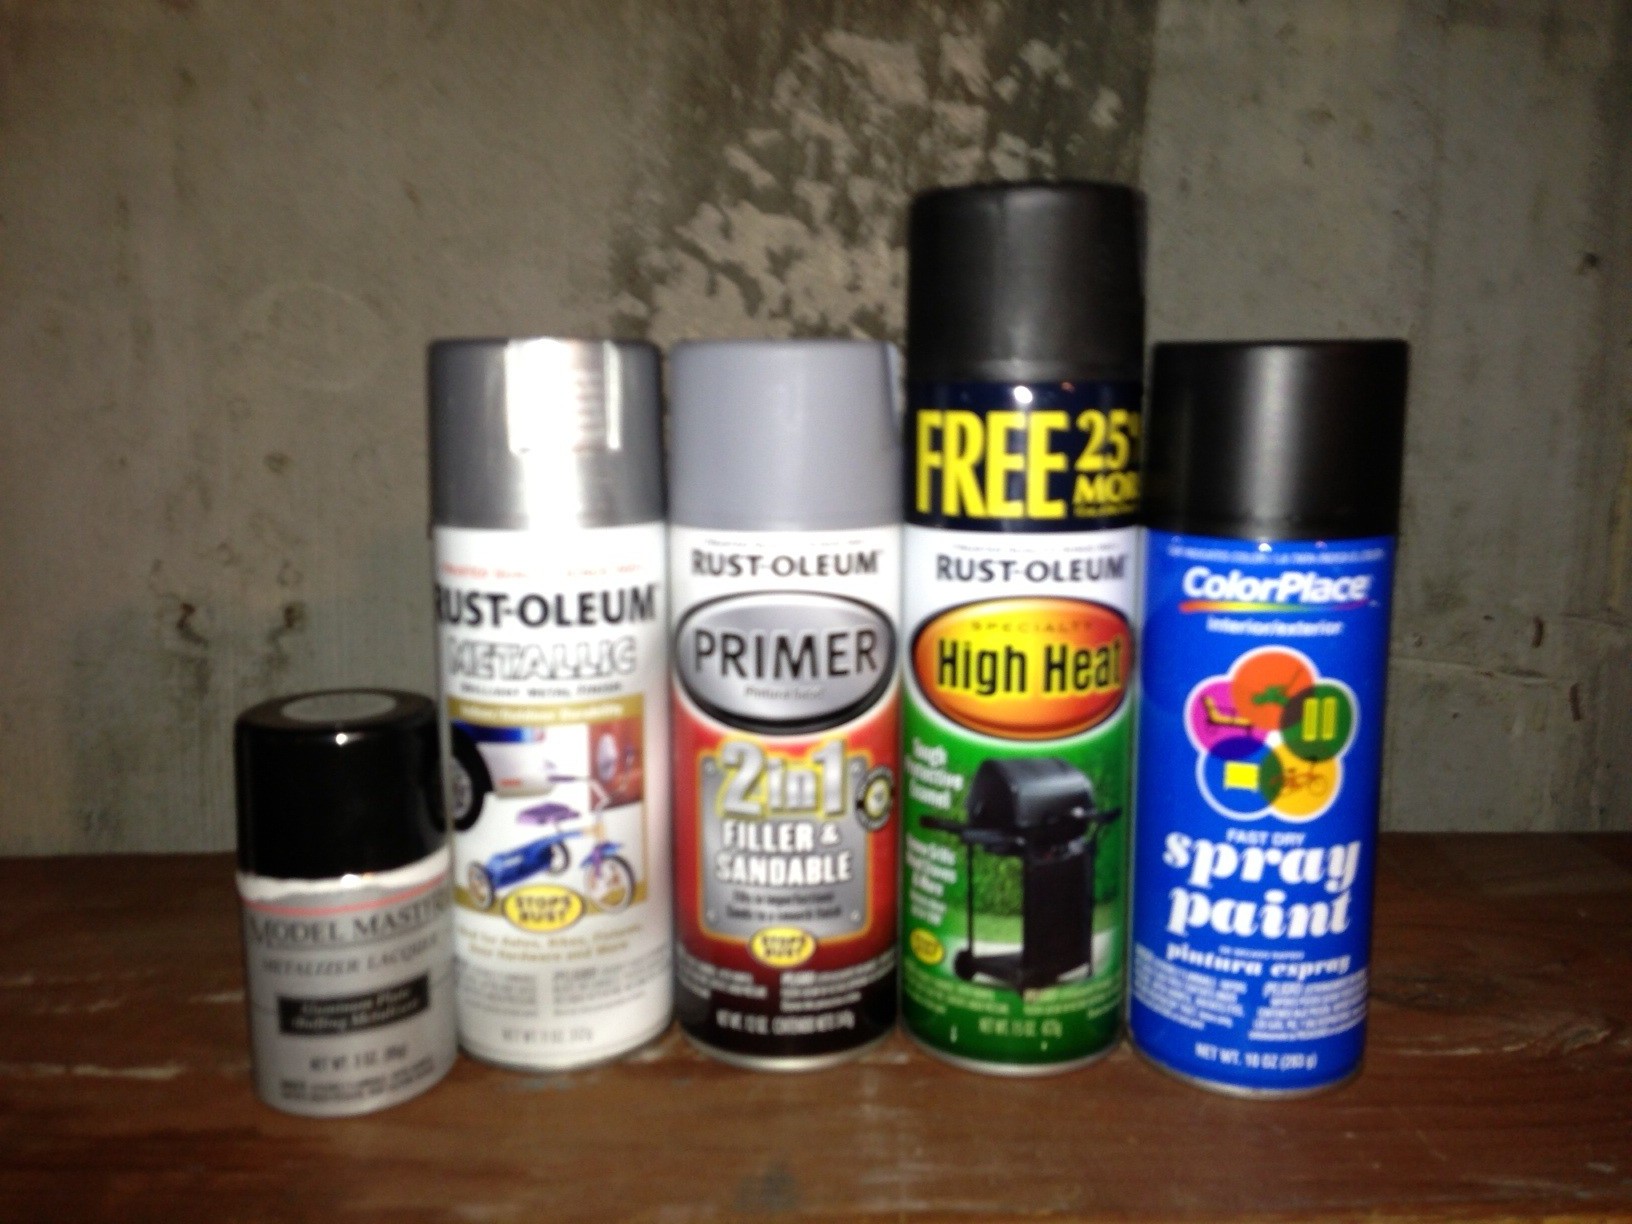
All the paints - the shown metallic will be replaced with a less-sparkly aluminum, the old can of flat black will be replaced with a nice new can of rustoleum professional and I may try Krylon BBQ black before writing that particular idea off to the graveyard.

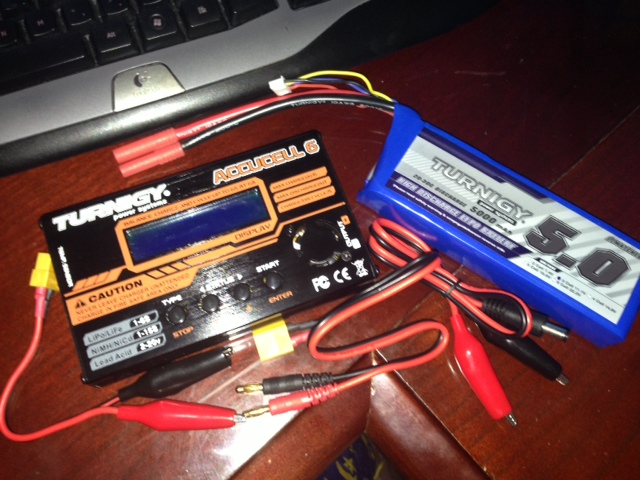
Also got one of the HobbyKing shipments. Purchases made off of Ghostguy’s suggestions for the Mighty kit. Still need a low voltage warning , will pick up the amp/speakers/ground loop isolator when I work on the pack.
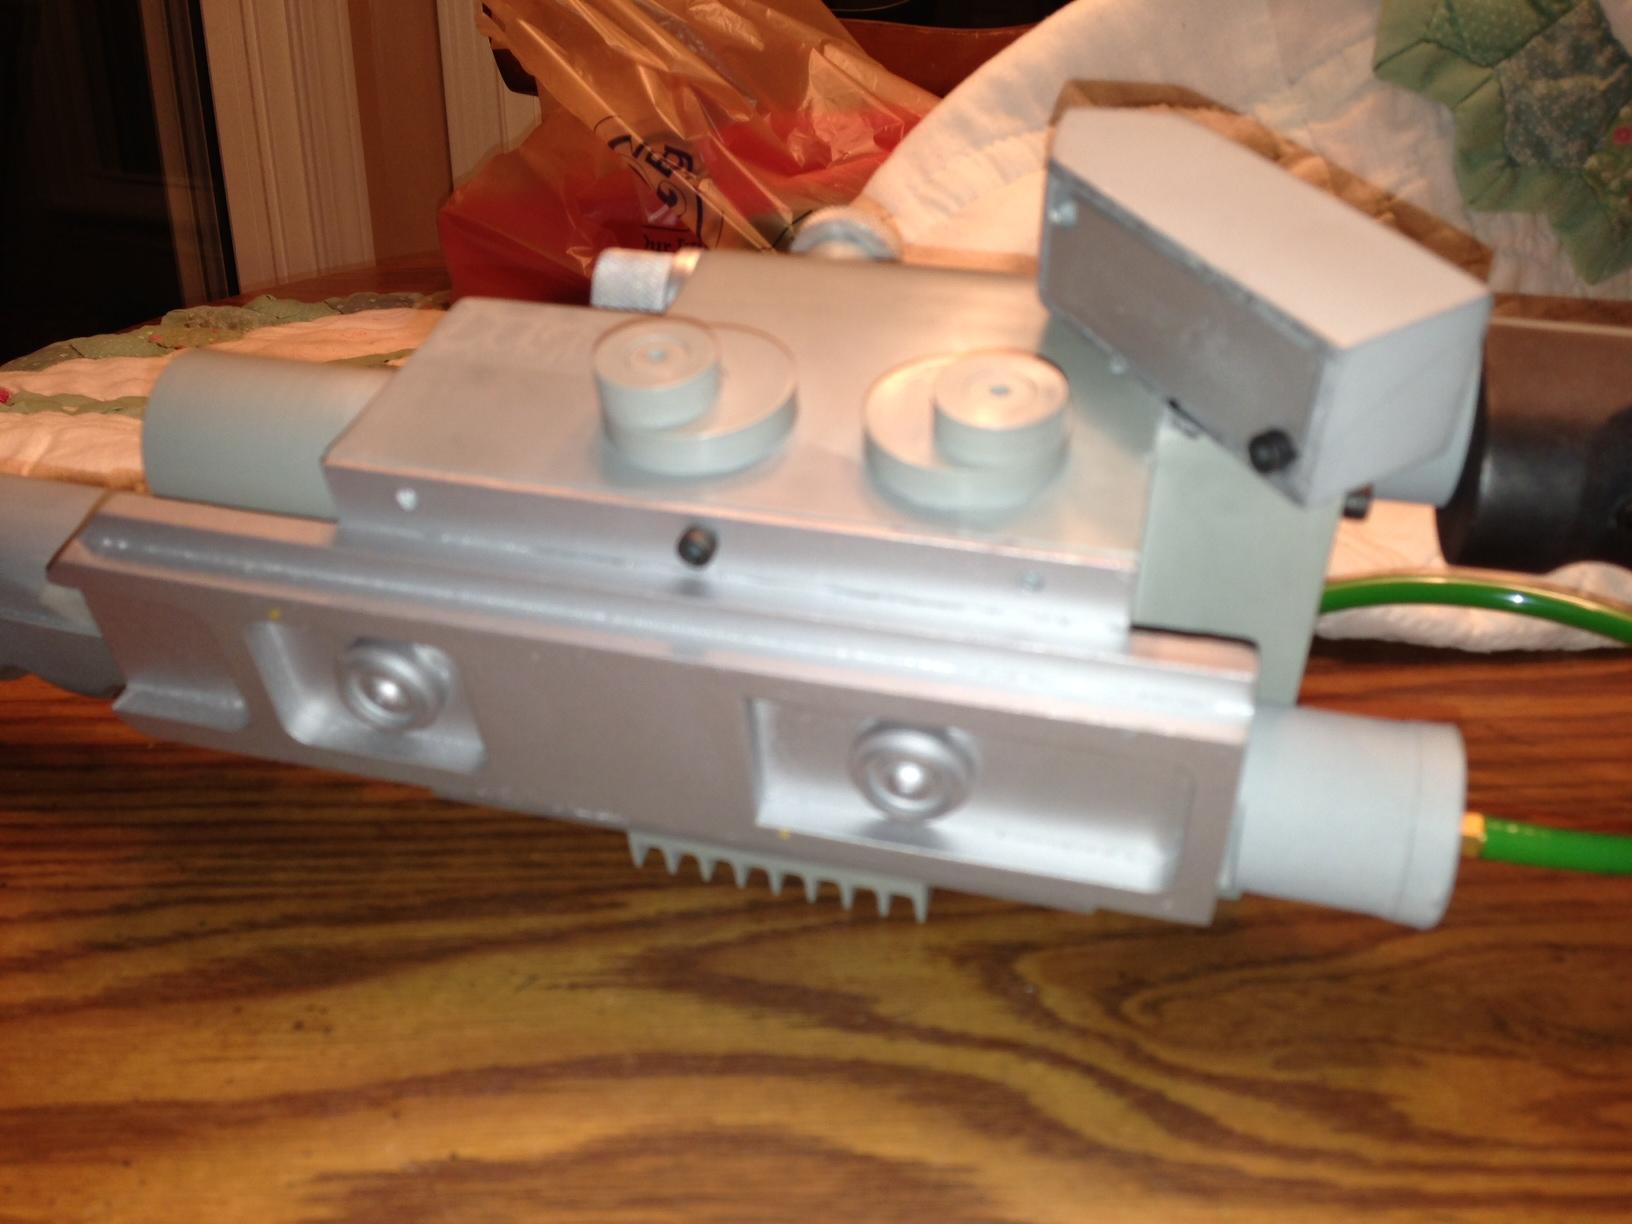
Charger:

http://www.hobbyking.com/hobbyking/store/__18066__Turnigy_Accucel_6_50W_6A_Balancer_Charger_w_accessories_USA_Warehouse_.html

Battery:

http://www.hobbyking.com/hobbyking/store/__15006__Turnigy_5000mAh_3S_20C_Lipo_Pack_USA_Warehouse_.html

Found the Krylon BBQ black and its a world different than the rustoleum stuff. Currently comparing a side by side of it and satin black rustoleum pro. Will go with whatever looks best!
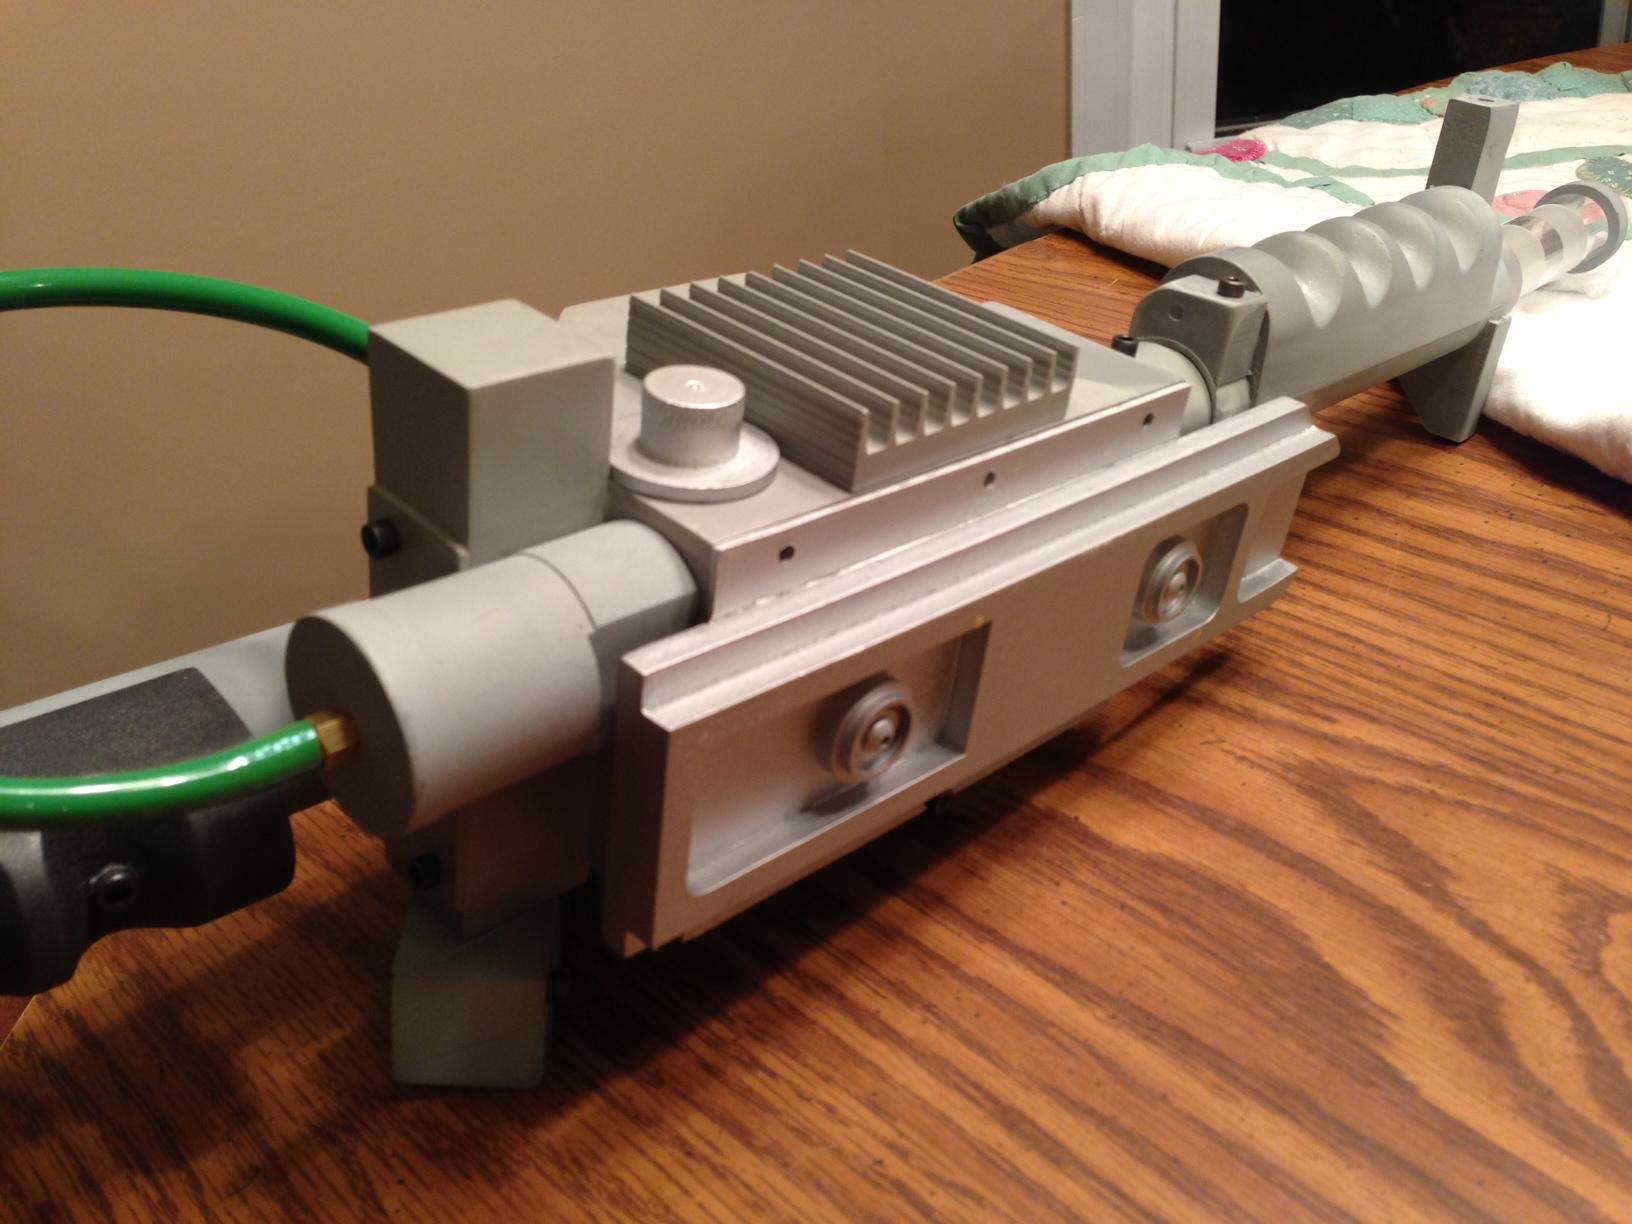
Also got my first ‘ordered’ parts in! Hooray fast GBFans store shipping :).
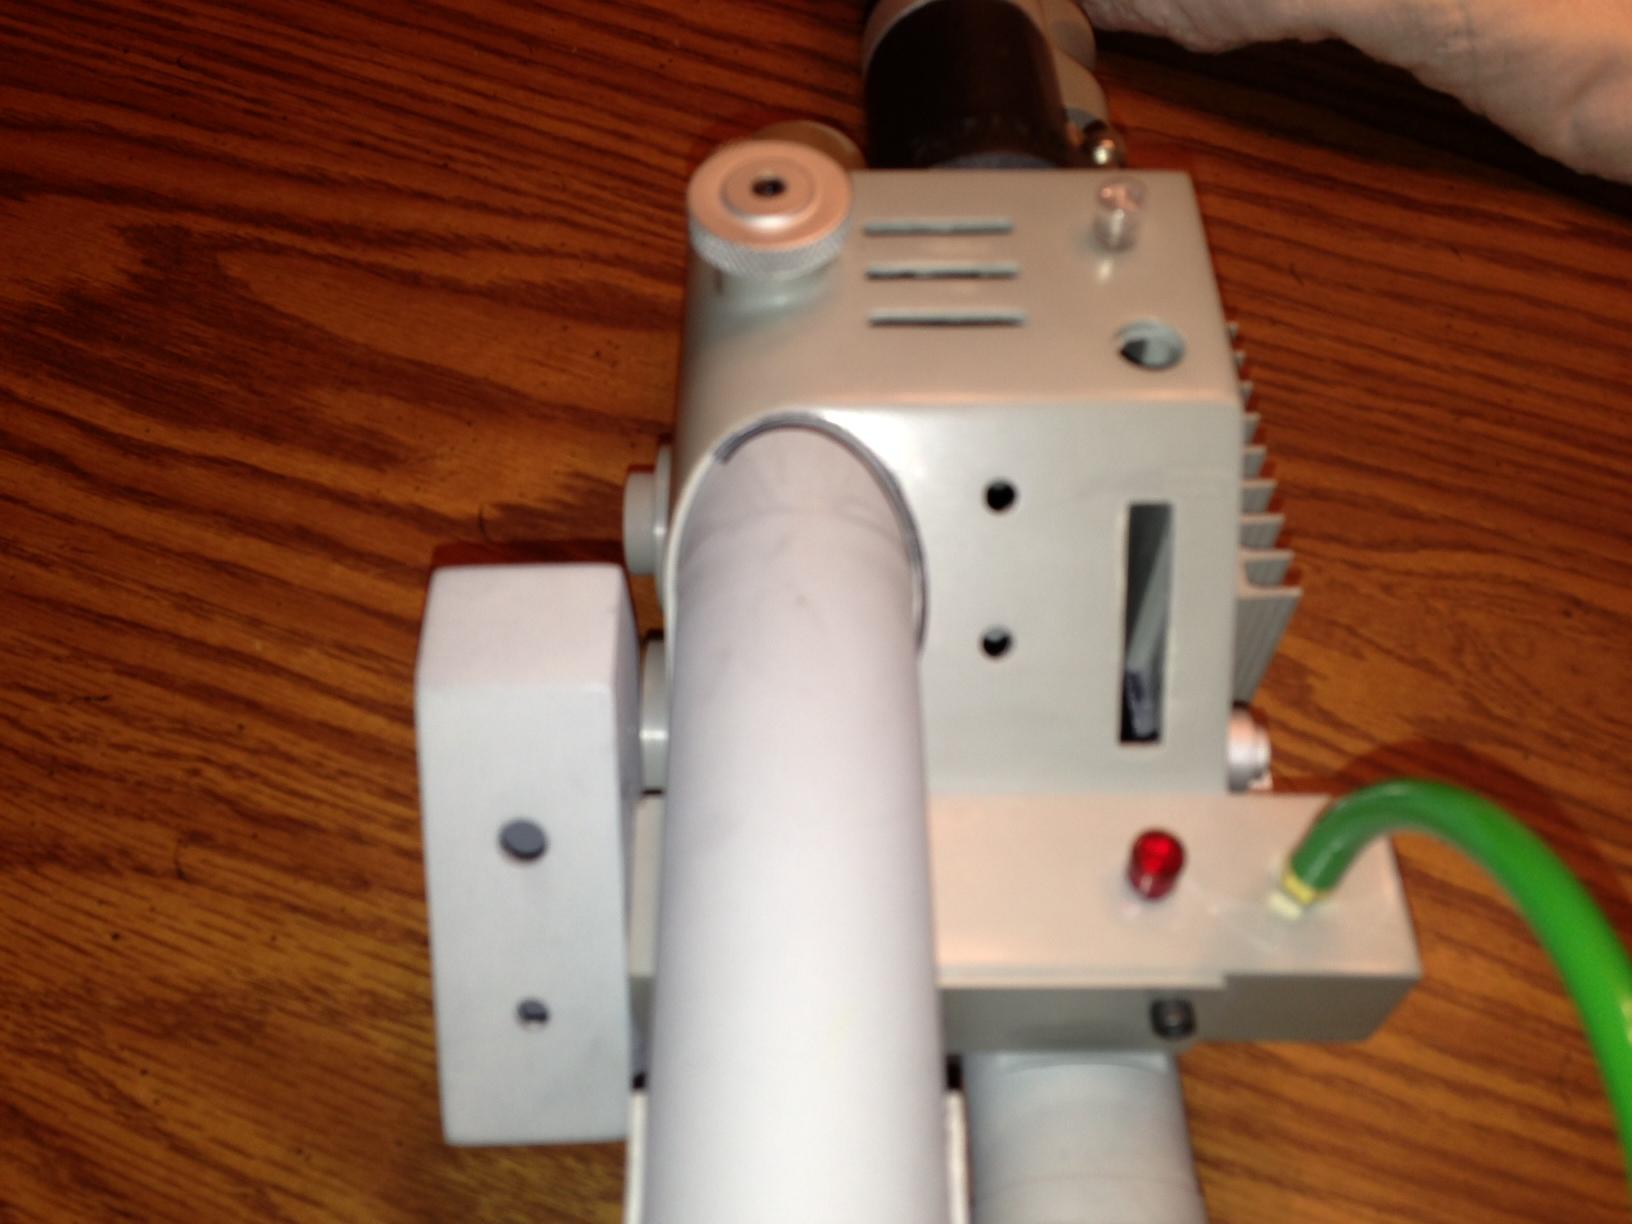
I can’t quite find the brass spacer-washers for a GB1-style thrower. Anyone got details on what they are called hardware wise and some specs/dimensions for them? Searching isn’t yielding anything concrete, but I may just be searching for the wrong words :/.

I think I’ve decided on paint! As mentioned just above, the Krylon BBQ paint is worlds different from the Rustoleum, and I think I like it better than satin black; it seems ‘deeper’, though it /may/ be a bit too glossy. I still think I like it better :). Comparison shot below.

Left is Krylon BBQ Black right is Rustoleum Pro Satin Black

So my final paint scheme will be Rustoleum Automotive Primer, Rustoleum Professional Aluminum (for a weathering undercoat where applicable), Krylon BBQ Black for a topcoat and Aluminum Metalizer for any fake-aluminum resin parts.

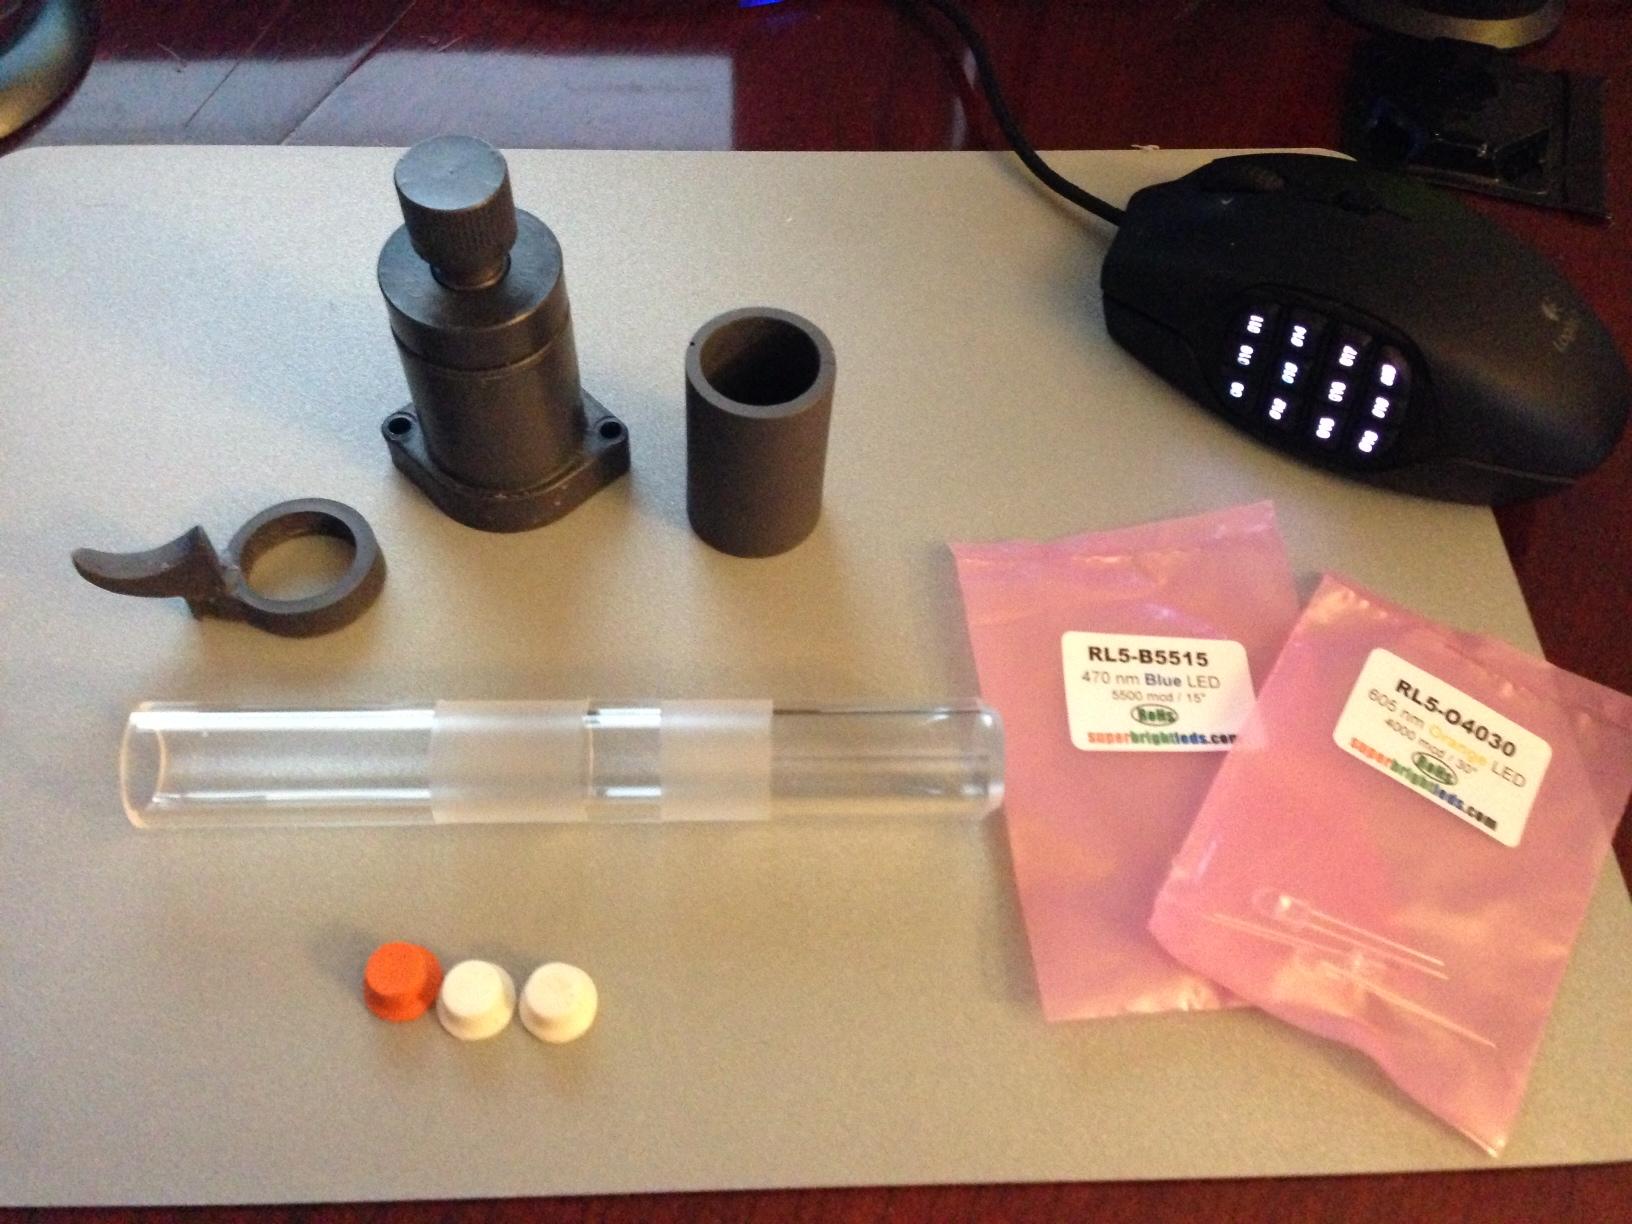
Got my extra LED’s in - blue and orange a la Carpetria’s additions to the strobe effects of the electronics kit. Adds a really nice effect! I’ve got a long-term crazycrazy idea of two lasers on a servo, but we’ll see about that sometime in the far future :P.

My throwing chicken kit and acrylic tube has shipped, will get back to the good stuff as soon as they arrive :D.

Looking good, I’ll be interested to see how your paint job turns out.

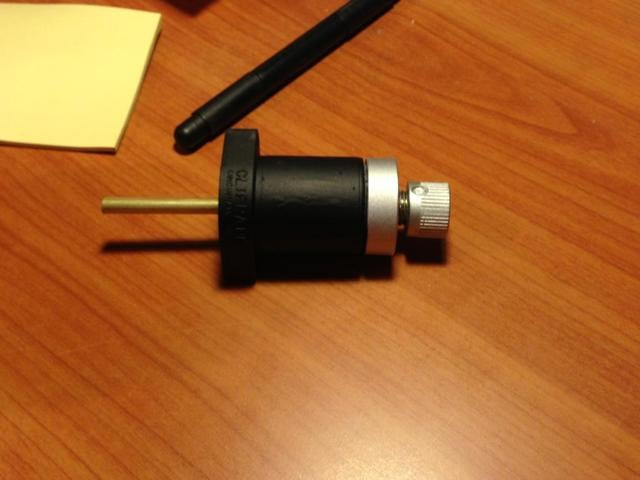
Got a box-o-wonderful things from Nick-a-tron today: Lots of resin bits! Also the thrower tube from evallded. Trying to decide what I want to do with the clippard cast - I think I want to make it a volume control knob somehow (or otherwise make the turning bit functional), but how that will be accomplished remains beyond me :). Once it’s had its bath I may try my hand at removing the knob via xacto - It hurts me to potentially destroy such a great cast, though! I suppose another one is only an ocean away :P.

It hurt to do it, but I’ve molested the clippard. I have mixed feelings about the results - it looks okay, but not perfect. I lost a bit of the lip in drilling and was not exact enough on the cylinder so the spin is off by a hair. Need a drill press! I’ll probably move forward with this but keep an eye out for a real clippard :).

Metalizer, though, surpasses my expectations. Looks really great in person!

And after a night of drying, the final product!

Hopefully this is the last piddly update for a while. Throwing Chicken kit gets here tomorrow and the work can begin in earnest!

Work continues! I think I’m going to spring for a real R-701 as soon as I see one come up for sale/store restocks them. The resin cast is beautiful but I like the functioning knob bit of a real one :).

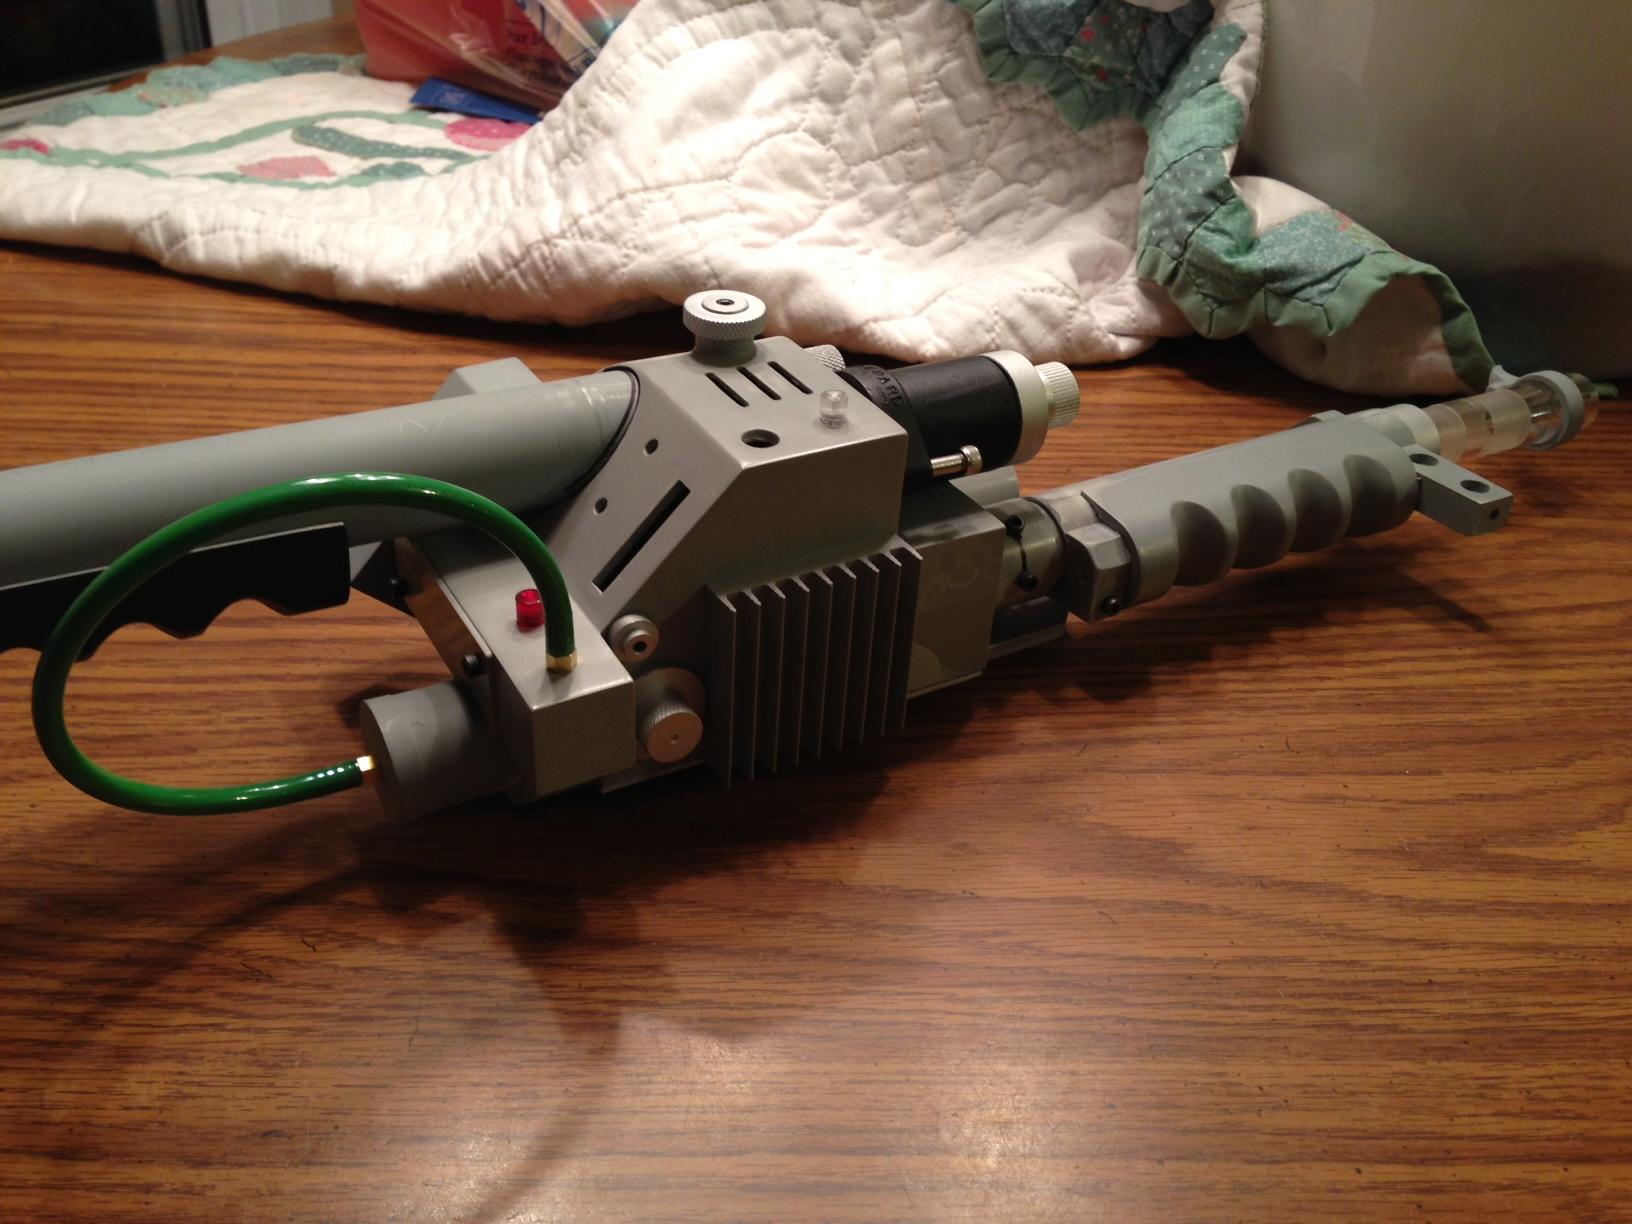
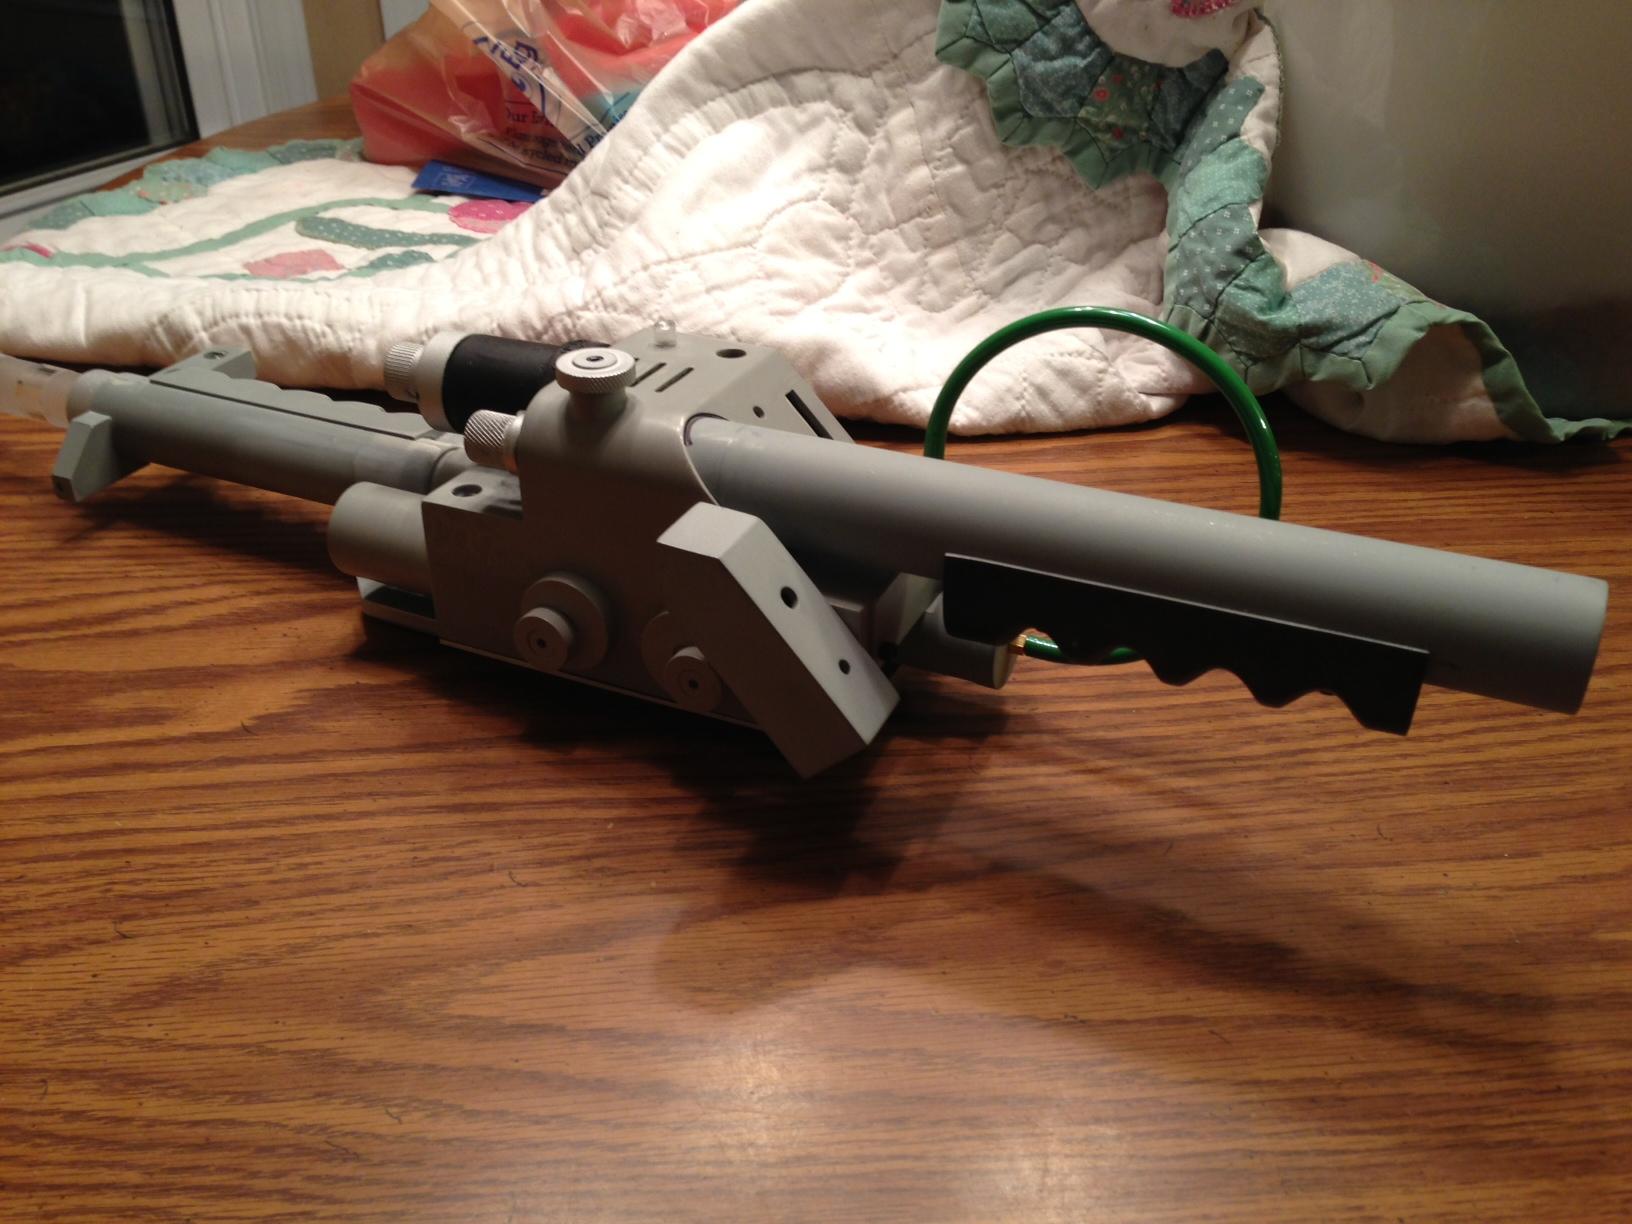
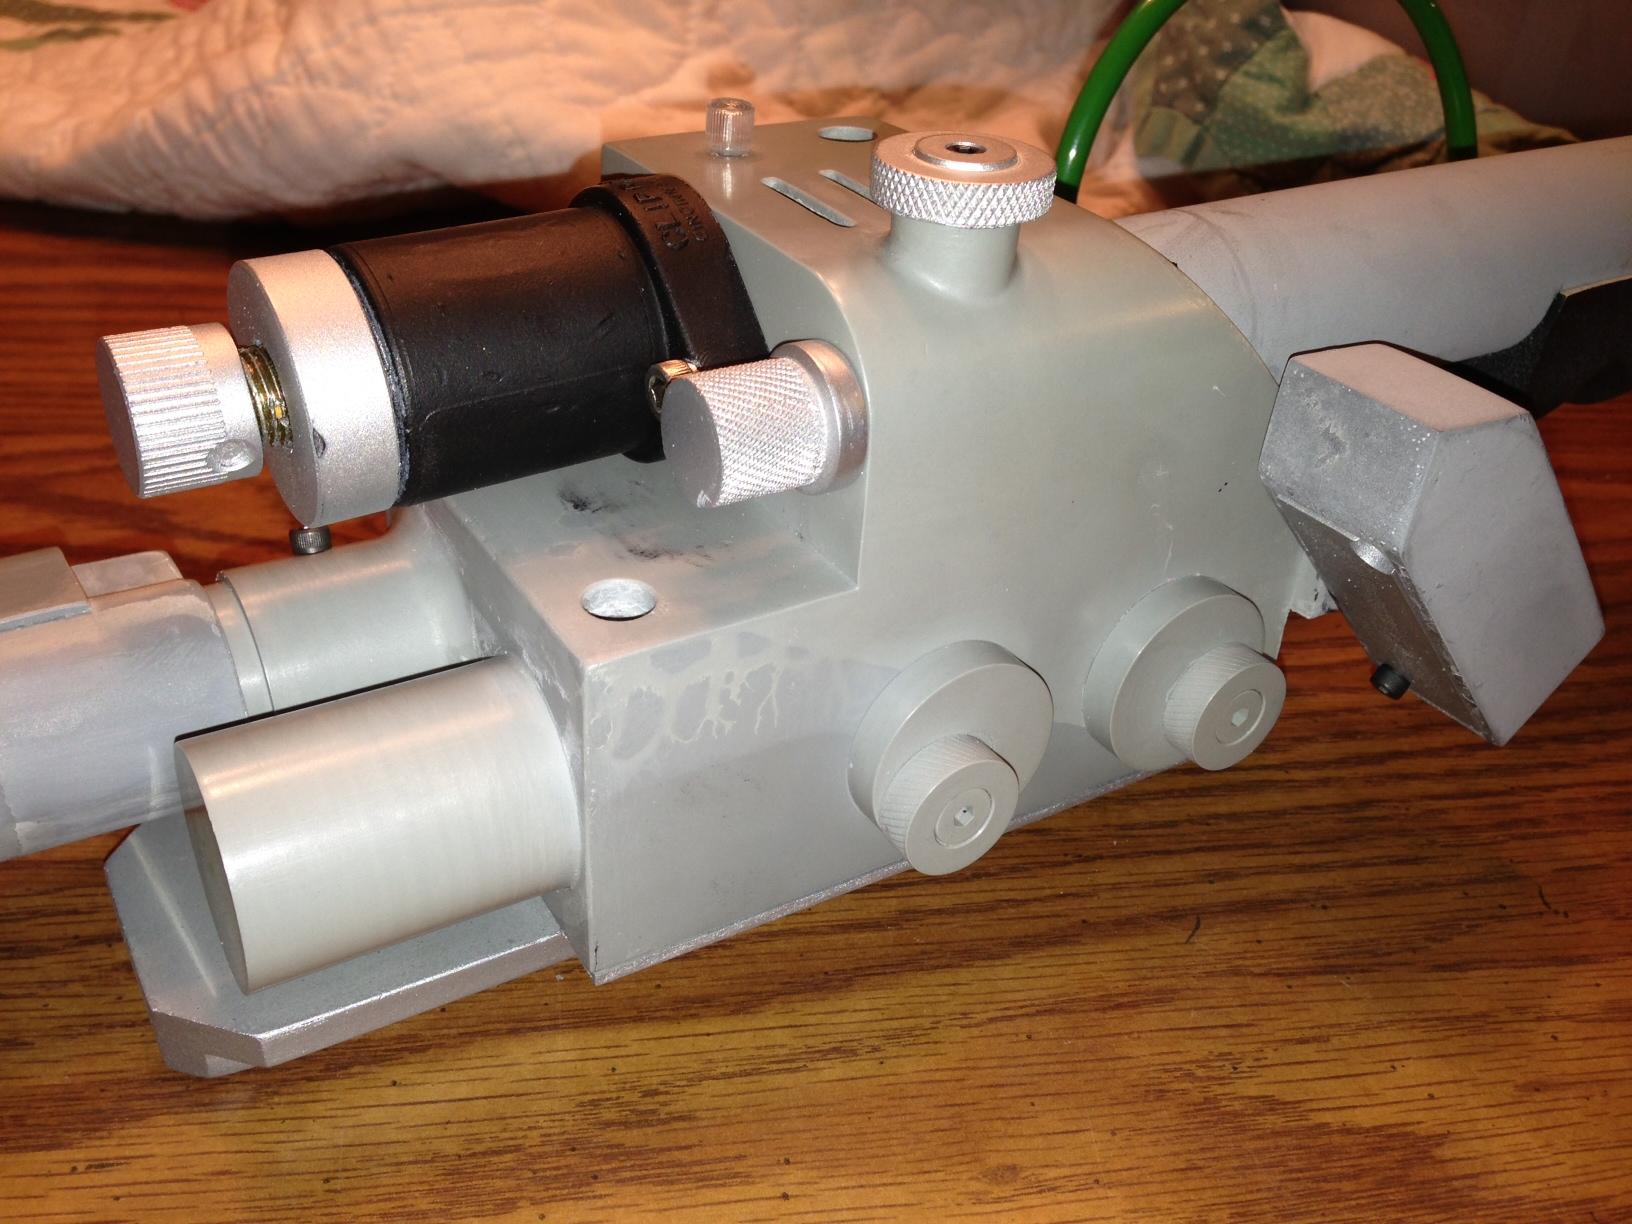
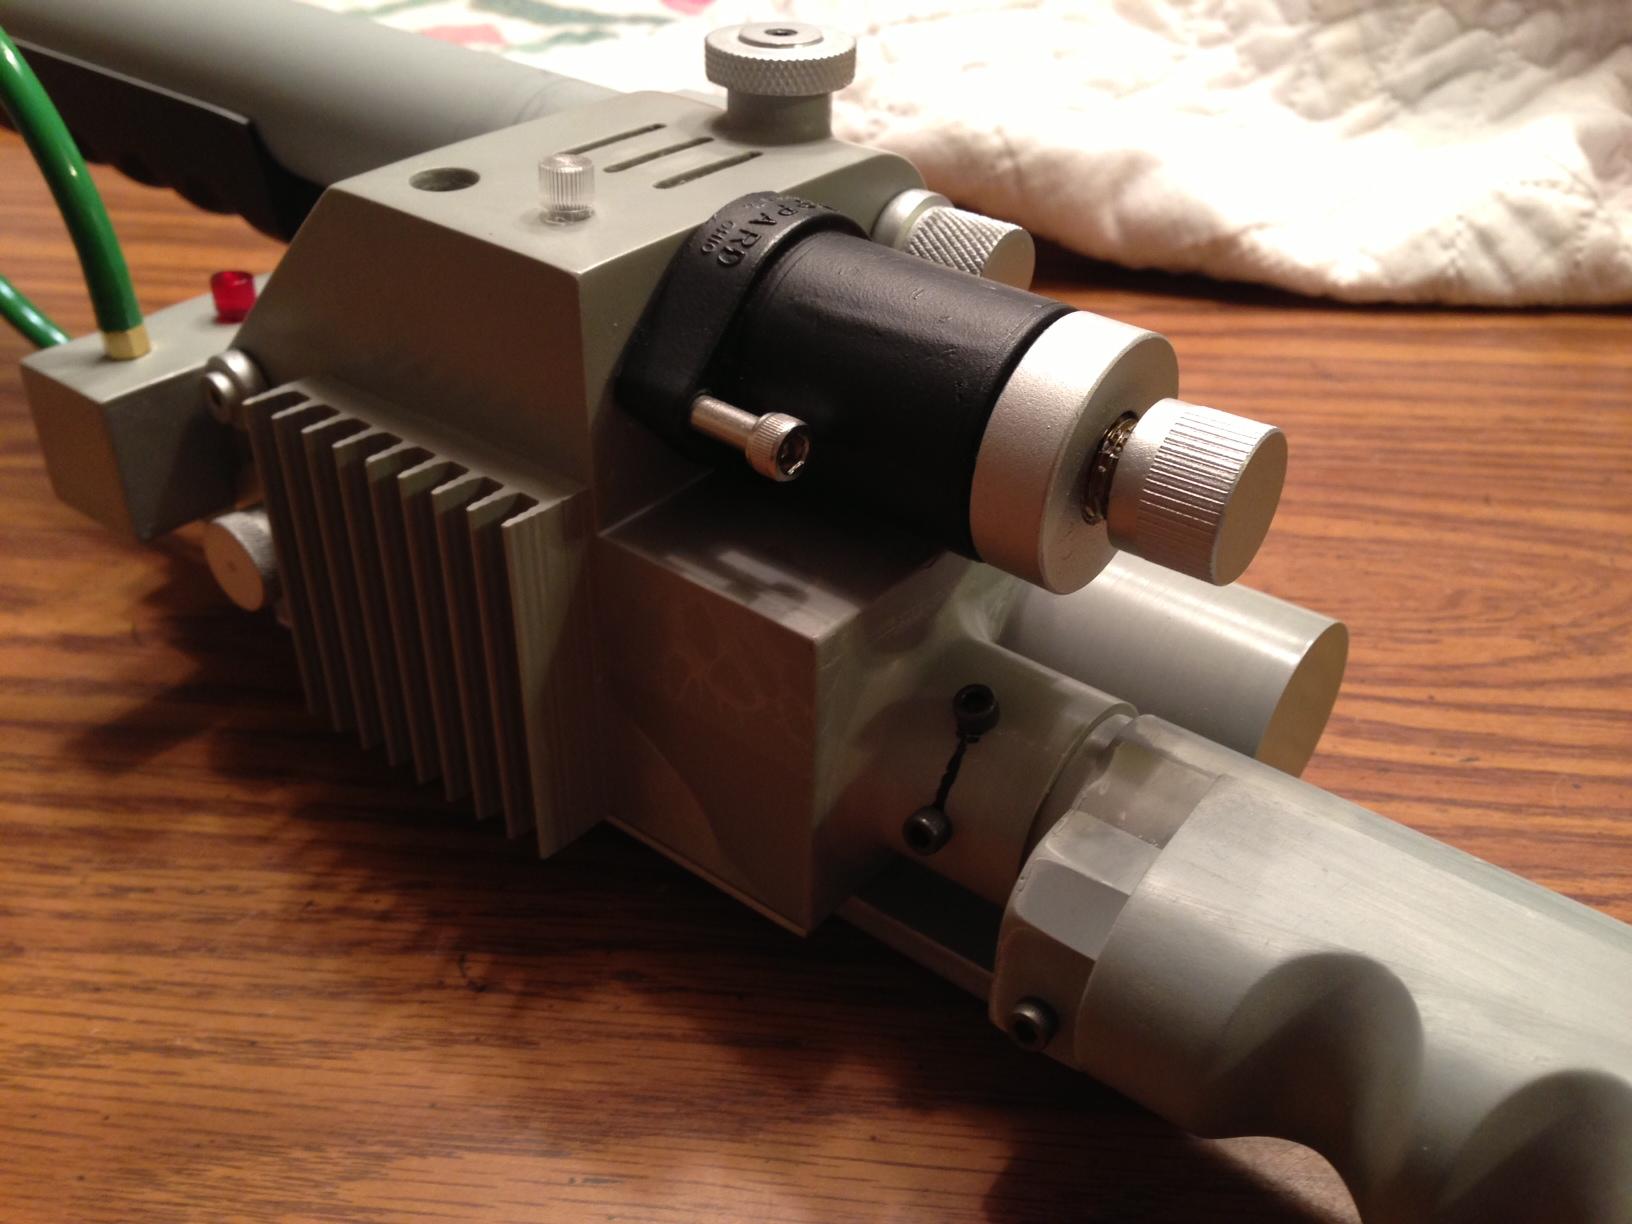
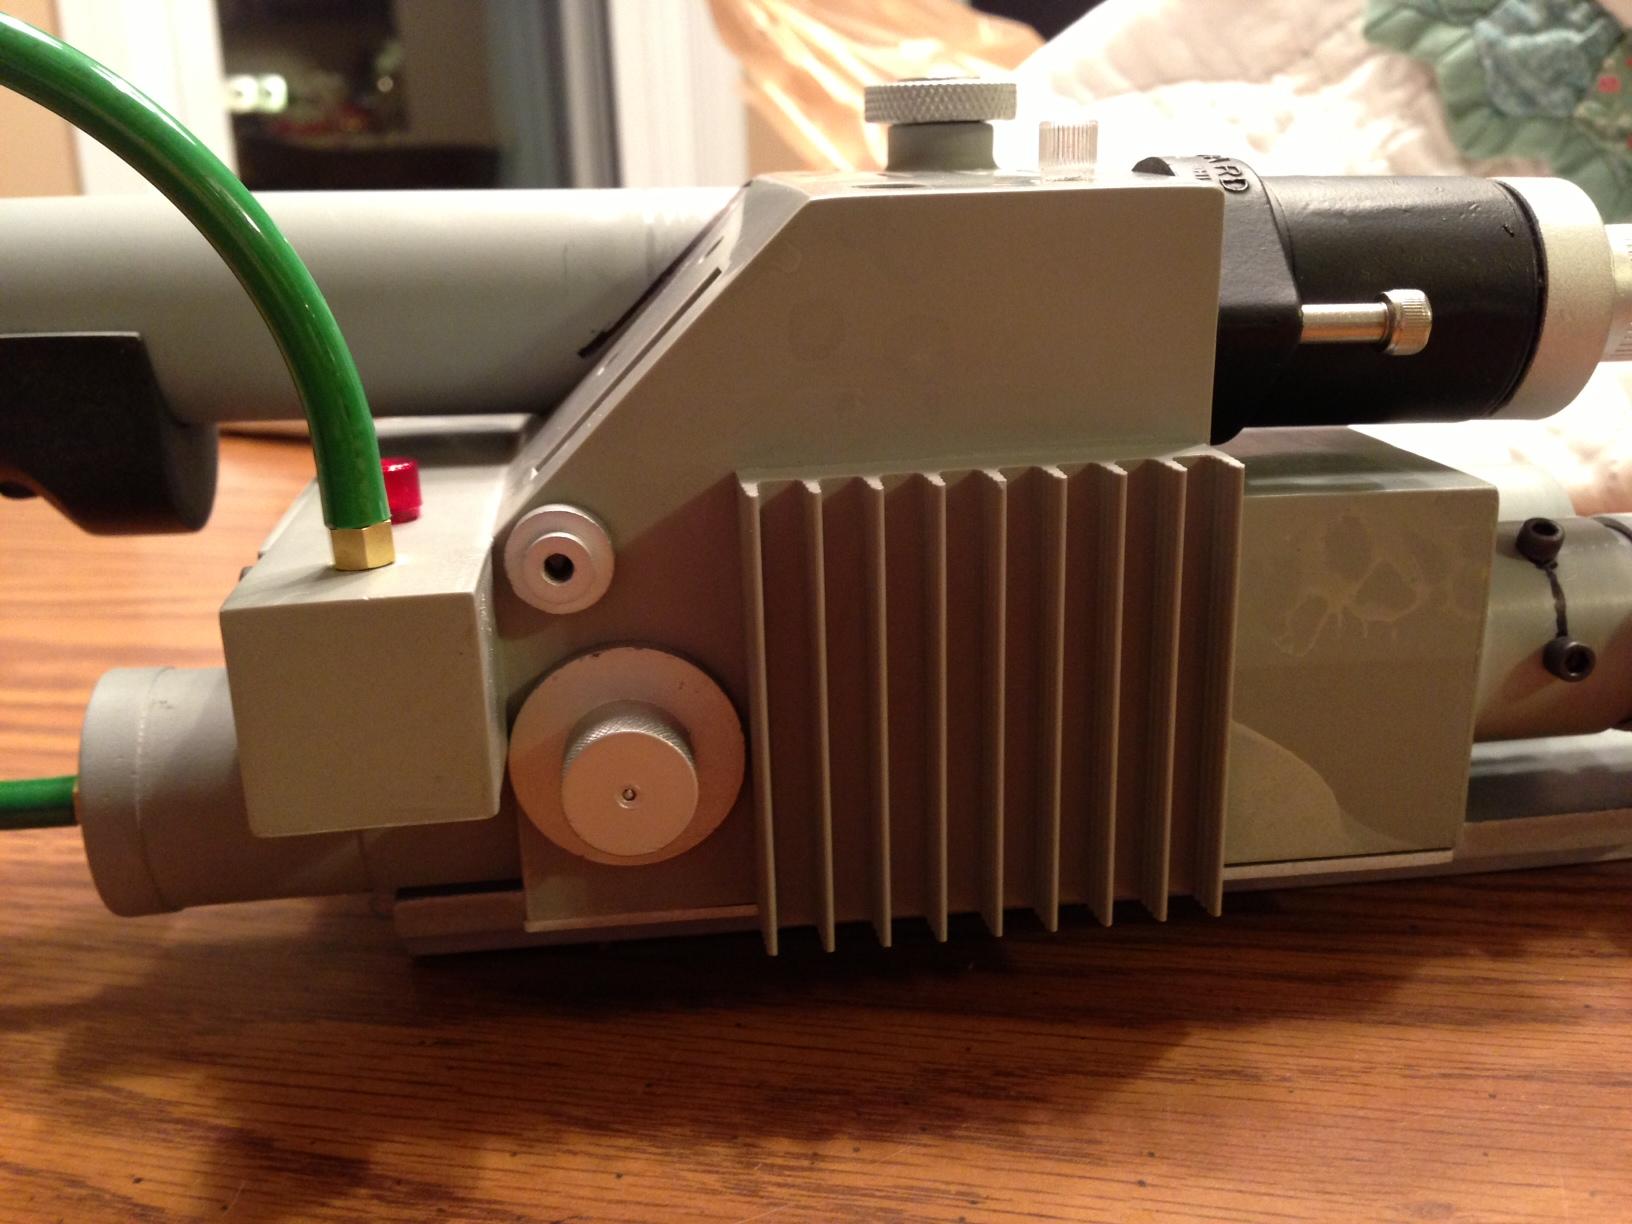
Here’s my current ‘does it all fit and do I have the right screws’ mockup. Obviously I didn’t have enough screws, and some of my screws were way too long (the faux clippard stand-in for example). A little dremeling and a trip to the hardware store should fix that ;). I’ll get everything primered and do an aluminum coat on most parts once I disassemble it again, but I’ll be waiting until I get my lights kit in before doing much final paint just in case I need to make a mounting modification - which means progress will stop for a little while :(.

Still need to find the GB1 thick brass washers, no luck there. Please feel free to point out anything I did stoopidly - I’d rather correct things I’m missing now than later!

– The trigger box screw is too long, why it’s sticking out like that

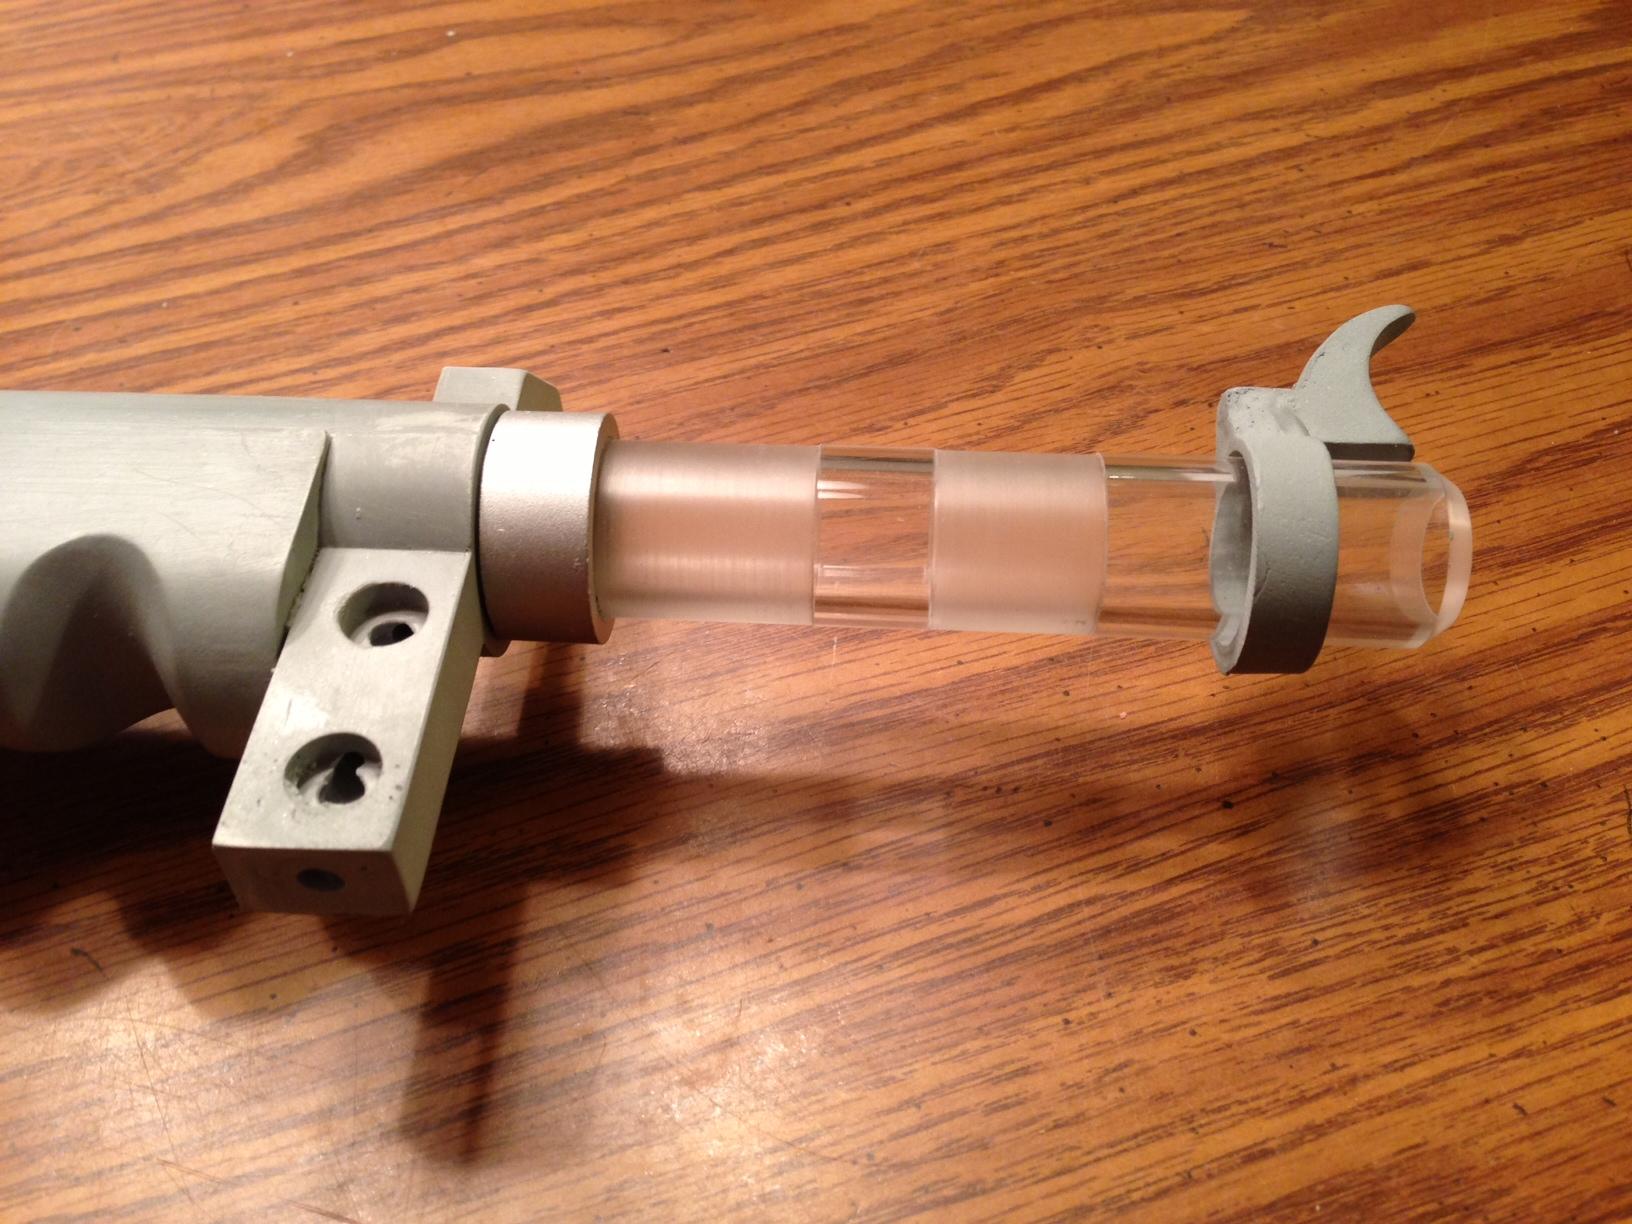
– I’m giving serious thought to what’ll need to be modified for my tip extension here. I did not anticipate the acrylic frosting impeding movement, but the collar gets stuck in the groove occasionally.

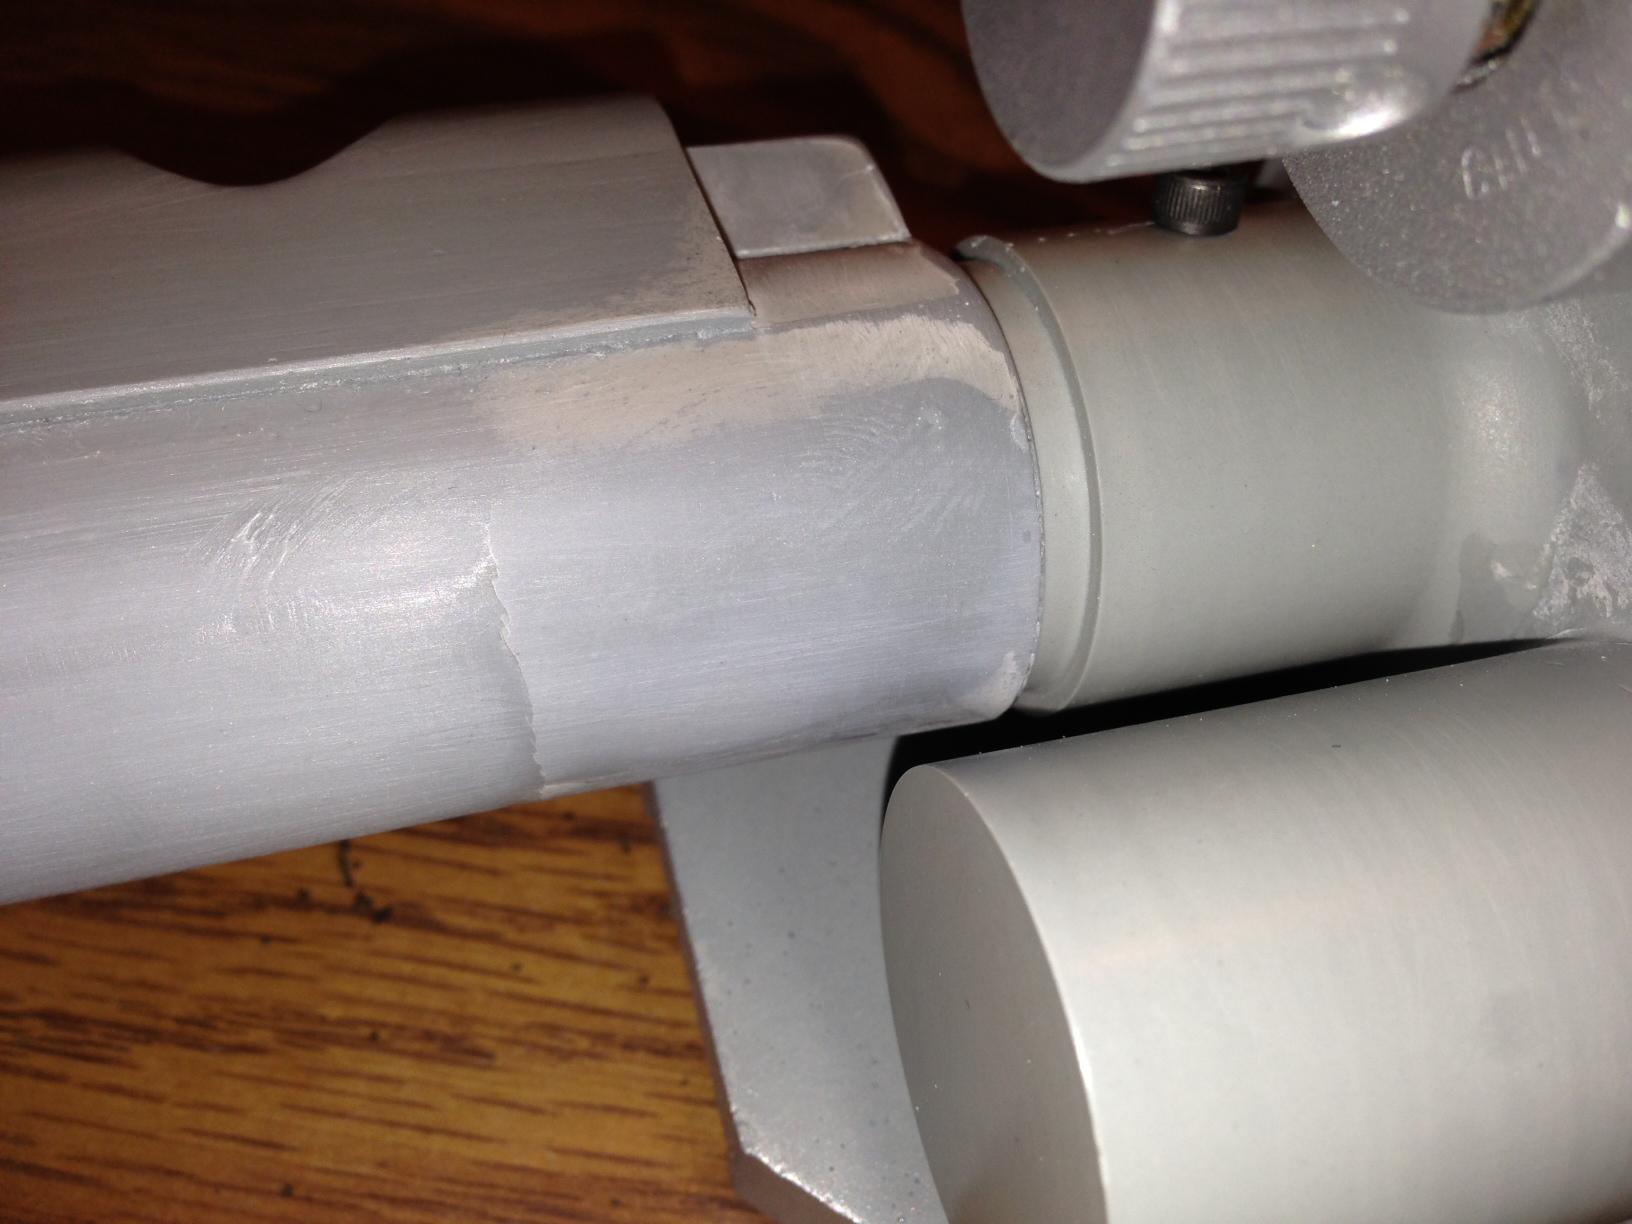
– This was the first major ‘oops’ of the project. While I was out of the room, I mistakenly left the thrower on a table that was susceptible to curious puppies. It hit the ground at such an angle that the front assembly cracked rather painfully. I’ve repaired it as best I can with super glue and epoxy, not sure if it’ll hold weight or not. Suggestions for reinforcing are welcome!

Looking great! Nice job on the clippard mod.

It is slowly coming together… Just take your time…

I just noticed. Is your bigger knob, the lower one near the heat sink to high? I mounted mines flush with the lower corner.

I think you may be right! I can’t find any reference photos (yet - only a brief look through the gallery so far) that give a real clear angle on it, but the ones that I /can/ find to seem to indicate it should be low. I think there was a divot I took to be a screw marking there and just went with it :).

I’m going to order some Aluminum knobs as soon as they are restocked (AJ indicated two weeks a little bit ago), will redrill once I get it. Thanks for catching it!

Progress Incoming!!

I’ve finally got a light kit, which is largely what I’ve been waiting on to continue. I lost a lot of spirit and excitement for the build when the shenanigans regarding the kit came to light. I was rather afraid I may never get the kit as delays piled on - I placed my order just days before things came to light… but now it’s in my hands and (so far) it’s performing admirably. Plus I can now test fit lights and plan around them! Hooray!

I’m back on the assembly train - I’ll post some updates regarding what I’ve been ordering in the meantime. Got another order from the GBFans shop of aluminum knobs on the way :).

My current challenges relate to the bargraph on the thrower. How do folks mount this thing? I’m looking at finding some kind of spacer and tape solution I think but suggestions for a better way to mount are welcome :). Lots of build threads where the graph just appears on the thrower! I’m also trying to figure out the best way to do the frame. I know it’s not screen accurate but I do think that a frame of some sort will look exponentially better than just the lights in the hole - that looks a little /too/ rough for my tastes :). I wanted to order an R2DEVO frame from Shapeways but it looks like that isn’t the right size for the Mighty bargraph/TC thrower. If anyone has one, I’d be interested! If not I’ll be cutting one from something I guess :).

I’ve thought about this myself as bar graph s seem to just appear in place on a lot of build threads…however I saw one where someone made a frame out of 1/8" PVC sheet and glued it to the end of the bar graph ribbon cable the glued that to the bar graph area inside the thrower…this is what I was pondering for my TC resin thrower anyway…dunno if that helps at all