Ok, so as the title says this is my first pack build and it will be GB 1 style. I want to try to record the specifics for anyone who might want to use this thread to help them in the future to build one. I would also appreciate any guidance or advice from those seasoned builders out there. This build will take some time as I am still gathering parts, so I will update as I get new things and attach them.
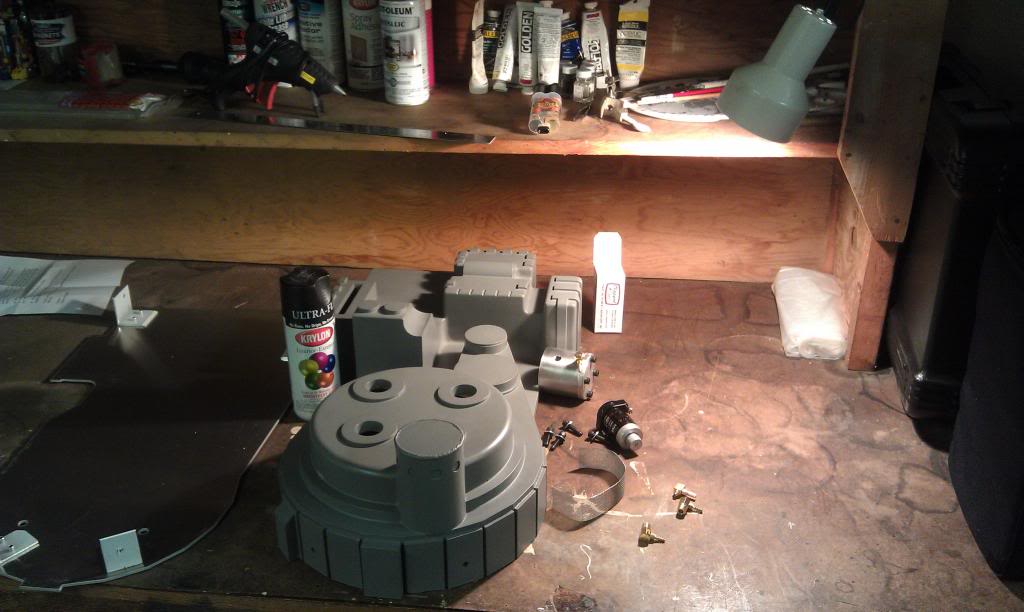
First up I am using a DL4567 fiberglass shell. When I ordered it I went ahead and had Derek attach the motherboard for me.
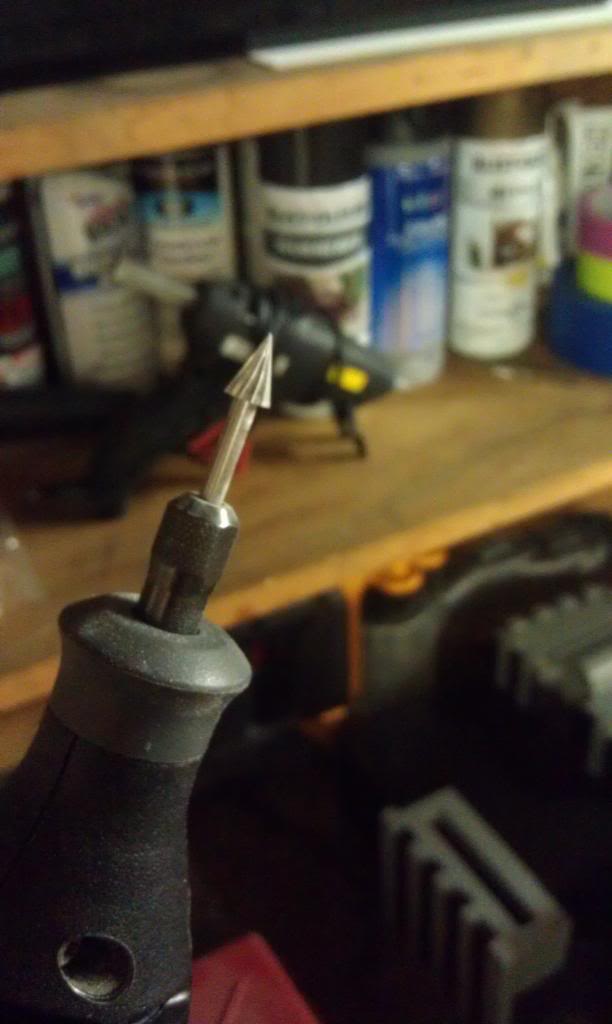
I used this bit to dremel out the N-filter holes and get them close to the edge. Once I got close to the edge I used a round file for a nice precise and clean hole.
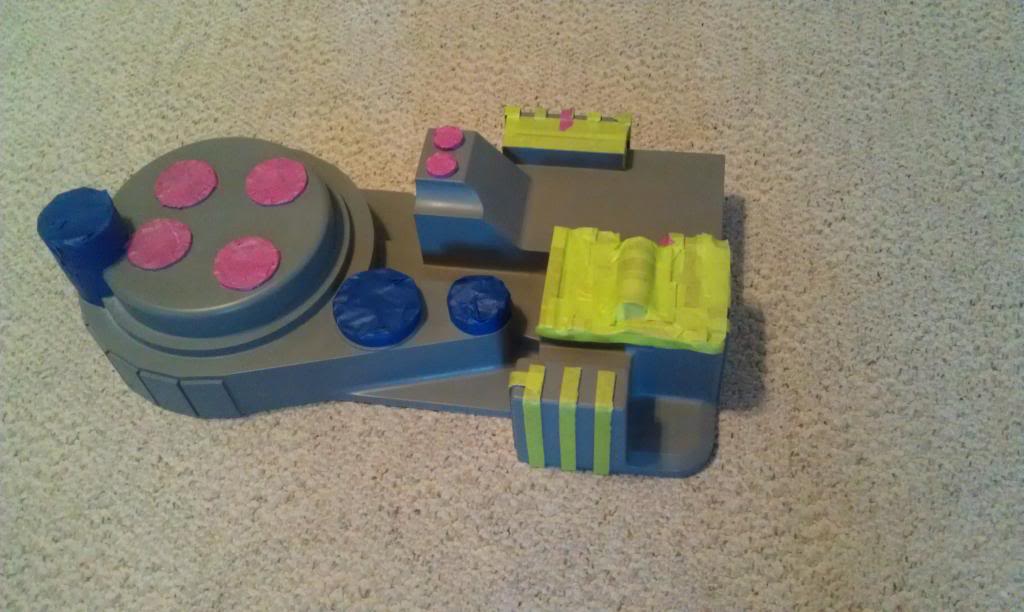
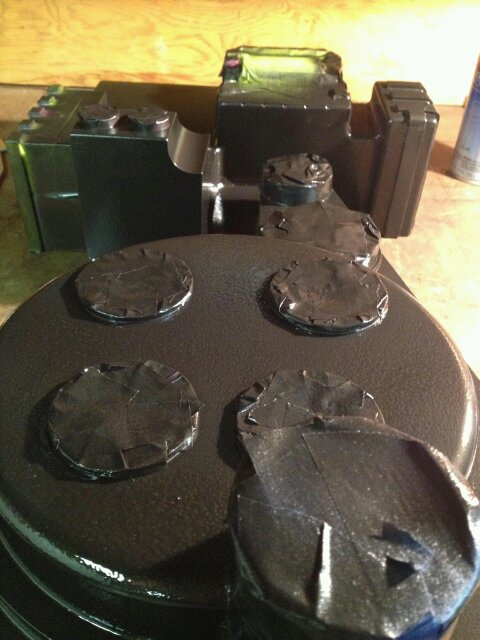
Next, I taped off the pack to get a bit of texture in the right spots. While I started with painter’s tape, I switched to masking tape because, well painter’s tape is just ■■■■ in my opinion, lol.
While I want as much accuracy on the pack as possible, I am a fan of a more subtle texture, so I just used Rust-Oleum hammered rather than going with some of the other texturing methods on here.
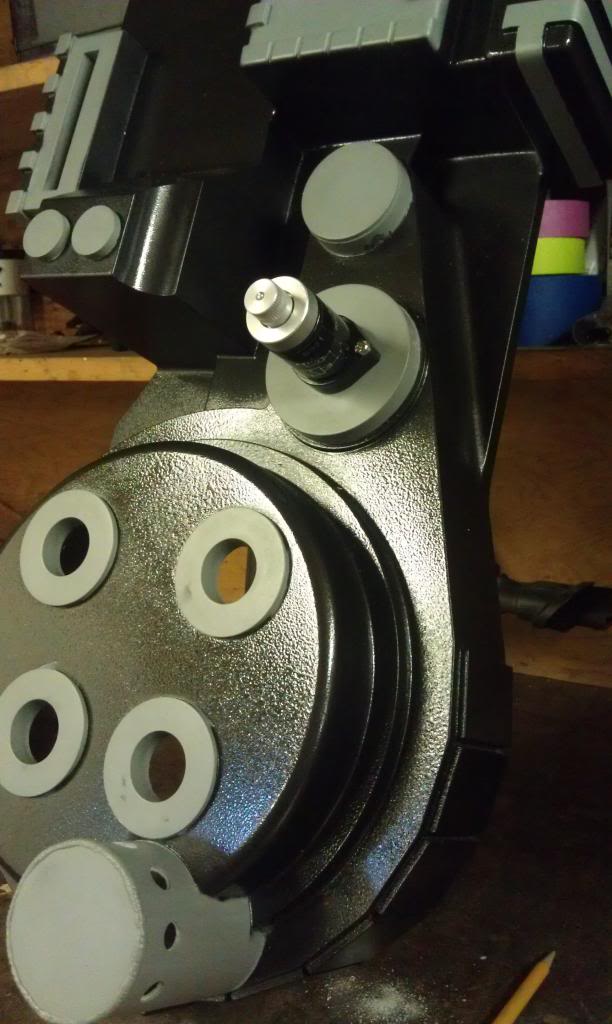
Got the clippard valve put on today. I should note for anyone who may follow this thread for help in the future I painted the shell over a week ago with the hammered paint.
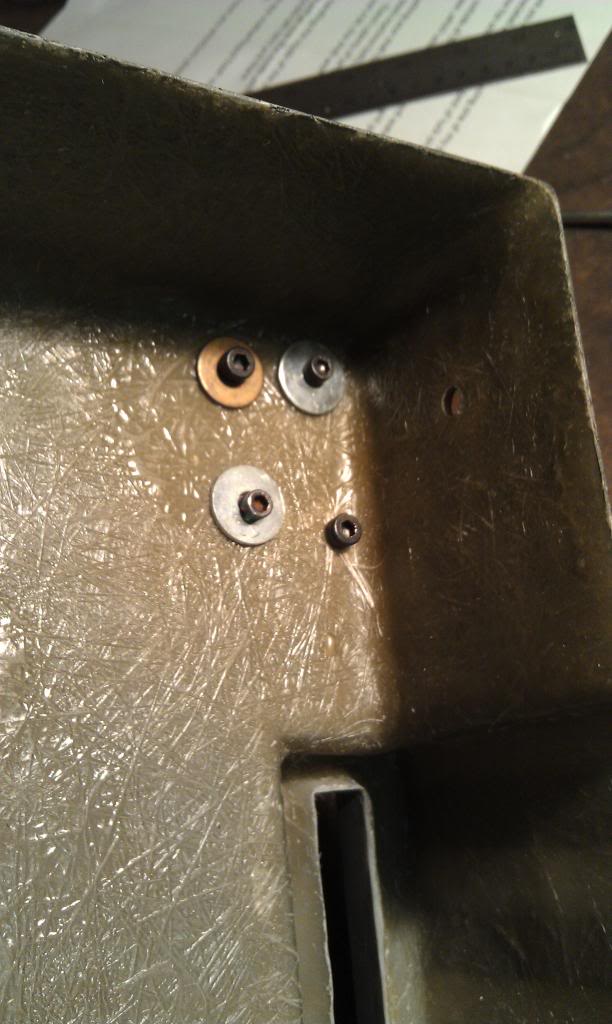
To install the clippard valve I marked off its placement and then used the dremel with the same bit to help make the center hole for the valve to drop into, using the round file to clean it up. For the holes where the screws go I used a 11/64 drill bit and used a 10-32NF tap where I drilled into the shell. Tapping the shell itself locks the valve on great, but I will also add some nuts inside.
P.S.
I know the valve is on wrong in the picture, lol, this is just a test fit after the holes were tapped.
And on goes the HGA. I used a compass to match a spot on the shell for the size, then just put a hole smack in the center. I did not bother to thread the shell here. Pretty easy piece to attach.
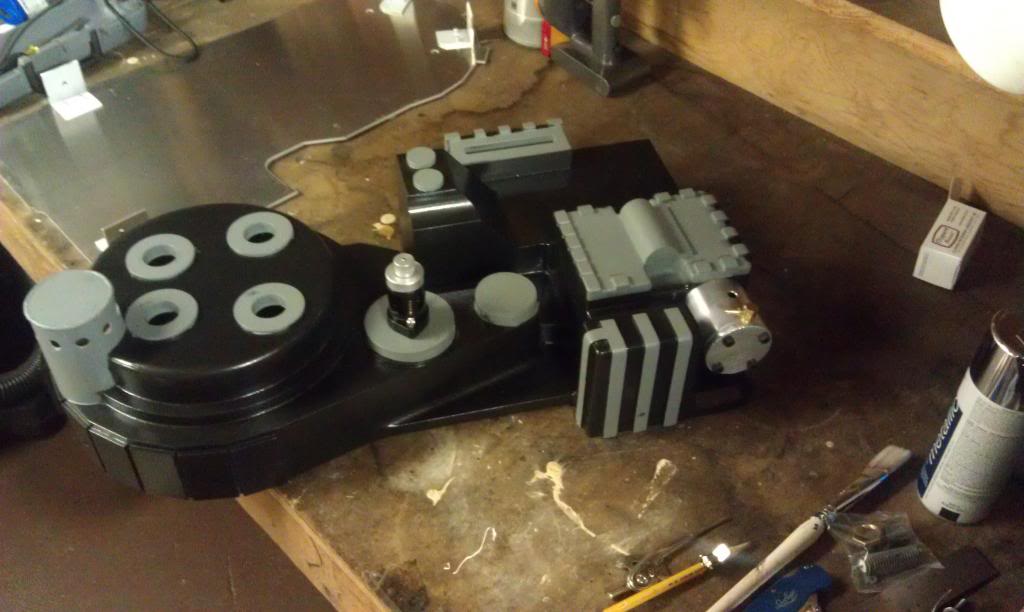
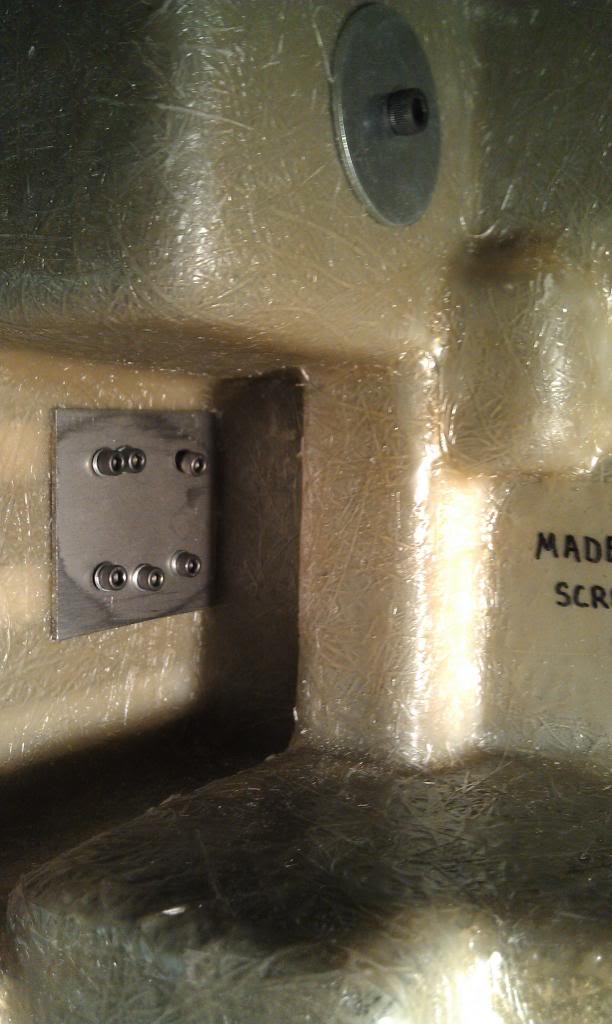
Ok, so I got the Ion arm attached. This is an arm that was made by JPA here, according to the ebay auction I nabbed it from. While different makers may change what screw sizes need to be used, I will give the information for this one. The arm had two holes on the bottom, I measured it out on the shell and drilled two holes with a 5/32 bit. I used a 32NC tap to prep the holes for the bolts. The trickiest part about this attachment is getting the holes in the right place. It would be easier to have a ion arm with a pattern guide…which I think Vin makes for his. I may drill a few more holes into the arm bottom for a more secure hold down the road. Anyway, this is the last piece I have until Vin gets his welder going. I plan to buy most of the rest of my pack parts from him.
Maybe an obvious question but not so much for me. How do you play on painting over the primed areas not painted with the hammered look that you had tapped up? Are you going to just spray a flat/matte/satin black just in the those areas???
I plan on doing the same but didn’t have a real technique for how to get those areas painted with different types of paint.
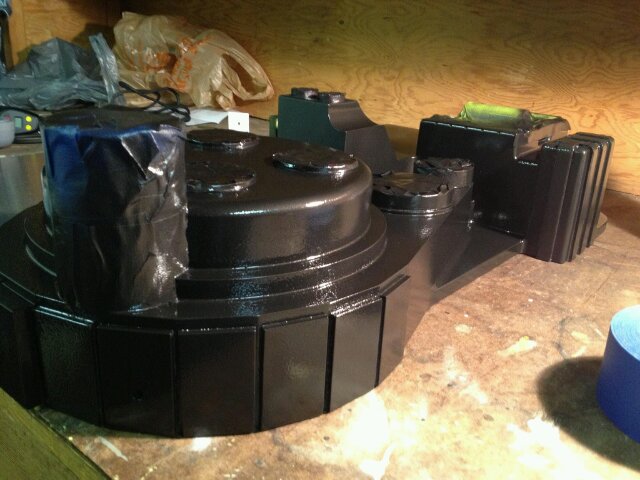
Yea, the hammered paint is just a base coat. Once I finish dry fitting all the parts I will remove them and the whole pack will be painted again. My final coat will be satin black.
Thanks for the input! How many coats of hammered and then satin black do you plan on putting on? I’ve been tinkering with 3 or 4 thin coats of hammered then maybe 1 to 2 coats of satin over that. So far I’m a big fan of that process with some samples I’ve been painting. Also I’m considering a flat matte clear coat over all of that.
Wow! the paint job alone on this pack is a thing of beauty. I am going to follow this build through. I am still in the "part gathering phase of my pack build. I want to get a shell from derek as well.
Seeing what you have done so far has really solidified my choice of shells.
Ok, this is hardly an updated, but I went ahead and drilled 2 more holes to hold the ion arm on. I didn’t like the idea of having it attached with just 2 bolts. This was way easier to do than the original attachment. I just drilled 2 holes where I wanted them inside the placement on the shell, then put the arm back on, marked the new holes, took the arm off, drilled, tapped, and then re-attached to check.
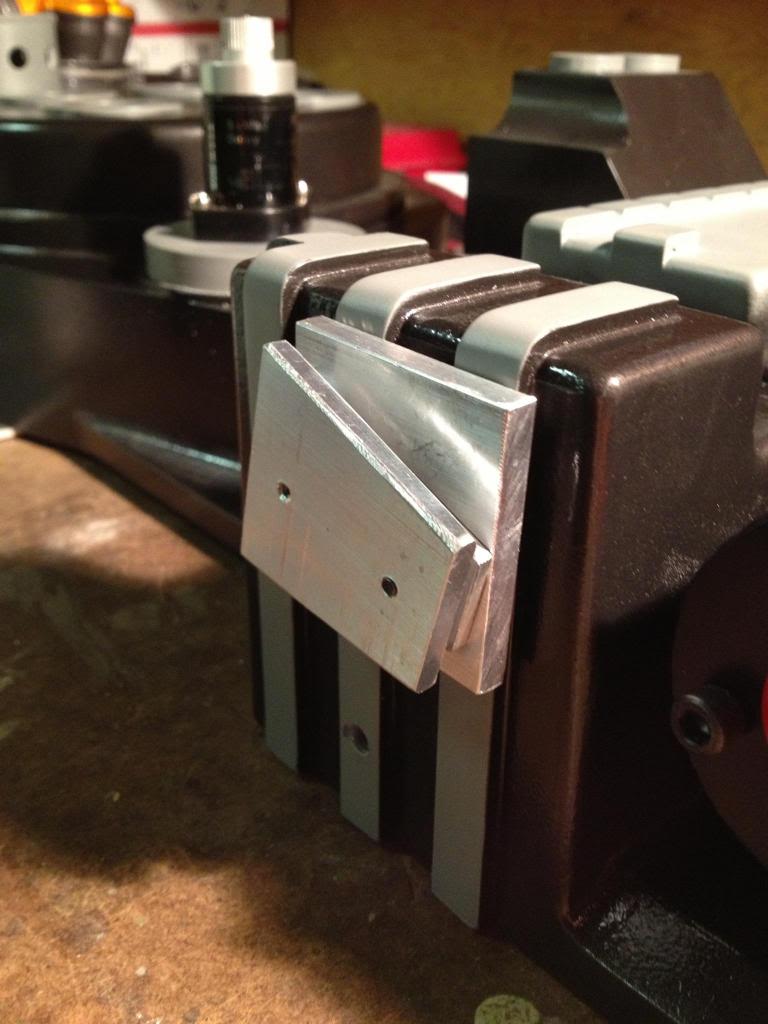
I just got my V-hook from Ejgunth87. This was very easy to install since I got the back plate he offers with it. I simply used the back plate as a template for marking the holes, drilled into the shell, and then used the screws he included to lock it in. I would say the only real work I had to do on the piece was cut down the long screws to make them flush with the V-hook, but again that was pretty simple… just used the dremel.