I’m fuzzy on the whole “GE sponsored my pack” thing… Whatta you mean GE sponsored your pack?
Haha, no sponsoring. I just worked there when I built my pack and threw a magnet on it for giggles and just never took it off. Now it looks kinda goofy when I take the magnet off because of the circle of non-dust-aged-paint beneath it.
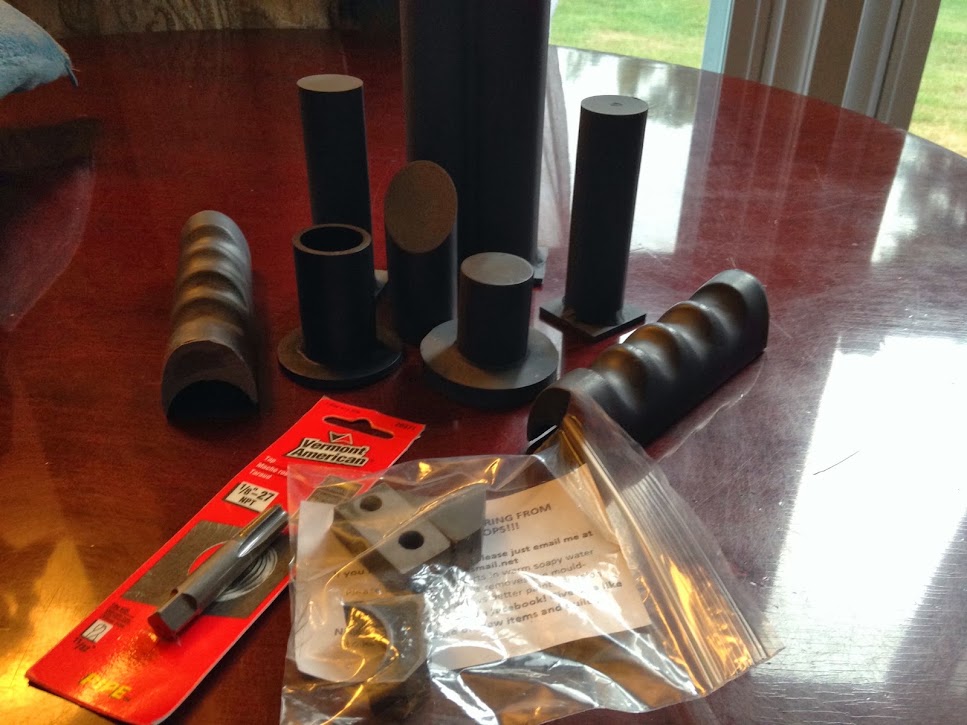
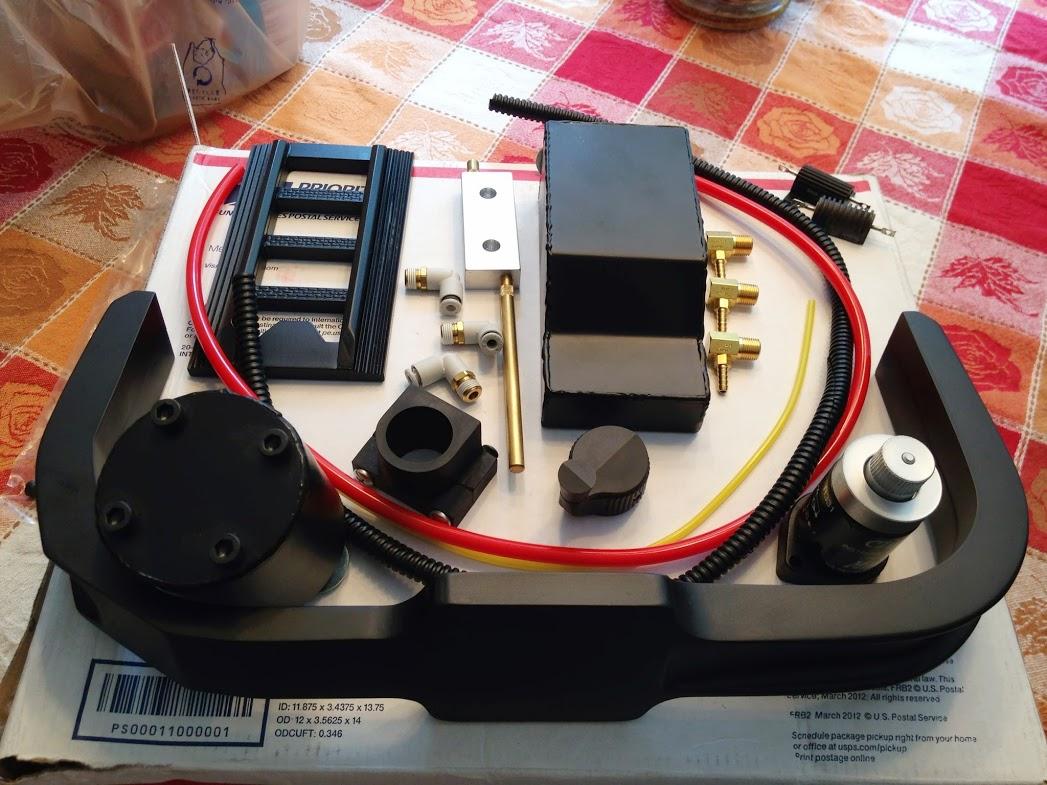
A few pictoral updates! First, obligatory loot pictures of my various purchases. Not pictured are another white hat light and JoeLuna33’s awesome labels.
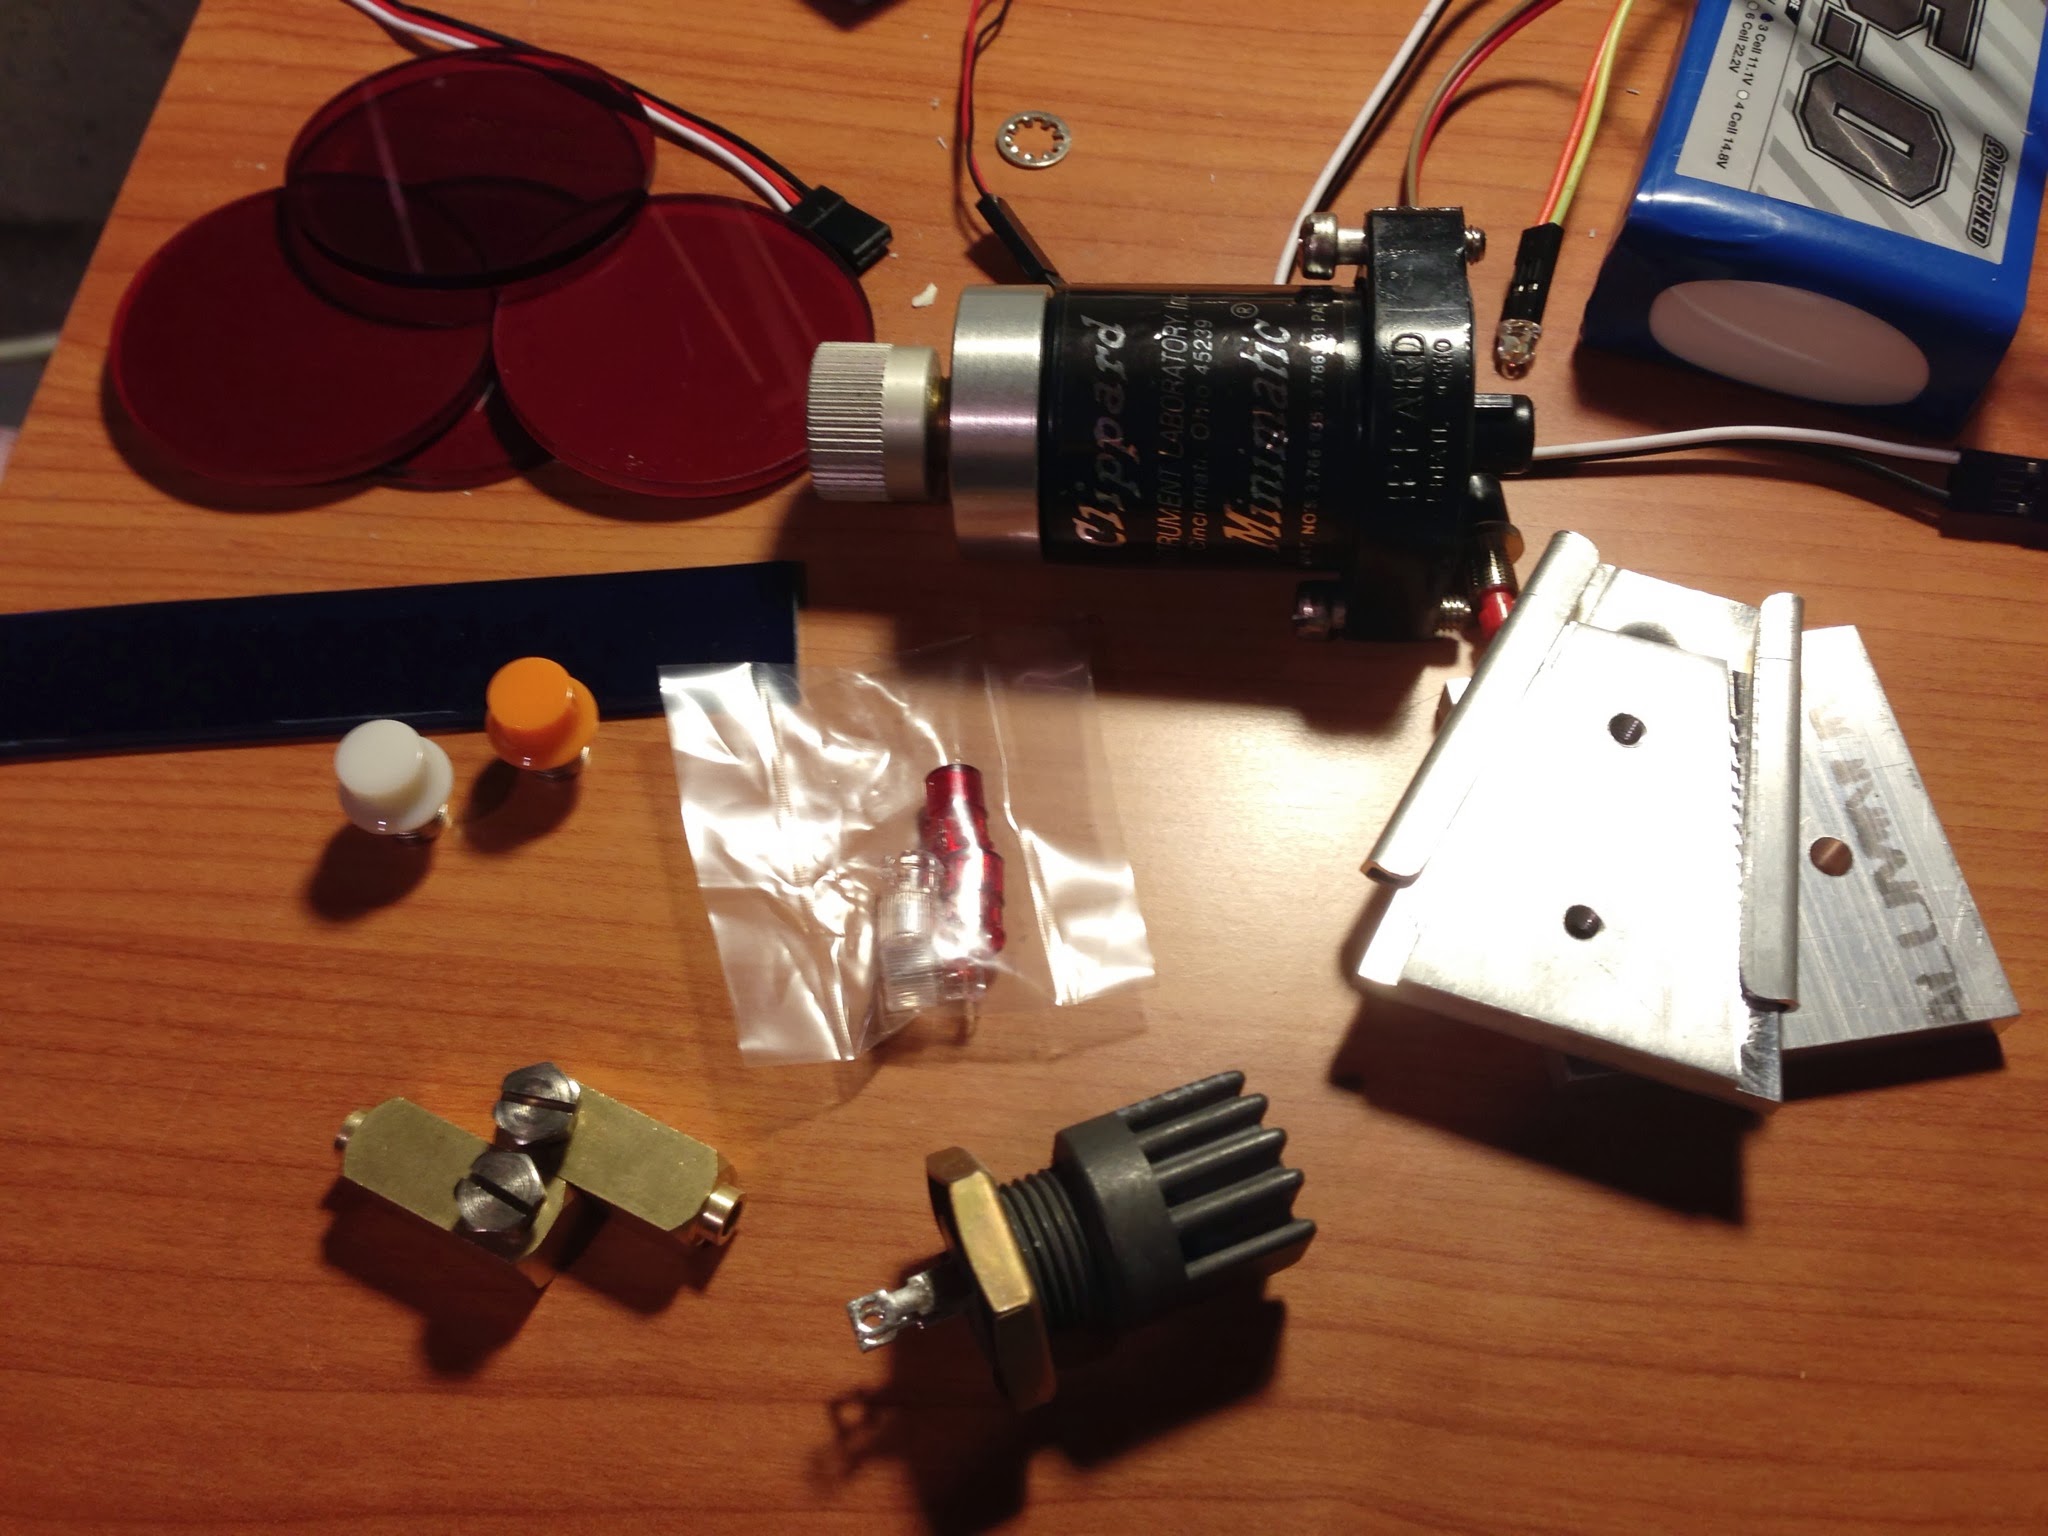
My first order of business was excitedly putting together my light/sound kit to test everything. Turning it on successfully for the first time and getting the ‘hum’ was definitely a kid in a candy store moment!
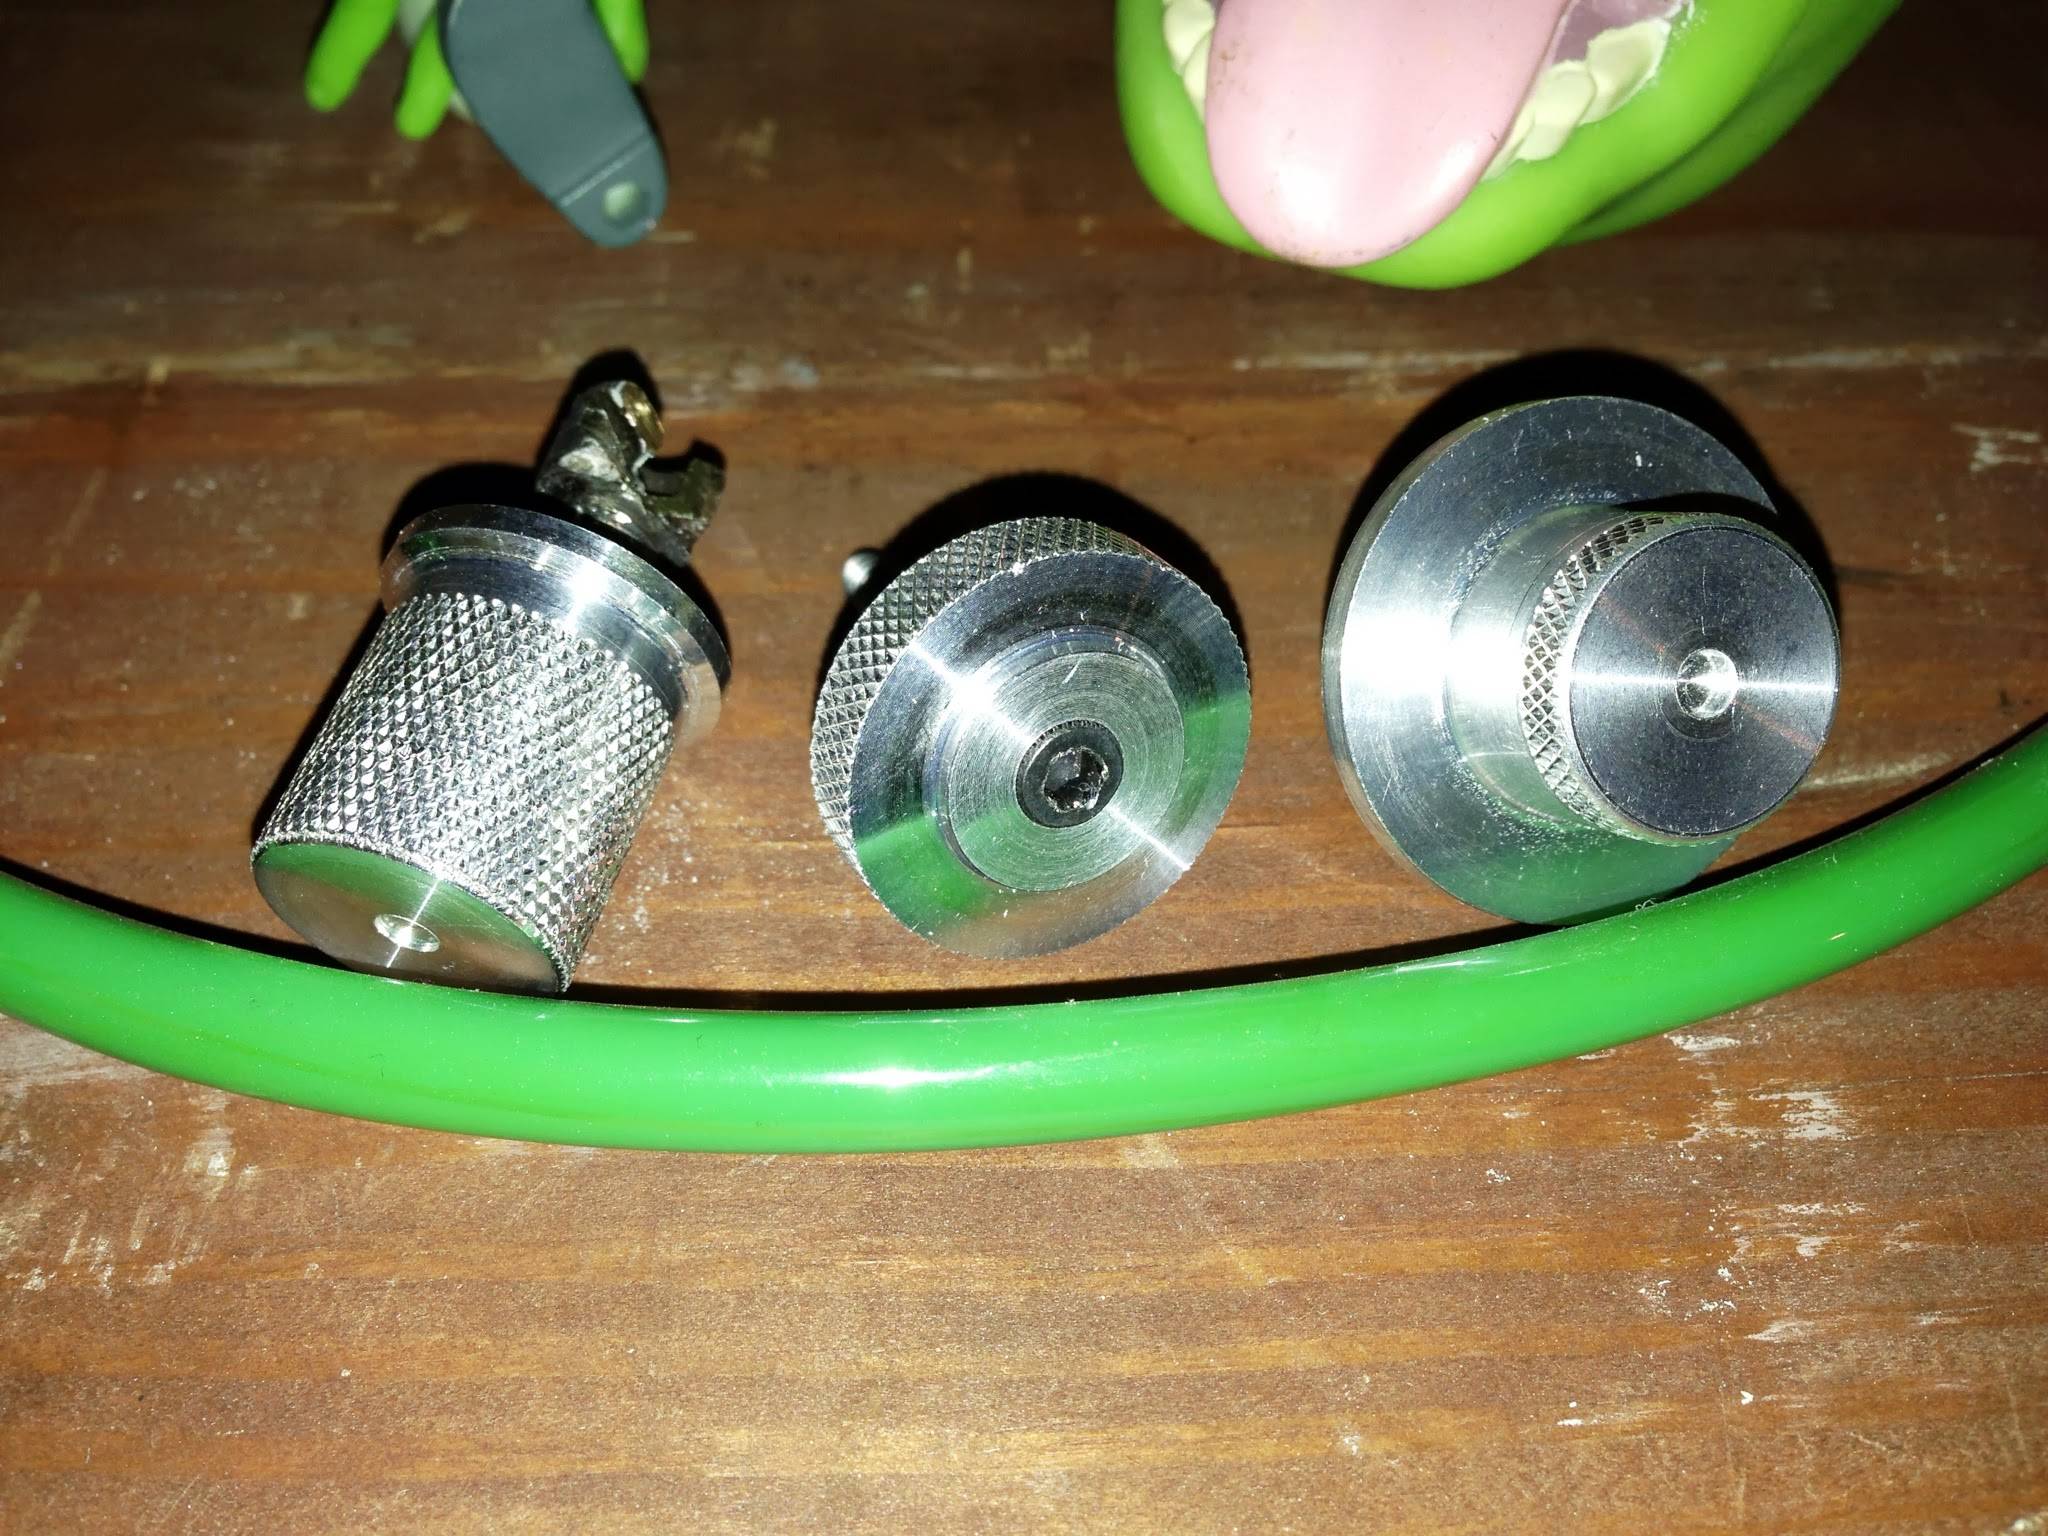
Some shots of the lights installed temporarily (stuck through holes, etc… - nothing is getting mounted until after paint/etc…!)
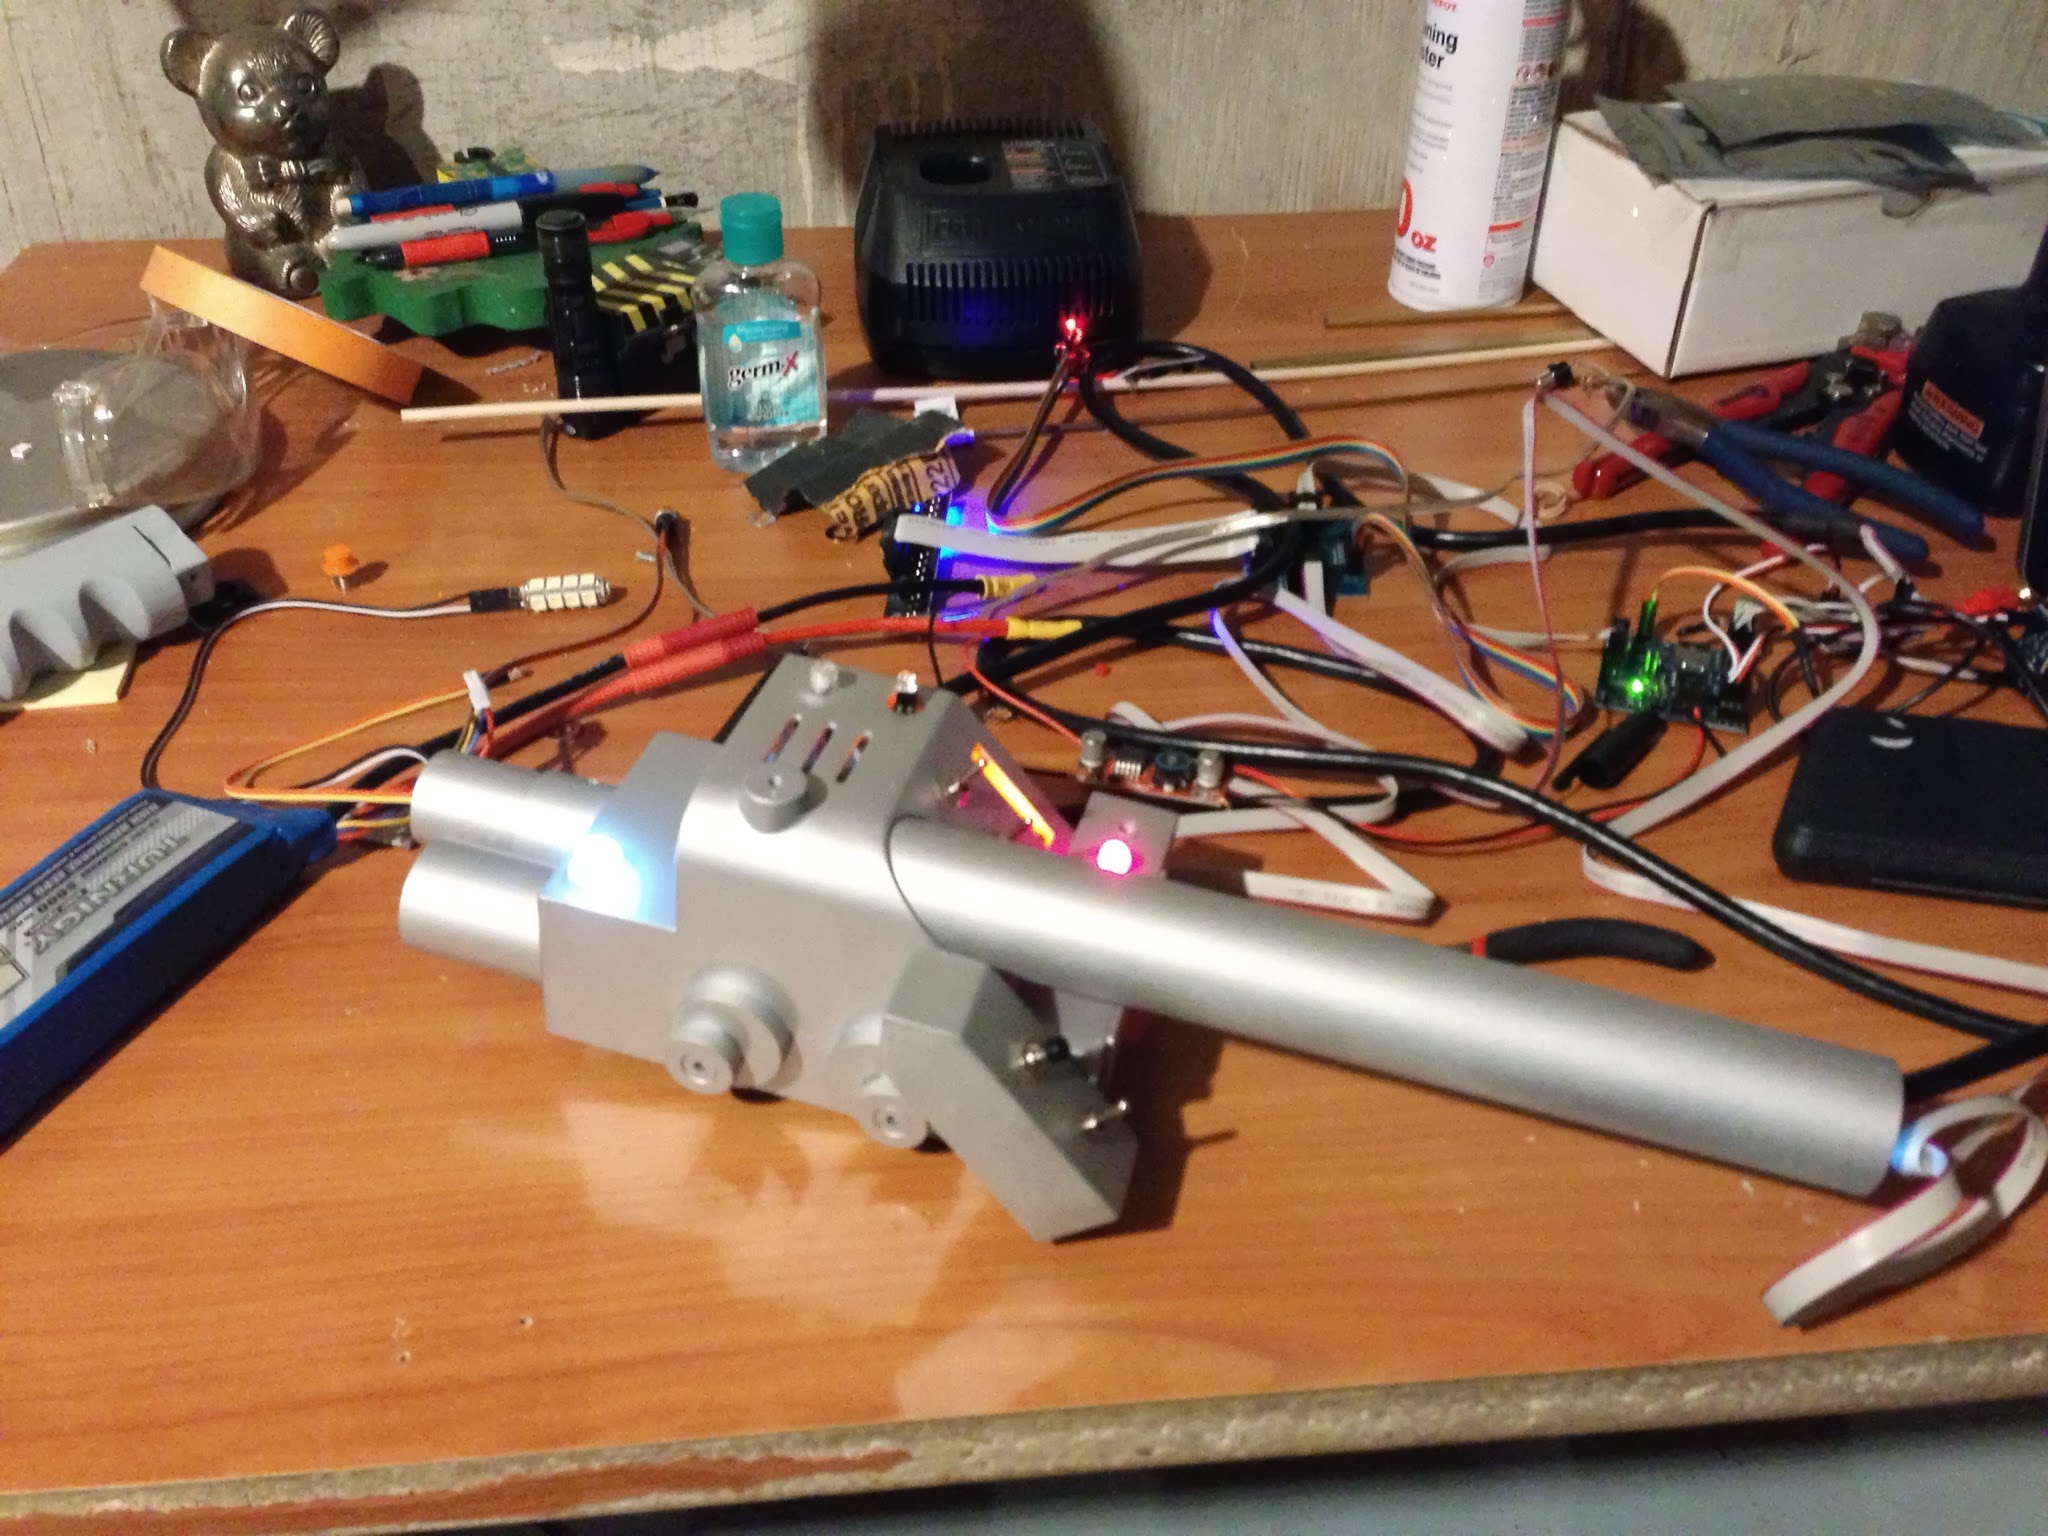
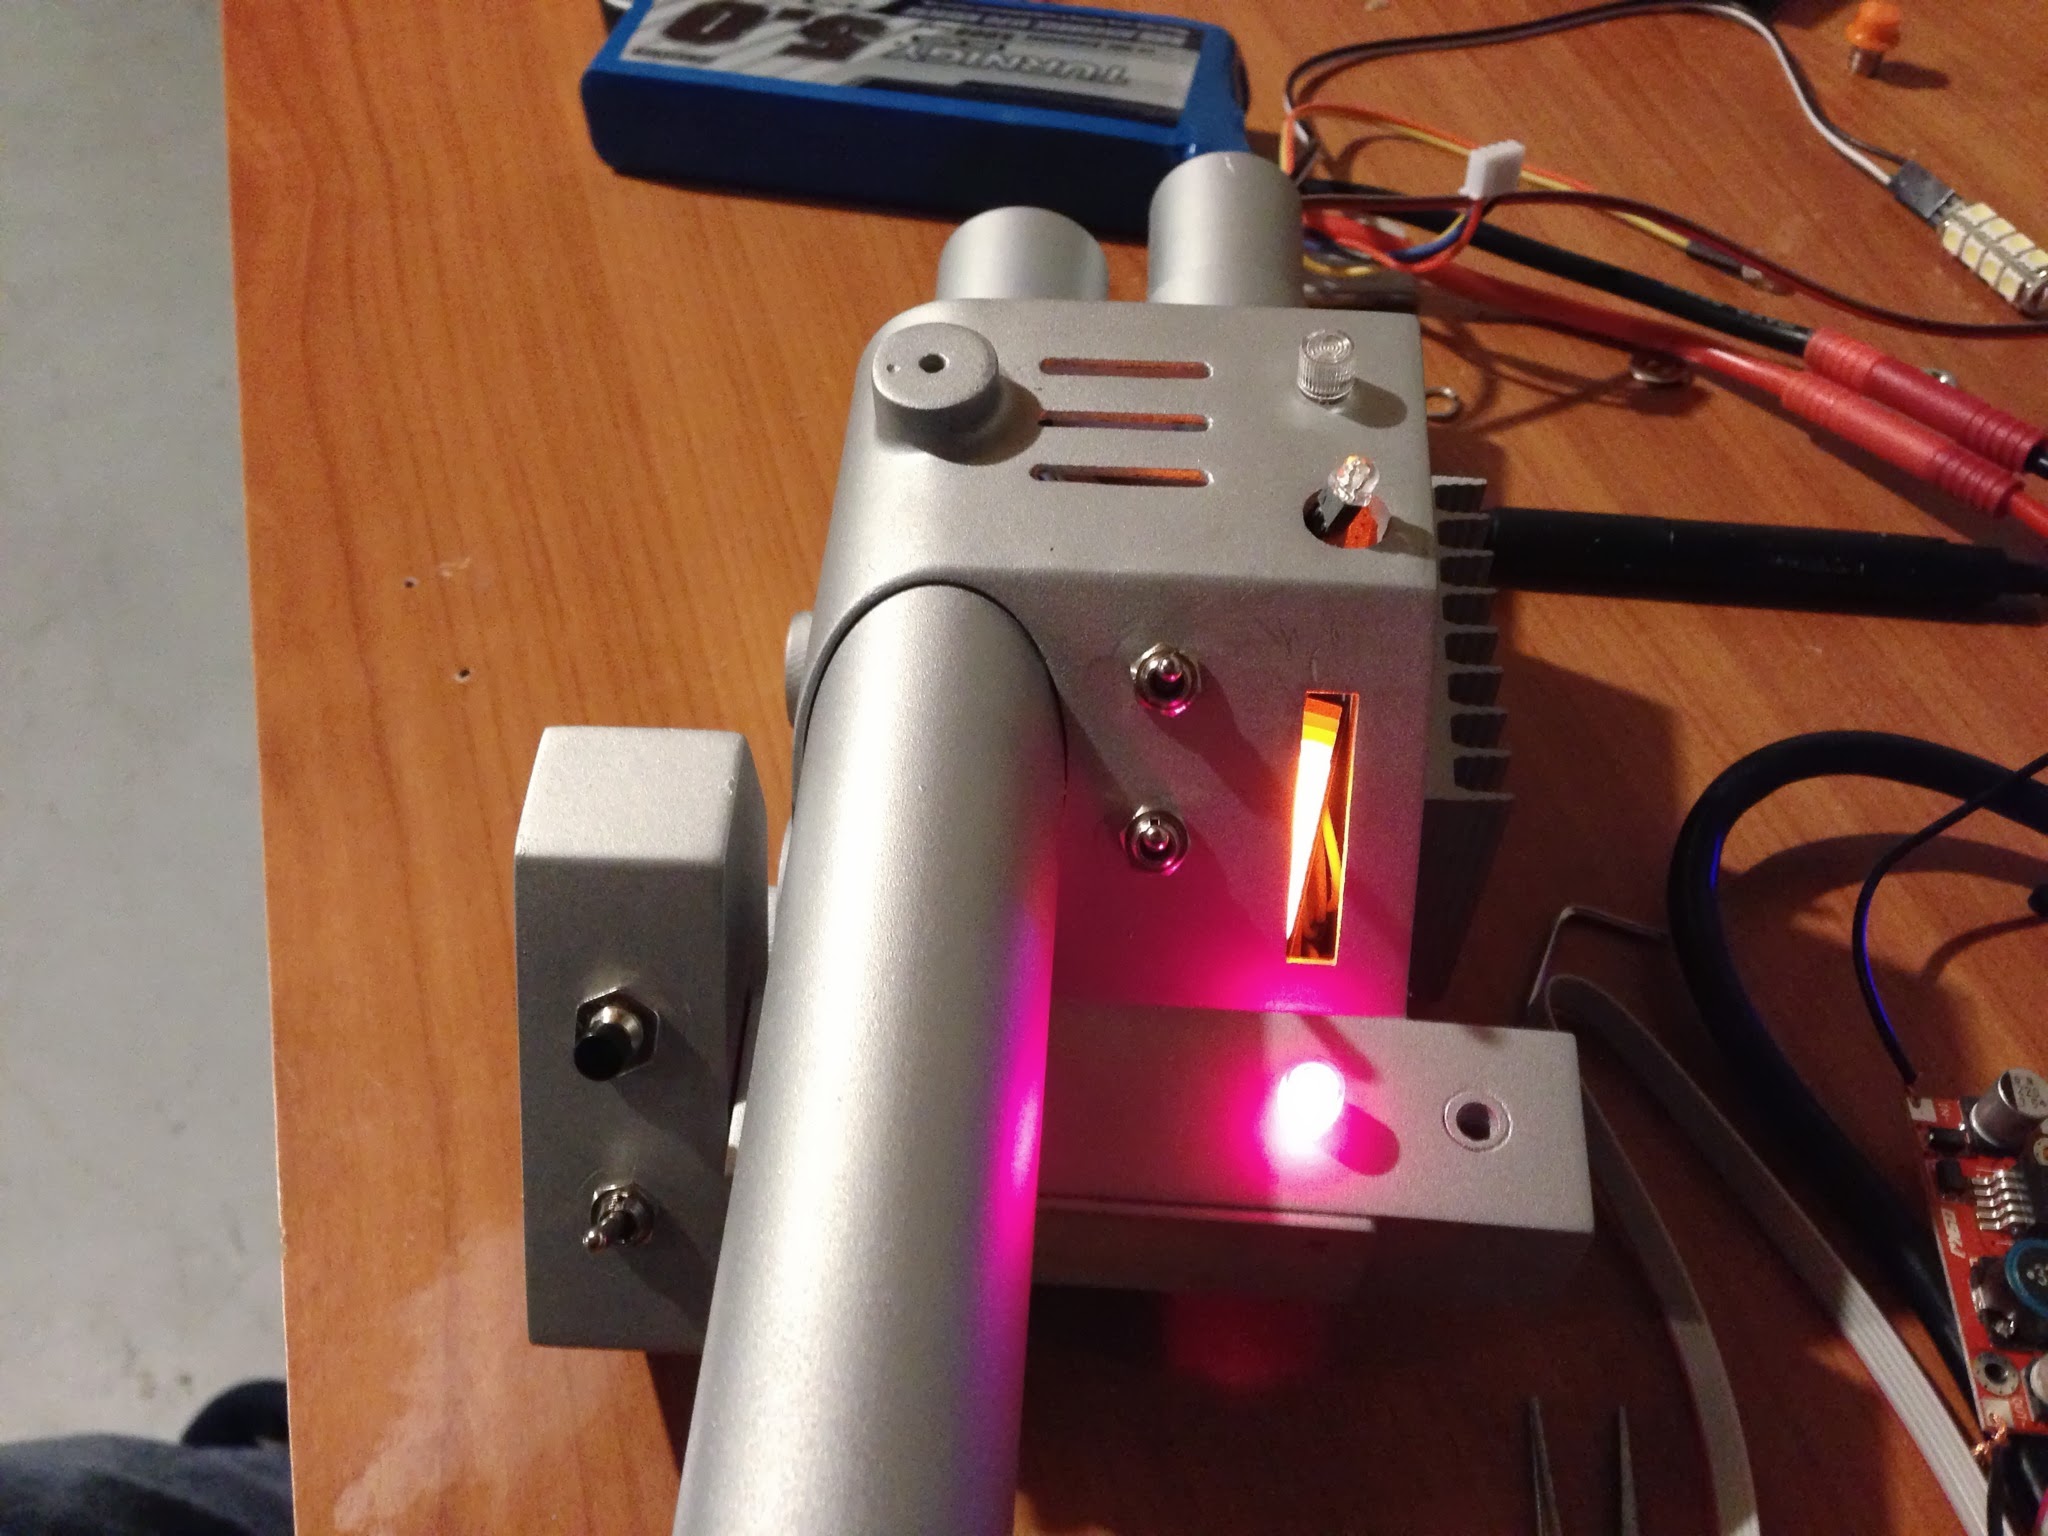
Internal shot - There’s a pretty good amount of room left once I clean everything up and mount things to surfaces. Real estate will get a little tighter when I get a vent reflector up, but I -think- I can make a barrel extension mechanism work in here if I can get smart enough to build one :). (Note: I got an extension cable. Installing one of these kits as initially designed without one would be a major PITA - way too much stuff to fit in even a spacious thrower box like the TC 3.0. I’m sure it’s possible, but it’s going to be mighty tight in there!)
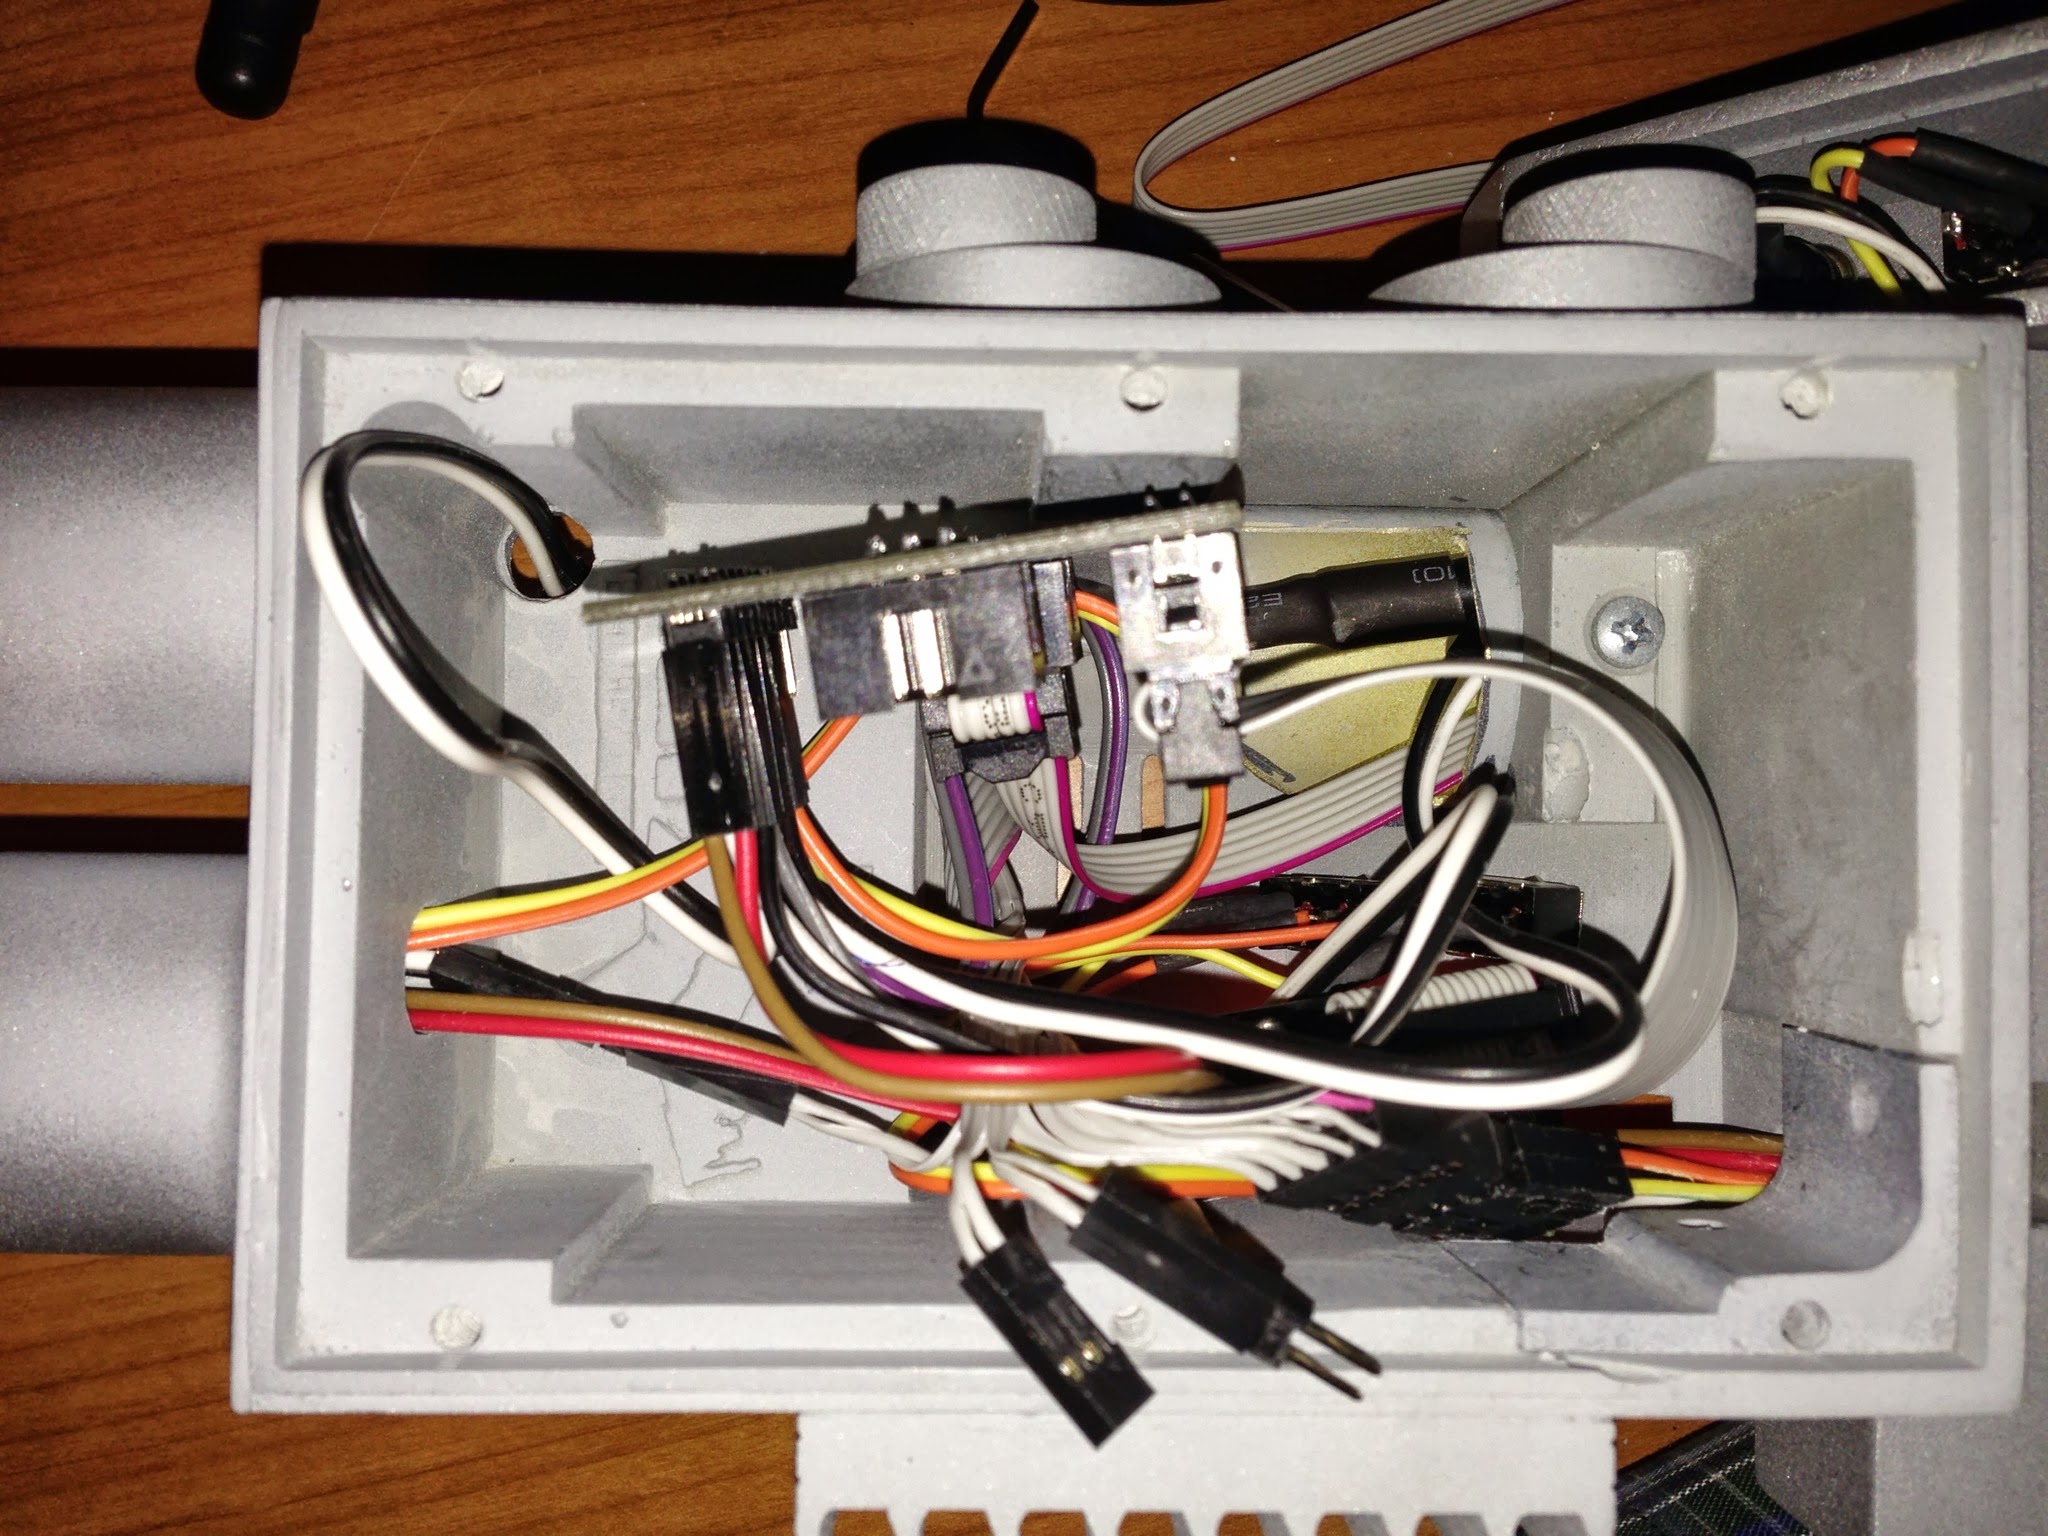
This next bit hurt: I recall a time when the hat lights were a little more sparse and hard to get, so mangling one with an Xacto knife and wire snips felt CRAZY! Due to the wall thickness of the TC3.0 kit (Not a criticism, a strength!), it’s hard to get a ‘real’ hat light recessed in the hole. Stock, you get a situation like this with the side of the ‘brim’ portion running into the wall of the thrower.
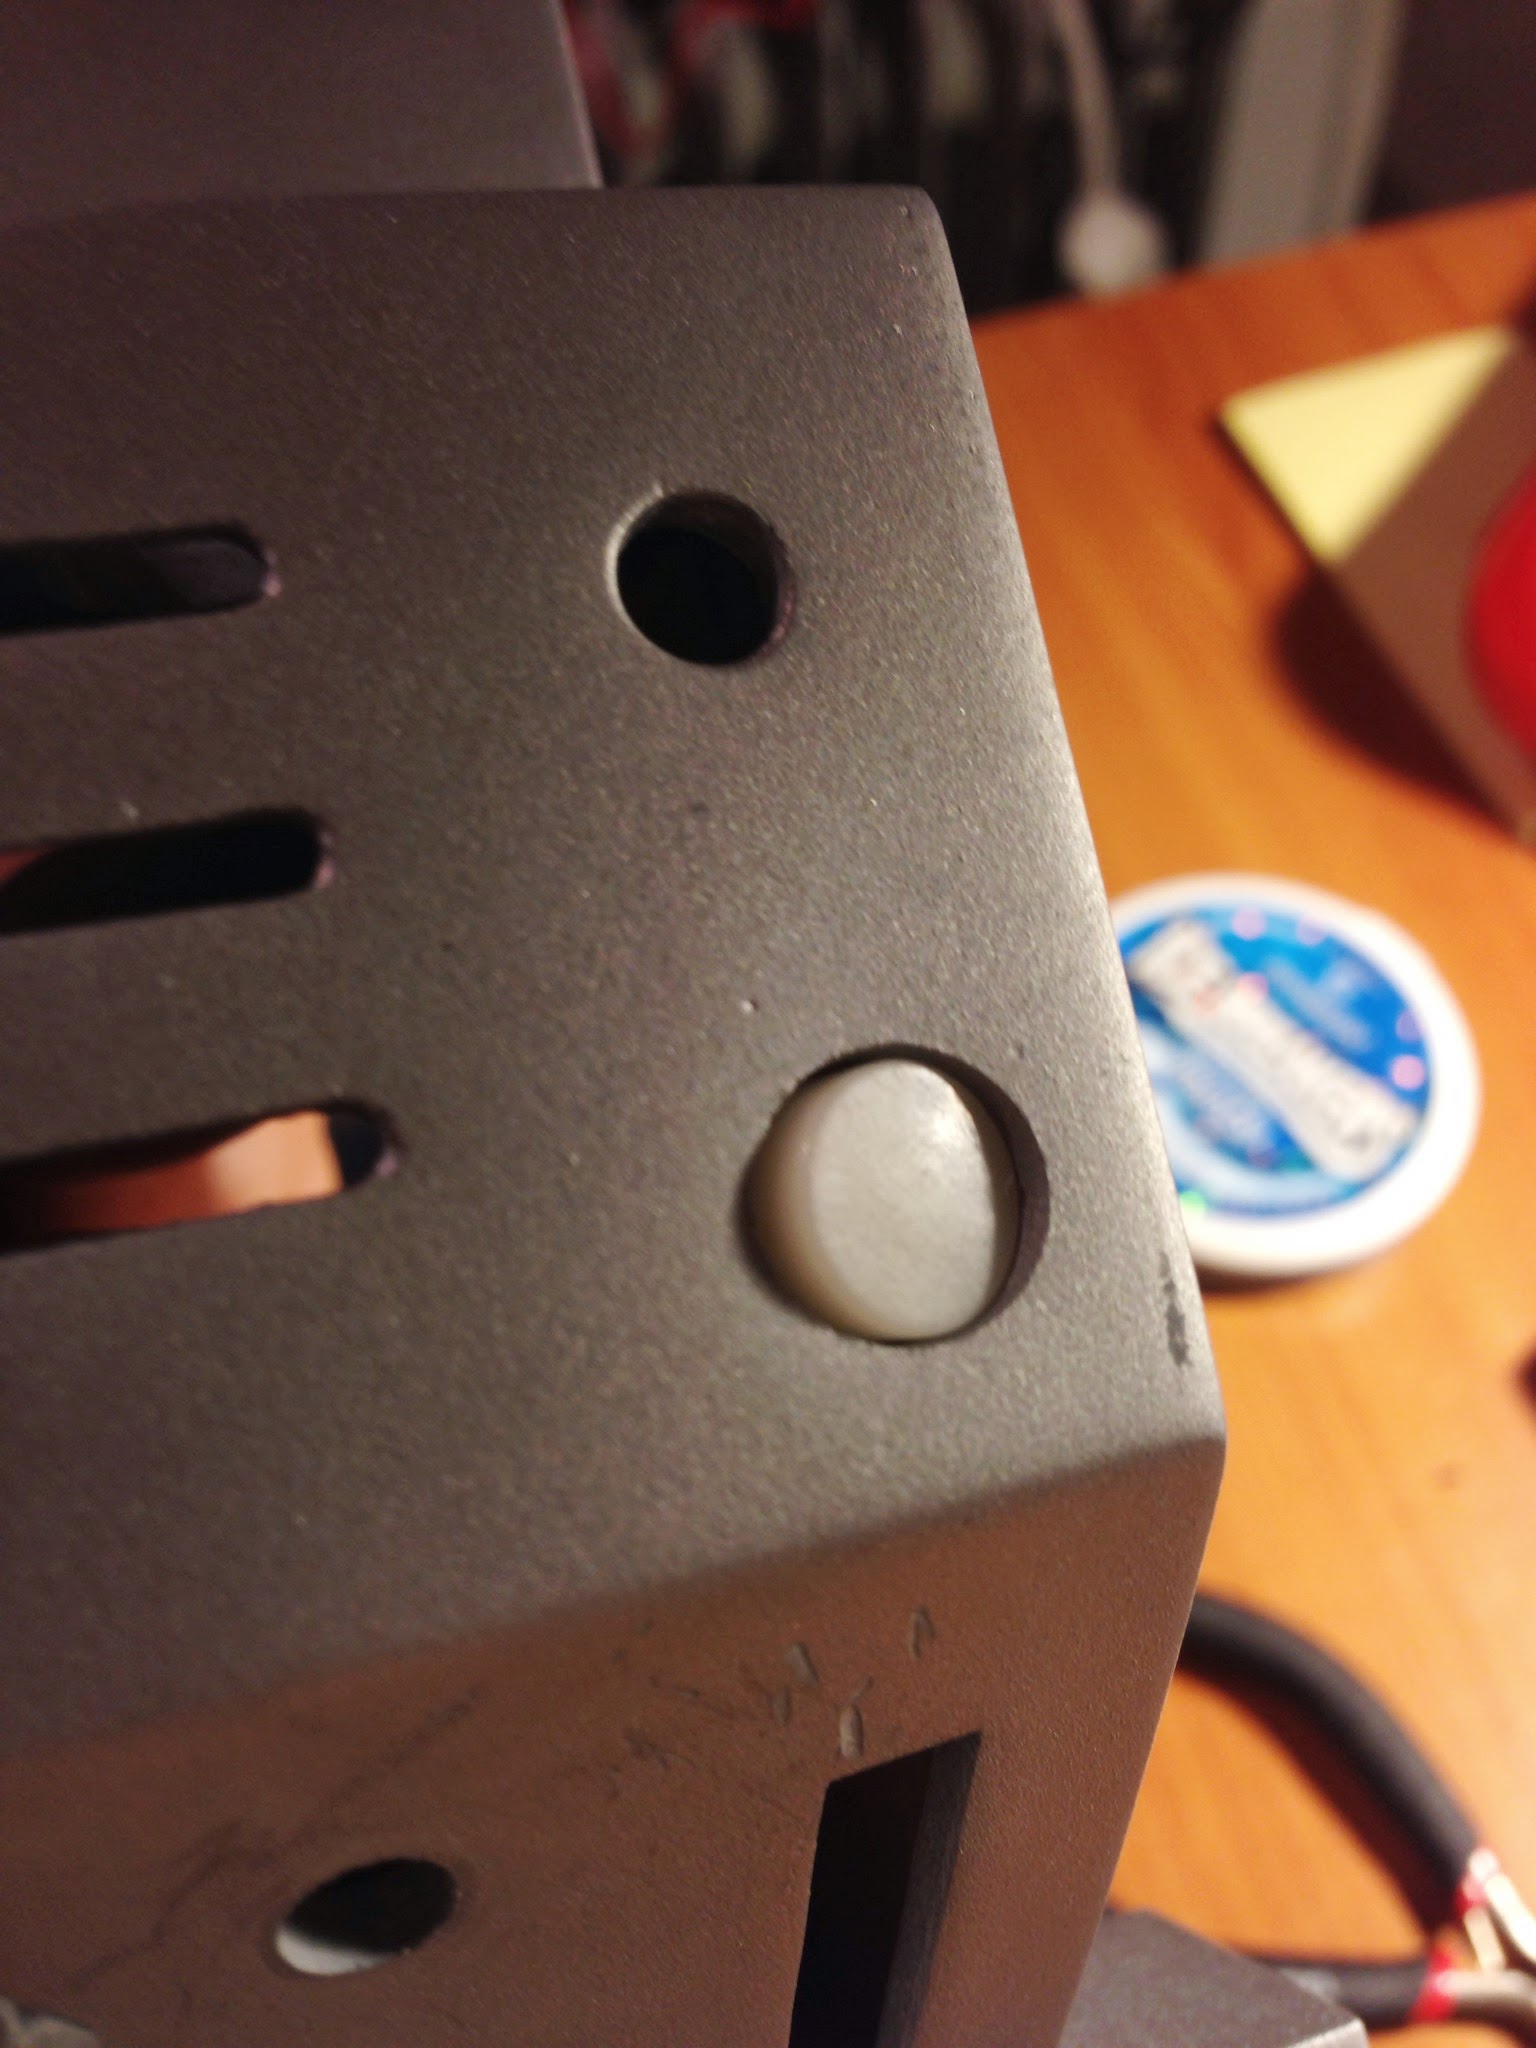
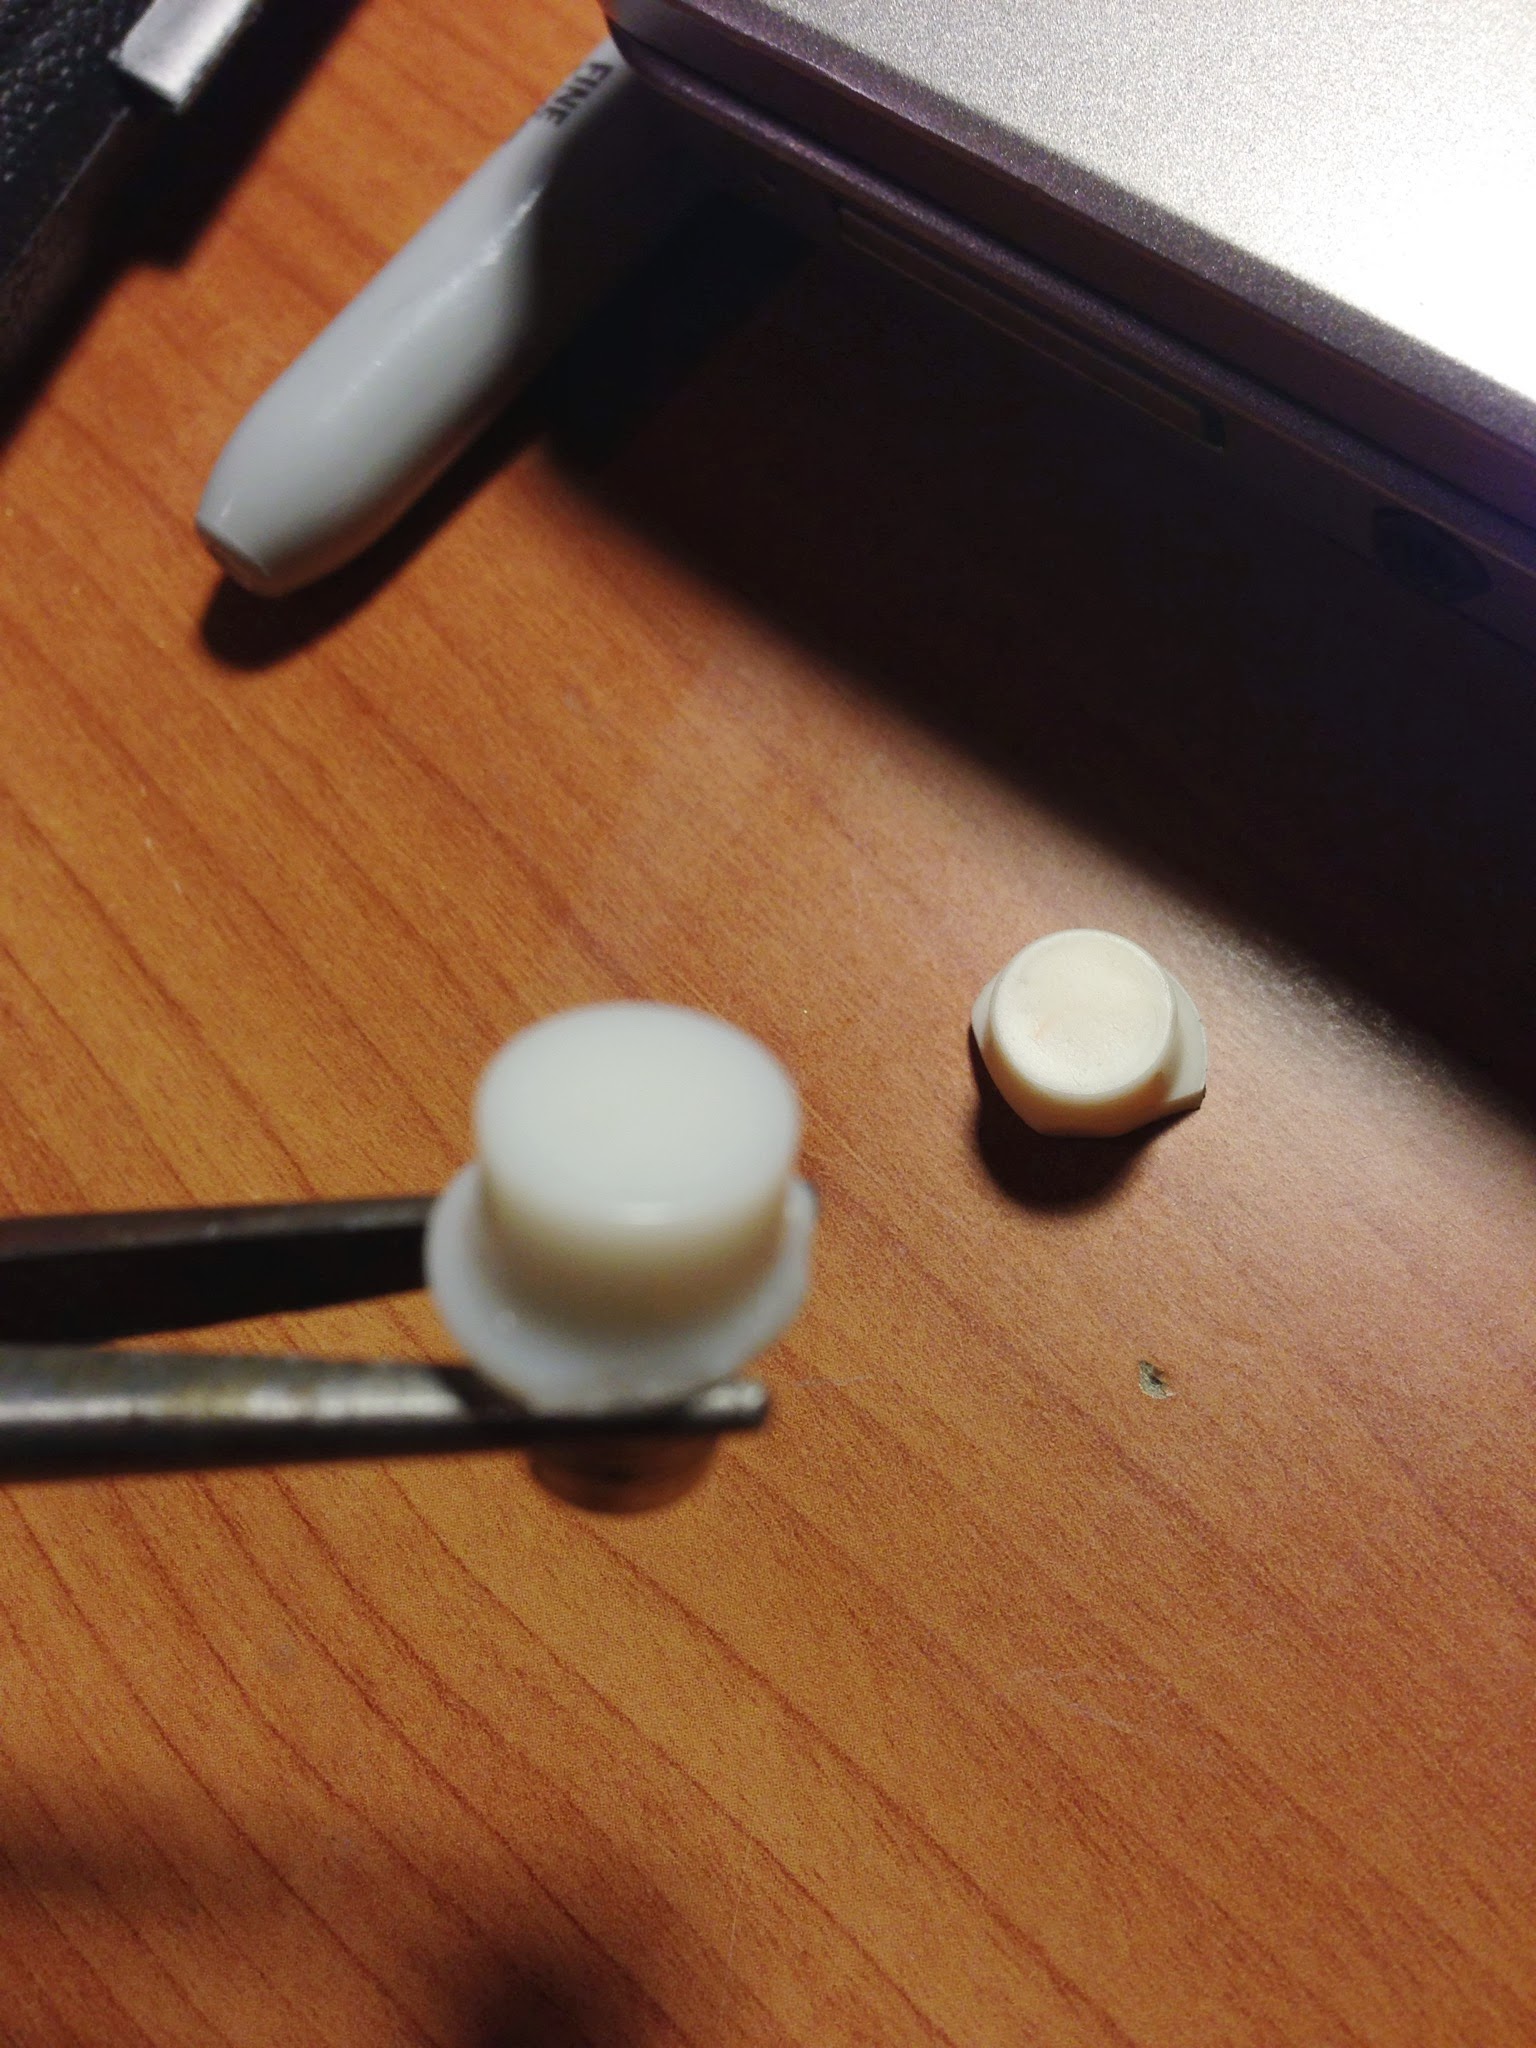
After being molested by tools (You can see a resin copy I used as a trial run in the background):
And finally I did one of the two things I have been dreading most: The rear handle fake welds. I’m bad at these, so I’m not terribly unhappy with how they turned out. They may be a little -too- neat, but I’m glad they don’t look just plain monstrous at least! (I used CPU64’s tutorial/guide (Quick tutorial for weld lines using epoxy. - Tutorials & Guides - GBFans.com) as a starting point - the little tool I made based on that suggestion was much better than a paperclip!!)
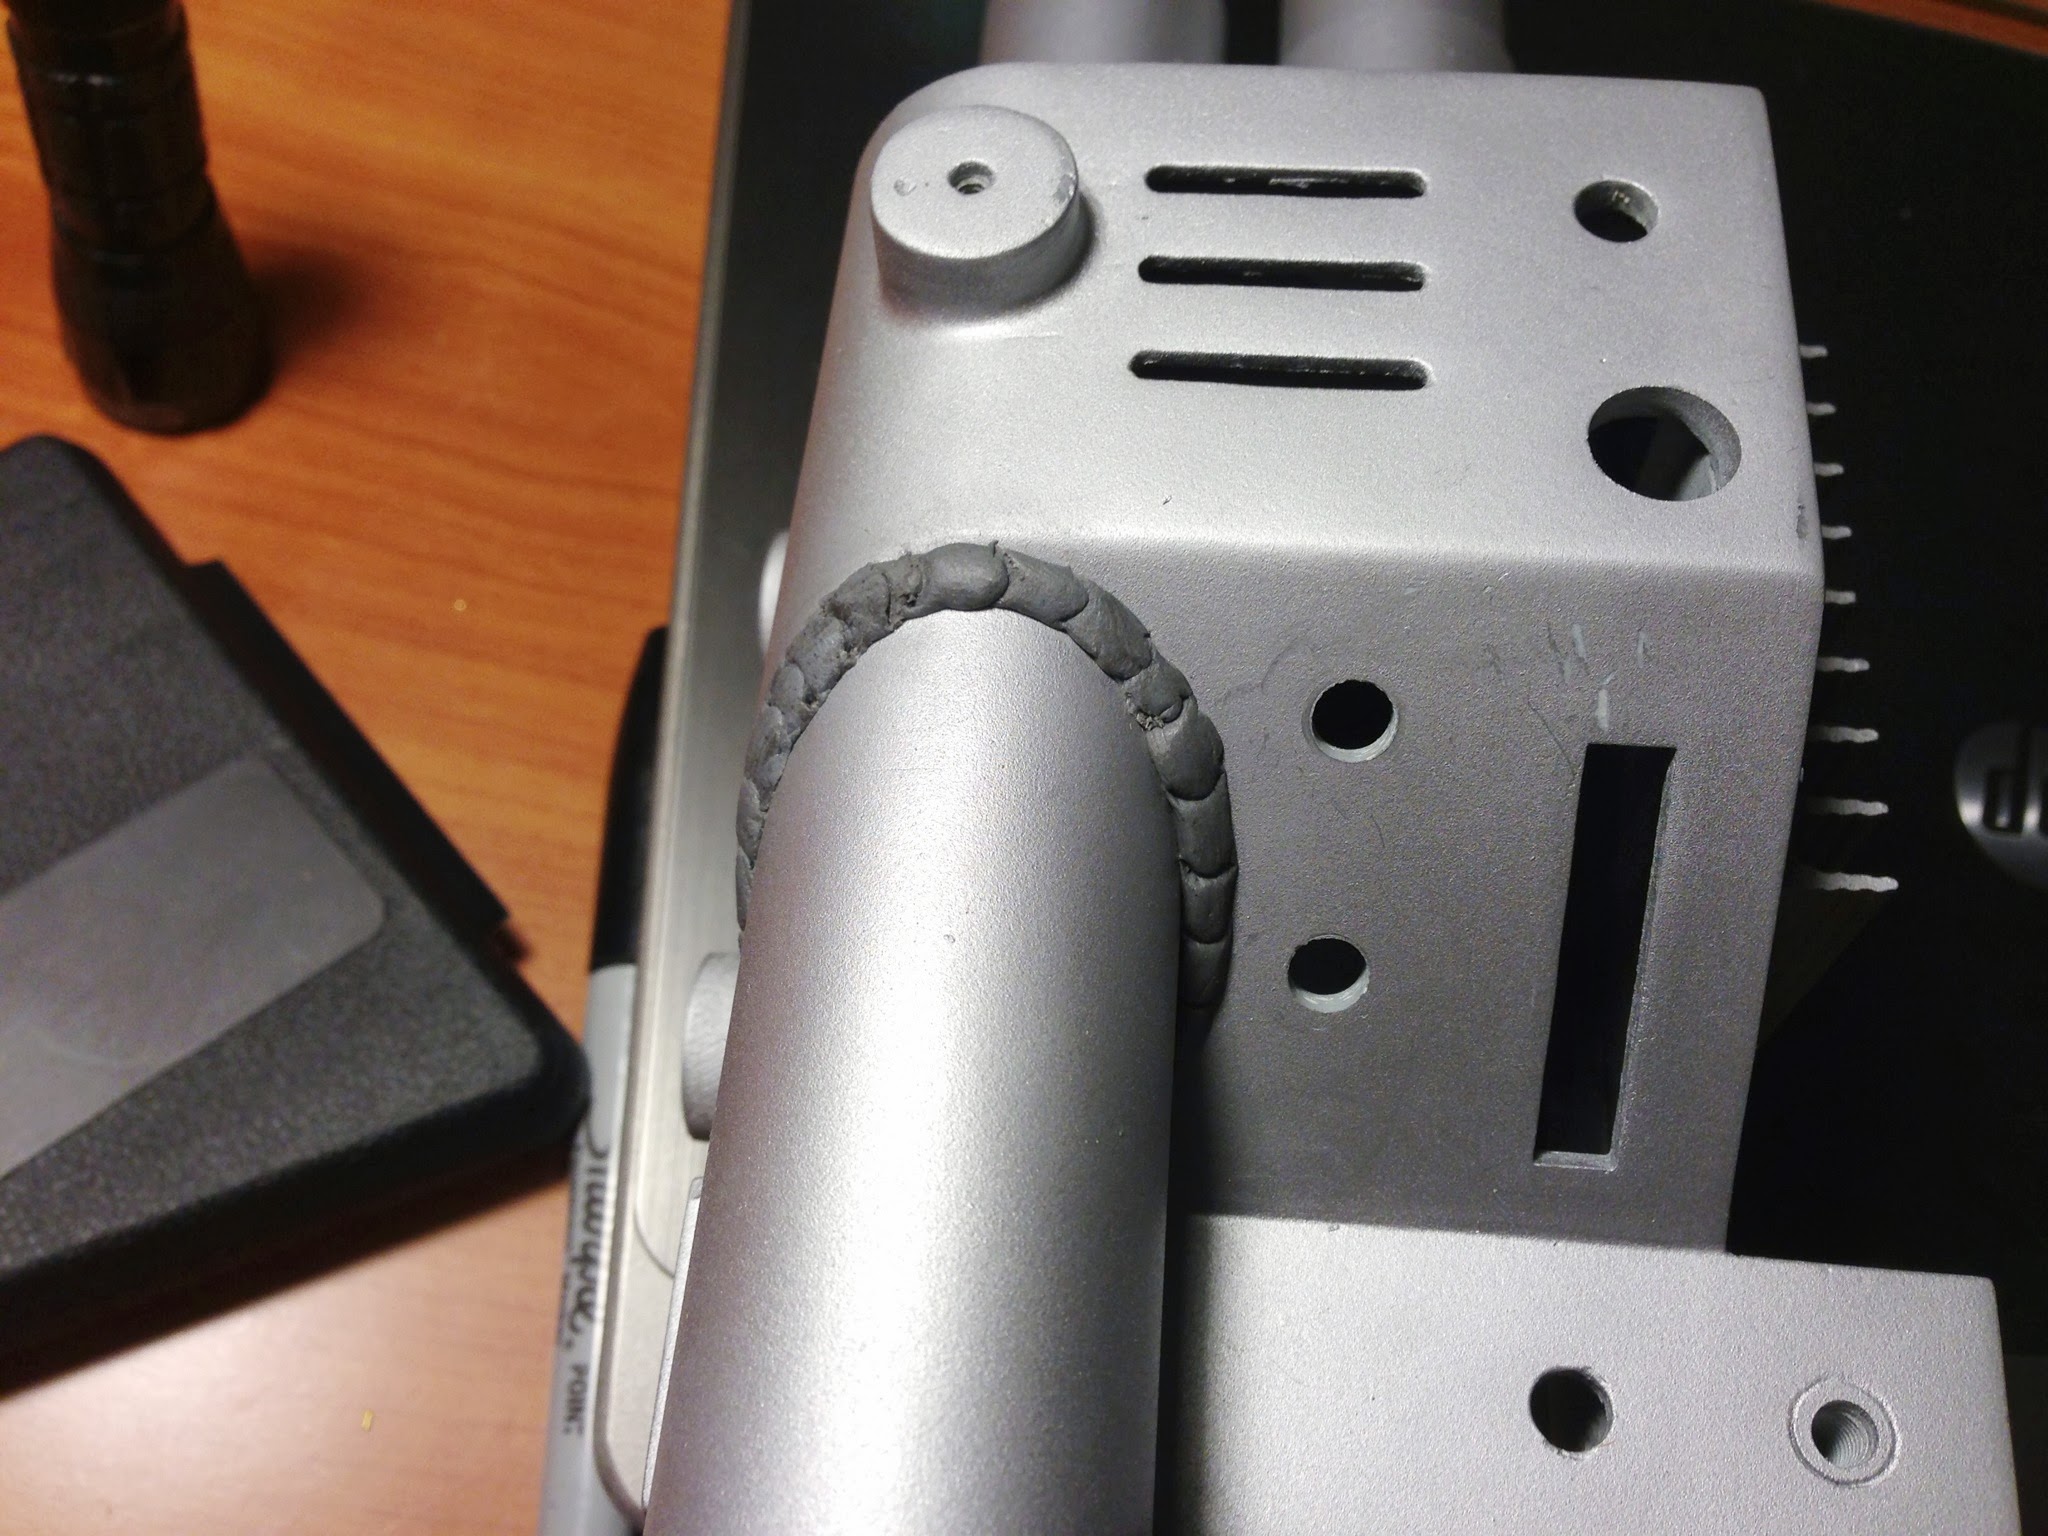
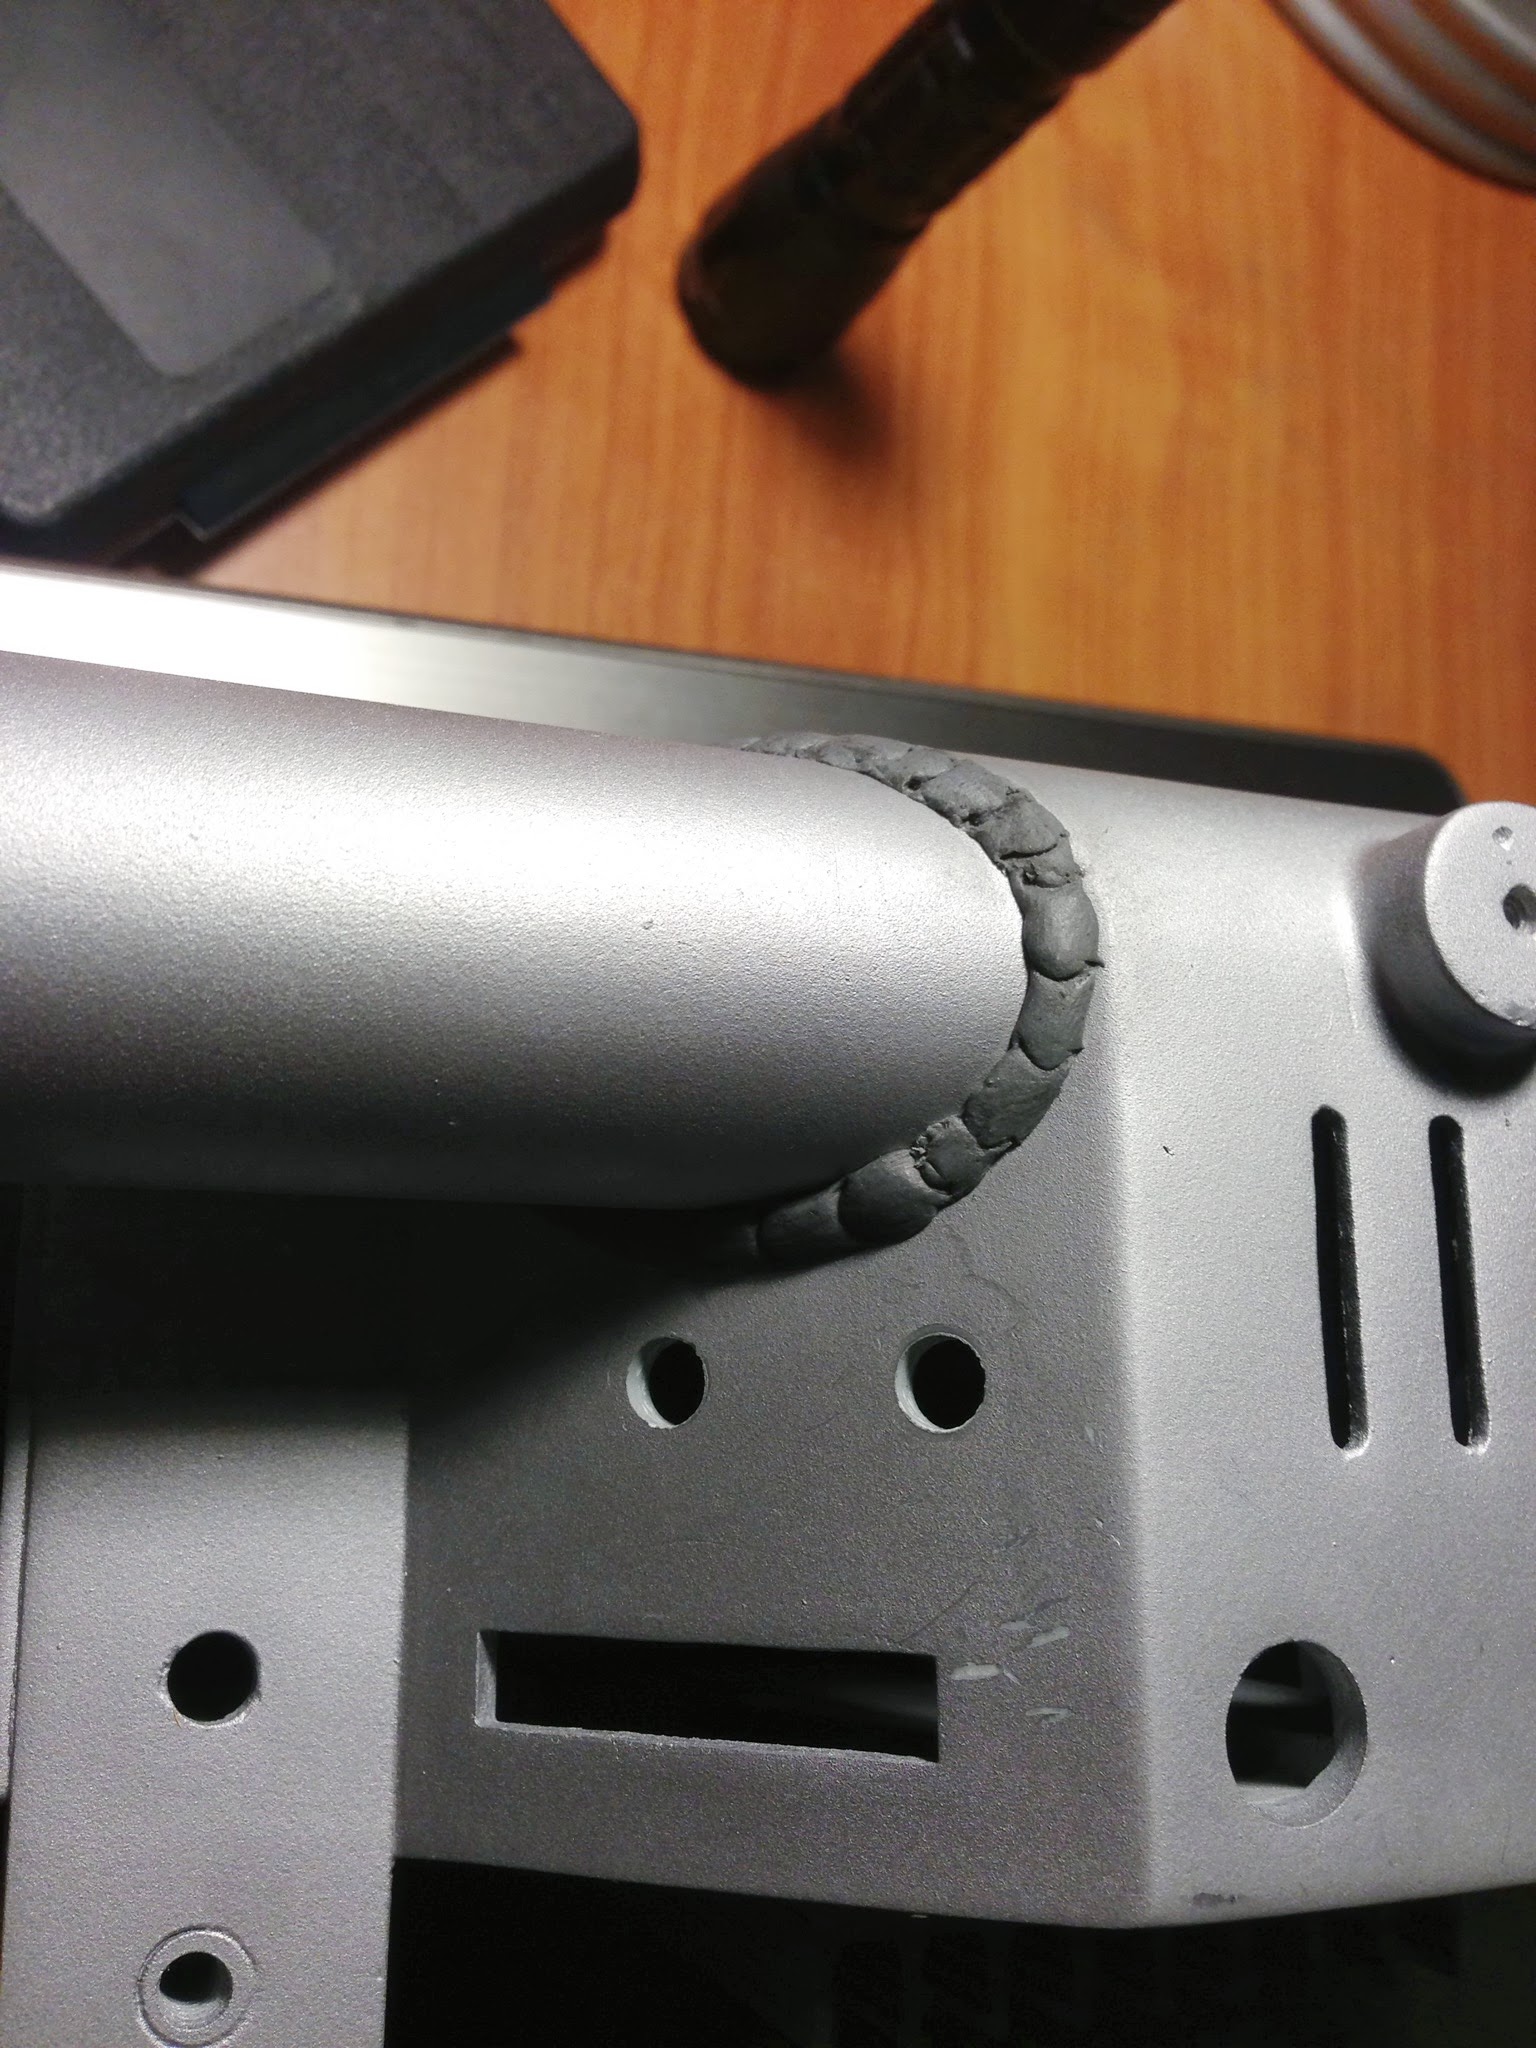
A slight update… I’ve written off using the front handle assembly I got with the TC3.0 kit. Out of no fault of the kits, I broke it irreparably and am giving up trying to fix it. I’ve ordered a metal handle and the needed greeblies from Nickatron to make a new one myself - hopefully it goes well with the TC kit! I’m a little nervous, but I can’t justify ordering a whole new kit for that bit.
I did, however, order a monsterous pile of parts - including the coupe de grace - a shell! Here’s a little screenshot of my parts list for an idea of what’s to come. We should get back underway as soon as my front handle parts arrive!
Here’s an updated parts list. I still need to track down a few things!
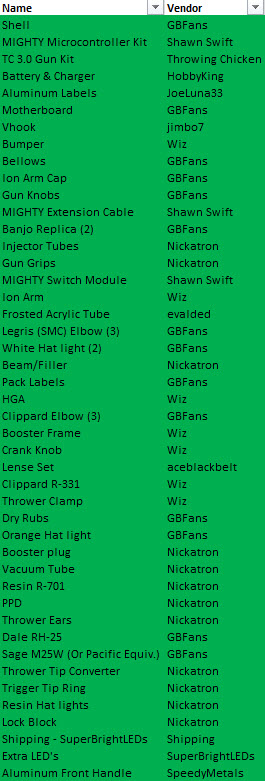
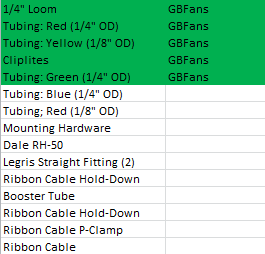
I probably forgot to put some stuff I’ve already got on the list, but if you see anything obvious missing please let me know! I’d rather get it now than realize I don’t have it when I’m in the building frenzy :).
As I rediscover that nobody appears to have found a non-Aluminum-yet-really-close-to-accurate replacement for the Booster Tube, I wonder why that isn’t being cast in resin. I suppose the thin-ish-ness of the walls and the amount of surface area makes it difficult.
Looks like it’s either spend-lots-of-money on an accurate bit or settle for 2" PVC. I value accuracy to a big degree - but I’m not trying to mimic any one pack or ‘type’ of pack - I’ll not be putting scratches in criss-cross patterns in one corner of one thing because one pack had it that way to be super duper accurate(That one is my next pack!). YET, I do want to be accurate insofar as the concept. I’m just not sure the booster tube, of all the components, is the one that’s worth splurging cash on. Price-of-materials wise it’s certainly worth the price, but I’m not sure what having THAT bit made of aluminum does for me beyond dimensions. I was thinking more like go for a ‘real’ HGA or Ion Arm, not the bland tube covered with bits. I guess, perhaps, I can grab some 2" PVC and ‘see how it looks’, then go crazy if it puts me in OCD mode. Sacrificing accuracy for $ is a slippery slope, though!
Well, there’s my rant for the evening. We’re getting to the fun stuff!!!
Ack…! My stuff was bad a few years ago! Sorry 'bout that. Looking good 
Is JBWeld/5min epoxy good enough to mount gun ears, or should I try and find a way to screw them in (I can’t really think of a good way to do this without interfering with acrylic barrel’s movement)? Is there a super clever method for this I’m missing in my forums searches?
Looking good! If you want to do shrink tube over the front ear do that mod I told you about.
Thanks!
Unfortunately I exploded my front assembly :(. Going to have to start over on that aspect.
2" schedule 40 PVC should be virtually indistinguishable from a metal piece. Accurate OD is 2.5 inches, and the PVC option is 2-3/8 inches OD. So when looking at the pack from the back, it would only be off by 1/16 on each side.
So is it accurate.. well NO, and I understand the desire for accuracy. However there are many other places on the pack to spend your money where it would make a much larger impact.
As a third option, you can get clear acrylic tubing in 2.5 inch OD with a 1/8 inch thick wall, which is perfect. It is relatively cheap. The only issue is this is not generally something you can find in most stores, and a special order may require a minimum purchase, such as 6 feet of the stuff. You could always get creative by buying more than you need to fulfill the minimum, then splitting it up and selling the extra off to friends.
Thanks! Haha, in your defense I didn’t know how to clean much up back then :). You got it to me right before Halloween if memory serves, I was stoked to find one so last minute after my styrene build went SPLAT.
Thanks for chiming in! I think I’m going to go the 2" PVC route and, if I get everything together and aren’t satisfied with the results, then consider shelling out for a super accurate aluminum piece. It’s good to have someone agreeing with me that it won’t be noticeable! I i already have nightmares of going to DragonCon next year and being made stand in the back of the line because my booster tube is wrong. :oops:
The most important thing to remember (other than don’t cross the streams) is that your pack is for you. If you want to use an aluminum booster, then do it for the personal satisfaction of knowing it is the utmost accurate, not for anyone else’s benefit. Personally, I am an accuracy nut, but at sometimes cost is a factor in these decisions, and there is no shame in that. How many people are going to pay over $1000 to get an aircraft-grade bargraph in their thrower? It’s the only truly accurate option, but not many people are going to do this.
It is my opinion that as long as you know the rules, it is OK to break them. Meaning a build does not have to be 100% accurate as long as a conscious decision was made as to why a particular piece is not going to be accurate and not due to lack of research or laziness.
No one will blame you for choosing PVC and most wouldn’t even notice unless they examined the thing pretty closely. In my opinion, a 1/16 inch difference on each side of a curved tube which is painted black, against another surface that is painted black, and mostly covered up by other dodads is not noticeable unless you break out a measuring tape. The inner diameter may be something like 3/16 off.
After a short break to get married and cruise the Caribbean, I’m back to building! My lovely mailperson had a horde of goodies waiting for me on vacation delay, too!
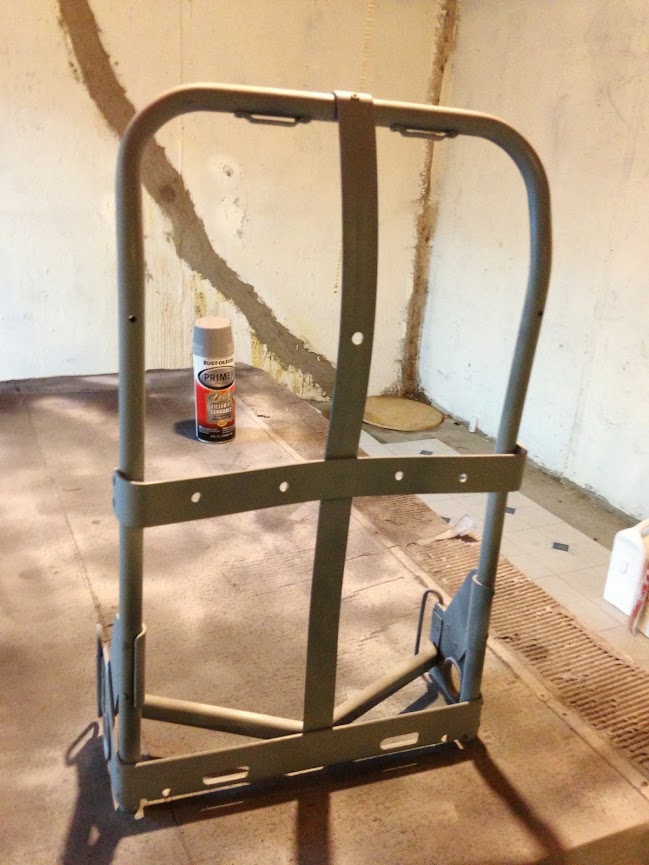
First, catching up on build stuff I did whilst hiding from wedding prep. Nothing too major, I got the old alice frame stripped down and primered, then drilled the center-line hole and got the requisite hardware together for mounting. This is an LC-2 frame and the extra holes used for mounting my old budget pack are fairly obvious. I’m hoping it won’t detract too much from the finished product, but the frame is something easy to swap out later when I find a good deal on an accurate, not-so-holy frame! 
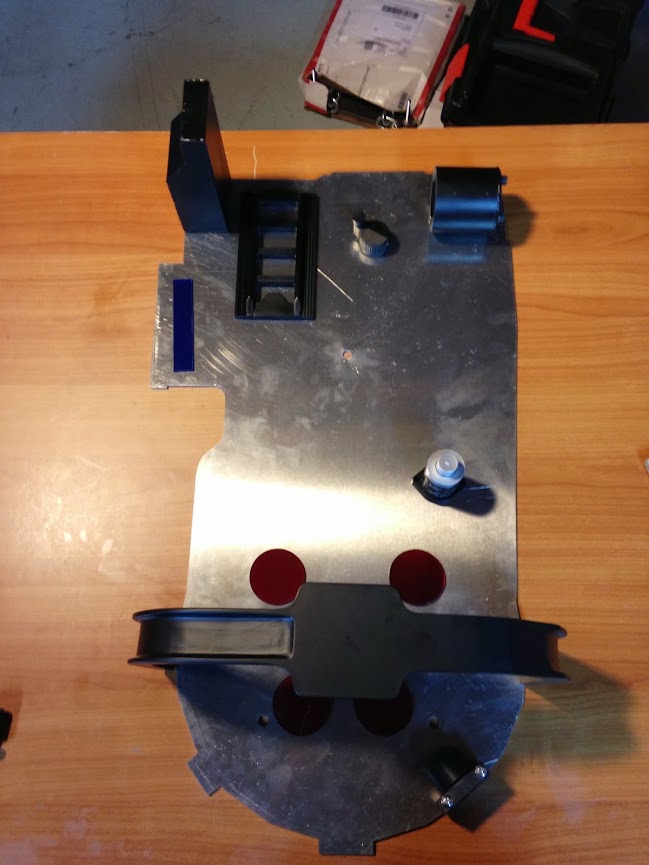
I recieved my motherboard a few days before splitting - here’s the kid-in-a-candy-store-without-any-money mockup.
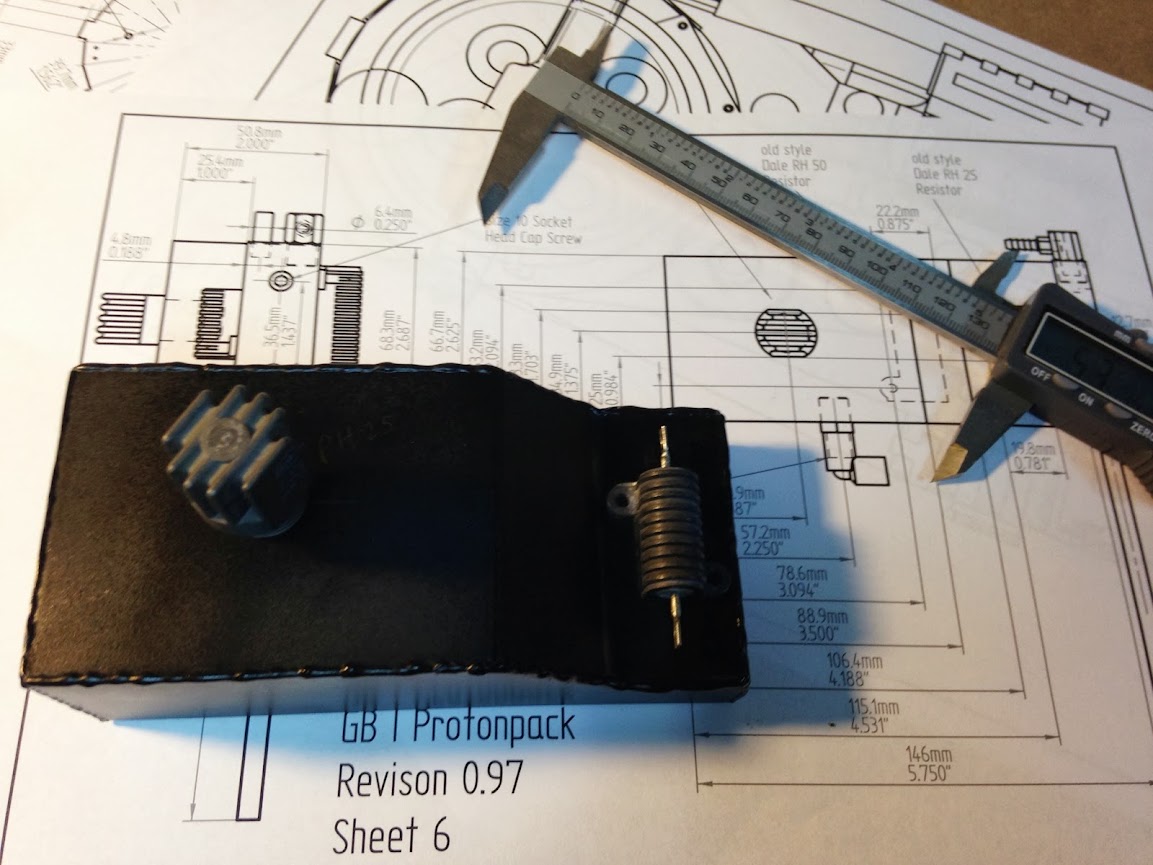
I’ve also started marking out drill points for greeblies, using Stefan’s plans as a general guide. I’m going to have to go shopping to find a bit for the PH25!
This was waiting for me today courtesy of vacation hold and the GBFans Shop! It’s a beautiful thing seeing a shell for the first time. AJ, Bigi, Vincenzo & co. have collaborated to make a really amazing shell. Not much work will be needed on it and only a minor bit of warping in the cyclotron to contend with.
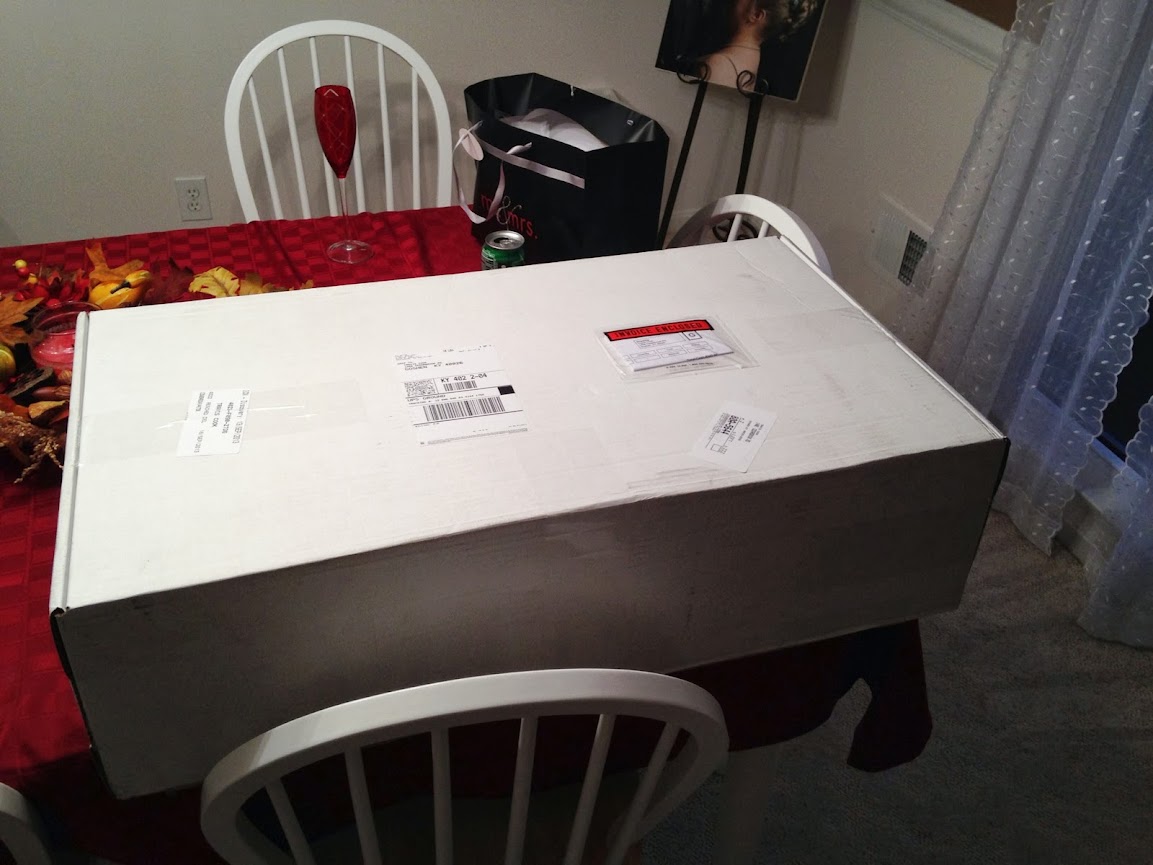
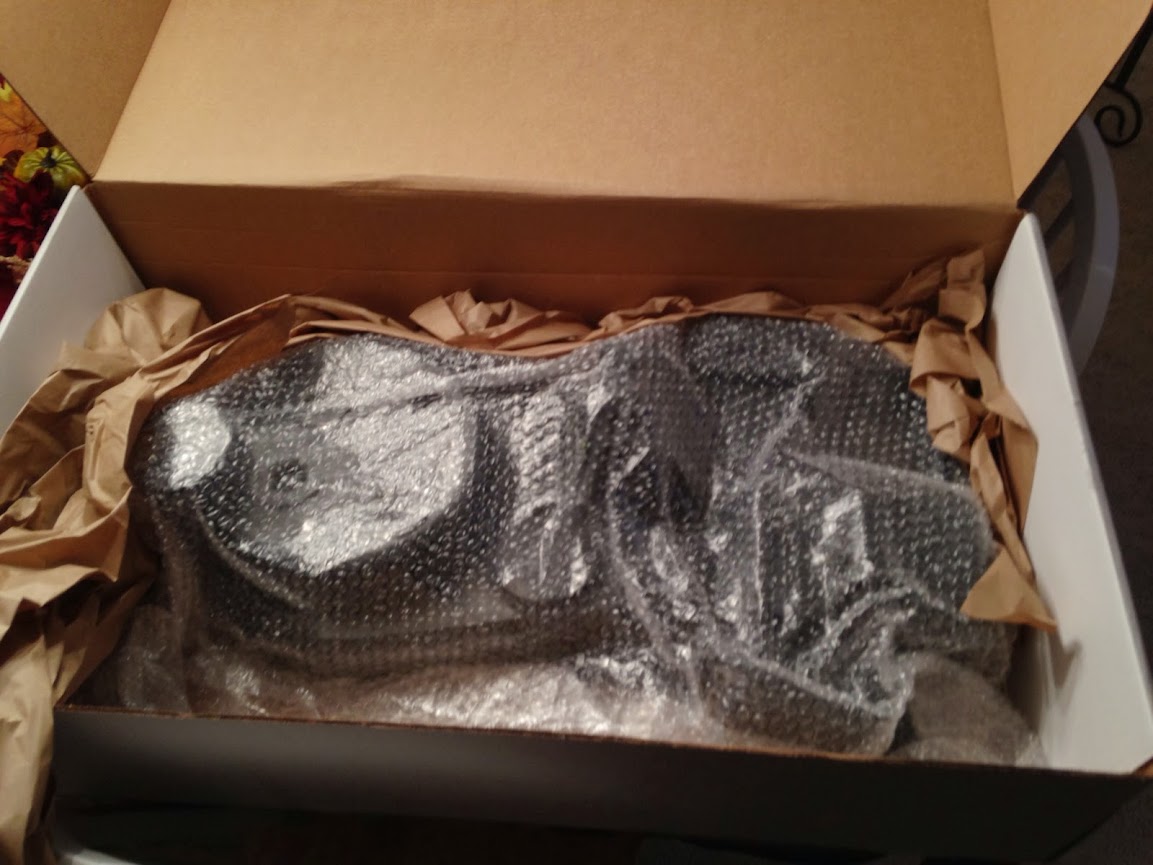
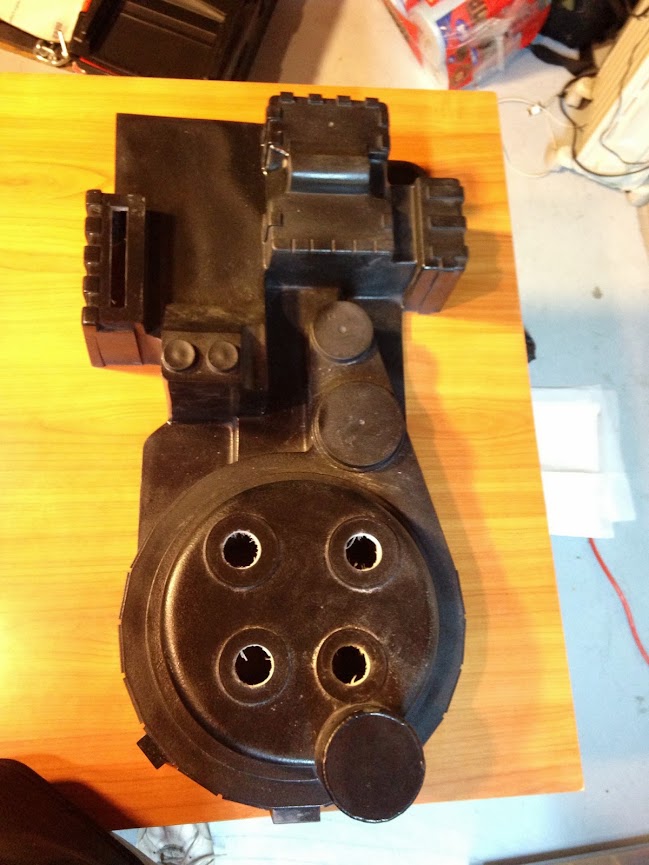
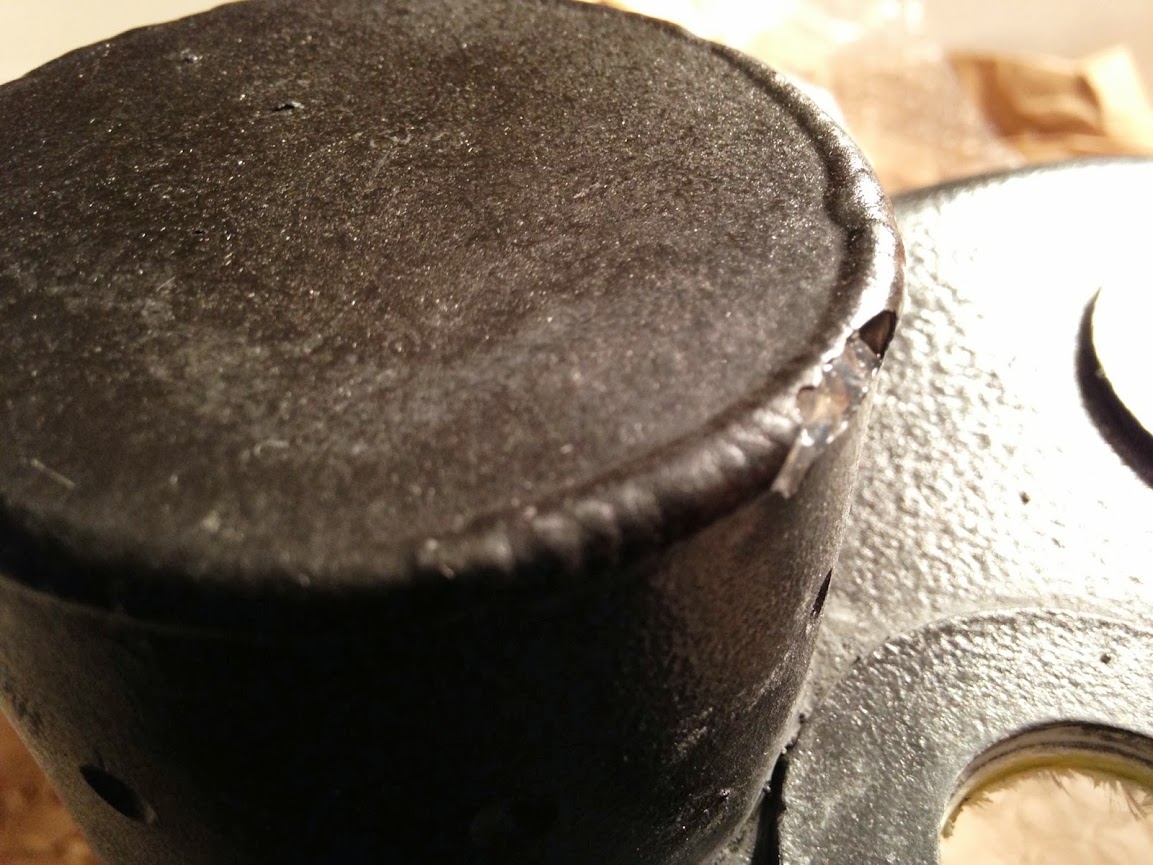
I’ve started fitting it around to get some ideas of where to go next once she gets a bath. A few challenges to note: Looks like the n-filter weld got a little damaged on the pull. Should be fixable with epoxy putty, I just have to be careful not to make it look out of place! I get a little more confident with the stuff after every task, but it’s still a scary job!
This one I’m not sure about how to proceed beyond hope it goes away once everything is bolted down. There isn’t any statistically significant warpage on the back of the shell, but the cyclotron has ‘drooped’ inward a bit I think, unless this is intentional! It’s not super noticable, but I’m hoping it’ll shore up when things are mounted. Is there anything I can do to help this? Am I just displaying OCD tendancies in worrying about it?
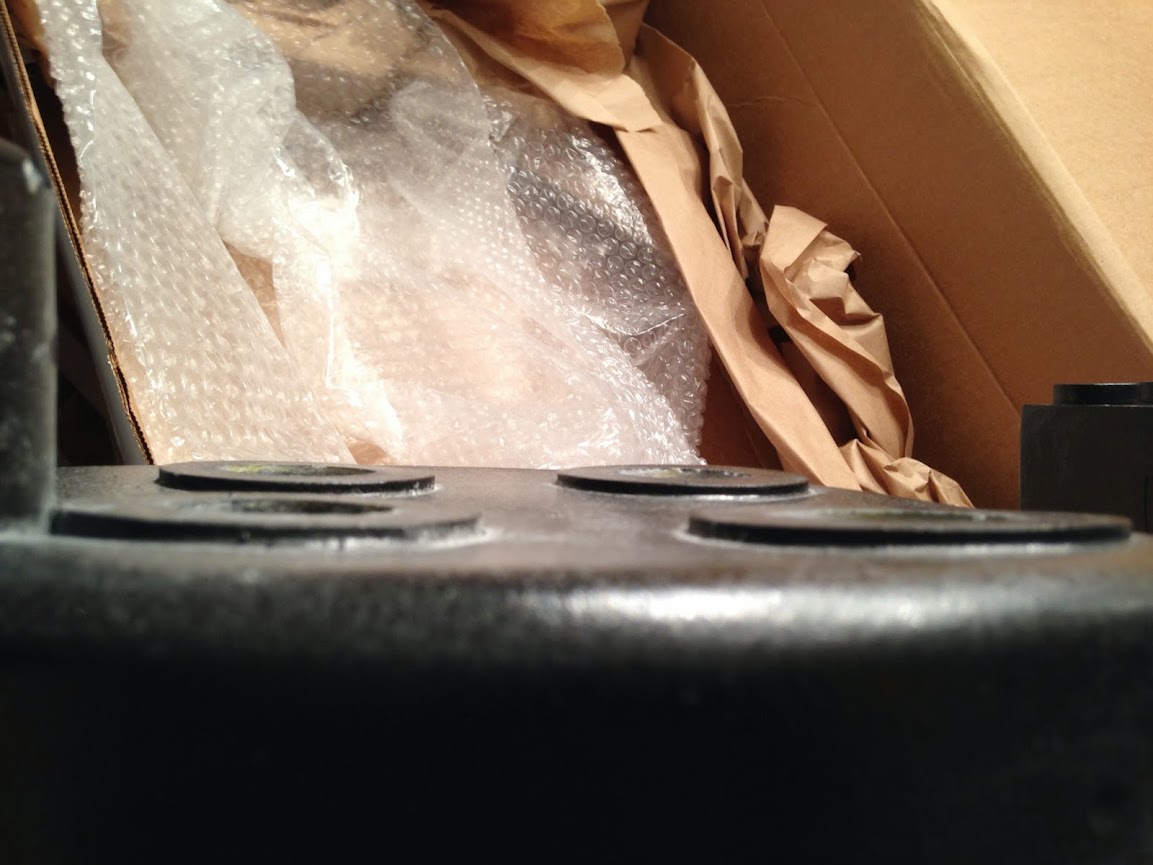
Hard to take pictures of it, but we’re looking at bout 3/16th at the tallest point. I’m ■■■■■ clueless when it comes to fibgerglass, so input welcome!
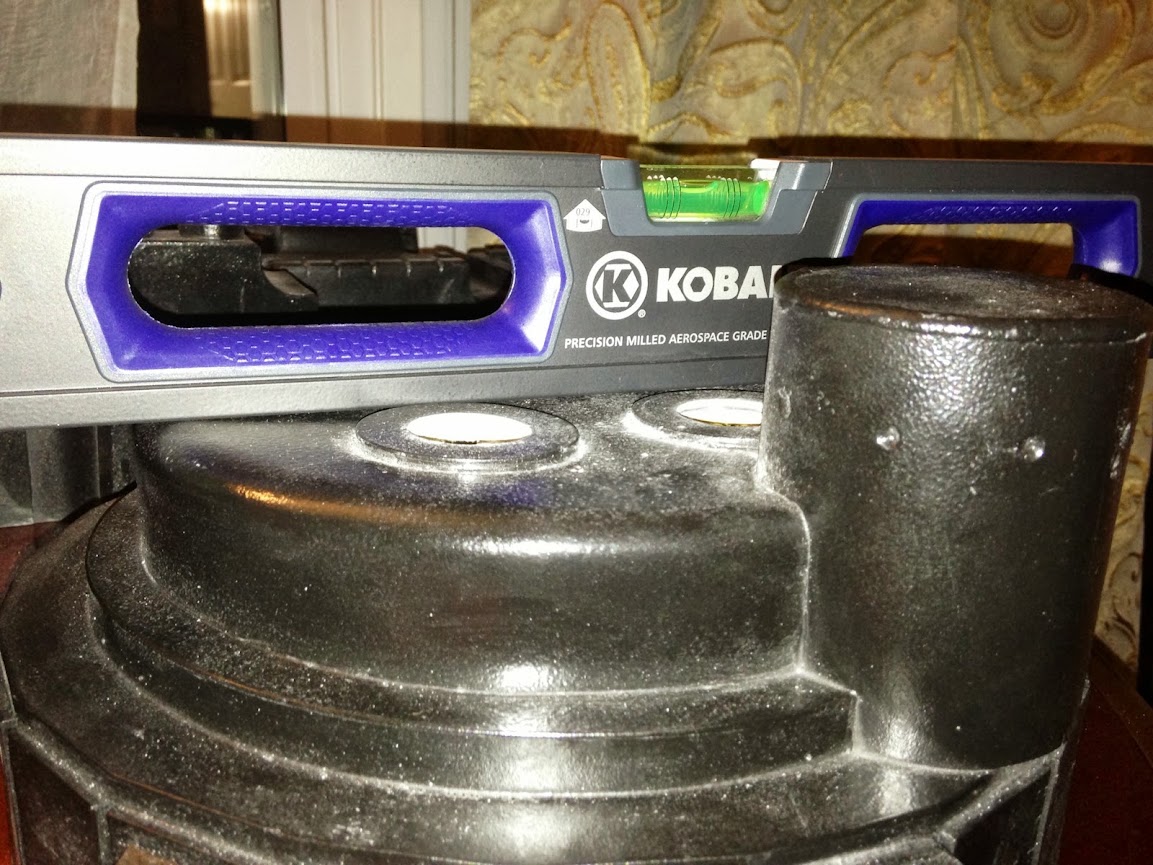
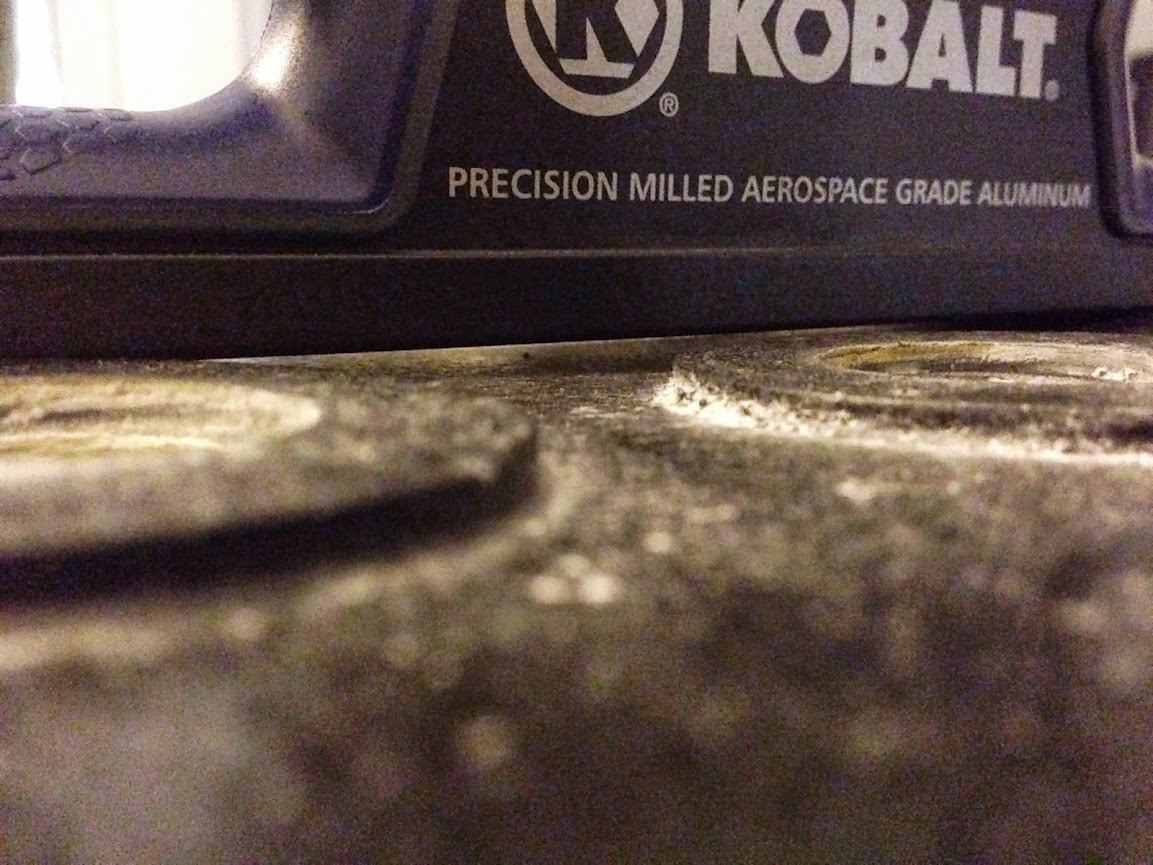
I’m also scouring various builds and finished packs to get an idea for where exactly the motherboard should overhang the shell. Does this look about right to you experts? I ‘evened up’ the right of the shell body, and the bottom of the projections on the sync gen leaving overhang up top and on the left side.
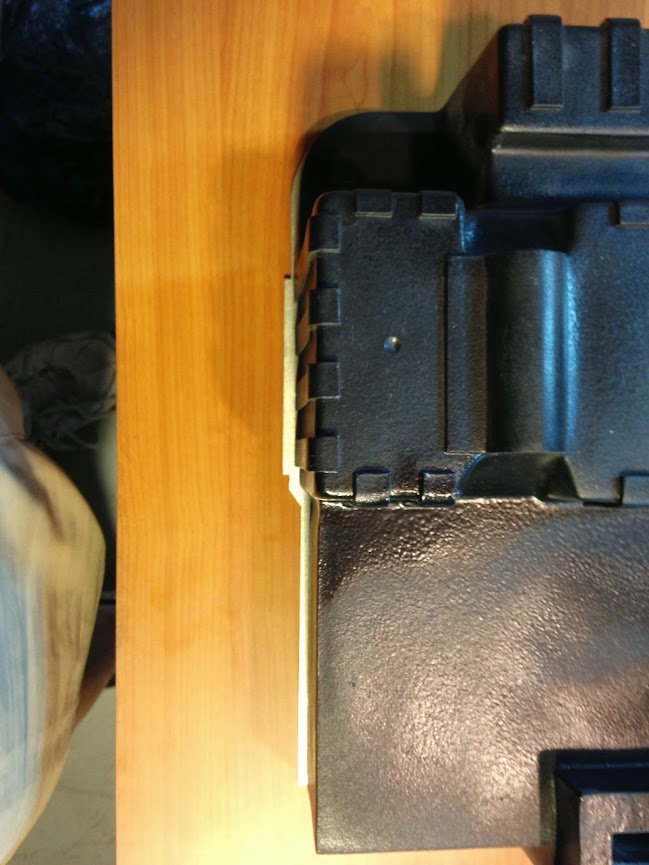
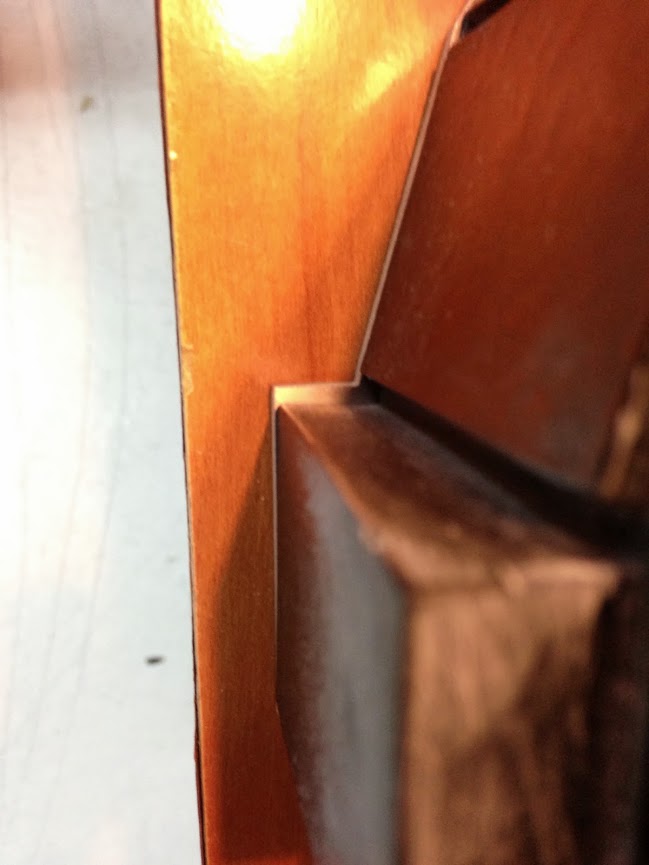
Test Fit:
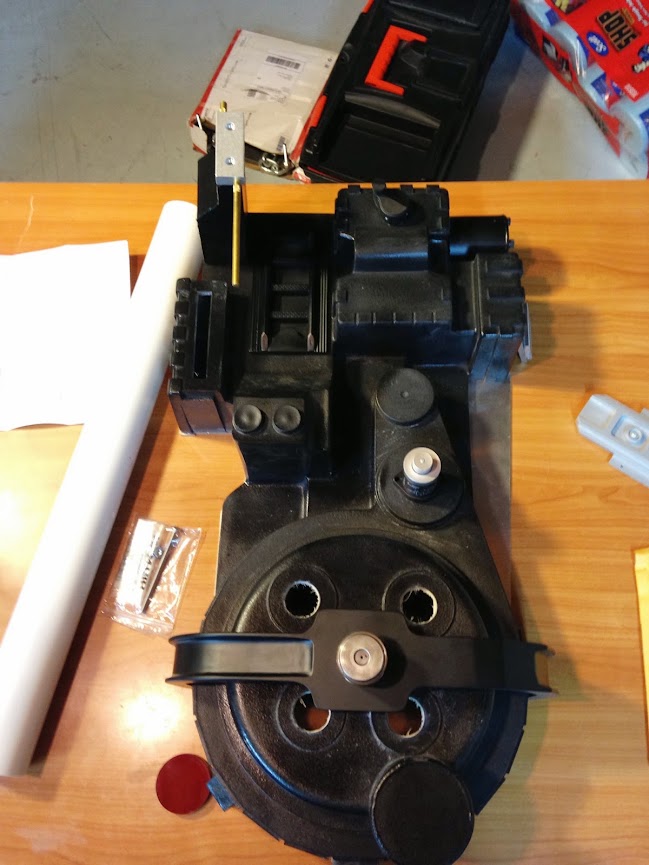
ThrowingChicken sent a replacement for my gum-up of my front thrower assembly. Thanks TC! Also got one of Gekx’s nifty hardware kits. I’ve got everything I need (theoretically) to start really finishing the thrower except a trip to the hardware store. Just waiting on a shipment from Nickatron on the pack and I’ll be 98% there!.
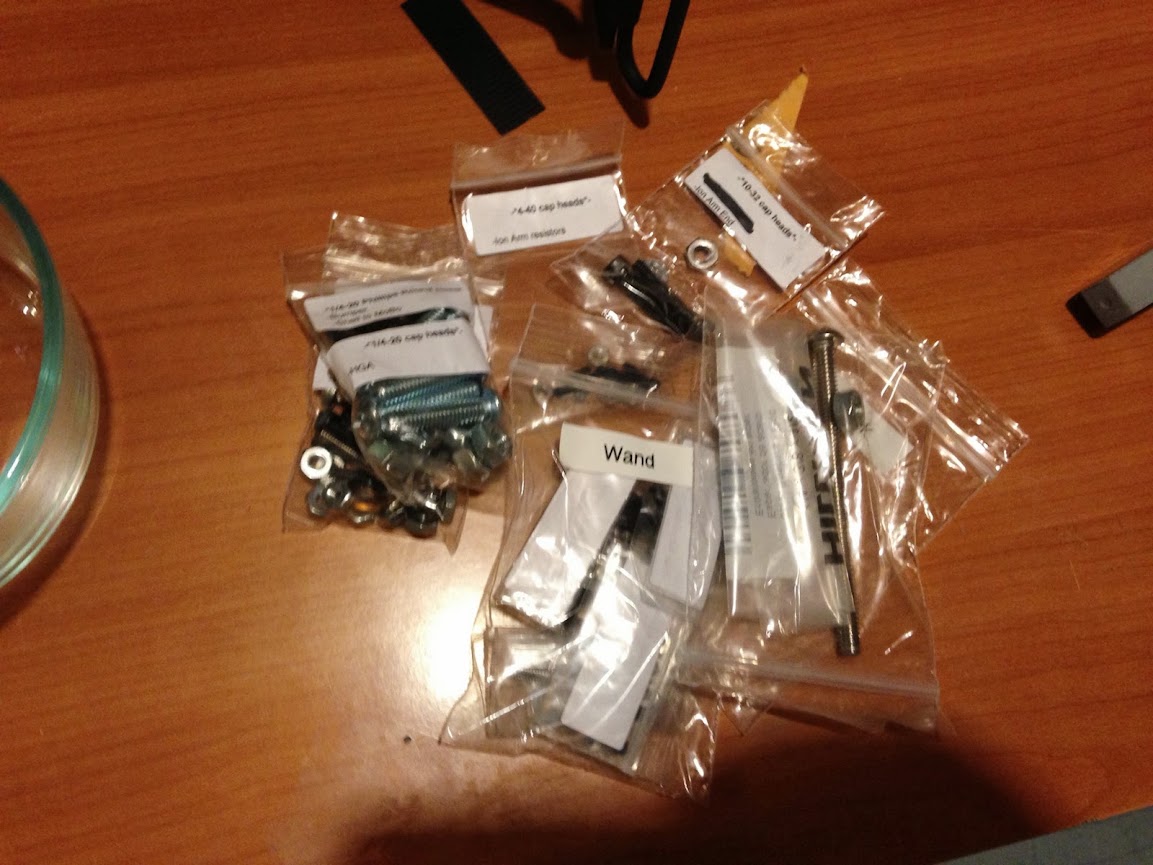
Back on the build train…
Started simple first, cleaning up my cyclotron holes. There’s a little gel coat chipping on one that’ll need some love later, but I’m going to wait until all holes are drilled just to be safe ;). The lenses seem to be a little bit too deep to my novice eye - I think it should be around 1/4"? I discovered the magical 1/4" number only recently so I’ll have to measure when I get home. Sanding the inside of the shell to a uniform 1/4" does not sound fun at all. I’m still scared to move the thing. The adventures of packbuilding - Meep!
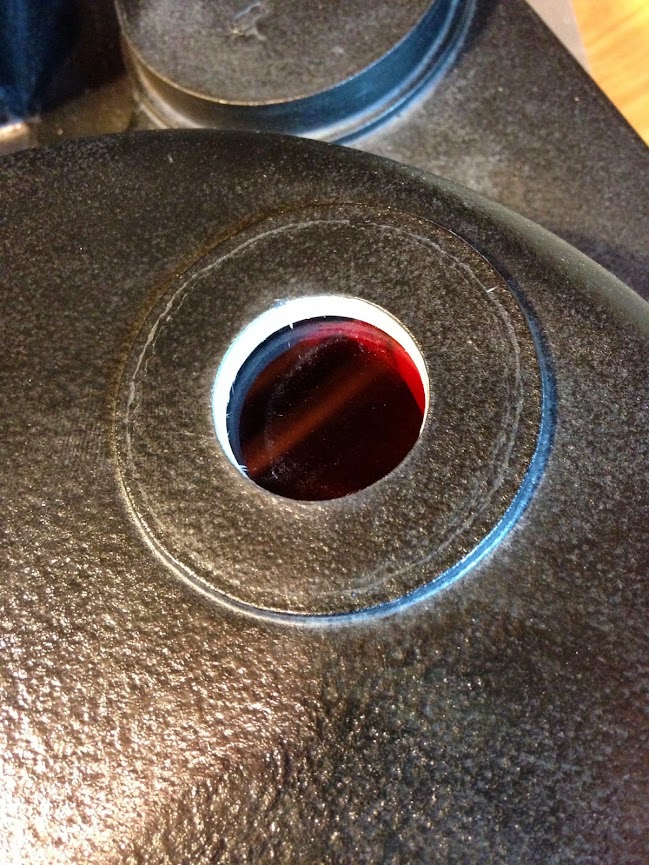
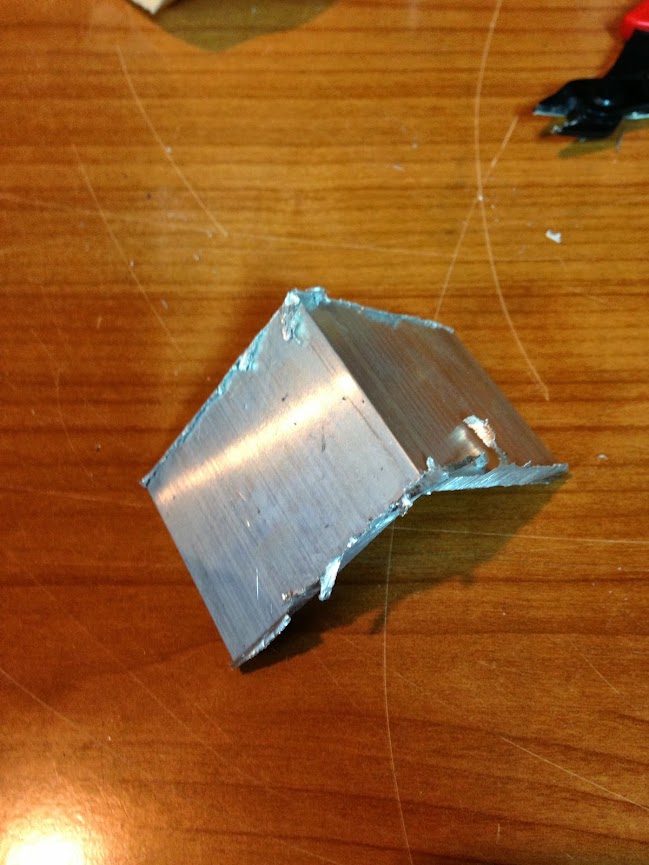
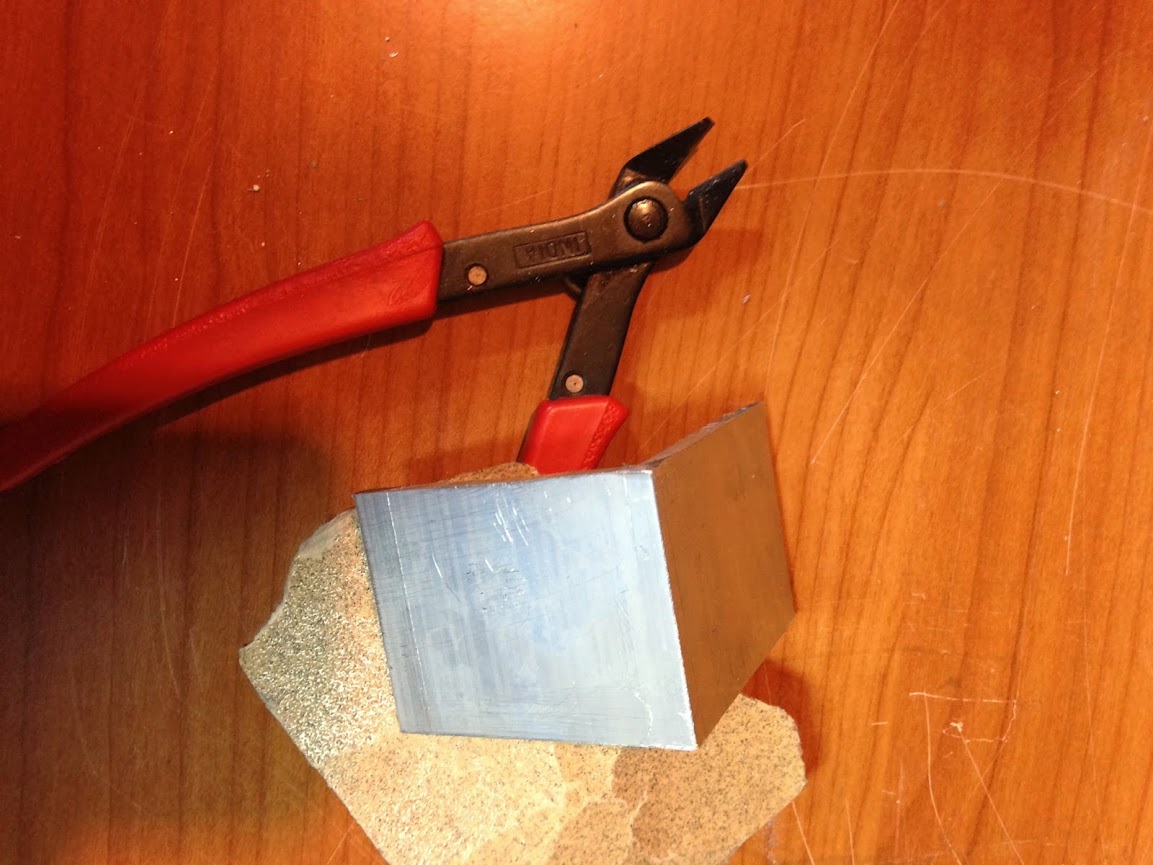
I grabbed a metal cutting disc for my miter saw and made some mobo mounting brackets from the 2" L stock. I made two 2" brackets and two 1.5" brackets respectively. Lots of chip welds, which were somewhat expected, but they cleaned up nicely with a flushcut snip and some sandpaper! I’ve still got a ton of L stock left. I may have to have a leftover-supply-rummage-sale once I get this thing built…
I also got my booster tube cut and ready. As discussed ad naueseum earlier, I’m going the PVC route for now. To find the angle I didn’t go with any definite measurement - I just used a nifty toy I found at one point in life. I think this came from a flea market somewhere. Basically, I put it on the frame and locked in the angle - at this stage you could read it, but I’m not sure how accurate the scale is - it’s not an expensive tool :P.
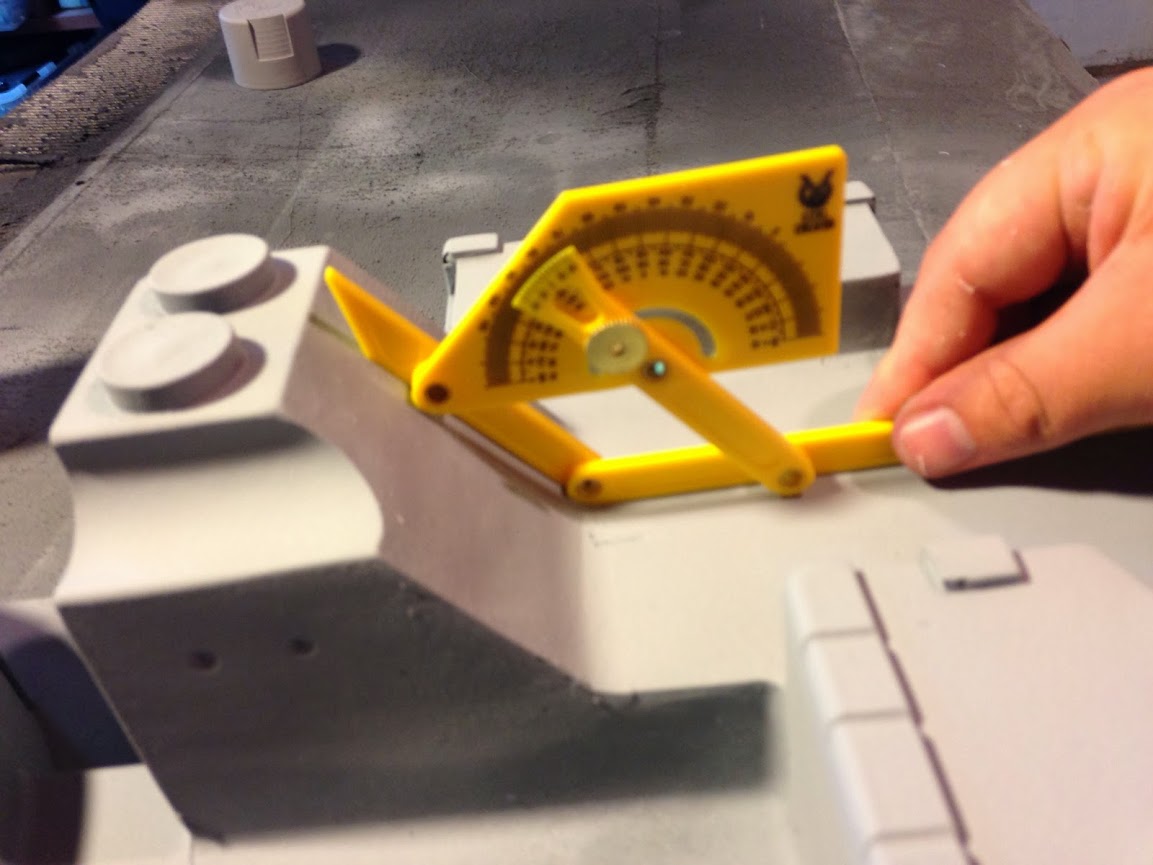
With the angle locked in, I took it to the miter saw and made it exact. One cut, and bam - perfect flush fit. Just chopped off the extra to leave a little overhang.
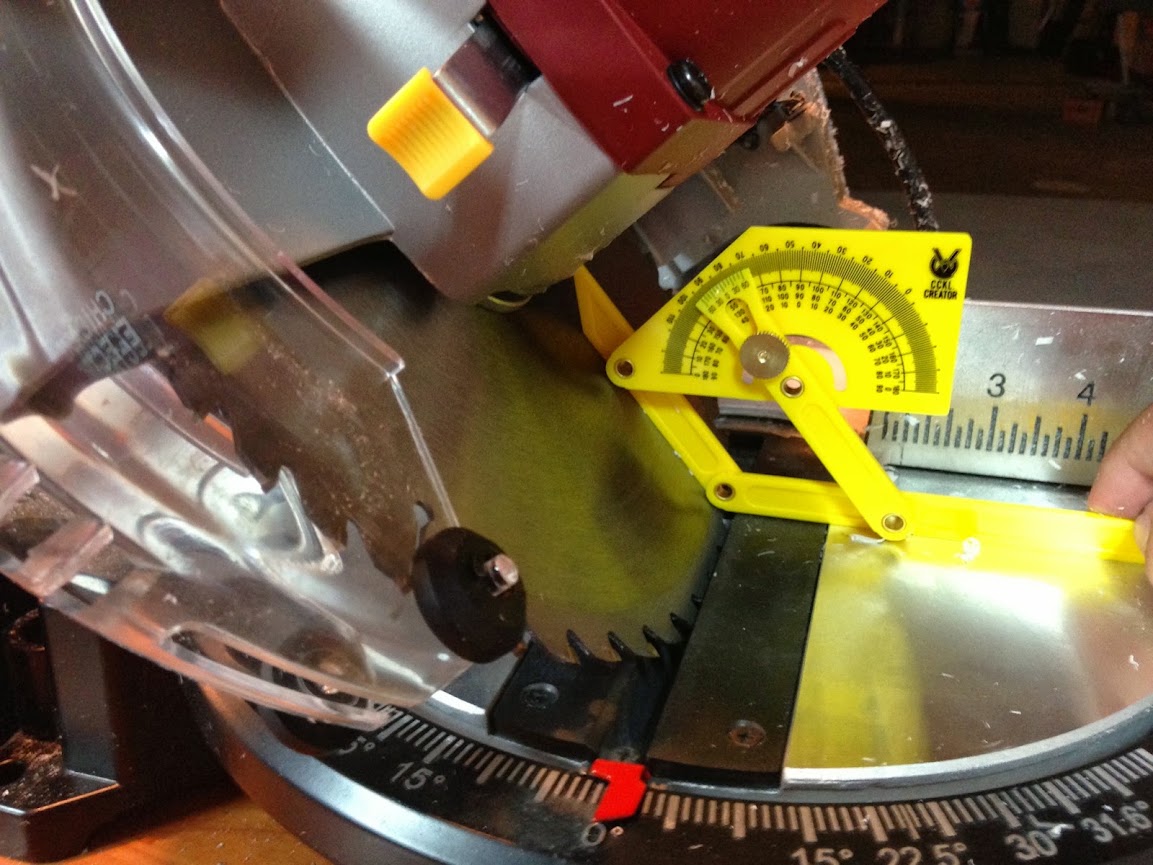
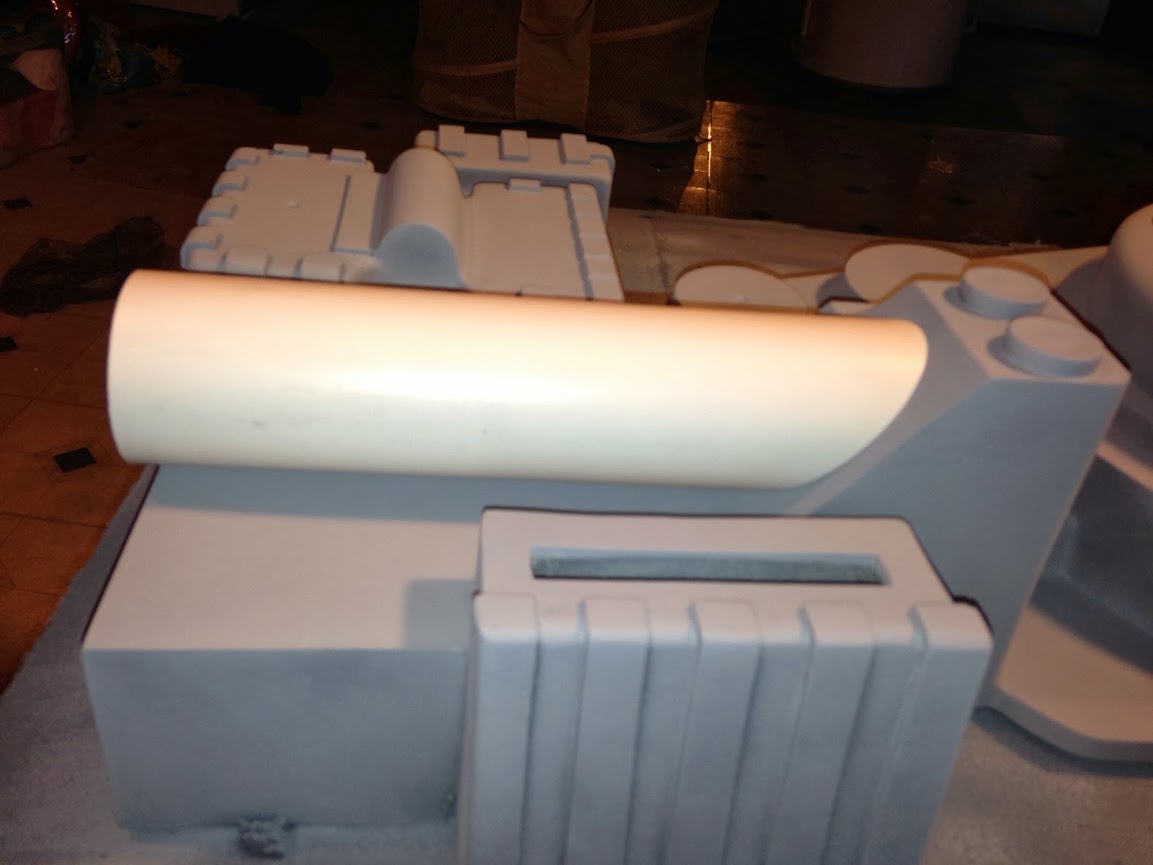
With my immediate mitering needs out of the way, I went back to working on the thrower now that I have all the bits.
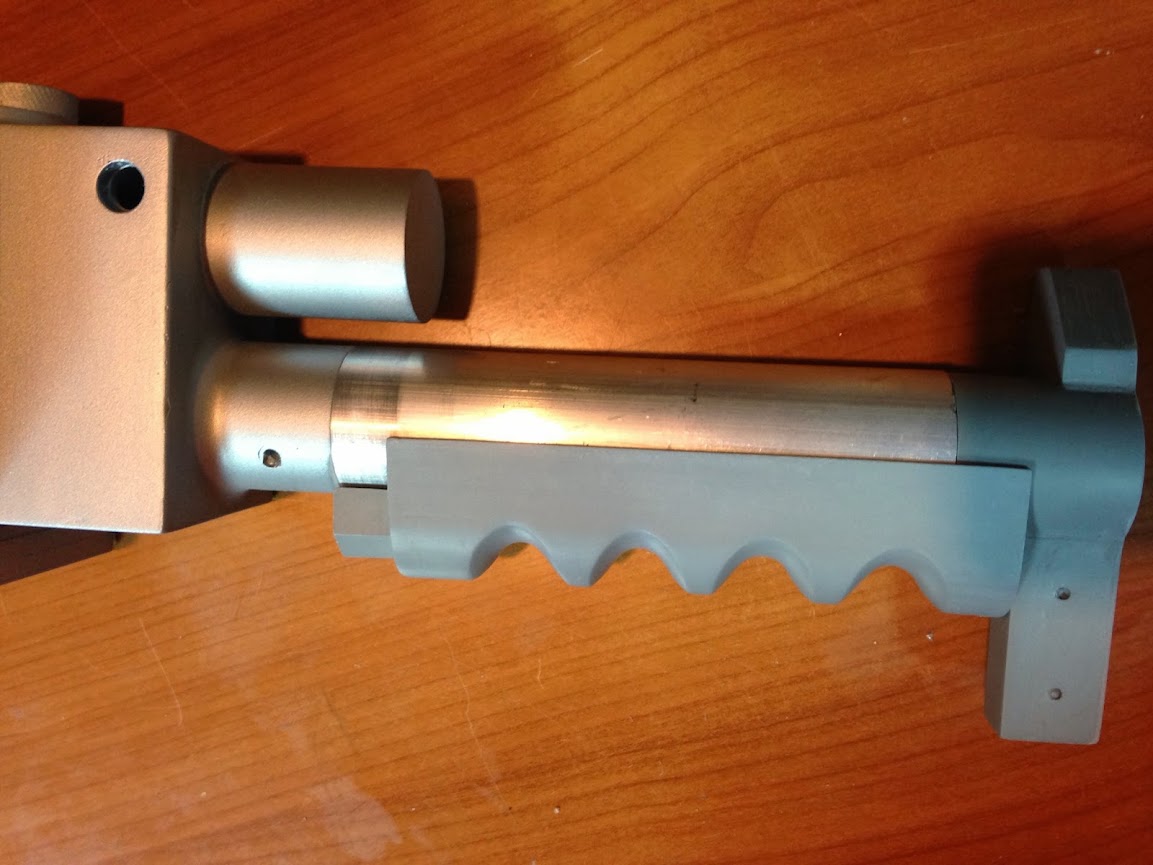
Making everything fit on the gun ear has been a fear of mine, so it was time to tackle it head first. First, the requisite banjo bolt hole and the wire access hole (visible from the inside - it got widened a little after this pic!)
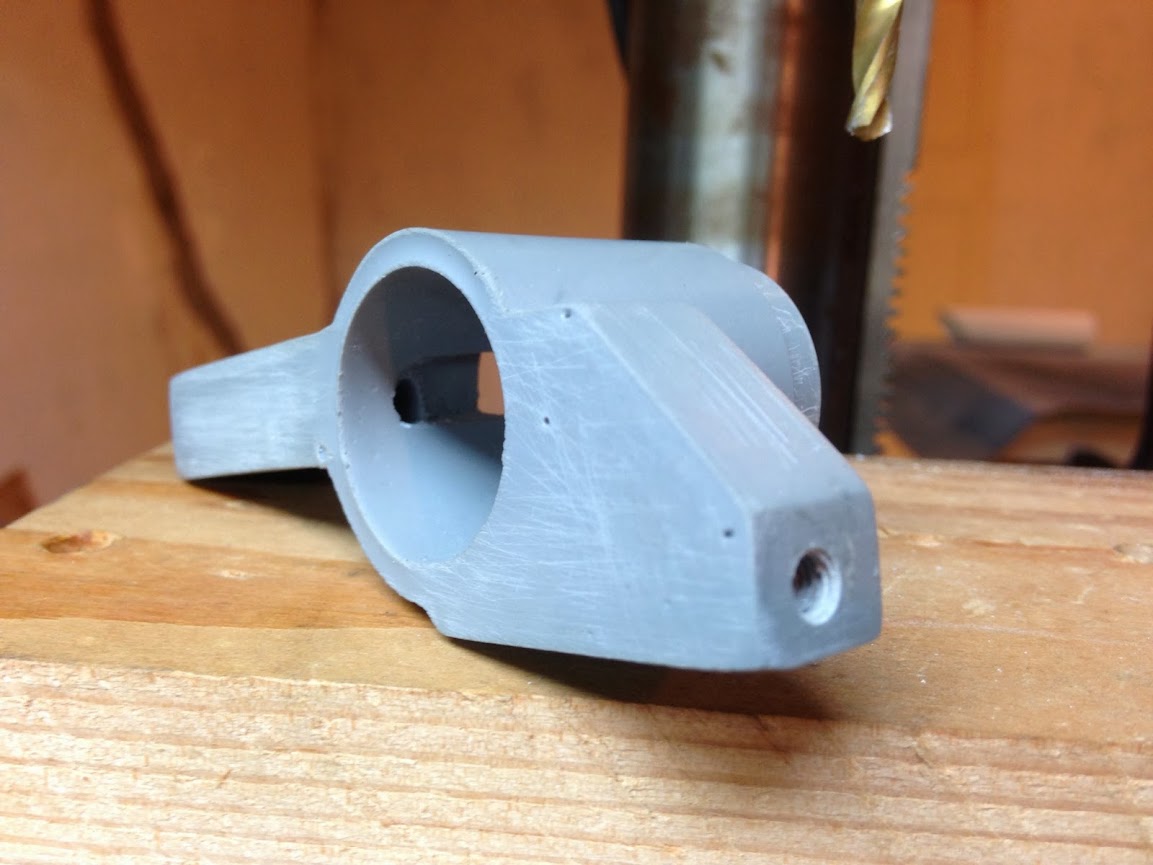
I started out drilling pilot holes at each dimple.
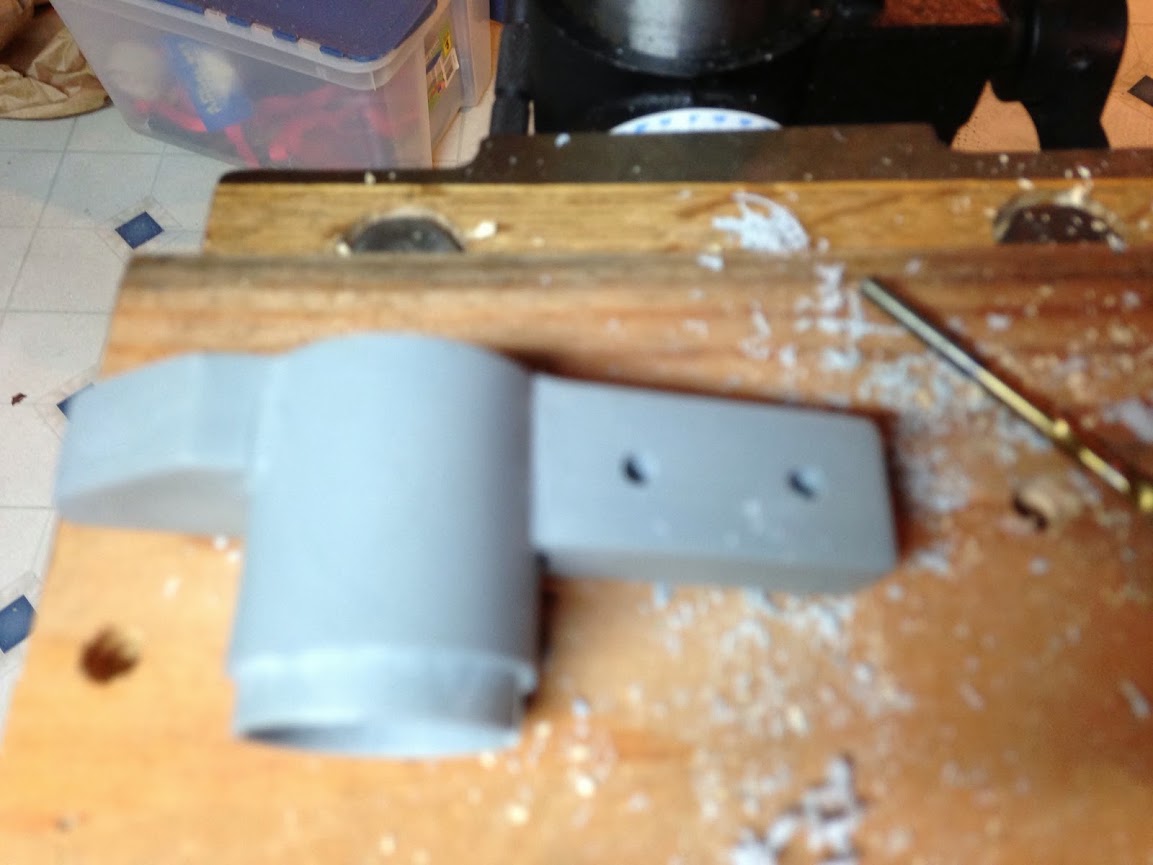
The strain being placed on the ear as the drill pushed down (and my hand on the other side anchoring it) made me nervous as a chipmunk, so I grabbed a piece of scrap and wrapped it with painters tape until it was a nice snug bed for drilling. Made life much easier! With everything nicely supported, I drilled progressively larger holes in the ballpark of the hat light until I found a nice snug fit.
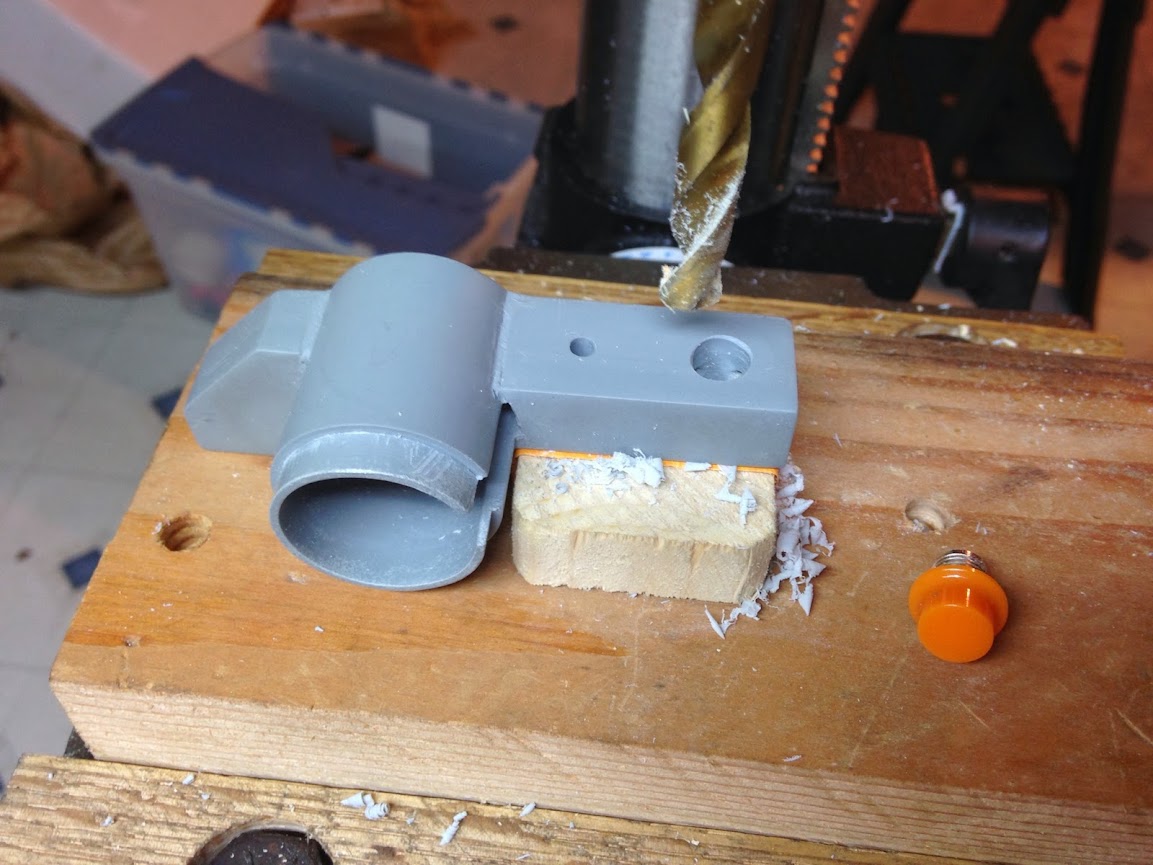
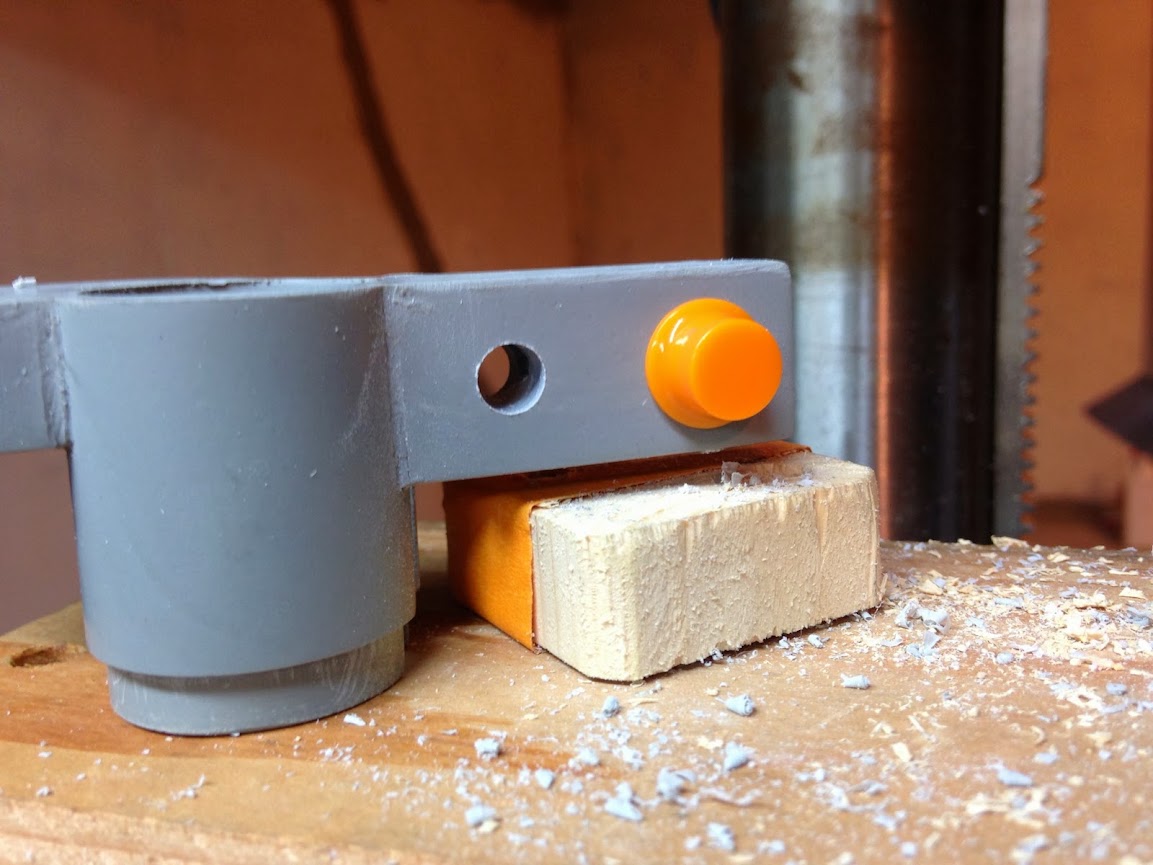
The hat light was not bad, but the switch I recieved is a little tricky to mount in this application, where I don’t have a thin panel!
The switch itself mounts into a 1/4" hole so I widened my pilot hole to fit that, then flipped it over and drilled what seemed at the time to be a GIANT counterhole to seat the body of the switch in (with a very low-tech support for this side, too!). Once i found the right size. I slowly incremented it forward until I found a good height for the switch. I think it’s the best that I can get with this particular switch.
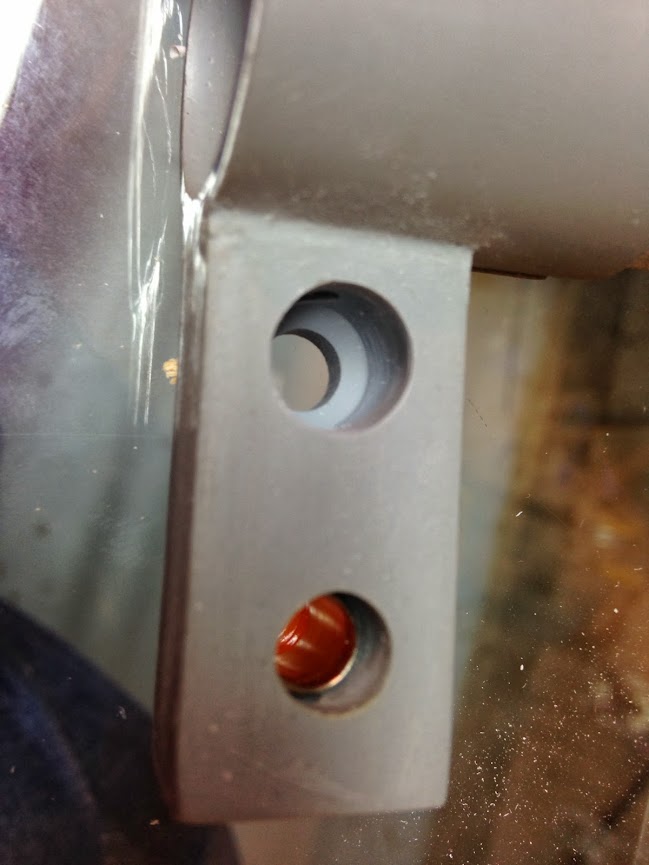
The switch is a pretty snug fit so I could not run the wires through to the inside (where they’ll route down the grip), so I just popped a second hole in for easy access.
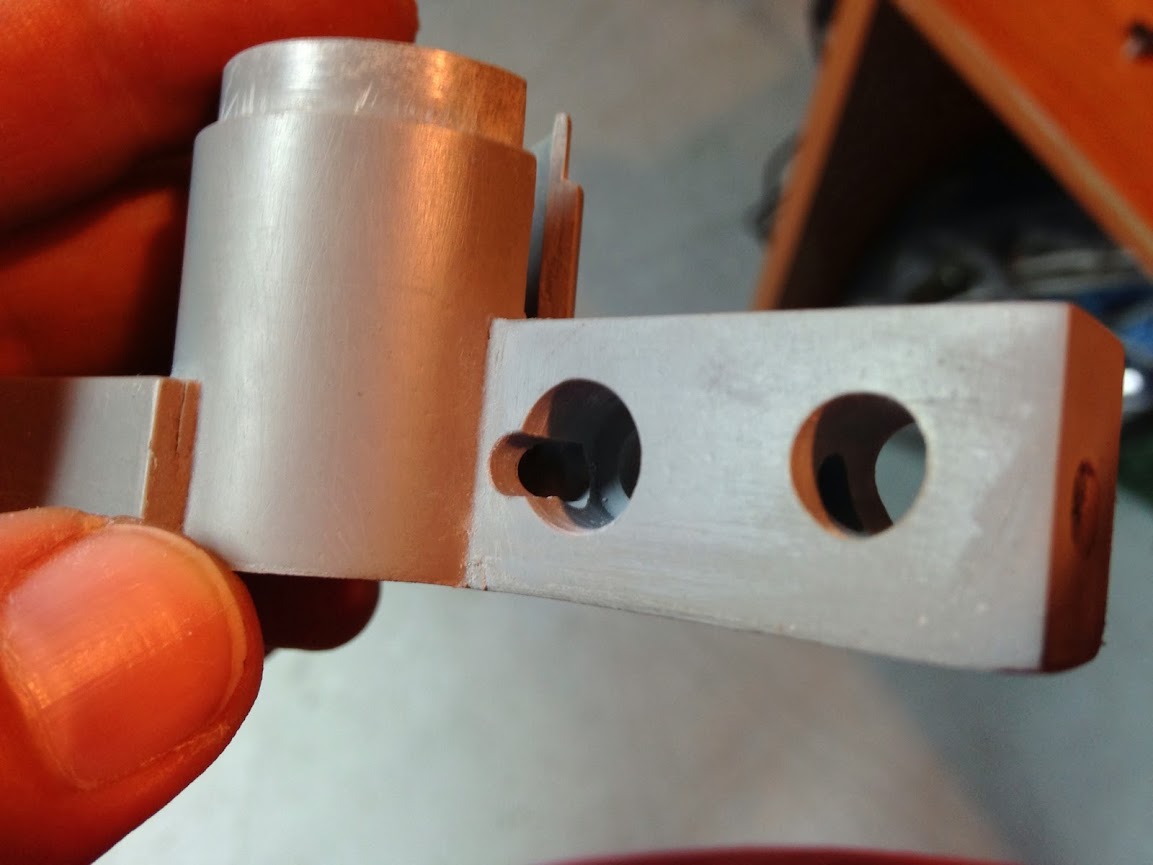
I’m fairly happy with the result! I’ll have a bit of a bulge in my heatshrink where things are just a bit too long, but there are worse problems in the world!
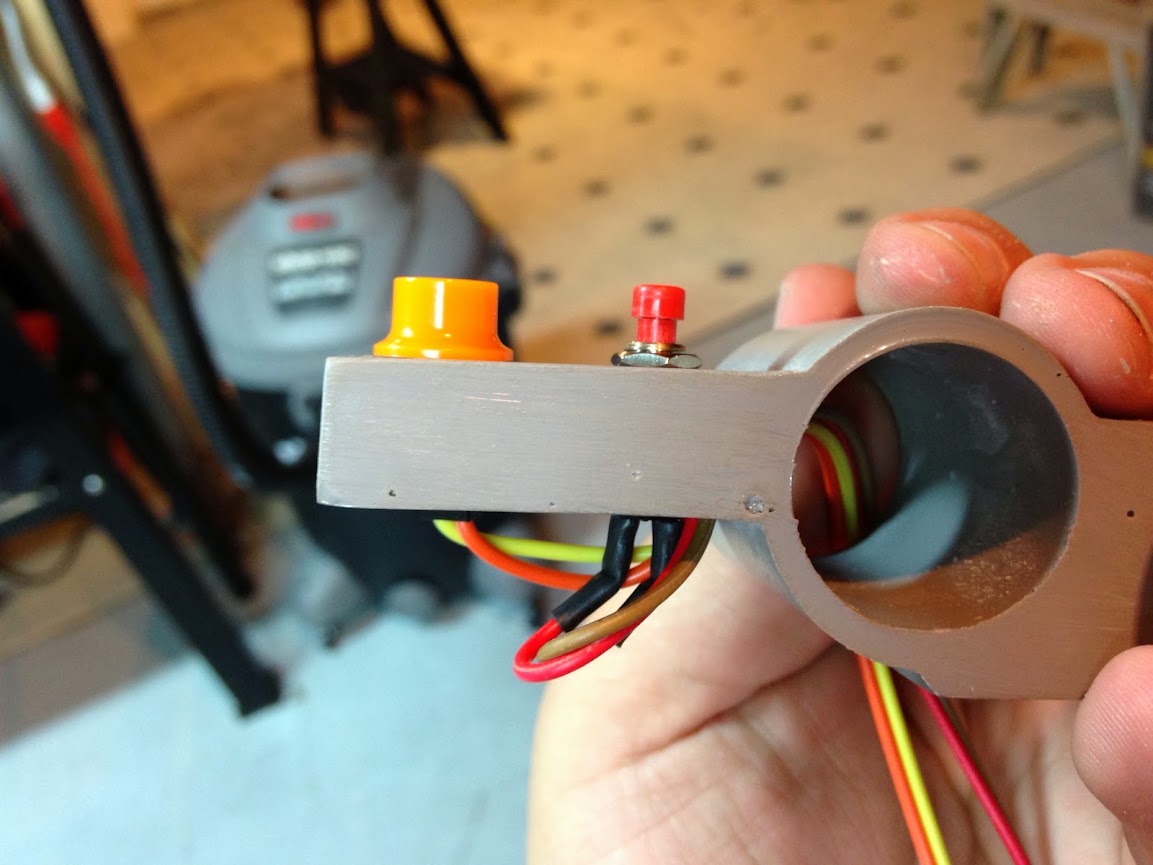
Next time I get down there it’s time to epoxy the ear to the metal pipe and start filling.
Wow! It is looking good so far.
Nice start dude
Don’t worry about any warping/drooping in the cyclotron, The hero shells had a definite sag in the middle, have a look at all the ref. In fact Chris went out of his way to add it to his hero shells 
Thanks Guys!
The affirmation that the little bit of drooping won’t make my pack look bad when its all finished makes me a happy fat kid, thanks :).
Just a little more work tonight - epoxied the gun ears in place, first off!
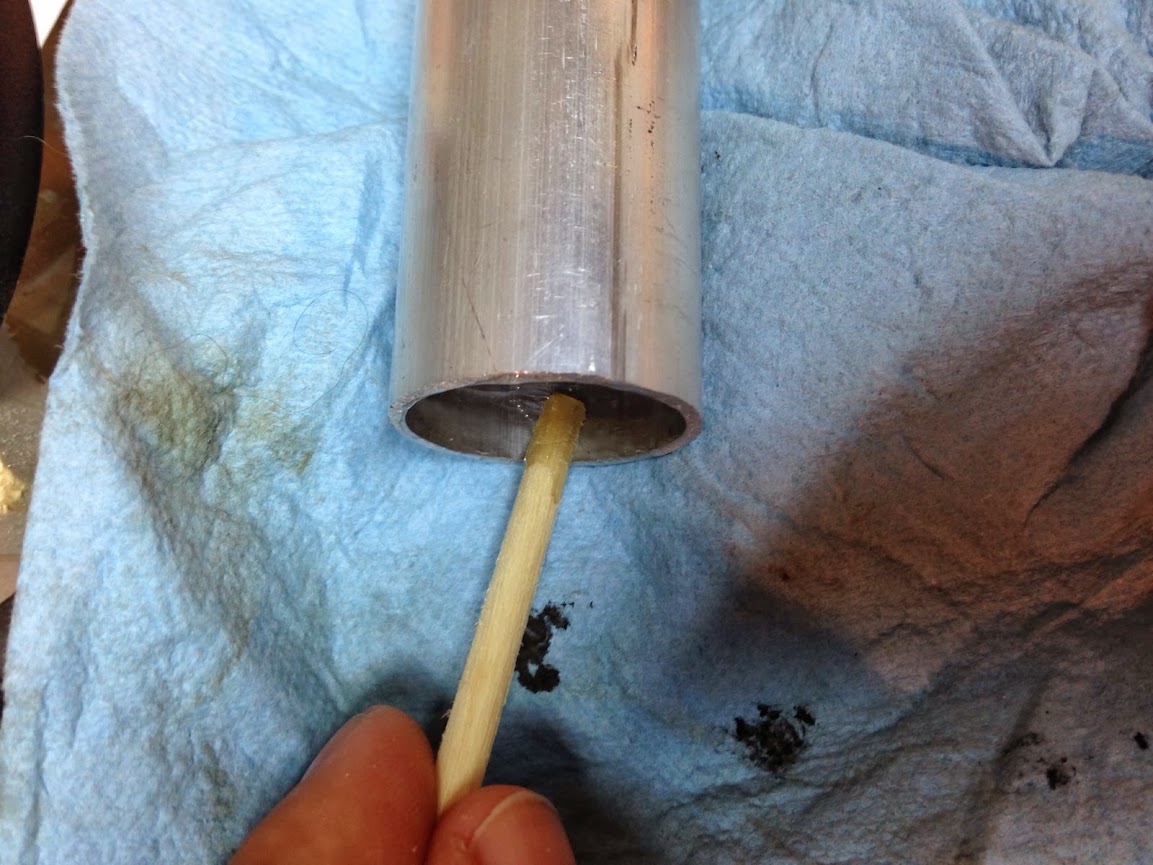
Once everything was in place I used a long clamp to secure everything - seems good and strong after a few hours of curing!
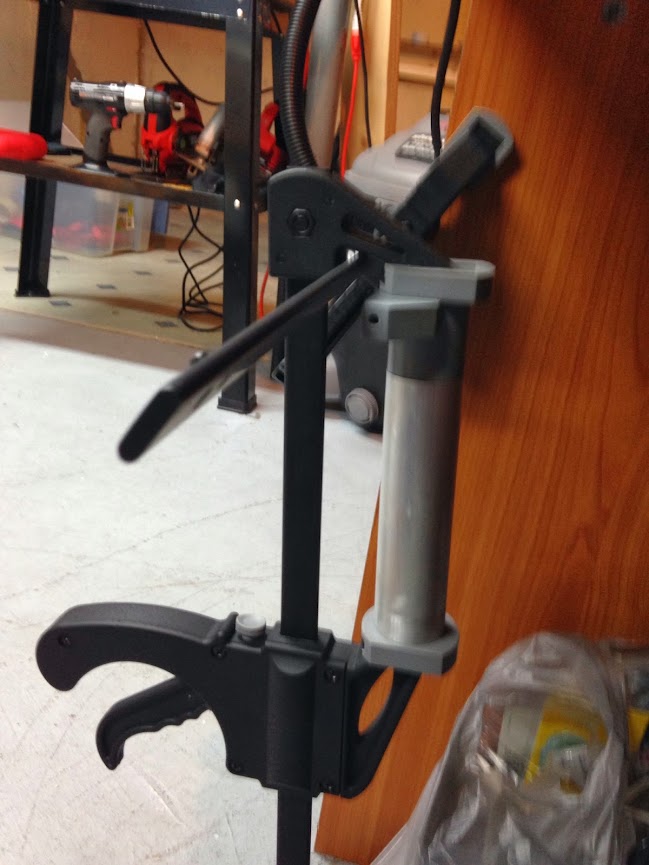
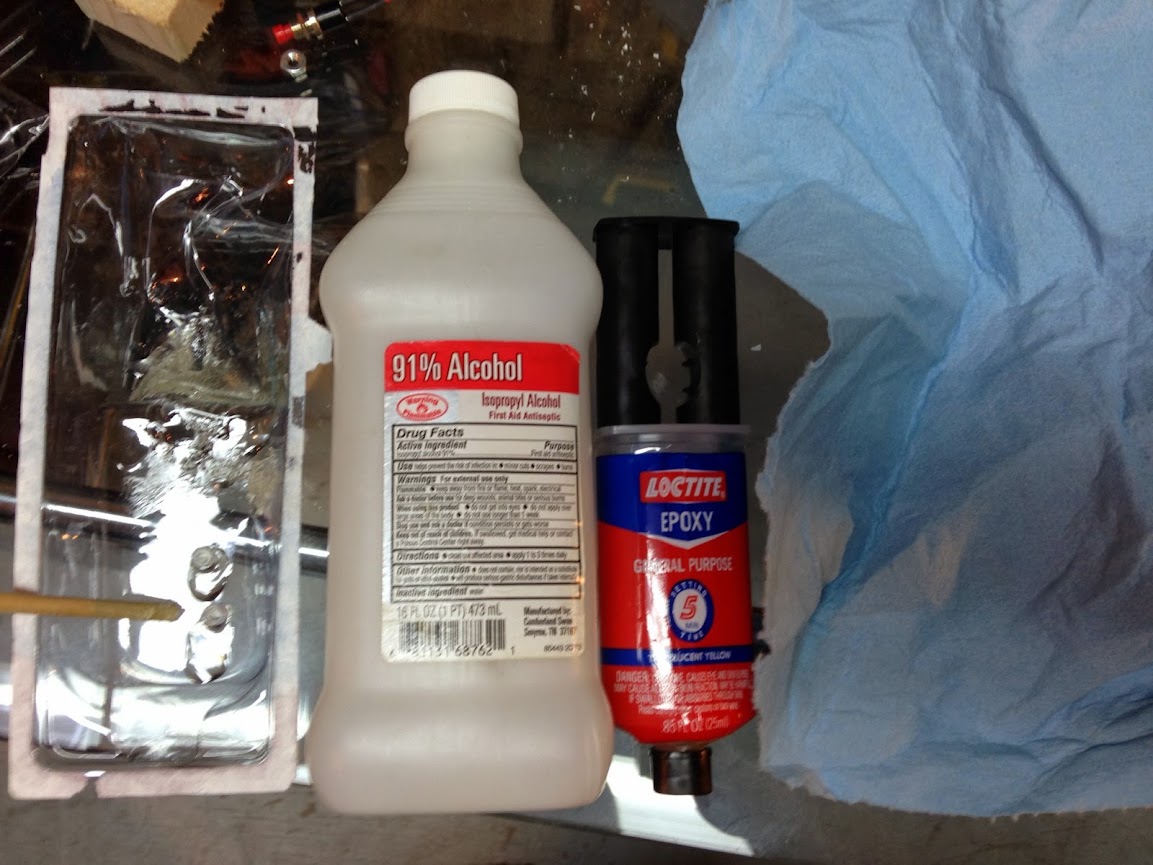
For the record, because I always hate it when I see someone doing something interesting and they don’t tell me what glue they used - I used Loctite Epoxy. It’s always done well for me in the past!
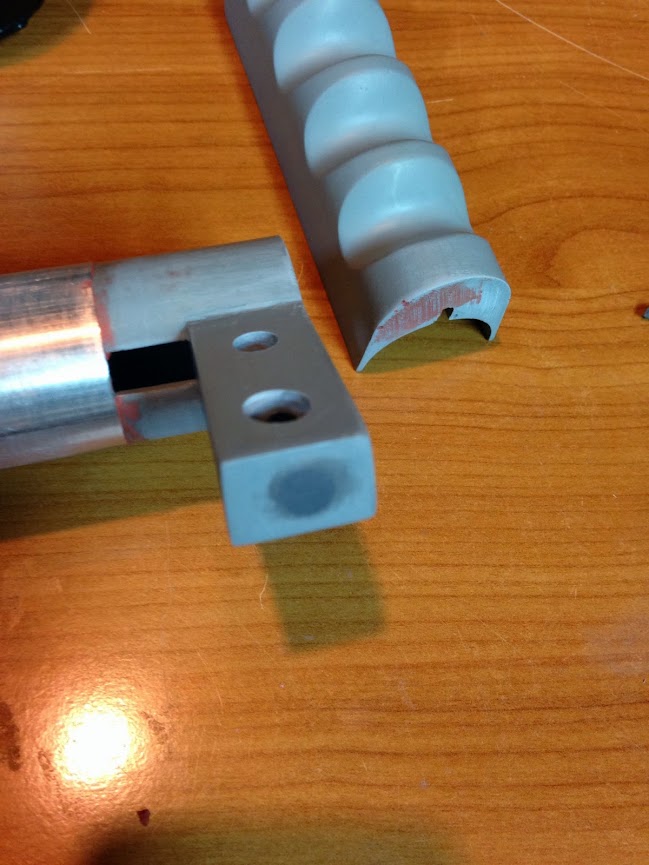
I also used a combination of Bondo Spot filler and plumbers putty to fill a few holes in the casts and attempt to fill the seam between aluminum tube and gun ear assembly. Unfortunately the OD of the pipe and the gun ear is off by a teeny tiny amount - just enough that it’ll be noticably two parts through just about anything I throw at it short of sanding the pipe down to match the gun ears. I think it’ll be okay, though.
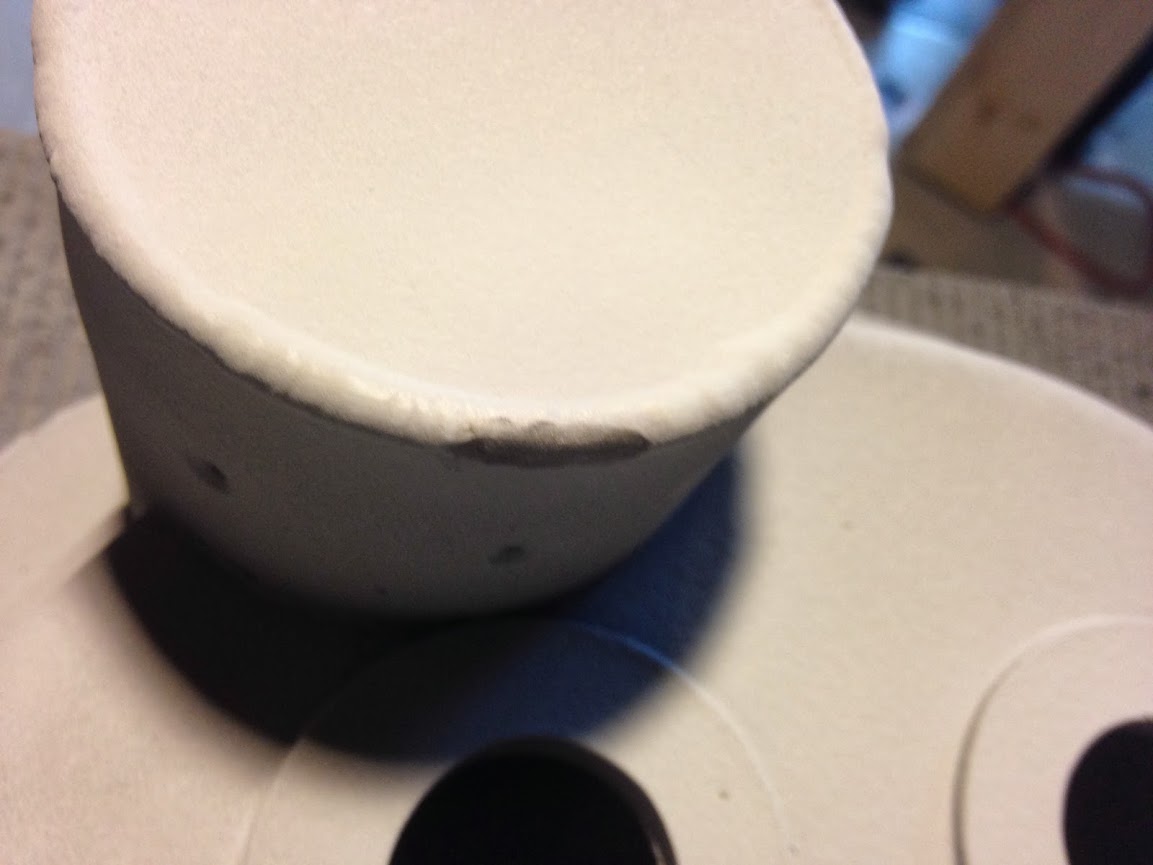
I also hit the broken weld on the shell with a little plumbers putty. I’m still really quite bad at fixing things, but I get a little bit more comfortable with the putty every time!
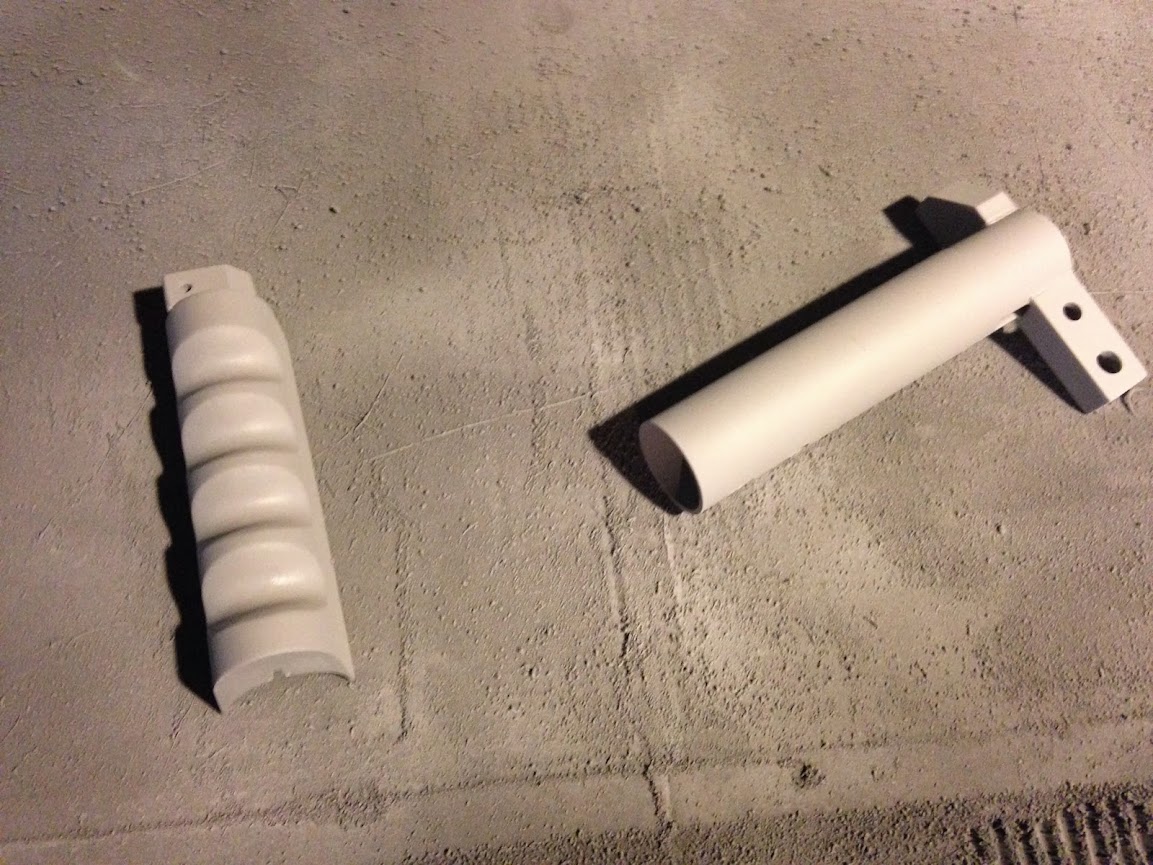
Off to primer to dry for the night. I’ll revisit the line on the front handle tomorrow after I see how it looks painted. (I know that primering things before I’m ‘done’ with them is probably not a great practice to do, by the way! Most folks seem to not paint anything until completely done. This probably saves them some problems along the way! I do it to see how things ‘turn out’ while it’s still nicely sandable and fillable, and don’t give it the final black coat until it’s time for final assembly.)
Looking good man, can’t wait to see the end product!
Well done