DIY Budget Belt fobs (pic heavy)

There are three things that (to me at least) make a GB uniform feel more complete. Leg hose, Belt Gizmo and a set of belt fobs. So here is my tutorial to make some nice fobs from items at Joanne Fabrics and Lowes.
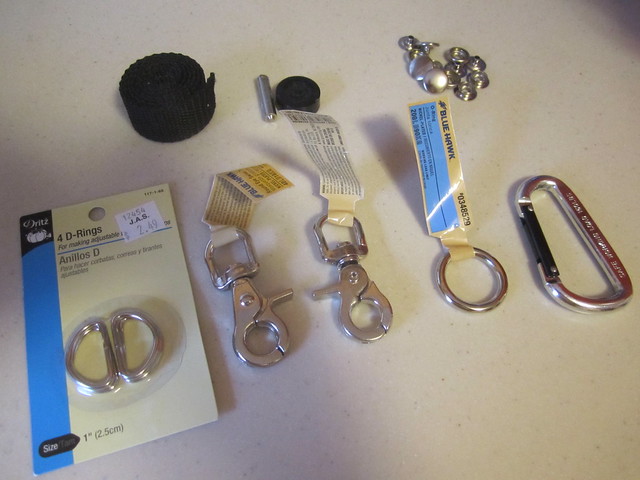
Here is what you need. These items where sourced at local hardware and fabric stores.

1 roll of 1" nylon (Joannes)

1 snap kit with 7 snaps, hammer and pad (Joannes)

2 1" D-Rings (Joannes)

2 3/4" Snap Clips (Lowes)

1 1" welding ring (Lowes)

1 carabiner clip (Lowes)

All of this will run you about $15 - $20
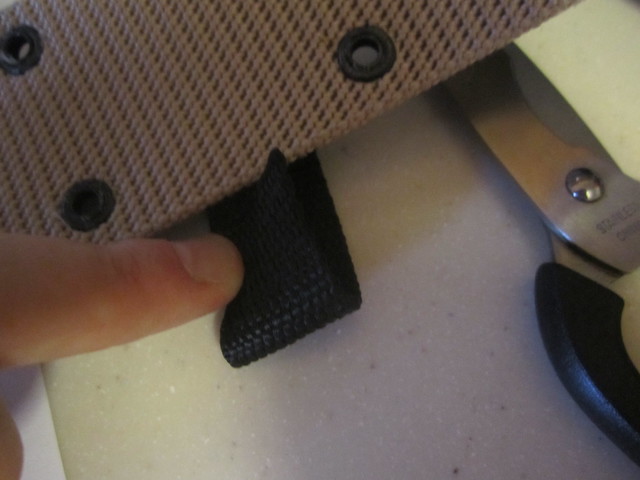
First grab your 1" Nylon strap and your belt. Push the strap under your belt and fold over enough to hold your ring and a snap.
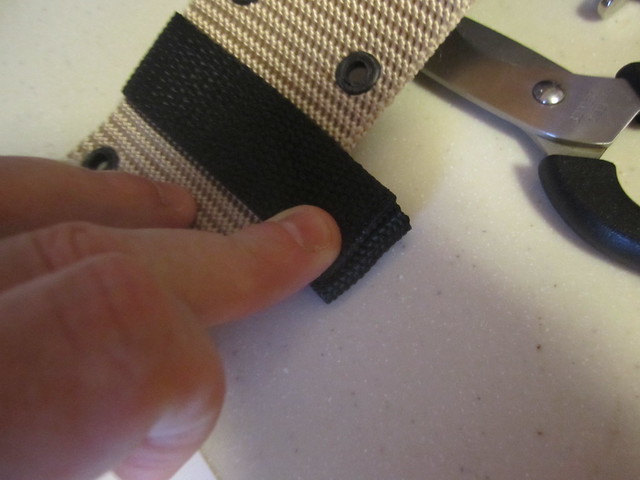
The top should go all the way to the edge of your fold like so. Cut it like so.
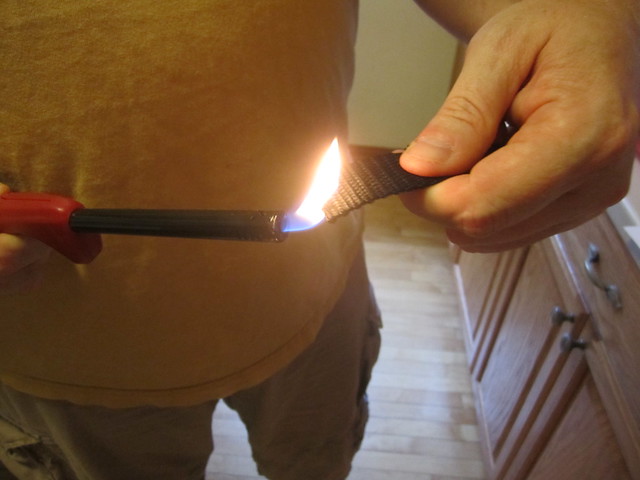
You want to “heal” the edges so they do not fray. I use a lighter and just pass it over the edge real quick. You can also buy a liquid that will stop fraying. I live on THE EDGE! (My wife took this picture and rolled her eyes at me…)
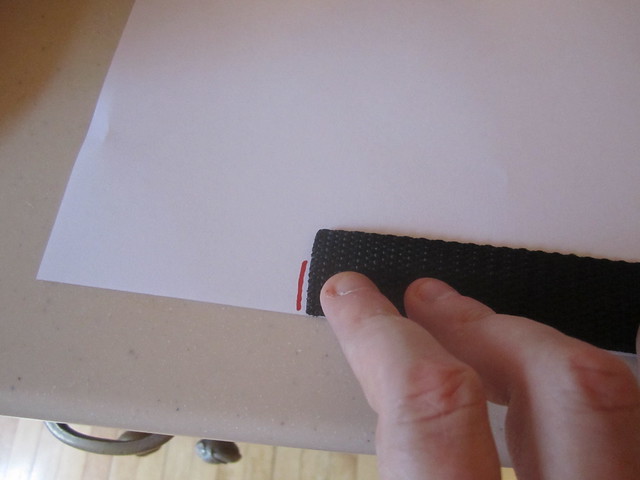
Little trick I learned - I then take that first one and lay it on paper and mark it, that way I can quickly cut two more and have them be the same.
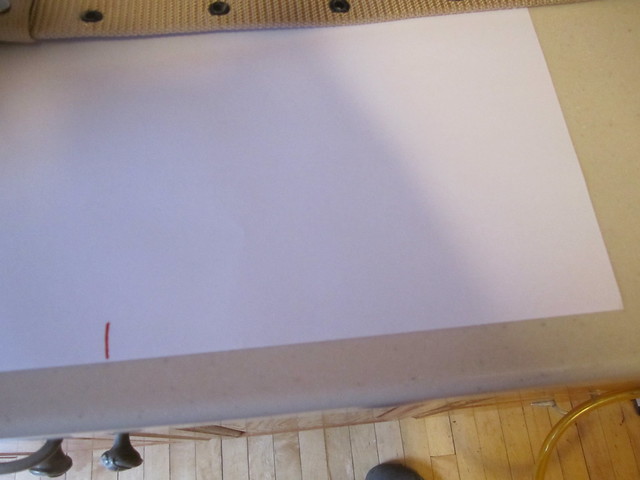
Like so.
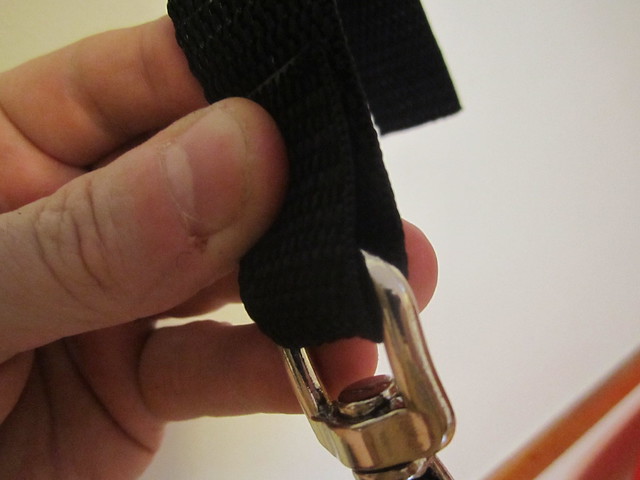
Now fold the bottom of the strap around your ring.
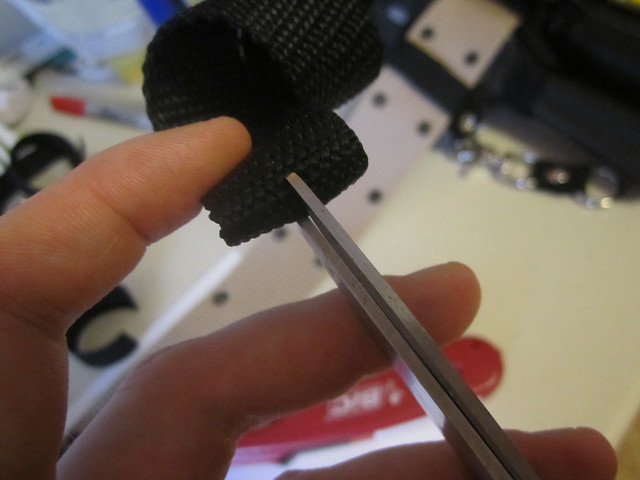
To place your base snap cut a small slit in the center back and a matching on on the front of your fold.
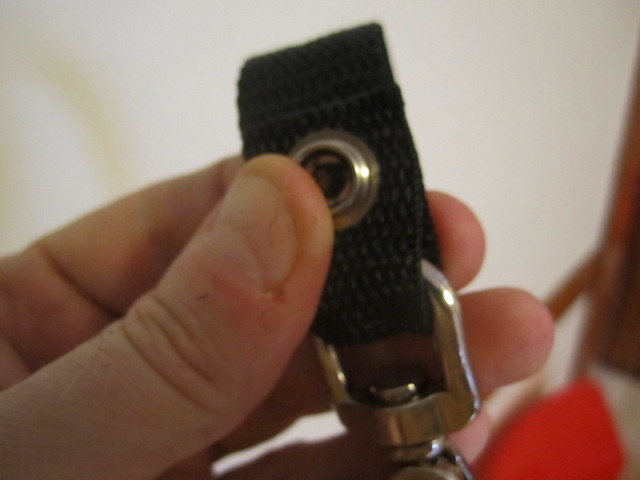
Push the back through both of the holes you cut and place the front of the base snap in. Now, grab a hammer and using the parts that came with your snaps and pound them together.
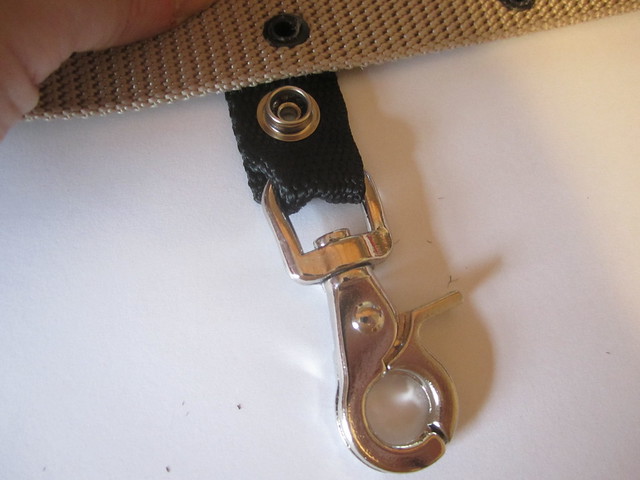
Should look about like this.
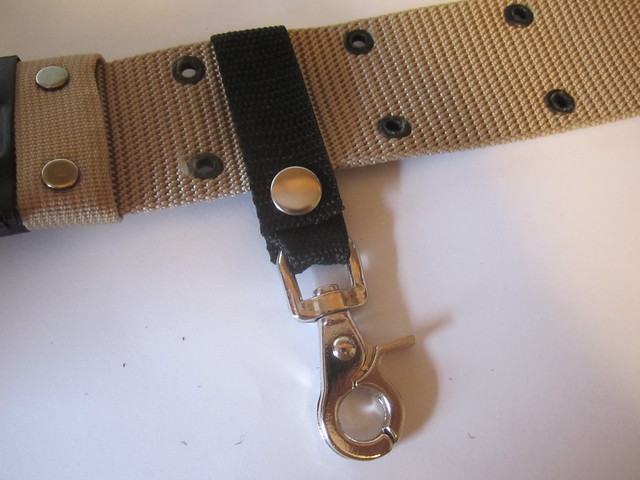
First one is DONE!
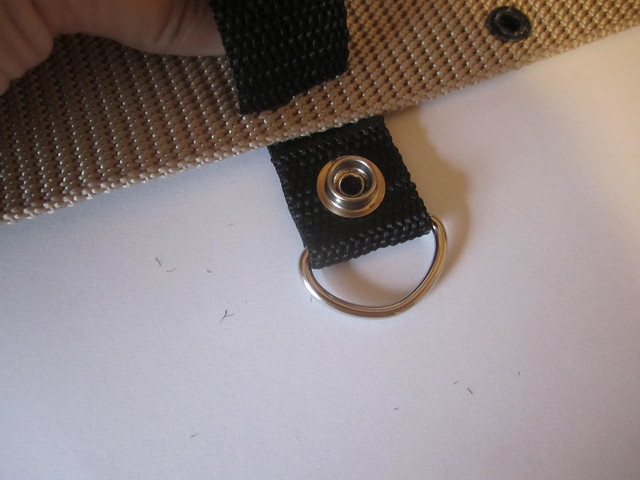
the D-Ring is made the same, you will need two of these.
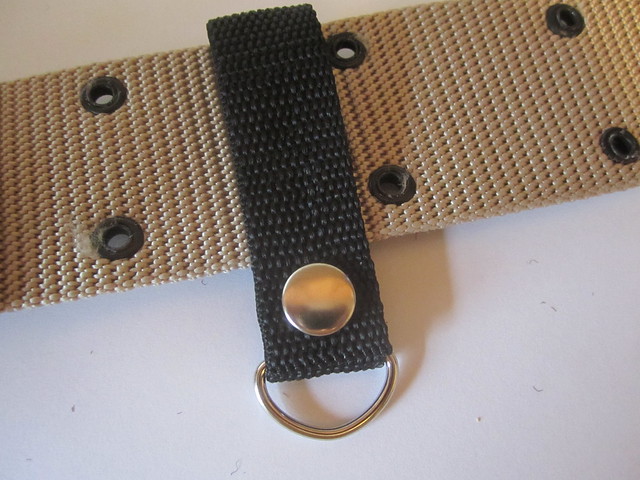
Like so.
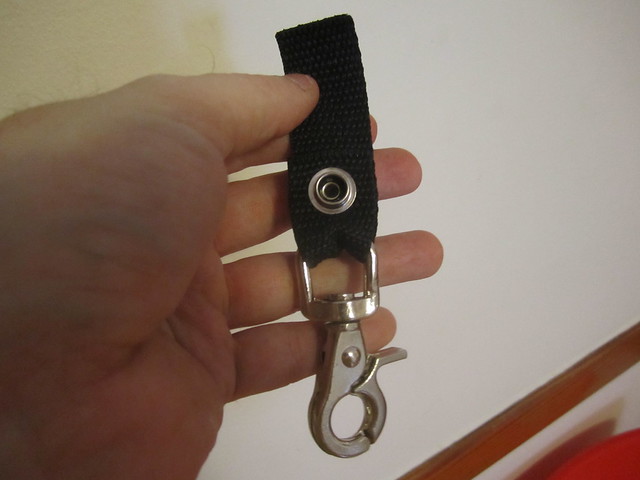
Now for the thrower ring. This is the ring that you can hook your thrower onto when walking around. It clips to one of the D-Rings.

Cut one more strip of nylon strap that is 5" long. Place a lobster clip just like you did the first fob.
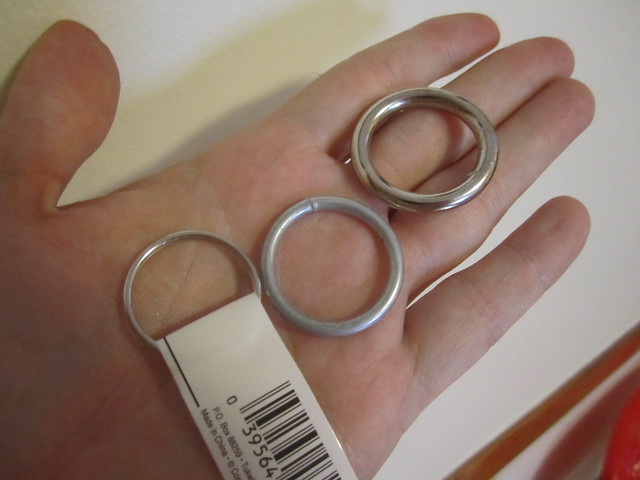
You need a 1" ring. Any will do, a key ring, a welding ring. I use the 1" welding rings I find at Lowes, they are nickle plated and thicker.
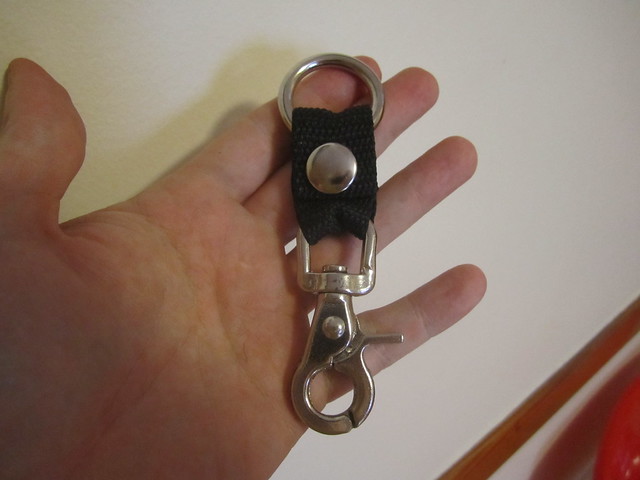
Place your front snap and fold that over the ring.
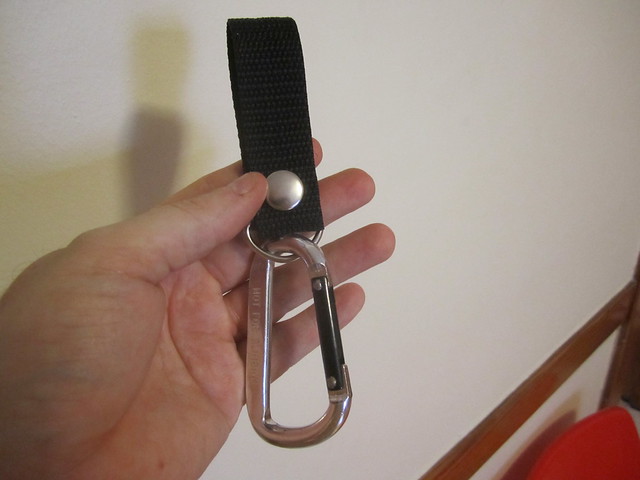
I like to put a carabiner on the last D-Ring. Very handy for Ecto Goggles or anything else you need to hang on too.
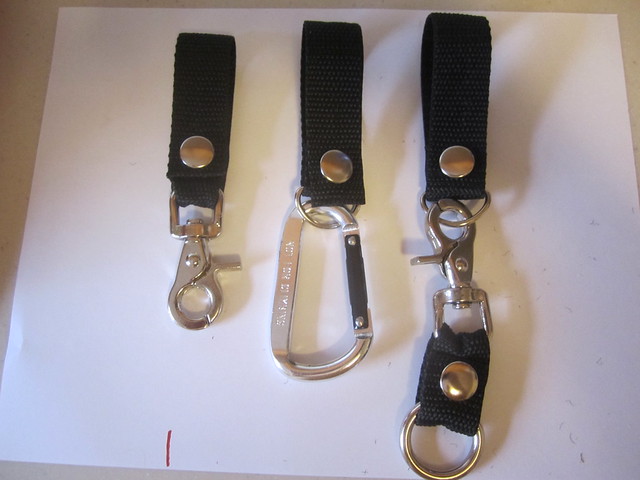
DONE!

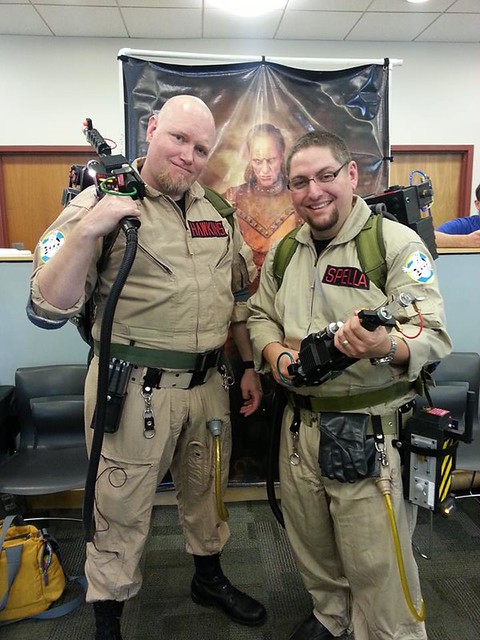
On a side note: These are NOT 100% screen accurate. To do that you need a different snap clip and your straps should be leather. This is just a nice alternative that you can do at home in about an hour. I have made many sets of these for friends and they look great. Here’s me and my pal Jeffery wearing them.
Enjoy!

They look great Alan. A very nice alternative to the leather ones.

Thanks Joe!

Awesome idea with the buttons! Really cool

For anyone new to the site looking to make their first uniform here is a great info about the real fobs.

Some other info I have found.

The real swivel clips are readily available as clips for equestrian (horseys!) lead ropes and reins.

The “cast D rings” can also be found on ebay in 3/4" and 1" usually in lots of 10.

If you look you can also buy the snaps online in bulk. But I haven’t been brave enough to buy 100 snap sets from China without seeing them first.

I love these fobs.

I am easily influenced. When I picked up the pink material for my RGB Egon uniform at Hobby Lobby, I picked up a snap kit and a pack of snaps. Going to redo all my fobs.

This worked out great, really look nice when I finished!

One note I would give is that instead of cutting the hole for the snaps with scissors heat the end of a straightened paper clip with a lighter, it will push right thru the nylon and you dont have to worry about cutting it too far, which I did.

Glad they worked! I have thought of searing a hole, but never tried it. Maybe on the next set I do. :slight_smile:

Great job,

My only thought is to use a tall candle instead of a lighter so I can keep a hand free.

Also, I have used a nail holding it with a pair of pliers to make holes.

Cheers.

Thanks for the tutorial. I made the holes for the snaps with a soldering iron. It slides right through, gives you great control for centering it up, and best of all, melts the edges of the hole so there’s no fraying.

This tutorial is amazing. I made my keyfobs by hand thanks to this idea. Iv done button snaps on other projects and totally forgot I could do this myself. Thanks for refreshing my memory. I found a nice 1 foot by 1 foot scrap of black leather from michaels craft store, and used that instead of nylon though. Thanks for posting this.

Hey Alan,

Is this the snap kit you picked up?

http://www.joann.com/20l-snap-setter-kit-nickel/12796280.html#q=snap+kit&start=4

I use these -

http://www.joann.com/dritz-heavy-duty-silver-snap-kit-size-24-7-pkg/2614576.html#prefn1=isProject&start=64&q=snaps&sz=54&prefv1=false

The one you linked SHOULD work fine on Nylon. But I think those are more for leather…

Awesome! Thanks Alan, That’s exactly what I needed!!!

I made these for my uniform. Nice, cheap alternative. Thanks!

Cool idea!

This should probably be sticky…

I’d second that. I’m wishing I’d bought more belt fobs way back when I could just walk into the hardware store and pick them up.

Alan, I just completed my first set of Fobs using your tutorial. It was easy, fun, and they come out great!!!

Excellent alternative to the leather fobs!!!

I agree that this thread should be a sticky. Your instructions are very clear and and very easy! Thank you for this tutorial Alan!!