Hello Folk’s…My names Bart, and I wanna be a Ghostbuster when I grow up ( and have for the last 30 odd years or so…)
So yesterday I took the plunge and ordered up some .125 styrene sheets and a couple sizes of acrylic tube. Got the plans printed out and I’m ready to get on with this bad boy.
Heres to getting some templates plotted out and getting ready to slice and dice some styrene when it gets here…
Look into getting a spst or spdt 12v relay, .1uf resitor, and dpdt momentary push button for the plasma tube. That thing throws off crazy emf making things go wonky. I just bought the relay and resistor Sunday and need to get them in line. Shhh, don’t tell my build thread, I haven’t told it yet lol.
Ohh yes…I have already been sourcing that out…read a couple threads with how to wire round that particular problem…and I ain;t gonna reinvent the wheel…y’all done the heavy lifting already…
OK lets see some REAL progress for a change! I started assembling the gunbox. First up I rough sanded everything to get a good fit. Then I used a heat gun to bend the side /top section, draping it over a piece of pvc pipe to get a uniform radius
Front bits glued up and doing a little rough sanding. Like how everything is fitting together. Note also the tube of Weld On 16. the only glue I will ever use on this kinda project…Fantastic stuff
Also on a different front I repurposed an old jacket (well my Mom did) by sewing a No Ghosts Logo over a Public atey Insignia that I’m no longer associated with…
Yes it is! I was kinda stressing over getting that bend in, turned out to be super simple…Gonna try to get the handle/barrel on tonight and look at doing the syncgen and cyclotron next week…
Didn;t get a whole lot done today. finished putting the back on the gun box and worked on sanding down the seams…hadda use a touch of putty here and there, but I’m sorta pleased with the way its turning out.
OK now that the first round of Holiday Silliness has concluded, I can get back to work in the Bartwerx. Tonights silly Bart Trick is the Instrument bar and trigger bar.
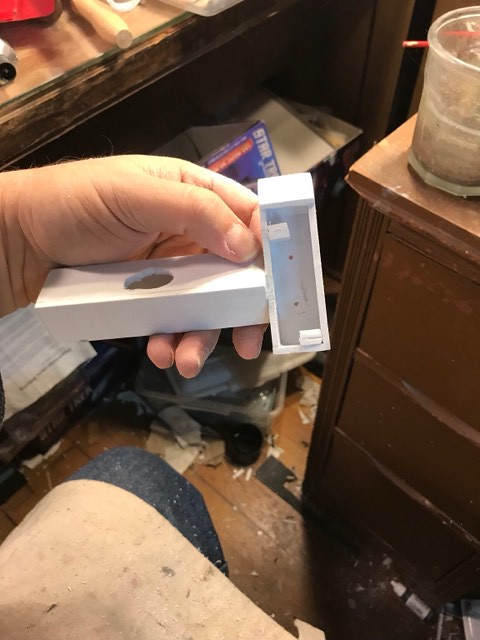
Left an opening on the front that will get a cover plate, and drilled through for wire access. theres a cover for the back of the trigger bar too I glued in some lugs to screw the retaining screws into as well.
I was wondering if my handle wasnt a little too long, but now I see it looks alot better with the IB/TB in place…also predrilled some pilot holes for the switches and lights that will get installed eventually
Yep I sure did…but that is something I would ferget to do…lol The TB is bonded to the IB but I think I’m gonna bolt the IB to the gunbox, just in case…
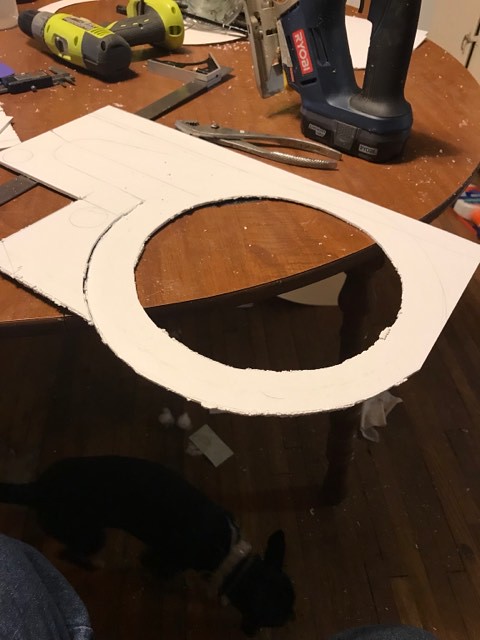
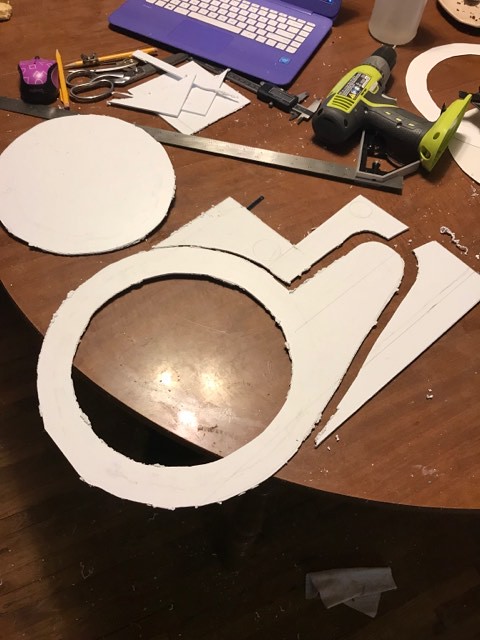
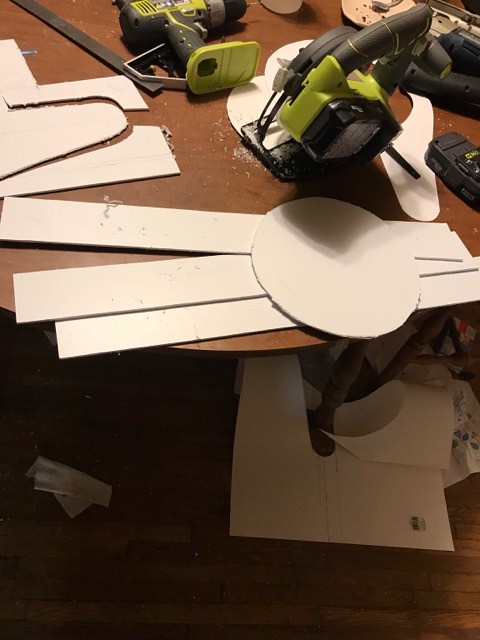
Felt like doing something constructive and messy after I got home from work tonight. Why not start cutting out parts for the pack proper? Been anxious about building the syncgen/cyclotron parts So I figgered I’d go ahead and get them out of the way. I have laid out the spcer template on poster board and then used it to trace onto the styrene. then I had to refer to the plans to lay out the cosmetic plates.
I used a combination of the jig saw, band saw, mini hacksaw, and just scoring and snapping to get the basics done. yep, they are rough and will need a lot of clean up. Thats why I have several belt sanders…
So even though I had to attend training, I had the day off. So after knocking out a few chores I decided to assemble some styrene! The girlfriends youngest decided she wanted to hang out with me this evening, so it was styrene, glue and Cutie Cars…
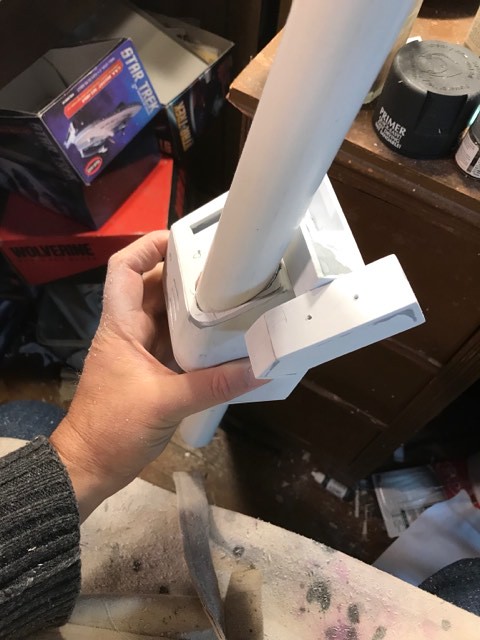
After I took the manual sharkskin to the jig saw edges, I measured out the individual plates and scored and snapped them. then did the same for some internal bracing so that the construction could begin in earnest. I started at the bottom and added extra bracing there. then began one at a time mitering one edge and assembling the wall…
Getting the individual plated on wasn;t as hard as I thought it would be, so look out boys…Im breaking out the heat gun. I had already glued in the PVC spacers so I used that as a buck to clamp , heat, and bend the styrene around …
On another modeling forum that I prequent there was a poll on what do you spend the most time doing on a build? Guess what the overwhelming result was!
 pack001 by Bart Salmons, on Flickr